


 3390Likes
Thread: 55 Wagon Progress
Results 1 to 15 of 1865
 LinkBack URL
 About LinkBacks
Threaded View
-
07-13-2014 08:04 PM #11
 CHR Member

- Join Date
- Jun 2008
- Location
- Leonardtown
- Car Year, Make, Model: Walking
- Posts
- 1,228
A slight diversion from the norm, but thought this may help pass on some insight in some shrinking.
Have been swamped at the day job and a couple of rentals in need of repairs, so not much time in the shop. I did have some kitchen issues to resolve and thought that it was the perfect place for some metal shaping.
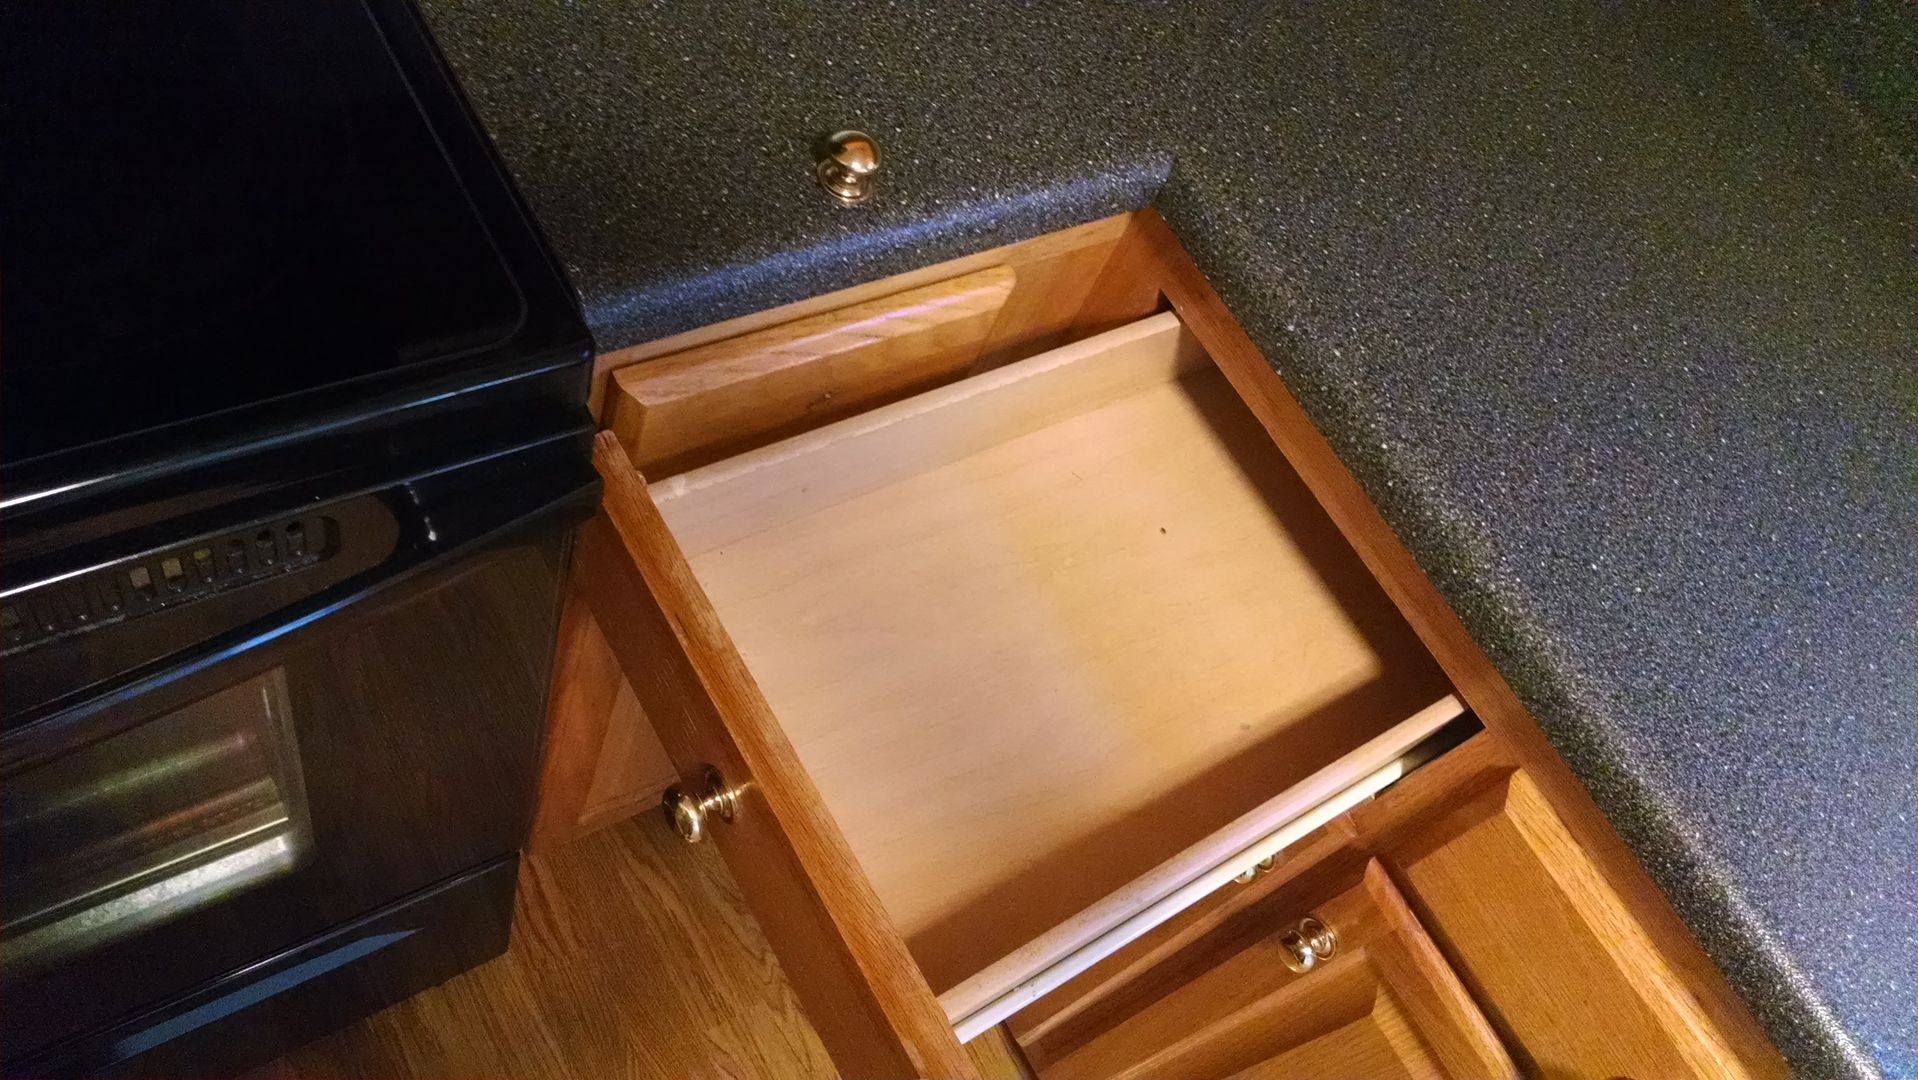
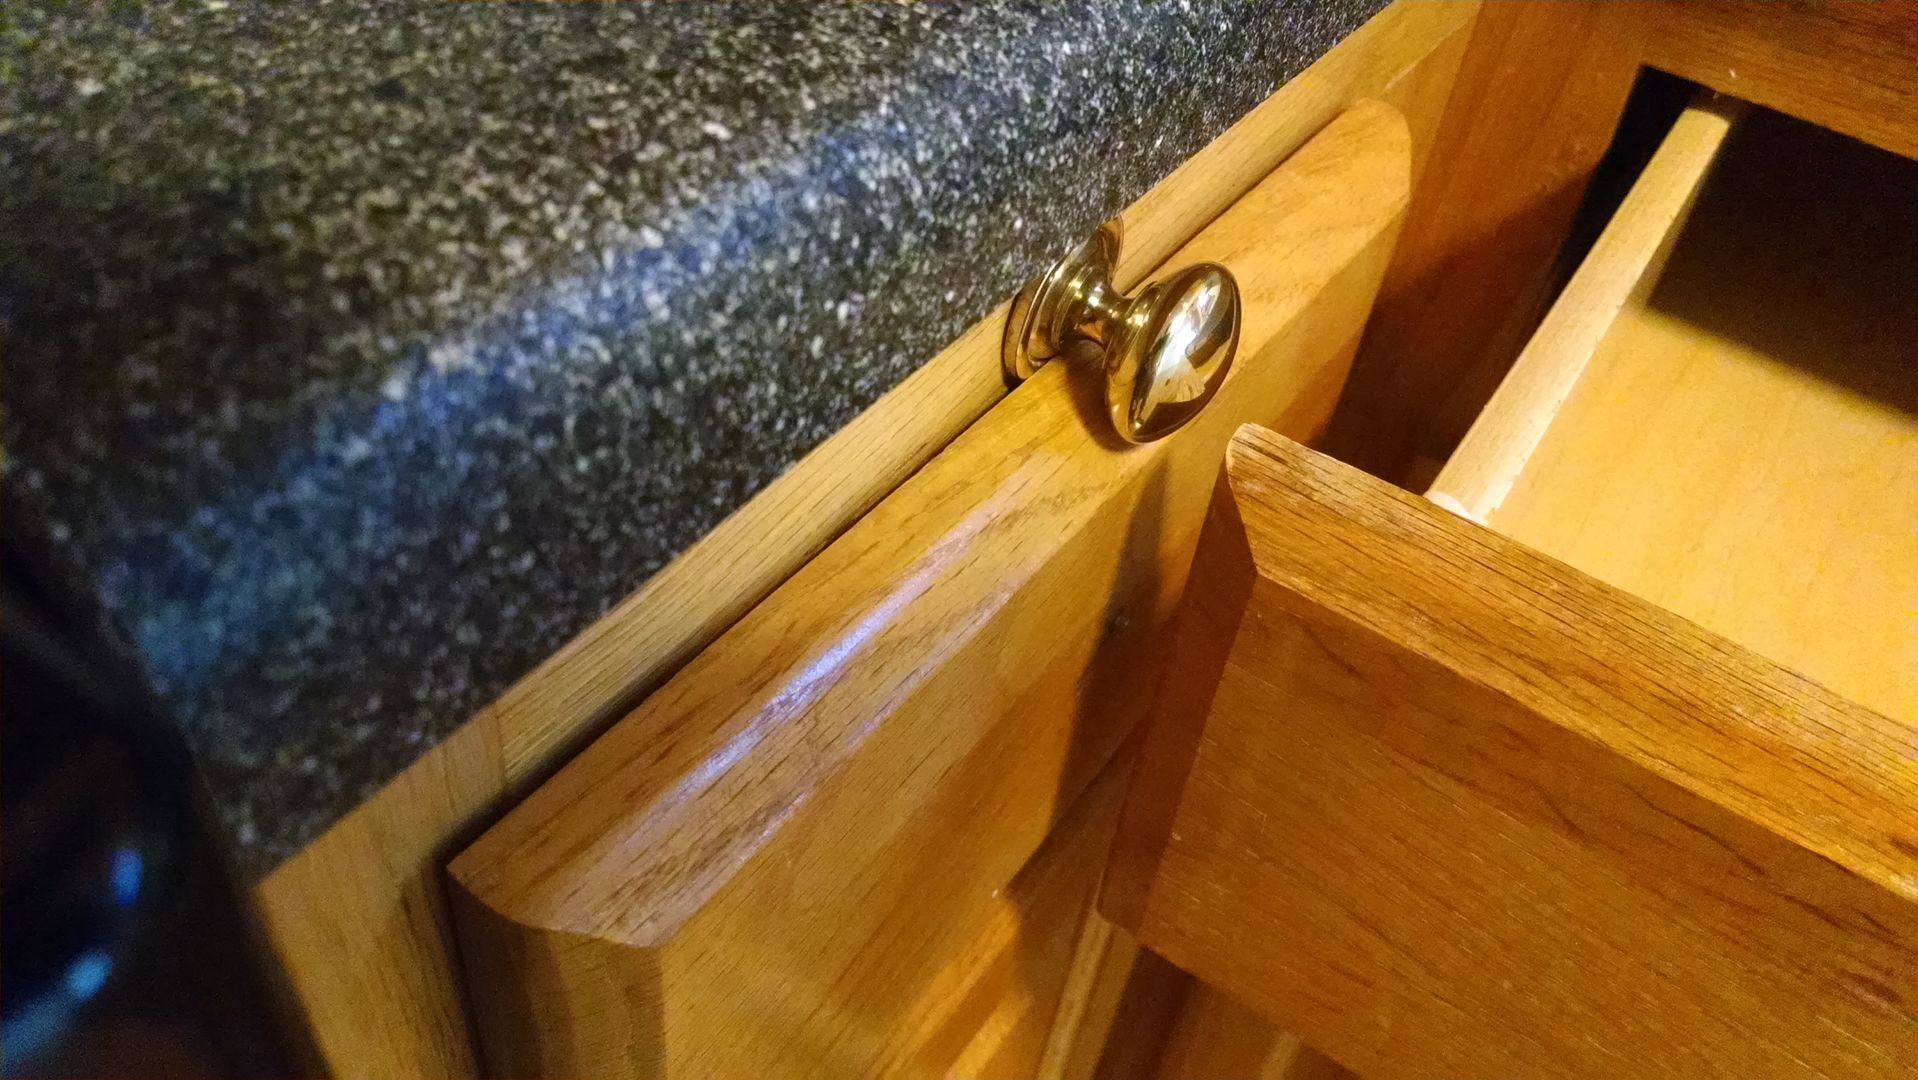
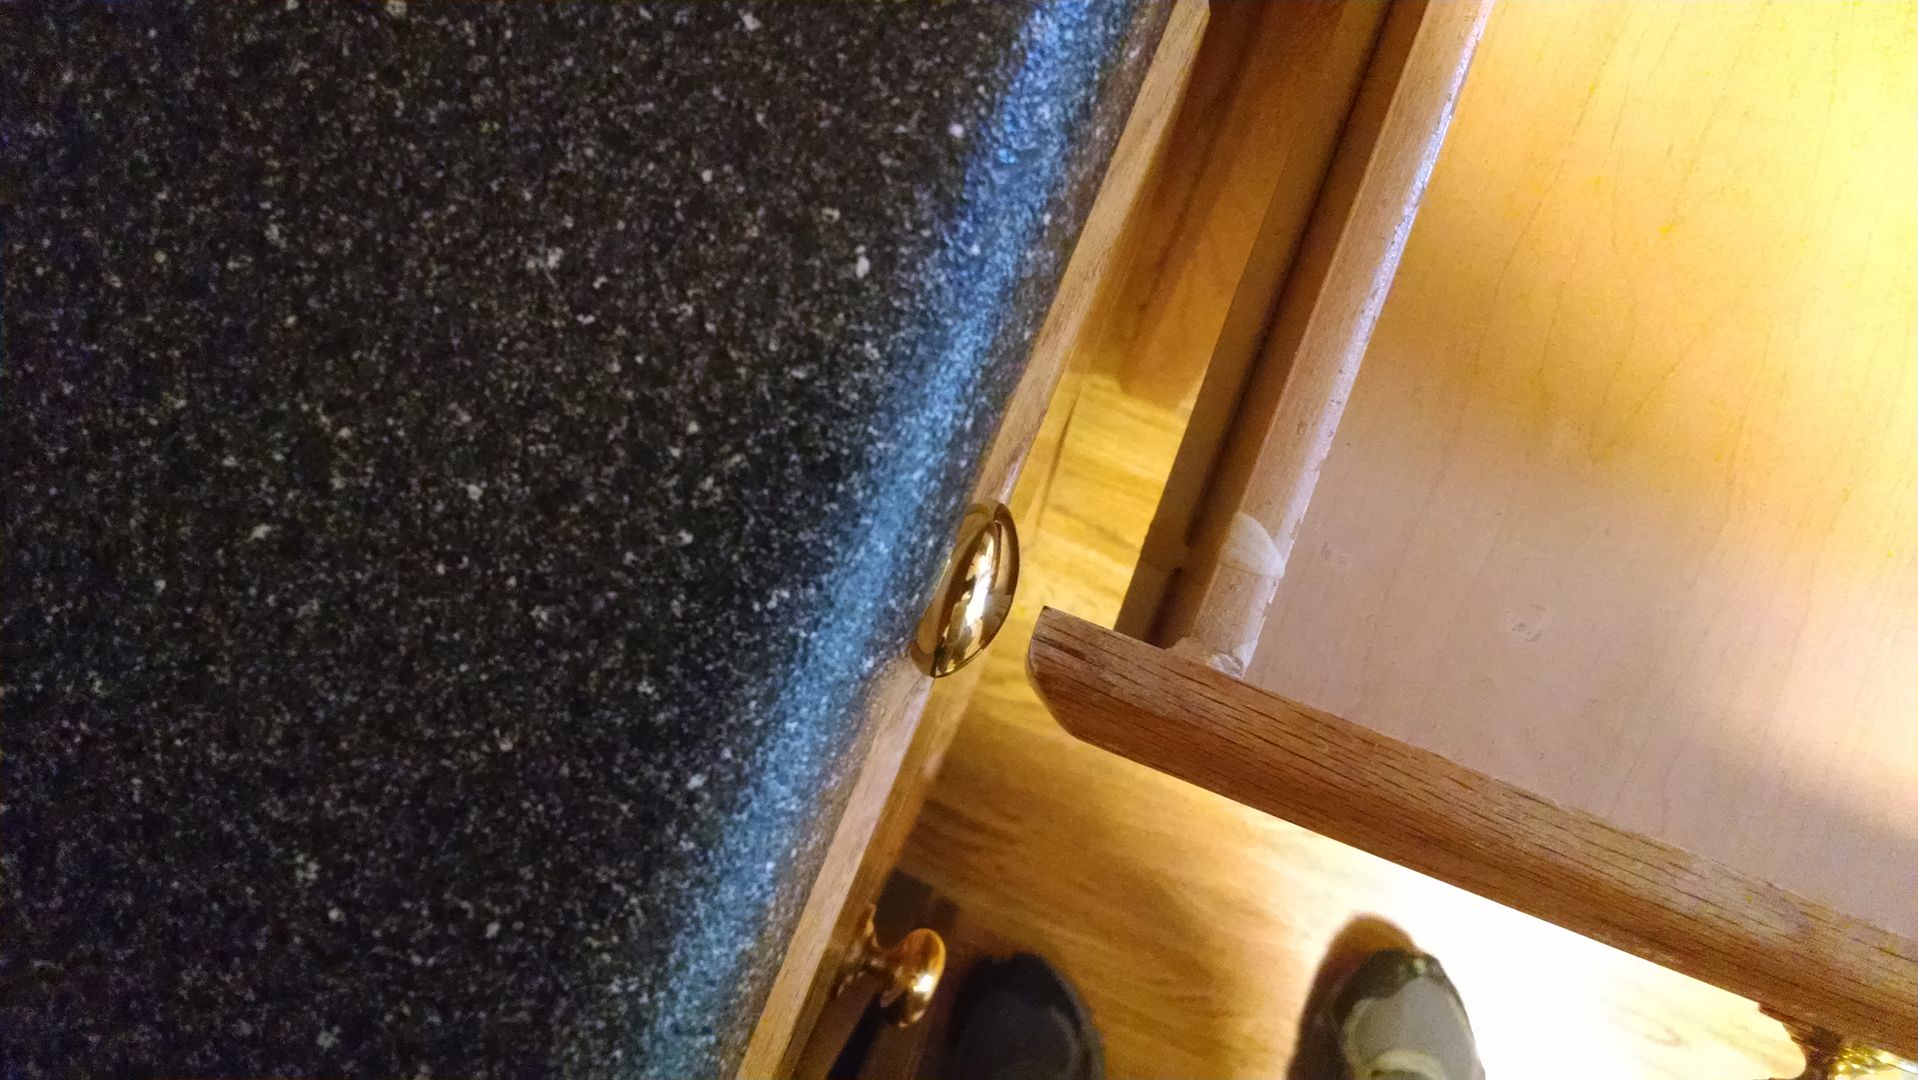
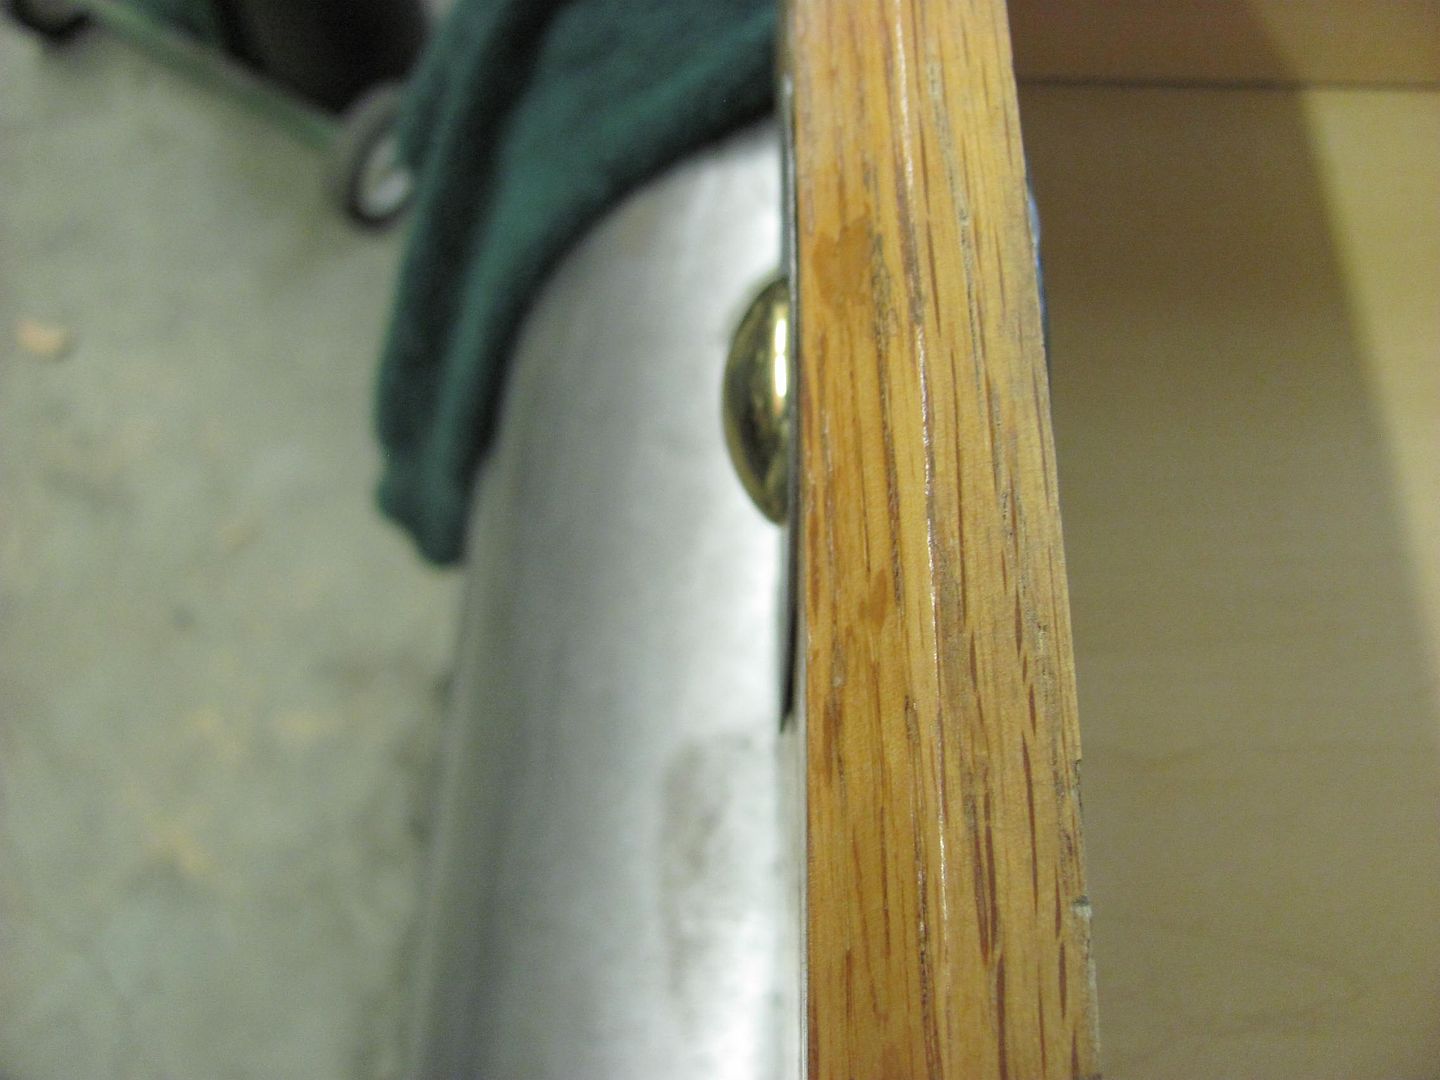
Here's the background, kitchen layout was less than ideal, I guess they were fine until the knobs were installed....
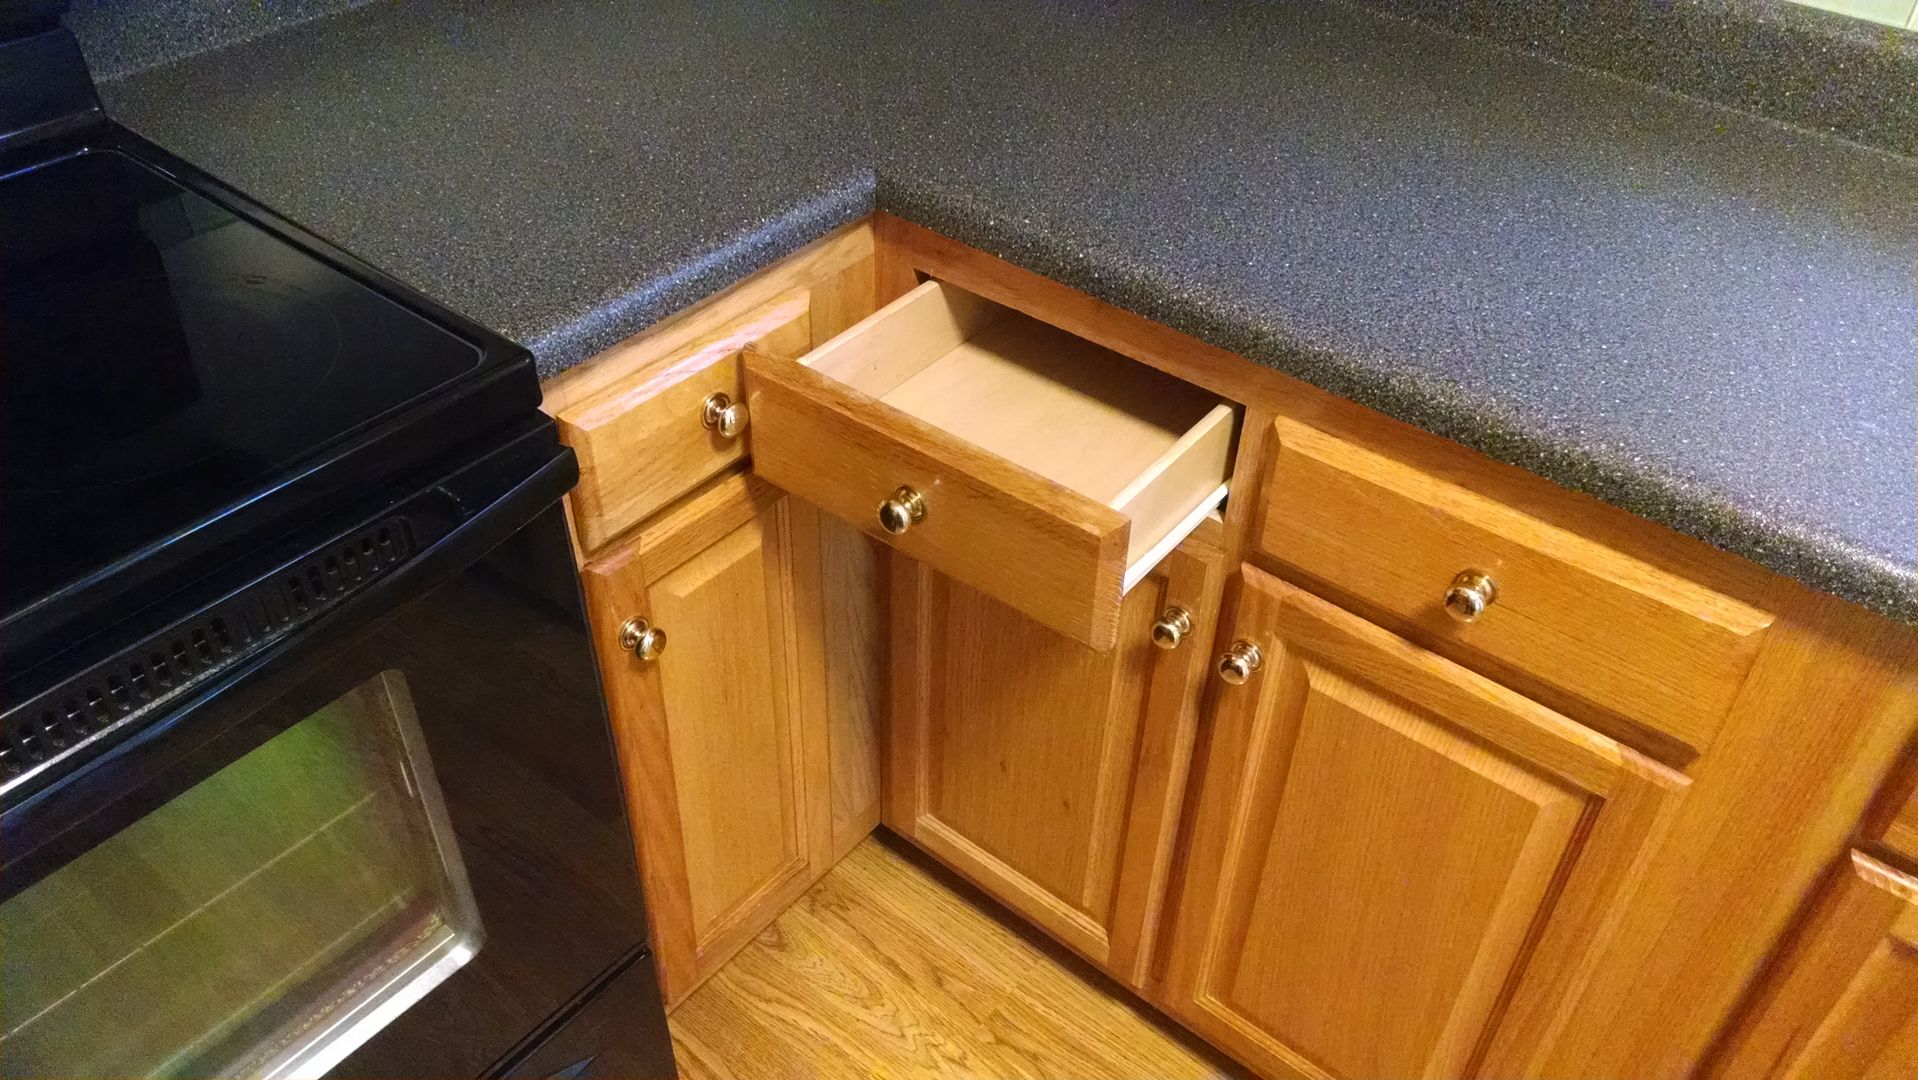

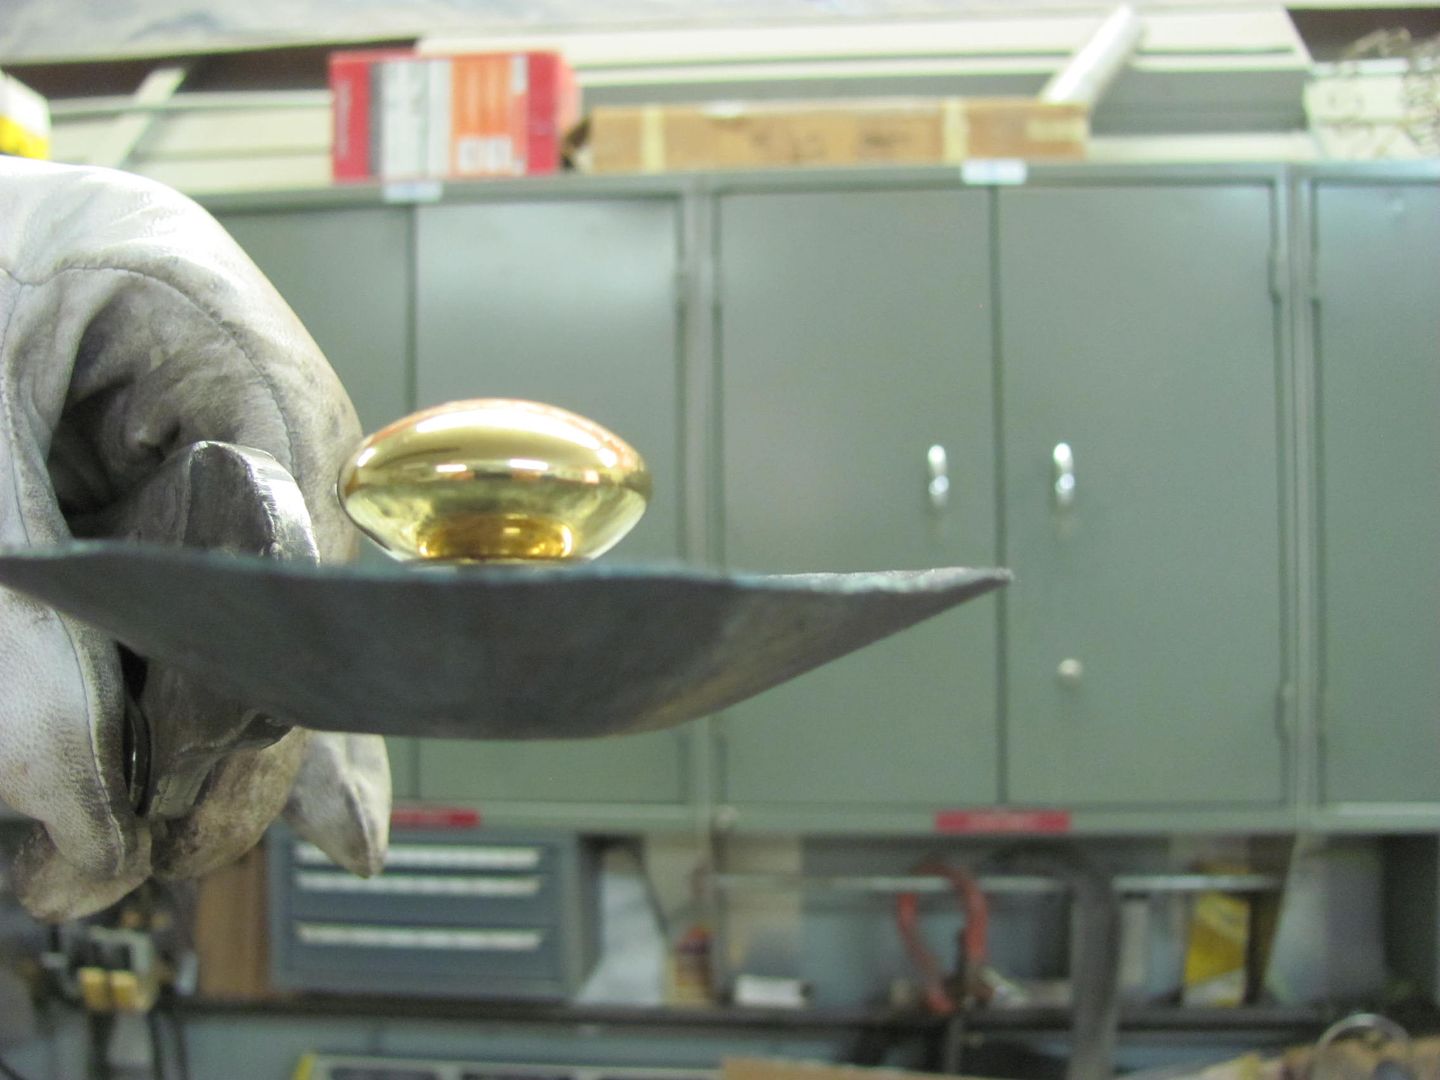
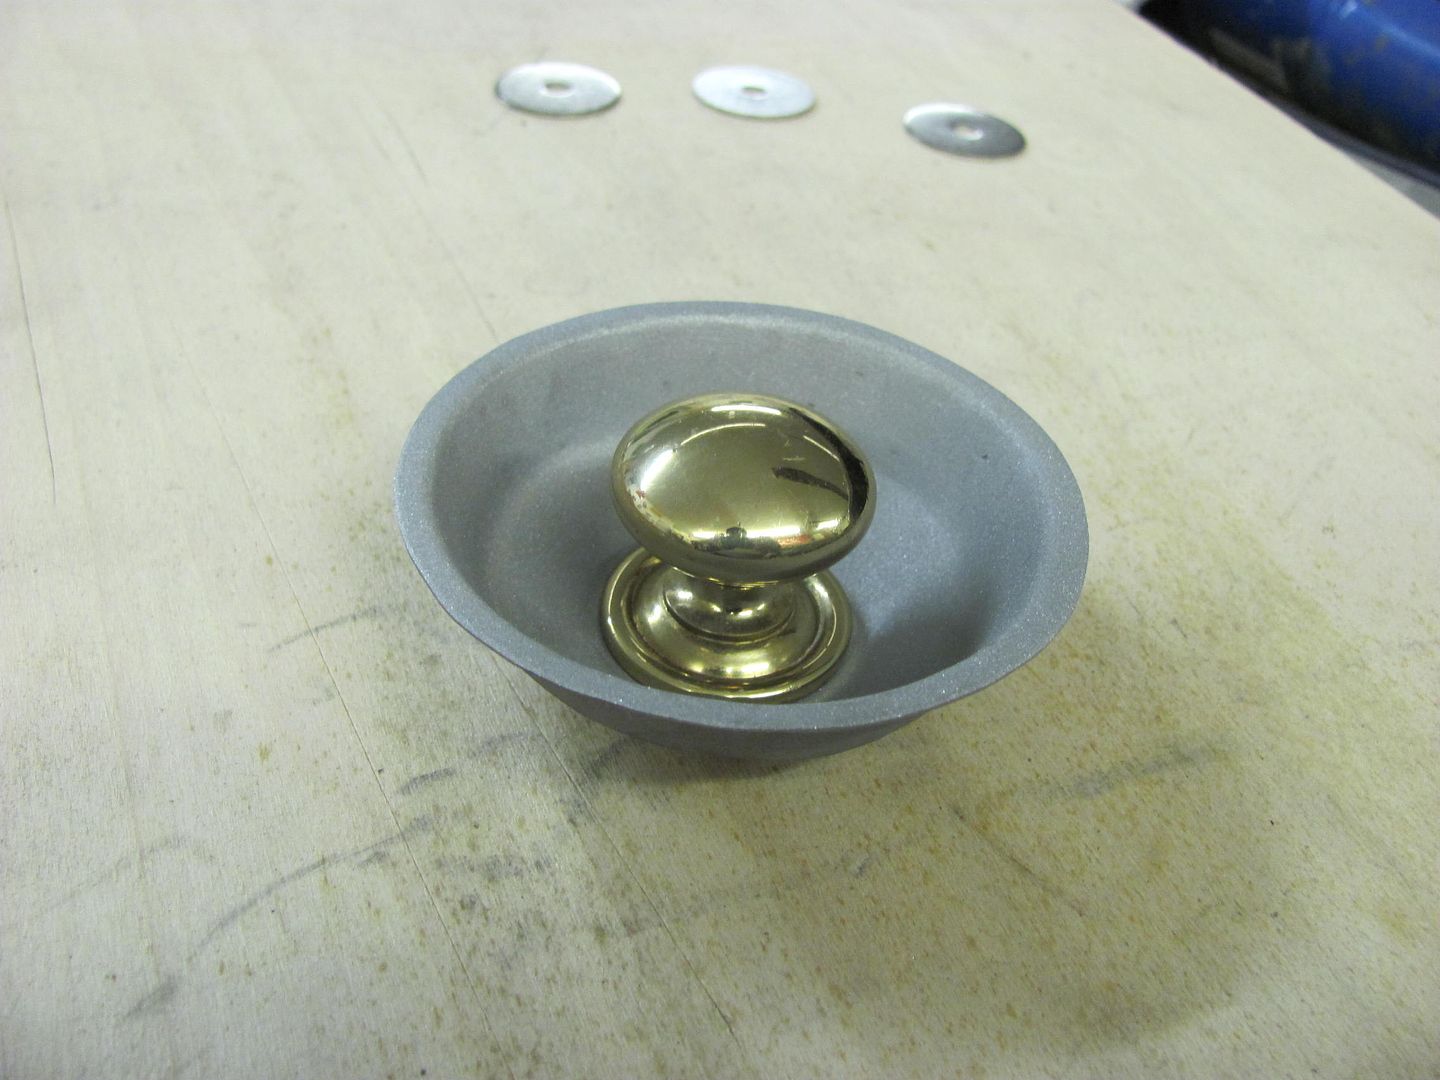
Removing the knob, we have much more access to the adjacent drawer. I had looked for similar knobs in recessed form, and could not find much available, or that would match and use existing hole. Placing the knob on top of the drawer face, it looks like a recessed offset would resolve the issue..
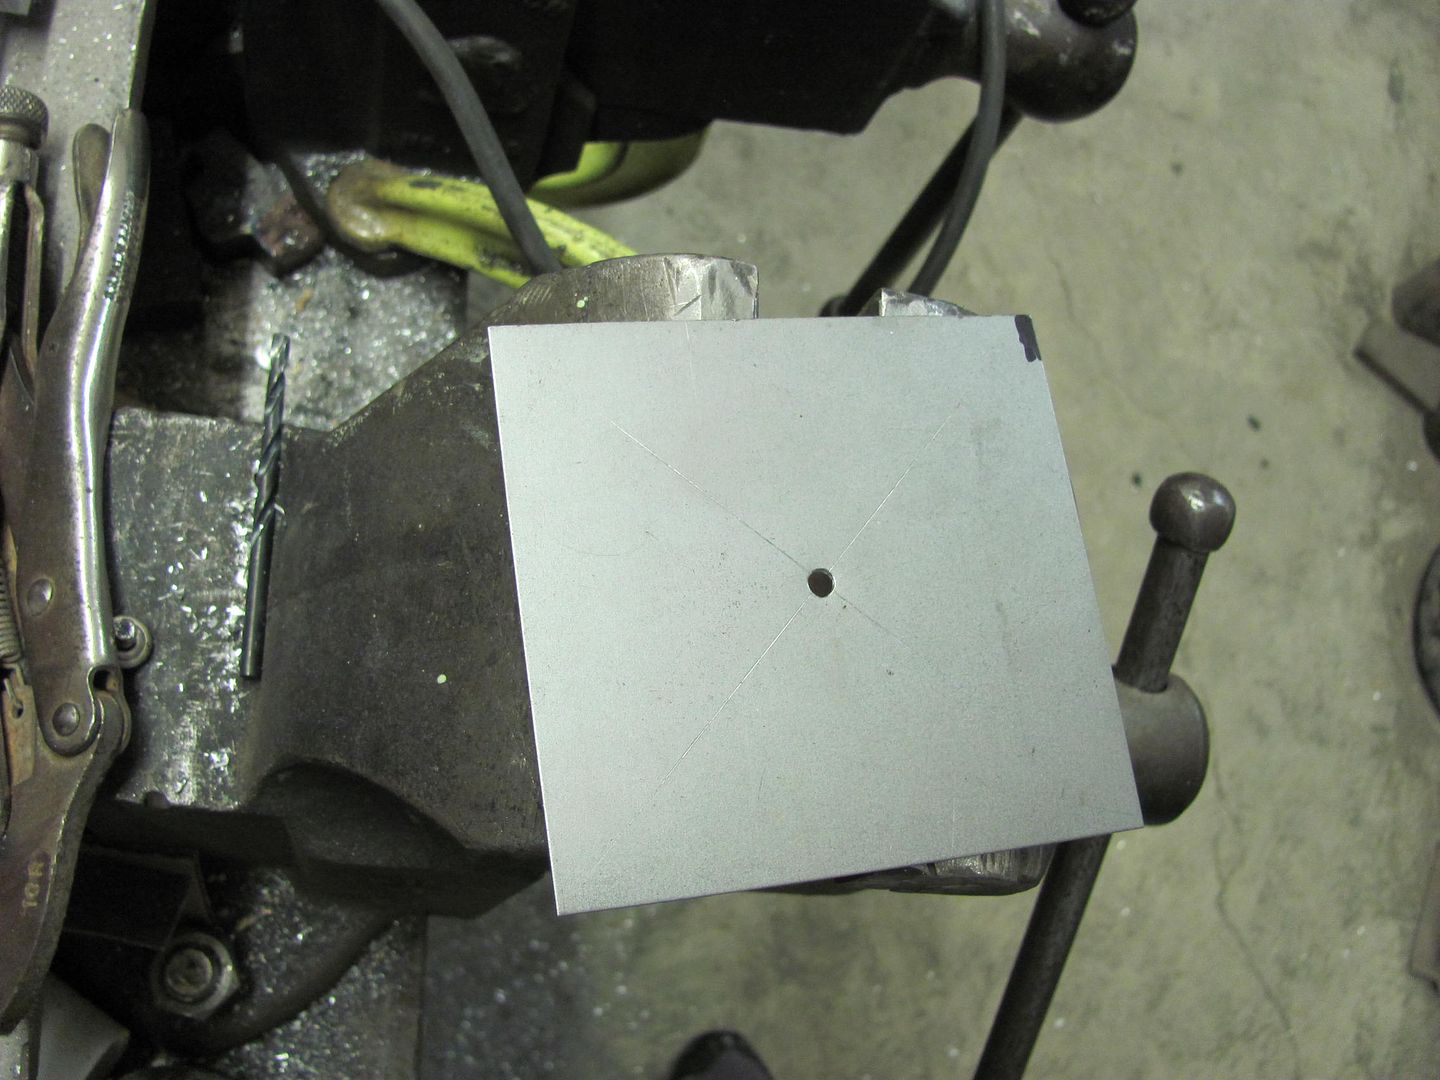
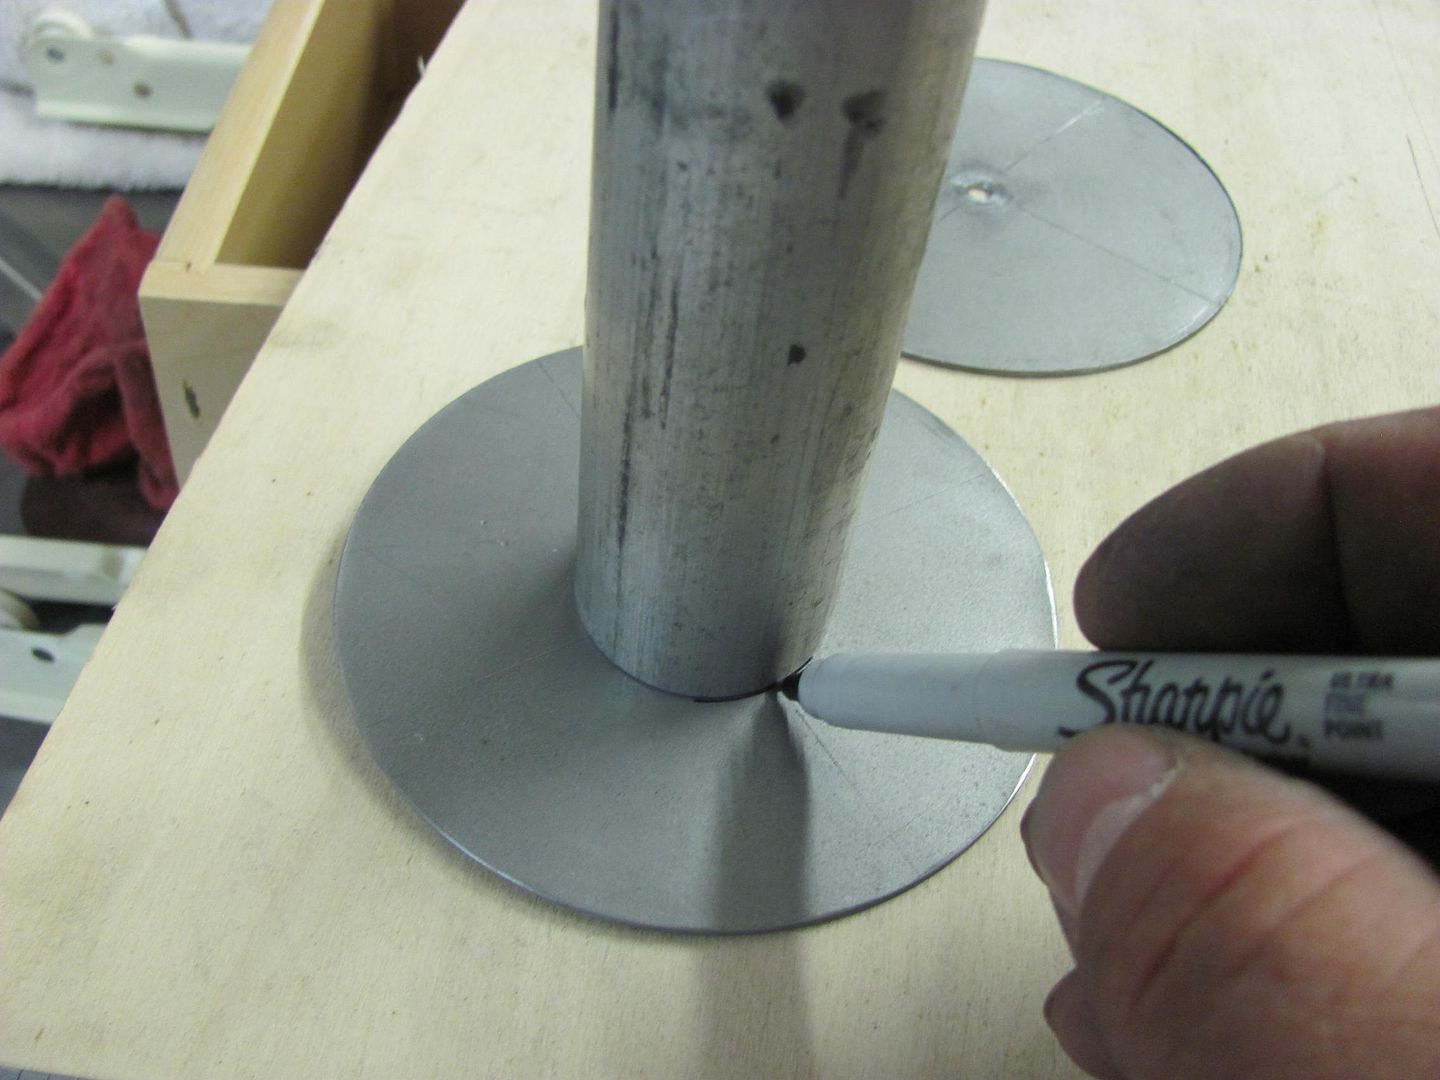
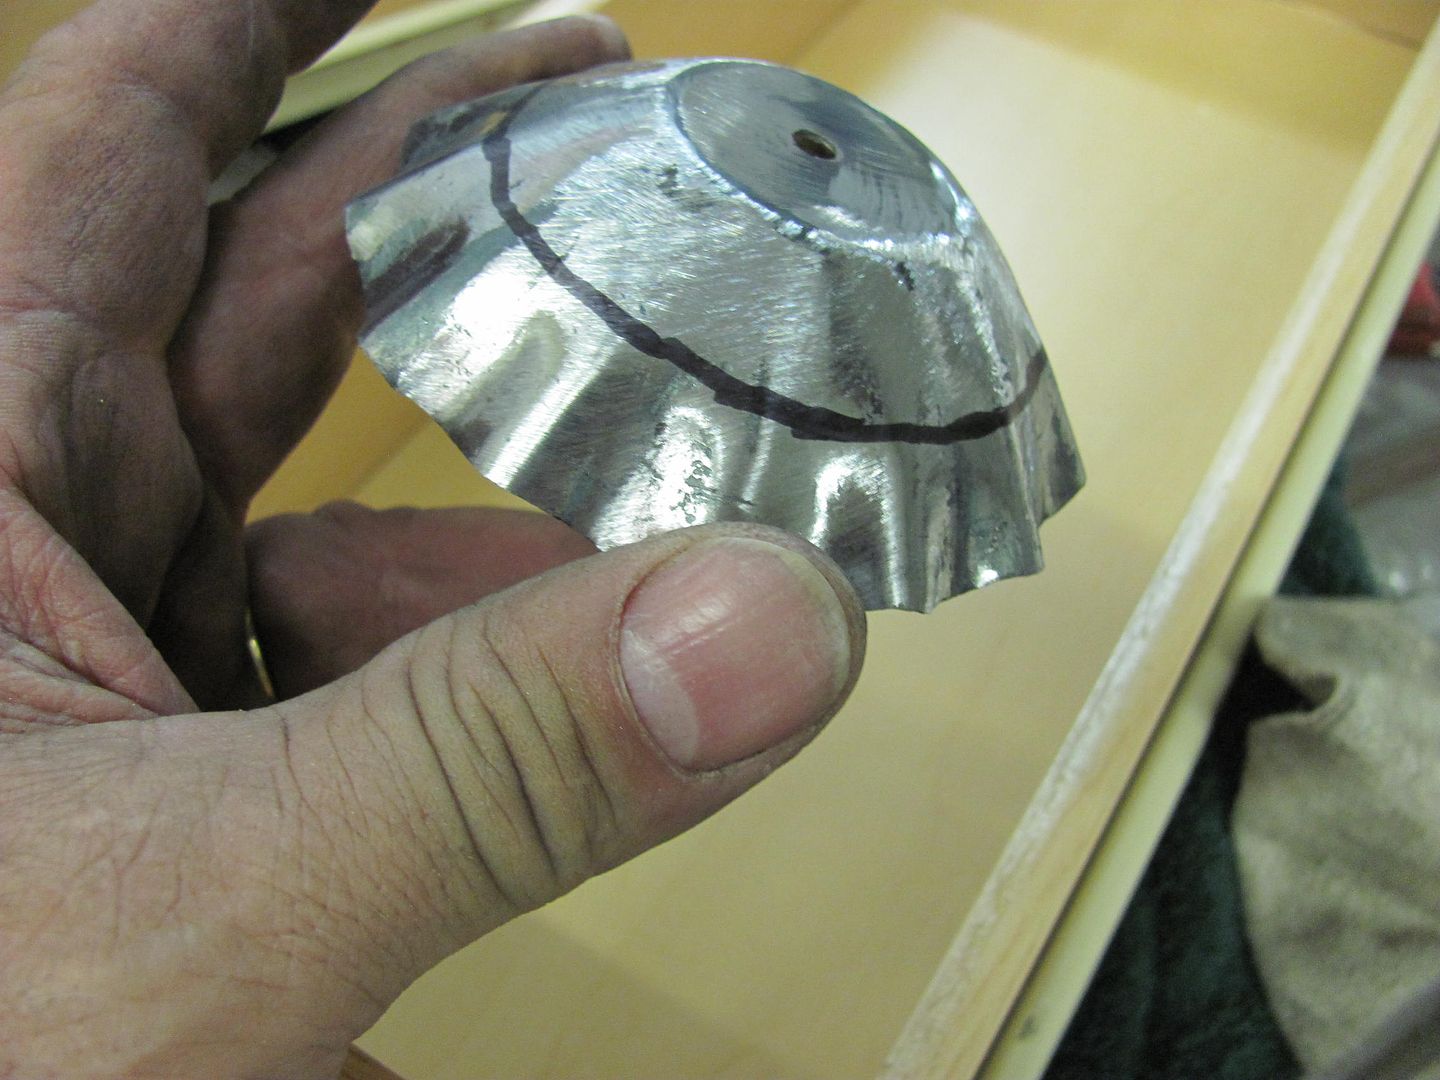
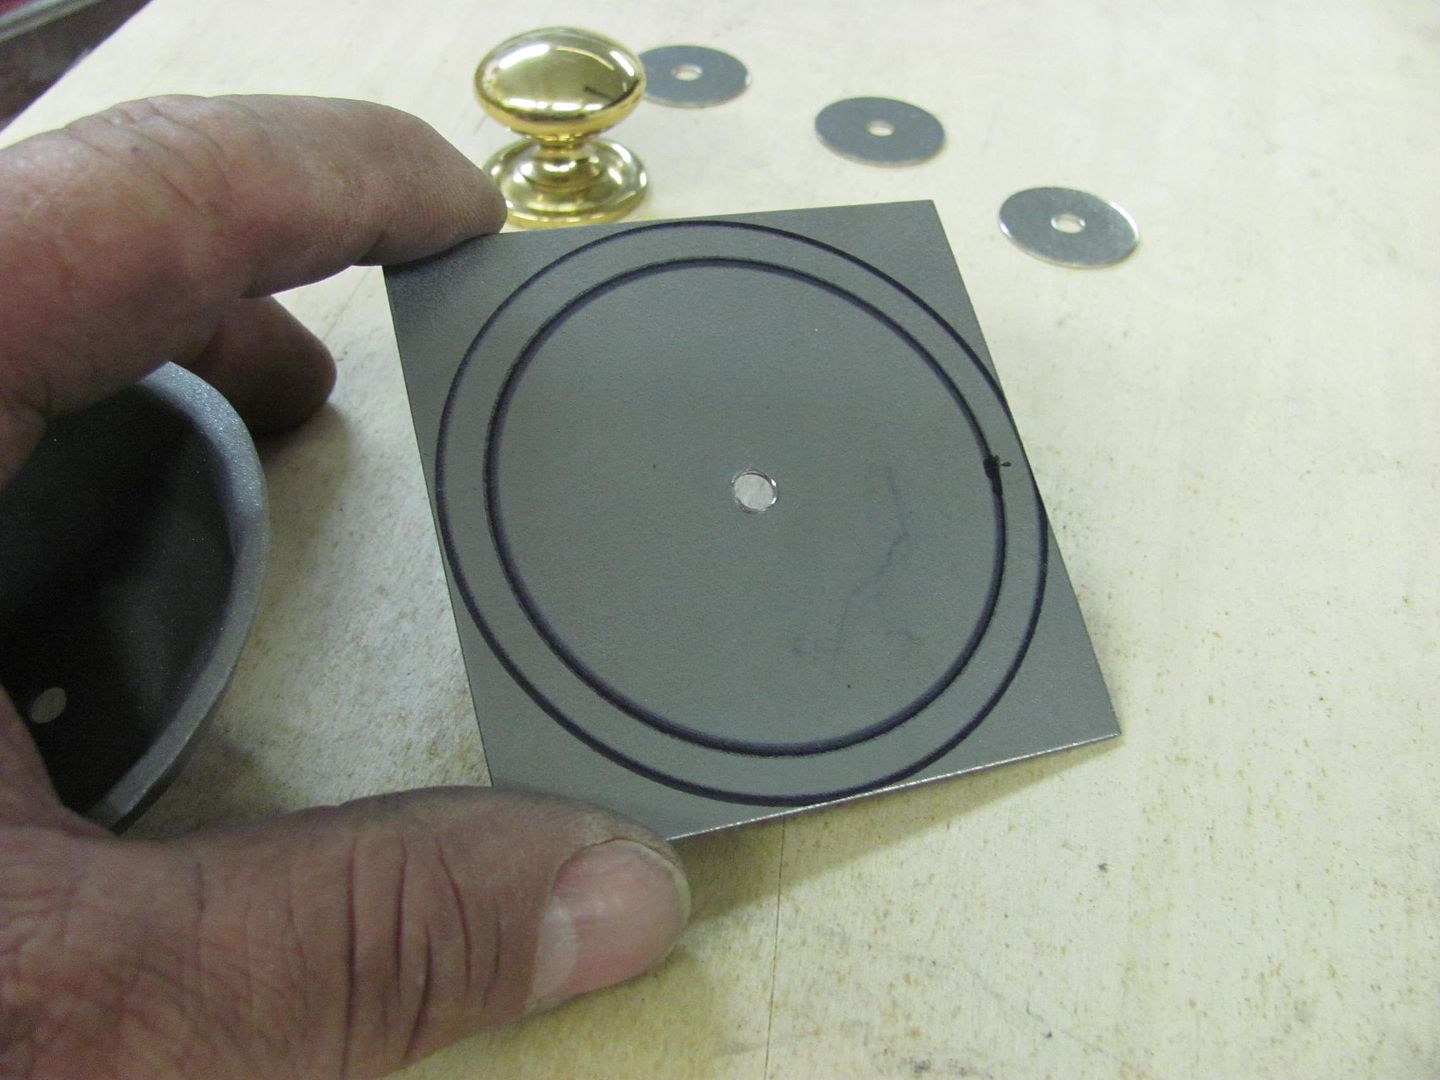
Cut out some blanks and used a sharpie and the lathe to mark a good circle for trimming.
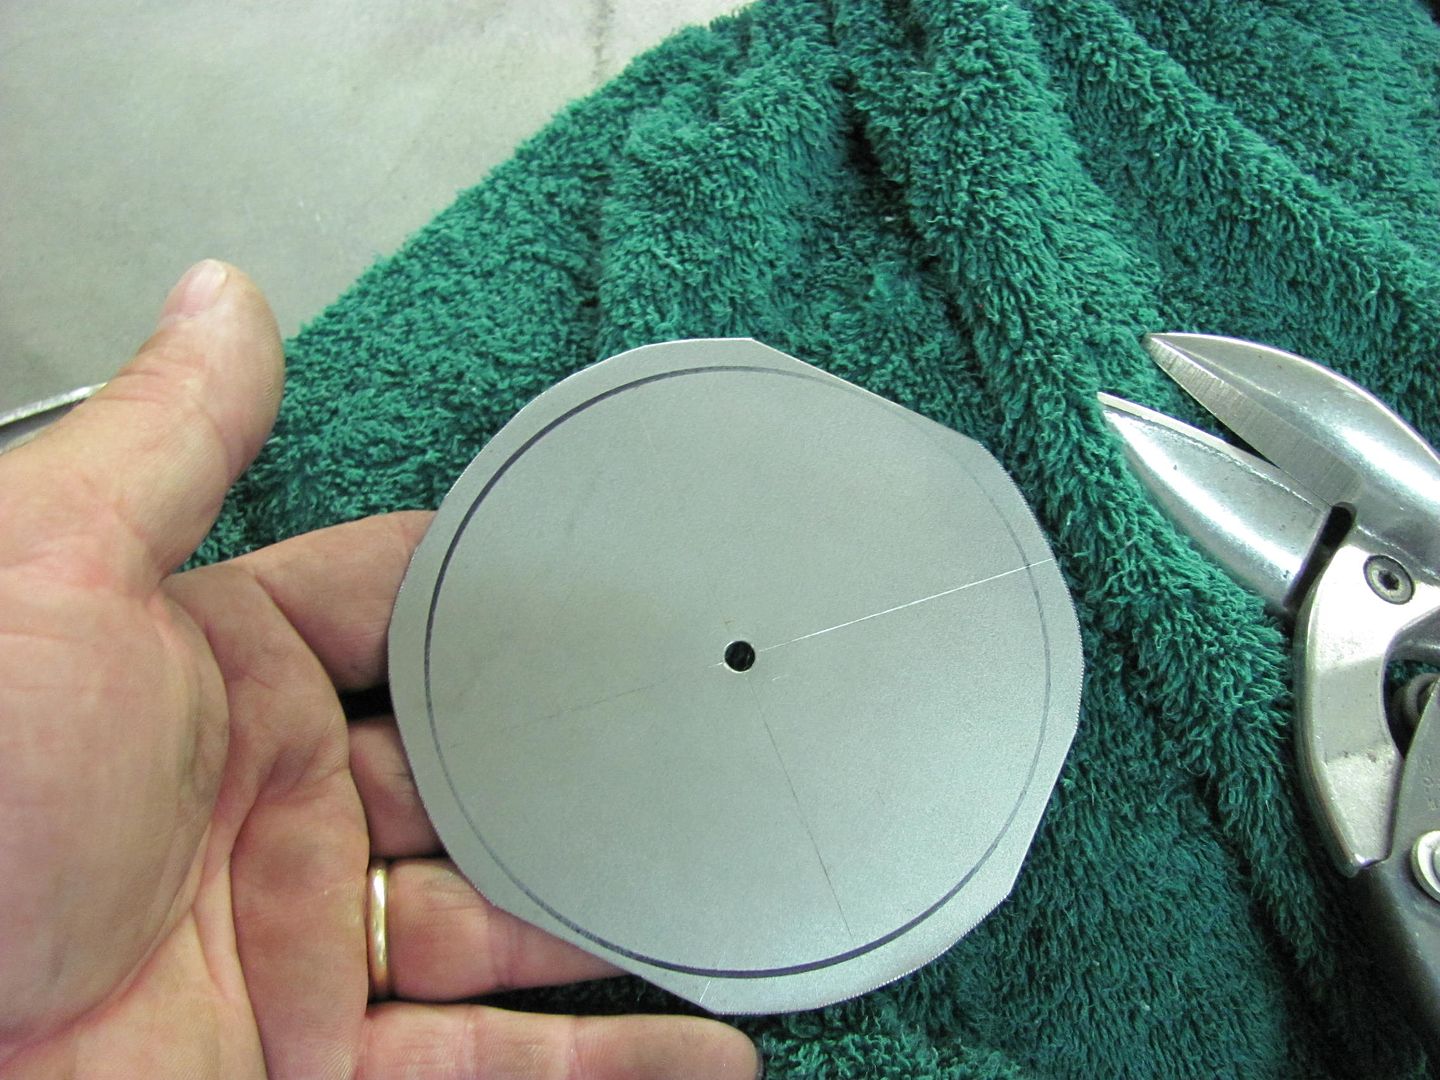
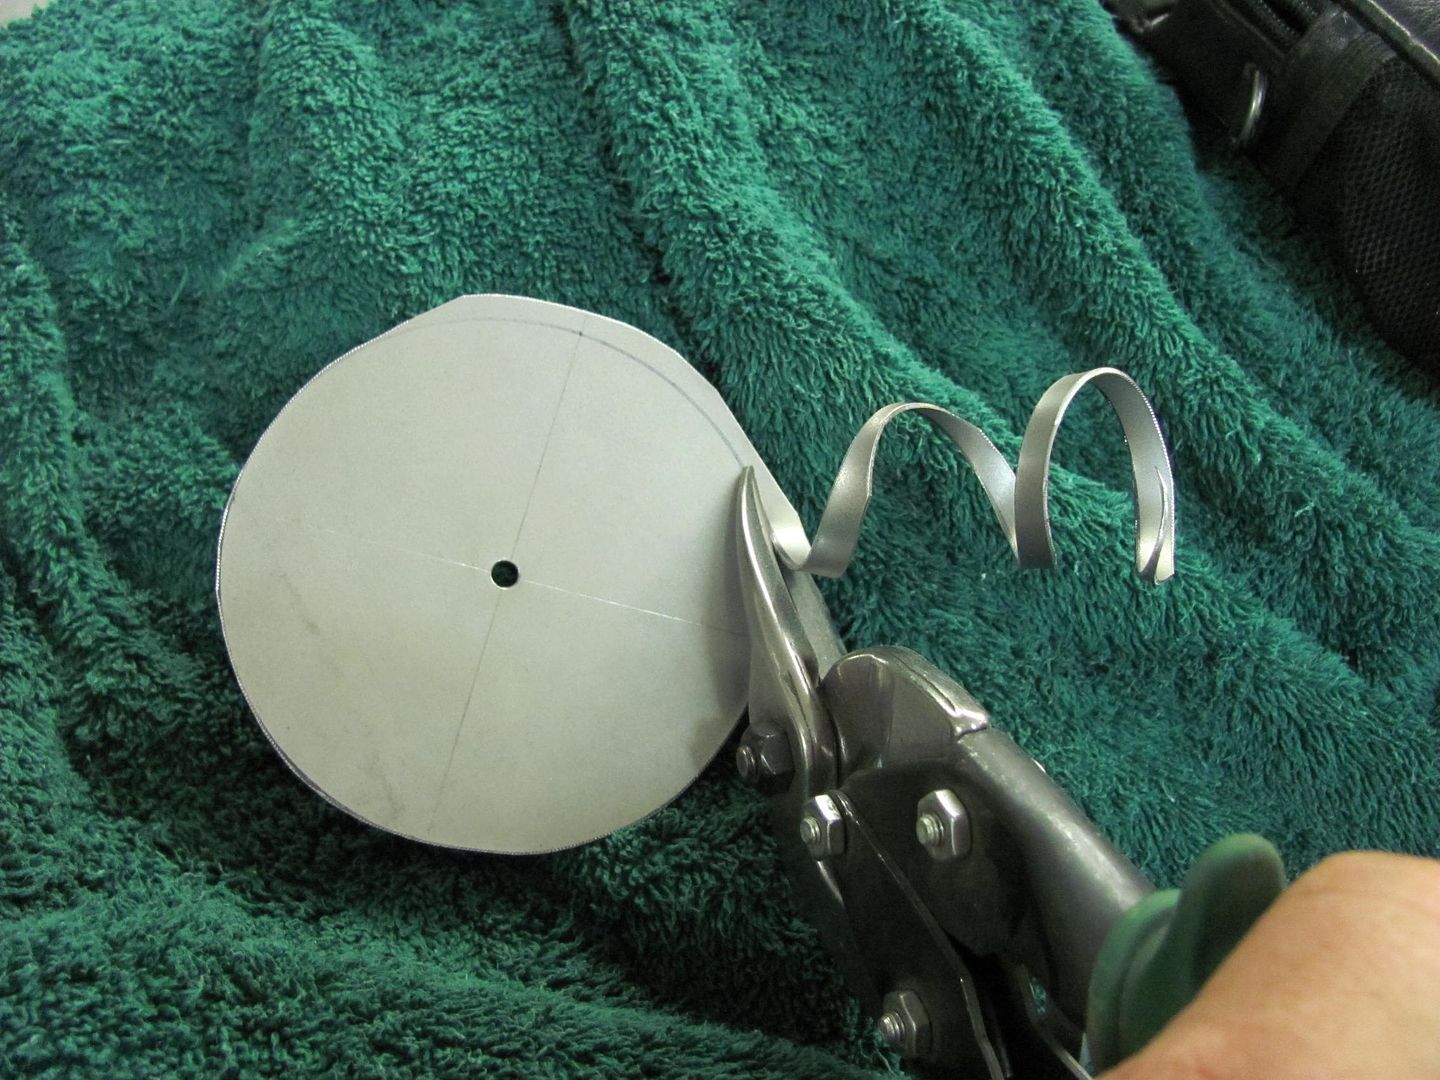
The snips work much better with less distortion when the trimmed amount is limited to 1/4 width, so a couple trims and then we can trim to the line..

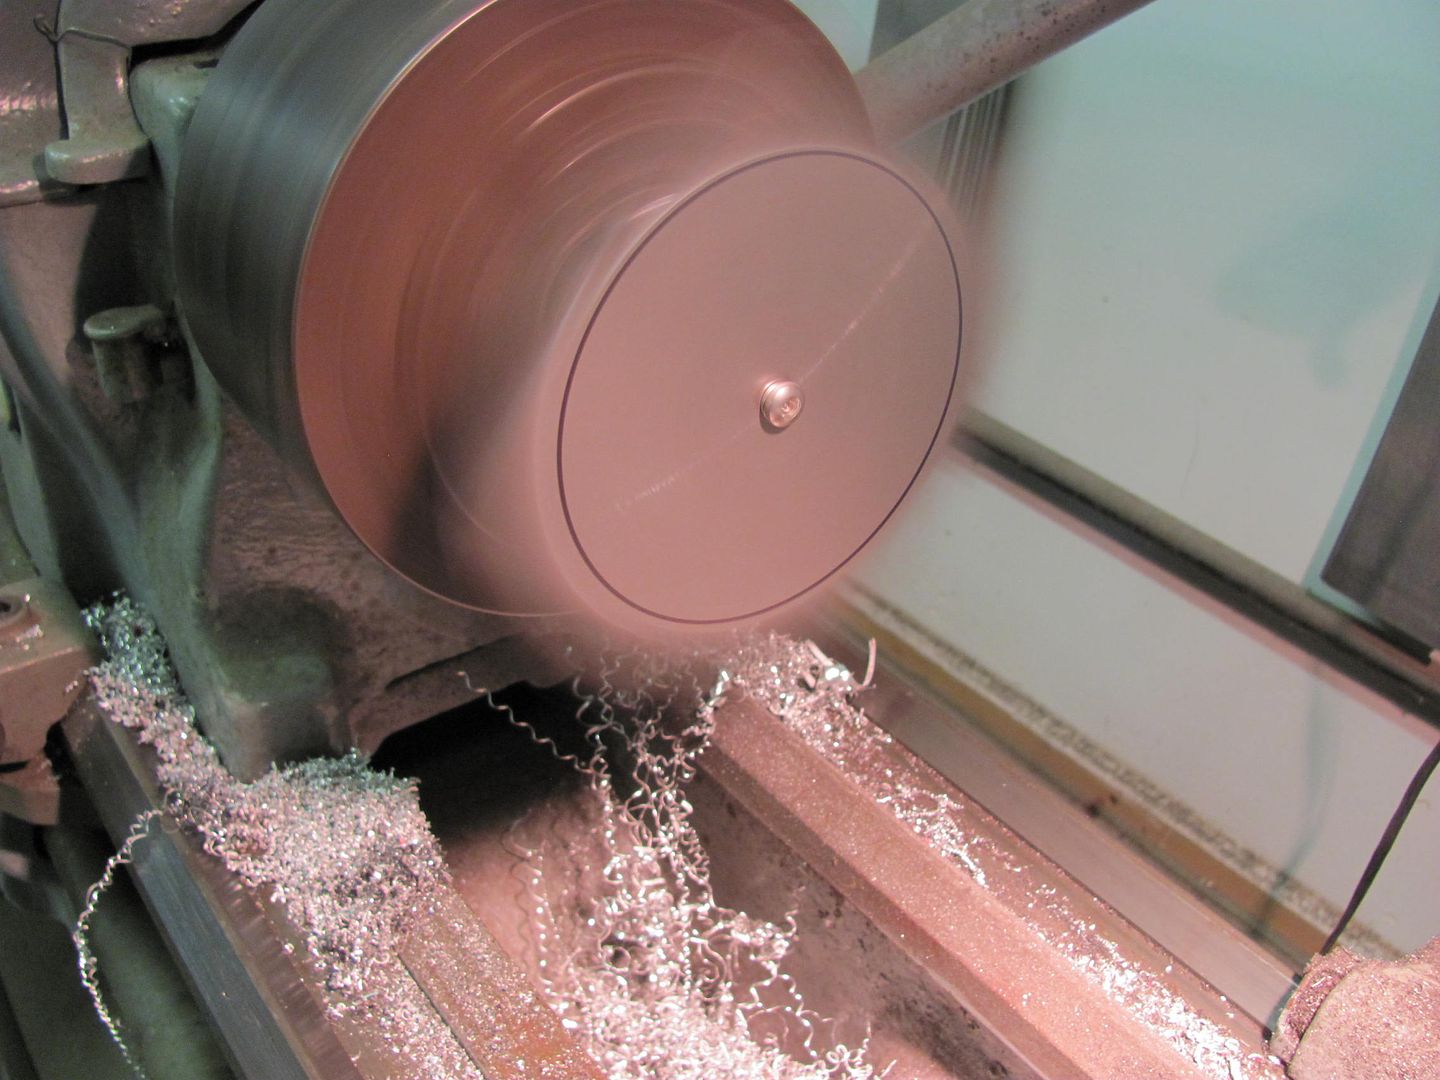
Reinstalled onto the lathe-sharpie tool, the outer diameter is marked on both sides. This diameter provides a good flat for the knob.
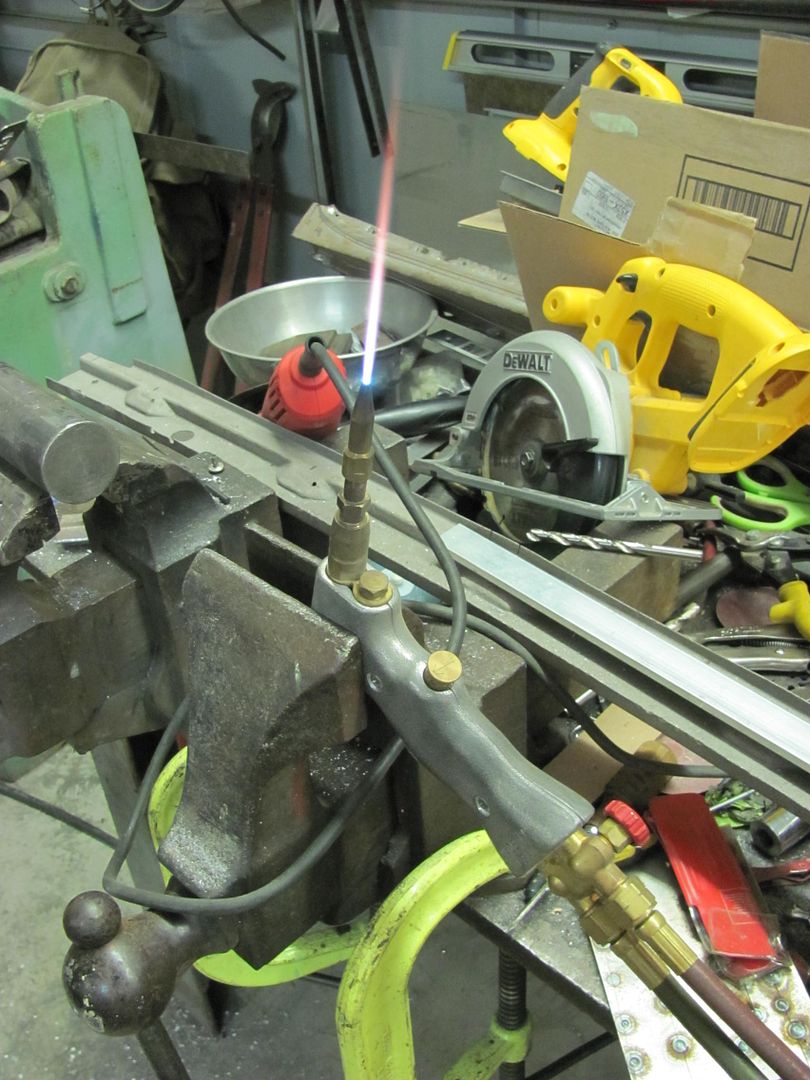
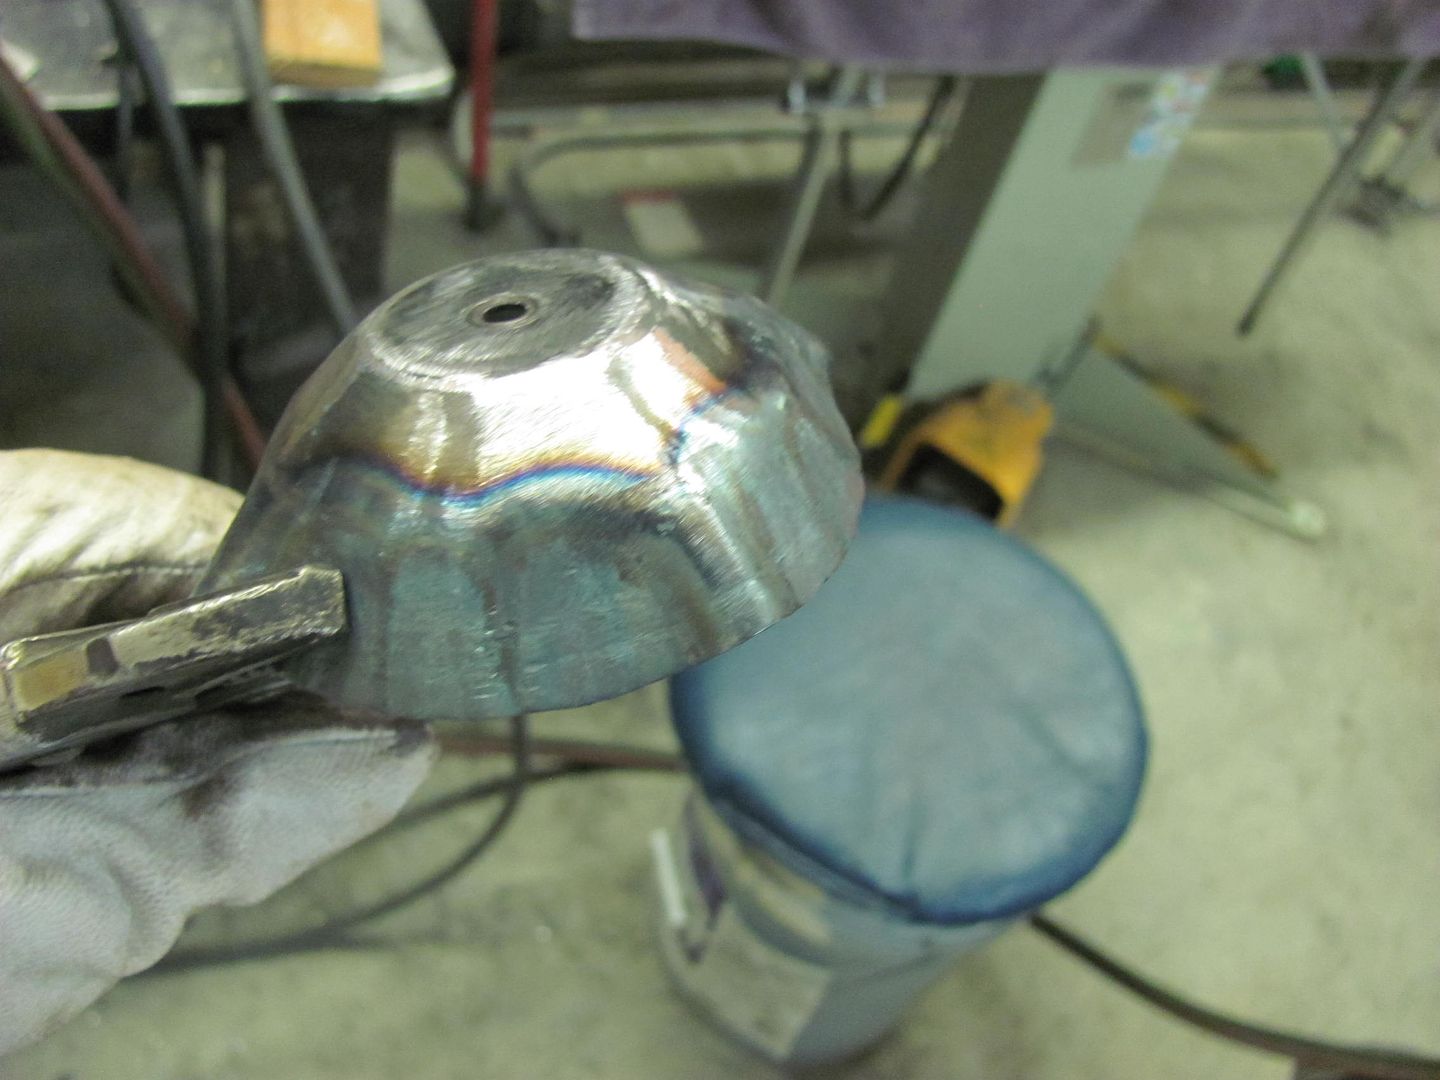
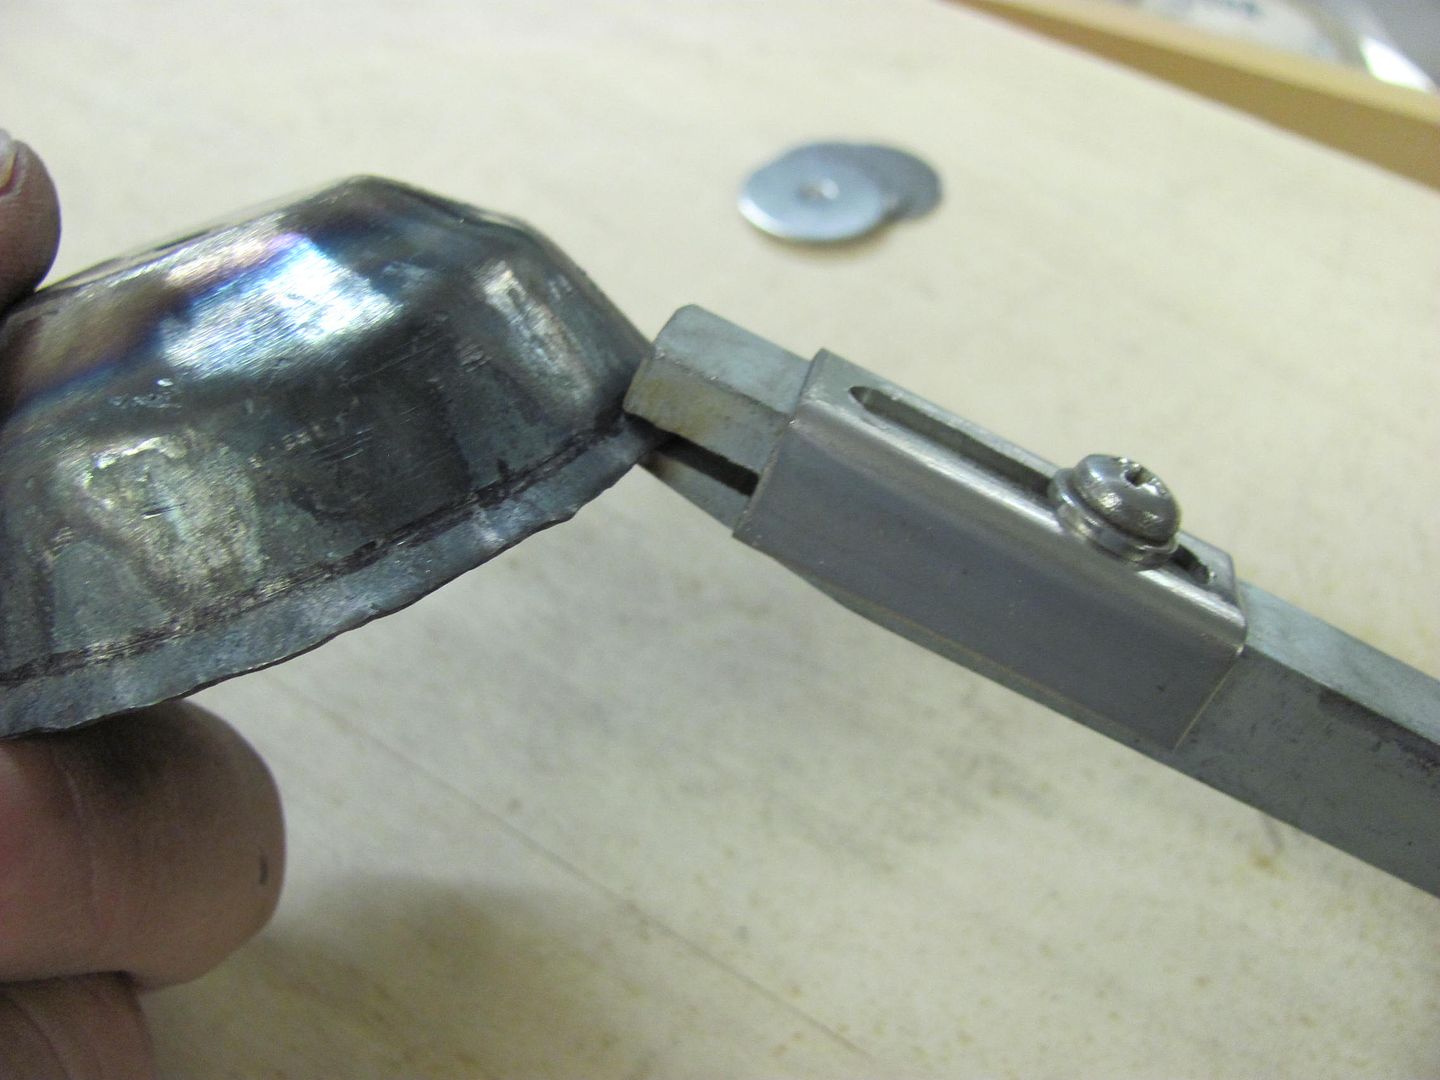
I haven't had much time in the shop to make new tools, and one of Captain Kirk's version of tucking forks is on the list. So I resorted to the vise grip tucking pliers. These tend to be more effective using heat on the tucks, so off I go..
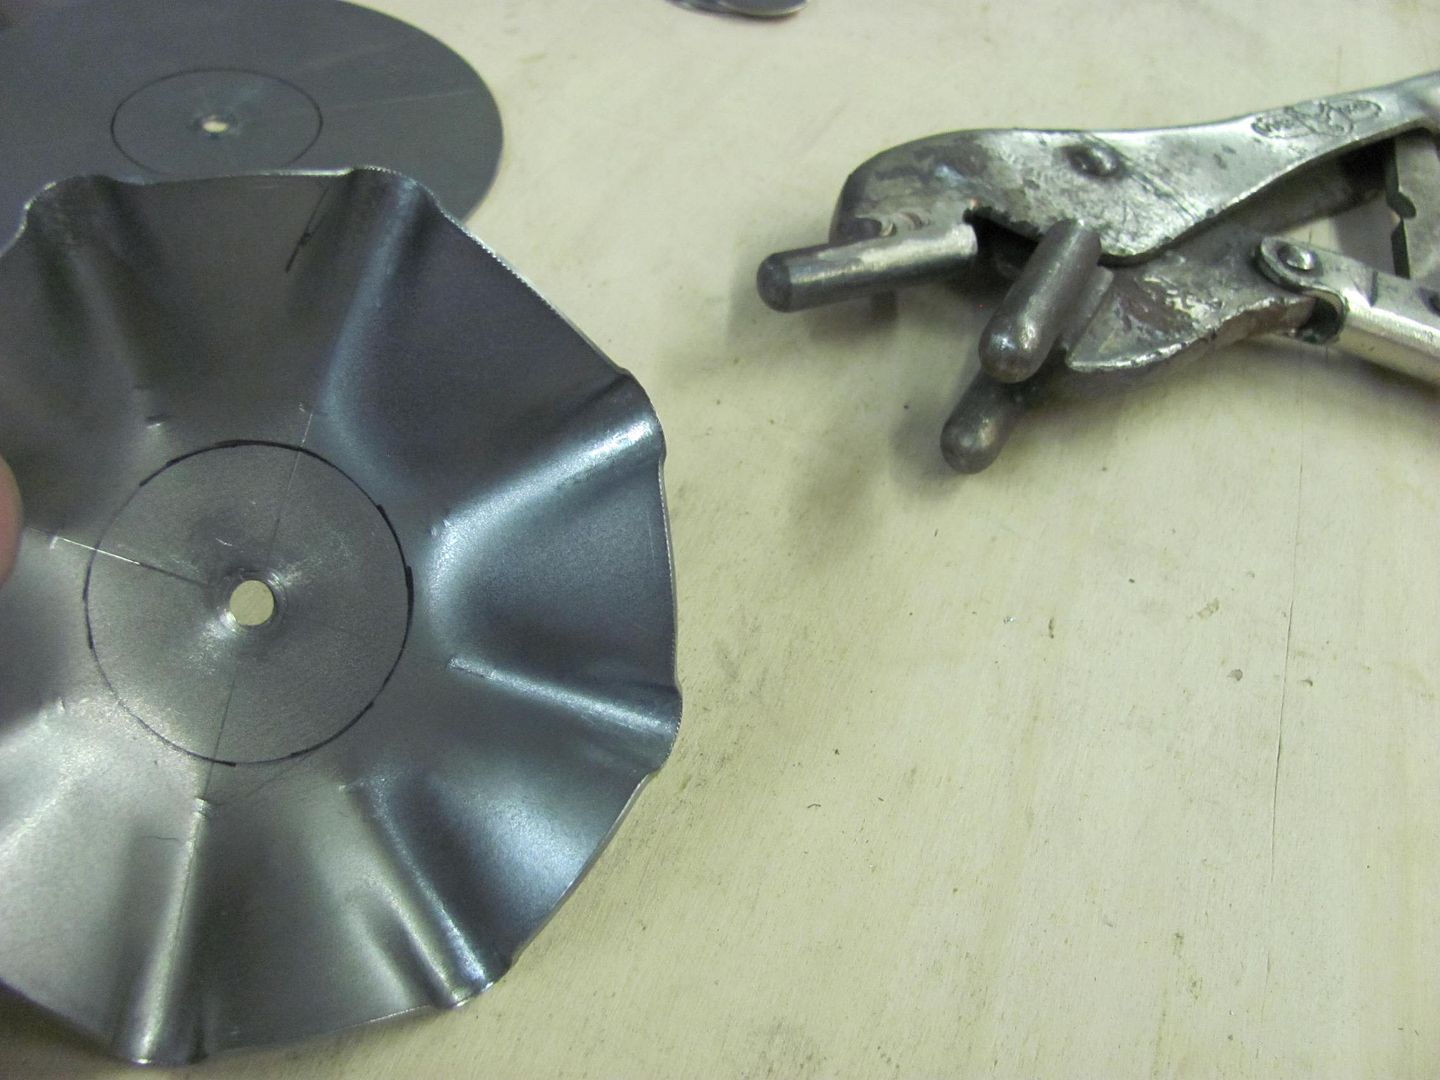


Repeated shrinking effort and checked knob offset...
Measured off about half the distance and added another bend line to bring the diameter in a bit...
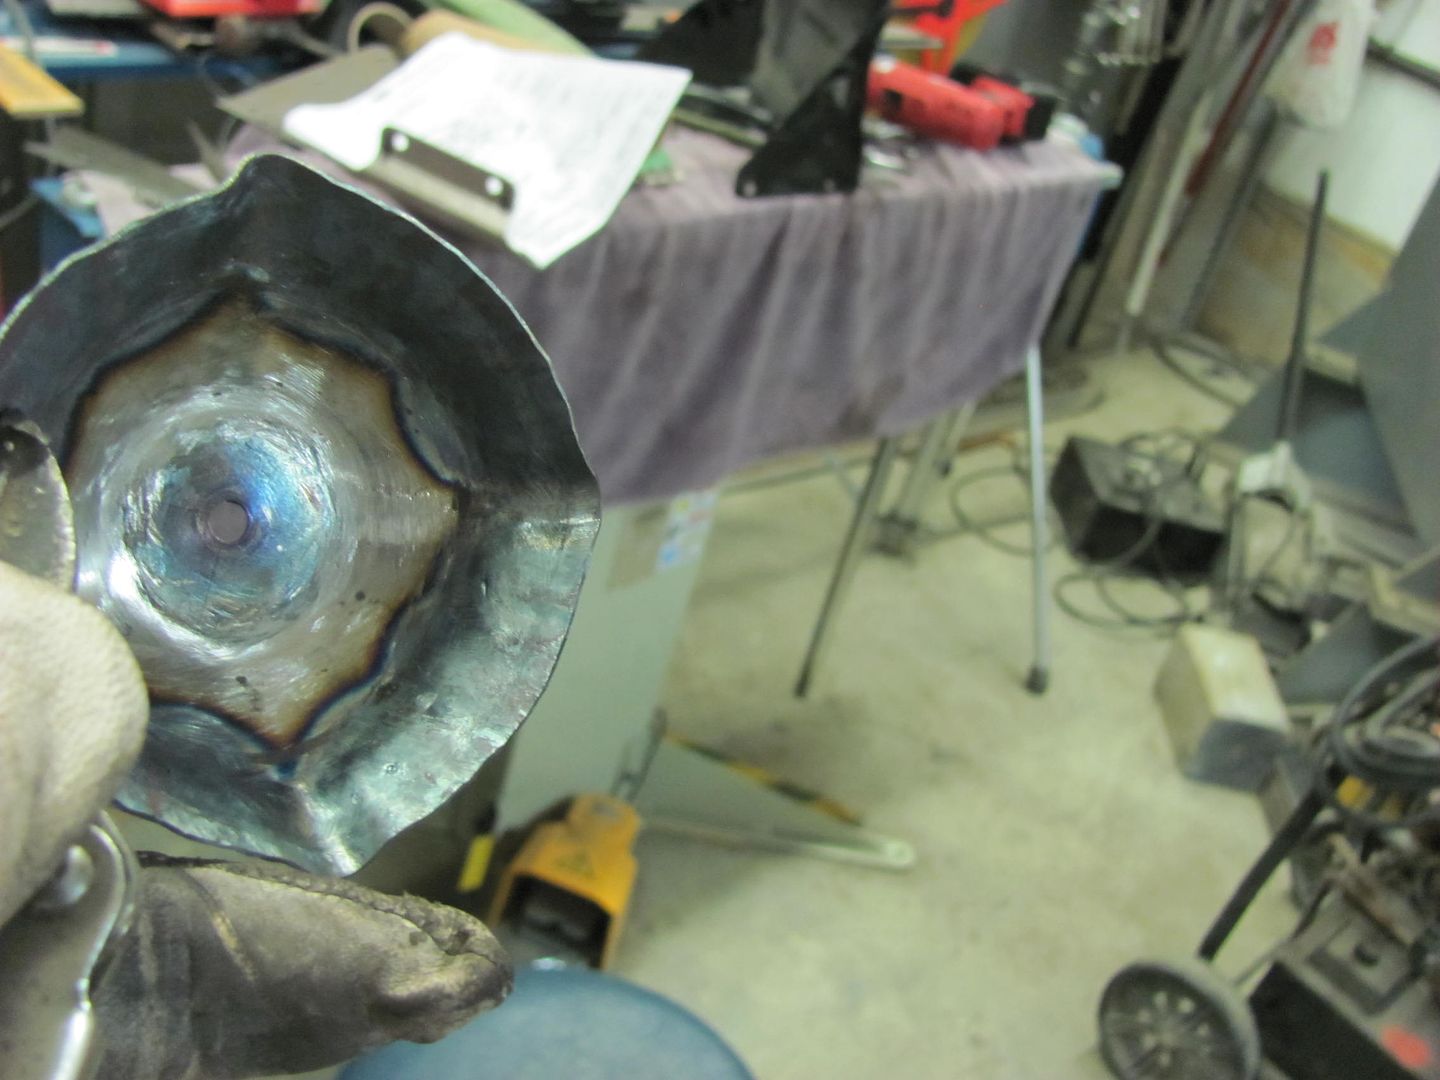

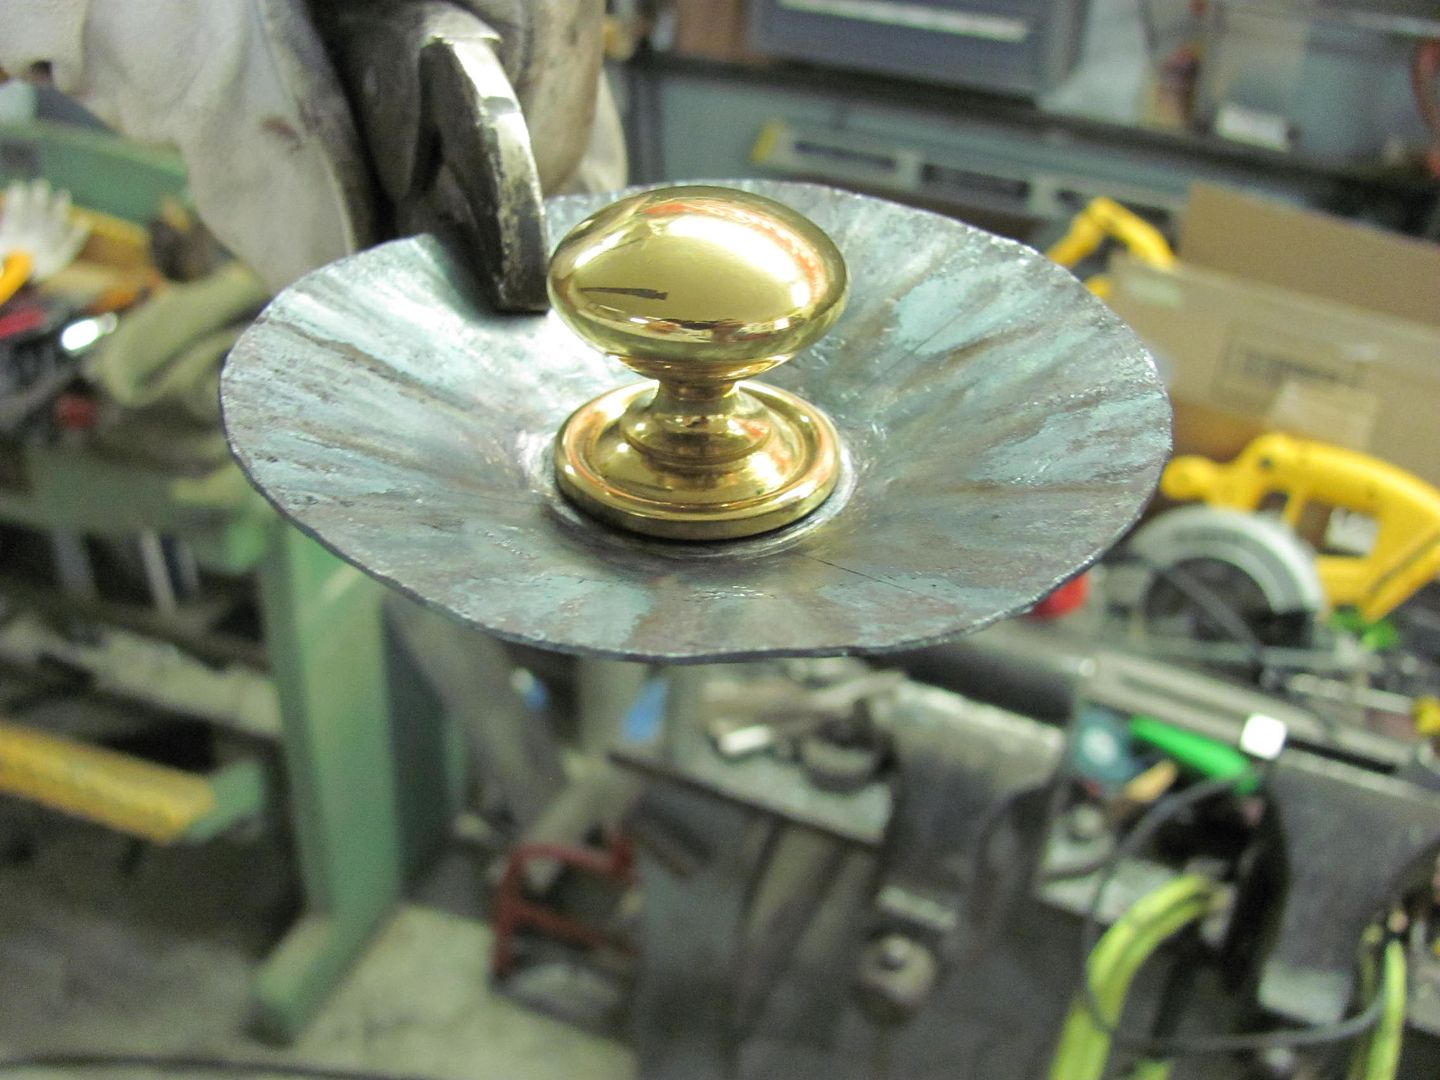
Finished and media blasted...
Drawer face hole opened considerably and as the recessed "cup" protrudes through the back side, a stepped washer was made for the inside of the drawer.
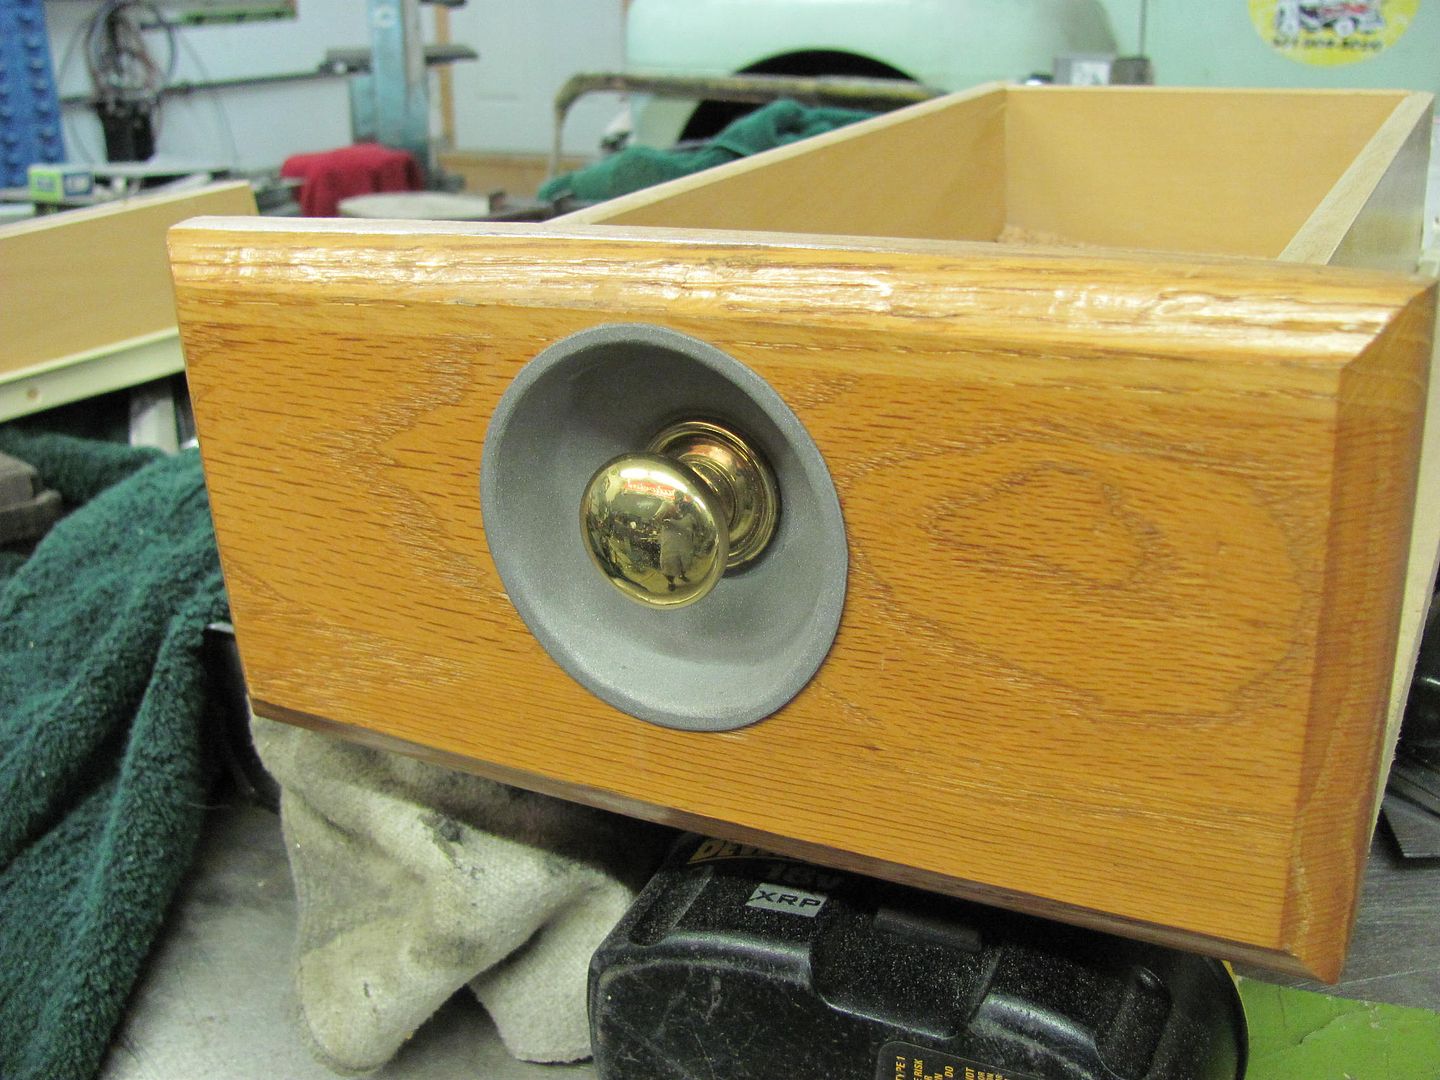
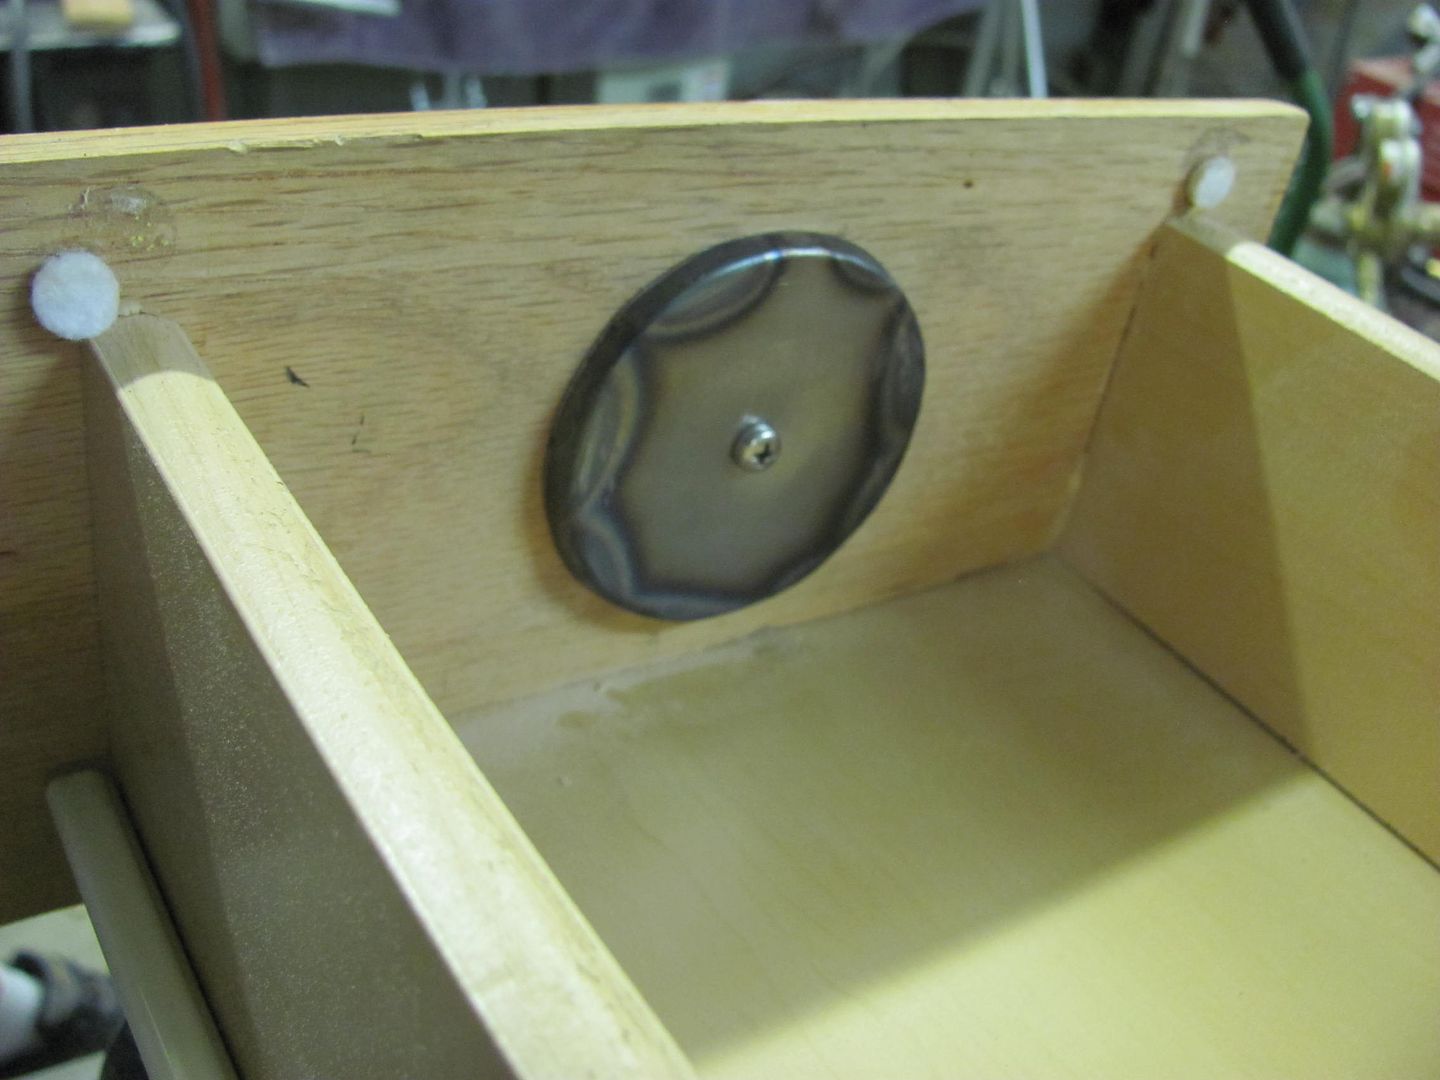
This looks like it will work!Last edited by MP&C; 07-13-2014 at 08:22 PM.
Robert

 Reply With Quote
Posting Permissions
- You may not post new threads
- You may not post replies
- You may not post attachments
- You may not edit your posts

Looks Factory!!
1968 Plymouth Valiant 1st Gen HEMI