Thread: 55 Wagon Progress
-
12-04-2024 04:36 AM #1846
More progress on the wagon...

We've been working on the wiring, starting with the gauge cluster. A loop was added between the gauge's mounting screws to provide a bit of strain relief for its harness.


Some of the bundles coming off the fusebox were excessively long, so we made use of fresh connector contacts to shorten the length so we won't have a rat's nest to hide under the dash. We did find the wires to the dimmer switch were too short by a couple inches, so the wires were re-routed too the side of the fuse box for a more direct approach.


The addition of the FI Tech and HyFire 6A ignition components gave us some challenges for power feed wires, so some circuits were changed to "keyed" in order to provide the additional battery circuits required. The original text is easily removed with a few scrapes of a utility blade. My lettering skills are nothing to write home about, and given the size, I used a double stack of lens for these old eyes in the form of reading glasses and a cheater lens inside the welding helmet. First time I've used a welding helmet to paint something.


We needed a mounting location for the Ignition module, and I still can't bring myself to drill holes in this firewall and hang such a wart on it.


Since we had shaved the radio location to clean up the dash, this provided a bit of real estate directly behind the dash.

Our stainless trim insert we made for the dash provided us some hardware for a mounting plate, but the thread length was a bit short.

Some 8-32 rivnuts were selected to match the dash hardware, and 10-32 hex nuts were drilled to accept these (press fit). The rivnuts were trimmed to length, pressed in the hex nuts, and fusion welded using the TIG around the joint.

The plate is .09 thick 6061, and press nuts were used on the back side for bolting the Hyfire to the plate.

Installed....


Robert
-
Advertising

- Google Adsense
- REGISTERED USERS DO NOT SEE THIS AD
-
12-04-2024 05:13 AM #1847
Robert, it goes without saying that your attention to detail is extraordinary. I just looked, you're 12 years into this build. Some folks who've never gone to these kinds of lengths might think that as crazy (and being crazy doesn't hurt when building hot rods), but I say "welcome to reality". It took me close to 18 years to get my old '36 roadster done (admittedly a good chunk of that was idle time while I focused on other things, but still....) but the results made demands on time and effort. The young lady who hired you to build this for her made a good choice in my mind, and she'll be rewarded for it in having a very special vehicle.Your Uncle Bob, Senior Geezer Curmudgeon
It's much easier to promise someone a "free" ride on the wagon than to urge them to pull it.
Luck occurs when preparation and opportunity converge.
-
12-04-2024 05:43 AM #1848
I have a question, are you going to put the headlights on relays to relieve the power drain at the dimmer switch?
The wiring looks great, especially the disconnects at the gauge clusters.Ken Thomas
NoT FaDe AwaY and the music didn't die
The simplest road is usually the last one sought
Wild Willie & AA/FA's The greatest show in drag racing
-
12-04-2024 08:48 AM #1849
Headlight relay location is not 100% mapped out but will likely be on the back side of the core support.Robert
-
12-04-2024 08:55 AM #1850
Beautiful work, that is one nice and well built car!
-
12-04-2024 10:39 AM #1851
incredible!"  "No matter where you go, there you are!" Steve.
-
12-04-2024 03:27 PM #1852
-
12-04-2024 06:08 PM #1853
Man that's sweet than CANDY !!!!!!!
-
01-13-2025 05:16 AM #1854
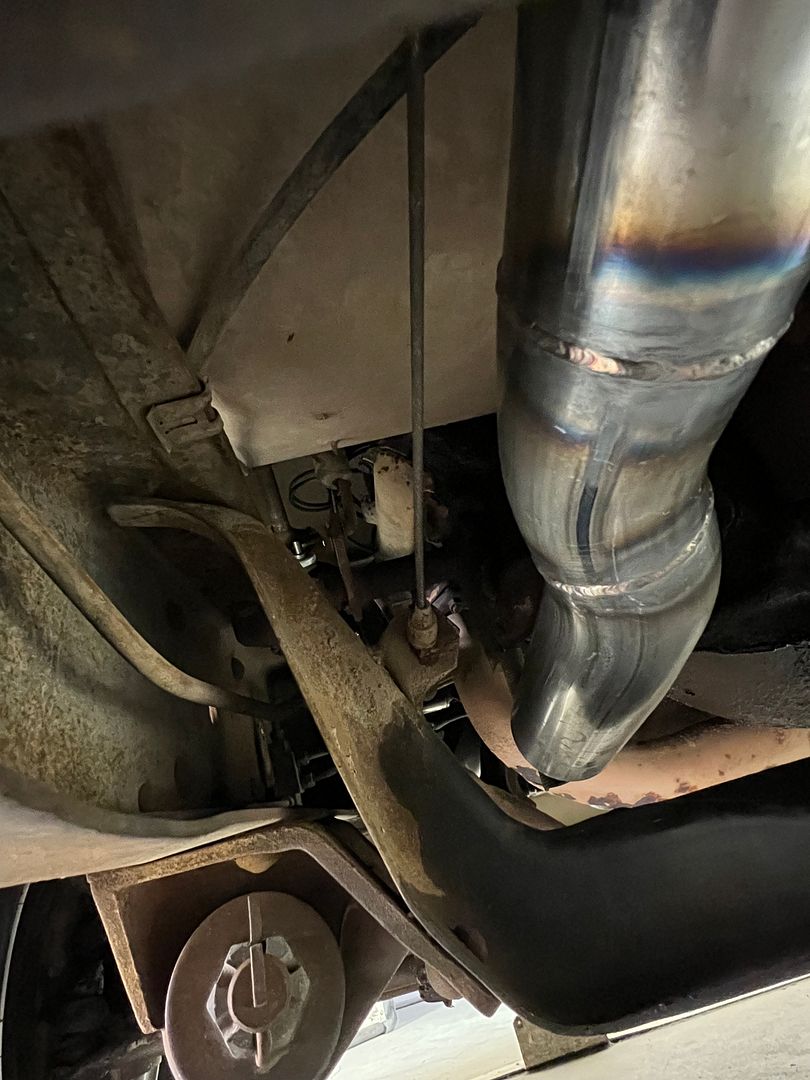
Shop truck update, I had some exhaust parts left under the tree. A 2-1/2" mandrel bend kit and a pair of Black Widow Venom 250's.
[IMG] https://hosting.photobucket.com/b776...490b51e846.jpg [/IMG]
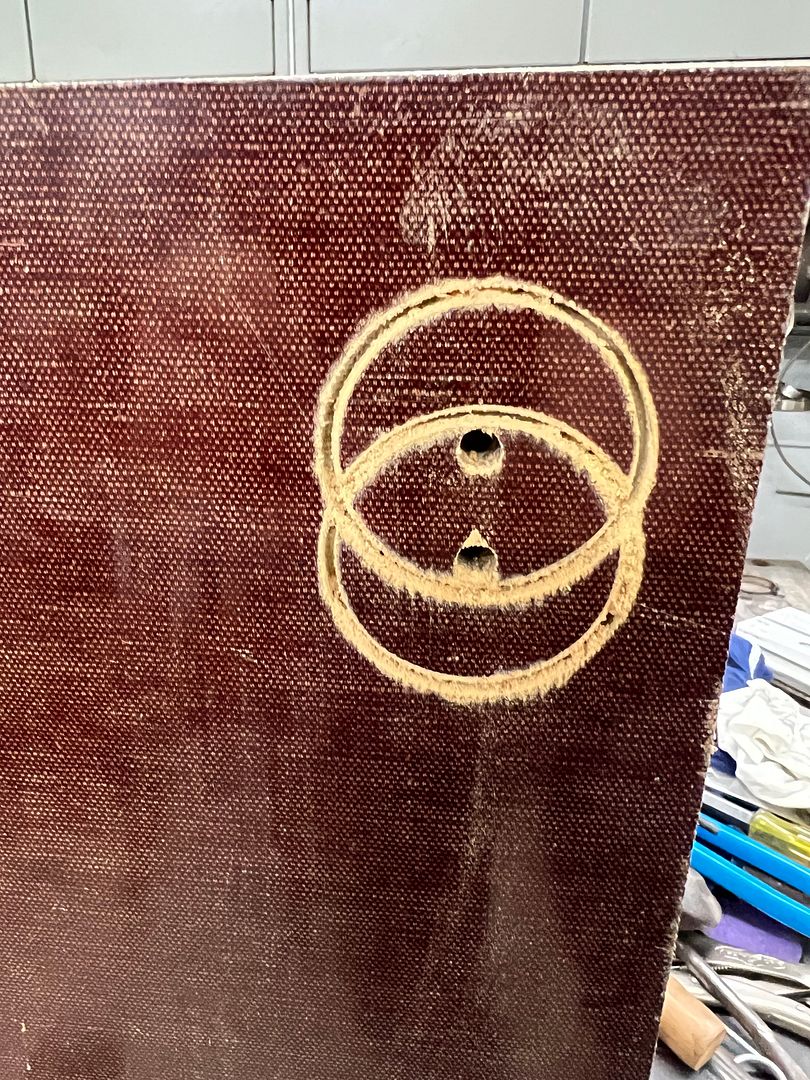
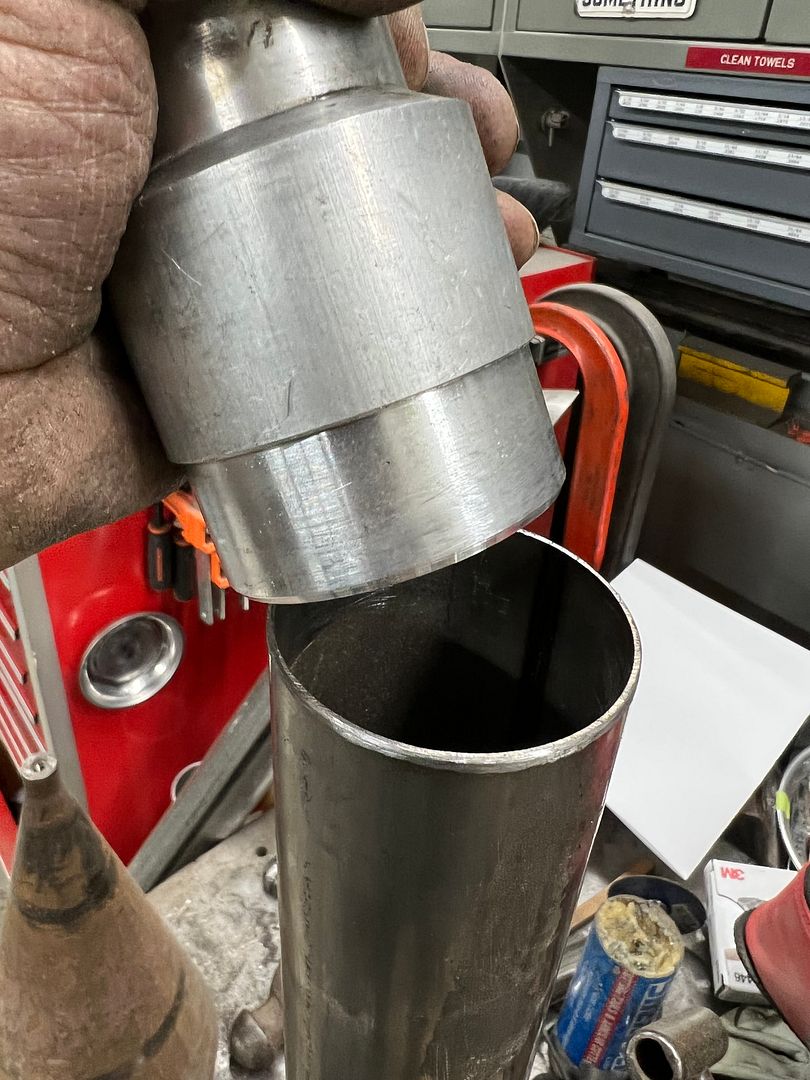
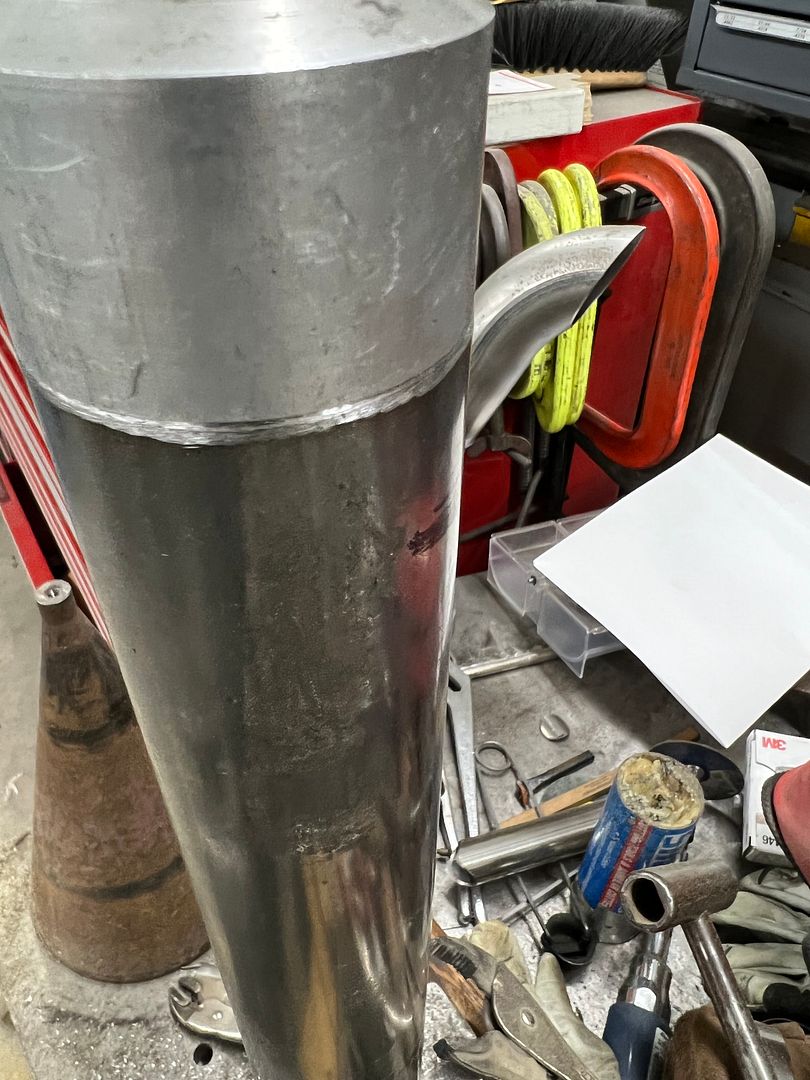
We had a spot going through a crossmember that was a bit snug, so we made a set of dies to flatten the pipe, as well as a plug for the end of the pipe to keep it round for welding to the next piece. Some quick geometry gave us the size and offset needed. Yeah, one of those classes from high school they say you'll never use again.
https://youtube.com/shorts/3m3mNGYTF...iG10O1OFryXYib
Plenty of clearance...
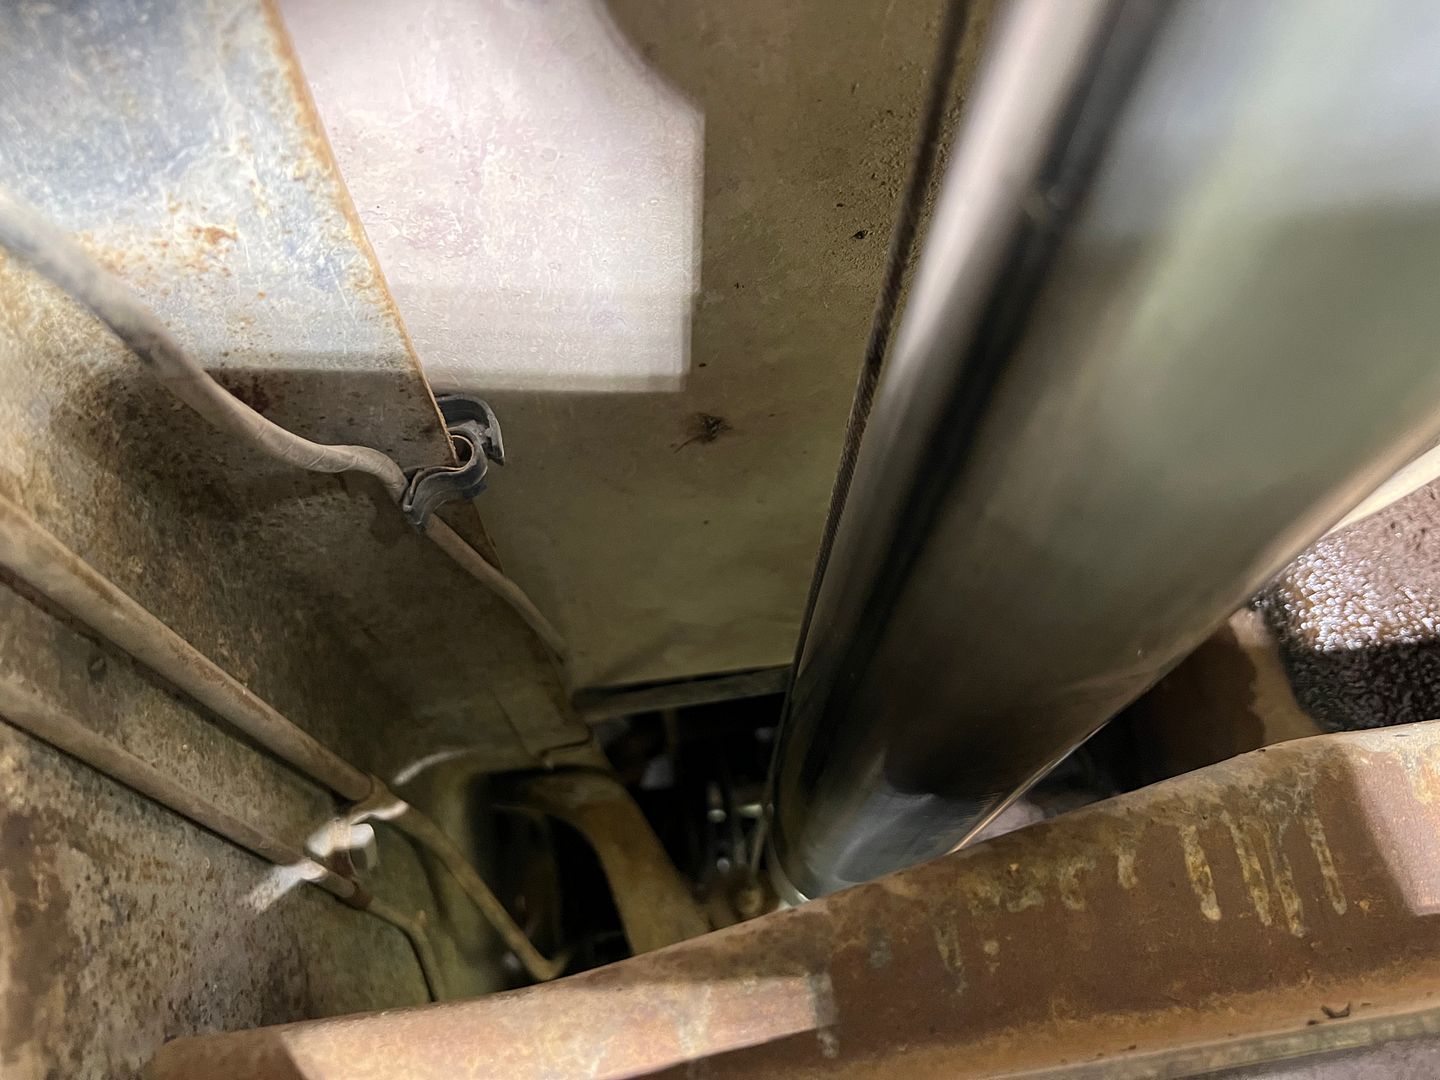
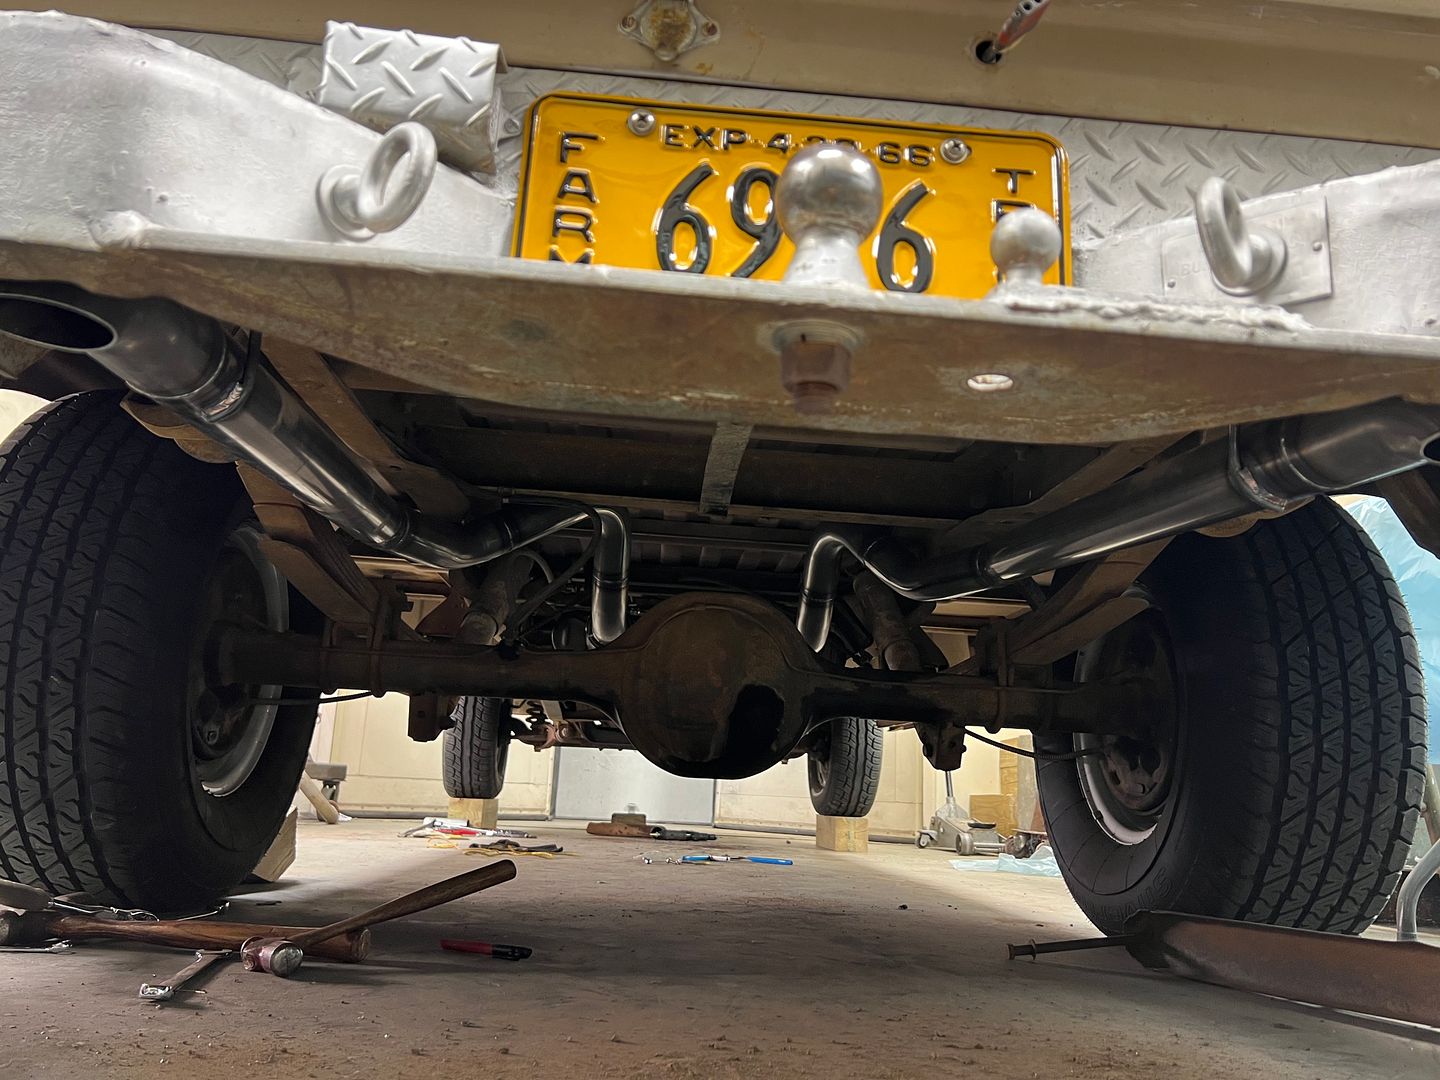
My favorite exhaust... heard and not seen.
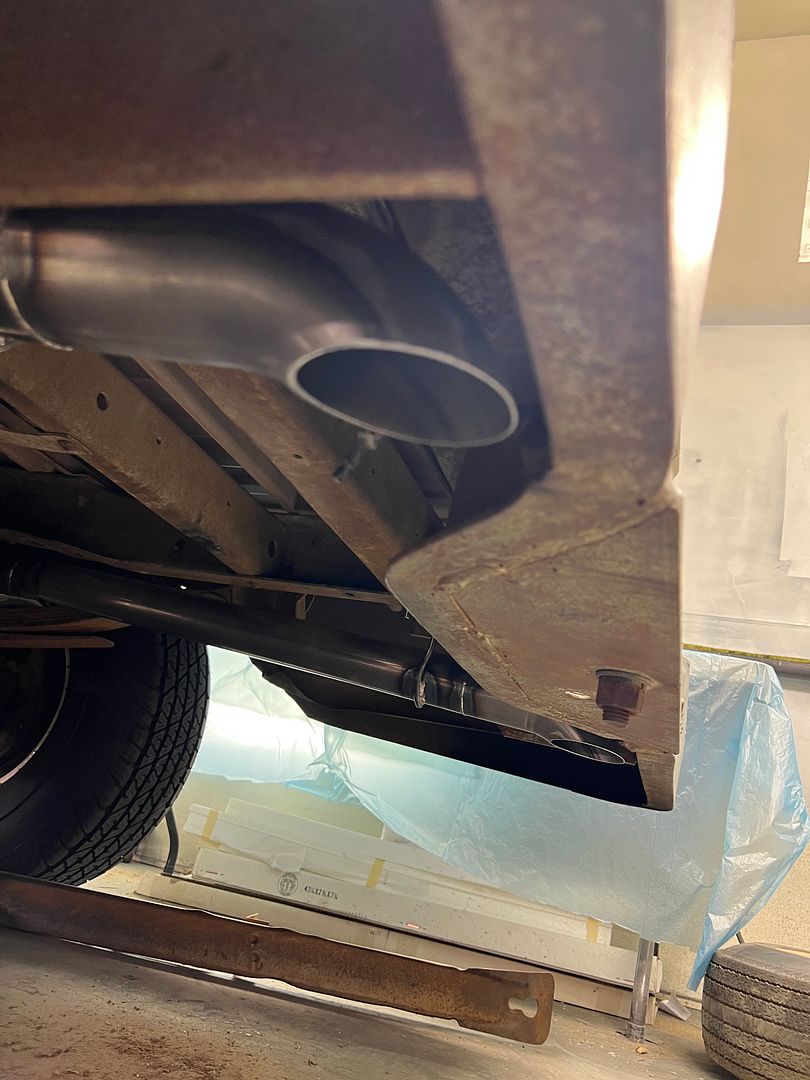
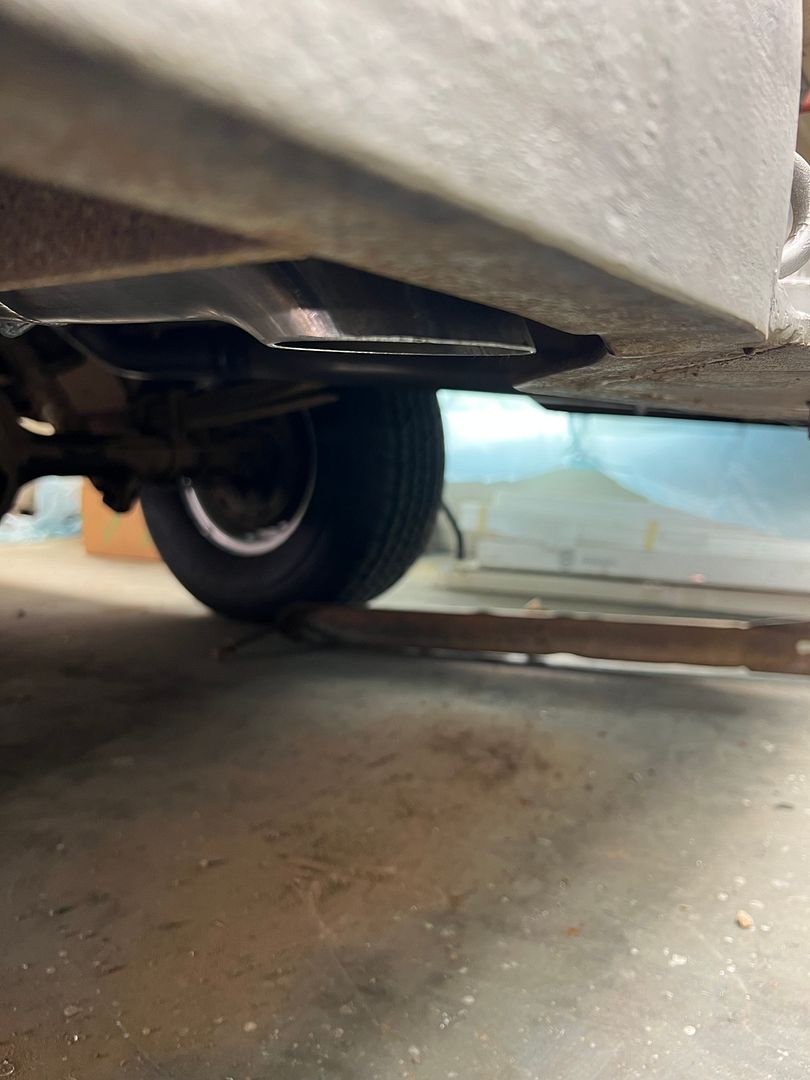
test fire (inside the paint booth)
https://youtube.com/shorts/cUAwM1RGm...sK9UDwr_1oLtP_
And a couple drive bys..
https://youtu.be/bx0tNjLgP1Y?si=pjk84lpaog_lAHuF
https://youtu.be/urcF2-tLet8?si=6H8sXZ0B6VvOuOmD
I also "ran across" an engine suitable for rebuild to eventually replace the original 352 one day.
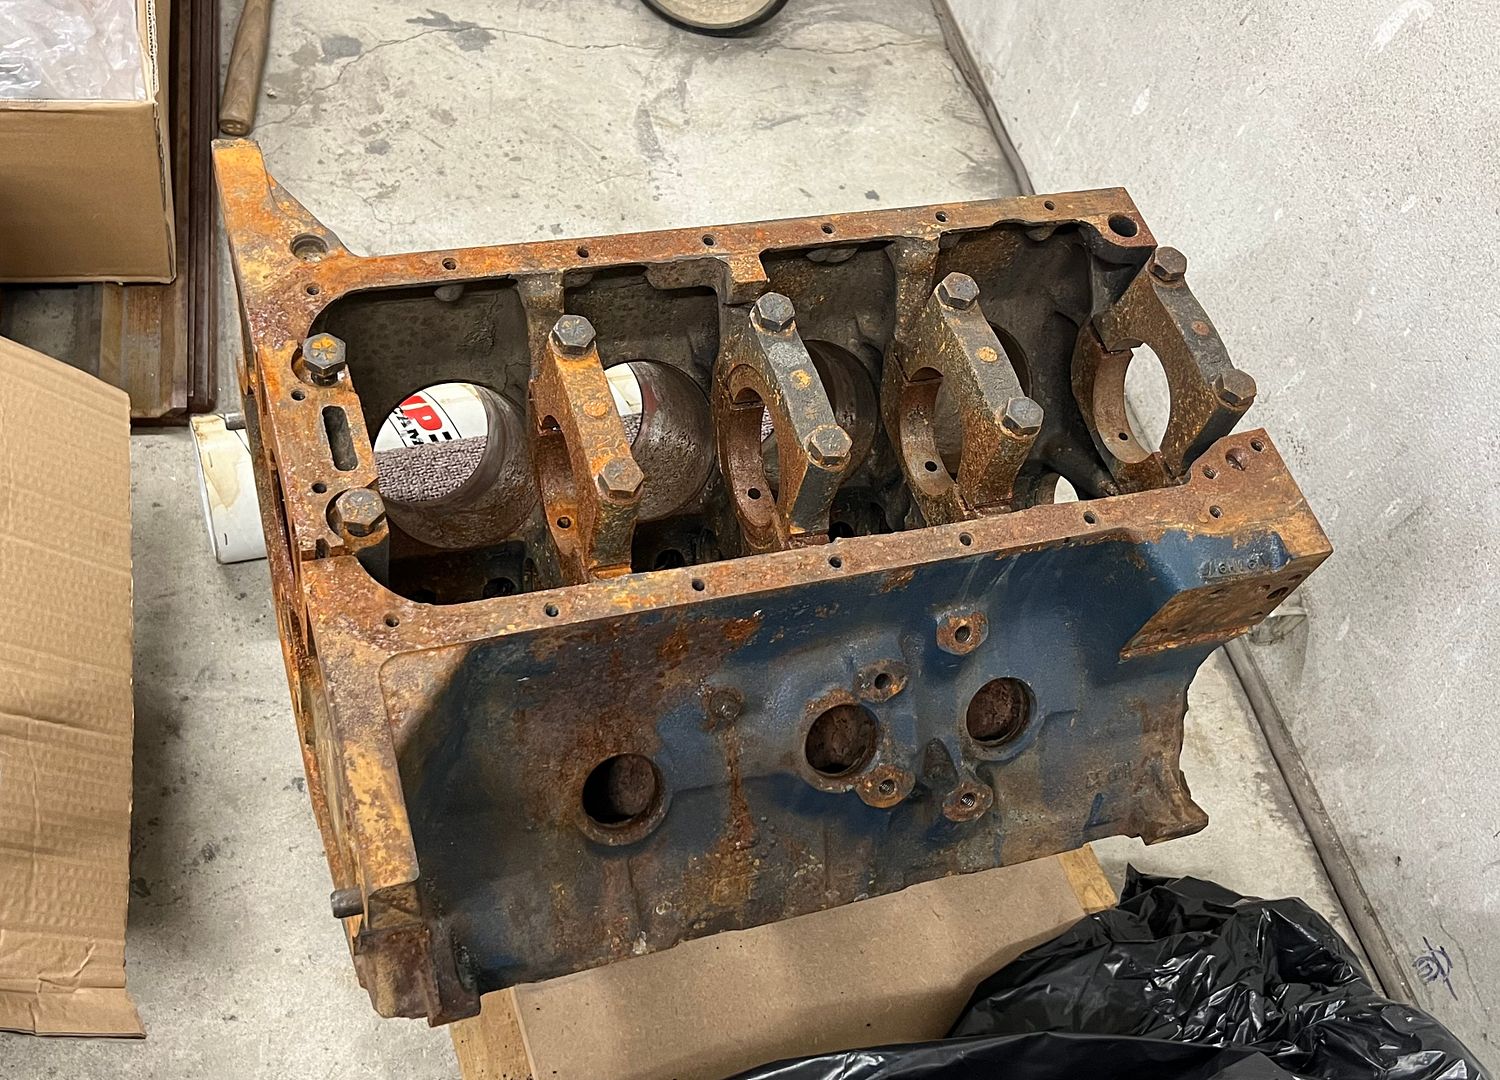
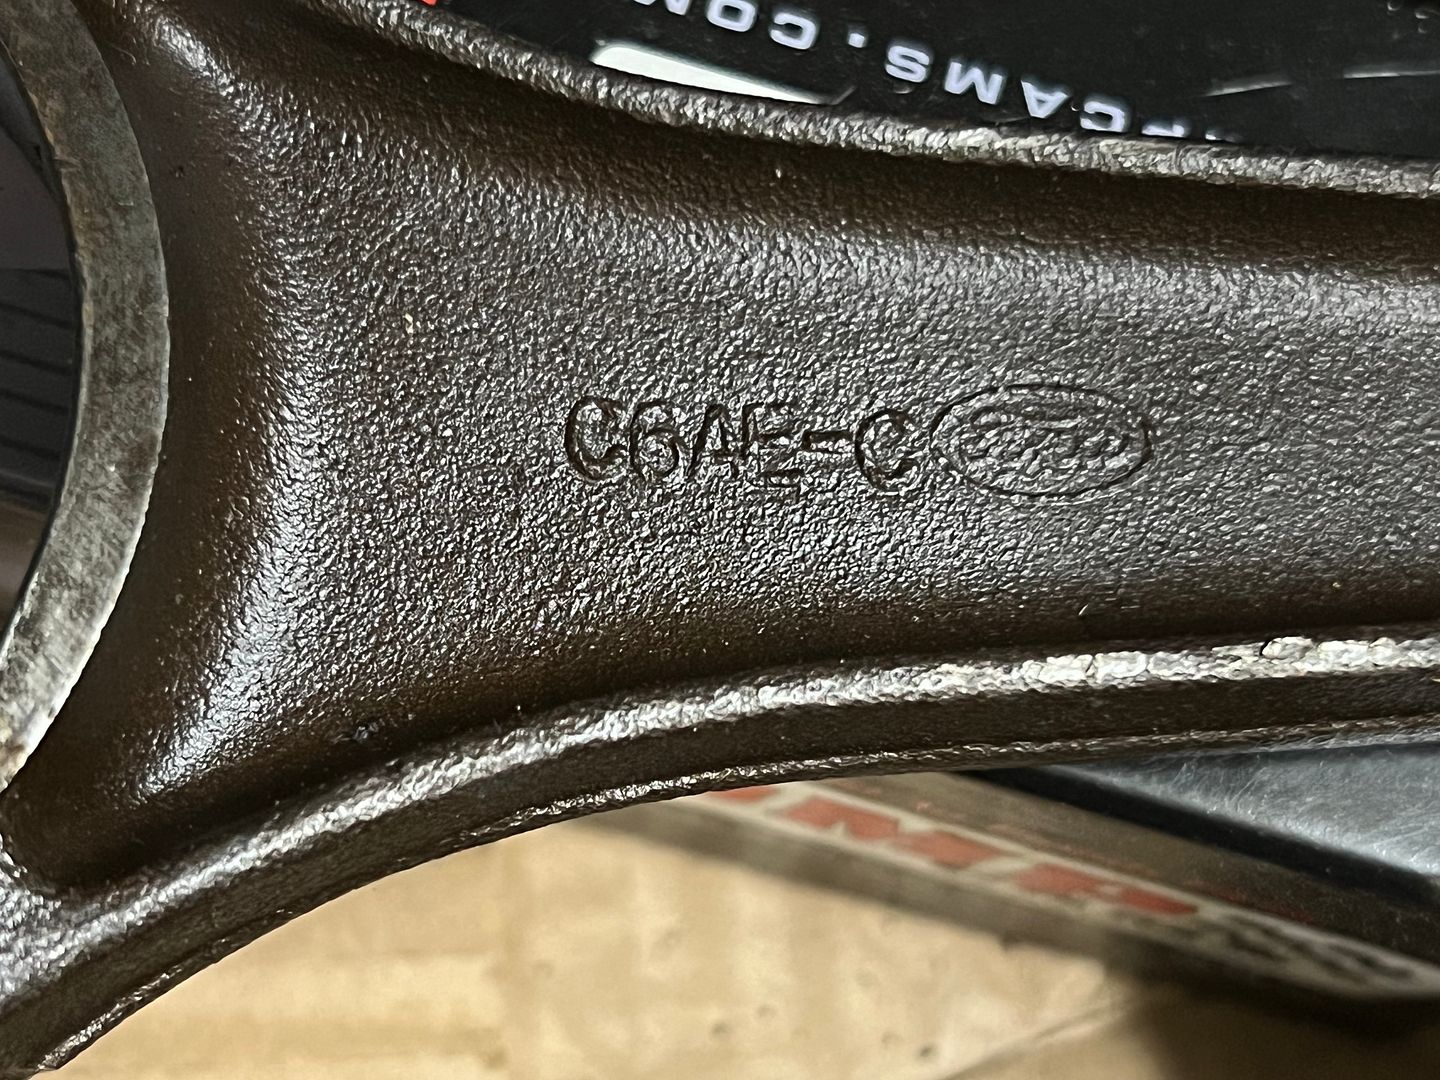
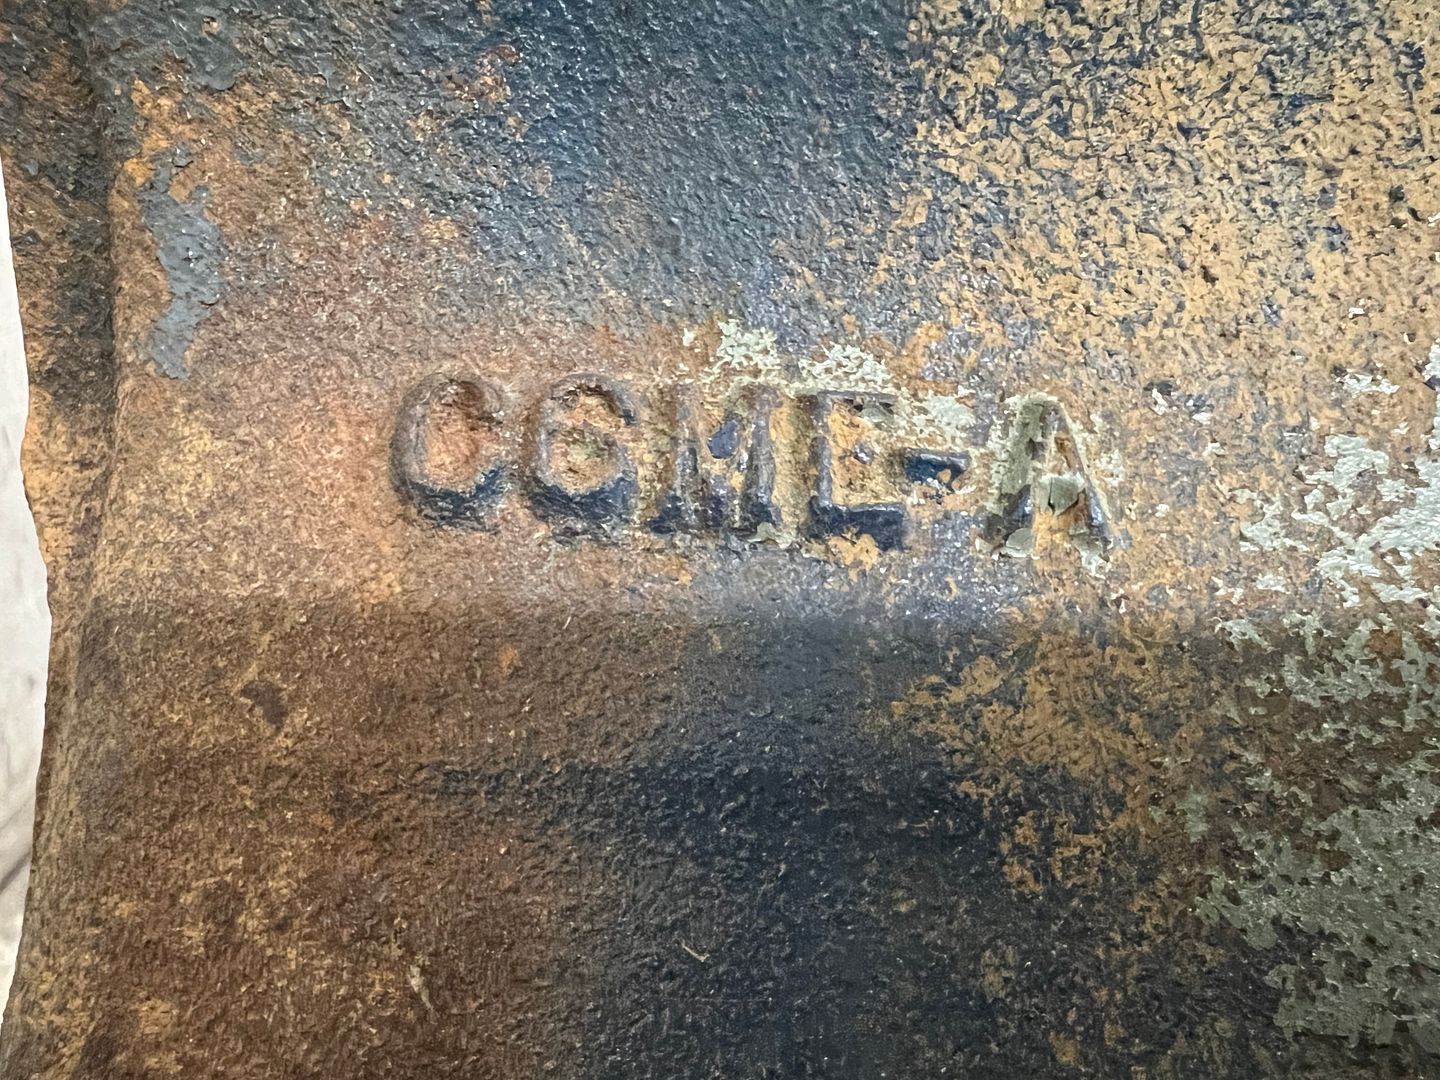
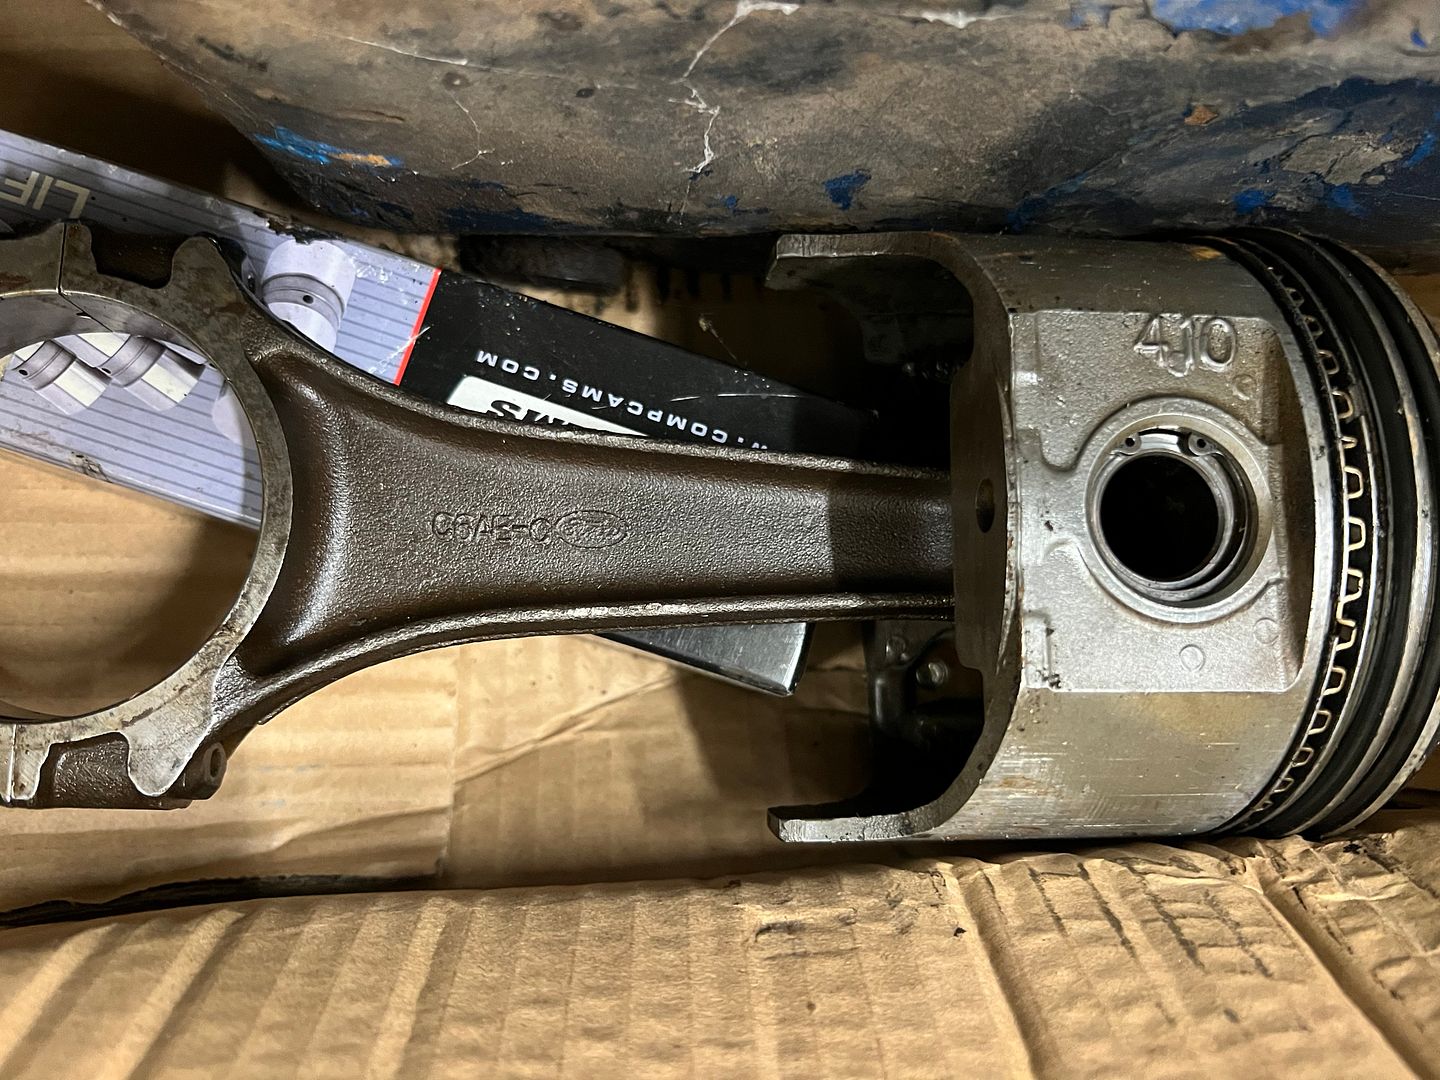
Yup, a 410 Mercury.Robert
-
01-13-2025 05:45 AM #1855
Sweet! Exhaust sounds great, and looks great too!Roger
Enjoy the little things in life, and you may look back one day and realize that they were really the BIG things.
-
01-13-2025 12:19 PM #1856
Nice work on the exhaust system. does sound nice.
A 66 410? HMmmm I'd have to look that one up.
-
01-13-2025 12:39 PM #1857
That had me scratching my head too, Mike! Looks like only '66/67 for the Merc Marauder - https://bangshift.com/bangshift1320/...gotten-oldies/Roger
Enjoy the little things in life, and you may look back one day and realize that they were really the BIG things.
-
01-13-2025 12:49 PM #1858
Yes, it popped into my head after I hit Post, the 428 FE crank bolts into the 390 FE to make a 410. The conn rods should've tipped me off.
A rarity to be sure! But... I hope it doesn't take him 12 years to put it together!!! HAHAHAHA.. Kramer and I are waiting wink, wink.
-
01-13-2025 01:40 PM #1859
Correct, the 410 was a two year production, essentially a 390 with 428 crank. Not that the shop truck needs a new engine, but want to have one ready to drop in when I get to that point. And it’s going to our local engine shop, so it should be a few weeks, not years.
I am still collecting parts, this was a short block only.Robert
-
01-14-2025 06:38 AM #1860
Weeks, not Years... hahahaha Thanks for the update!


 3390Likes

 LinkBack URL
 About LinkBacks
 Reply With Quote


RIP Mike....prayers to those you left behind. .
We Lost a Good One