Thread: 1932 Ford Coupe Project Thread
-
06-10-2013 10:47 AM #151
I measured a 460 oem pump and it was 5 5/8 from mounting surface to pulley mount surface-----
Edelbrock has 2 different fuel pumps, lesser one is 6 lbs pressure good to 600 hp and doesn't need a regulator and bigger race version 10lbs and needs regulator
just seems much more simple ---------------
-
Advertising

- Google Adsense
- REGISTERED USERS DO NOT SEE THIS AD
-
06-10-2013 11:10 AM #152
I just used the same type of ball valve shutoff floating in line on the fuel line before the filter. It's flexible so no chance of breaking off, cheap and effective, making changing those cartridges easy, I on the other hand put the filter in a bad spot which needs to be moved before we go on any drives!
"  "No matter where you go, there you are!" Steve.
-
06-28-2013 05:35 PM #153
No, thank you for the advice! I never really thought about that, but I decided I will use a steel close nipple when I do the final assembly. I appreciate when someone steps up with things that don't look right.
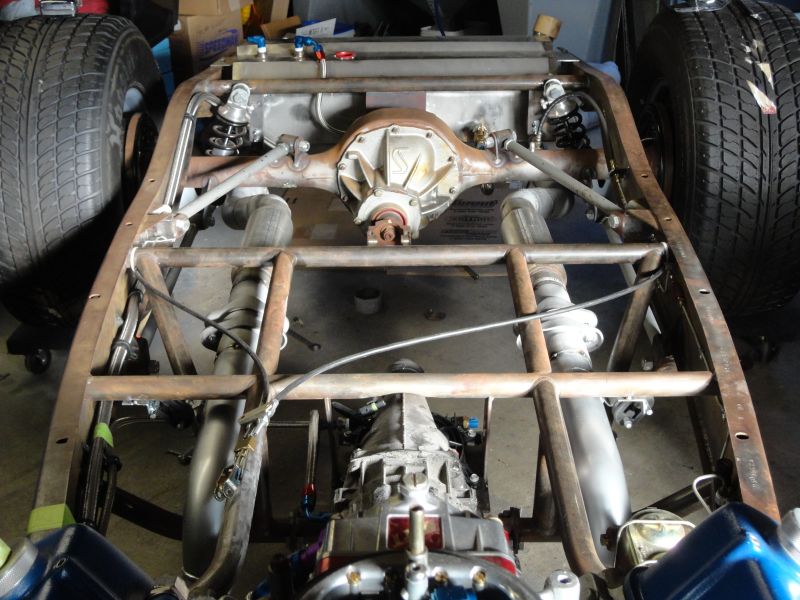
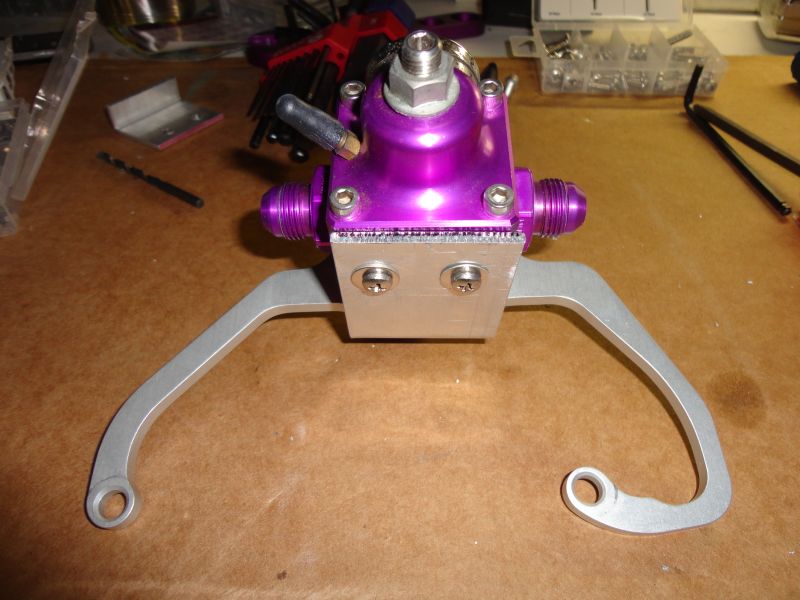
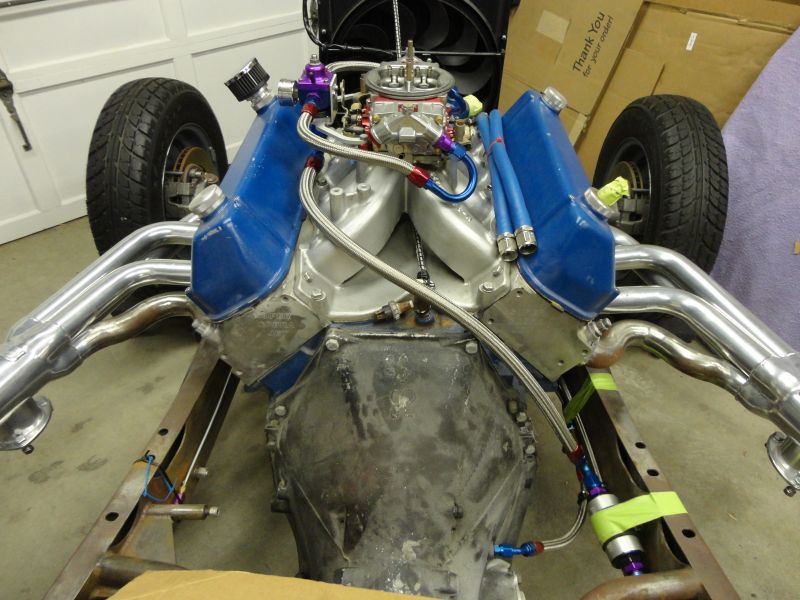
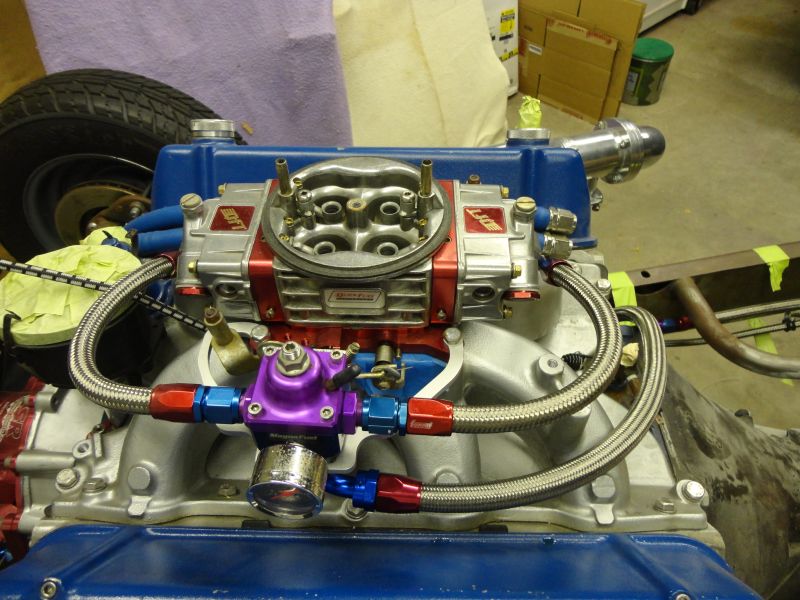
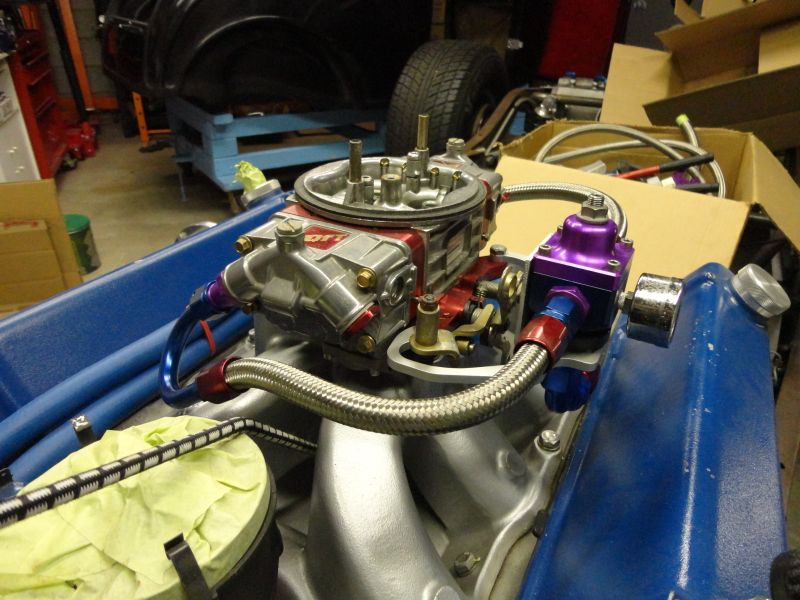
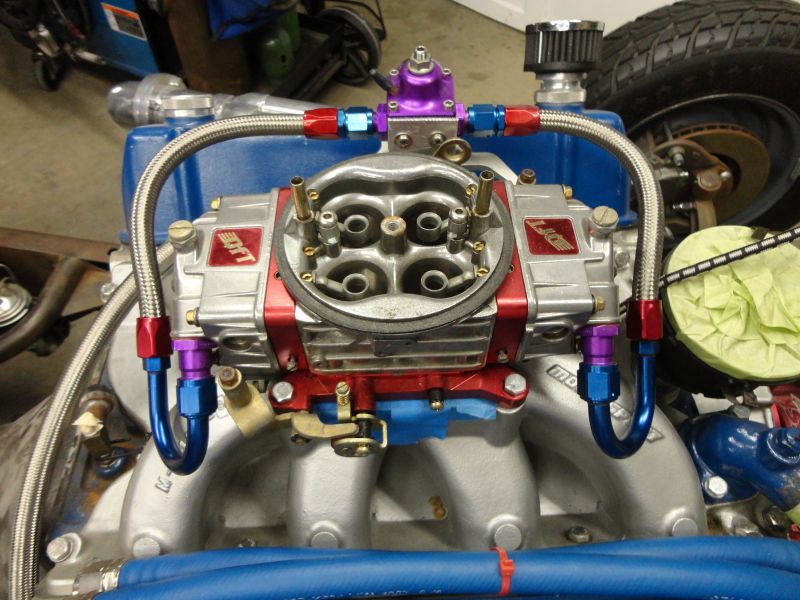
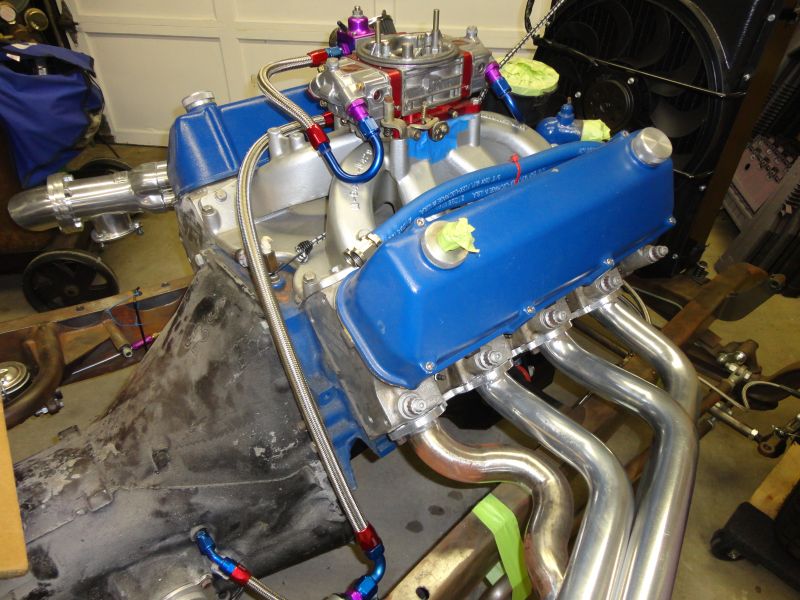
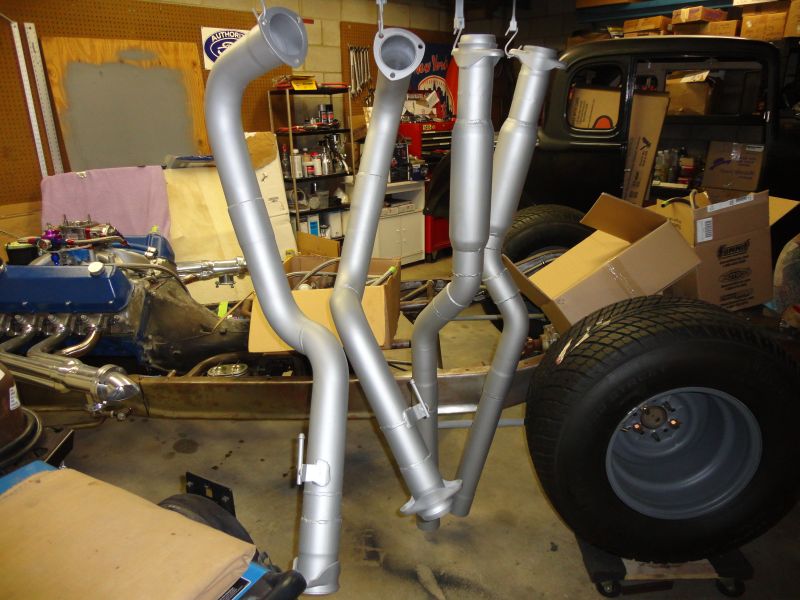
I've been a busy little beaver on my car the past few weeks, so I have some more pics to share. After tomorrow, I will be ready to "blow" it apart and start sandblasting and painting everything on the chassis. I'm a total nut case, so I decided to redo my exhaust system. I never really liked the rush job on did on the exhaust, and those horrible hangers I had on the DynoMax mufflers. I decided to cut everything off and start fresh, with a set of 3" Summit glasspacks that I had on my brother's 47 Ford Truck. I cut out the Dynomax ones, and welded in those. I also bought a set of ball and socket connectors for the pipe from the header, to the muffler/tailpipe piece. I added a nice pipe hanger midway for support, and kept the tailpipe mount in the back. This system comes out 1-2-3 and is so simple. I also have a ton of room now for a driveshaft loop, which I still have to weld in. I also finished running the braided line for the fuel line. The regulator mount was another project, because it wasn't made for my MagnaFuel regulator like it said it was, so I had to modify that and stick it on the driver's side, which I really didn't want to do. All in all, I'm happy how it all turned out. Here's some pictures....
Old exhaust cut out, new tank to pump line run. I will be replacing that brass nipple with a steel close nipple
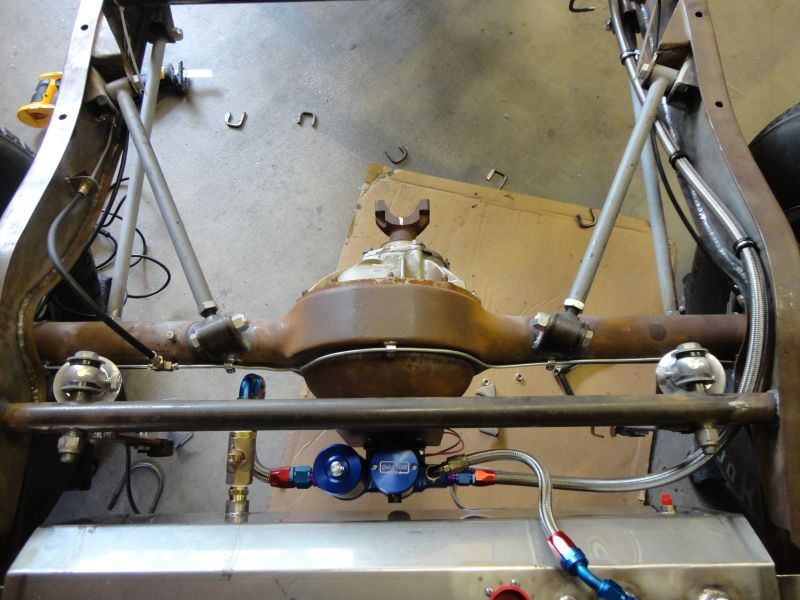
I will finish drilling and tapping for the screws that hold all the braided lines to the frame when I pull everything out. All my braided line will have those rubber insulated clamps. Home Depot had them on the shelf.
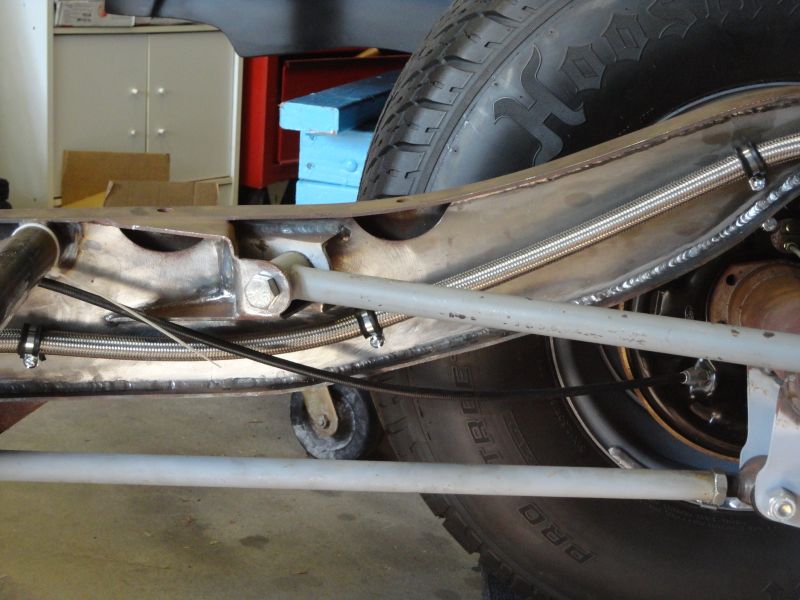
Here's the new exhaust system in place, tack welded, ready to come out and final weld. I can't wait to hear this big Ford cam through those glasspacks.
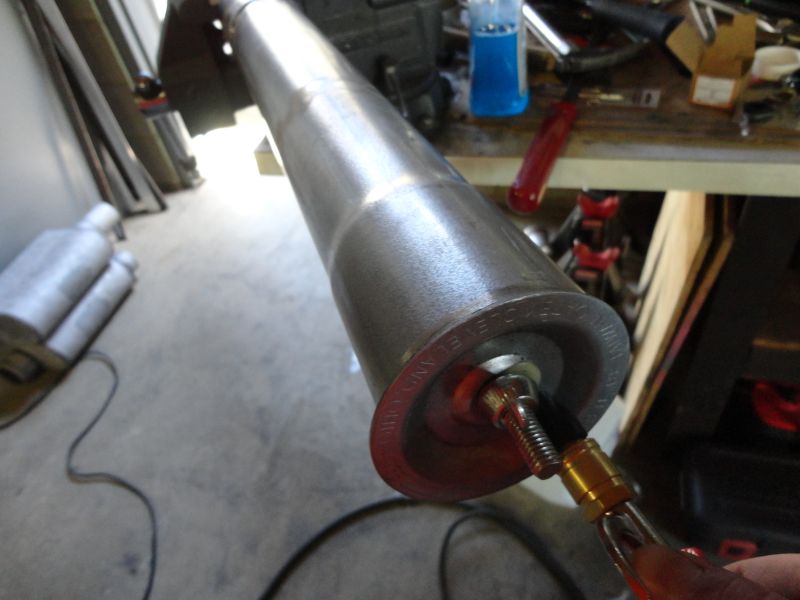
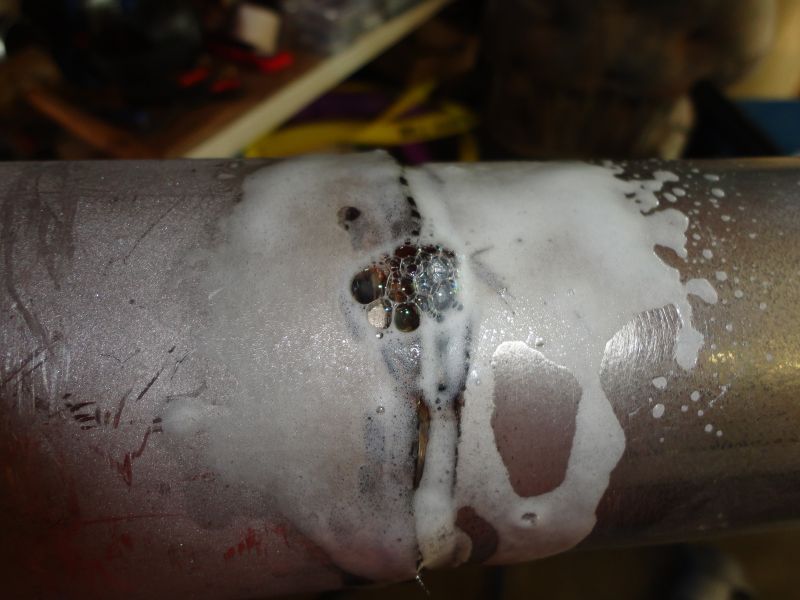
I did a leak test on each of the four exhaust pieces, before I painted them with High Temp Header paint. I found these pipe plugs in Lowes, that fit my 3" exhaust perfect. On one of the ends, I drilled a small 1/8" hole to blow air through to charge it up and spray with soapy water. Don't add too much air if it's tight, or you'll blow one of the plugs into something, like a house. LOL Don't ask me how I know that. I had a couple small leaks which I rewelded. I'm just an amatuer welder and don't get much practice time, but my exhaust will be leak free.
  No more bubbles after firing up the welder again.
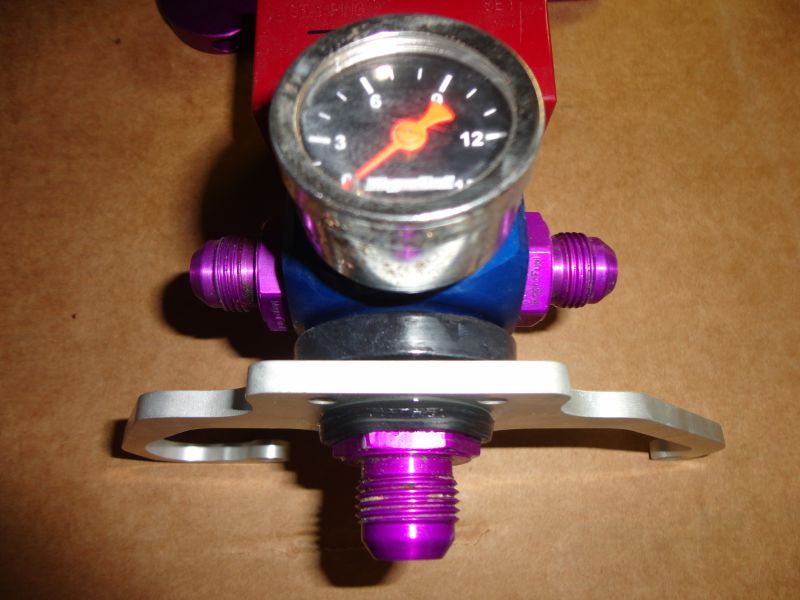
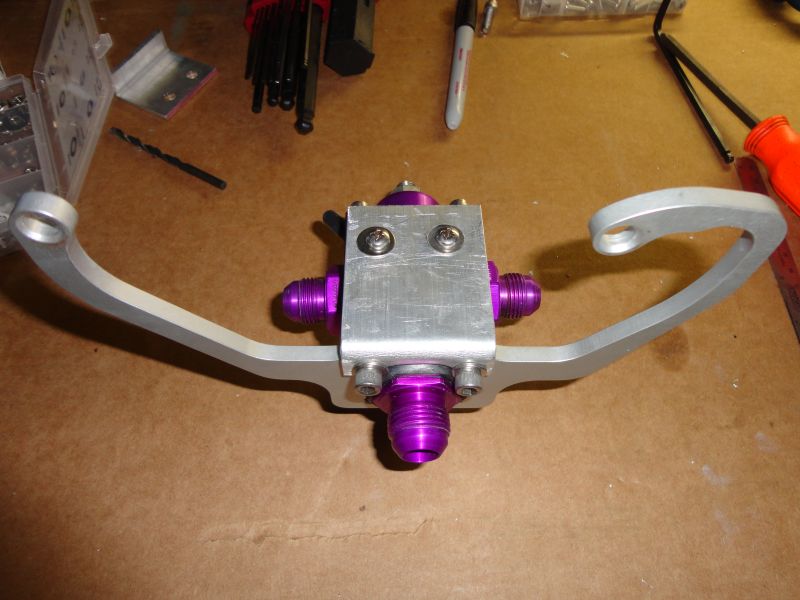
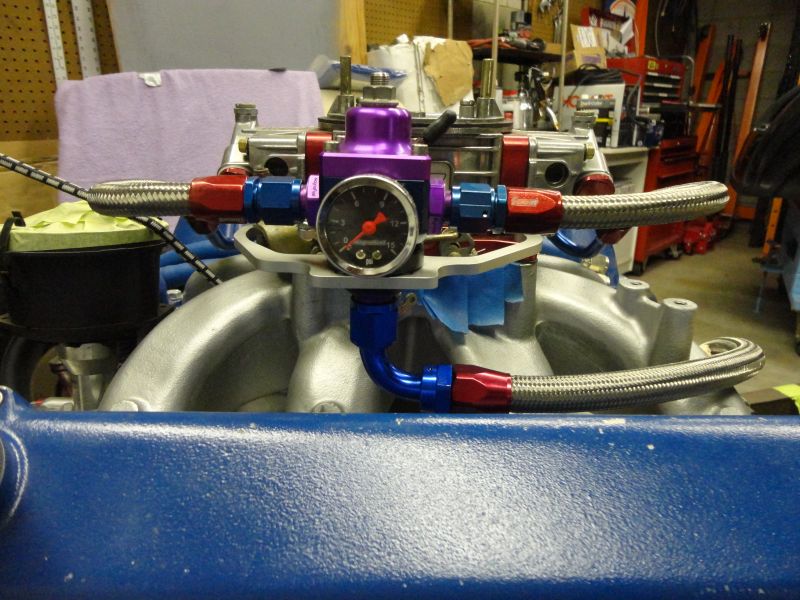
Here's where I had to modify my cool regulator bracket I bought. On the passenger side, the bracket was in the way of the AN fitting to the fuel bowl, and I couldn't screw the hose in. I had to move it to the drivers side, and use 180* fittings to keep everything tight. I think with the heater hoses, it would have been in the way of that too. I didn't want to mount it to the firewall, so that's why I went this route.
Here's some pics of the fuel line routing. I love braided line. It kind of goes with the theme of my project; overkill.
Here's my four exhaust pieces hanging and drying. I was going to Jet Hot Coat all of this, but my welds aren't pretty enough for that expense. I can take it off and touch everything up when I want. I did spend alot of time on the 90* drop under the frame, so that will look good from the outside. The other welds are under the body, so they won't be seen. I will just send the Jayster Headers back to Sanderson for a recoat, since I had cylinders 4 and 8 reworked. Also, I must have had a bad ground at one time with the Mig Welder, and I had the stainless fuel line drapped across the engine and headers. I had two burn marks from the line to the header pipe that needs to be retouched. LOL I chopped out those sections of braided line.
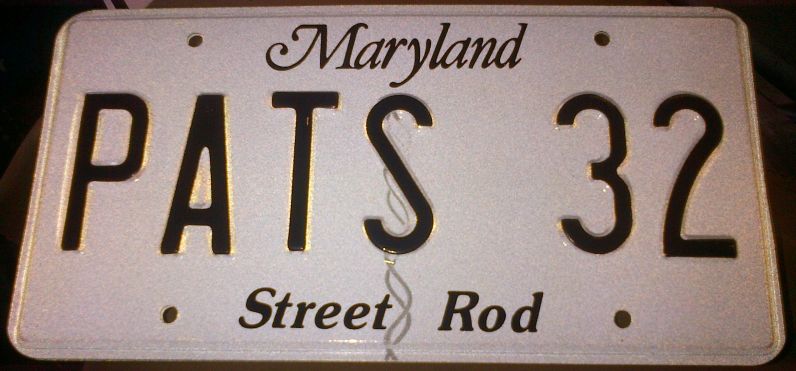
Lastly, how cool are my Maryland plates? My Dad and I are both Pat, so I thought this was fitting. I'm so glad my first choice wasn't taken.
New Age Motorsports 32 5/W 521/C6
-
06-28-2013 07:43 PM #154
WOW! Awesome progress, and Awesome plates to boot! As always thanks for sharing the pics too..
-
06-28-2013 08:49 PM #155
Thank you! I love sharing pics, because I've learned so much from others sharing. That's what it's all about. BTW, I bought a nice LG A/C - Heating unit for my garage, so I'm going to be comfy all year round. LOL It's so humid down here in Baltimore, and my vacation week was over 115* in my garage a few weeks ago. I have to make a wood insert for my small window for the exhaust, and I'll be all set tomorrow. Bring on the heat!!!! hahahNew Age Motorsports 32 5/W 521/C6

-
06-28-2013 10:40 PM #156
Lifts and dolleys and fixtures, oh my. I'm having deja vu all over again. Hopefully that's over for me. Oh - and nice work, by the way.

Jack
Gone to Texas
-
06-29-2013 05:11 AM #157
-
08-24-2013 08:50 PM #158
great build picts, I have a someday project, a glass 32 roadster of unkown manufacture, Jag front and rear suspensions and Buick nailhead, Now that I am old and have a big shop with everything in it, not enough ambition,timothale
-
03-04-2014 05:29 PM #159
Hey guys, just checking in today after not being healthy since my last post. Lots of changes for me, but I've been waiting for this cold winter in Maryland to get by so I can continue on my '32. All of my fab work is done, so when we eventually warm up, I just need to sandblast and paint everything then assemble. I've been miserable just looking in at her everyday, but I will start getting things done fast. I'm just glad I'm not seeing my doctor on a regular basis.New Age Motorsports 32 5/W 521/C6

-
03-04-2014 05:59 PM #160
Sorry to hear of the health "issues".. but glad to see you posting again! Like everyone else.. I wanna say, "C'mon Springtime"!!!!
-
03-06-2014 06:36 PM #161
- Join Date
- Apr 2011
- Location
- Prairie City
- Car Year, Make, Model: 40 Ford Deluxe, 68 Corvette, 72&76 K30
- Posts
- 7,301
- Blog Entries
- 1
Sorry to hear about your health issues. You've done some great work on your coupe. It has came a long ways. Now get back out there and fiddle with it.
Ryan
1940 Ford Deluxe Tudor 354 Hemi 46RH Electric Blue w/multi-color flames, Ford 9" Residing in multiple pieces
1968 Corvette Coupe 5.9 Cummins Drag Car 11.43@130mph No stall leaving the line with 1250 rpm's and poor 2.2 60'
1972 Chevy K30 Longhorn P-pumped 24v Compound Turbos 47RH Just another money pit
1971 Camaro RS 5.3 BTR Stage 3 cam, SuperT10
Tire Sizes
-
08-02-2014 11:09 AM #162
I've been a busy beaver since April, but I finally was able to put up my pictures to my webspace. Before I took everything off the frame, I put on a set of bare 15" rims to check my clearance if all the tires went flat. The closest thing was the transmission pan, but I was still able to slide a piece of paper under it. A flat tire would give me more clearance, so this is worst case scenario.
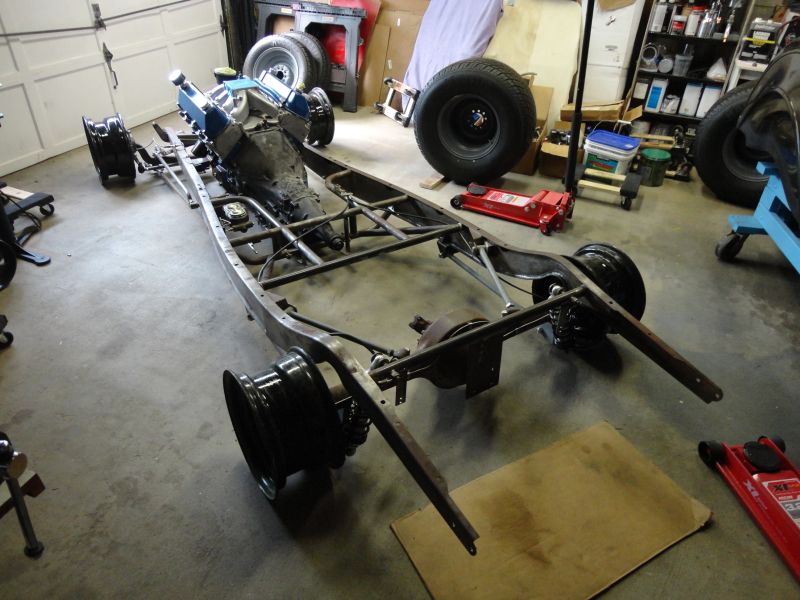
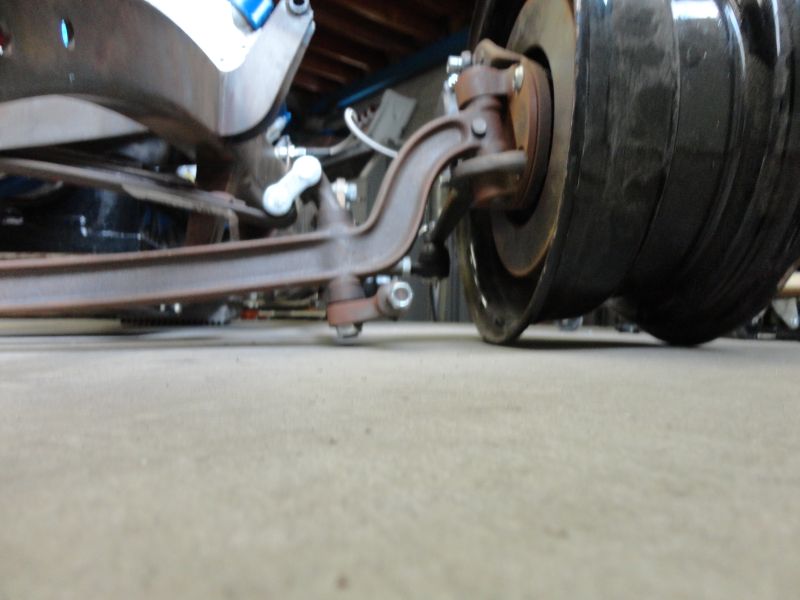
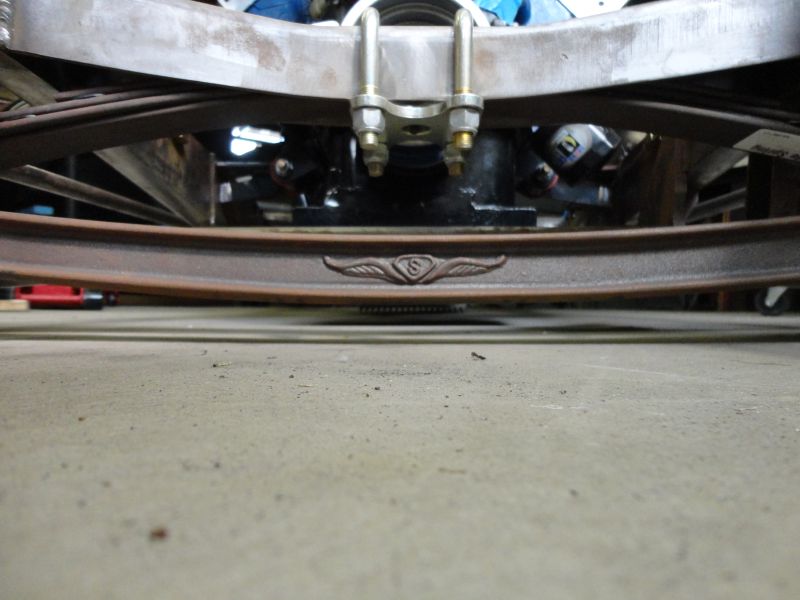
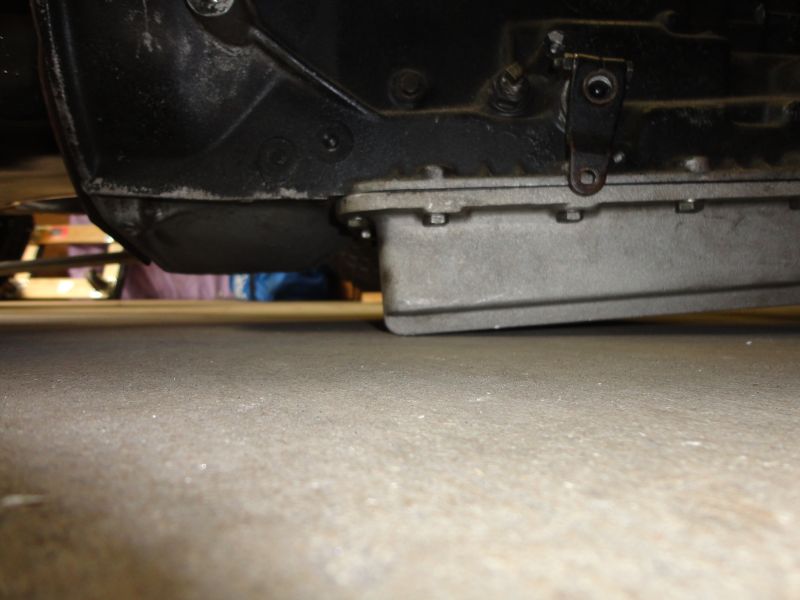
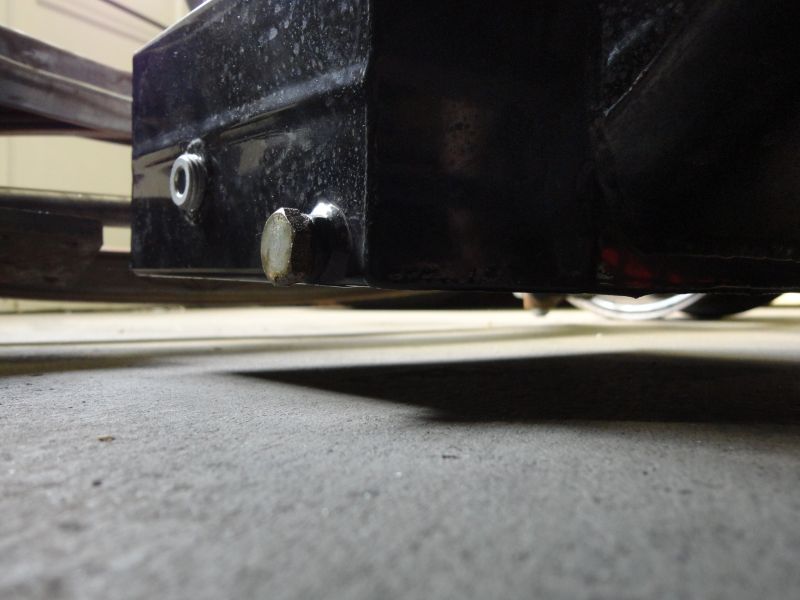
Then I pulled the engine and trans....
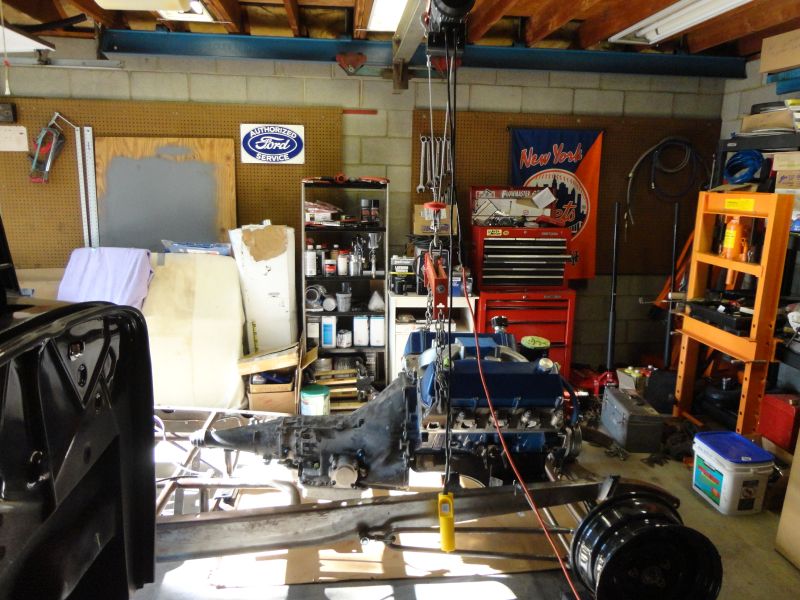
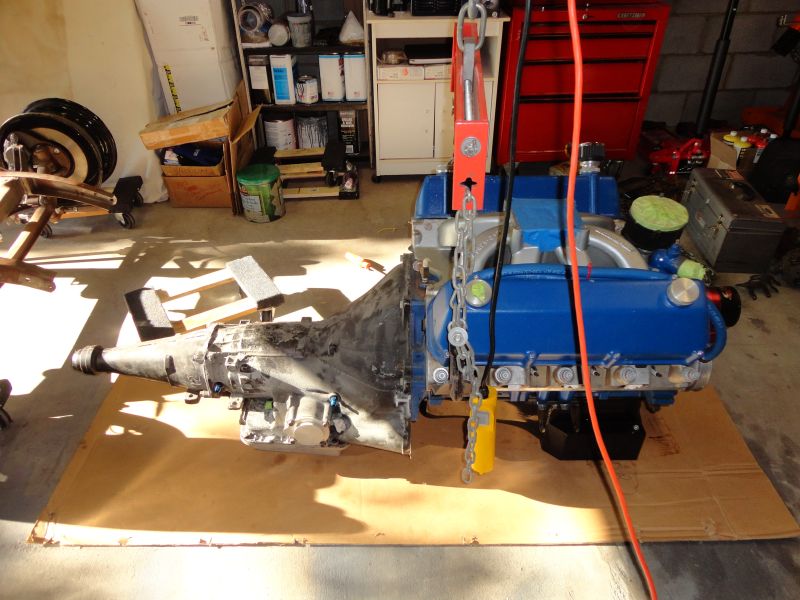
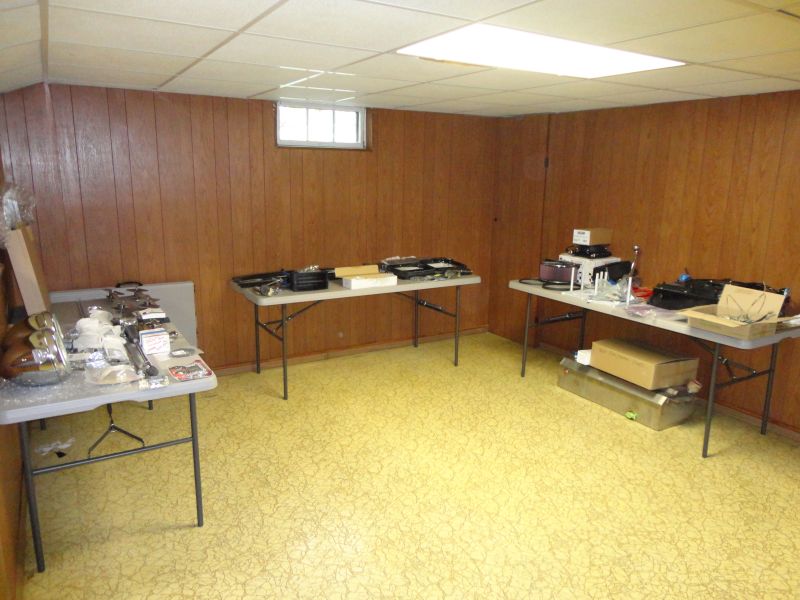
Lots of space in the basement for parts...
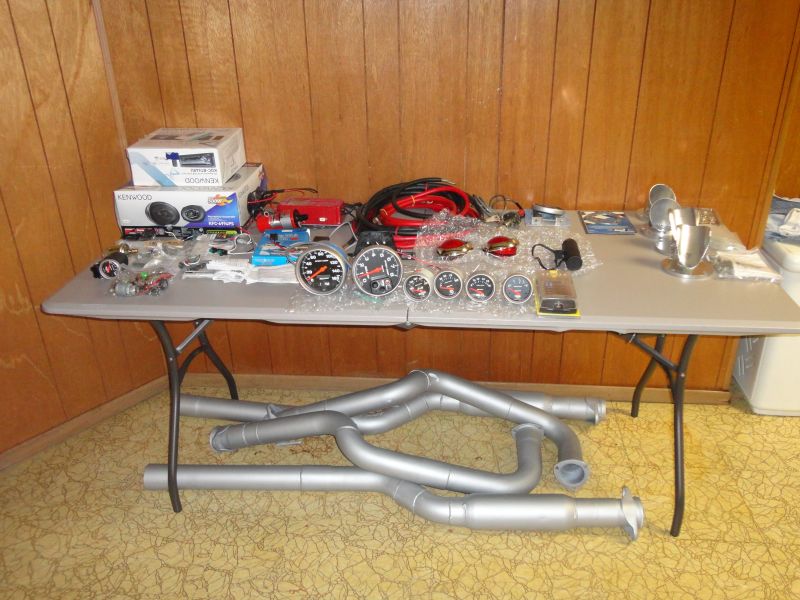
The sandblasting was next after everything else was taken off...
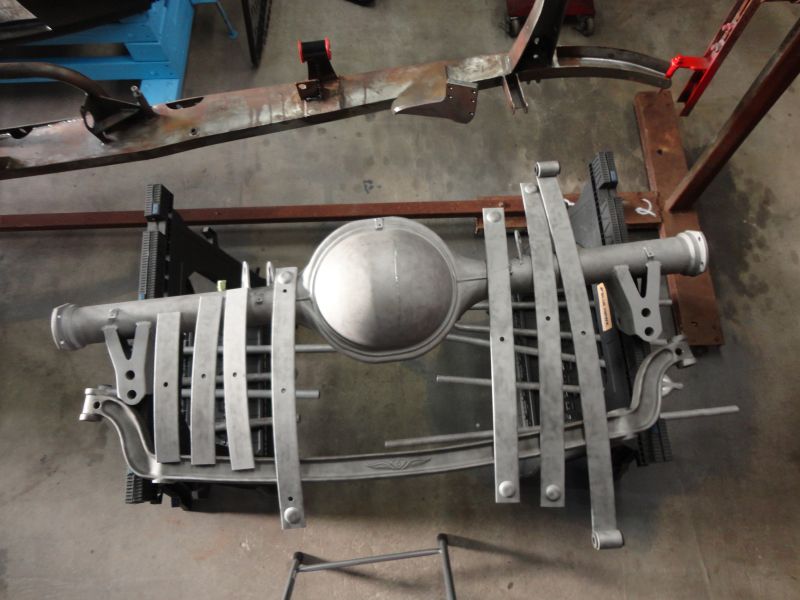
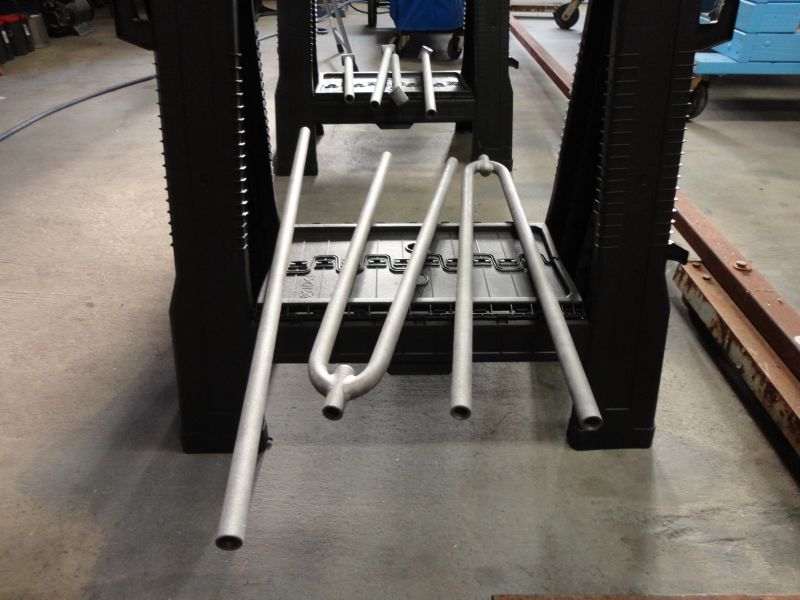
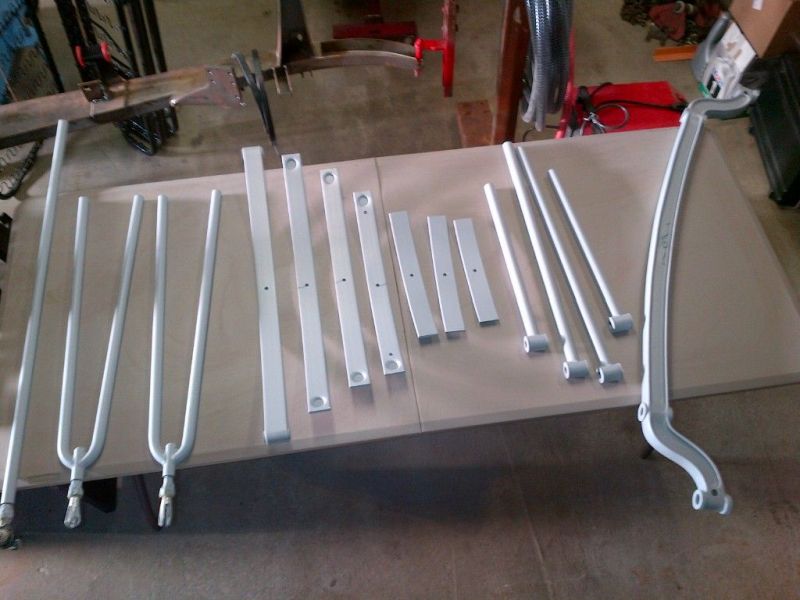
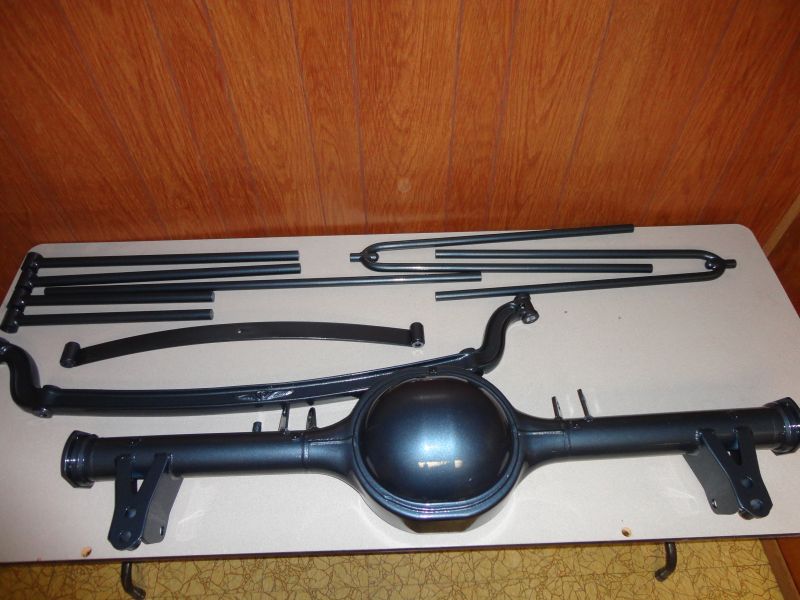
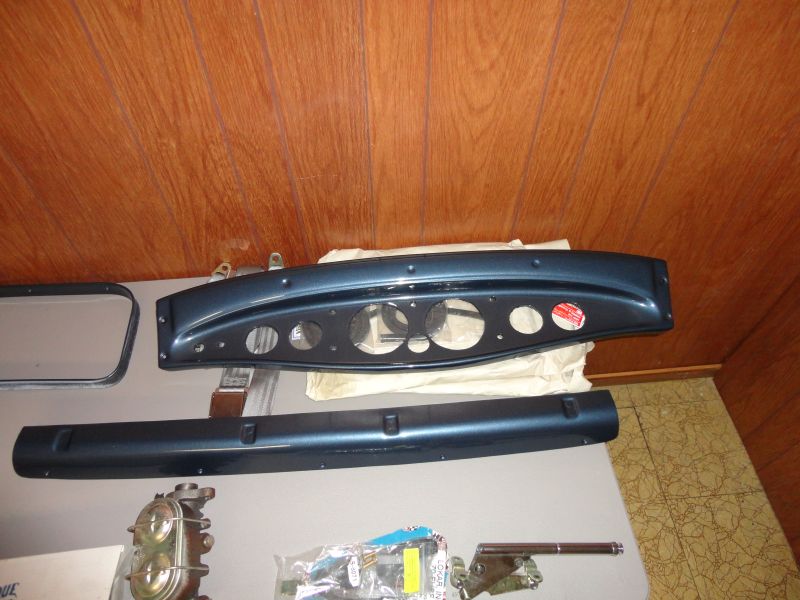
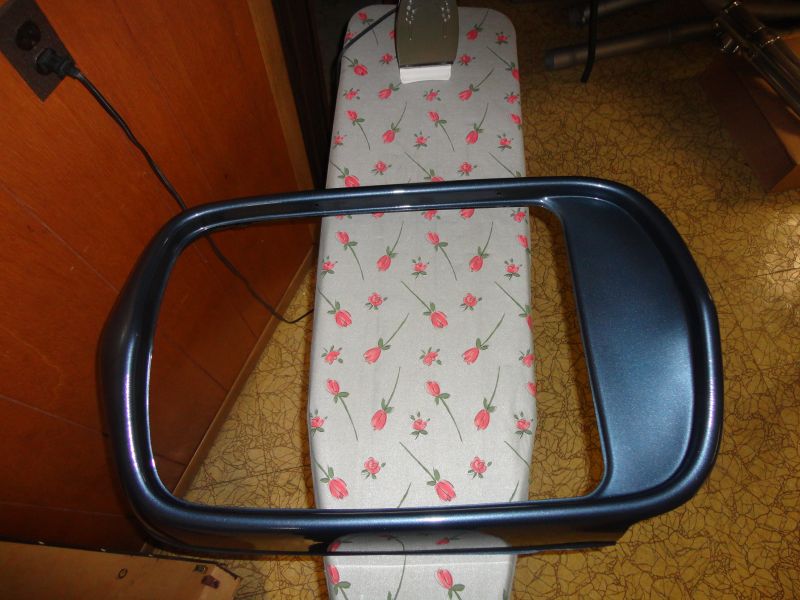
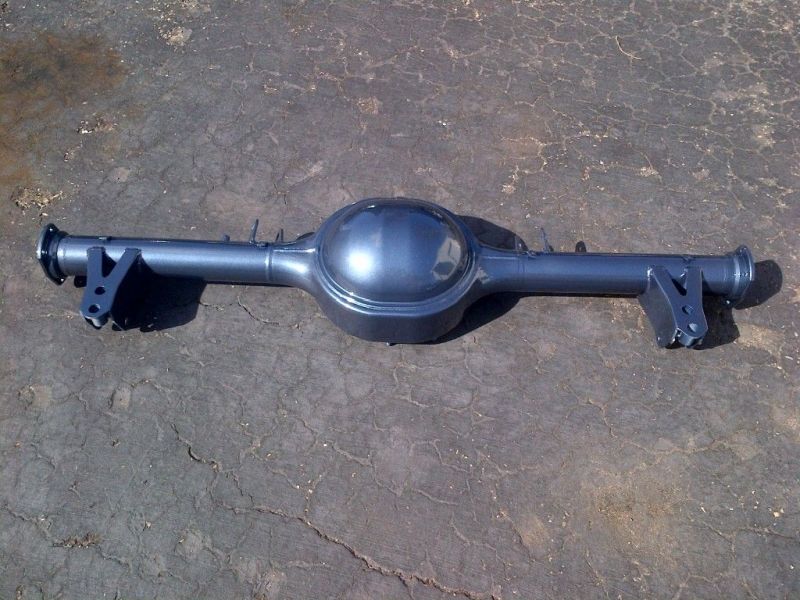
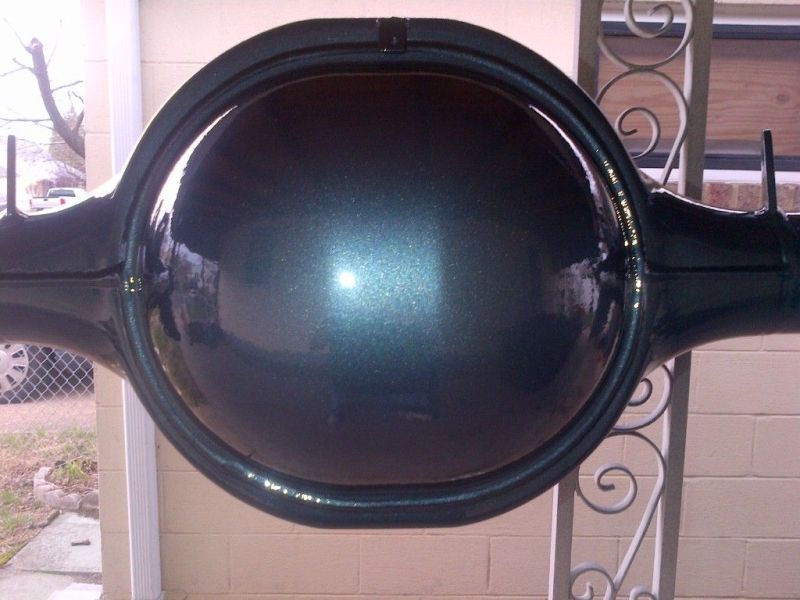
Here's some of those parts painted. The color is Ford's Norsea Blue This is the color of my Crown Victoria and it has so much metal flake in it. This was my first time painting anything and it came out pretty good.
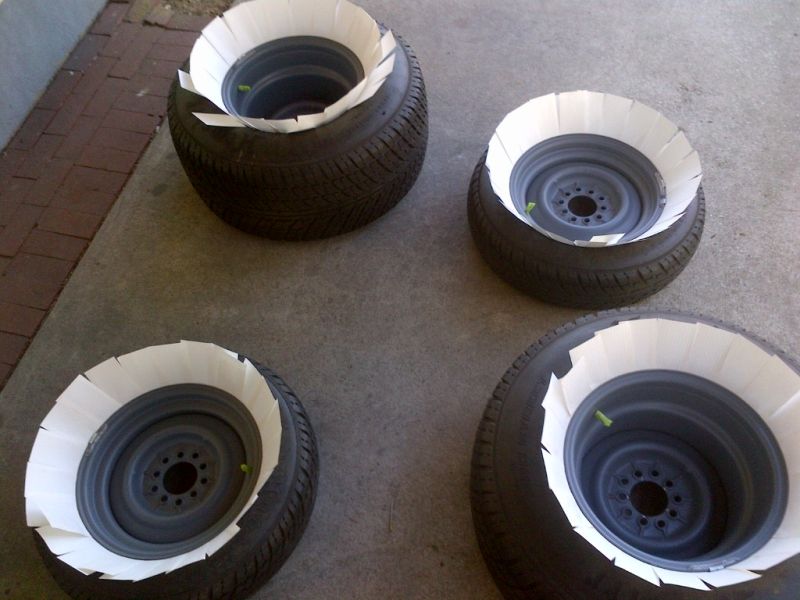
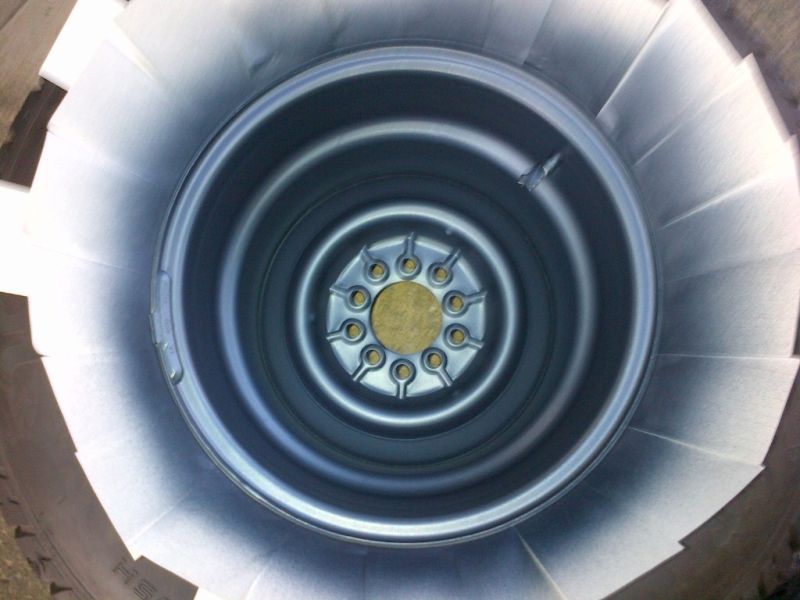
Here's a neat trick to paint the rims if you have the tires mounted already. I took out the needle valve and let the air out of the tire. Then I stepped on the sidewalls and inserted index cards between the tire and rim. I found it online.
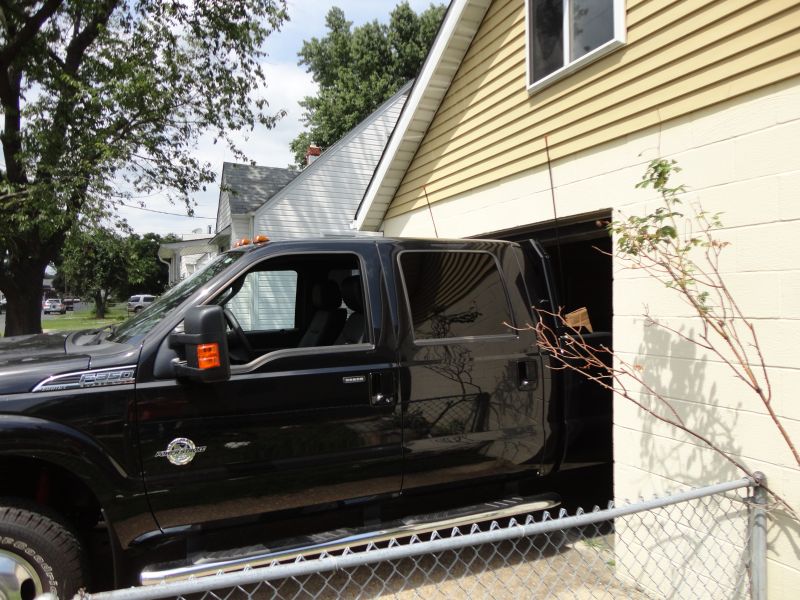
Lastly, here's some pics of me getting my frame to the sandblasters and getting it back. I'm so glad I had them spray the primer after, because I wouldn't have been able to get to it for the past two weeks. I hoping to get it painted next weekend.
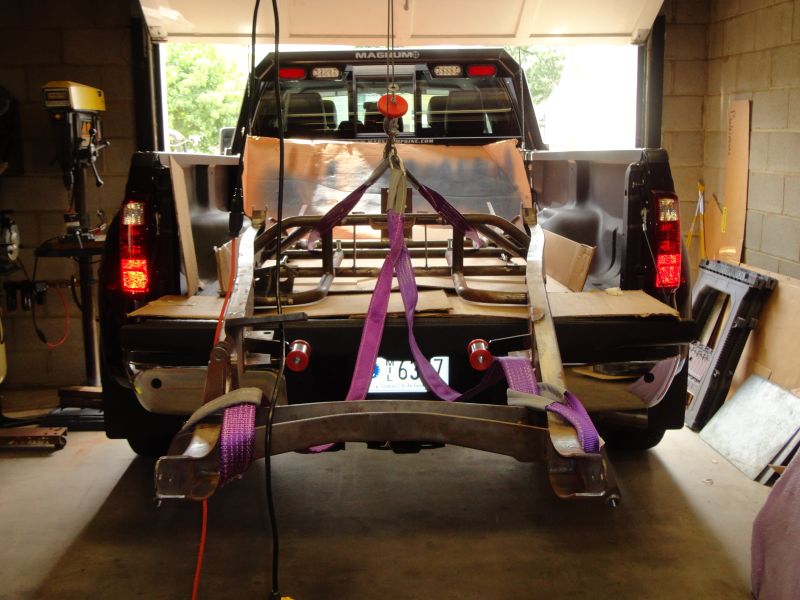
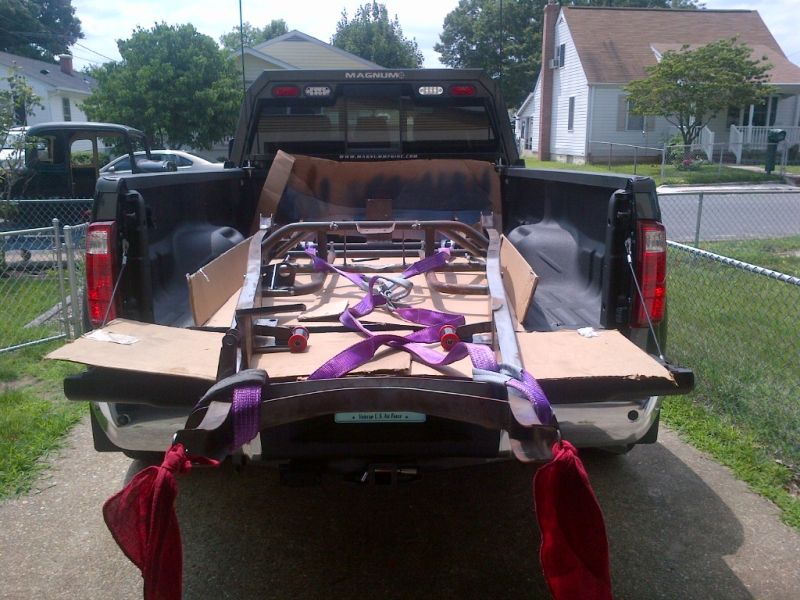
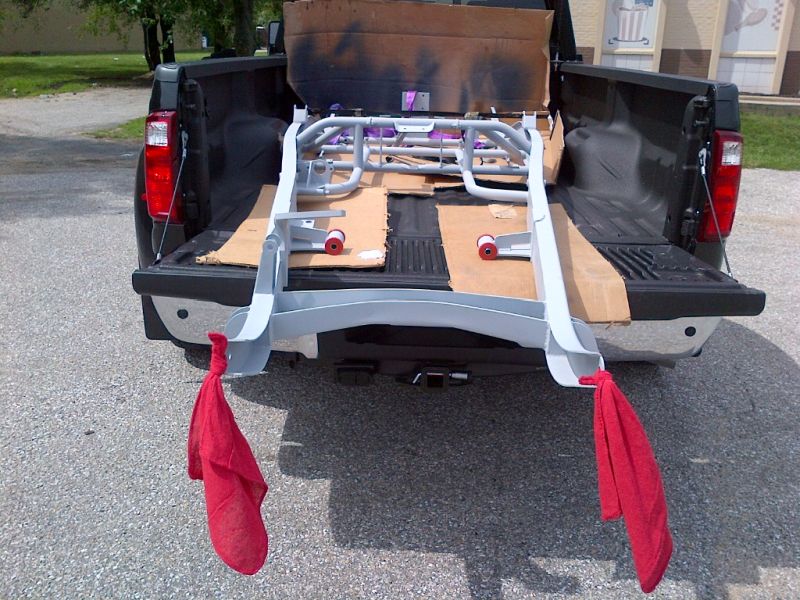
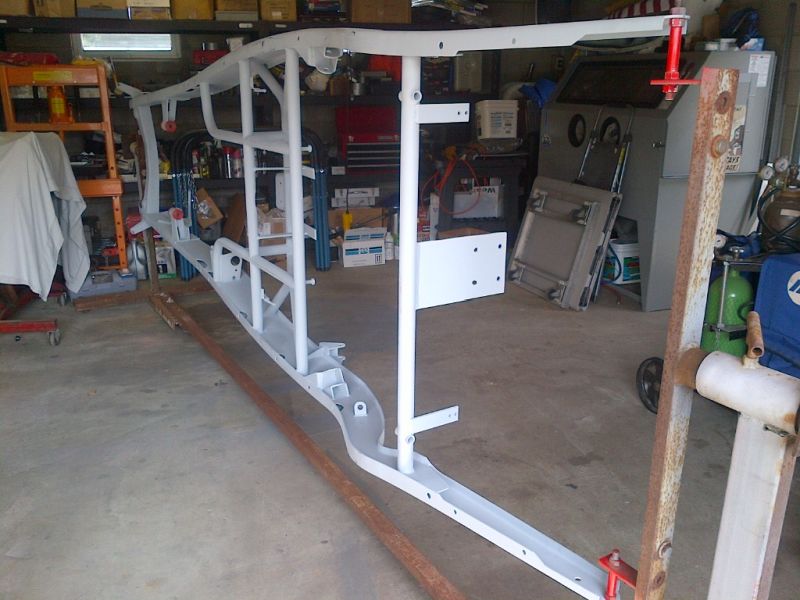
This is where I'm at as of today. My mission today is getting the engine off the engine stand and installing the converter into the freshly painted transmission. I'm also going to install the 3.50 gears in the differential too. I will post some pics of those when I'm all done. Next will be painting the body and then I can start putting it together. My Dad is going to come down to Baltimore from Jersey to give me a hand. He can't wait!!! Great to be back in the swing of things.
New Age Motorsports 32 5/W 521/C6

-
08-02-2014 12:56 PM #163
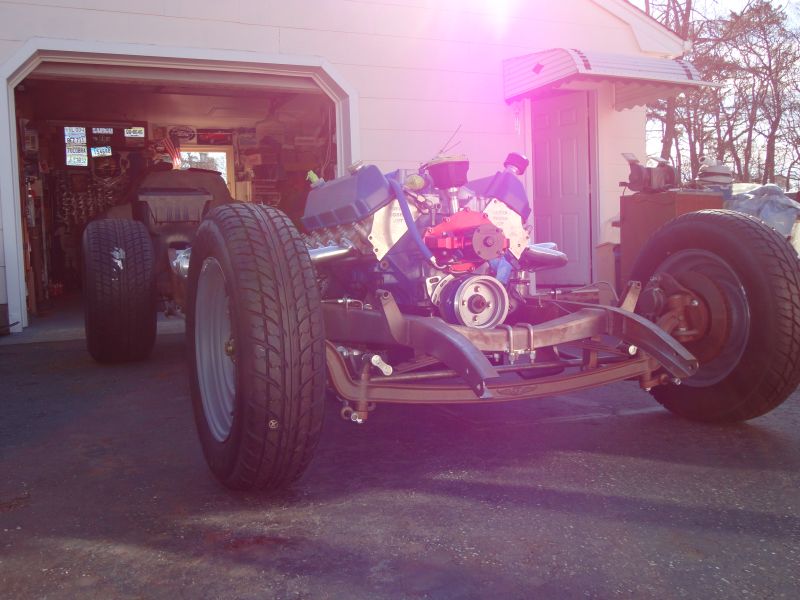
Some major progress Pat. I am a little worried by your clearance of the front axle, but with tires high enough you should be fine. The oil pan might be iffy crossing a speed bump. Your paint came out real nice."  "No matter where you go, there you are!" Steve.
-
08-02-2014 03:09 PM #164
Lots of progress and great pics Thank You! Good to see you haven't forgotten us! LOL..
I'm looking forward to following along.
-
08-02-2014 05:04 PM #165
How could I ever forget a great place like this. I didn't get much done today. I had to go into work with a problem and I had new trailer tires put on. I will resume my plans for today for tomorrow.
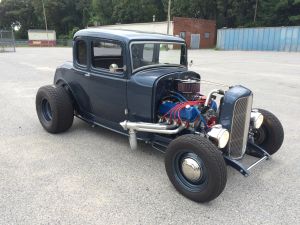
Steve, I will have plenty of clearance with the front tires I have. Here's a pic of my setup, so I'm sure I will be able to conquer those speed bumps. The tires are 26" tall and I think my lowest point was 4" with this combo.
New Age Motorsports 32 5/W 521/C6


 57Likes

 LinkBack URL
 About LinkBacks
 Reply With Quote


A belated Happy 78th Birthday Roger Spears
Belated Happy Birthday