


 258Likes
Thread: 41 Willys Gasser project


Results 736 to 750 of 1724
 LinkBack URL
 About LinkBacks
-
12-29-2011 11:44 AM #736
 CHR Member

- Join Date
- Oct 2007
- Location
- Petaluma
- Car Year, Make, Model: 48 Ford F1
- Posts
- 9,793
Cheers Steve, dittoing your wishes. Keep up the excellent work!"  "No matter where you go, there you are!" Steve.
-
Advertising

- Google Adsense
- REGISTERED USERS DO NOT SEE THIS AD
-
12-30-2011 04:55 PM #737
CHR Member
- Join Date
- Feb 2008
- Location
- Inglewood
- Car Year, Make, Model: 60 F100 truck
- Posts
- 6,339
That cage is a thing of beauty,Steve..Will look awesome in there..I hear you on the PC pushers regarding chrome platers,auto painting shops,etc,etc...The chroming places down here are diminishing too,,possibly for that reason,and no one wants to work,anyway...Its a specialised job,and its very hard to find a good plater now..We have one a couple of hours south of us,who does a very nice job..Hope hes still around when I start the Galaxie..Micah 6:8
If we aren't supposed to have midnight snacks,,,WHY is there a light in the refrigerator???
Robin.
-
12-31-2011 08:10 AM #738
CHR Member/Contributor
- Join Date
- Jul 2003
- Location
- Madison
- Car Year, Make, Model: '67 Ranchero, '57 Chevy, '82 Camaro,
- Posts
- 21,160
I dunno Steve---but I think that cage should be put in the showroom and you'll have to build another one for Willy.....Yesterday is history, tomorrow is a mystery, Live for Today!
Carroll Shelby
Learning must be difficult for those who already know it all!!!!
-
12-31-2011 11:12 AM #739
CHR Member
- Join Date
- Apr 2009
- Location
- watford
- Car Year, Make, Model: 26T Coupe, 32 Roadster, 41 Willys Coupe
- Posts
- 2,363
Ha ha ha, Dave there is no way i'm making another one, this one took way to long to finish.
 Originally Posted by Dave Severson

Its aweful lonesome in the saddle since my horse died.
-
01-05-2012 12:25 PM #740
CHR Member
- Join Date
- Apr 2009
- Location
- watford
- Car Year, Make, Model: 26T Coupe, 32 Roadster, 41 Willys Coupe
- Posts
- 2,363
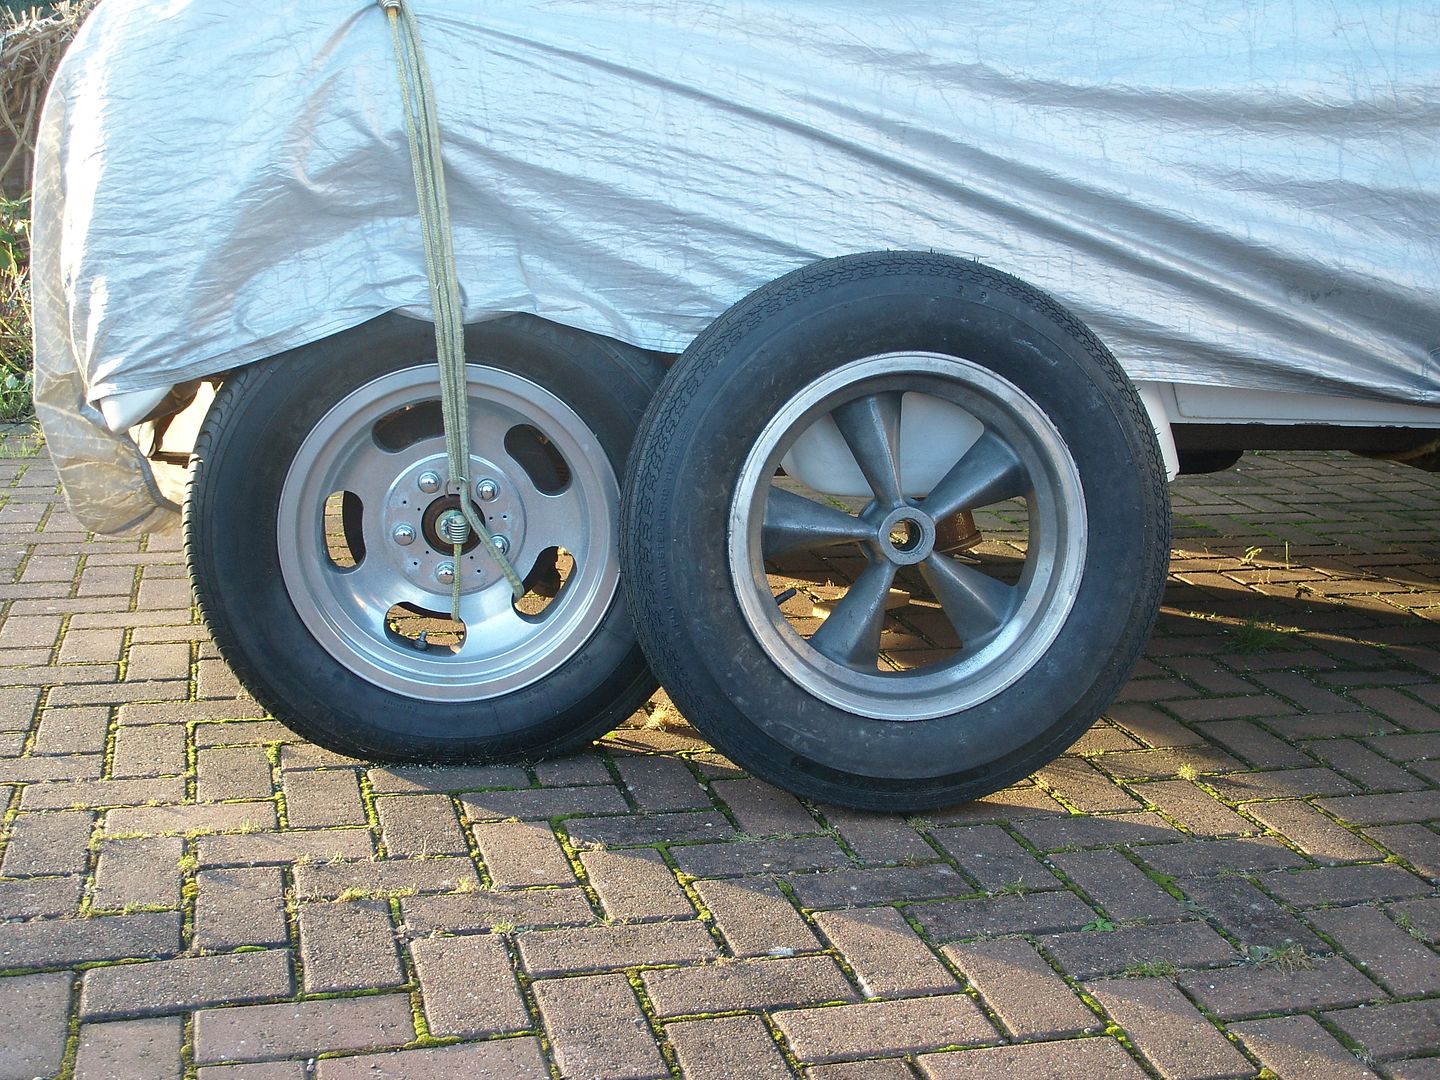
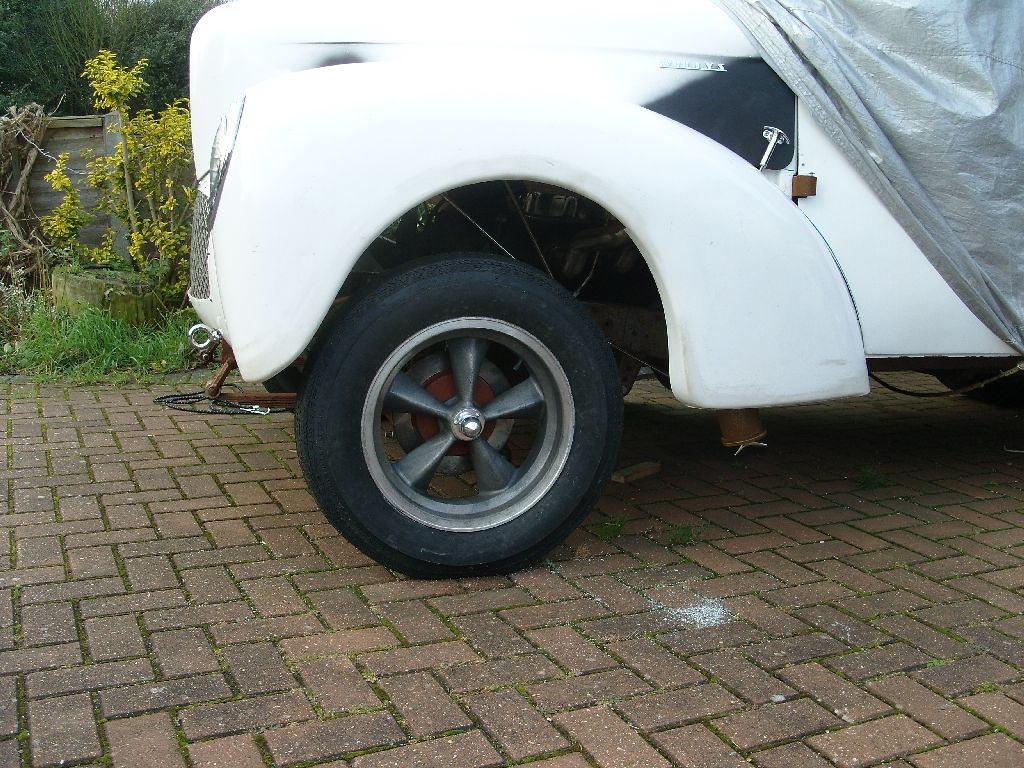
Well today started off good as i got the tubes i had been waiting for to fit my new front tyres, I'm using Protrac 560 x 15's, I did try firestone 560 x 15's but for some strange reason the Protracs are 1" taller ???
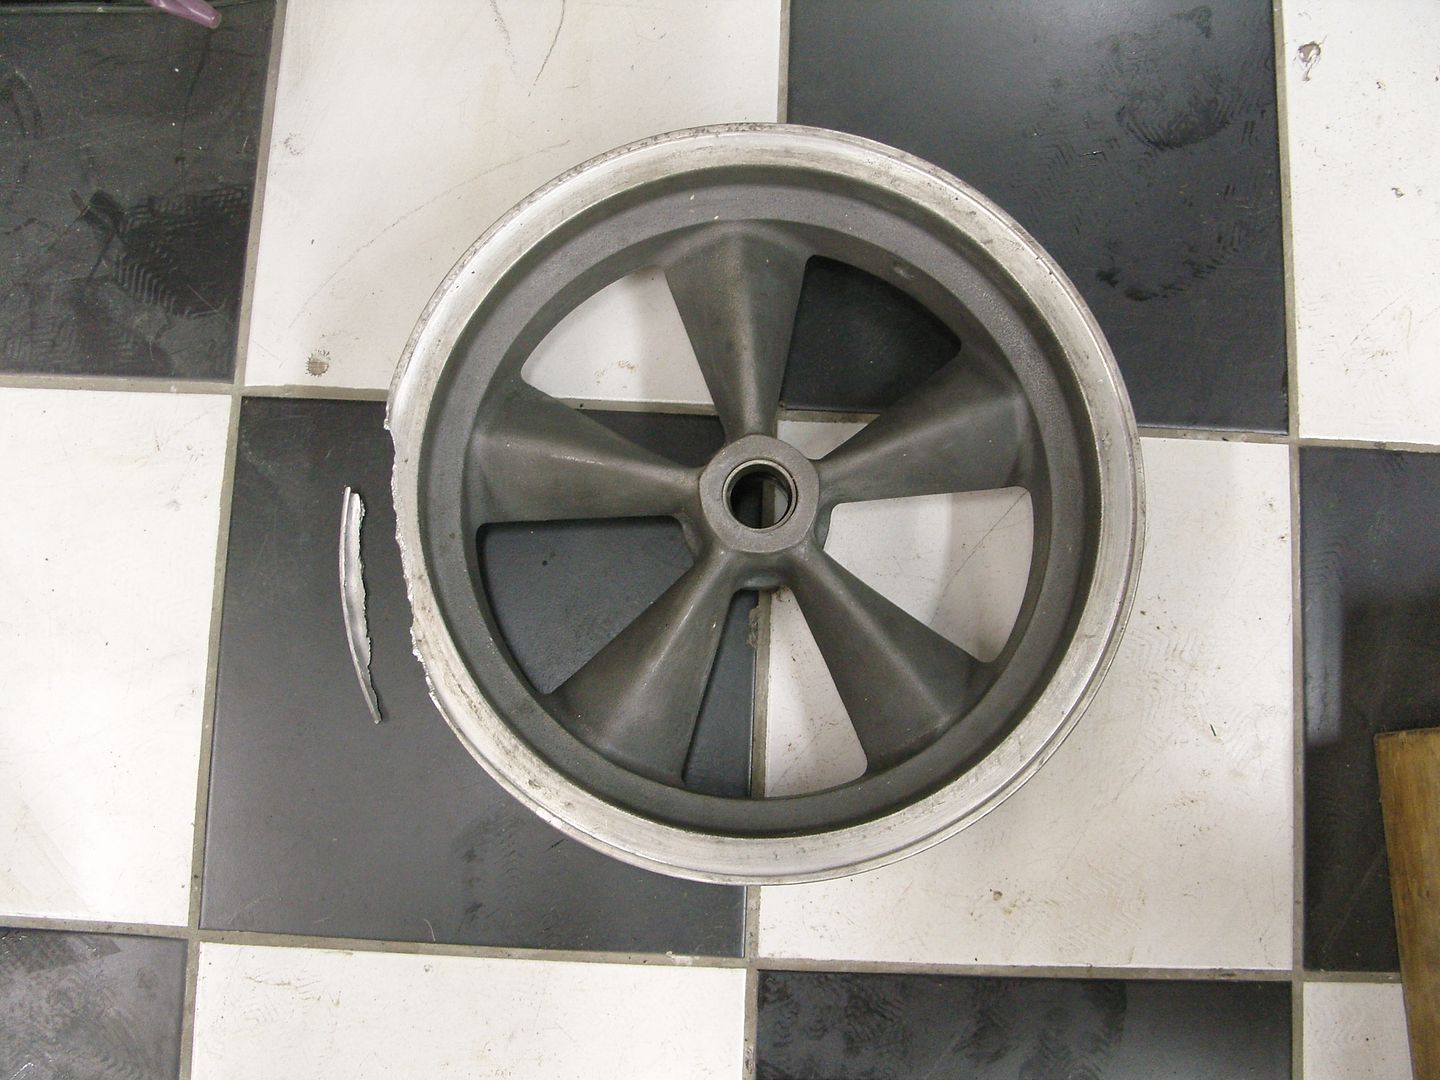
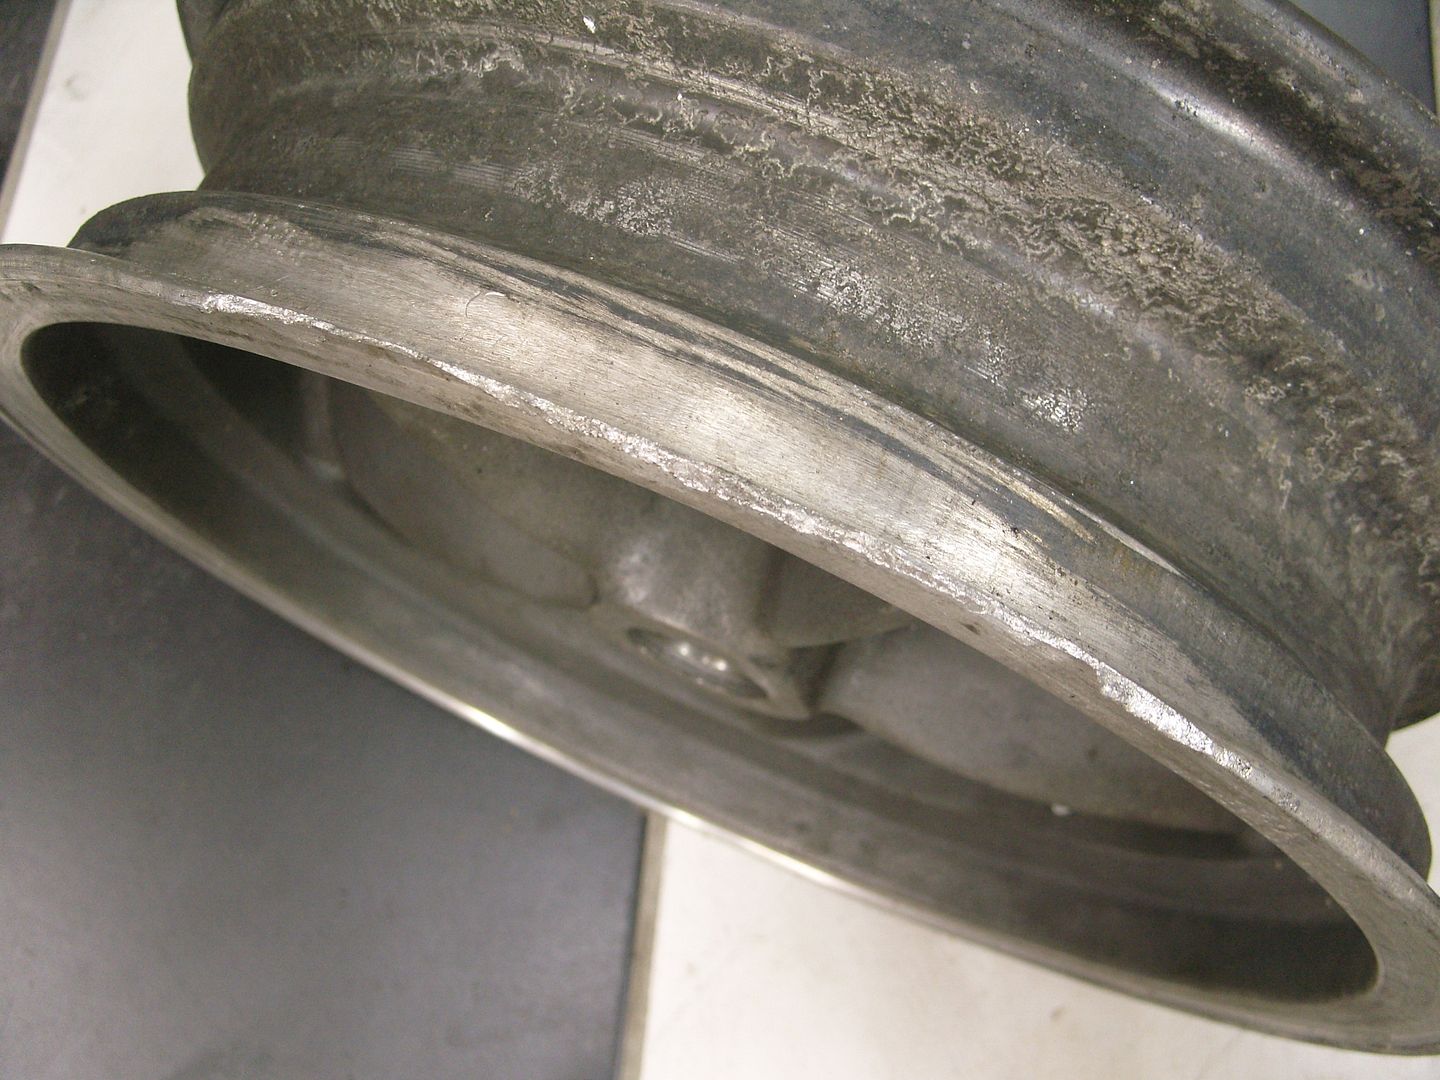
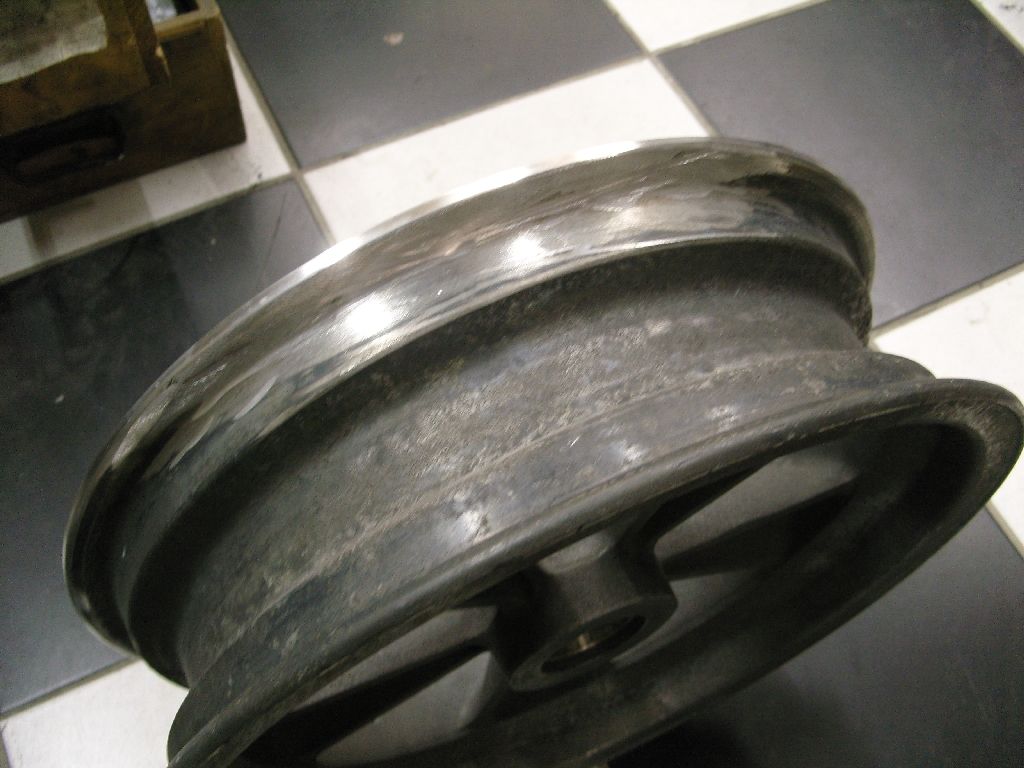
I set off to the tyre fitters all excited, they took special care of the rims in fitting the tyres but on the second rim when they inflated the tyre a large piece of the bead just pinged off
Now i knew one wheel had been repaired but evidently not yery well !!!
I found someone nearby that is experienced in welding Magnesium so hopefully tomorrow it will all be repaired, The guy took one look and said someone had repaired it with ally TIG rod and it had cold cracked. He offered me some magnesium rods to do it myself but i declined as having never welded magnesium i thought practising on my wheels wasn't a great idea !!!

.
Anyway here are the pics, I really like the tall look.Its aweful lonesome in the saddle since my horse died.
-
01-05-2012 12:31 PM #741
CHR Member
- Join Date
- Jan 2004
- Location
- Macomb
- Car Year, Make, Model: '32 Ford 3W Coupe, 383 sbc
- Posts
- 1,593
It's a good thing it failed now rather than when you are making a pass. Yikes!!
Lynn
'32 3W
There's no 12 step program for stupid!
http://photo.net/photos/Lynn%20Johanson
-
01-05-2012 12:49 PM #742
CHR Member
- Join Date
- Apr 2009
- Location
- watford
- Car Year, Make, Model: 26T Coupe, 32 Roadster, 41 Willys Coupe
- Posts
- 2,363
For sure Lynn !!!
Originally Posted by rumrumm
Its aweful lonesome in the saddle since my horse died.
-
01-06-2012 01:26 AM #743
CHR Member
- Join Date
- Oct 2007
- Location
- Petaluma
- Car Year, Make, Model: 48 Ford F1
- Posts
- 9,793
Wow never seen that happen before. Like Lynn said better now, then while moving at high speeds! Project is coming together nicely!" "No matter where you go, there you are!" Steve.
-
01-06-2012 01:27 AM #744
CHR Member
- Join Date
- Feb 2008
- Location
- Inglewood
- Car Year, Make, Model: 60 F100 truck
- Posts
- 6,339
Scary stuff,steve..Nice looking wheels,too..Hope it repairs ok..Micah 6:8
If we aren't supposed to have midnight snacks,,,WHY is there a light in the refrigerator???
Robin.
-
01-06-2012 11:57 AM #745
CHR Member
- Join Date
- Apr 2009
- Location
- watford
- Car Year, Make, Model: 26T Coupe, 32 Roadster, 41 Willys Coupe
- Posts
- 2,363
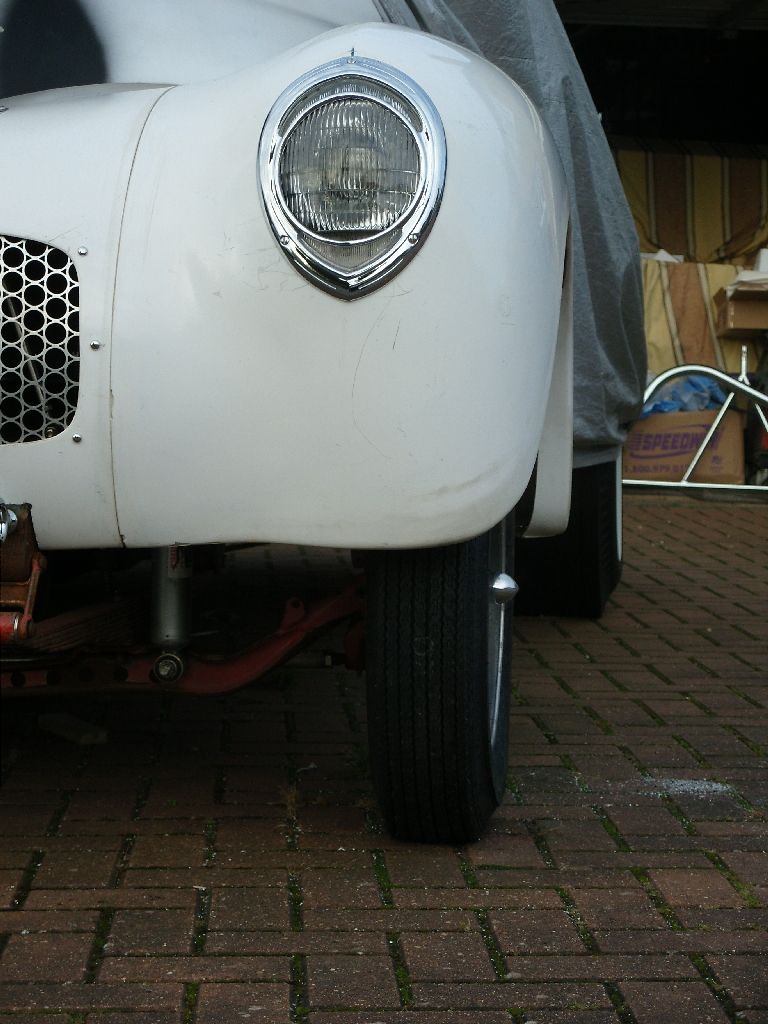
Here's one of the wheels fitted, ignore the fact i put the springs back on the wrong way round , the pins are off set and i didnt notice till it was back on the ground.
Fitting the spindle mounts did exactly what i wanted by moving the wheel inboard a few inches, the old wheels were pushed out by the adaptor in the disc kit and the answer would of been to narrow the axle slightly.
Today i took the wheel to an expert, he was a really nice bloke and even let me have a go on a scrap magnesium rim, Its very much like welding ally, except the gas mix is 50/50 argon/helium and the rod is obviously different, we used a az101 filler rod. The arc is also much shorter than aluminium and everything has to be very very clean. Also he preheated it.
I learn't a lot of this old guy today and now would'nt hesitate to have a go myself.
Unfortunately he didn't finis the job as he ran out of rods
.Its aweful lonesome in the saddle since my horse died.
-
01-26-2012 12:15 PM #746
CHR Member
- Join Date
- Apr 2009
- Location
- watford
- Car Year, Make, Model: 26T Coupe, 32 Roadster, 41 Willys Coupe
- Posts
- 2,363
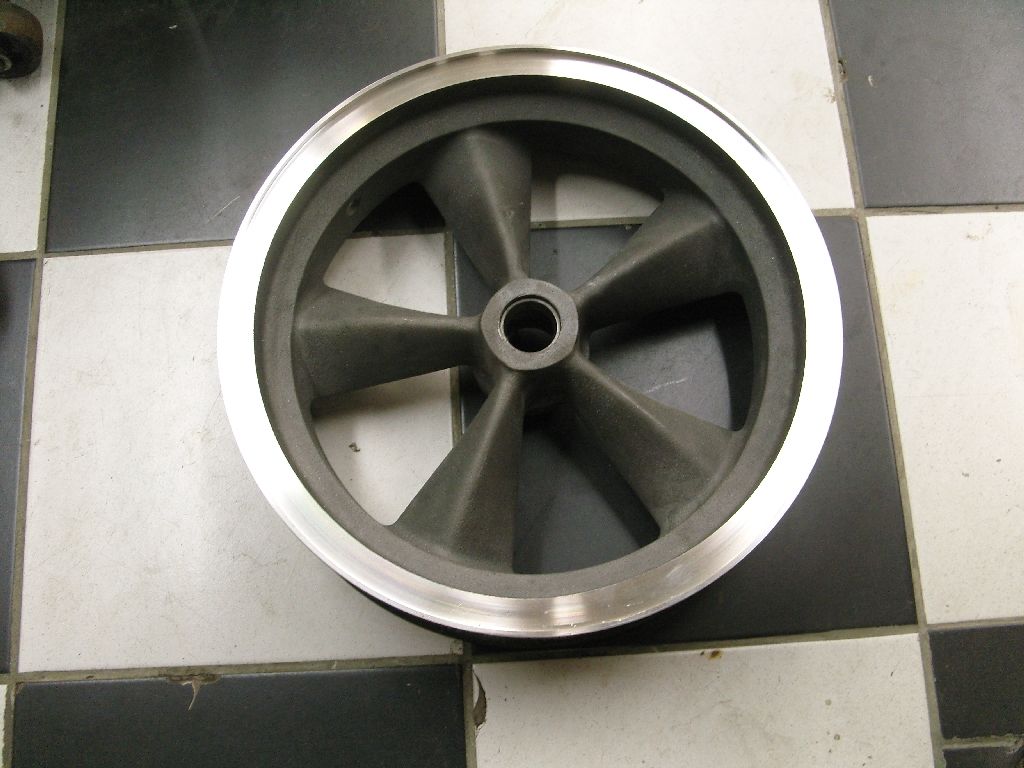
Well not much progress to speak of but today i'm a very happy chappy, Got a call from the wheel repairer to say my Spindle mount mag welding was done, They did an absolutely outstanding job and you would think it had never been damaged !!! They also sent it for crack testing and gave me a certificate to prove its ok.
They couldn't remachine it as their lathe was down but luckily i knew someone that had a big faceplate on a lathe, 24 hrs later it was done (thanks Brian)
Before
After
Its aweful lonesome in the saddle since my horse died.
-
01-26-2012 12:28 PM #747
CHR Member
- Join Date
- Feb 2007
- Location
- SLC
- Car Year, Make, Model: 52 Chevy 2-door Sedan w/ a 350/350 combo
- Posts
- 341
That wheel looks amazing. I guess I shouldn't expect anything less with your stuff.
Pride Runs Deep
-
01-26-2012 12:58 PM #748
CHR Member
- Join Date
- Apr 2009
- Location
- watford
- Car Year, Make, Model: 26T Coupe, 32 Roadster, 41 Willys Coupe
- Posts
- 2,363
Thanks, I'm pretty pleased with it myself !!! Originally Posted by Rickomatic
.Its aweful lonesome in the saddle since my horse died.
-
01-26-2012 01:08 PM #749
CHR Member
- Join Date
- Jan 2006
- Location
- Constantine
- Car Year, Make, Model: 57 chevy 2 dr wagon
- Posts
- 9,476
did they weld up the entire area then cut it back???I wouldn't think they'd weld the part back in???Charlie
Lovin' what I do and doing what I love
Some guys can fix broken NO ONE can fix STUPID
W8AMR
http://fishertrains94.webs.com/
Christian in training
-
01-26-2012 01:55 PM #750
CHR Member
- Join Date
- Apr 2009
- Location
- watford
- Car Year, Make, Model: 26T Coupe, 32 Roadster, 41 Willys Coupe
- Posts
- 2,363
No charlie they built it all up with magnesium rod, the broken part was aluminium, that was the original problem.
Originally Posted by cffisher
Its aweful lonesome in the saddle since my horse died.
 Reply With Quote

Posting Permissions
- You may not post new threads
- You may not post replies
- You may not post attachments
- You may not edit your posts

Many of the long tube cast headers I've run across had a relief ground on the back side for starter bolt clearance. I just trimmed the bolt on mine. On these new shorty's, they eliminated the...
55 Wagon Progress