Thread: 41 New Yorker Coupe
-
08-22-2011 07:14 PM #106
Thanks Guys.
Its not perfect but a little filler is allowed.Pugsy
-
Advertising

- Google Adsense
- REGISTERED USERS DO NOT SEE THIS AD
-
10-03-2011 06:07 PM #107
Finally got back to the chassis work.
I made up a couple of rad support posts and two outriggers to mount the new front clip on.
I welded two tabs at the top of the support posts and bolted two tabs to the bottom of the frame rails for the radiator isolators to bolt on to.
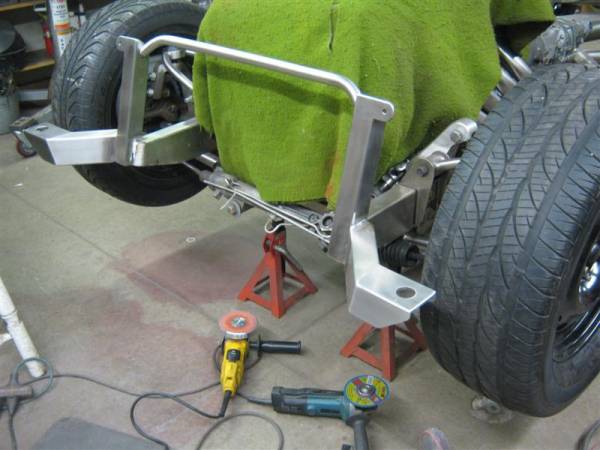
I finally got the new (used) mill running and machined out the tabs for the rad.
These will bolt to two 1/4'' aluminum side plates. The plates will then be welded to the rad to spread the load rather than just having the tabs welded to the sides of the rad.
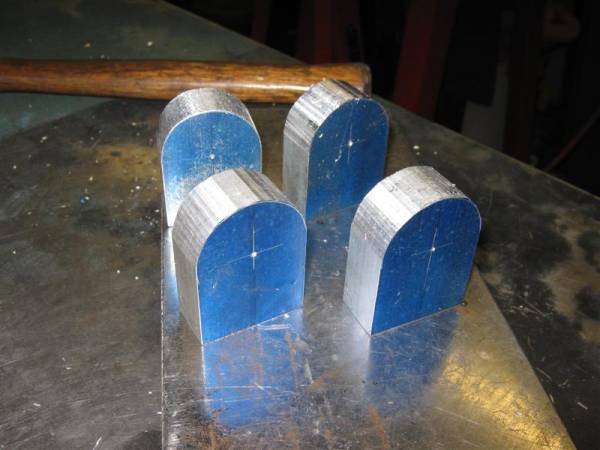
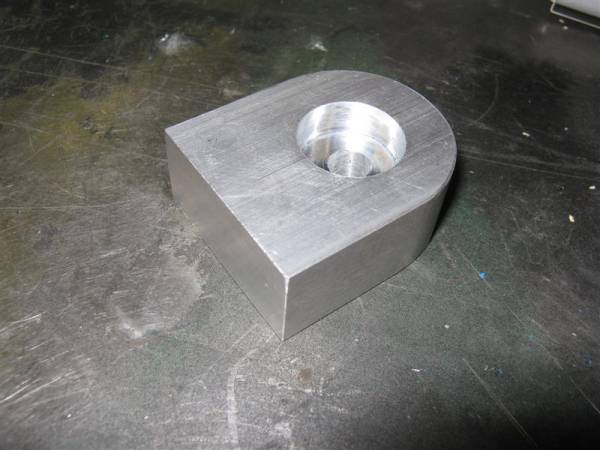
Rubber isolators I found on line.
They are good for 55LBS each in shear.
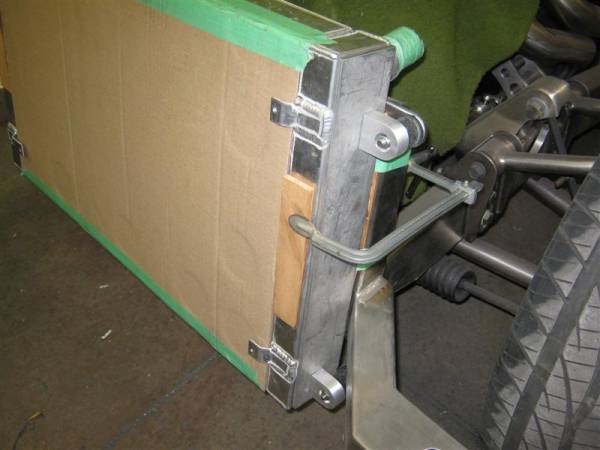
Thanks for looking,Pugsy
-
10-03-2011 06:11 PM #108
Nice looking mounts Pugs, should work out great!
BTW, what did you buy for a mill????Yesterday is history, tomorrow is a mystery, Live for Today!
Carroll Shelby
Learning must be difficult for those who already know it all!!!!
-
10-03-2011 06:26 PM #109
Thanks Dave.
I got one of these babies:

Of coarse this is 3 weeks later after painting and changing all the broken stuff.Pugsy
-
10-03-2011 07:12 PM #110
Nice mill, digital read out and all!!!!!Yesterday is history, tomorrow is a mystery, Live for Today!
Carroll Shelby
Learning must be difficult for those who already know it all!!!!
-
10-04-2011 11:18 AM #111
Nice work on the brackets!. One of those mills is pretty trick to have!"  "No matter where you go, there you are!" Steve.
-
10-04-2011 01:23 PM #112
-
10-22-2011 06:41 PM #113
Crazy Cool build and i thought i had alot of metal work in my ride wow impressive!
-
10-23-2011 04:20 AM #114
Thanks George.
The front metal is taking forever.
I did manage to get the pasenger side grill opening cut out.
I'll post some pics later.Pugsy
-
10-23-2011 06:03 AM #115
I cut out the second grill opening, made up the collar and got it tacked in place.
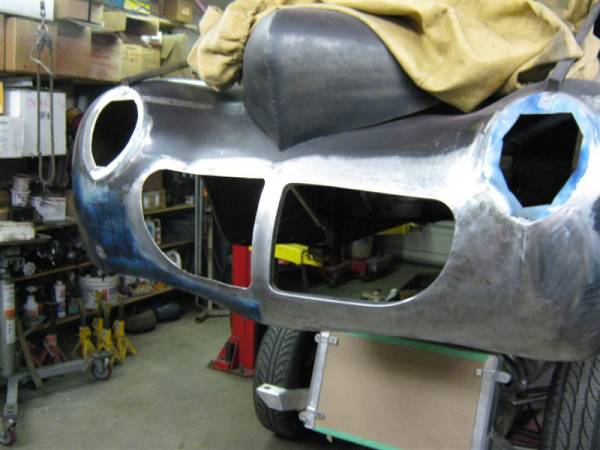
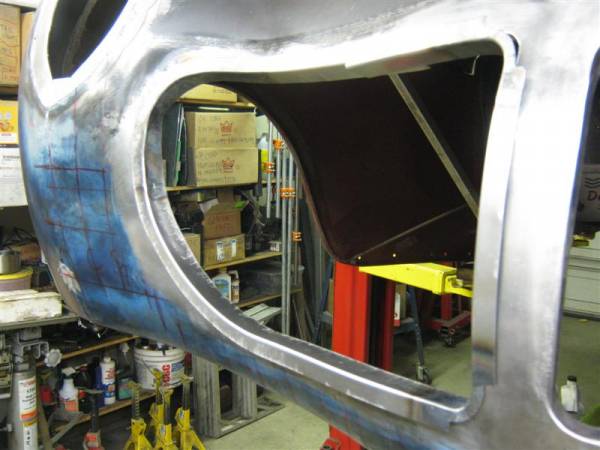

Pugsy
-
10-23-2011 06:42 AM #116
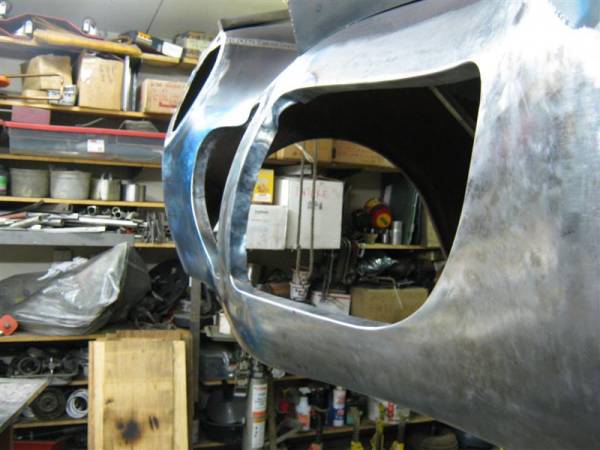
Got it welded and found the shape was way off.
I had to get the torch and BFH out and start adjusting.
You can see the heat marks in the pic below.

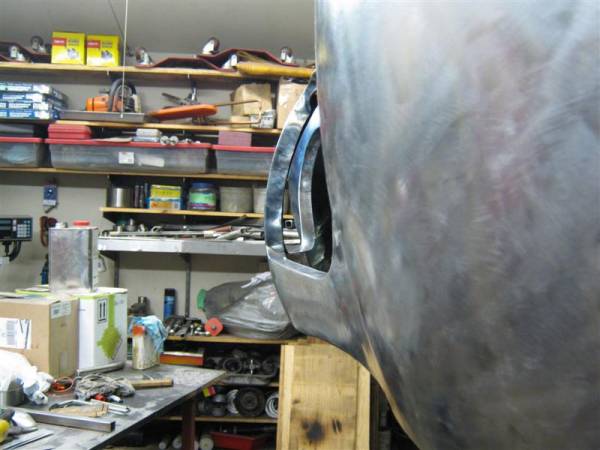
This pic shows the shape nicely from the side.
Thanks for looking,Pugsy
-
10-23-2011 07:54 AM #117
Great looking grille openings! As always really first rate metal workin' Pugs!!!!!Yesterday is history, tomorrow is a mystery, Live for Today!
Carroll Shelby
Learning must be difficult for those who already know it all!!!!
-
10-23-2011 10:12 AM #118
Thanks Dave.
Pics make it look better than it is.
Lots of waves and wows to take out........Its driving me crazy!!!!!!!!Pugsy
-
10-24-2011 07:59 AM #119
Yeah, it takes some dingin' and pingin' time to get everything right.
I hate it when things drive a guy crazy, for me it's such a short trip!!!!!!!!!


Yesterday is history, tomorrow is a mystery, Live for Today!
Carroll Shelby
Learning must be difficult for those who already know it all!!!!
-
11-12-2011 03:14 PM #120
Looking at the 1/8" thick steel headlight plates was also driving me crazy with the lousy connection seam at the fender and the disgusting welds in the back.
I made a hammerform and made up a new plate.
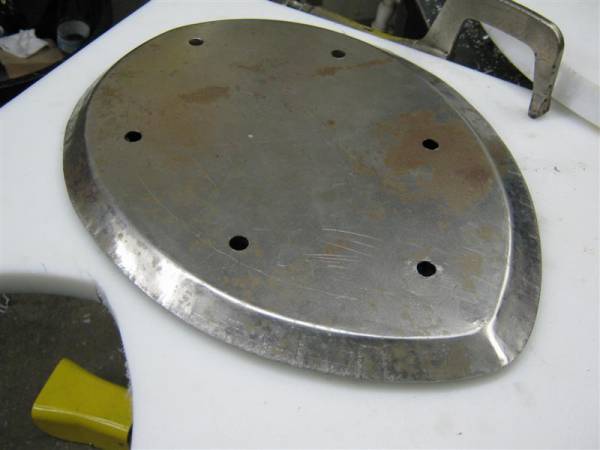
Cut out the opening......
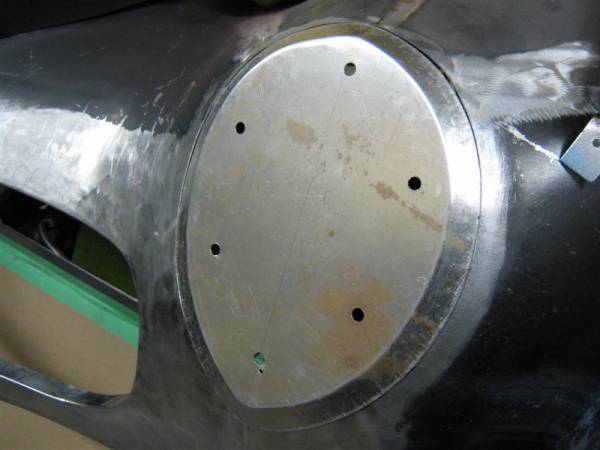
And tacked in place.....

Welded up and the proud ground off. Still needs planishing and metal finished.

And here's a shot of the piece I cut out. Its self explanetory as to why it was driving me nuts looking at it.
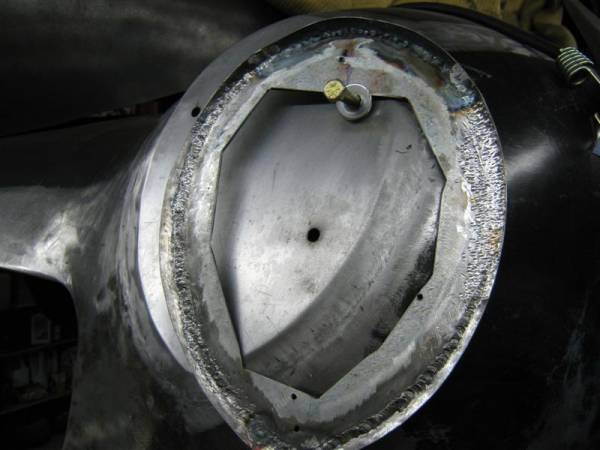
Thanks for checking in,Pugsy


 9Likes

 LinkBack URL
 About LinkBacks
 Reply With Quote


Many of the long tube cast headers I've run across had a relief ground on the back side for starter bolt clearance. I just trimmed the bolt on mine. On these new shorty's, they eliminated the...
55 Wagon Progress