Thread: Build thread 37 Dodge PU
-
10-06-2011 04:48 PM #76
"..... Open them babies about 3am some night when you're coming home late....."
My problem is that anymore 3AM is when I wakeup (God I love the golden years)
Charlie, I hadn't thought about rolling the rack, fortunatly the the angle for the joints going into the rack isn't too bad. It is something to keep in mind for future builds though.I've NEVER seen a car come from the factory that couldn't be improved..... 
-
Advertising

- Google Adsense
- REGISTERED USERS DO NOT SEE THIS AD
-
10-09-2011 08:34 AM #77
Well it steers. I’m, not sure I’m completely done with it but it turns smoothly throughout the entire travel and there is no play. I did have to clearance the front header tube just a bit, it wasn’t rubbing but there wasn;t a lot of clearance.
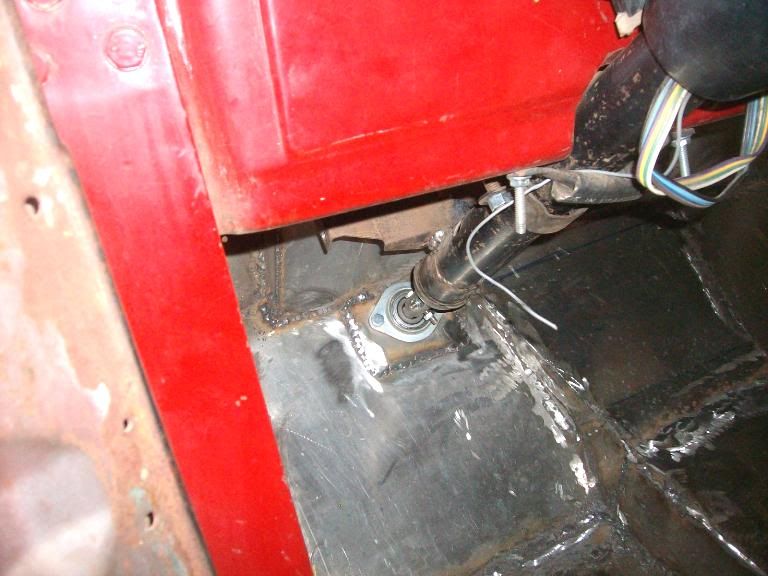
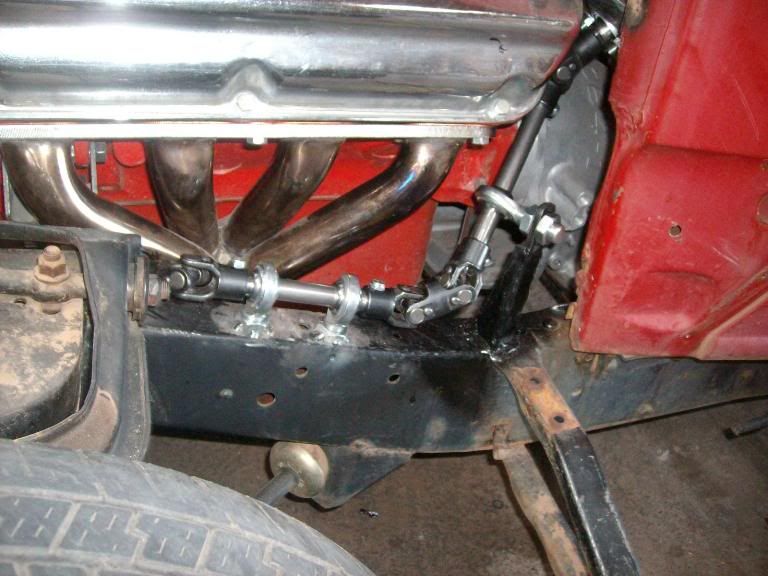
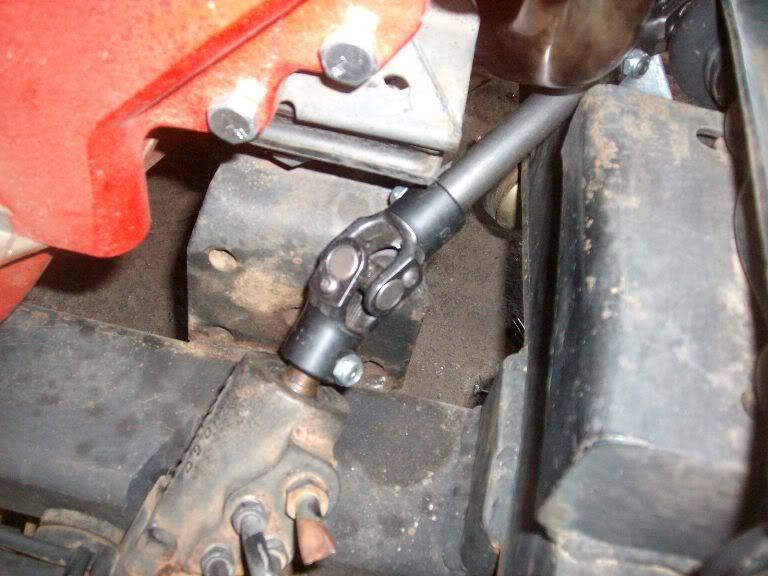
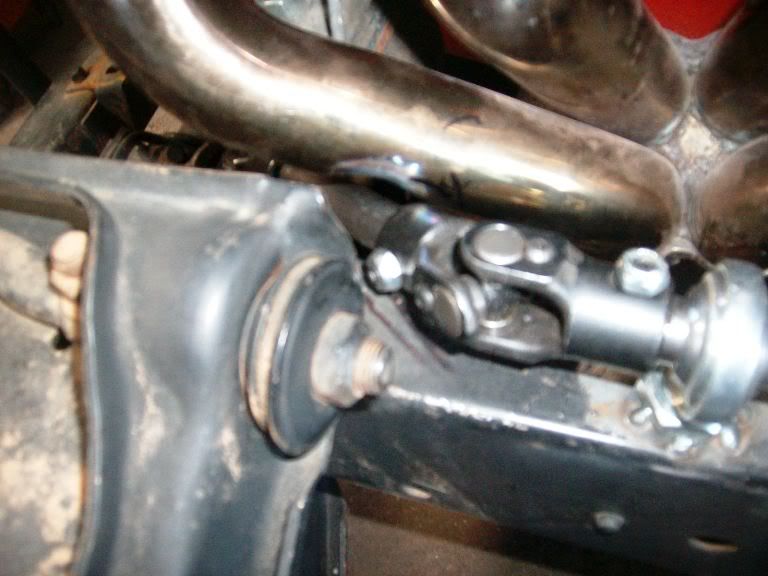
Last edited by Mike P; 10-09-2011 at 08:36 AM.
I've NEVER seen a car come from the factory that couldn't be improved..... 
-
10-09-2011 08:36 AM #78
The bed of the truck was getting kind of full, (and I just wanted to see the truck kind of back together again with a motor in it) so I put the fender, nose and hood back on.
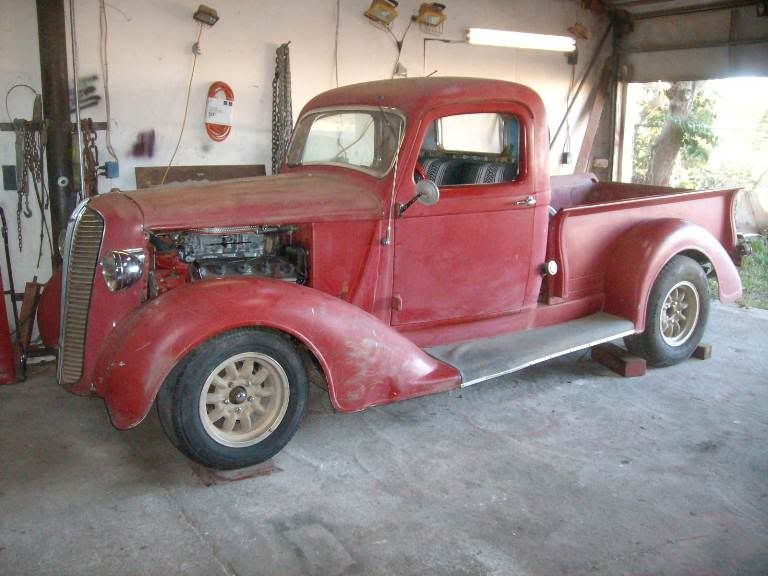
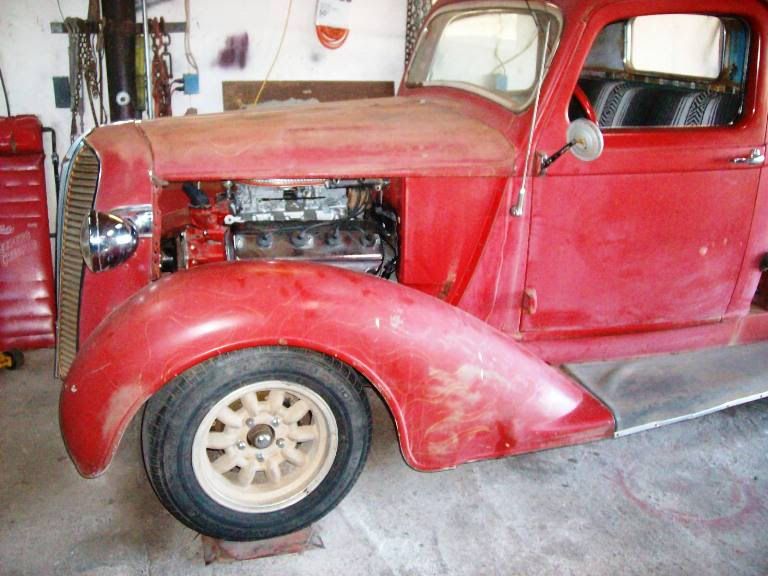
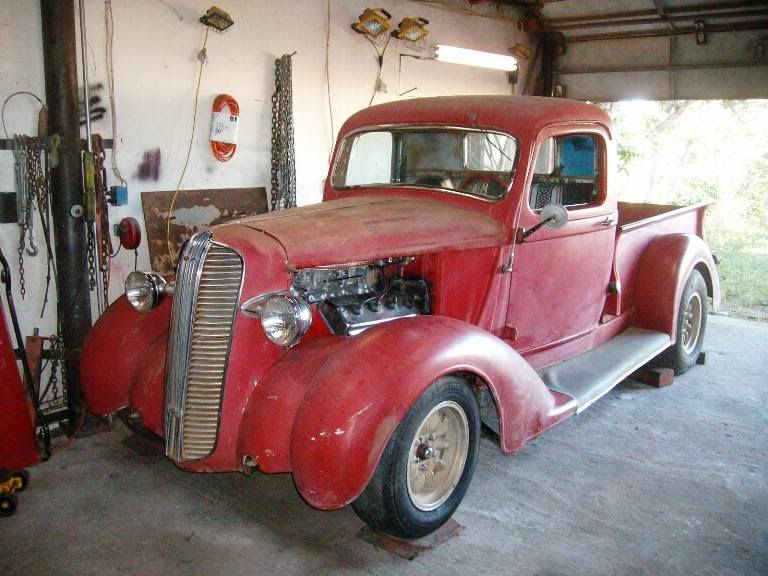
I've NEVER seen a car come from the factory that couldn't be improved..... 
-
10-09-2011 08:46 AM #79
The steering linkage ought to work, sure wasn't a cheap unit to put together, huh???
The old truck looks good all mocked up and cleaned up! Going to be a way kewl cruizer, Mike!!!!!Yesterday is history, tomorrow is a mystery, Live for Today!
Carroll Shelby
Learning must be difficult for those who already know it all!!!!
-
10-09-2011 09:58 AM #80
Yeah Dave their pretty proud of the joints, especially the double joint. Even the cheaper $25 a piece parts like heim joints and column bearings start adding up. Of course while was on their web site I decided to order a few other pieces like the flow control valve for the power steering pump I’ll need later on.
I figure the next project will be to get rid of the 10 bolt and hang the Dana. I’m planning on taking another trip back to Il the end of this month so I don’t know if I’ll start on that before I leave or not.I've NEVER seen a car come from the factory that couldn't be improved..... 
-
10-09-2011 11:55 AM #81
Steering looks great, Mike! Wow, that took some serious thinking to make it work.
-
10-10-2011 04:56 AM #82
"......that took some serious thinking to make it work....."
You never really know on something like this until you have the parts in hand to see if will actually fit. It wasn’t so much thinking as it was a lot of “well damn that won’t work”
Pat’s suggestion about using a 3/4” wood dowel to replicate the shafts for mockup was a life saver. I could actually put sections together and check for binding and fit (there was a fair amount of sawdust floating around by the time I was done).I've NEVER seen a car come from the factory that couldn't be improved..... 
-
10-15-2011 05:43 PM #83
We kind of discussed the shifter a couple of weeks ago, so this week I decided to go ahead and see if I could get it in. I’m going for kind of a 50-60s feel and looking around at the different shifters out there, I only came up with 2 that I liked; an original push button pod from a 50-60s Mopar and the cheapie flat handled automatic floor shifter that’s been around forever.
The only reason the push button lost out was that I would end up losing the Park feature of the transmission. So this is the shifter I ended up using.
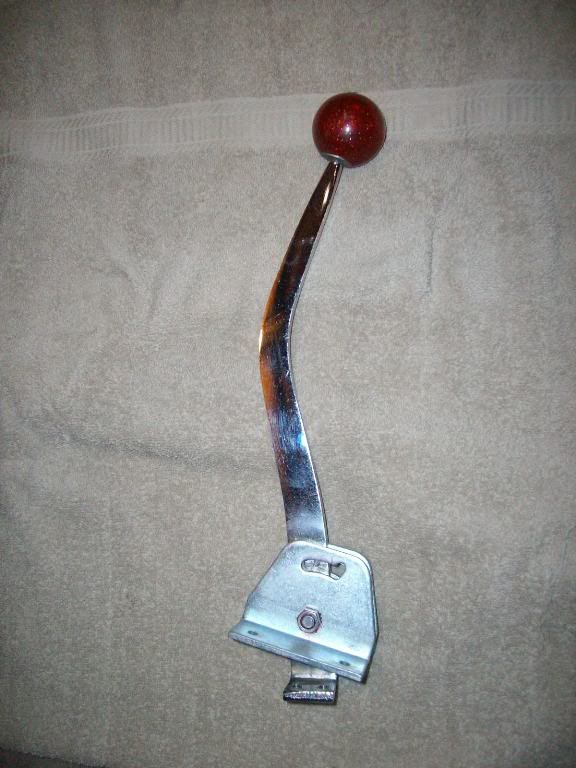
As I only have a bare 518 case the first thing I had to do was dig up a valve body so I would have the manual shift shaft and spring loaded detents. After doing some research I found out that either a 727 or 904 valve body physically bolts into the 518 case and I had a junk 6 cyl 904 out in the back shed so I was in business.
I spent a day figuring out that a straight mechanical linkage would just not clear the transmission and transmission tunnel. Rather than give and go back to a column shift I decided to convert the shifter to cable.
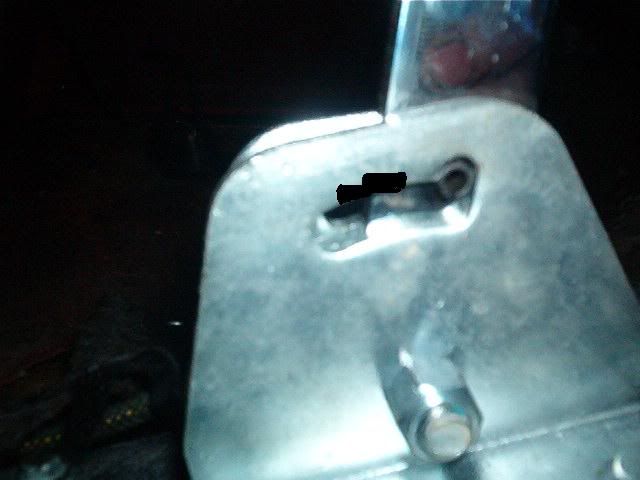
The first part was fairly easy. I cut off the L shaped foot at the bottom of the shifter and drilled and installed a pin for the cable to connect to. I built a base to raise the shifter up which actually serves 2 purposes…..raises the handle up to a more comfortable height and keeps all the mechanism above the floor. I used 1/2" tubing to raise the boot up a little and give a place to attach the cable to.

I probably over complicated the transmission end of the shifter. I could have just run a long cable all the way to the transmission bracket and re-drilled the lever for the right ratio. When I ran the long cable I didn’t like the way it looked with two 180 degree bends and a loop at the front that may have caused some problems when the exhaust is run.
I decided to use a bellcrank bolted to the transmission. It allows the use of a short cable that tucks nicely on the frame rail and only one 180 degree bend. The other end is mechanical linkage to shift lever.
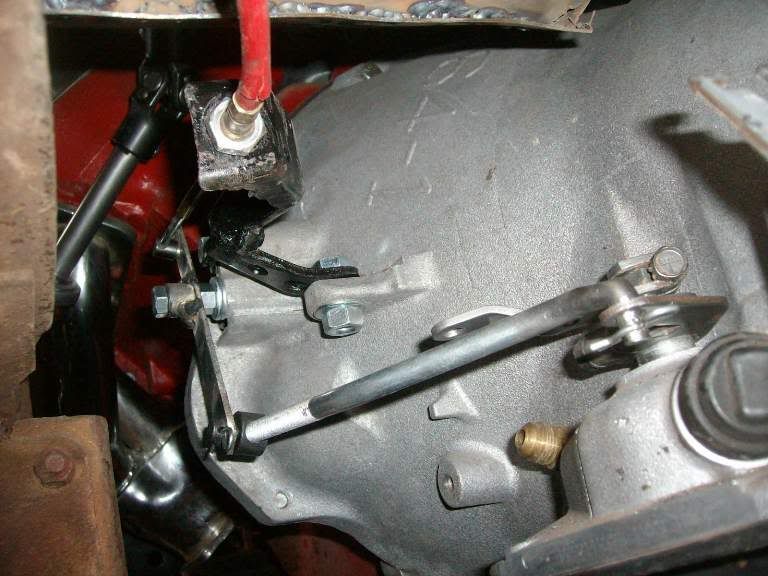
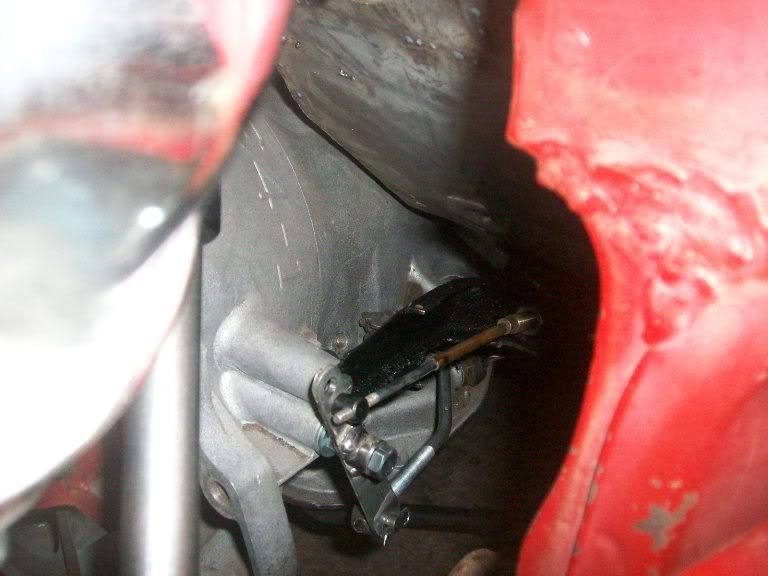
I’m happy with the looks and it shifts smooth and firm. Manual shifting with it will not be a problem.
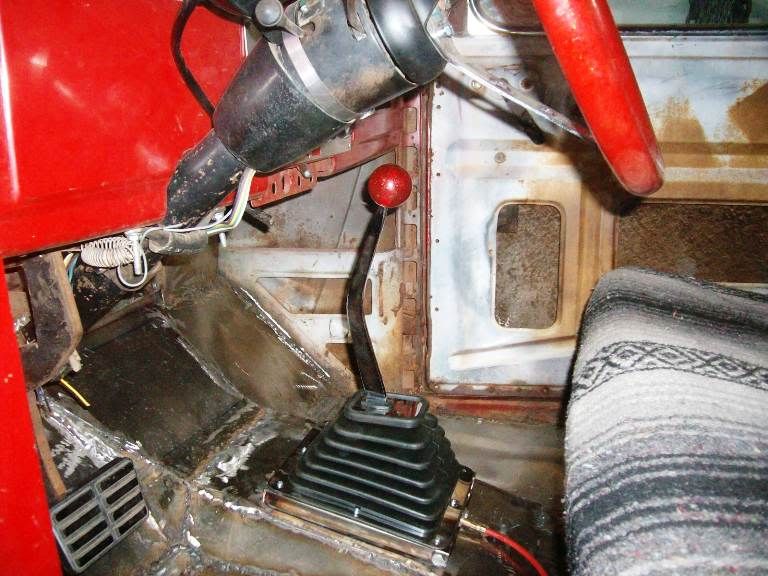
The only thing remaining is to go into the base with a die grinder and cut some additional detents. The steps will prevent the shifter from accidentally being down shifted without pushing the handle down, and will also act as a positive reverse lockout which is required for racing and just a good safety feature anyway.

I've NEVER seen a car come from the factory that couldn't be improved..... 
-
10-16-2011 07:10 AM #84
Great looking truck. Love the Hemi!Livin' on Route 66 
-
10-19-2011 05:48 PM #85
I got tired of looking at the big hole in the passenger fender, so I decided to see if I could get that patched up. I’ve never done a patch this large on exterior sheetmetal before so I was a little apprehensive about how many times it would take to get it right and how it would turn out.
A while back a friend gave me a beat up 33(?) Chevy fender to use as patch material. When I first looked at it next to the Dodge I didn’t think the shape would be close enough to do any good, but I dragged it out again and took a closer look…..I came to the conclusion that with a bit of tweaking it might just work out.
I rough cut the patch and with a little bit of tweaking I got it to fit pretty well. I had left a little bit of a lip when I cut the tire well out so I bent a couple of them up to support the bottom while I tacked it.
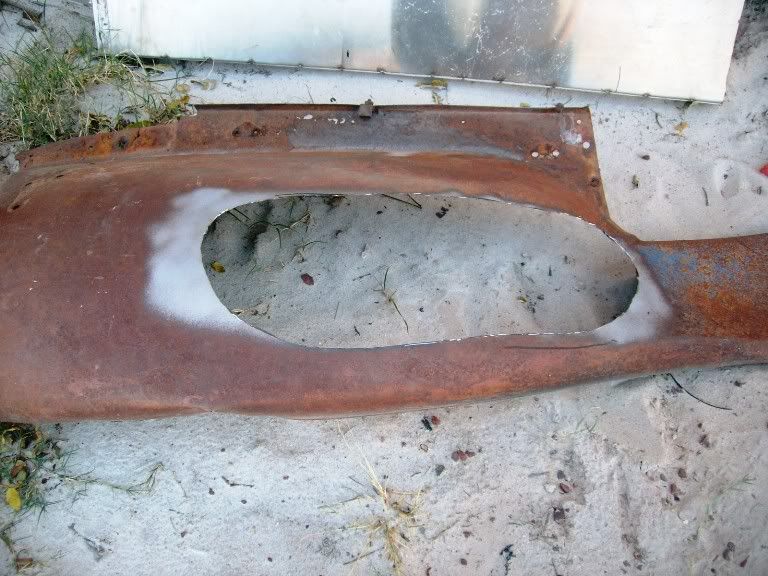


By the time I quite tonight I had it welded in and the welds pretty well ground down (still a bit to do tomorrow). I’m pretty pleased about how it has come out so far.
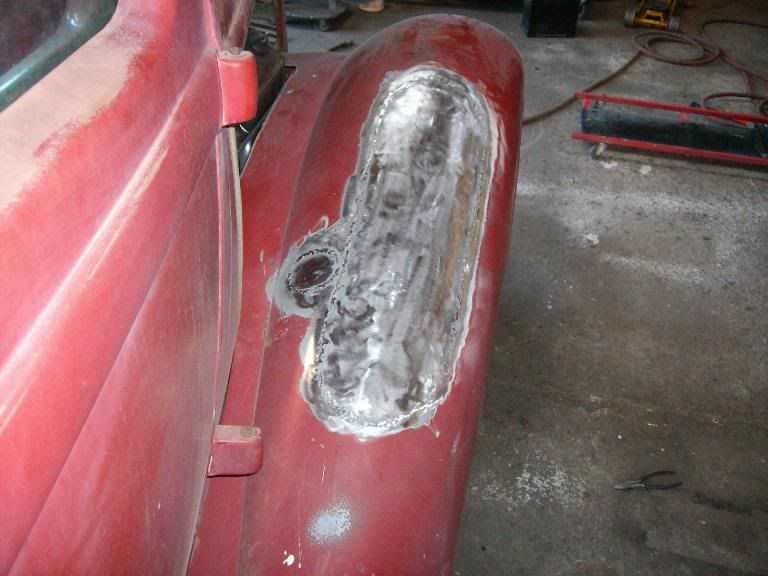
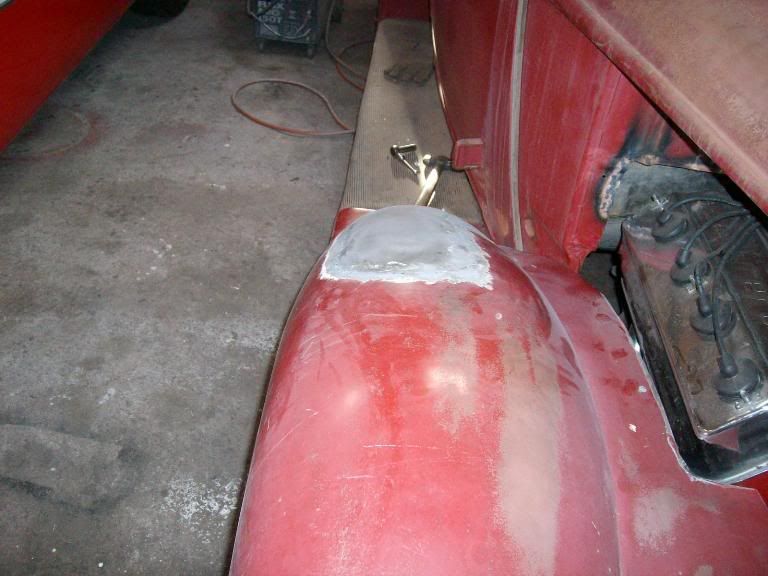
I figure I’ll skim it with filler tomorrow and throw a little bit of primer on it and call it good until I get ready to do or have the rest of the body work done.I've NEVER seen a car come from the factory that couldn't be improved..... 
-
10-19-2011 06:15 PM #86
looks good never know it was your first time.Charlie
Lovin' what I do and doing what I love
Some guys can fix broken NO ONE can fix STUPID
W8AMR
http://fishertrains94.webs.com/
Christian in training
-
10-19-2011 08:22 PM #87
Thats a sweet pu Mike....Toys
`37 Ford Coupe
`64 Chevy Fleet side
`69 RS/SS
`68 Dodge Dart
Kids in the back seat may cause accidents, accidents in the back seat may cause kids, so no back seat, no accidents...!
-
10-19-2011 08:32 PM #88
From our perspective the patch on the fender looks really well done.....Kudo's to ya....well doneNever take life too serious.....You wont make it out alive 
-
10-19-2011 10:28 PM #89
Boy that Hemi sure does occupy some space up there, doesn't it? Looks great though and you did a good job of solving all the clearance issues.
Don
-
10-20-2011 05:12 AM #90
Looking good, Mike! It looks like it coming together pretty quick; are you shooting to have it road ready for spring?


 432Likes

 LinkBack URL
 About LinkBacks
 Reply With Quote

Thanks for the happy birthday wishes, so far 50 feels a lot like 49 LOL
Happy Birthday 53Chevy5