


 6Likes
Thread: 1965 Fairlane build
Results 1 to 15 of 57
 LinkBack URL
 About LinkBacks
Threaded View
-
02-10-2012 09:24 AM #7
 CHR Member

- Join Date
- Jun 2008
- Location
- Leonardtown
- Car Year, Make, Model: Walking
- Posts
- 1,228
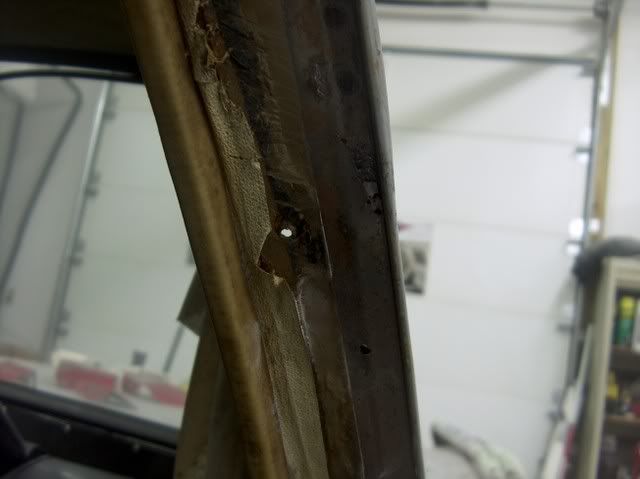
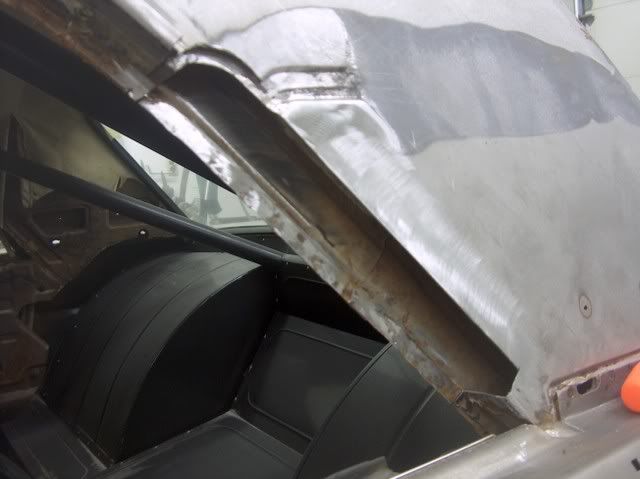
For some reason, drip rails don't tend to like me. This is the second car in a row needing drip rail repairs.

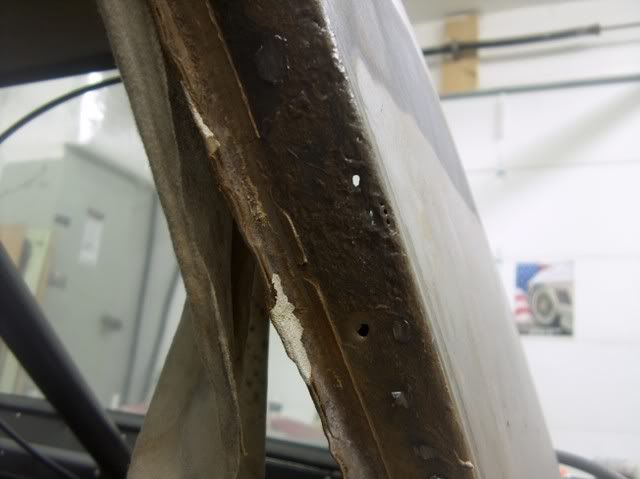
Using the cut-off wheel to grind/remove the spot welds.

Dominoes, anyone?
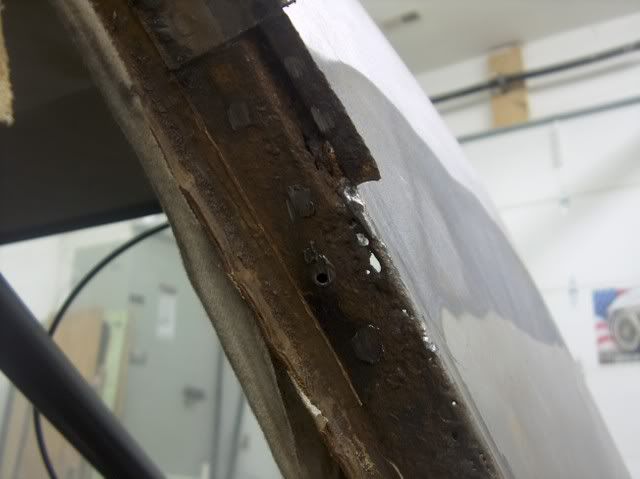
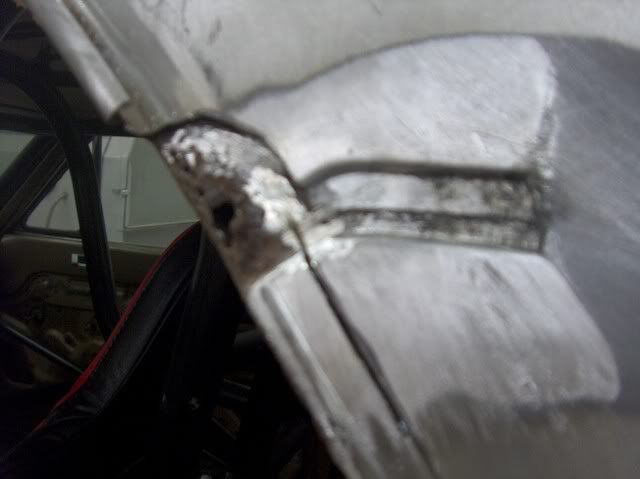
Looking at the rust just above the drip rail, it looks like it is up into the roof panel as well.
The first order of business will be to remove the leaded seam to expose the lapped joint between the two panels. A soft flame on the acetylene torch and a wire brush makes short work of it.
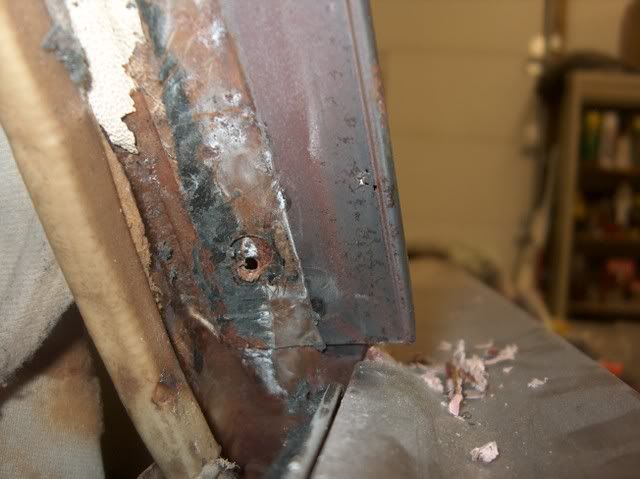
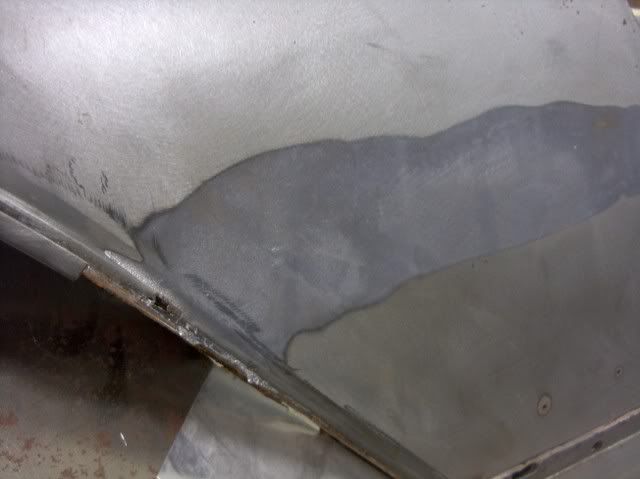
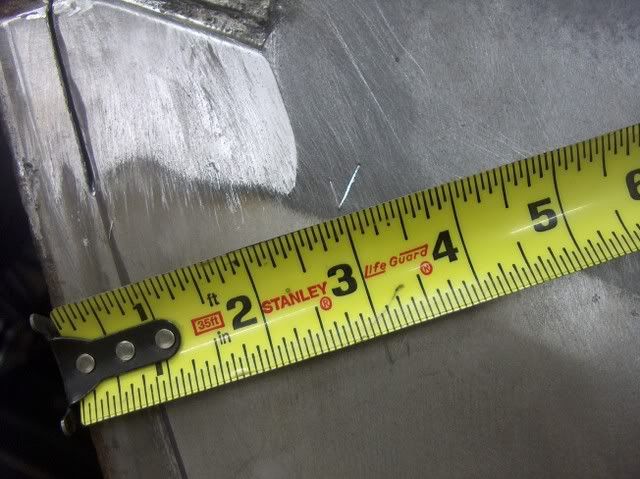
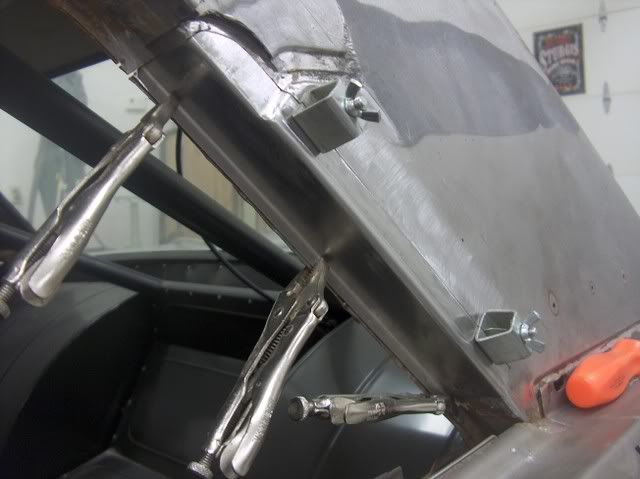
The closer I stay to the crease of the leading edge of the sail panel, the less the metal should move. A quick check of the back side shows that, although it will be tight, I can get a dolly in there. The top piece is marked a bit larger, to give room for welding and grinding the seam for the repair panel below it.
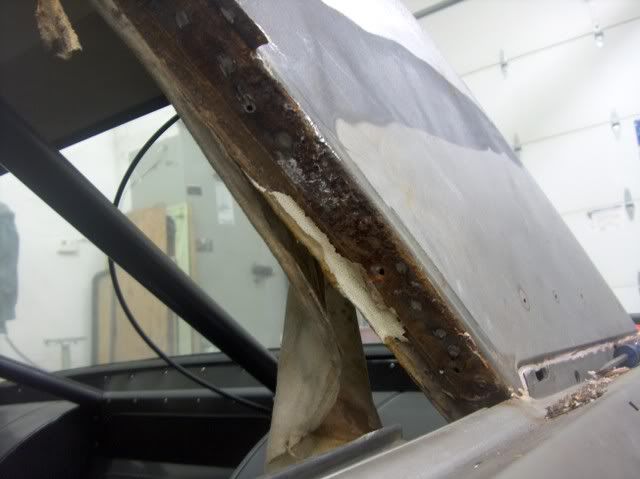
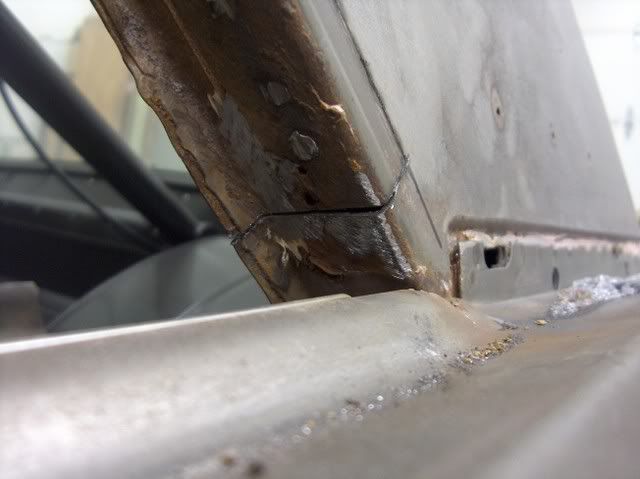
An ice pick and a bit of grinding will show the extent of the damage, and let us know how far up we need to go for good metal. I did have to trim the top opening a bit more.
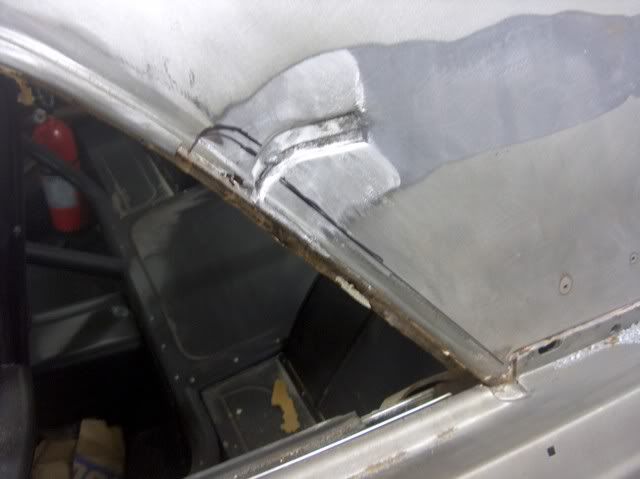
....and before we get too carried away with the cut off wheel, let's mark some reference lines so the new piece will go back in the same spot.
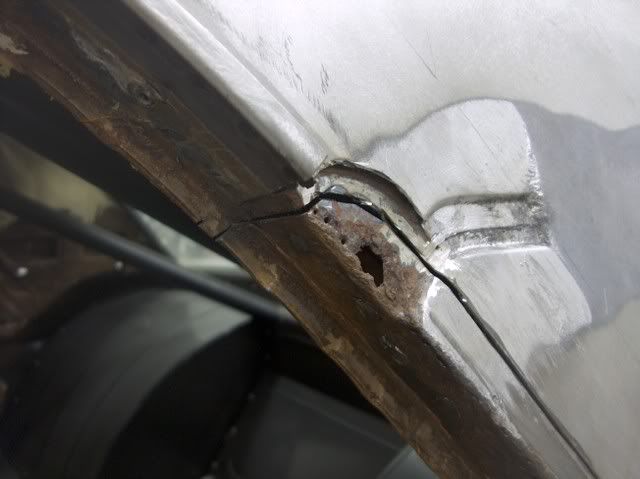
Opening up the tin can....also will need to grind away the spot welds holding it to the inner sail panel.
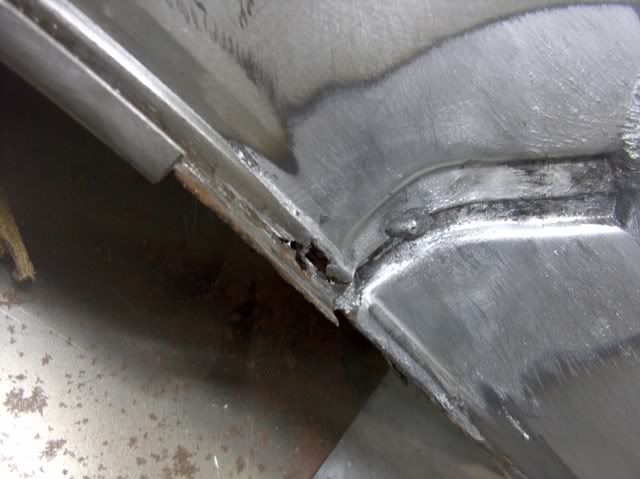
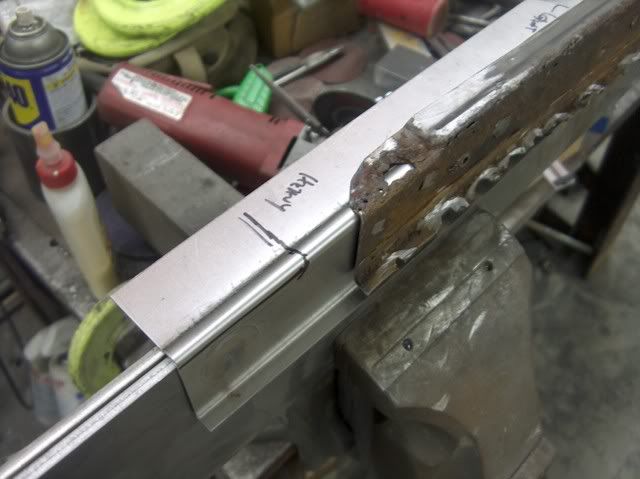
In bending up the new piece, there needs to be a joggle just above the drip rail.

The machine you see in the background here is actually what I should be using, but I think it would take longer to make the dies than what I have in shop time this evening.
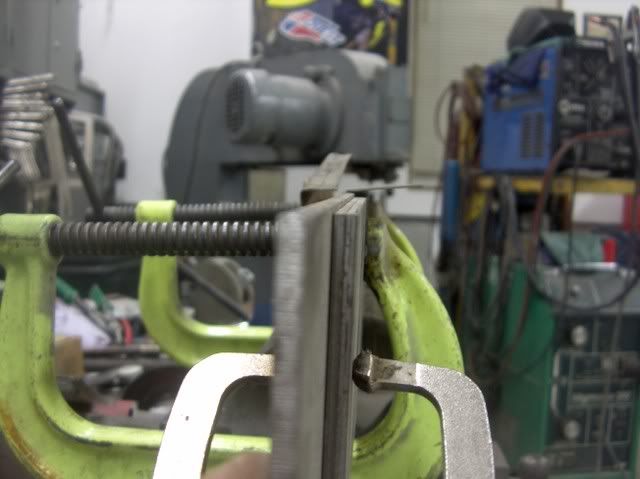
So we'll cheat, especially since I found a flat bar in the scrap pile just the right width.....
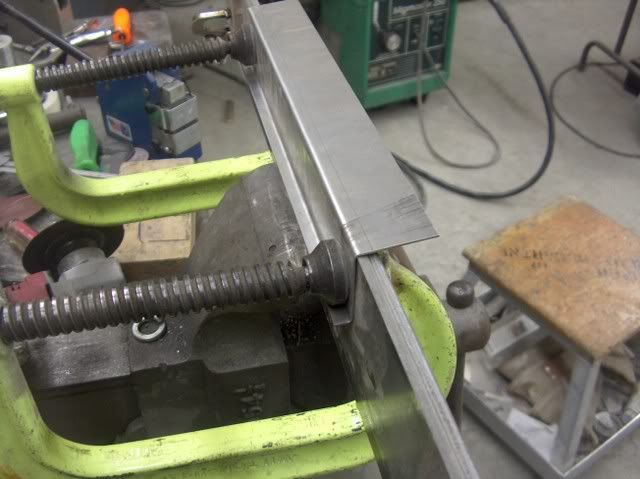

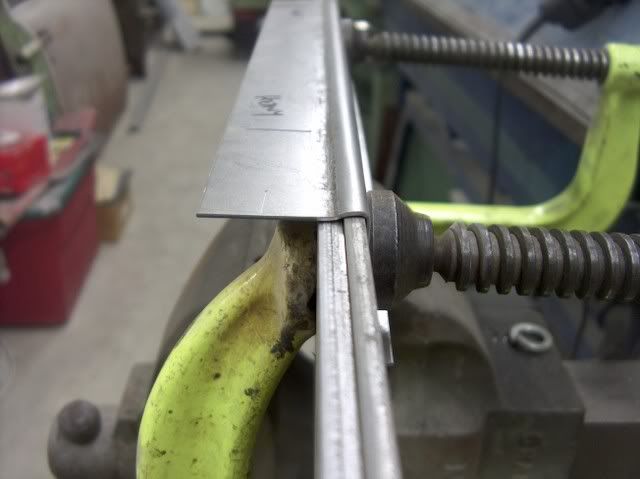
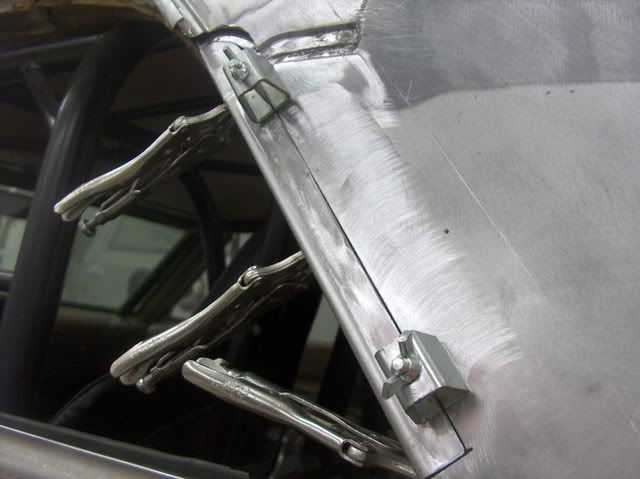
Some hammer work on the welding table will reform the end, and then we can trim and test fit this piece. Still need to trim a bit more to match my reference marks, but it's real close. And as it's late, we'll have to put off welding until tomorrow.

 Reply With Quote
Tags for this Thread
Posting Permissions
- You may not post new threads
- You may not post replies
- You may not post attachments
- You may not edit your posts

A travel agent was sitting at his desk when he noticed an elderly couple standing outside, gazing longingly at the posters of dream vacations in the shop window. They looked sweet, and honestly, a...
the Official CHR joke page duel