Thread: Grandkids Coaster Car build.
-
07-23-2012 02:37 PM #16
- Join Date
- Apr 2011
- Location
- Prairie City
- Car Year, Make, Model: 40 Ford Deluxe, 68 Corvette, 72&76 K30
- Posts
- 7,299
- Blog Entries
- 1
Very cool Mike! Like every one else already said, he will cherish this forever! I like what you did wih the gas tank for the front. If you could find a tear drop shape some thing you could make it look like a vintage speedster from the salt flats. Keep up the great work, and enjoy it!Ryan
1940 Ford Deluxe Tudor 354 Hemi 46RH Electric Blue w/multi-color flames, Ford 9" Residing in multiple pieces
1968 Corvette Coupe 5.9 Cummins Drag Car 11.43@130mph No stall leaving the line with 1250 rpm's and poor 2.2 60'
1972 Chevy K30 Longhorn P-pumped 24v Compound Turbos 47RH Just another money pit
1971 Camaro RS 5.3 BTR Stage 3 cam, SuperT10
Tire Sizes
-
Advertising

- Google Adsense
- REGISTERED USERS DO NOT SEE THIS AD
-
07-23-2012 03:06 PM #17
I like the photo of the little fella standing on the up turned plastic box to be able to help his Grand dad,awesome. I too is going to enjoy following this thread so thanks Mike for allowing us all into your family.I maybe a little crazy but it stops me going insane.
Isaiah 48: 17,18.
Mark.
-
07-28-2012 04:00 AM #18
I spent a fair amount of time working on the car during the week getting it to the point where I want to be tomorrow when Cade comes over. Most of the work involved cutting, grinding and welding which he’s still a little young for and being as Sunday time is limited I figured this will help keep the project moving and his interest higher than spending 2 or 3 Sundays just watching Grandpa work. The rest of the build should mostly consist of bolting things together so there will still be lots for him to do.
I used the templates Cade and I cut and got the filler panels made and welded in and the body is now all welded together into one piece. We’re in our monsoon season right now with a lot of humidity and getting rain about every day, so after I ground the welds down a bit I hit those areas with a light coat of primer. Then with all the different colors of metal and the primer splotches, I just went ahead and put a thin coat of primer over everything so I could better tell how the proportions looked (once the weather dries out I’ll sand blast it all down to bare metal and we can do some body work).
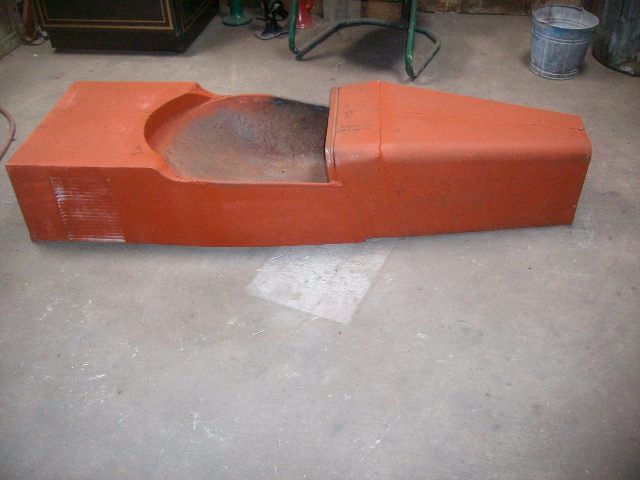
I was getting curious about the weight of the car with an all steel body so I set the body up nose down on the scales I have in the shop. It weighed in at 50 pounds so far. To give me something to compare it to I looked up what a soap box derby car weighs and found out they average about 150 pounds so I guess we aren’t really in too bad of shape there.
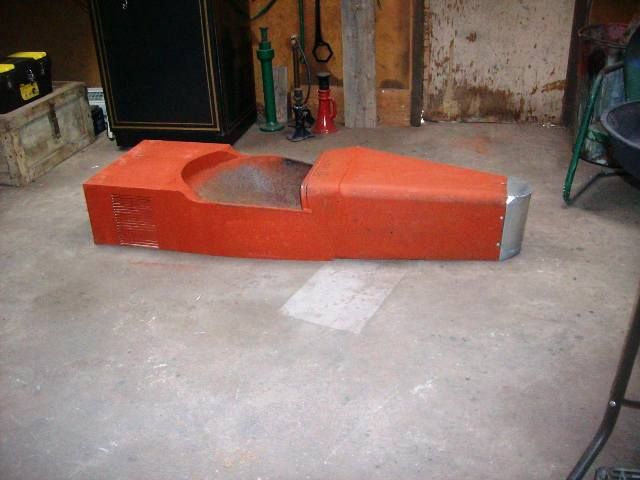
Overall I think we’re on the right track, but the nose could stand to be a bit longer and I really wanted to it to be rounded rather than flat. I decided to go ahead and make a second attempt at a nose piece.
This time I started with a piece of left over stove pipe. I wanted something that was galvanized so we could leave it silver for some contrast when we got around to painting the rest of the car. I pulled the front body plate, did some measuring and trimming and finally came up with this. It’s not perfect, but not bad either. We’ll see what Cade thinks of it tomorrow.
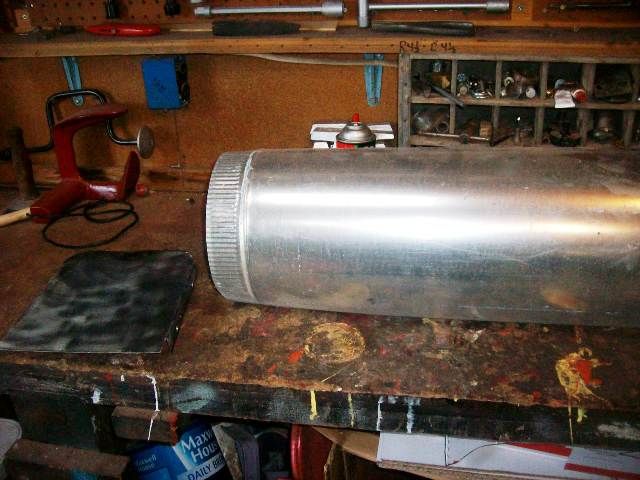
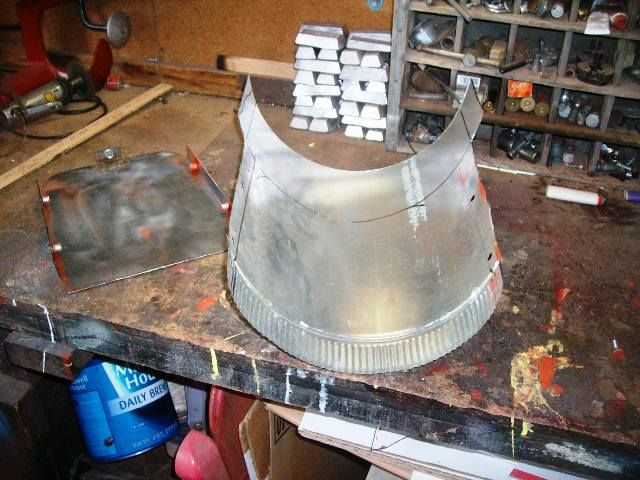
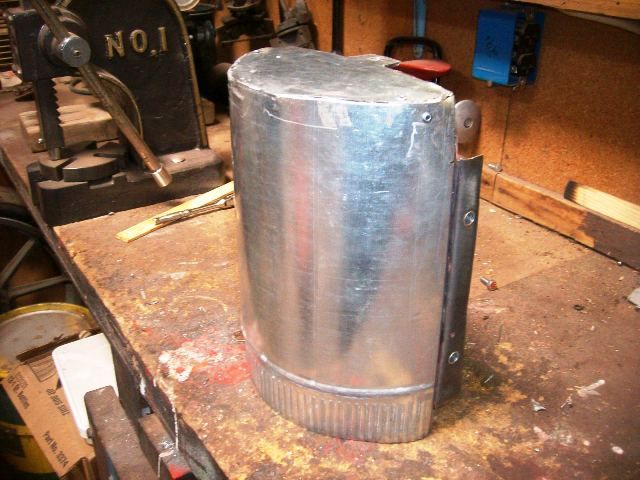
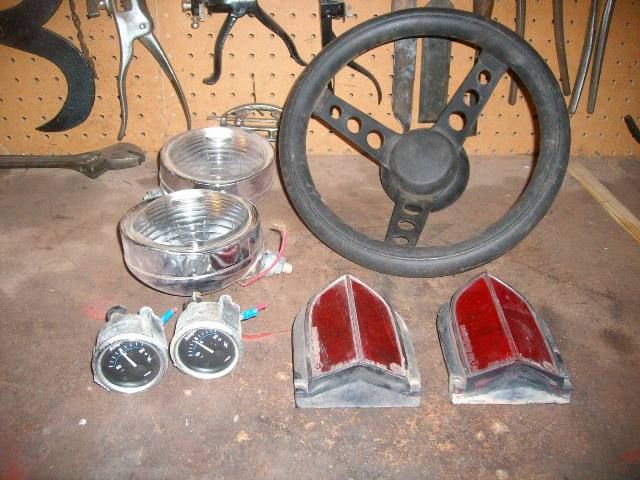
I really want to keep this a low out of pocket $$ project so Cade gets an idea about improvising with what you have on hand (and because I’m basically cheap). Last weekend we raided my storage shed for a few odds and ends that will eventually go on the car. Our “shopping spree” netted the steering wheel, a pair of headlights, a couple of gauges for the dash, and a pair of reflectors for taillights.
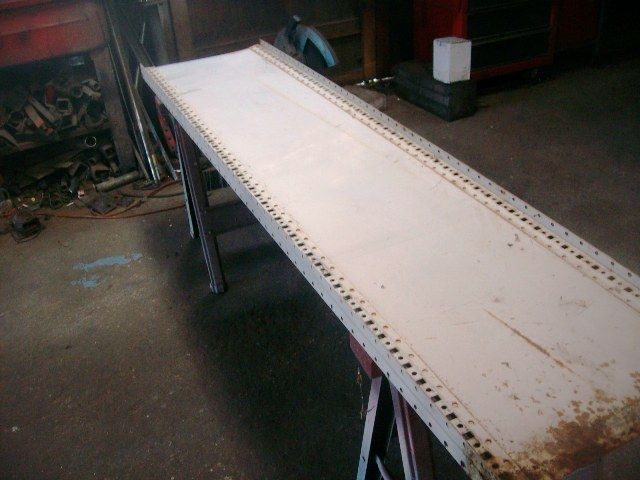
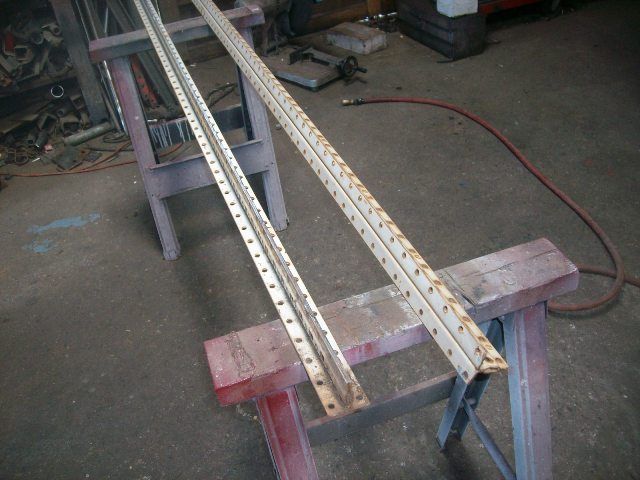
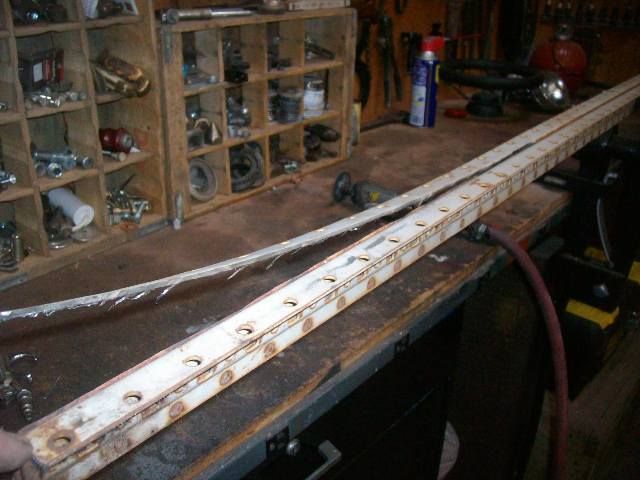
In keeping with low dollar theme, several years ago I picked up a couple of these side panels from a heavy duty shelving unit. The center sheetmetal is some real nice 22 gauge steel that I have been using for things like custom dash inserts and patch panels. I pretty much finished up using one of the sides for this project and while I was cutting out the pieces I realized I had found the frame rails. So I trimmed off one of the flanges to changing them from a “T” to “L”.
So that’s where we are until Cade comes over tomorrow.
.Last edited by Mike P; 07-28-2012 at 04:08 AM.
I've NEVER seen a car come from the factory that couldn't be improved..... 
-
07-28-2012 04:34 AM #19
Lookin' good, Mike! Cade's going to remember building this car, especially after some rides. I've still got a faint scar on my forehead from a T-bone between my coaster and a bike when I was about ten!!Roger
Enjoy the little things in life, and you may look back one day and realize that they were really the BIG things.
-
07-28-2012 05:15 AM #20
That's going to be much cooler then any big wheel. Is it going to be powered, I think I see vents?I have two brains, one is lost and the other is out looking for it
-
07-28-2012 06:45 AM #21
“.....I've still got a faint scar on my forehead from a T-bone between my coaster and a bike when I was about ten!! .....”
Roger Hopefully we’re going to avoid that
I was thinking the other day that we will need to put at least a front bumper of some kind on it (that whole Elise driving thing). I’ve also got a couple of new lap belts out in the shed that we may install when we get to that point, mostly to get the kids into some good habits and also teach Cade about mounting points etc.
“..... Is it going to be powered, I think I see vents?....”
Pepi the best answer is.....probably at some point. Initially it’s just going to be a coaster, but it is being built to accept an engine (the potential engine is shown on page 1). Should that engine not work out, plan “B” may be electric power and plan “C” would be to actually spend money on a real go cart engine. The vents were a lucky happenstance in that the old AC unit the box was robbed from happened to have them, I just made sure to retain them when I cut it down.
.Last edited by Mike P; 07-29-2012 at 05:04 AM.
I've NEVER seen a car come from the factory that couldn't be improved..... 
-
07-28-2012 09:05 AM #22
Nice progress! What do you think weight wise for those frame members, as far as passenger weight? Who knows when grandpa might want to do a test run!"  "No matter where you go, there you are!" Steve.
-
07-28-2012 01:19 PM #23
That's to cool! I'm lovin' it! Can't wait to see what the grandson says...
-
07-28-2012 06:16 PM #24
I would drive it just the way it is !!
-
07-29-2012 07:21 AM #25
It did say coaster car in the title, what was I thinking? However it certainly sounds like you have the bases covered. He is going to love it.I have two brains, one is lost and the other is out looking for it
-
07-29-2012 05:26 PM #26
Today was frame day. My Granddaughter Elise even came out and showed about 5 minutes of interest..... before she decided it was more exciting helping her mom and grandma in the kitchen.

. Weíre going to be holding the frame rails to the body and the full floor pan with nutserts and 1/4-20 bolts (a lot of them). With that in mind I finally ended up opening my poor old billfold and sprung for a bag of nutserts and box of bolts...... Iím now into the car for $23.13 .

I figured the easiest way to do this would be to turn the body over and get the side rails bent and fitted.


With the side rails on the next thing was to weld in some cross braces to hold everything together when the frame was removed from the body. Cade was really excited to watch the welding....something heís never seen before, and he was ready for Grandpa to start welding even if Grandpa wasnít.

With the cross braces welded in it was time to turn the car over again for the obligatory test fit.


I left short stubs out past the front of the car as bumper mounting points. After the test fit the car was turned back over, the frame removed, wire brushed, shot with some black paint and nutserts installed. So at the end of the day we now have a frame ready to build a floor pan on.

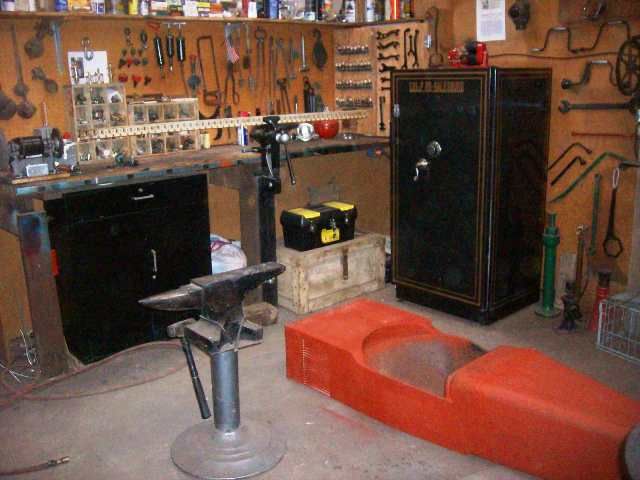
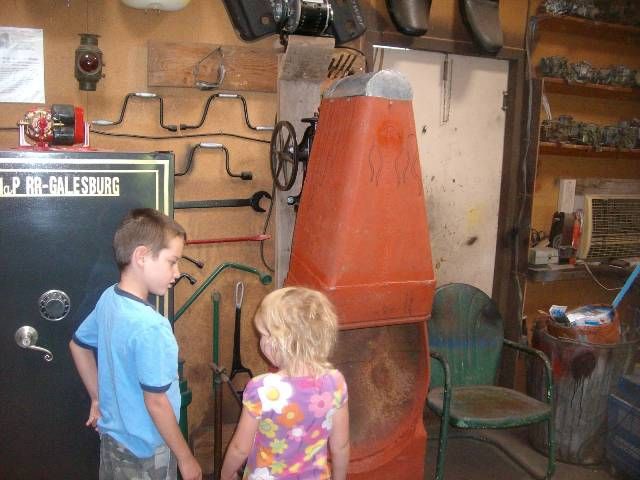
The last thing I would like to mention is that we are doing the majority of this build in the office area of the shop where I display my Dadís and Granddadís old tools. That was done mostly so as not to clutter up the main shop......but the more we do in there, it just feels like the right place to build it. Dad and Granddad are both gone now, but every once in a while I think I feel them looking in on us and smiling........and I smile back.
.I've NEVER seen a car come from the factory that couldn't be improved..... 
-
07-29-2012 05:36 PM #27
-
07-30-2012 09:44 AM #28
Voted "Best new Car Build!"
You are a lucky Grandpa!
Thank you for sharing....Scott
31 Ford five window
-
07-30-2012 09:57 AM #29
Awesome photos! Priceless shots with the welding mask and drill! Very cool that you are doing it in the garage where pops and grandpops tools are there!"  "No matter where you go, there you are!" Steve.
-
08-06-2012 05:40 AM #30
We started discussing paint schemes for the car yesterday so I drew out a couple of quick designs for the kids to look at. It was nice because I could show them a couple of examples in color.
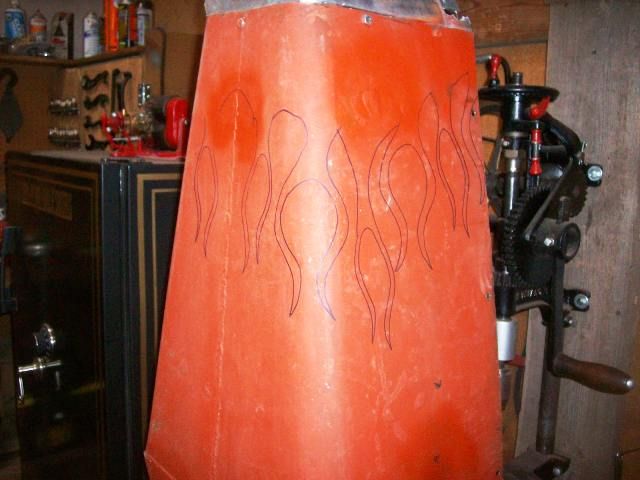
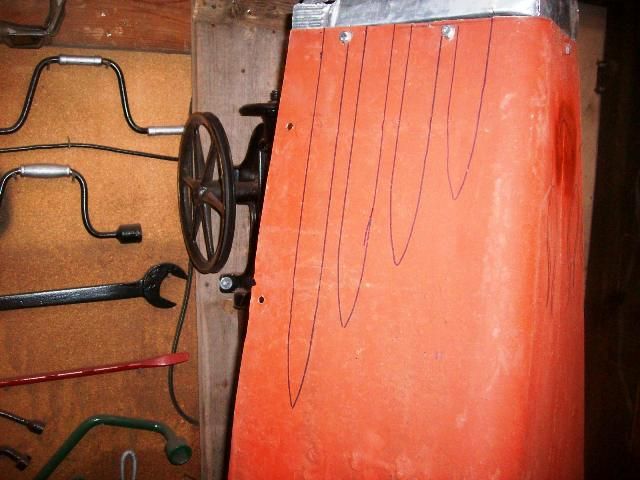

Although Elise was initially set on the scallops, I think Cade was pretty persuasive in convincing her on the flames. Nothings firm yet, but the final decision will be completely up to the kids.
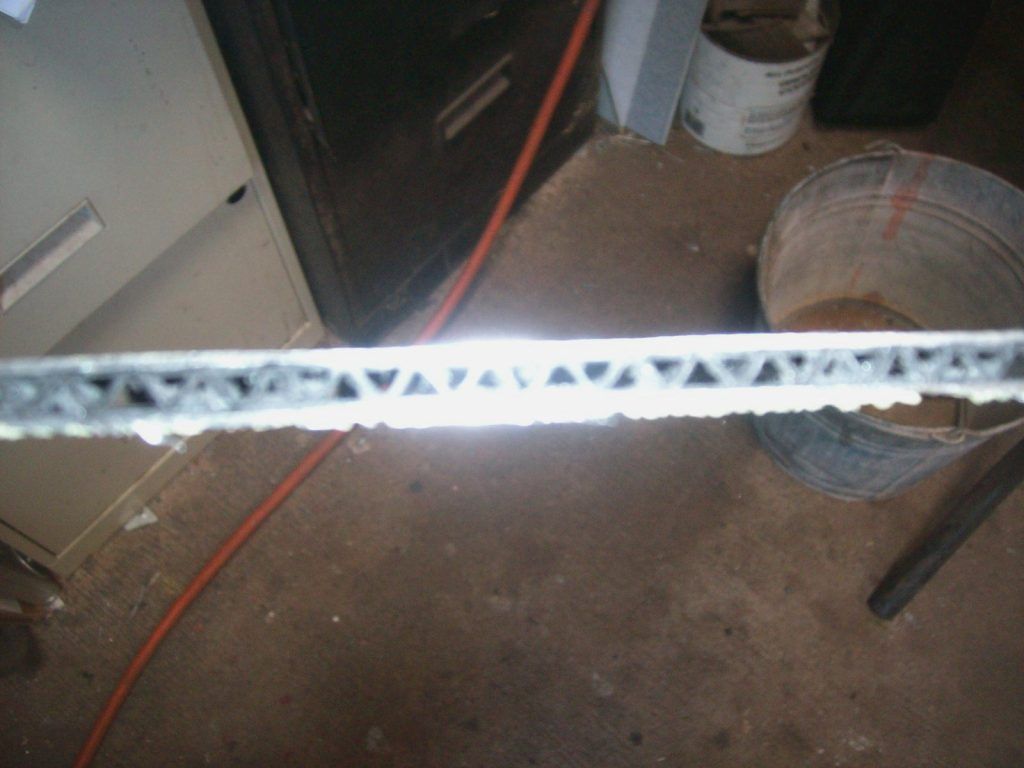
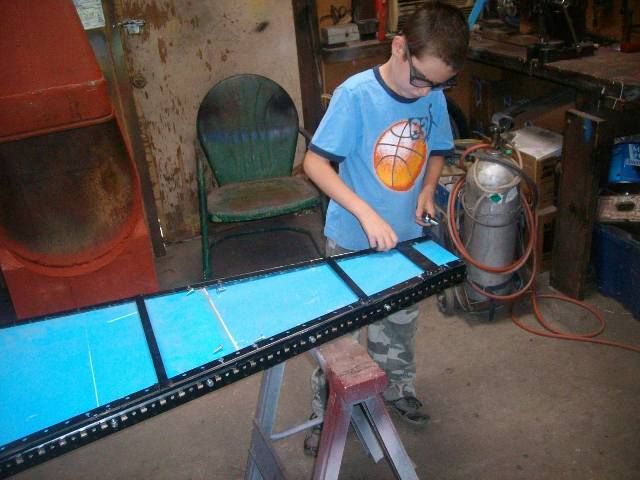
Then it was on to the floor. A while back a friend had given me couple 4íX8í sheets of corrugated aluminum for another project. Iíve never seen this stuff before, itís about an 1/8Ē thick and very light and rigid. I had a couple of decent sized pieces left over so that became the material for the floor.
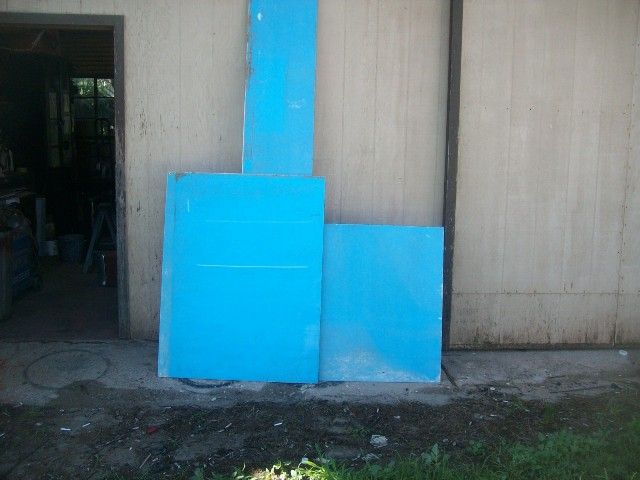
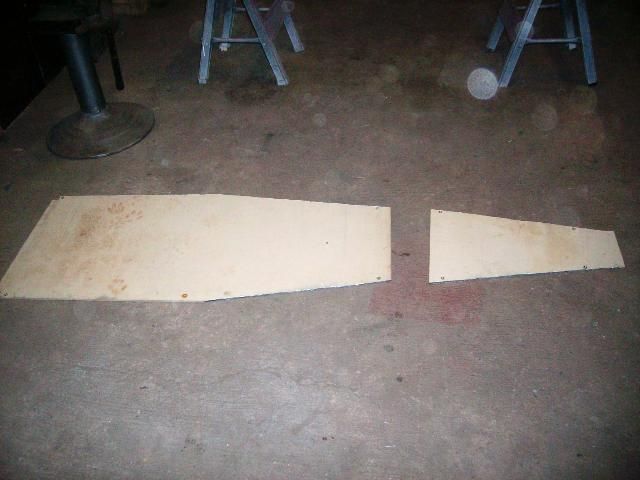
It worked out pretty well, we cut the pieces to size, drilled them for nutserts and bolted them in.
I've NEVER seen a car come from the factory that couldn't be improved..... 


 113Likes

 LinkBack URL
 About LinkBacks
 Reply With Quote


He definitely moves around! A MIA Happy Birthday, Tech!
Happy Birthday techinspector1