Thread: 55 Wagon Progress
-
01-05-2014 05:20 PM #136
Wow, Robert!! As I always say, "One thing always leads to a THOUSAND more!!!" but you handle each little "extra" with the mastery of artist! Watching your work is so educational and inspiring but it creates a lot more work for me because I have to raise the bar on my own projects. A little more bondo is no longer acceptable!!

 Ok, my skill set is light-years behind yours so maybe I should just say I'll keep working at it till I use way less bondo than I did before!

"It is not much good thinking of a thing unless you think it out." - H.G. Wells
-
Advertising

- Google Adsense
- REGISTERED USERS DO NOT SEE THIS AD
-
01-06-2014 02:43 AM #137
Been following this project as many other have and I have to say that you are a craftsman. I know one or two other guys who can fabricate like you do and I do admire the work you do.
-
01-08-2014 07:47 PM #138
Thanks guys!
Had a couple hours to spend in the shop this evening, so I decided to mark out the roof for re-repairing.
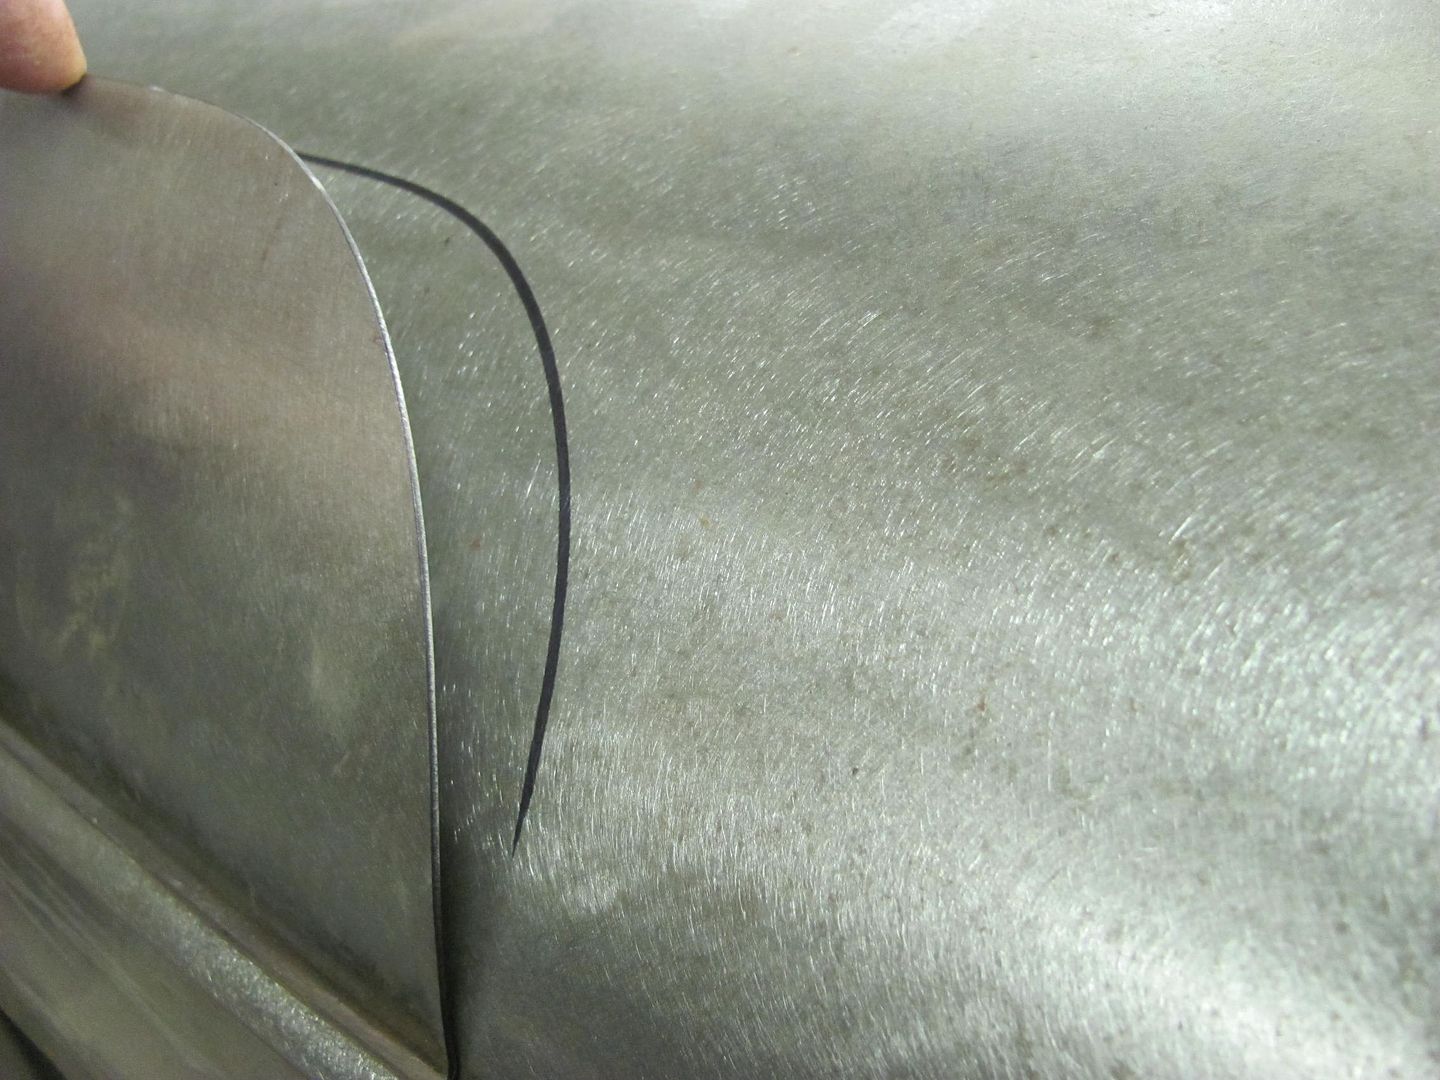
Then another line was dropped down about 1/4" to be used for the "rough cut". A cutoff wheel was used and then trimmed with the snips. The lower section was trimmed about 1/2" above the drip rail..
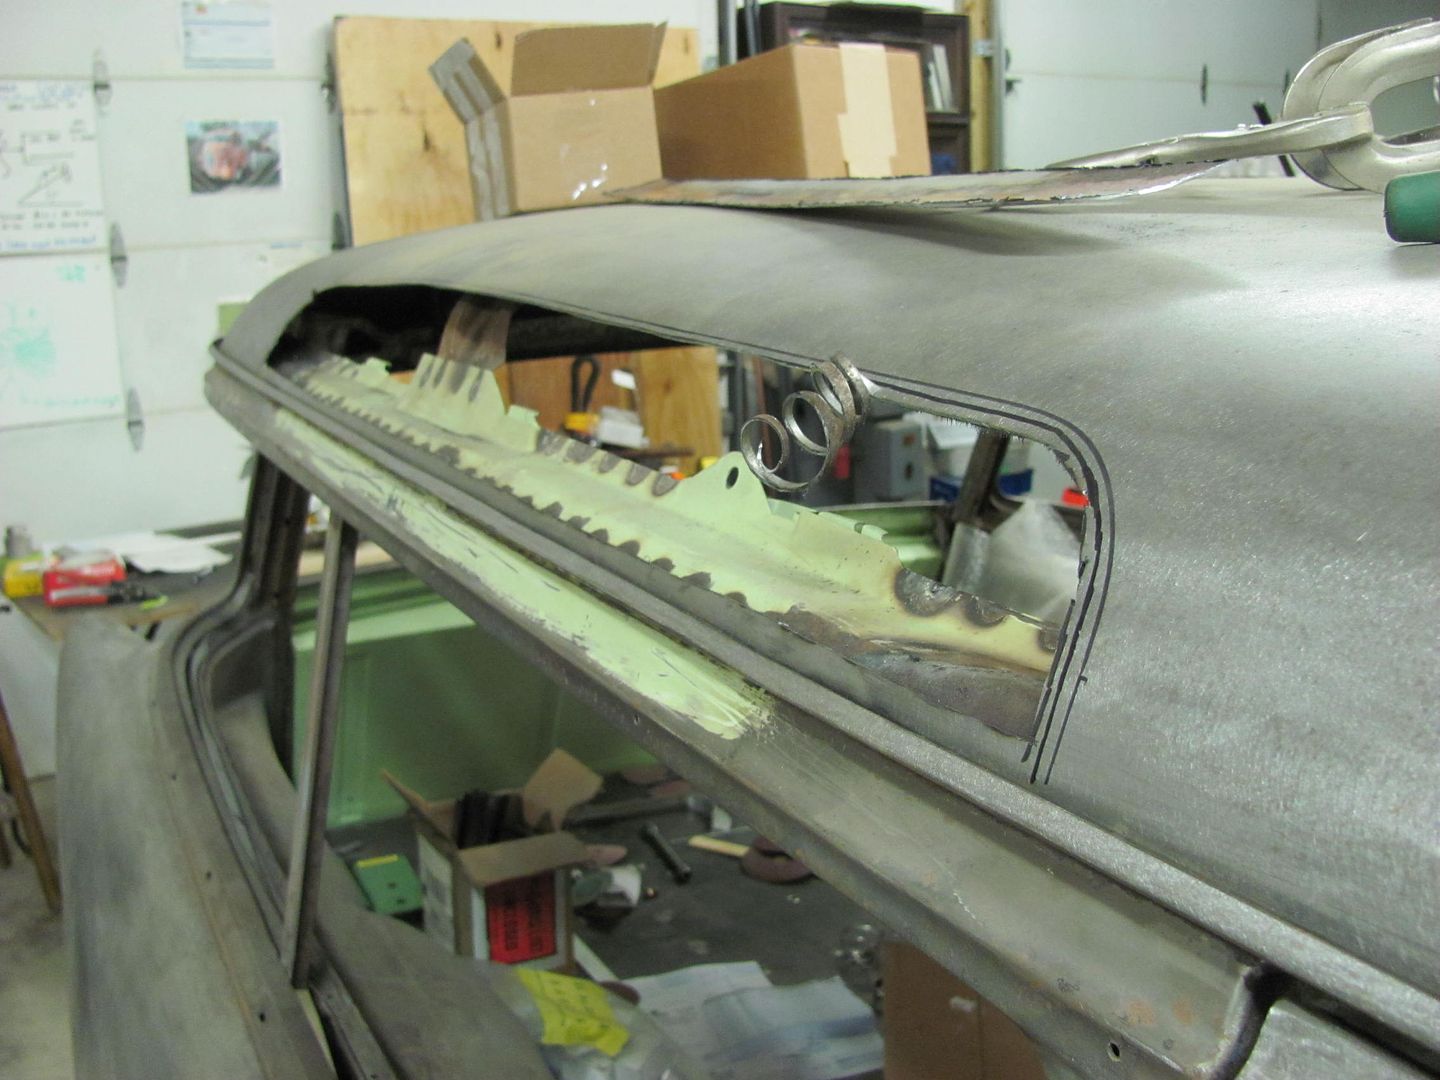
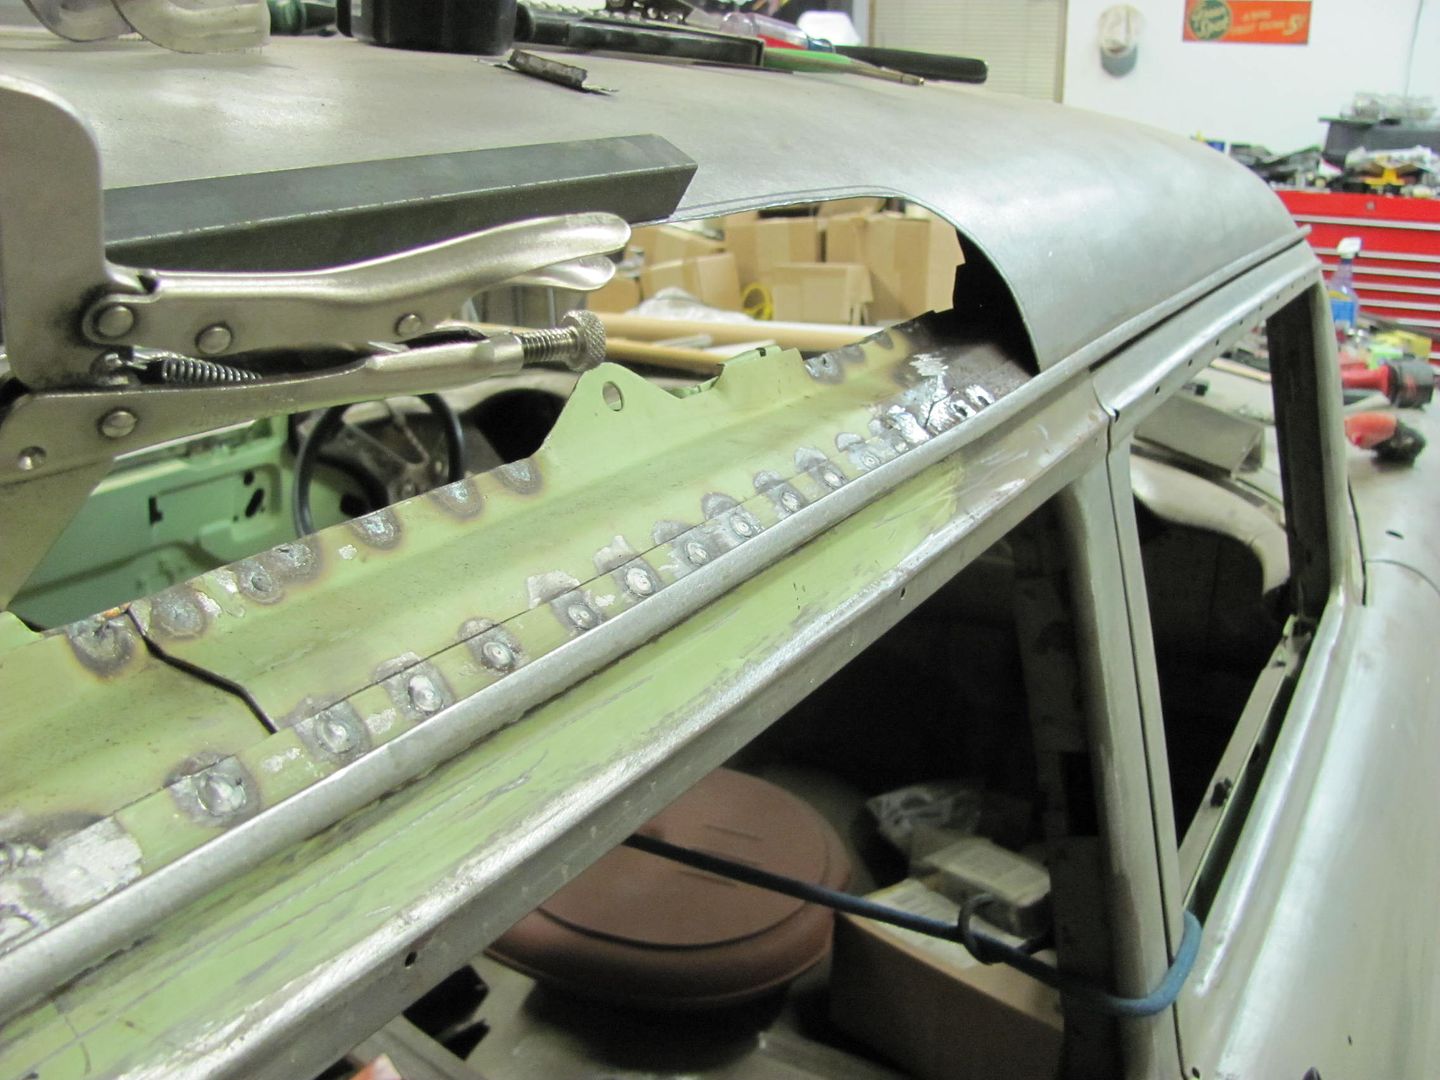
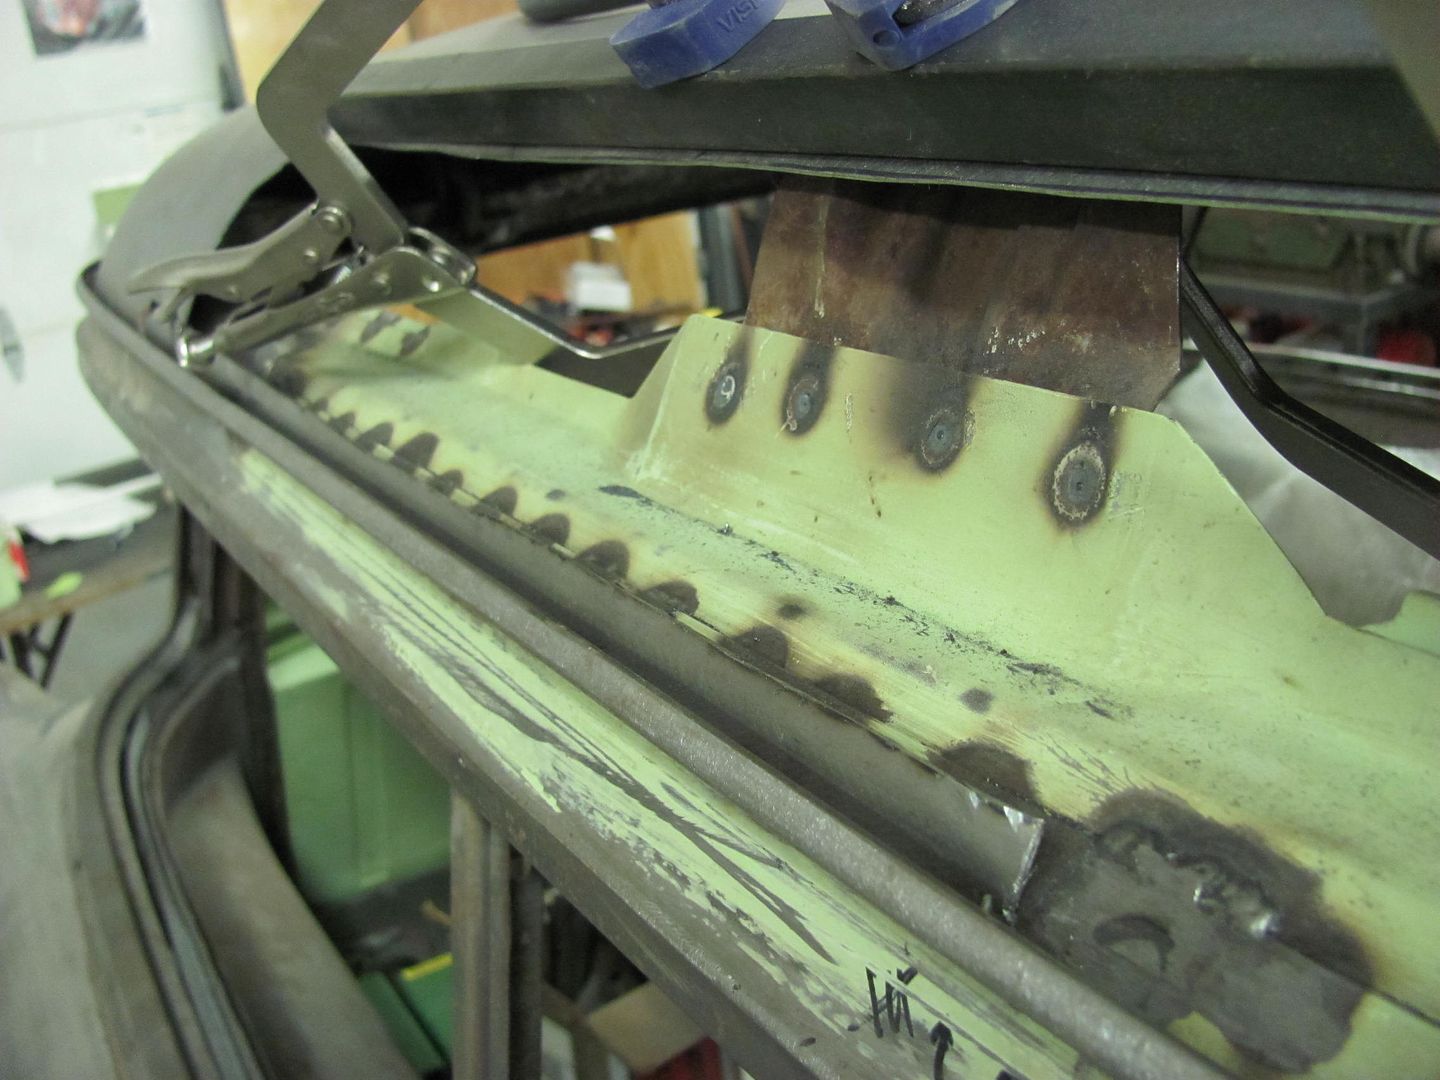
To start, a section was marked off just wider than my sheet metal pliers. Then the spot welds, which were visible from the top, were drilled. A cutoff wheel was used to grind through the end(s) of the section being removed. Then the sheet metal pliers used to rock the panel back and forth to break the spot welds loose.
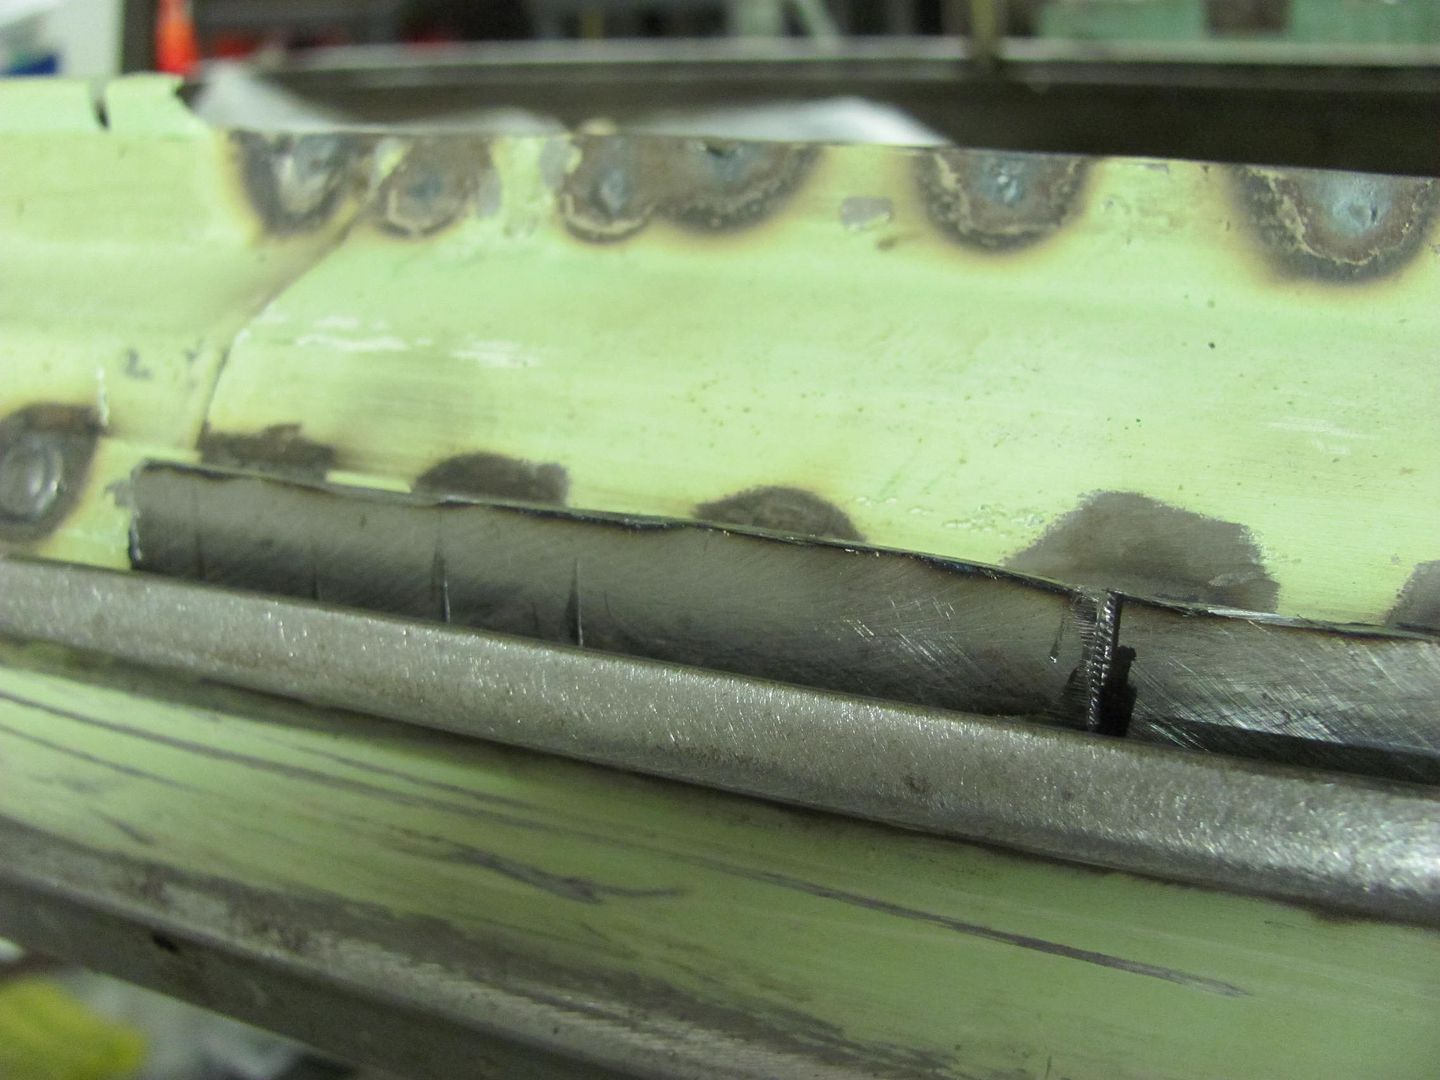
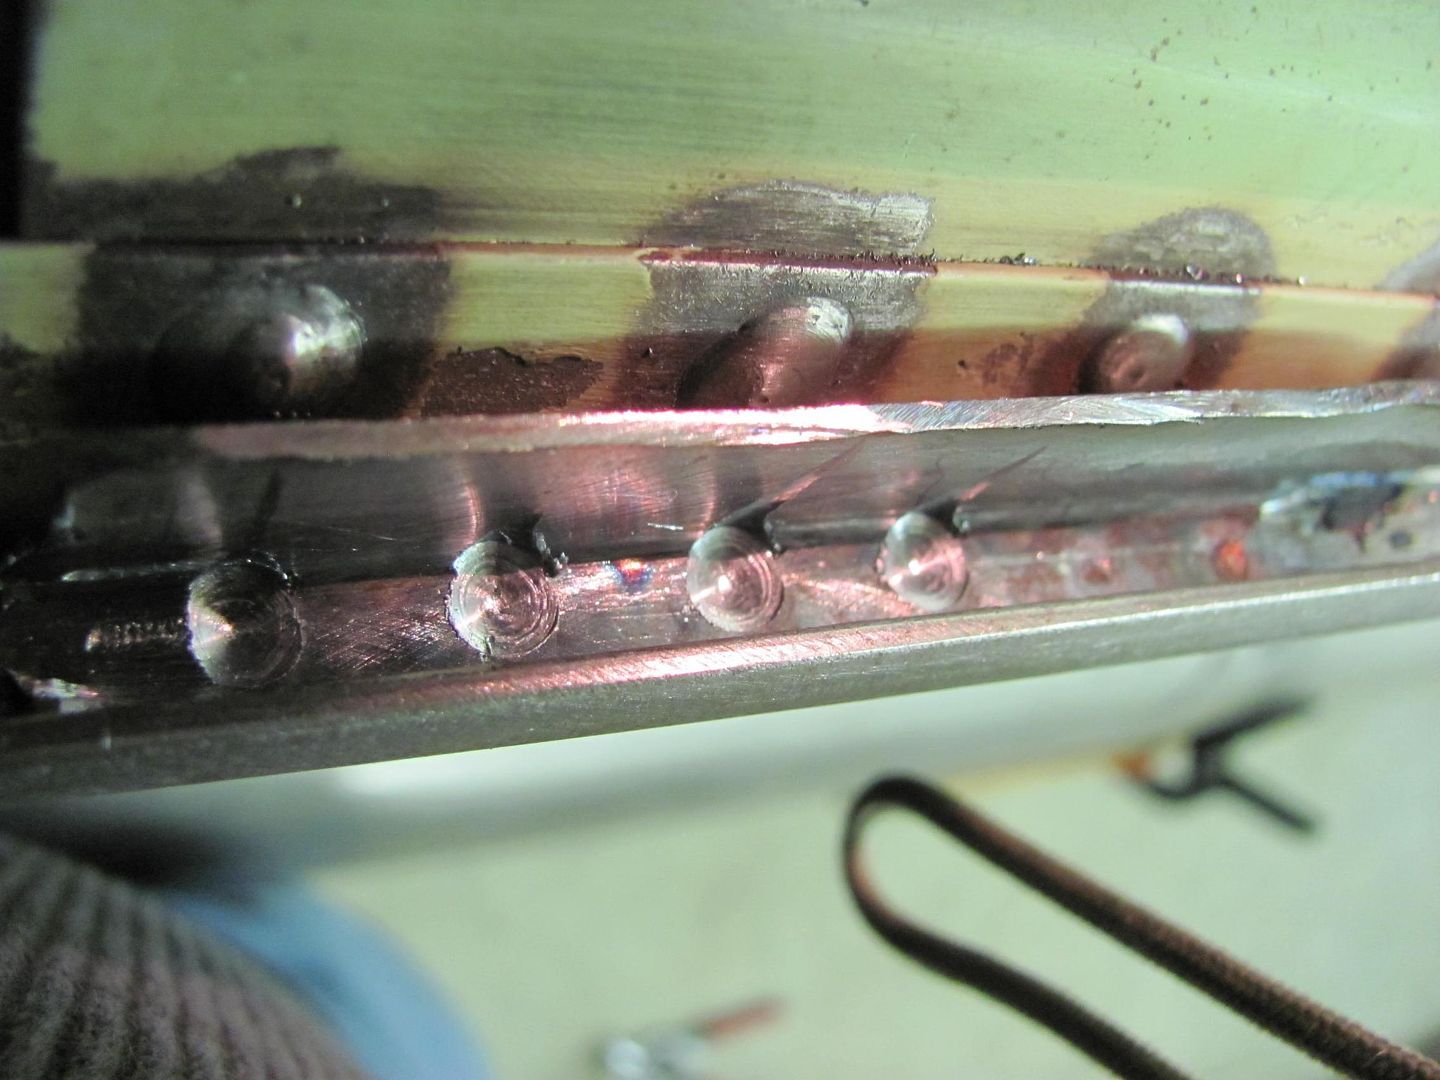
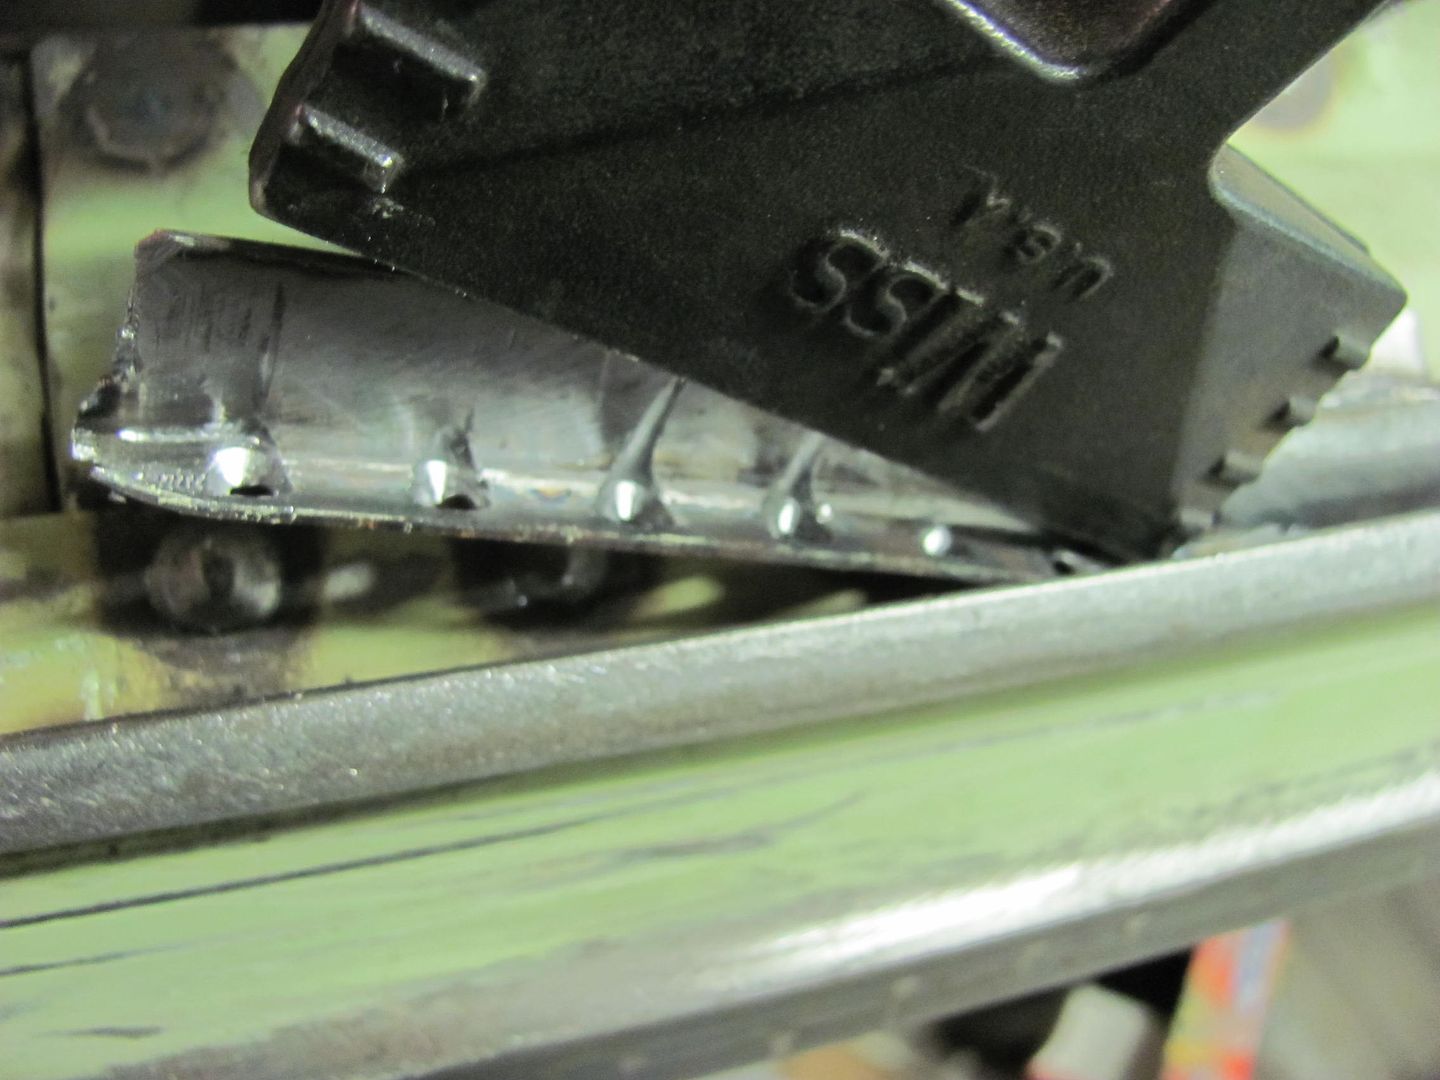
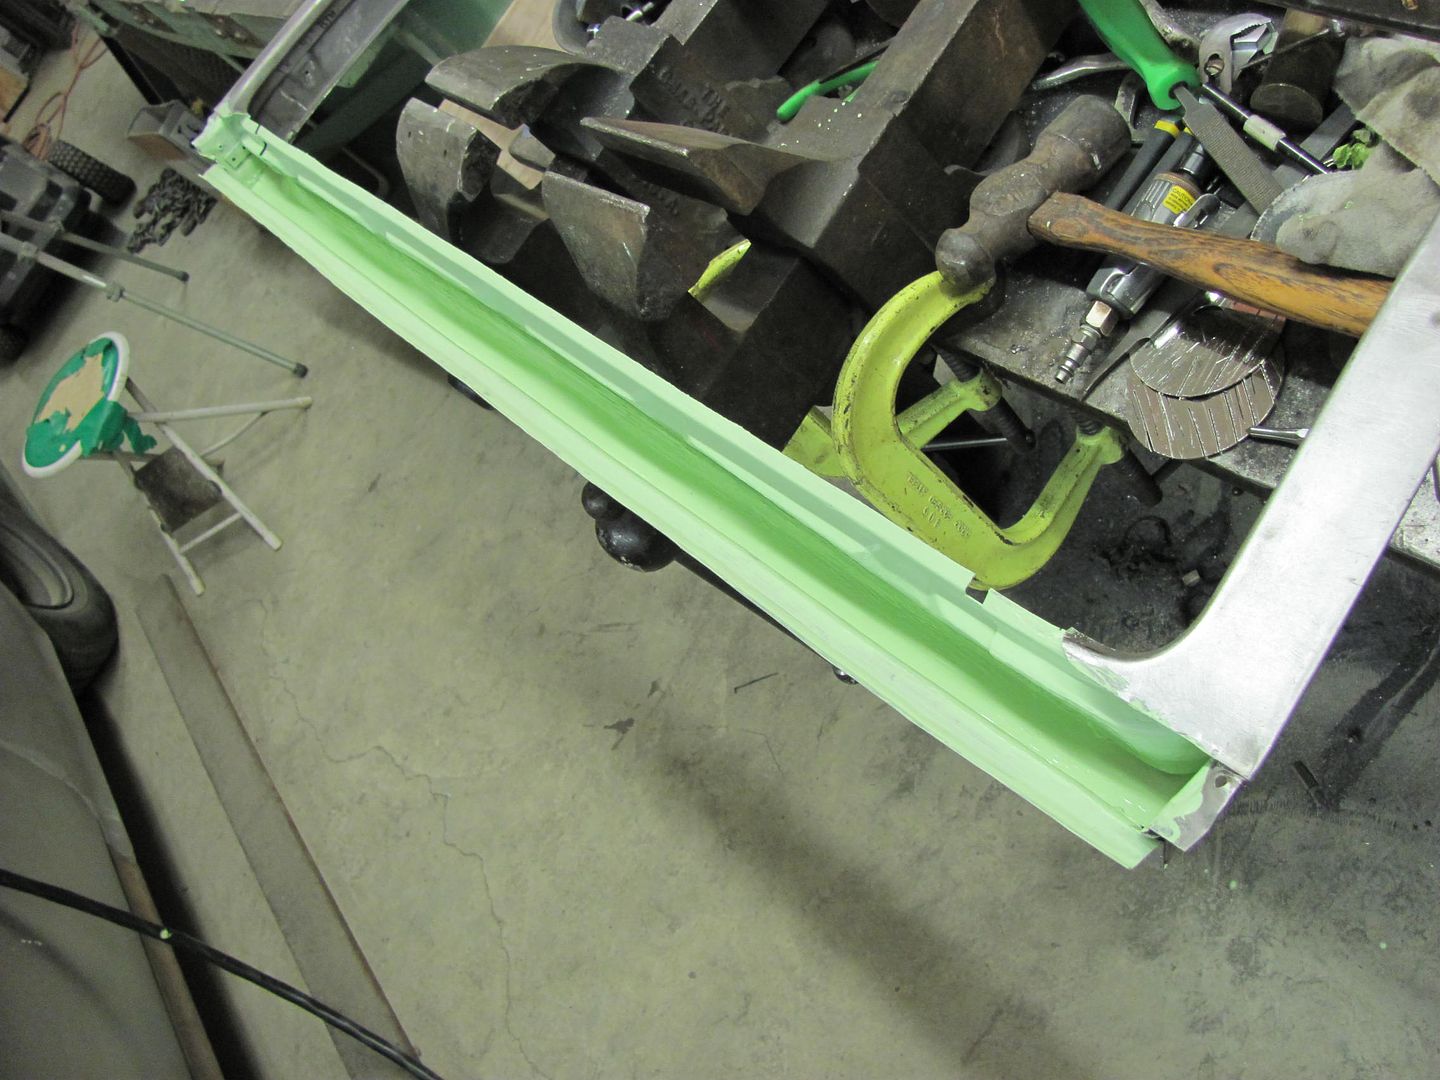
Got about half of it removed, we'll save the rest for later so I can get some primer on the inside of some of the lift gate parts and the roof skin patch.
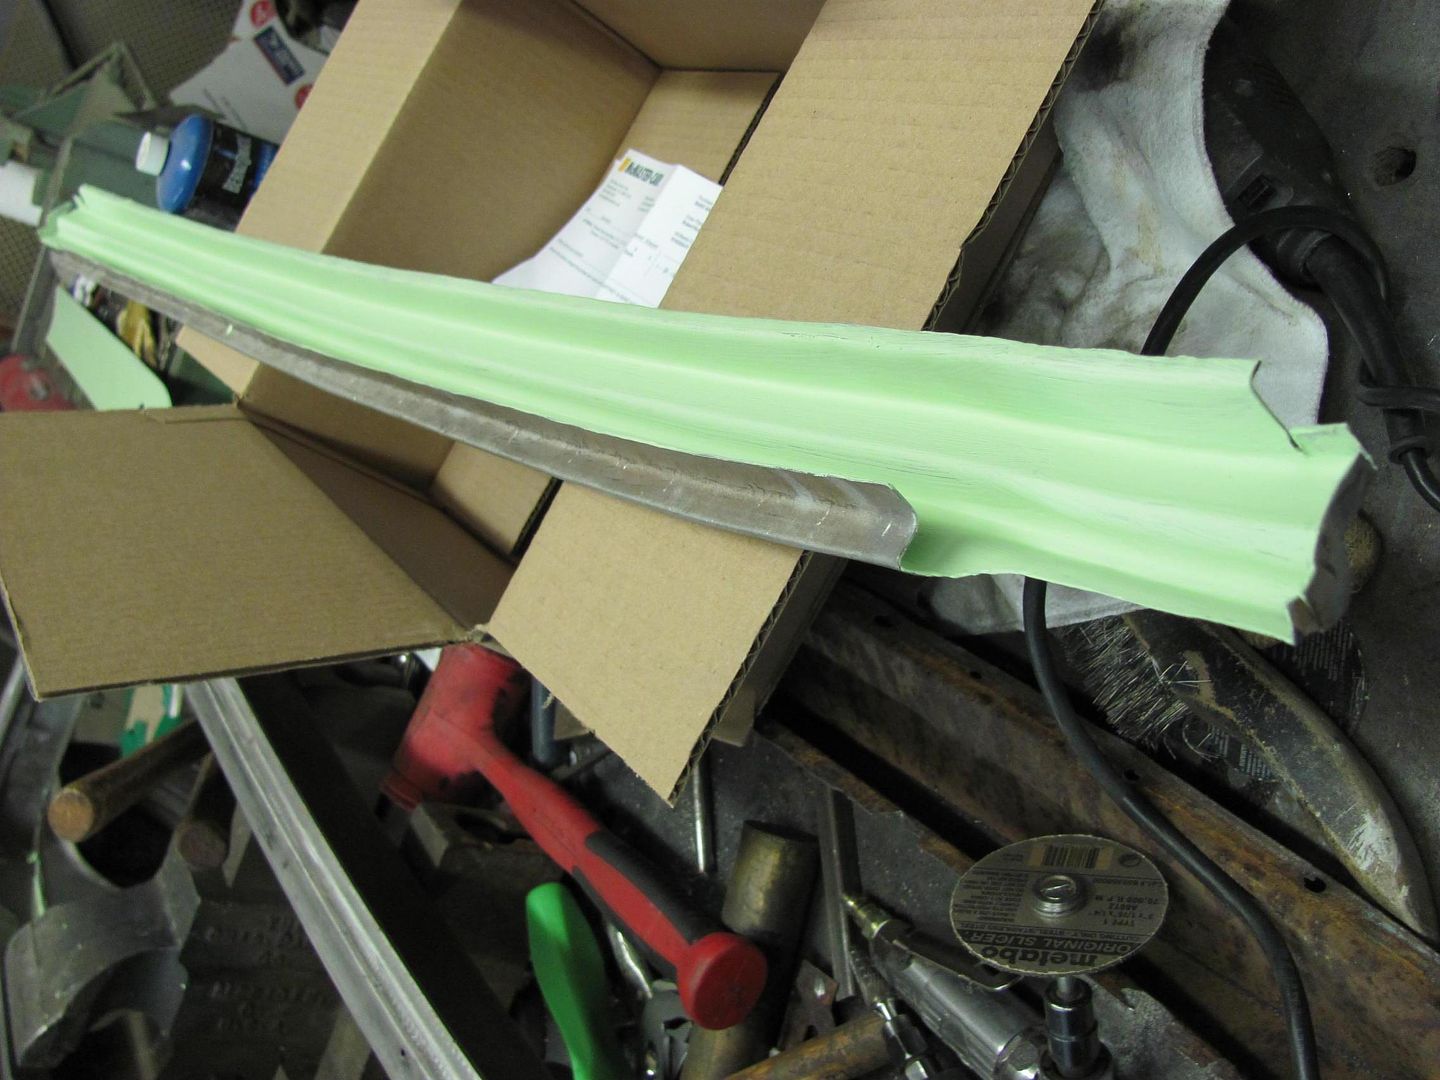
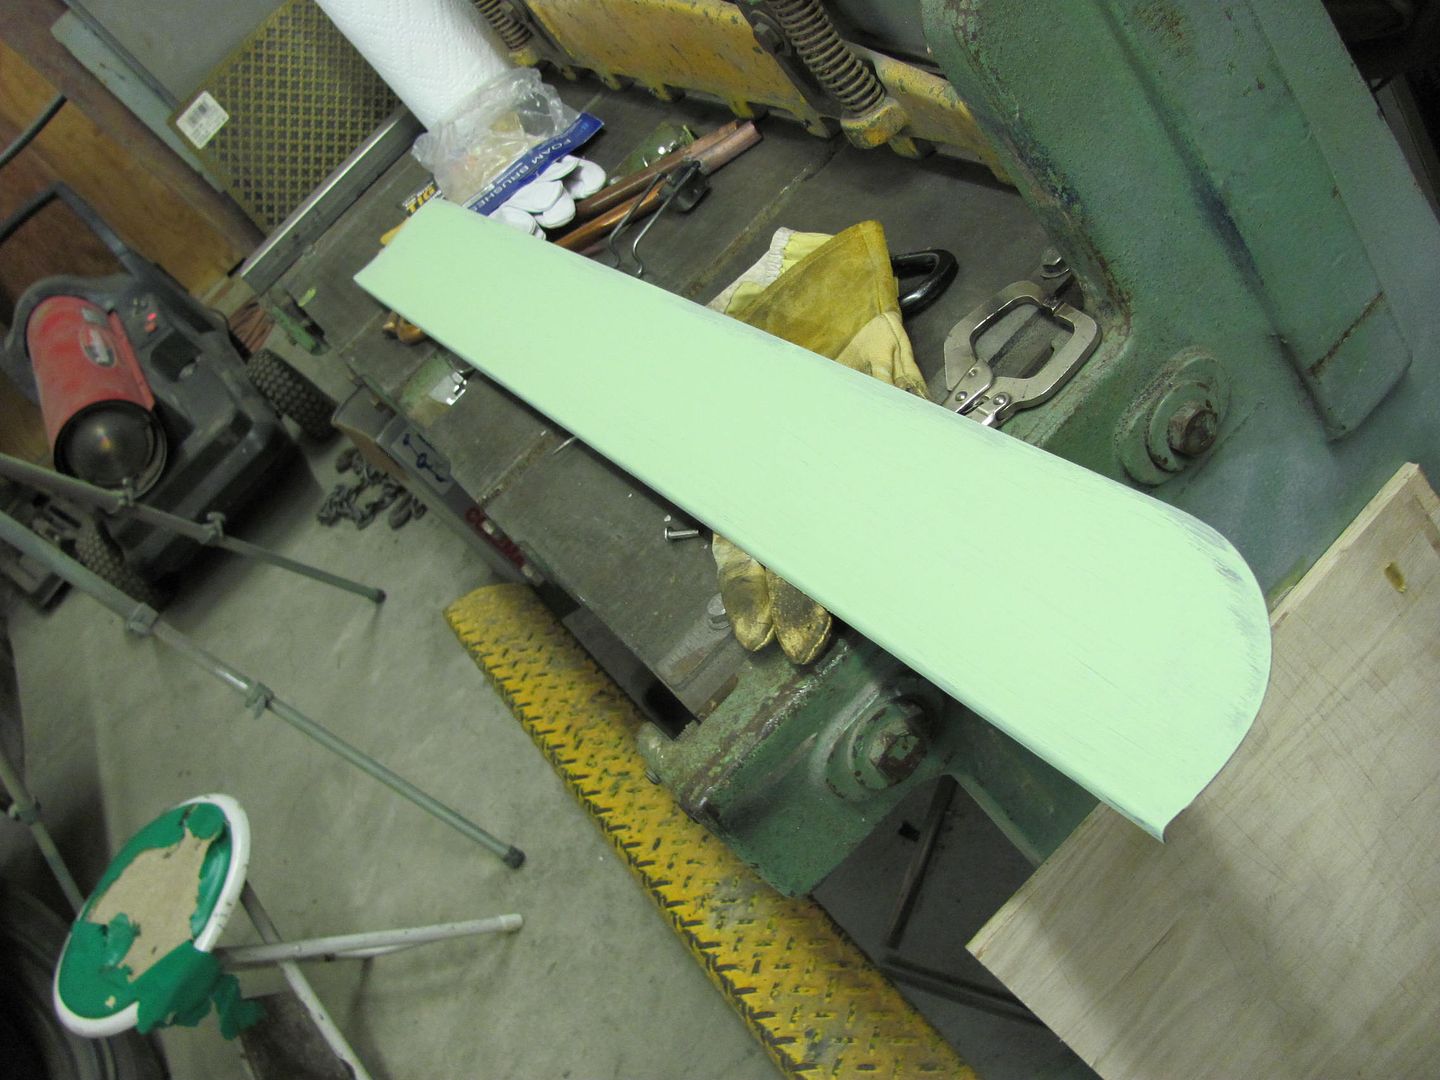
Robert
-
01-08-2014 09:14 PM #139
Your work is outstanding, I like the details in your posts. Keep up the great work."  "No matter where you go, there you are!" Steve.
-
01-11-2014 02:23 PM #140
Thanks!
Continuing with the dissecting of the roof.....
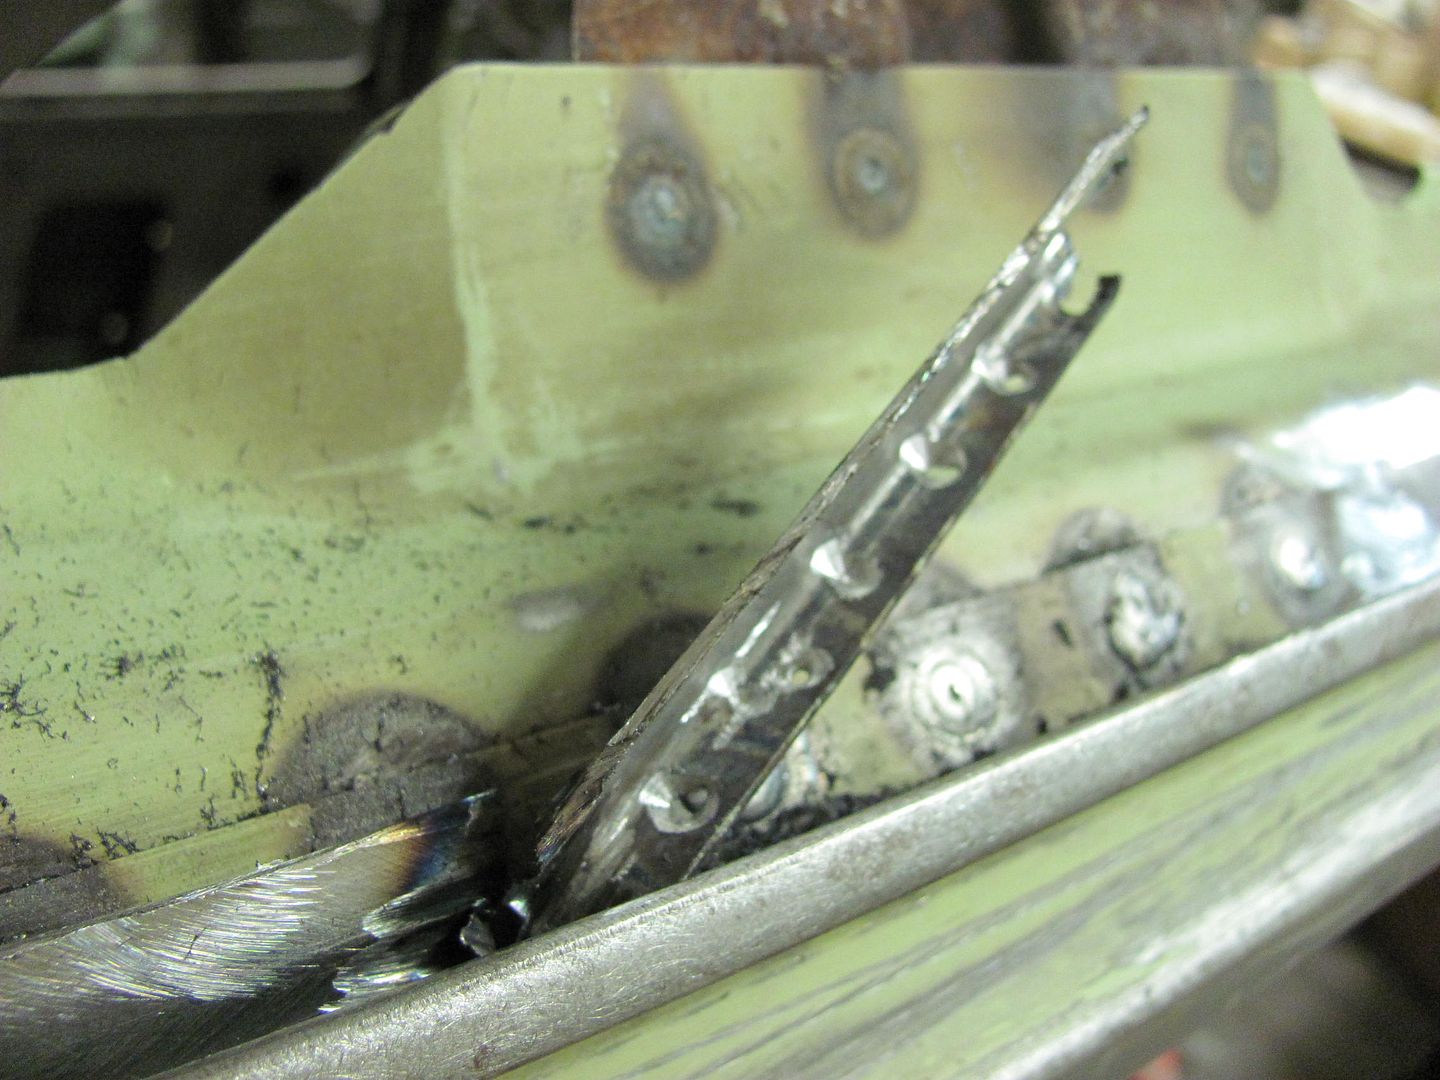
When I got into the section with the old roof, it was difficult to see the spot welds (for drilling) down inside the drip rail. The underside was more accommodating, so the face of the drip rail was marked with the sharpie to use as a reference while drilling...
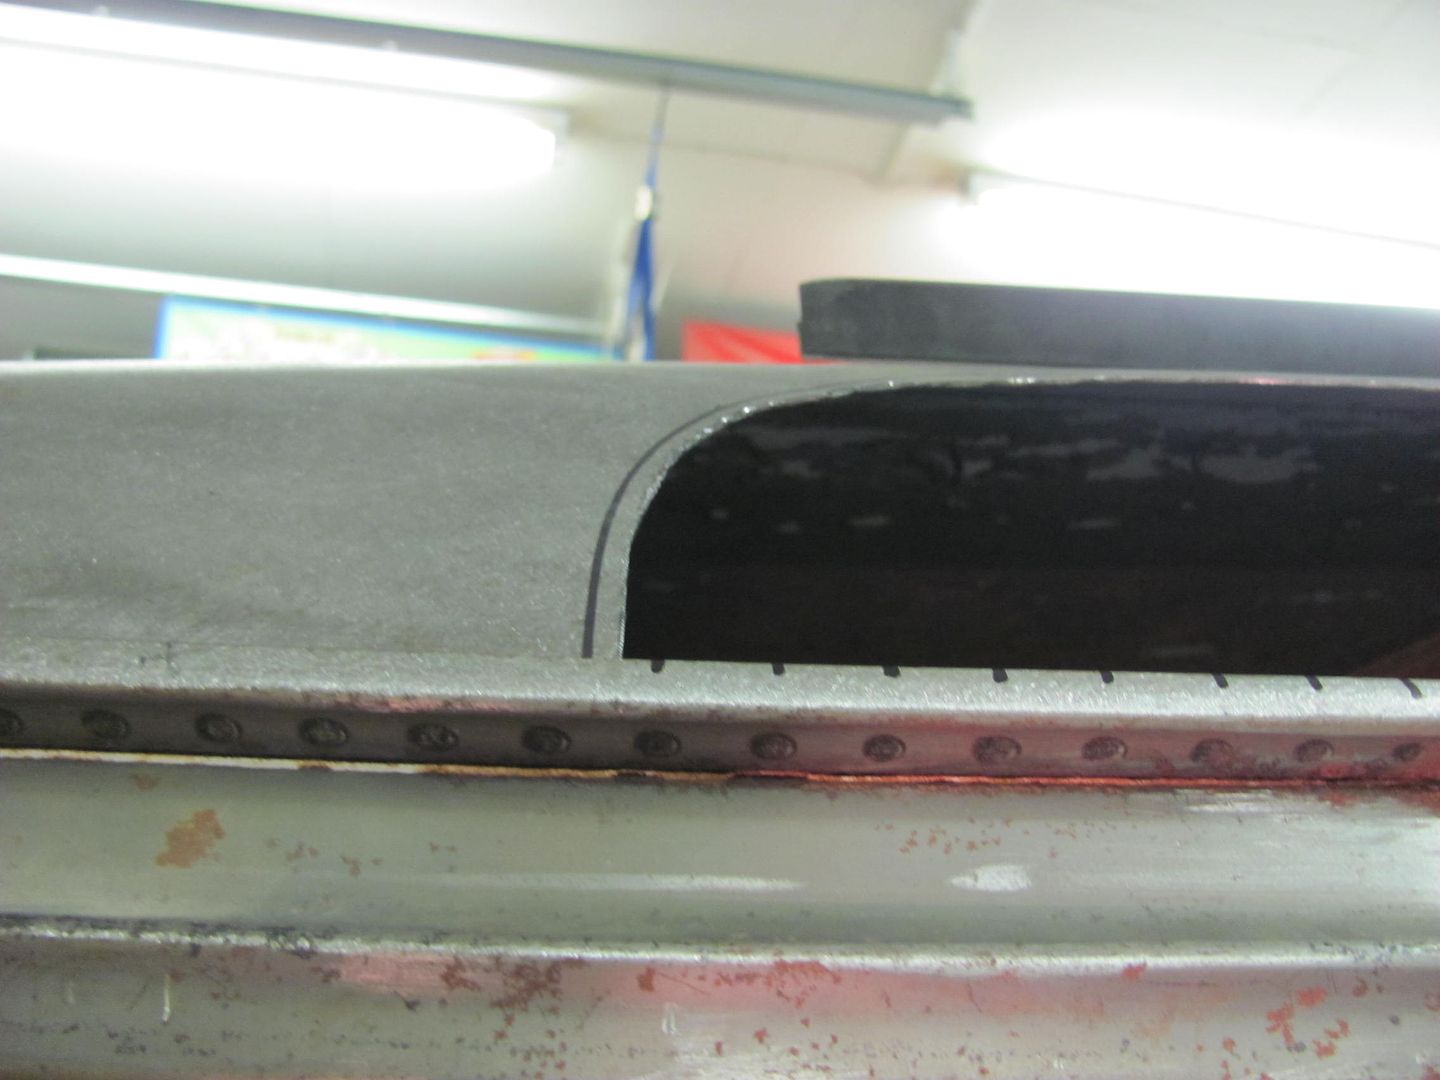
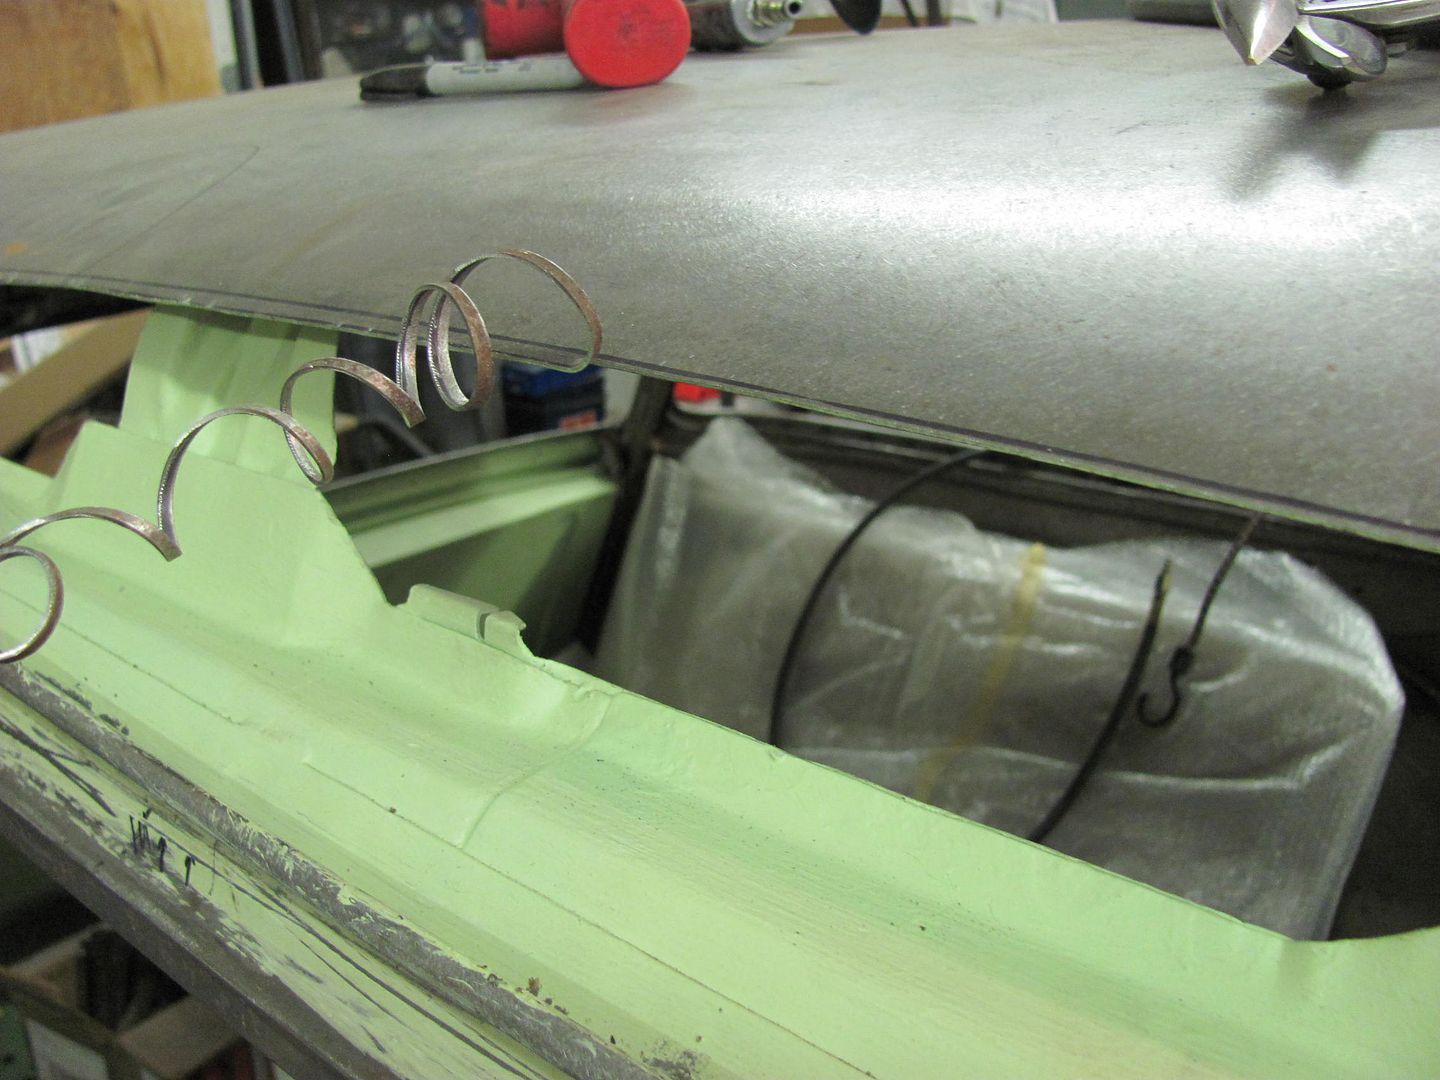
The lower corners of the opening were trimmed to size so that the roof patch could be clamped down into the drip rail. This will help to get more accurate markings on the roof skin for trimming the rest of the opening.
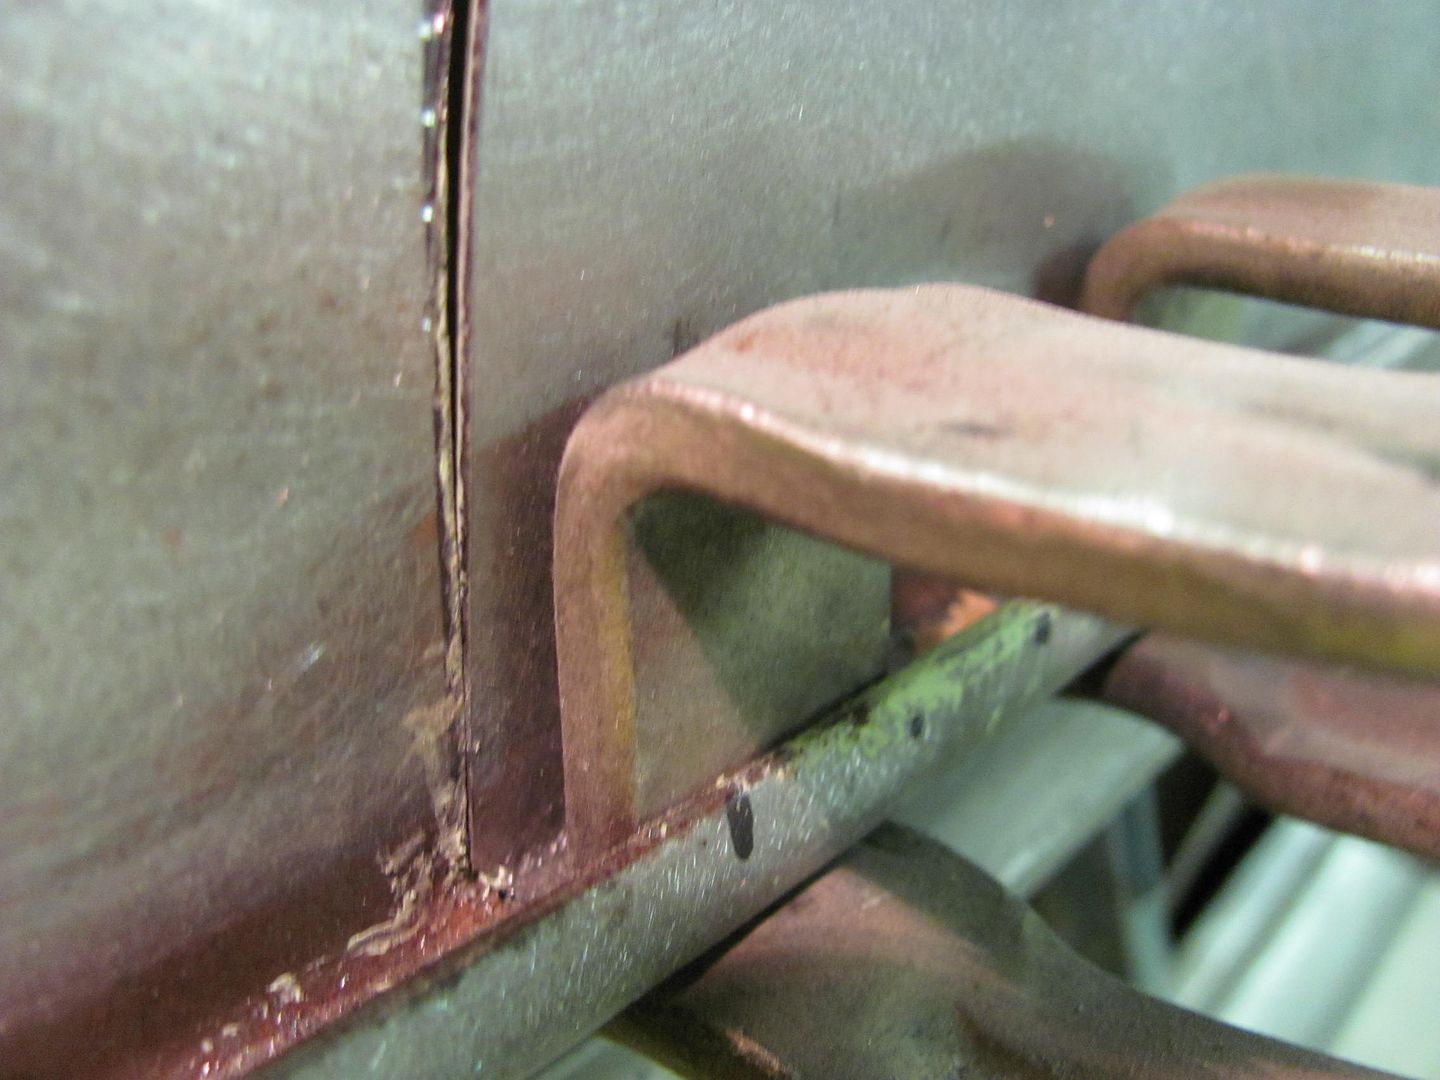
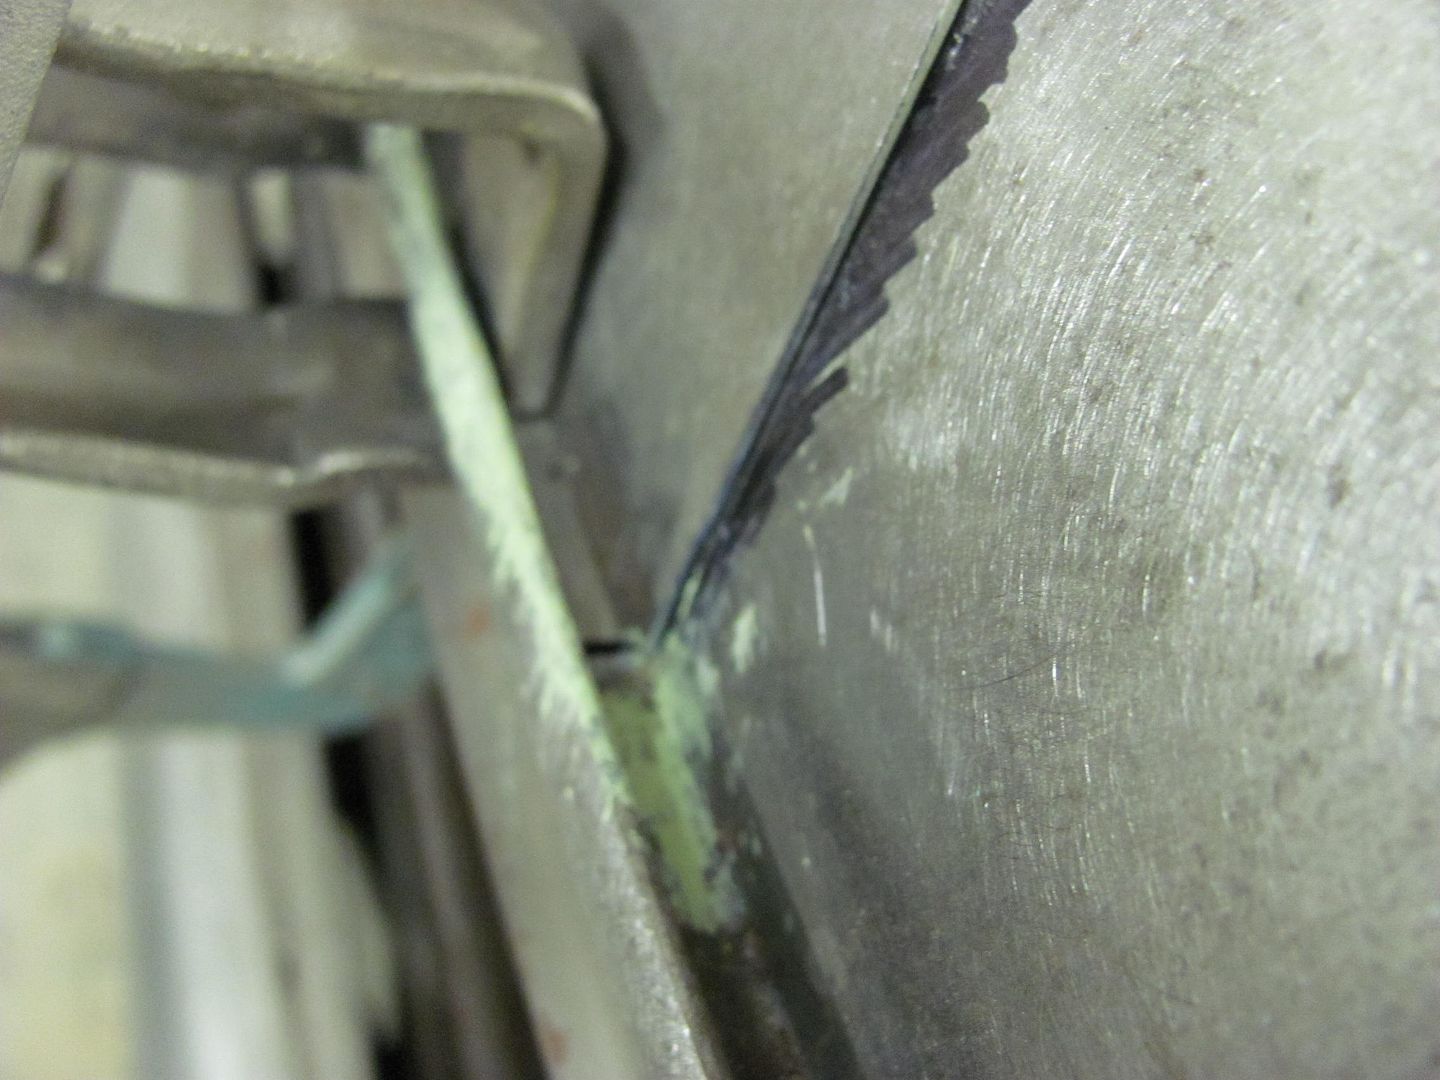
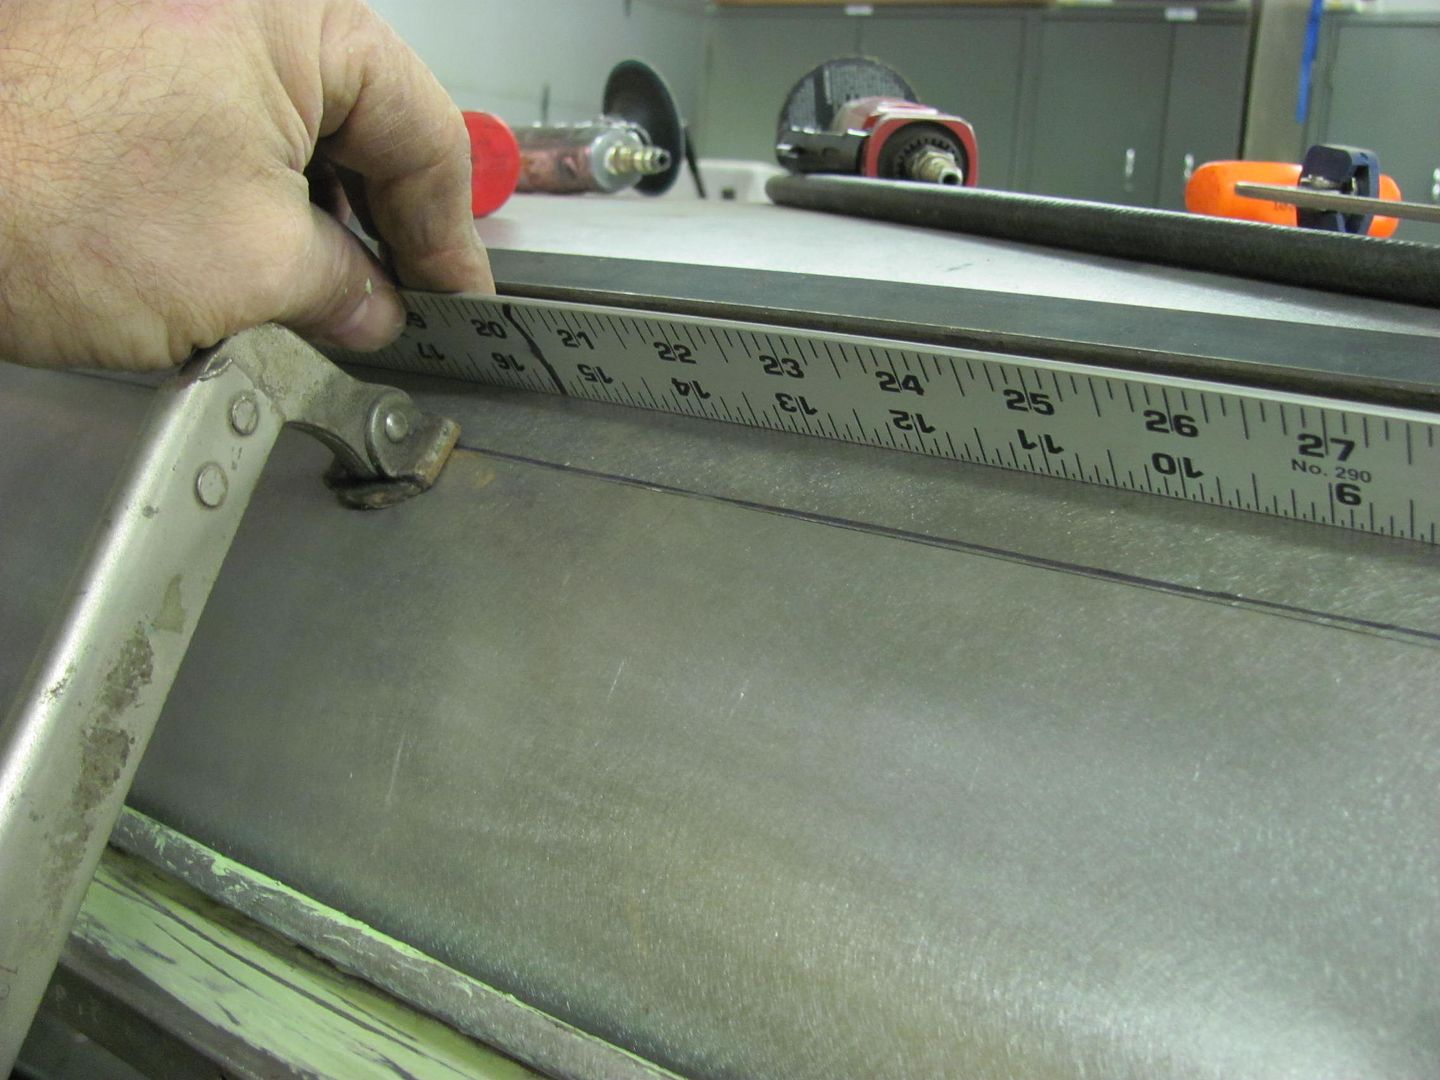
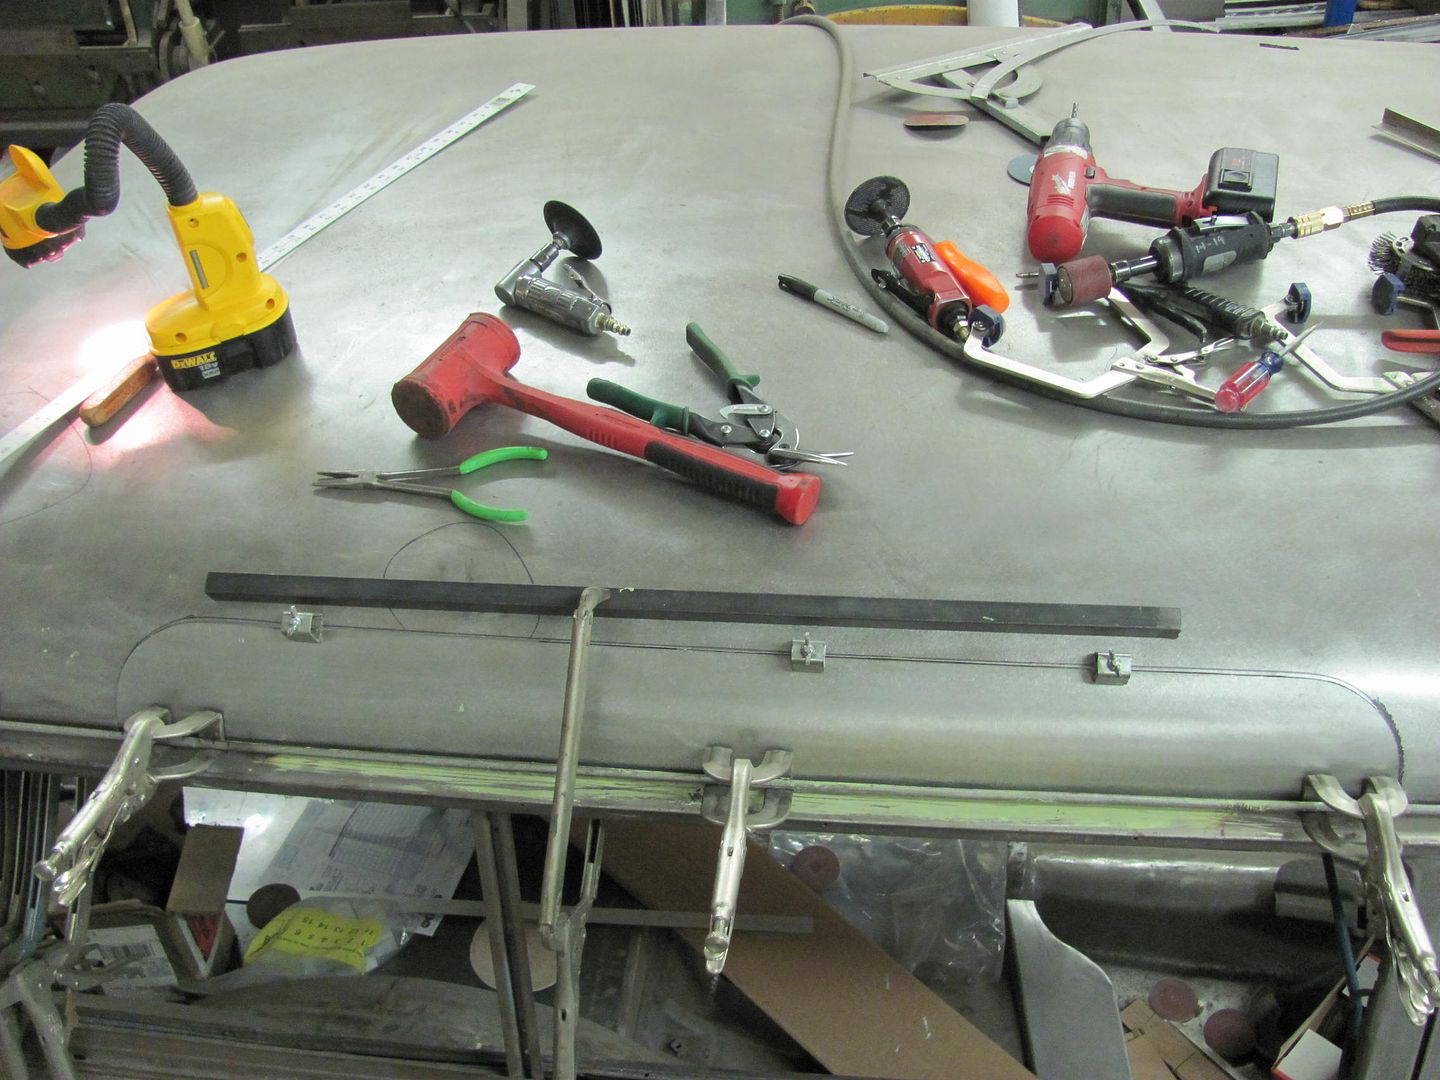
C-Clamp vise grips added to secure the overlapped panels for marking, then a straightedge used to read the crown of the roof to insure there were no dips or puckers along the top of the joint....
My favorite scribe, a local auction purchase...
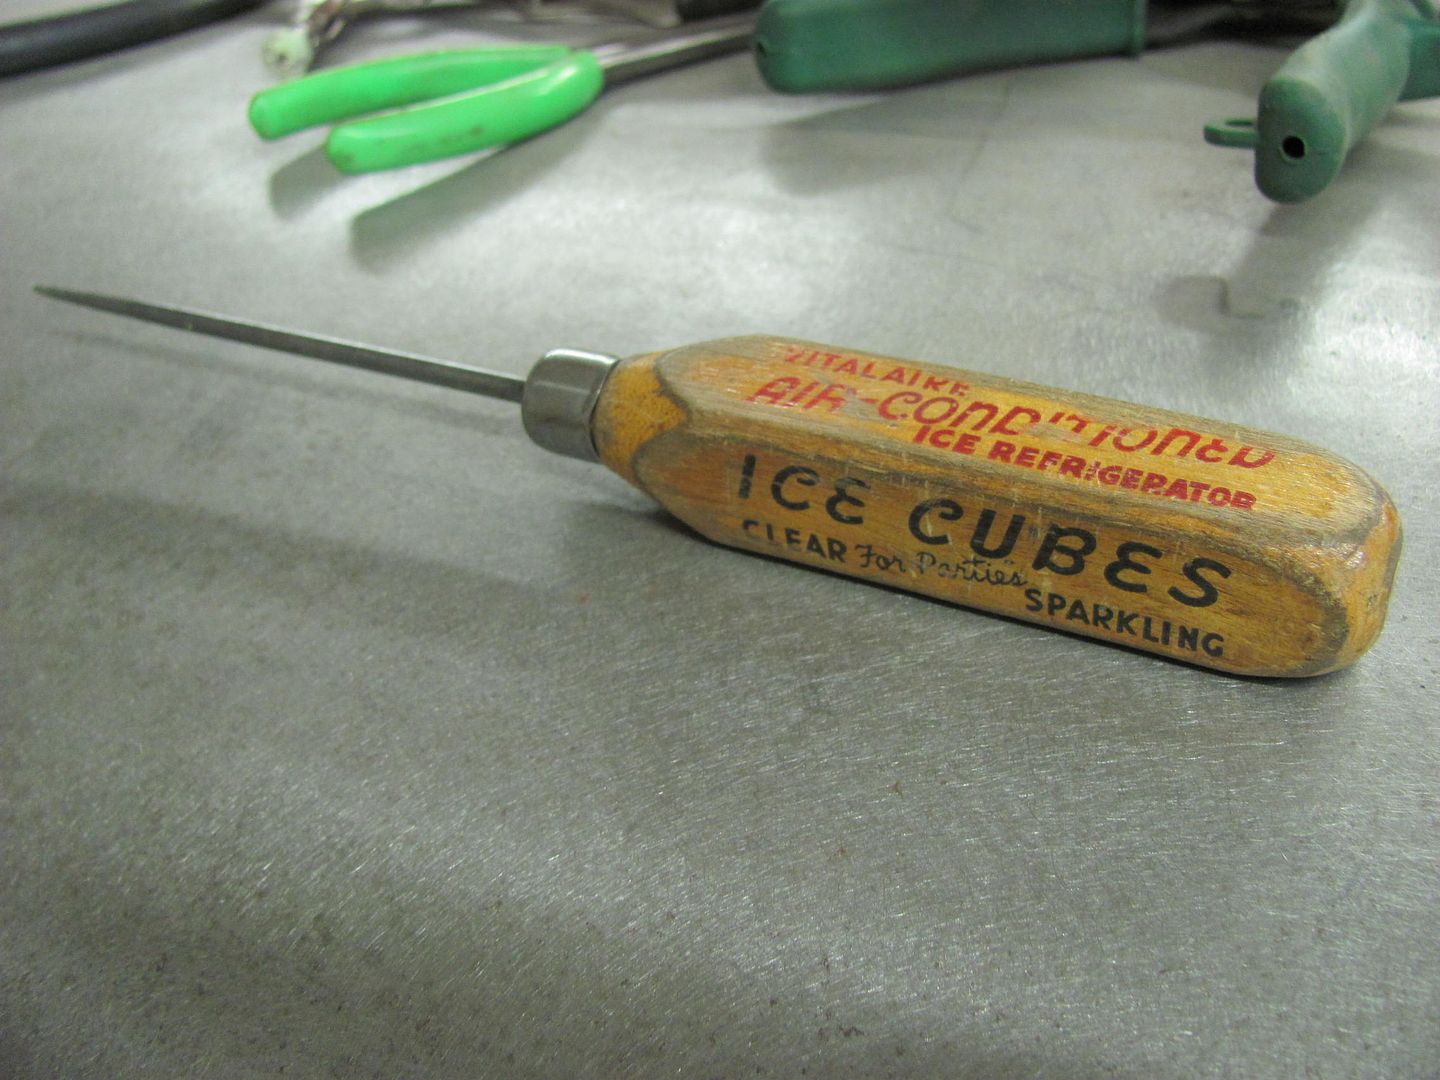
Scribing the roof panel
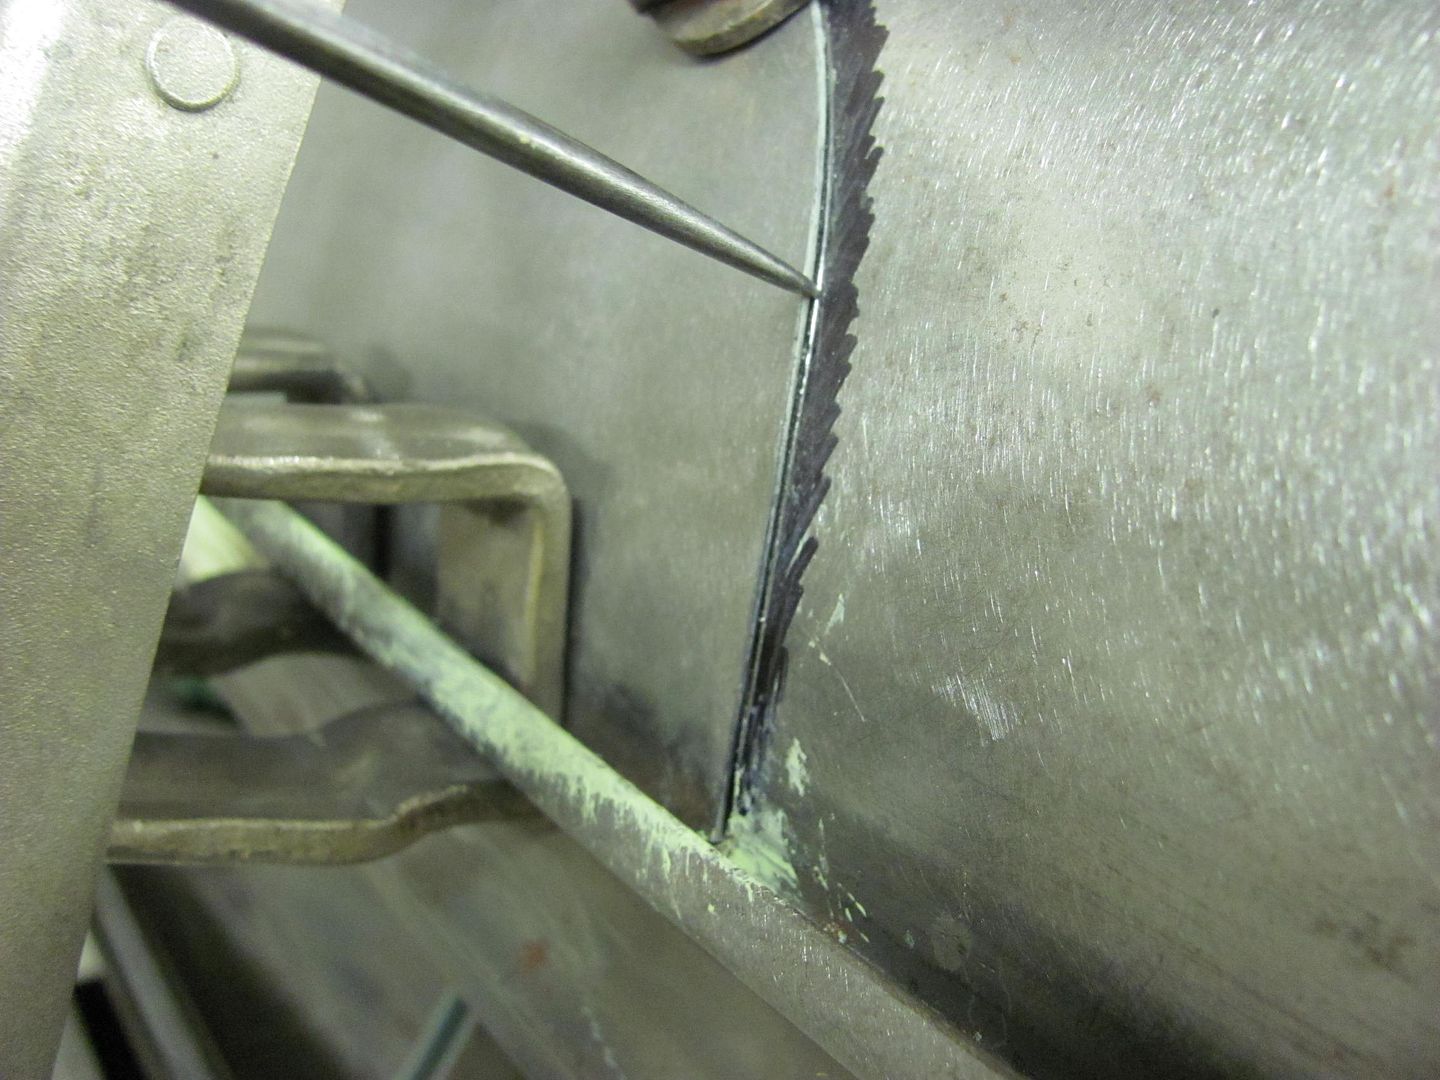
Not much to spare! Trimmed the opening with some offset snips...
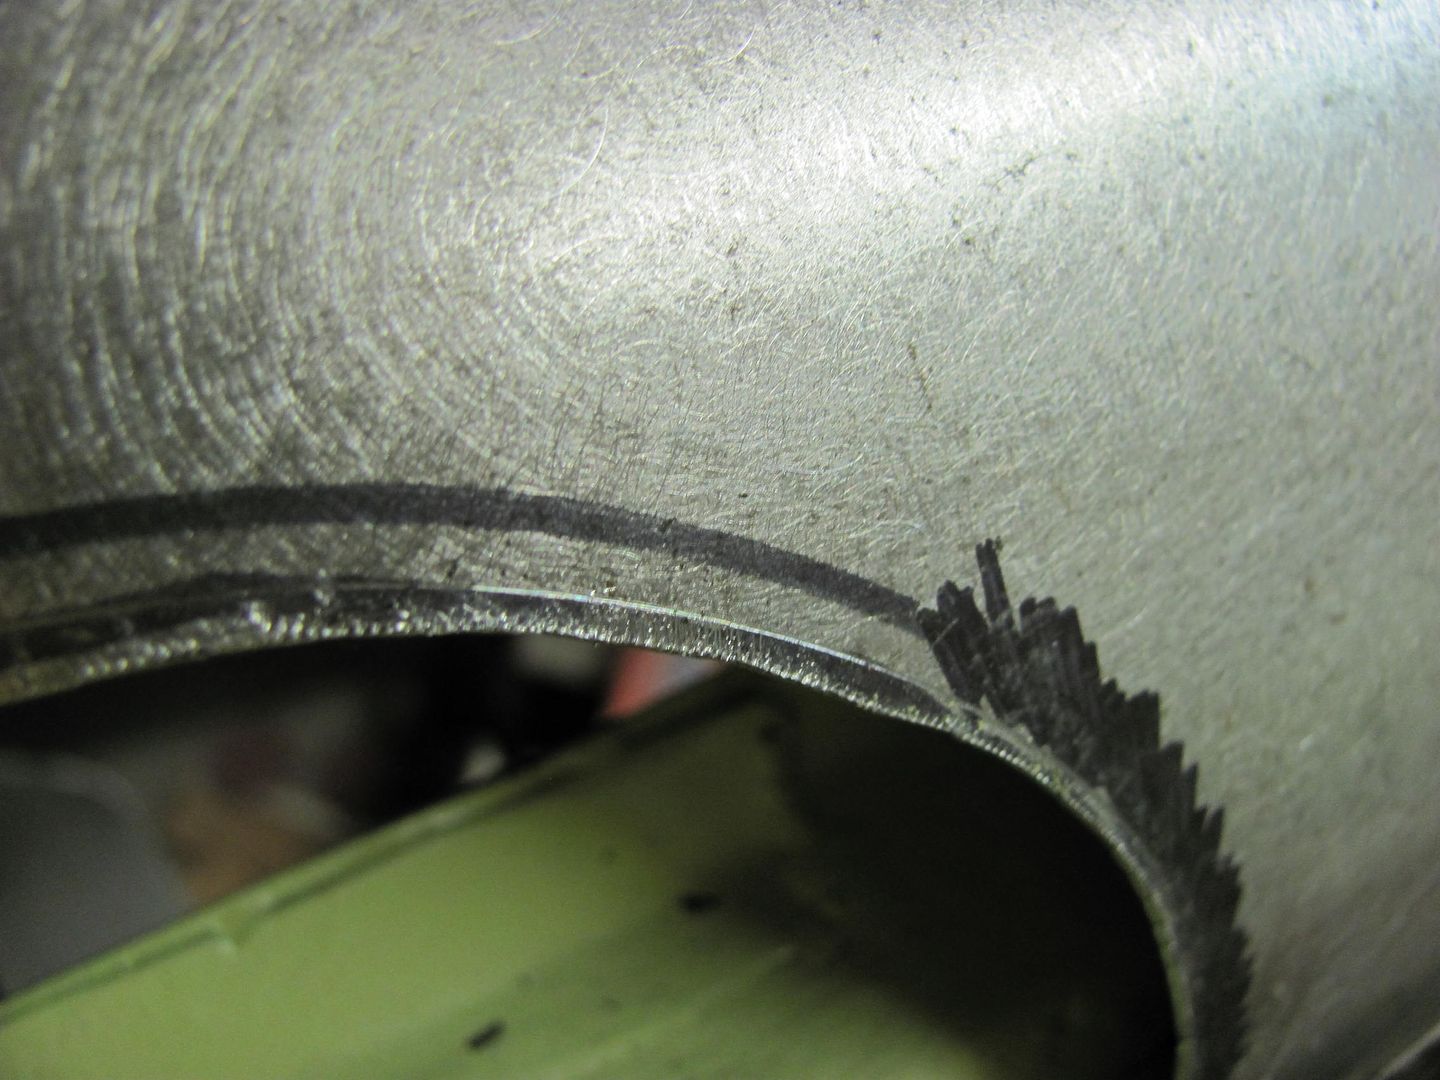
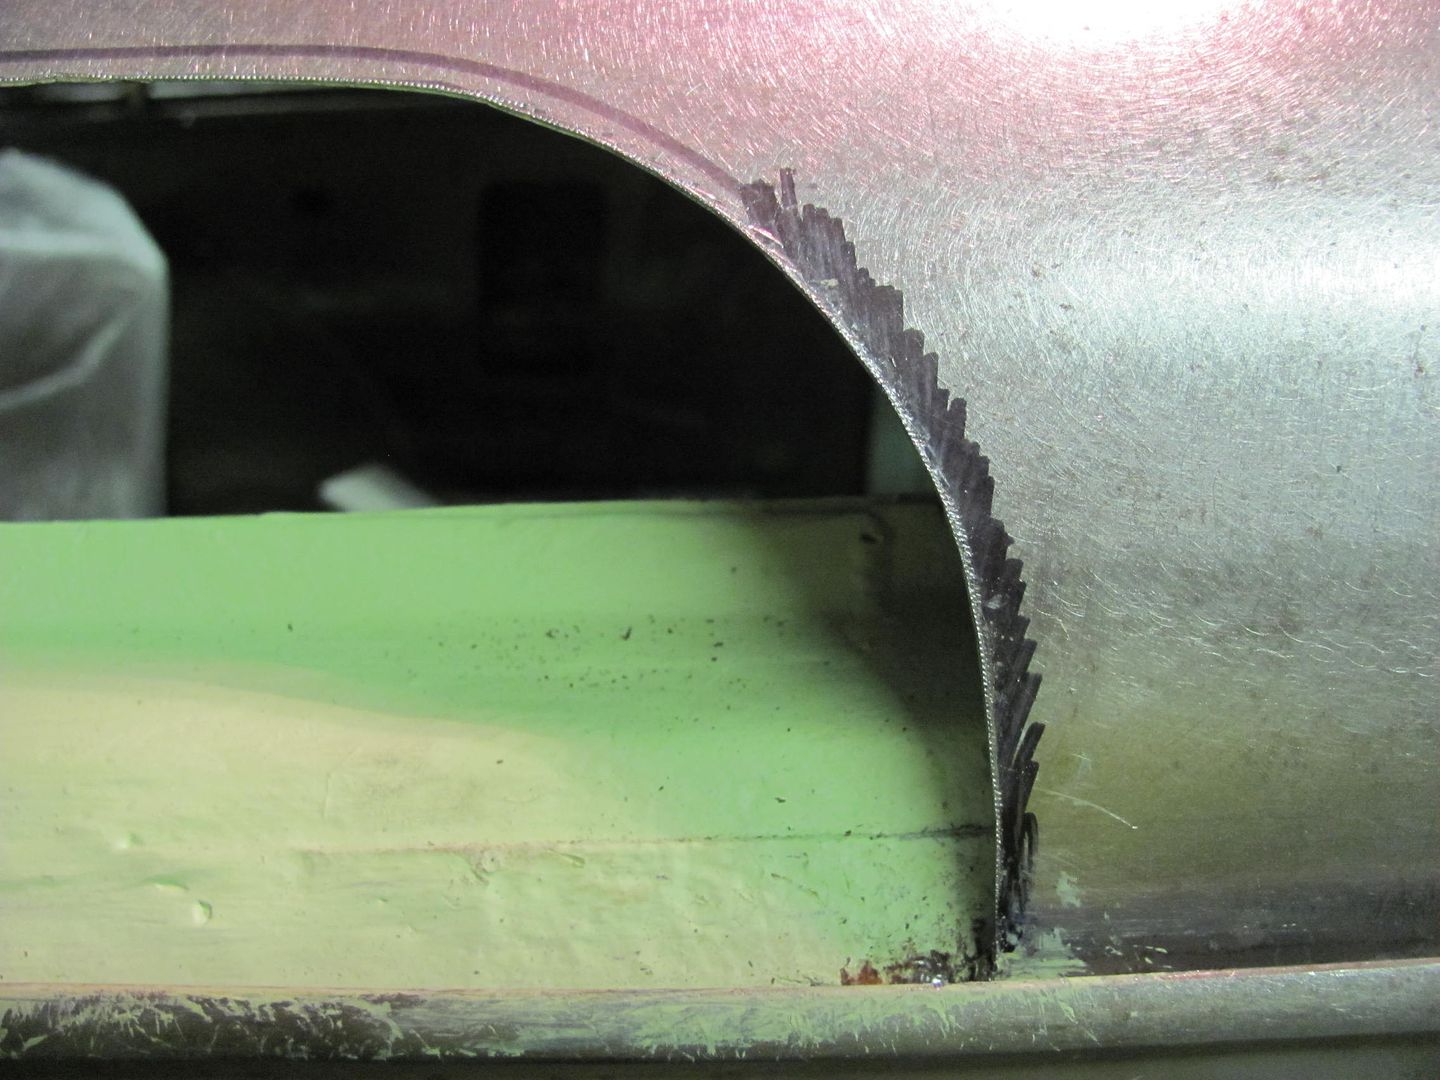
Corners touched up with a 1-1/2" drum sander
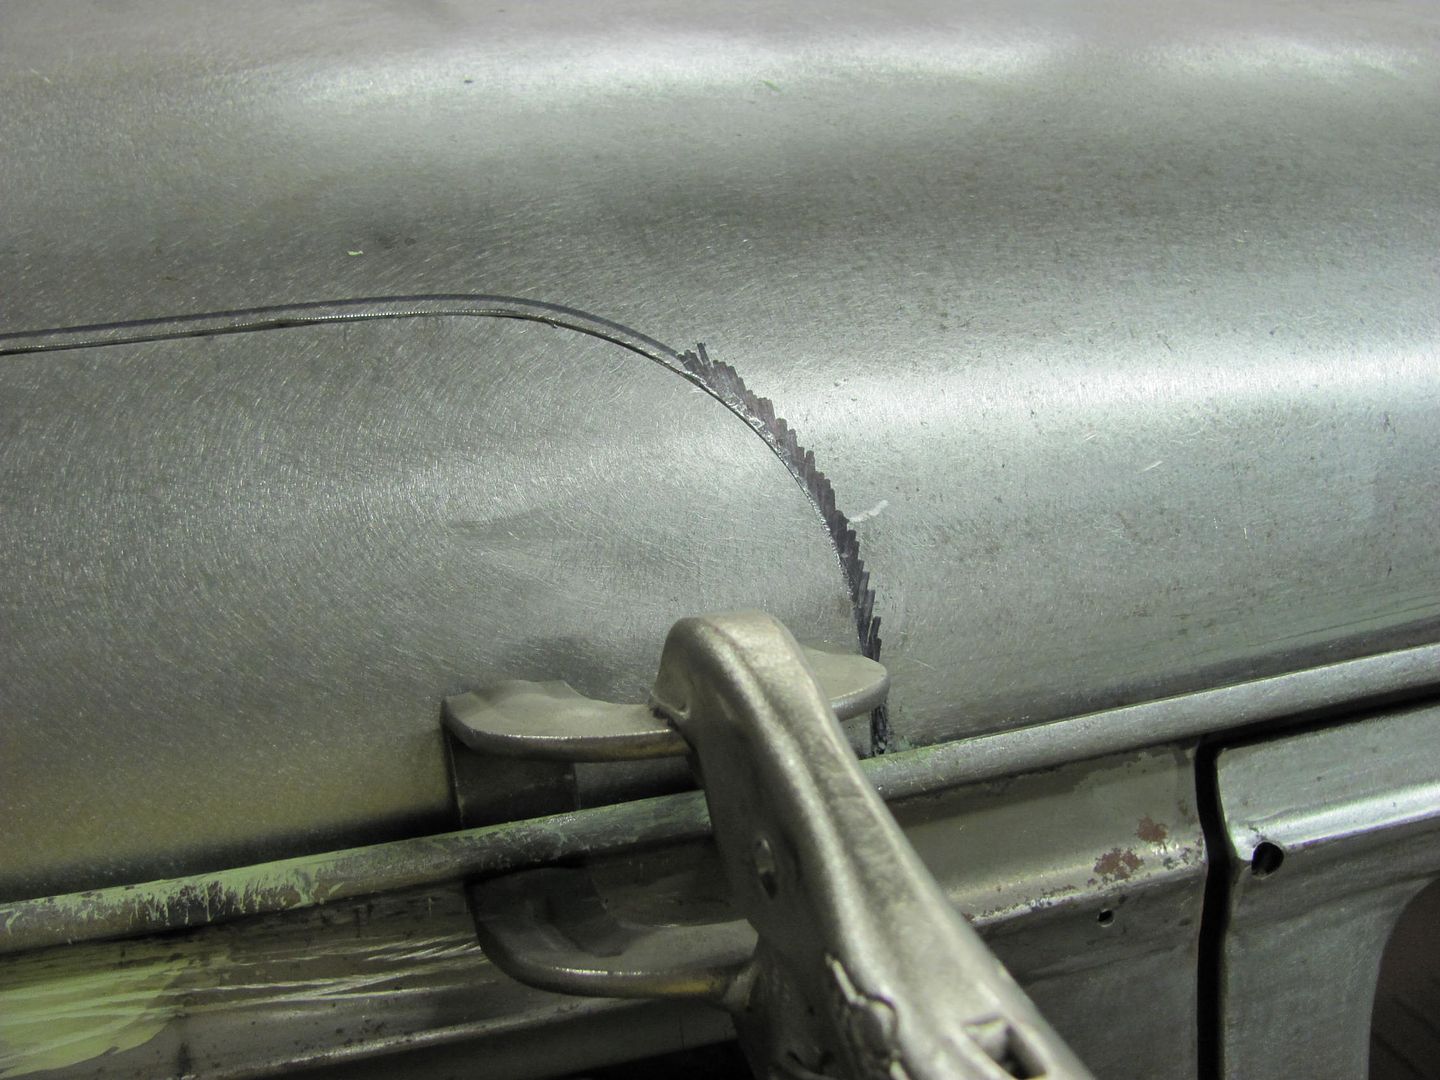
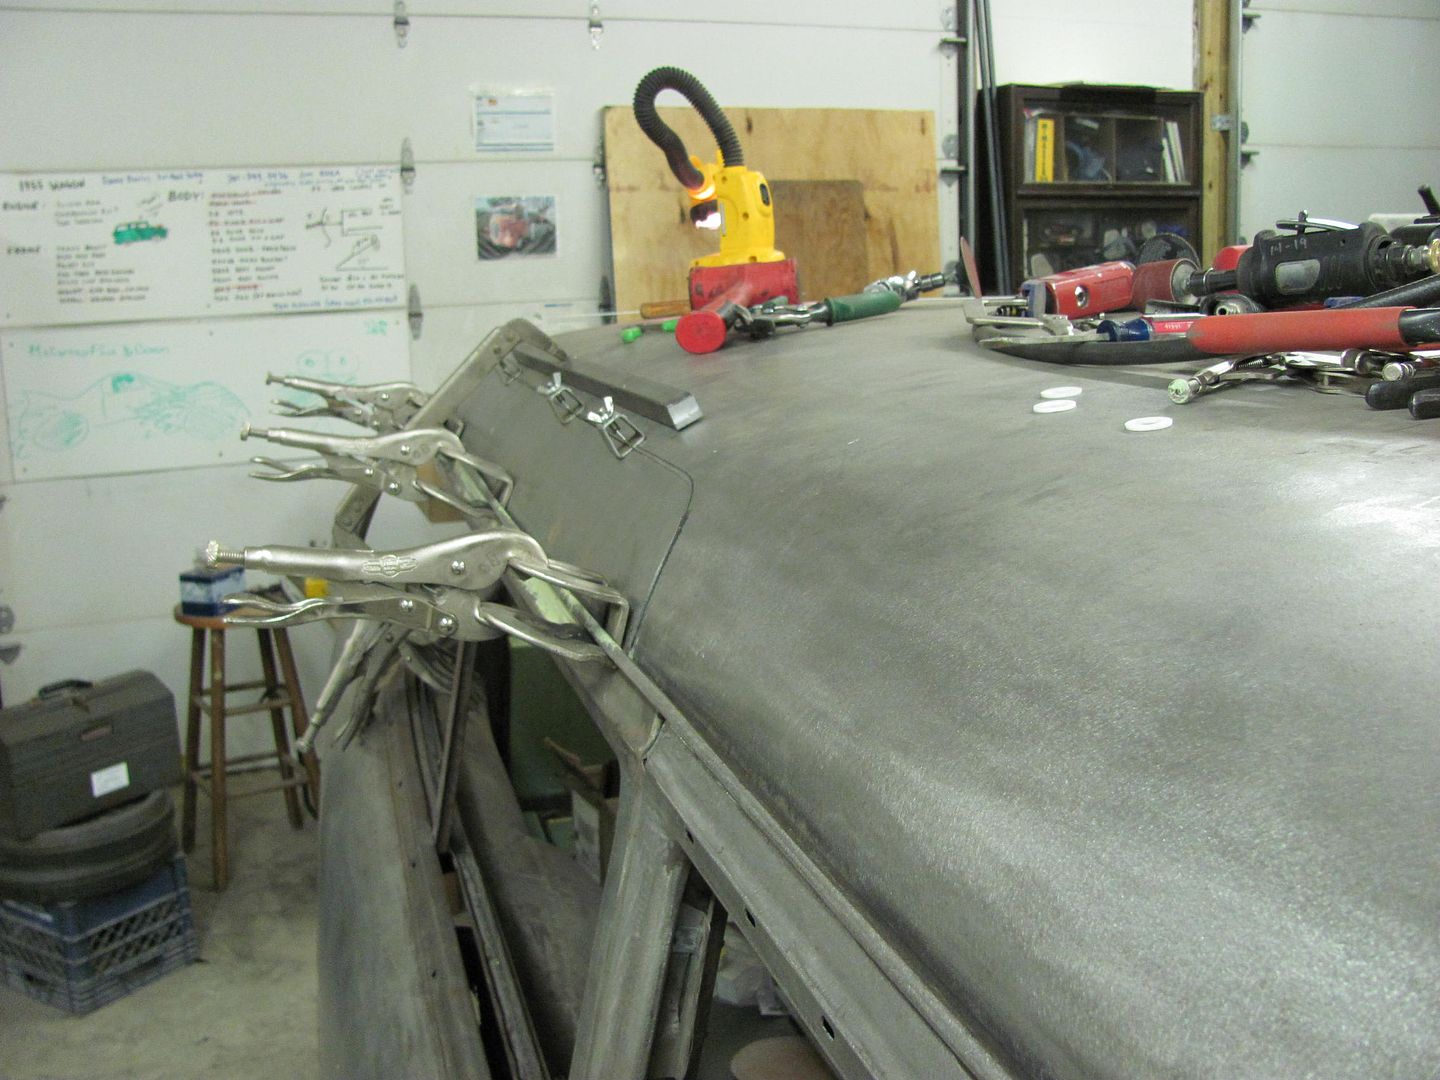
Clamped in place to hold the shape while we wait for the .023 ER70S-7 to come in. Note the butt weld clamps will be removed at welding for a tight fit-up.
Robert
-
01-11-2014 03:04 PM #141
Like the 1" ? bar for holding form on roof. I have used 1x1x3/16 L iron. Really nice work. I hope this is your car Labor is going to be through the roof.
No pun intendedCharlie
Lovin' what I do and doing what I love
Some guys can fix broken NO ONE can fix STUPID
W8AMR
http://fishertrains94.webs.com/
Christian in training
-
01-14-2014 01:56 PM #142
- Join Date
- Apr 2011
- Location
- Prairie City
- Car Year, Make, Model: 40 Ford Deluxe, 68 Corvette, 72&76 K30
- Posts
- 7,300
- Blog Entries
- 1
Very nice work sir! I highly doubt I would have been able to make that patch panel in the time you repair your rear hatch. I need to get some of those butt weld clamps too.
Ryan
1940 Ford Deluxe Tudor 354 Hemi 46RH Electric Blue w/multi-color flames, Ford 9" Residing in multiple pieces
1968 Corvette Coupe 5.9 Cummins Drag Car 11.43@130mph No stall leaving the line with 1250 rpm's and poor 2.2 60'
1972 Chevy K30 Longhorn P-pumped 24v Compound Turbos 47RH Just another money pit
1971 Camaro RS 5.3 BTR Stage 3 cam, SuperT10
Tire Sizes
-
02-06-2014 08:12 PM #143
I just use the butt clamps to assist in fit up, they get moved out of the way during welding for a tight butt joint.
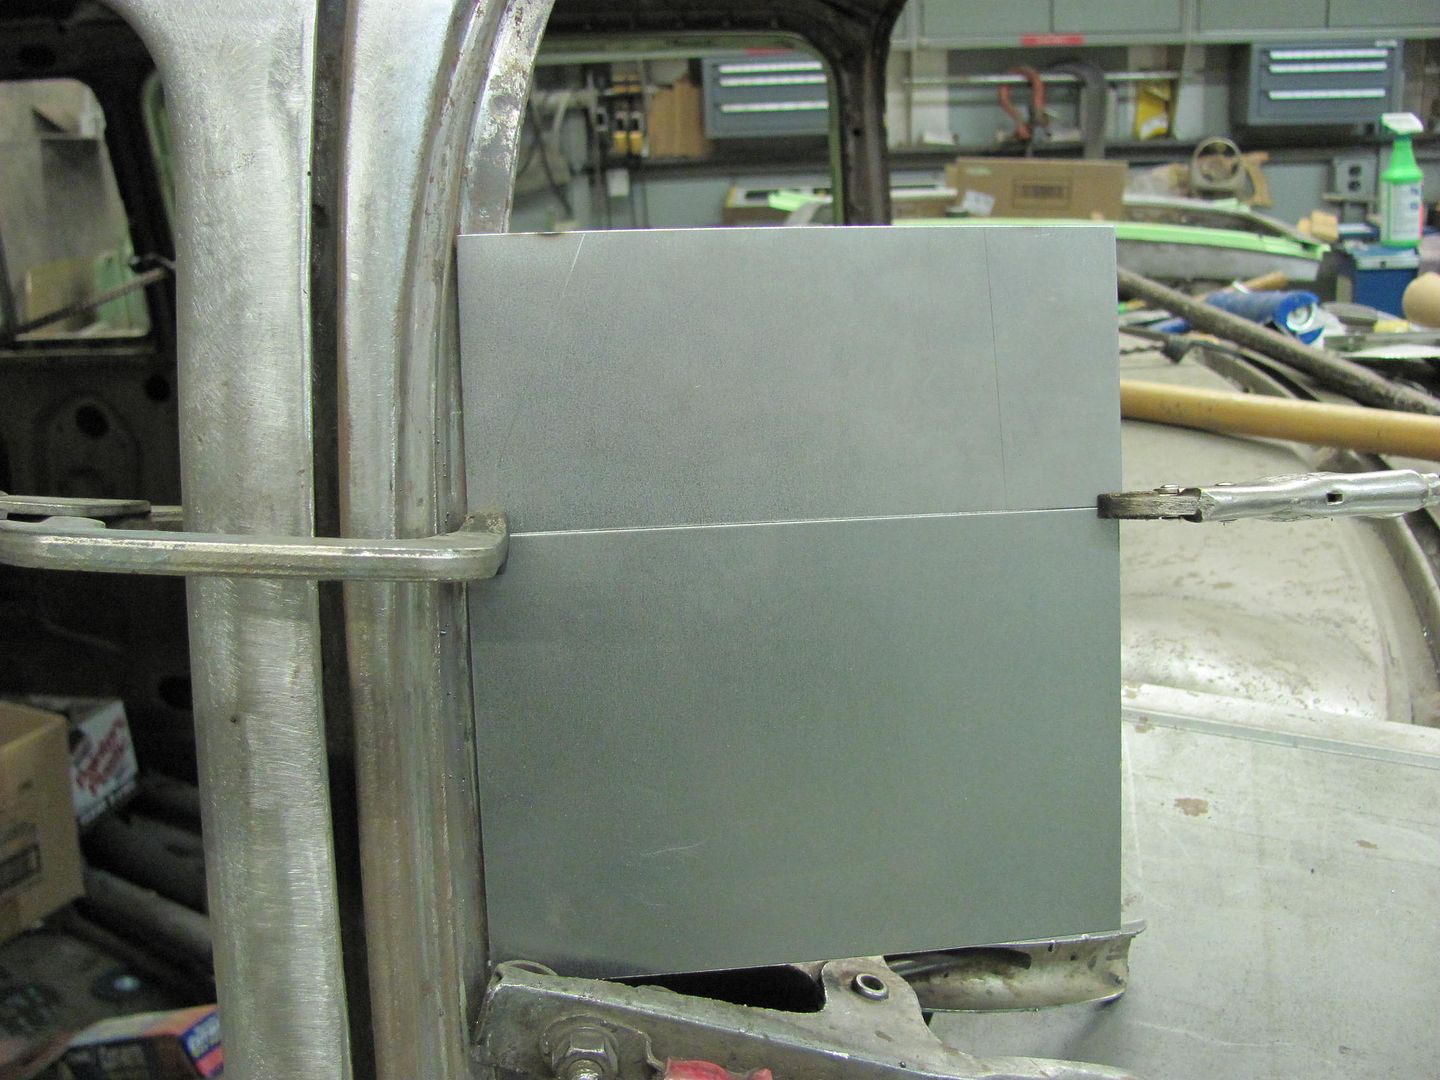
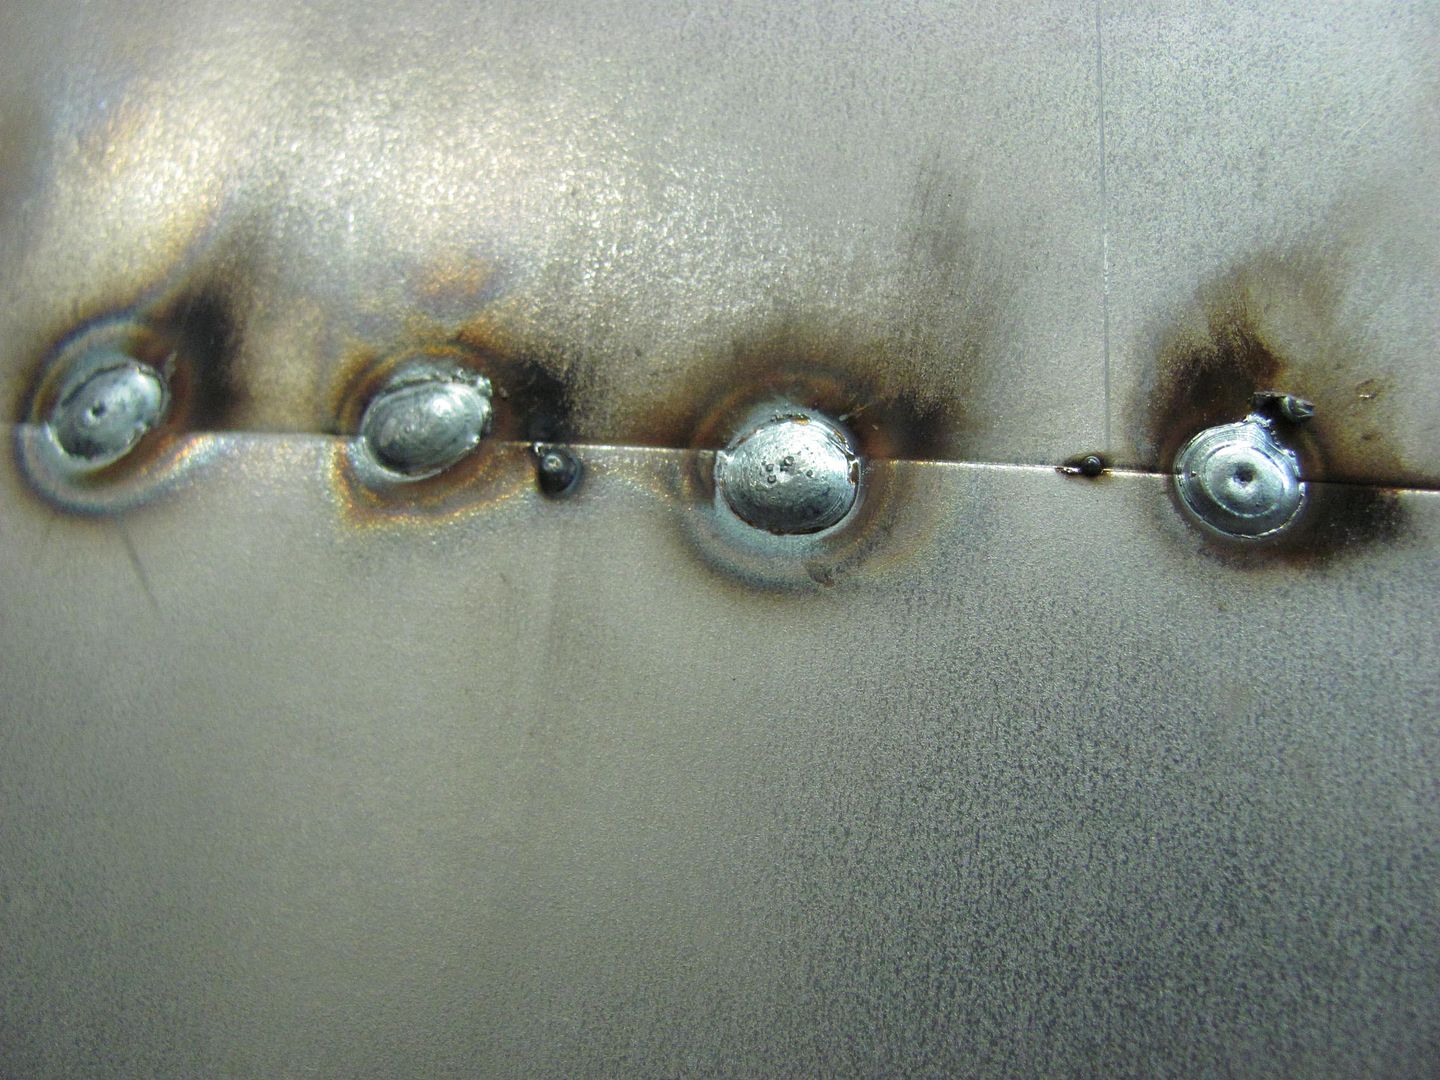
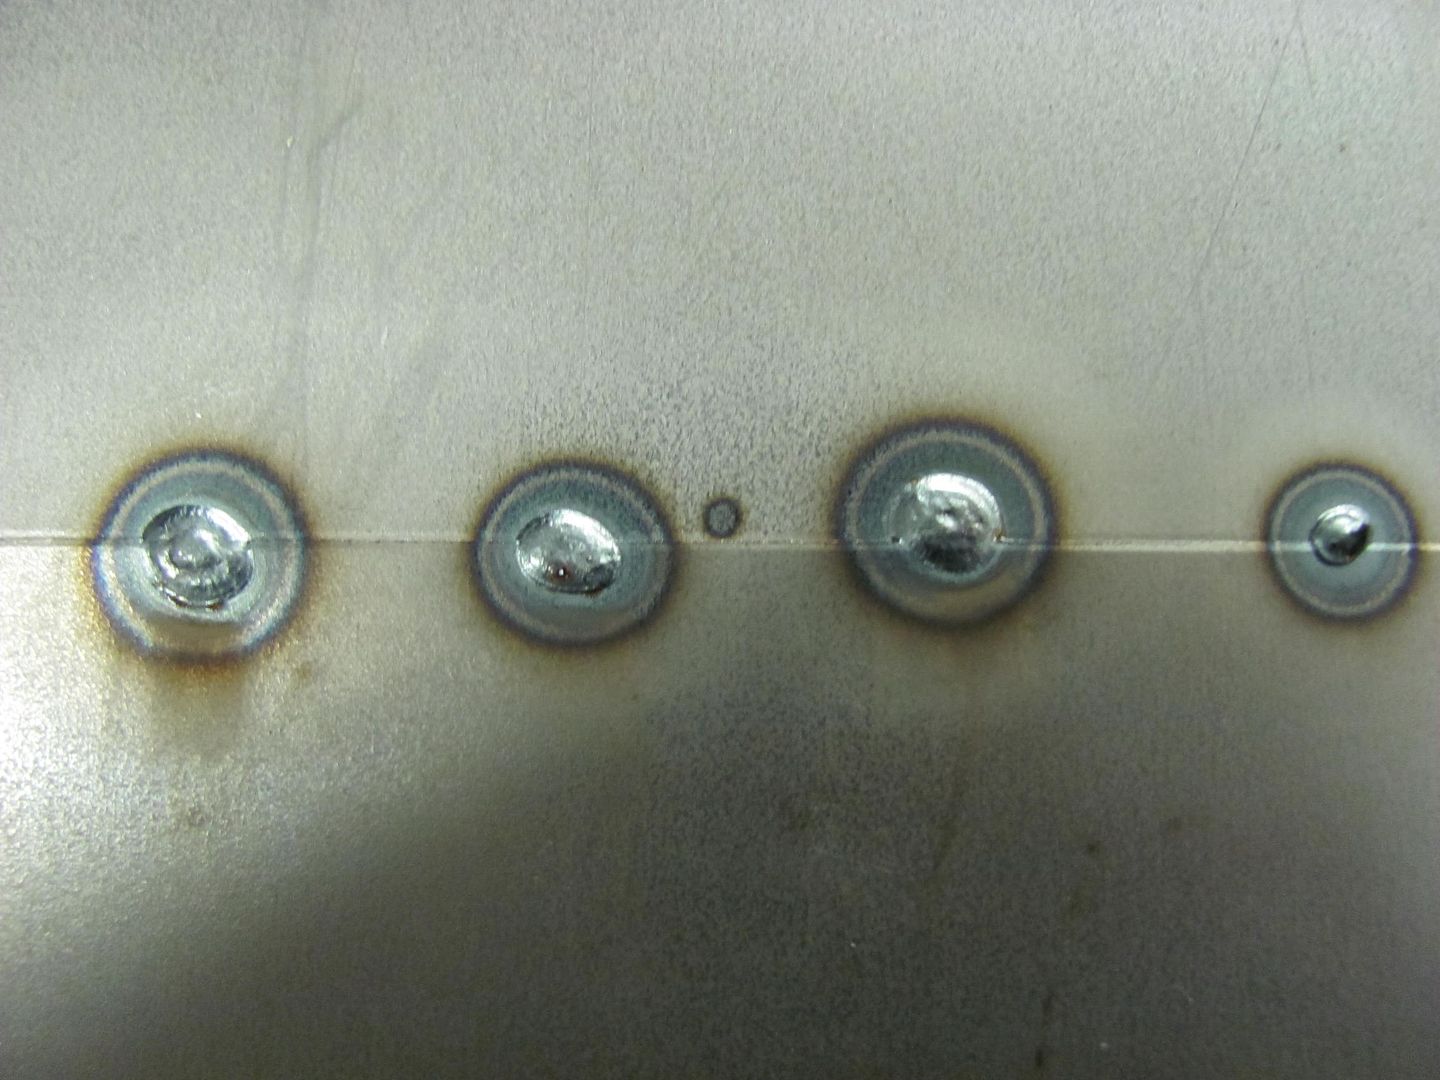
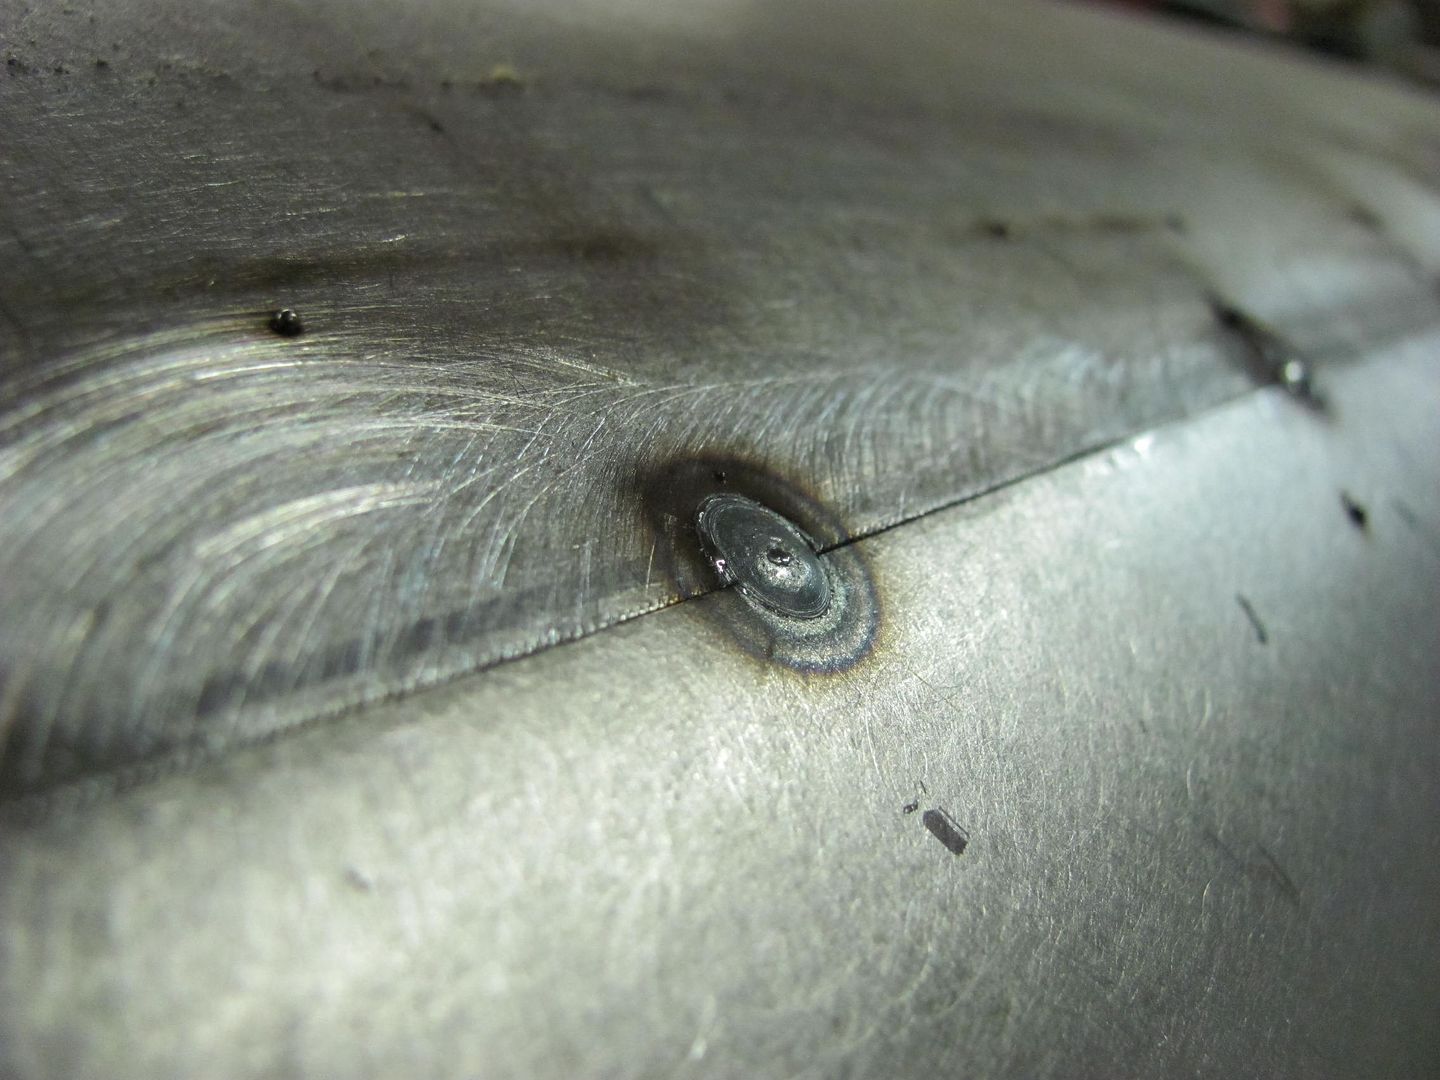
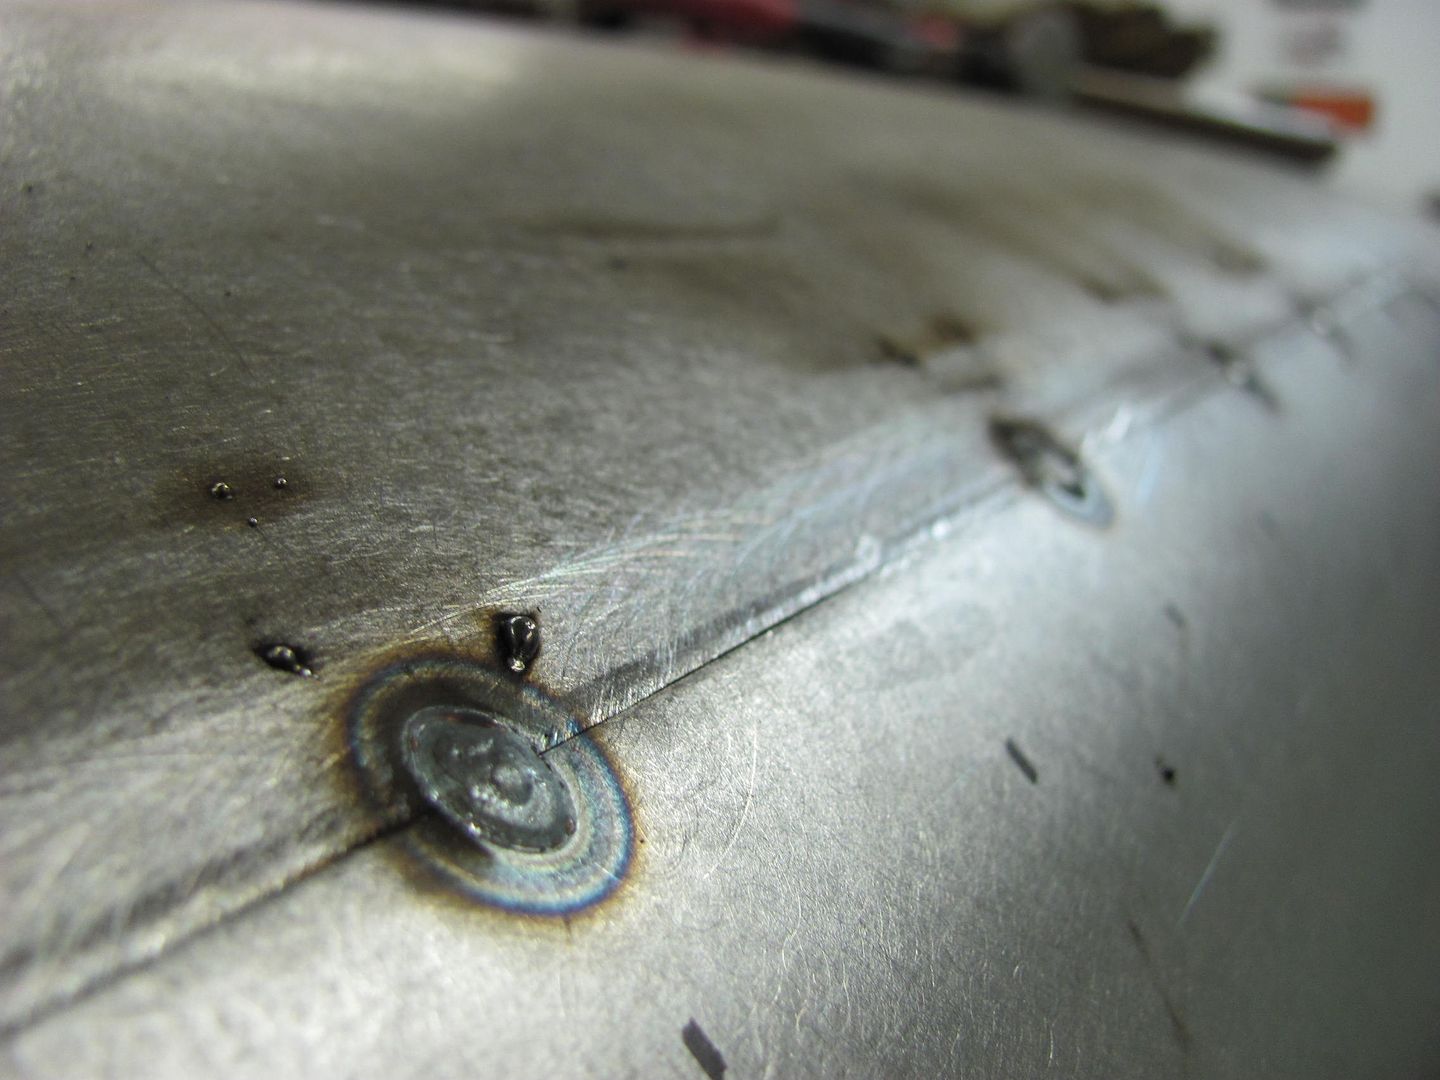
Well today I had a phone call from 3 Mules to tell me the .023 welding wire was in. I had ordered .023 ER70S-7, but what actually showed up was EZ Grind. I guess I was destined to try this stuff out...
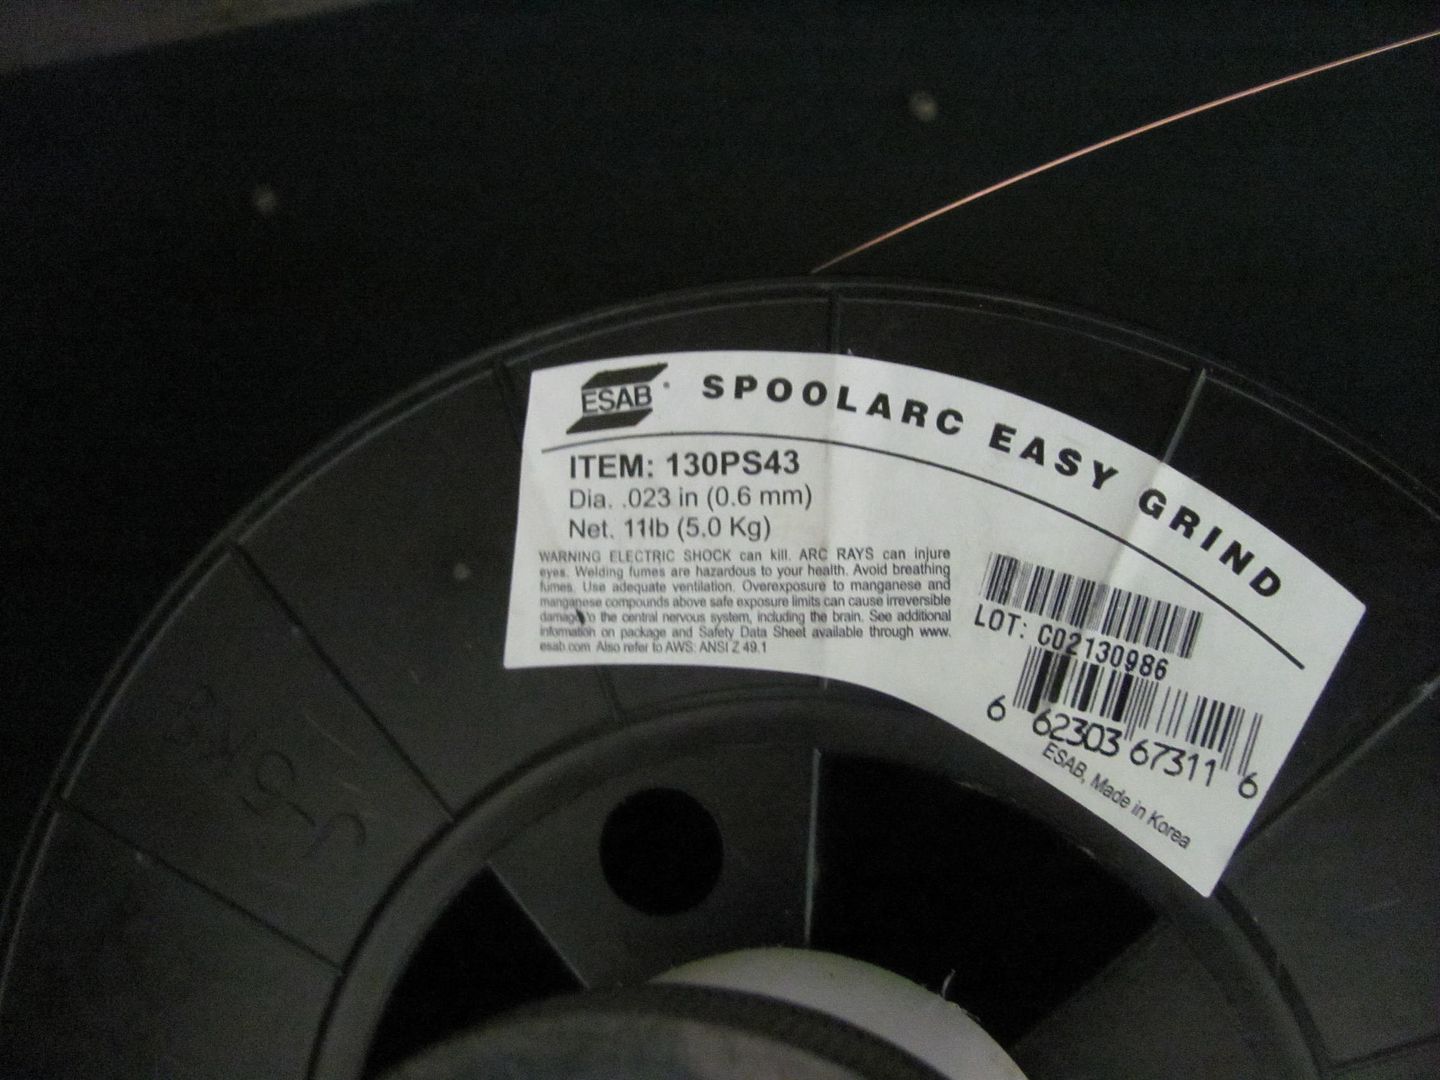
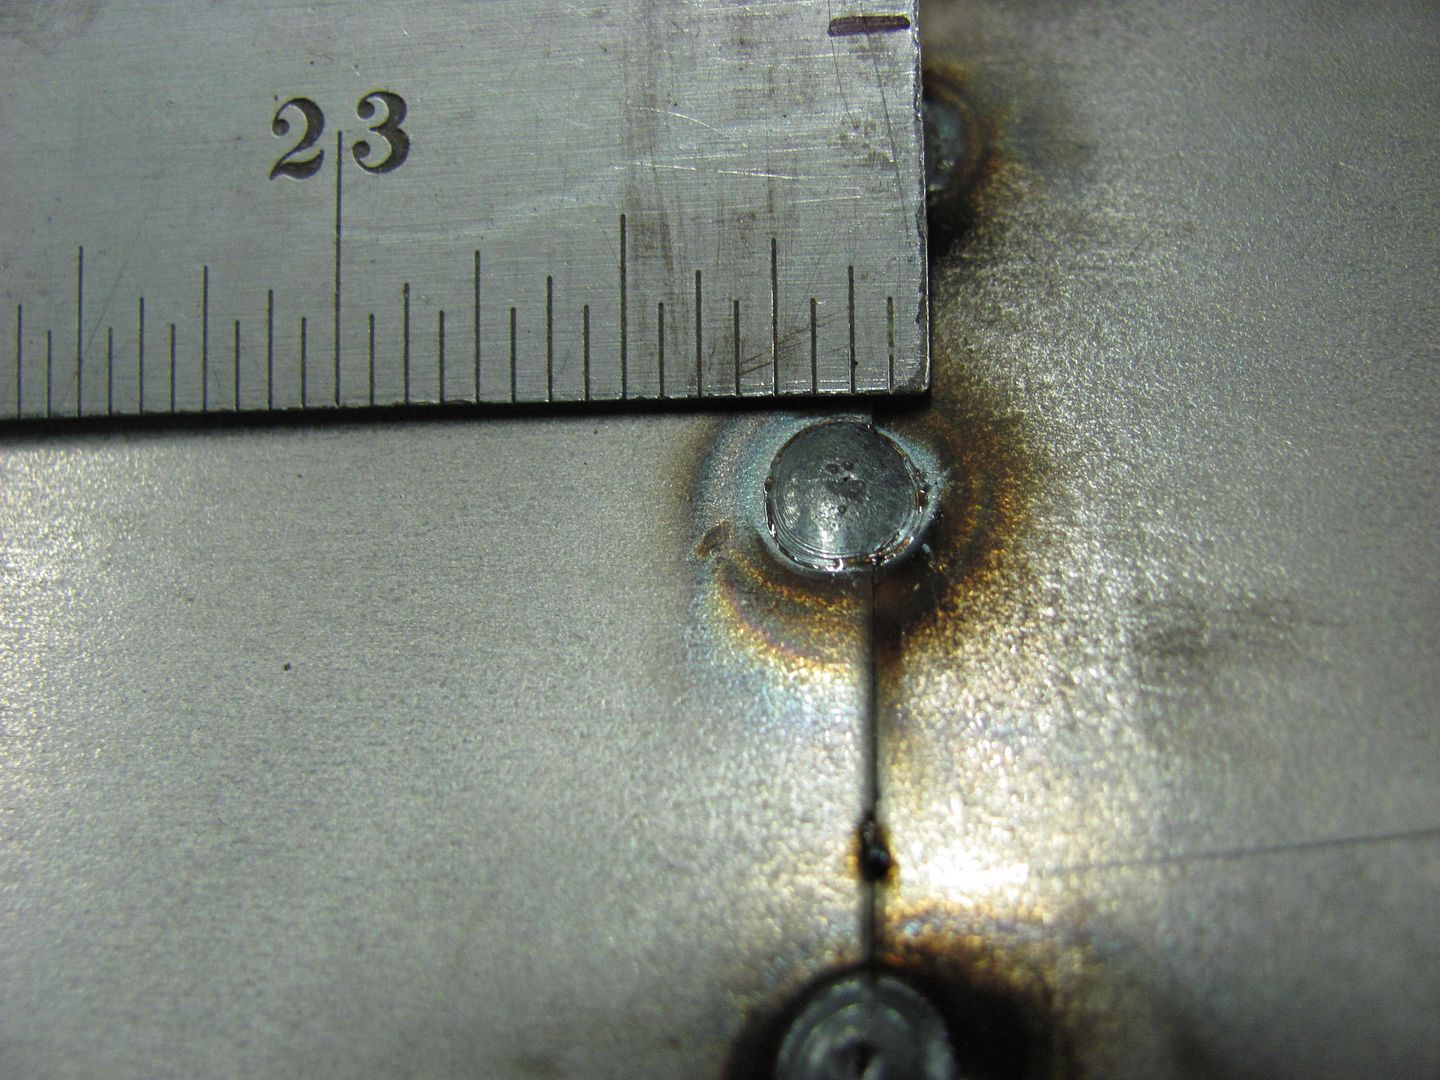
After about 45 minutes of changing wire, rollers, and trying different settings on the machine, we found dialing it in for 3/16 thick steel and using 1/2 second weld "application" showed about the best results.. Seems odd as the metal was 19 ga, or about .038 thick..
front:
rear:
Comparative size of the weld proud.
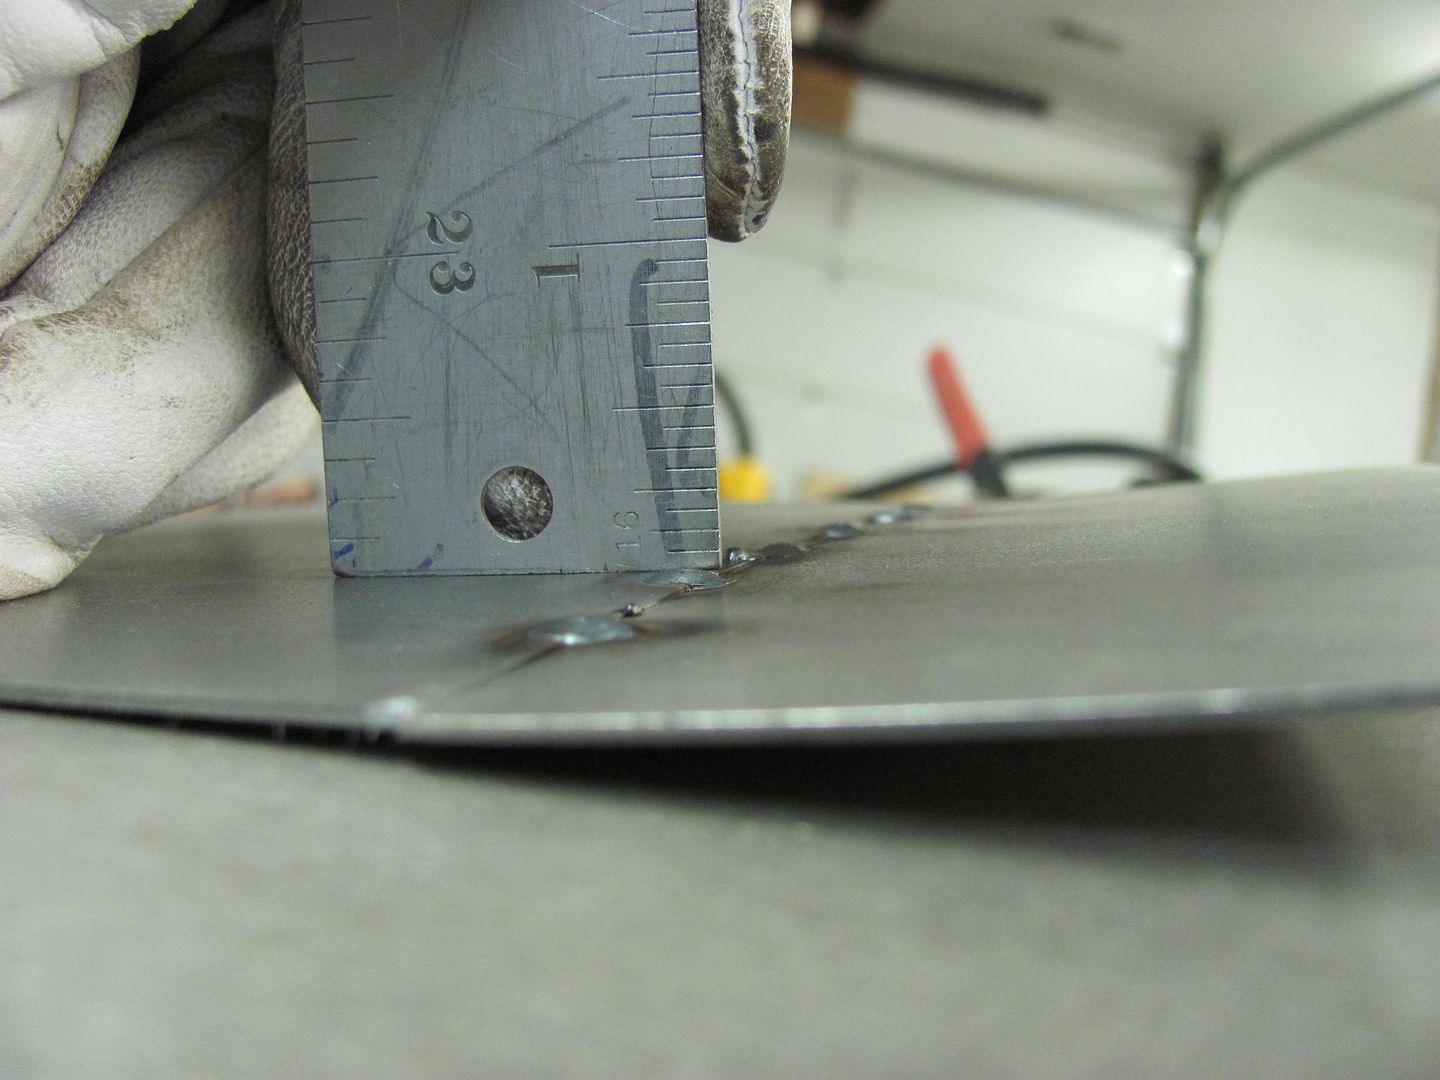
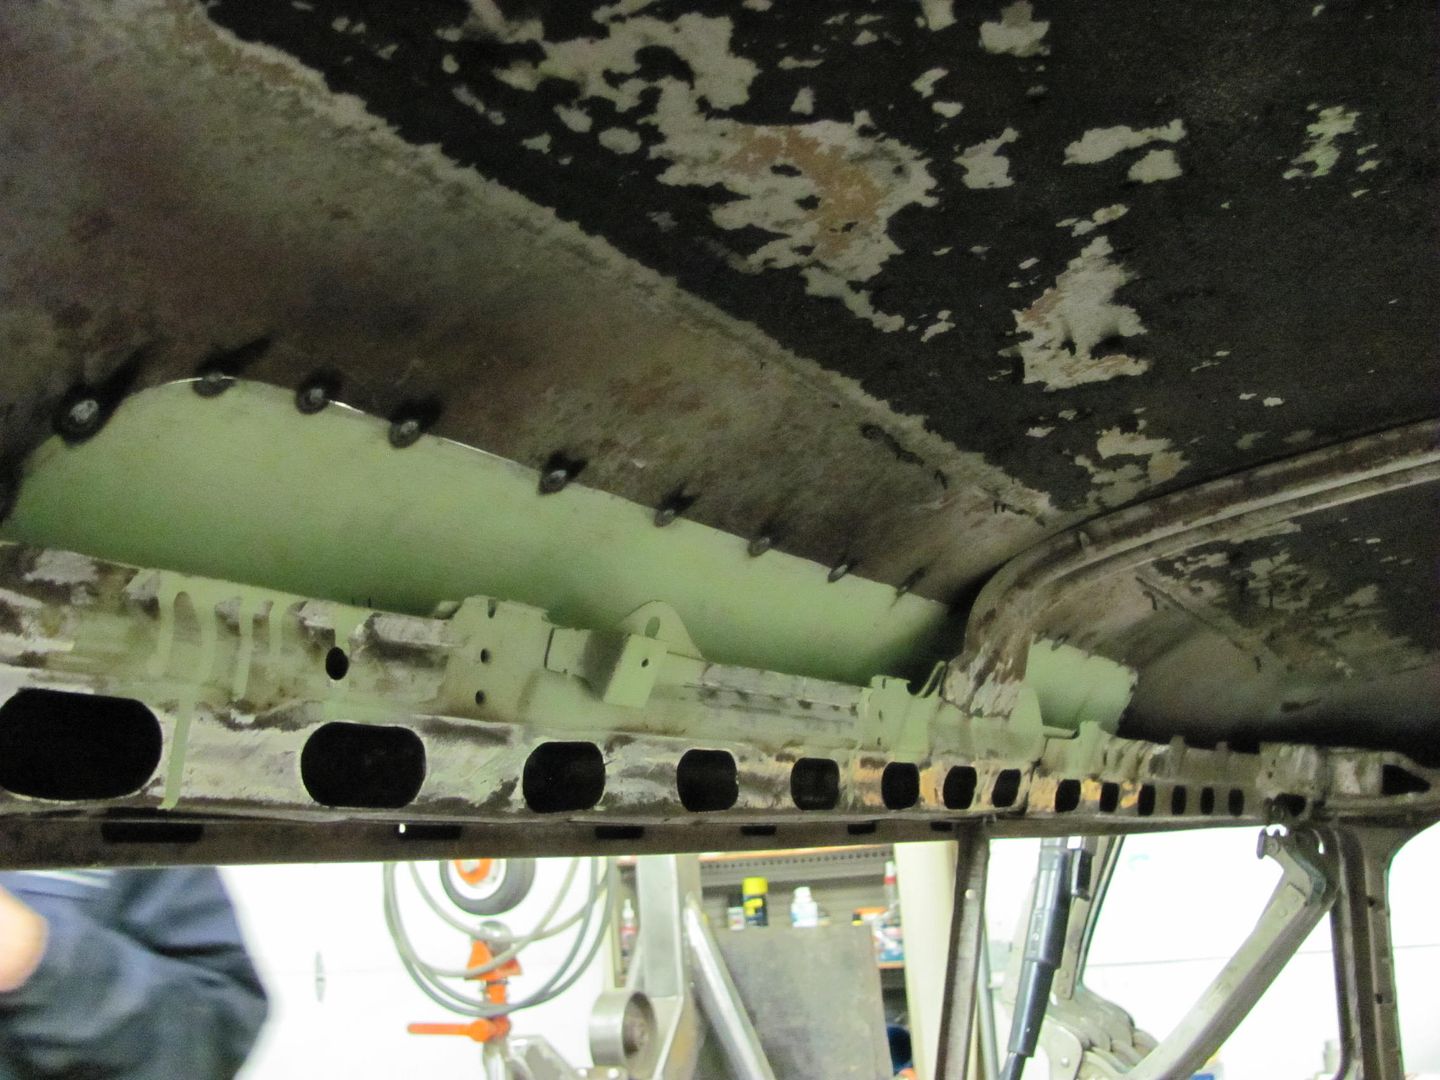
The special made tongs had returned from Houston, so we did the spot welds first to insure the panel was pulled down into the drip rail tightly..
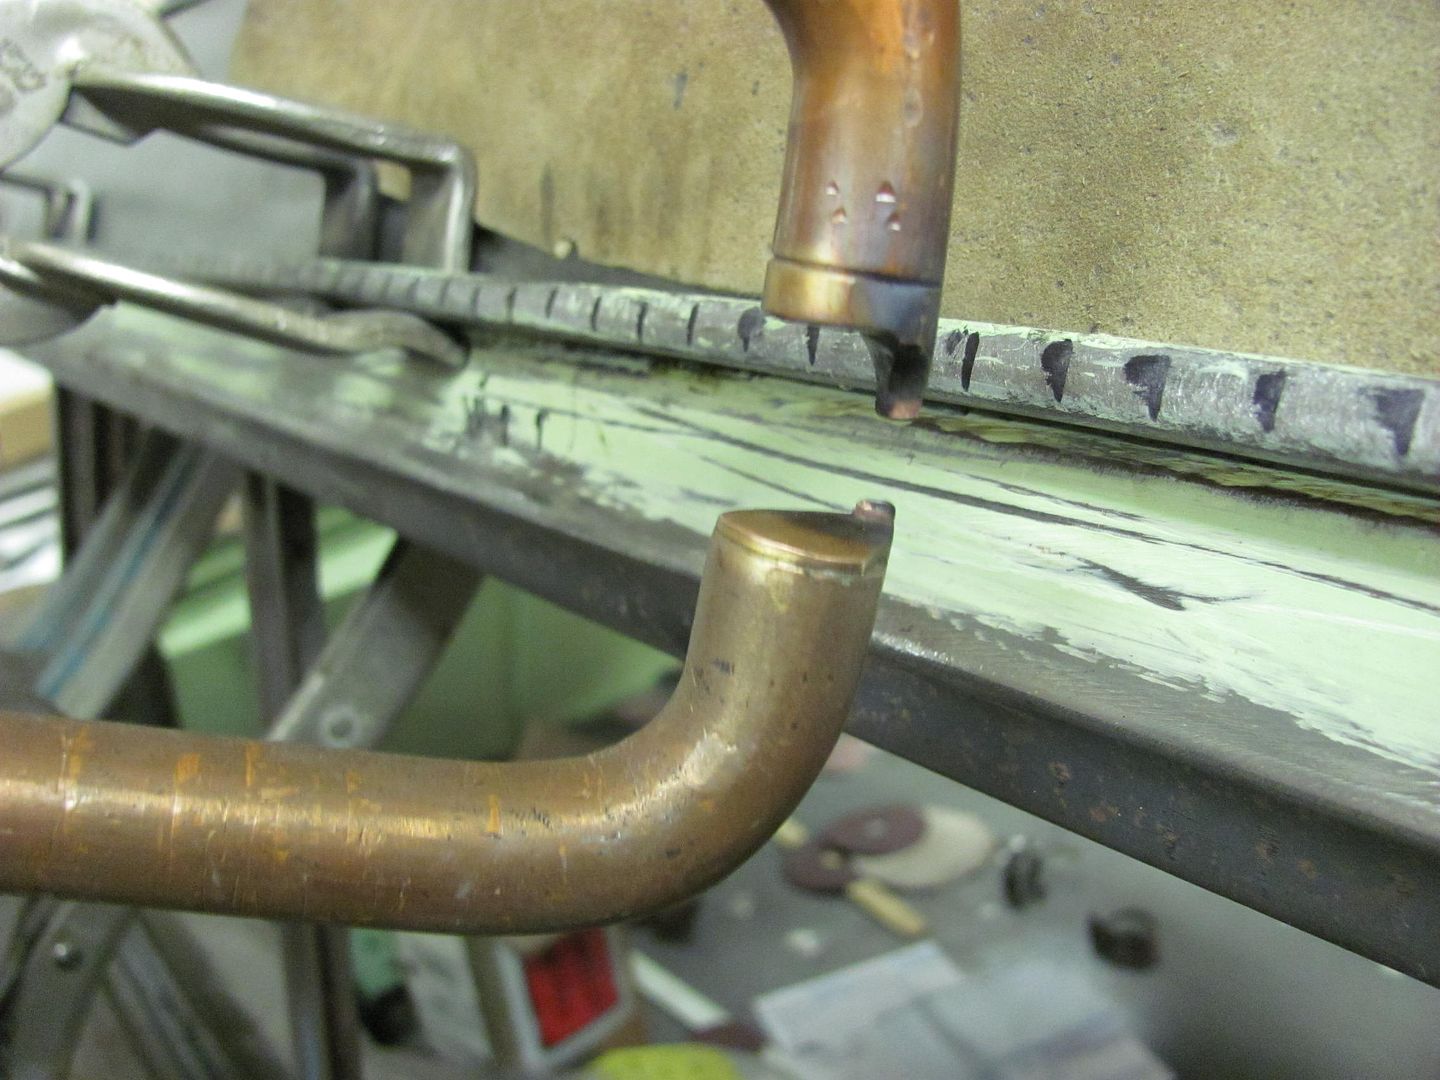
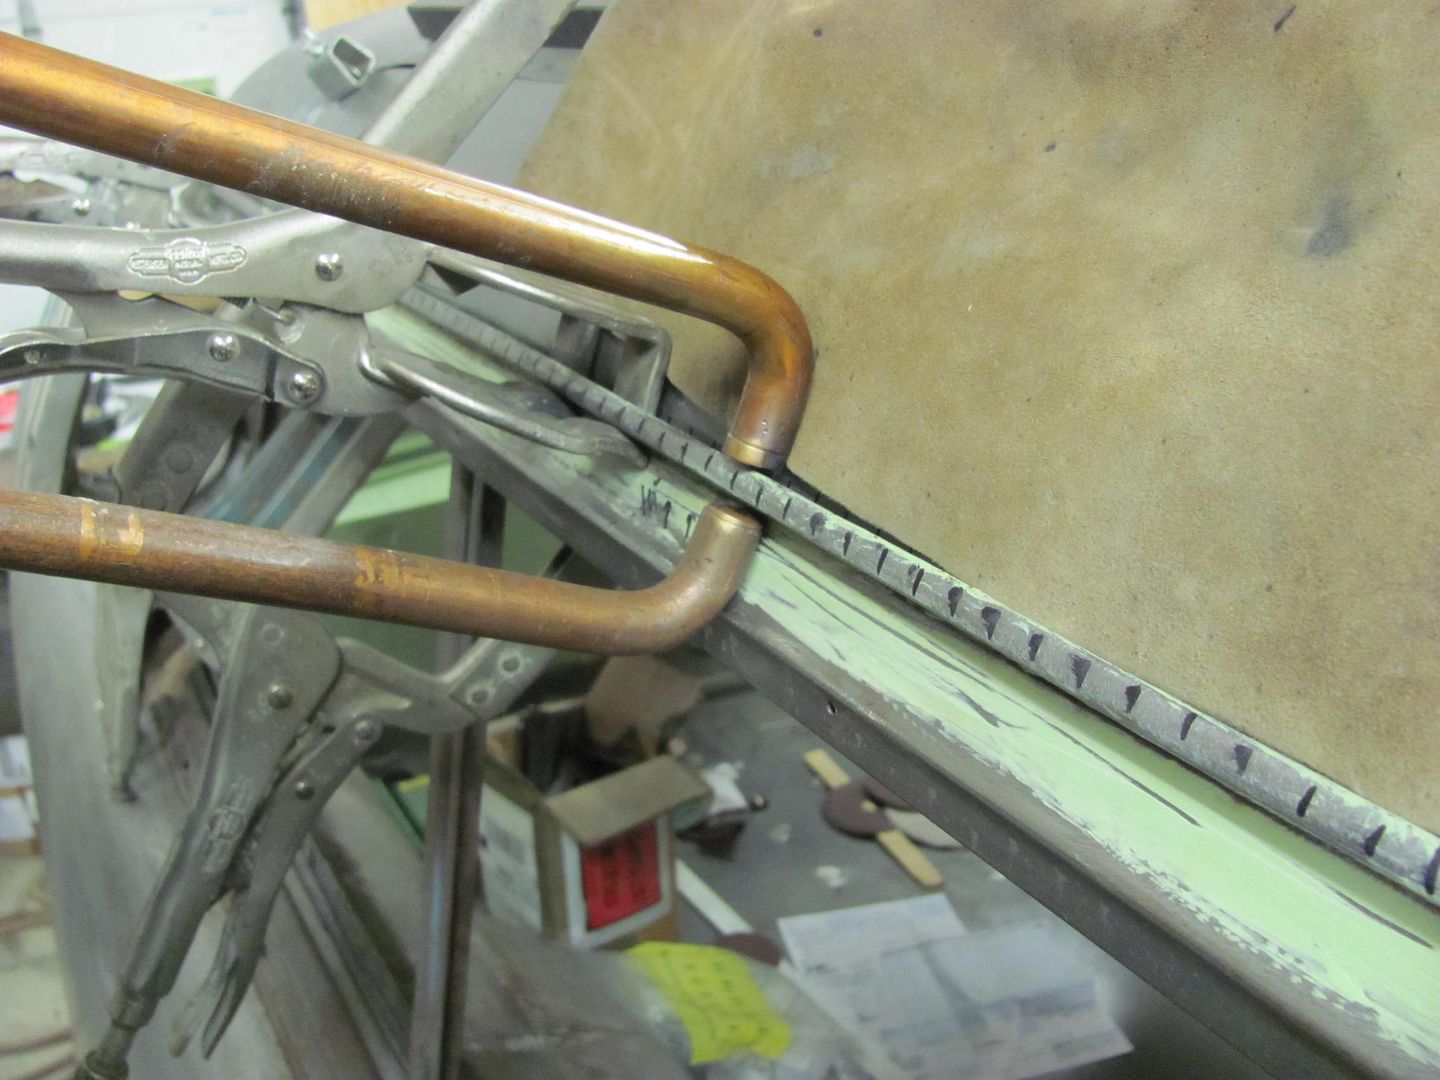
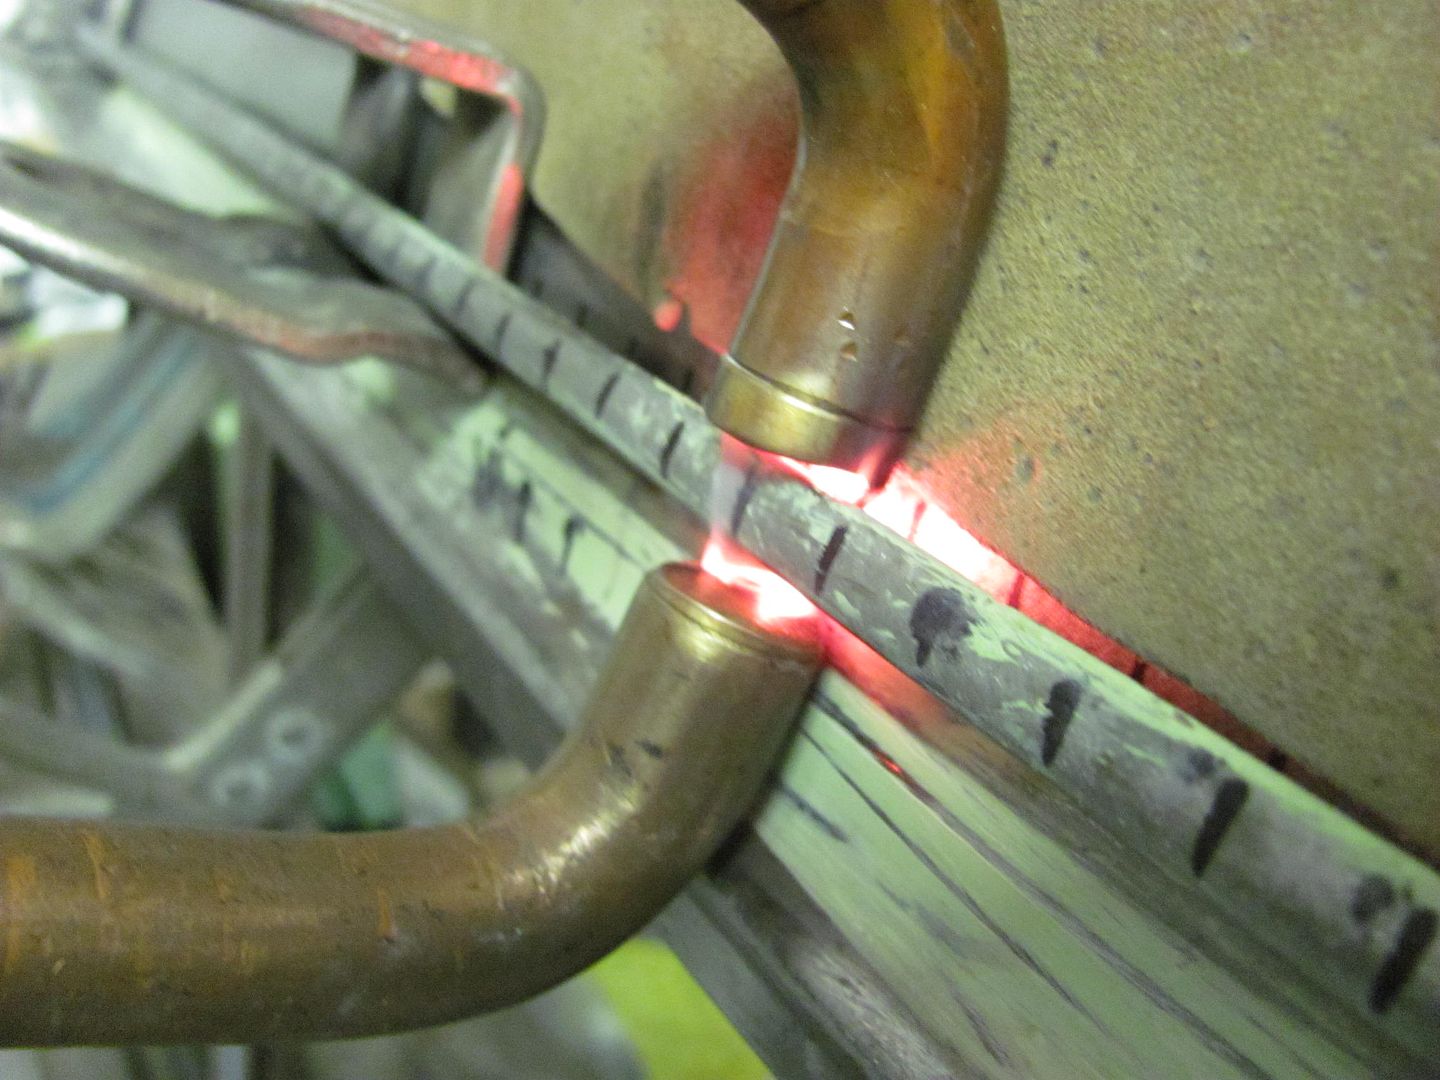
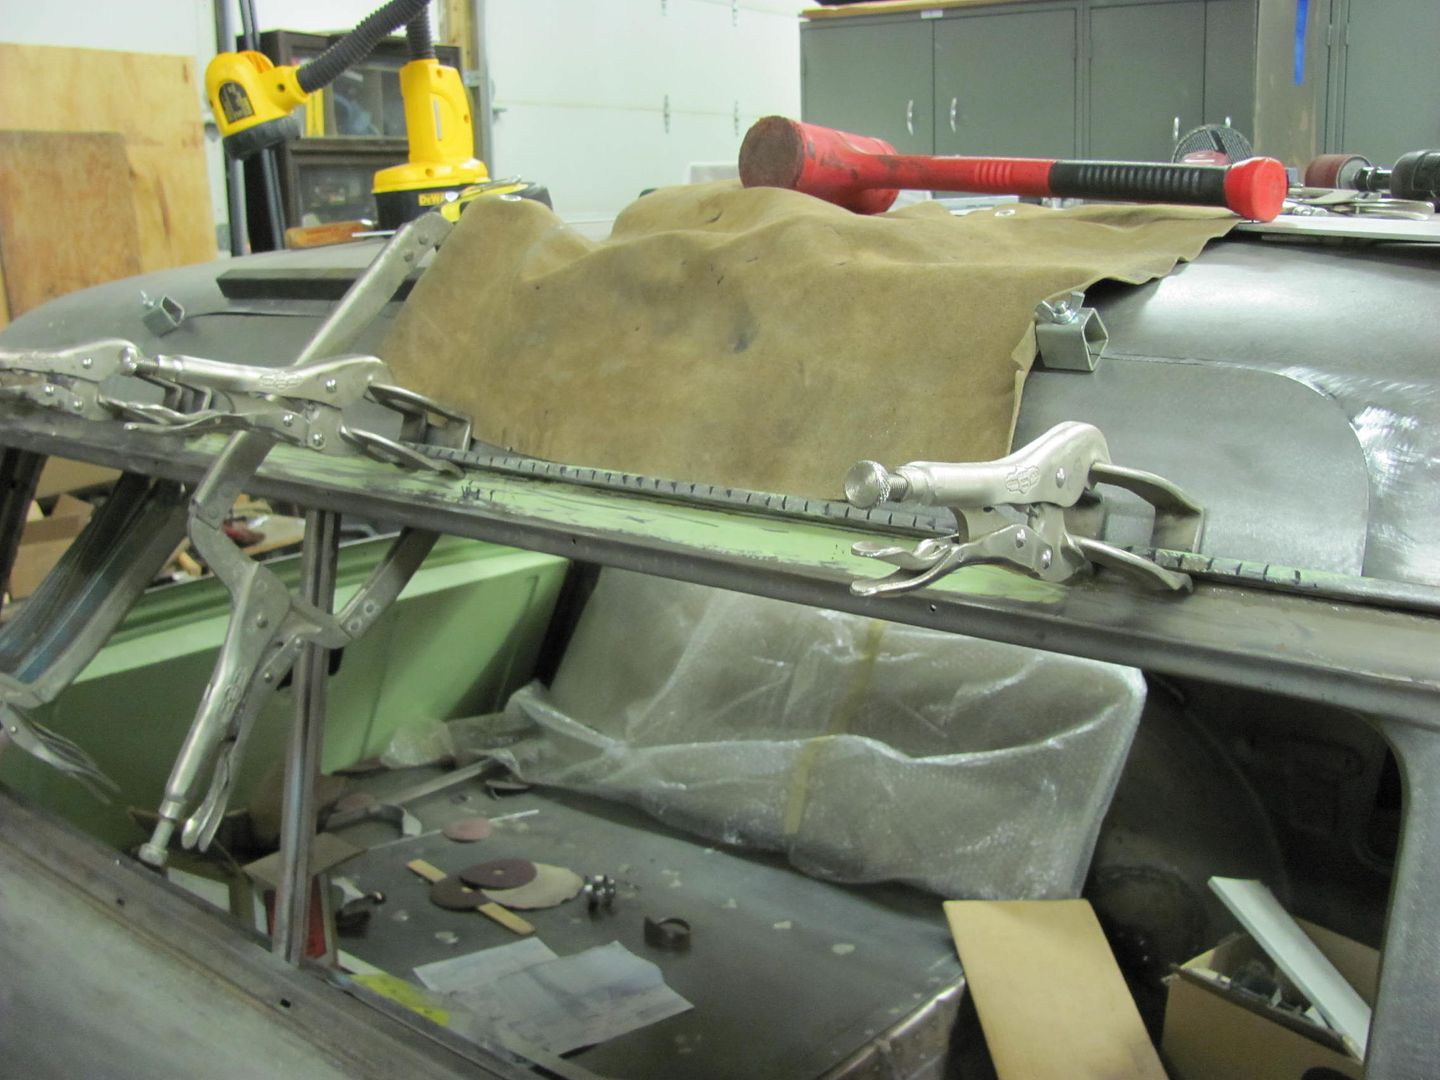
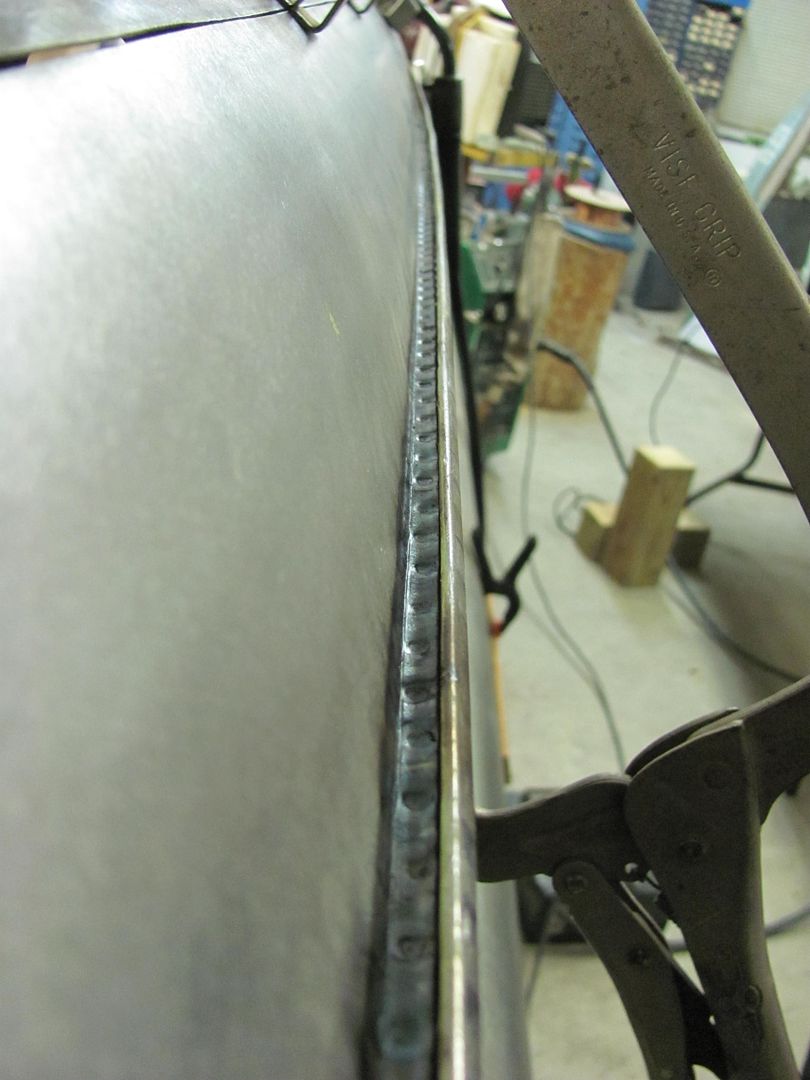
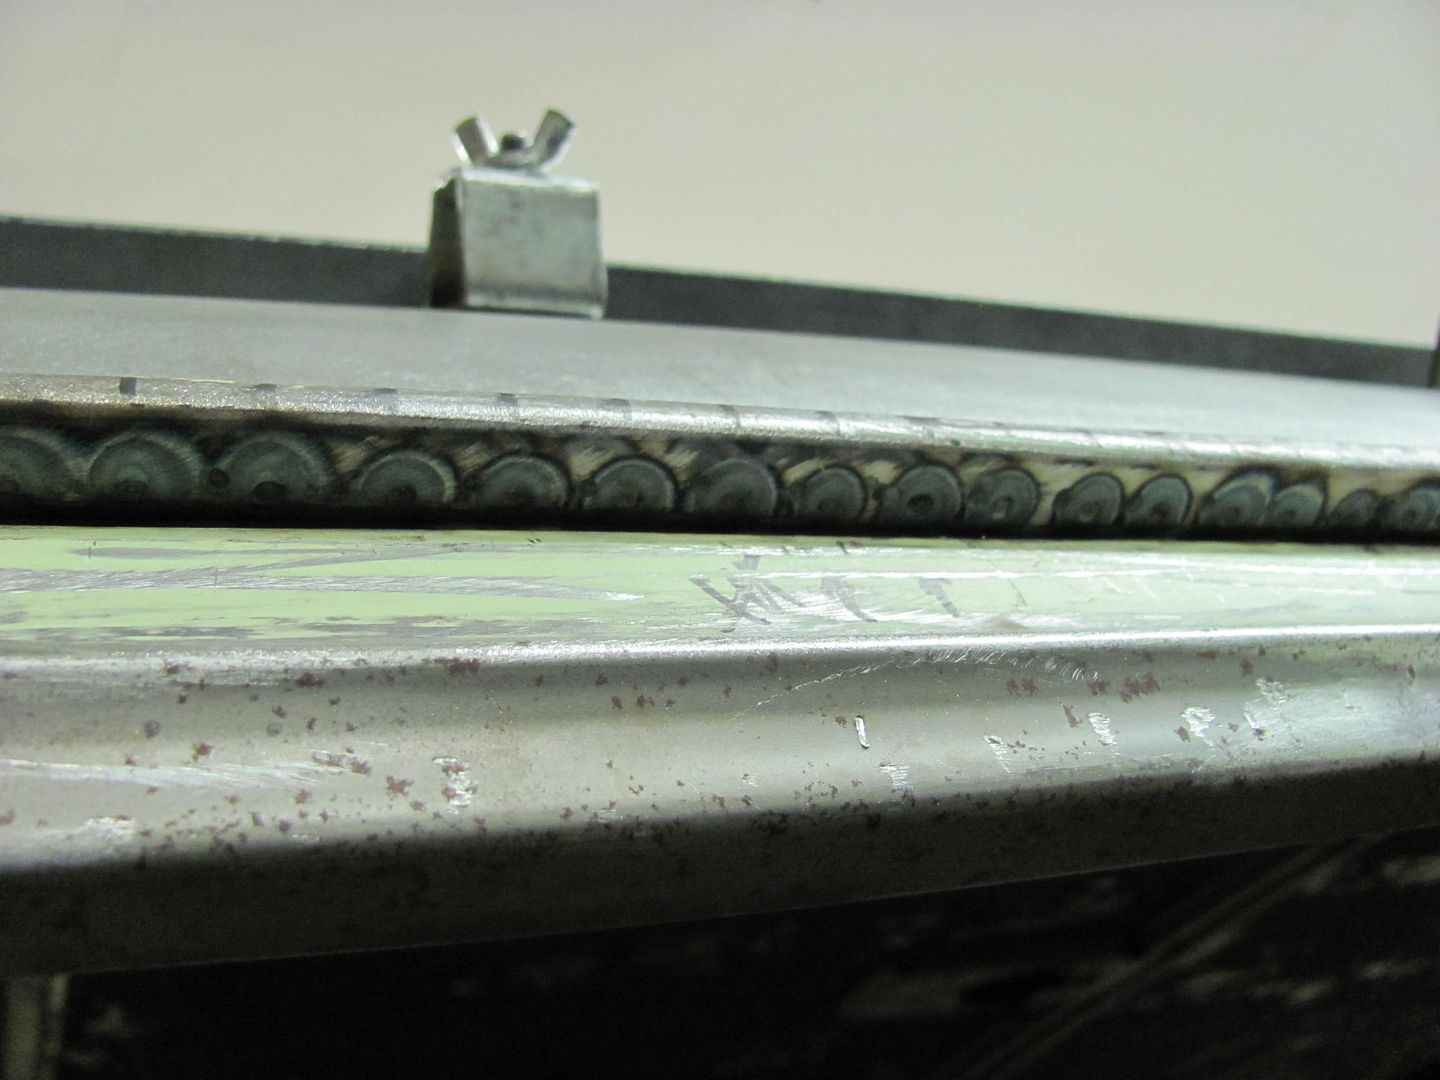
Then the panels were aligned and tacked, starting at the rear and working toward the front...
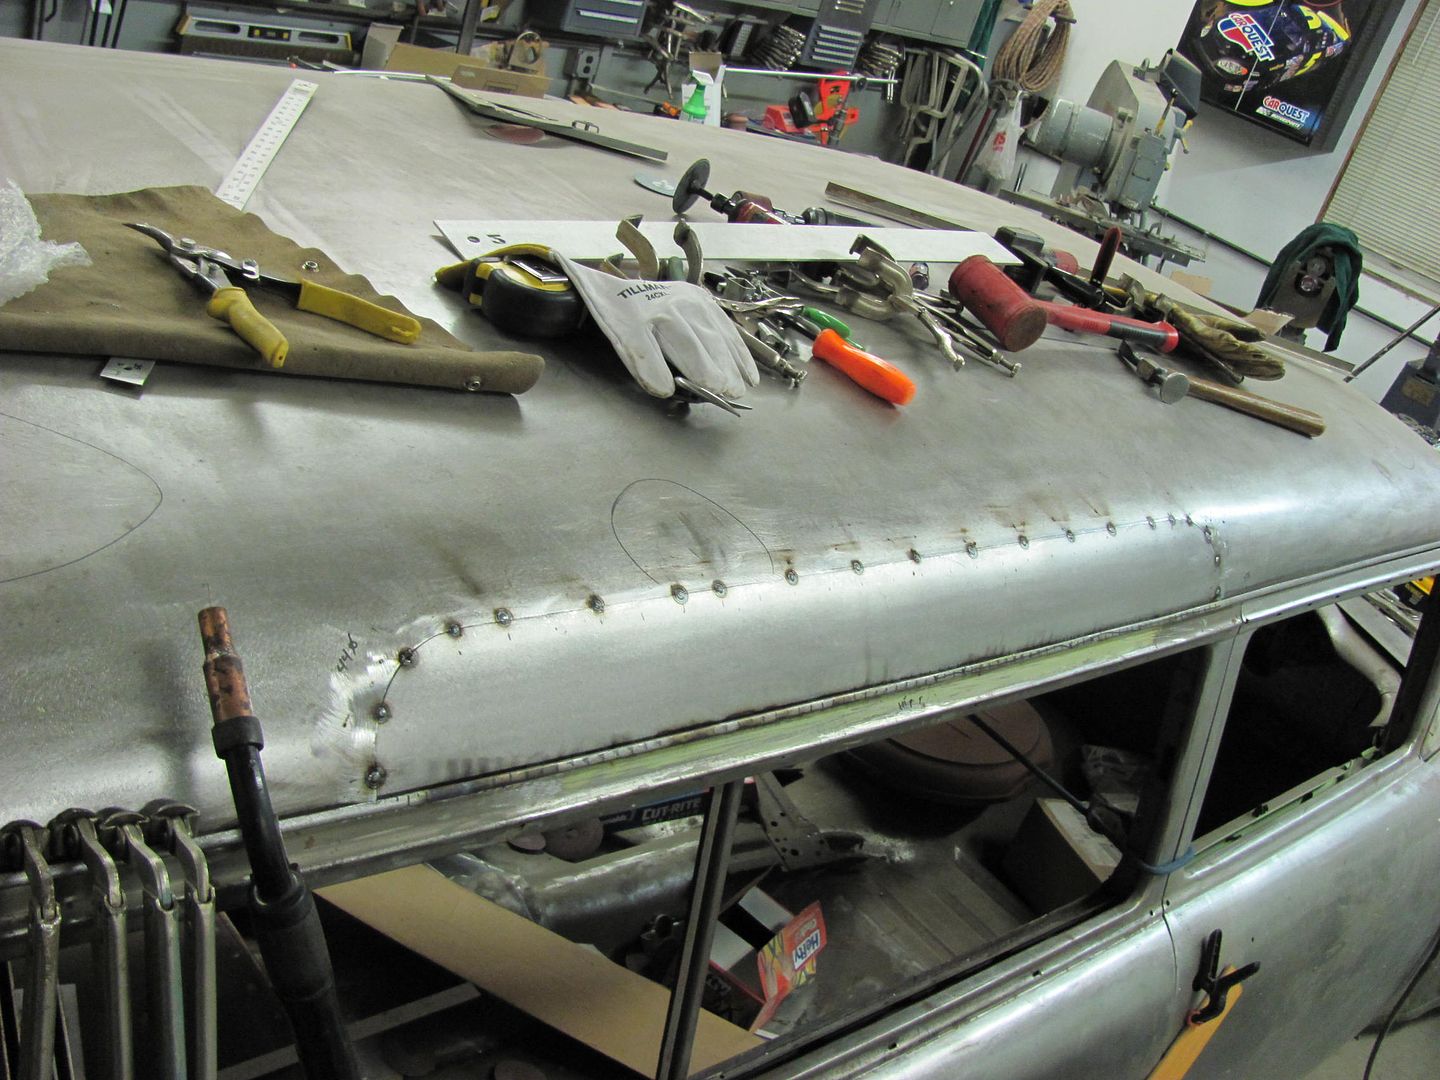
Full penetration welds....
The patch should be well high enough for planishing this time...
Here's where we left off.....
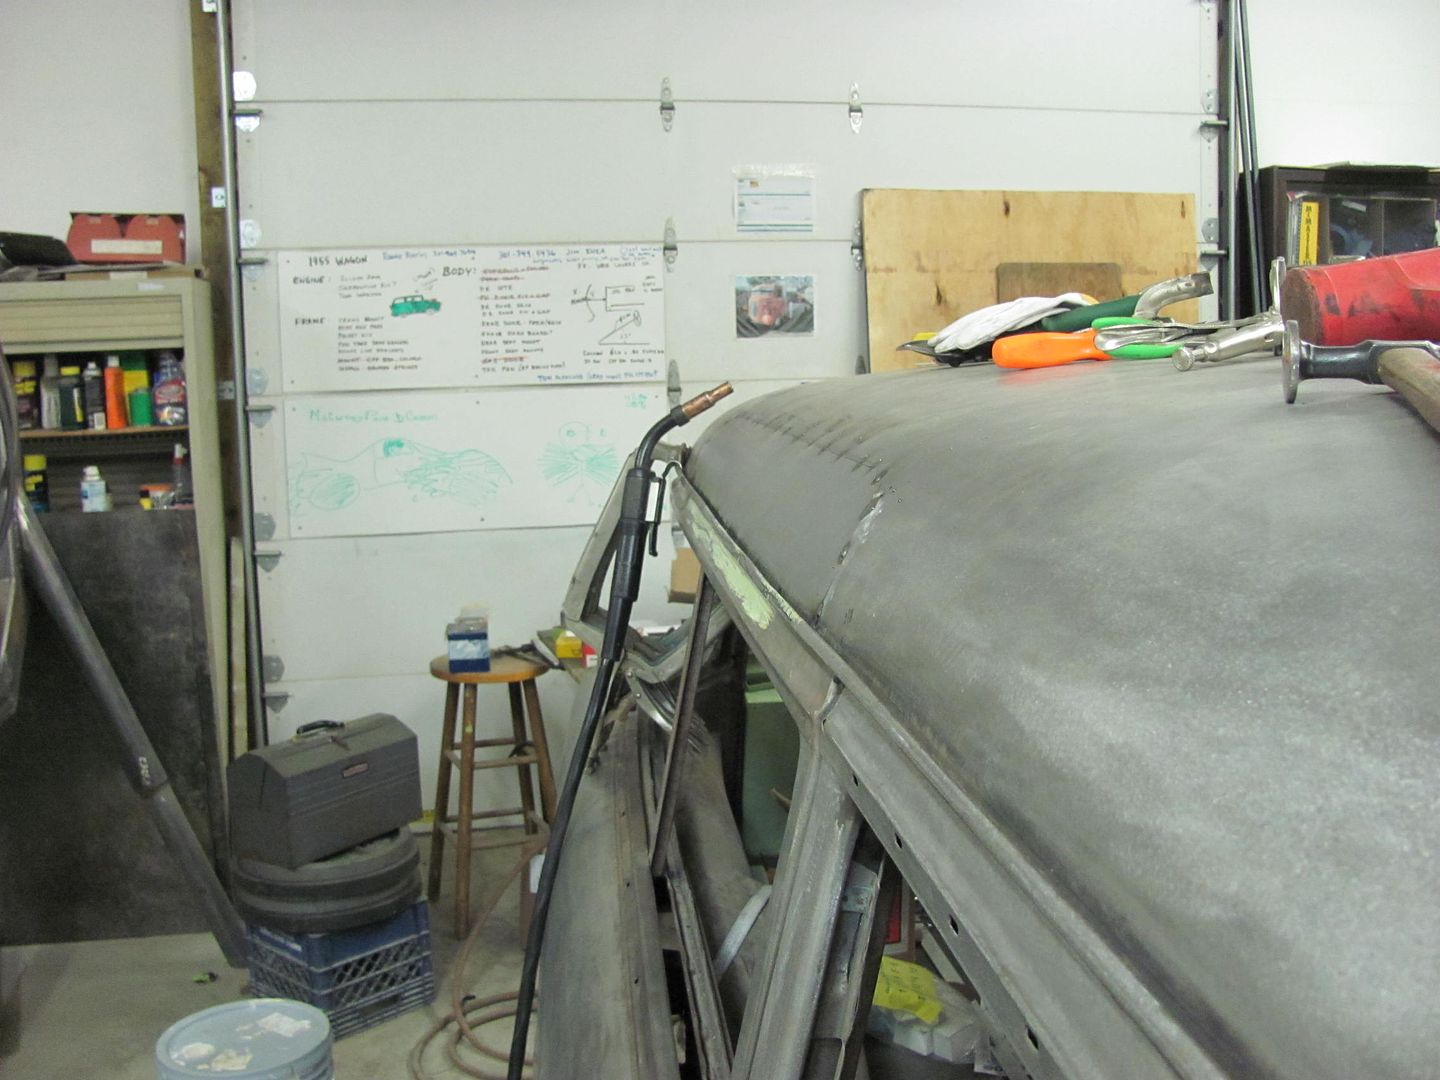
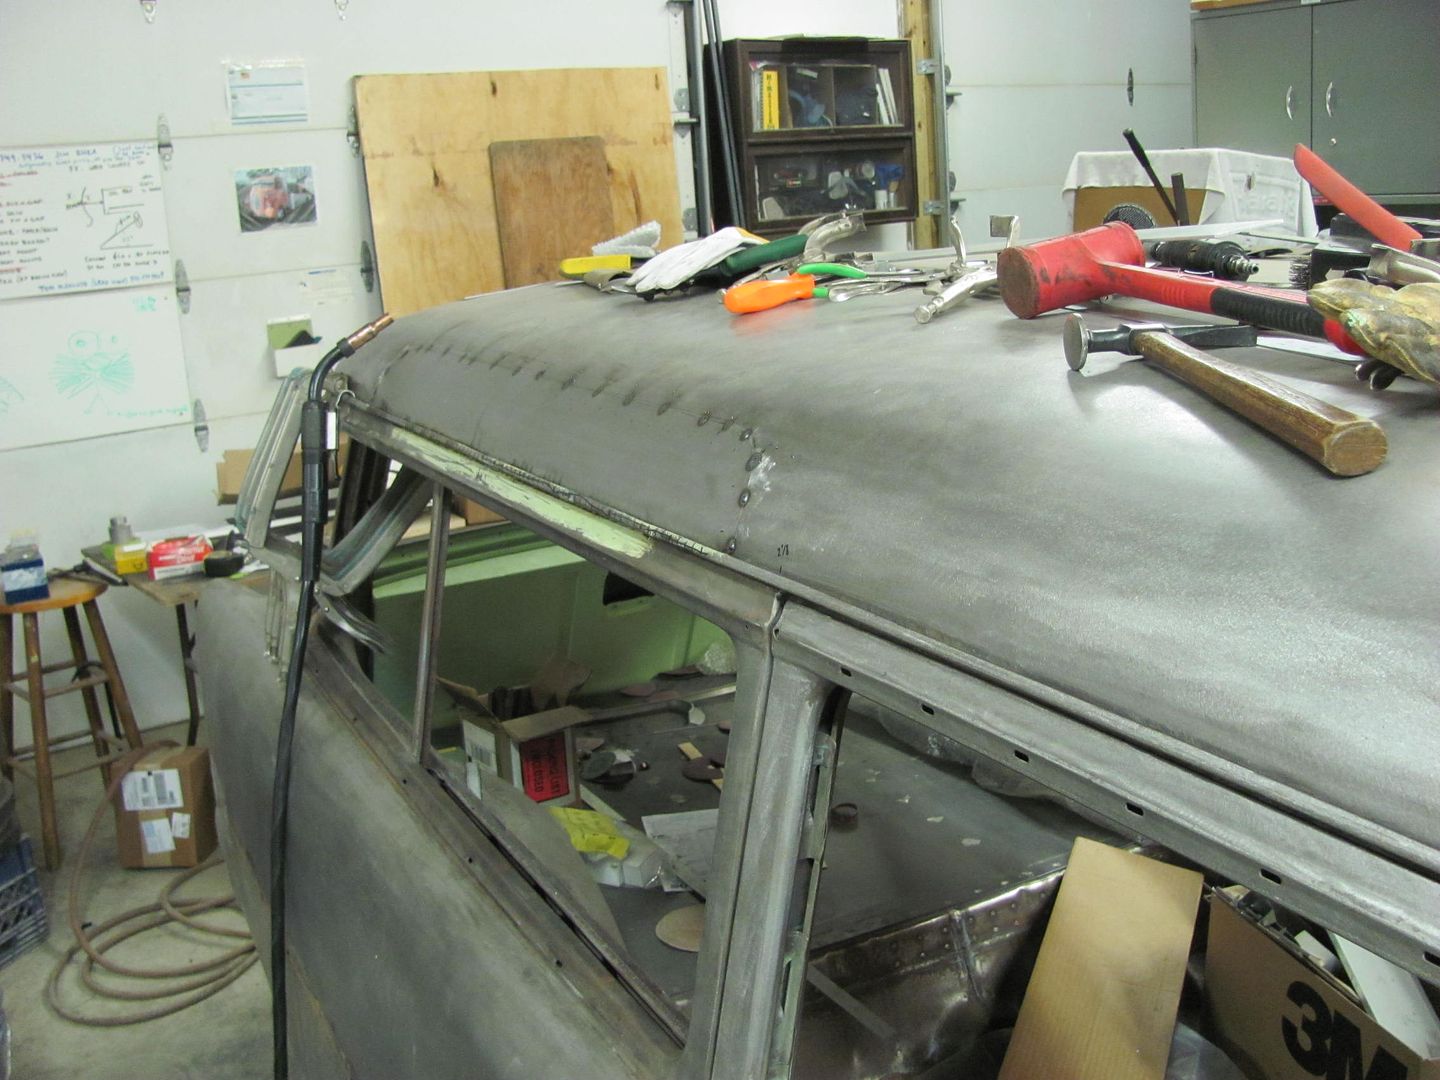
Robert
-
02-07-2014 05:54 AM #144
Wow! what a piece of work.. the alignment over the length is enviable.. great job there!
I've seen that wire but have been hesitant to try it as it isn't my normal type of job, how'd you like it so far?
-
02-07-2014 05:58 AM #145
The ER70S-7 I used was .035, and the EZ grind was .023. I find that .023 wire is more prone to tensioner and birdcage issues, which is another factor that dictated the heat setting. In planishing, the EZ grind appeared to be slightly harder than my experience with planishing the -7 on the fender shave. The EZ Grind also appears to have more slag issue than the -7. If I had my choice, it would be the -7, but the EZ Grind is still going to likely be better than using the -6 and it's harder welds.Robert
-
02-07-2014 06:03 AM #146
Thanks for that info.. I'll be curious of your opinion after the work is completed. (I'm assuming the pictures are "real time", of course..) 8-)
-
02-07-2014 06:06 AM #147
Yes, those pics are as of last night.Robert
-
02-07-2014 10:55 AM #148
Nice work, and thanks for the excellent explanations as you go and the great photos!"  "No matter where you go, there you are!" Steve.
-
02-07-2014 05:41 PM #149
- Join Date
- Apr 2011
- Location
- Prairie City
- Car Year, Make, Model: 40 Ford Deluxe, 68 Corvette, 72&76 K30
- Posts
- 7,300
- Blog Entries
- 1
Awesome work. That spot welder is awesome. Do you do a few spot welds, walk away, let it cool, then come back and repete while doing the spot welds? I always did that and was told there was no need. Back when I was in college I worked in a body shop, and the owner had a pretty sweet spot welder. Some punks stole it about 10yrs ago though......Ryan
1940 Ford Deluxe Tudor 354 Hemi 46RH Electric Blue w/multi-color flames, Ford 9" Residing in multiple pieces
1968 Corvette Coupe 5.9 Cummins Drag Car 11.43@130mph No stall leaving the line with 1250 rpm's and poor 2.2 60'
1972 Chevy K30 Longhorn P-pumped 24v Compound Turbos 47RH Just another money pit
1971 Camaro RS 5.3 BTR Stage 3 cam, SuperT10
Tire Sizes
-
02-07-2014 06:41 PM #150
This one is a Miller 220v with the timer module. Needless to say when using it on the roof skin, you let it rest on top of your shoulder to be able to stand the weight that long. We aligned the ends and tacked them, then checked the contour just above the drip rail with a body sweep and would adjust the panel's lower flange in or out accordingly. We made a few tacks to hold those locations, splitting it in about quarters, then went back and filled in between. About the only "cool down" was when we set the welder down to check fitment with the body sweep.Robert


 3390Likes

 LinkBack URL
 About LinkBacks
 Reply With Quote

Thanks for the happy birthday wishes, so far 50 feels a lot like 49 LOL
Happy Birthday 53Chevy5