Thread: 55 Wagon Progress
-
08-08-2021 12:07 AM #1636
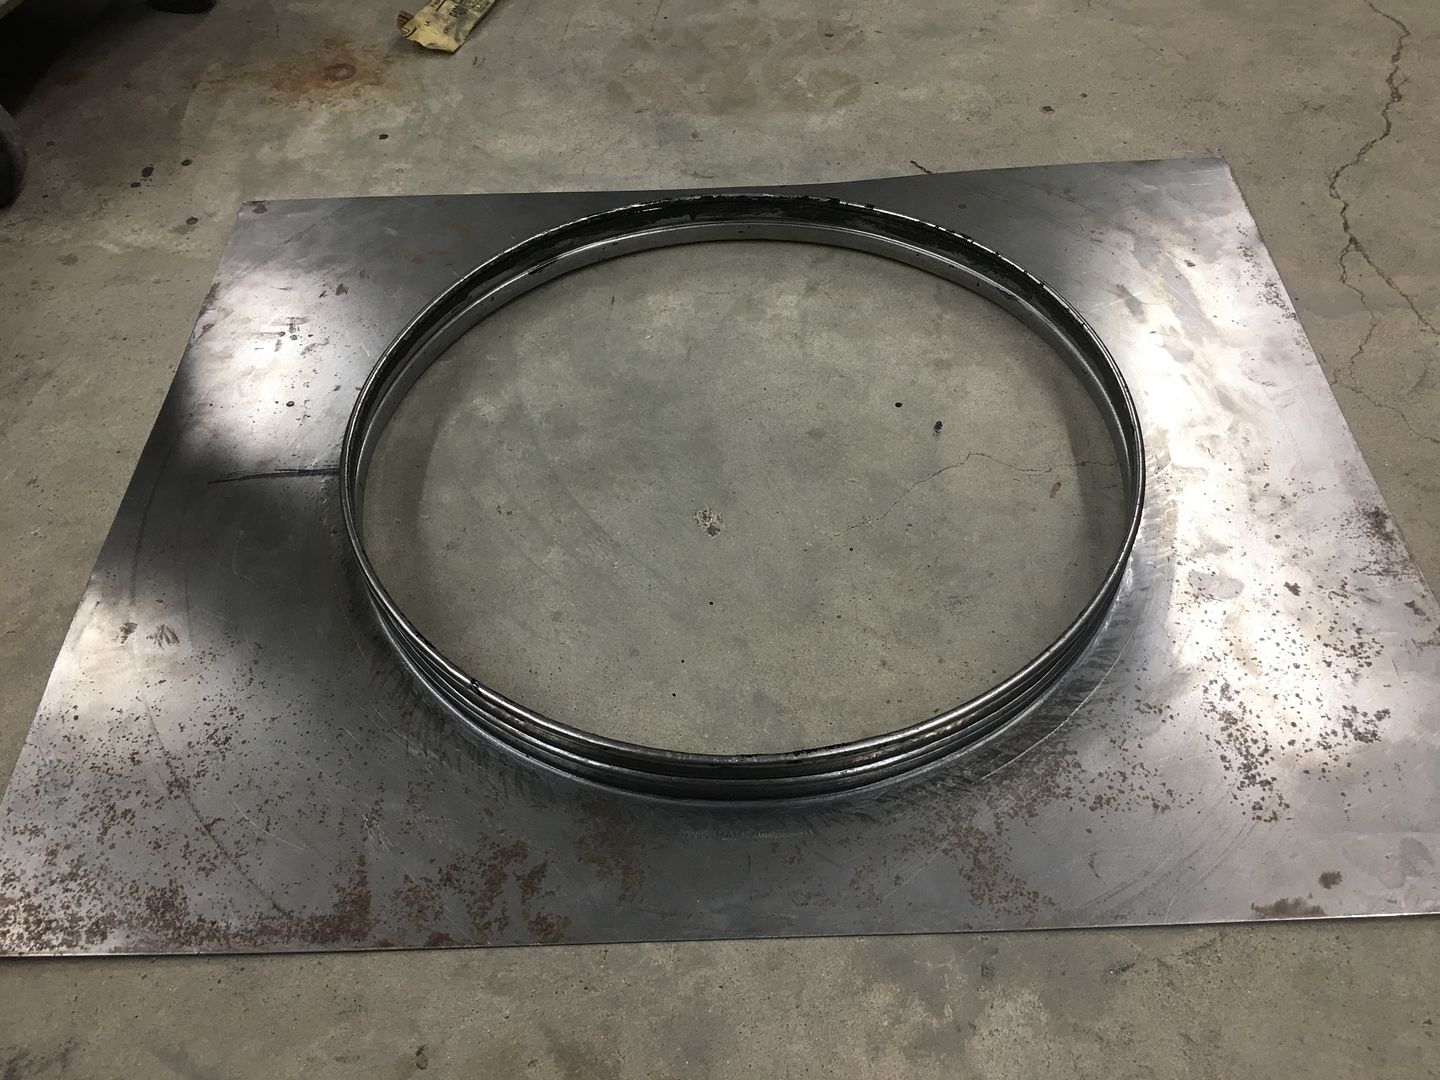
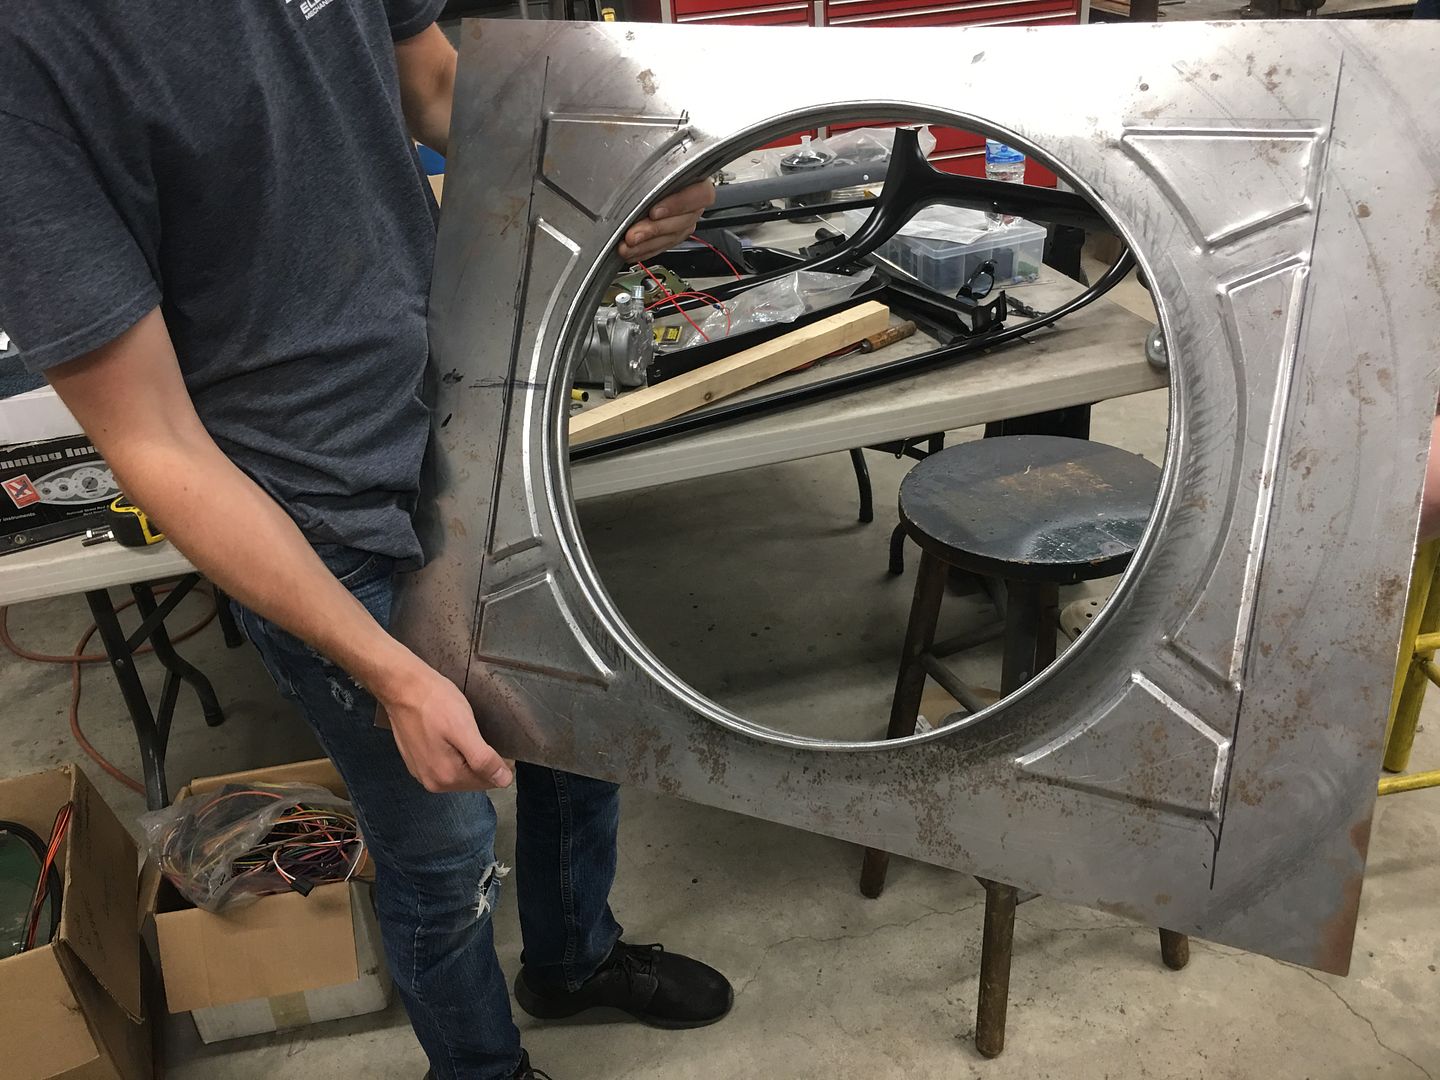
Looking at the fan shroud, the top and bottom will be stepped where it bolts behind the rear edge of the core support.
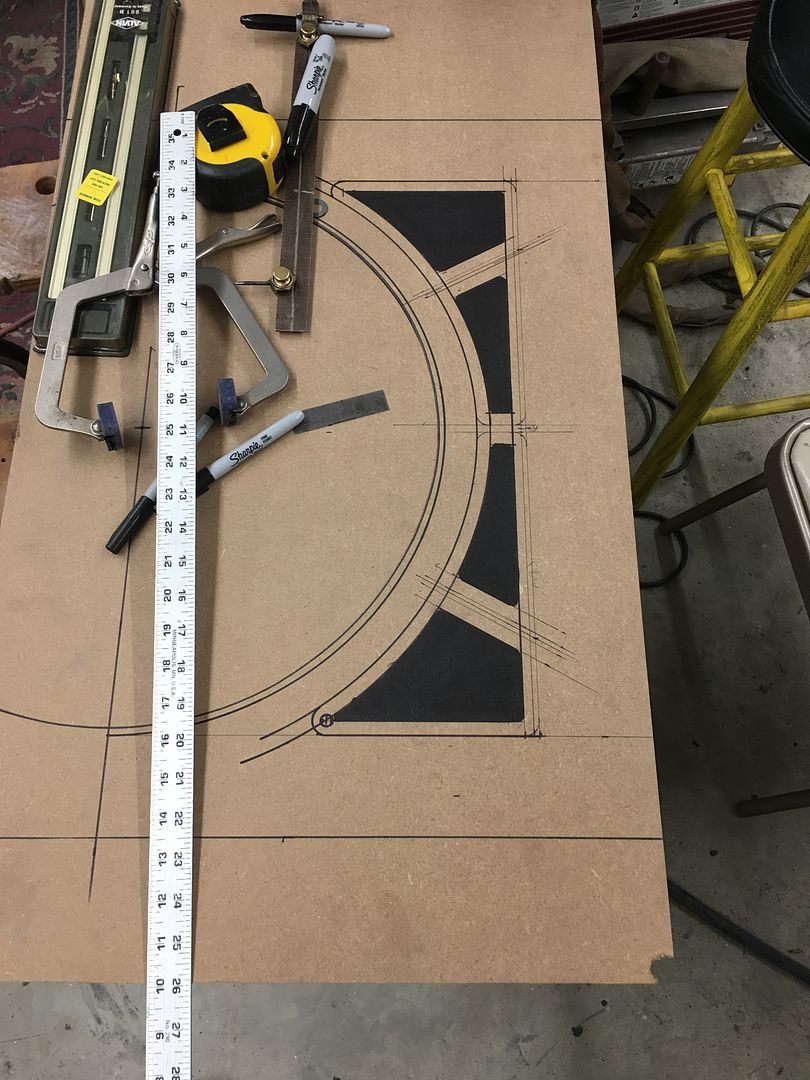
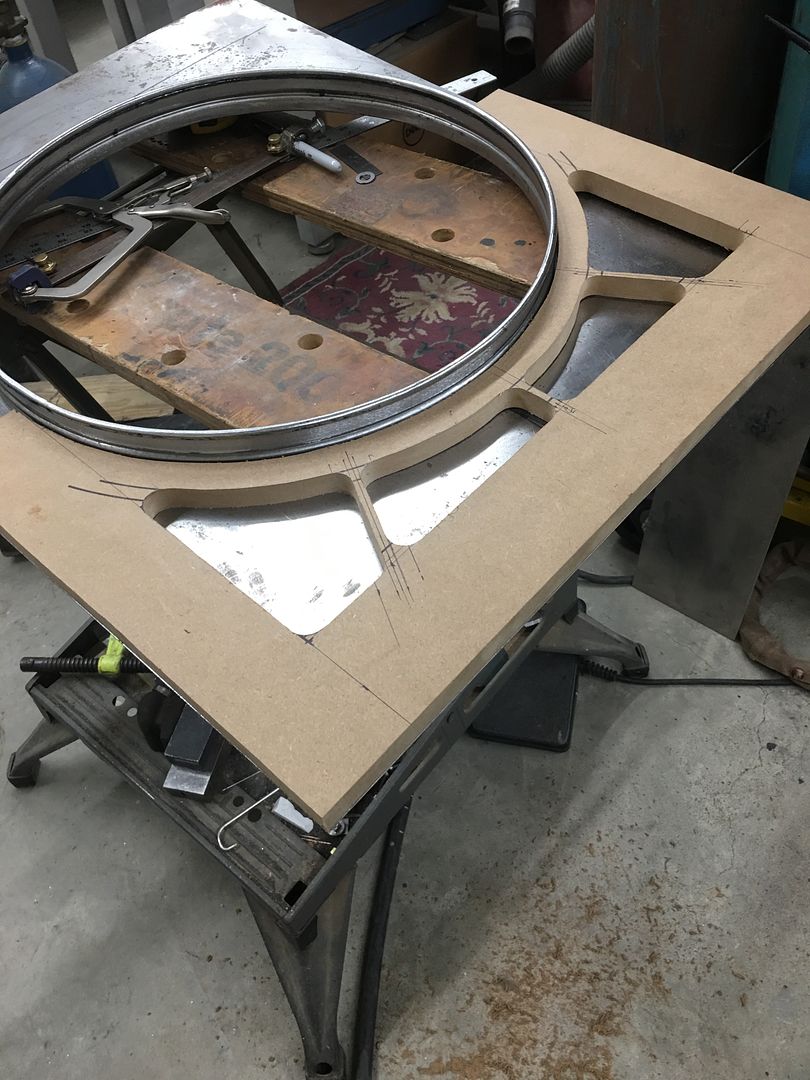
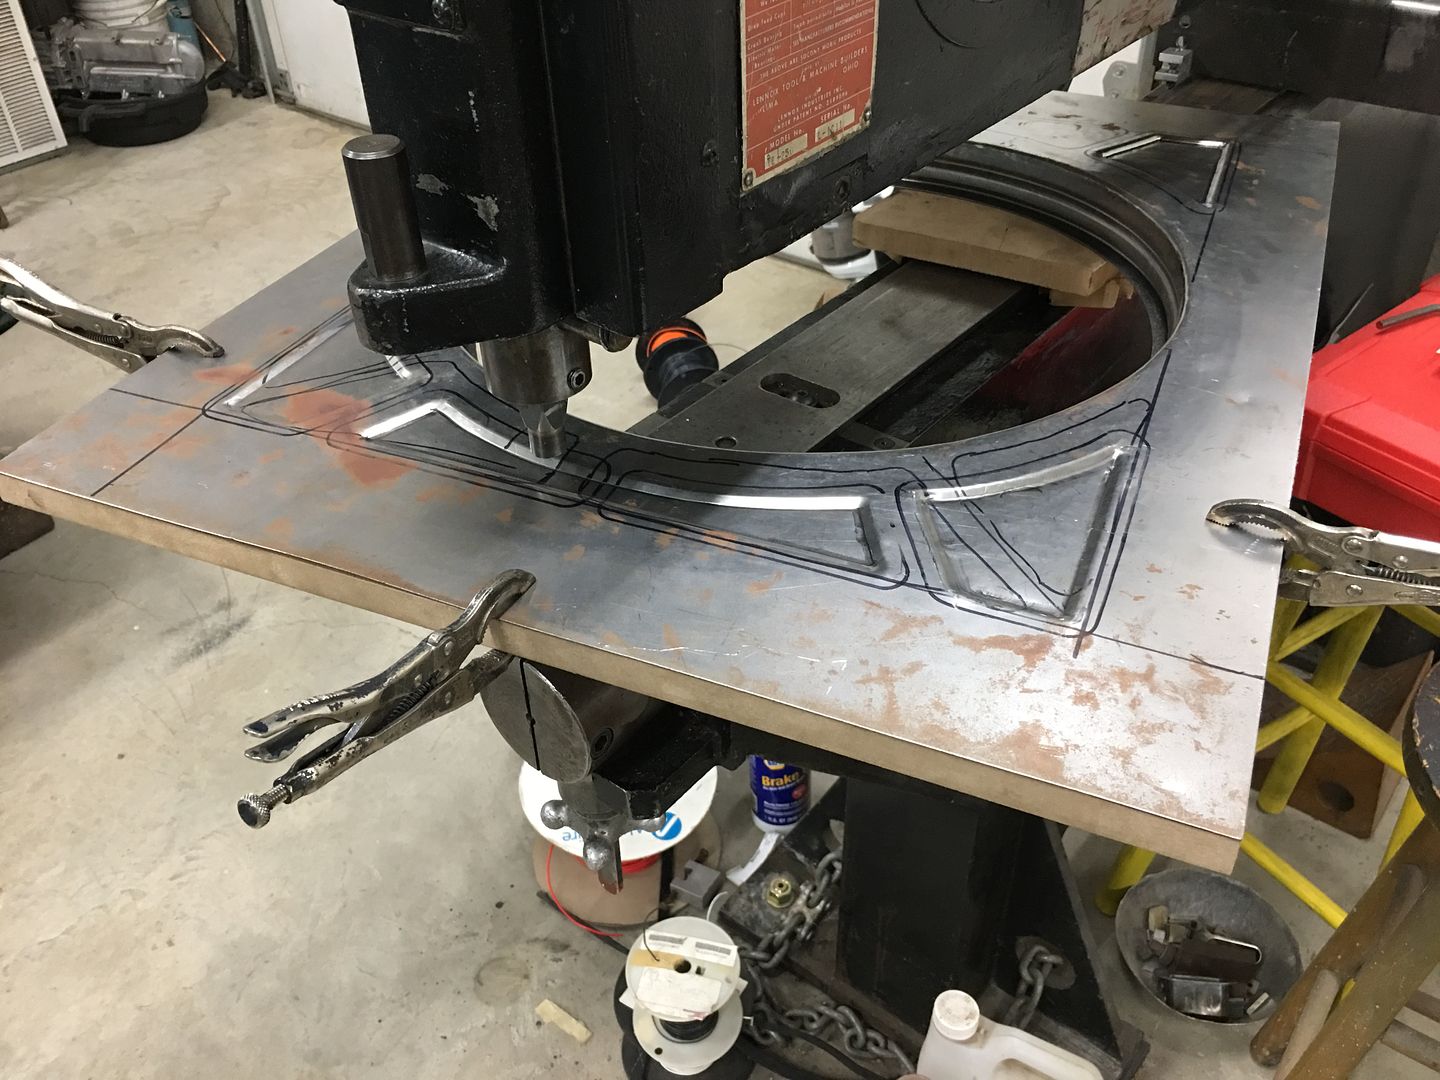
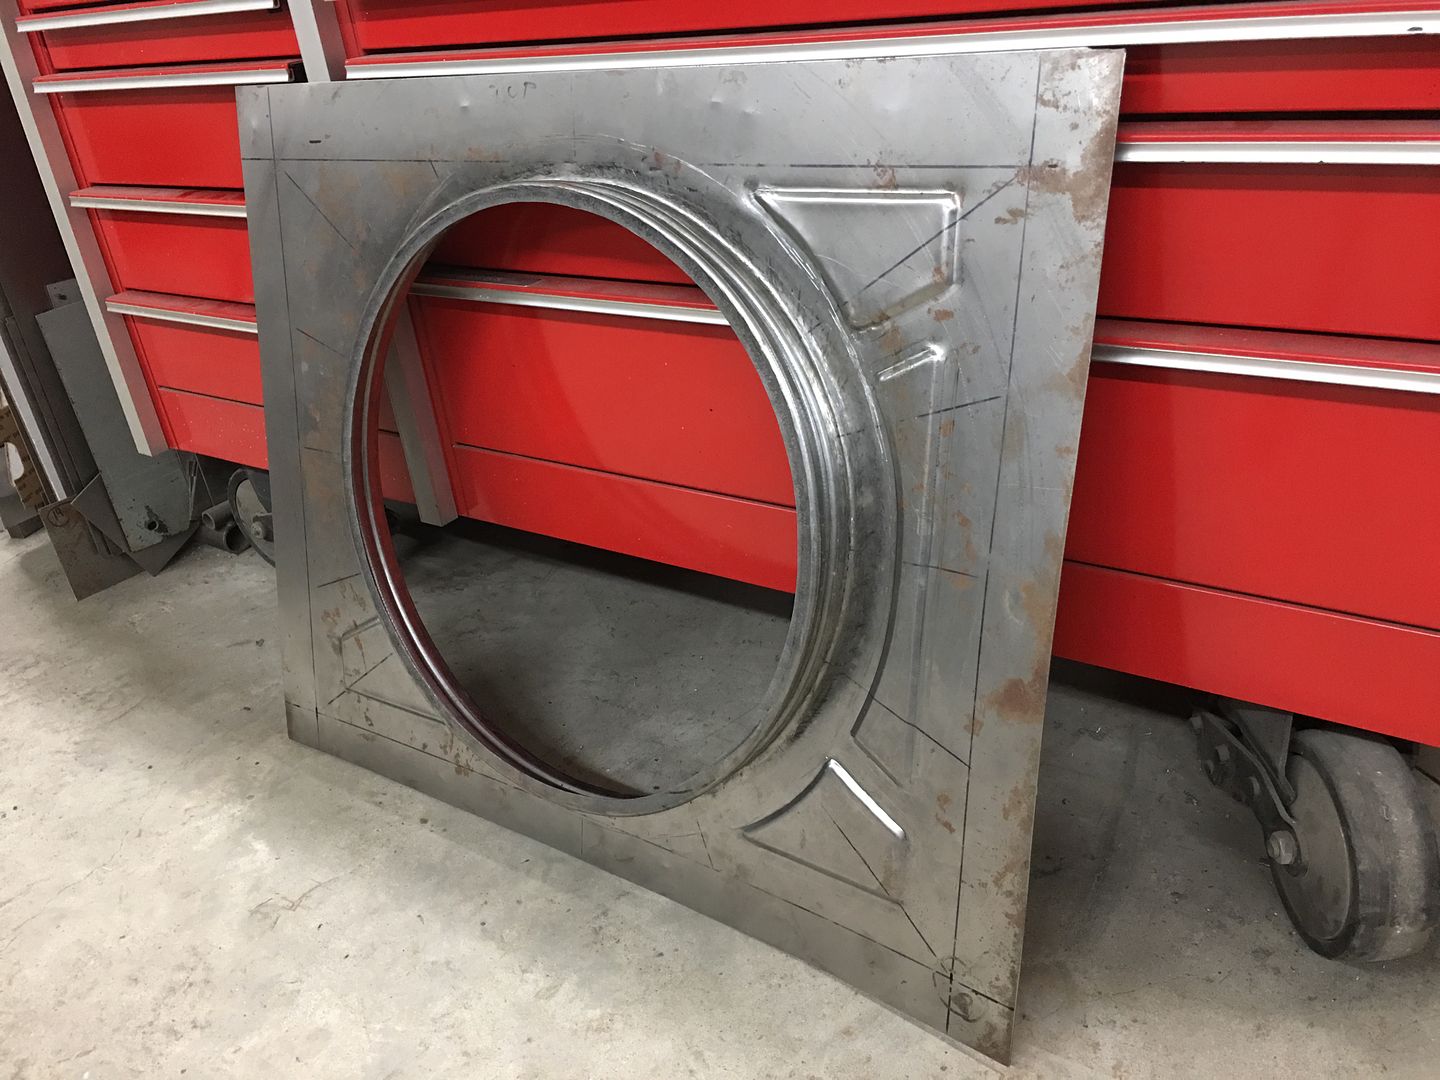
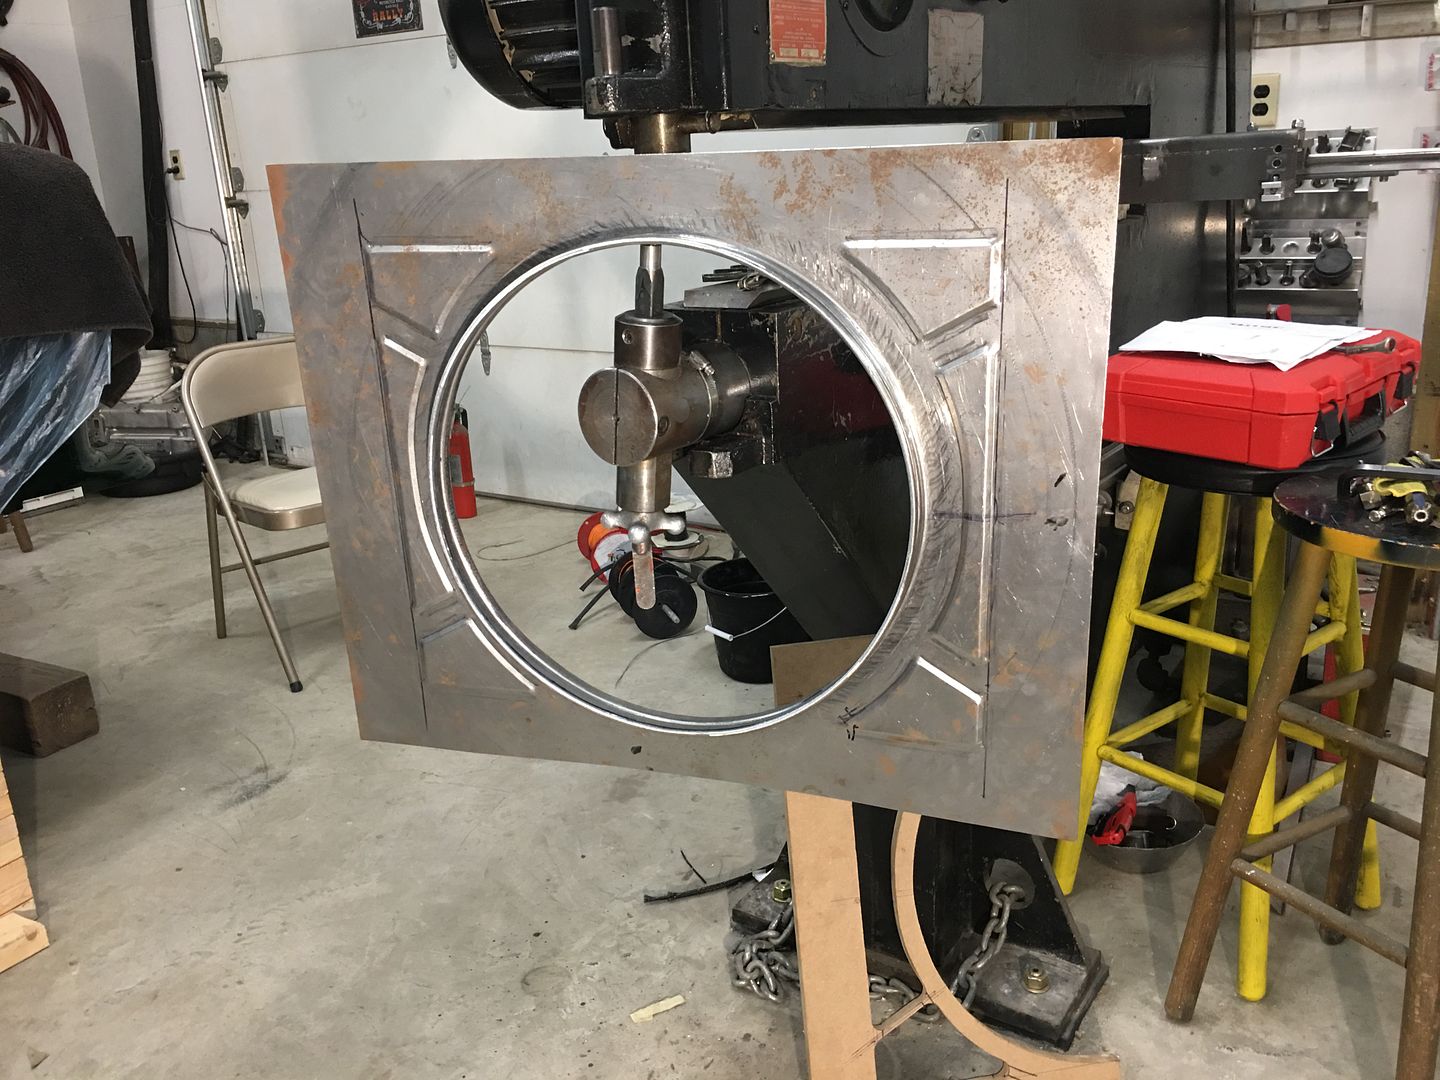
The sides will get a radius bend to bolt to the inside vertical of the core support. This still leave quite a bit of flat metal that just doesn't have much style to it. So let's try some embossing on the side panels.. To better keep things a consistent pattern from left to right, we made a pattern using MDF board..
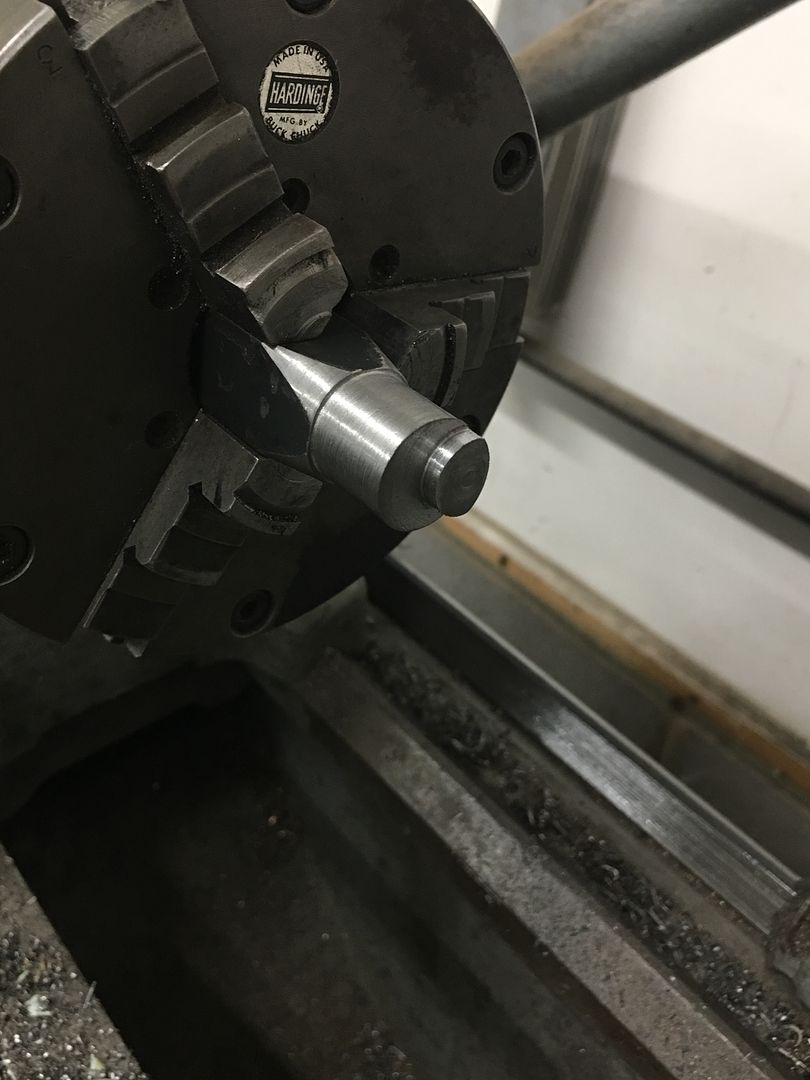
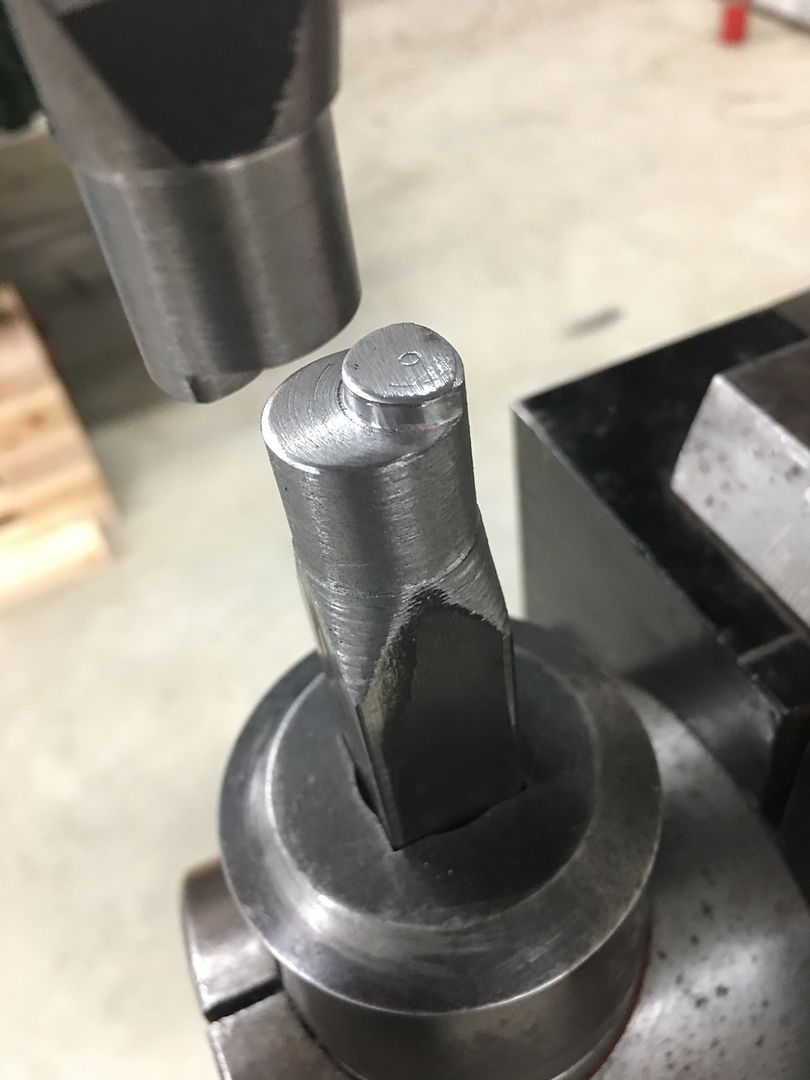
An offset die set is made in the Southbend lathe, the rounded sides will allow it to better travel along the pattern cutout.
We did a test run on our split original shroud, I had intended for the pattern to be inset when looking at the back.. Someone had the pattern clamped on the wrong side, and it was pressed outward instead.. Hindsight, when looking in the engine compartment from the side, the inset version would be more difficult to see the embossing, and this next "mistake" would be easier to see.
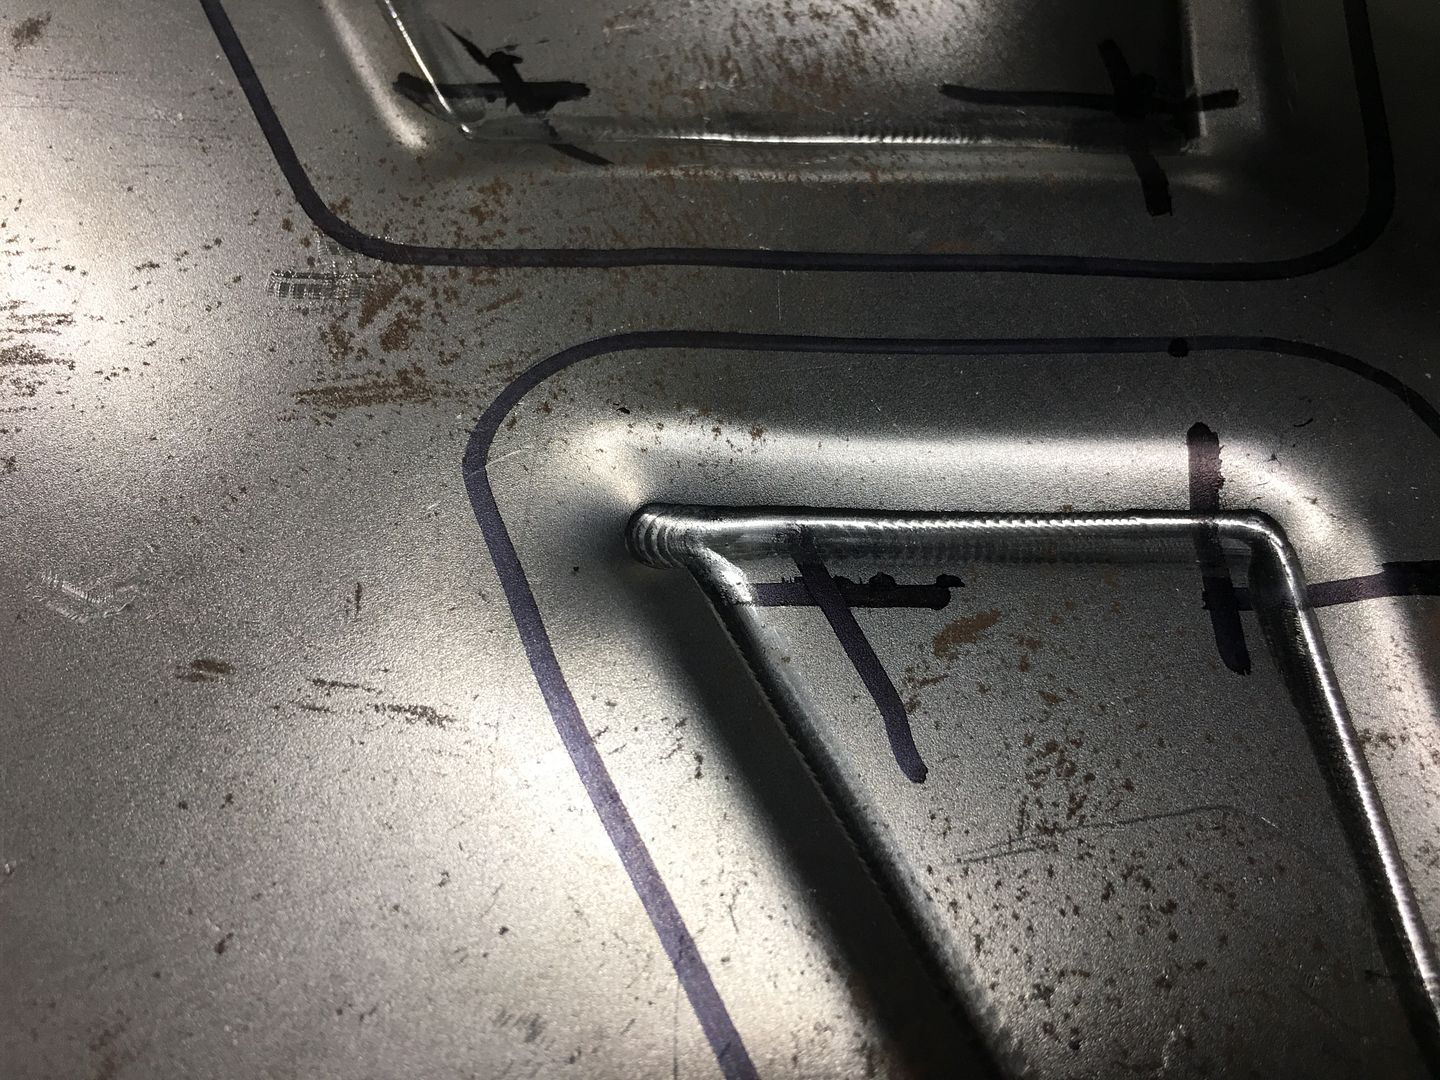
Sometimes things happen for a reason. So guess what we're going with.... The pattern did not have enough real estate to make a wide sweeping turn in the corners, so when using the dies we'll stop short of the corners and will coin them afterward by hand. Time lapse:
https://www.youtube.com/watch?v=J_rNdhJcrEY
We did have one slip-up, should be an easy fix...
Looks a bit less blah now....
Robert
-
Advertising

- Google Adsense
- REGISTERED USERS DO NOT SEE THIS AD
-
08-08-2021 05:36 AM #1637
Another amazing piece Robert! As always, thanks for sharing the pics and the how to...
-
08-08-2021 08:36 AM #1638
I wish I had you guys patience, amazing detail.
-
08-08-2021 09:45 AM #1639
Everything you do is just icing on the best cake ever!"  "No matter where you go, there you are!" Steve.
-
08-08-2021 09:21 PM #1640
That would be much stronger/less flexible too.johnboy
Mountain man. (Retired.)
Some mistakes are too much fun to be made only once.
I don't know everything about anything, and I don't know anything about lots of things.
'47 Ford sedan. 350 -- 350, Jaguar irs + ifs.
'49 Morris Minor. Datsun 1500cc, 5sp manual, Marina front axle, Nissan rear axle.
'51 Ford school bus. Chev 400 ci Vortec 5 sp manual + Gearvendors 2sp, 2000 Chev lwb dually chassis and axles.
'64 A.C. Cobra replica. Ford 429, C6 auto, Torana ifs, Jaguar irs.
-
08-09-2021 06:39 AM #1641
All I can say is WOW!!! AMAZING!
-
08-28-2021 09:16 AM #1642
you are a metal Master !
-
10-31-2021 07:01 PM #1643
Thanks for the comments guys!!
Sorry for the hiatus, more travel for the day job.. hanging more TV's...
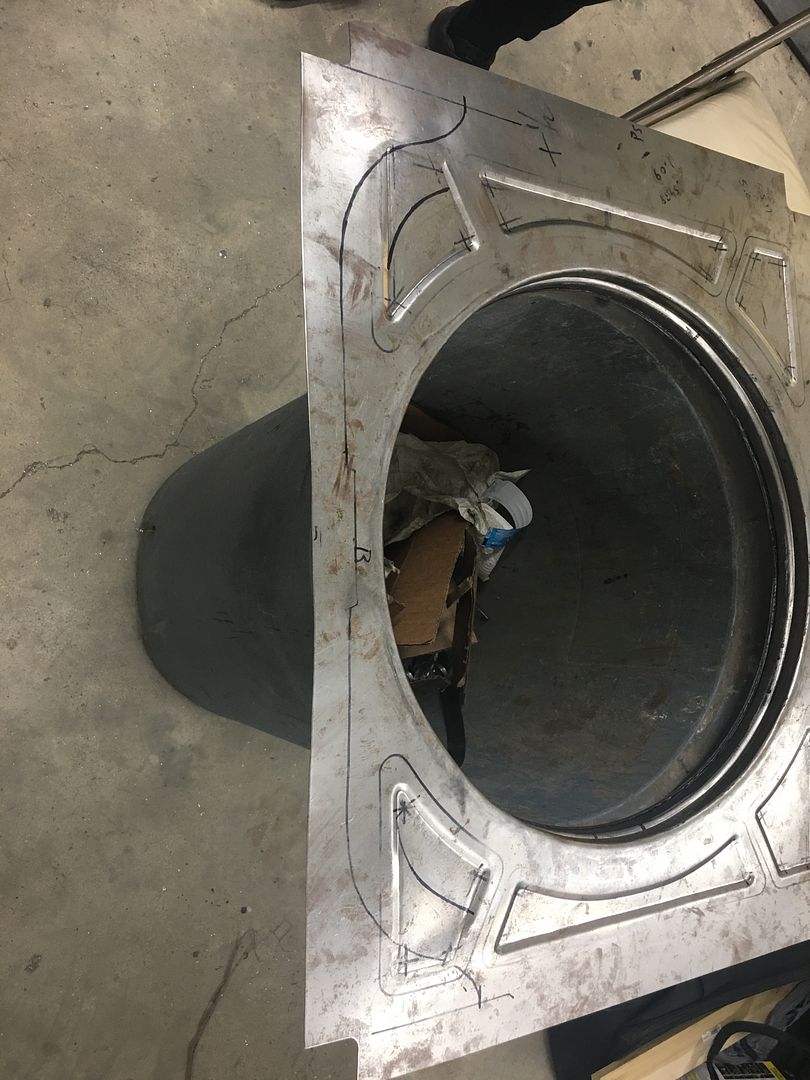
Back on the wagon, sometimes I get ahead of myself. The core support has rounded corners at the bottom....
Our embossing did not....
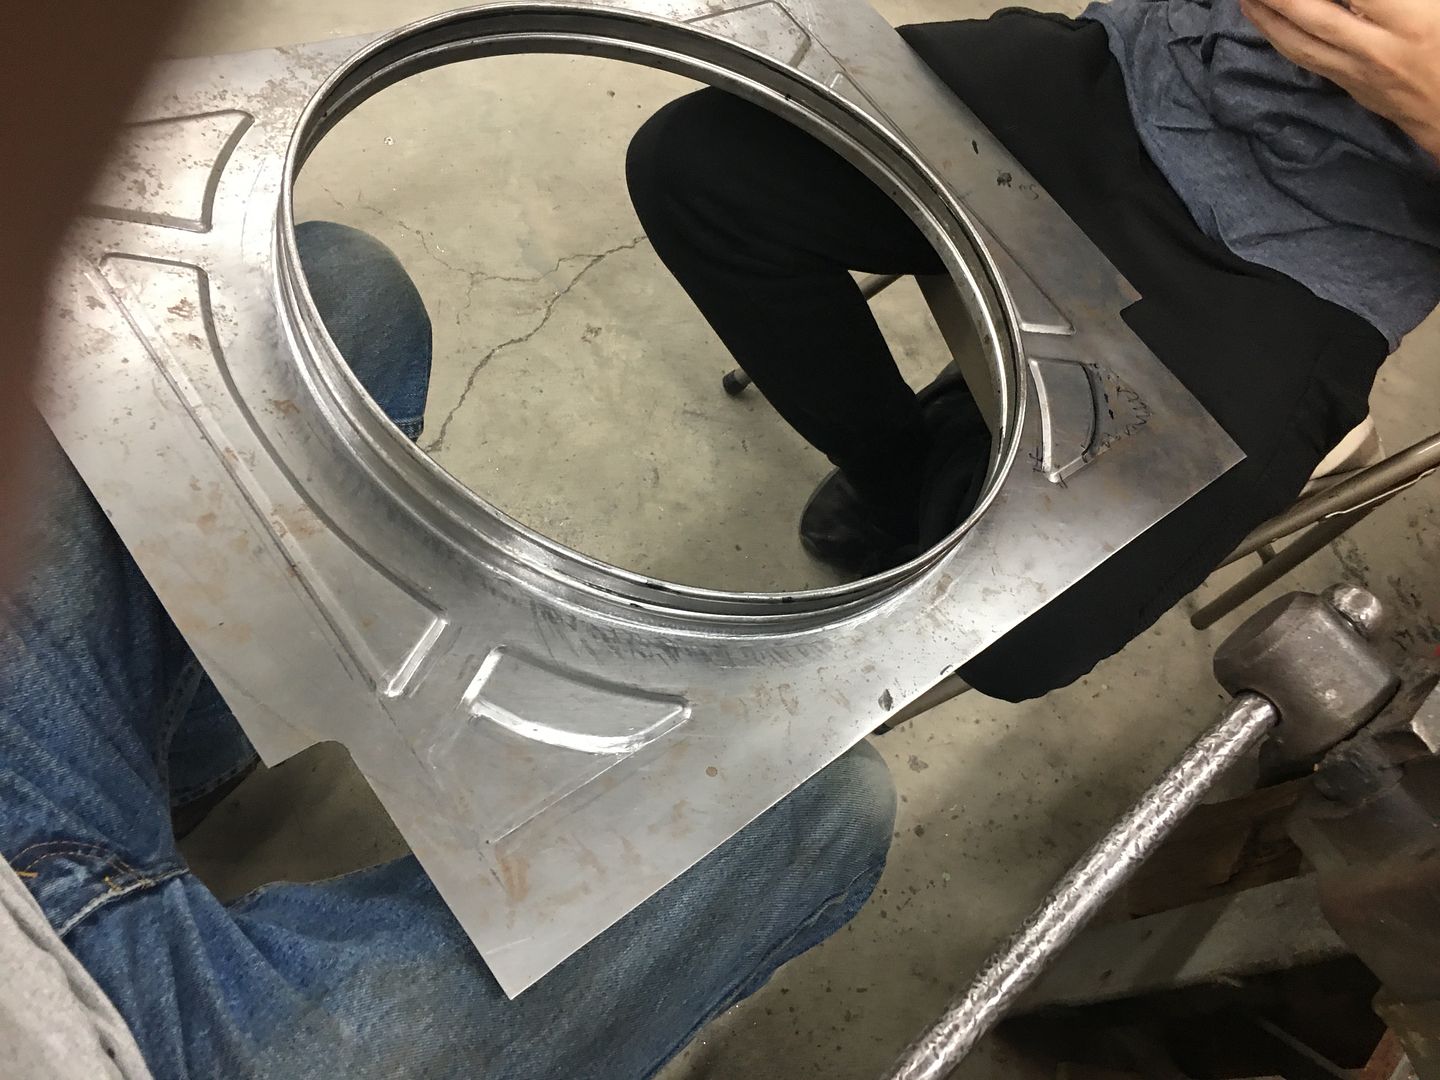
So the lower embossing was flattened, and marked for the new..
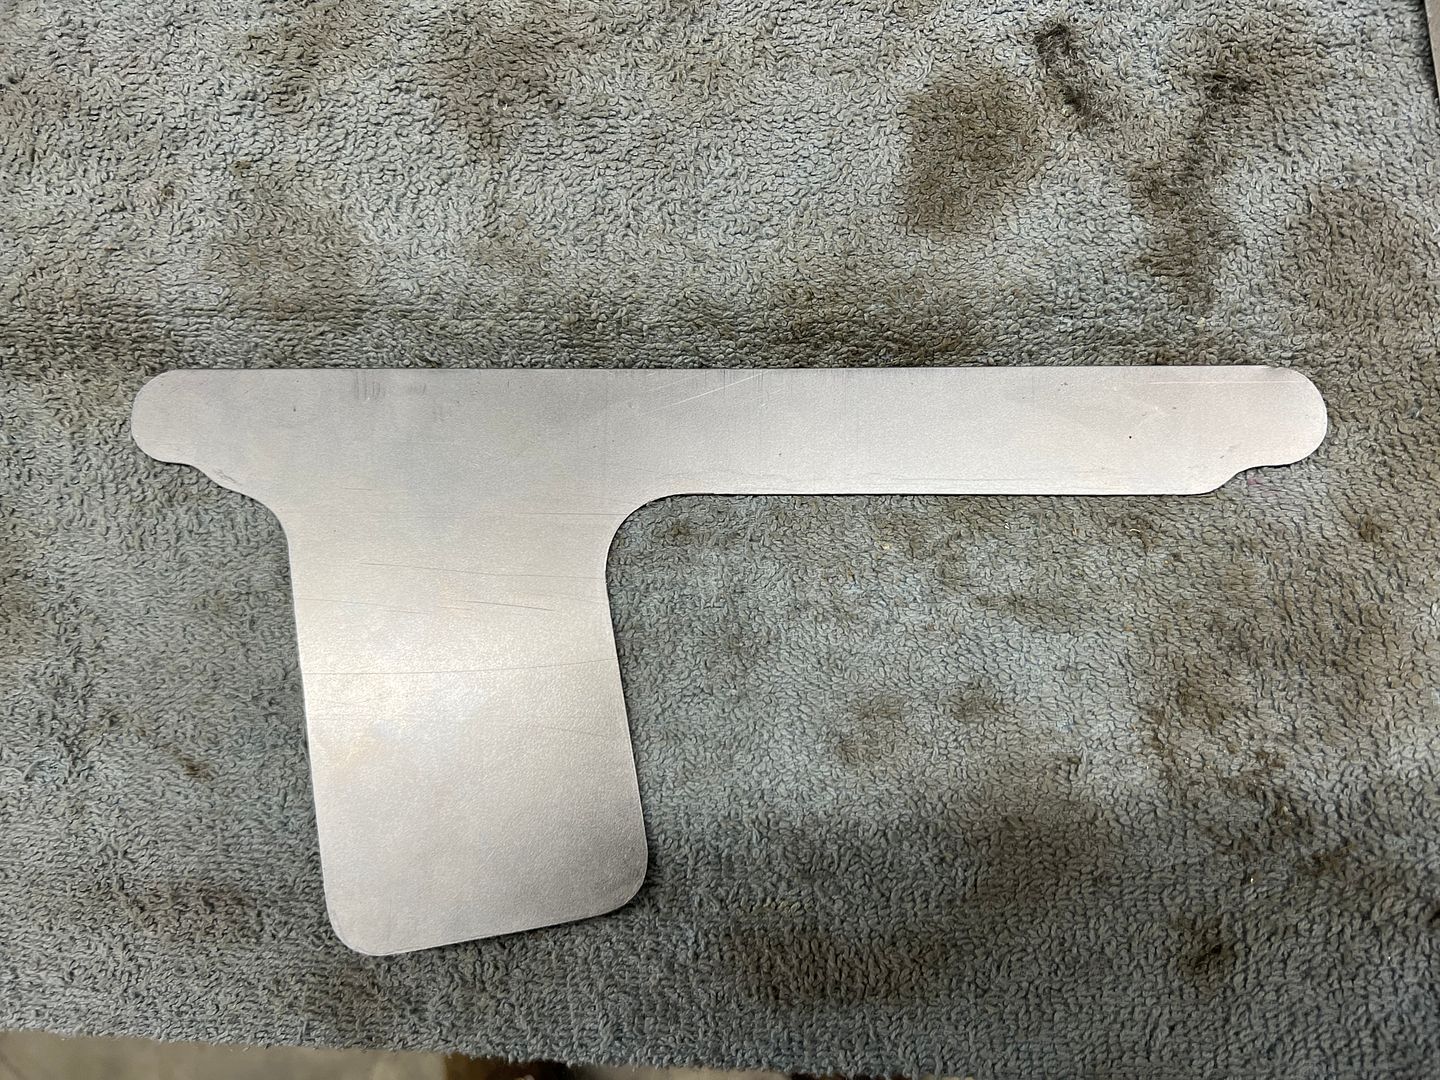
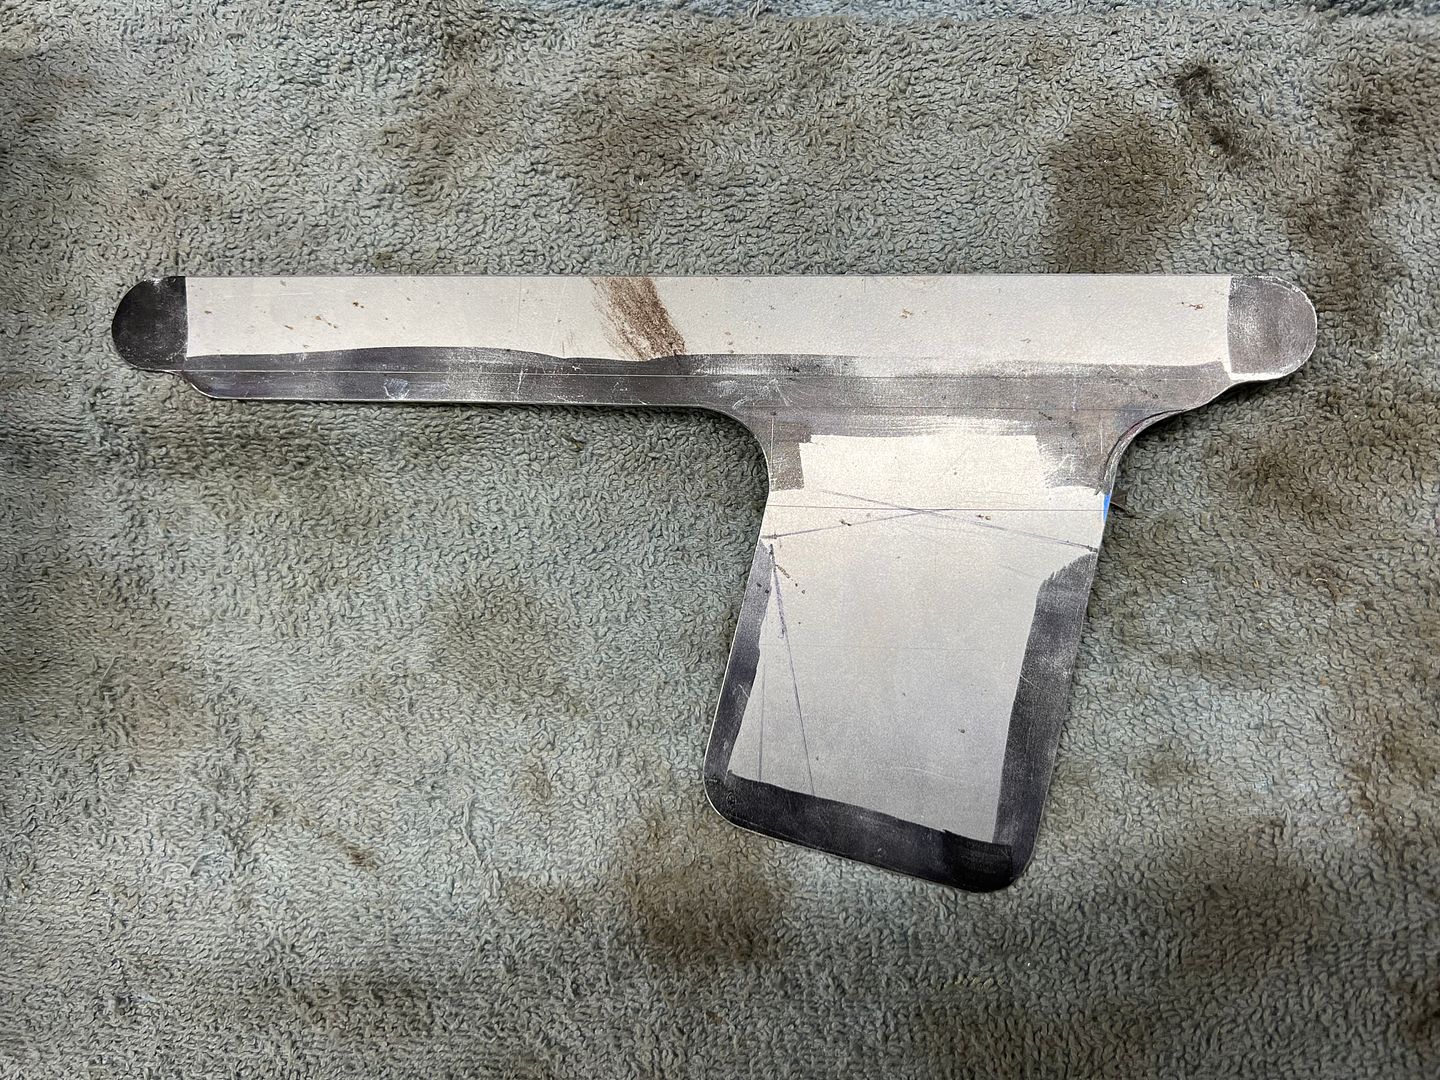
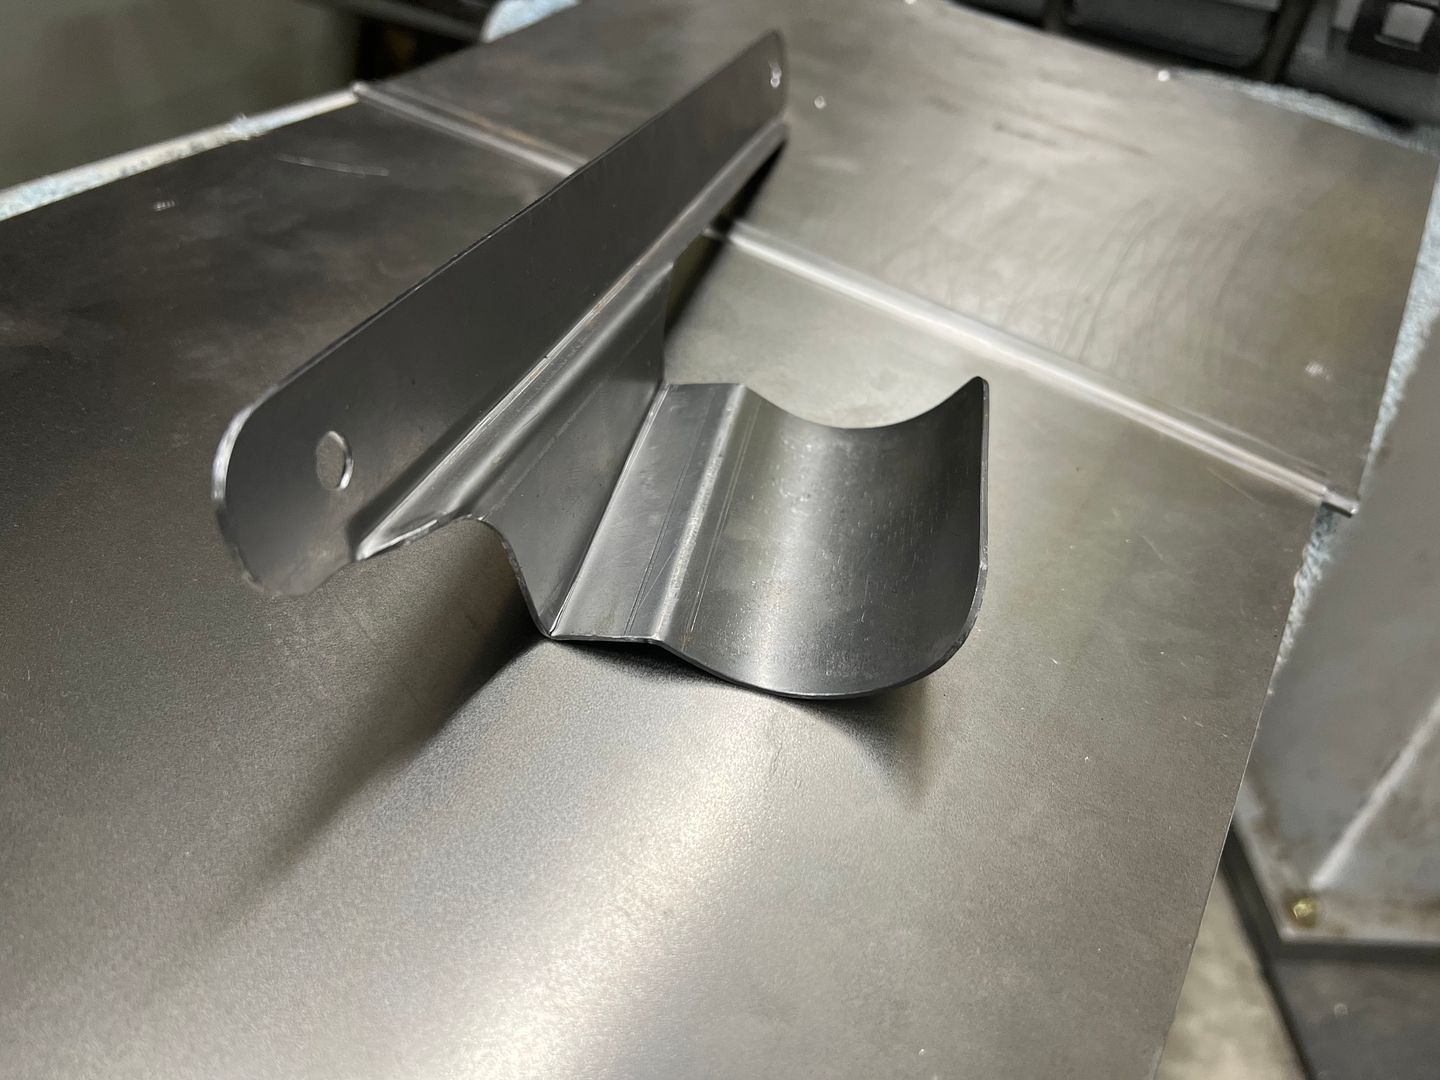
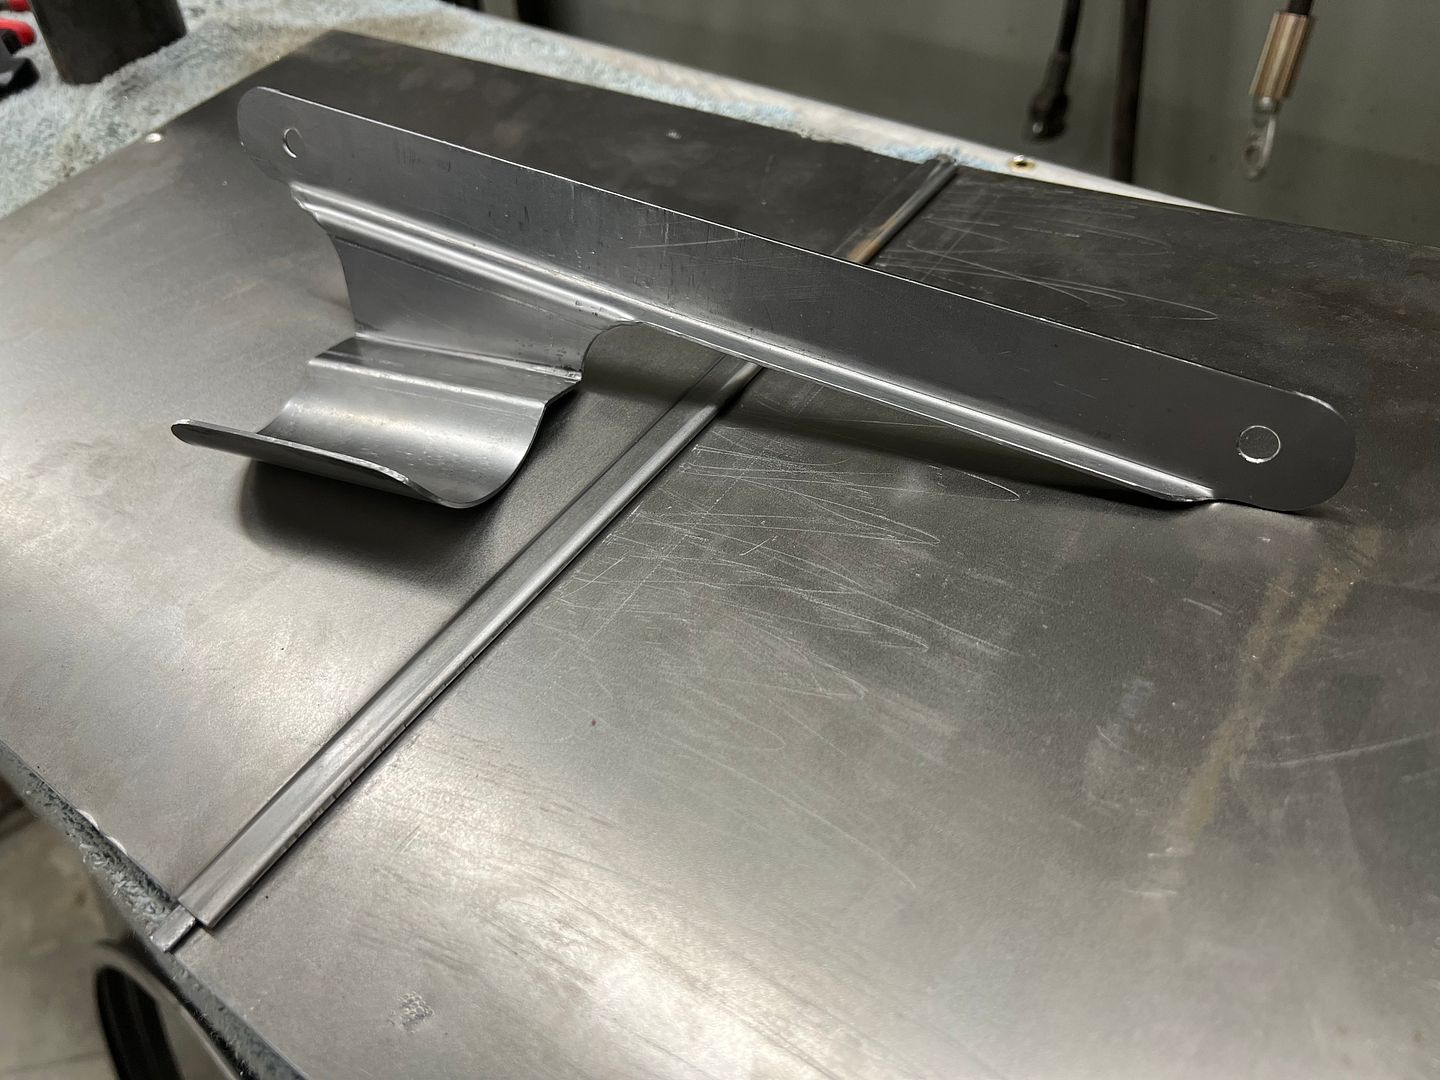
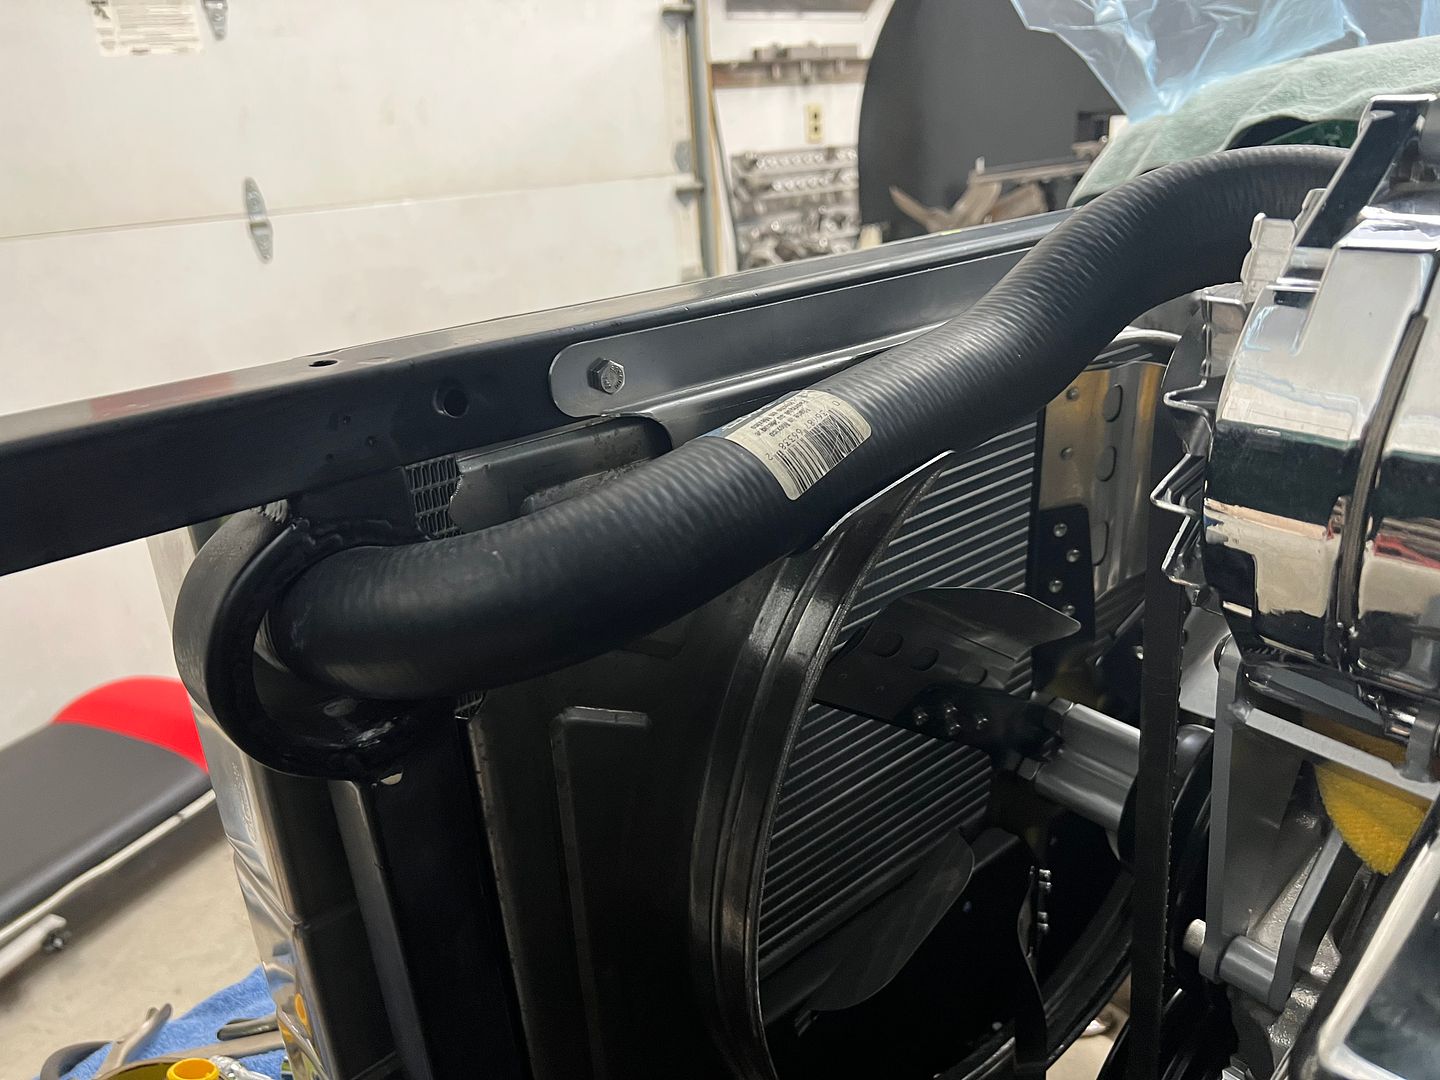
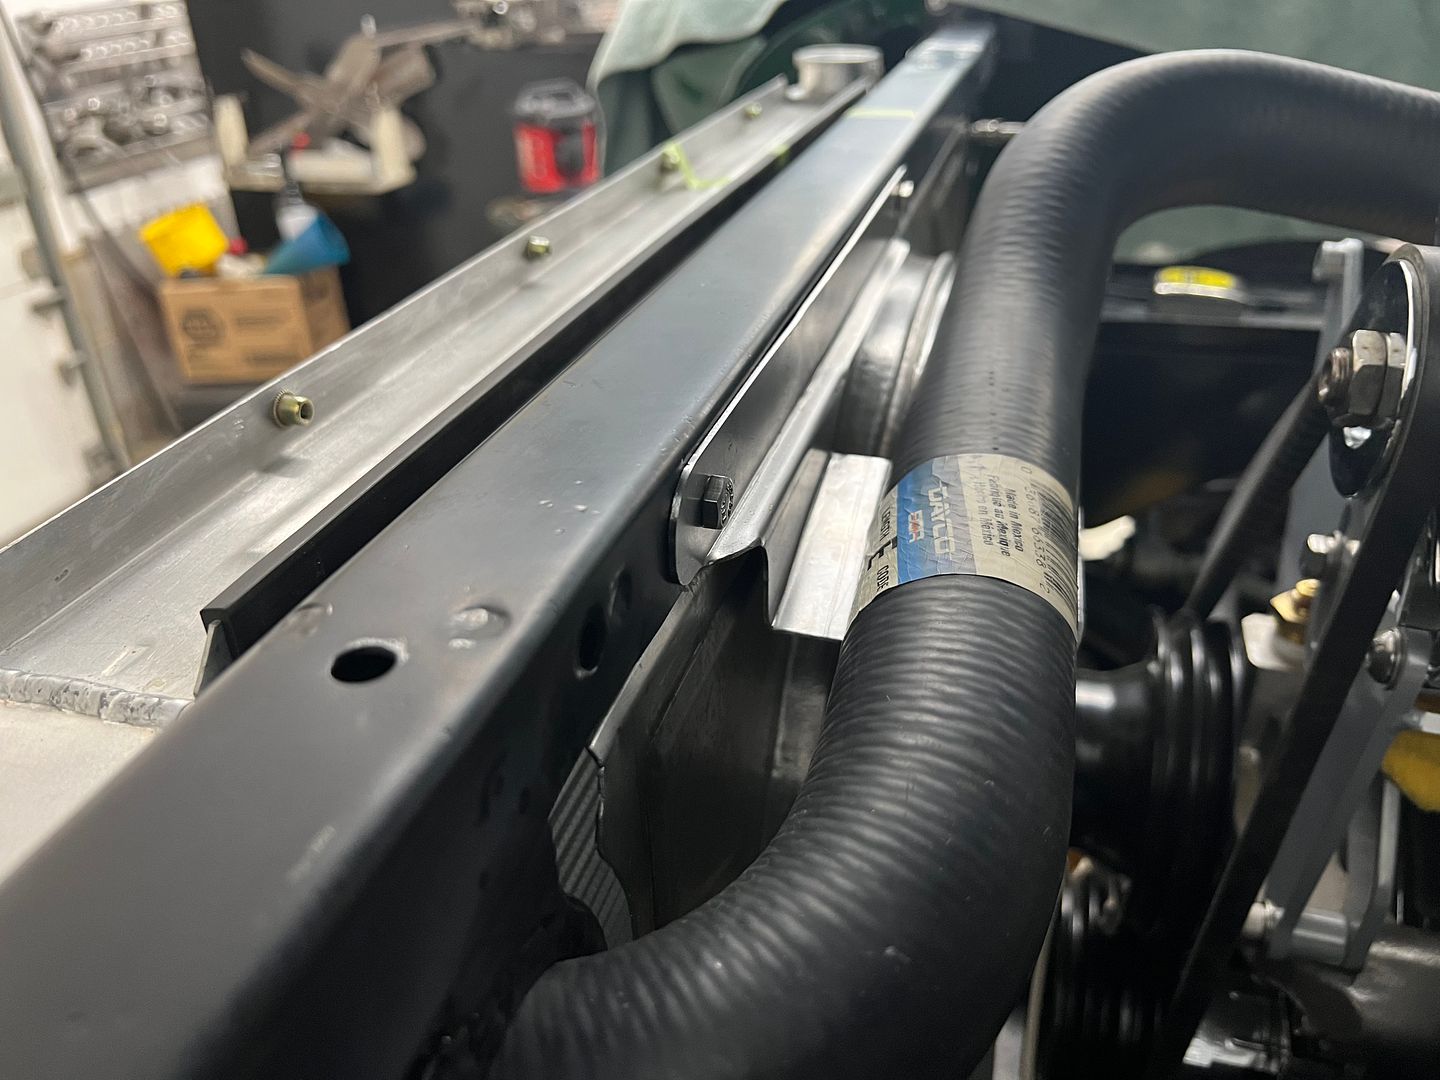
Next on the list, our upper radiator hose is a bit long and needed some support to keep it out of the fan. It's actually a lower hose for a Ford Explorer, but is a perfect fit for our cross flow radiator. So some 16 gauge cold rolled steel is used to fabricate a support bracket..
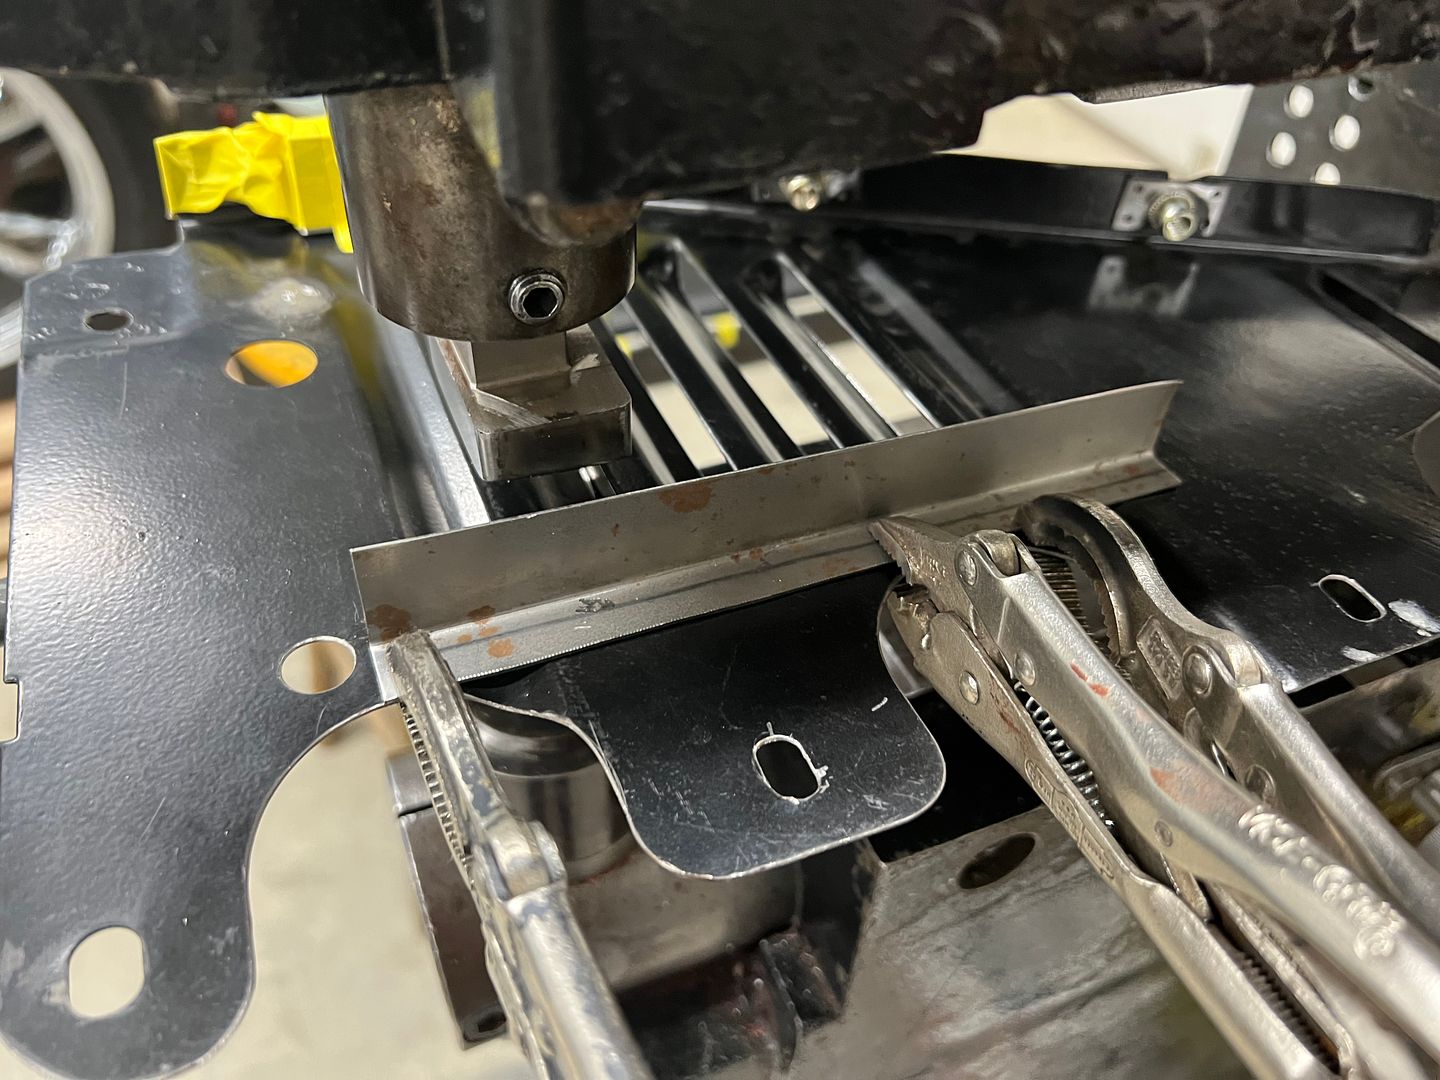
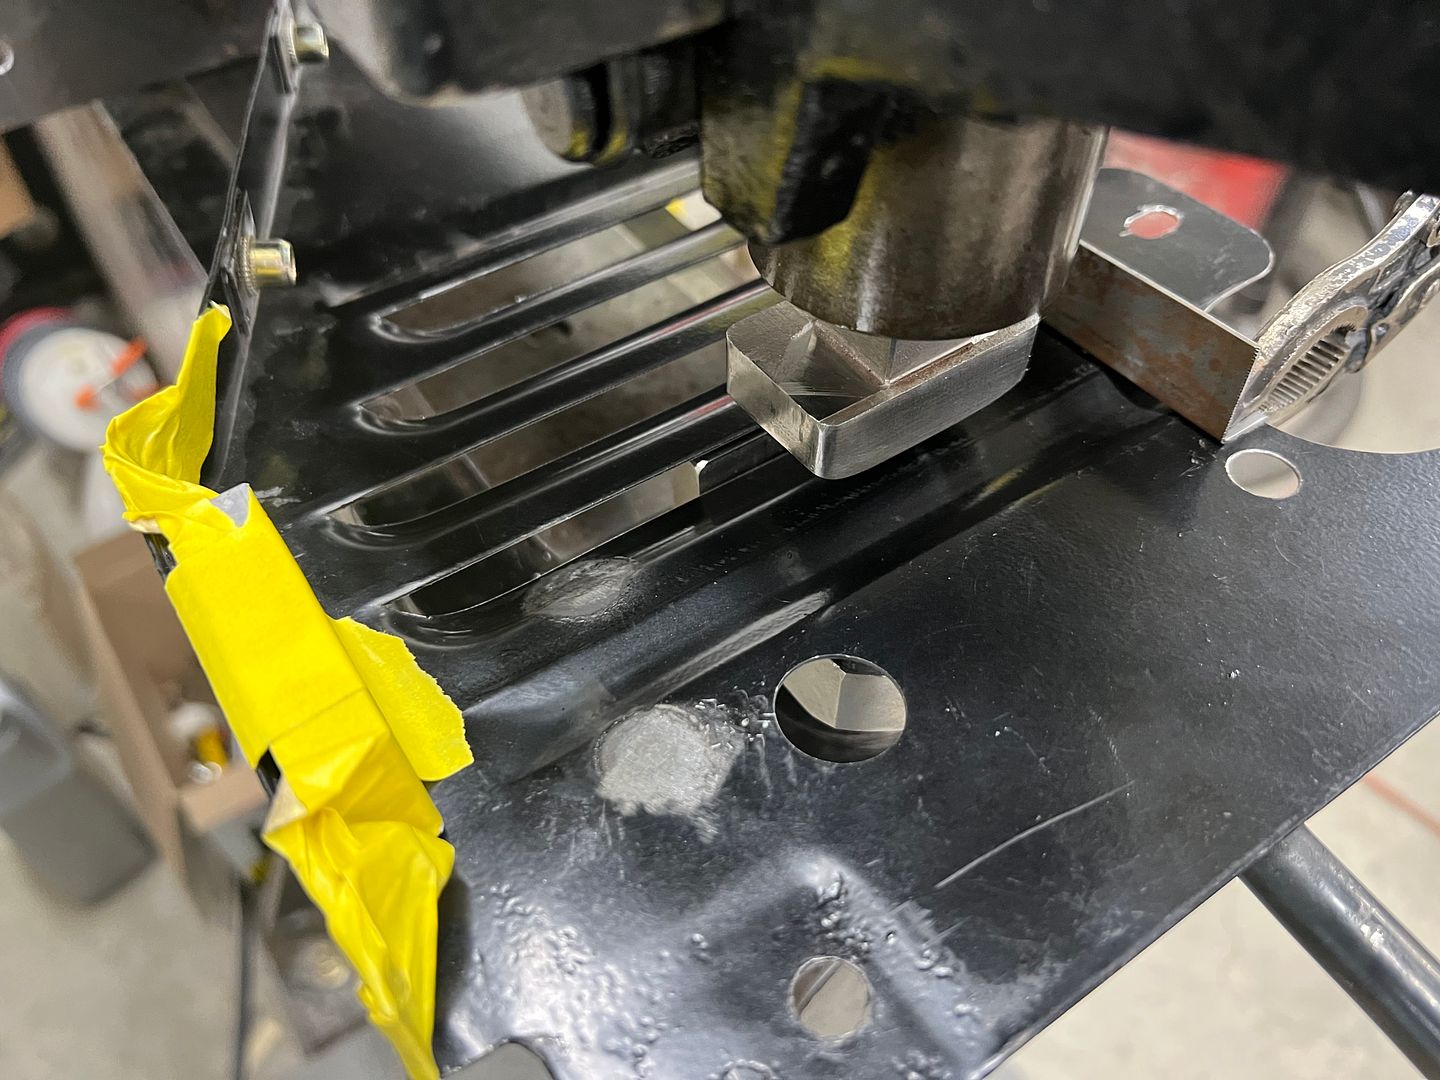
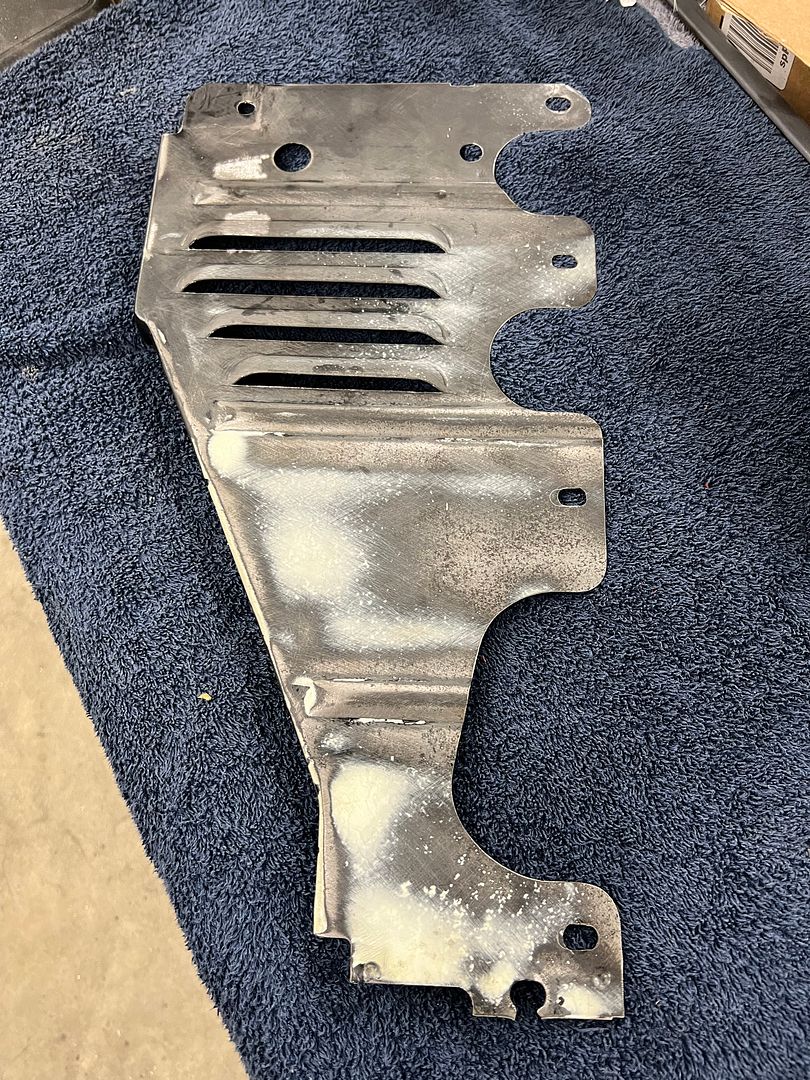
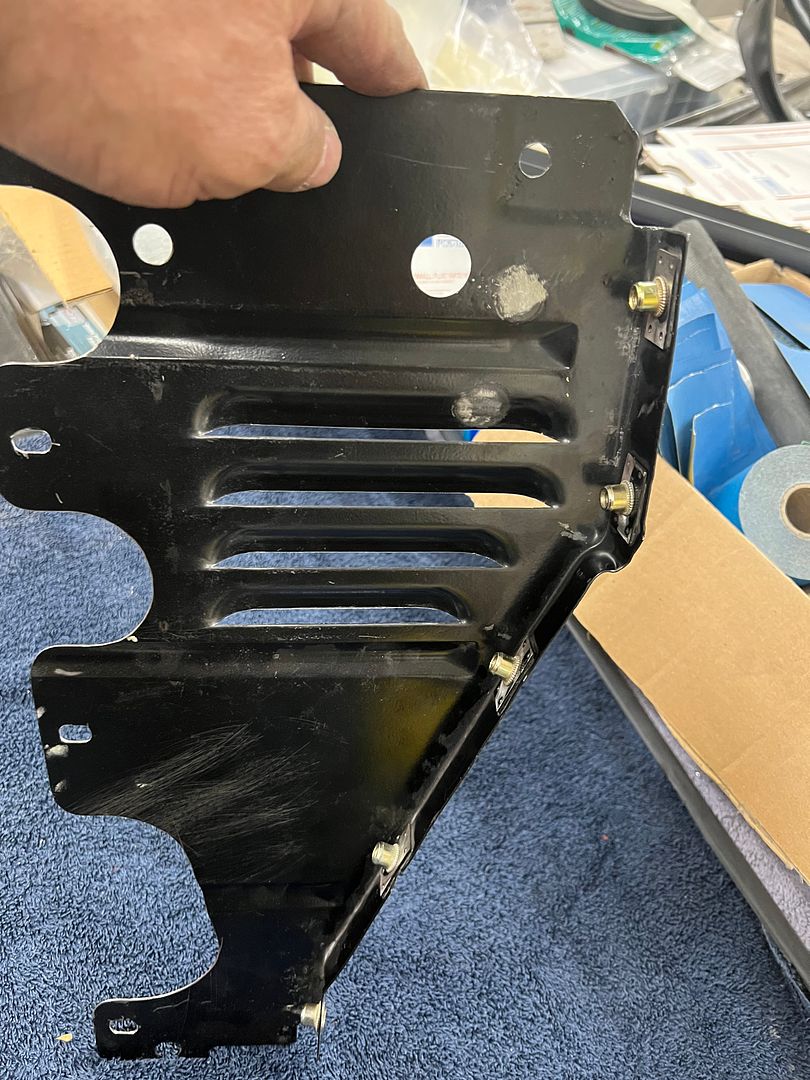
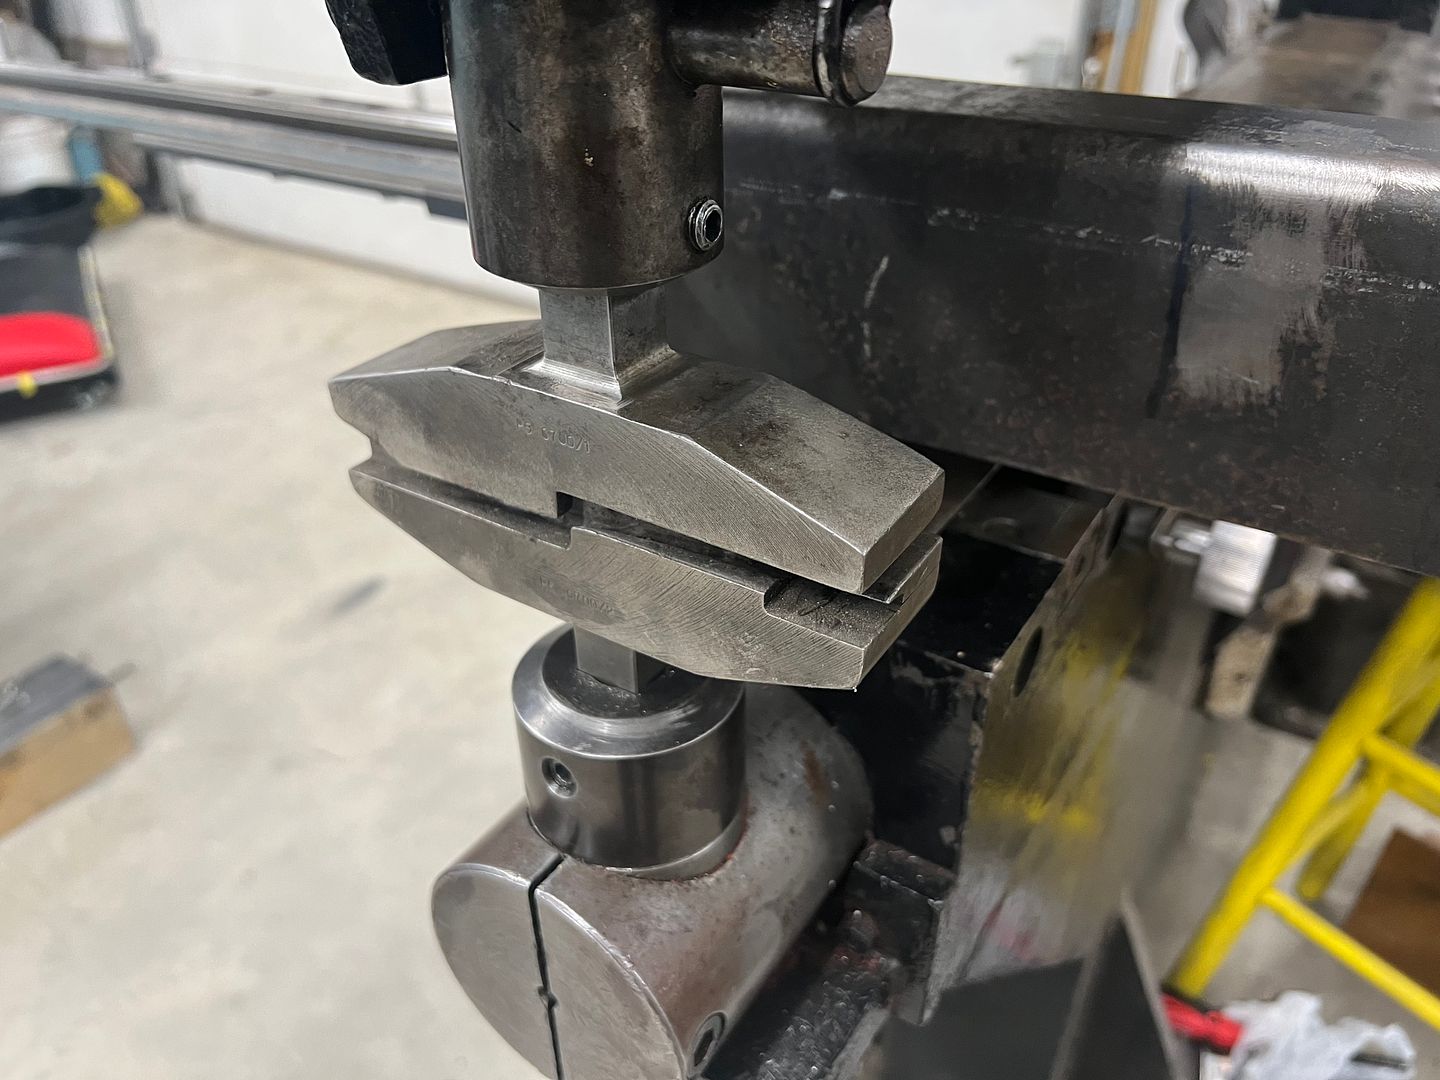
Next, we had moved the battery from the OEM location on the firewall to the dealer installed Air Conditioning location behind the core support. This has the battery in close proximity to the passenger side header, so we punched some louvers on the core supports side baffle to allow for air flow.
https://www.youtube.com/watch?v=5qFVXdLLeOcRobert
-
11-01-2021 11:39 AM #1644
awesome as always"  "No matter where you go, there you are!" Steve.
-
11-02-2021 07:34 AM #1645
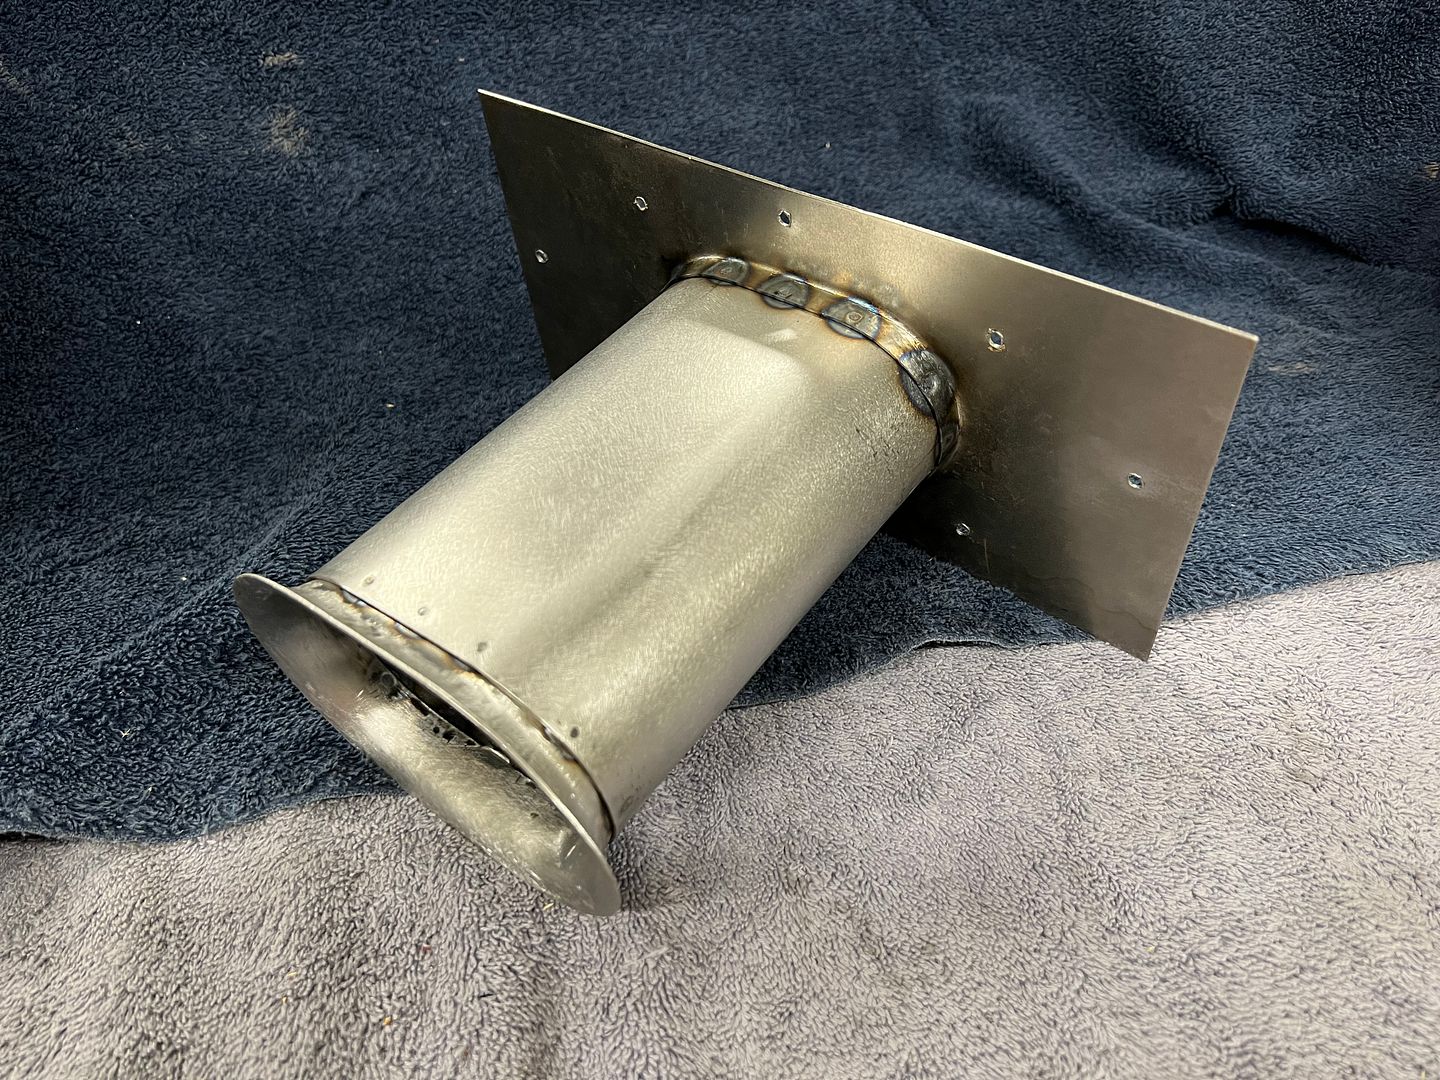
Thanks! A side distraction, I had a request from a buddy in Wisconsin to make a snout for an air cleaner to increase the available intake air. Loosely based on the OEM 55 Chevy breather, this snout would be used to modify an existing 55 breather to accommodate a healthier than stock engine and still appear stock-ish.. The tube on a stock breather uses a seam at the bottom (6 o'clock) of the tube.

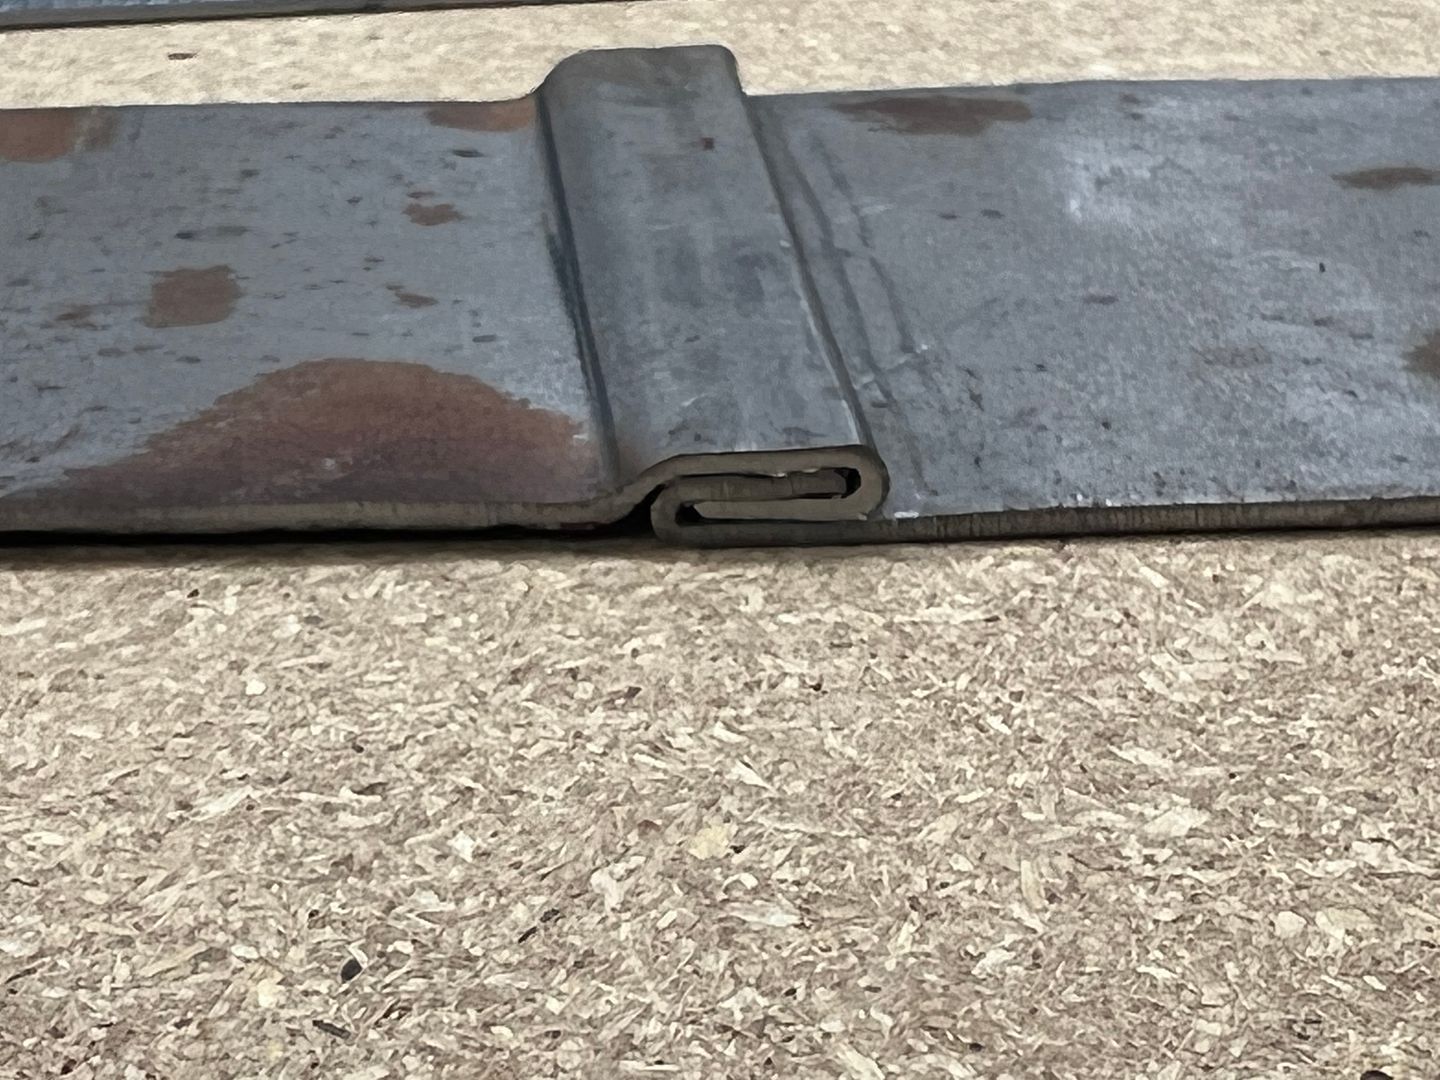
Factory seam in the tube...


The seam looks like the lockformer that I have original Pullmax tooling for..
Test sample....
A test piece to check the dimensions. Got to use some of that High school geometry....
Lockformer dies - YouTube
Our redneck slip roll used to bend the tube....
October 12, 2021 - YouTube
Hammer form made for the bell end of the snout that will fit inside the tube and be spot welded together...


The Bell fits inside the tube, and we also need a mounting flange that will fit outside the tube. So a drum sander is used to open up the hammer form for the larger size.. This flange mount will be trimmed and welded into the breather with the tube spot welded into the flange.


Robert
-
11-02-2021 07:43 AM #1646
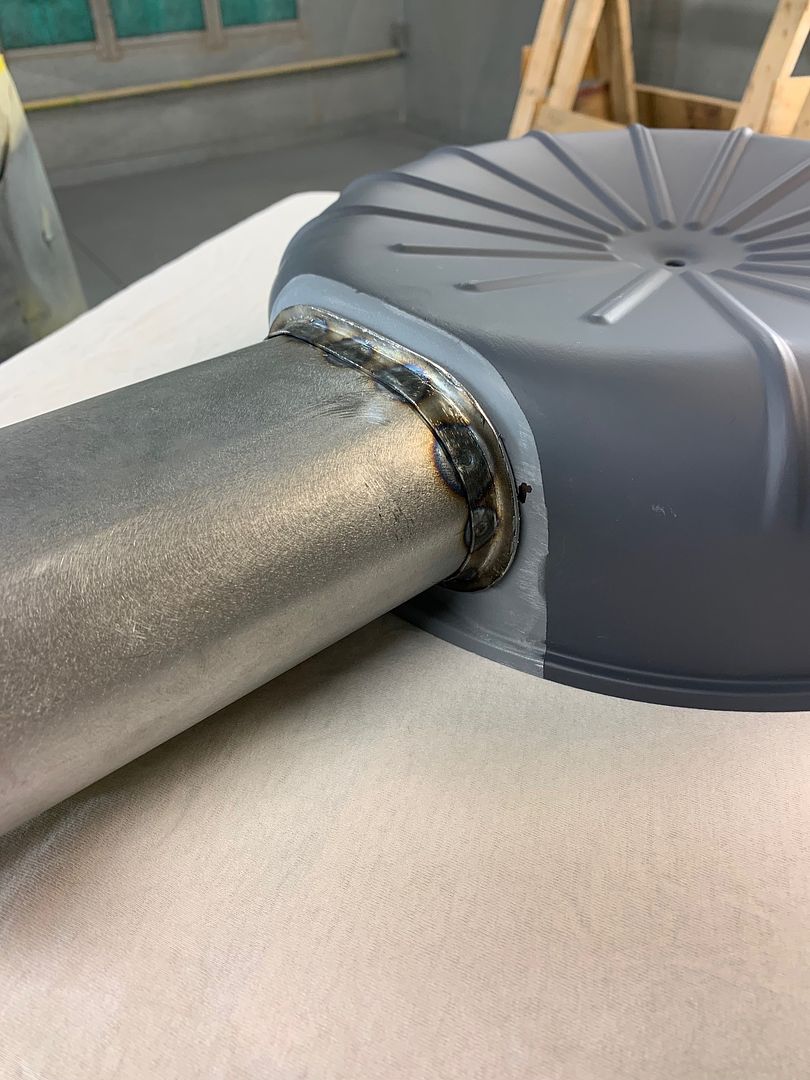
The part was sent to the owner for the "assembly". He trimmed the mounting flange and mocked up to the breather....
Breather hole trimmed...

Mockup...


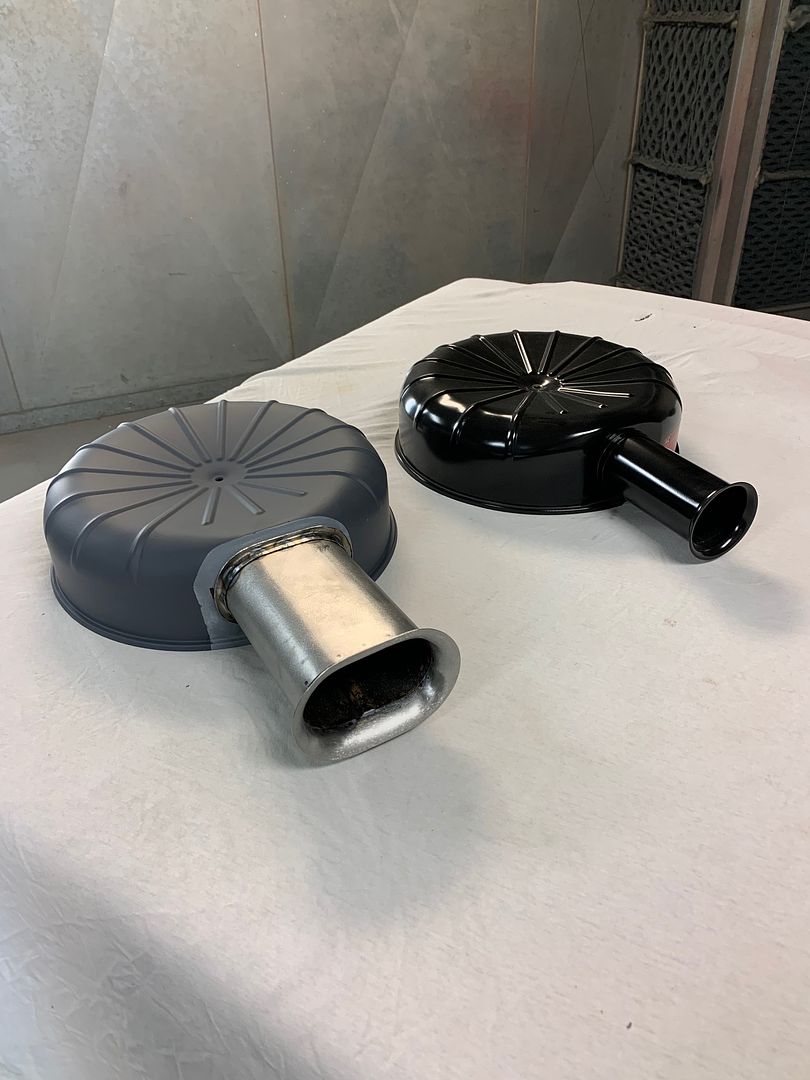
And in primer....


Looks almost stock!!Last edited by MP&C; 11-02-2021 at 07:46 AM.
Robert
-
11-02-2021 08:17 AM #1647
Most excellent work!
-
11-02-2021 09:23 AM #1648
I agree. Awesome work once again Mr. Robert!
-
11-03-2021 05:28 AM #1649
You are the Wizard of METAL!
-
11-03-2021 08:03 AM #1650


 3390Likes

 LinkBack URL
 About LinkBacks
 Reply With Quote


Thanks for the happy birthday wishes, so far 50 feels a lot like 49 LOL
Happy Birthday 53Chevy5