Thread: 55 Wagon Progress
-
09-08-2022 09:09 AM #1726
Downright scary.
-
Advertising

- Google Adsense
- REGISTERED USERS DO NOT SEE THIS AD
-
09-08-2022 01:50 PM #1727
Is that a red #00 going to a red #10? or, is that all red tape?!?! What a mess!
-
09-25-2022 12:39 AM #1728
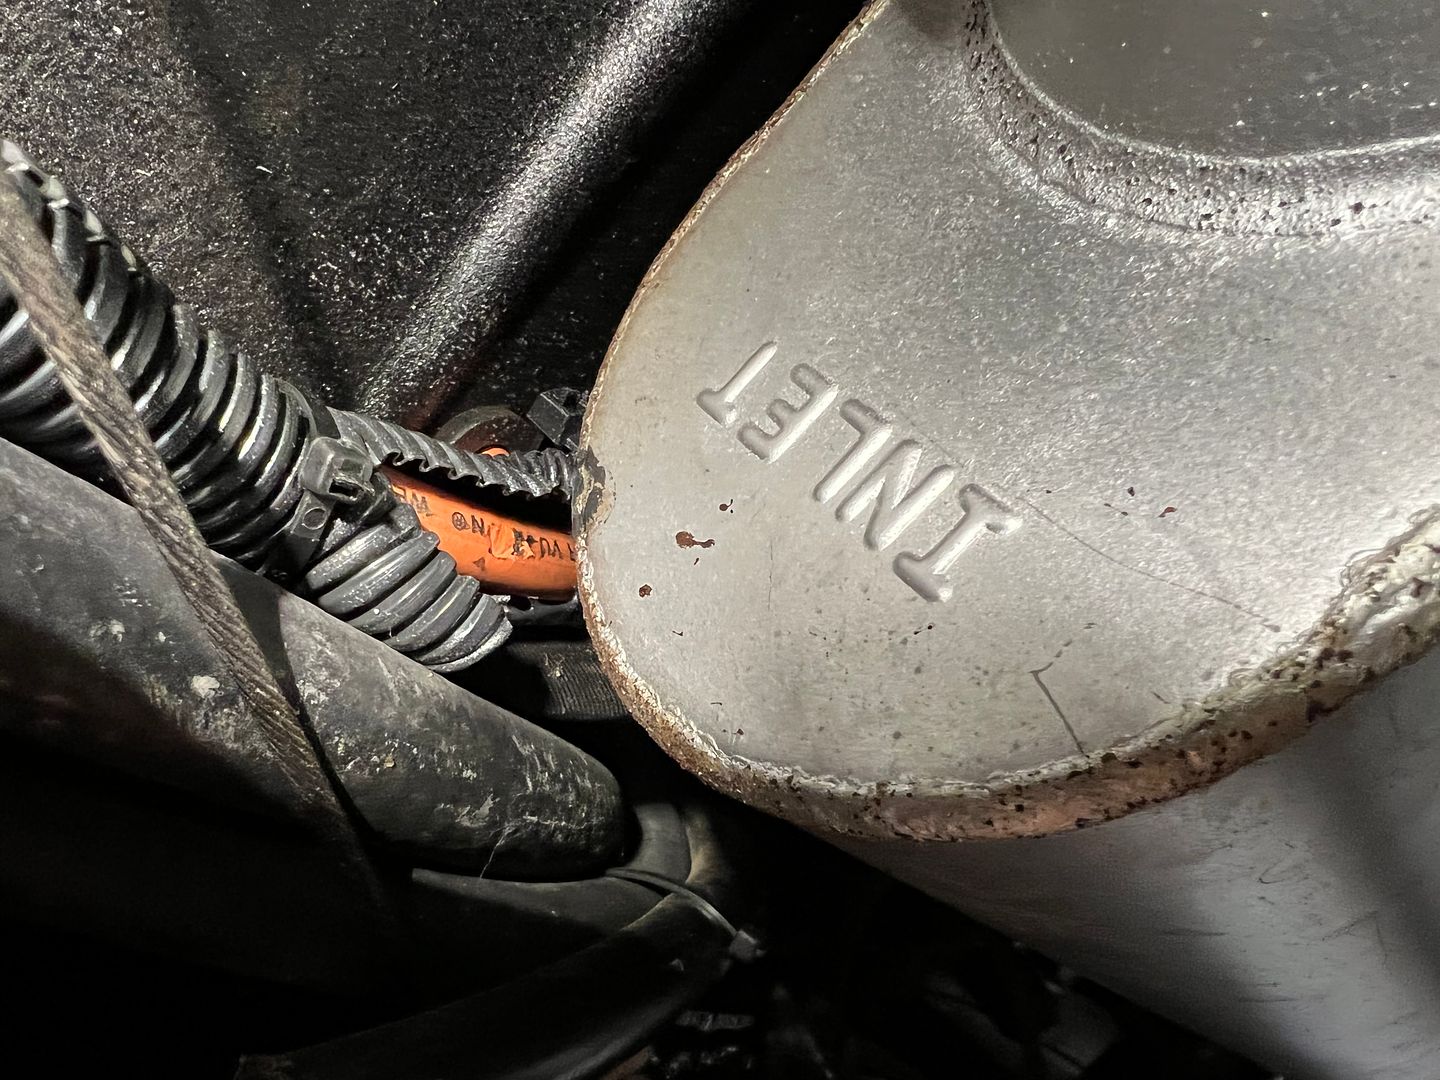
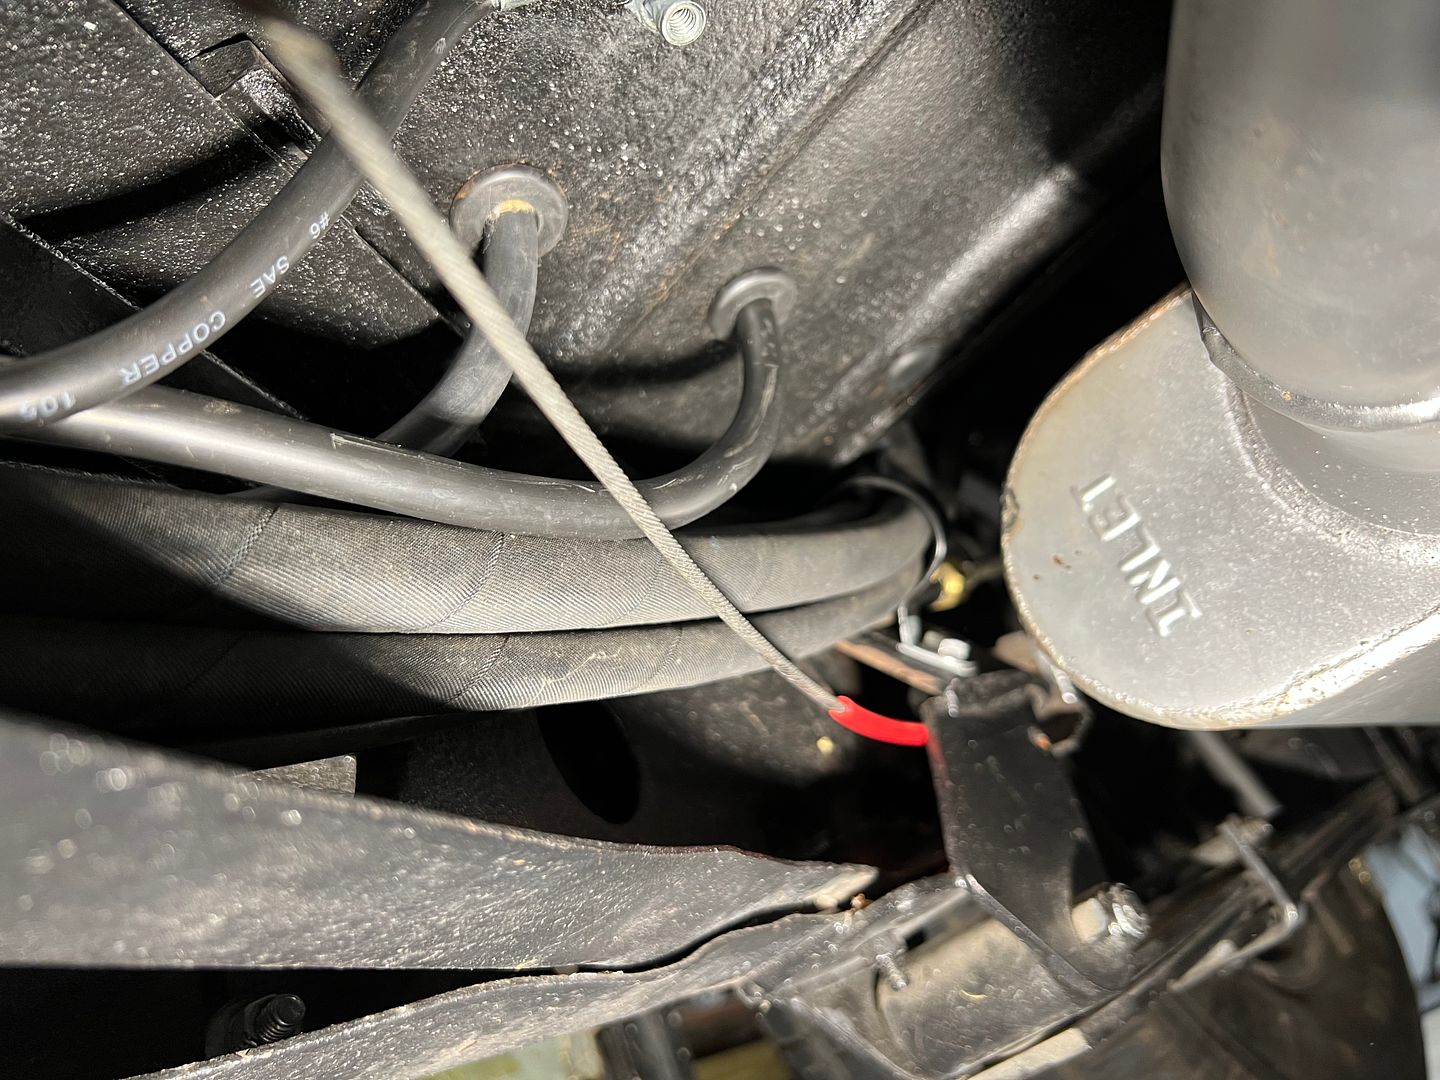
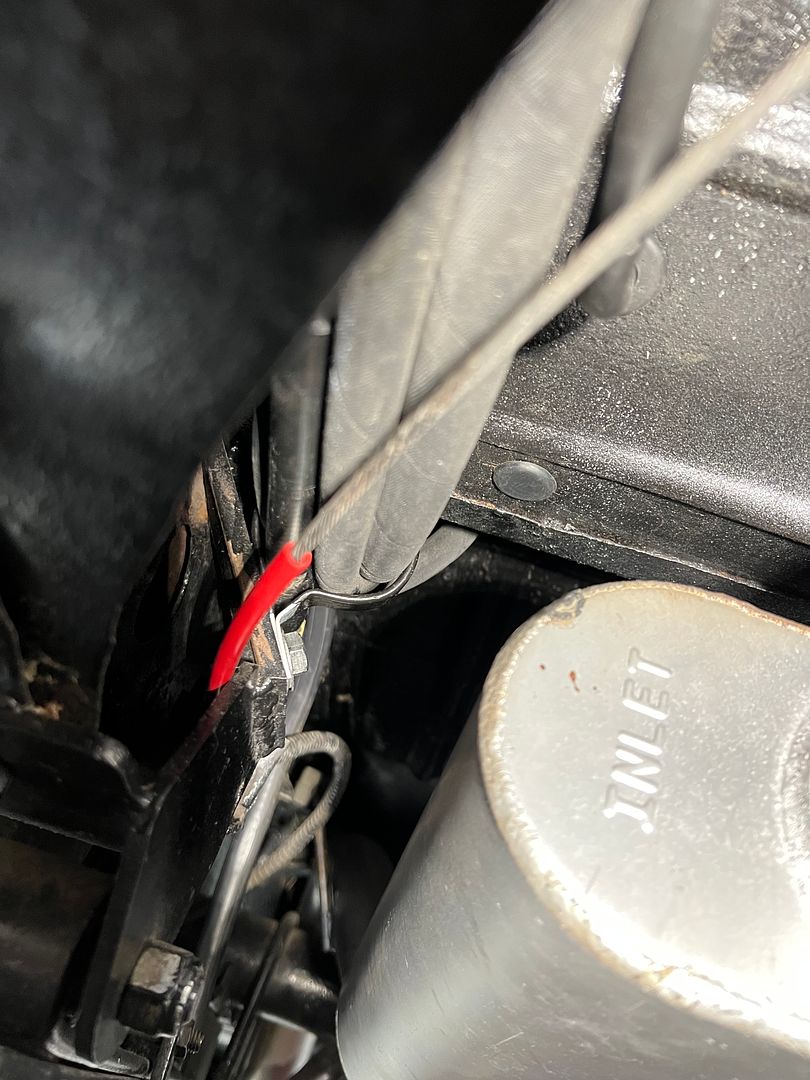
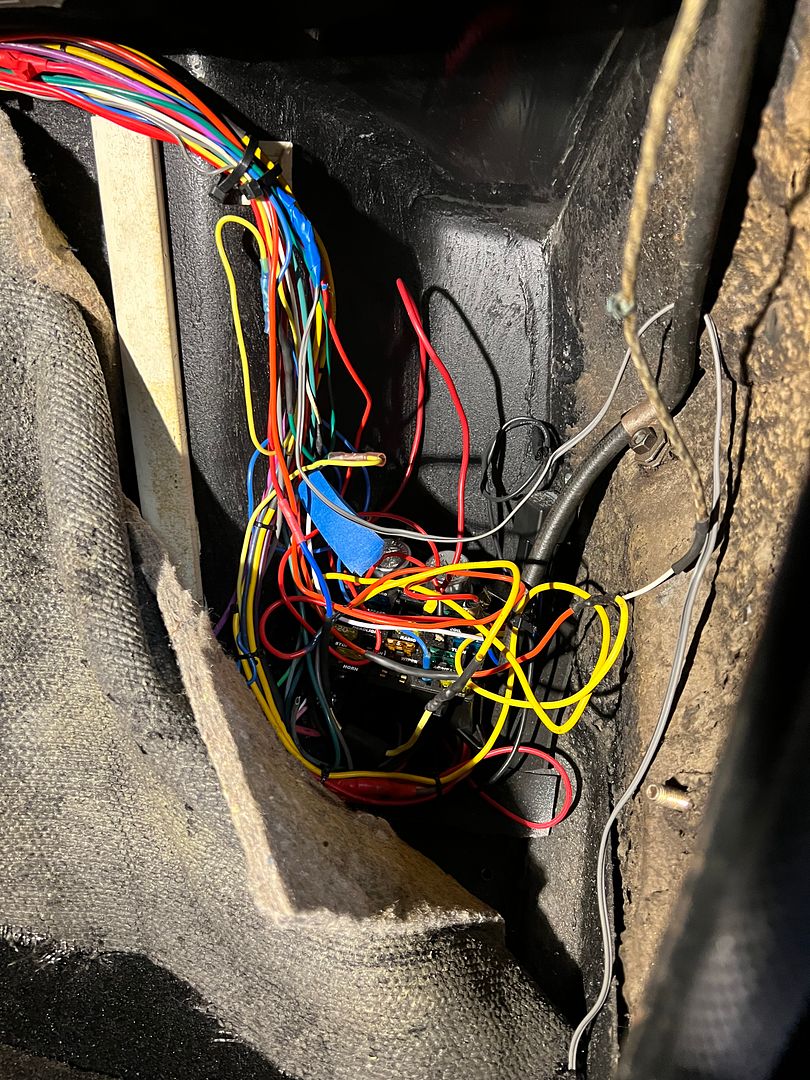
Progress on the 39's wiring, let's show this with a before and after sequence..
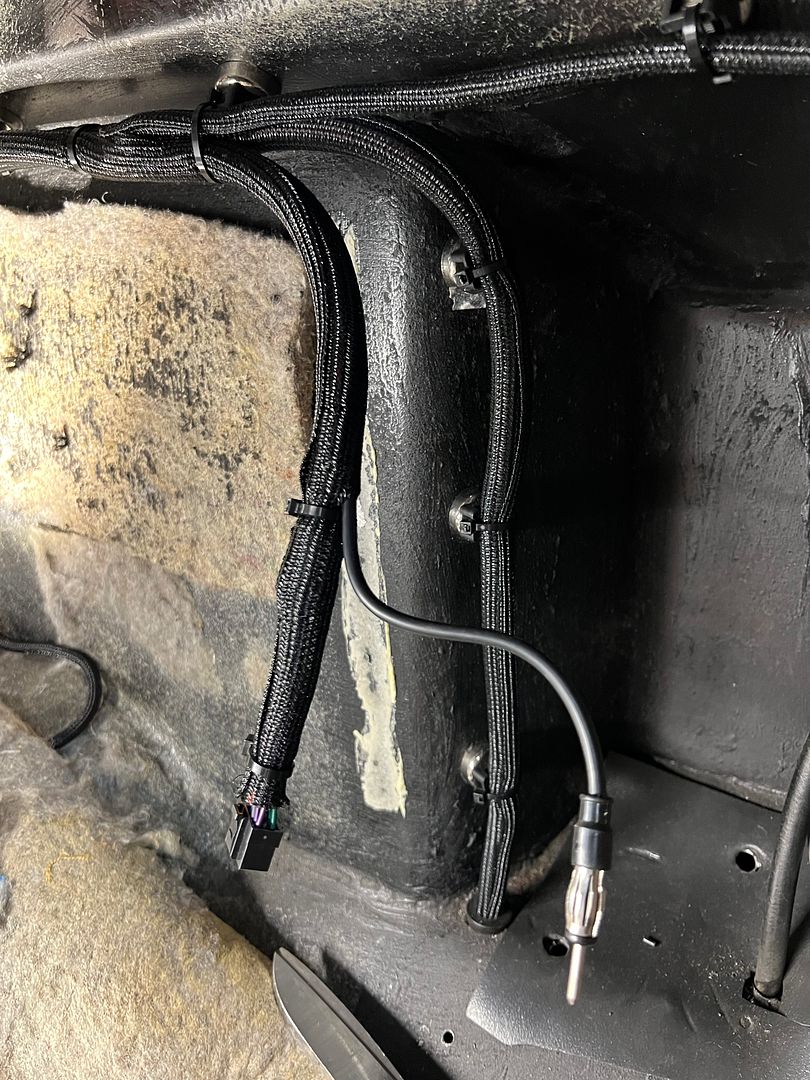
This car has the battery mounted behind the passenger seat, and the orange cable shown is the positive cable. (ground cable hidden above muffler) Both cables exit directly above muffler with not quite enough room for a good bend radius, as shown by the melted insulation.
The other hoses shown are the heat and AC lines as that is also located behind the driver's seat. We relocated the battery cable entry points to in front of the muffler. The heat and AC lines were re-dressed and loop clamped to get them farther away from the muffler.. Rubber plugs were used to fill the old holes.
This is the previous location of the fuse box (it's in there someplace)
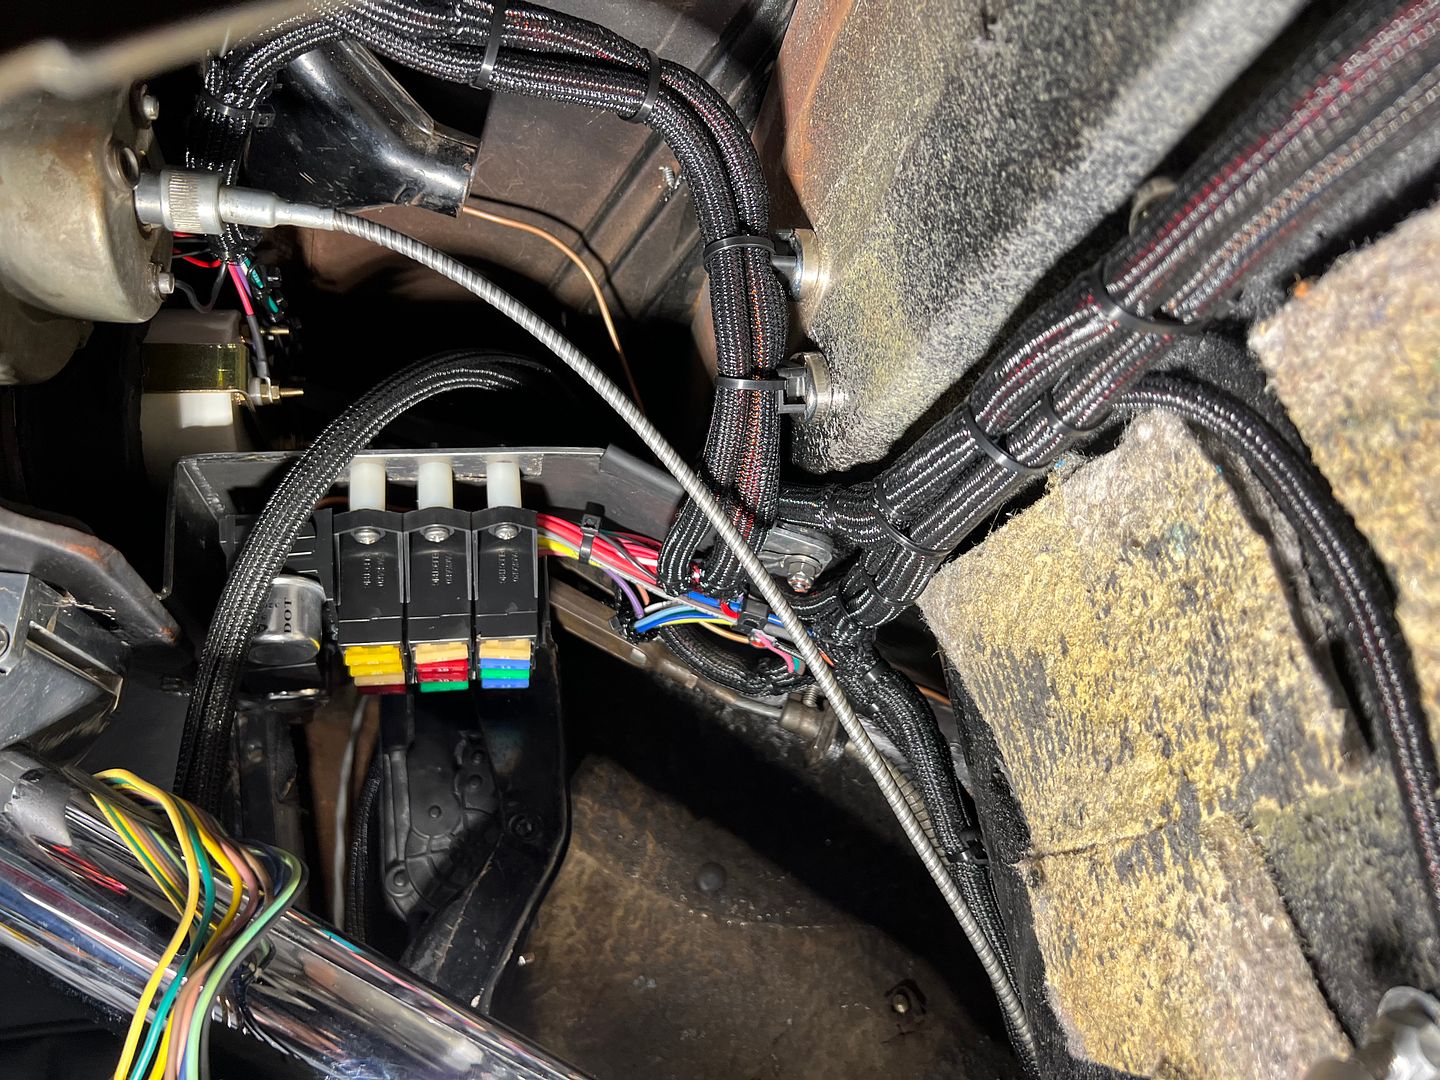
With the fuse box relocated under the dash, the floor area is cleared up with less chance of stepping on wires. The radio and antenna cabling will be routed into the glove box, the radio location.
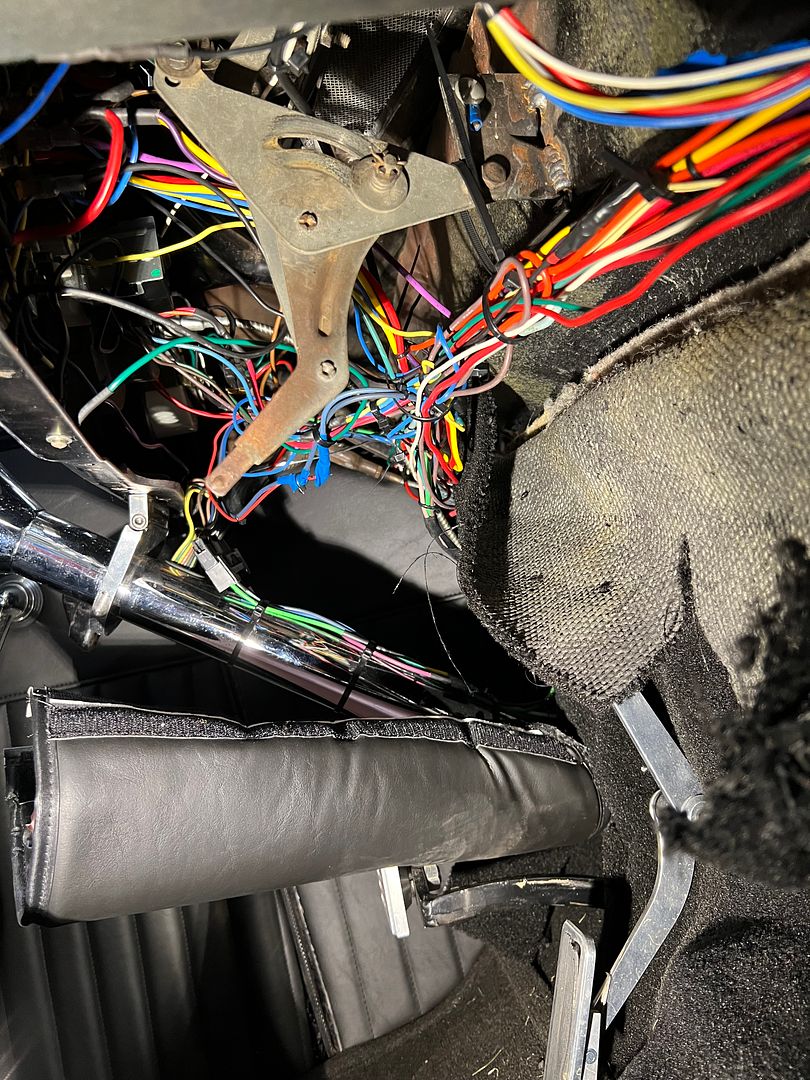
Previous underdash:
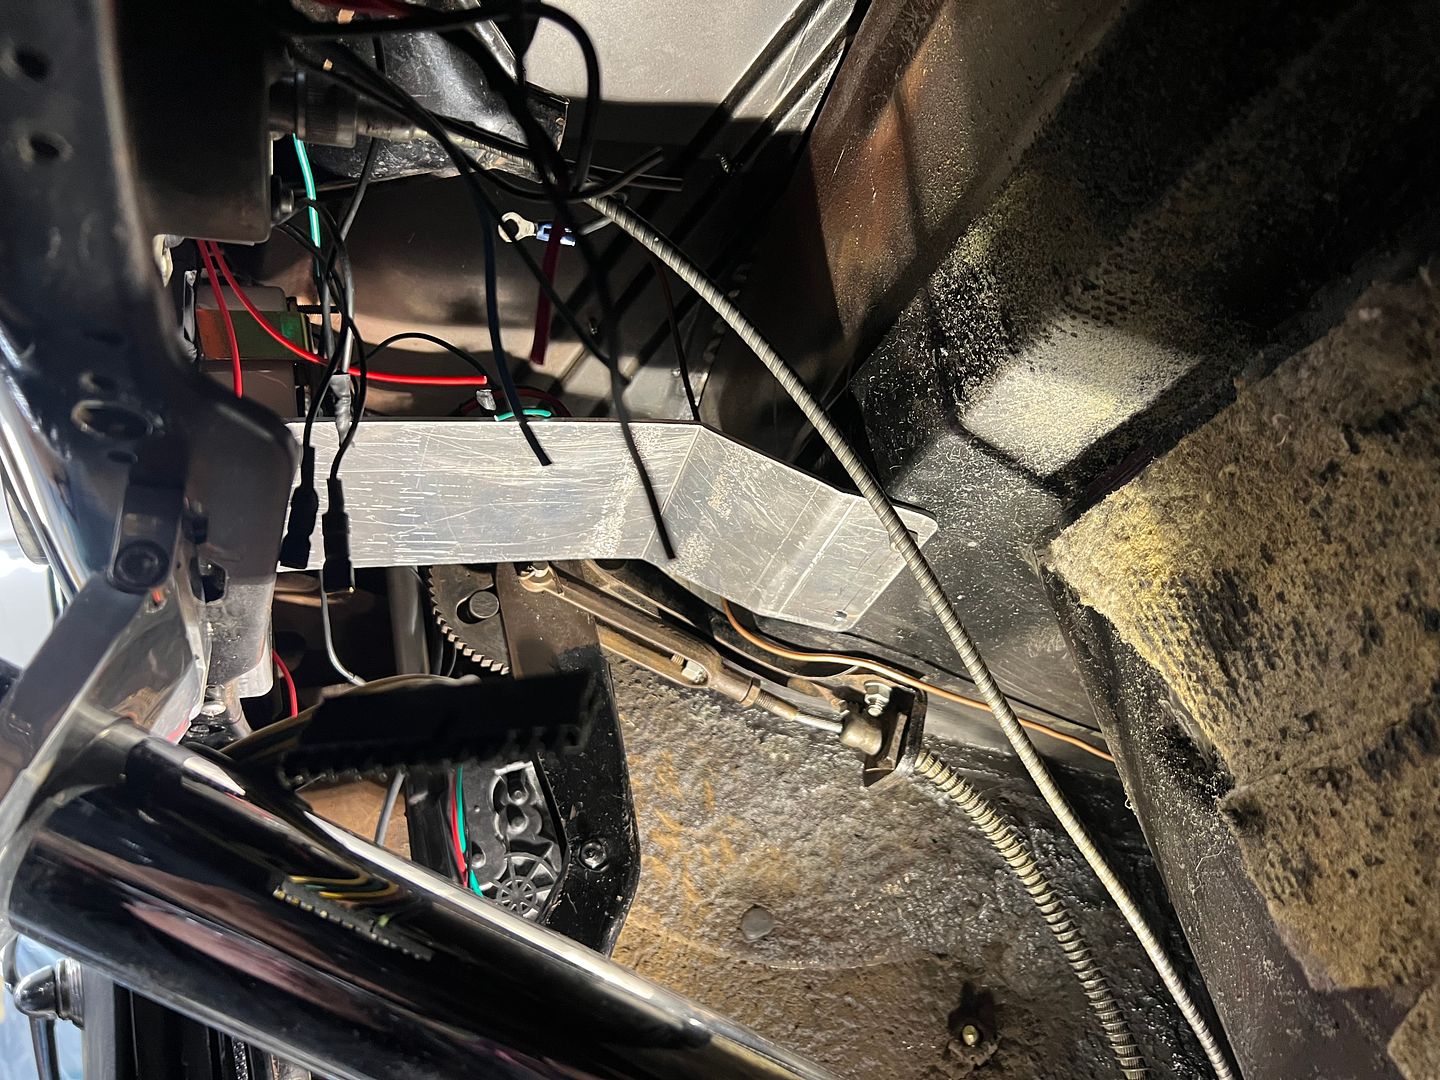
Fabricated plate for mounting fuse box up under the dash..
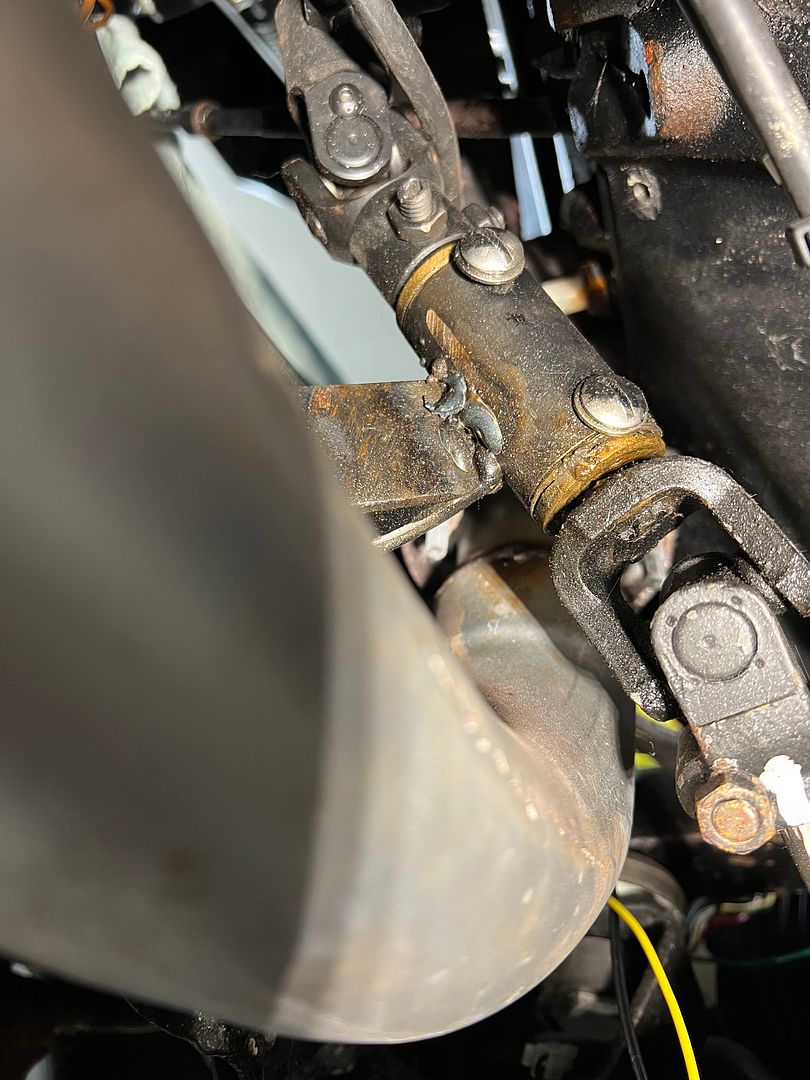
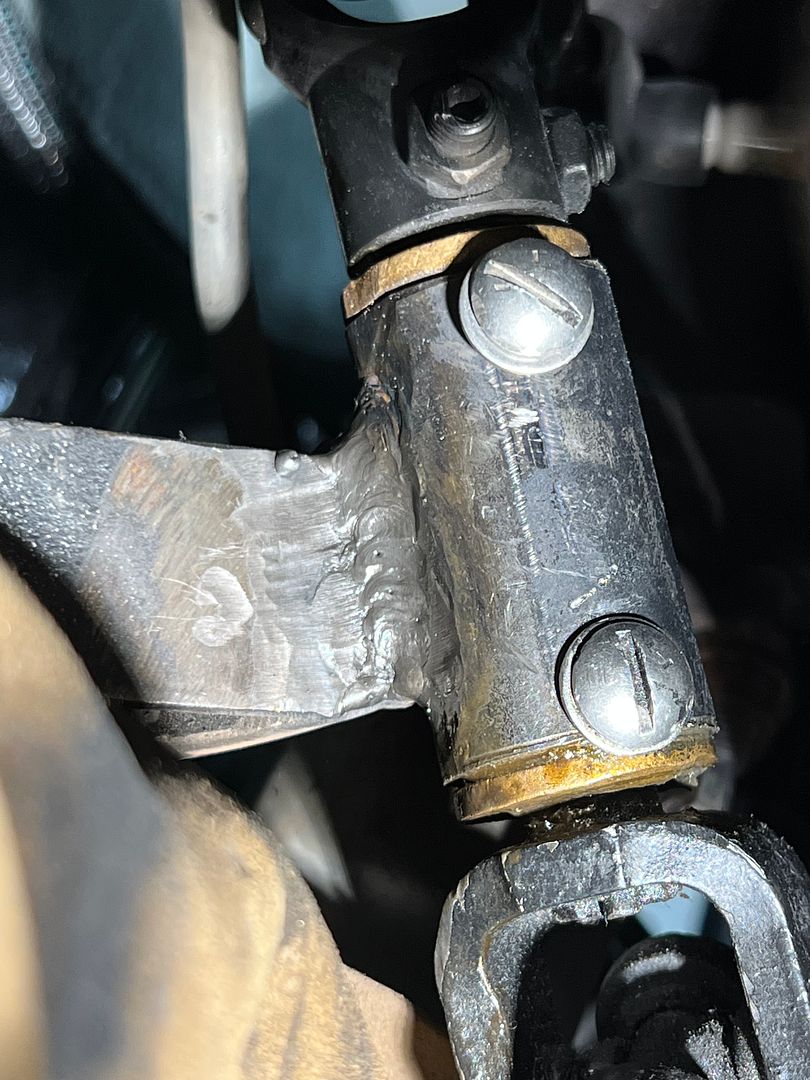
Steering knuckle sleeve weld...
Despite grinding out the mud dauber's nest and wiping multiple times with acetone, we still got a pin hole in the weld. To limit damage (shrinking) from excessive heat we left it with the pin hole. Still much better than what was there prior.
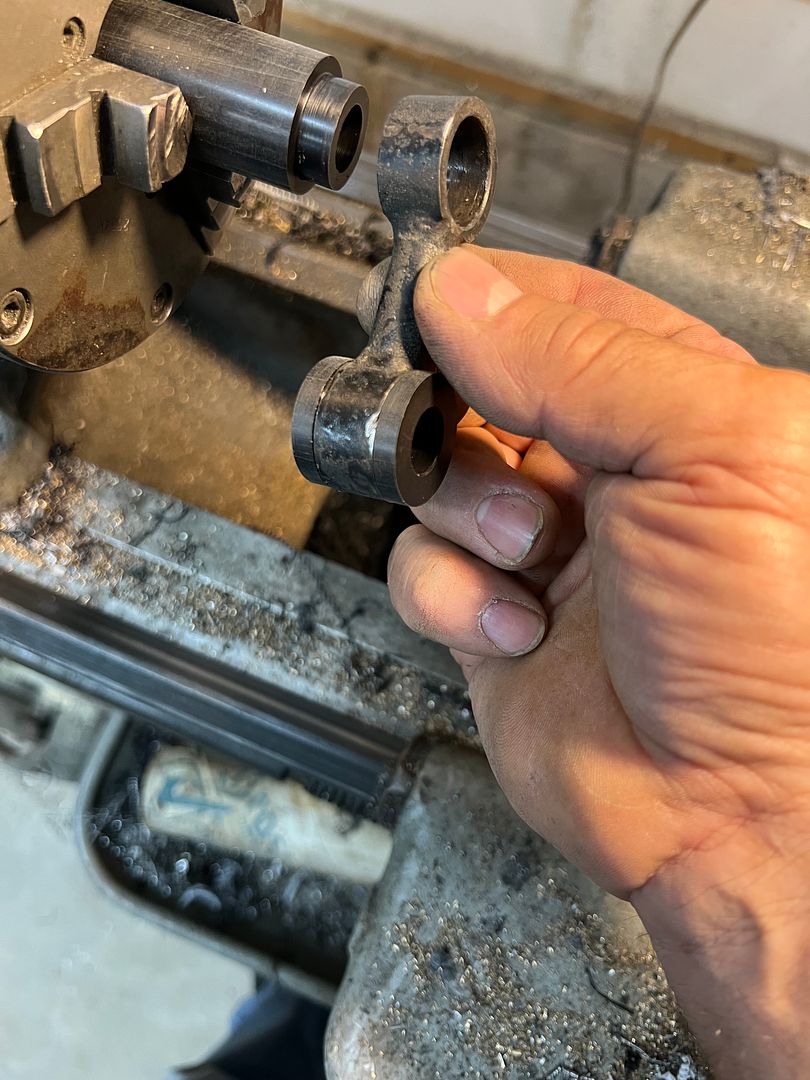
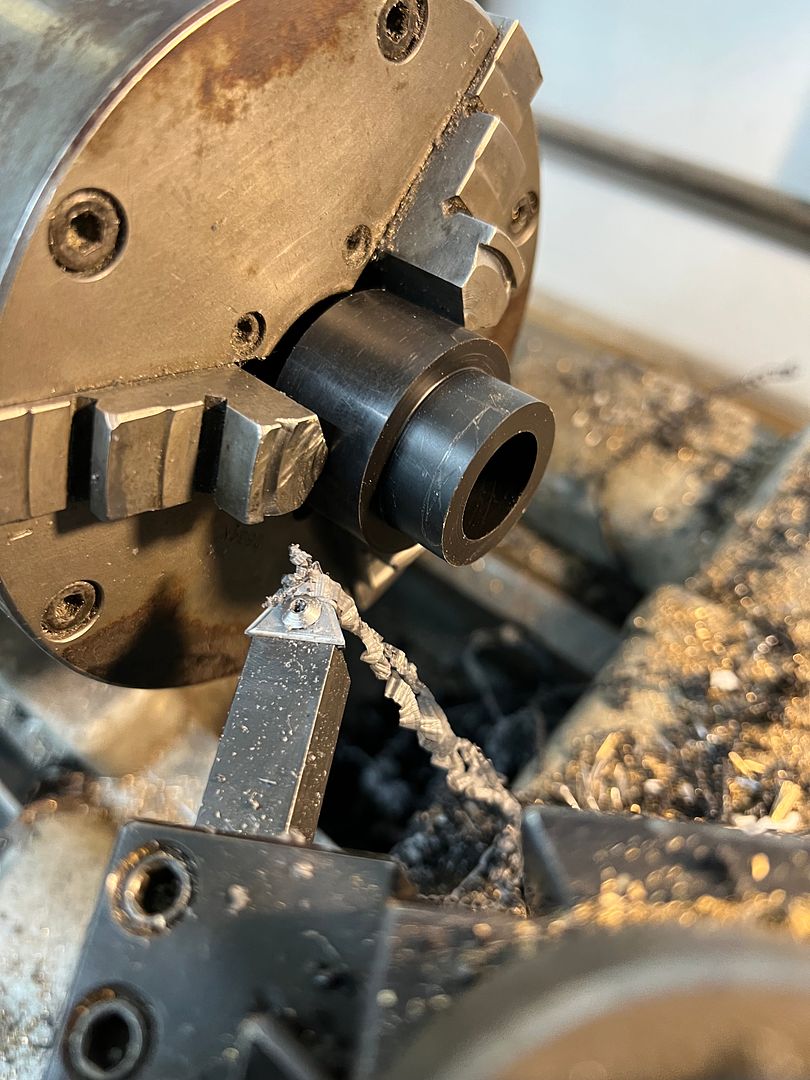
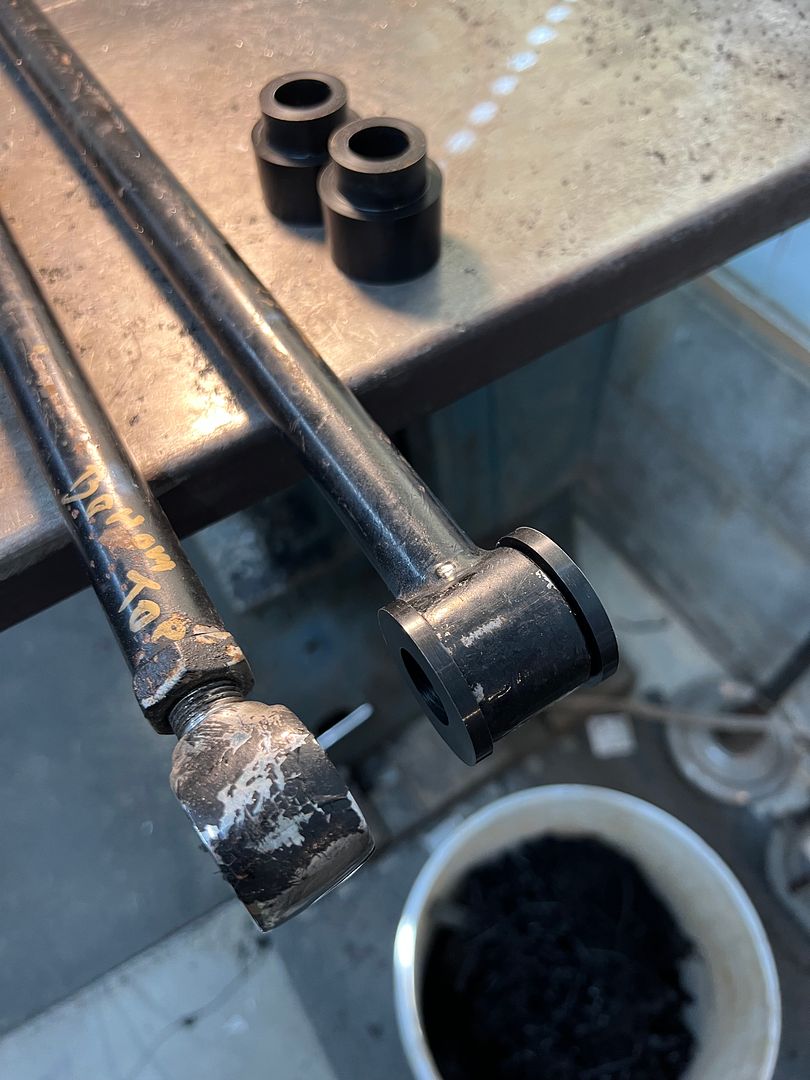
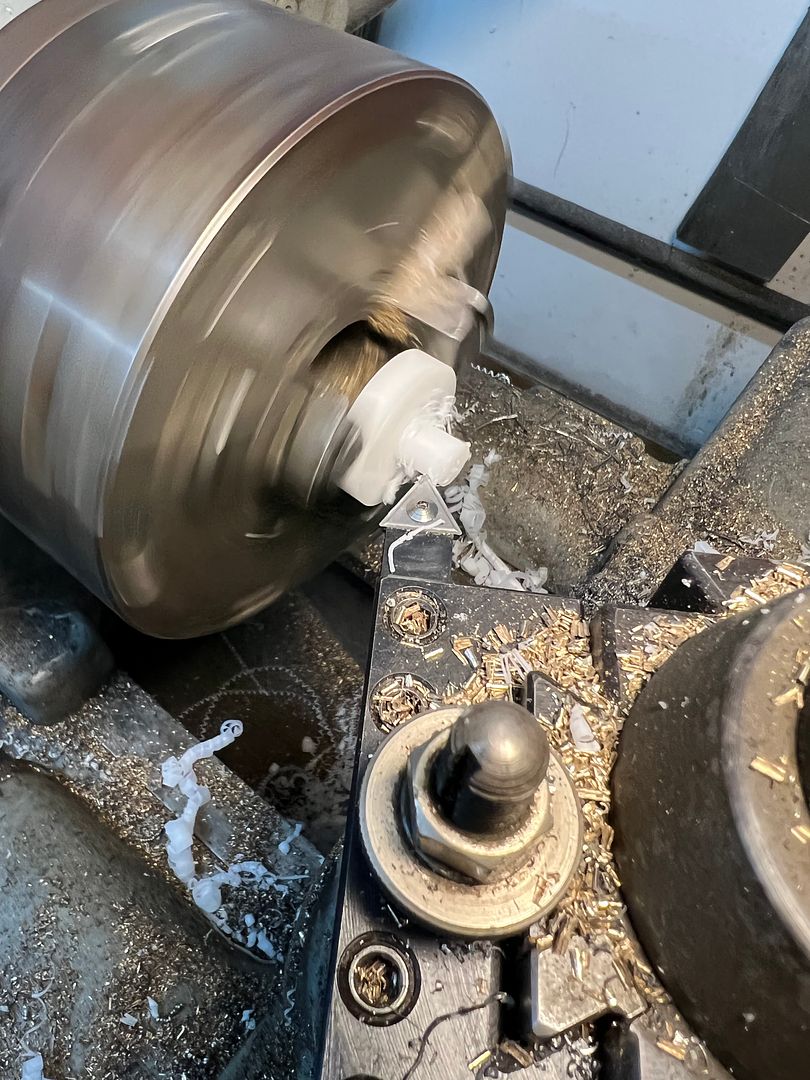
The links for the front sway bar as well as the radius arms had little left for bushings. The local auto parts store was not much help for replacement parts, so some delrin round stock was used to fabricate bushings.
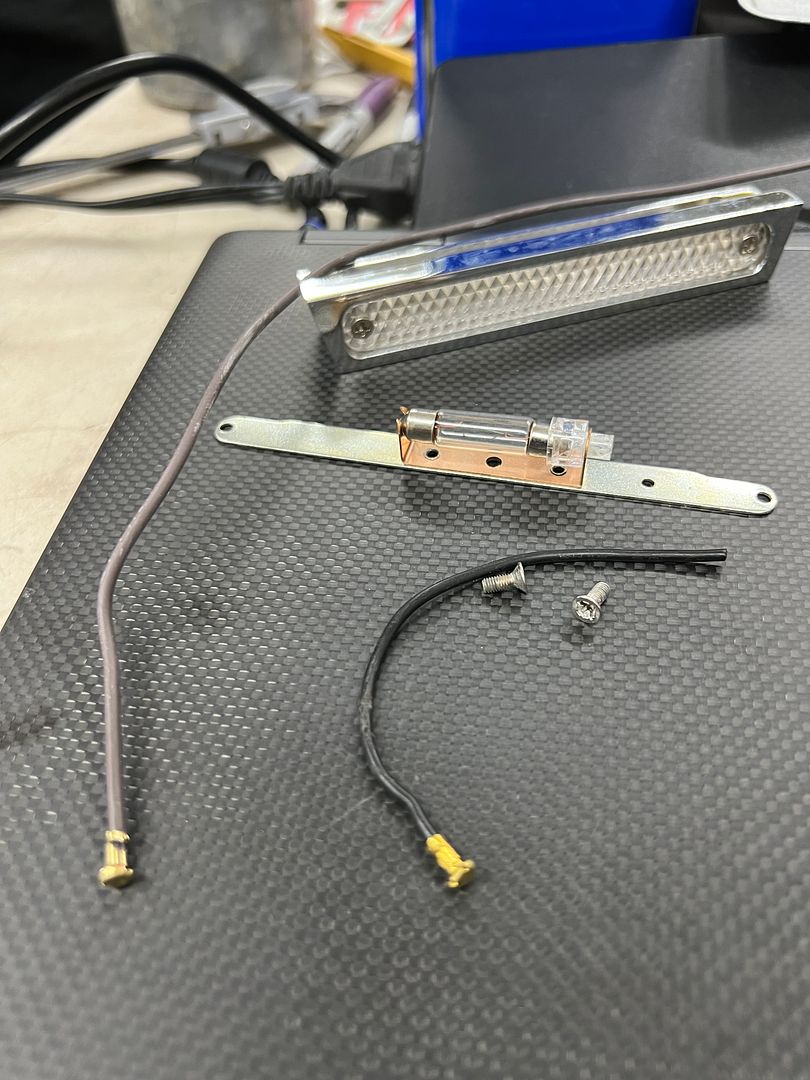
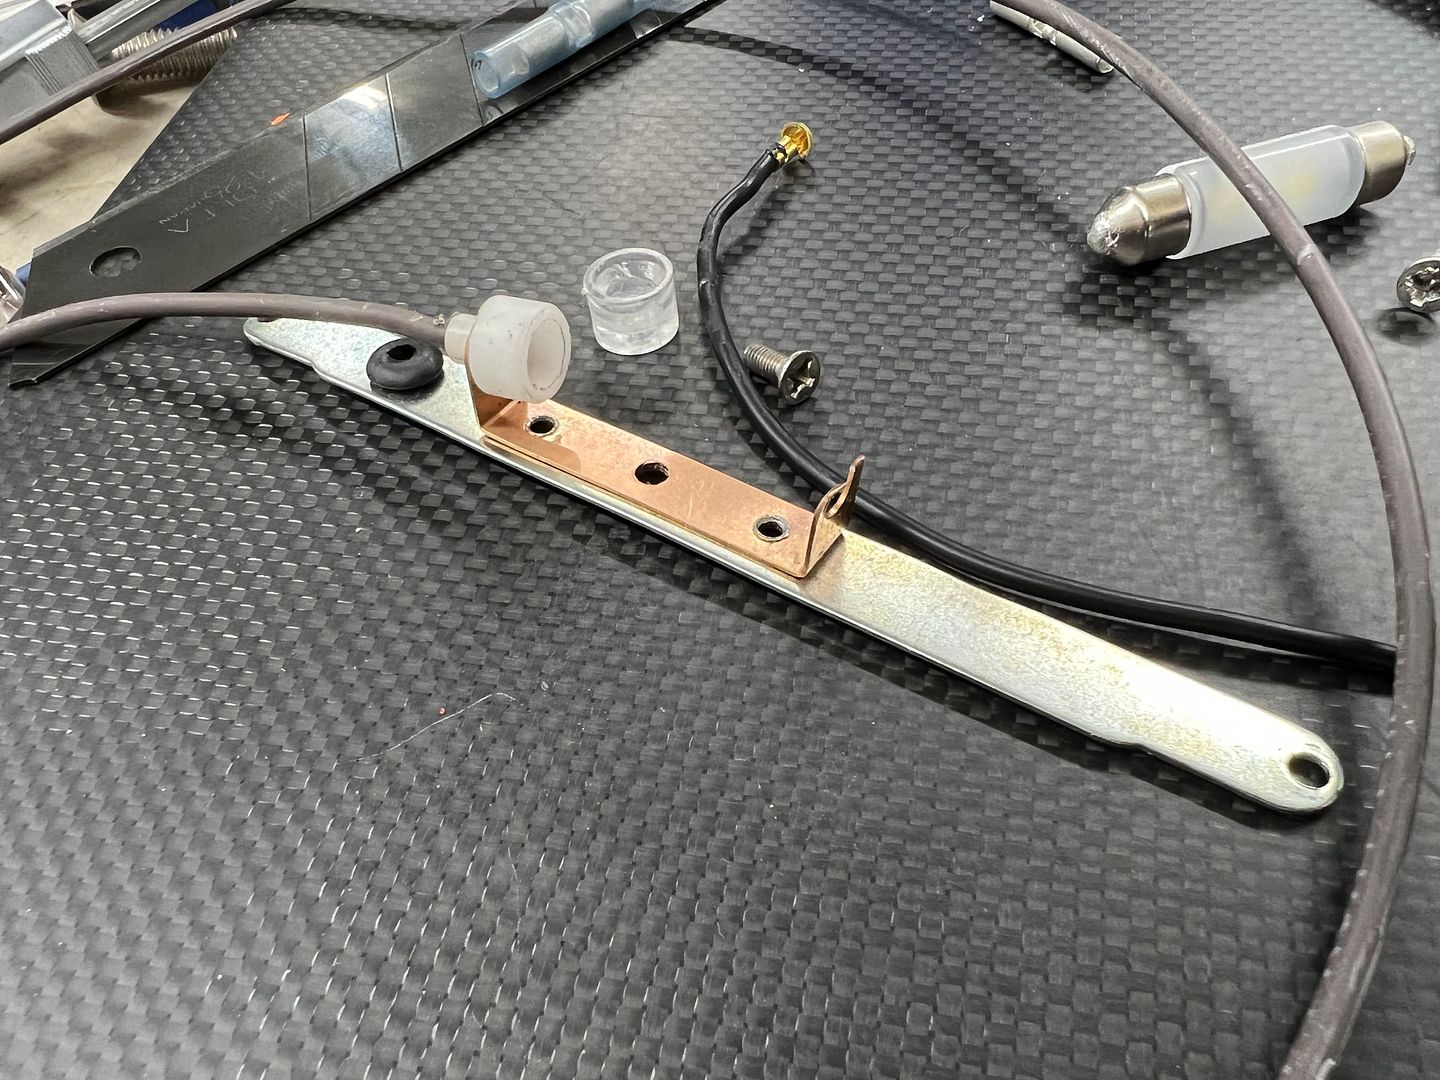
The tag light insulator was hard plastic and brittle, so our attempts to install a longer wire for the light resulted in a broken insulator. More delrin to the rescue..
Left to do is the front end/engine compartment and re-assembly.Robert
-
09-25-2022 07:06 AM #1729
Again, as always, Nice work. Carbide tooling and delrin. Seemed to cut okay. Was it intentional or just what was in the holder? I've found some Nylon would gum up with carbide tooling.
-
09-25-2022 07:28 AM #1730
That’s what’s I typically use, it’s worked well in the past.Robert
-
10-10-2022 10:03 PM #1731
A recent find of some metalshaping tools, finally found a stake plate and stake anvils... Along with some dolly's I didn't have..
The wiring harness installed, here's our first test start of the 39....
Lighting tests:
With that, the 39 has left the building... Here's the test drive taking it home. Also found out the easy way of opening the ash tray...
Last edited by MP&C; 10-11-2022 at 05:04 AM.
Robert
-
10-11-2022 06:50 AM #1732
You mean there are still tools you DON'T have? lol 8-)
As always, good work on the car. I see the 4 way flashers work.. I was gonna tease you about the turn signals but then realized - you don't use'em anyway. LOL I'll have to watch the vids again... I didn't see any ash tray.
under edit, I did go review the video and see now the ash tray opens under acceleration. Maybe he'll bring it back for you to build a new one?!?! HAHAHALast edited by 34_40; 10-11-2022 at 06:54 AM.
-
01-16-2023 06:32 AM #1733
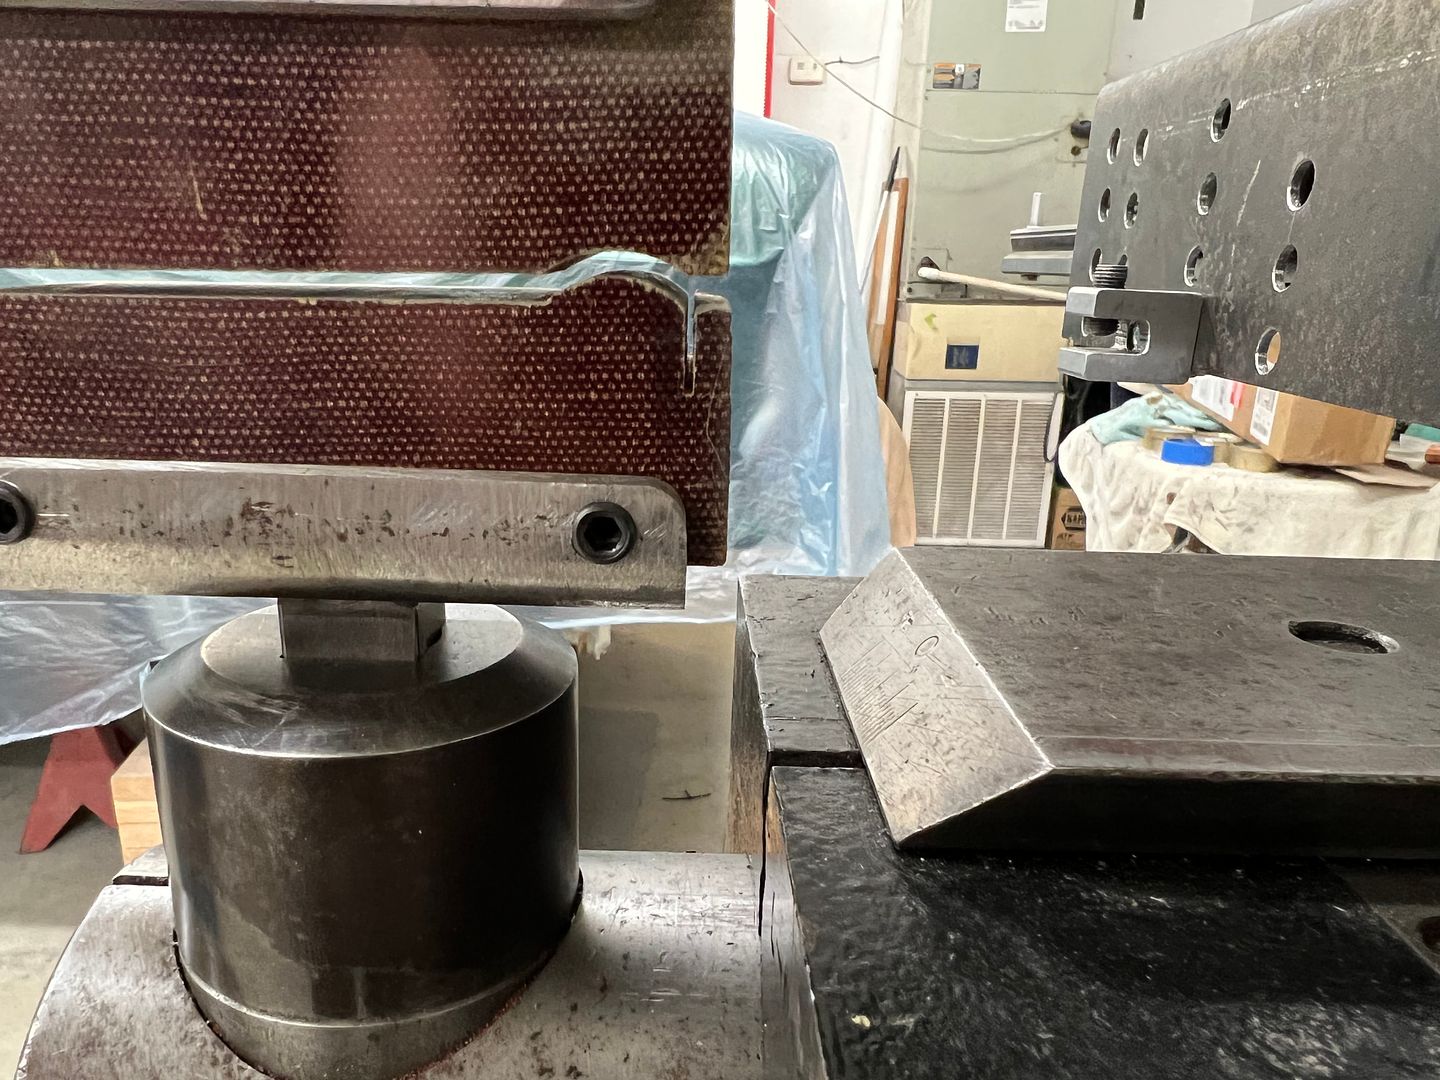
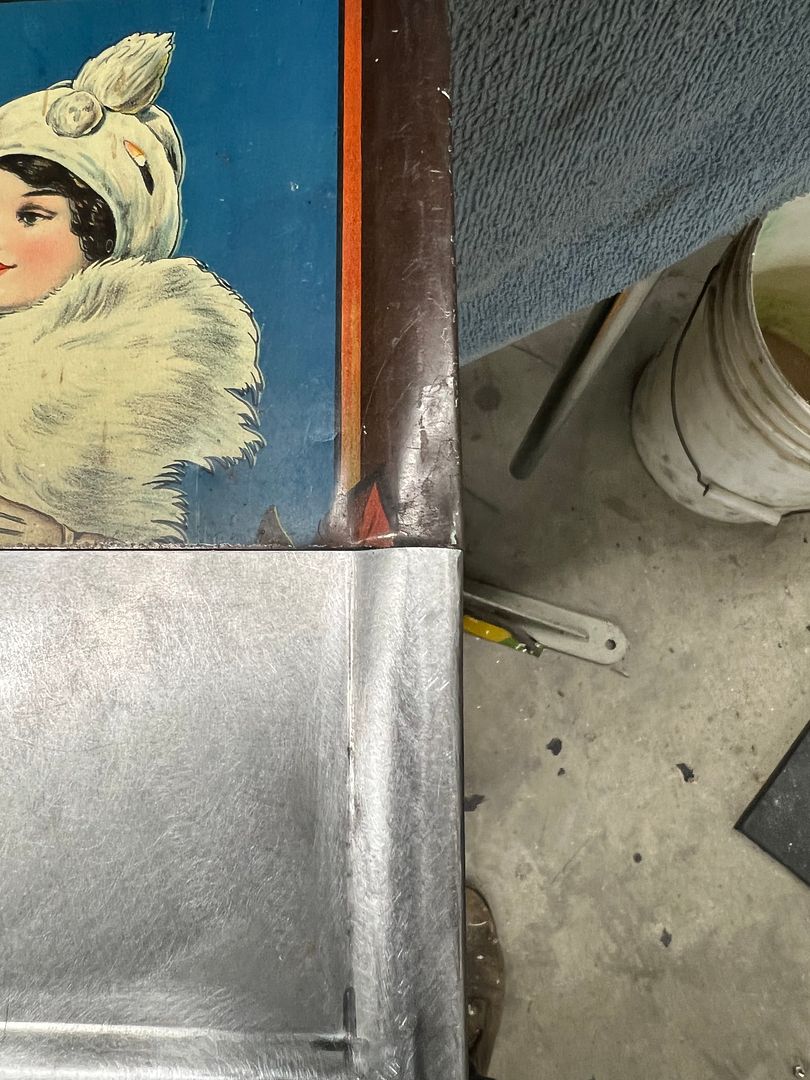
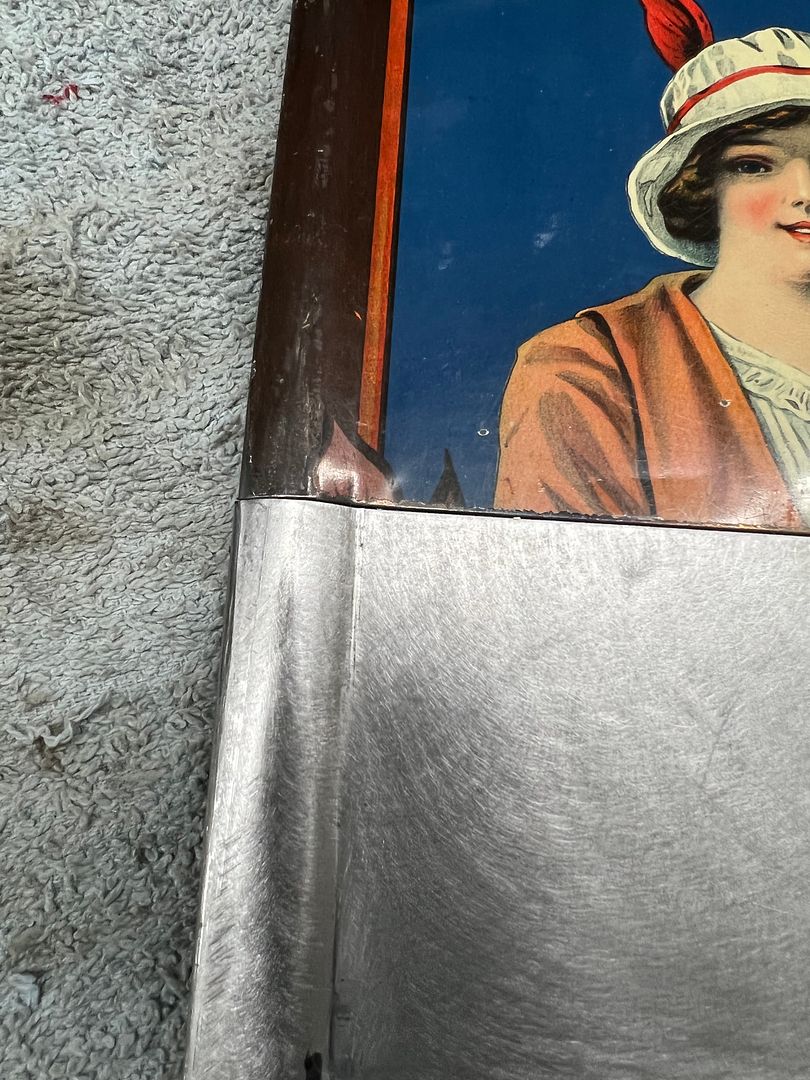
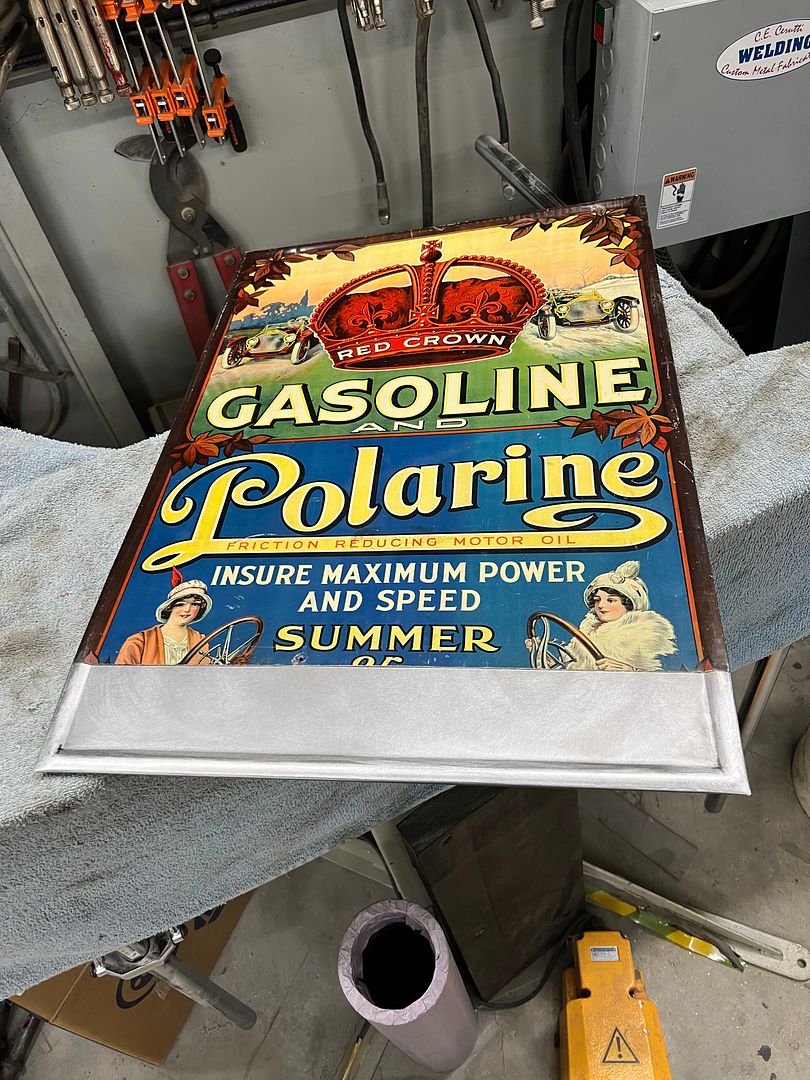
We've all seen the rusted out floor pans in old cars with a sign screwed or pop riveted in place to keep your feet from falling through. As a first for me, now I've repaired one of those signs. We needed to make some dies for the Lennox to produce the "picture frame" border...
The owner plans on using panel adhesive to attach, in order to save as much of the original paint as possible. We made some splice plates for the back side to use with the panel adhesive. He has an artist lined up to re-create the bottom portion.Last edited by MP&C; 01-16-2023 at 06:34 AM.
Robert
-
01-16-2023 08:46 AM #1734
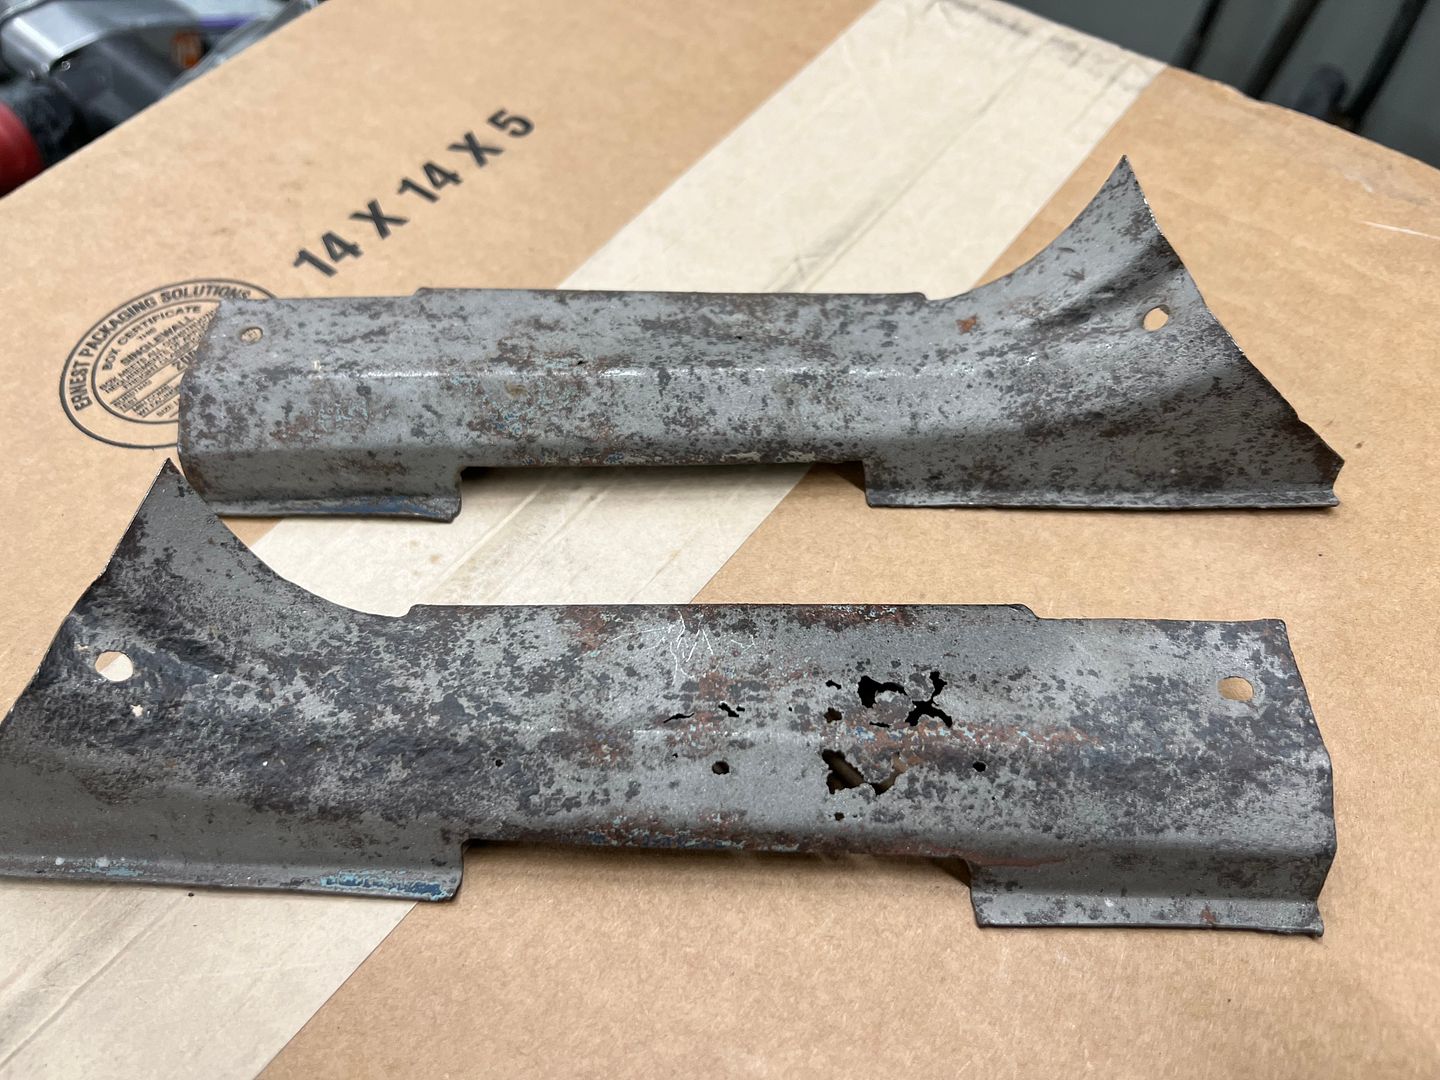
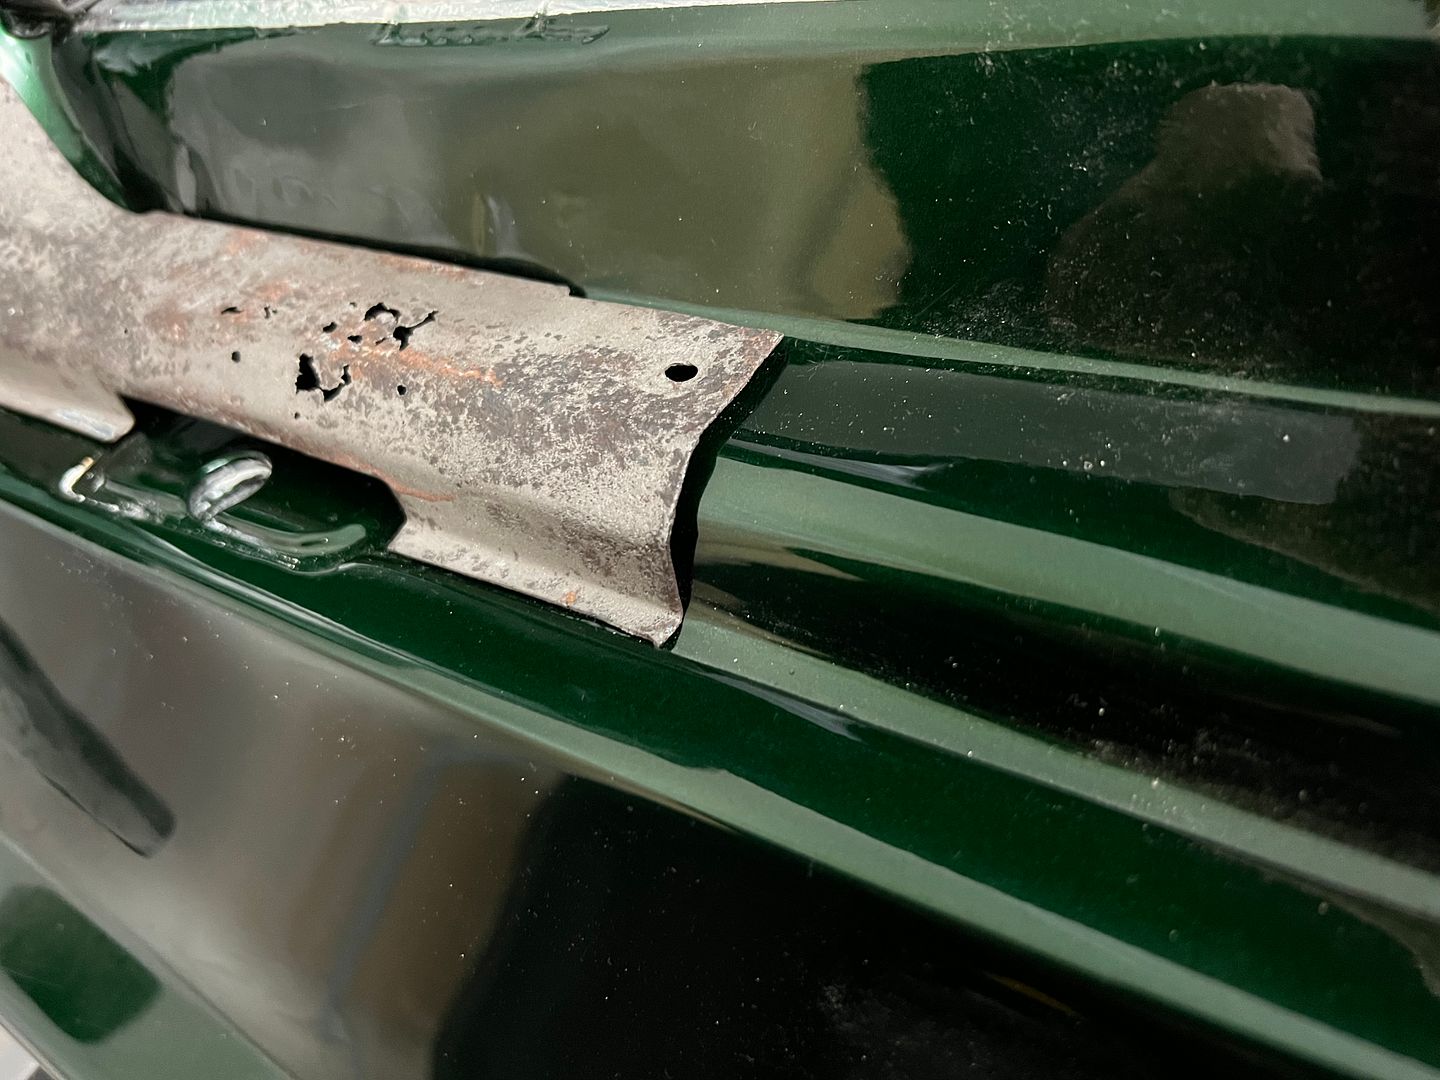
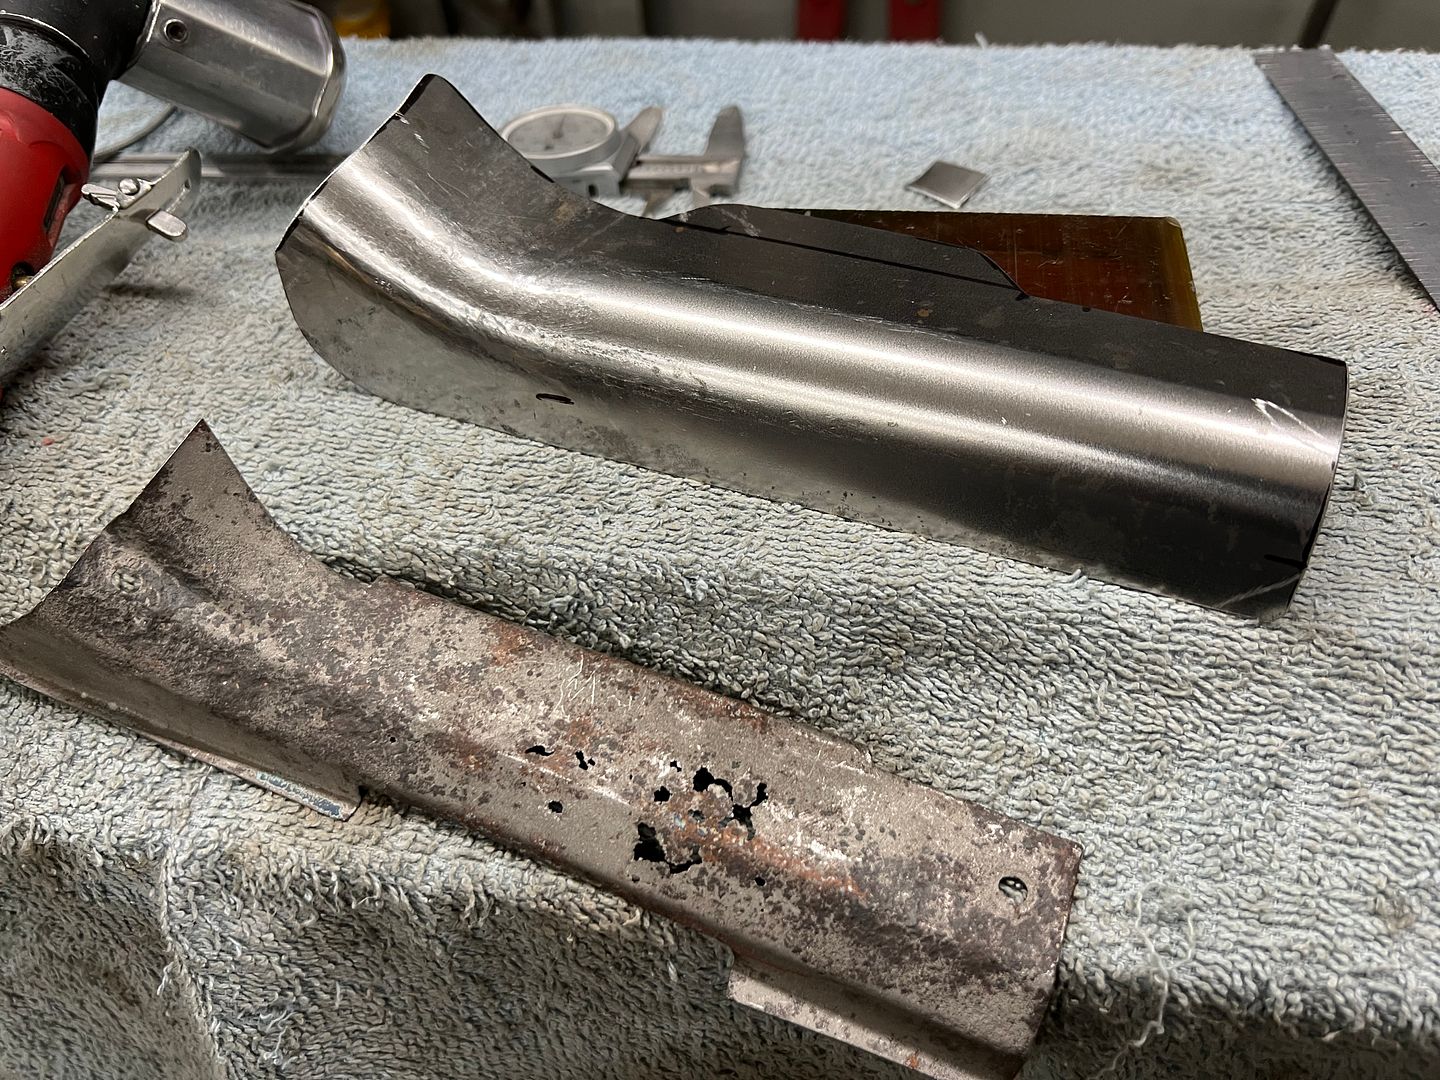
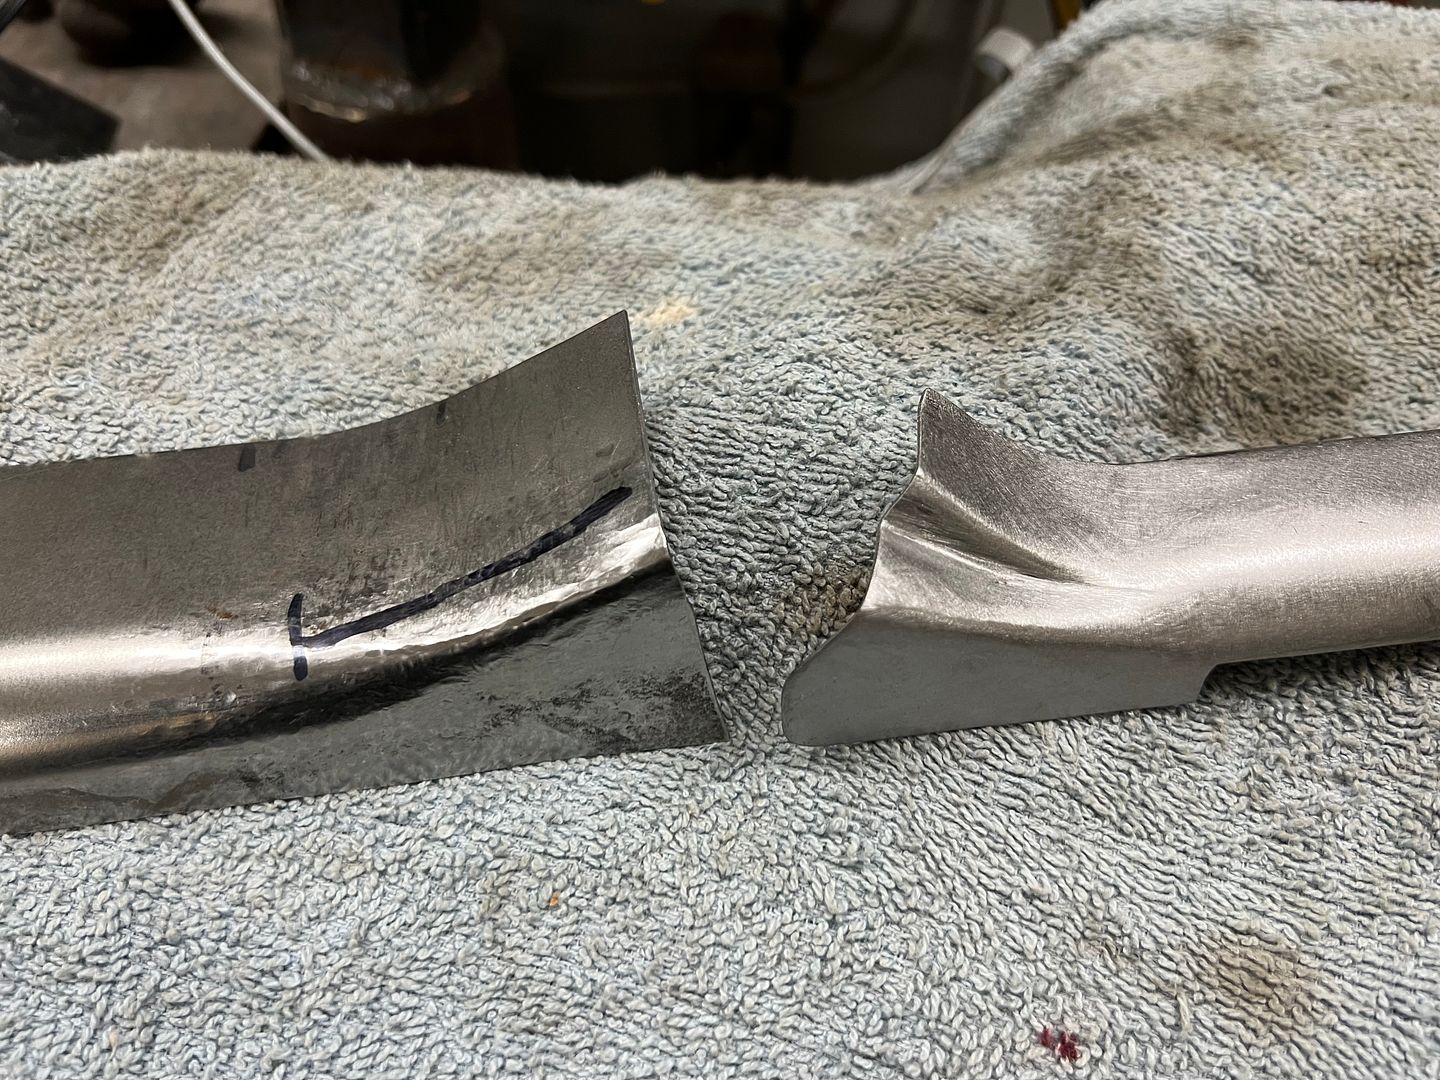
The hinge covers for the wagon is one of the many loose ends we have left to address, quite a bit of rust...
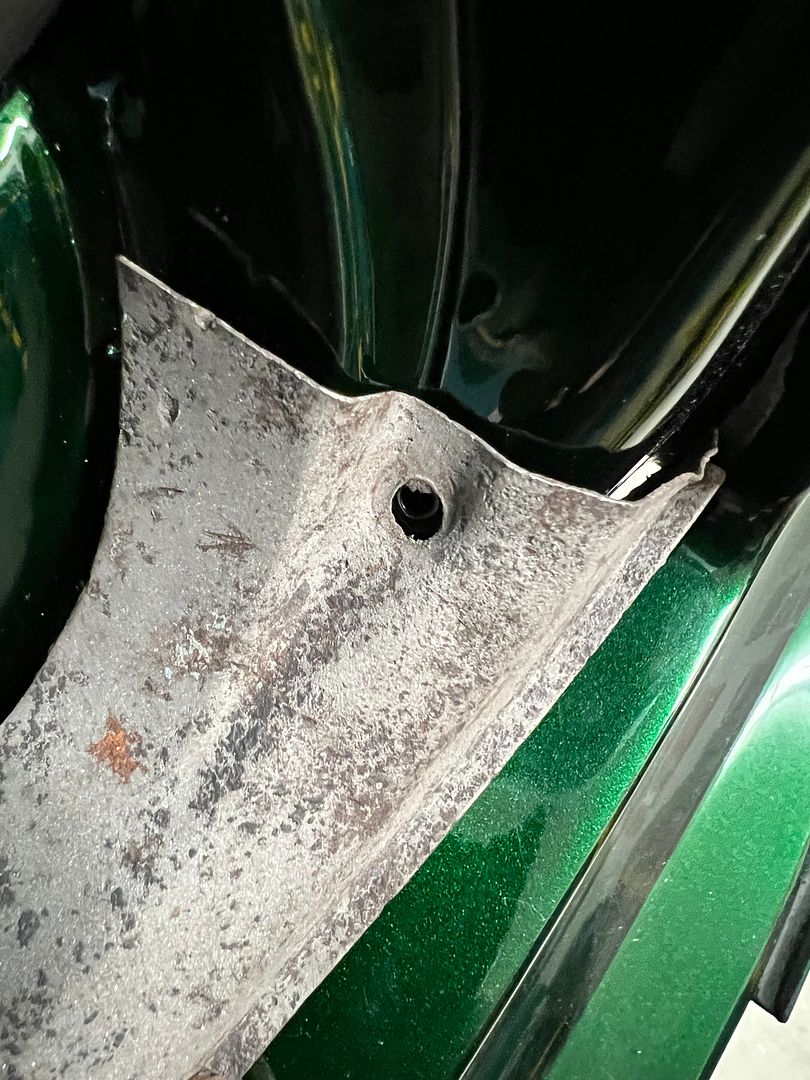
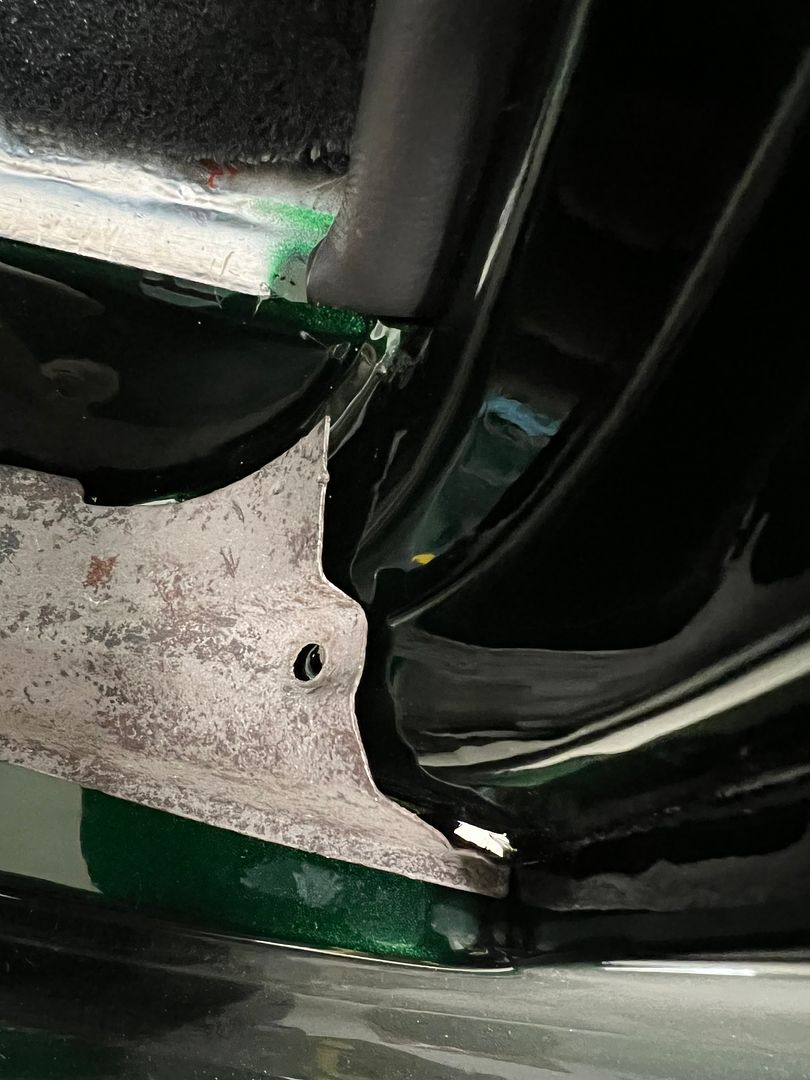
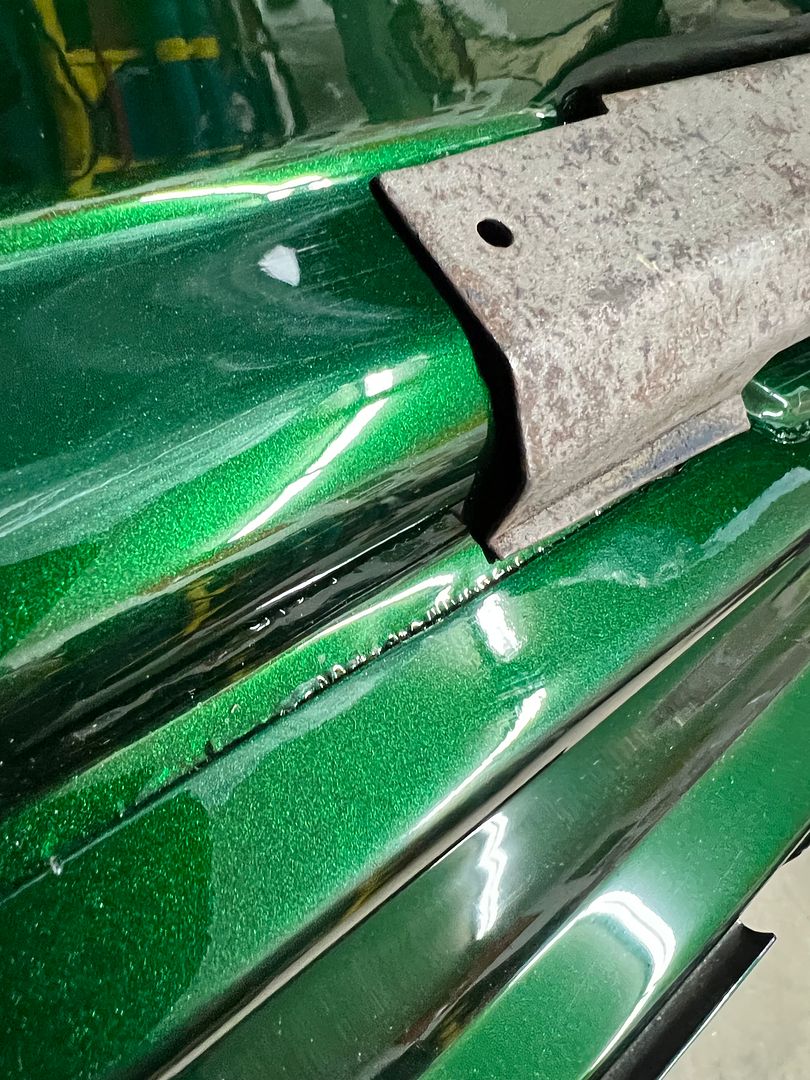
A quick test fit before we go off fabricating anything shows these factory original parts are no better than many of the reproduction parts you get today.. I had planned on fabrication work, didn't know we needed a redesign.
We ordered a piece of round stock to match the radius to use on the Magnetic brake, that should arrive Tuesday.
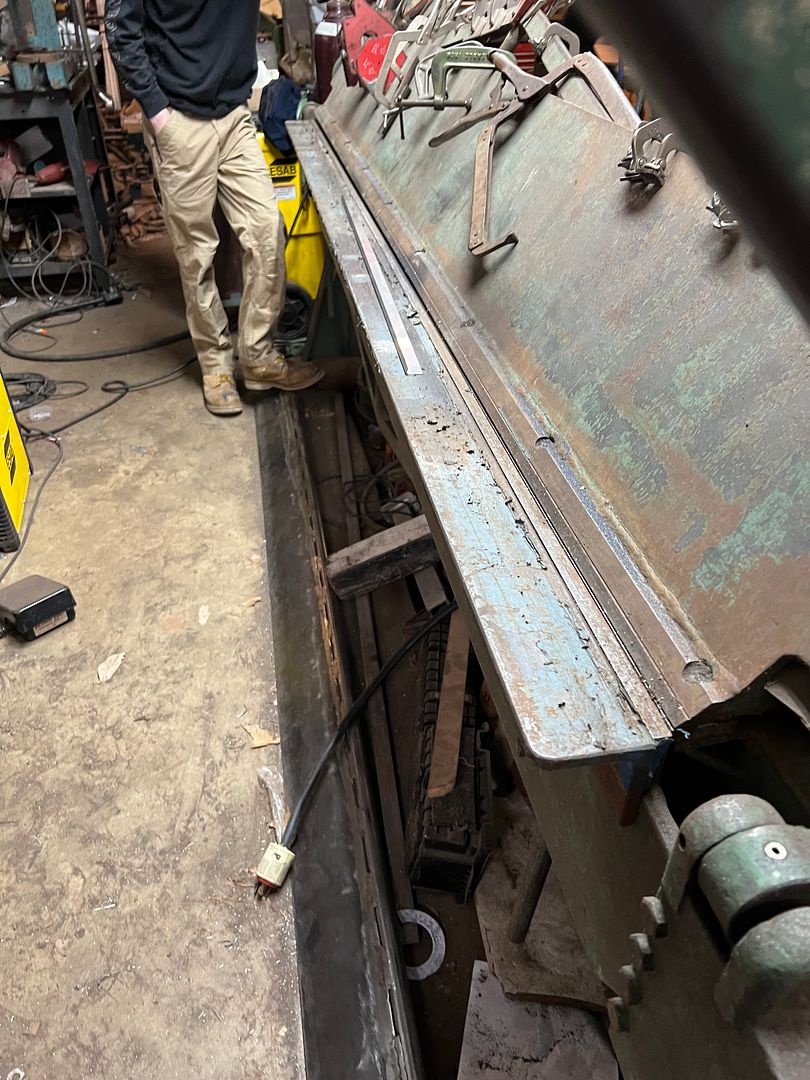
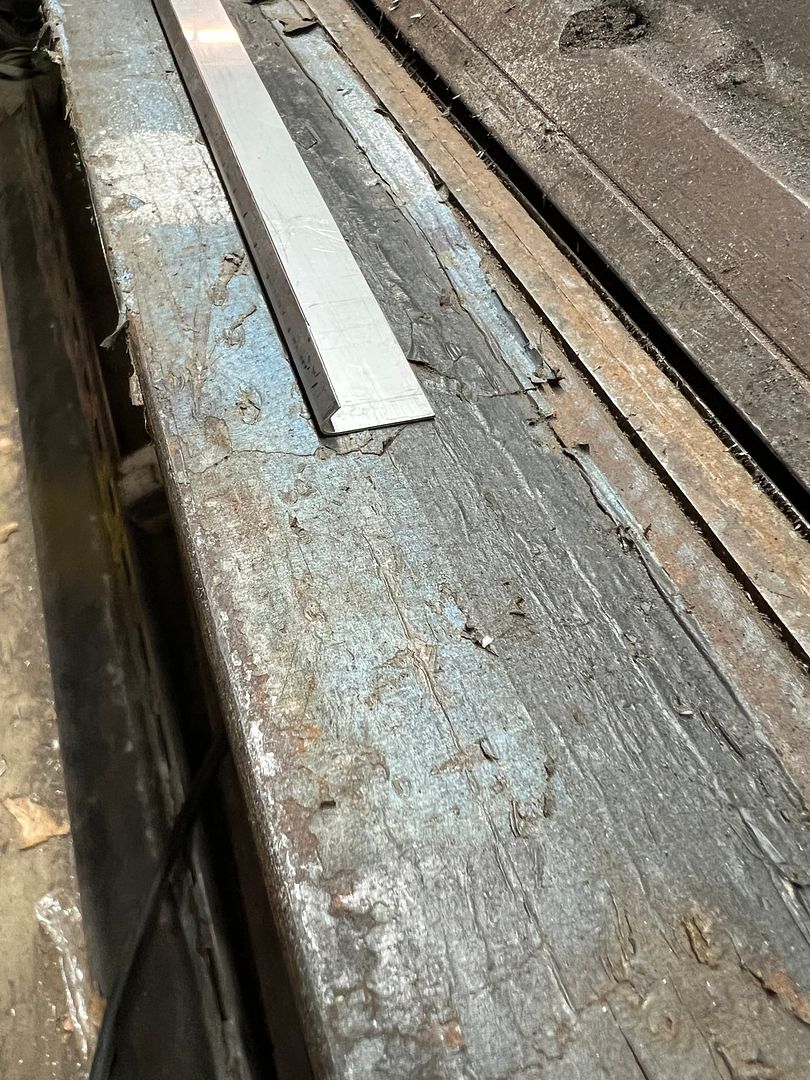
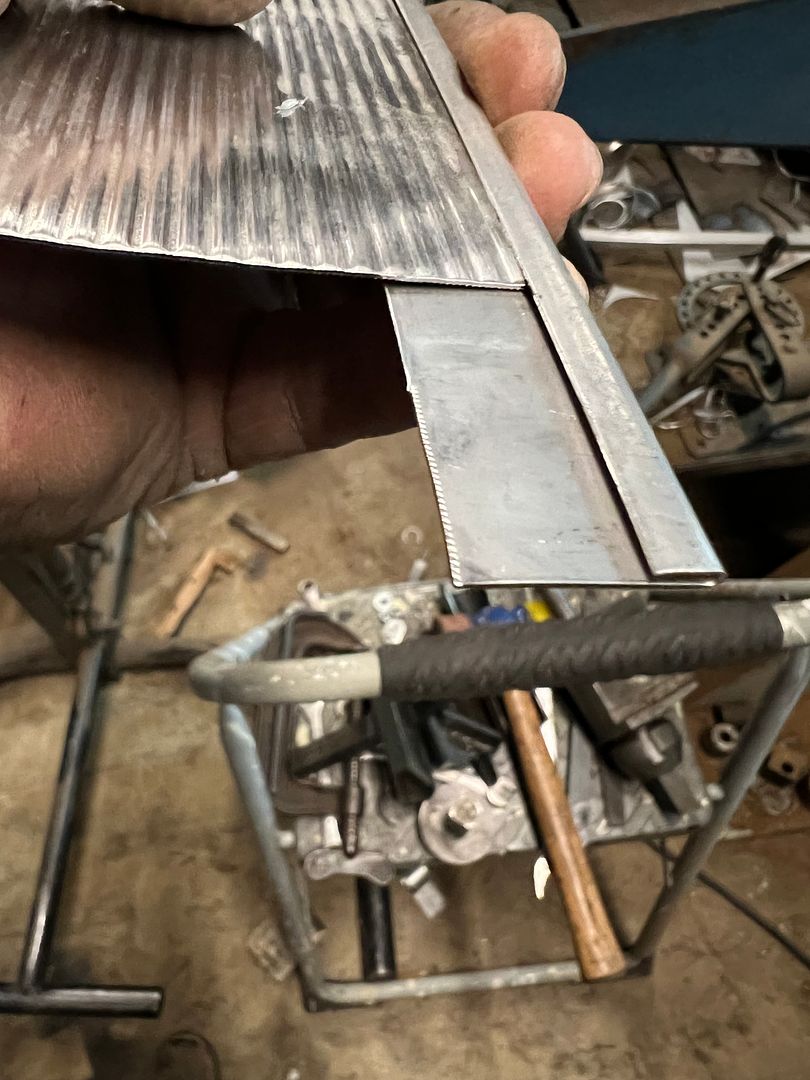
Next, we need to fold a hem for our stainless edge trim we plan on using for the ribbed stainless dash insert. The magnetic brake leaves a bit to be desired in having balls enough to hem a short return flange, so we packed up our sheet metal strips we had cut to size and went to another local metalshaper's shop to make use of his apron brake.
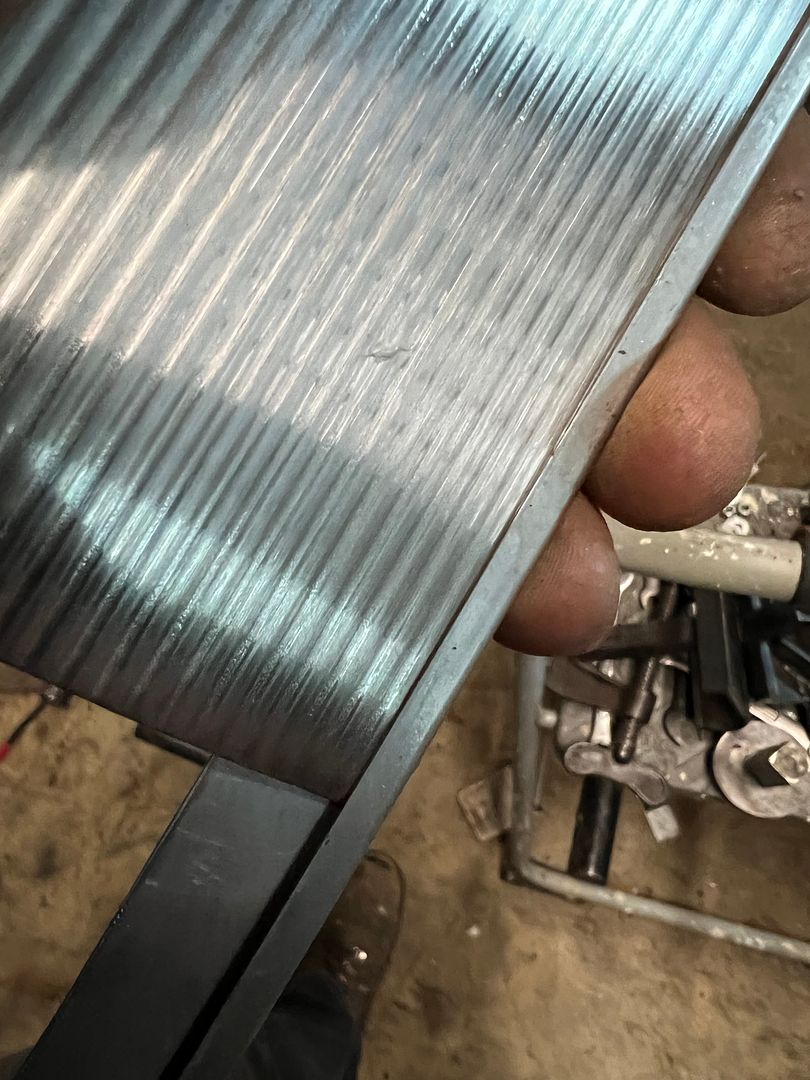
A piece of .030 aluminum acted as a spacer to maintain our hem gap. The brake worked well but the parts needed a bit more flatness to provide nice crisp details. Since he also had a powered Mittler Bros. bead roller, we used some flat dies and ran through all the bent pieces.
test fit of the ribbed stainless....
And for a teaser of how it will look after polishing....
Last edited by MP&C; 01-16-2023 at 08:50 AM.
Robert
-
01-22-2023 01:36 PM #1735
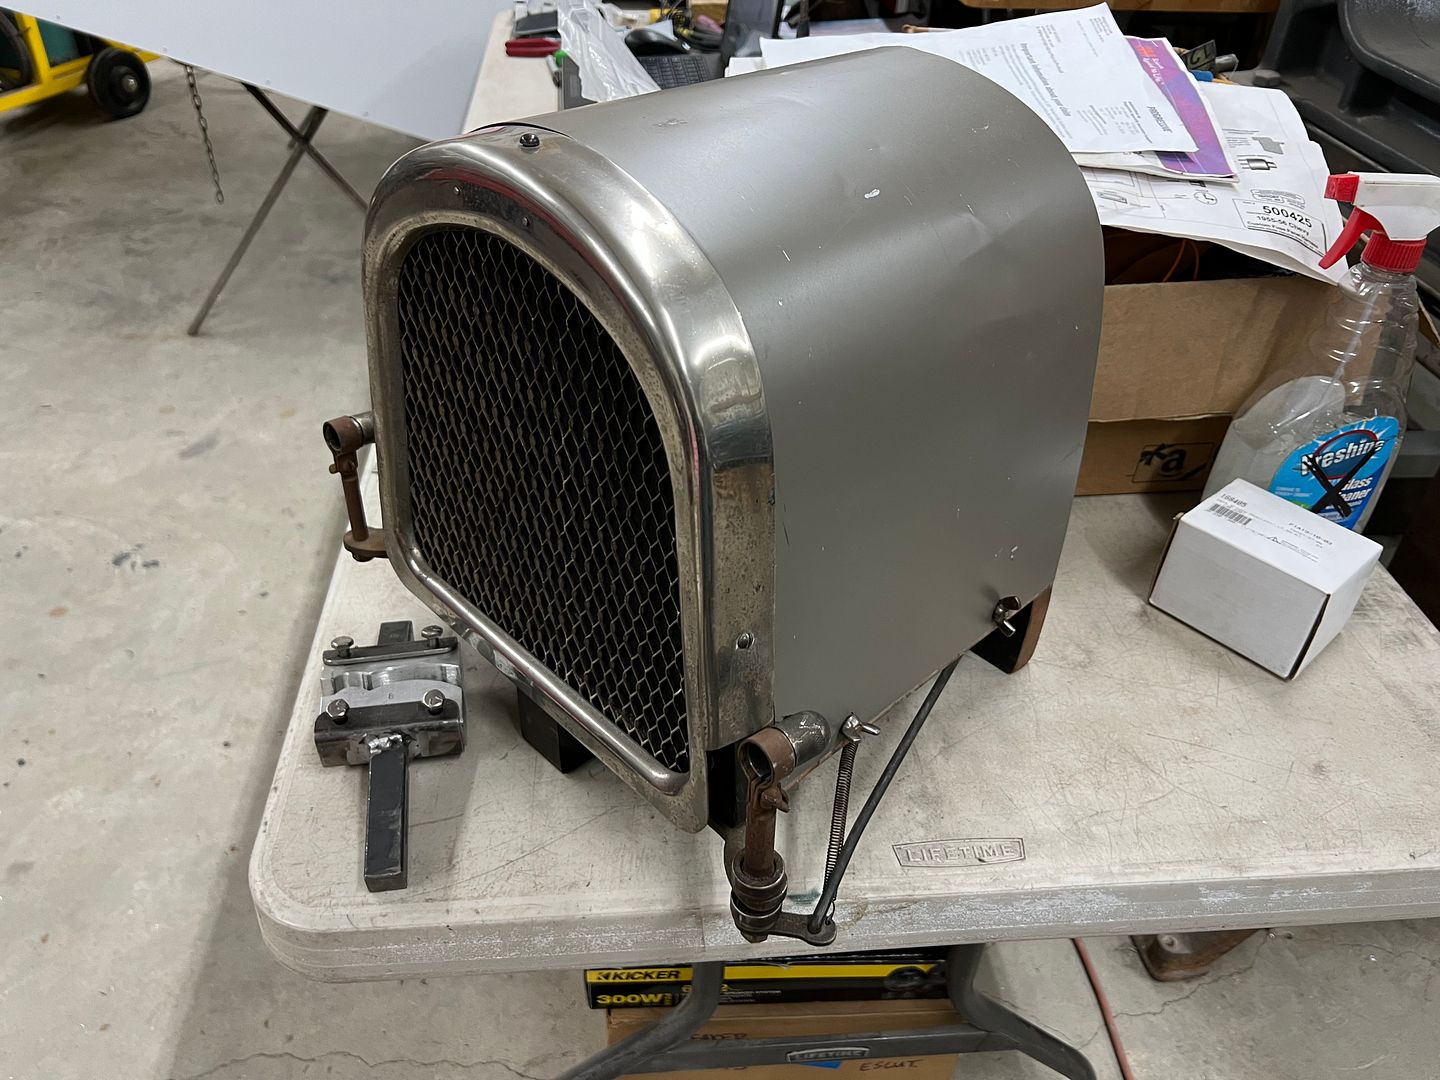
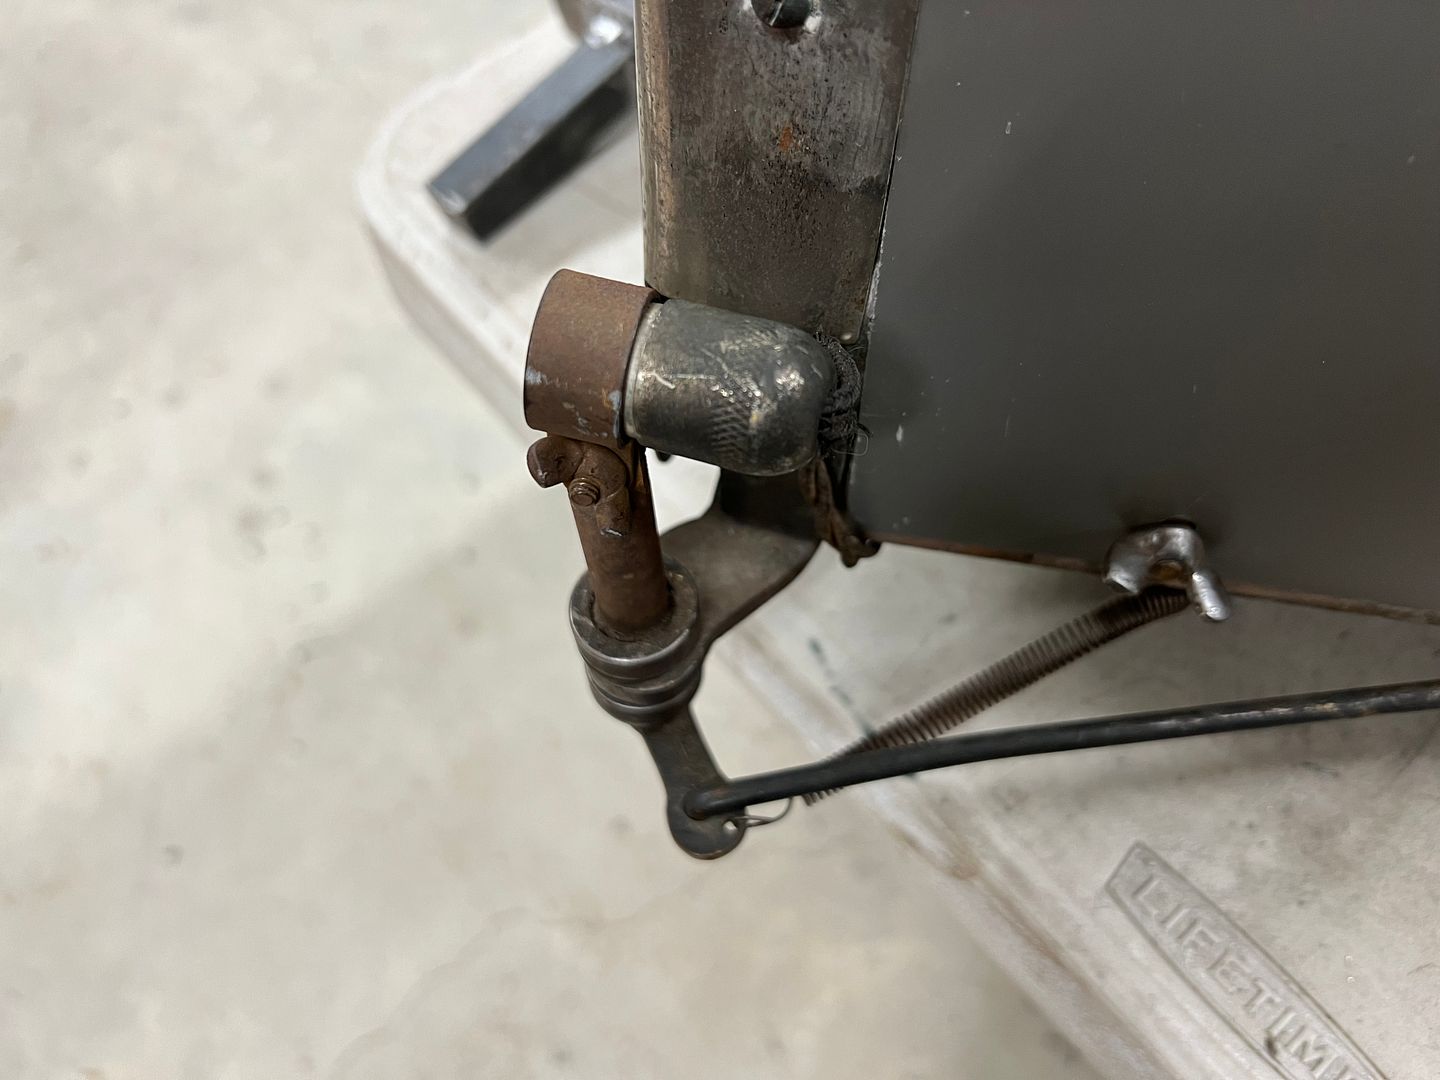
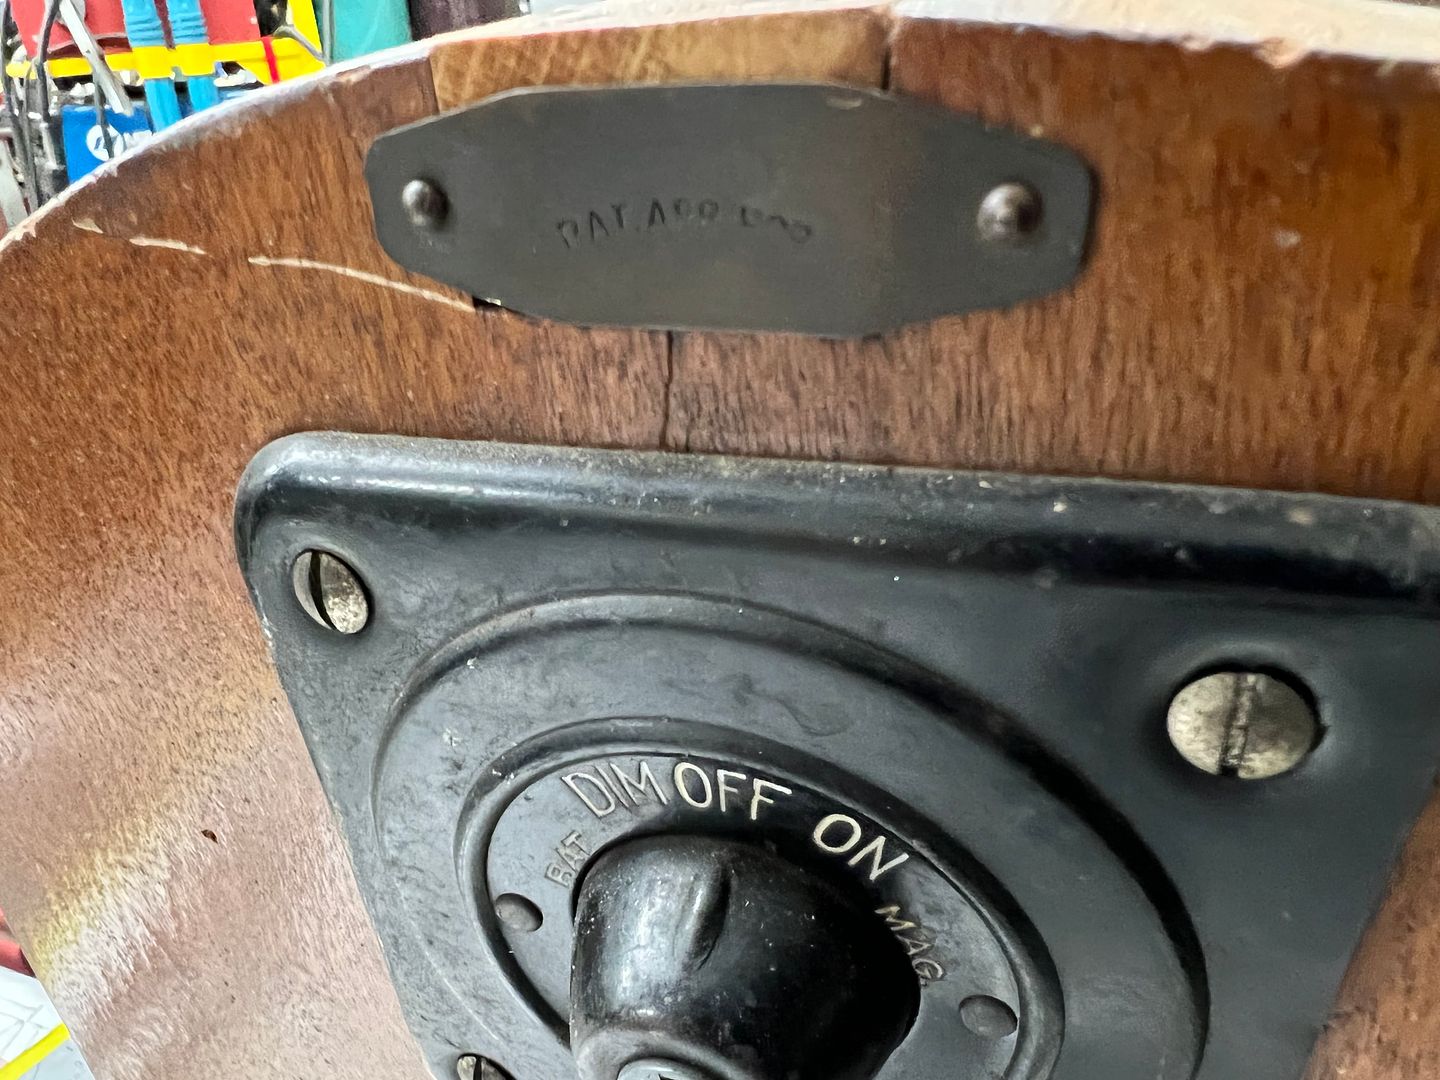
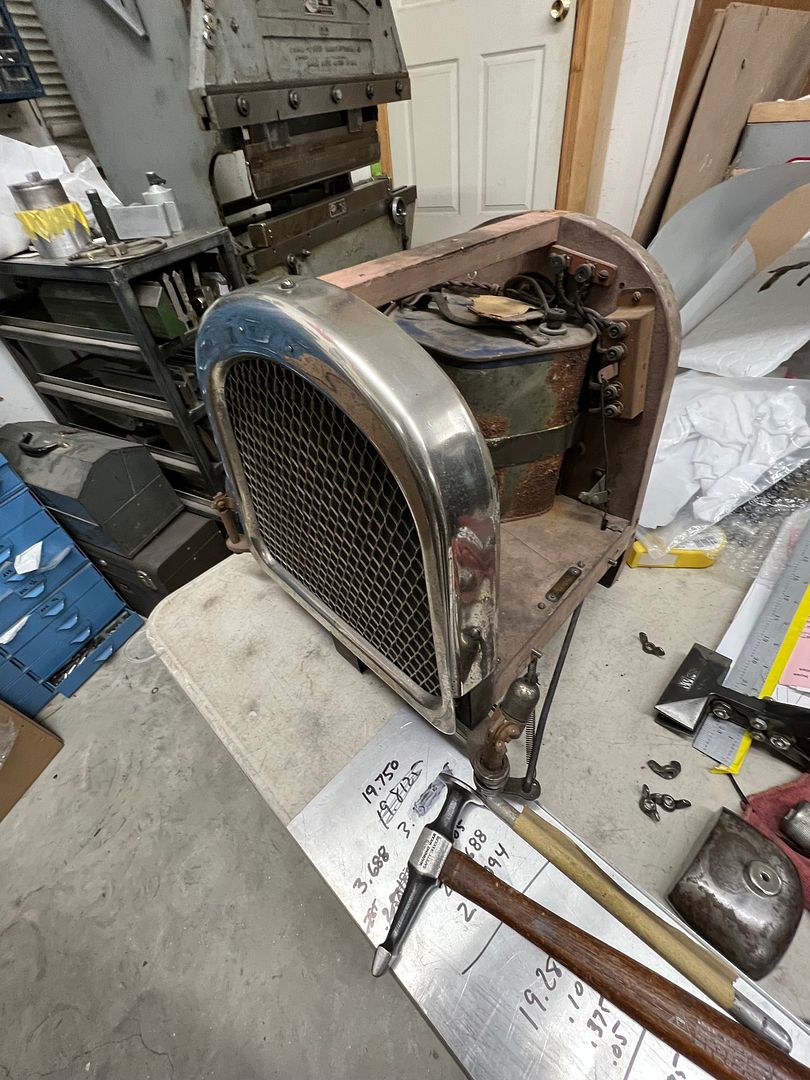
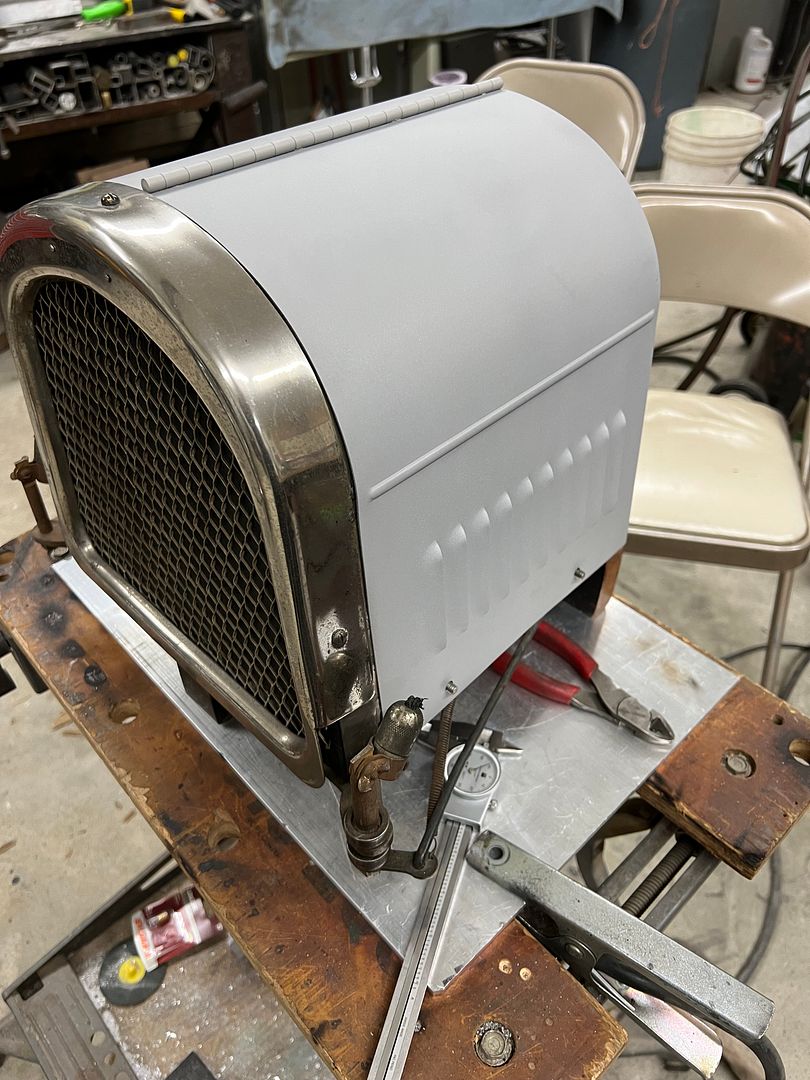
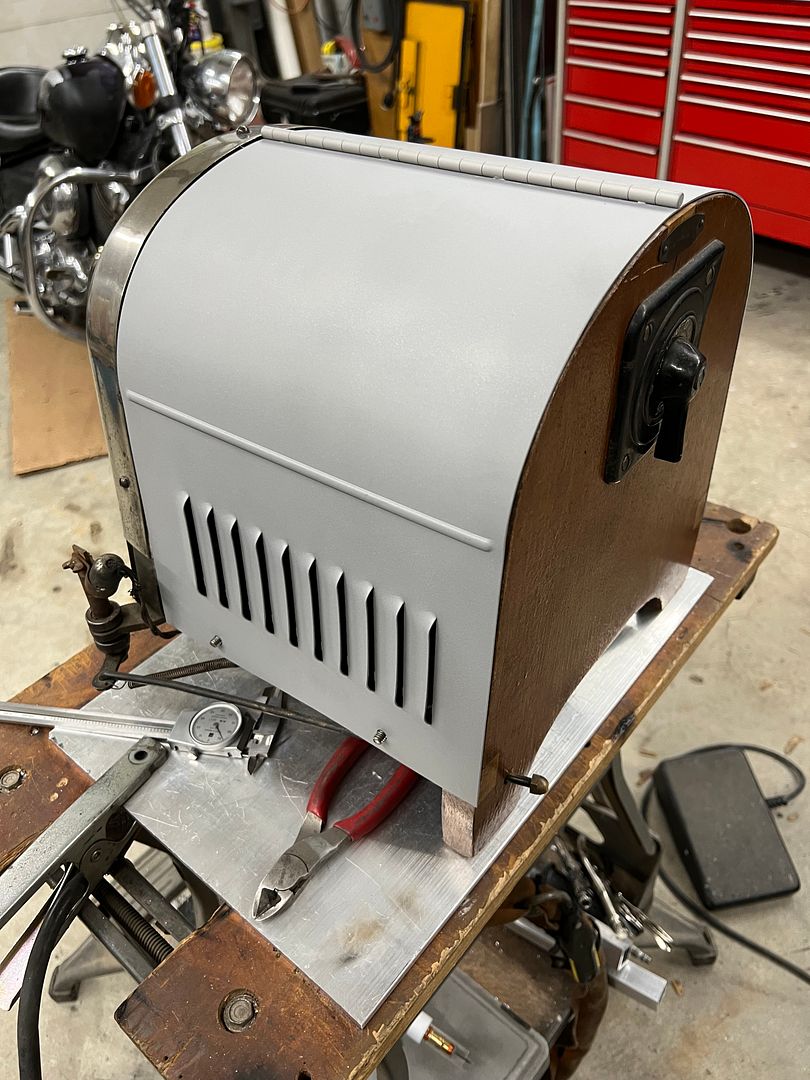
In looking through some pictures it seems I missed showing a project we did last year. A customer brought in a "Patent Idea Display". This had a battery pack inside that powered the headlights (headlight bezels not shown) and featured a rod down the bottom that would oscillate the left headlight, and I believe would flash that headlight as well (based on linkage tied to a relay inside). The control switch is actually the left half of a Model T instrument cluster.
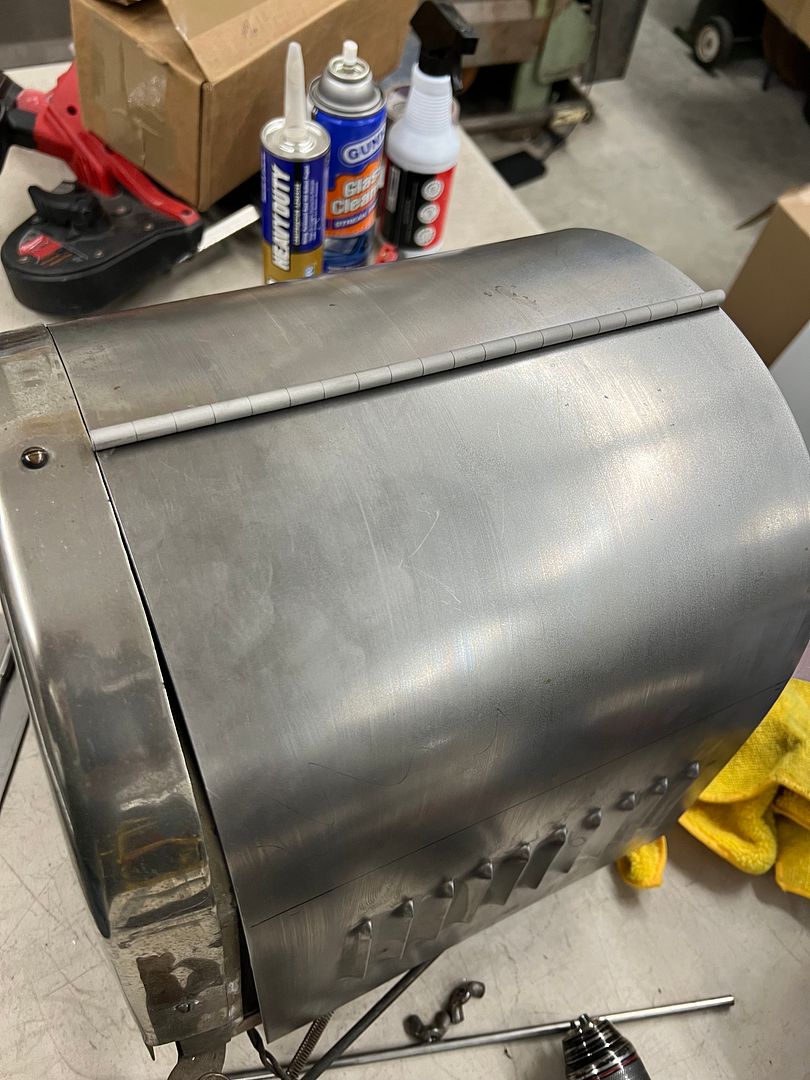
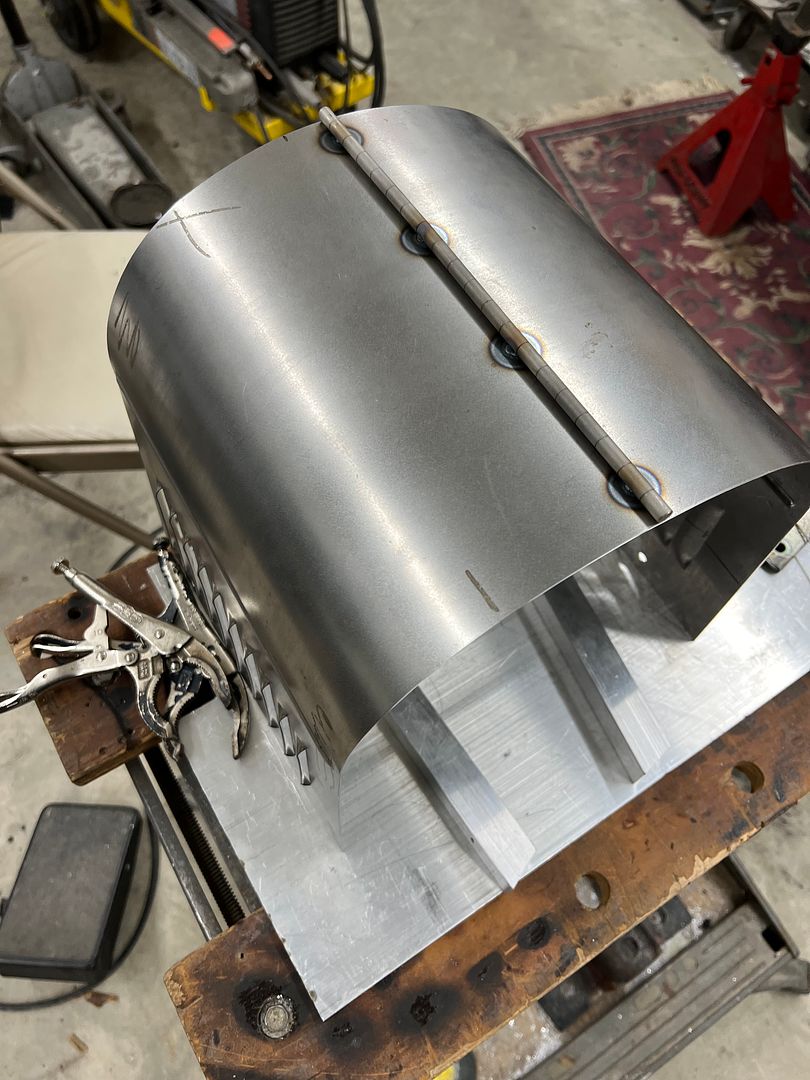
It has obviously had parts (hood) that went missing over the years and an aluminum flashing replacement had been added. He wanted a hood fabricated that looked more period correct, so we offered to do louvers and a faux hinge at the top.
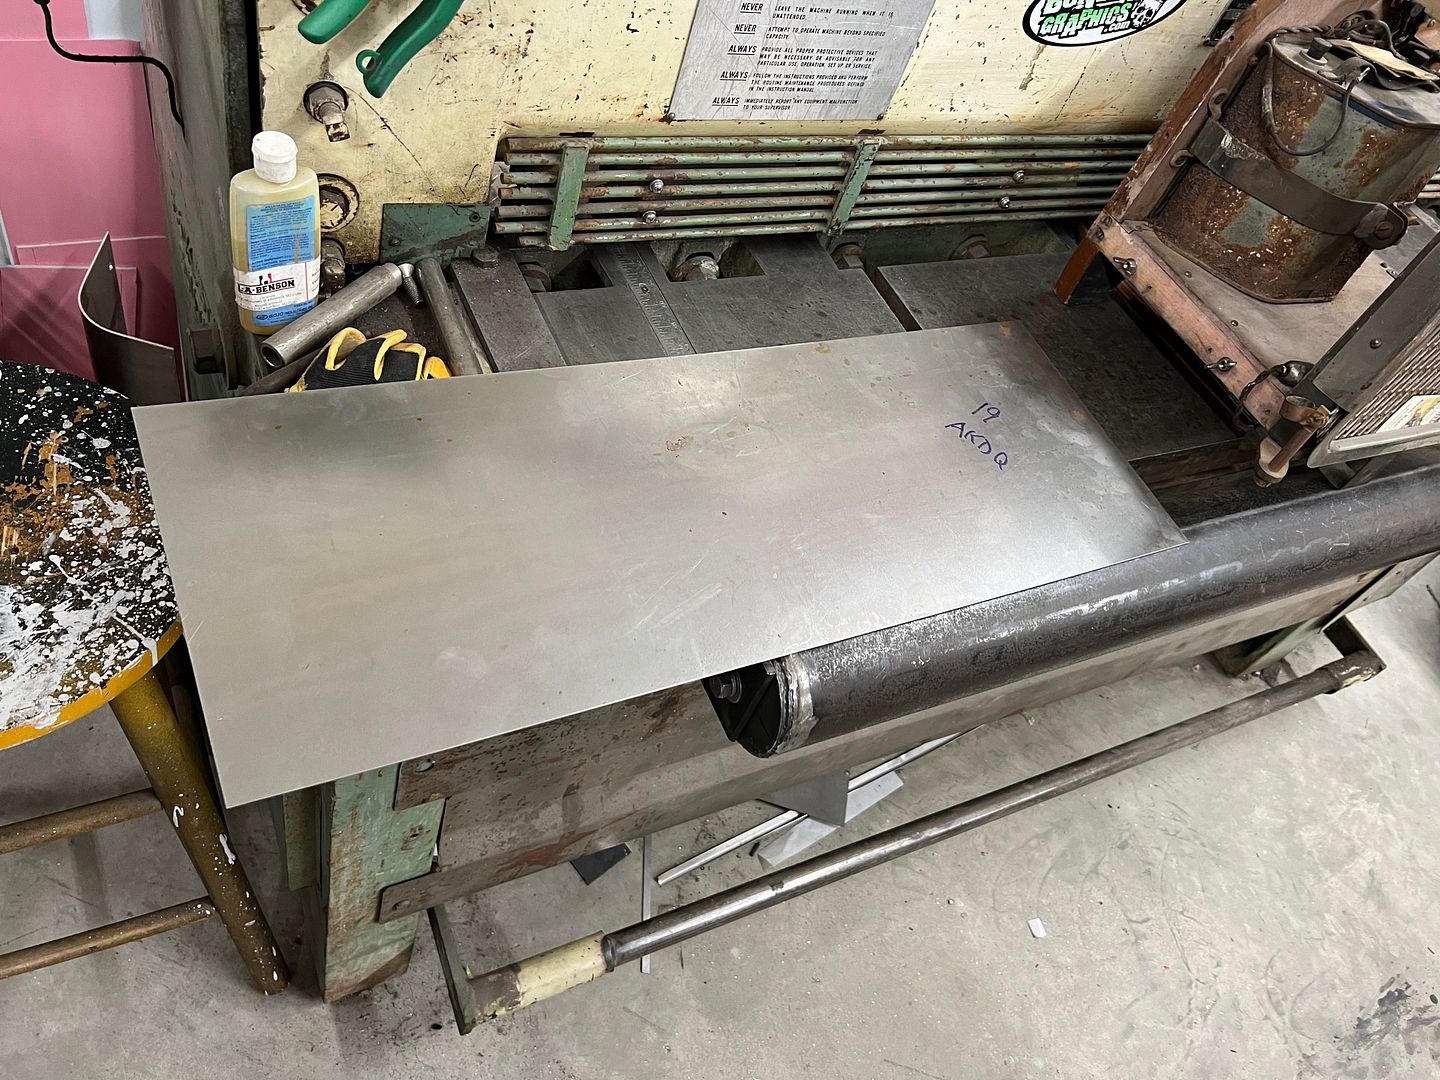
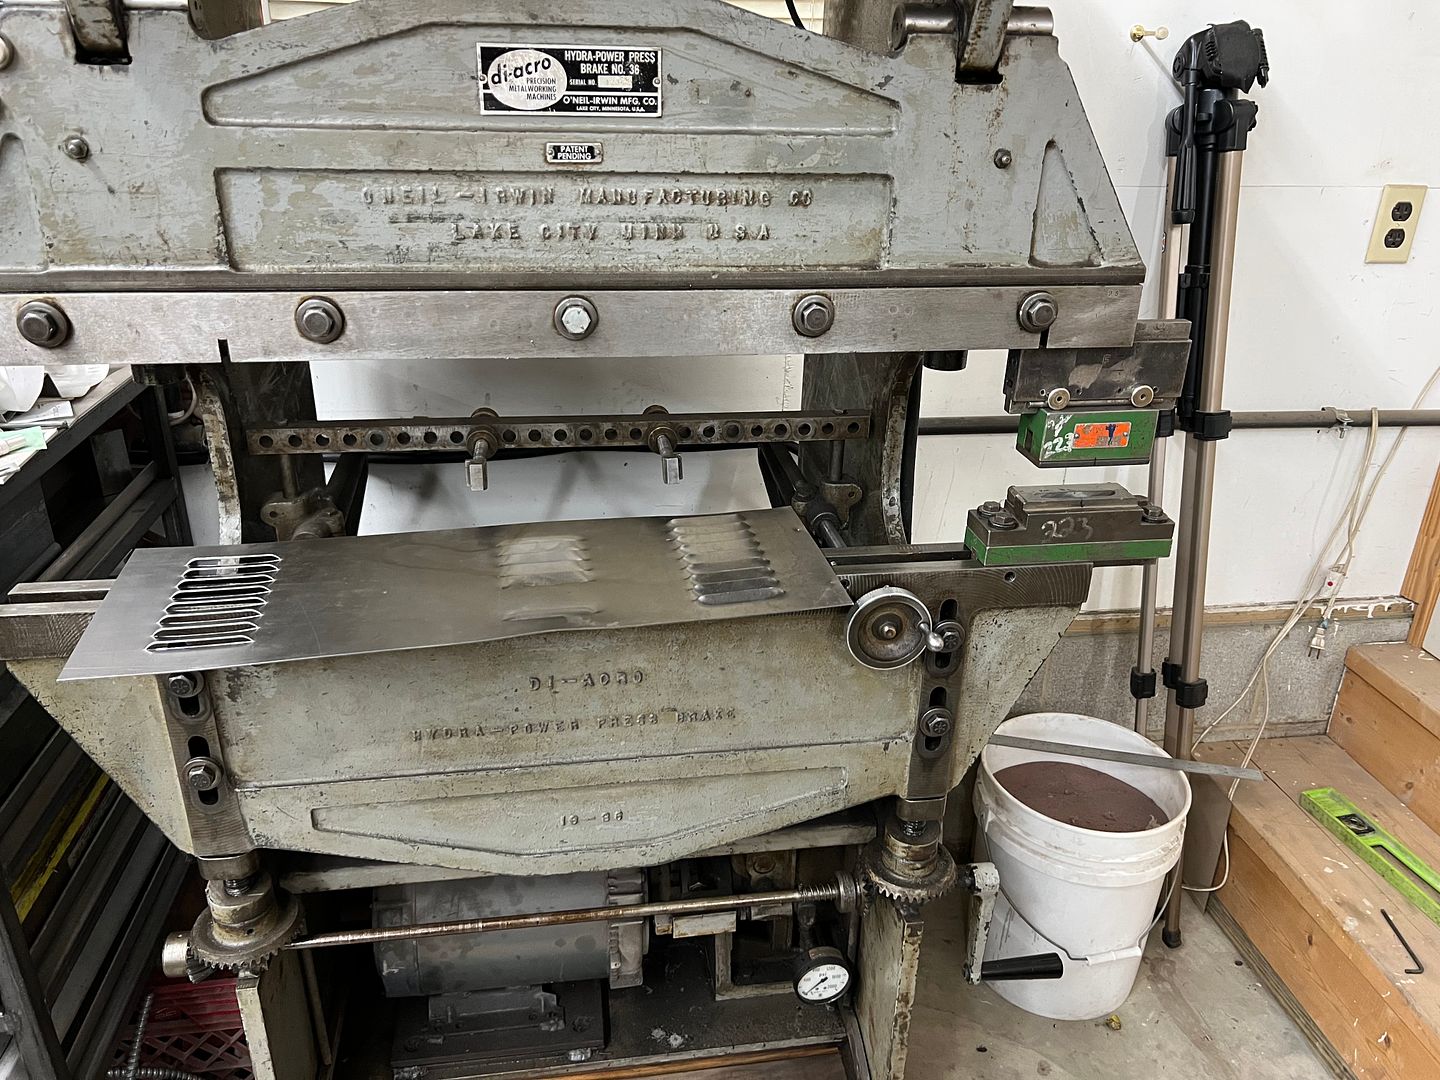
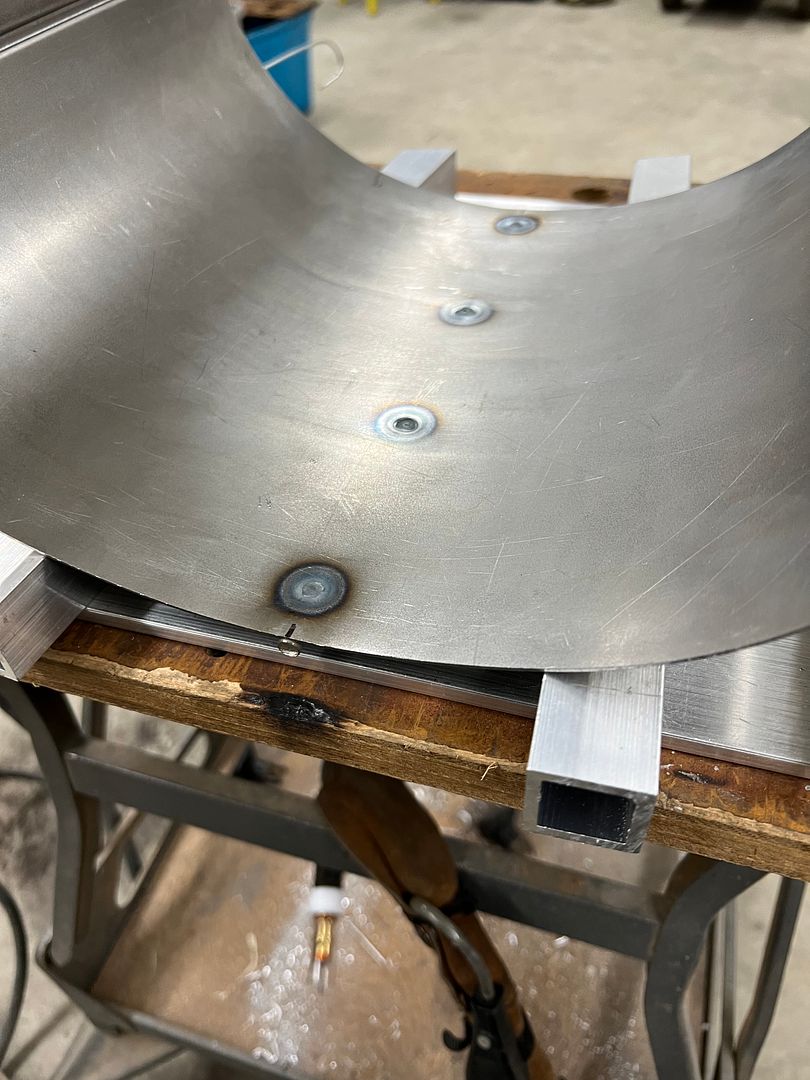
For the hood we used 19 gauge AKDQ, and for the louvers we are using the Diacro press brake. The louver dies weren't tall enough for the Diacro, so an adapter was used at the top to make up the difference.
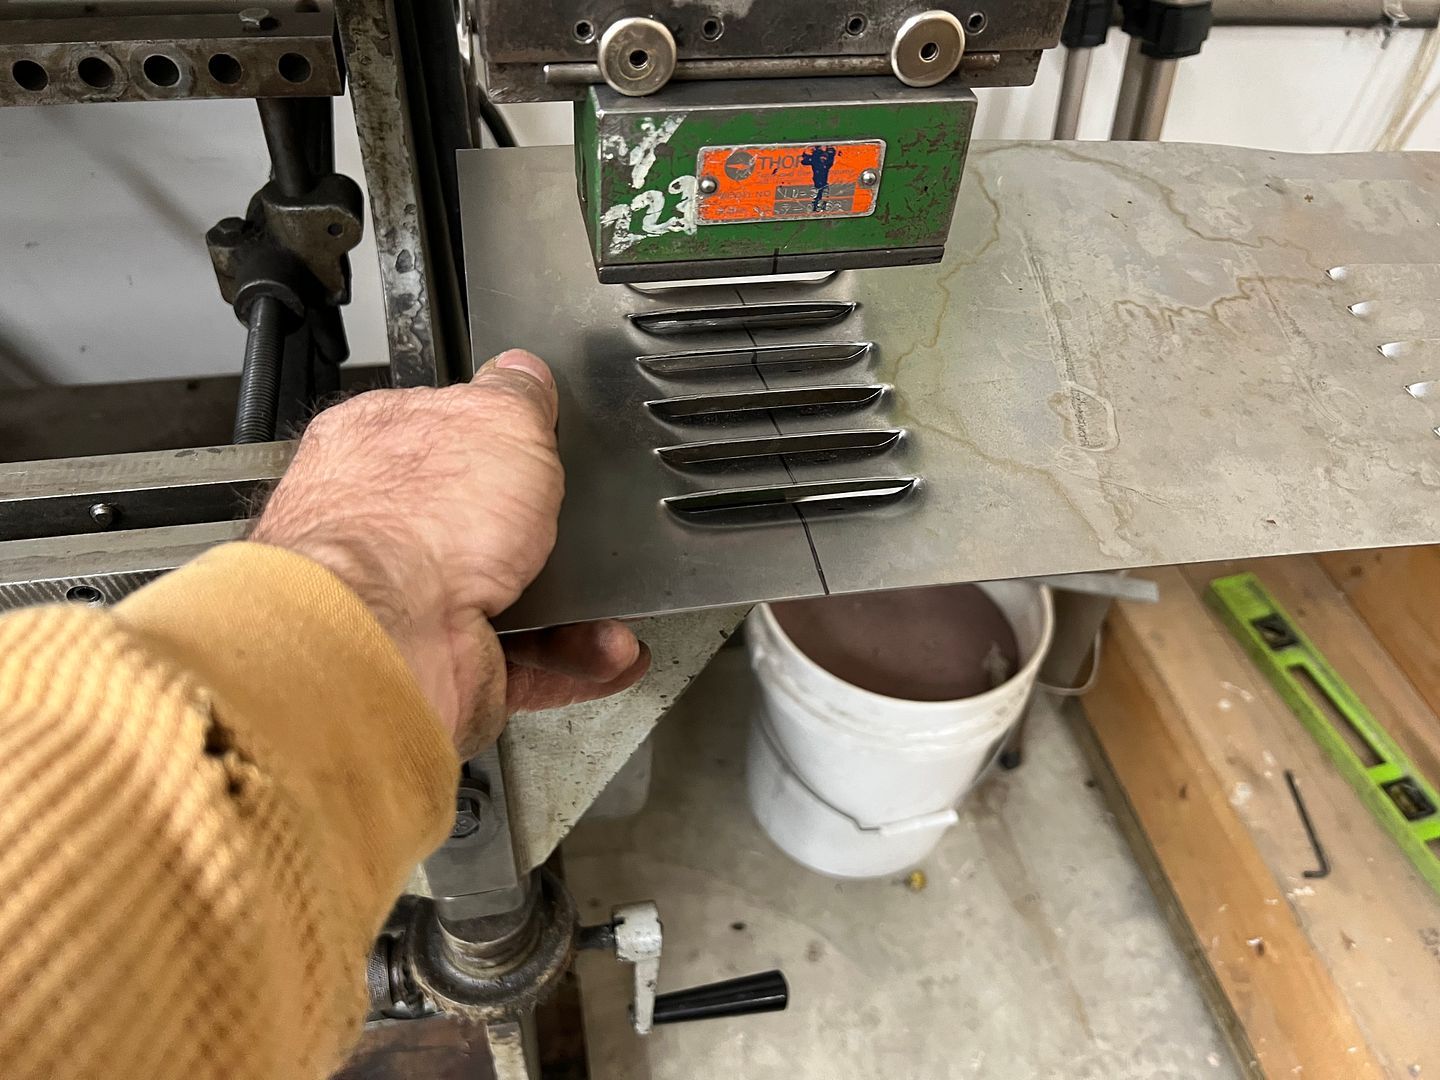
Our practice punches worked fine, but the machine did not have enough depth to the vertical supports of the press brake for the size of our hood. We would need to get sketchy. Real sketchy.
With only about half of each die in the machine, and two set screws holding on for dear life....
https://youtu.be/2ktrqMyY2VQ
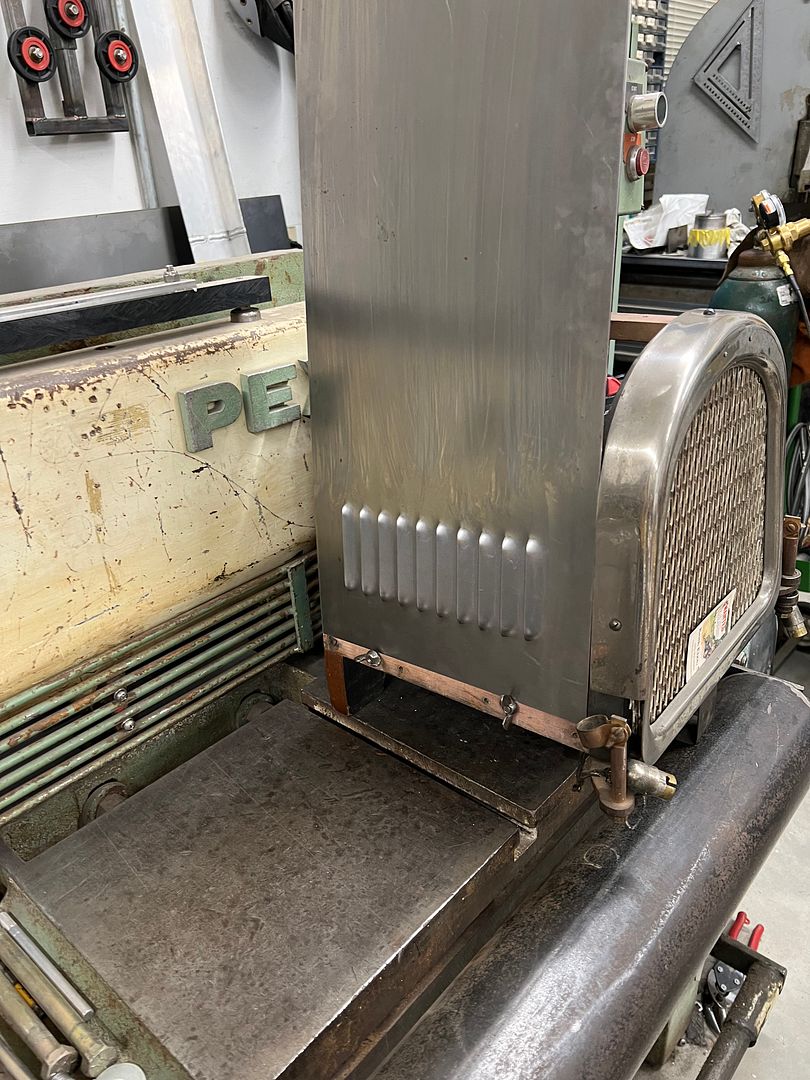
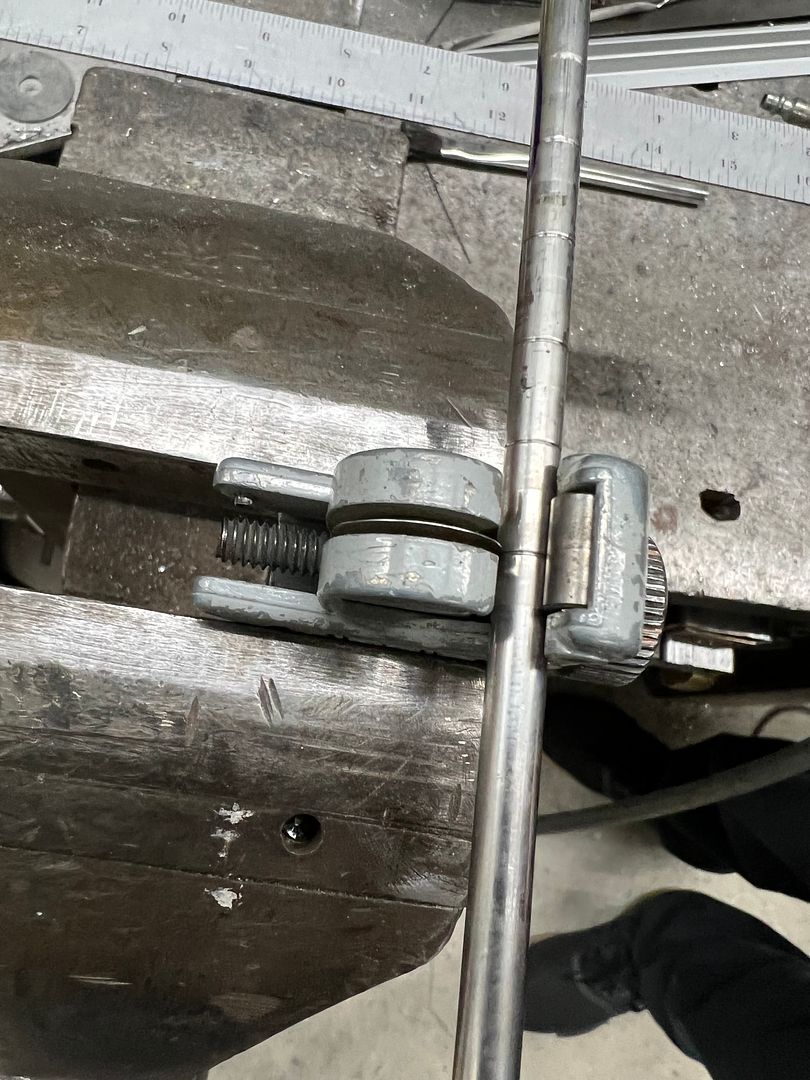
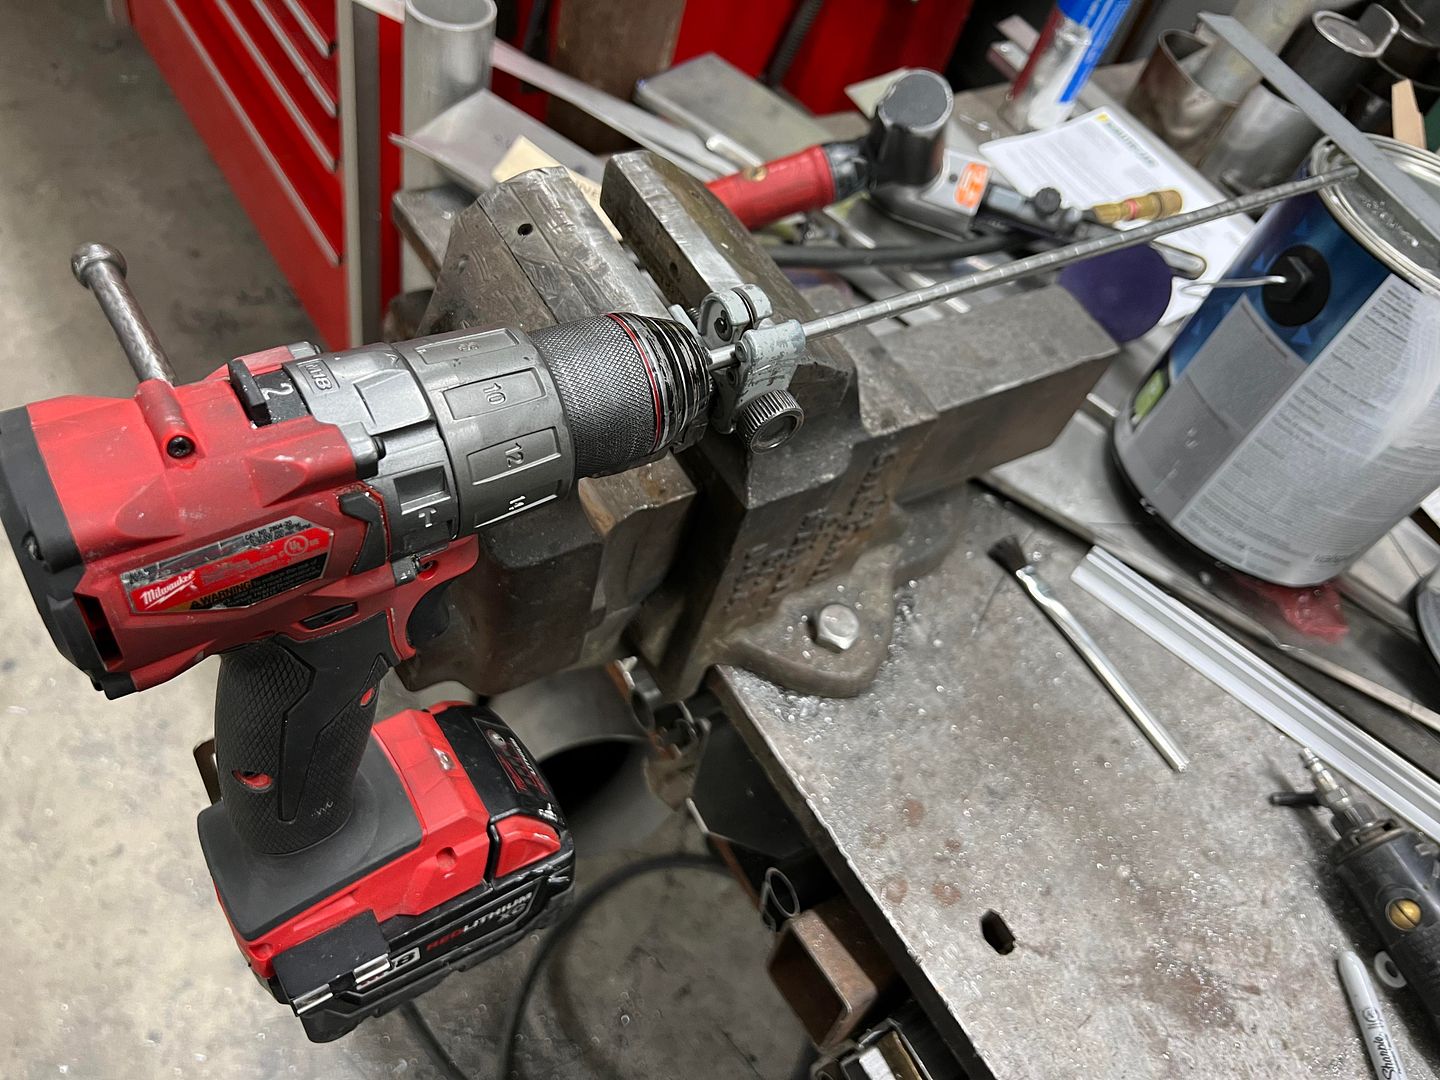
With louvers punched, we used the highly technical argon bottle radius brake to add our hoop. next on the list was to make our hinge using a piece of 1/4" stainless tubing.
Next, our hood needs the beltline bead to match cars of the era, and to simulate the hidden hinges for the hood sides.
https://youtu.be/Vm47BL7zQ8g
Our "hinge" was plug welded in place...
Media blasted for better paint adhesion, and ready for delivery..
Last edited by MP&C; 01-23-2023 at 05:20 AM.
Robert
-
01-23-2023 07:46 AM #1736
Beautiful work!
-
01-23-2023 10:37 AM #1737
I agree! As always some interesting / unique projects show up. Great details in the 'hinge".
-
01-23-2023 01:09 PM #1738
Thanks guys! We were trying to improve over the plain looking version that came in the door, I'm real pleased with how it turned out..
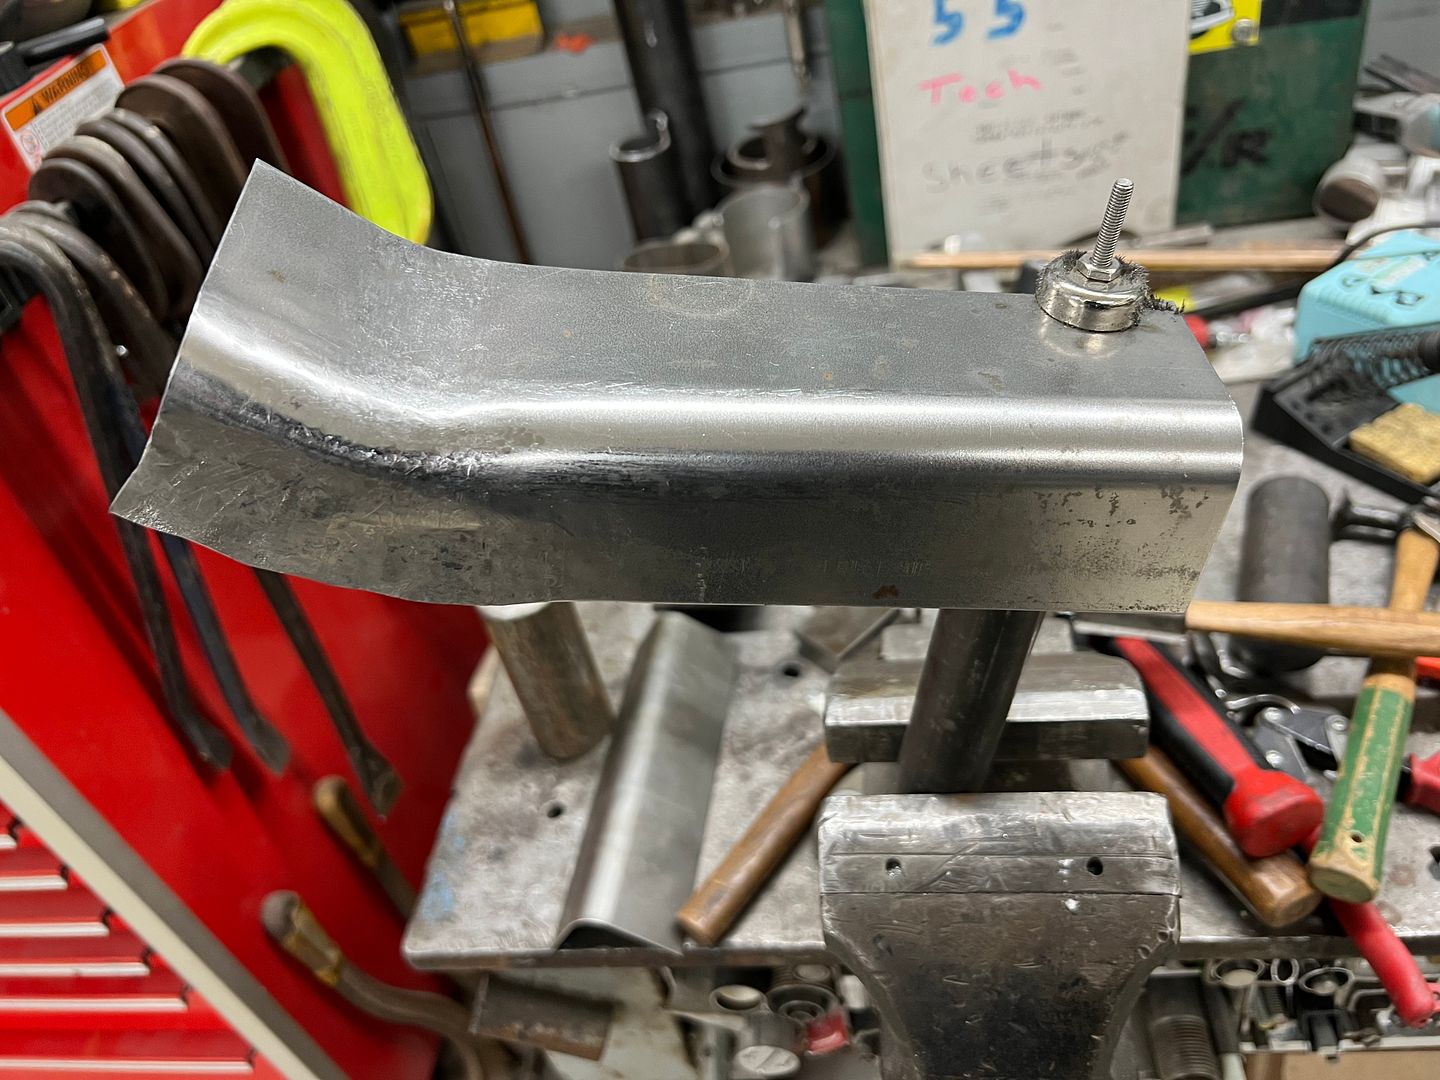
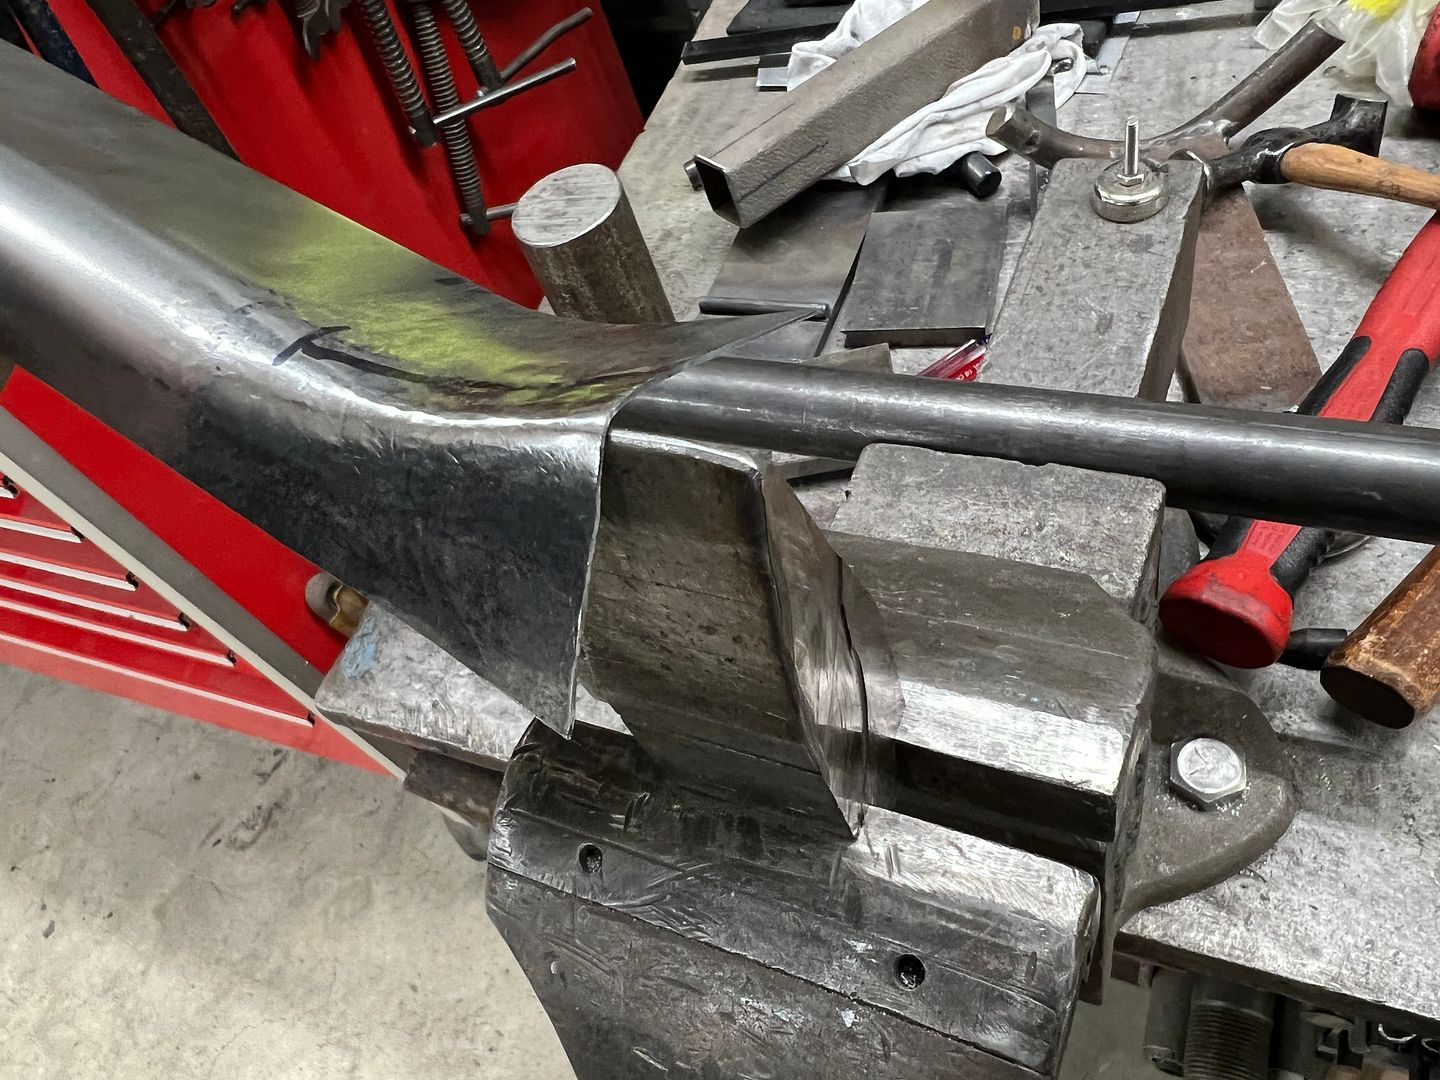
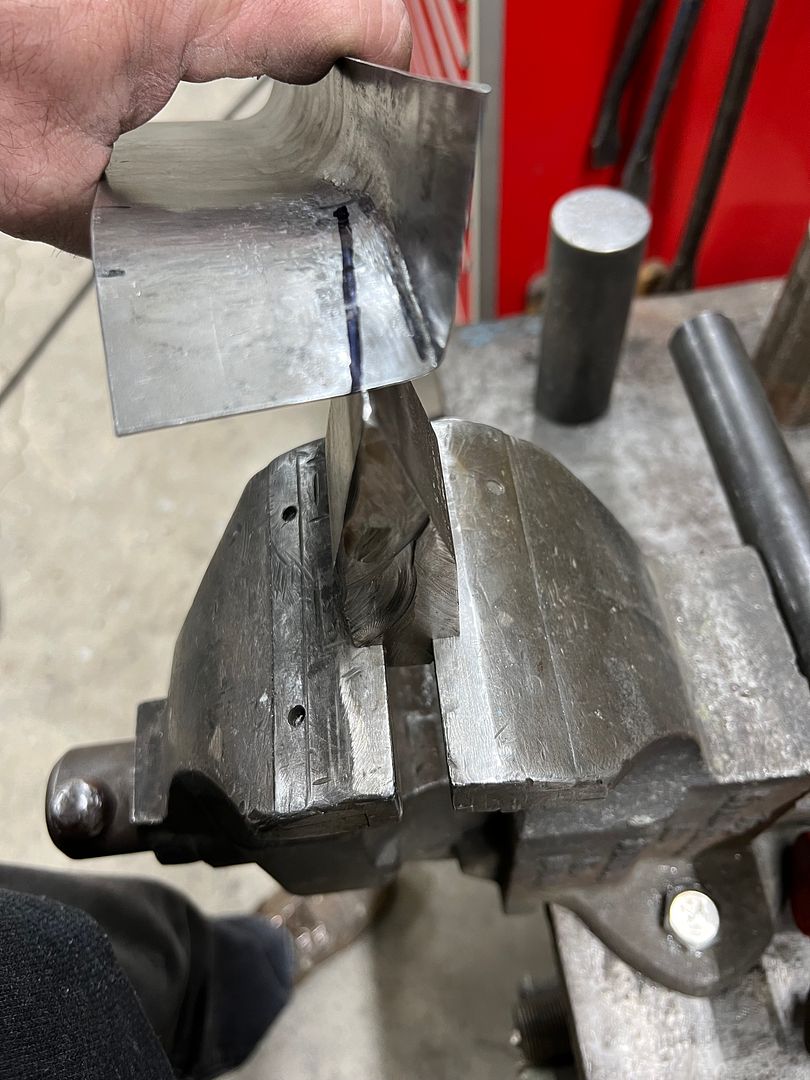
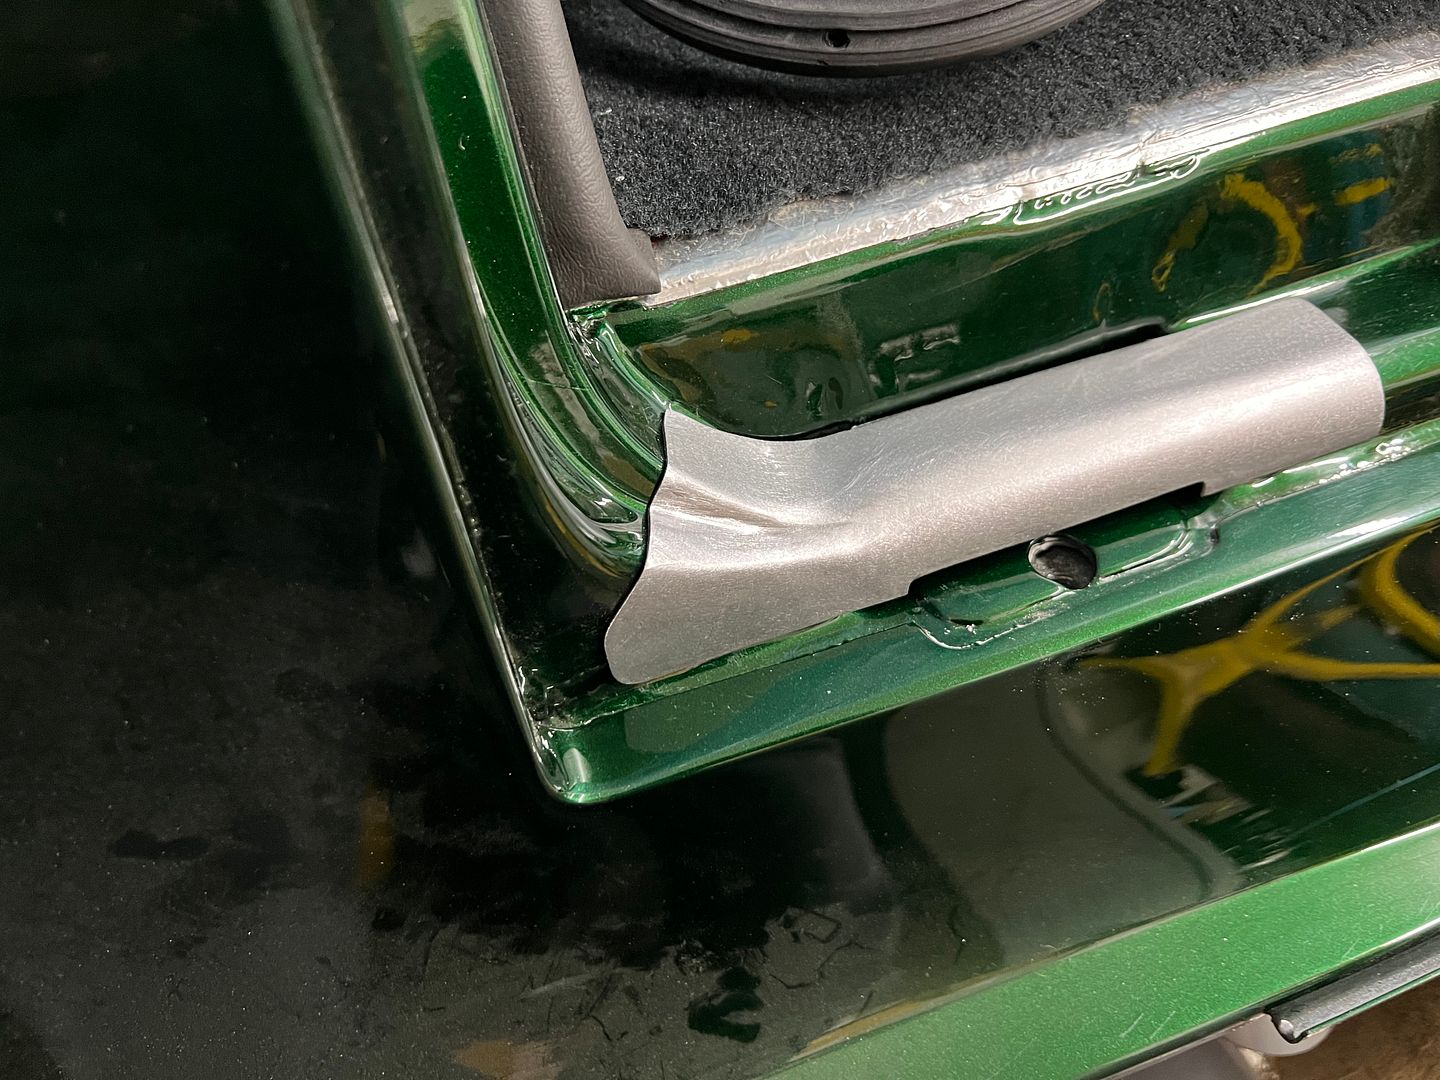
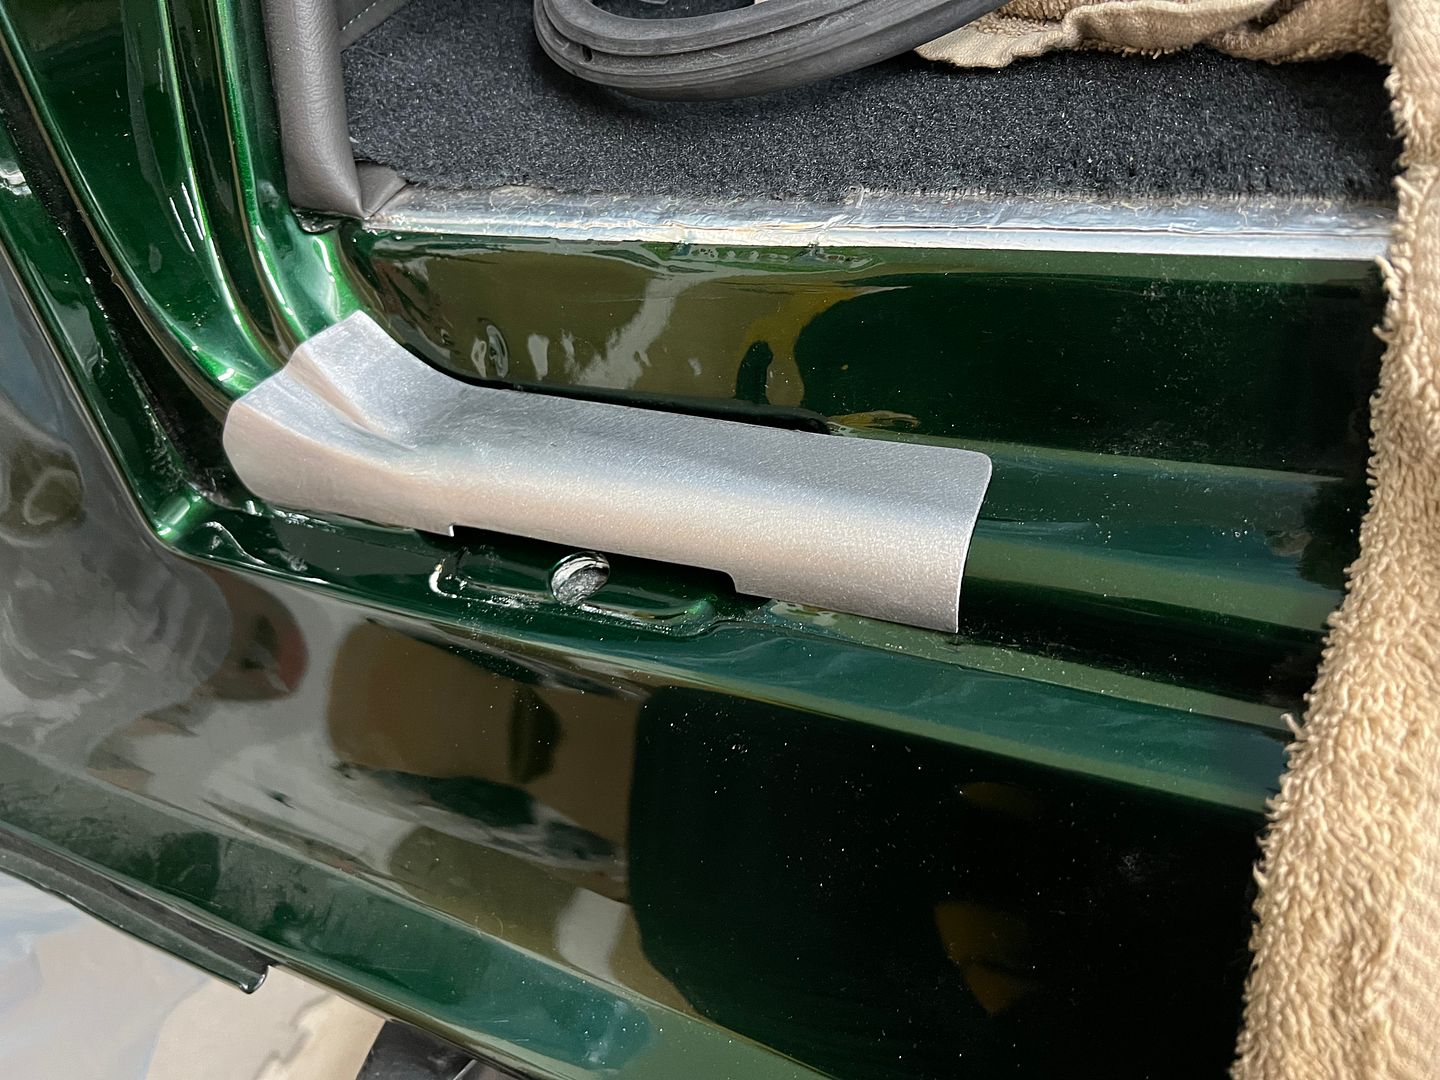
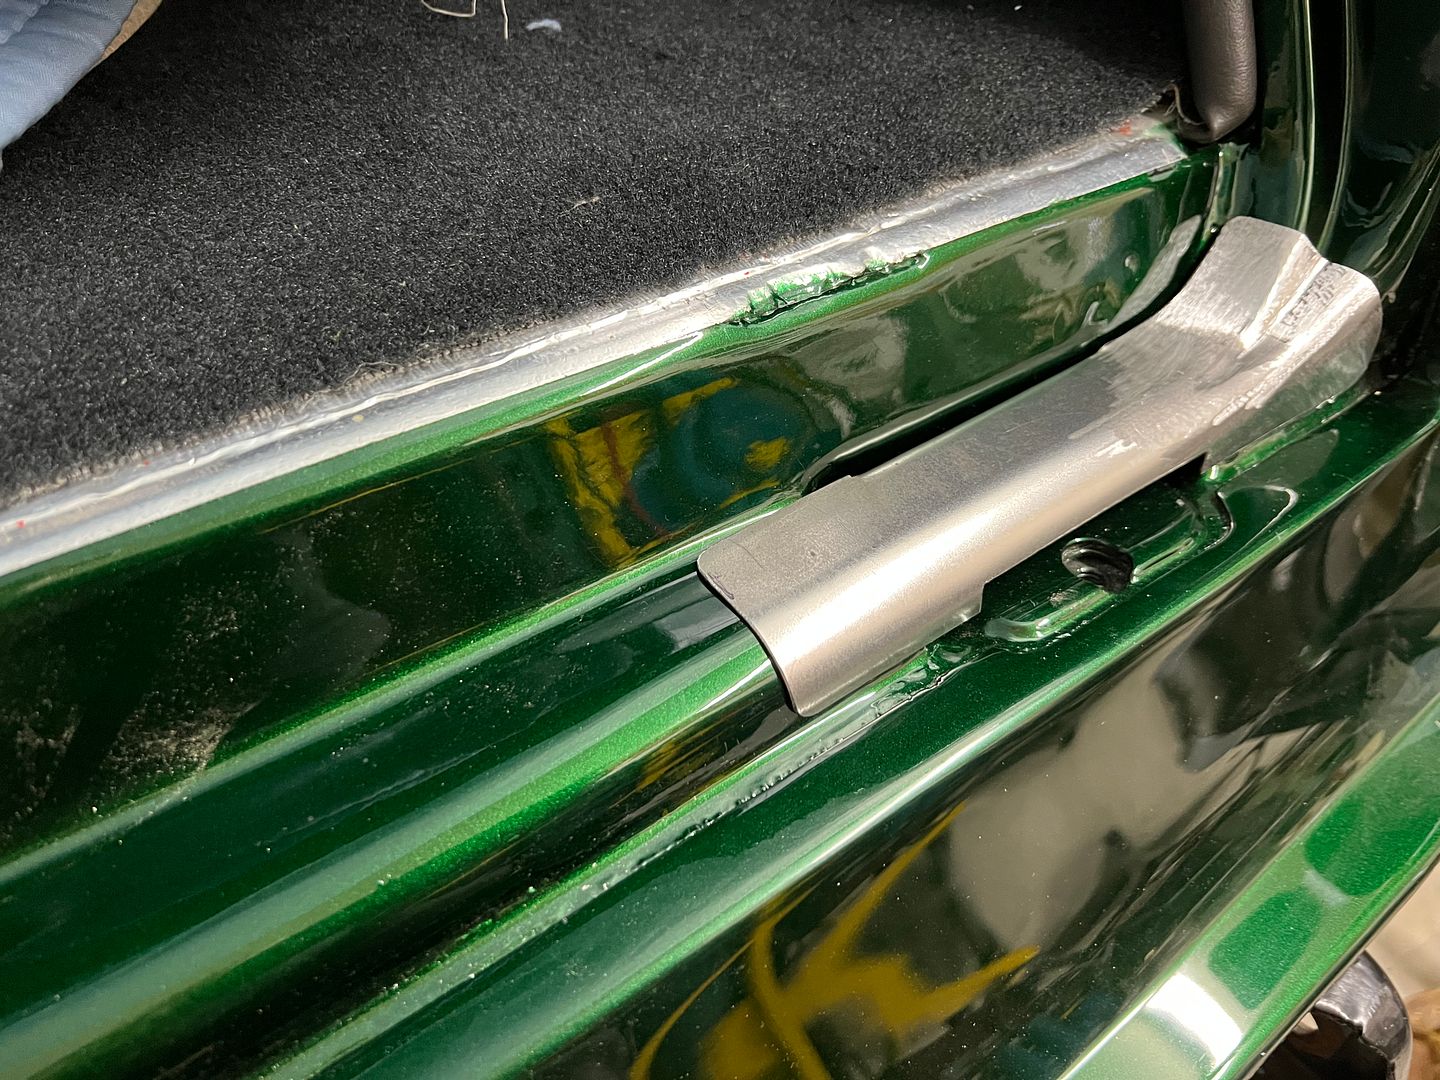
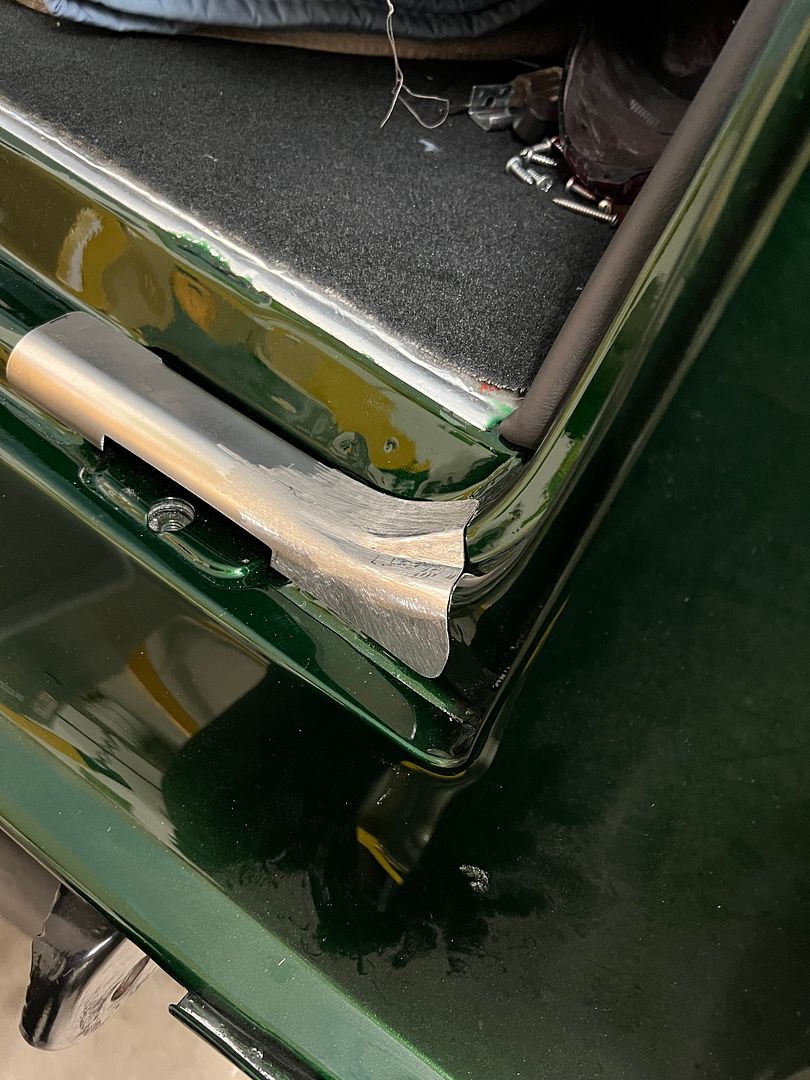
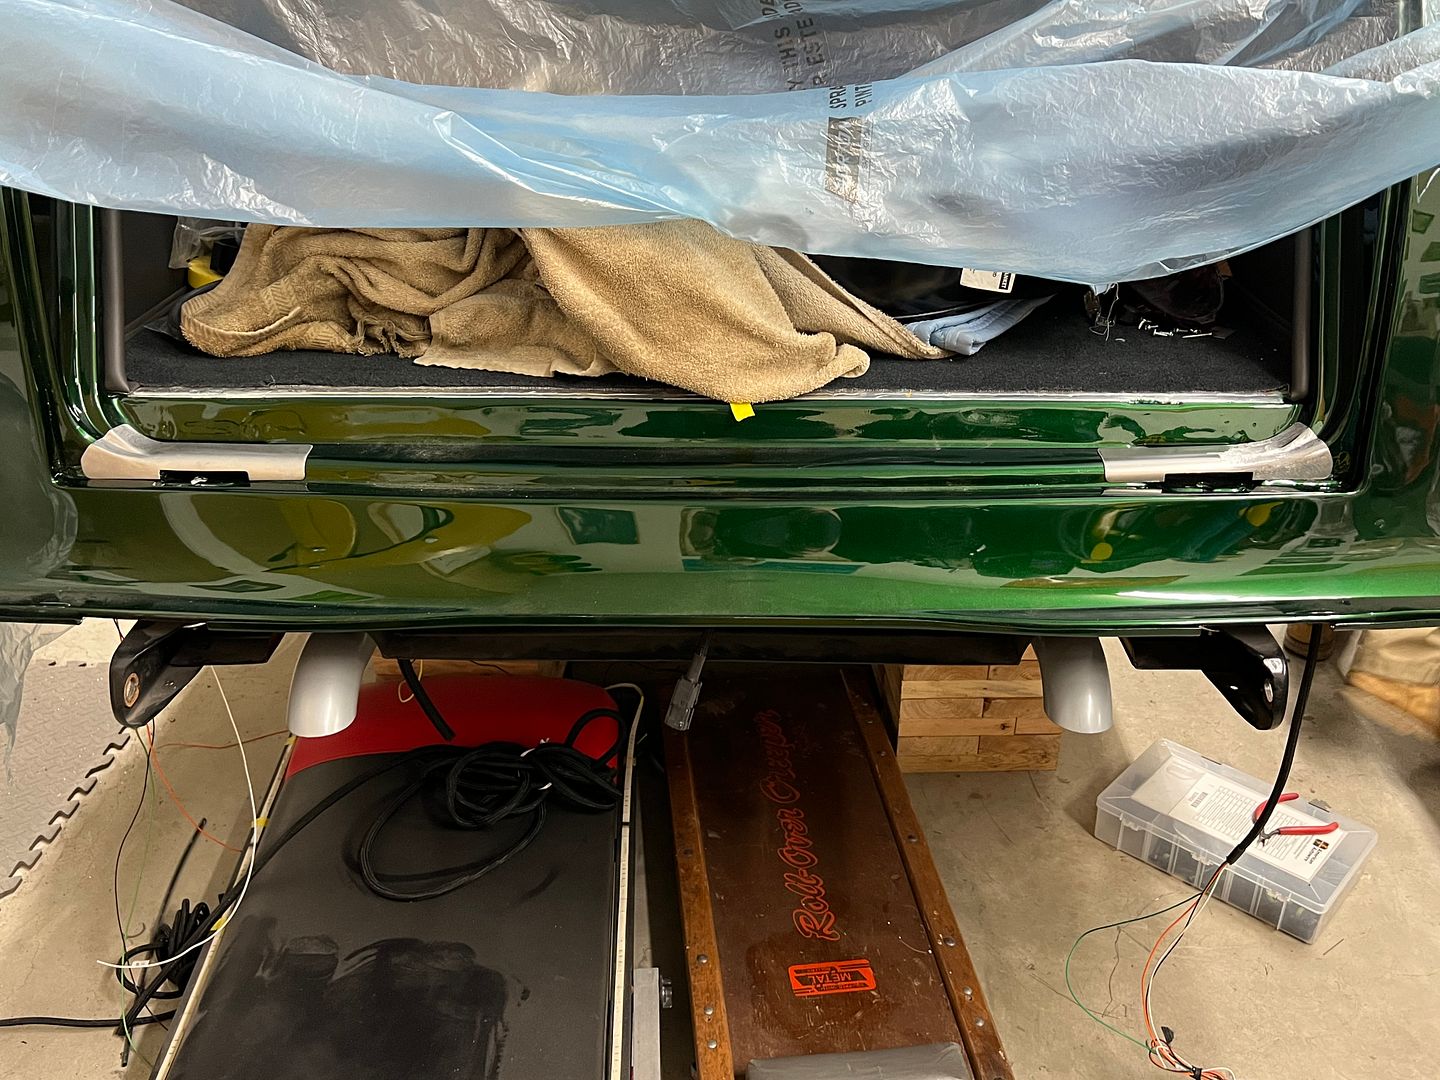
Here's the fabrication of our hinge covers for the wagon, since the originals didn't fit well at all. Some 1-3/16 round stock was used on the magnetic brake to provide a much closer matching radius profile, and some severe stretching was done along the bottom flange and up into the radius.
The reverse crease was added using a dulled and rounded press brake die section as an anvil.
https://youtu.be/-ipNQnB4cjA
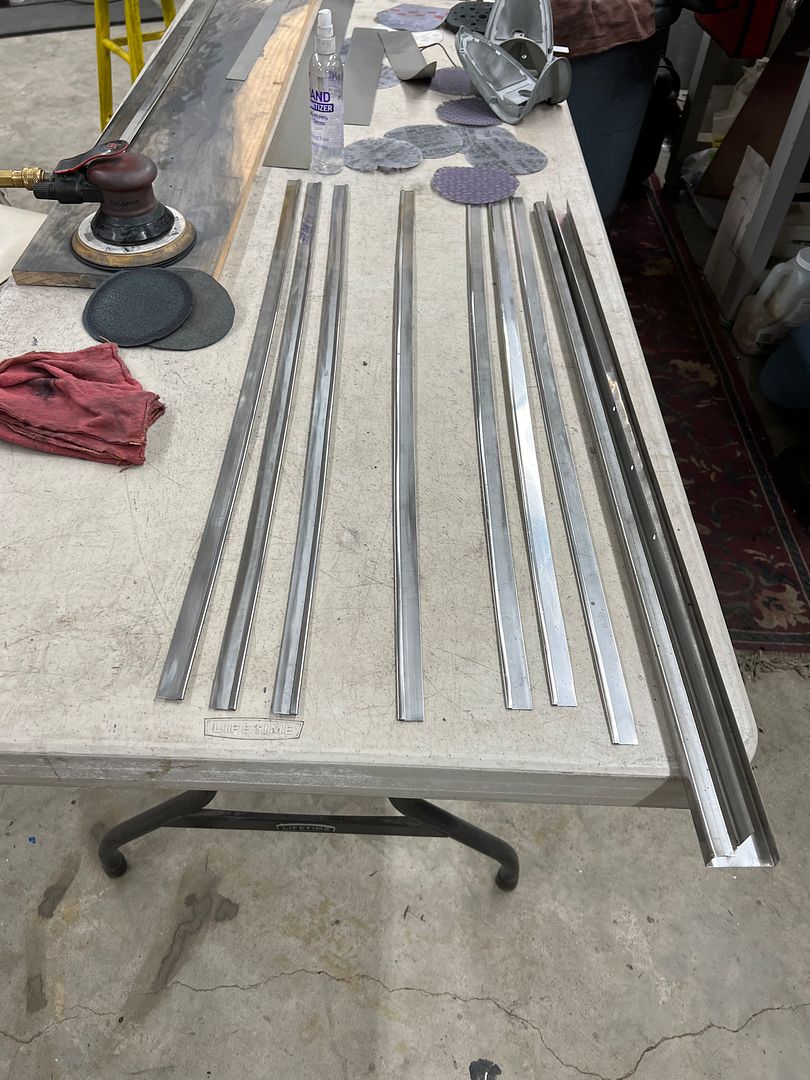
Much nicer look over the stock ones. While I was working on those, Jared has been prepping our stainless trim parts for polishing/buffing...
Robert
-
01-24-2023 09:03 AM #1739
Amazing work as usual!
Curious, I looked back and the first post in this thread was January 10, 2013 and you'd already been working on it before that post as the front fenders were off and you were talking of the owner wanting seams filled so you're well into your second decade! Is the owner still gonna be driving when it's done, or is she giving it to one of her kids?


Roger
Enjoy the little things in life, and you may look back one day and realize that they were really the BIG things.
-
01-24-2023 09:16 AM #1740
She will be driving it...
Robert


 3390Likes

 LinkBack URL
 About LinkBacks
 Reply With Quote


Looks like I spoke too soon, I have a considerable doubt this site will ever recover and I don't think those in charge just don't give a damn, prove me wrong.
Where is everybody?