Thread: 55 Wagon Progress
Hybrid View
-
03-22-2023 09:30 AM #1
The only thing I know of is she wants it ready for the Tri-Five Nationals in August.Robert
-
04-20-2023 06:01 AM #2
I've been remiss in posting an update. We've been doing a bit of block sanding interior parts, and its just hard to make those pictures look like any semblance of progress.
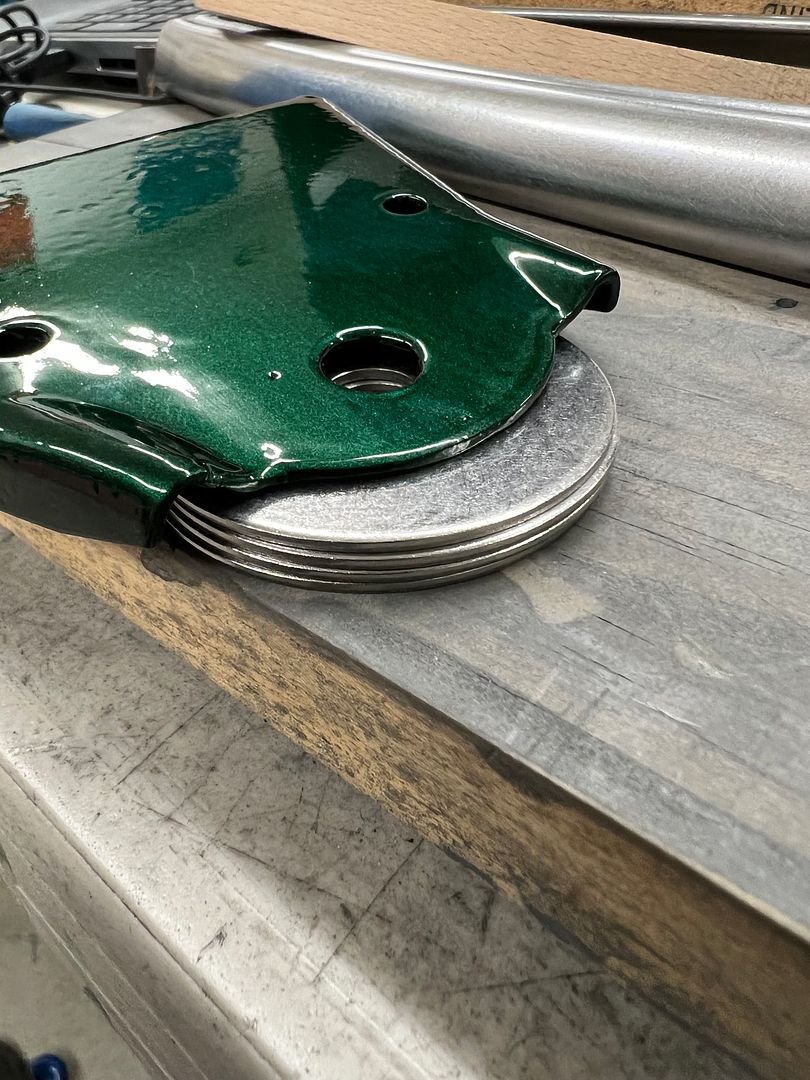
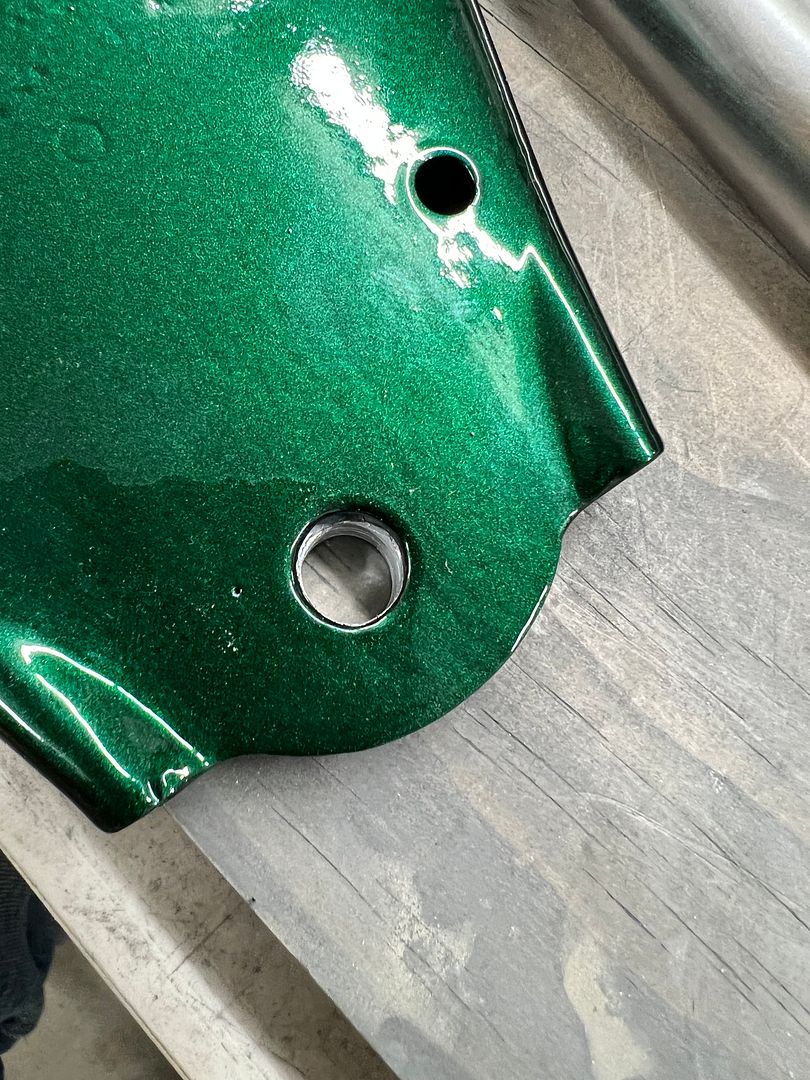
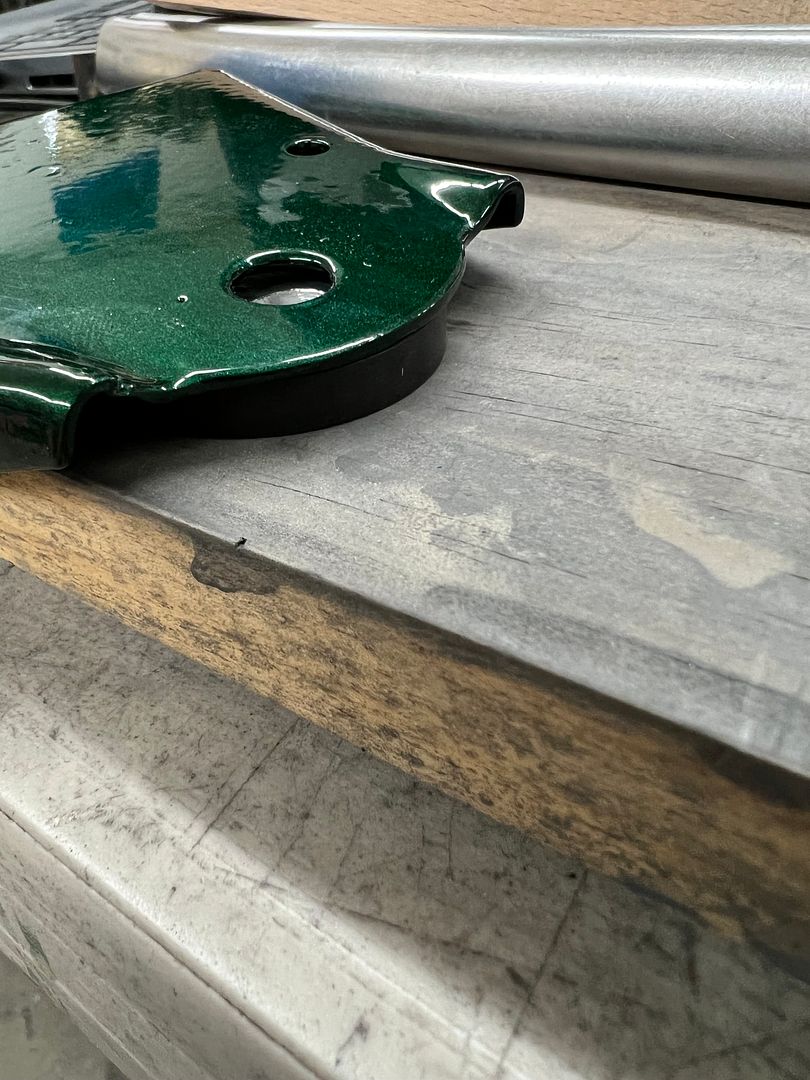
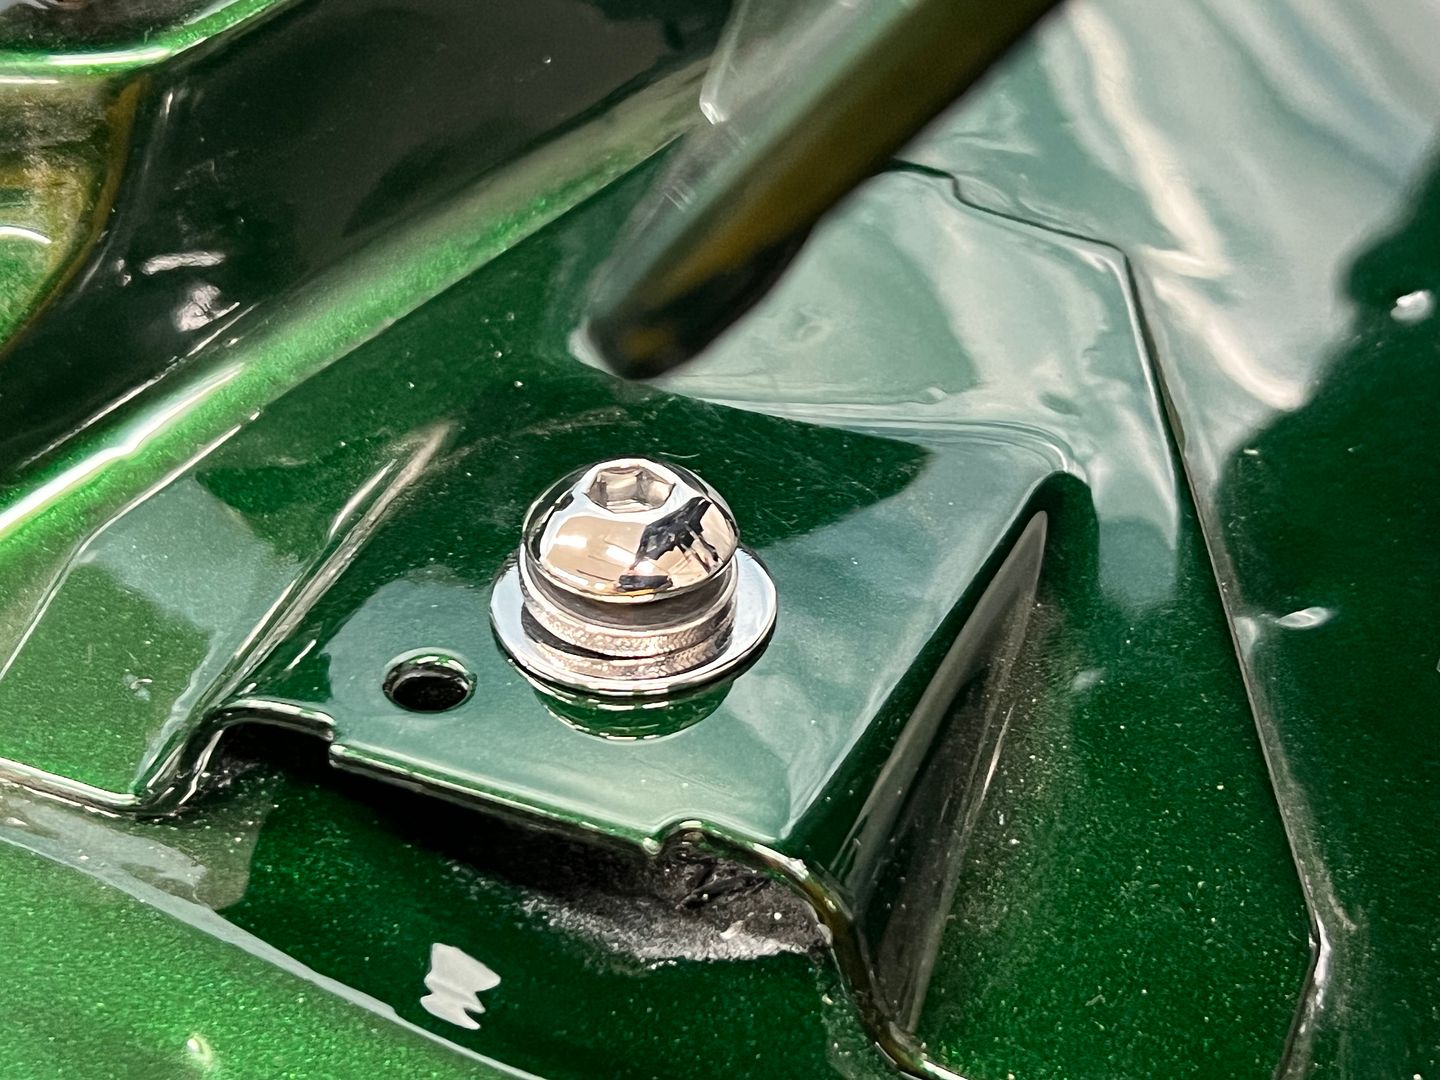
We pulled the front fenders back off, we had mocked them up in order to modify the upper fender mounts at the cowl. They came with some excessively sized holes to allow plenty of adjustment, and we had filled in the factory hole and re-drilled to a normal clearance hole. Here shown after a spray of Organic Green KBC, and the stainless washers we used as shims. Hard to leave those stacked washers after we did the other cleanup in resizing the bracket's mounting hole.
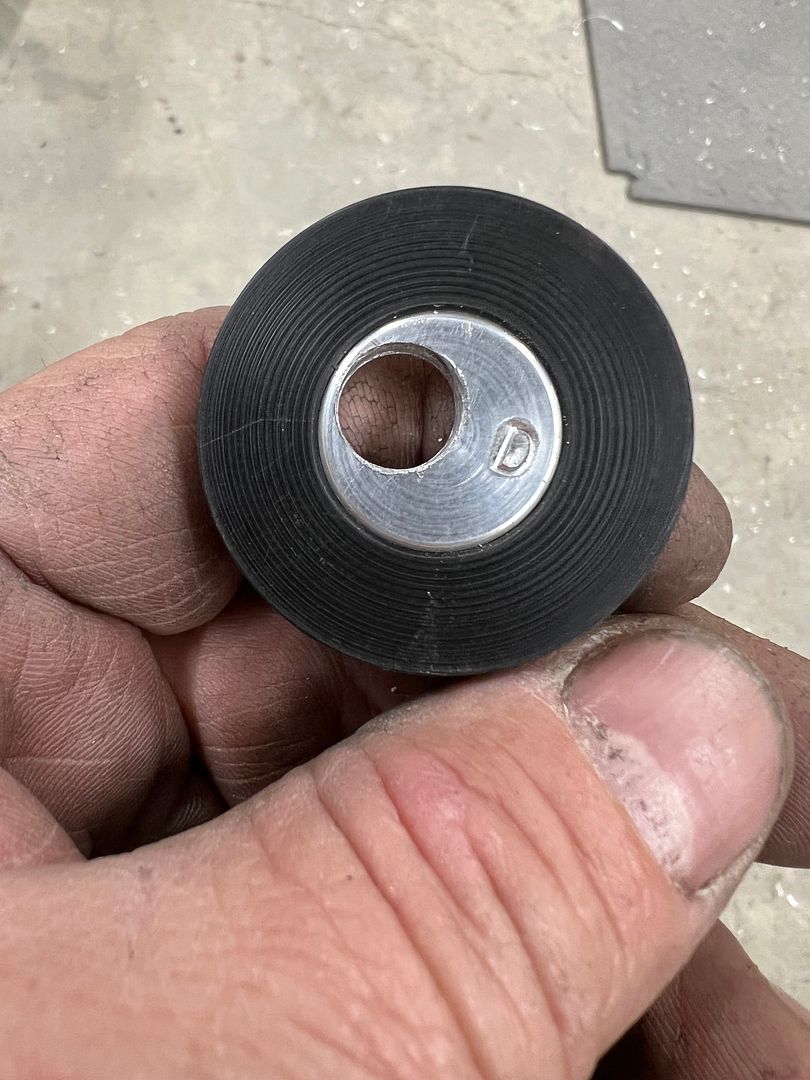
We had some black delrin scraps left over from making the radius arm bushings for Jared's 39, so we put them to use here. Since they had already been drilled, we added an aluminum plug and match drilled the holes to match the bracket. Installed, the black delrin is barely noticeable and makes for a cleaner detail over the stacked washers.
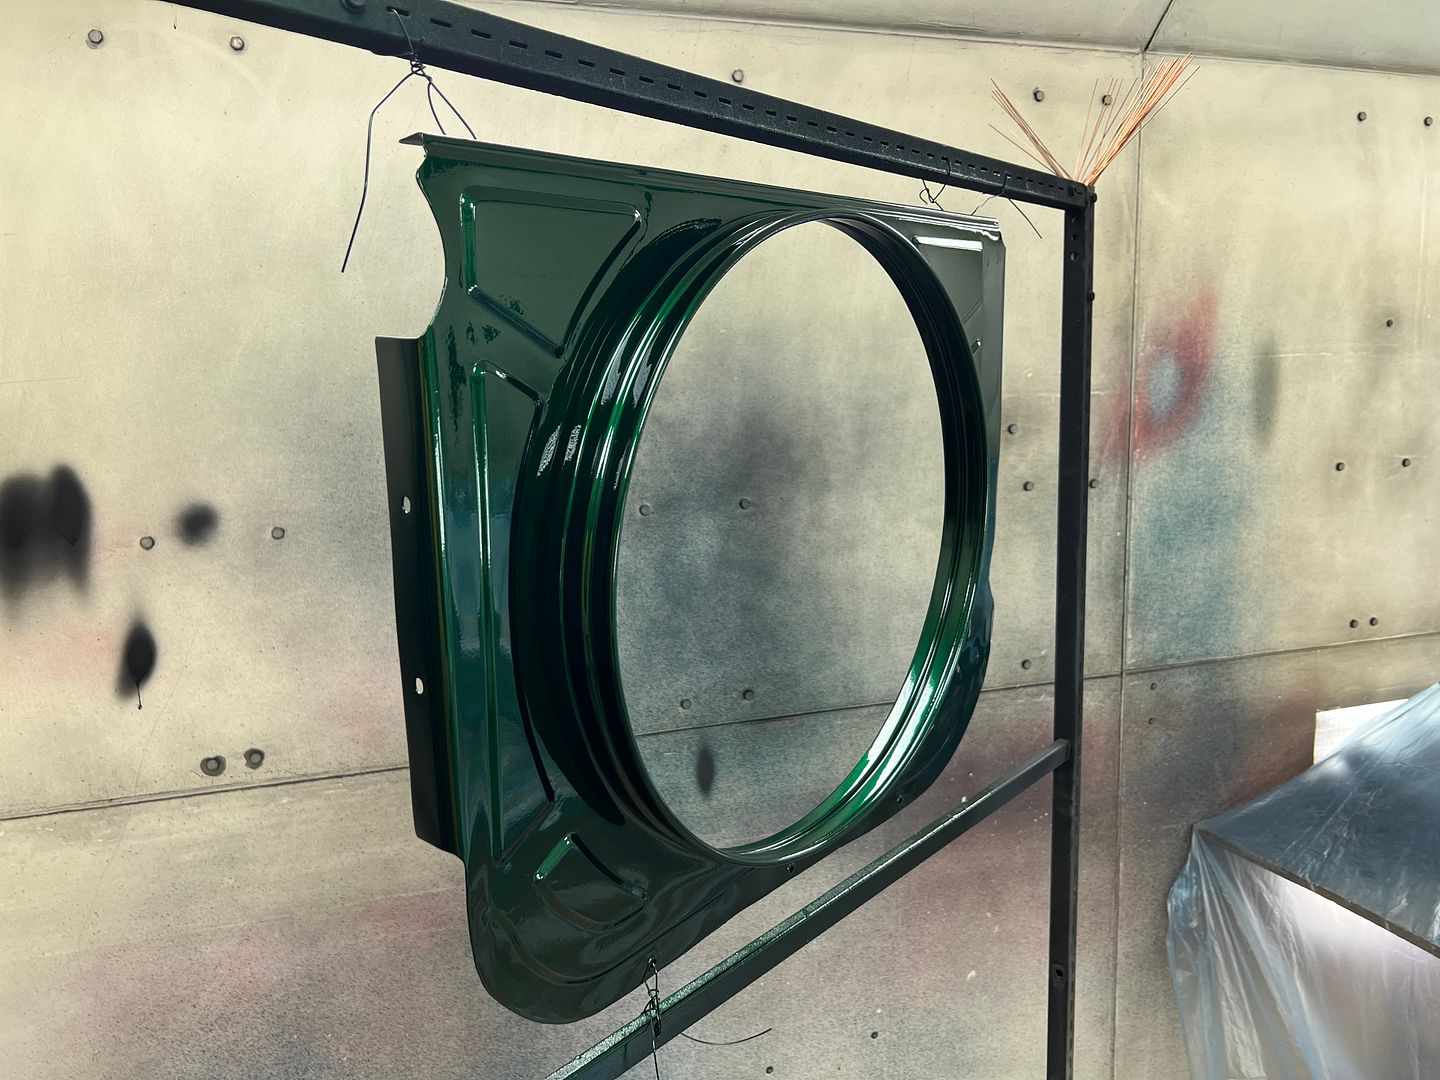
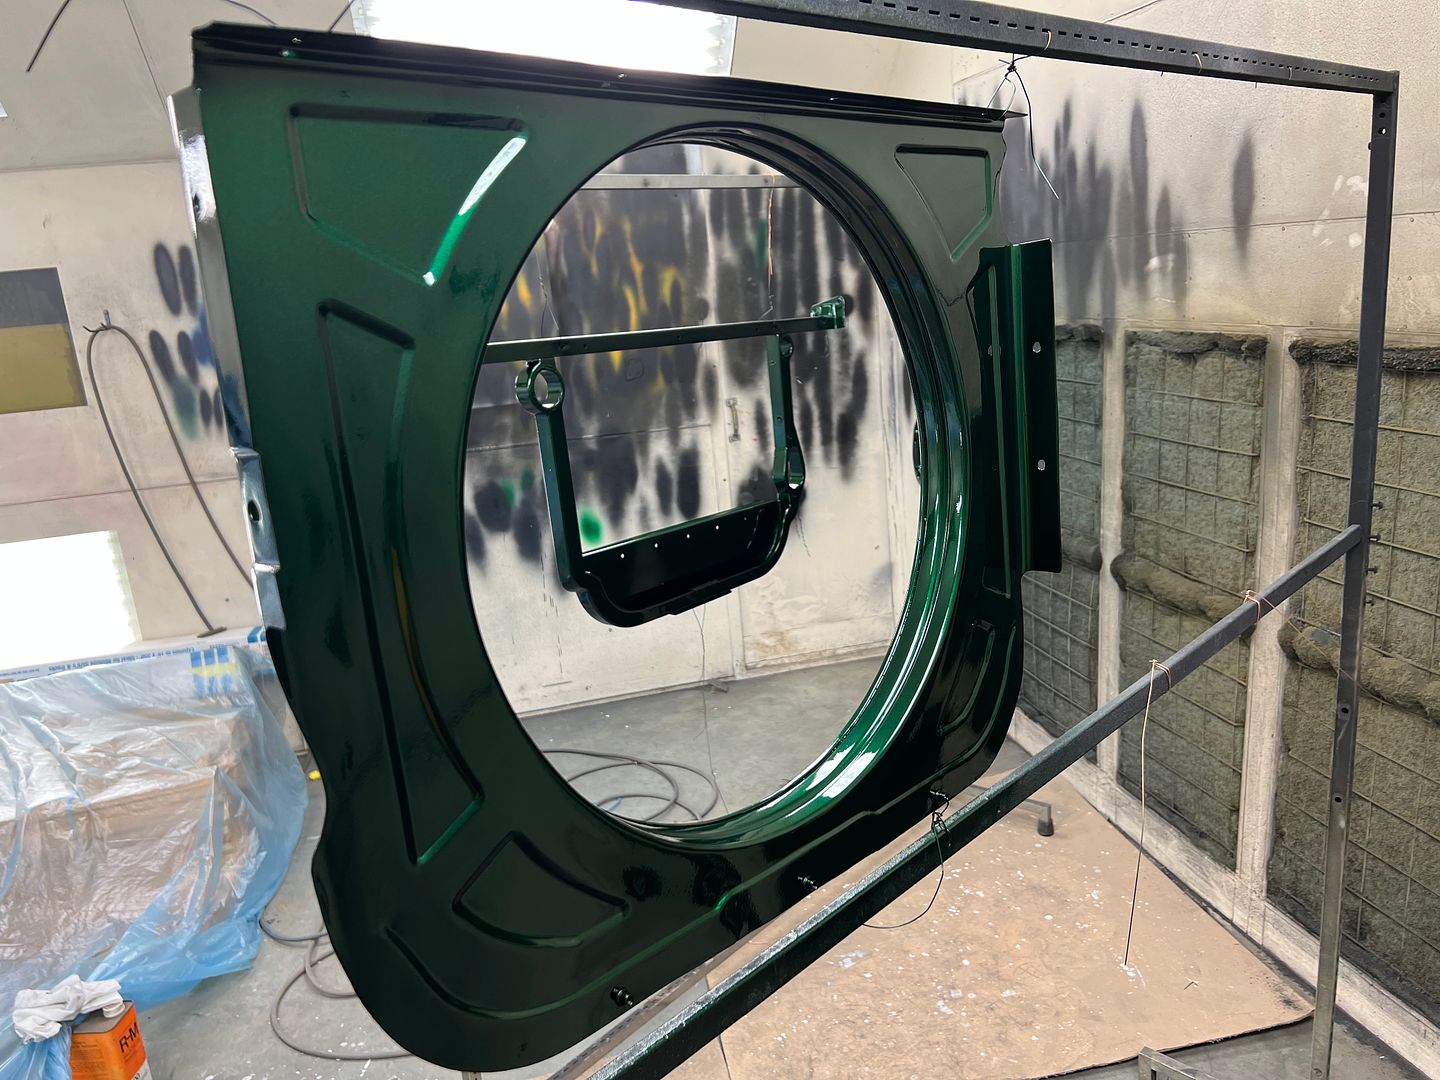
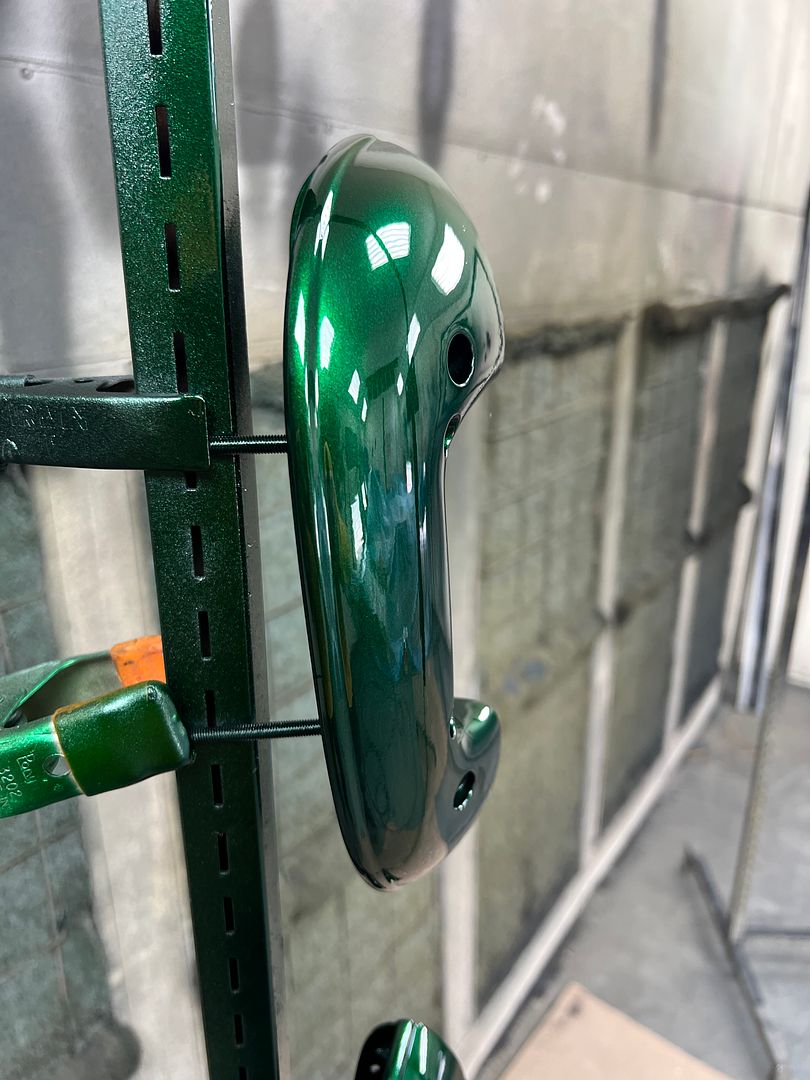
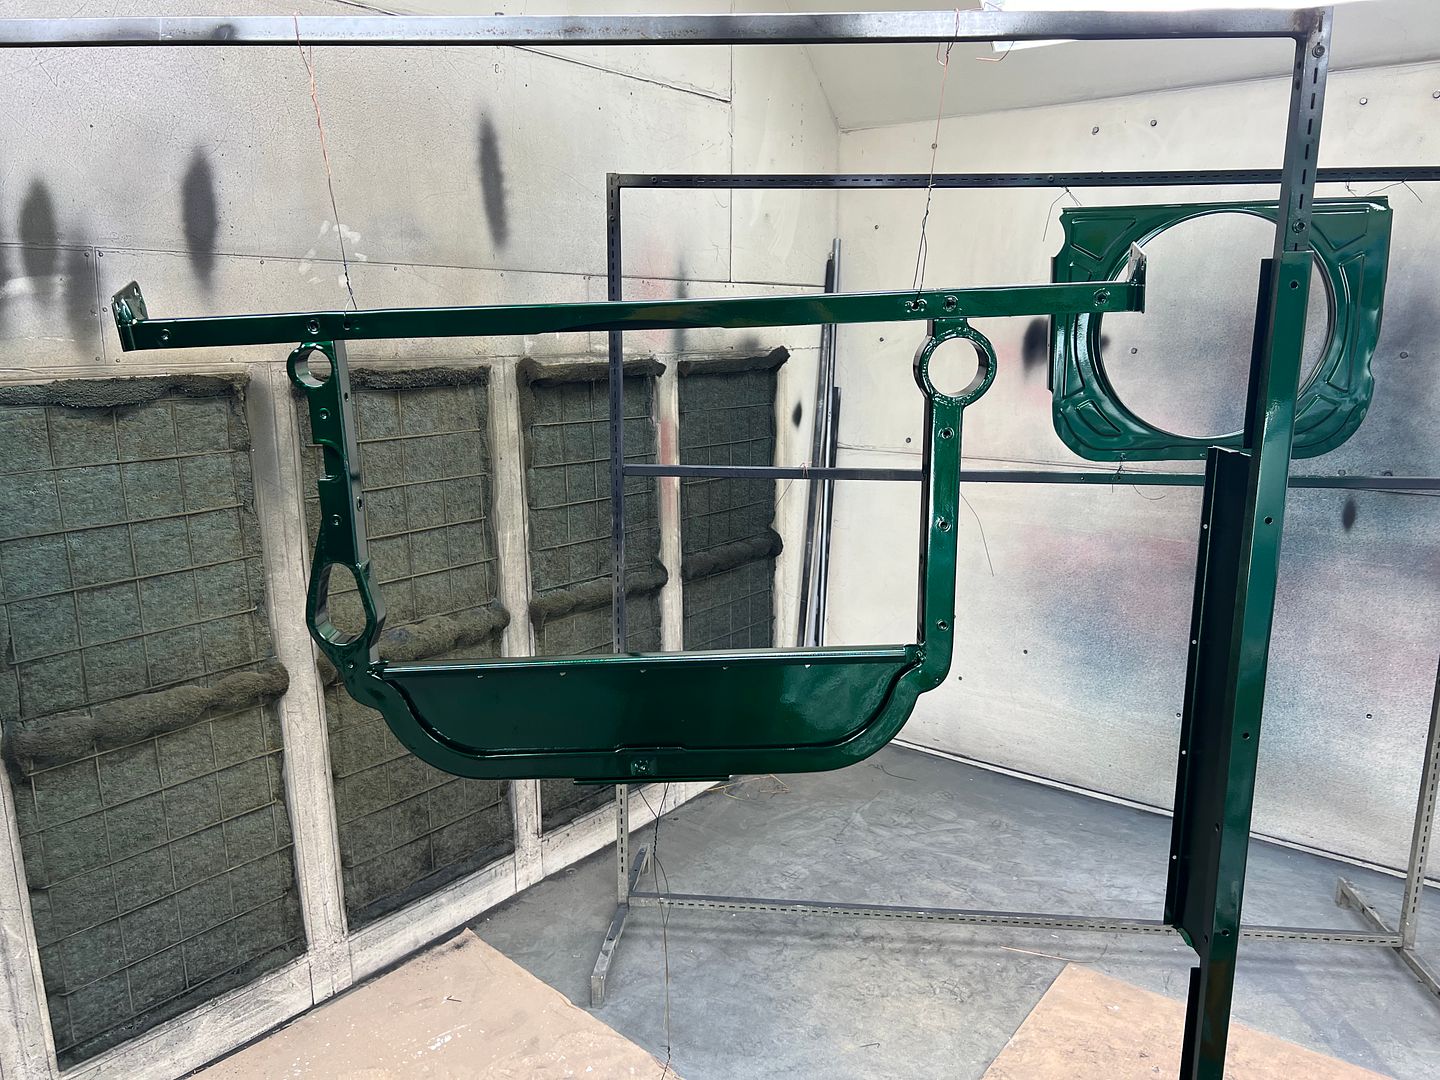
Some of the parts we sprayed while the front fenders were off.
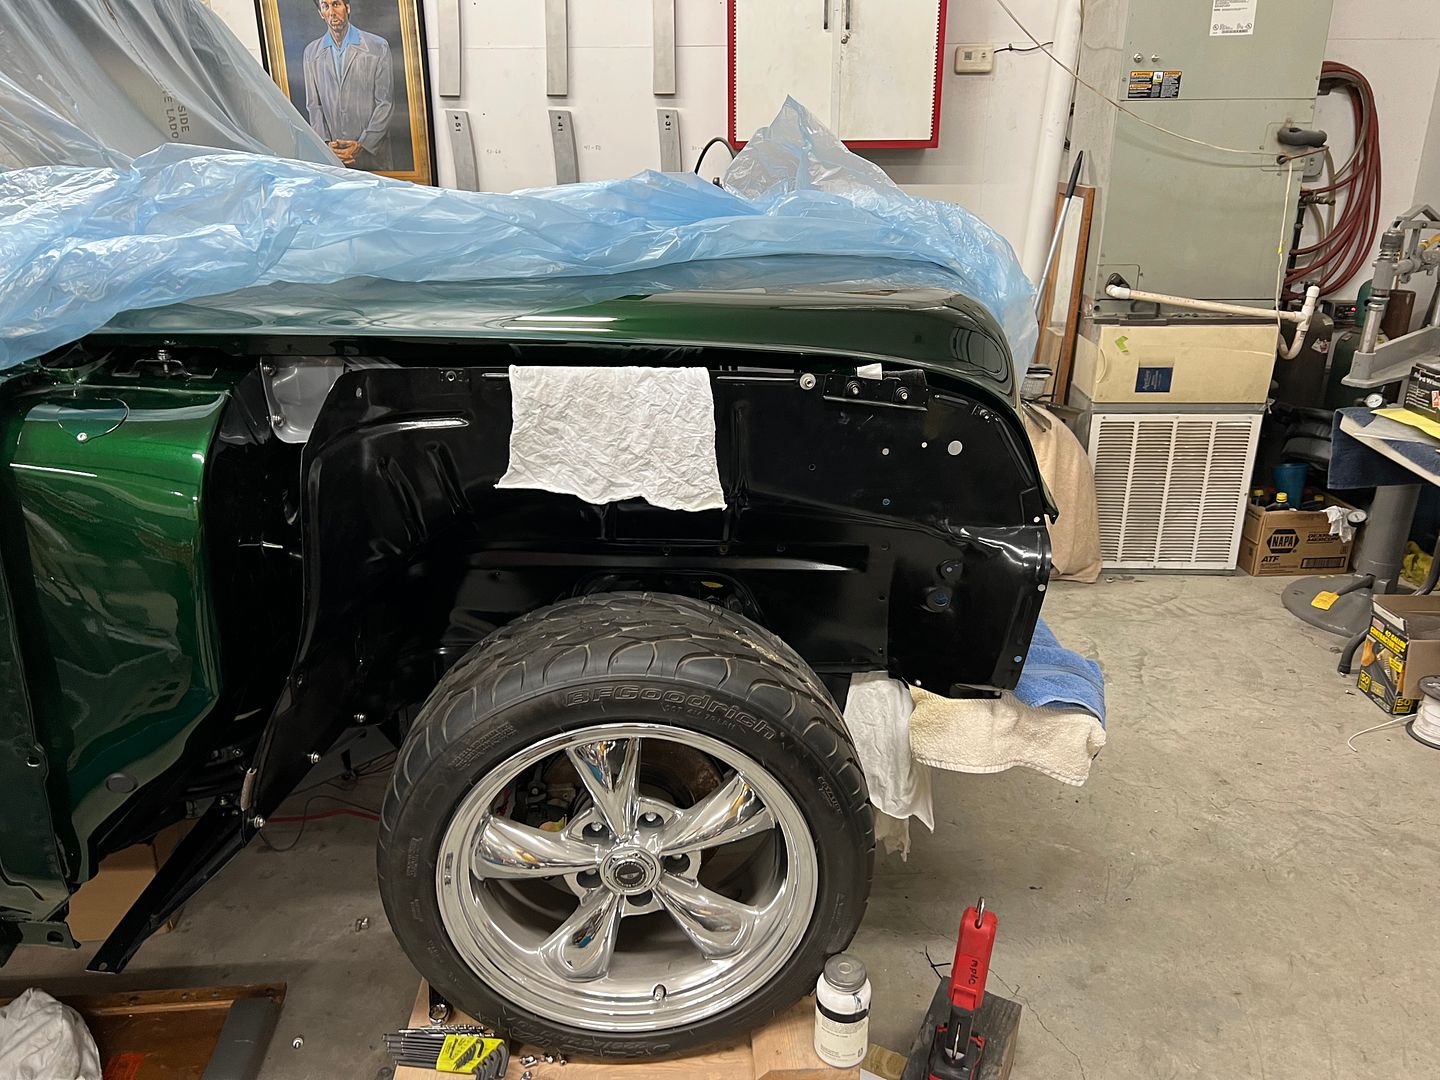
With the core support reinstalled, we started on the installation of the inner fenders.
Since our cowl bracket was all cleaned up now, we needed to address the attaching hardware. This started with 400 grit and worked up to 5000 trizact before hitting the buffer...
https://youtube.com/shorts/nEgXyGHNFto?feature=share
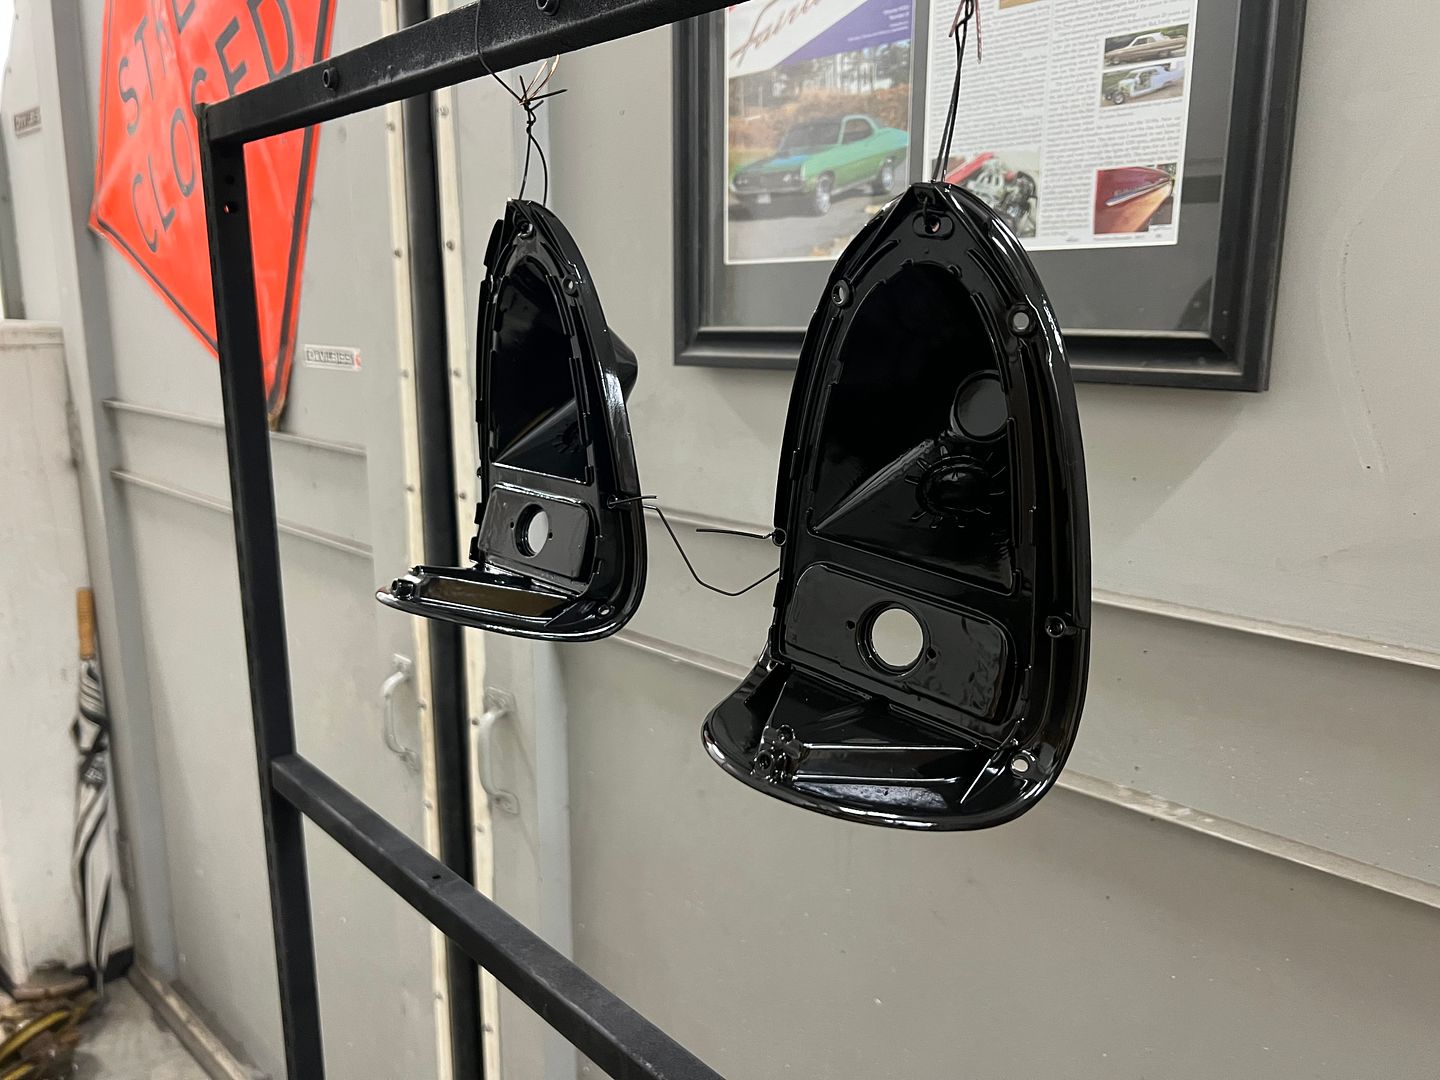
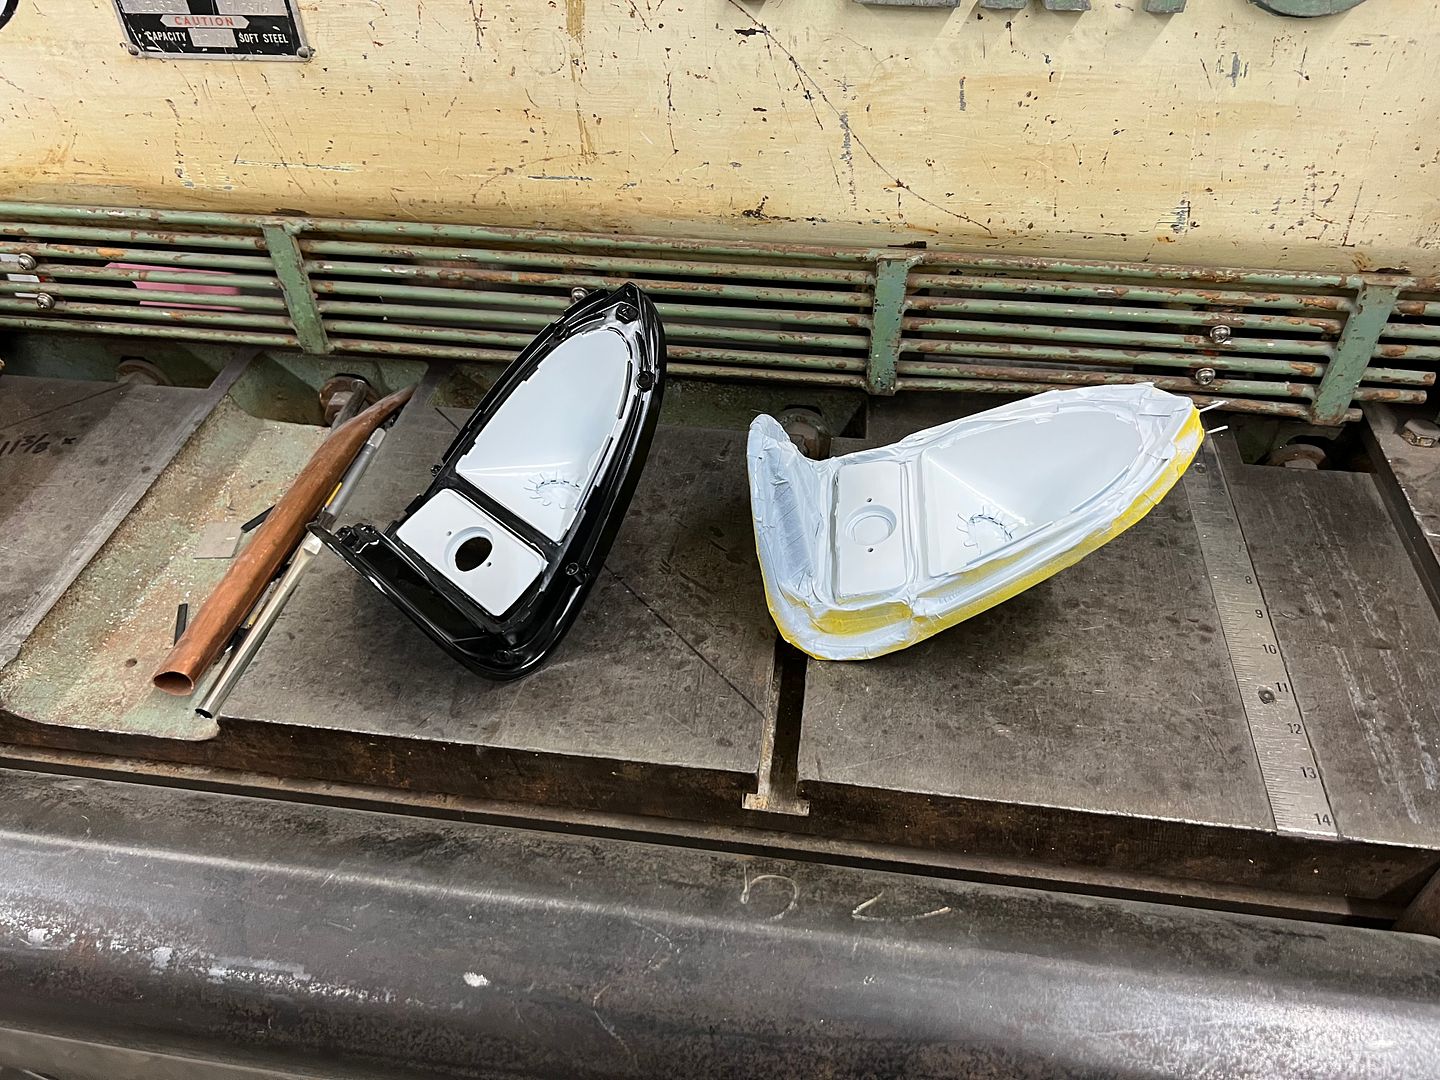
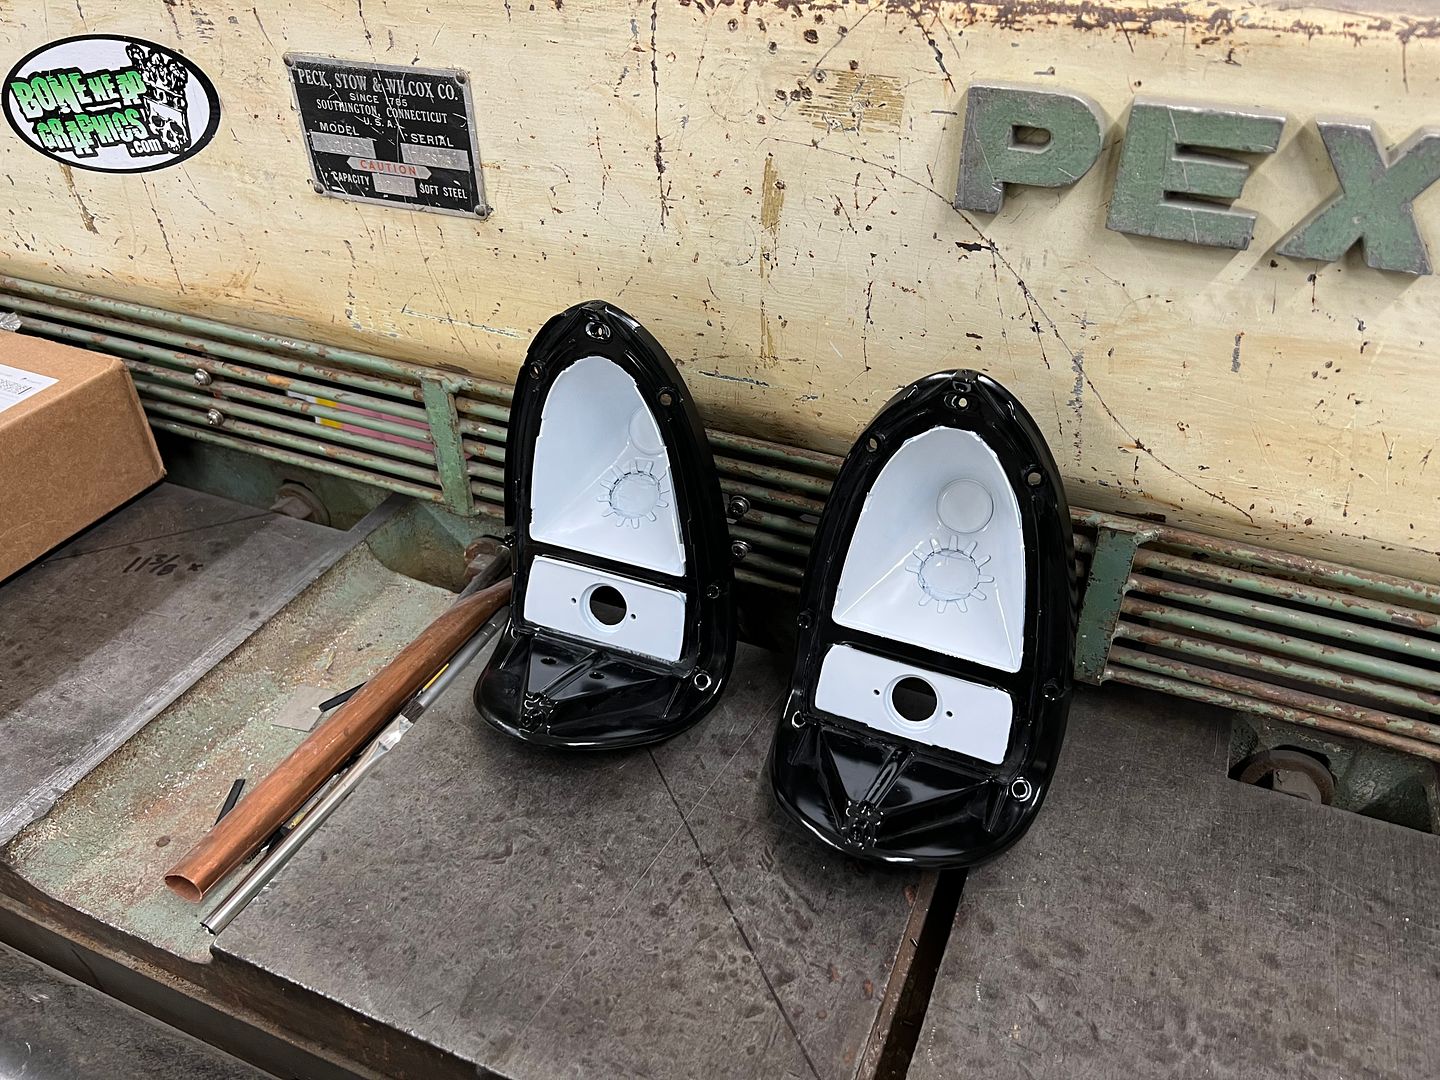
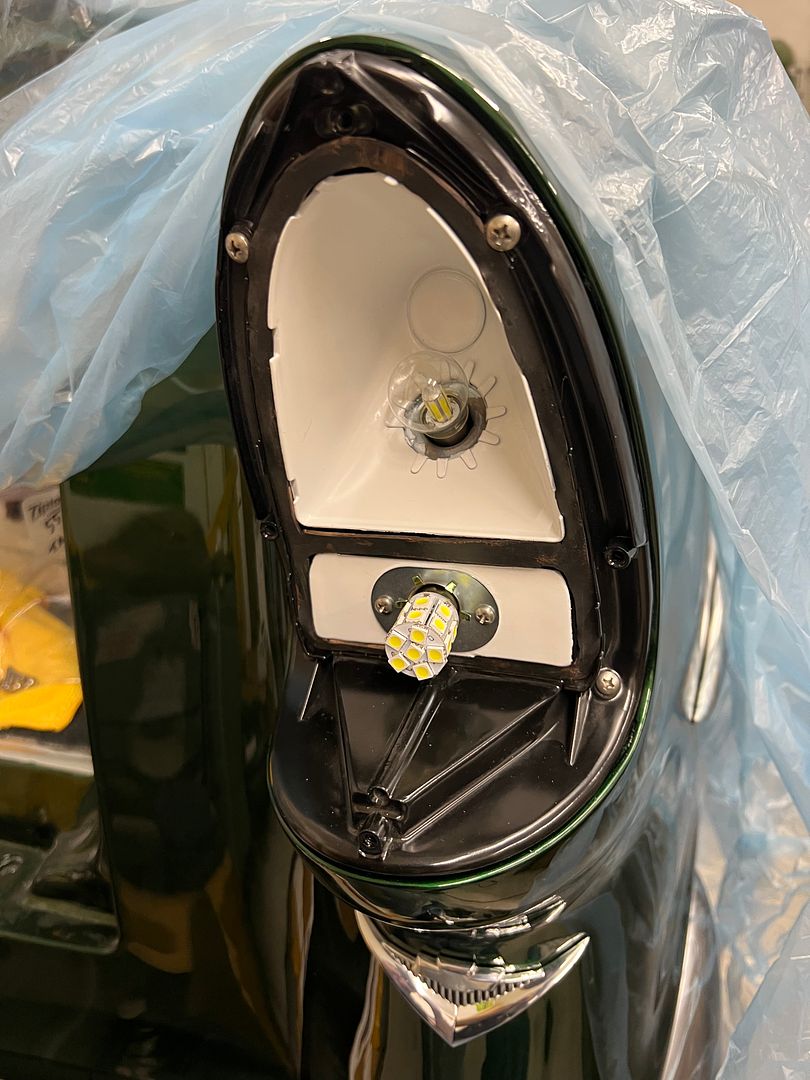
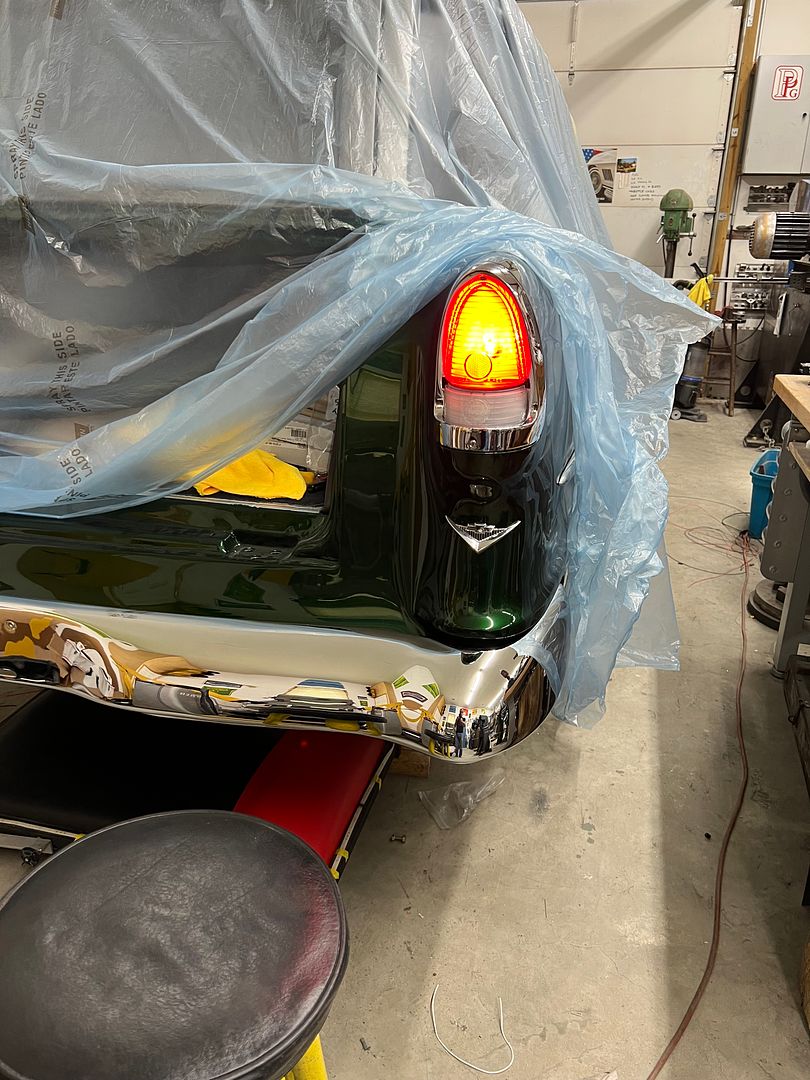
Much better! And so we can finalize the wiring at the back of the car, the tail-light housings had been sprayed in epoxy and we added some catalyzed white to the inner portion for some brighter lights.
Robert
-
04-20-2023 09:43 AM #3
The solution with those bushings should be about perfect. Great choice & execution.
-
04-21-2023 05:57 AM #4
- Join Date
- Apr 2011
- Location
- Prairie City
- Car Year, Make, Model: 40 Ford Deluxe, 68 Corvette, 72&76 K30
- Posts
- 7,298
- Blog Entries
- 1
Very nice work! Your polishing sure makes those fasteners pop. Makes me want to do it too. That might be a project for the kids.
Ryan
1940 Ford Deluxe Tudor 354 Hemi 46RH Electric Blue w/multi-color flames, Ford 9" Residing in multiple pieces
1968 Corvette Coupe 5.9 Cummins Drag Car 11.43@130mph No stall leaving the line with 1250 rpm's and poor 2.2 60'
1972 Chevy K30 Longhorn P-pumped 24v Compound Turbos 47RH Just another money pit
1971 Camaro RS 5.3 BTR Stage 3 cam, SuperT10
Tire Sizes
-
04-21-2023 06:15 AM #5
-
04-21-2023 07:10 AM #6
The buffing wheel will take something out of your hand in a split second. You really need your wits about you when that gets switched on. And yes, one of the bolts did bounce off the floor.
Last edited by MP&C; 04-21-2023 at 07:12 AM.
Robert
-
05-04-2023 10:12 AM #7
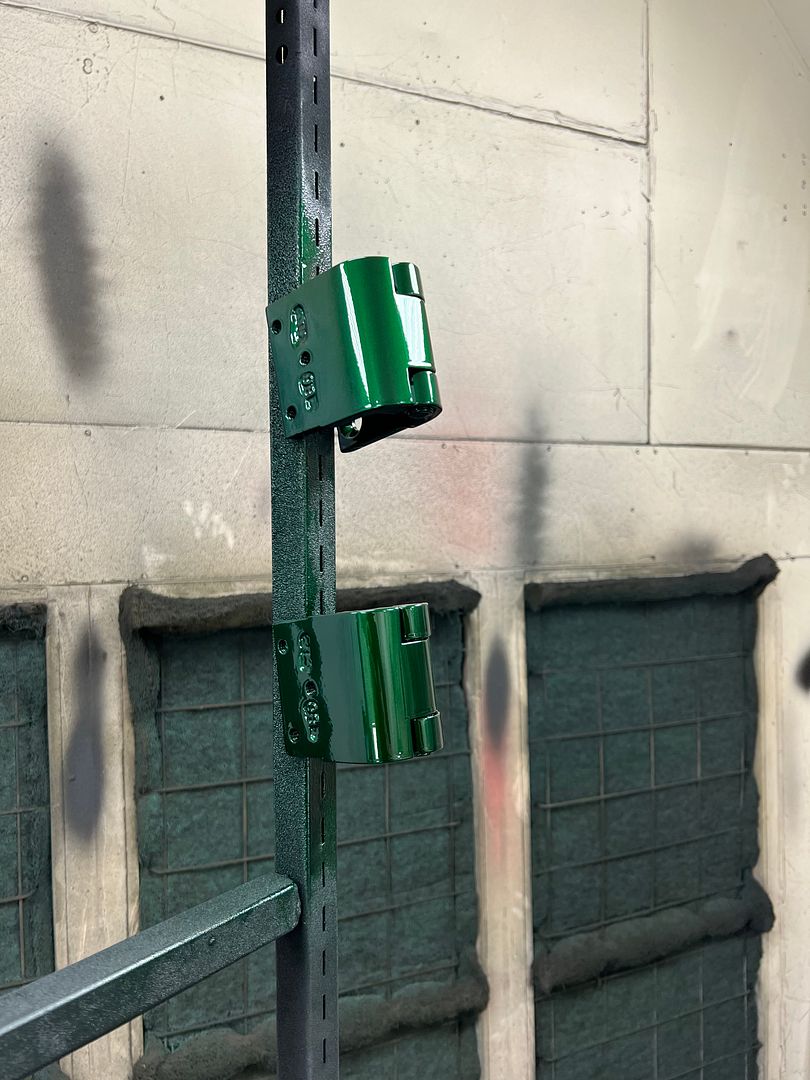
Last bit of progress, we got the hinges painted so hopefully we can get the tailgate installed this weekend...
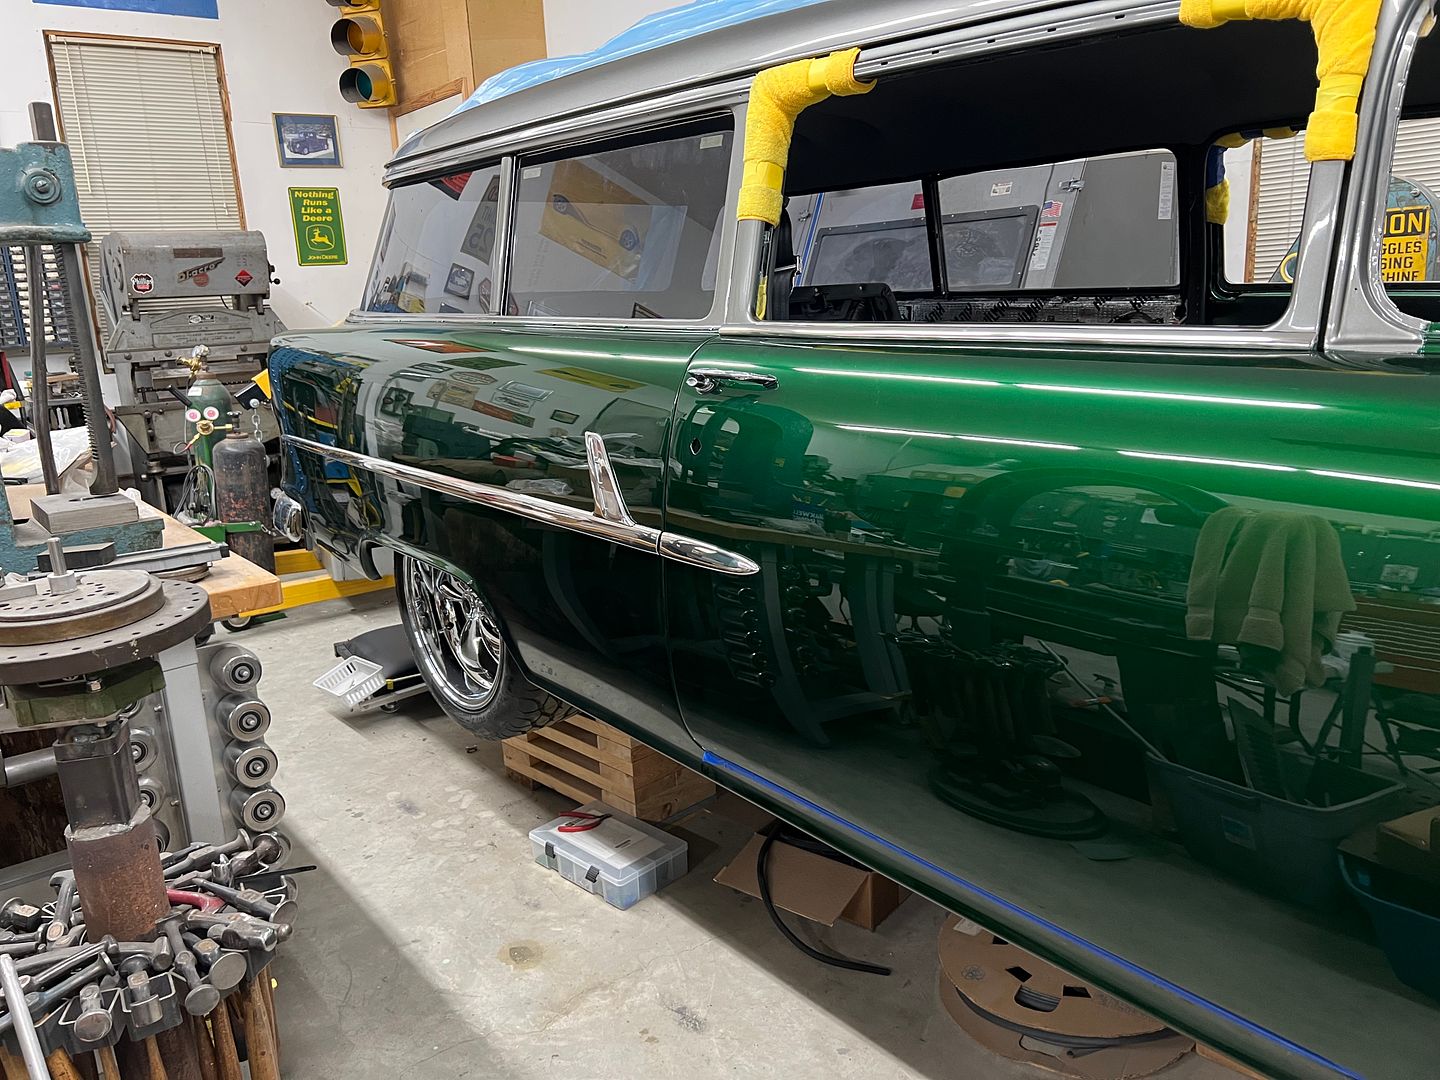
installing more shiny stuff....
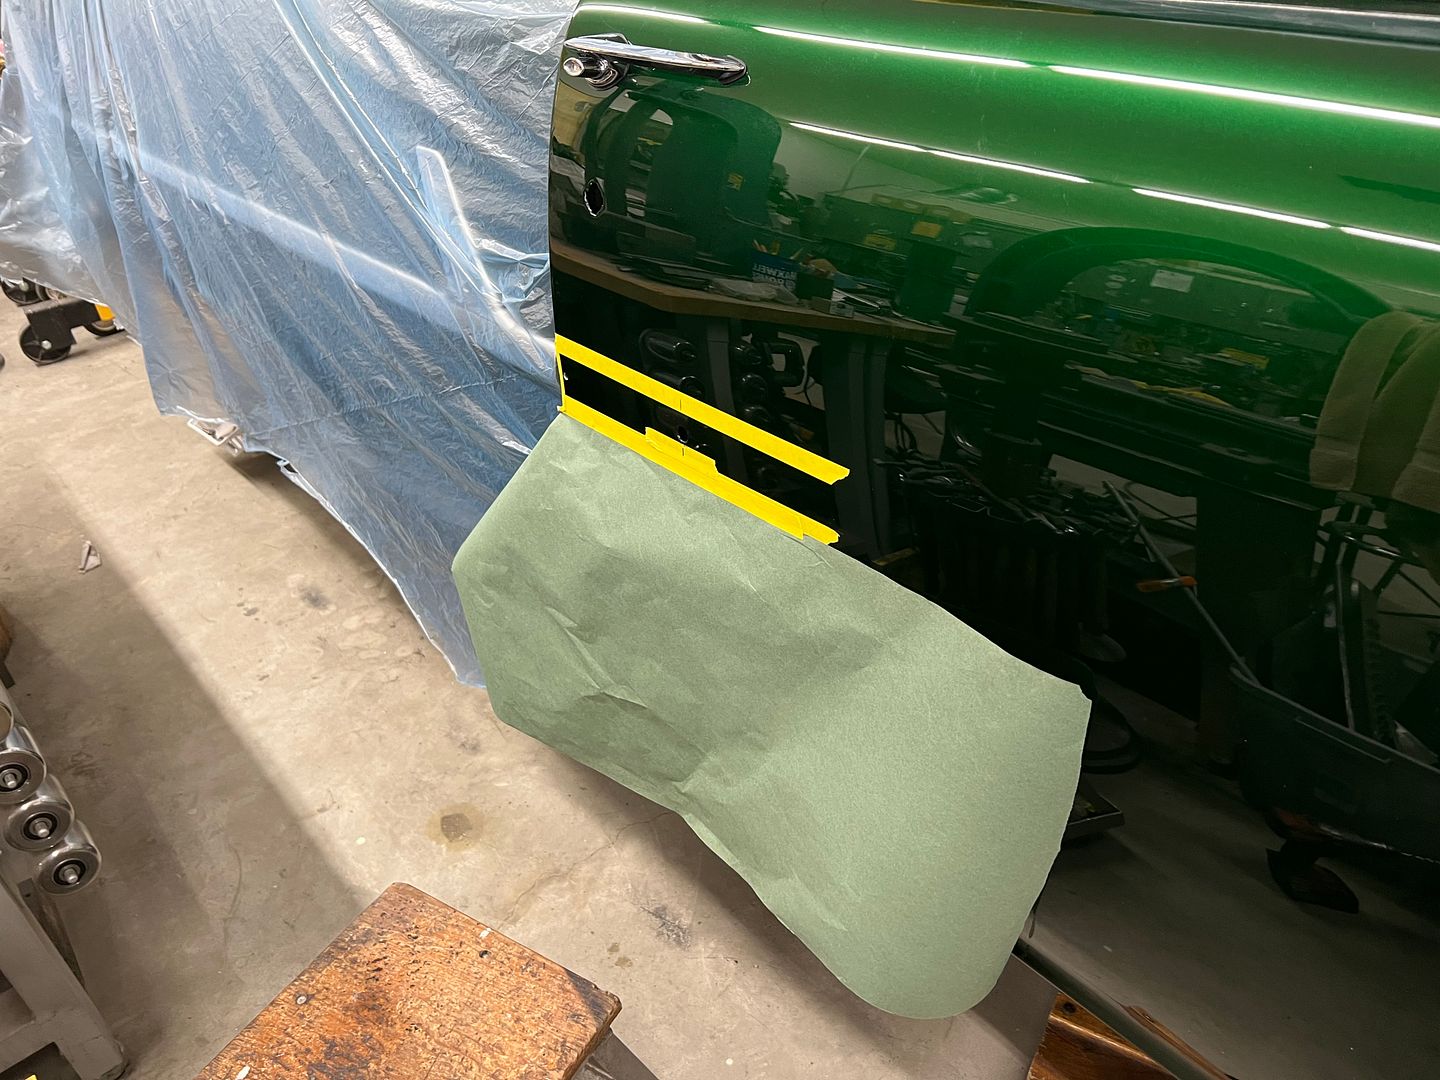
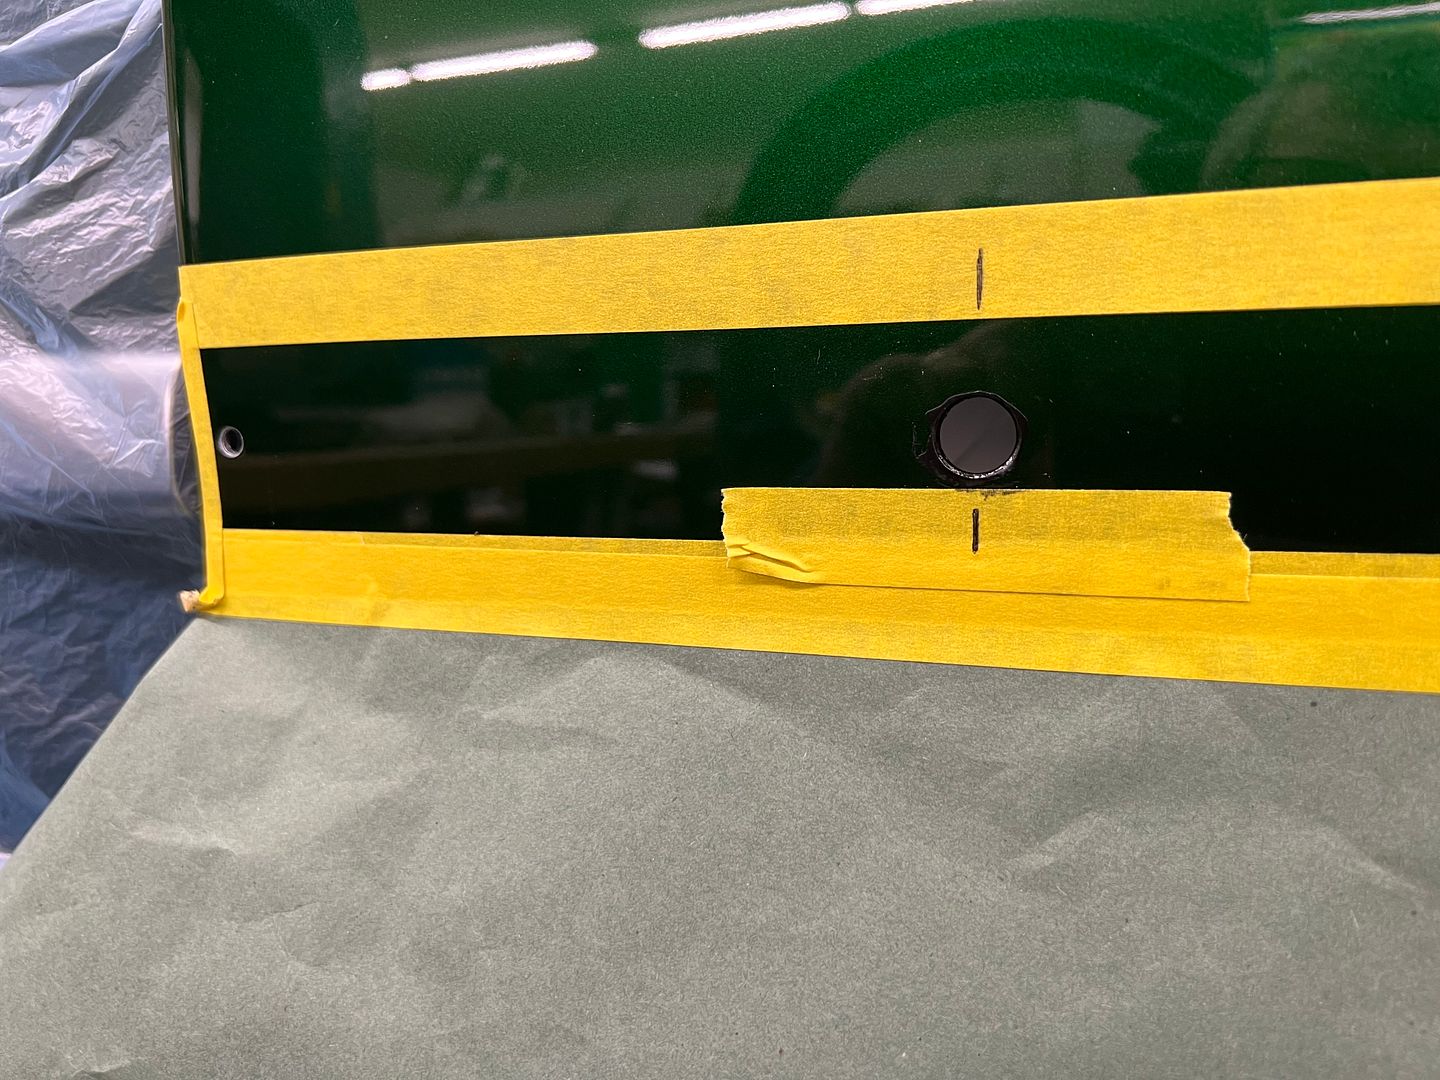
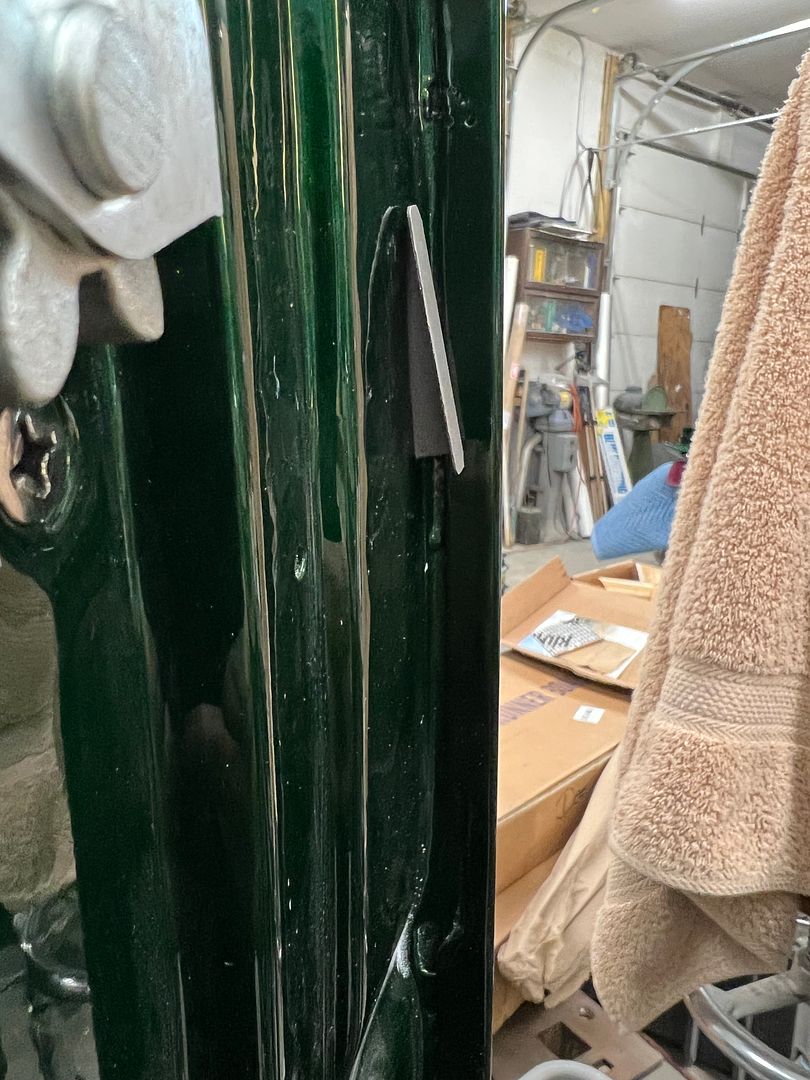
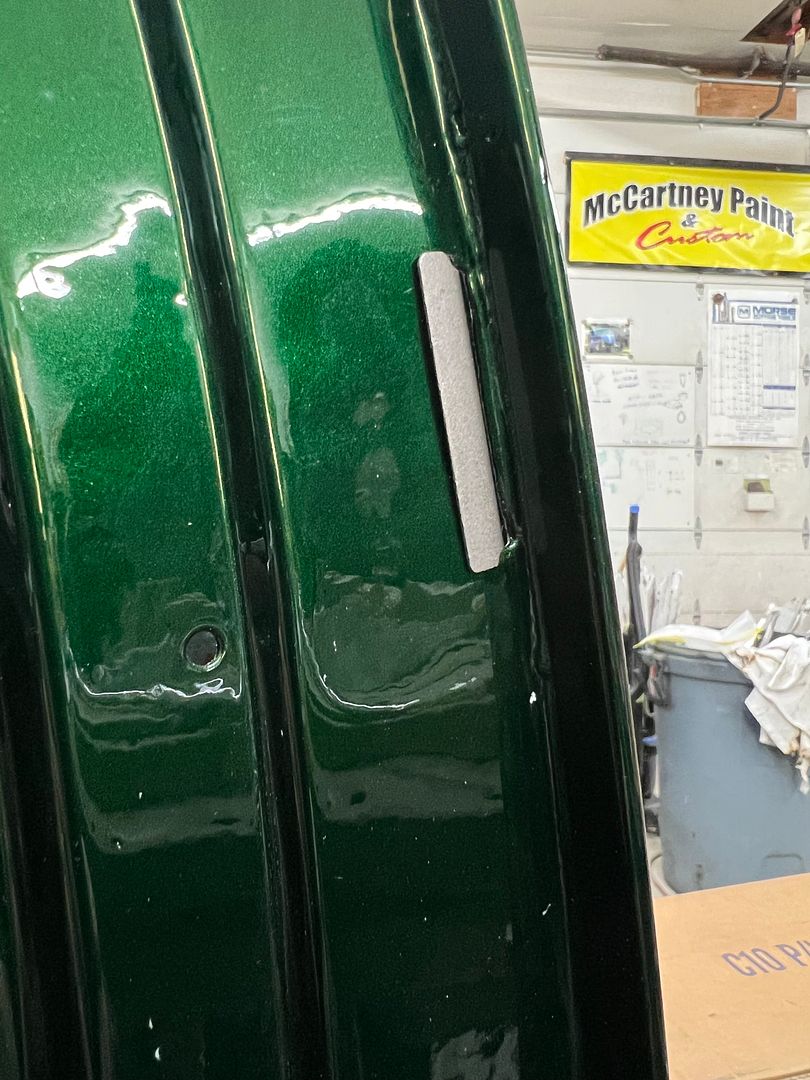
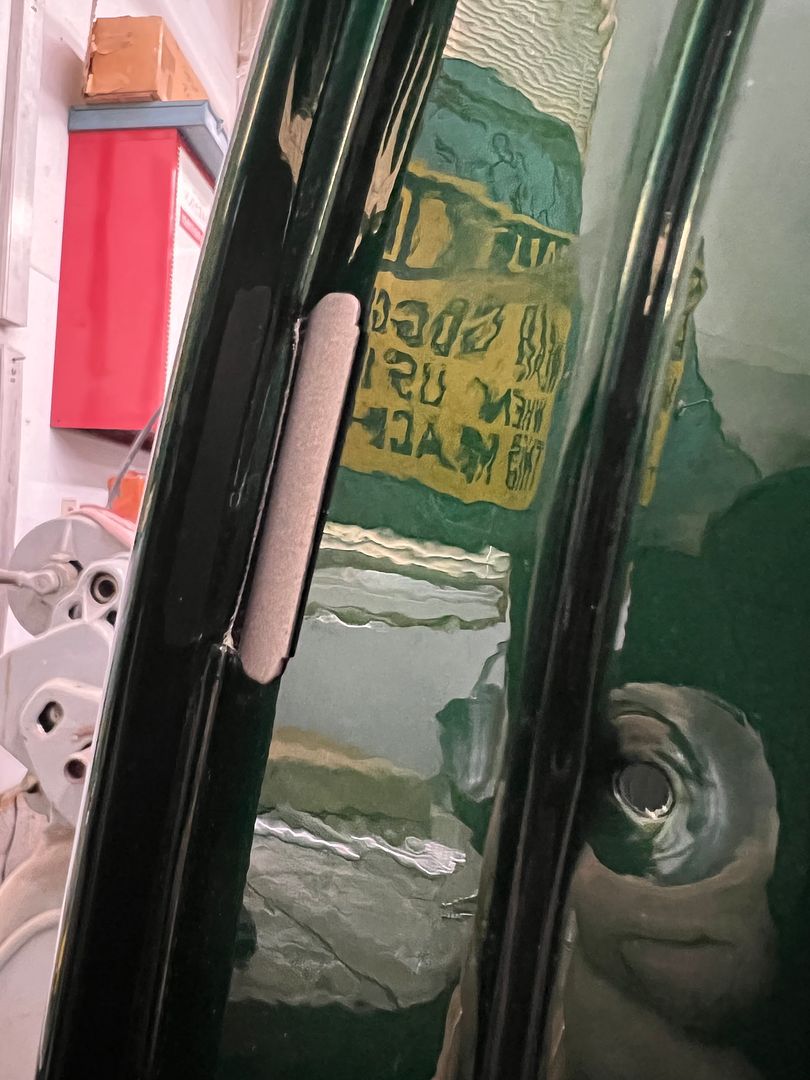
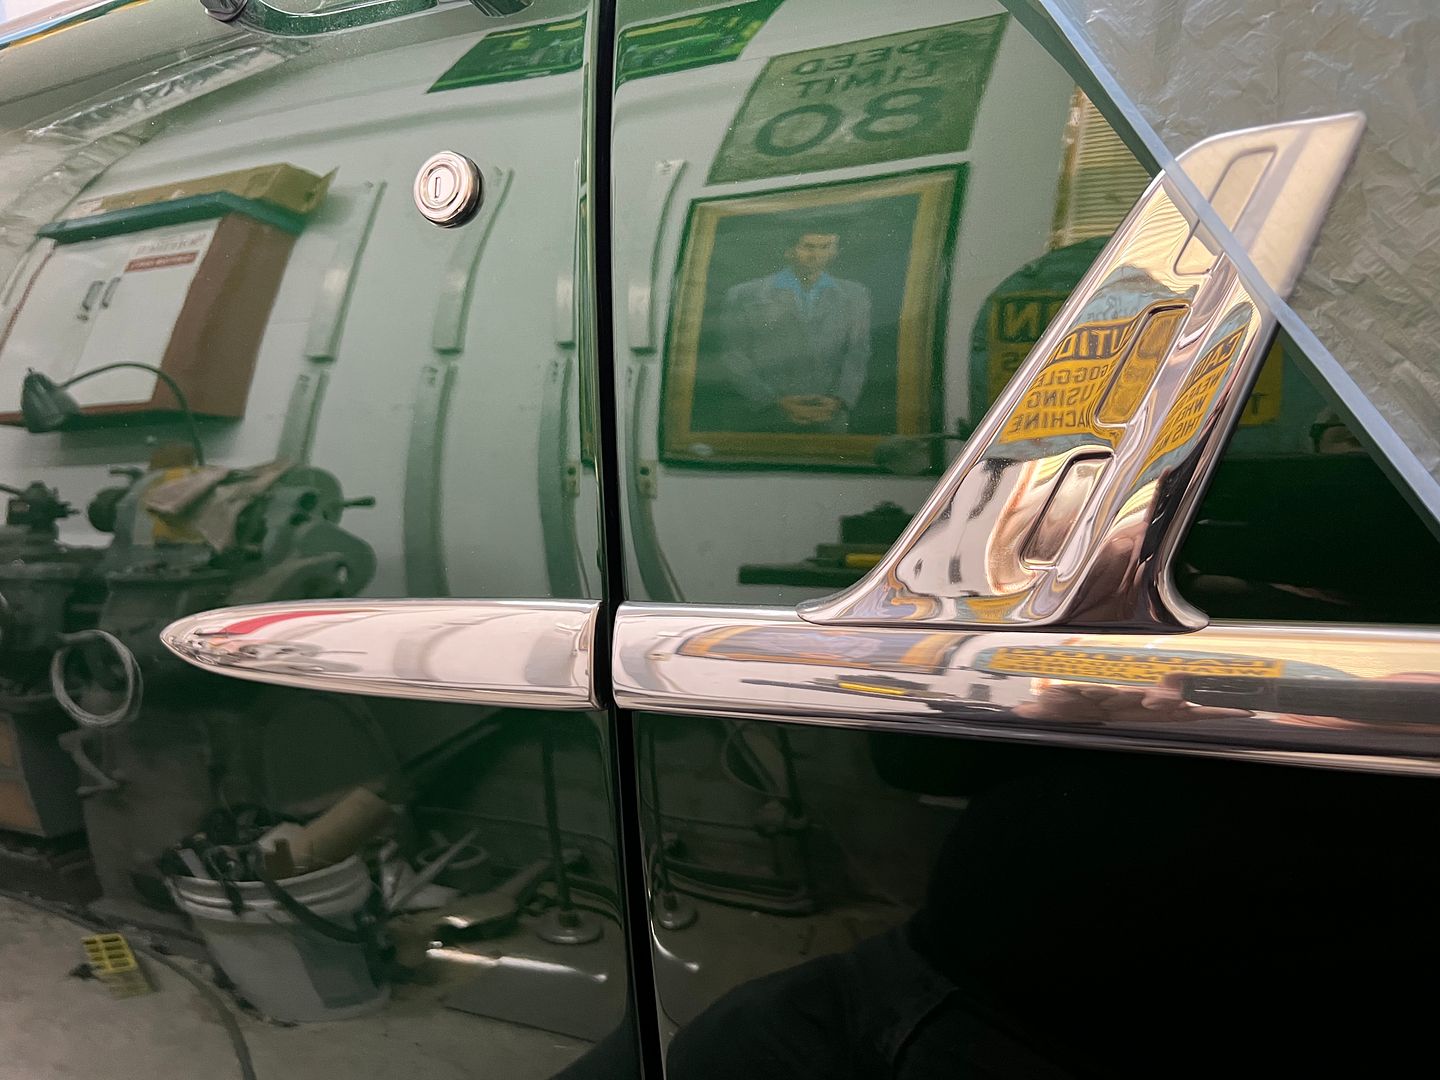
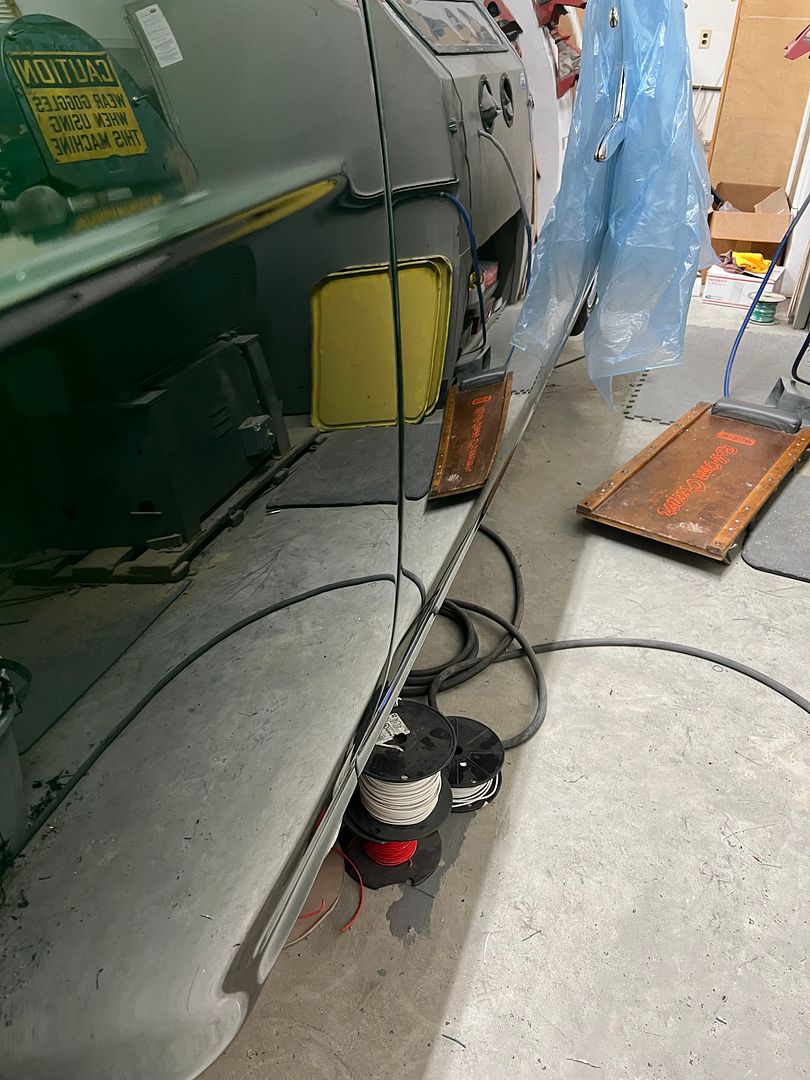
We had not pre-drill the holes for the partial spear on the doors when we installed new door skins, so here we mask off the bottom of the door and drill SLOWLY to prevent heat buildup.
Then the fresh holes are touched up with two coats of epoxy primer. Once dry the spears are added..
And our dash clock showed up so we can get that hole filled as wellRobert
-
05-19-2023 05:12 AM #8
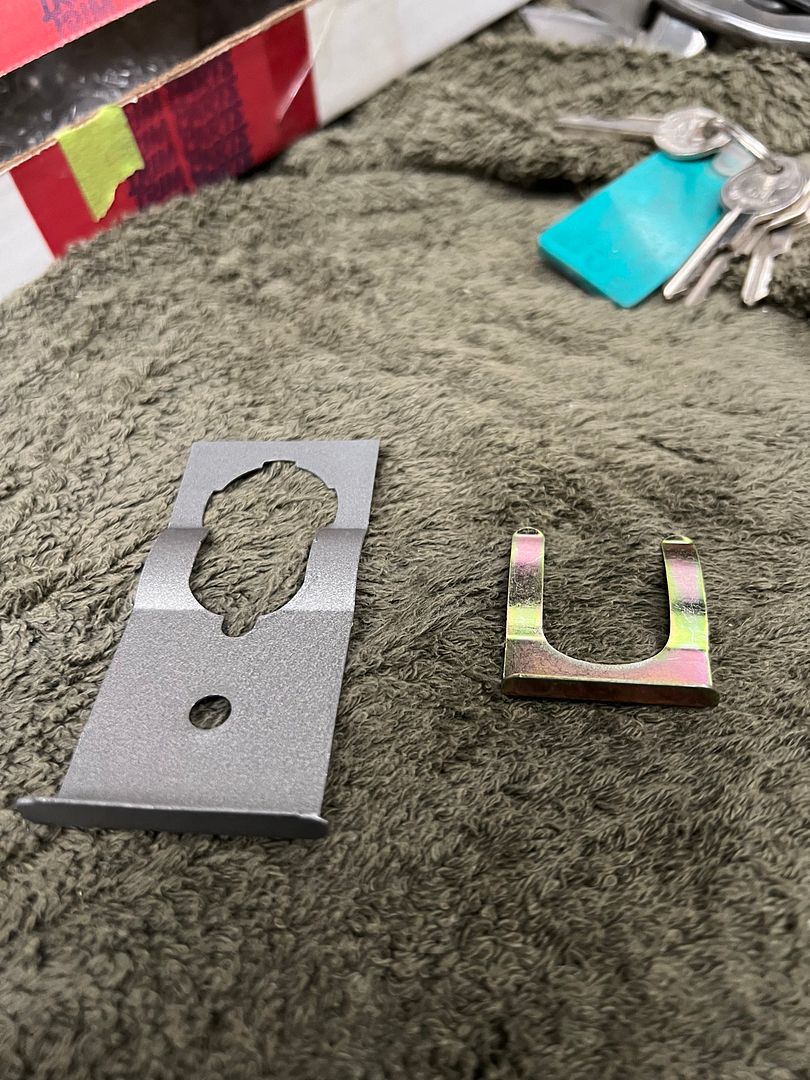
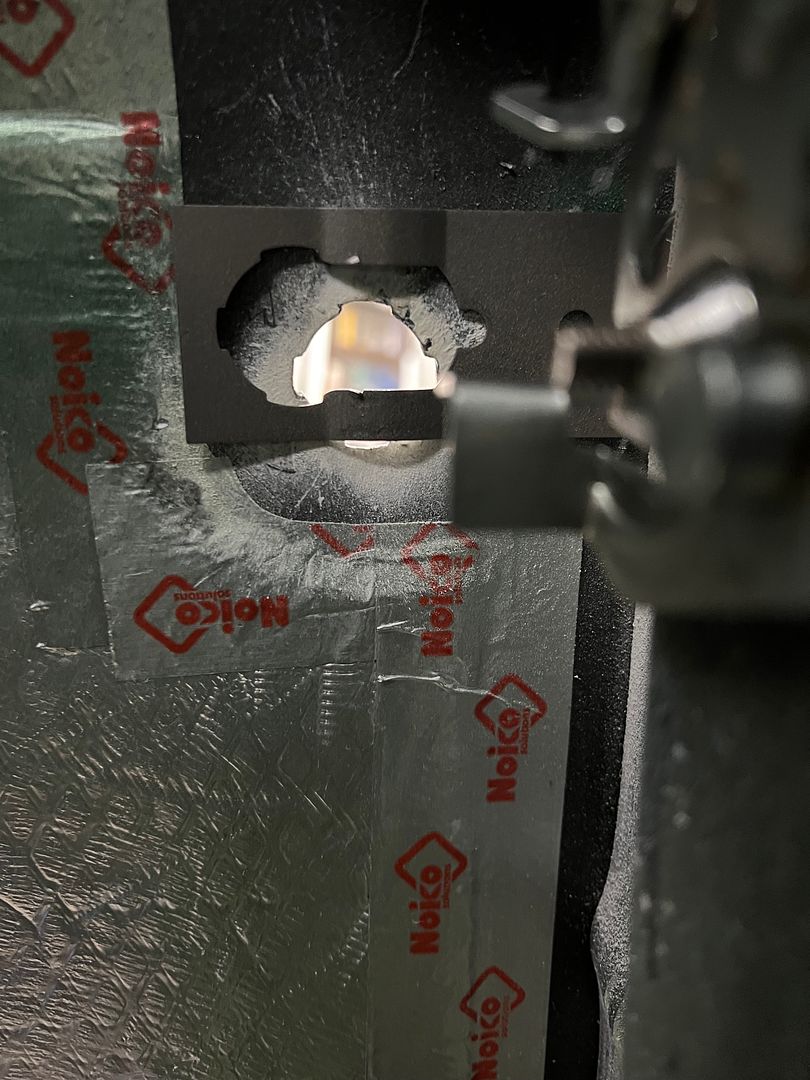
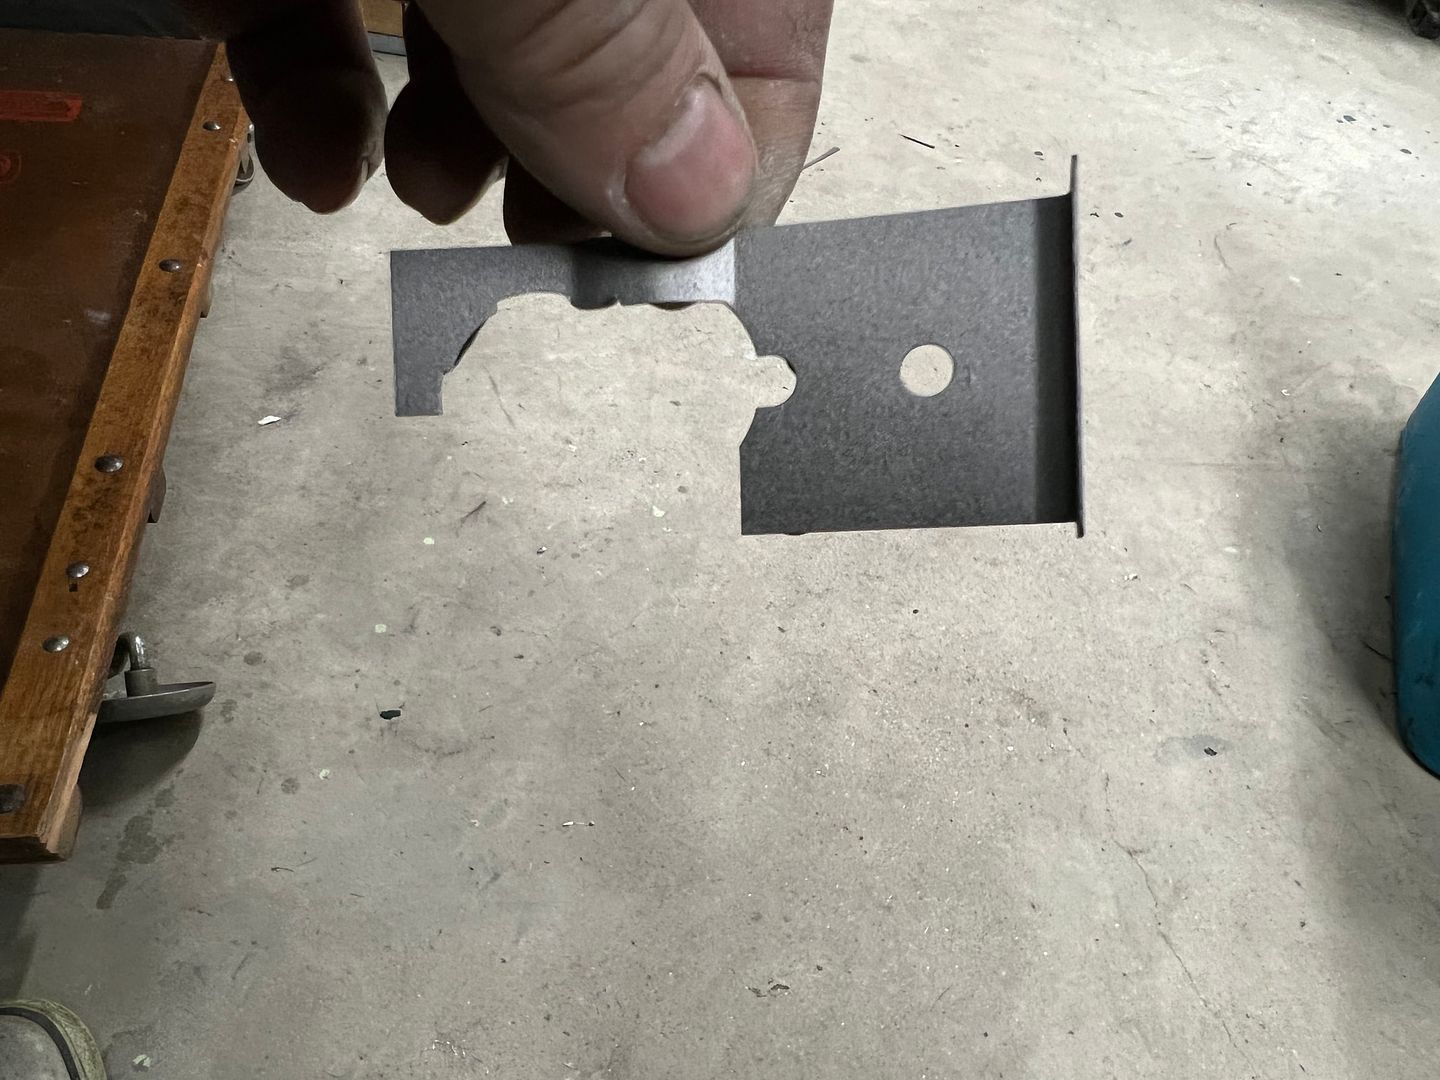
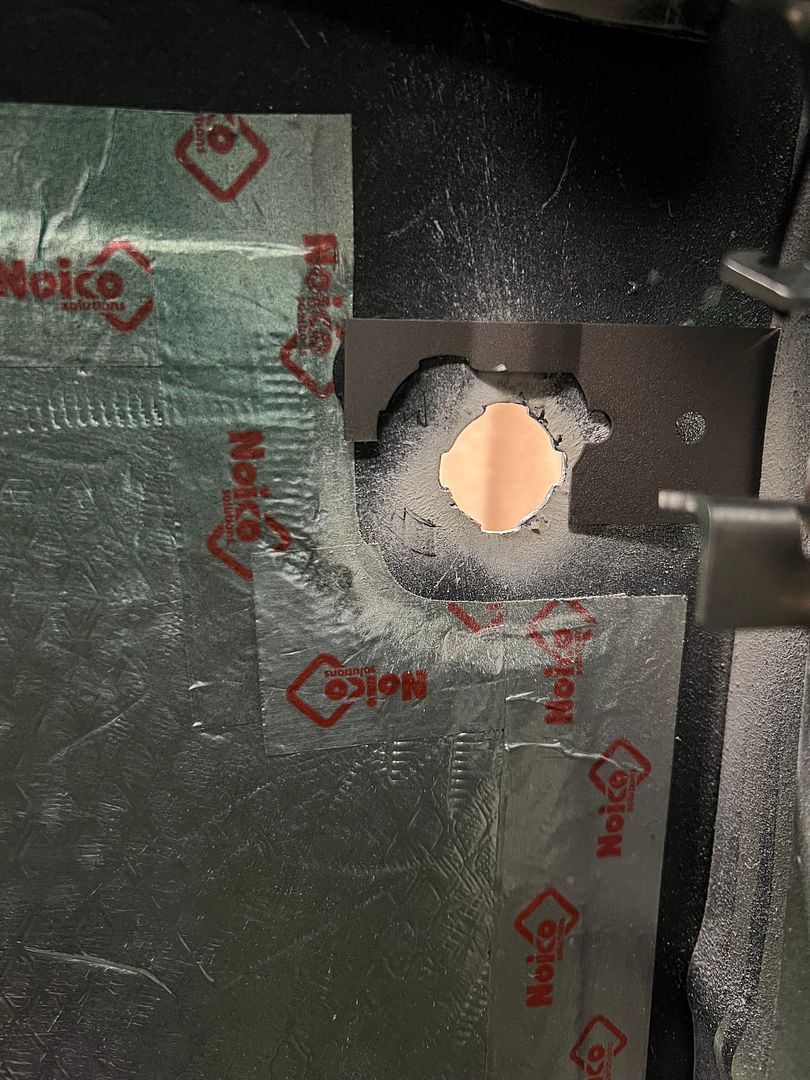
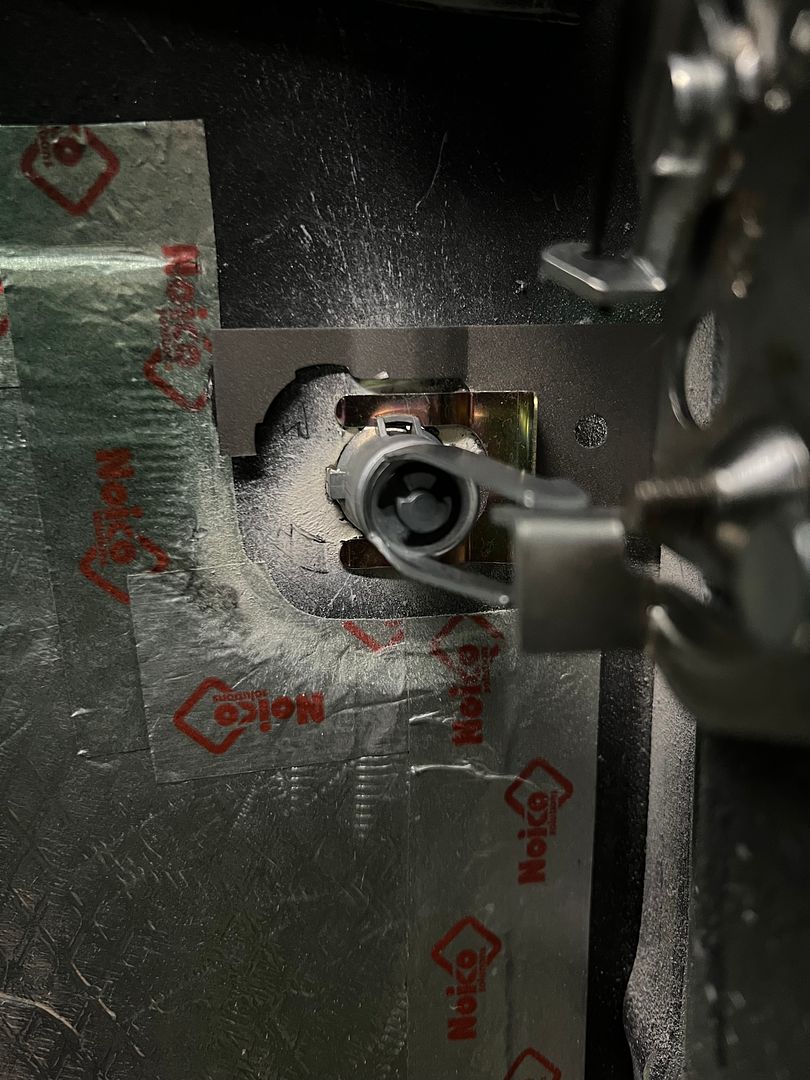
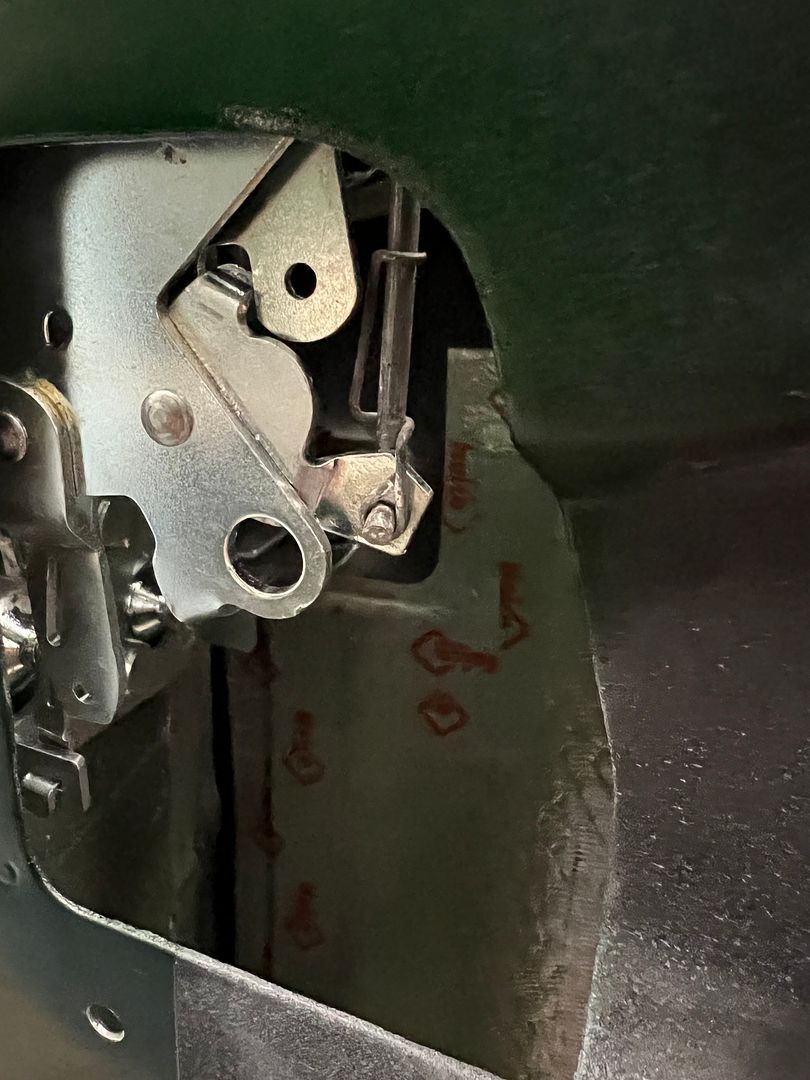
While assembling the door bits, we noticed that the retaining clip for the reproduction lock cylinders did not match the originals, which would leave us with a gaping hole in the back side of the inner door.
So we had media blasted the originals and sent to the Shop at Shorty's for a cerakote finish of gun metal grey. As my luck would have it, the door skins we had installed had some accuracy issues in the lock hole locations.
Aligning the clip to the lock hole would result in a slight misalignment out back... and you know Robert's not having that.
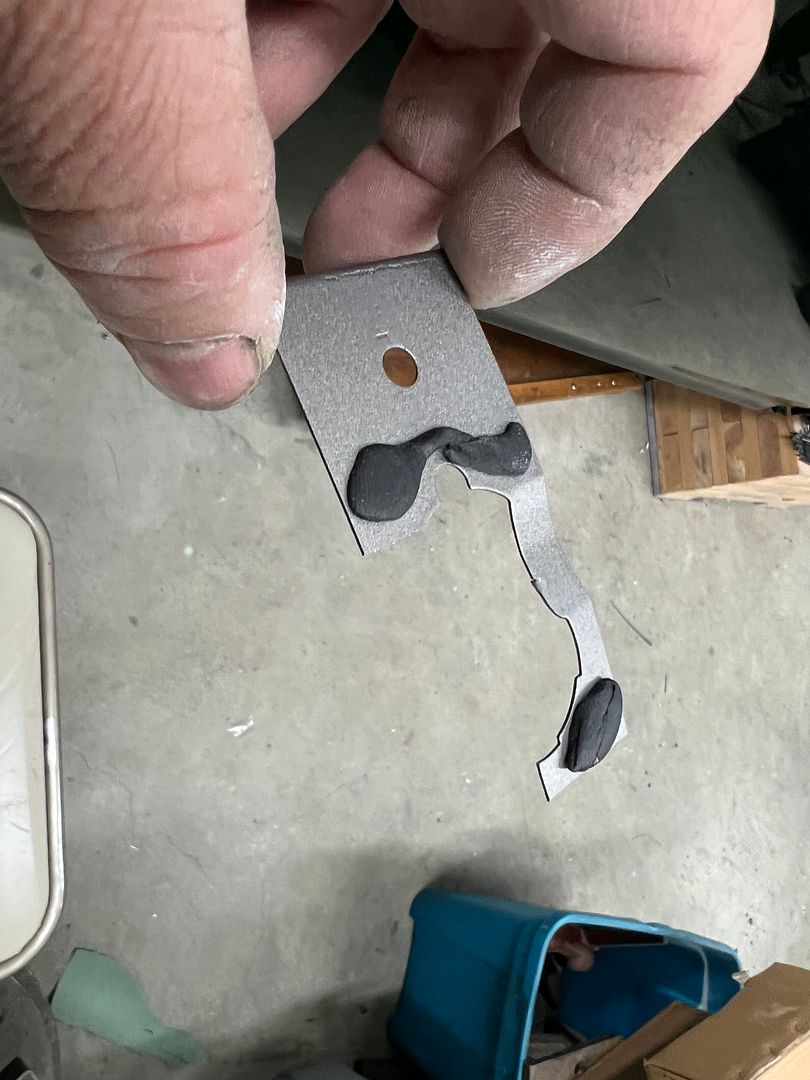
With Cerakote still fresh, some trimming was done so we could use the original clips to fill the hole void, and the new ones would be used to hold the lock cylinder in place as well as the original clip, whose new job has been reduced to filling a slotted opening. Some window sealant will slow any movement of the pretend clip.
And the same effort repeated for the driver's side. Where it wasn't as far off as the other side, our mods were still required.
Mandatory Kramer photo bomb
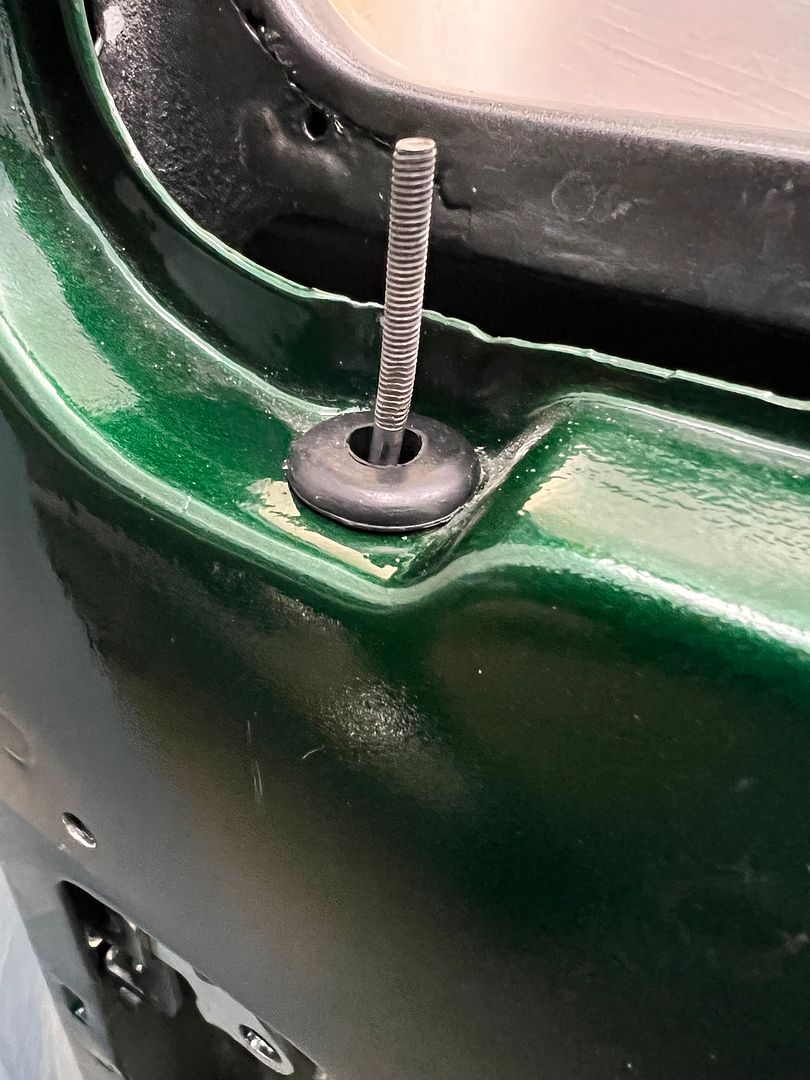
Adding the pull rod for the door lock....
and the addition of a rubber grommet will help keep rattles down.
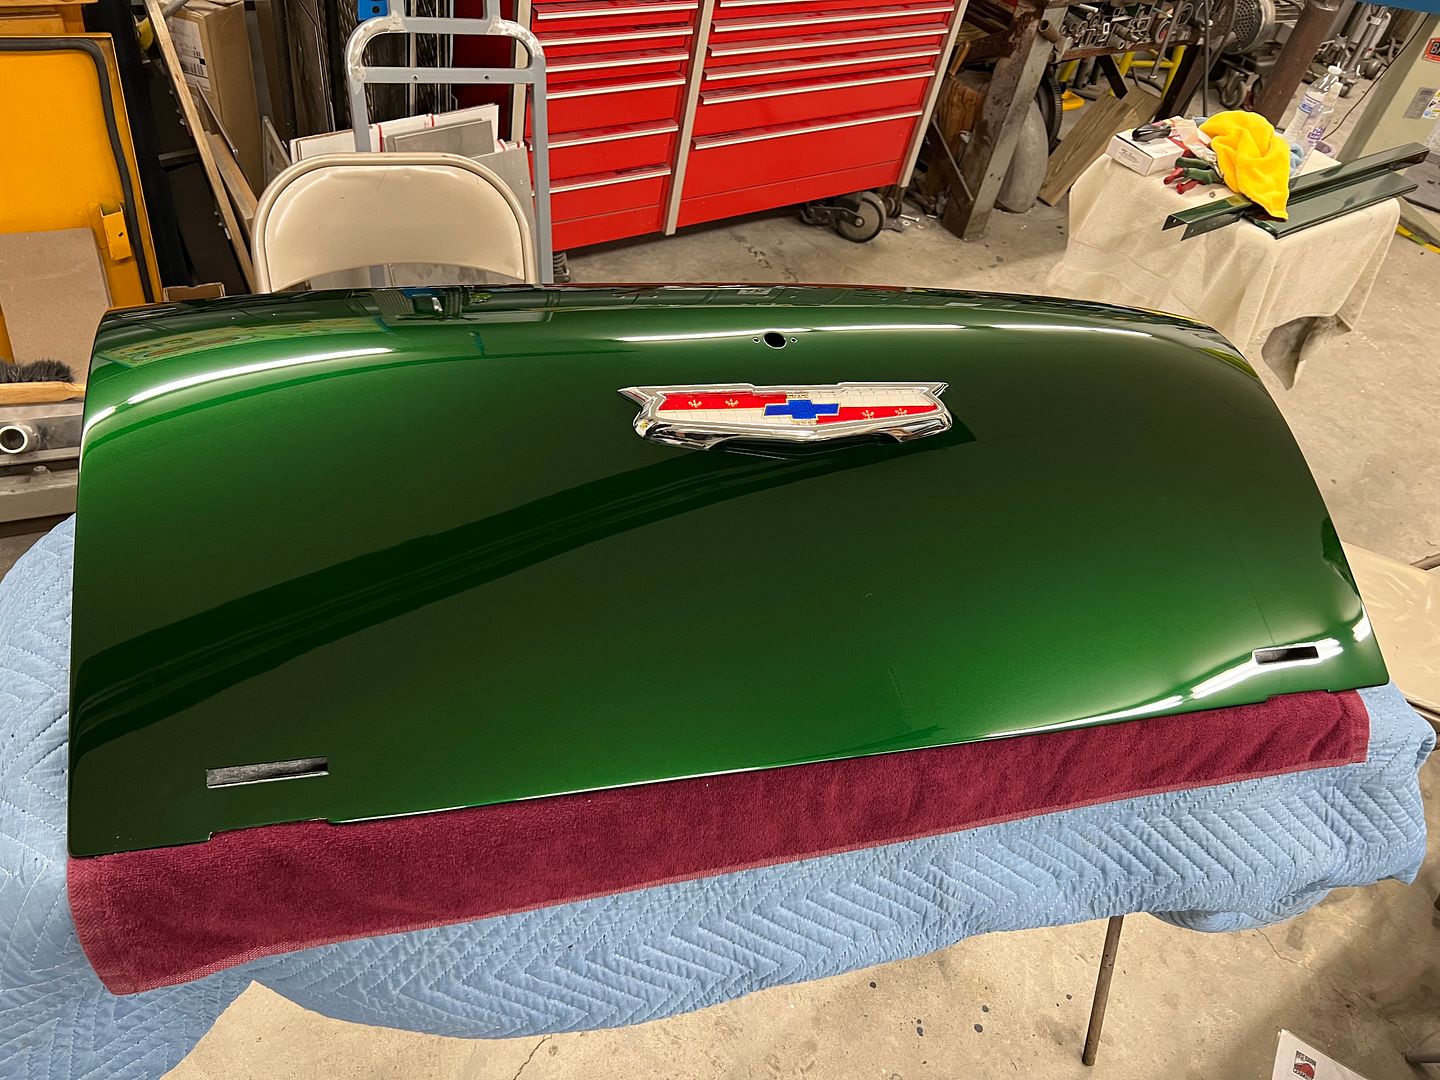
Jared applied some Kilmat inside the tailgate and we added more bling..
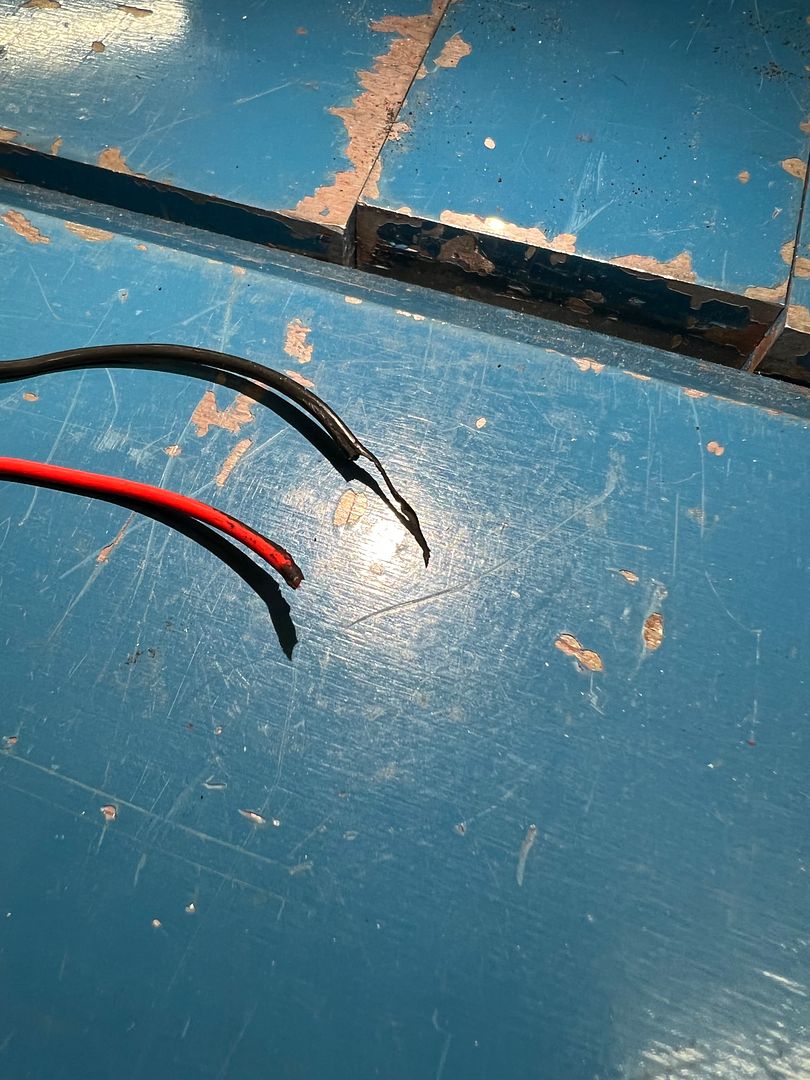
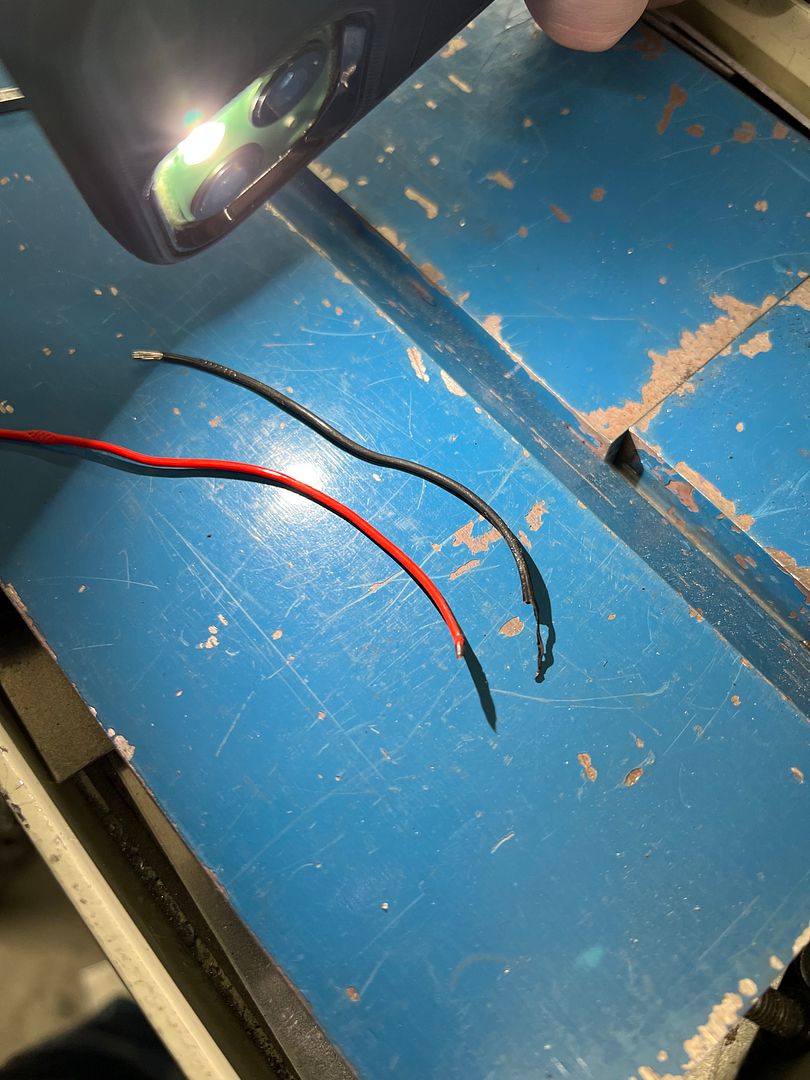
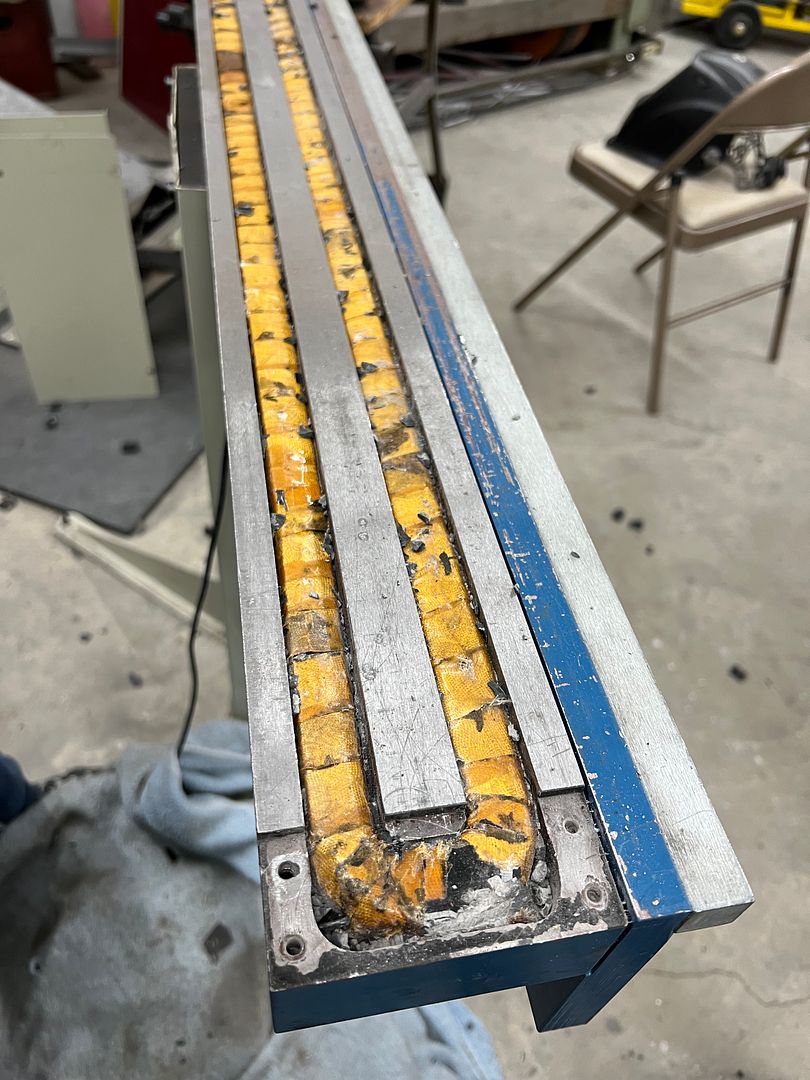
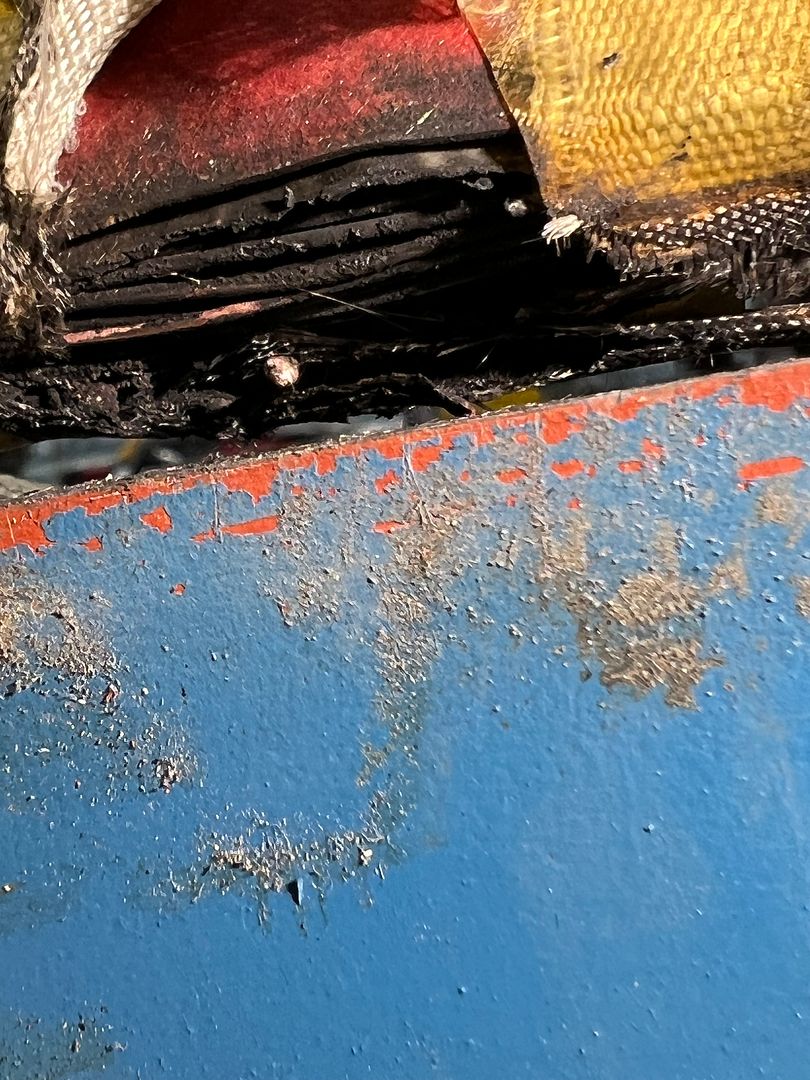
And we've had a casualty with the Baileigh magnetic brake. The magnet stopped working and some troubleshooting found an open with the coil. Some inspection of the supply wires found an over heat issue. Removing all the epoxy showed it's been warm for awhile....
So it looks like we'll be in search of replacement parts.Robert
-
05-20-2023 04:43 AM #9
Sometimes ya gotta do what ya gotta do.Your Uncle Bob, Senior Geezer Curmudgeon
It's much easier to promise someone a "free" ride on the wagon than to urge them to pull it.
Luck occurs when preparation and opportunity converge.
-
05-24-2023 04:25 AM #10
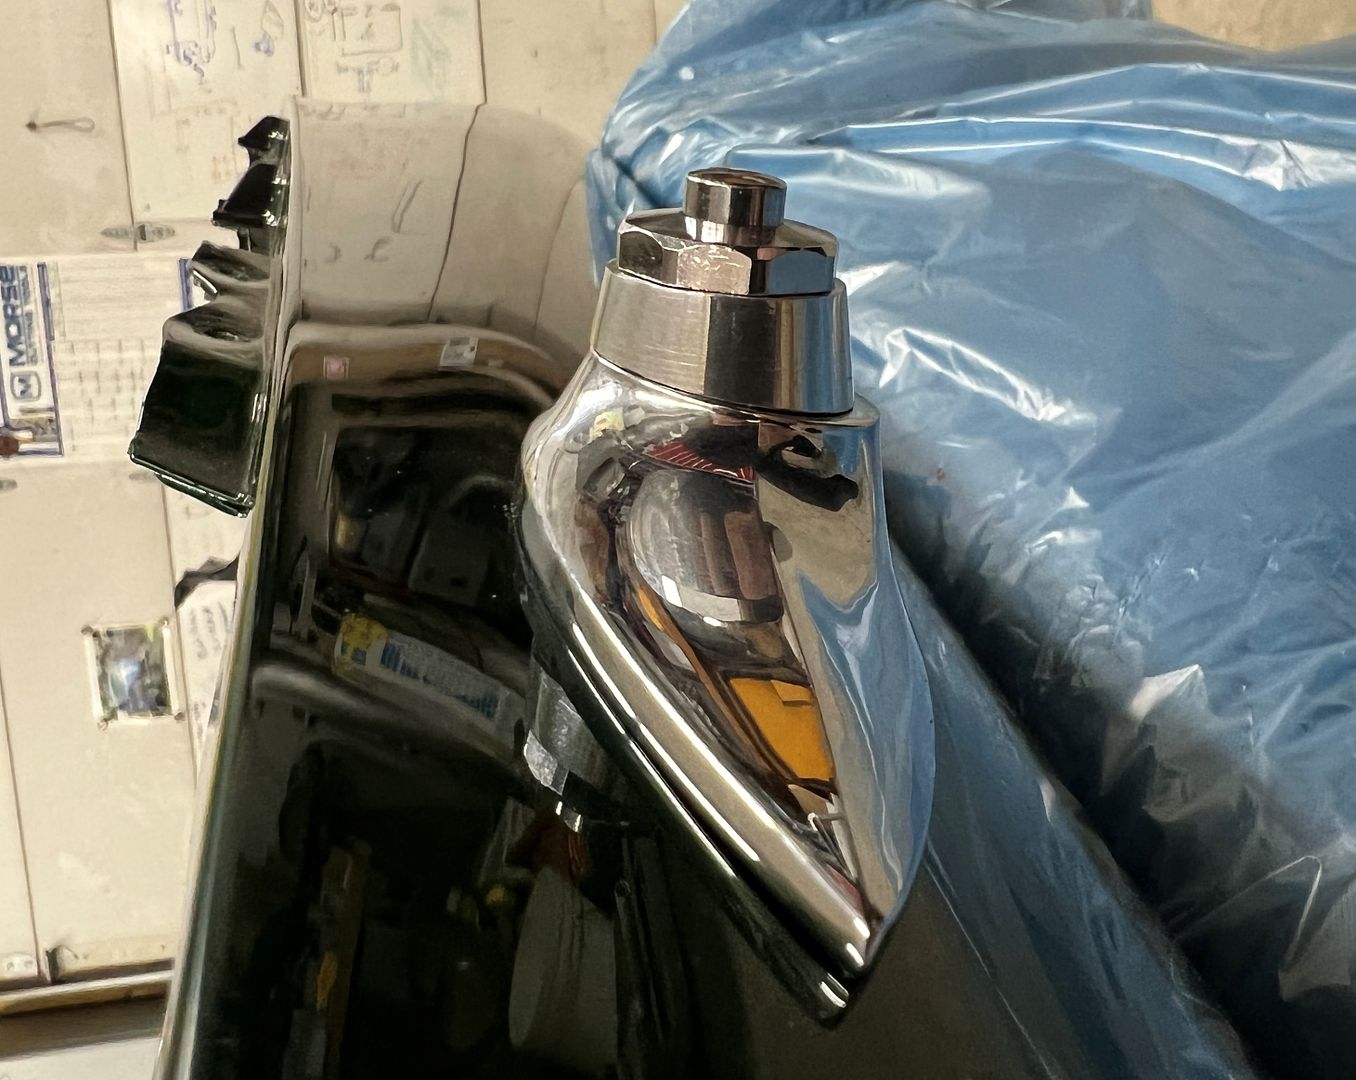
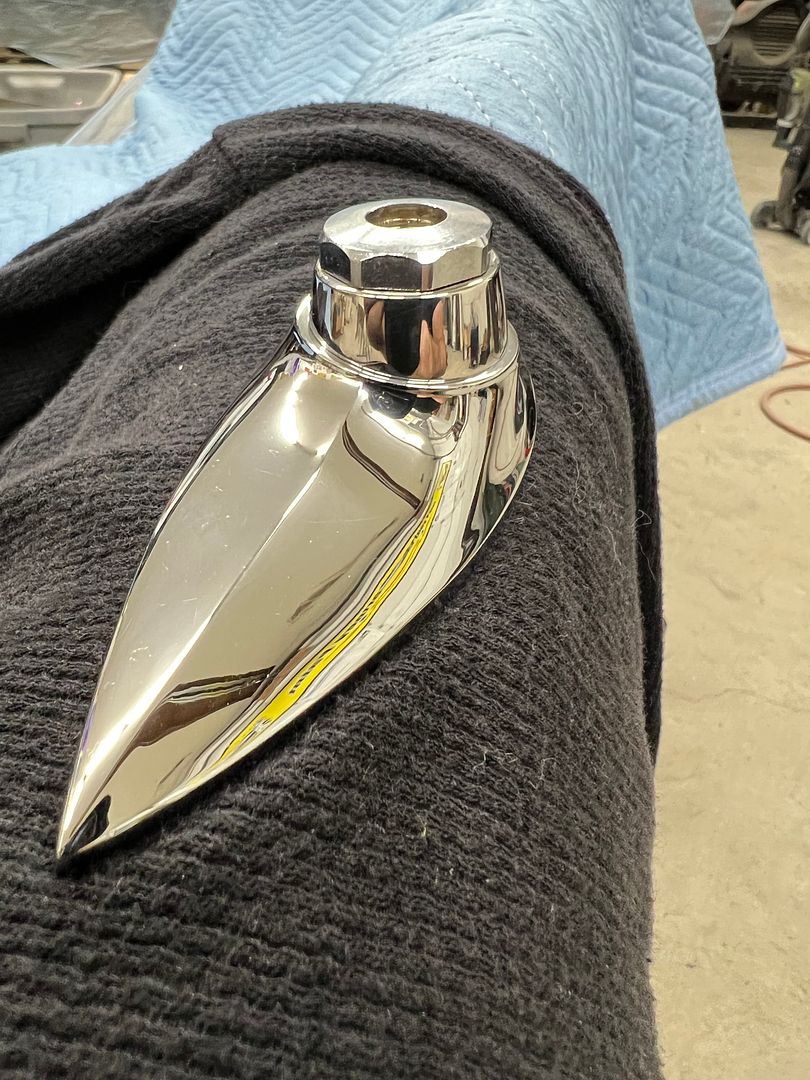
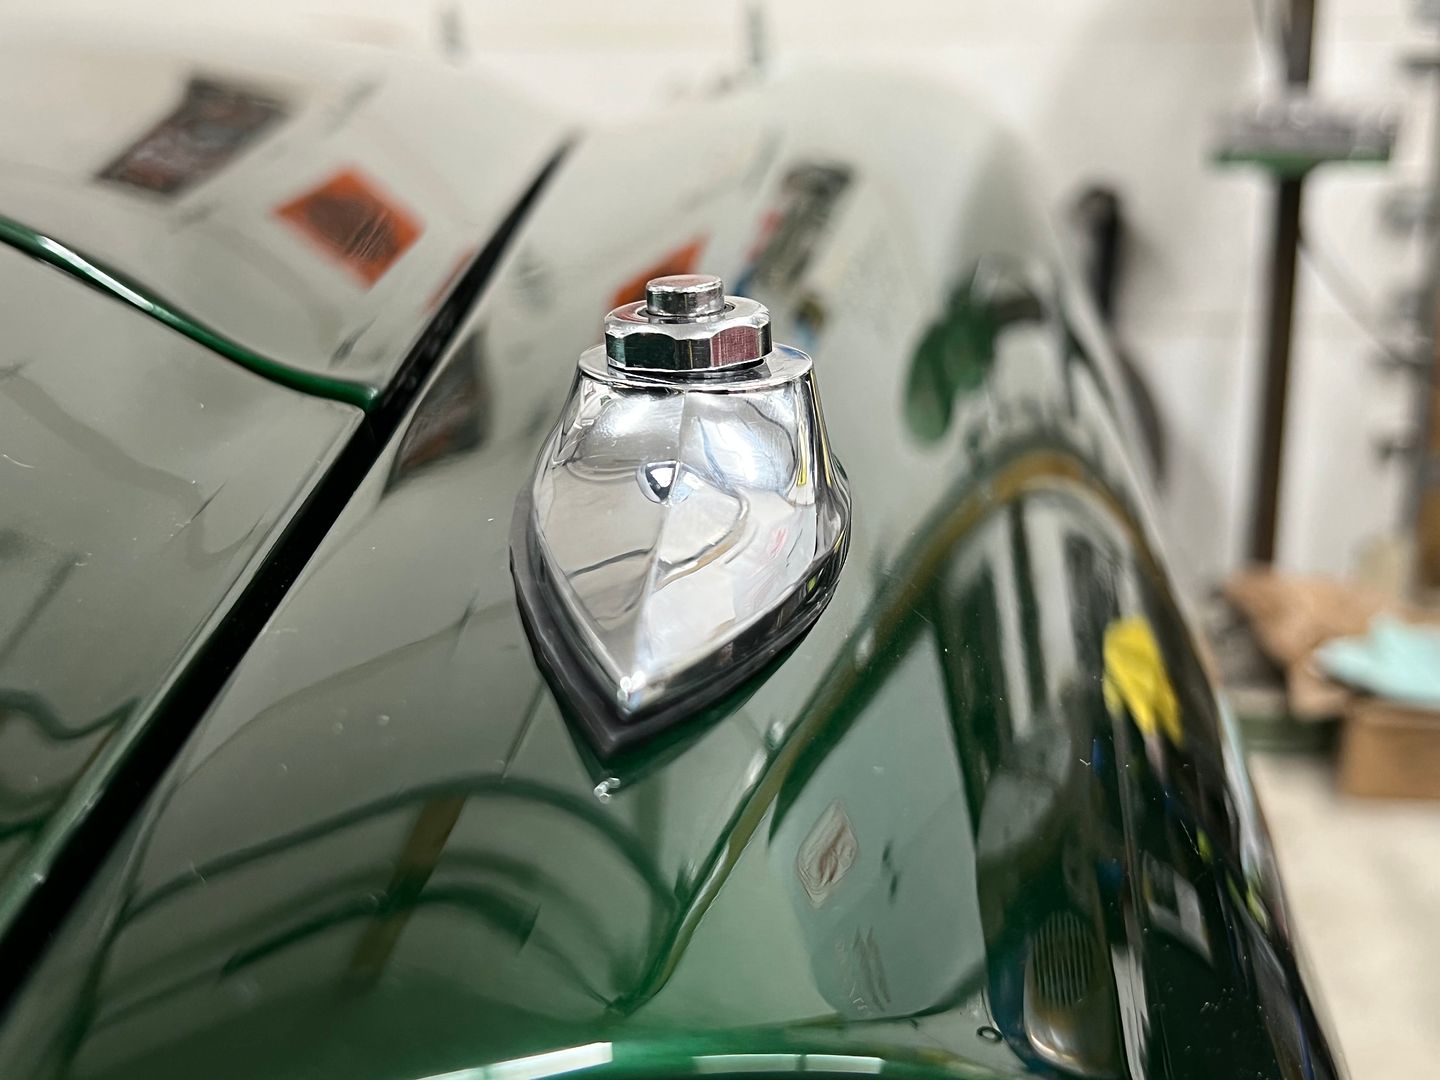
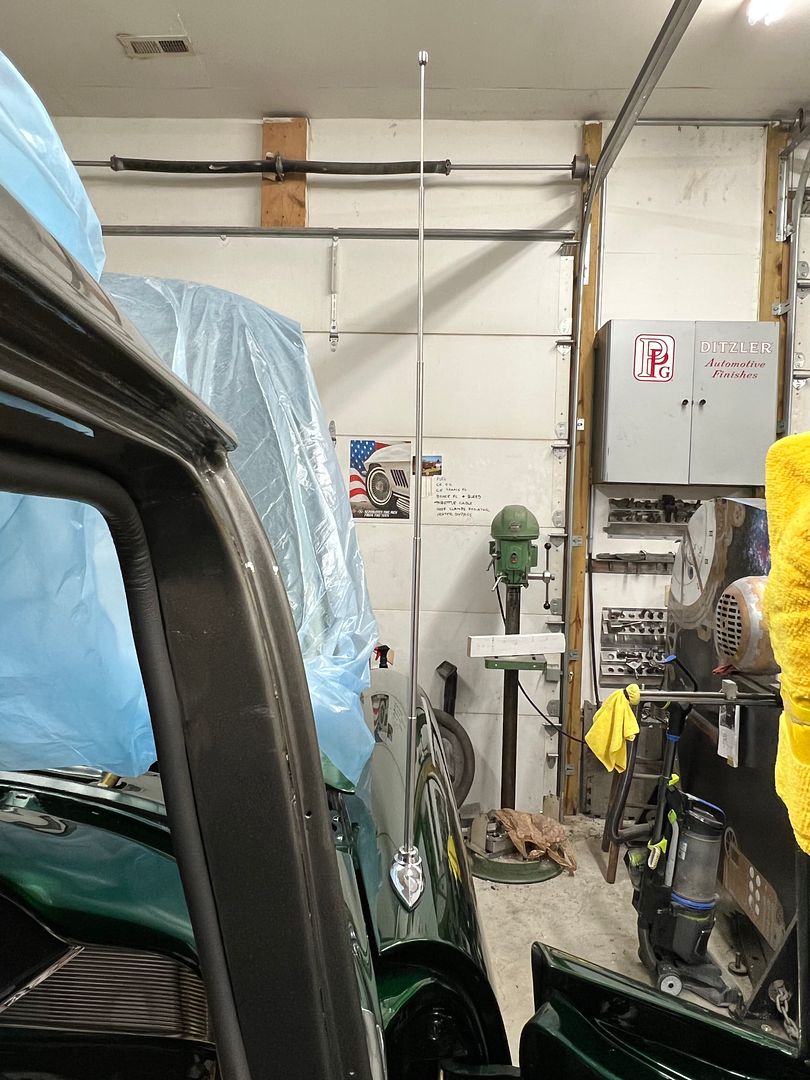
More progress, we were test fitting the power antenna an noticed that the mounting bezel did not sit horizontally on the fender. I had quickly whipped up a wedge shaped and tapered spacer out of some aluminum as a quick test.
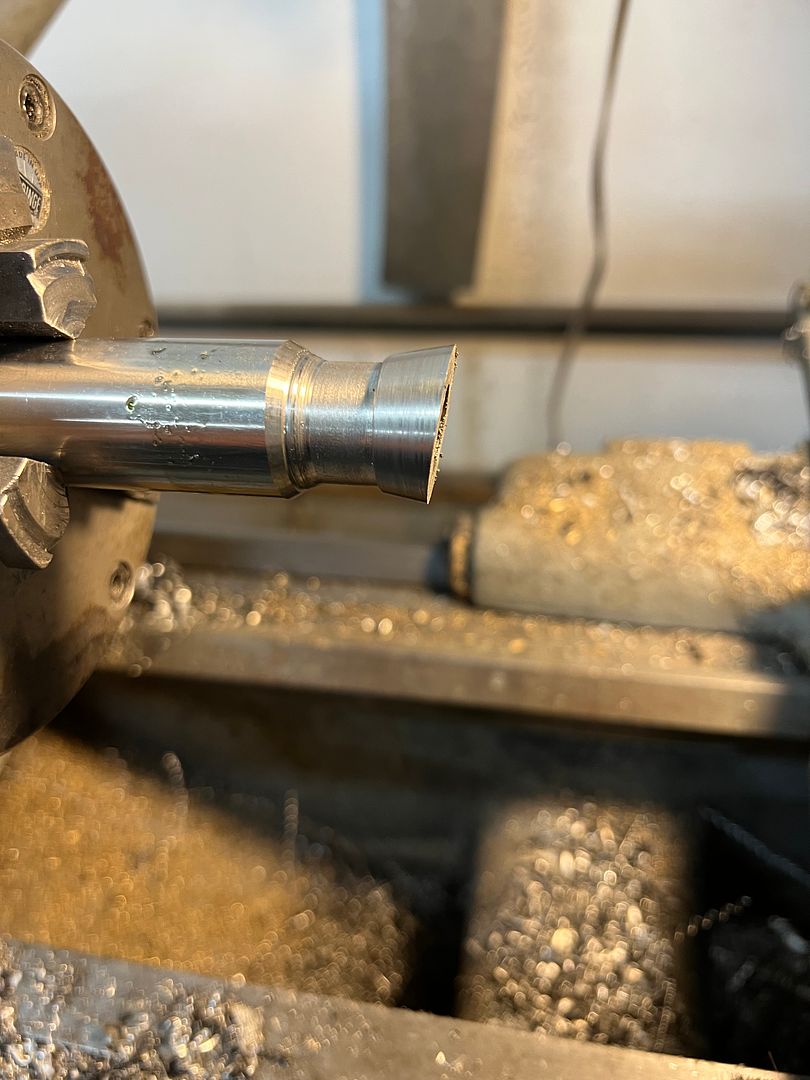
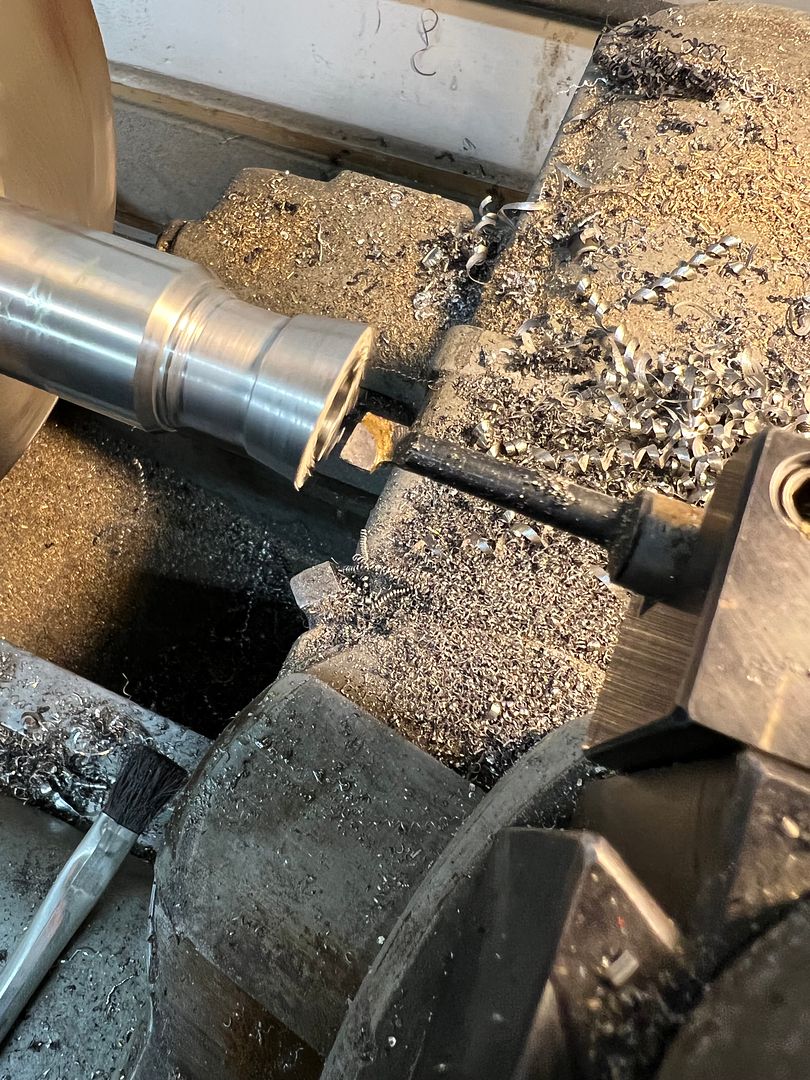
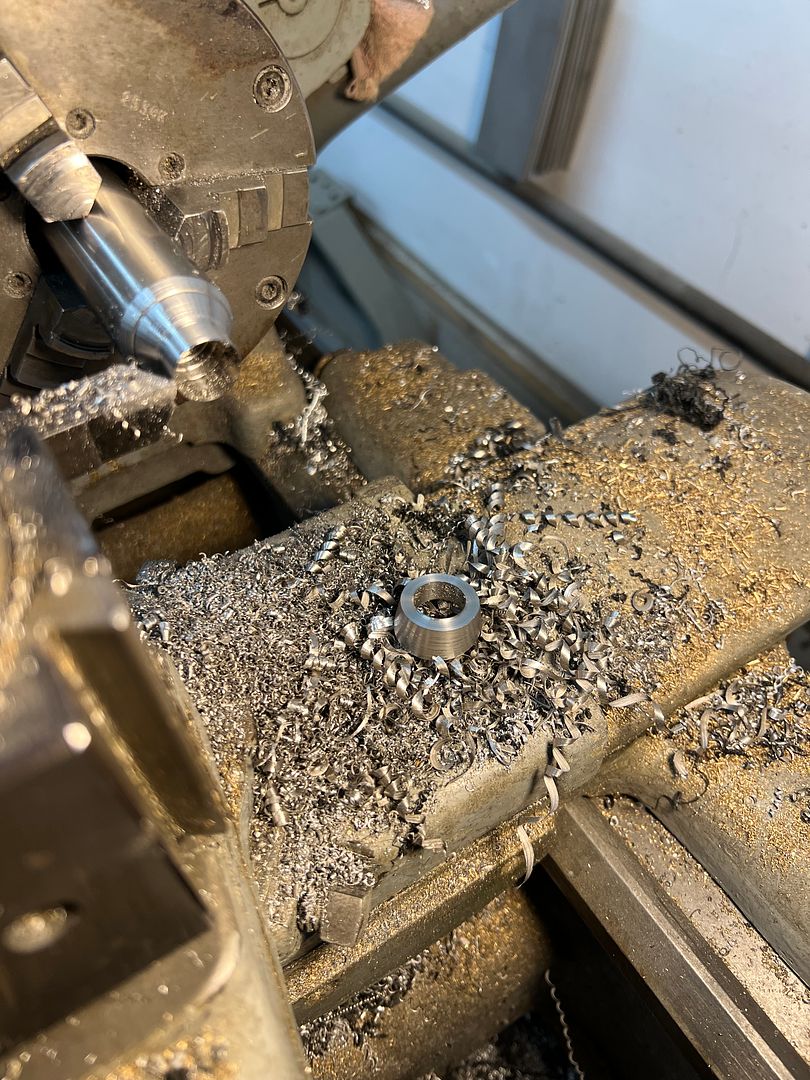
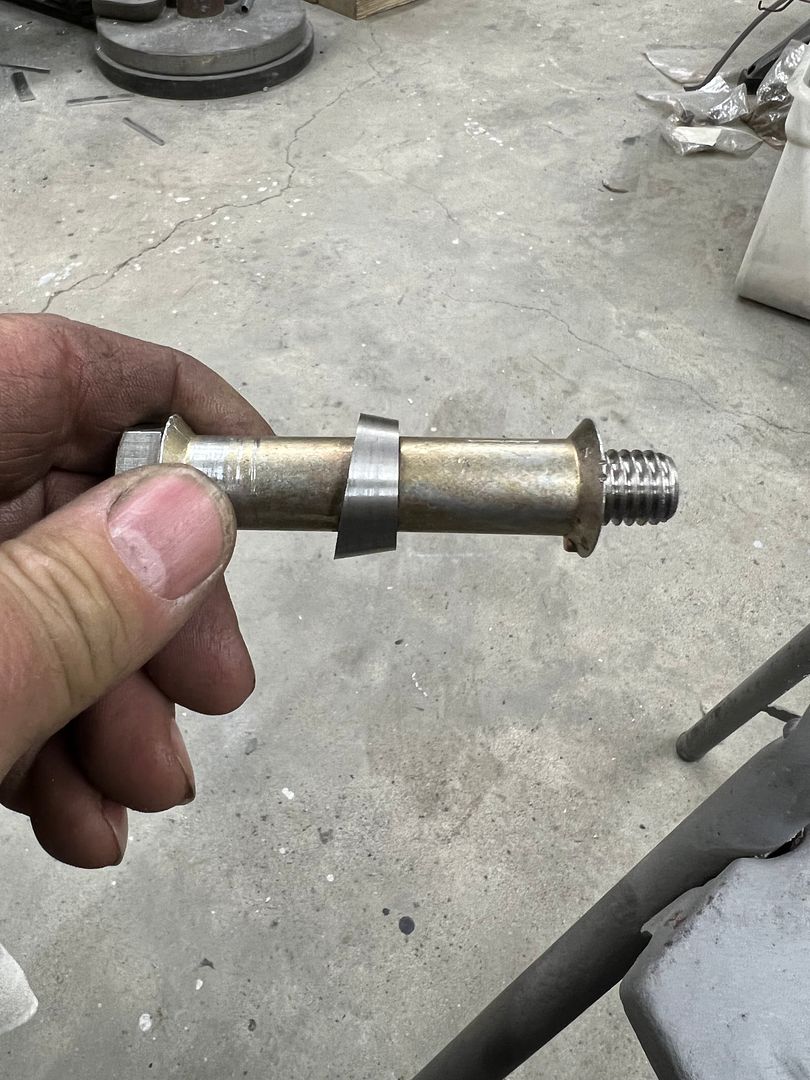
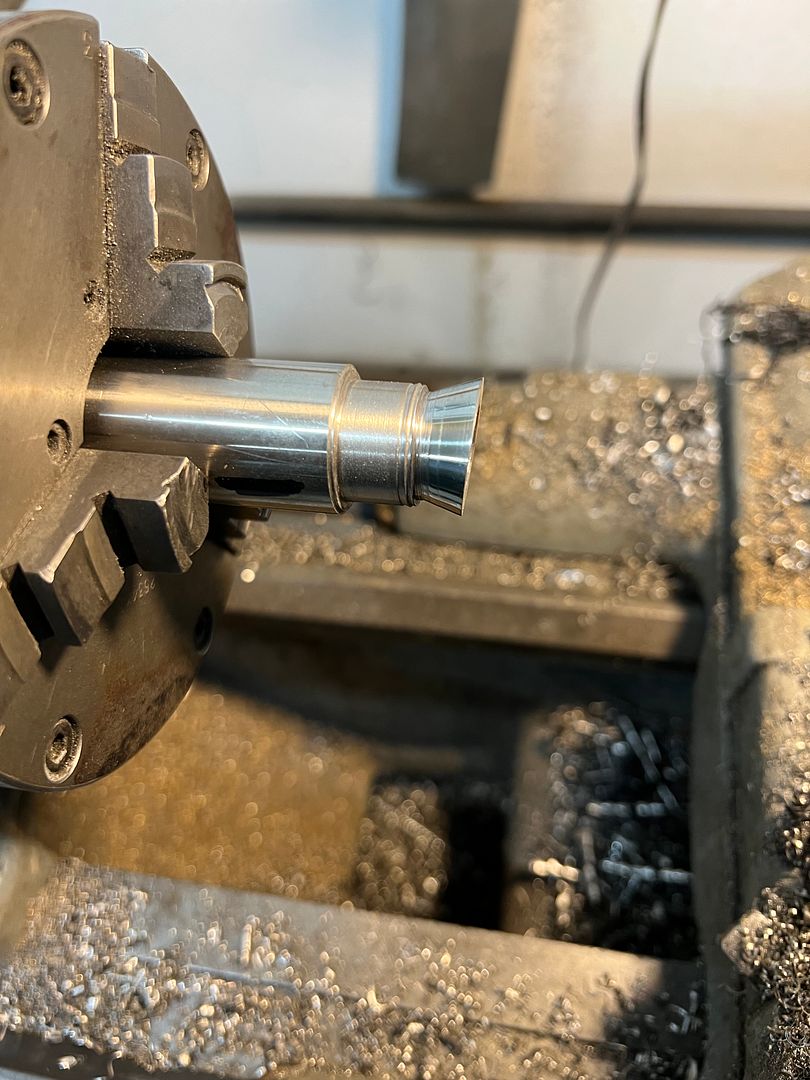
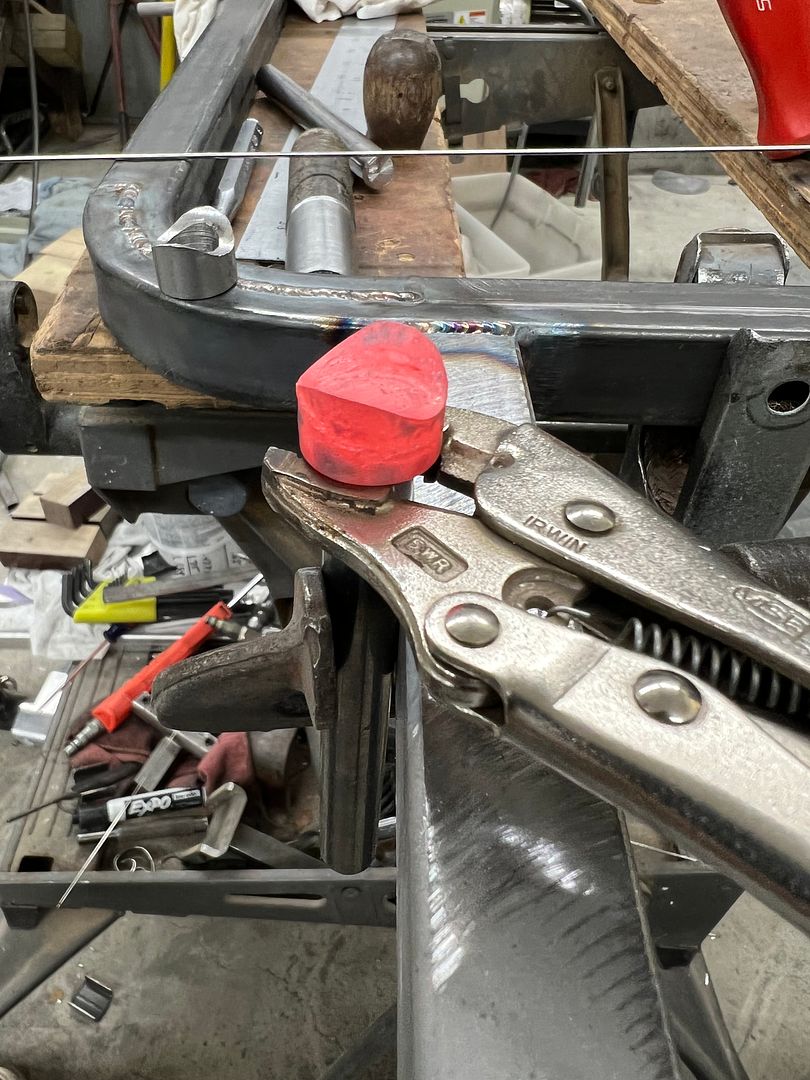
Where that was functional, it did not match the chrome finish of the bezel. I picked up a chunk of 1" stainless rod (local drop cut) to make a duplicate out of stainless. The wedge shape was added first, using the 12" disc sander... then clamped in the Southbend for the taper cut and a hole boring.
....and trimmed off to length
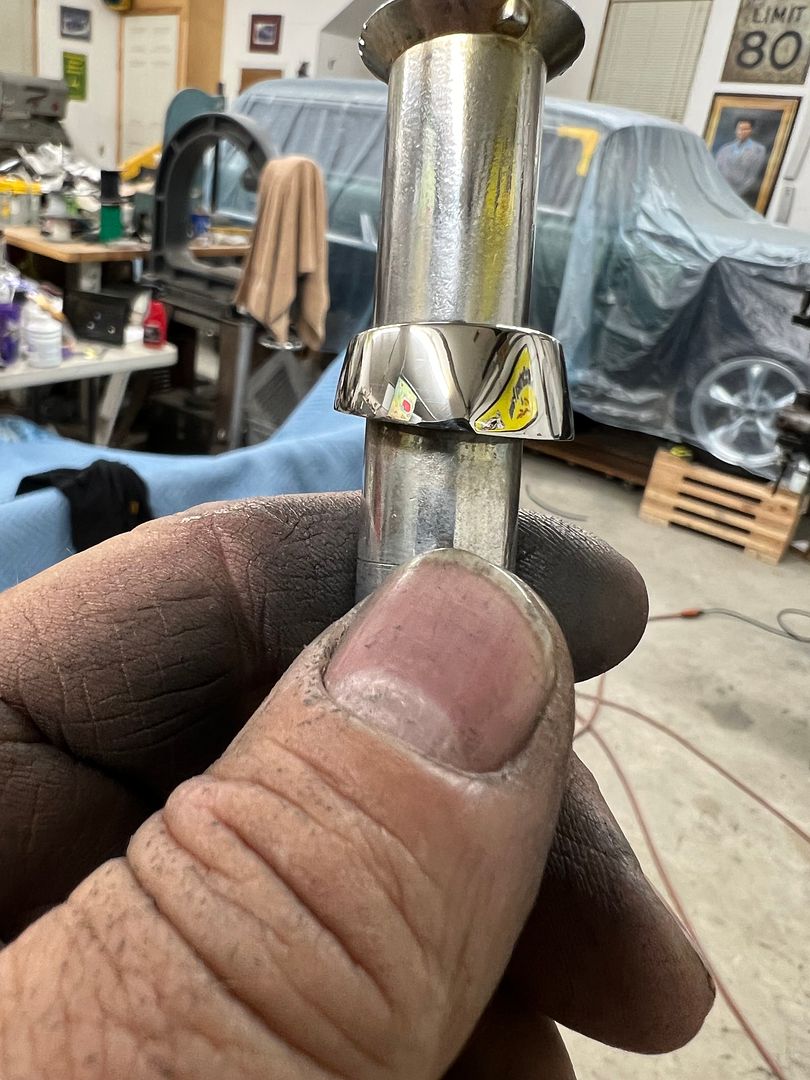
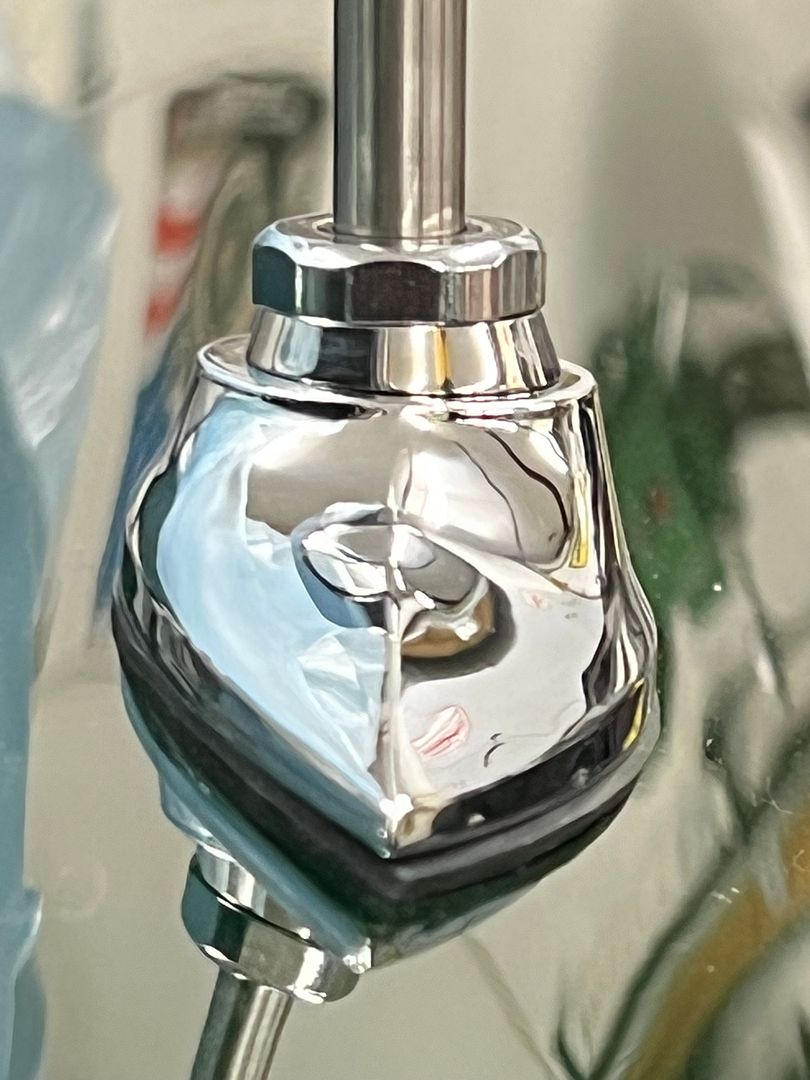
In order to hold this oddball shape for polishing, some rivnuts were used on a 1/2-13 bolt, with the wedge angle added to one for a more positive hold..
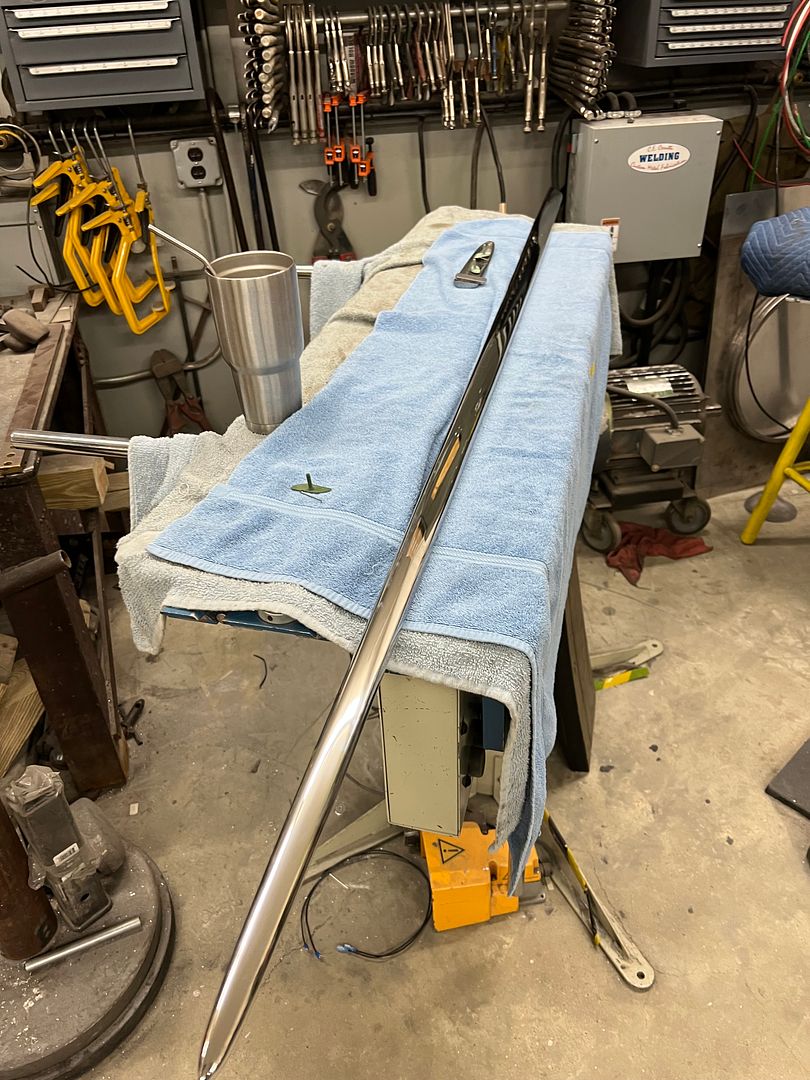
Completed, this matches the chrome finish of the bezel much better...
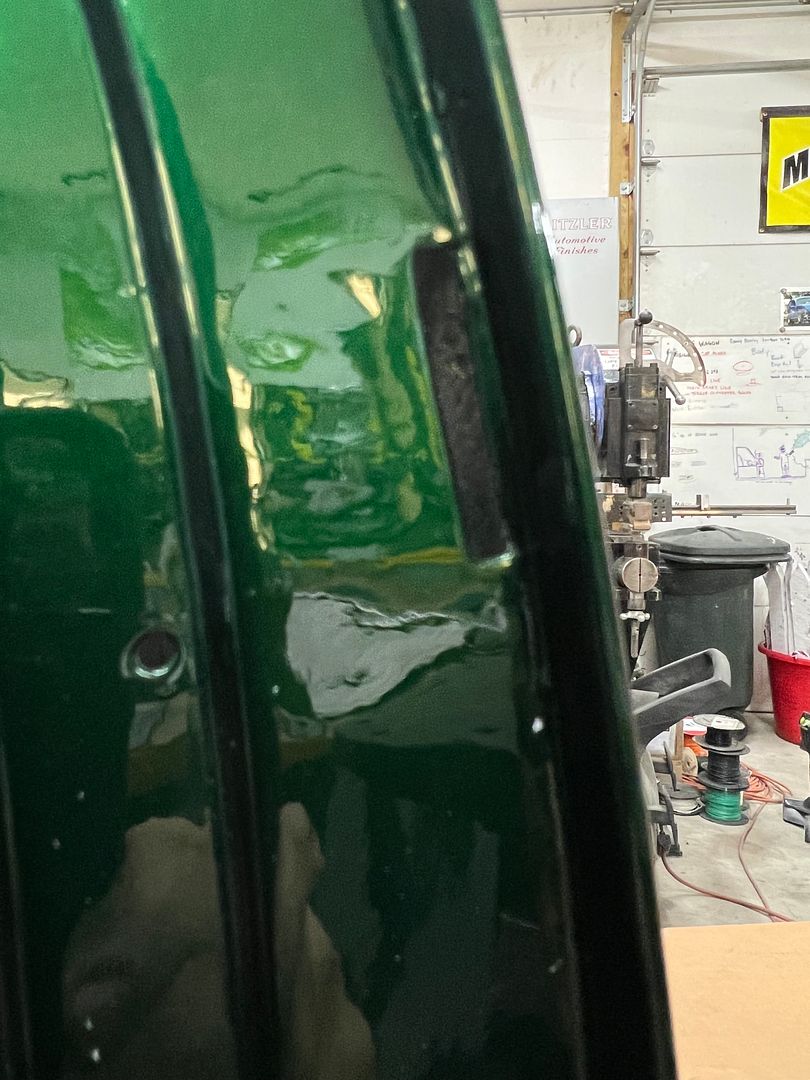
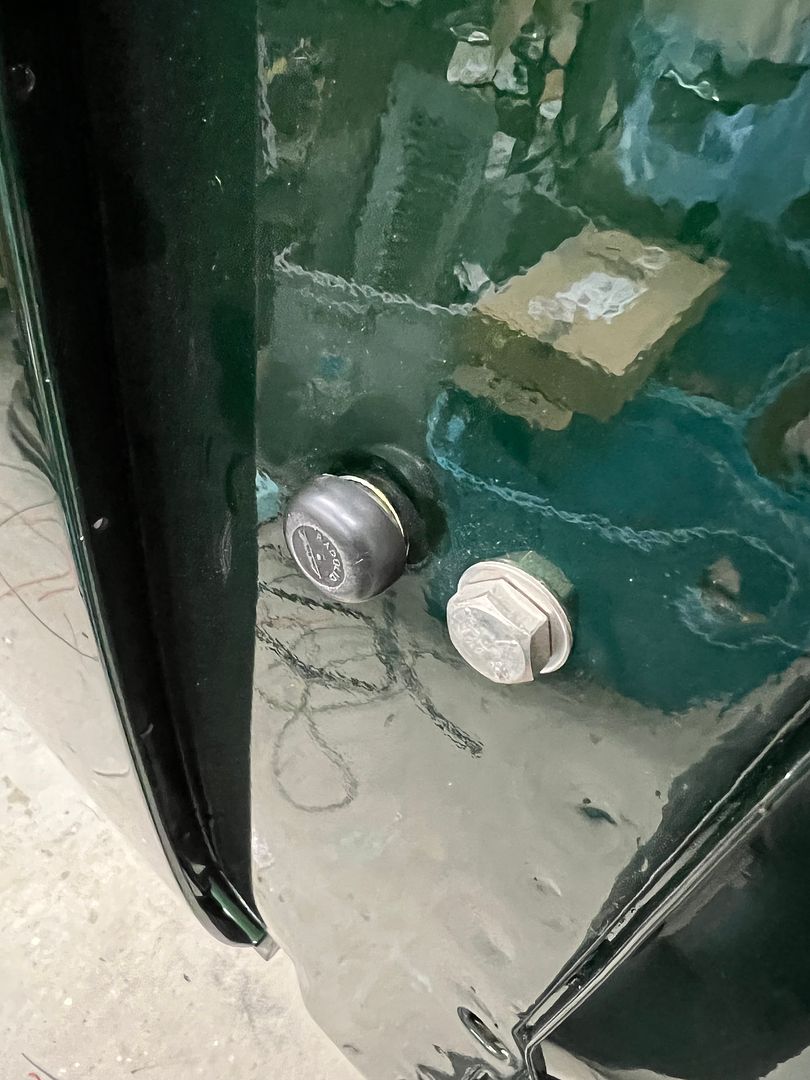
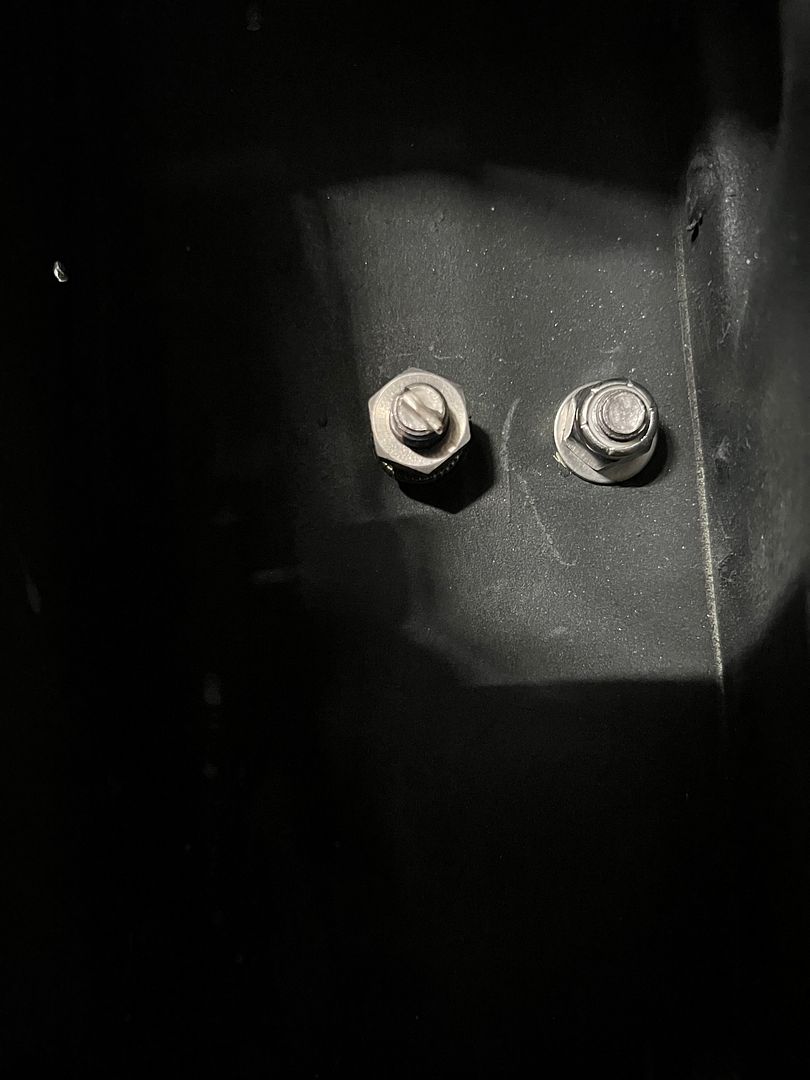
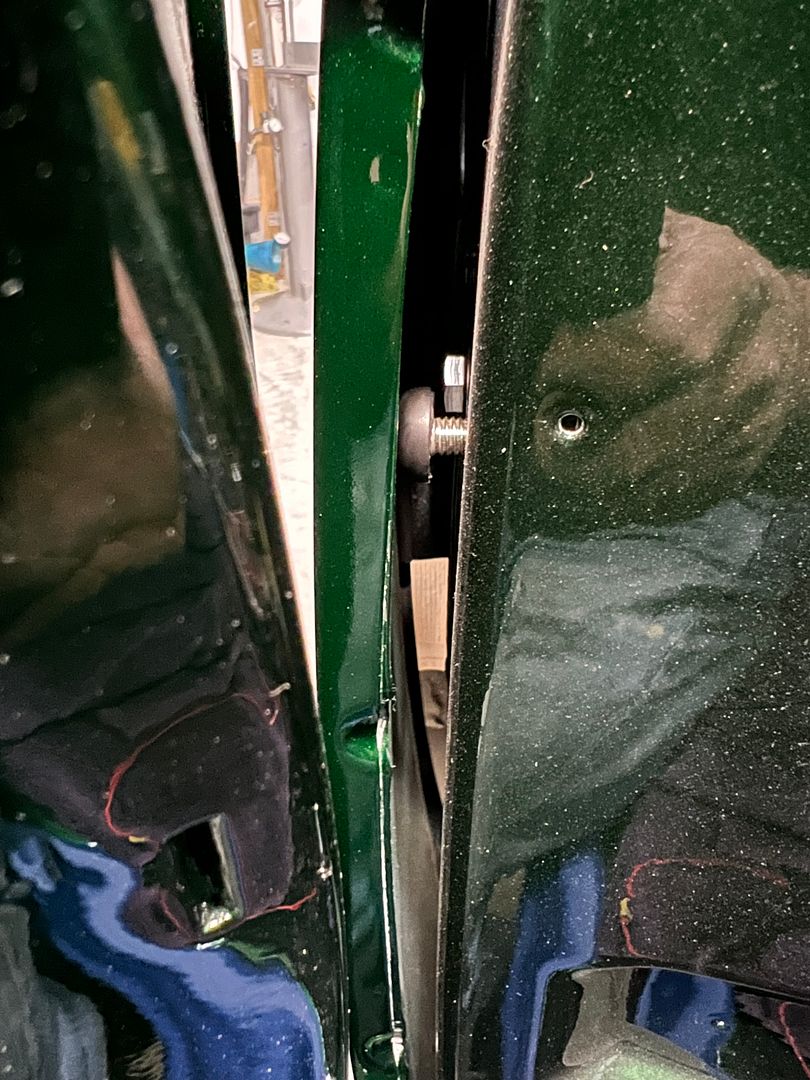
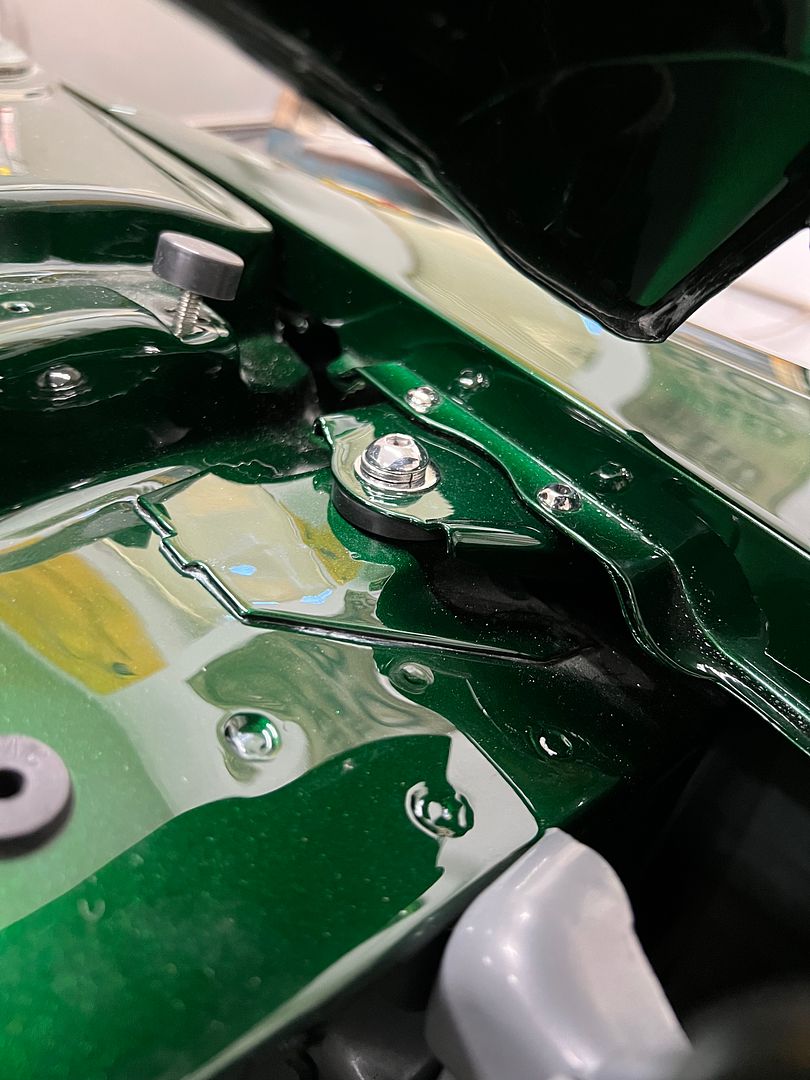
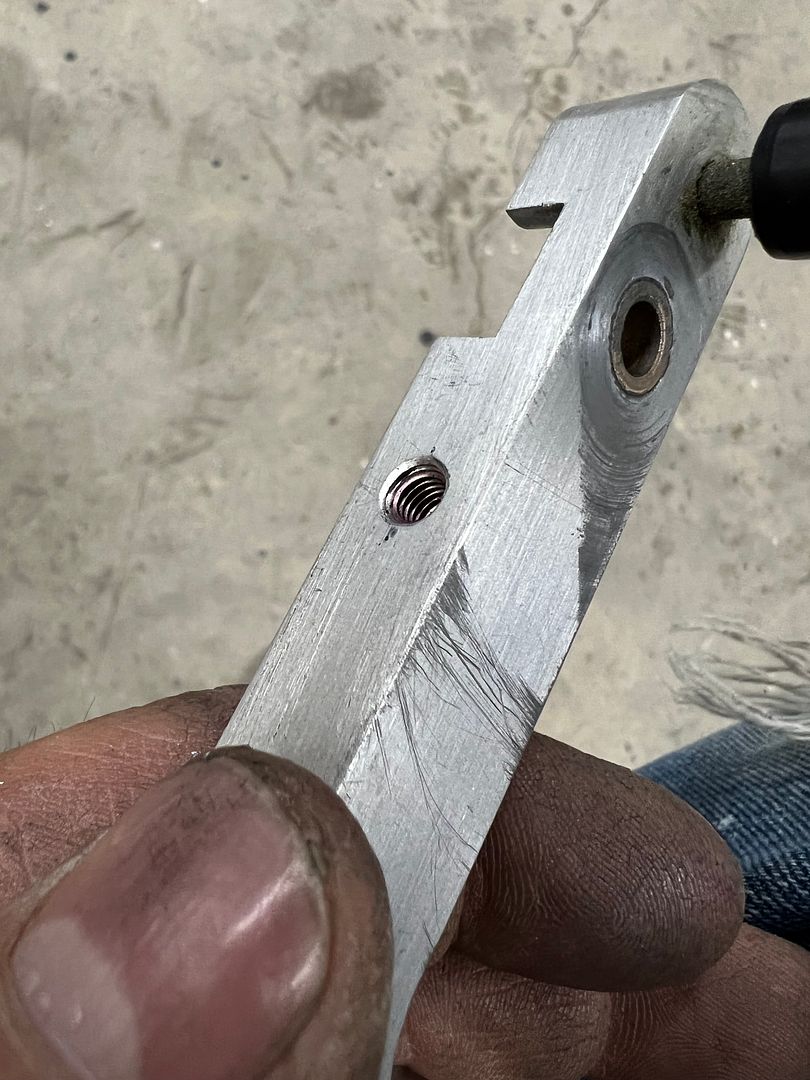
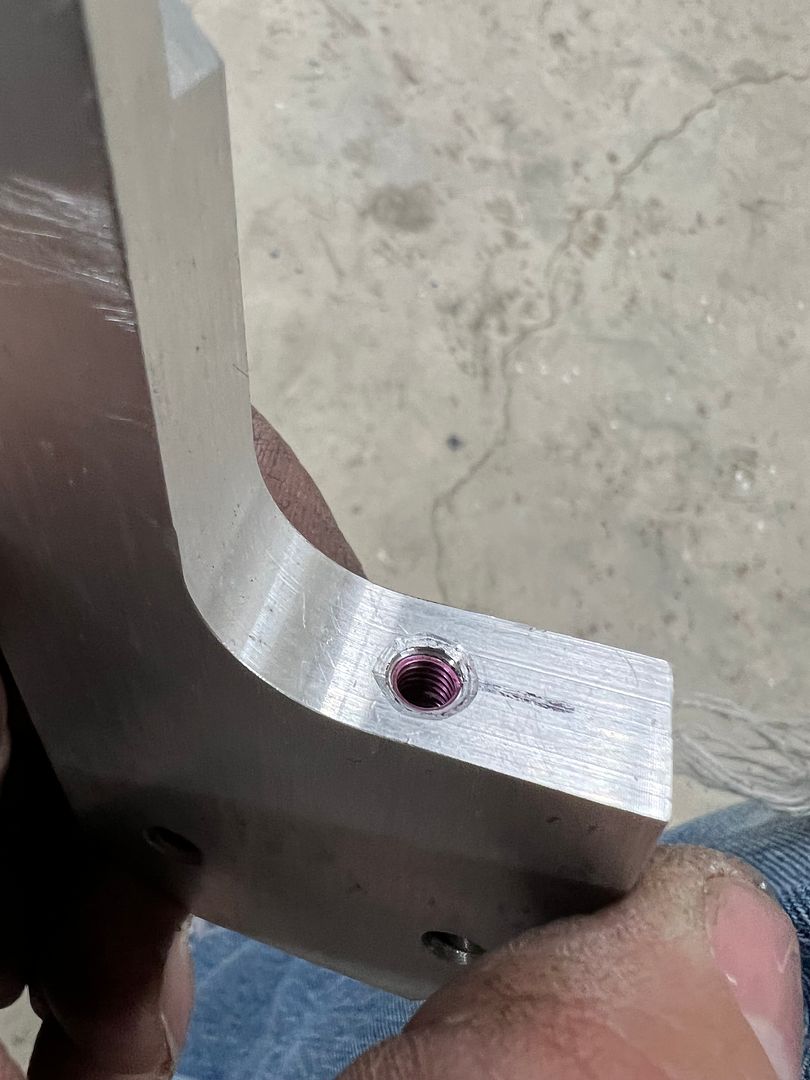
Since we were ready to re-install the front fenders, I thought I'd grab pictures of our fine-tuning adjustment screws for the fender to door alignment. The hex bolt shown on the right is filling an existing hole that used to have a rubber plug in it. I guess having pulled out the dried and cracked old rubber plug, I wanted a more permanent solution. We were going to use that hole but it did not align with the rib on the fender's rear brace. So another hole was drilled next to it, a 3/8-16 AVK style rivet nut installed, and a fully threaded bolt added. The bolt head was covered with a rubber cap and the inside end of the bolt had a slot added for adjustment purposes. Now we could use a screwdriver to adjust the screw outward, pushing the center of the fender until it aligns to the door surface.. A jam nut on the inside tightens against the rivnut to prevent any movement.
And with our upper fender mounts painted, they get installed using polished button head hardware and our barely noticeable shims we had fabricated.
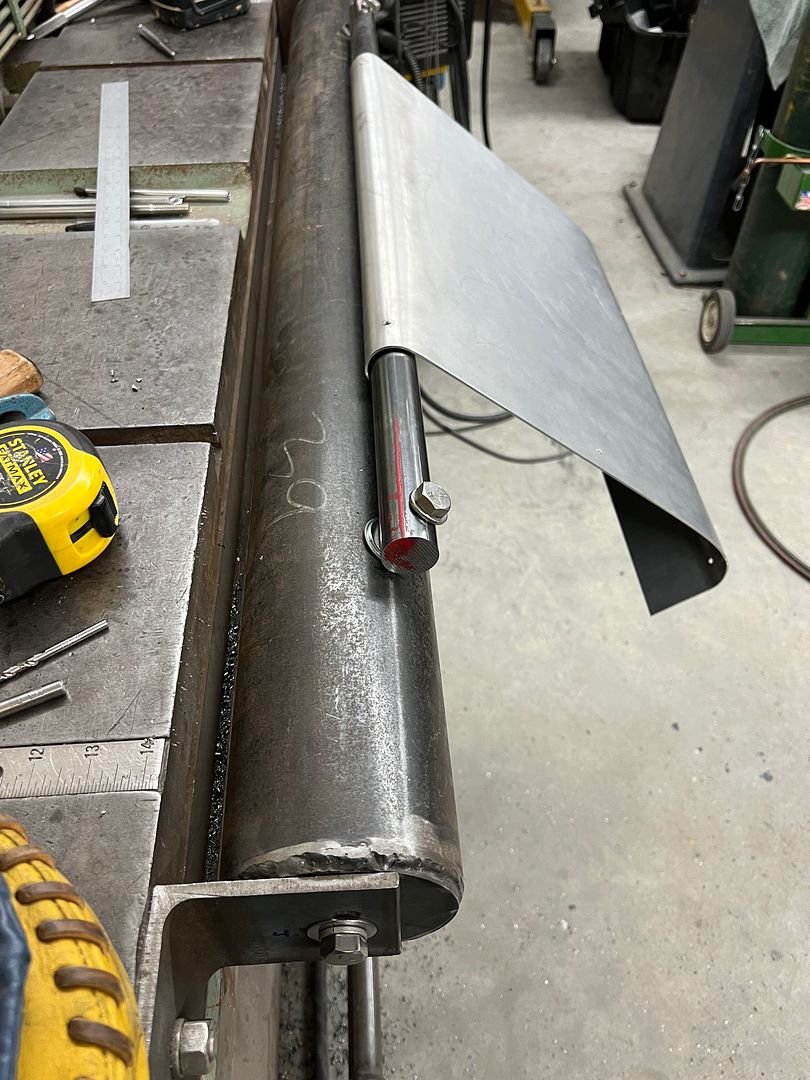
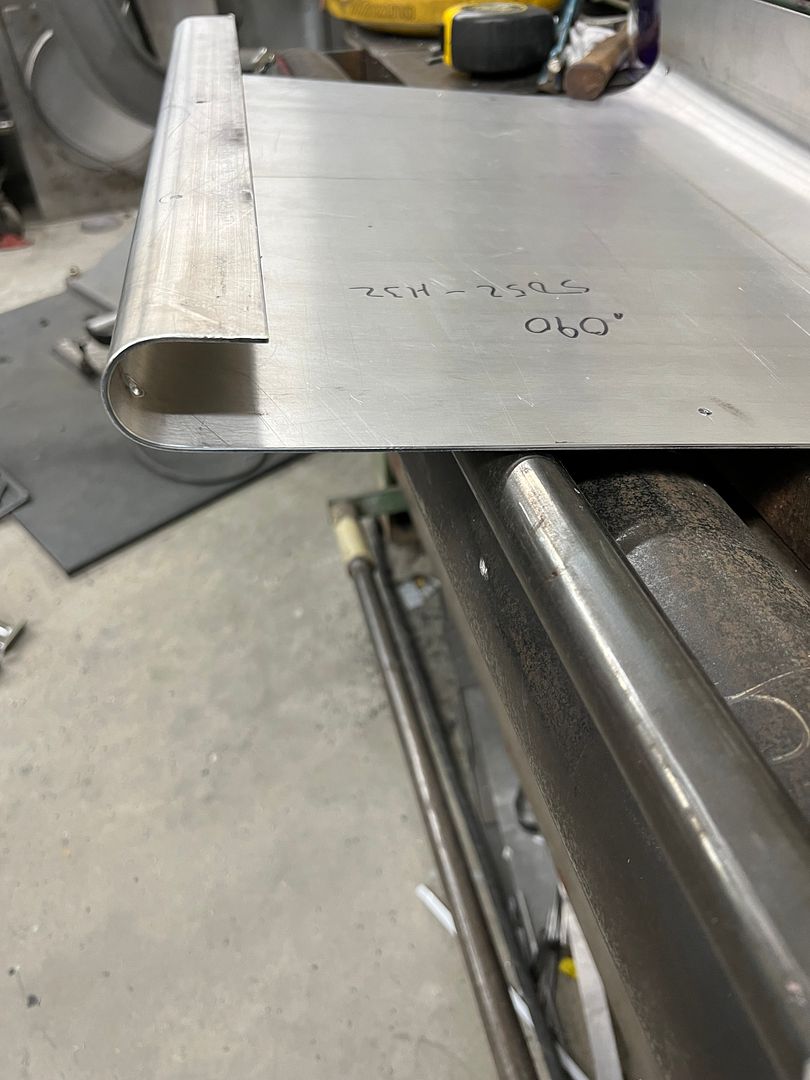
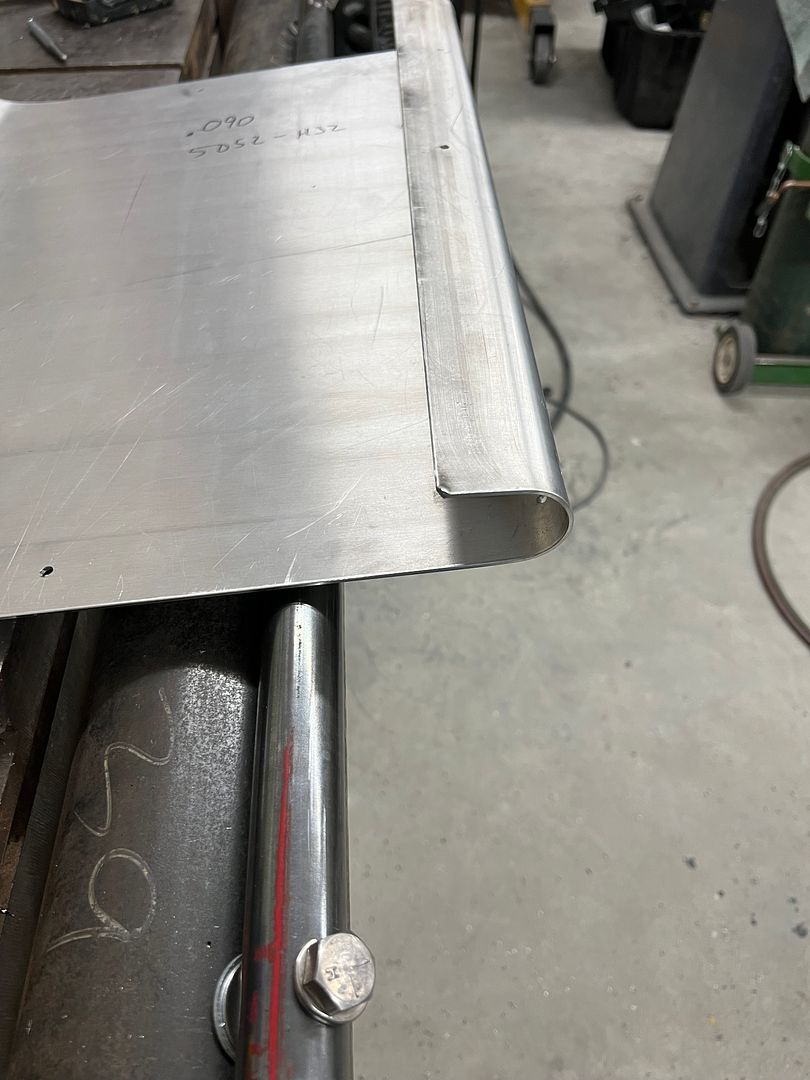
In the tooling department, we needed a tight radius reverse bend on some .090 aluminum, so a Gene Winfield inspired 1-1/4" round stock was added to our 4" pipe. This was bolted straight into tapped holes and used two stacked flat washers to provide the gap. The aluminum was 5052 alloy and was annealed prior to bending.
Robert
-
05-24-2023 08:28 AM #11
Great attention to the little details, beautiful work.
-
06-05-2023 07:36 AM #12
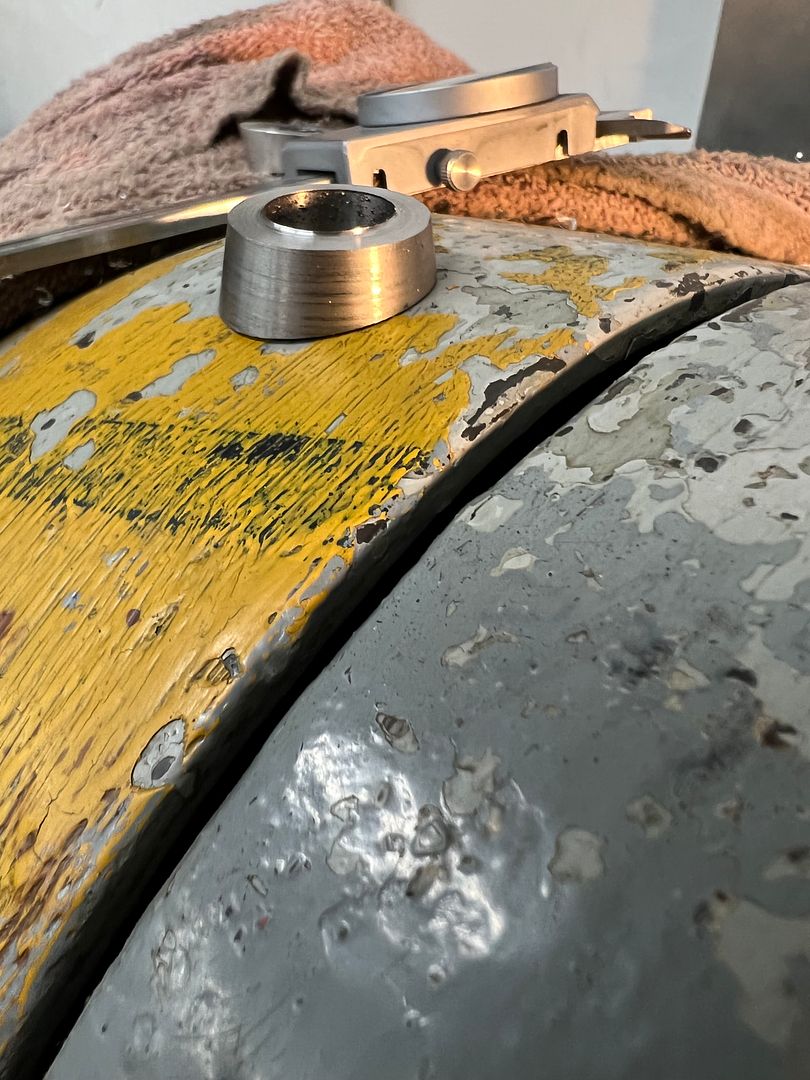
More progress on the wagon. While reassembling the front end, Jared noticed the fenders were a bit high at the cowl. This next picture shows it, although the perspective makes it a bit exaggerated.
So we pulled each of our new shims we had made and shaved another 1/16" off the height.
This shows the fender height after adjusting the shim height.
But shows our next back up and punt moment. The wedge shim we had made for the antenna was too steep, and this shows the actual angle needed. So we made another with less angle...
Note some "pre-polishing" was done on the lathe prior to cutting off the wedge to make things a bit easier. Final version installed and vertical orientation verified...
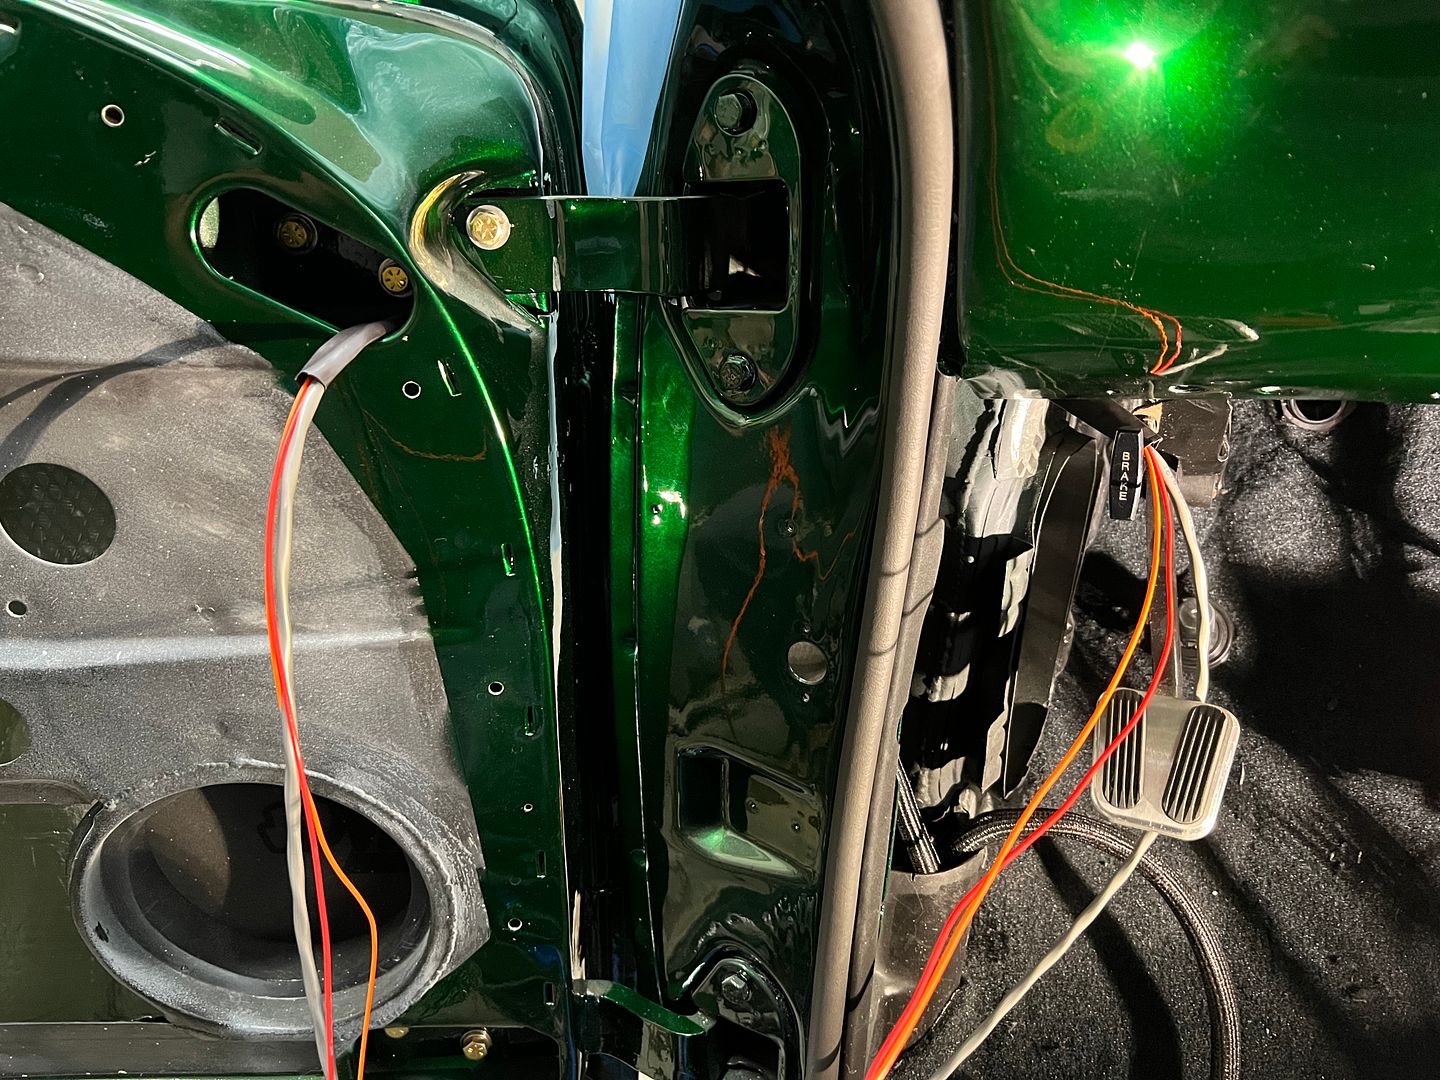
Next, we got the driver's door wiring routed through the upper door hinge... much easier after the trial-and-error practice we did on the passenger side.
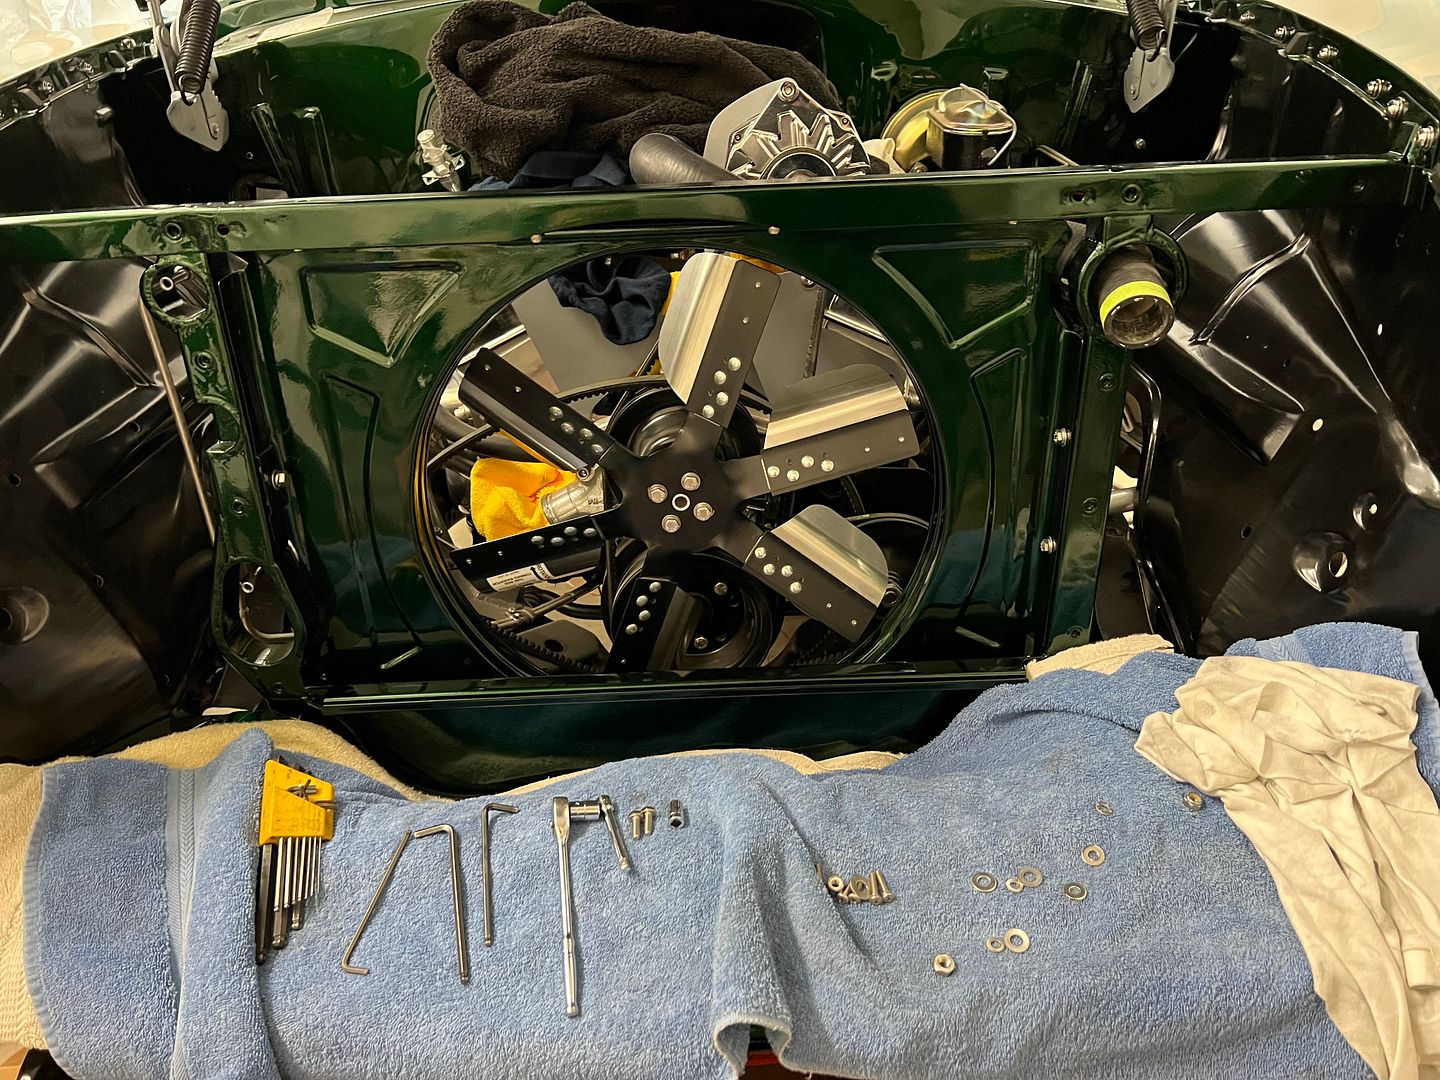
...and with the front fenders back on to stay, Jared reassembled some of the core support parts.
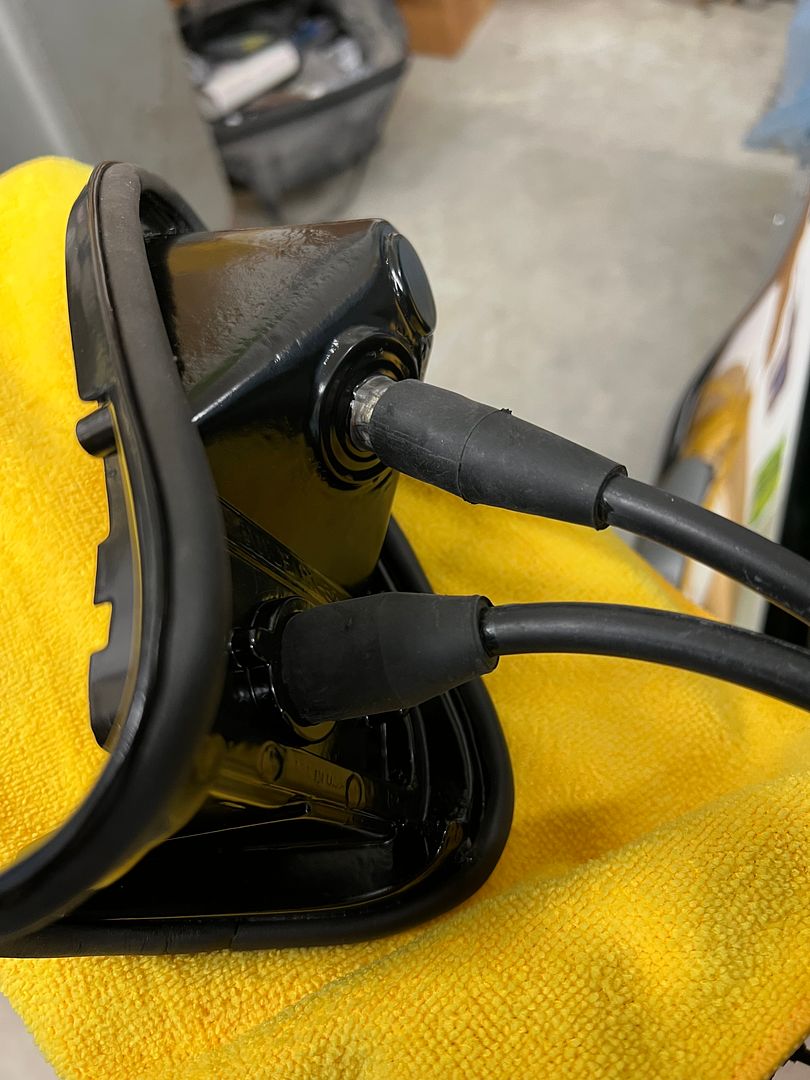
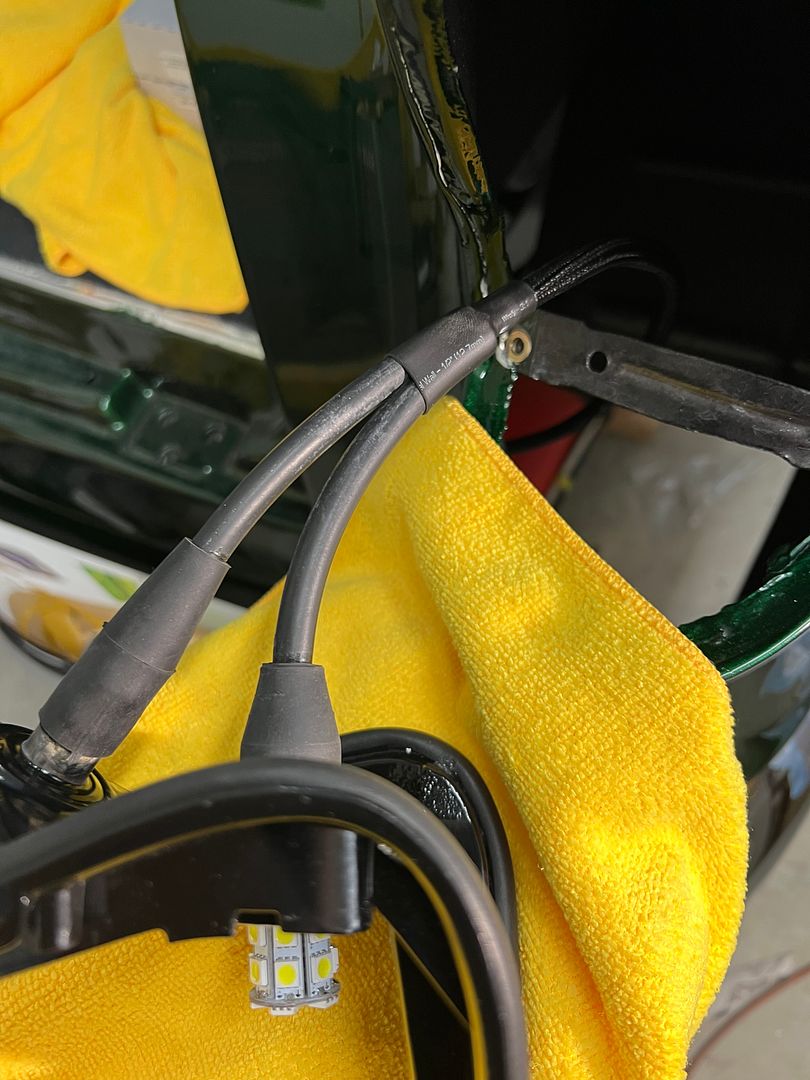
Moving to the rear of the car, we started the rear tail-light install now that they have been painted inside and out. Wiring was routed through OEM style boots to help minimize any water intrusion into the lamp sockets. Replacement button contacts were used in the sockets (w-crimp) to eliminate any unneeded splicing of the wiring. Wiring complete, with bulb seal attached to the housing:
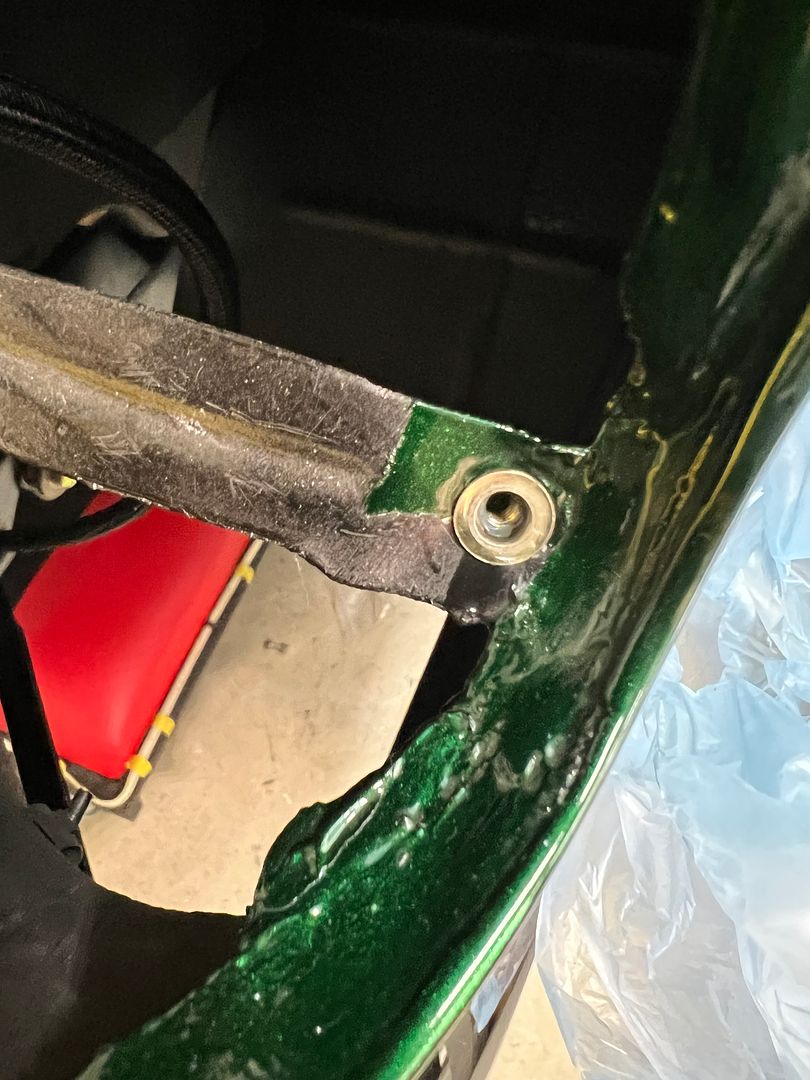
Rivet-nuts were installed for mounting the housing....
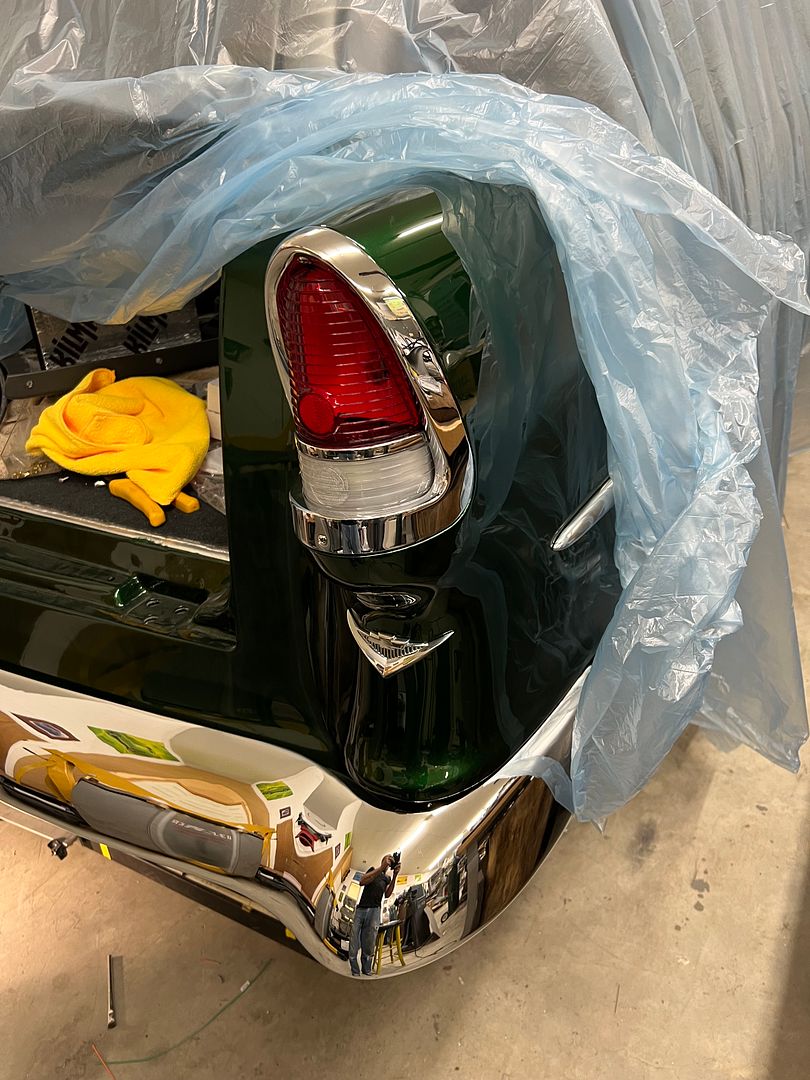
Nice snug fit to the body, and a functional test to make sure we're done here..
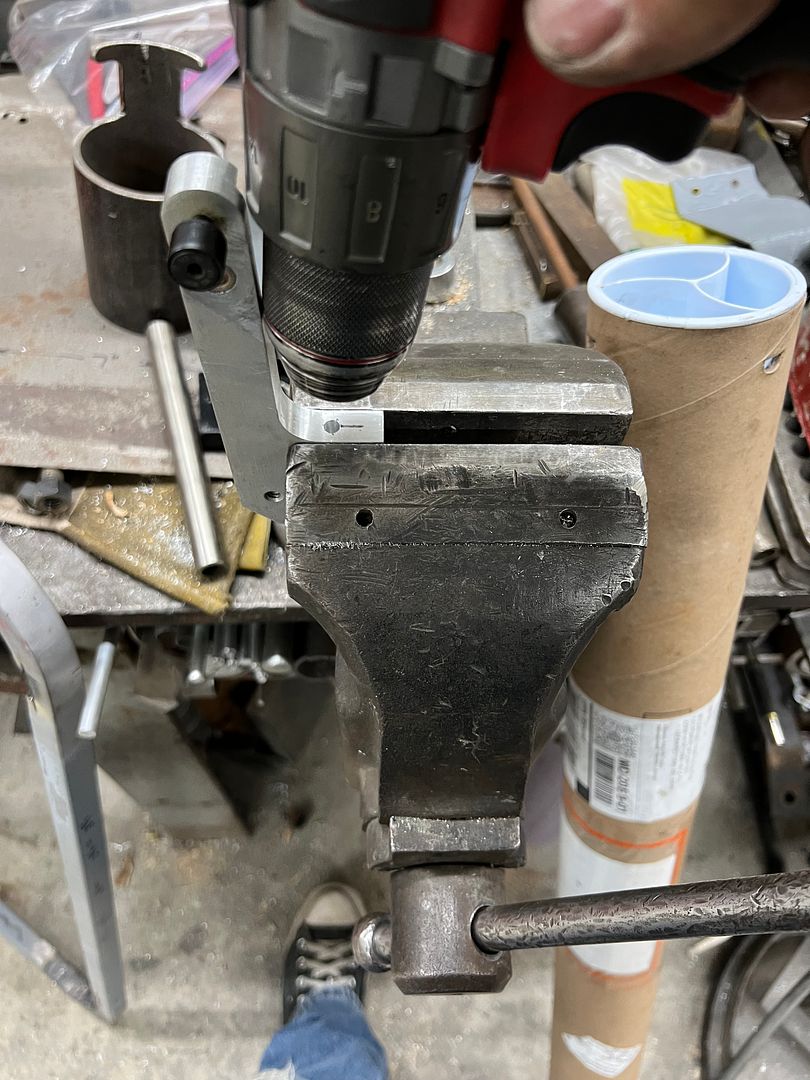
Moving to the passenger side, we'd need to secure the harness to the tail-light swing arm mechanism (part of the hidden gas door mod) so we planned to add some heli-coils in the arm for adel clamps. I had a long 1/8" bit to get in close to the corner, but our final size of 13/64 for the 10-32 heli-coil tap would be another issue.
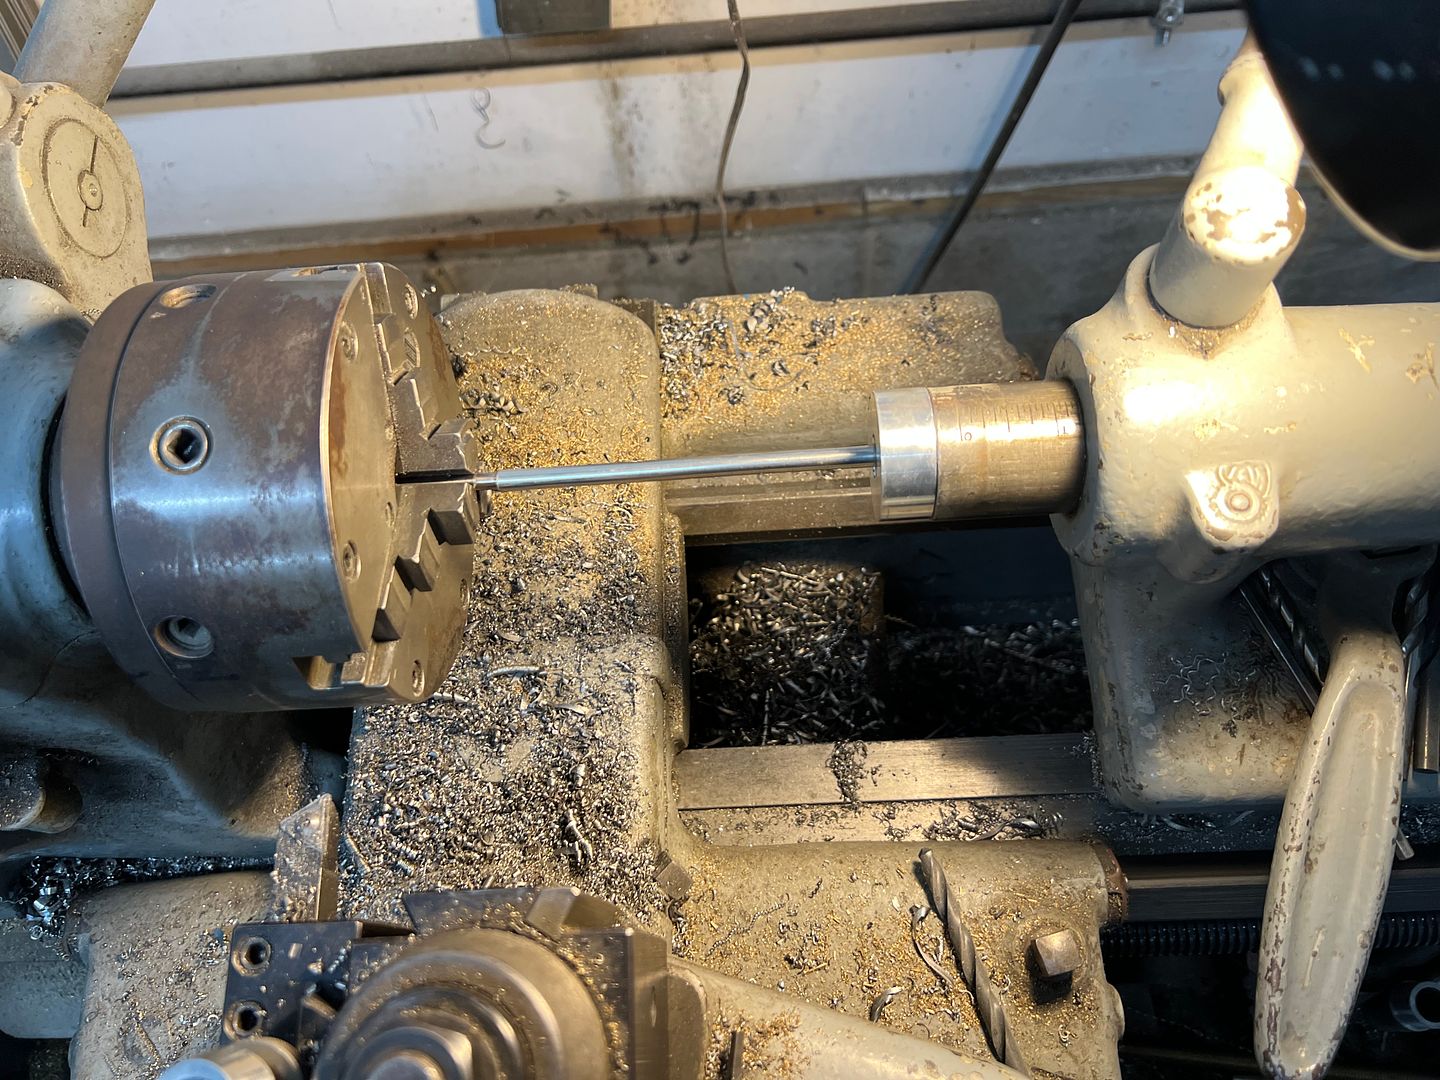
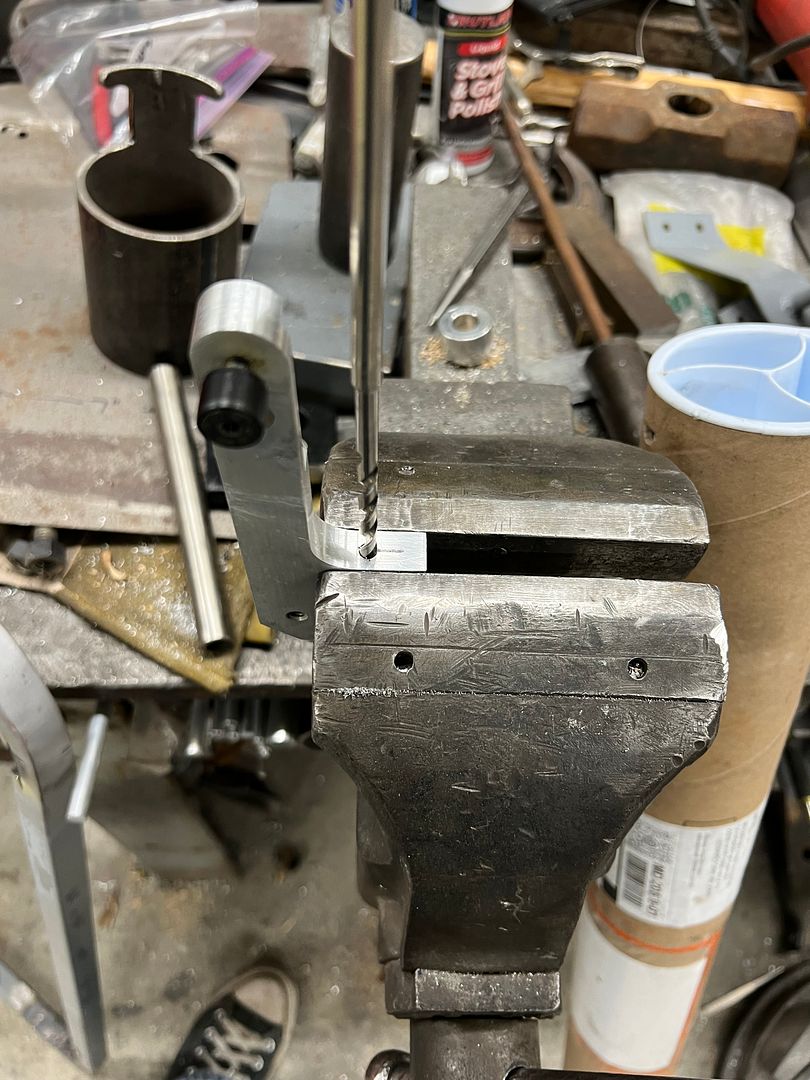
Then I noticed some tubing in the scrap pile that had a 3/16 ID, just undersized. So our drill bit was clamped in the 3 jaw chuck of the lathe, and the tail stock used to press the two together.
Now we had an extended bit to complete the heli-coil installation.
...and a functional test of the wiring on the arm...
https://www.youtube.com/shorts/JzA6W2BdyyQRobert
-
06-05-2023 07:50 AM #13
Wagon 2.0 progress, I was tasked with adding a paint job to this:
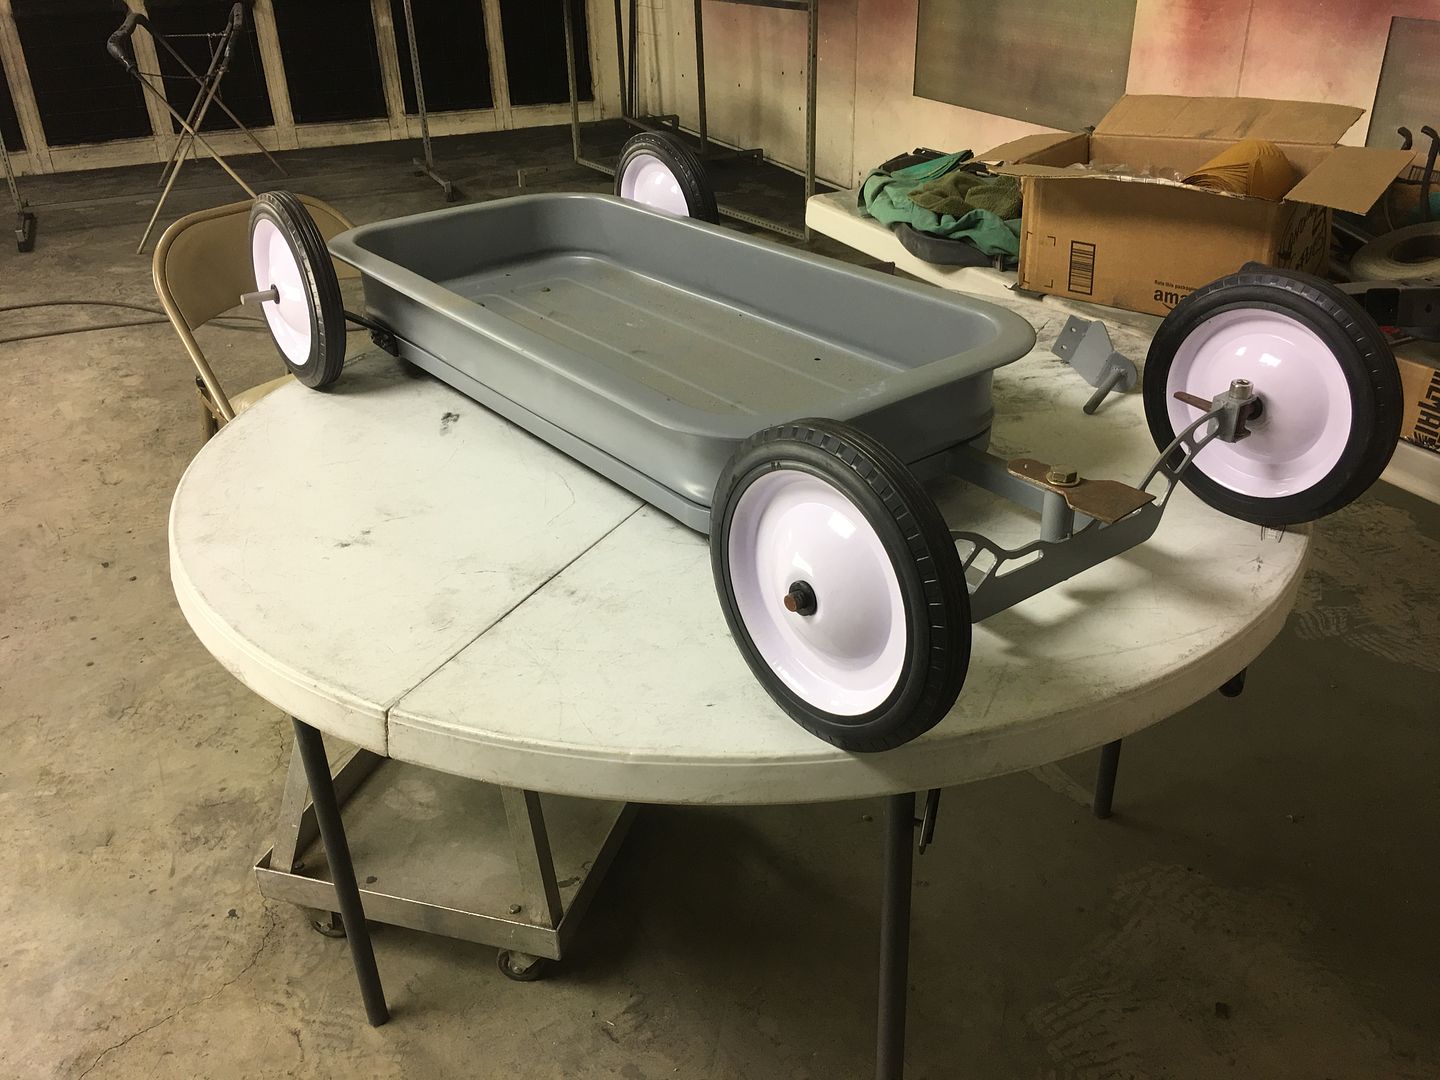
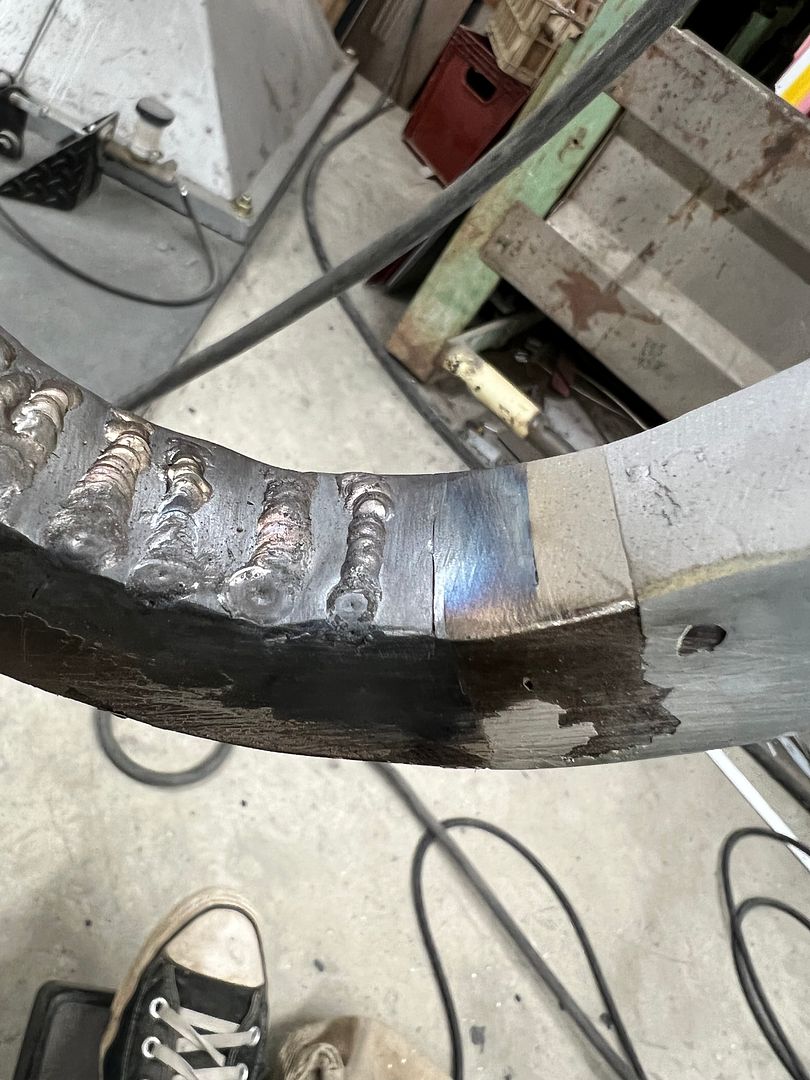
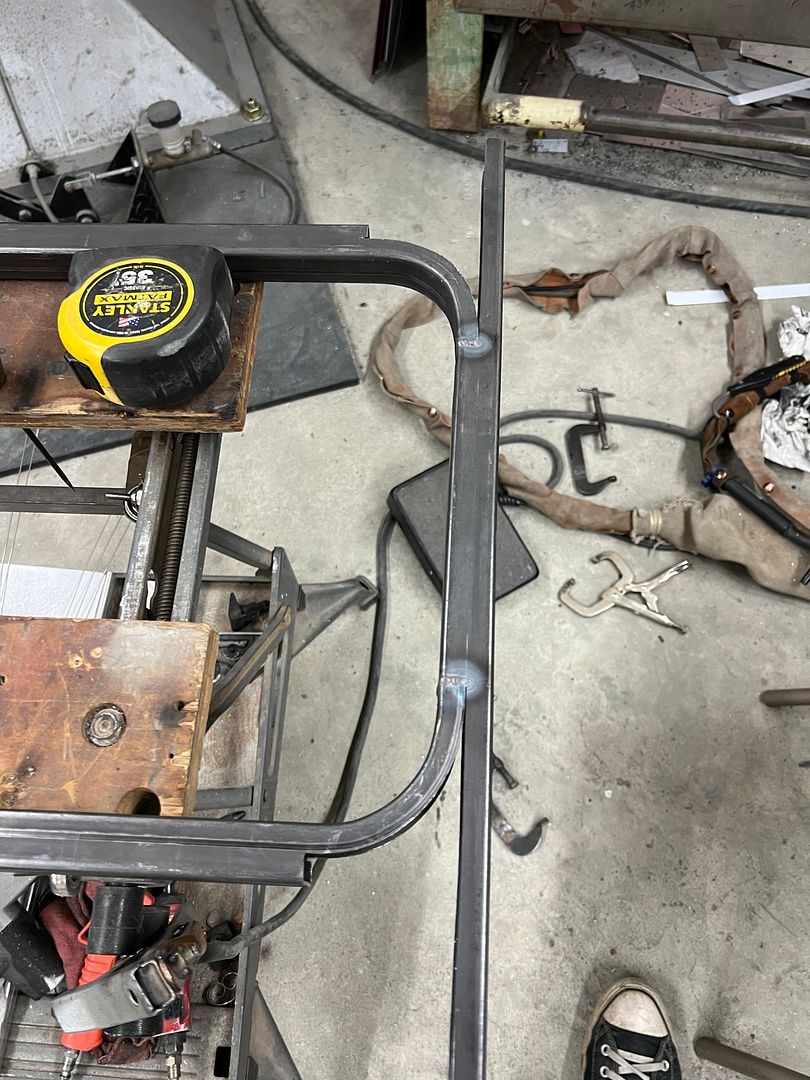
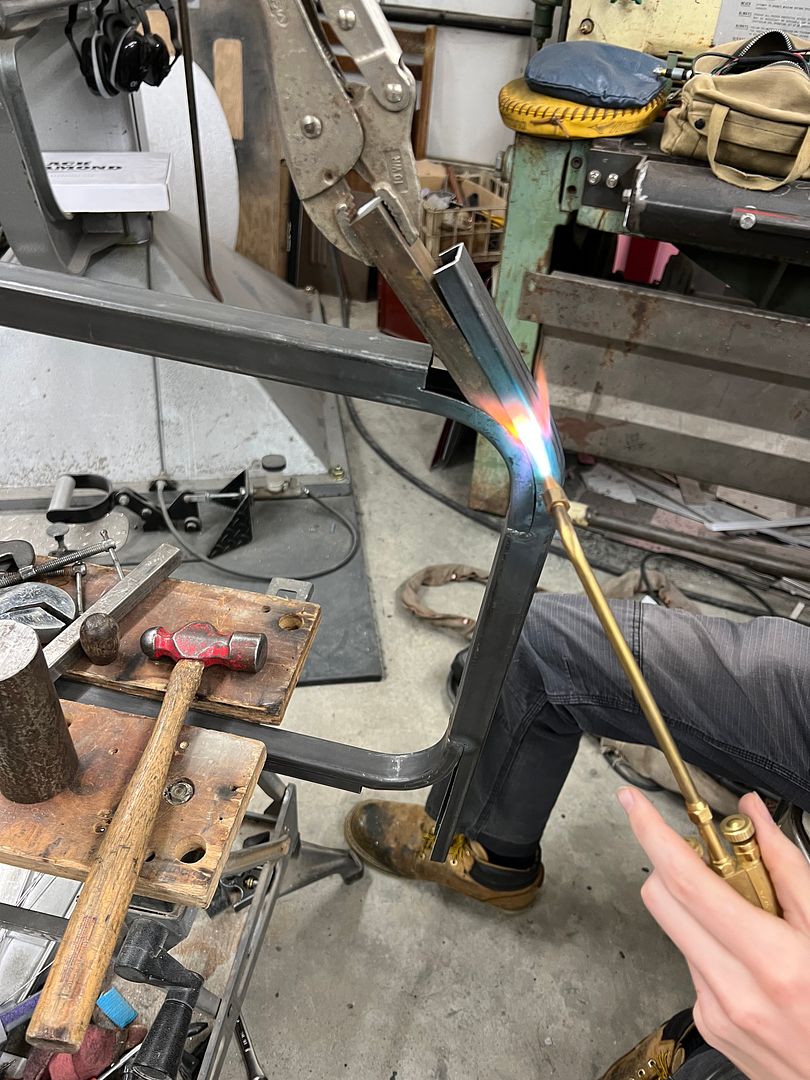
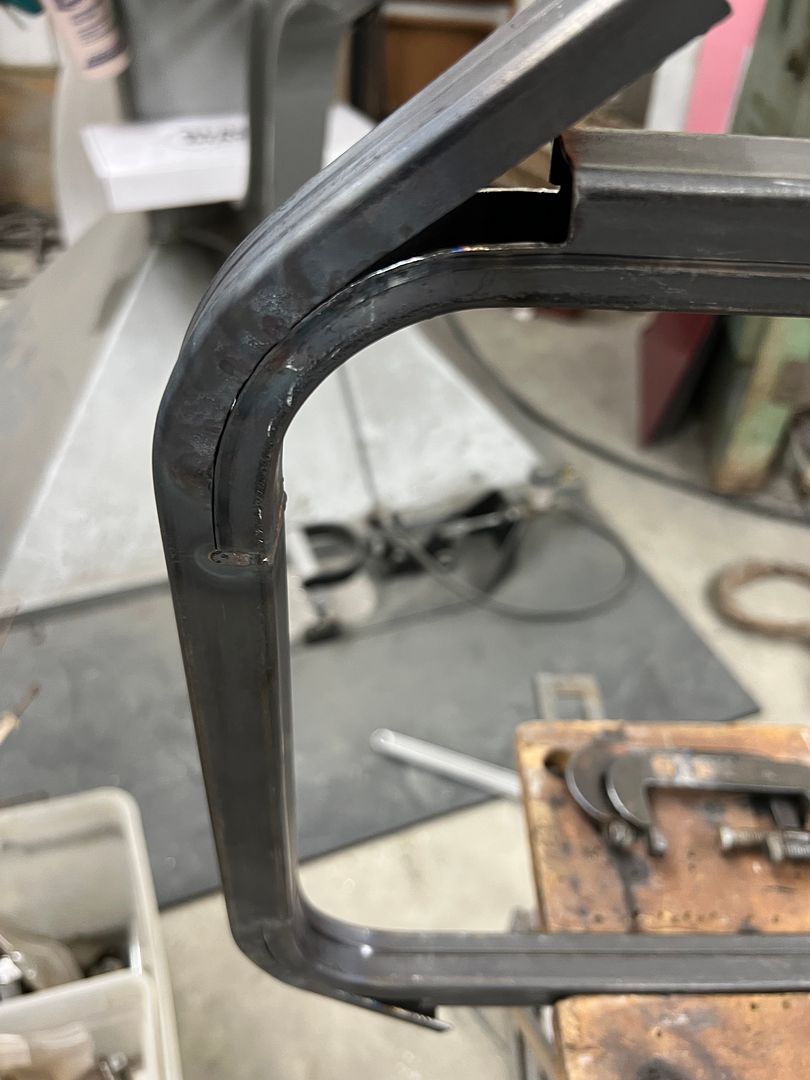
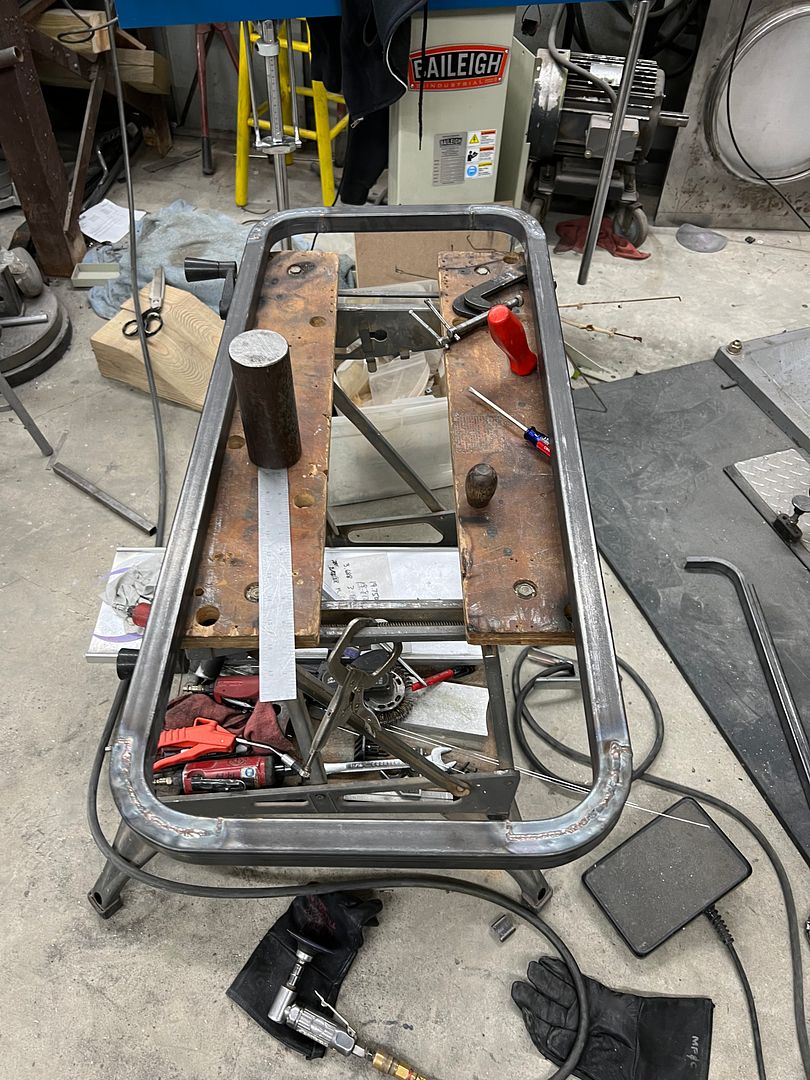
but had a couple of issues to address first prior to paint. The dropped axle design lacked lateral strength of an I-beam, so we ordered some 1/8 x 1/2 flat bar to cap the top and bottom, adding much needed strength. Next, the frame hoop was produced with limited tooling availability, and the corners made use of pie-cuts that some still remained and would show through the paint. I attempted to weld some of these closed, but realized it would be quicker to remake the hoop.
Always one to make tools into multiple use, the new tubing corners were bent on our buffer stand "radius brake"
https://www.youtube.com/watch?v=8oyTLqpeXSk
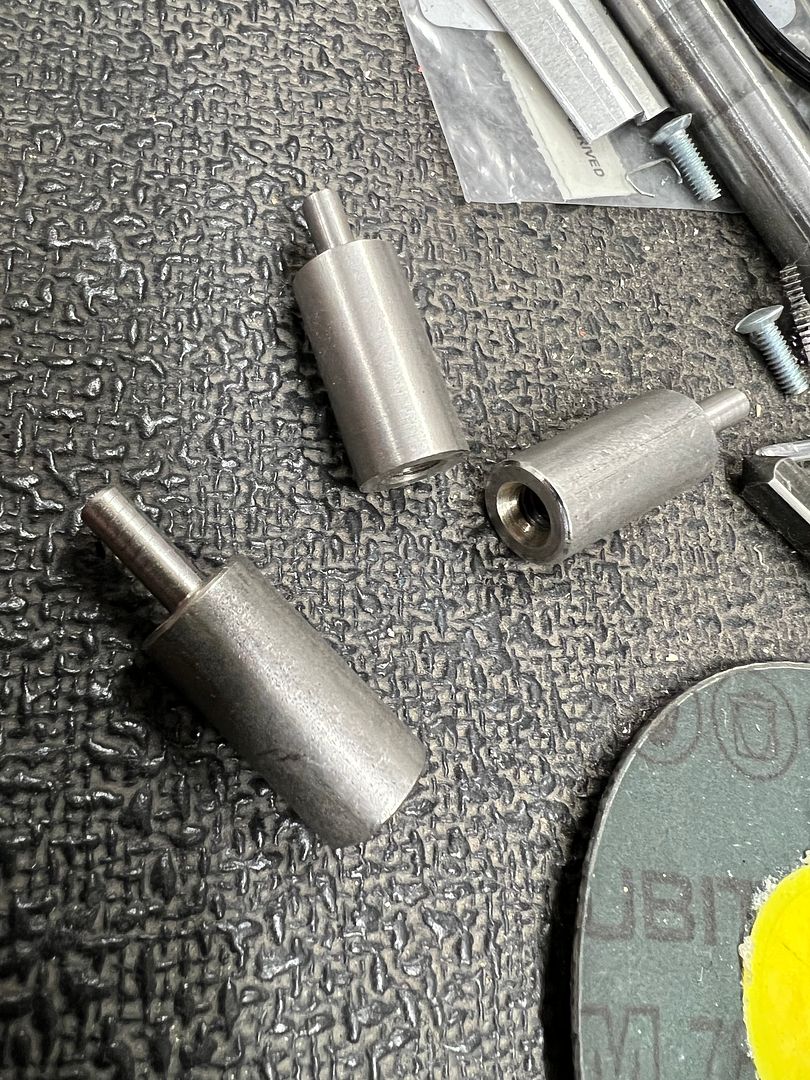
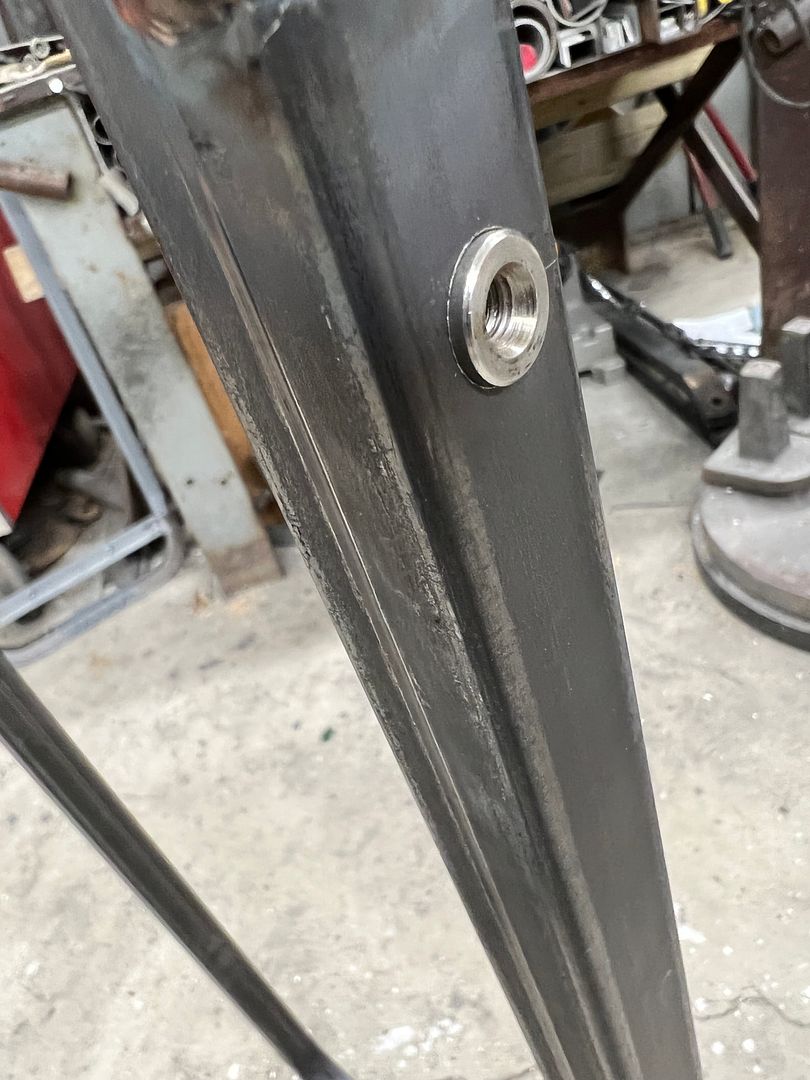
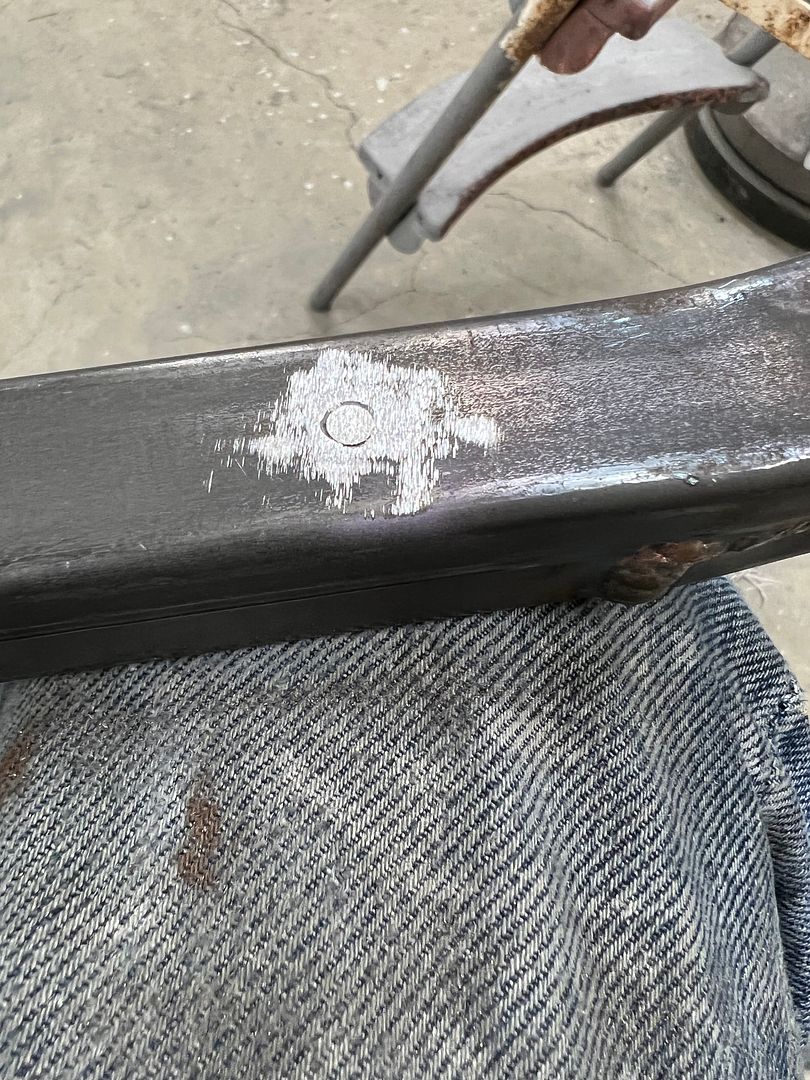
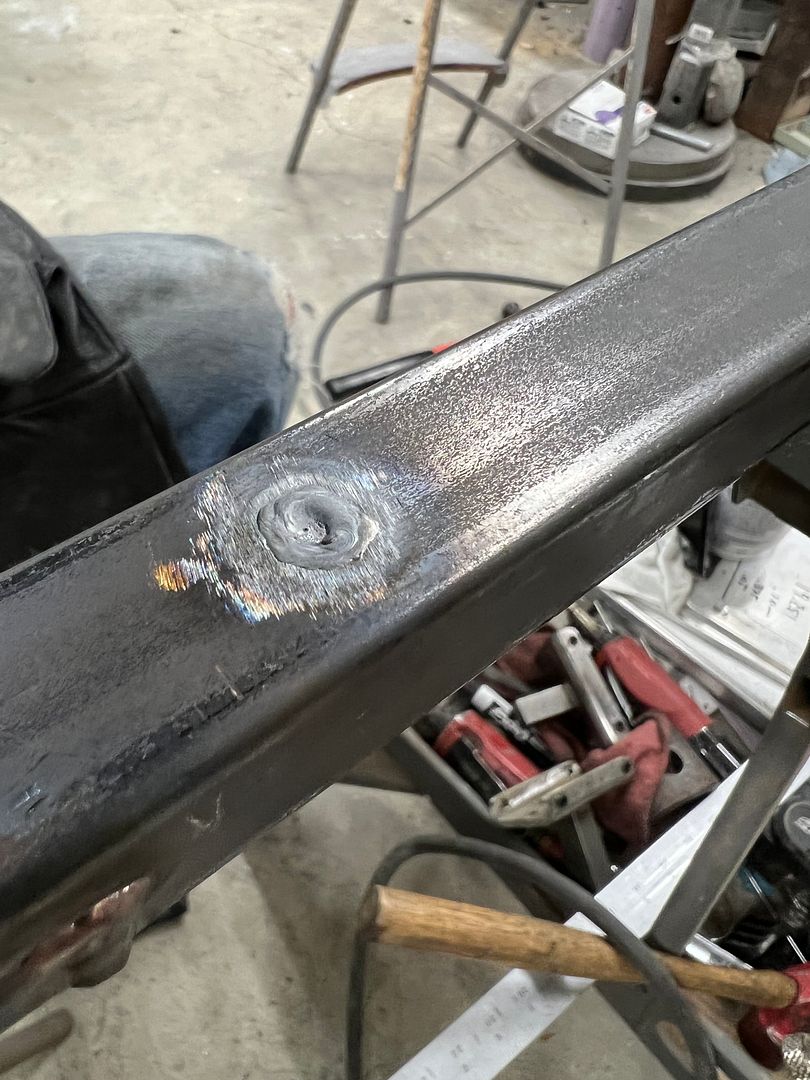
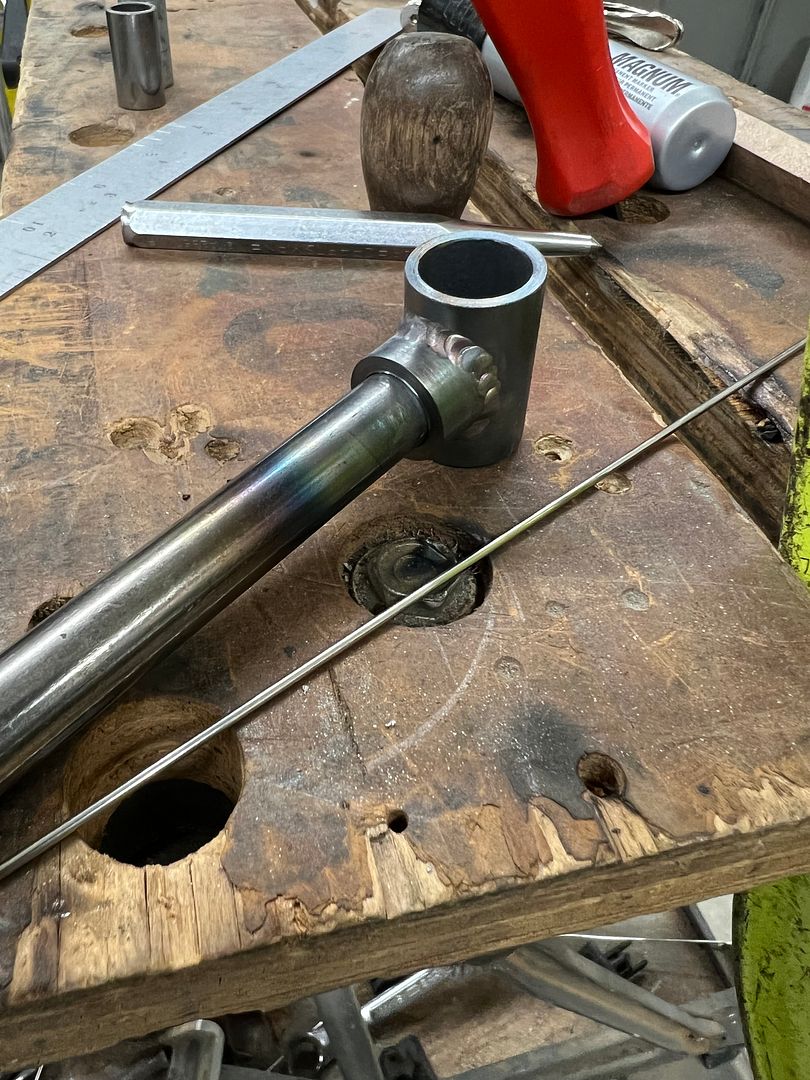
The rear "axle" stanchions had been bolted on using rivnuts, but I was worried the side wall of the tubing may deflect from weight in the wagon. So in true Robert overbuilding form, some threaded standoffs were turned into a sleeve that would weld on both sides of the tubing for less stress upset.
Both ends were ground flush prior to welding..
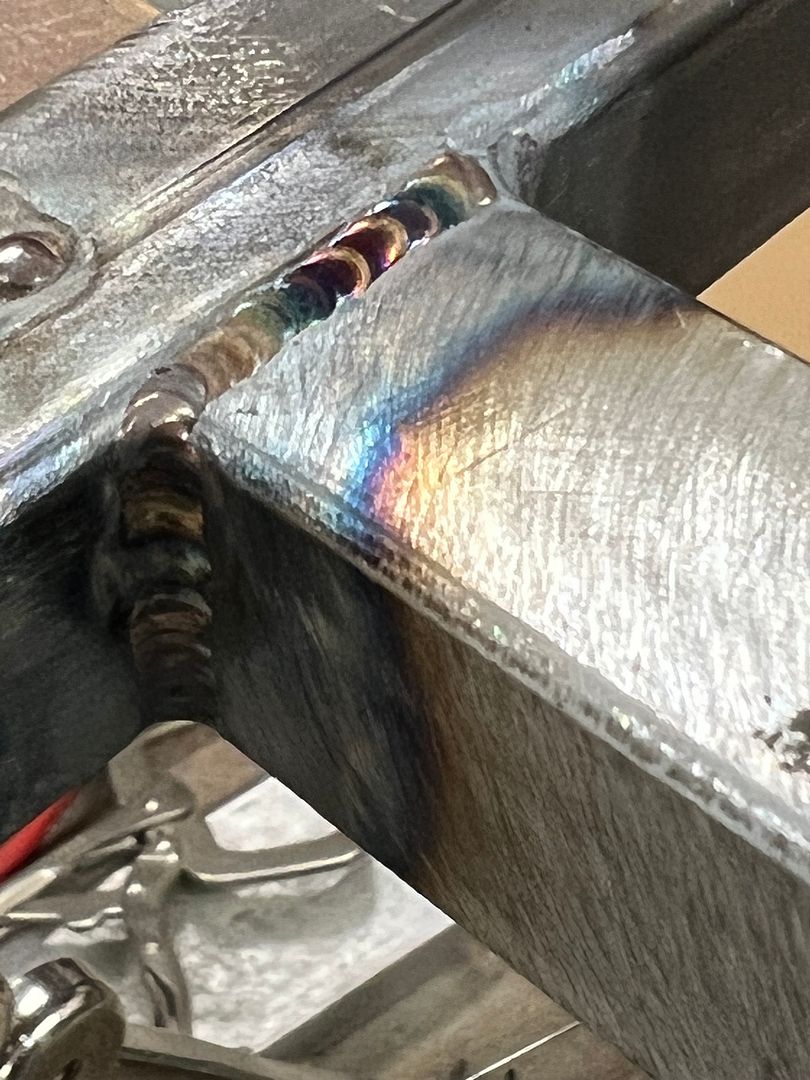
Welding the front end to the new frame hoop...
Next, to clean up the front end components a bit in order to add oilite bushings...
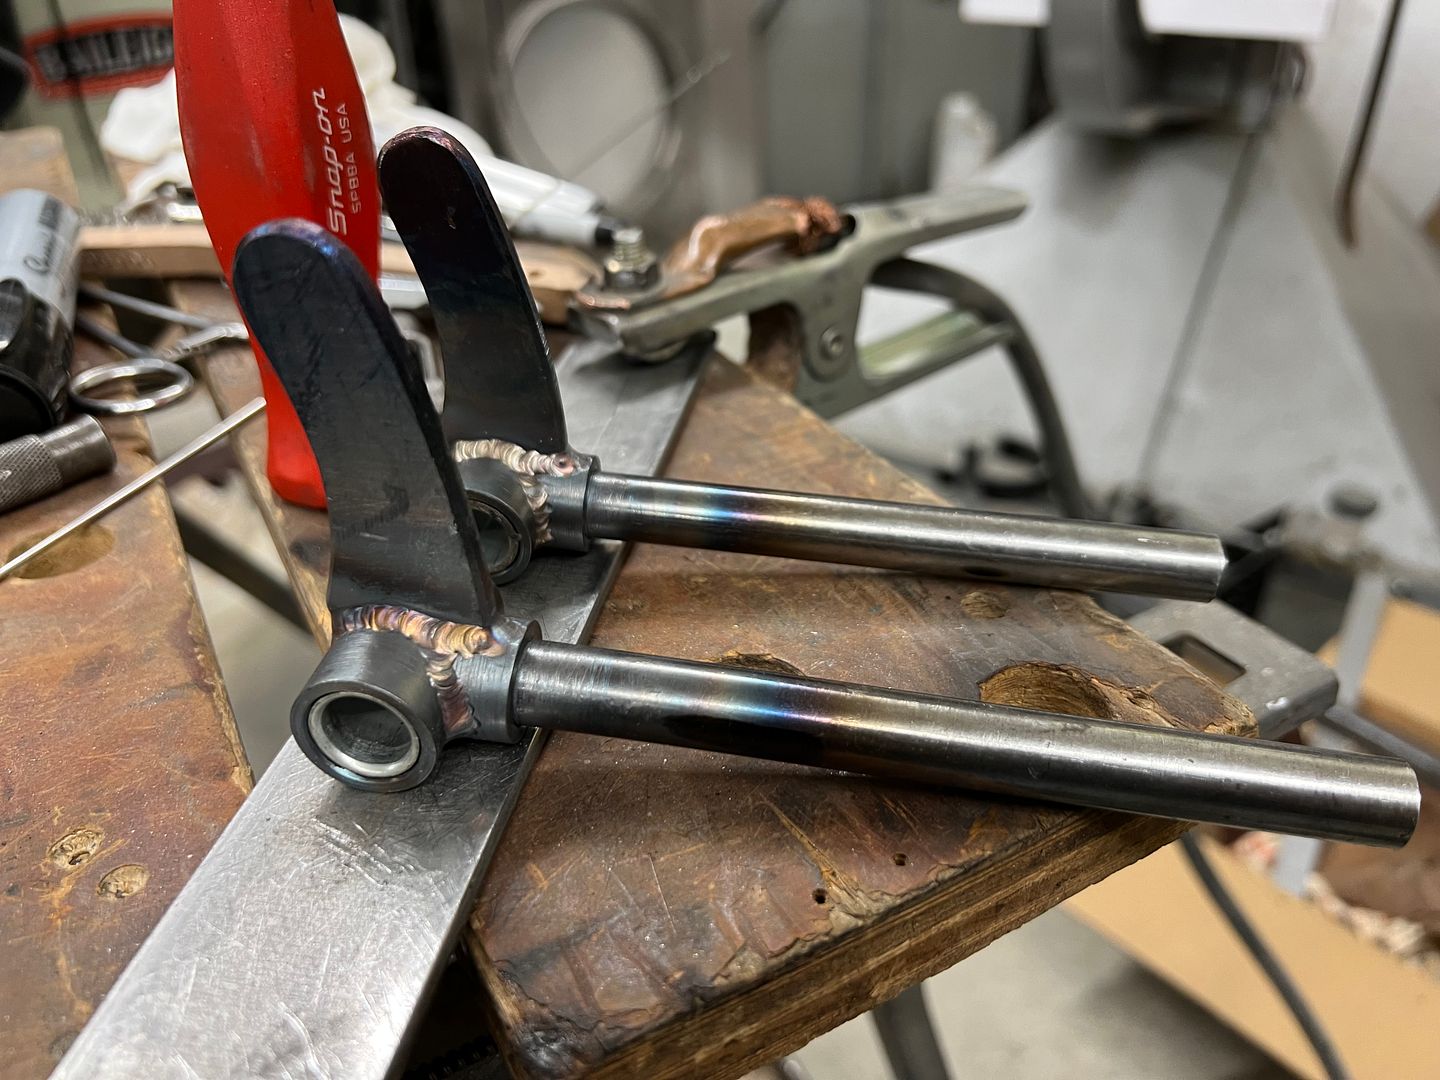
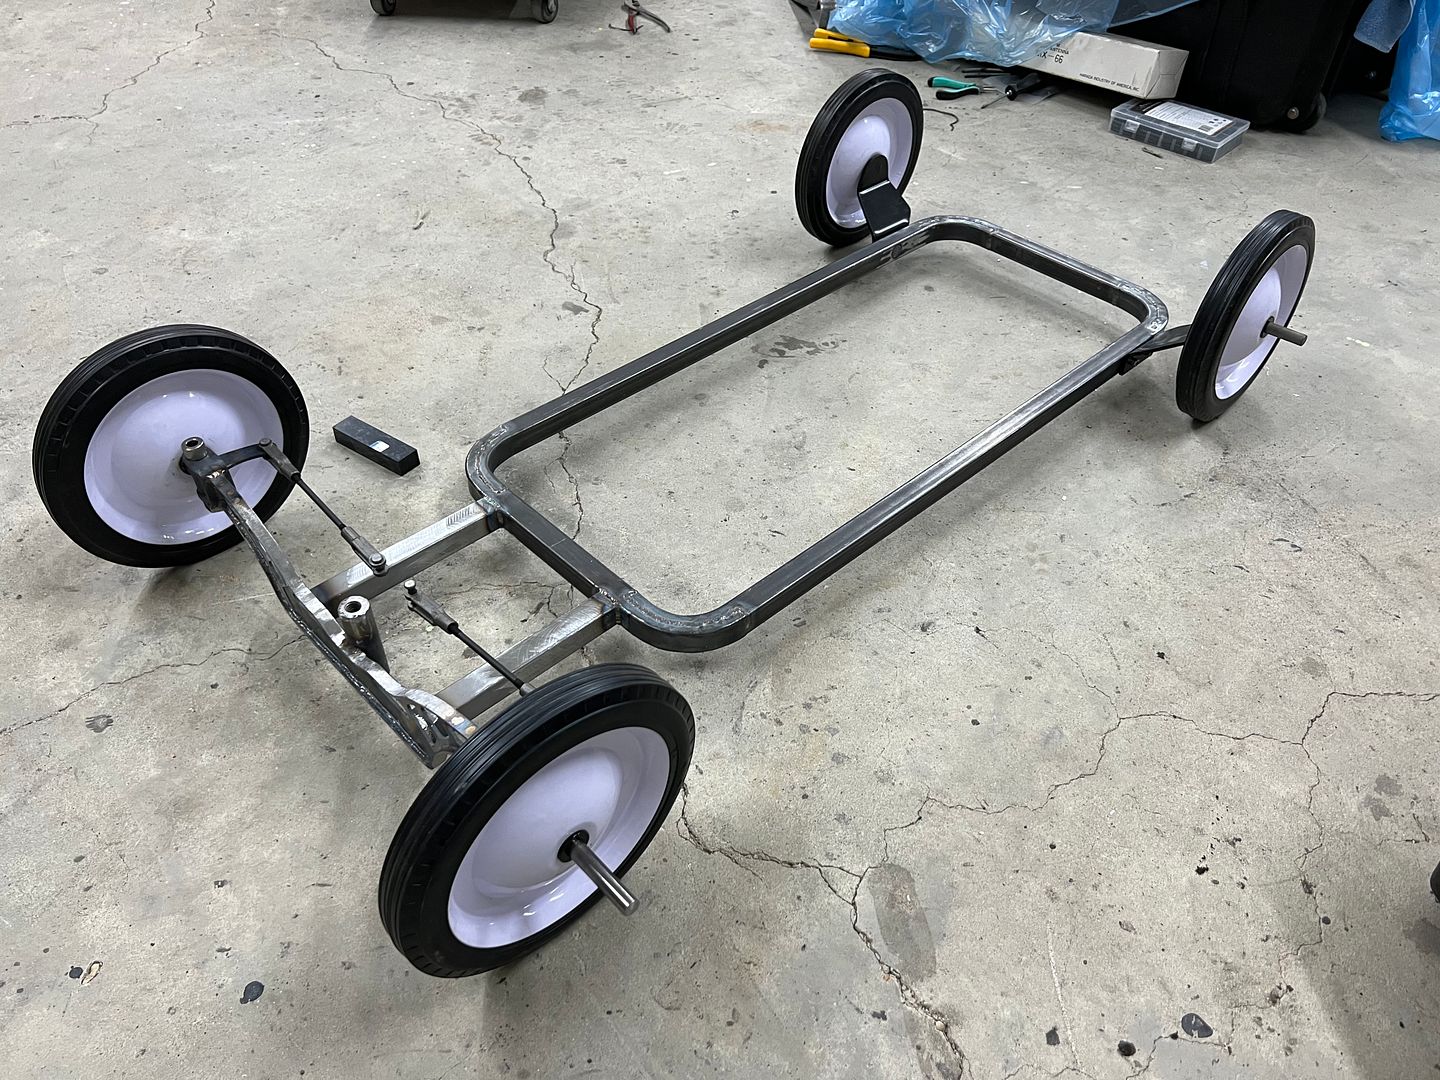
With spindle perches welded to the ends of our "I-beam" front end... a test fit of all the bits..
And here with our center link added, the last fabrication detail needed will be the handle.. to be continued...
https://www.youtube.com/watch?v=eE6G7vHhYmcRobert
-
06-05-2023 01:05 PM #14
The only thing I haven't seen you do is a 24K gold electroplate kit.
I suspect you have one though..
Education is expensive. Keep that in mind, and you'll never be terribly upset when a project goes awry.
EG
-
06-05-2023 02:43 PM #15
 Not used to working with precious metals. Just rusty steel..
Robert


 3390Likes

 LinkBack URL
 About LinkBacks
 Reply With Quote



Visited a family member at Dockery Ford from the time I was 1 year old through their ownership and then ownership change to Morristown Ford. Dockery was a major player in the Hi Performance...
How did you get hooked on cars?