Thread: 55 Wagon Progress
-
06-05-2023 02:43 PM #1771
 Not used to working with precious metals. Just rusty steel..
Robert
-
Advertising

- Google Adsense
- REGISTERED USERS DO NOT SEE THIS AD
-
06-05-2023 07:51 PM #1772
You're the best. Love your stuff..
Education is expensive. Keep that in mind, and you'll never be terribly upset when a project goes awry.
EG
-
06-06-2023 05:26 AM #1773
Thanks!!!!!!Robert
-
06-06-2023 07:27 AM #1774
That's funny, paint the wagon turns into completely build it from scratch. It's not easy being a perfectionist!
-
06-06-2023 08:04 AM #1775
OCD is a powerful drug..Robert
-
06-06-2023 09:15 AM #1776
What are 3 words you never hear Robert say?? "It's good enough....."
Roger
Enjoy the little things in life, and you may look back one day and realize that they were really the BIG things.
-
06-12-2023 06:32 AM #1777
 ....but I'm trying....
Here's the hidden fuel door in action, and why we needed the helicoils for adel clamps to hold the wiring in place....and away from moving parts.
https://www.youtube.com/shorts/UwCy8mKRJFU
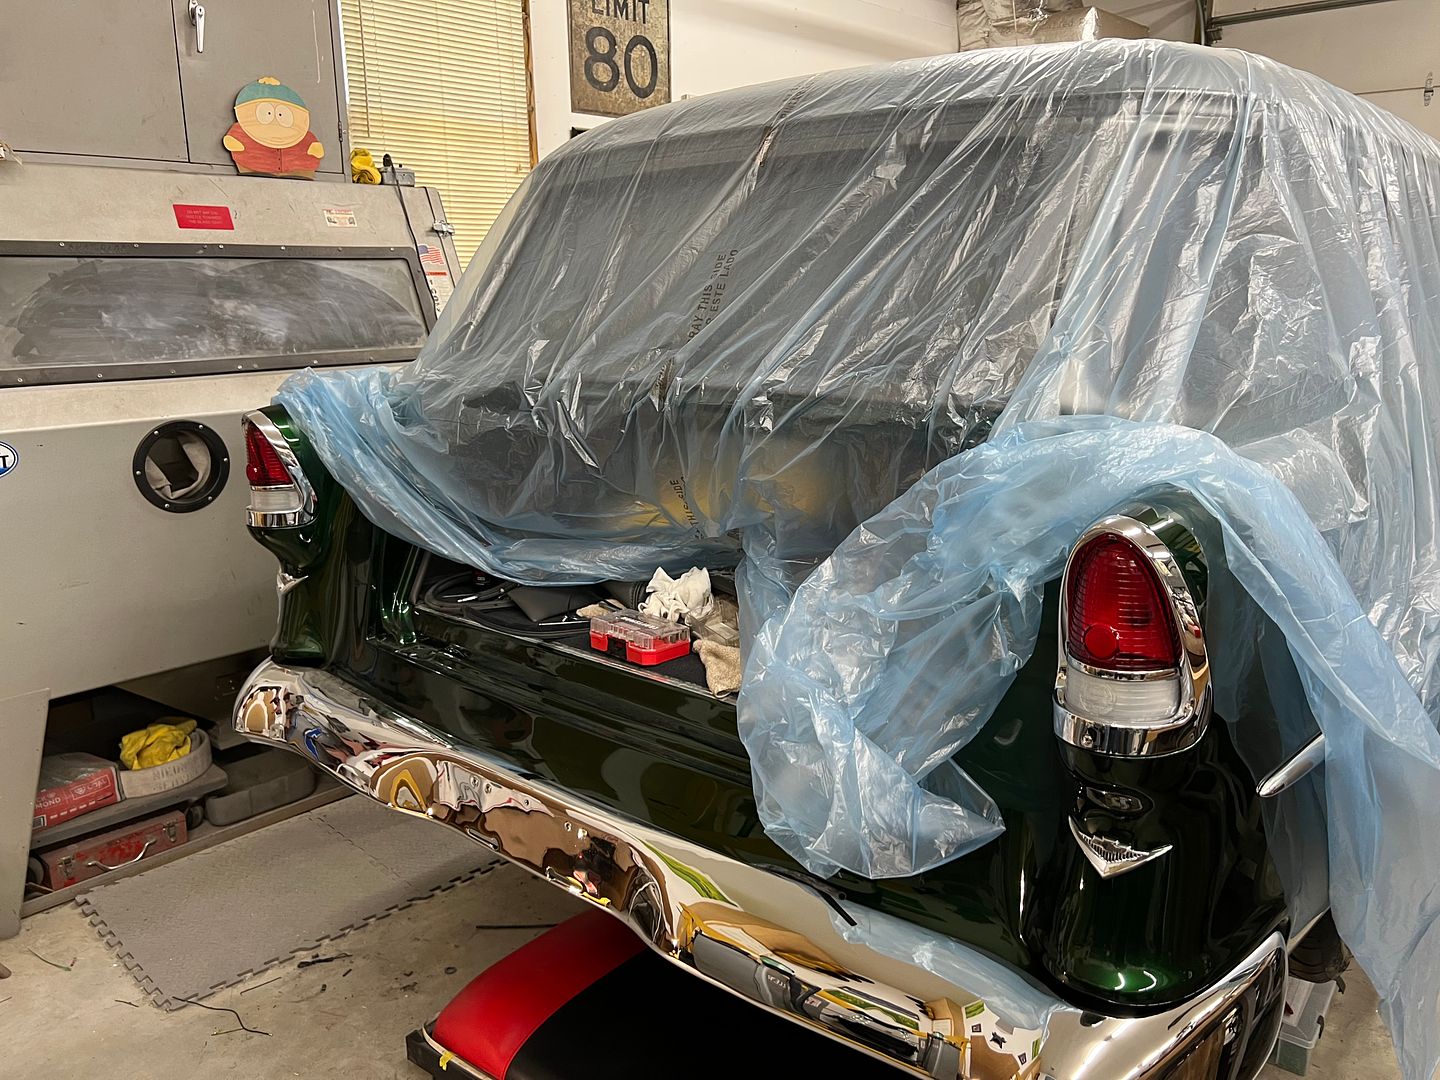
The back end is starting to look like a car again...
....and more work on the other wagon, here's the start of the pull handle...
https://www.youtube.com/shorts/a-8Nmkh_bmQ
A functional test of the steering bits...
https://www.youtube.com/watch?v=bGSptHK1WBc
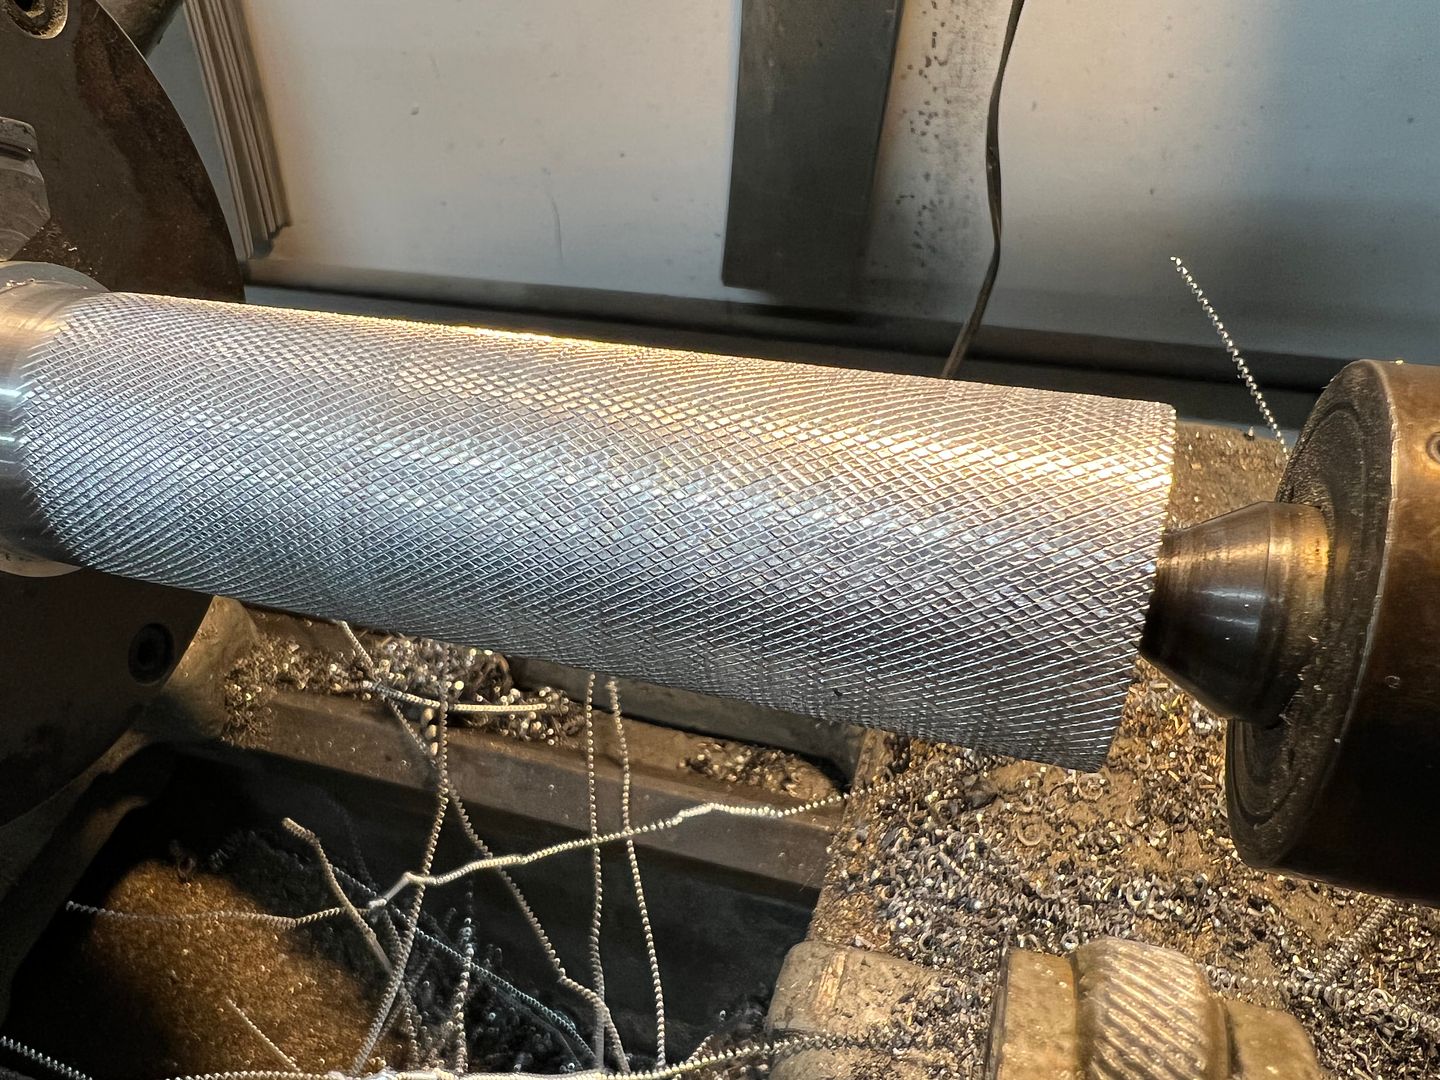
For the pull handle, we had tried out some knurling on aluminum to see if we liked that....
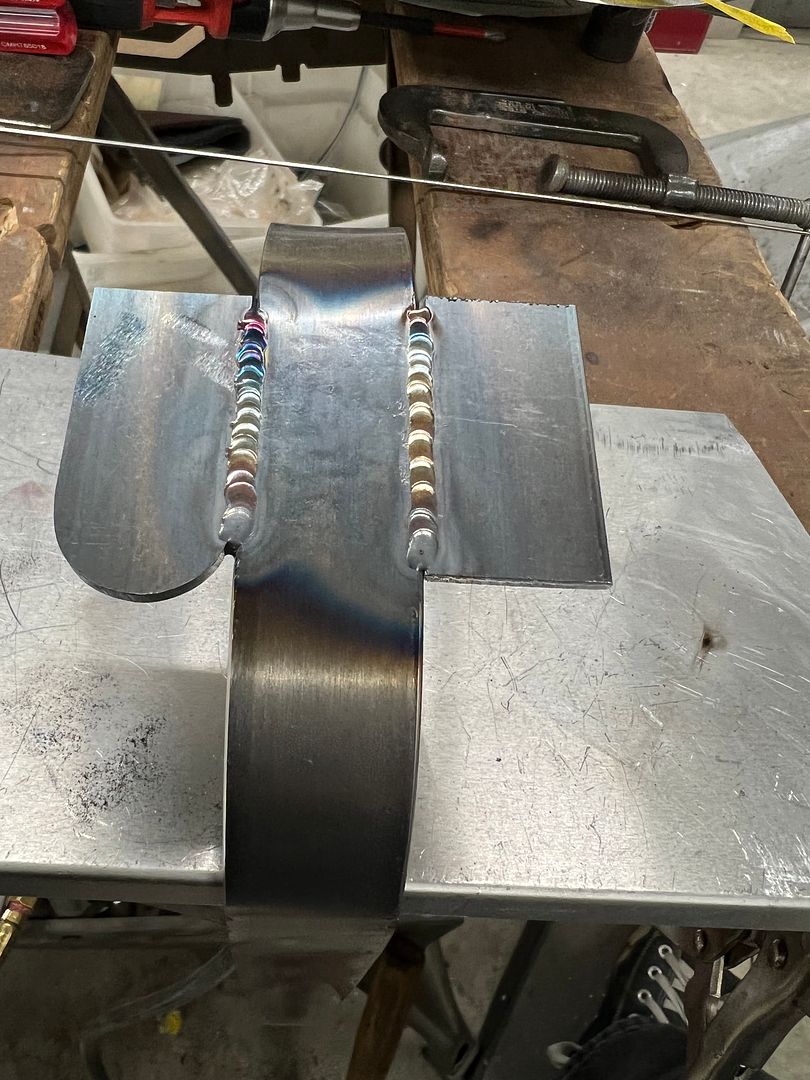
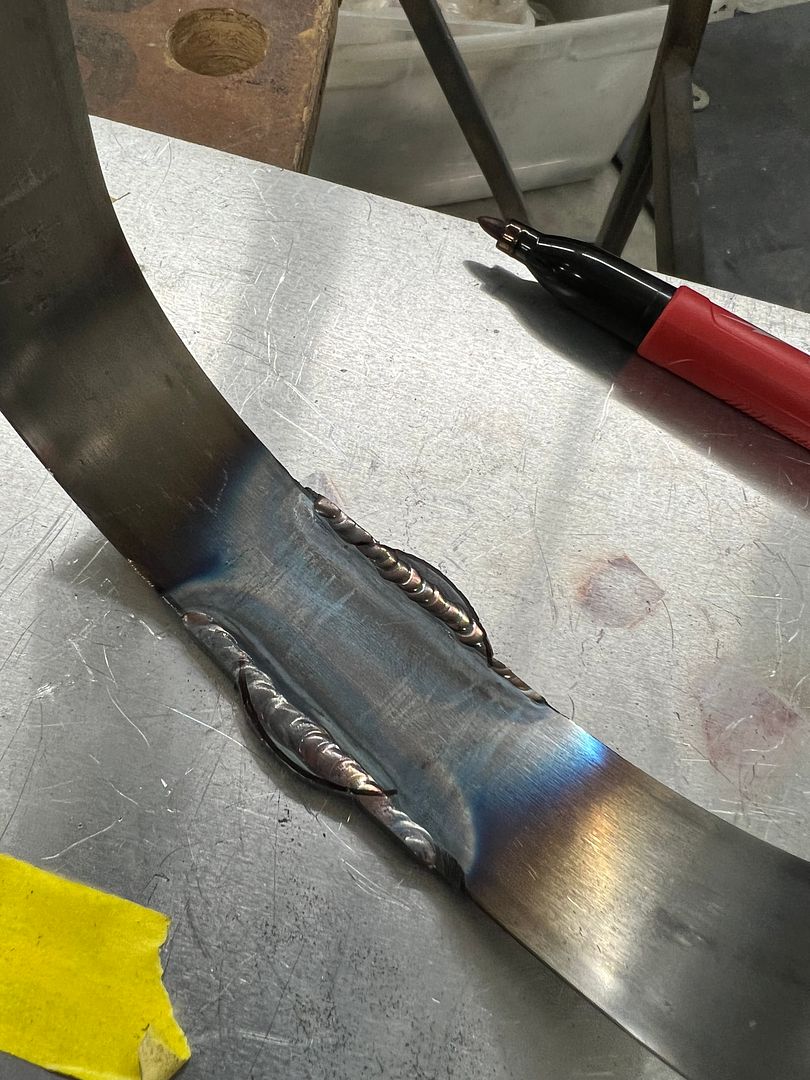
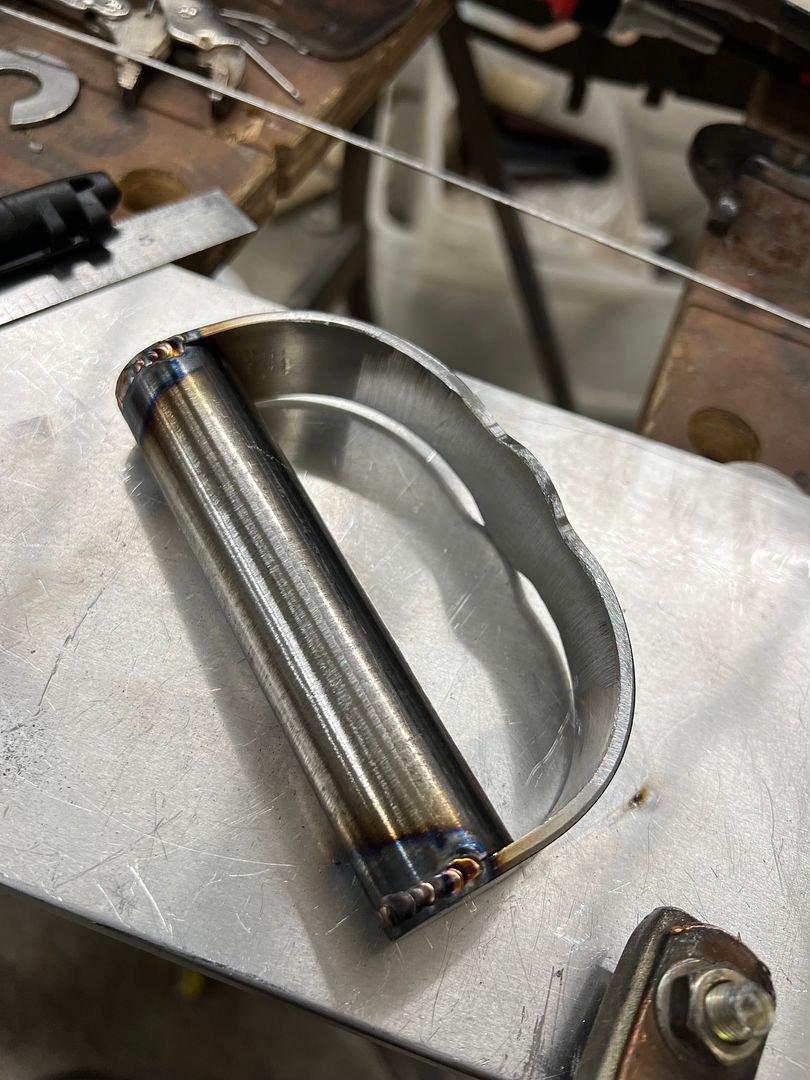
But this would have required more hardware, and the aluminum handle was over-ruled for simplicity of a welded steel tube. Here we formed the handle's hoop, and some side "extensions" were added so we could have a consistent shoulder around the "steering column" for fillet weld.
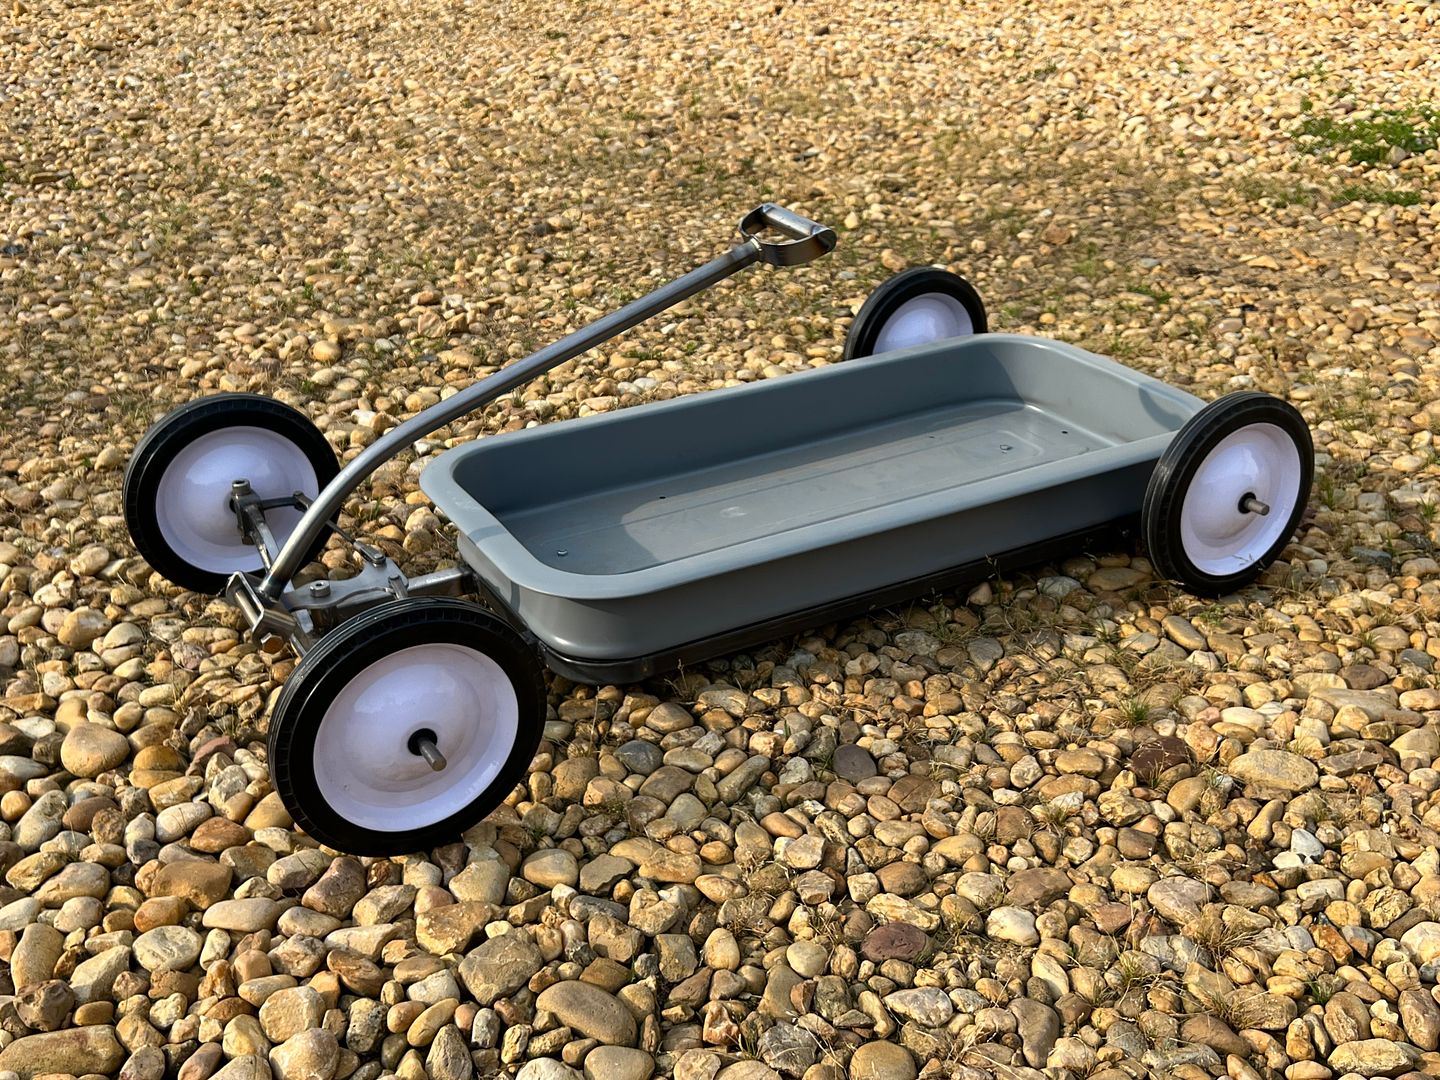
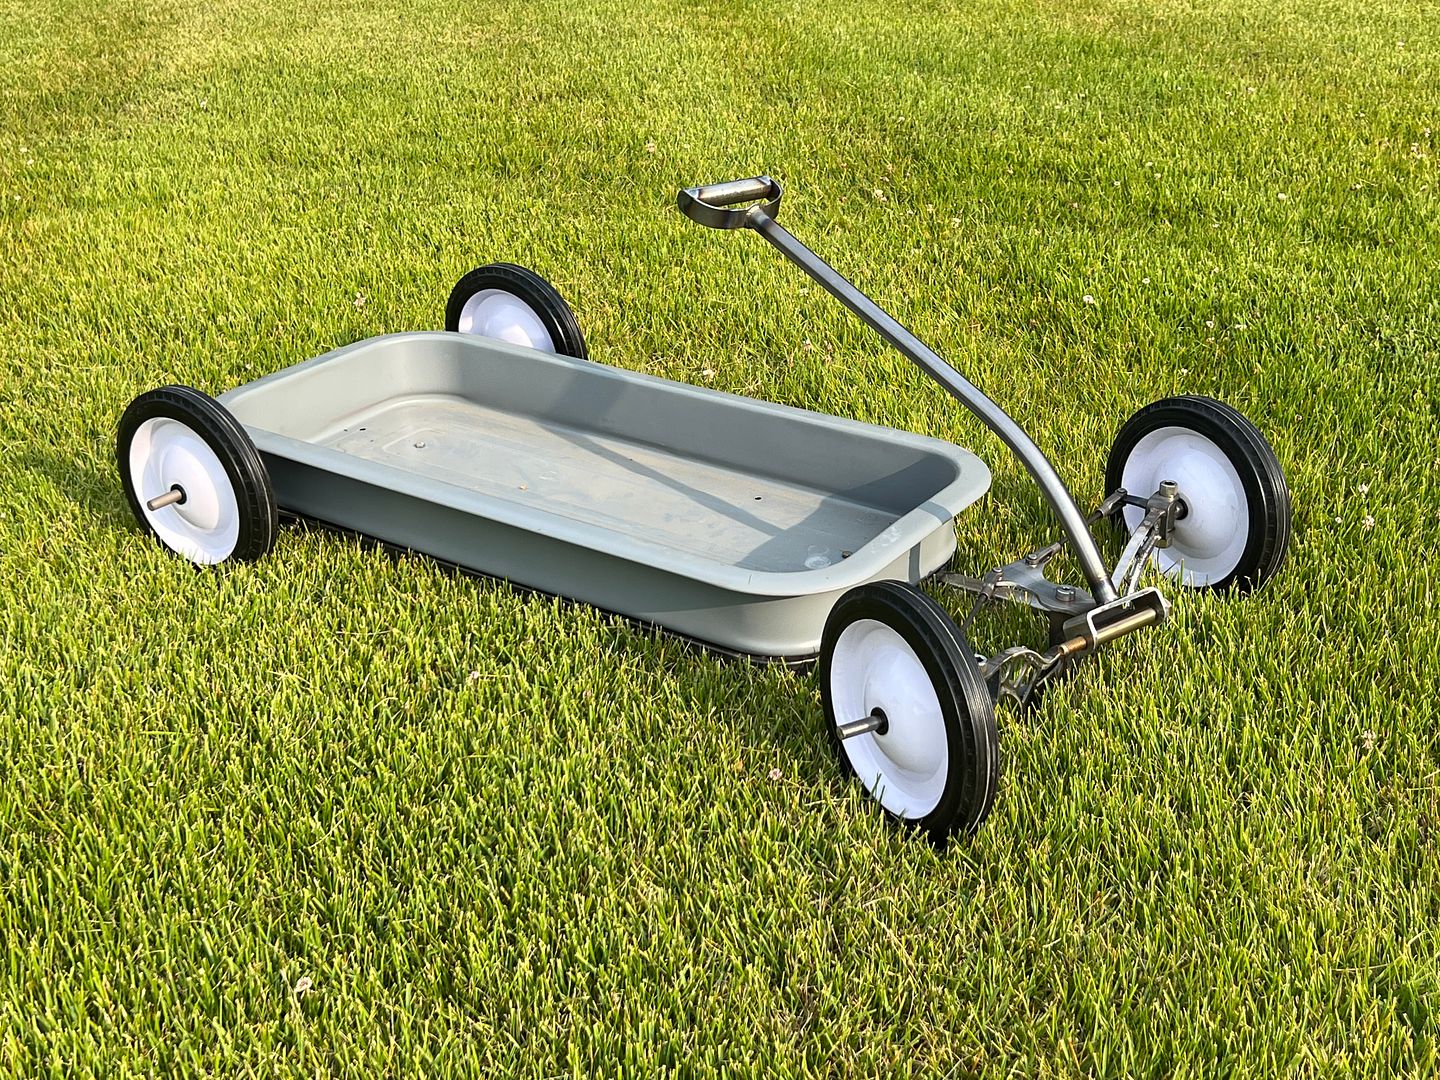
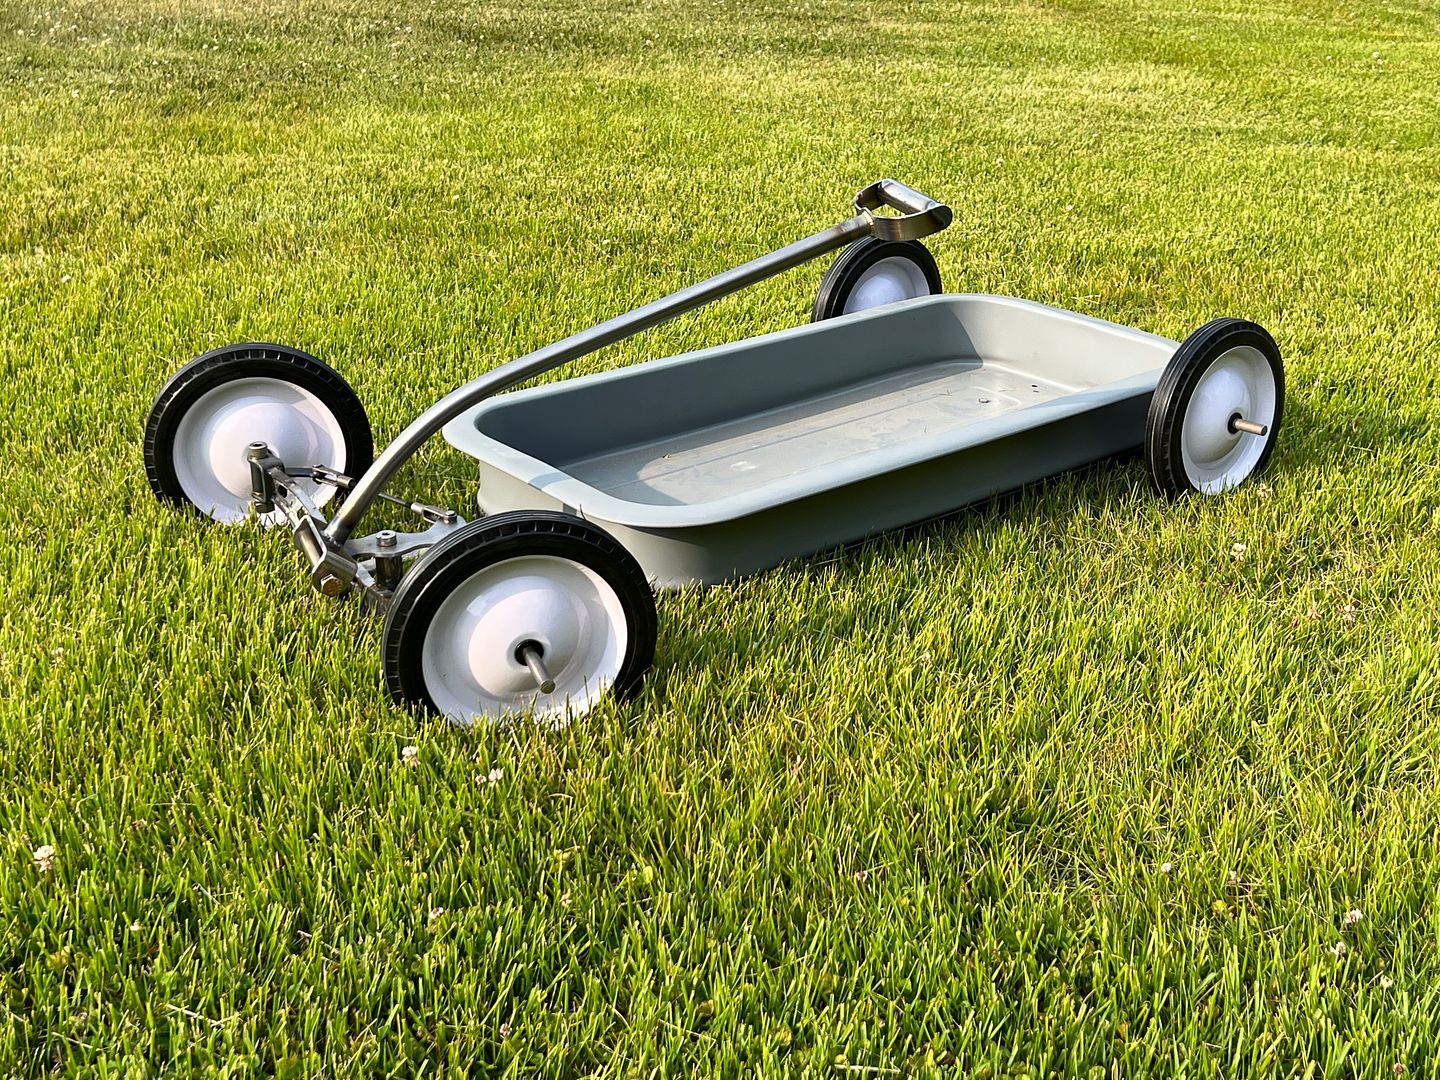
And some shots in da weeds... may have clearance issues
Robert
-
06-17-2023 11:58 PM #1778
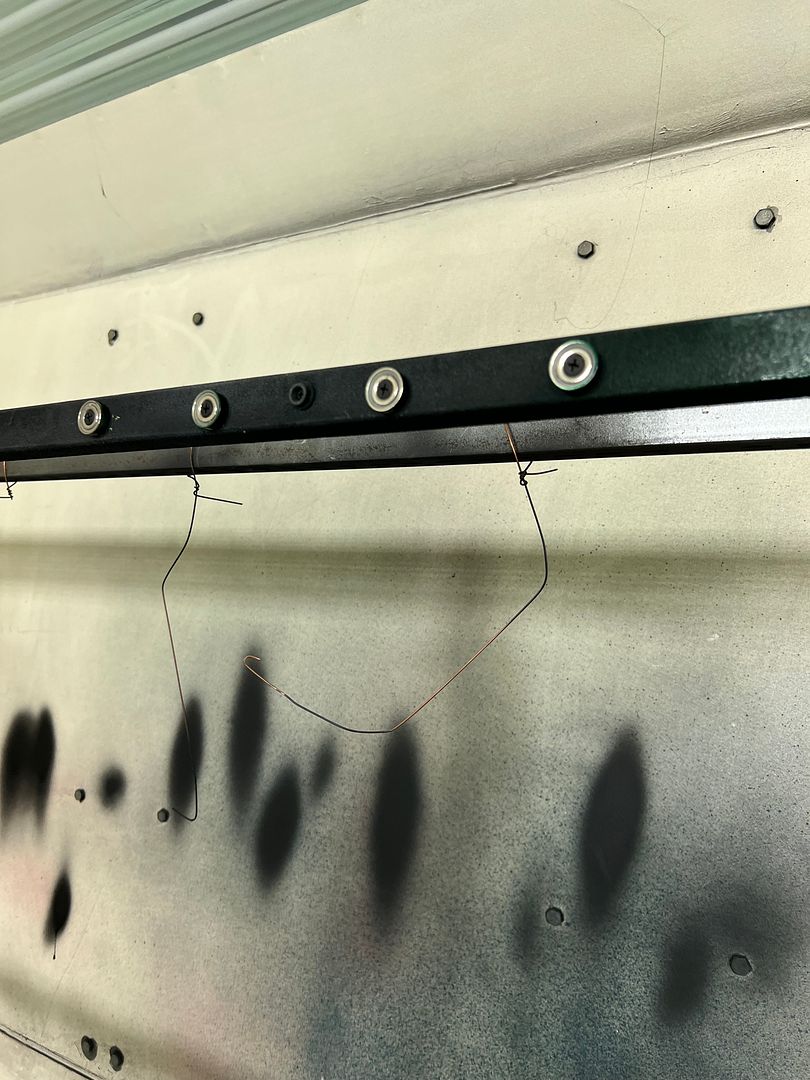
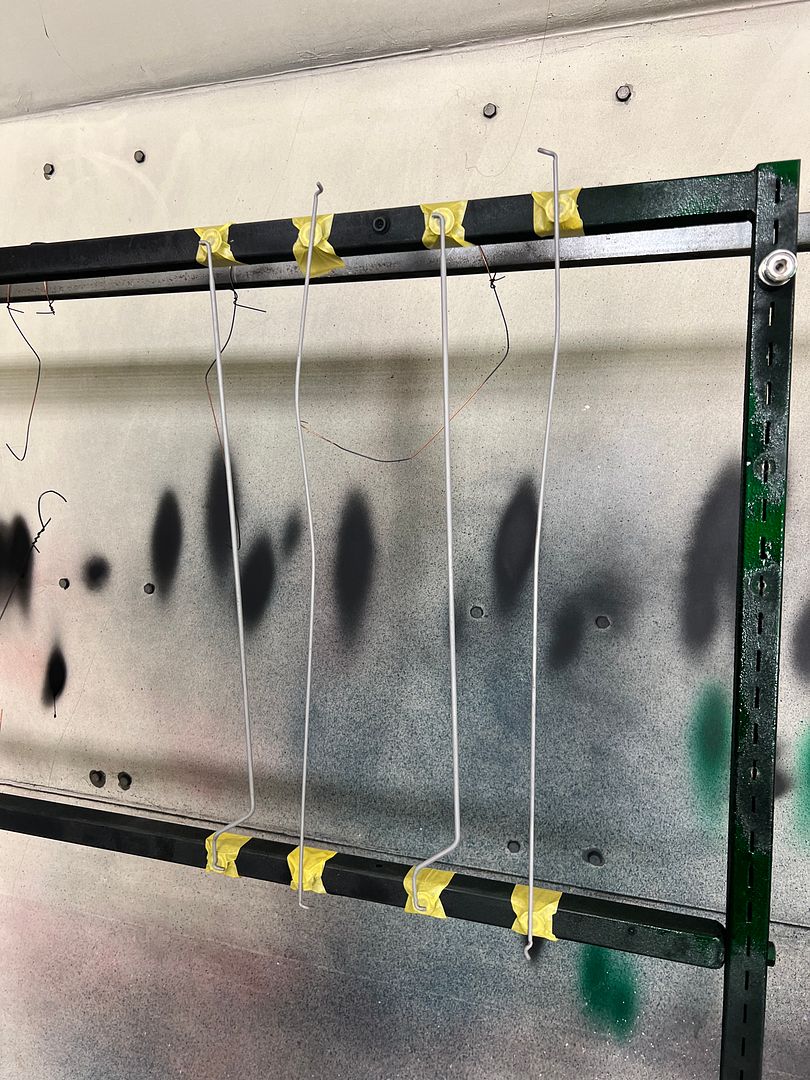
Some additional parts for painting, we had media blasted the door latch and tailgate latch pull rods, as well as the end clips. The rods didn't have much option for securing for paint, so we opted for some rare earth magnets screwed to the paint stand. We'd paint one side, let it flash, rotate 180*, and spray the other side. That's our plan...
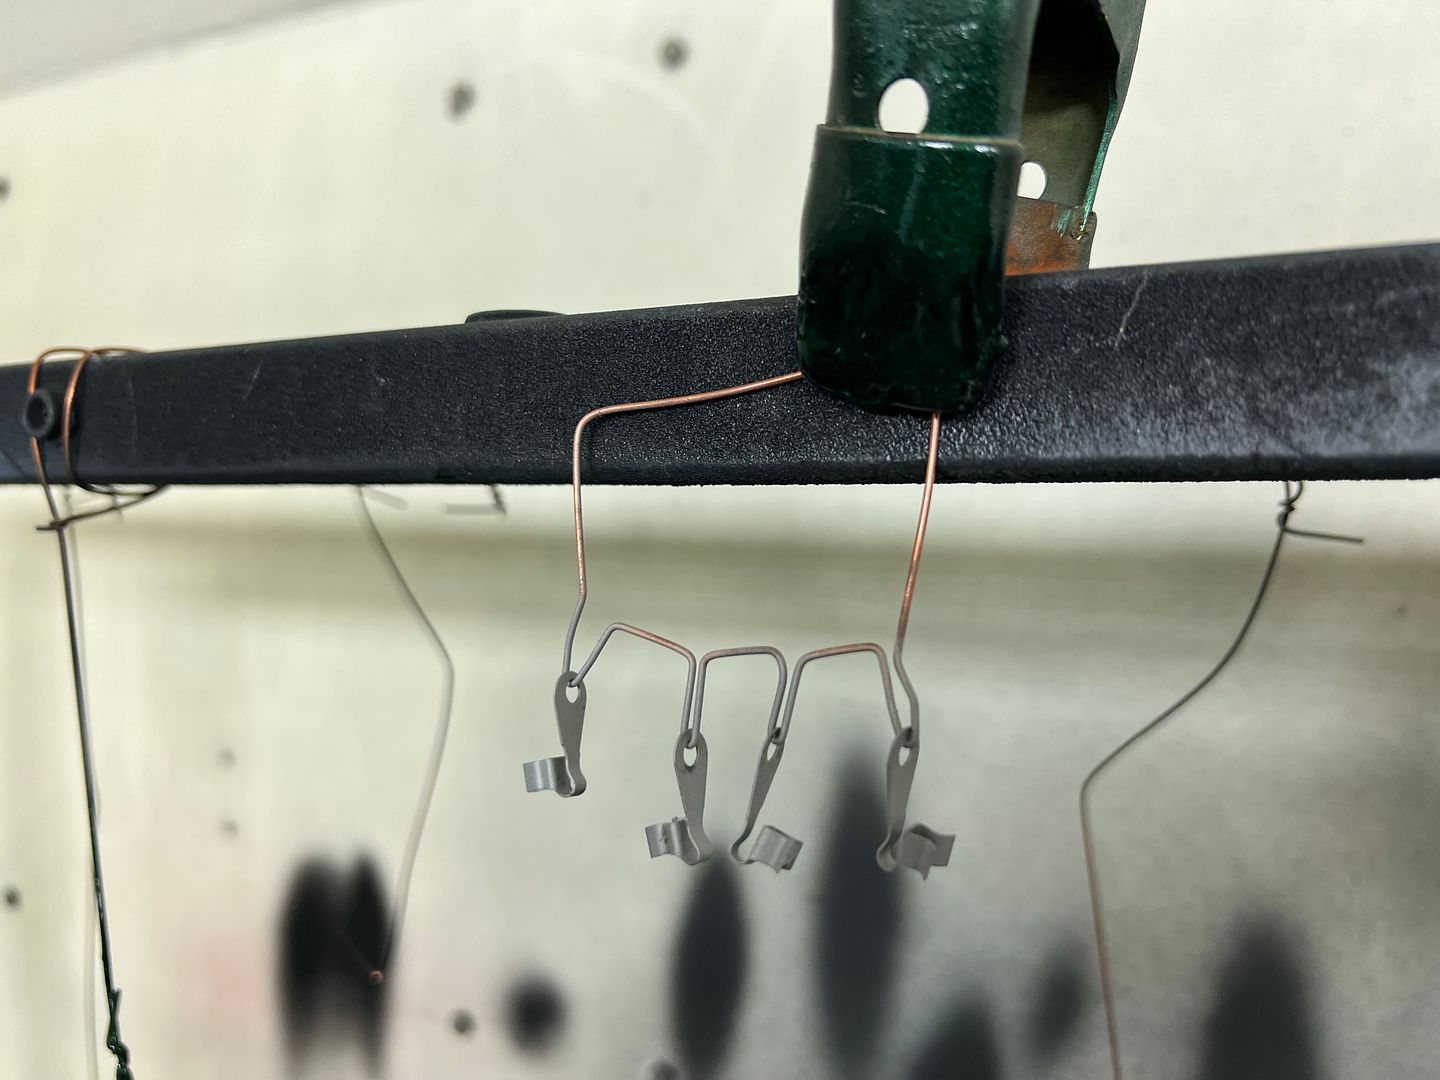
Jared had made a hoop holder for the end clips so they wouldn't get lost in the media blast cabinet, and it looked like a good holder for painting as well.
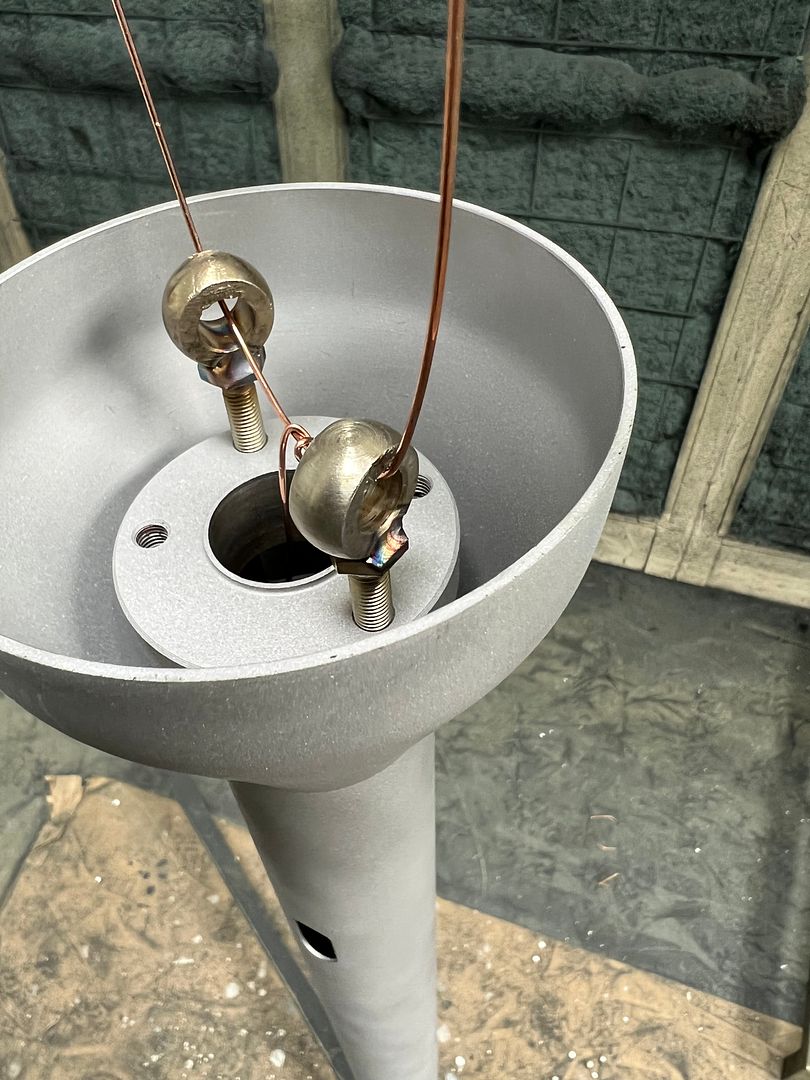
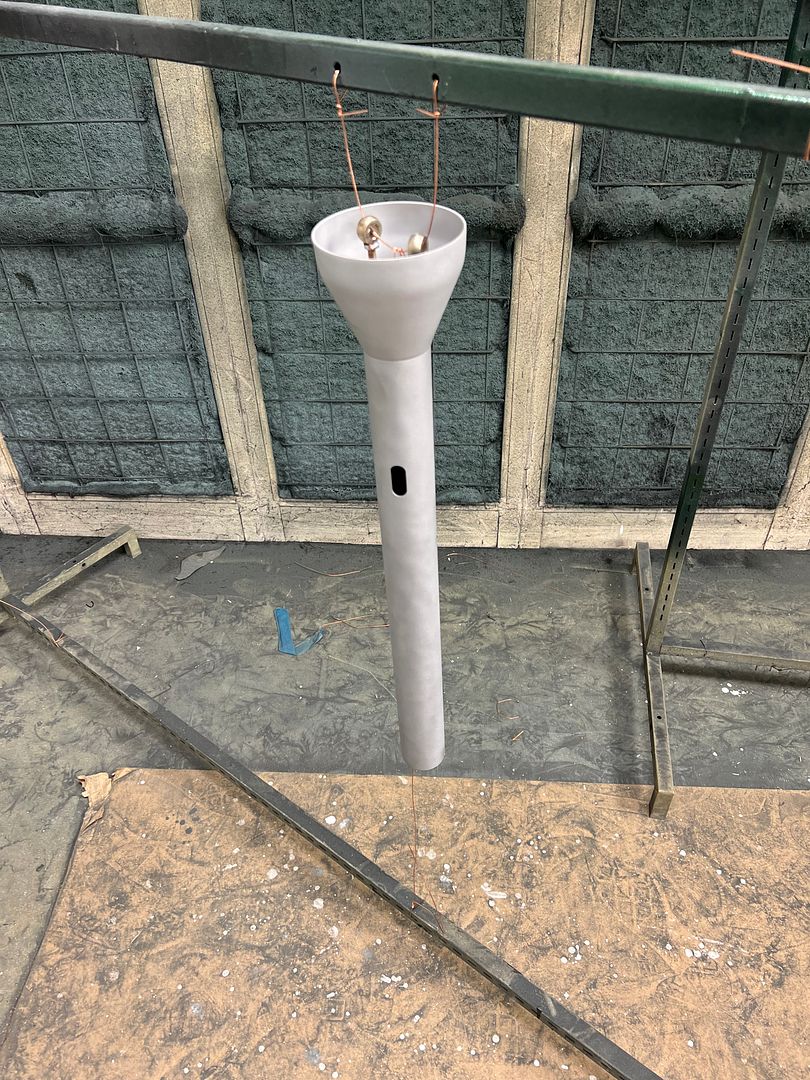
We also needed to paint the steering column, so it was disassembled and media blasted to prep for epoxy primer.. To support the column on the paint stand some eyebolts were fabricated to fit the 1/4-28 threads.
I missed getting pics after primer, so we'll get those next time..
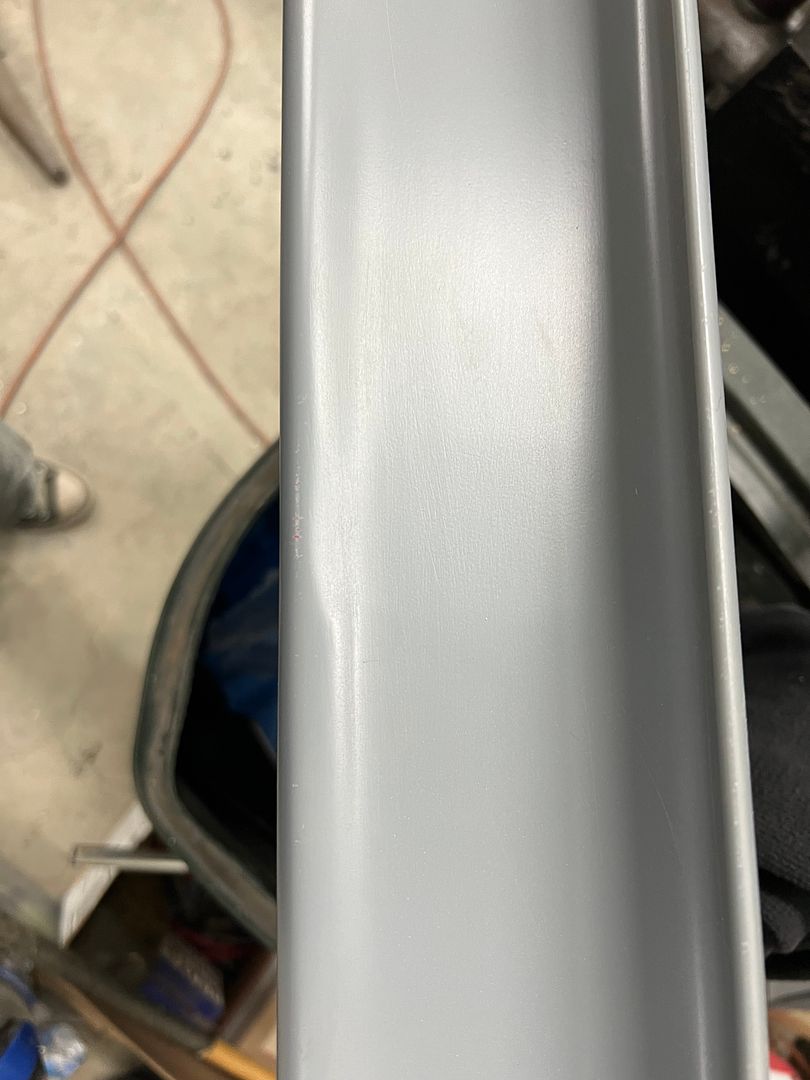
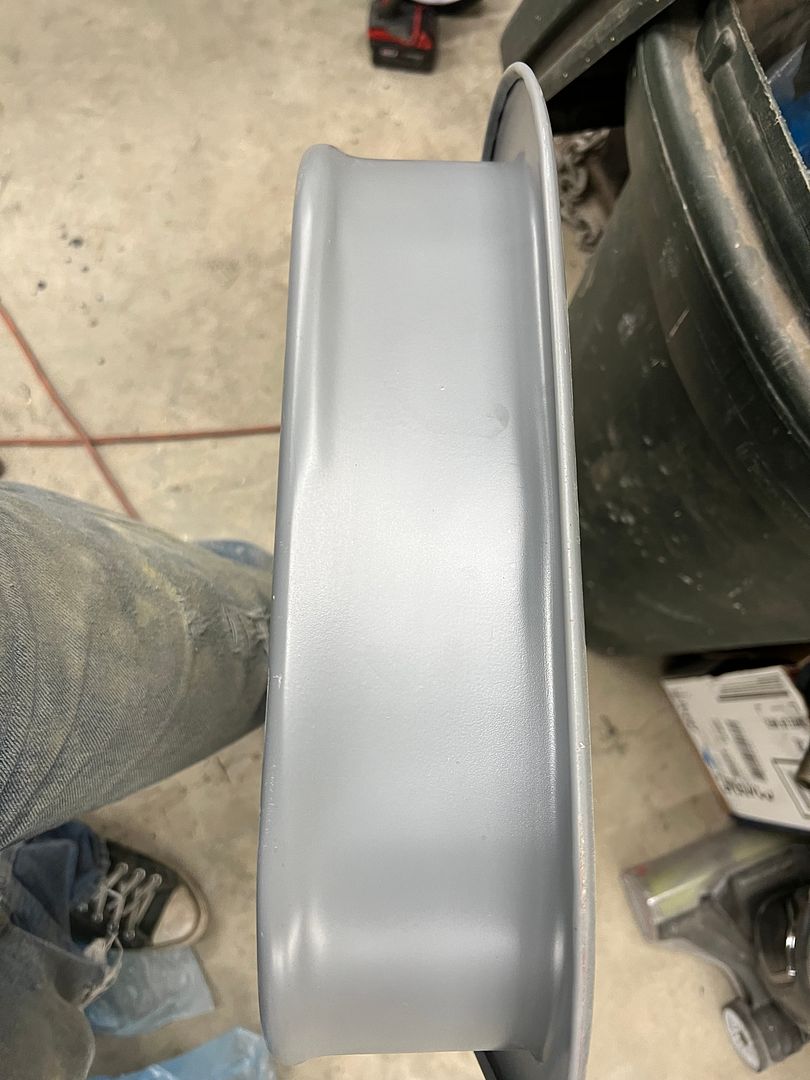
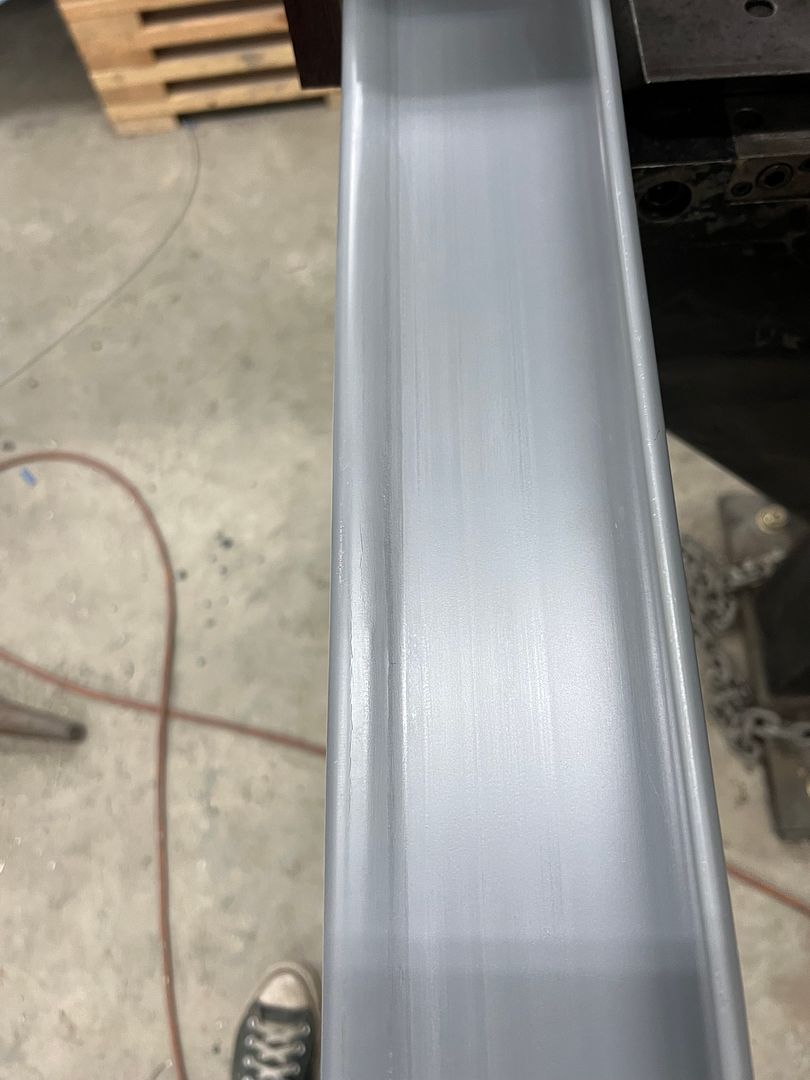
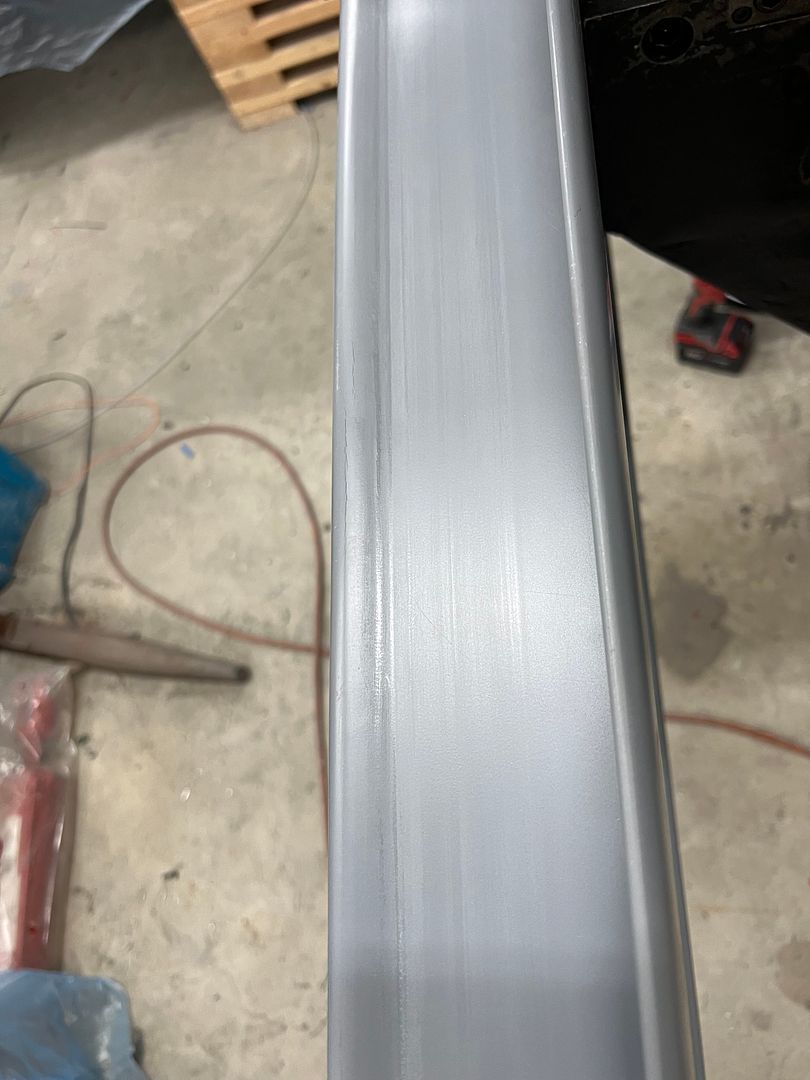
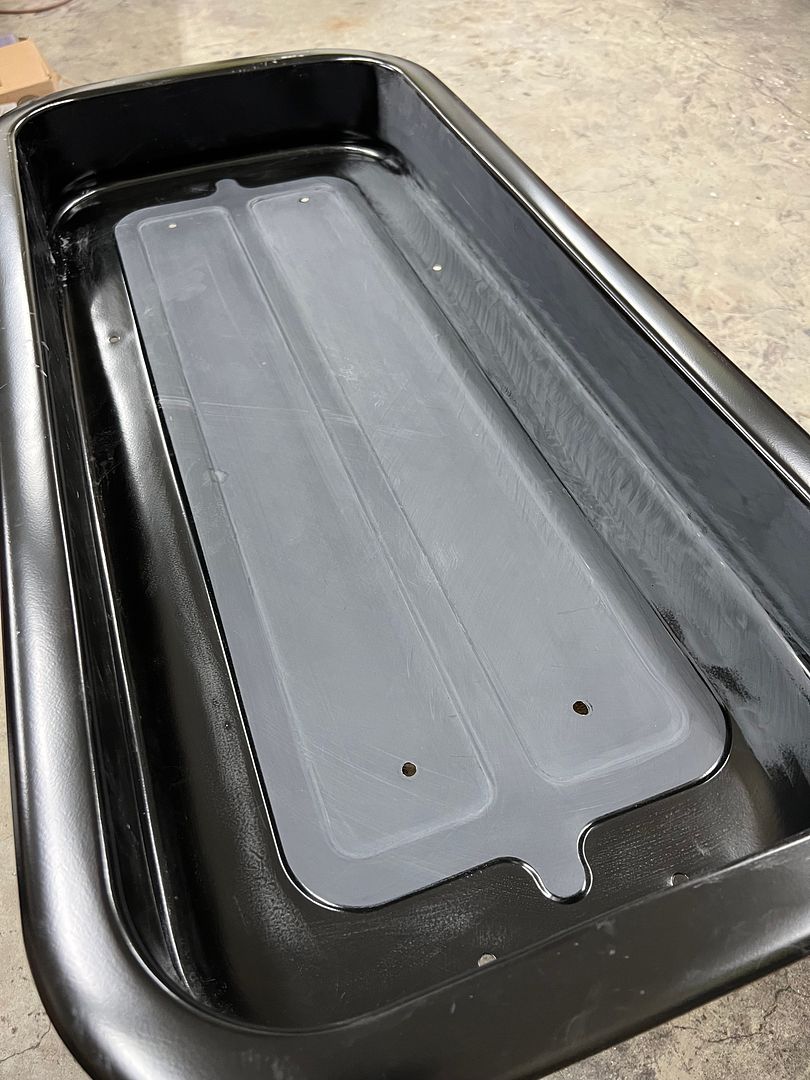
Progress for our other wagon, the bead detail at the bottom of the wagon pan has some flat spots (defects) from the factory. As we will be spraying kandy paint, those spots need to be corrected so they won't be visible.
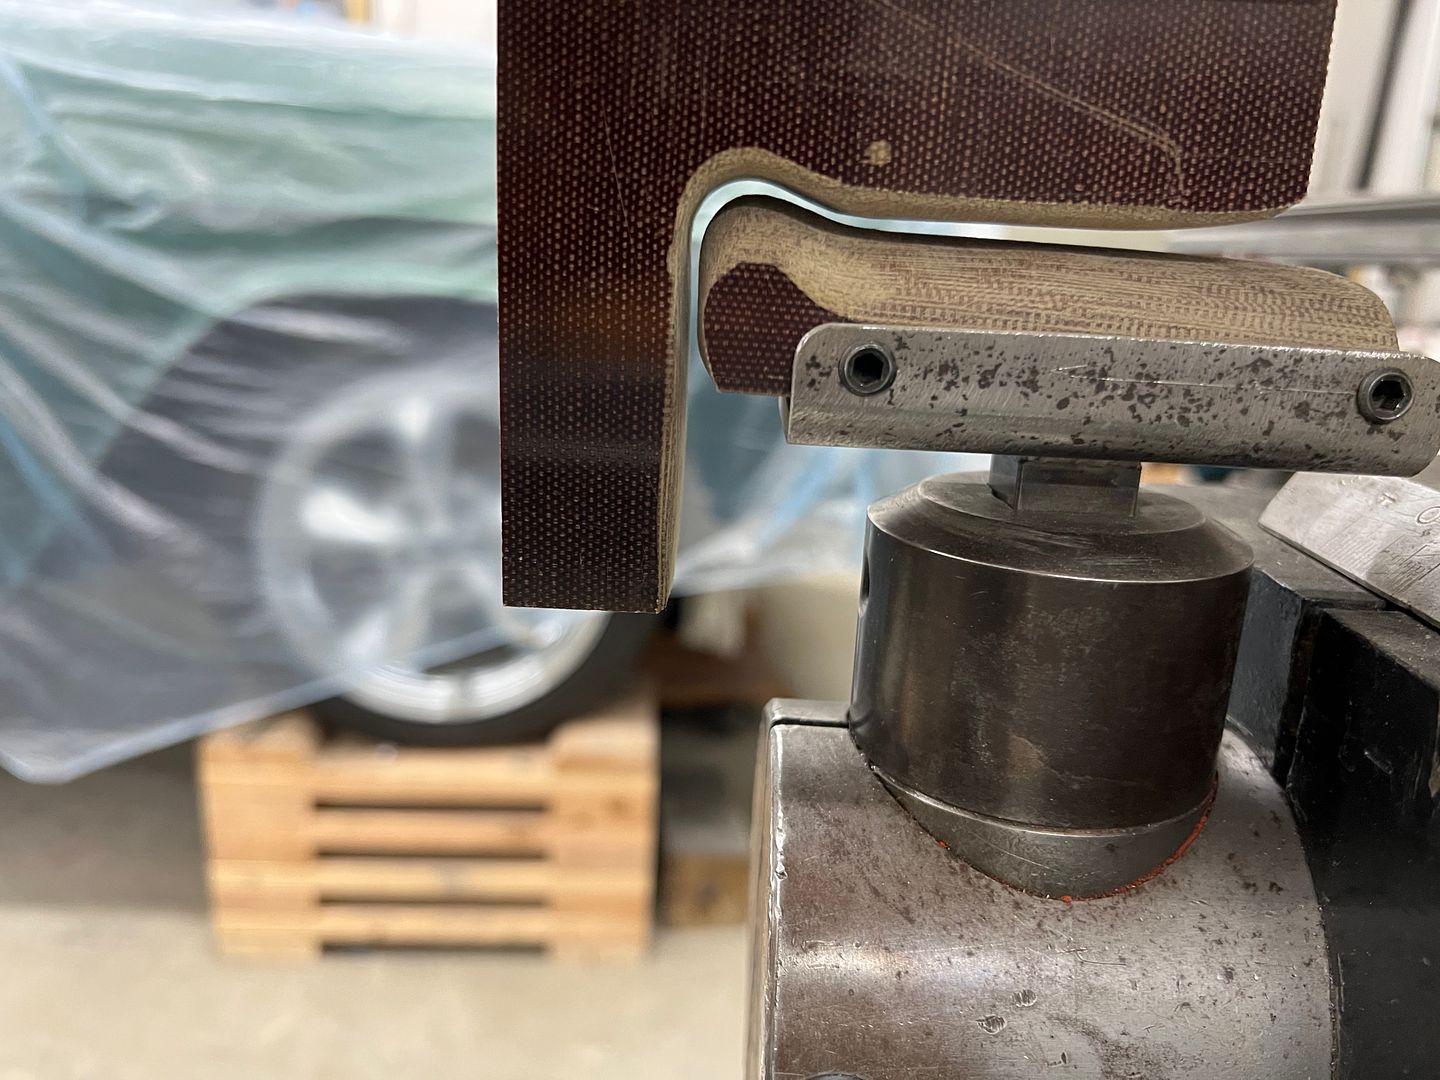
So we made a set of dies for the Lennox to be able to give a consistent bead around the entire perimeter..
https://youtu.be/5sTsOj_Bqd8
much better:
more to come...Robert
-
06-18-2023 05:47 AM #1779
Your leaving no detail overlooked, very nice! Do you have a time frame of when it will be finished? It looks like your in the tunnel, but I'm not sure if you see the light yet
Seth
God cannot give us a happiness and peace apart from Himself, because it is not there. There is no such thing. C.S.Lewis
-
07-07-2023 04:30 AM #1780
I can see the light, just hoping it isn't a train.
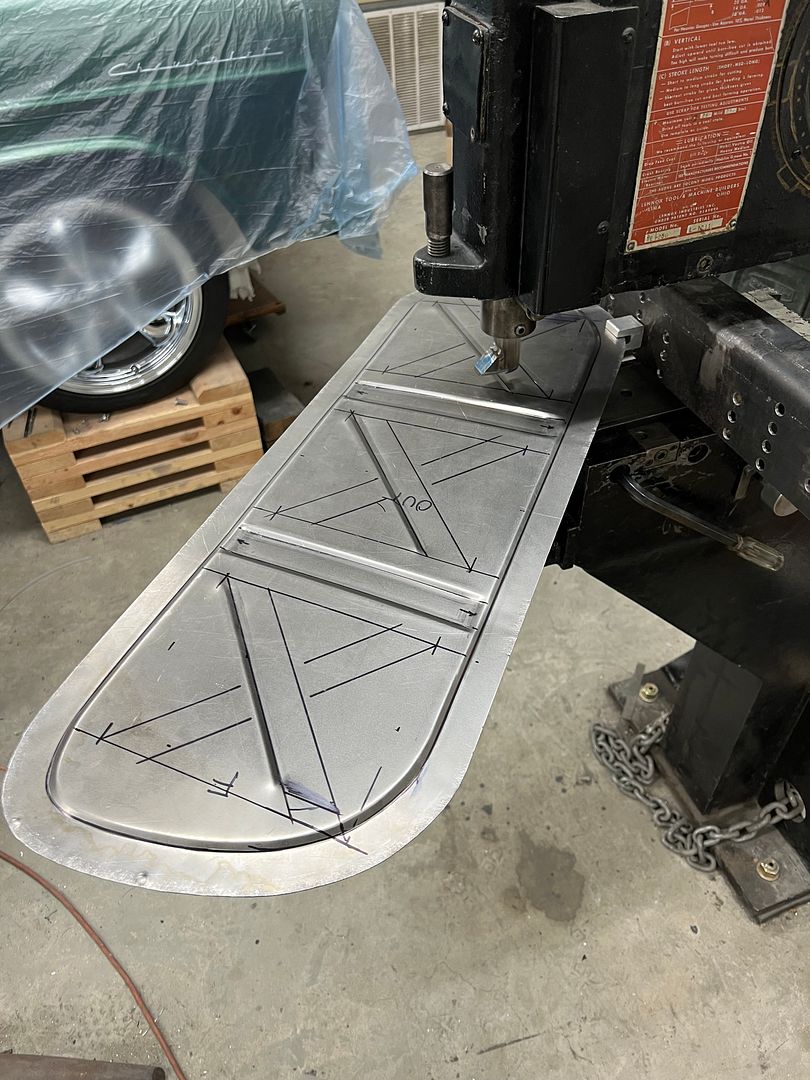
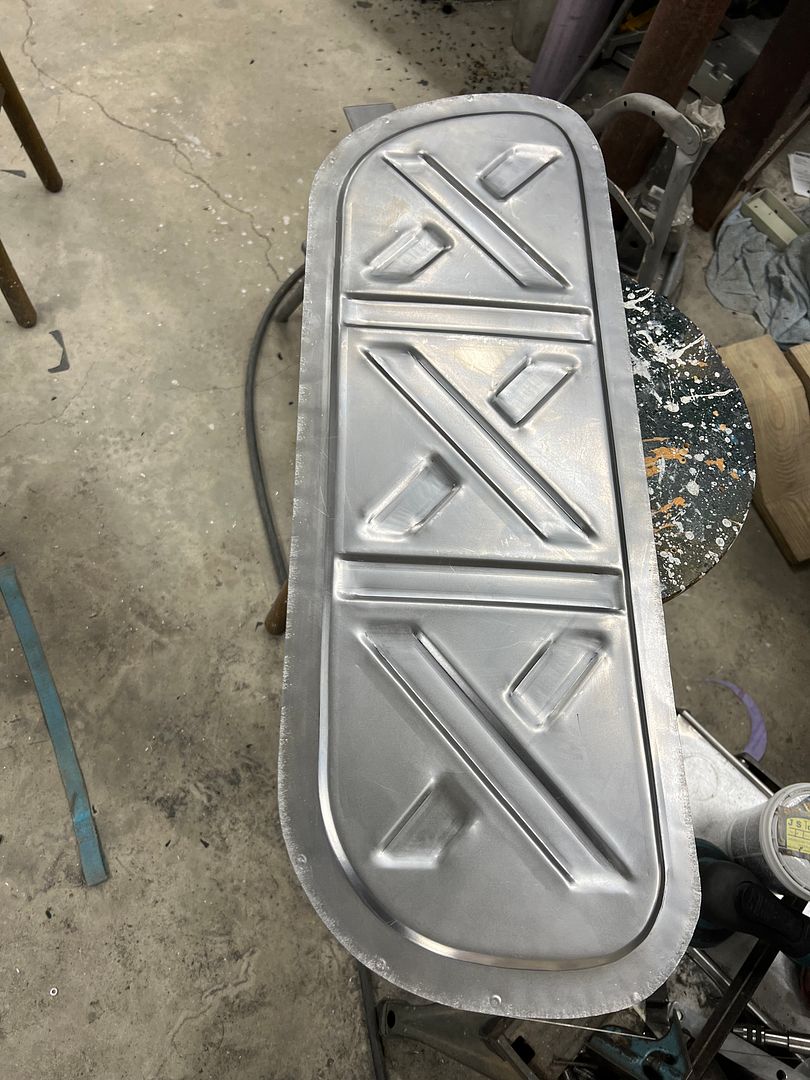
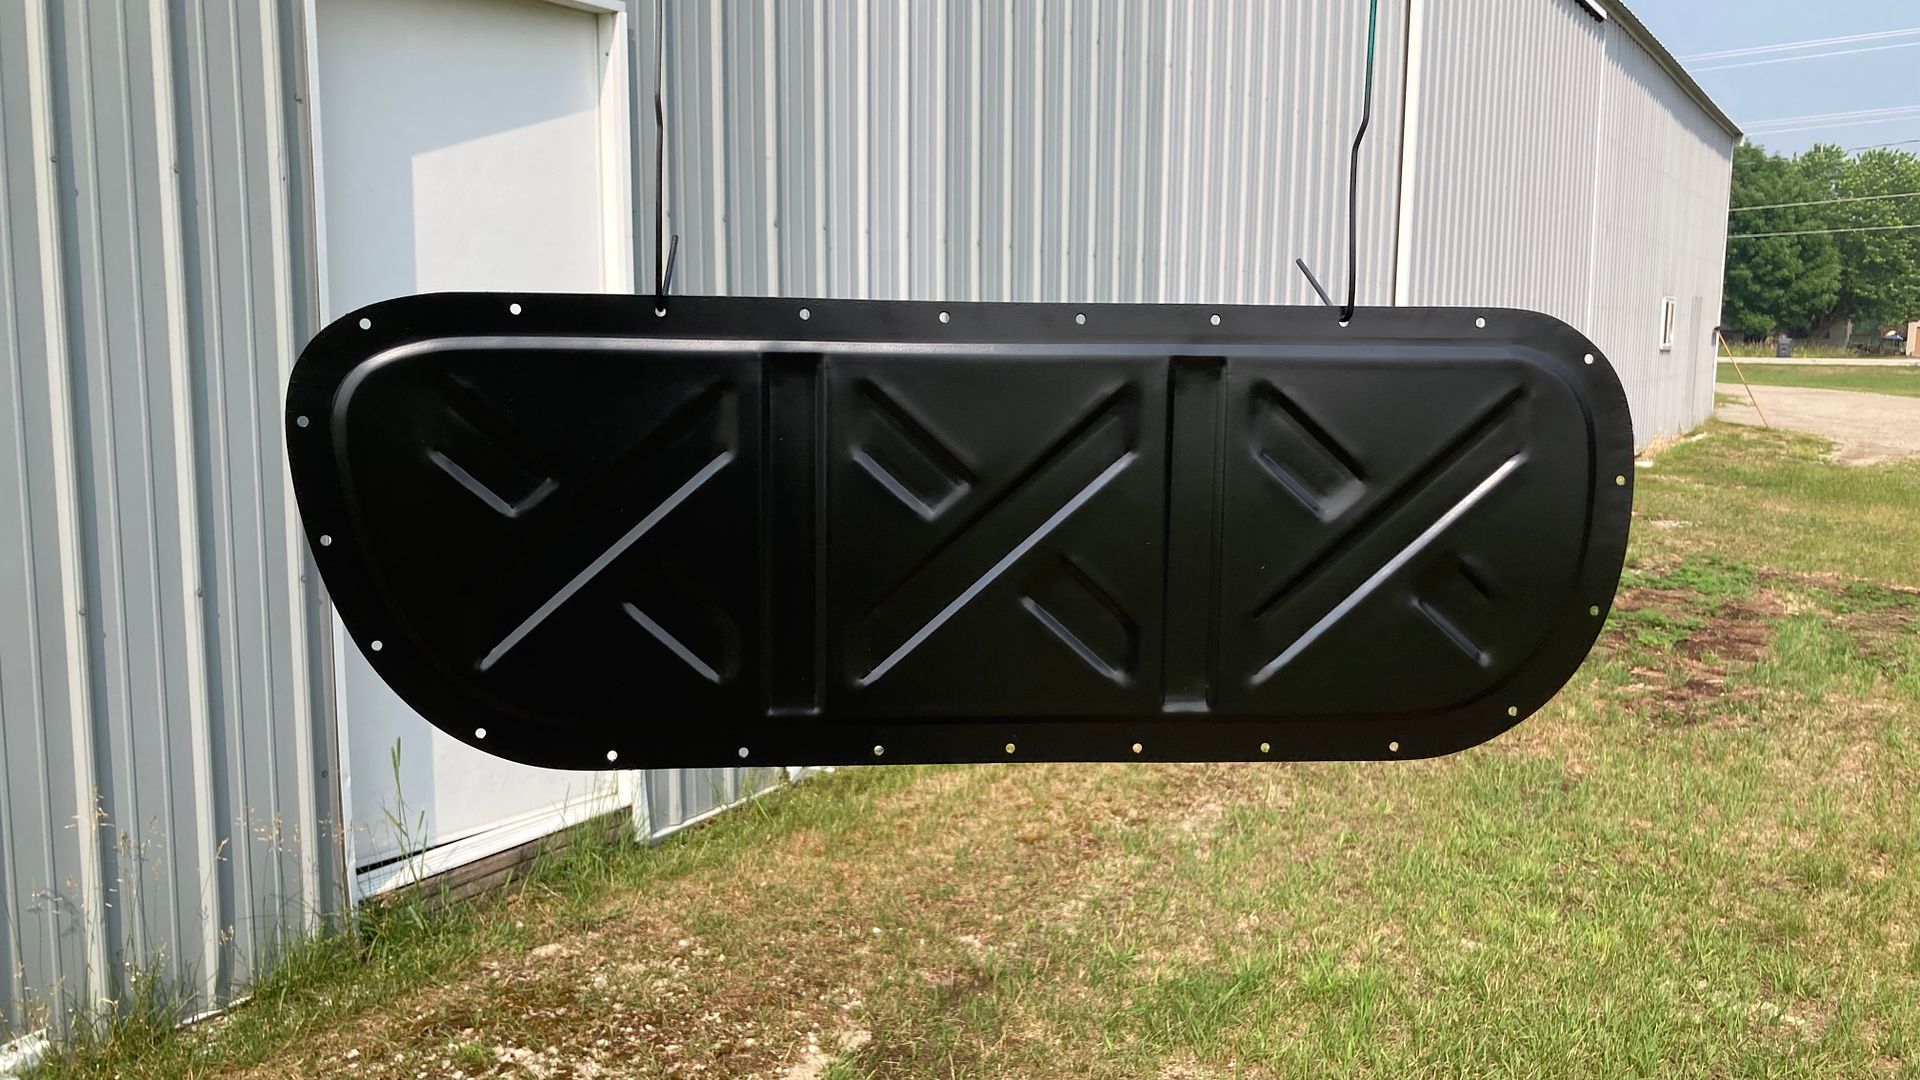
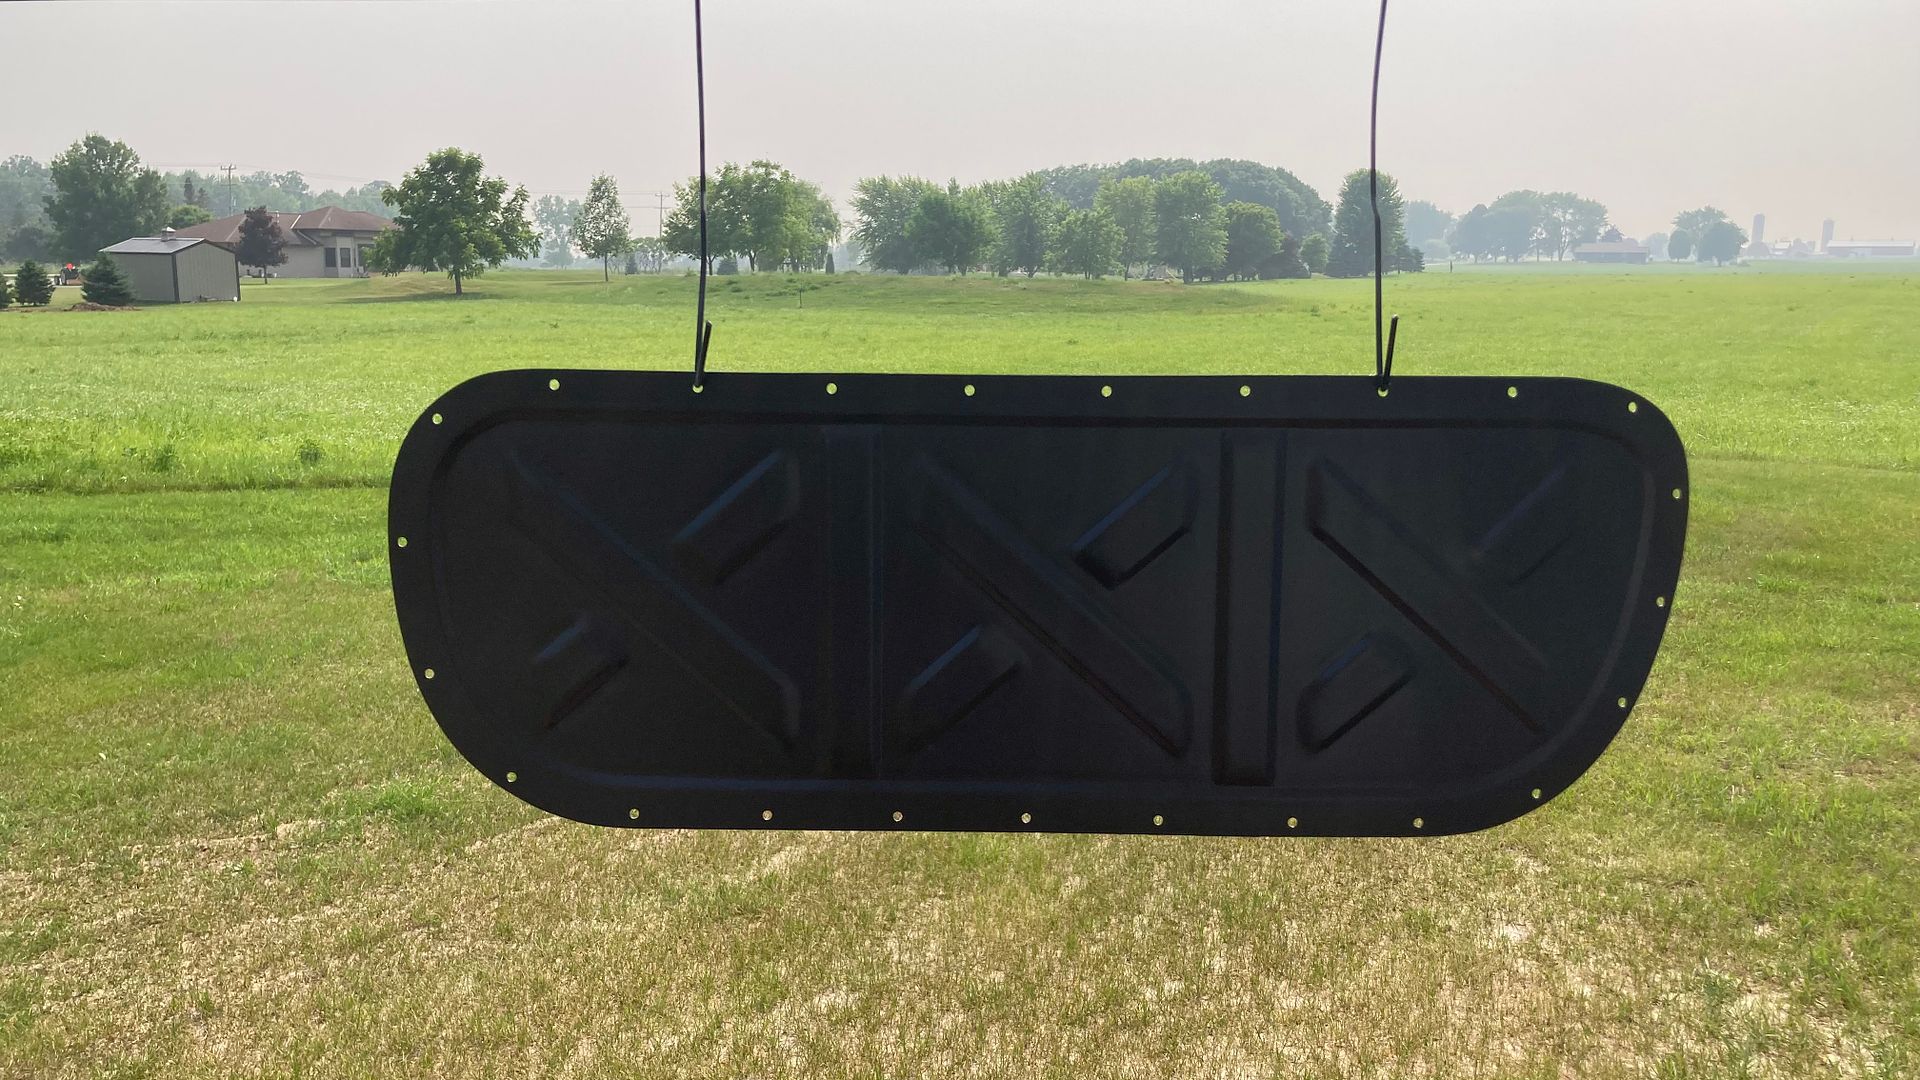
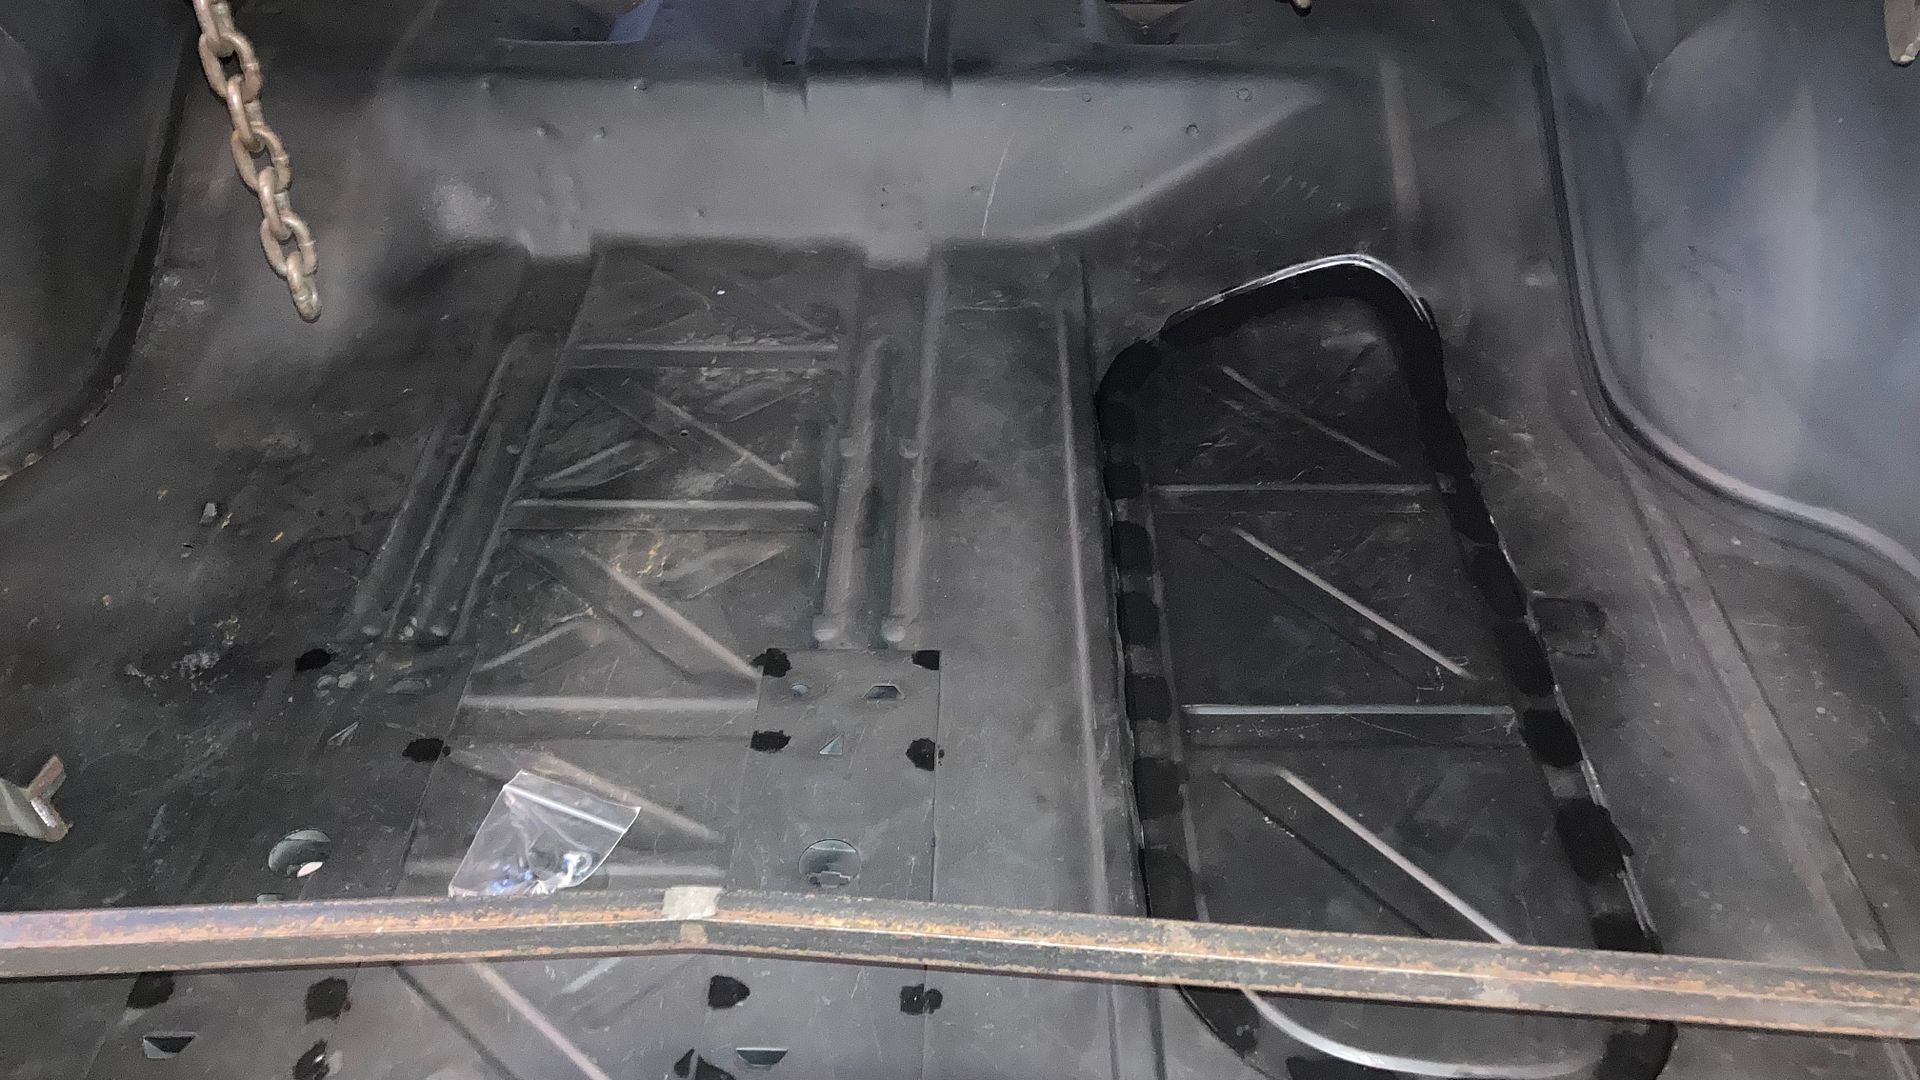
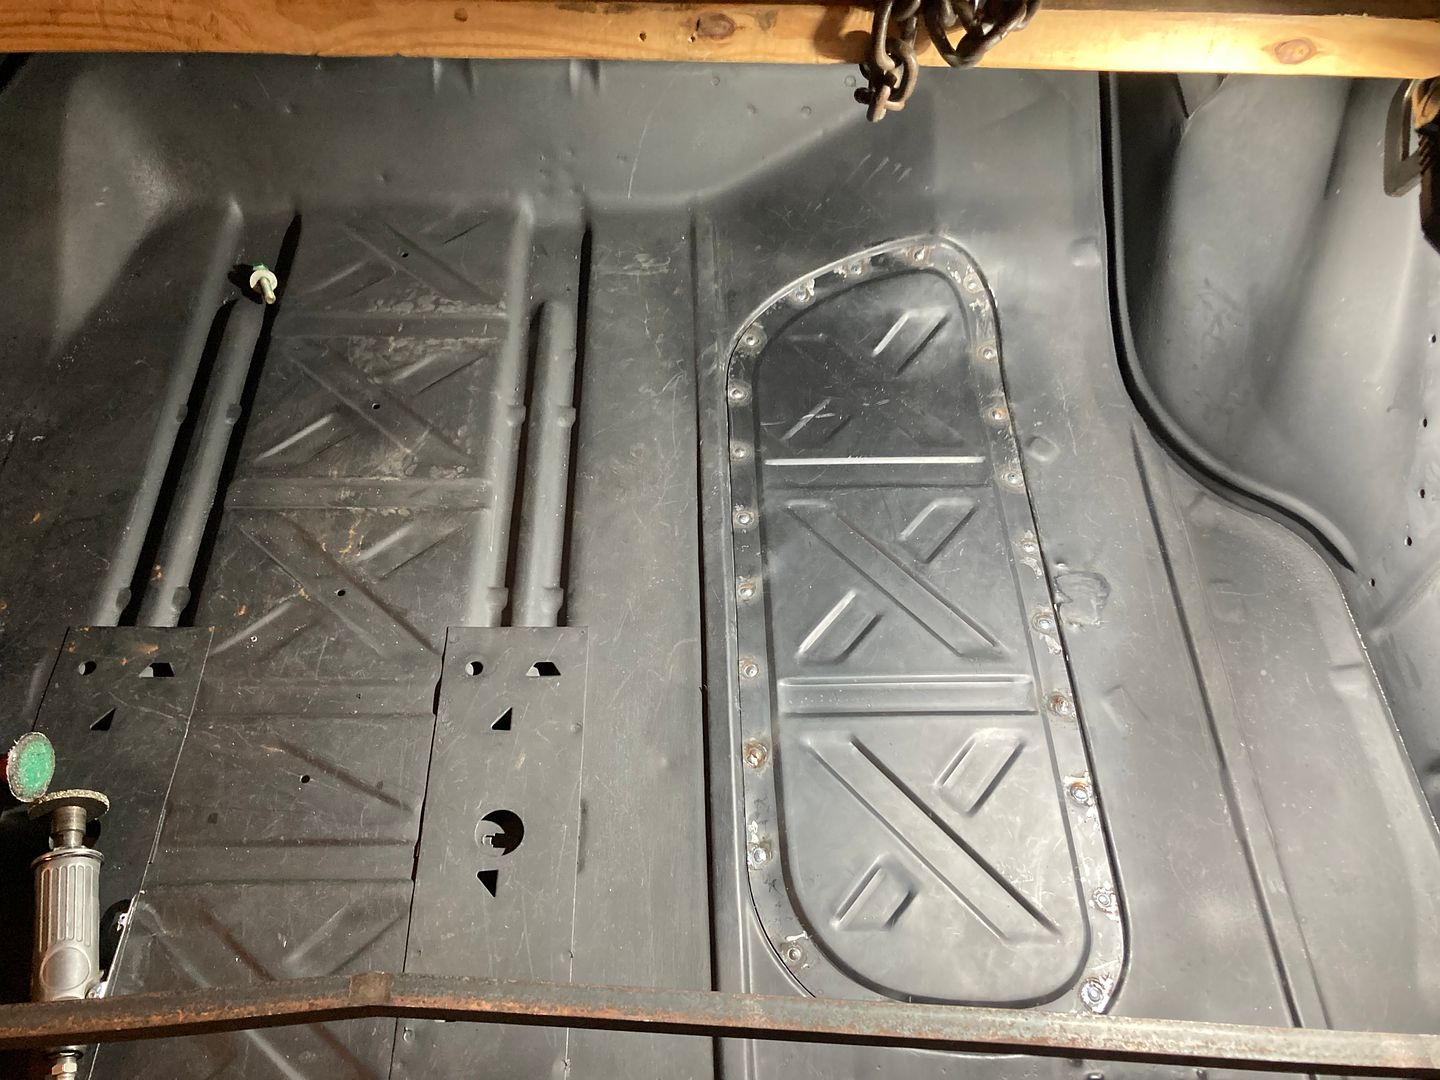
A few months back we had received some newly polished stainless spears (side trim) for the 55 wagon. Part of the payment was to fabricate a "factory delete" plate for the spare tire well of a 55 chevy in gasser form. He wanted to mimic the factory X pattern that is located along the centerline of the trunk. We recently got this done, and with as-installed pictures received, it seems a good time to post this as well. We had tried a sample using the bead roller, and also had made a die set for the Lennox that would produce both sides at once. Neither worked well at all. I didn't care for the bead roller version much at all since we would be relying on self guiding and the possibility of line deviation. So we opted for a set of offset dies that I had for the Lennox, and producing each side individually. The Lennox works well because the linear slide lets us clamp the part and produce multiple parallel embossings with good accuracy.
A corking tool made from delrin was used to dress up the ends
As primed by the owner... Yes, that is Wisconsin farmland.
Installed...
So there you have it, a rare OEM spare tire delete plate.Robert
-
07-07-2023 10:38 AM #1781
Wow the details just keep on coming on this project! You guys do an amazing job!"  "No matter where you go, there you are!" Steve.
-
07-14-2023 04:52 AM #1782
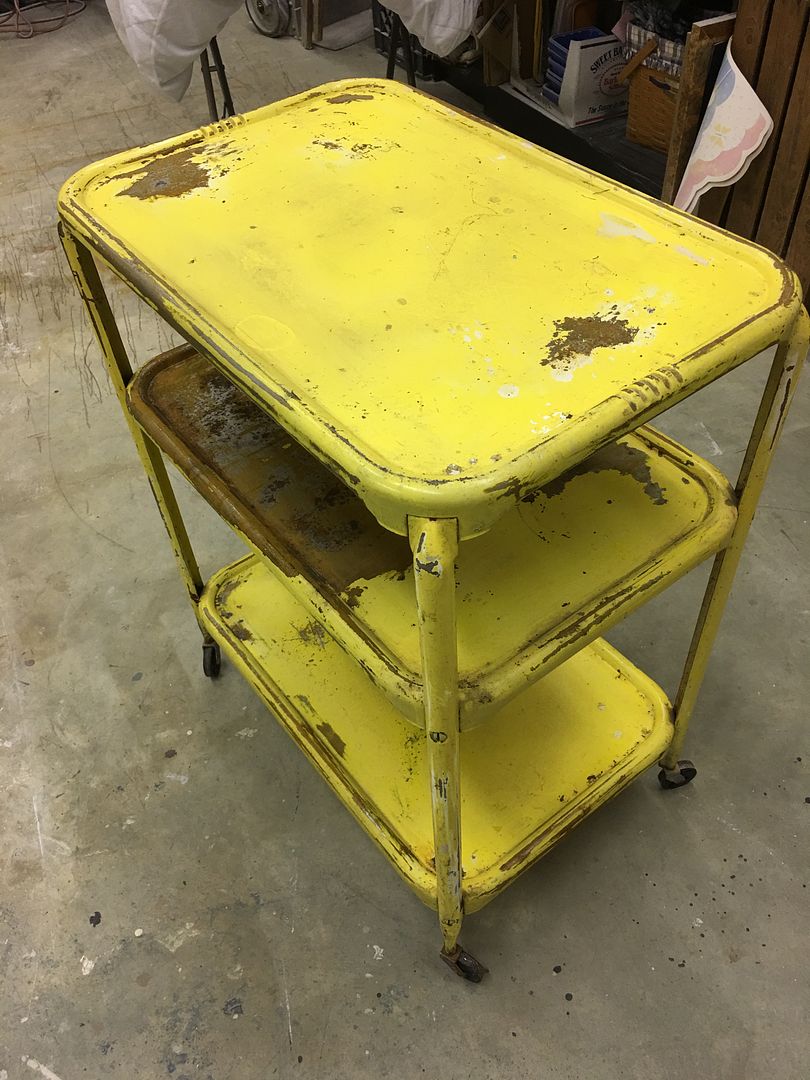
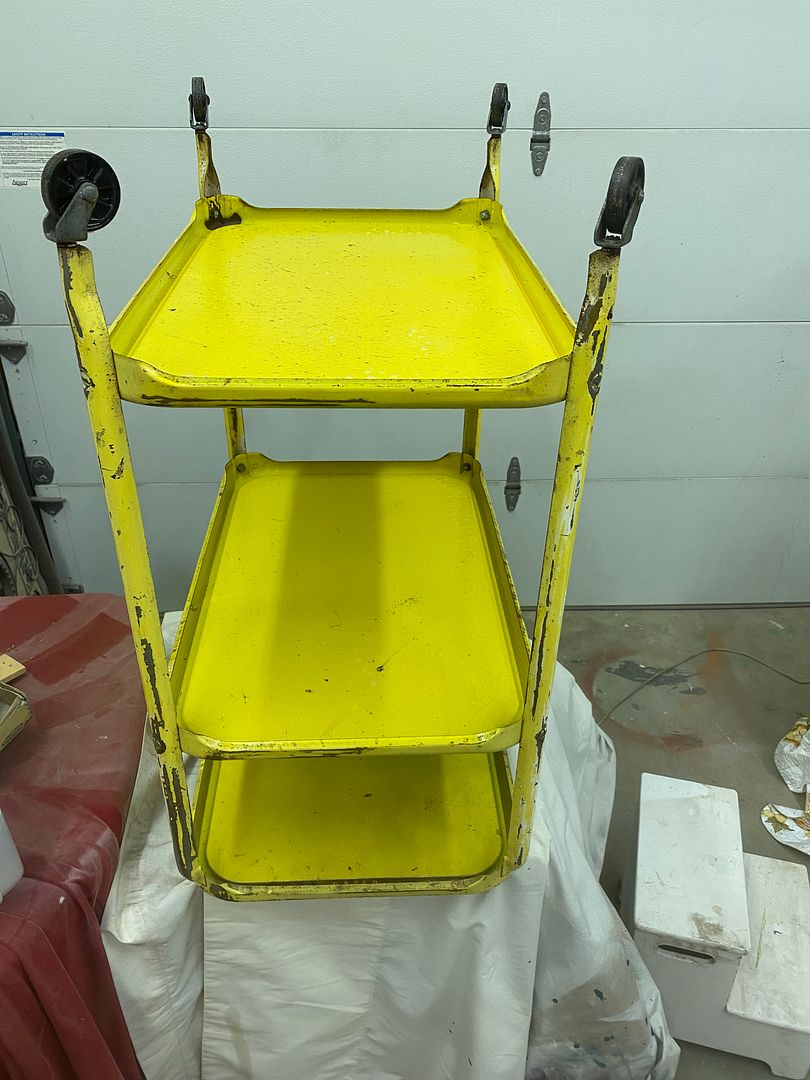
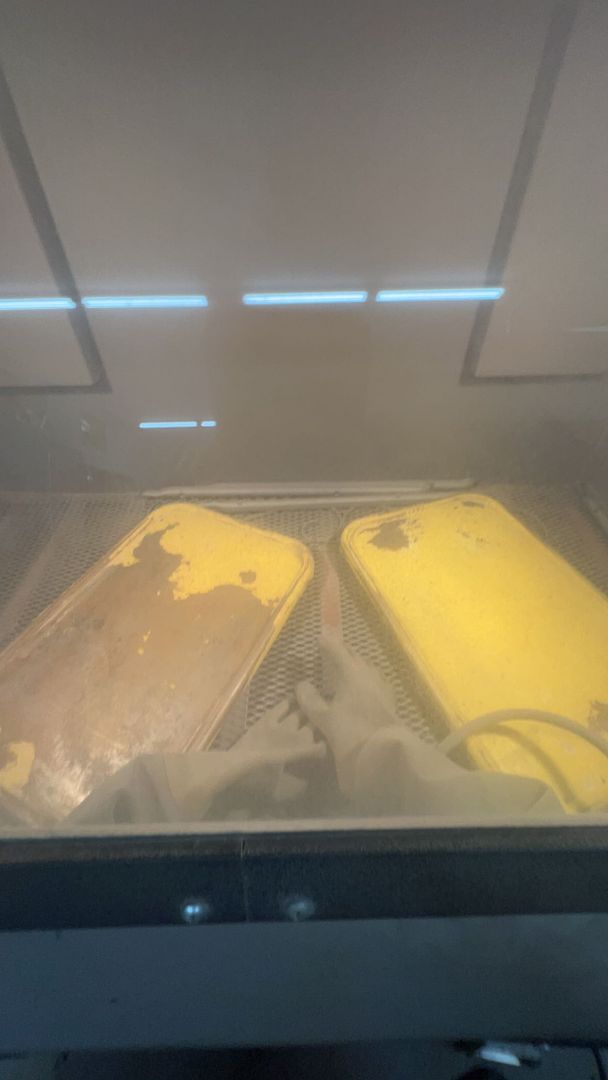
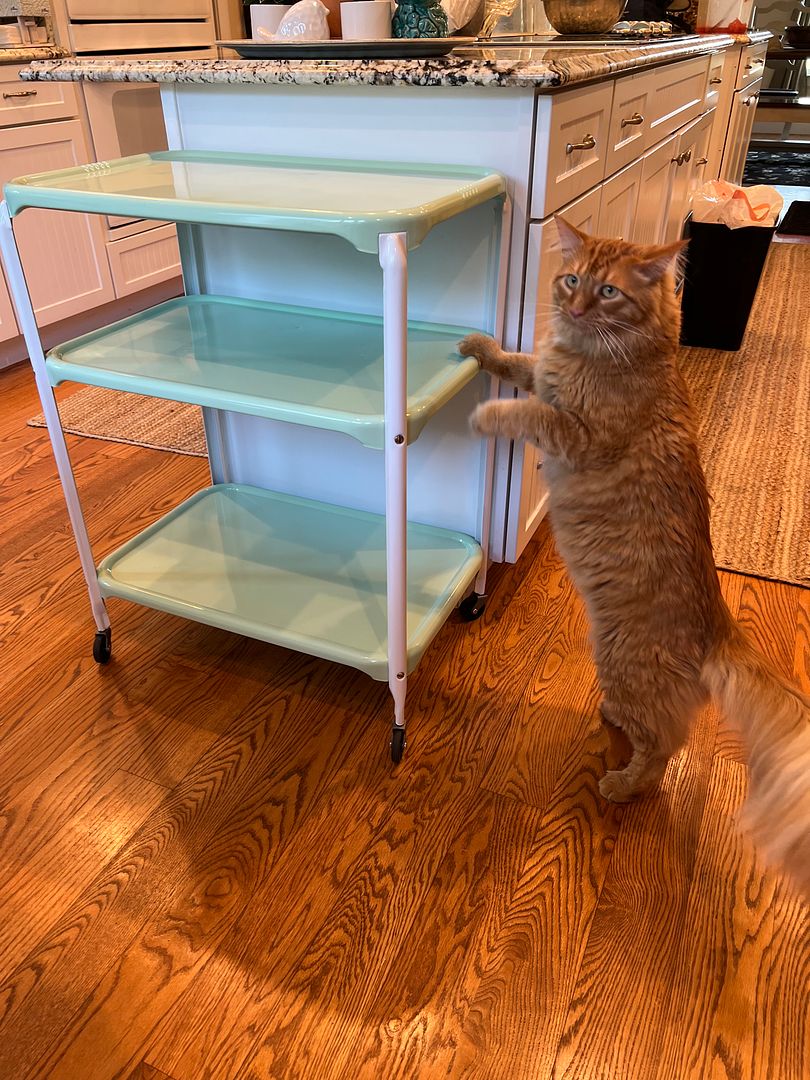
The boss lady had picked up a vintage three-shelved stand a while back, and we had been tripping over the parts in the media blast cabinet.
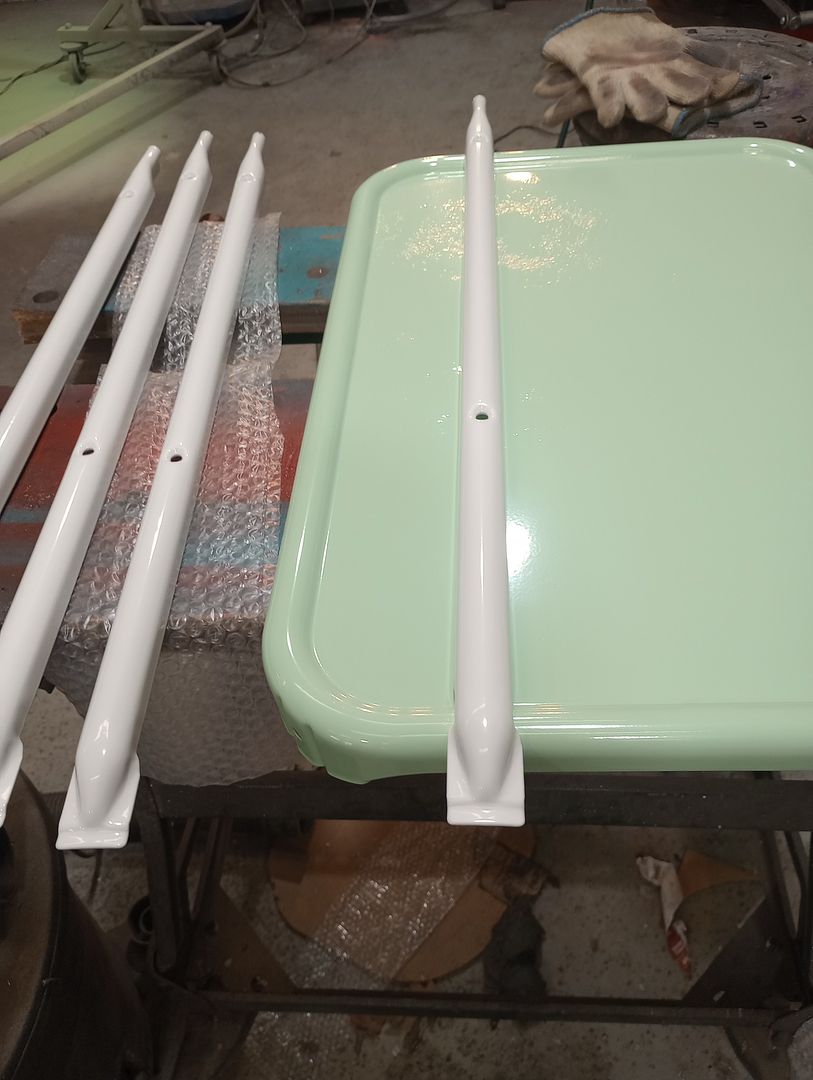
After media blasting they were sent off to The Shop at Shorty's for a powder coat finish. He had some pastel green in stock so we went with that. Here's the preview picture he sent:
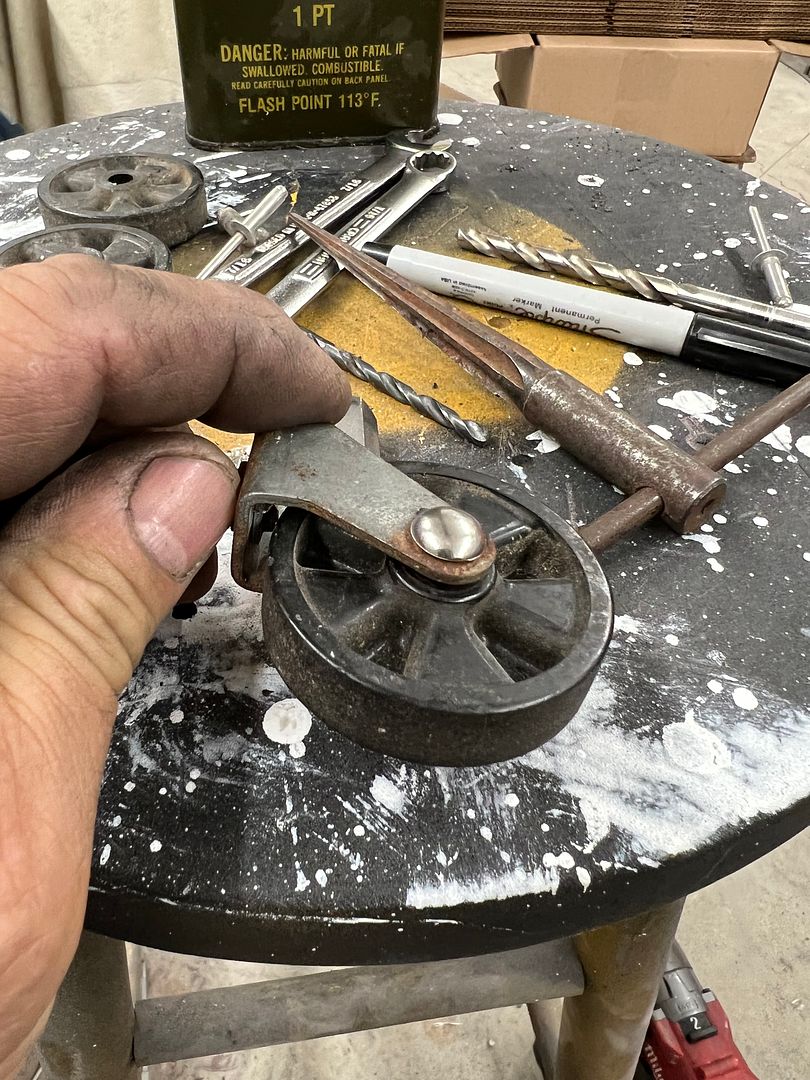
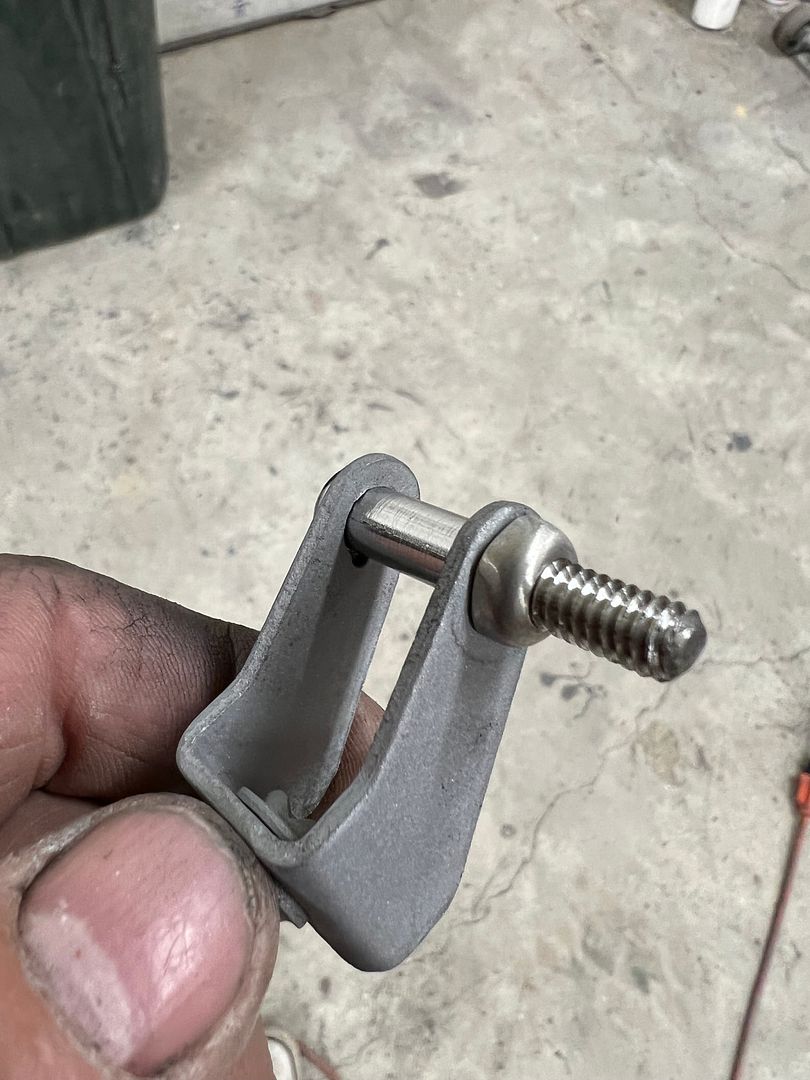
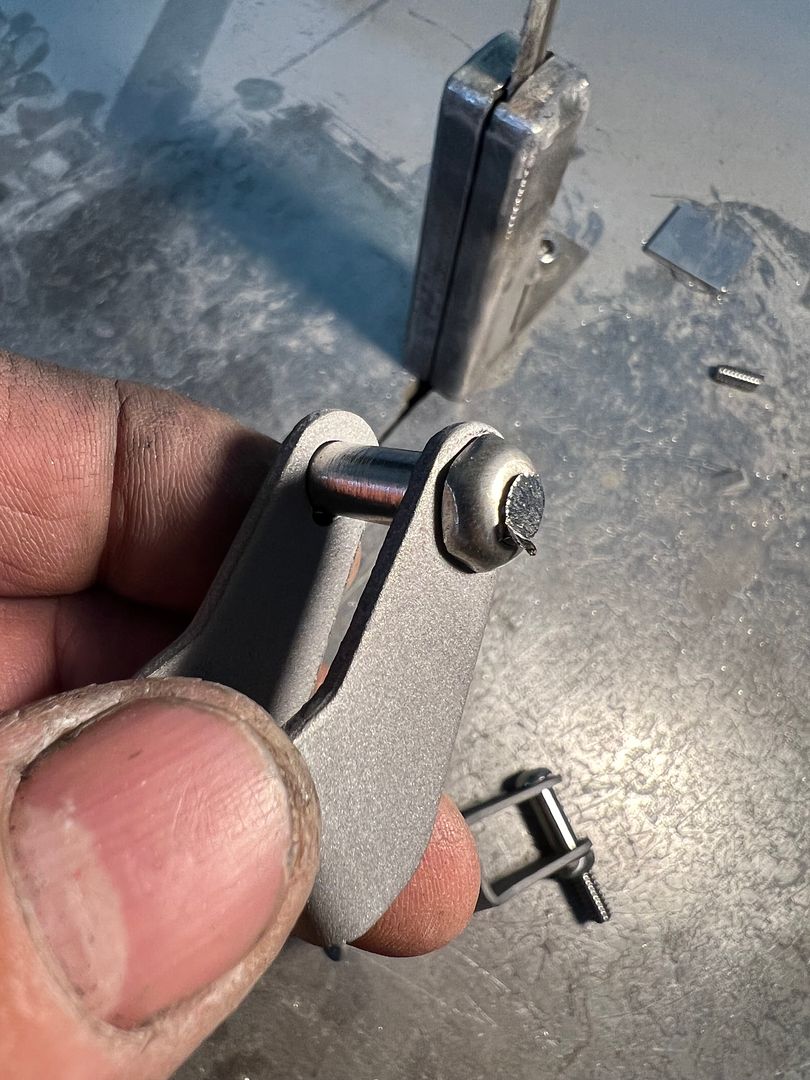
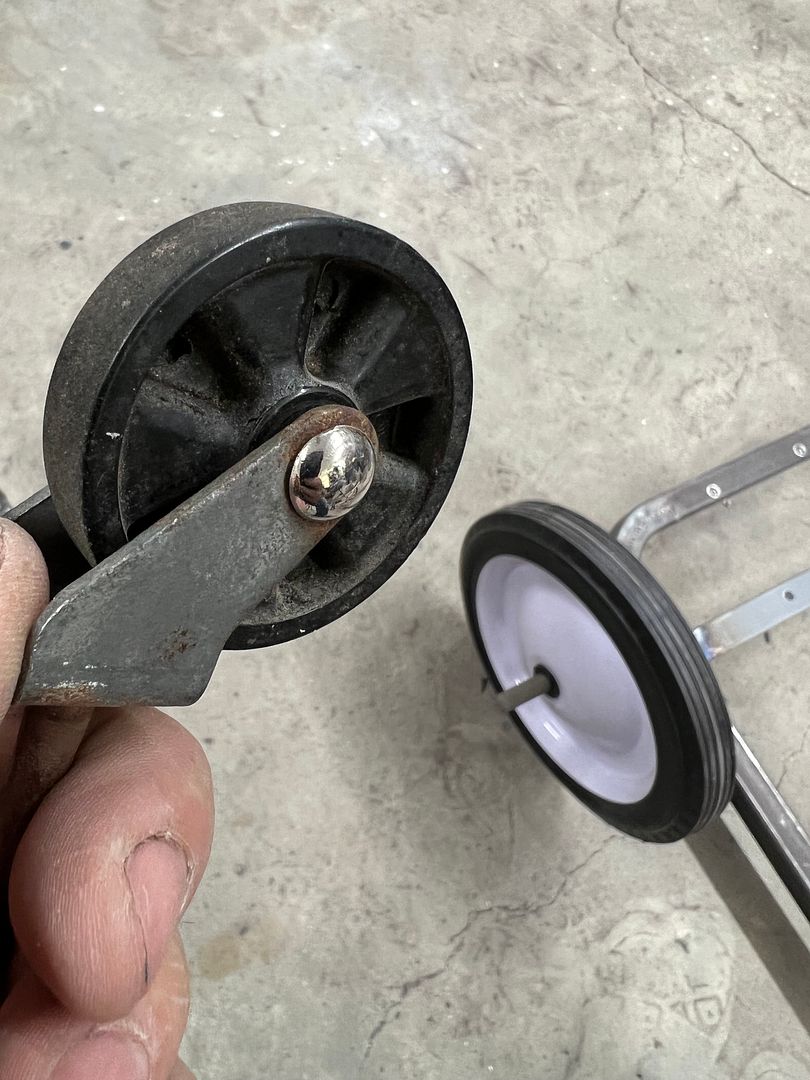
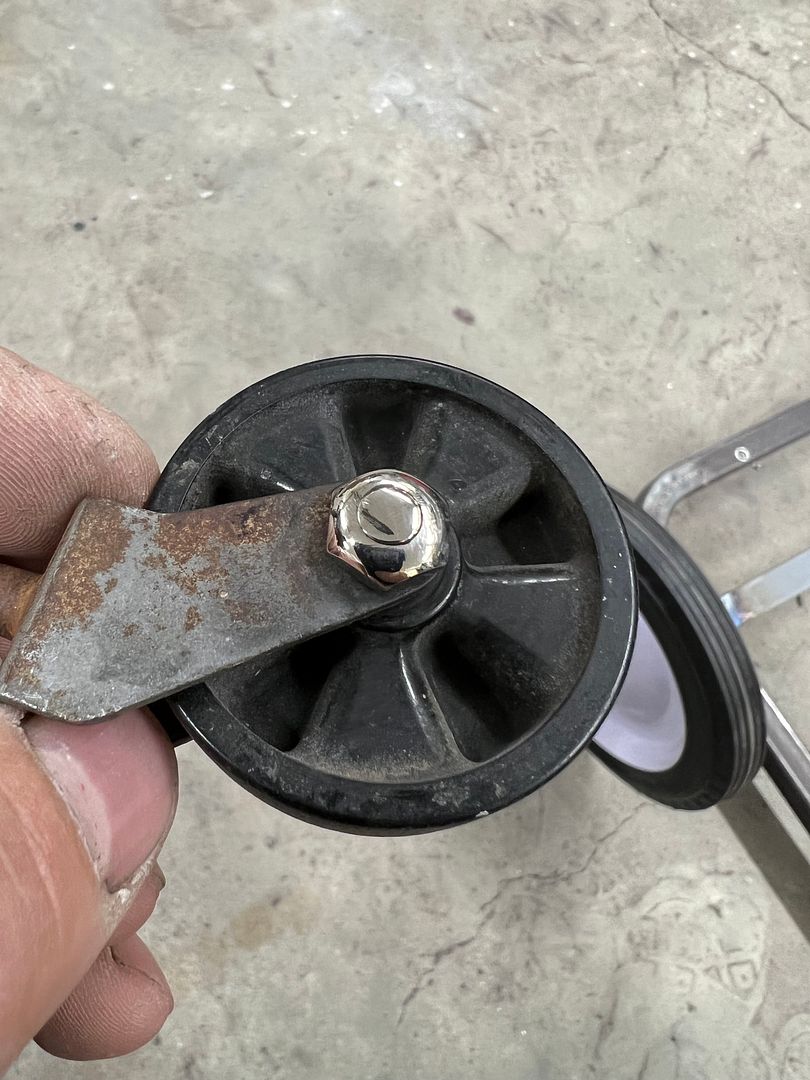
We will get the parts picked up this week. We already ordered new stainless hardware in slotted screws and square nuts for the assembly. Next, the casters seemed in good condition but needed a refinish as well. So the OEM rivets were drilled out so the metal housing could get a Cerakote treatment in gun metal grey. In order to reassemble without rivets we made some faux rivets that will make use of 1/4-20 threads and sleeve retainer loctite to keep things together.
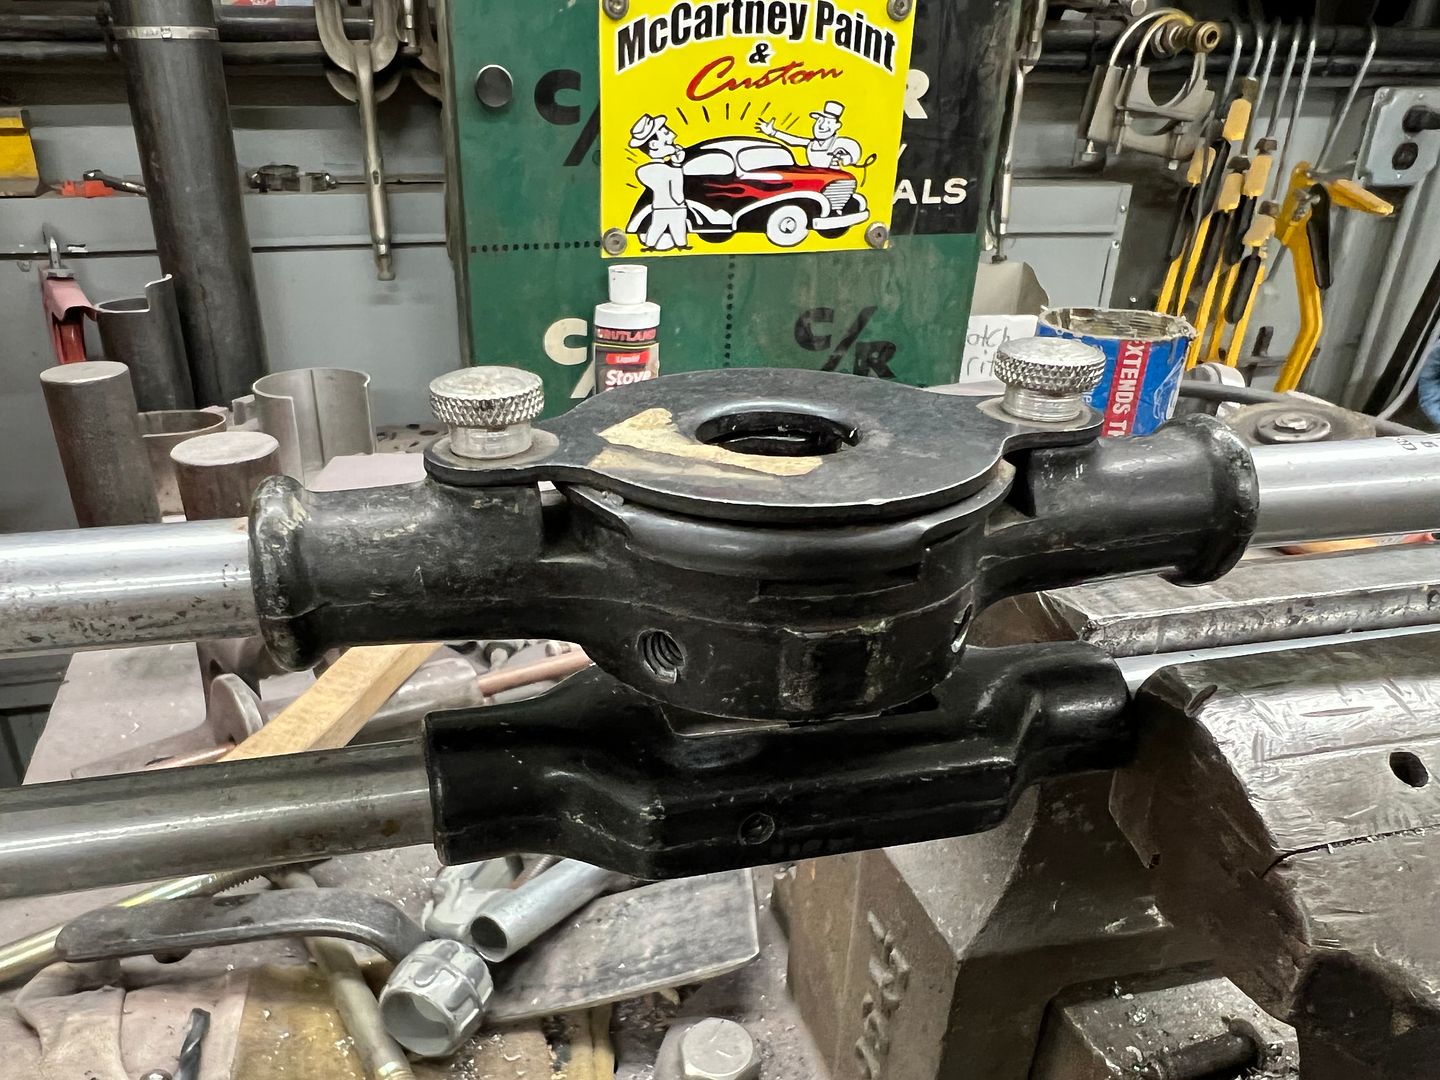
A tap handle in the vise was used to clamp the "rivet" while it was threaded..
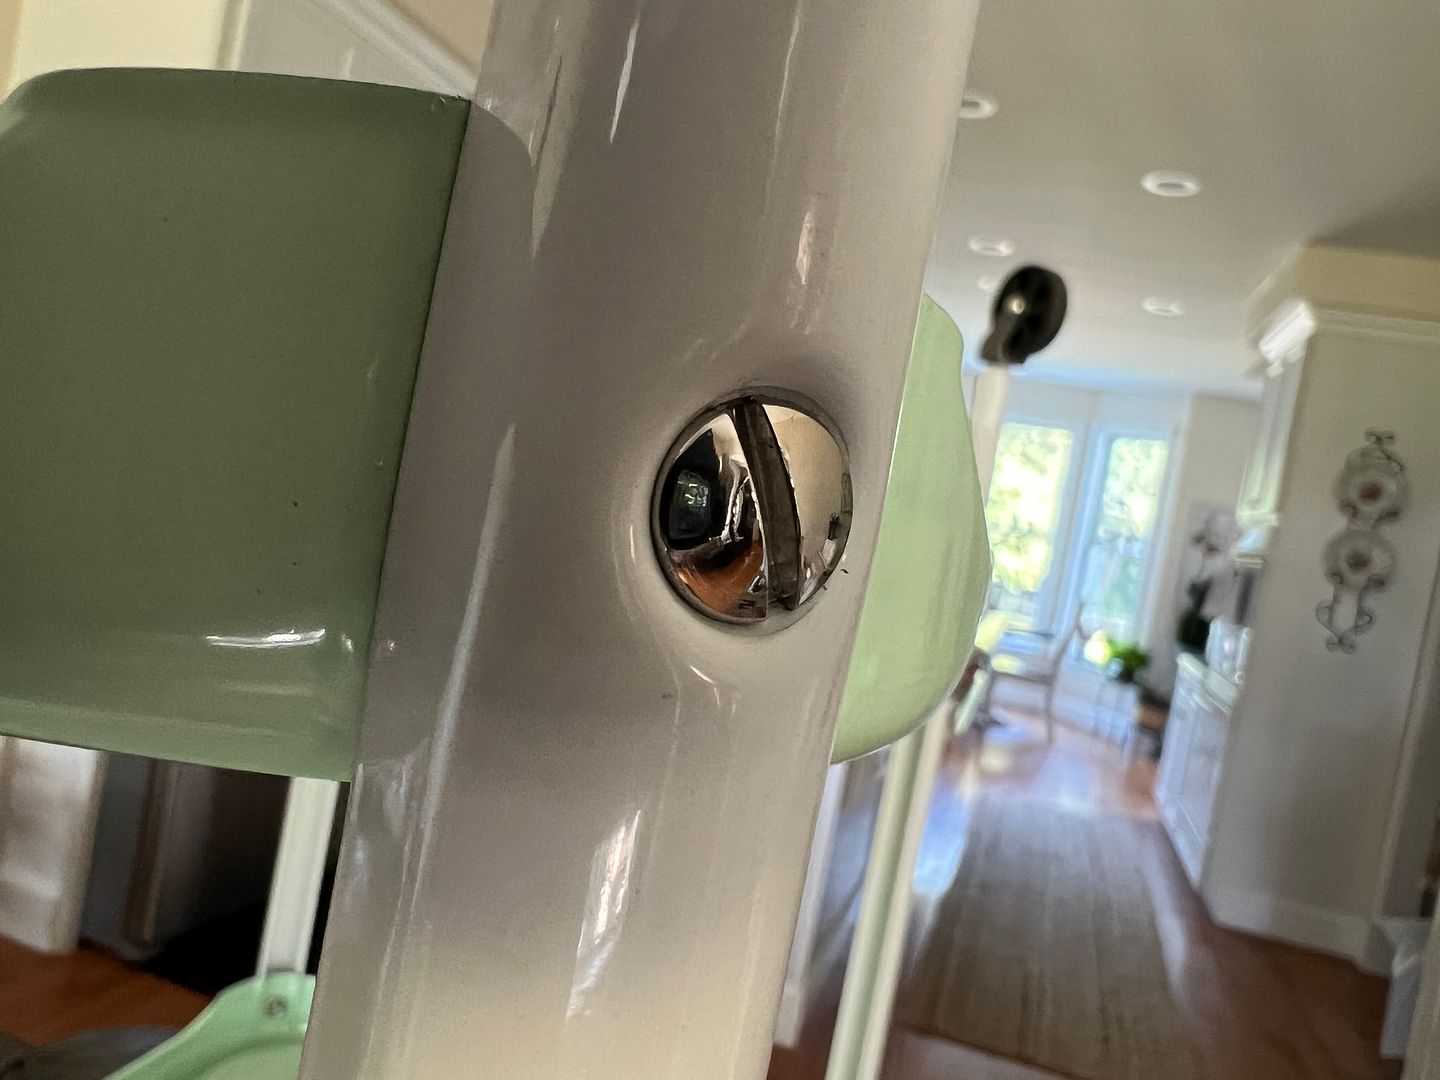
The nuts were rounded as well, leaving just enough flat for assembly, to mimic the rounded head rivet as well. Threads trimmed to size and the parts were then polished.
Robert
-
07-14-2023 05:21 AM #1783
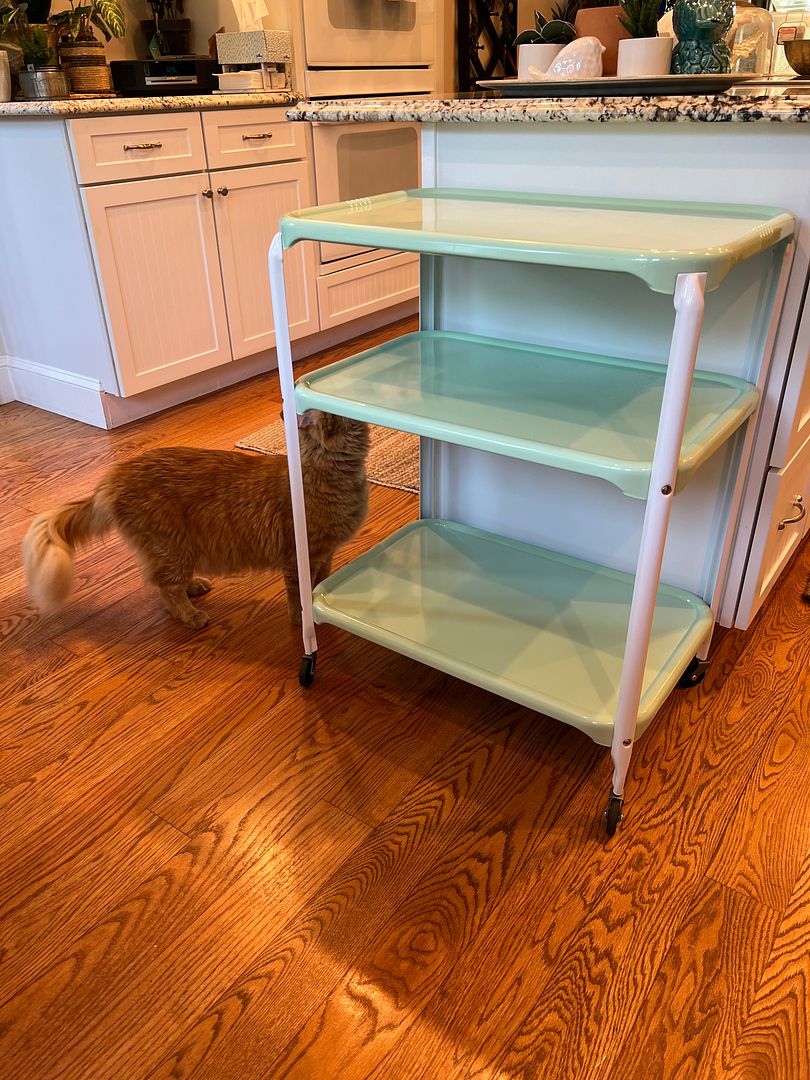
We picked up the powder coated parts from The Shop at Shorty's, for reassembly we had ordered some replacement slotted oval head screws and square nuts in stainless so we could polish them up a bit for a bit of bling.
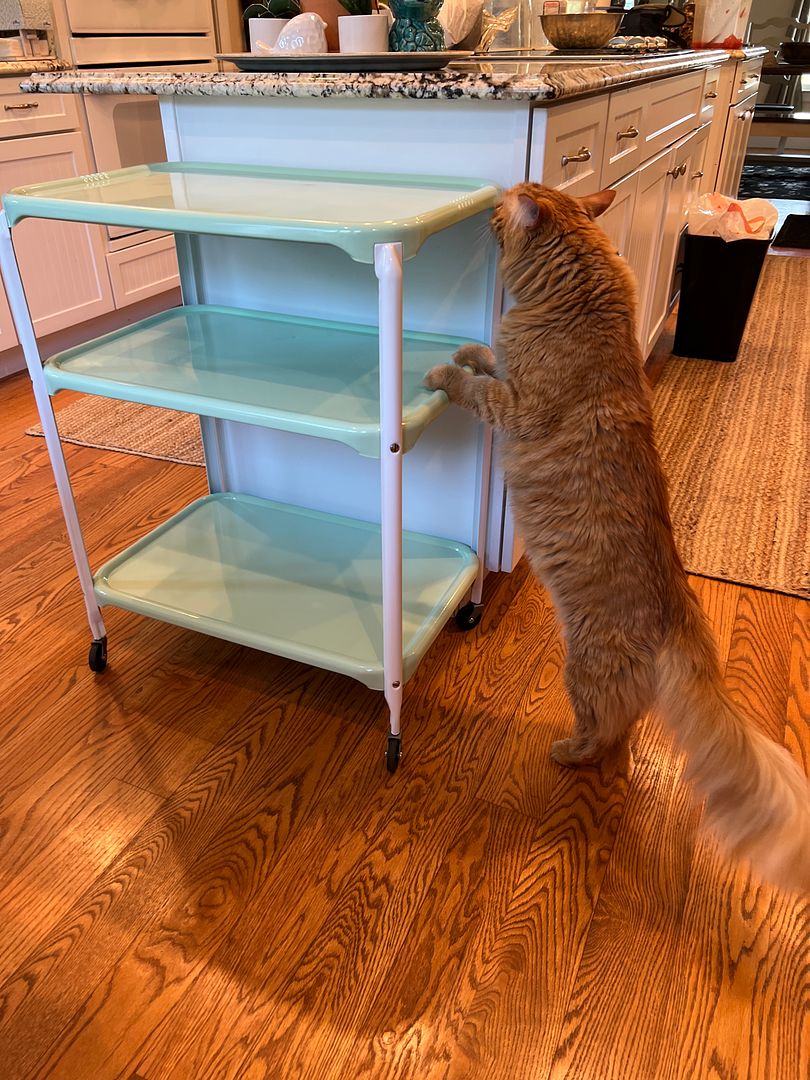
And no job is complete without undergoing the close scrutiny of the quality control inspector...
Robert
-
07-14-2023 05:27 AM #1784
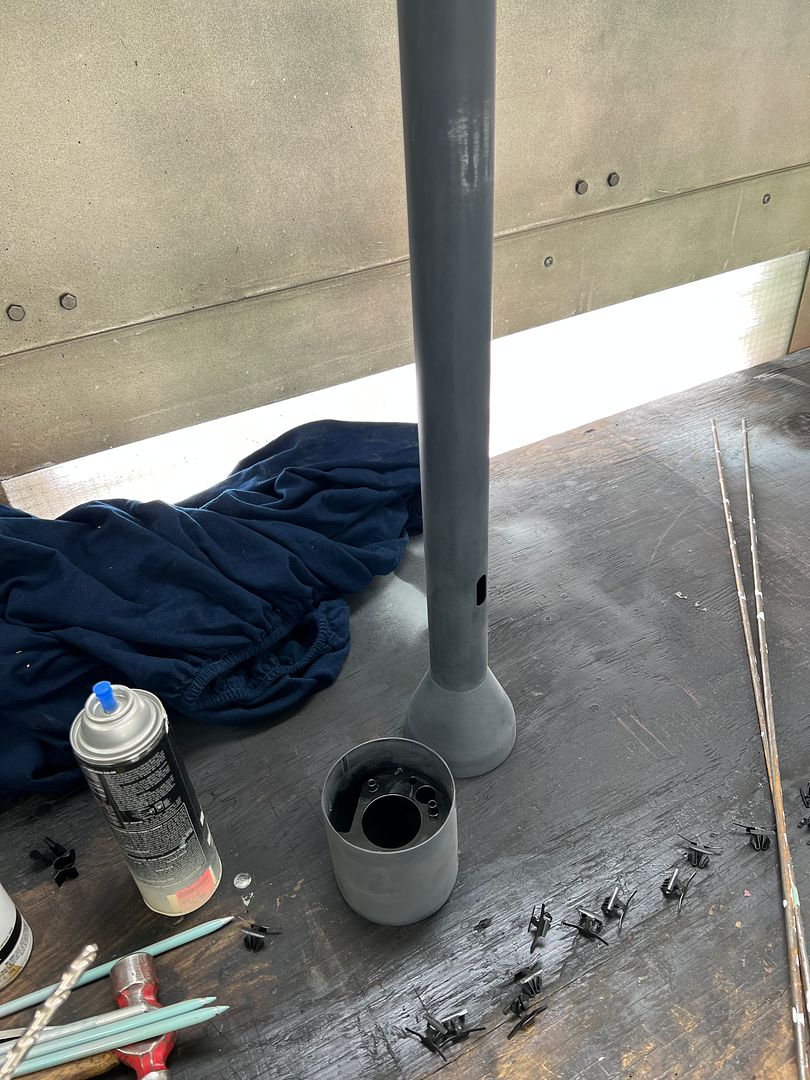
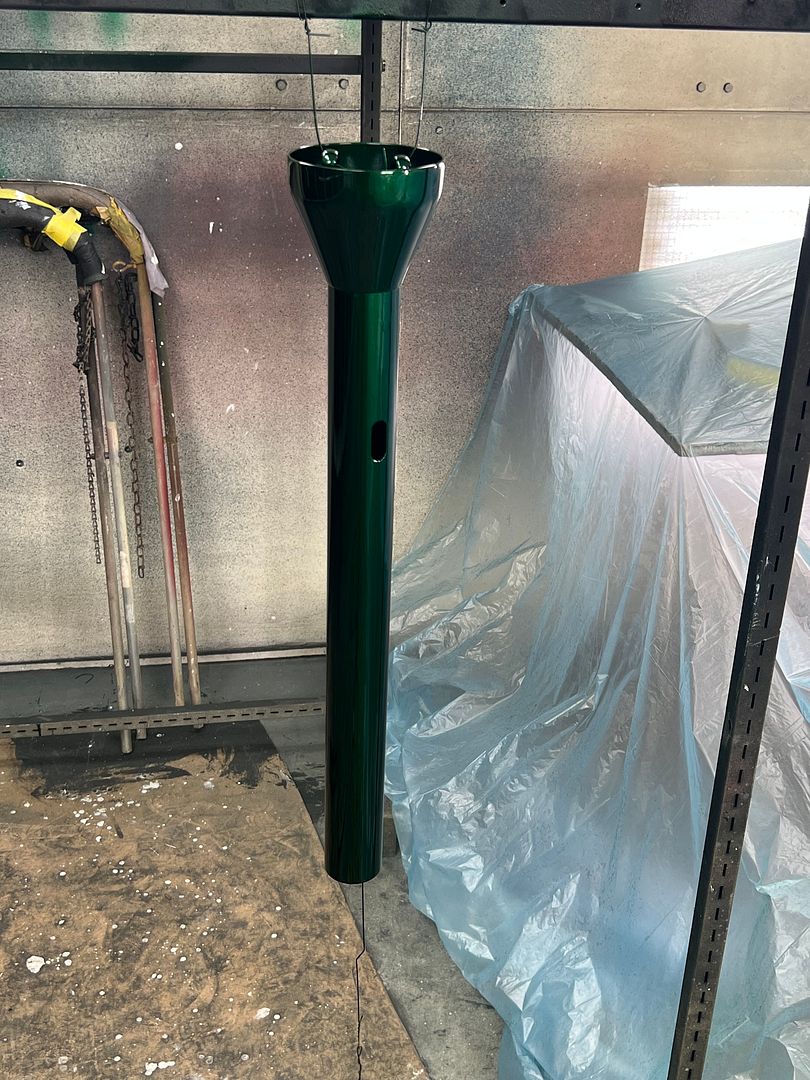
Steering column one step closer to green paint...
and blocked to 500 grit...
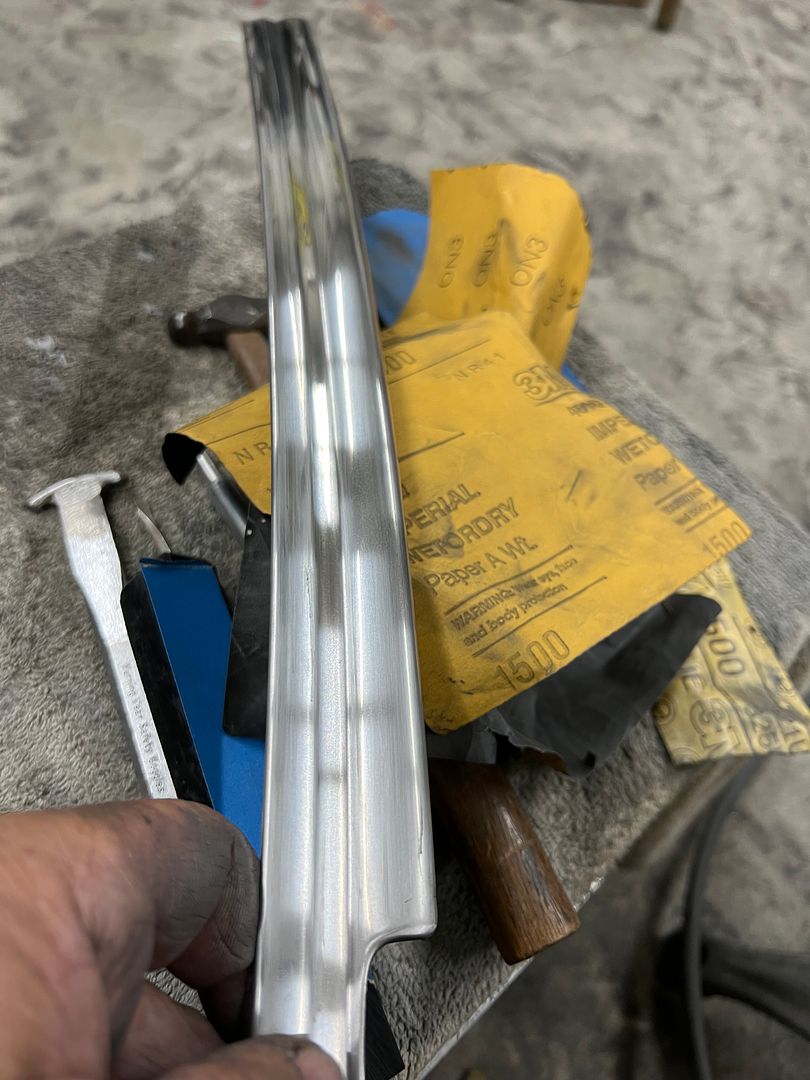
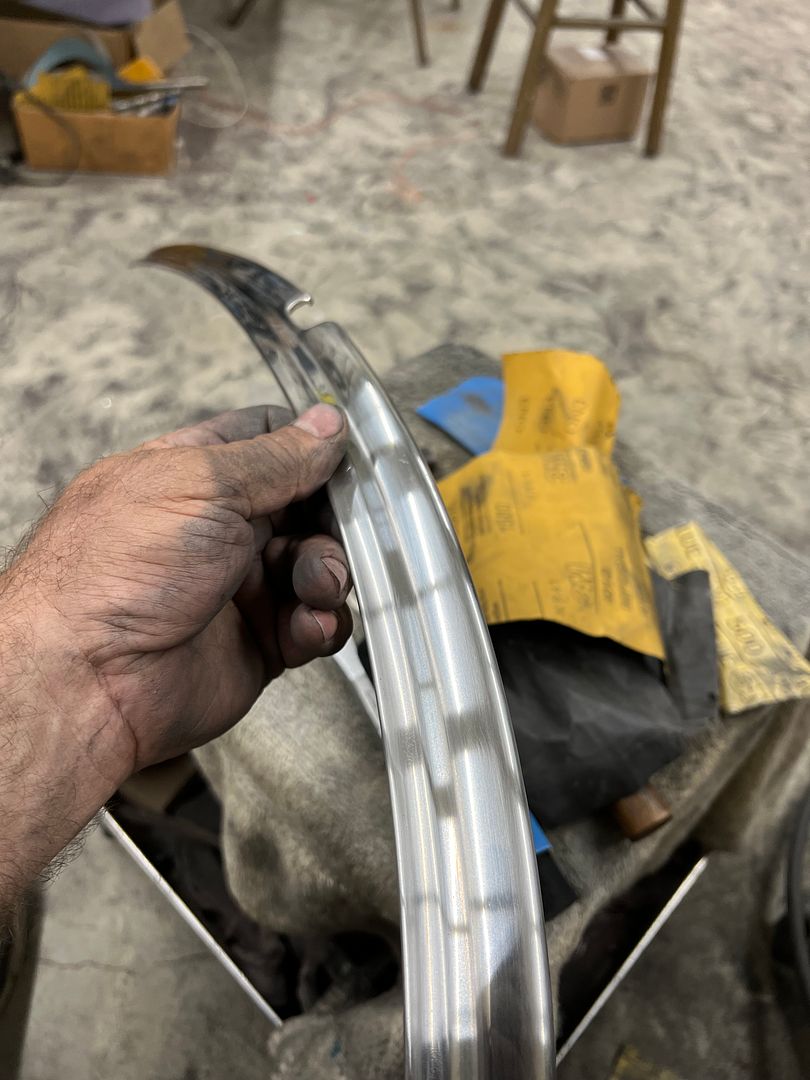
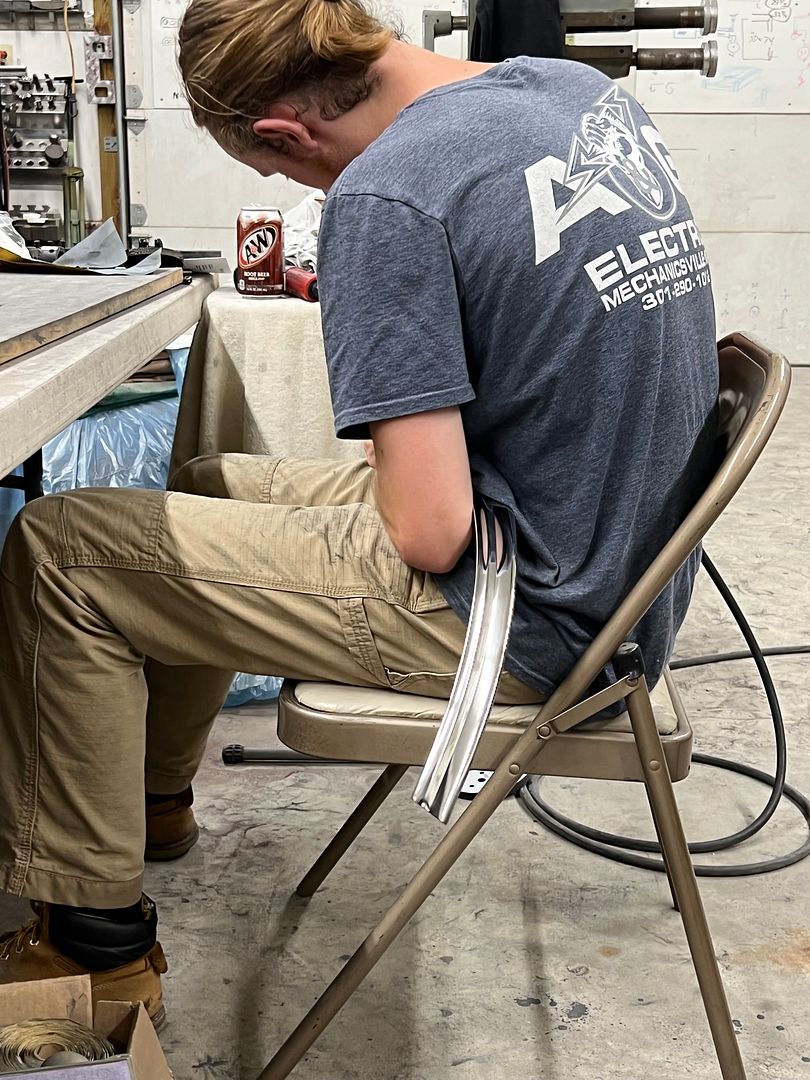
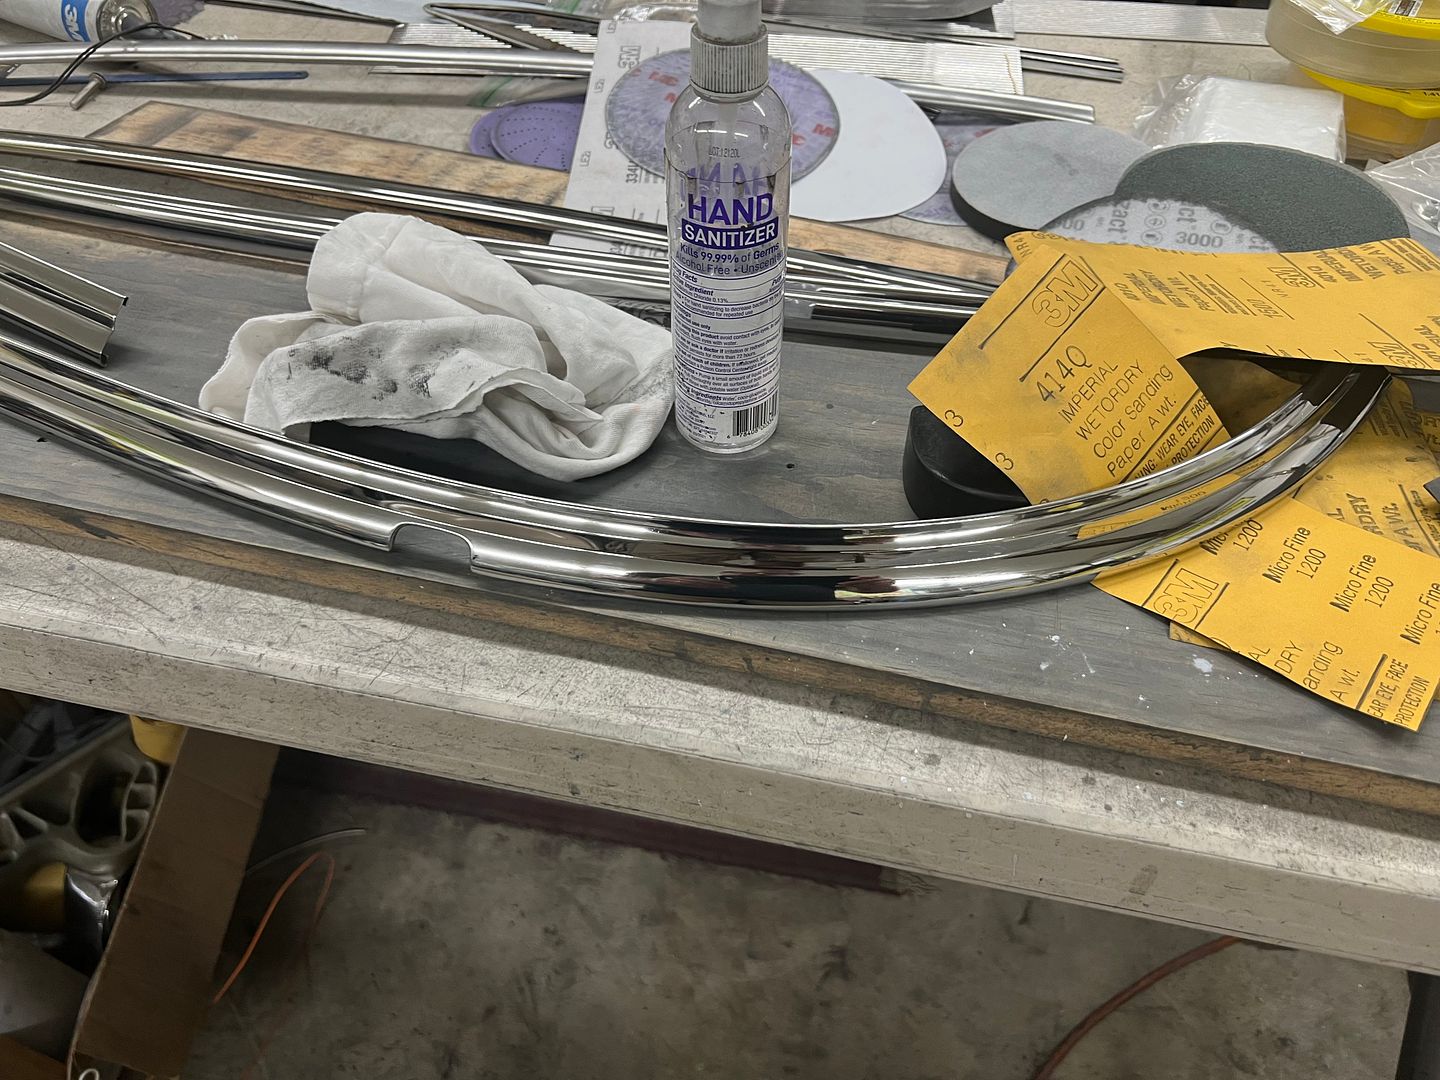
Working on removing dings and refining scratches on the windshield trim in prep for polishing. These pieces are less receptive to using the DA due to all the creases, so we've resorted to wet/dry paper up to 2500 and then polish.
Jared getting the hang of this stainless work....
For the other wagon, we went with a powder coat chrome finish to dress up that front dropped axle.
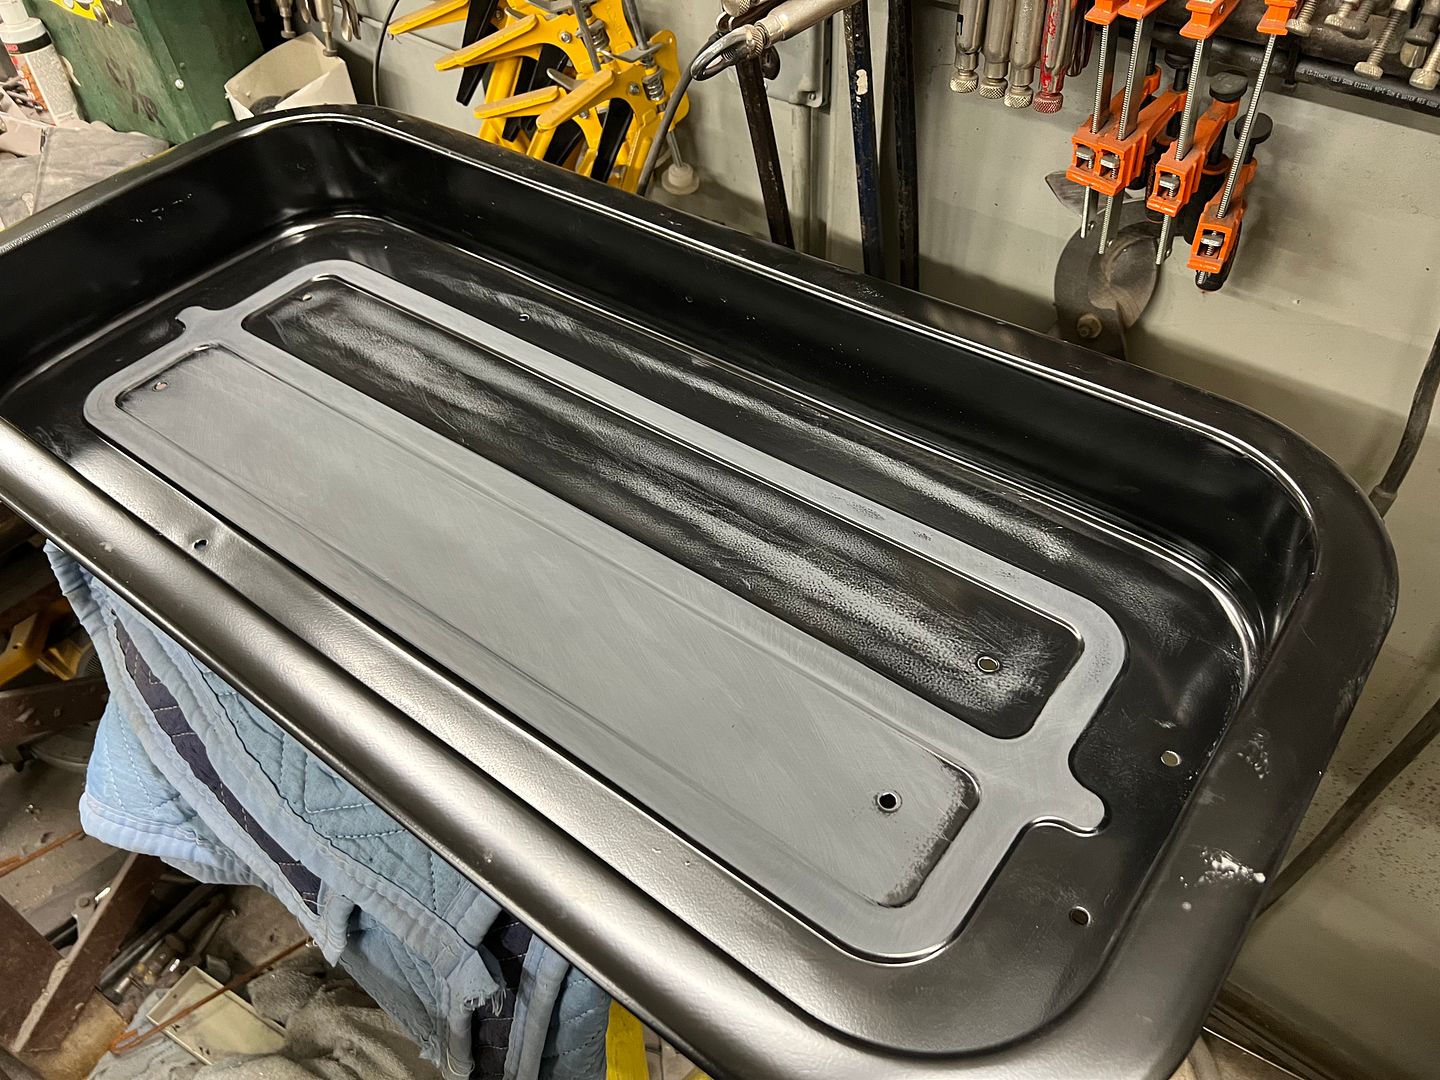
And this is the second round of three coats of epoxy and blocking. Think this will be the last round, and then on to some silver base and blue kandy..
Last edited by MP&C; 07-14-2023 at 05:43 AM.
Robert
-
07-17-2023 09:48 AM #1785
More work on the wagons. Jared and I continuing to repair some stainless trim. I was asked about our process, so here's a bit more detailed approach. But understand we are complete novices at this, so take any of this with a grain of salt.
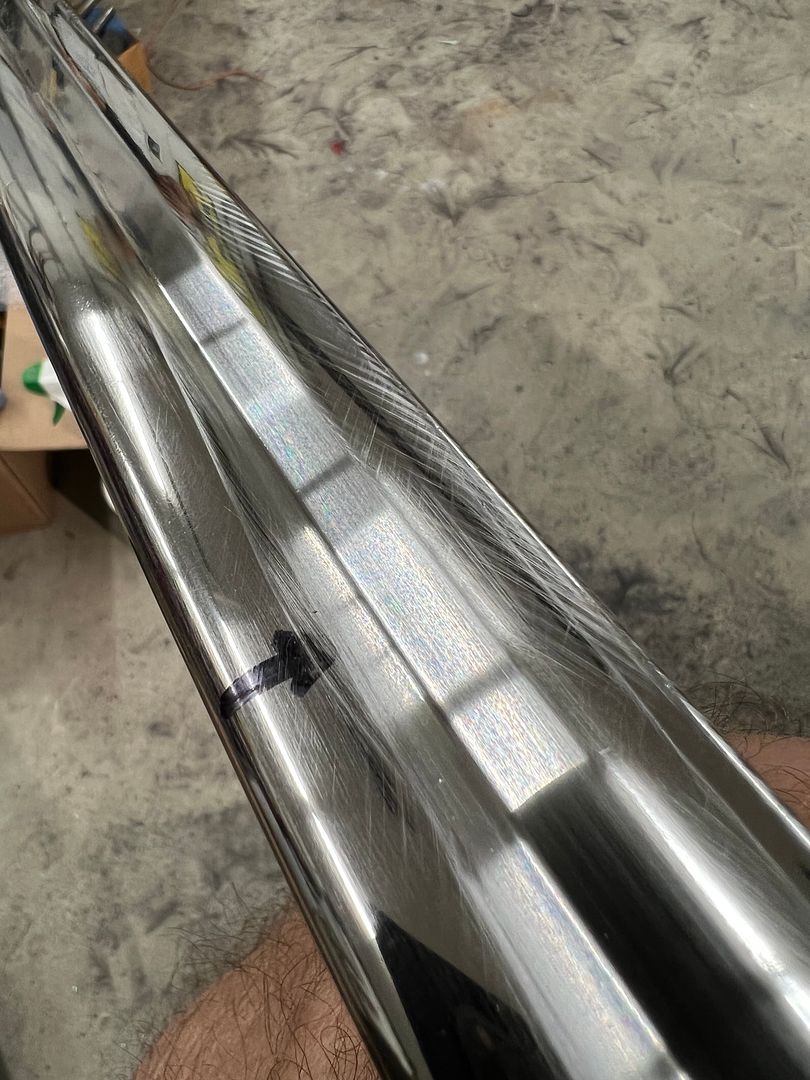
To start, some light scuffing in line with 1500 grit helps to highlight any rock dings in the windshield trim..
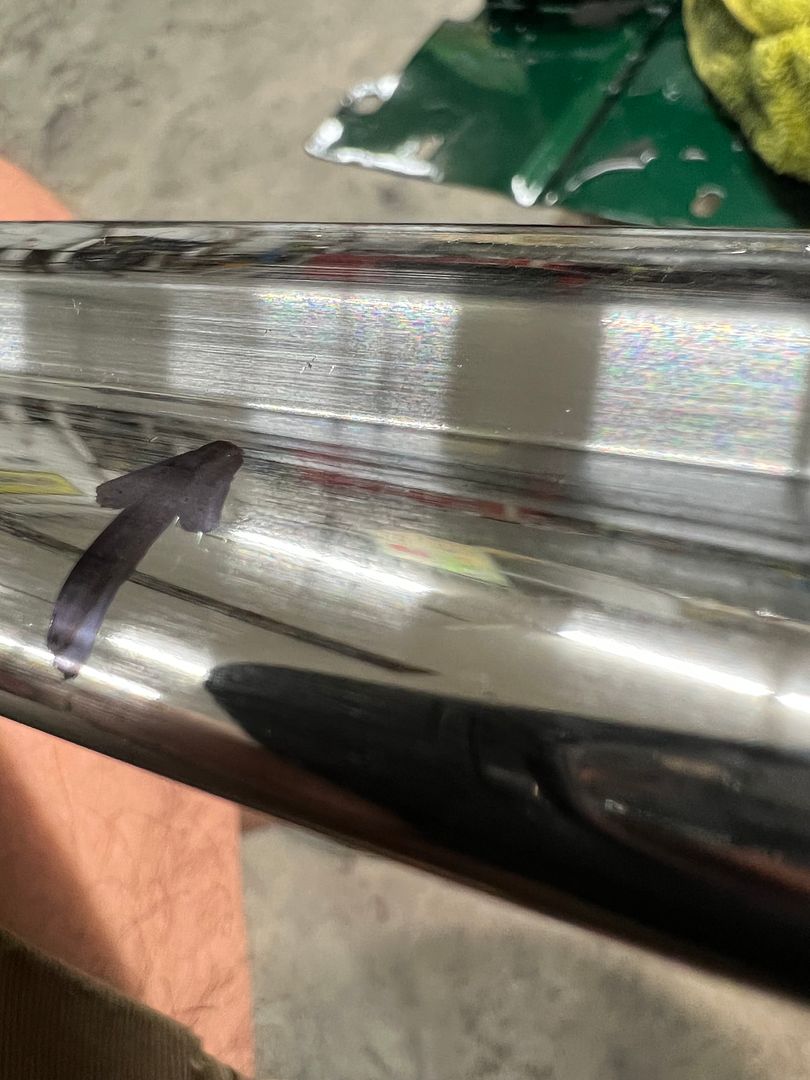
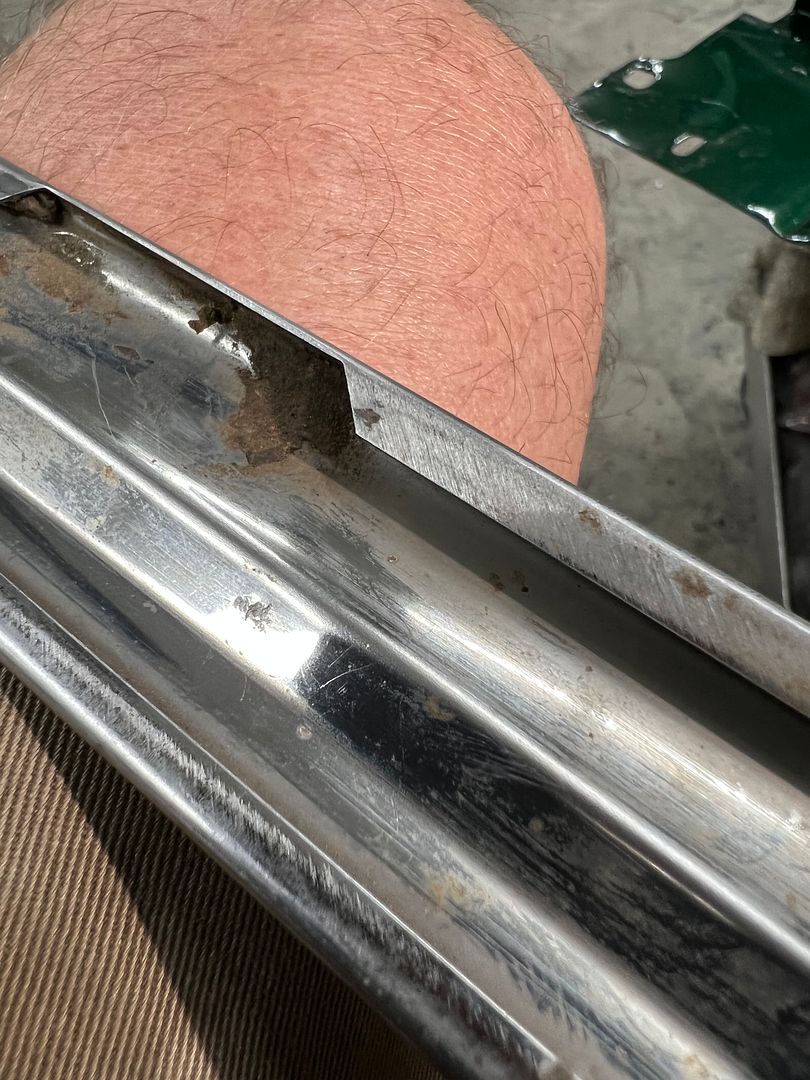
Once any defects are identified, they are LIGHTLY tapped outward from the back side to bring the defect outward where it can be removed. Then 400 grit is used to remove the defect (and by default some of the adjacent material). So we want the defect to be pronounced outward, but not too much. Better to tap it outward in repeated steps than to go too far and create a stretch. I missed getting a picture before we started on this "rock chip"; this was after a few passes with 400 on the 3M board (just above arrow).. It was tapped outward about 4 different times until we got it where the defect was sanded out.
Back side that was tapped....
https://www.youtube.com/shorts/BdSQMh6MOTU
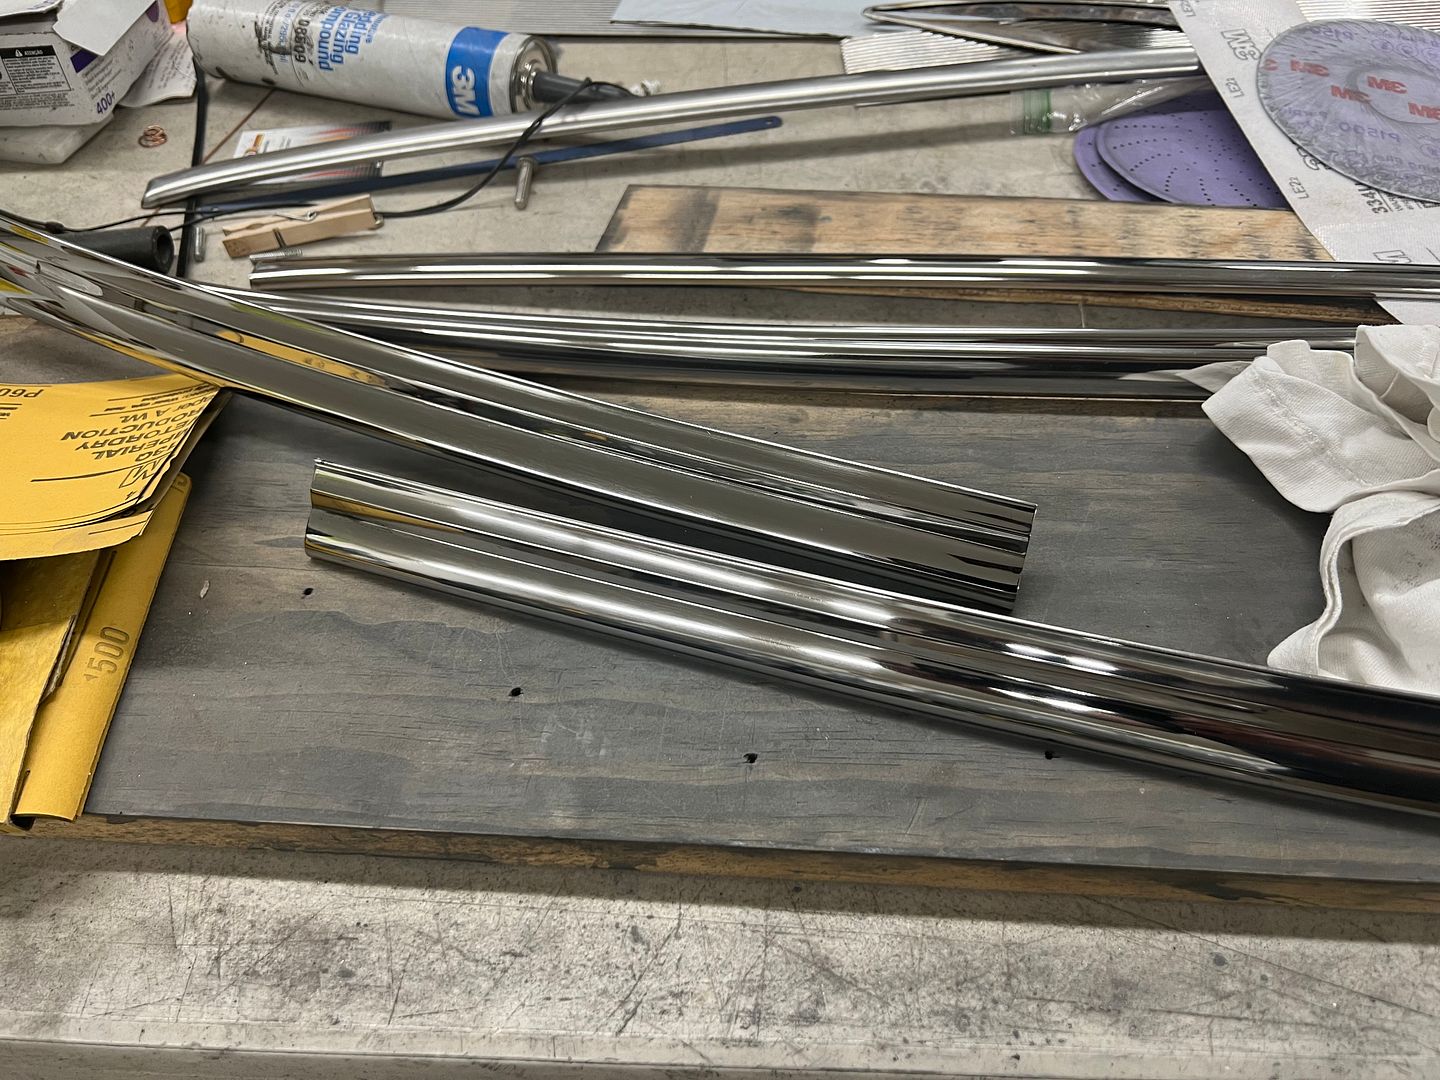
After removing all the dings, the surface was sanded working progressively through grits 1200, 1500, 2000, 2500, and then on to 3000 and 5000 trizact discs on the DA. Afterwards it was polished out on the buffer...
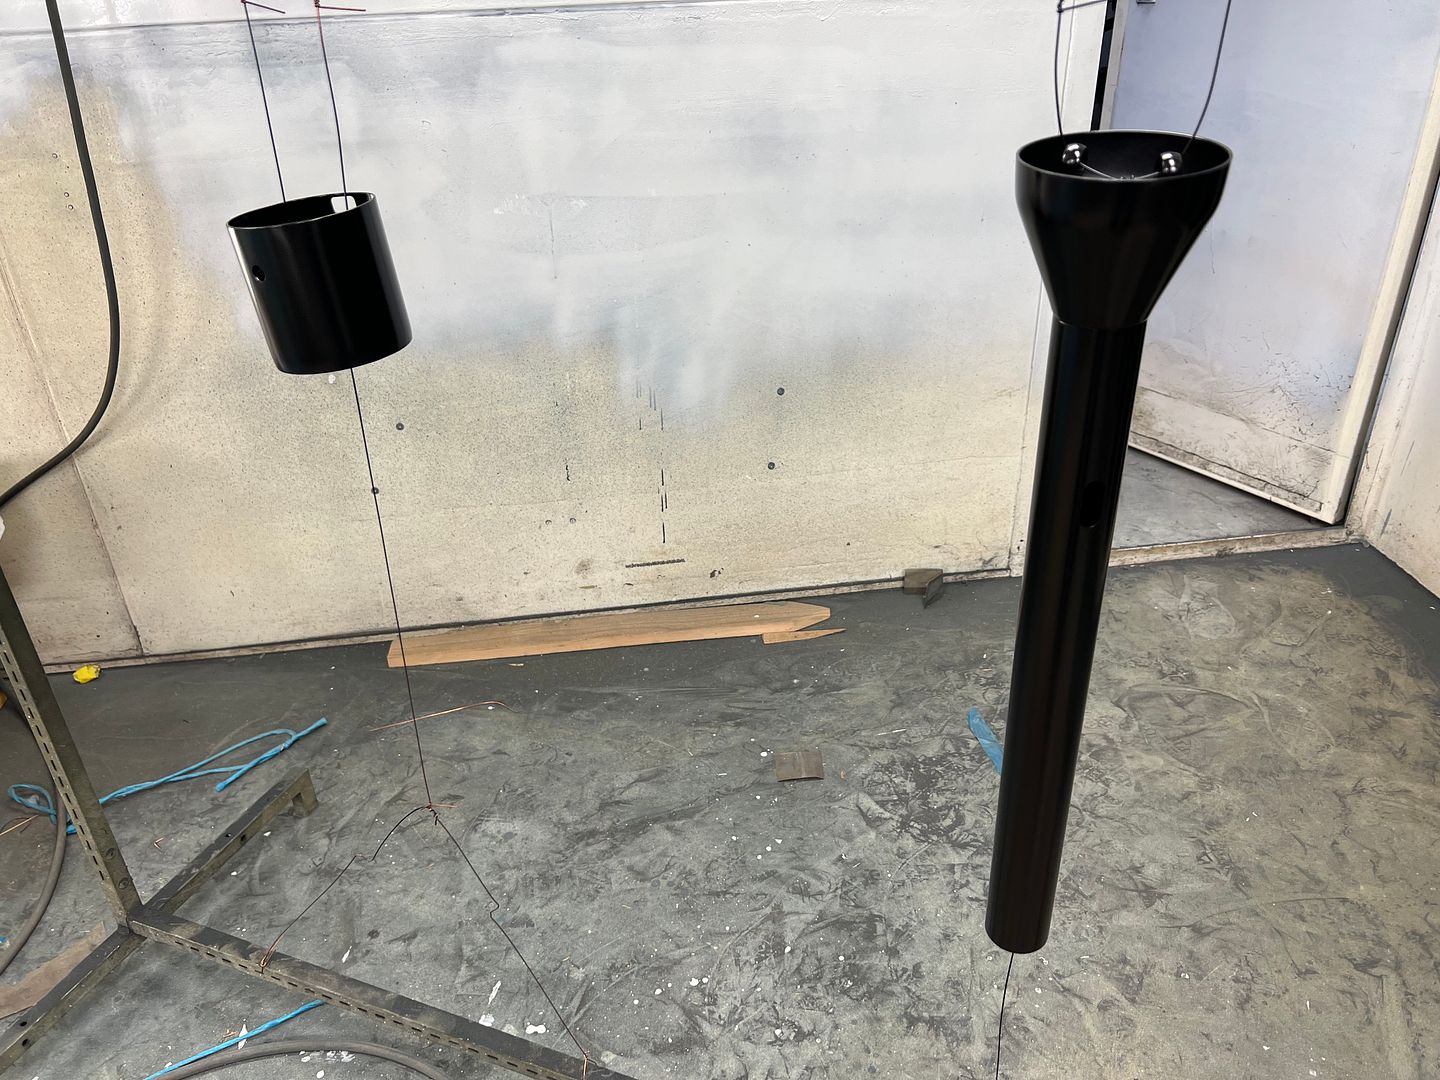
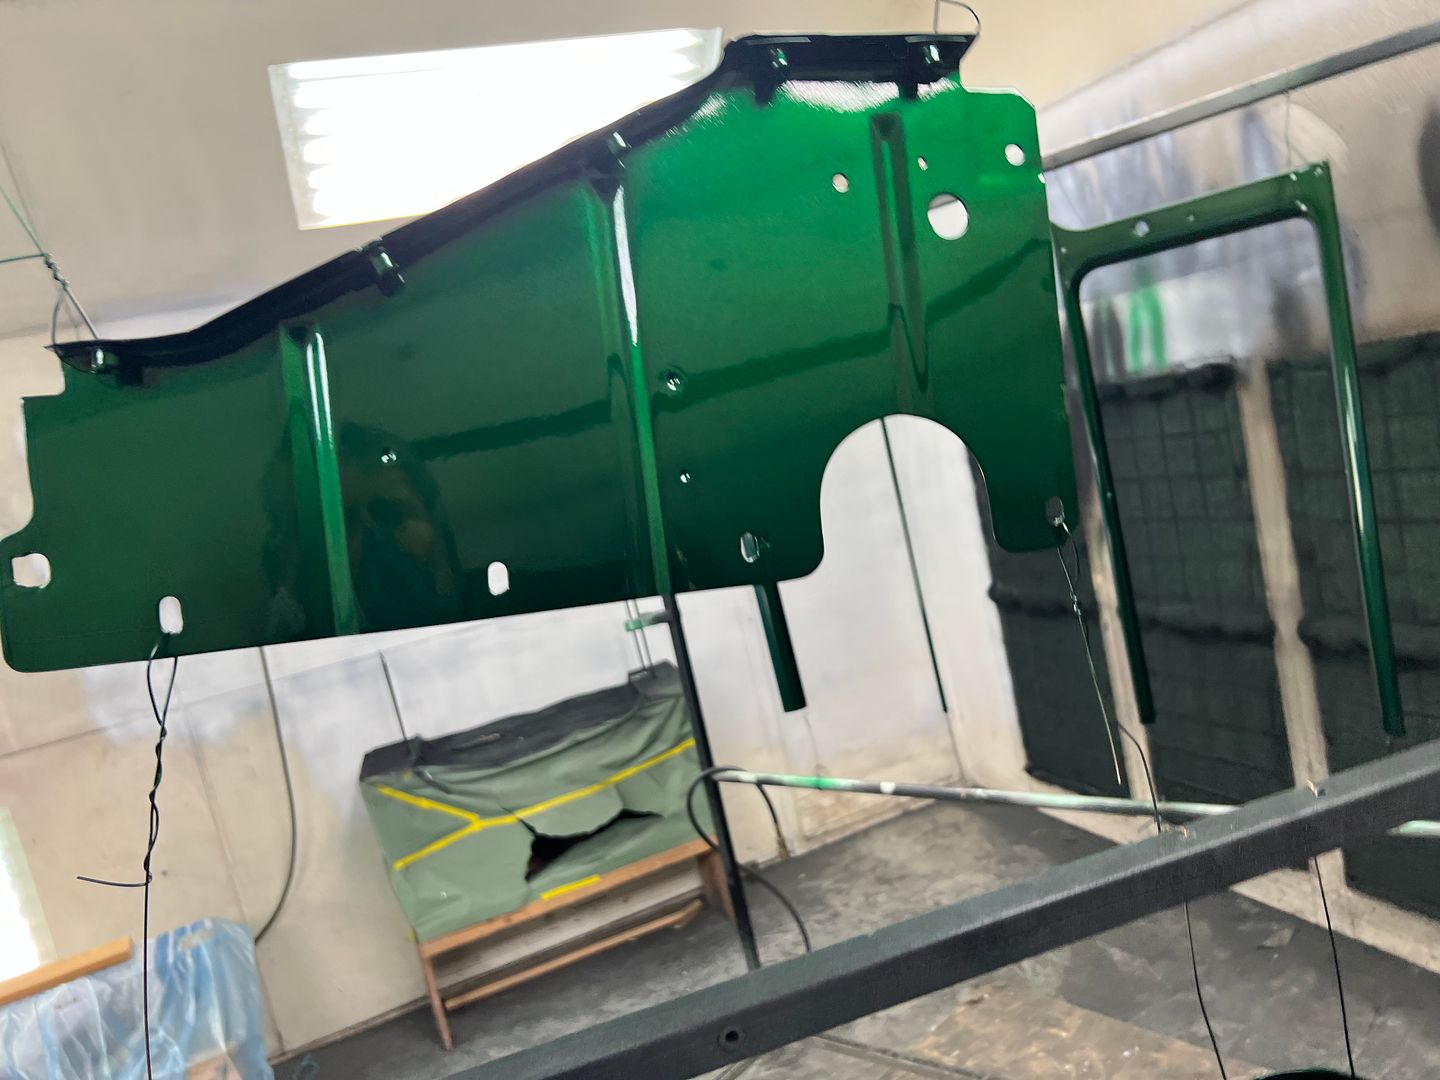
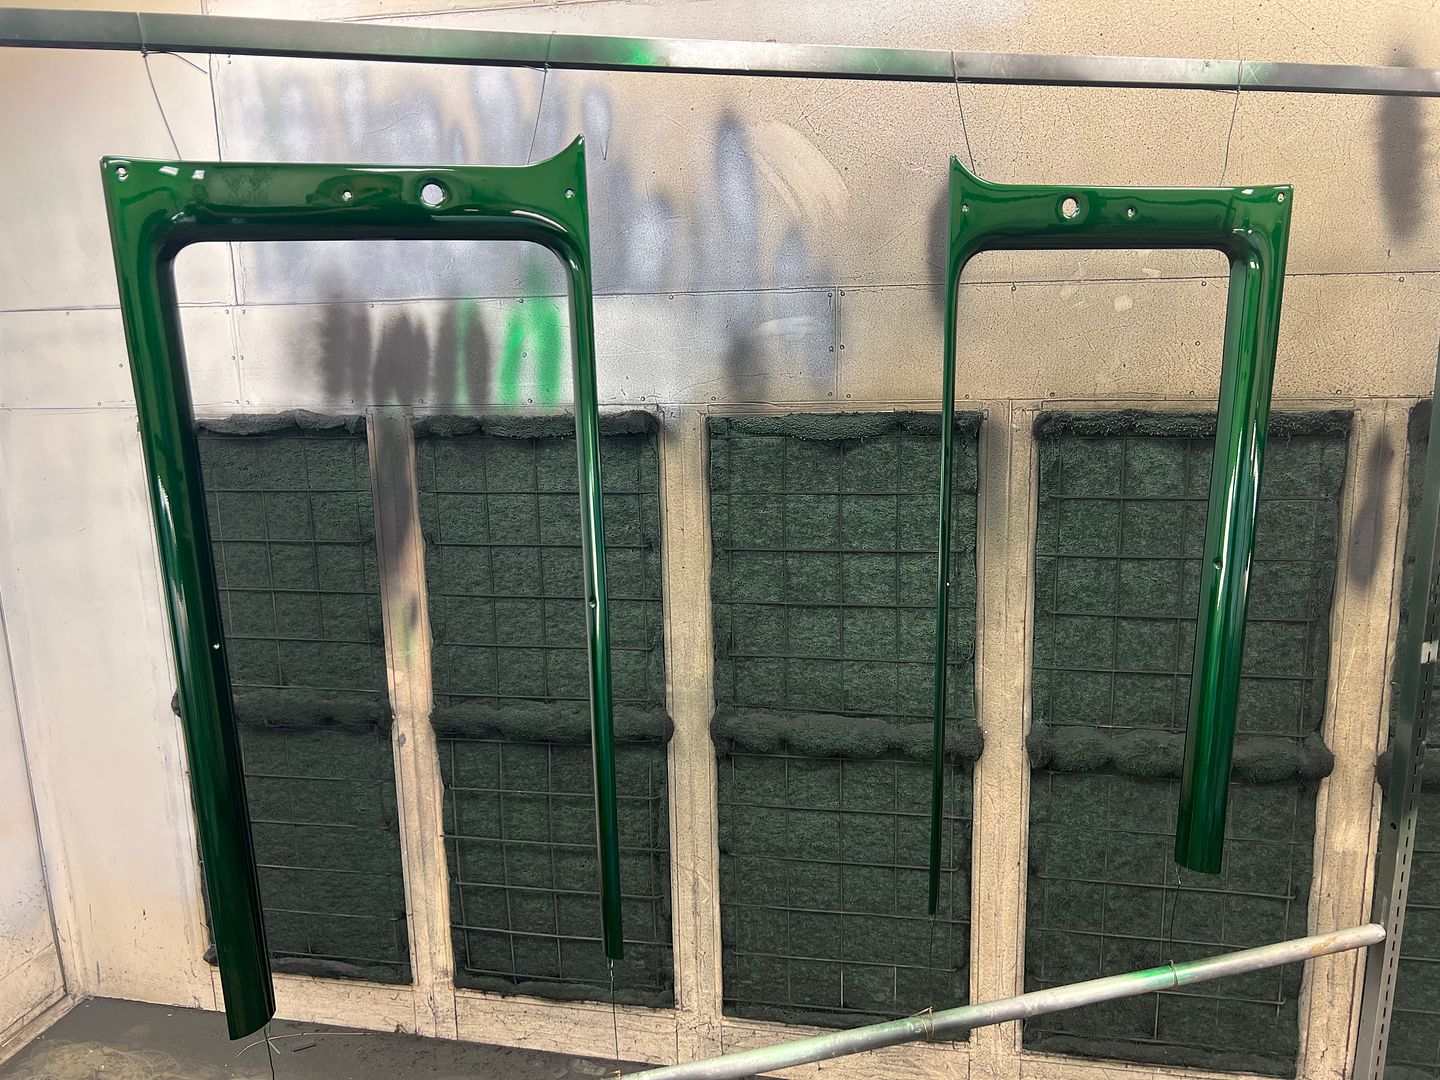
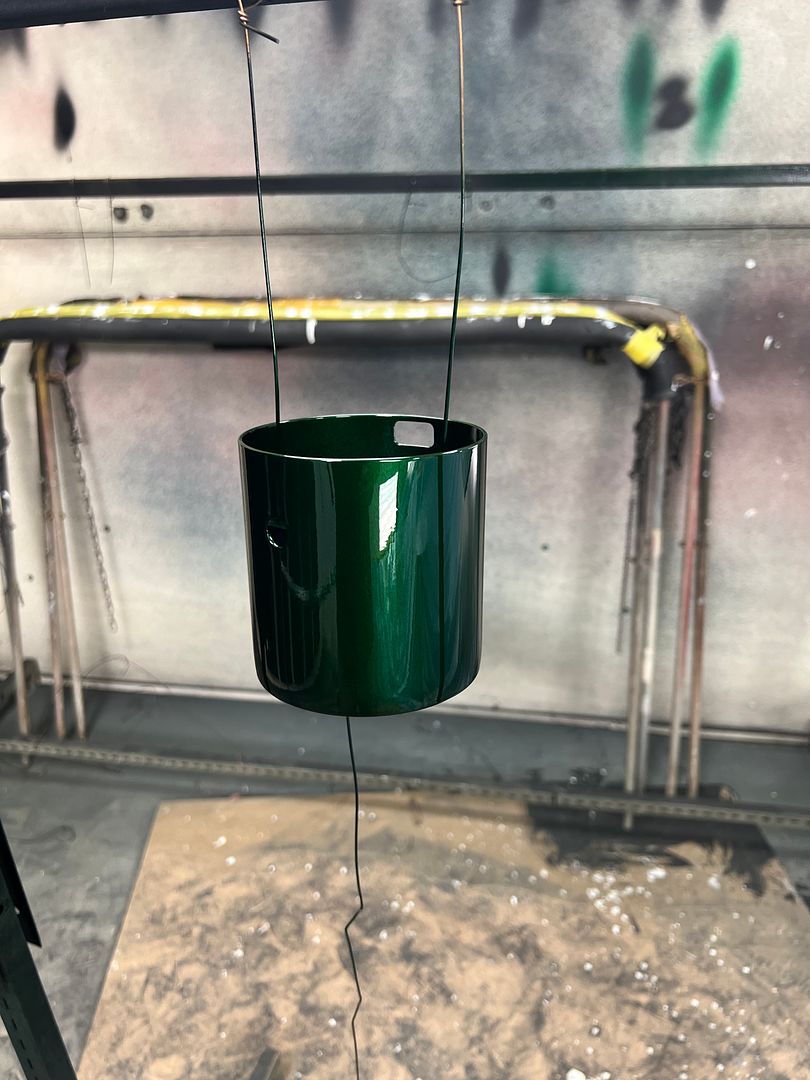
Some parts painted green so we can continue with more assembly...
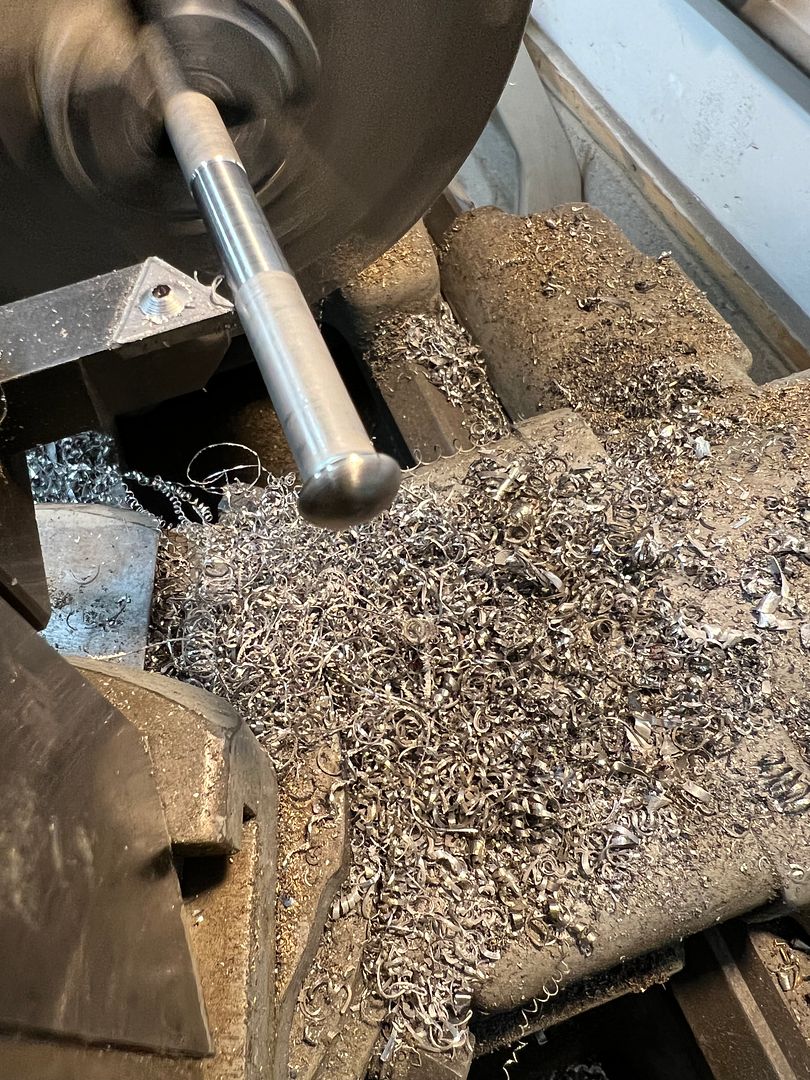
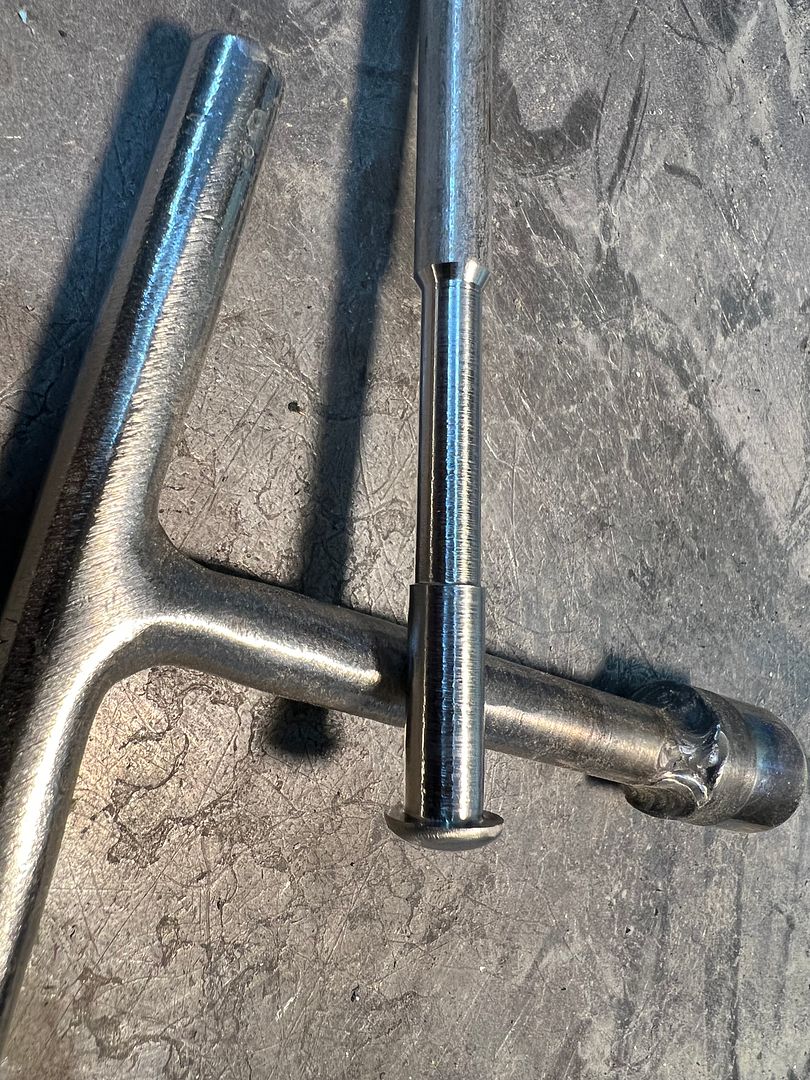
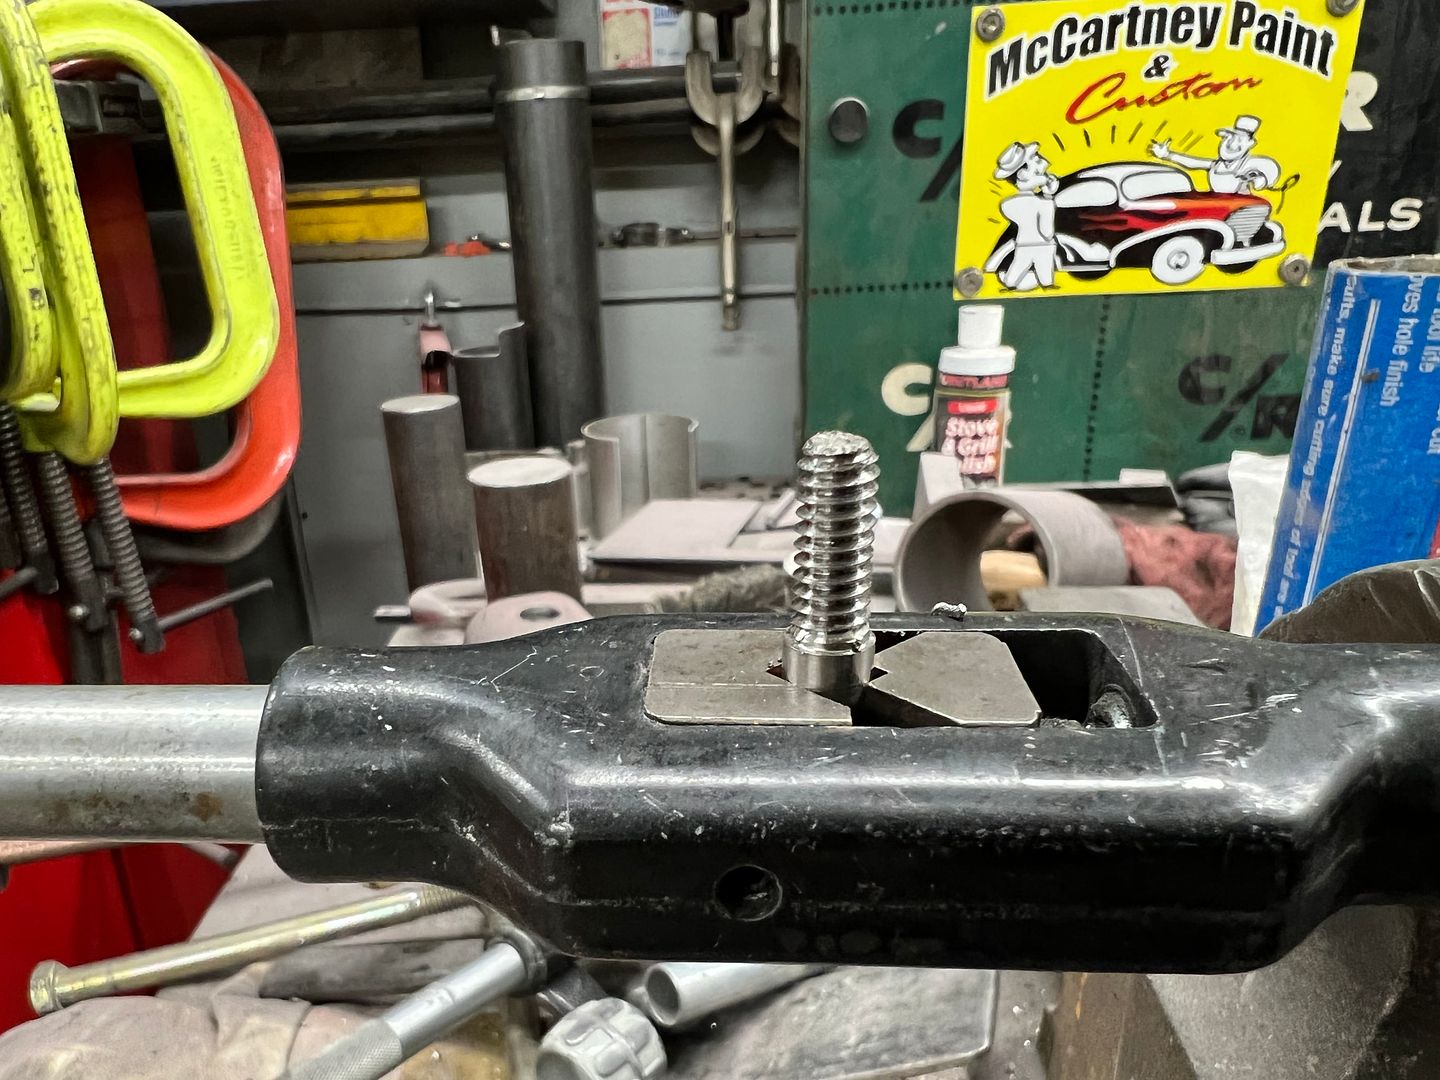
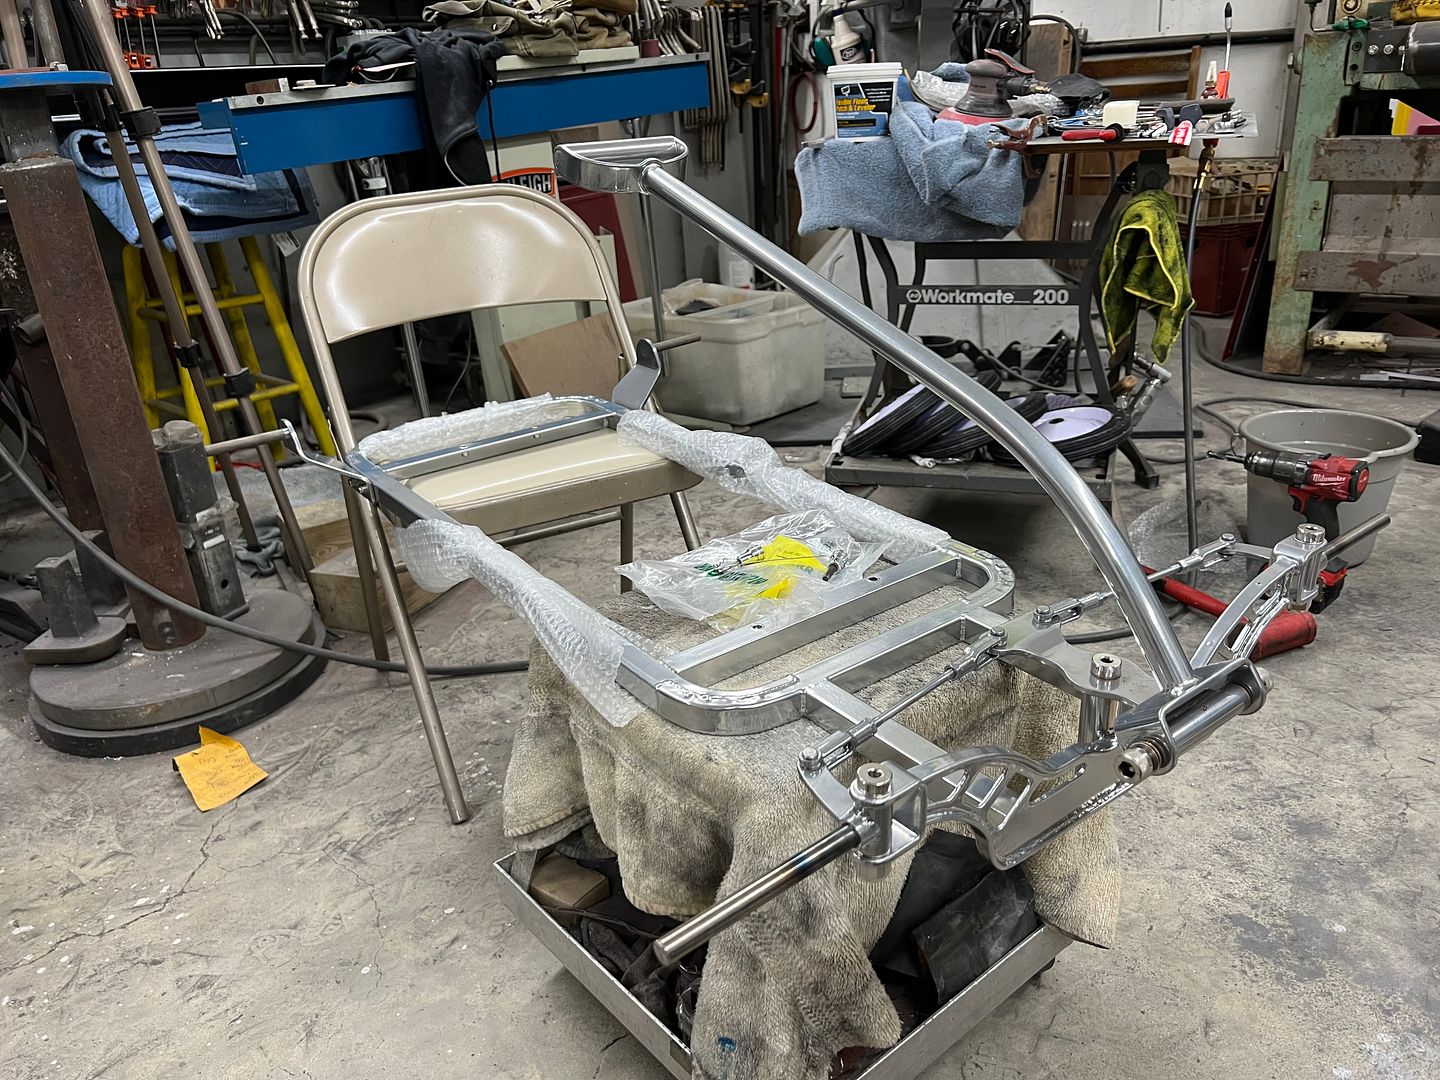
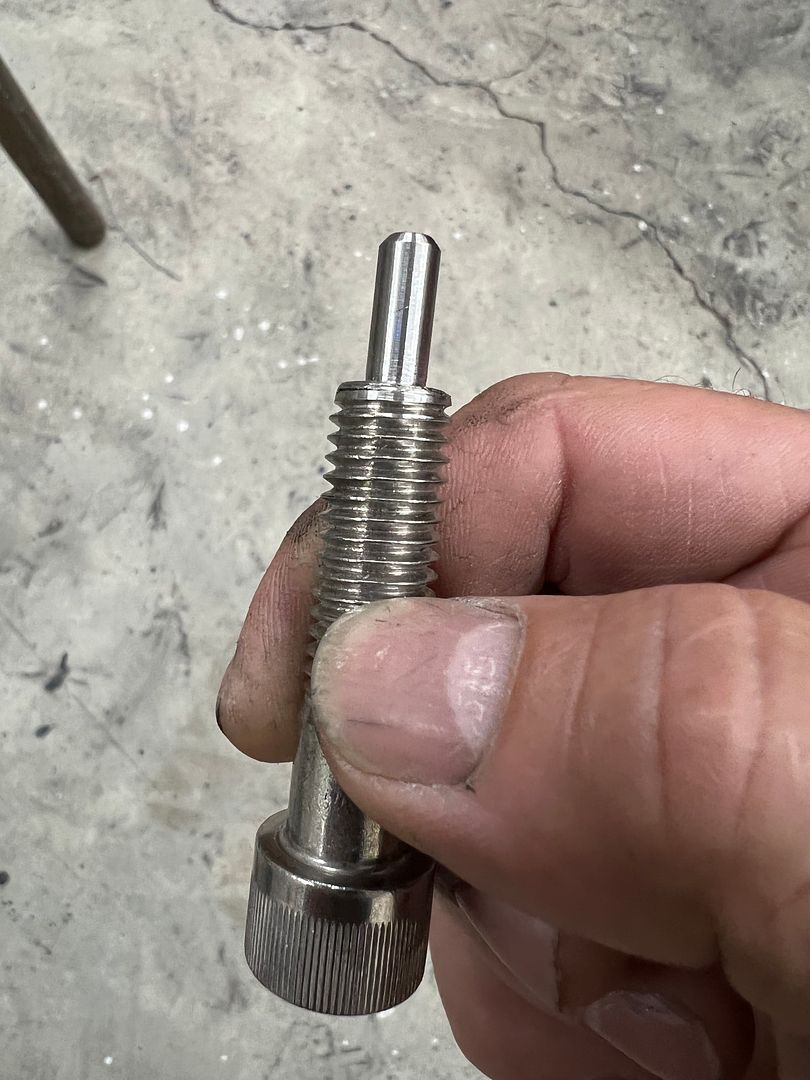
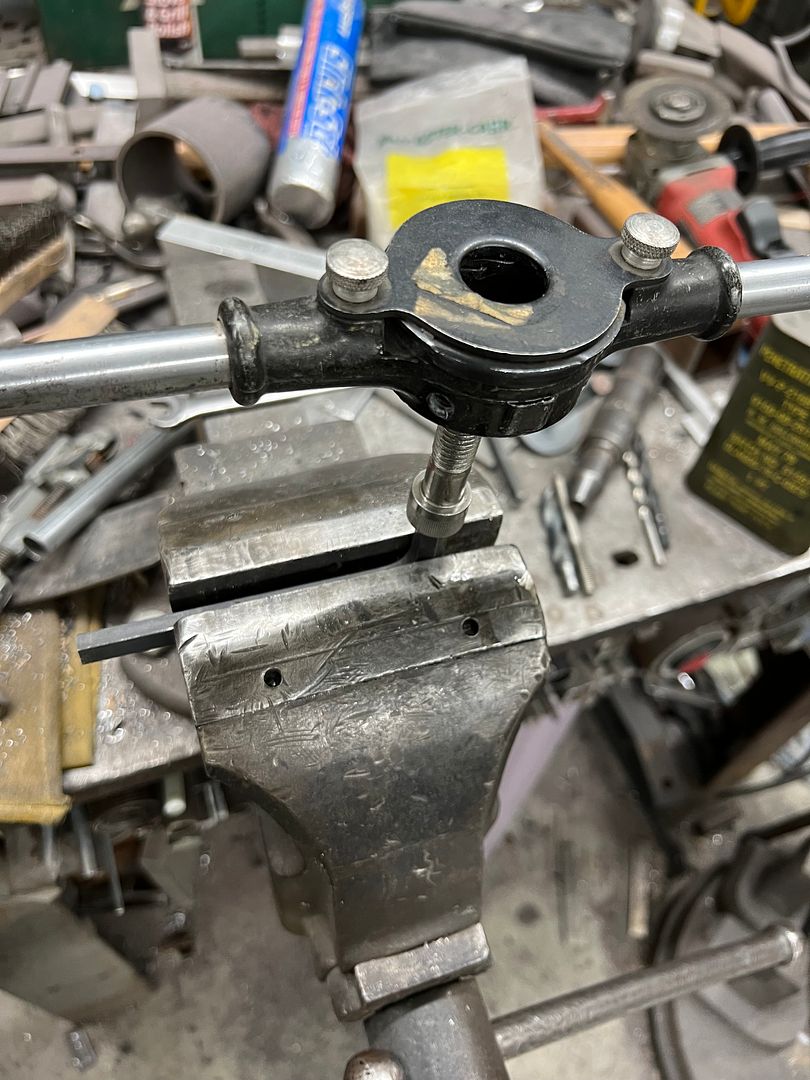
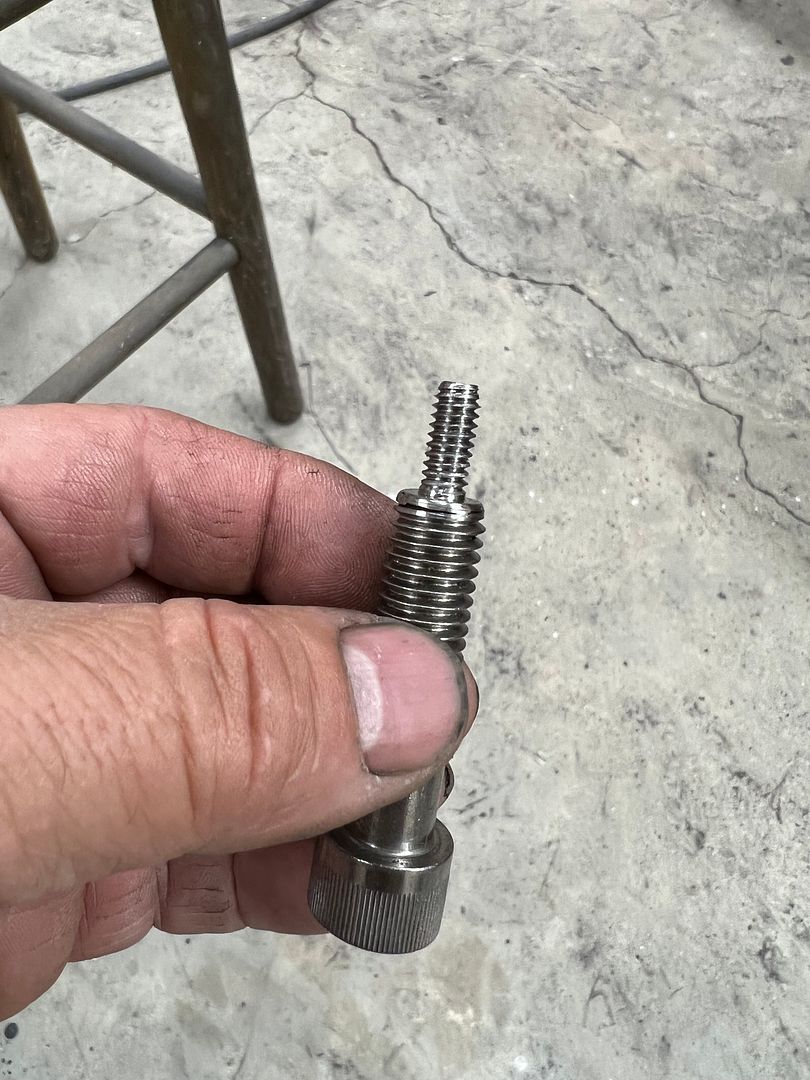
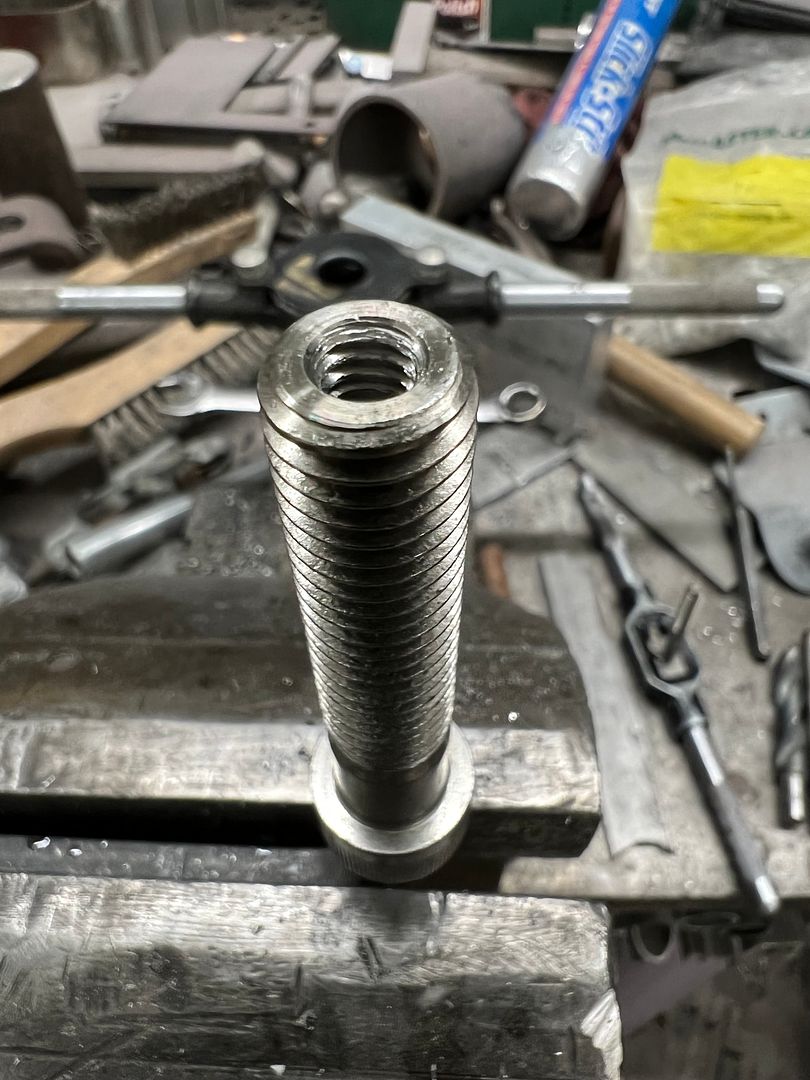
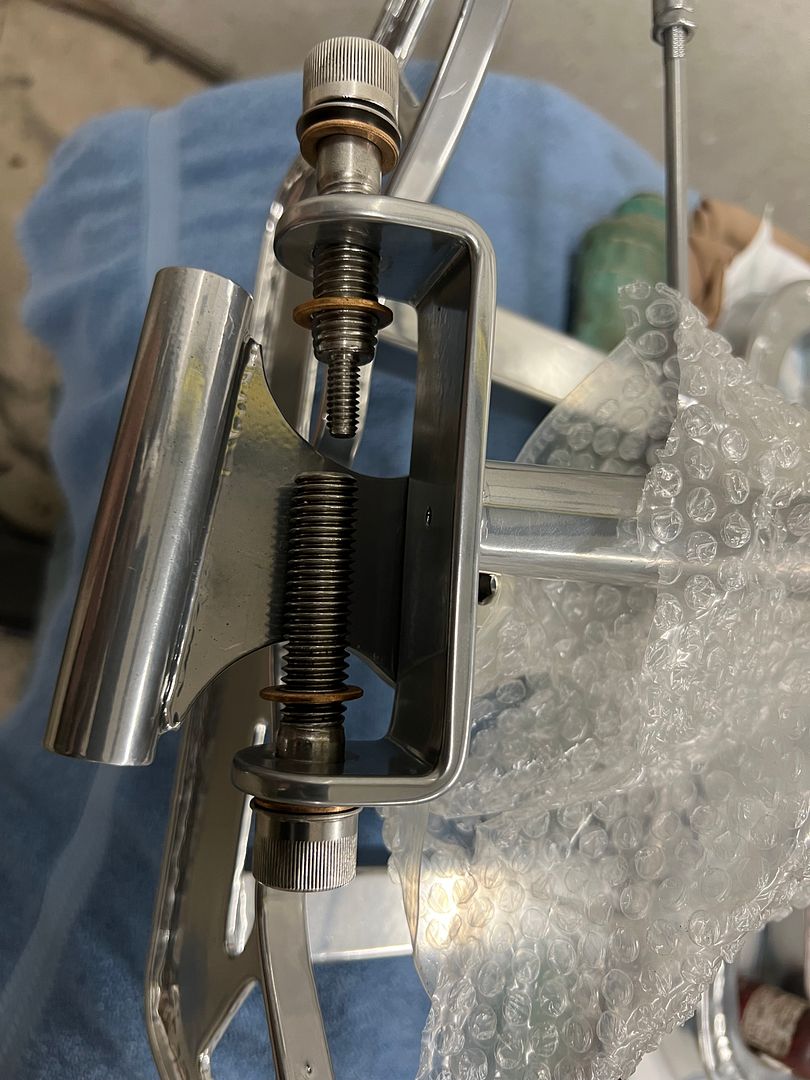
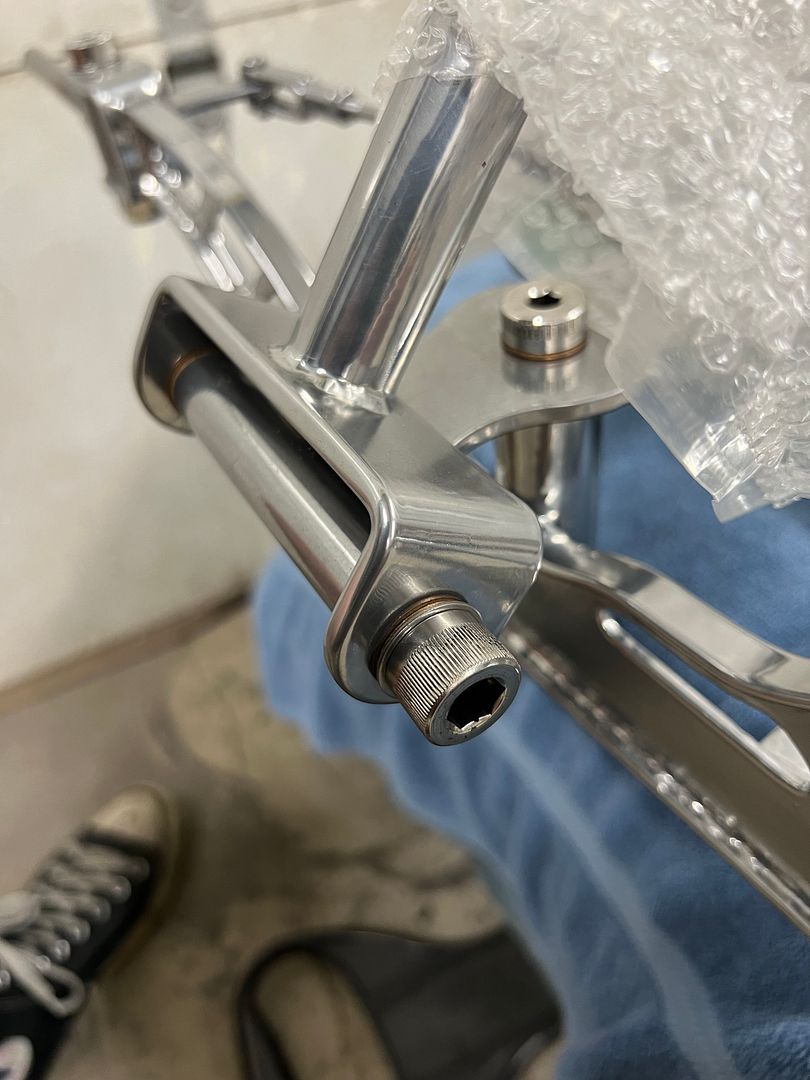
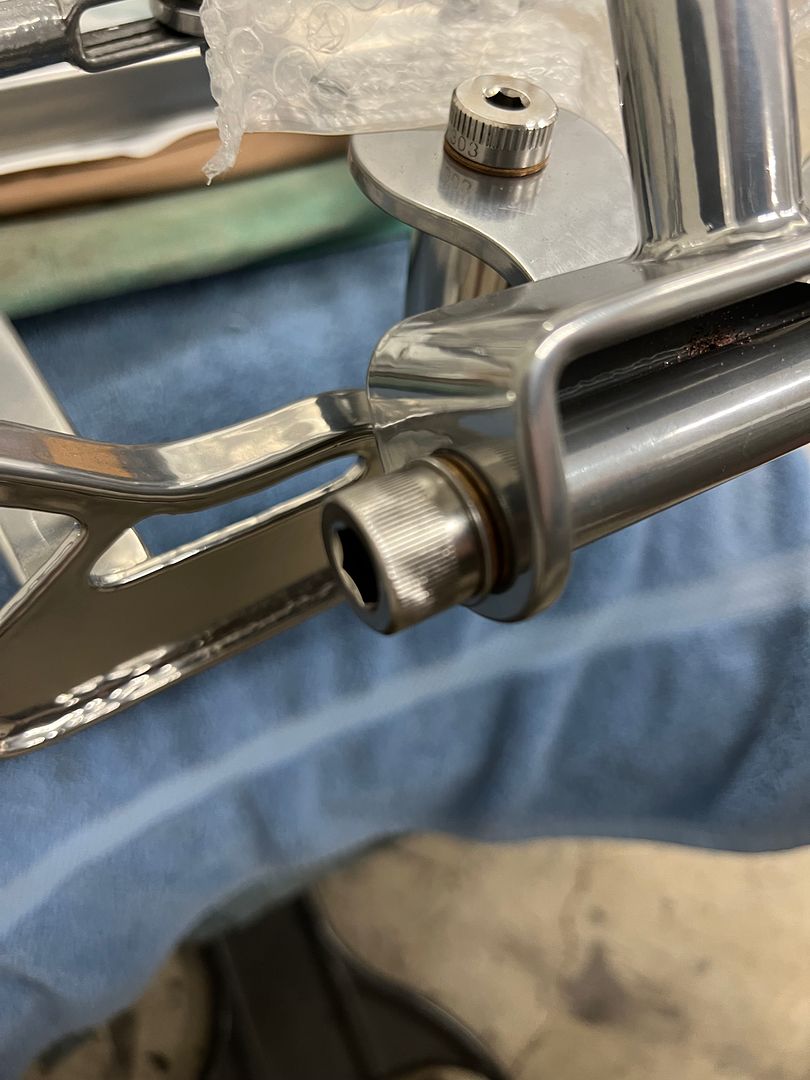
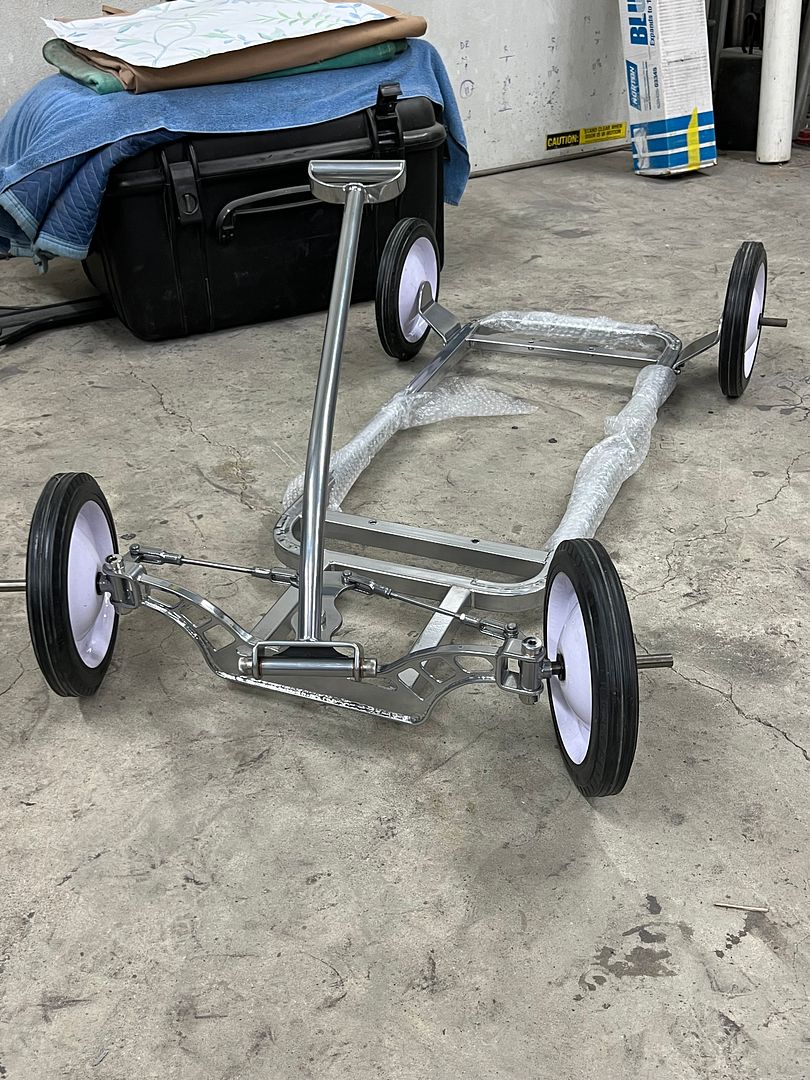
When we had mocked up the wagon frame we just had a 1/2” bolt stuck through the bottom of the pull handle. Now that we’ve got the frame back from chrome powder coating, it’s time for some final details. The bolt for the bottom of the pull handle needs to be an Allen bolt to match our kingpins, and we need one from each side to be symmetrical. A little late to thread any holes in the pivot piece, so we’ll go with docking hardware. A 1/2-13 bolt was turned down for 1/4-20 threads, and the opposite one drilled and tapped.
An allen wrench in the vise holds the bolt for threading
Bolt for the opposite side...
Frame is all done but trimming the axles, now to finish blocking the epoxy on the tub.
Robert


 3390Likes

 LinkBack URL
 About LinkBacks
 Reply With Quote


Thanks for the happy birthday wishes, so far 50 feels a lot like 49 LOL
Happy Birthday 53Chevy5