Thread: 55 Wagon Progress
-
08-21-2014 07:58 PM #271
Your passes doing a bit of fusing with the tig torch has got me inspired. I haven't fired mine up in a while and reminds me practice makes perfect. This Sunday I'm going to have to fire her up and play with some scrap.Fabricator @ Hot Rods by George
-
Advertising

- Google Adsense
- REGISTERED USERS DO NOT SEE THIS AD
-
08-24-2014 08:31 PM #272
Yeah, sometimes you have to step out of that comfort zone....
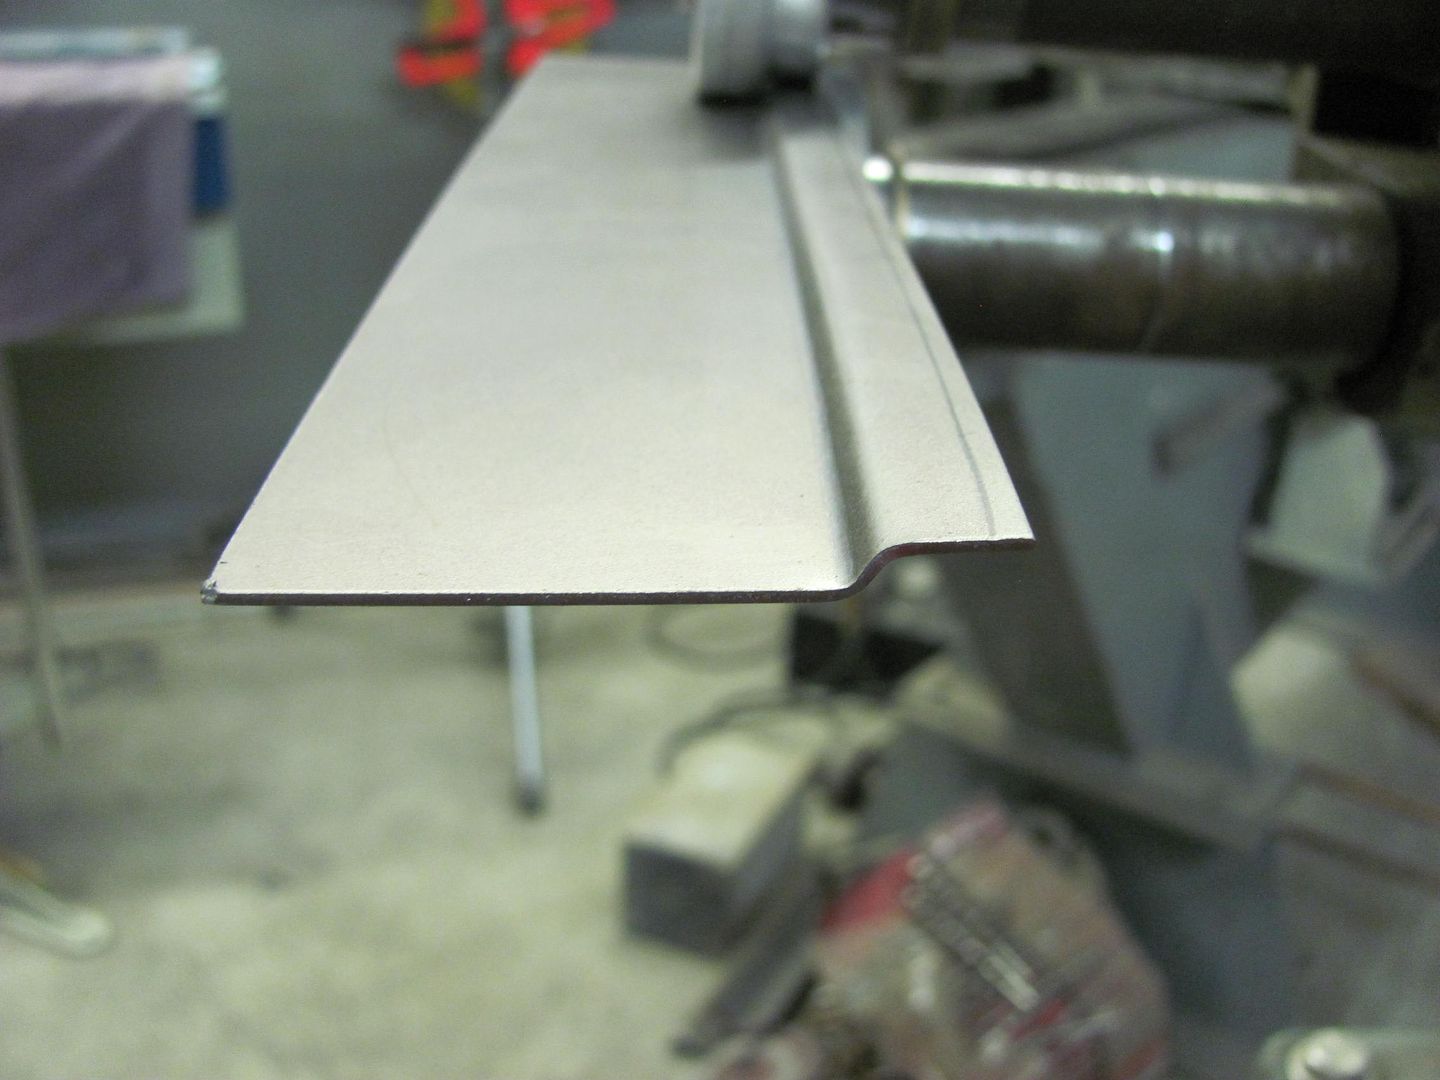
About a month ago I attempted some drip rail fab for a Jeep Cherokee... after making some new dies for the bead roller made some further refinements today.....
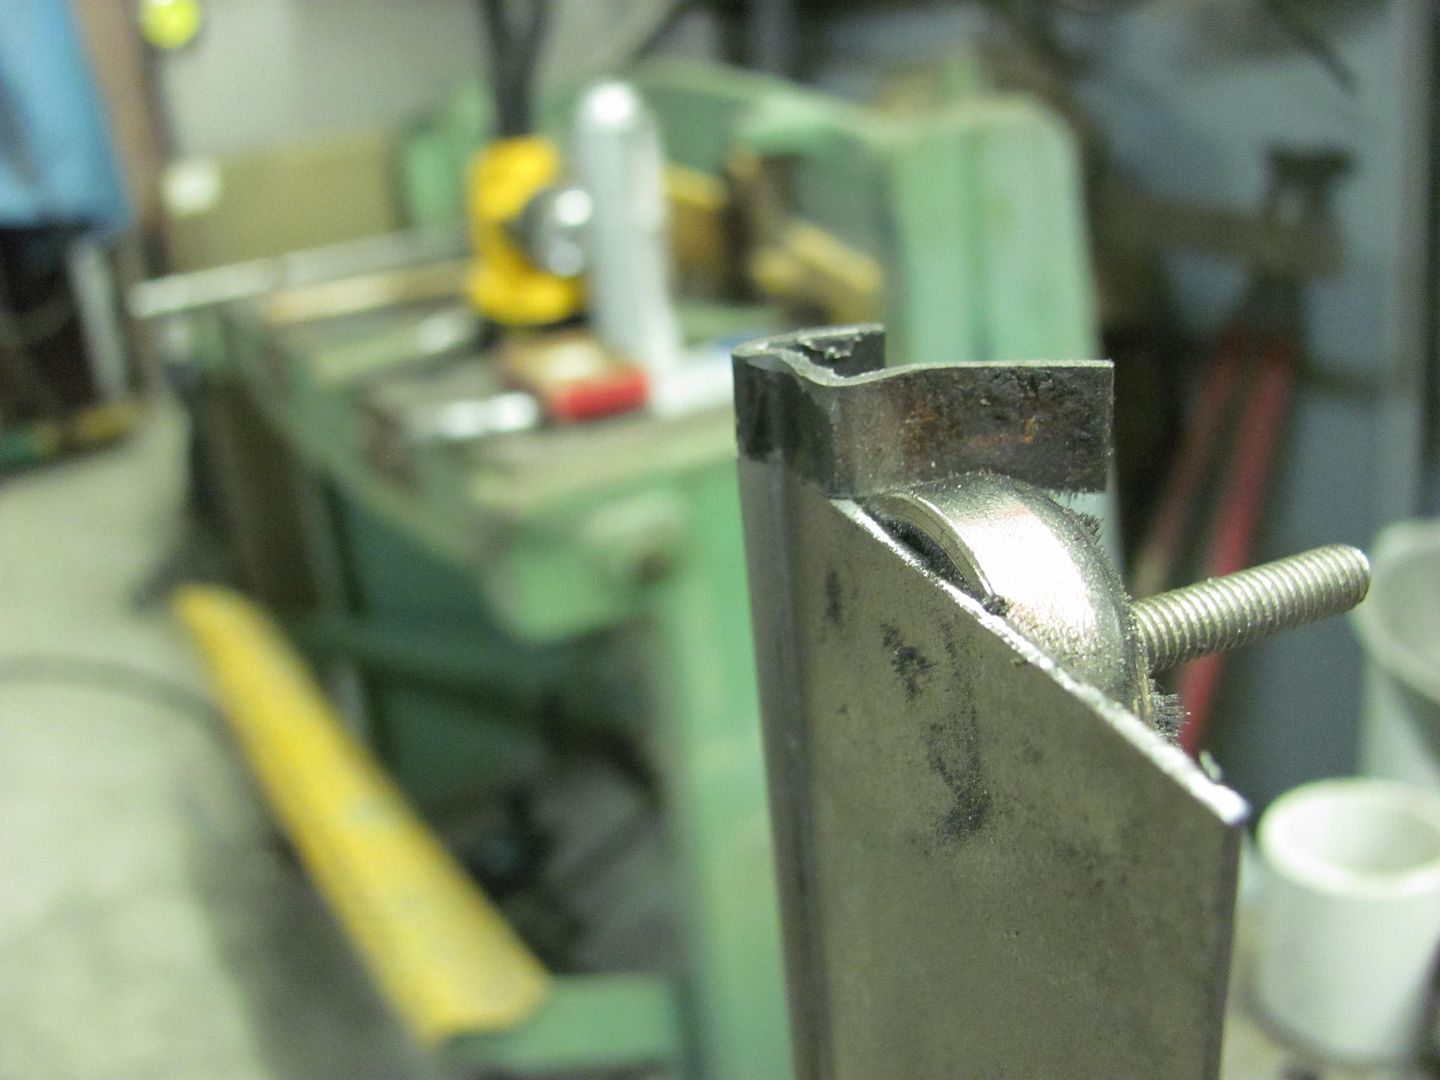
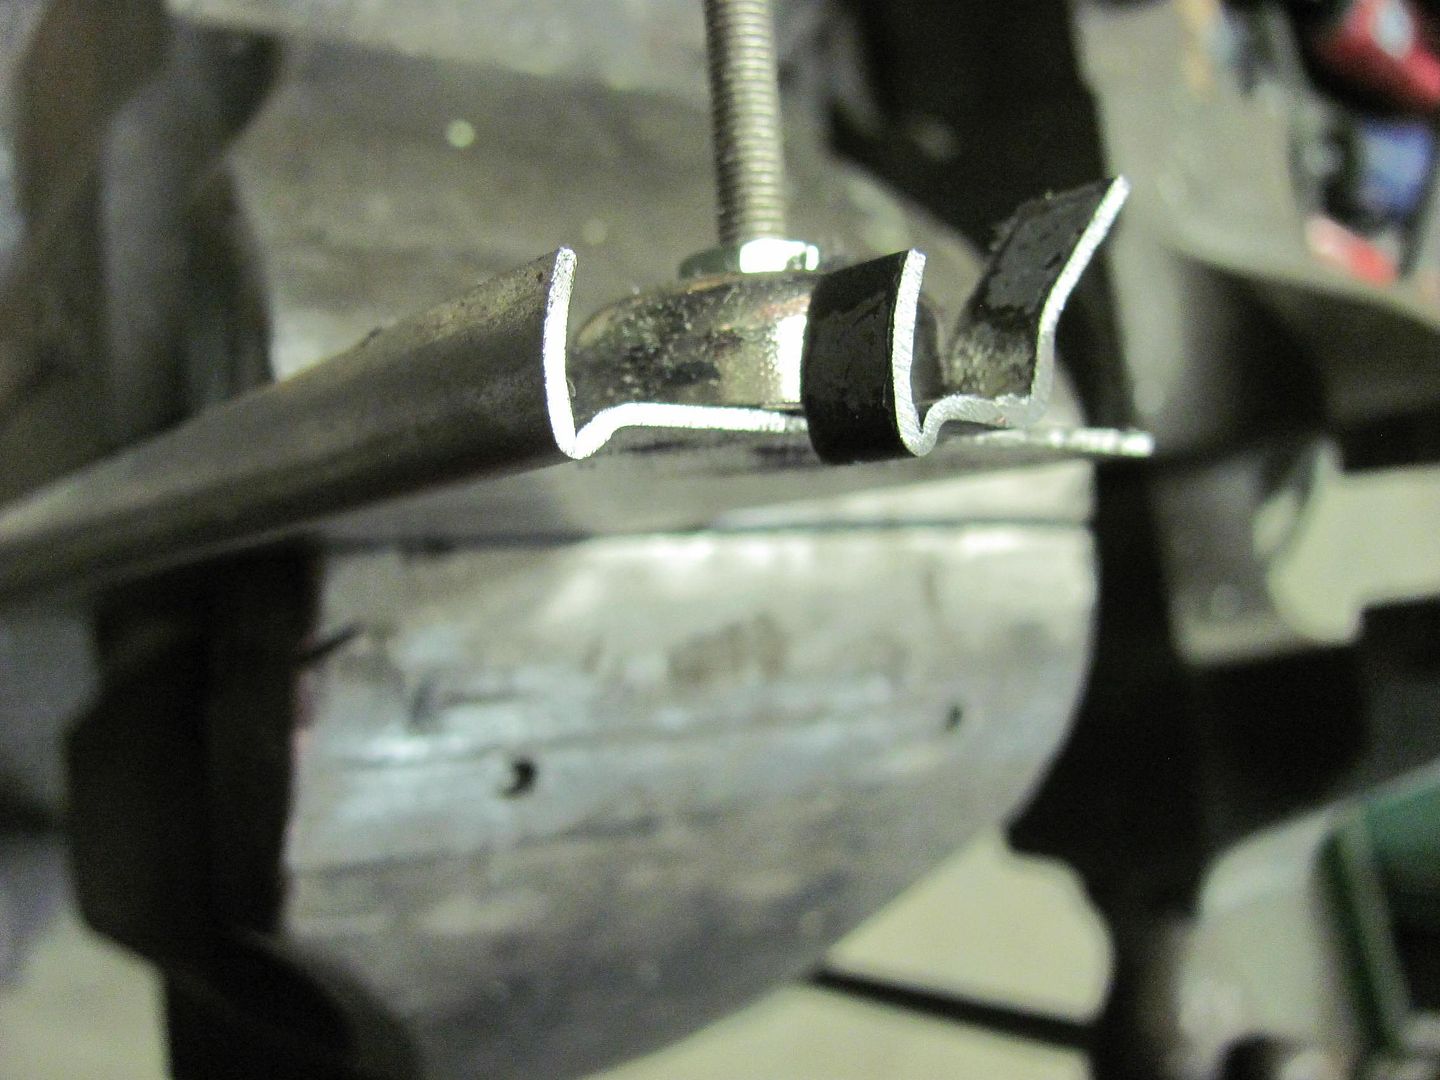
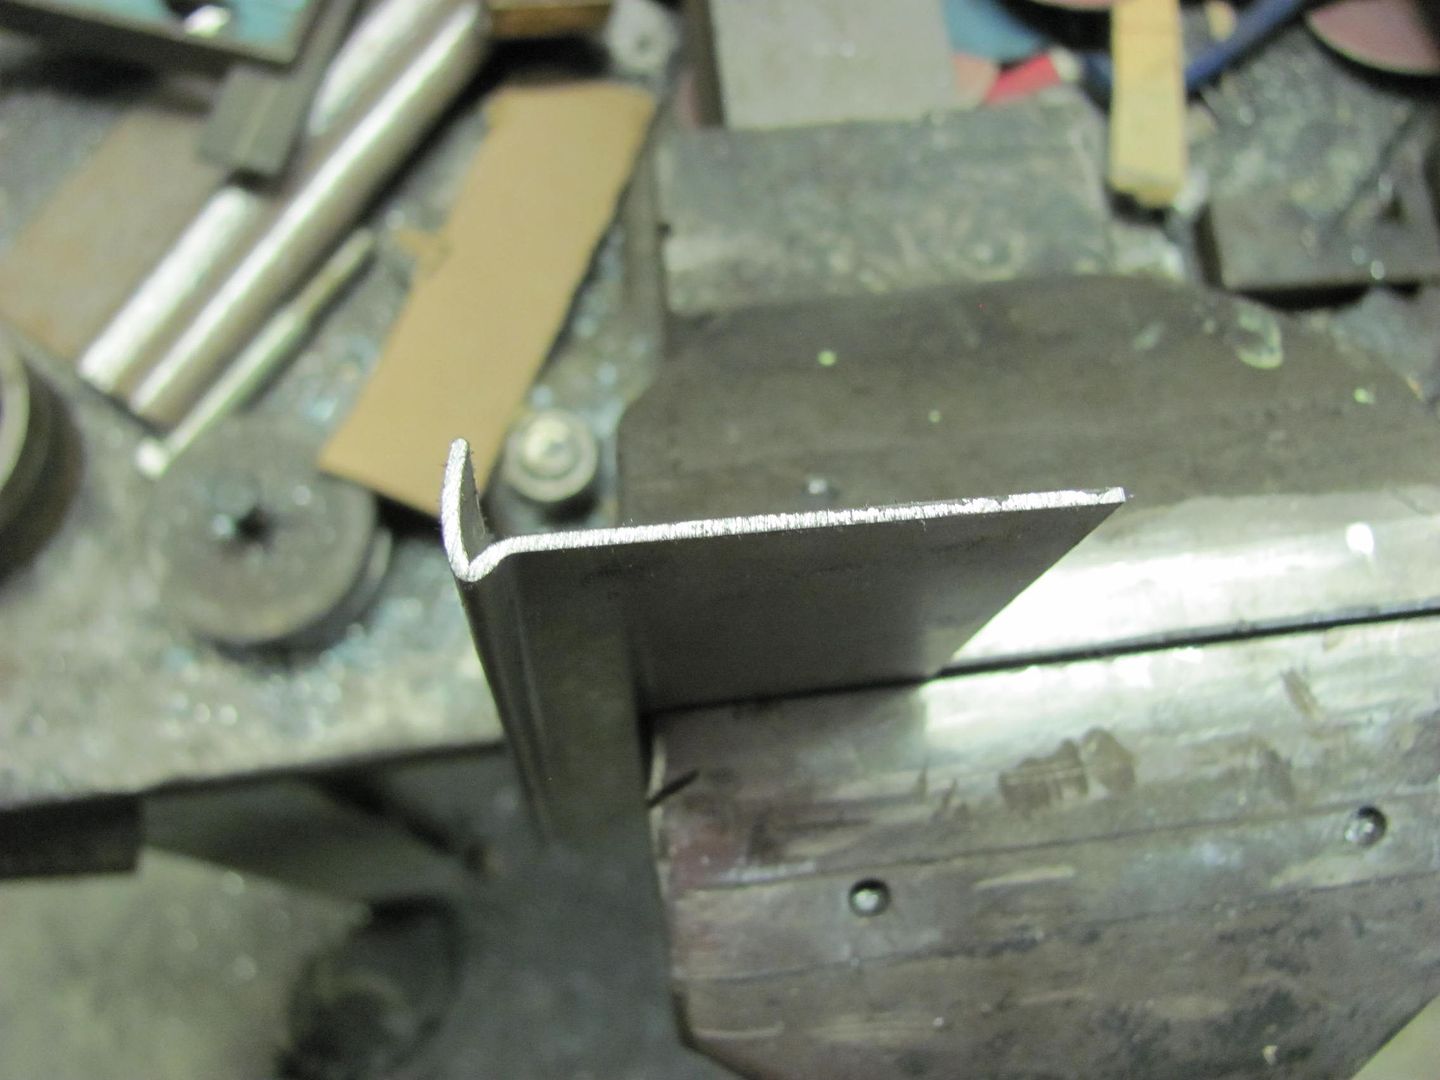
Just a test today to see if I could bend up some Jeep Cherokee drip rail to match the small sample I was sent in the mail. This was done with 18ga crs using the bead roller, mag brake, and press brake. The layout details needs just a bit of tweaking, but I think it may just work...
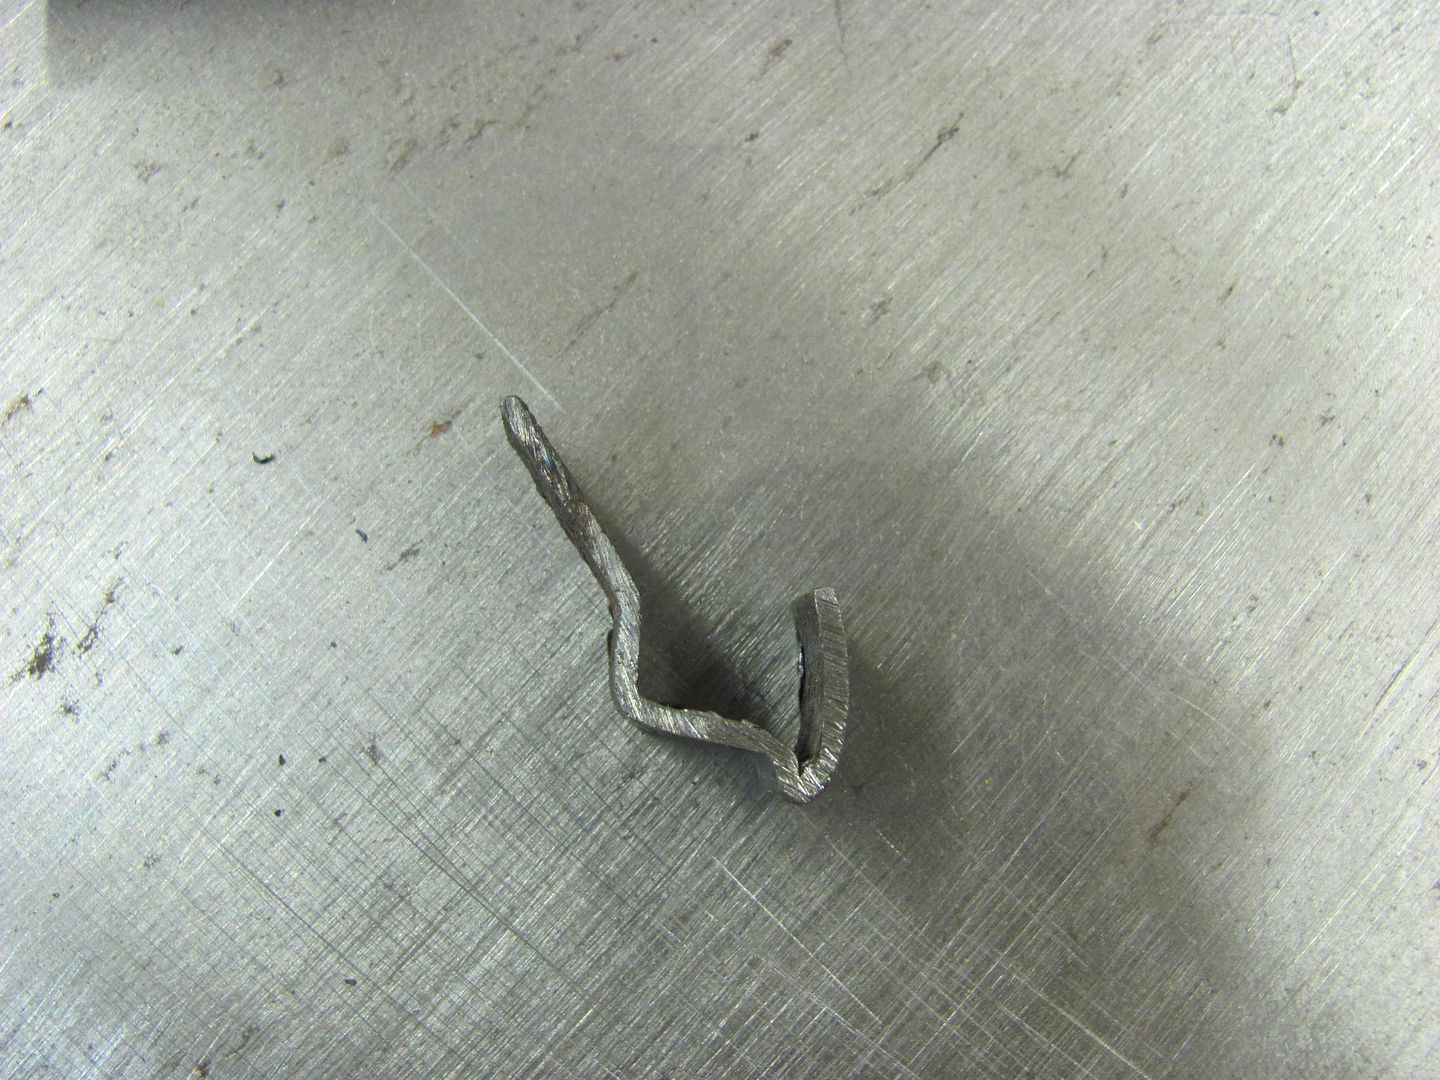
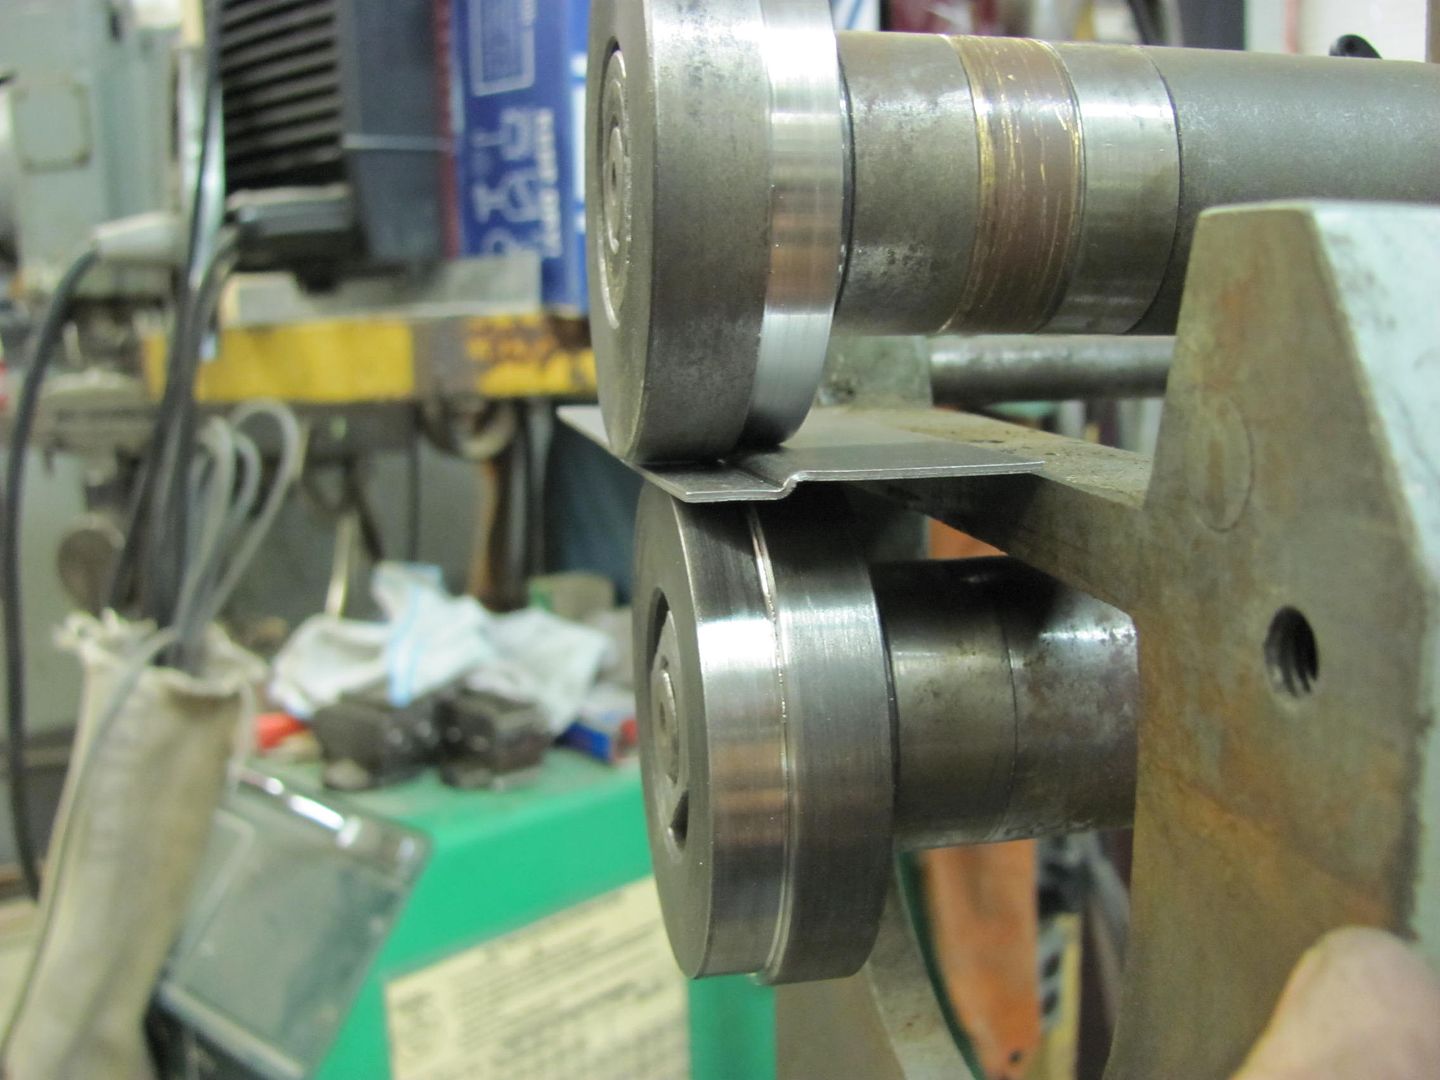
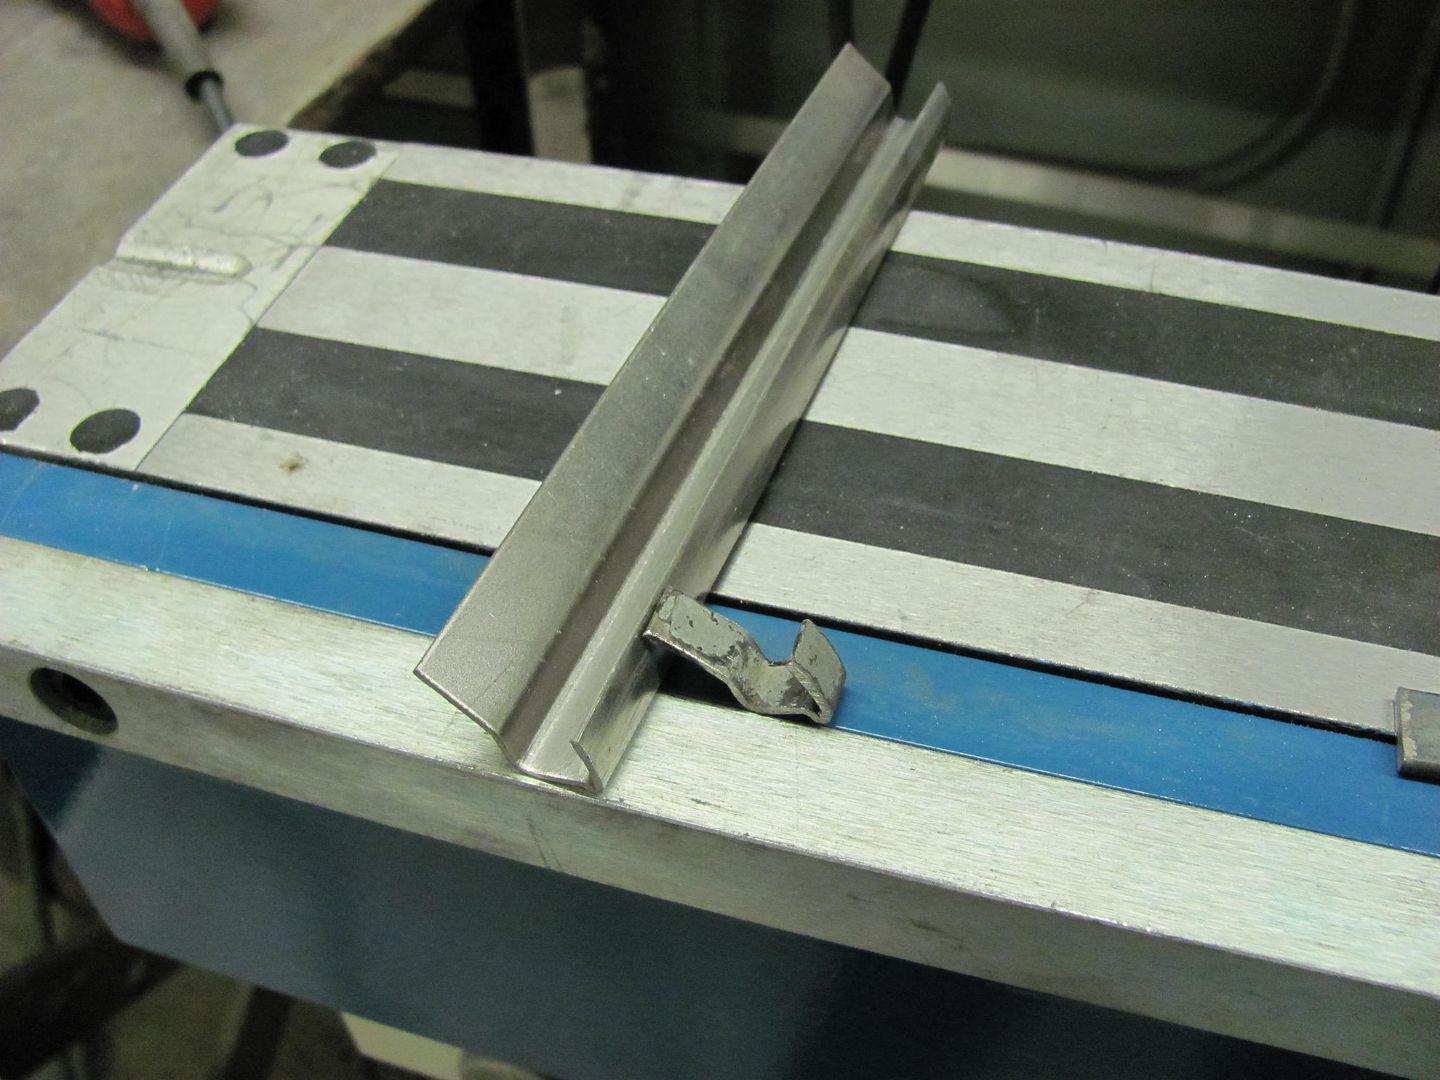
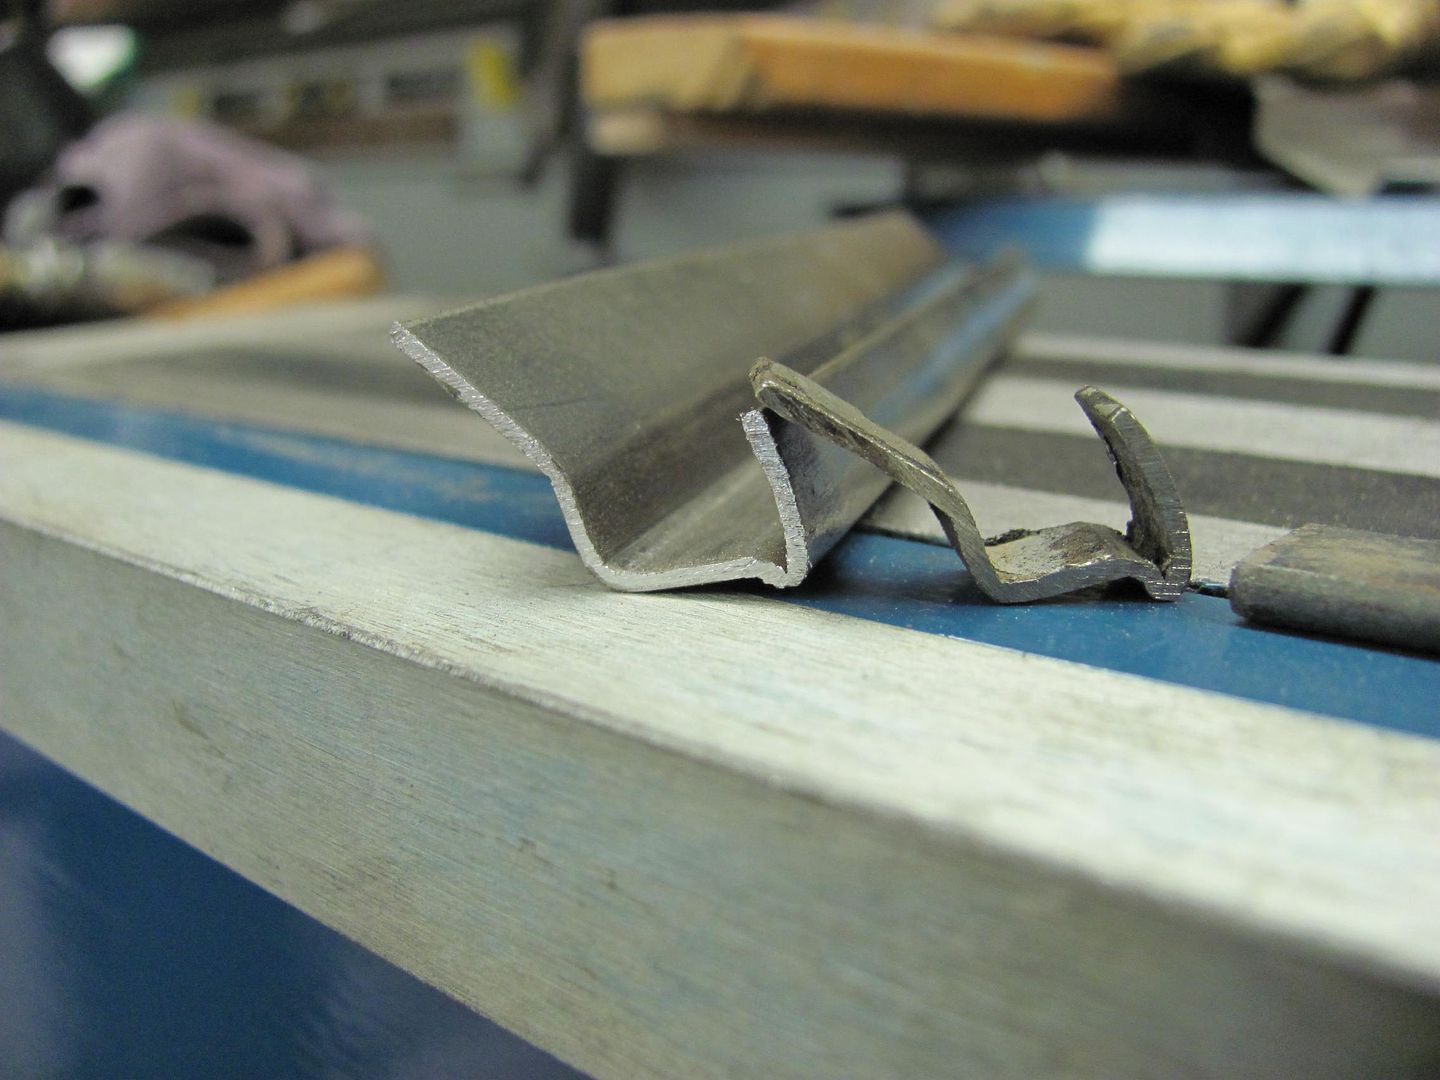
Just as a follow up to this, the dies I used in the original attempt had about a .07 offset. I didn't want to alter their size as they get used once in a blue moon for sheet metal offset, like I did for the 55 Chevy truck windshield panel.. So I decided to make another set, and based on the dimensional difference between the good sample and the trial piece, it looked like I needed to add about .04 to the offset, or .110 total. So here are the new dies...
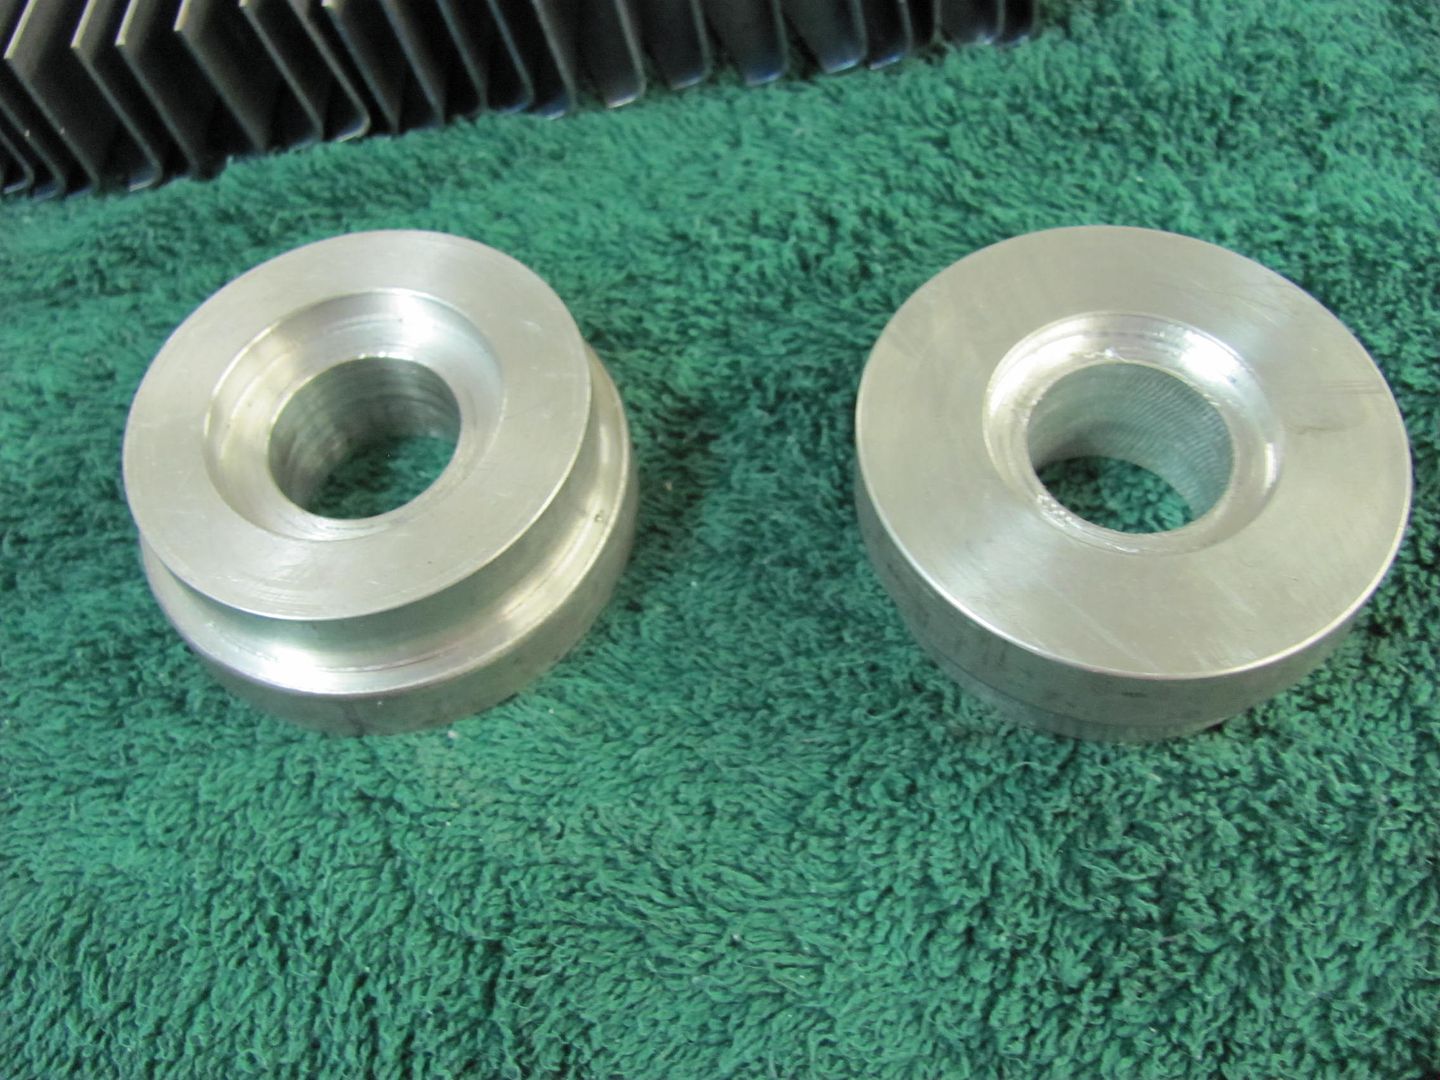
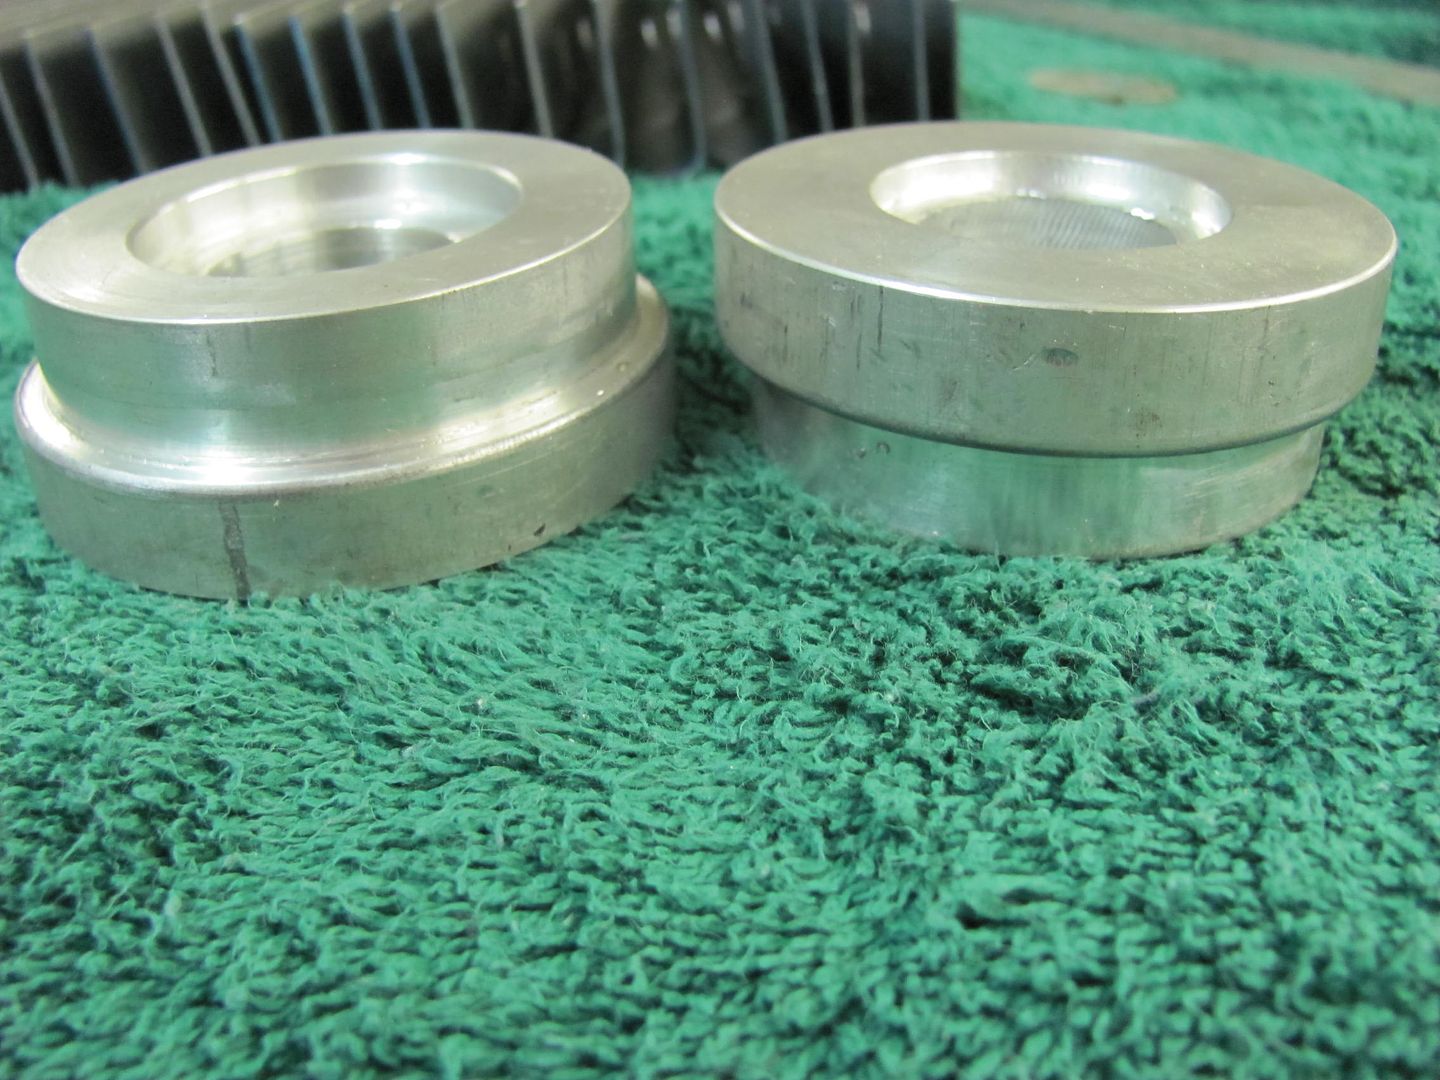
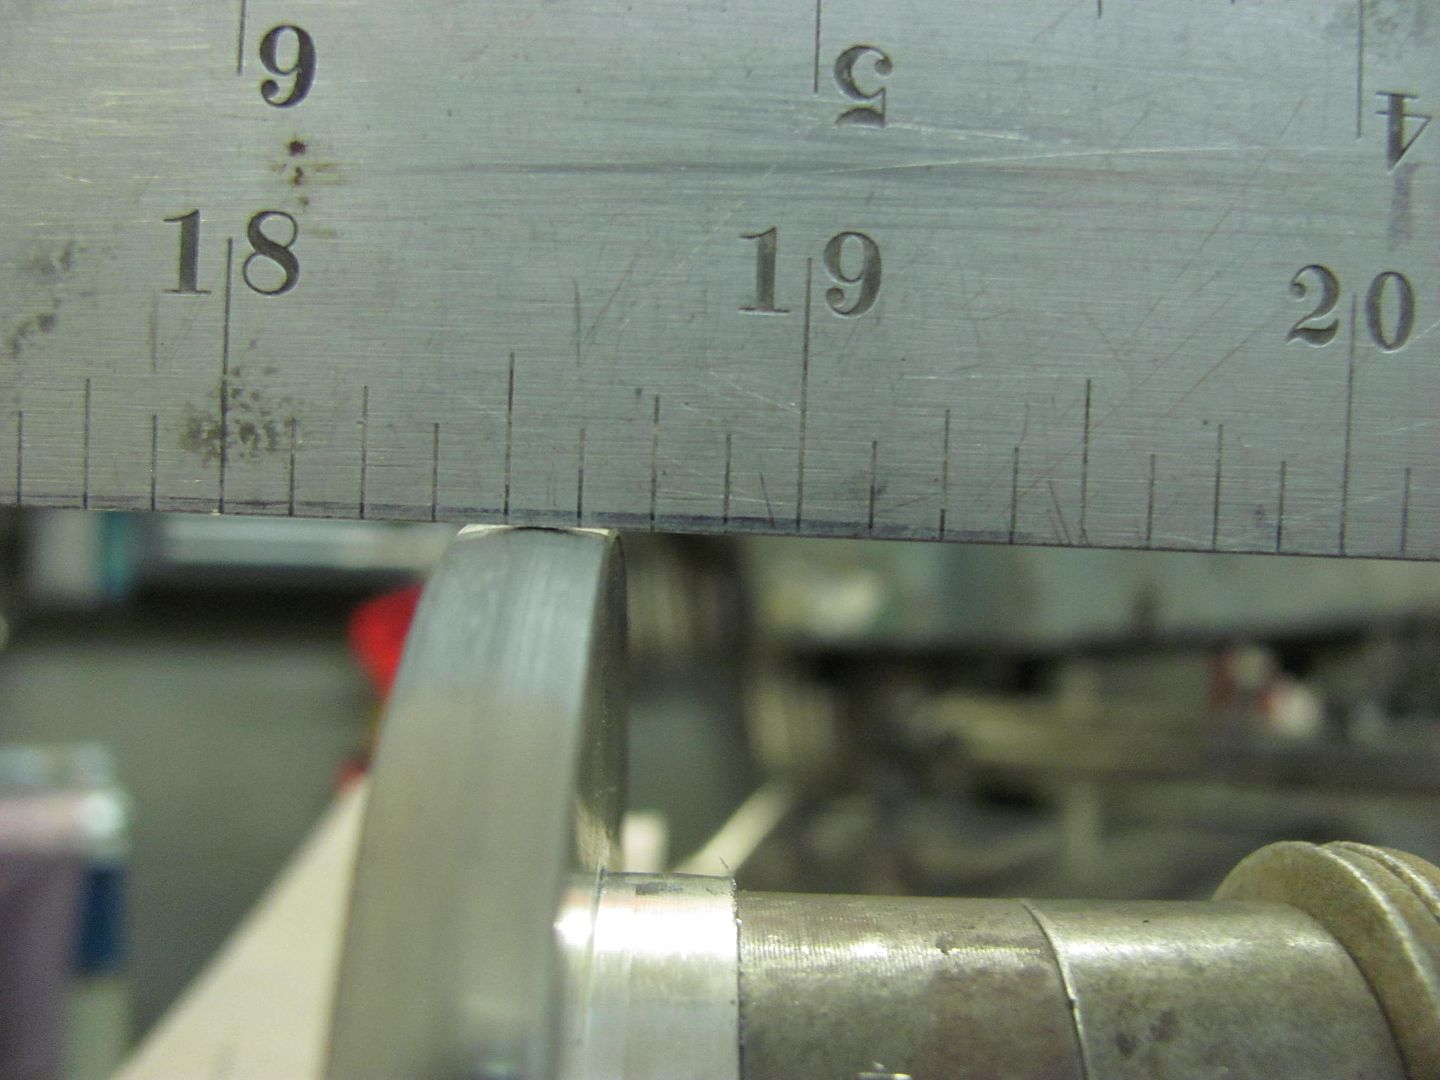
I again used the "backstop" die, and had to go back and trim a bit more off the width of the lower die to get the drip rail height correct.
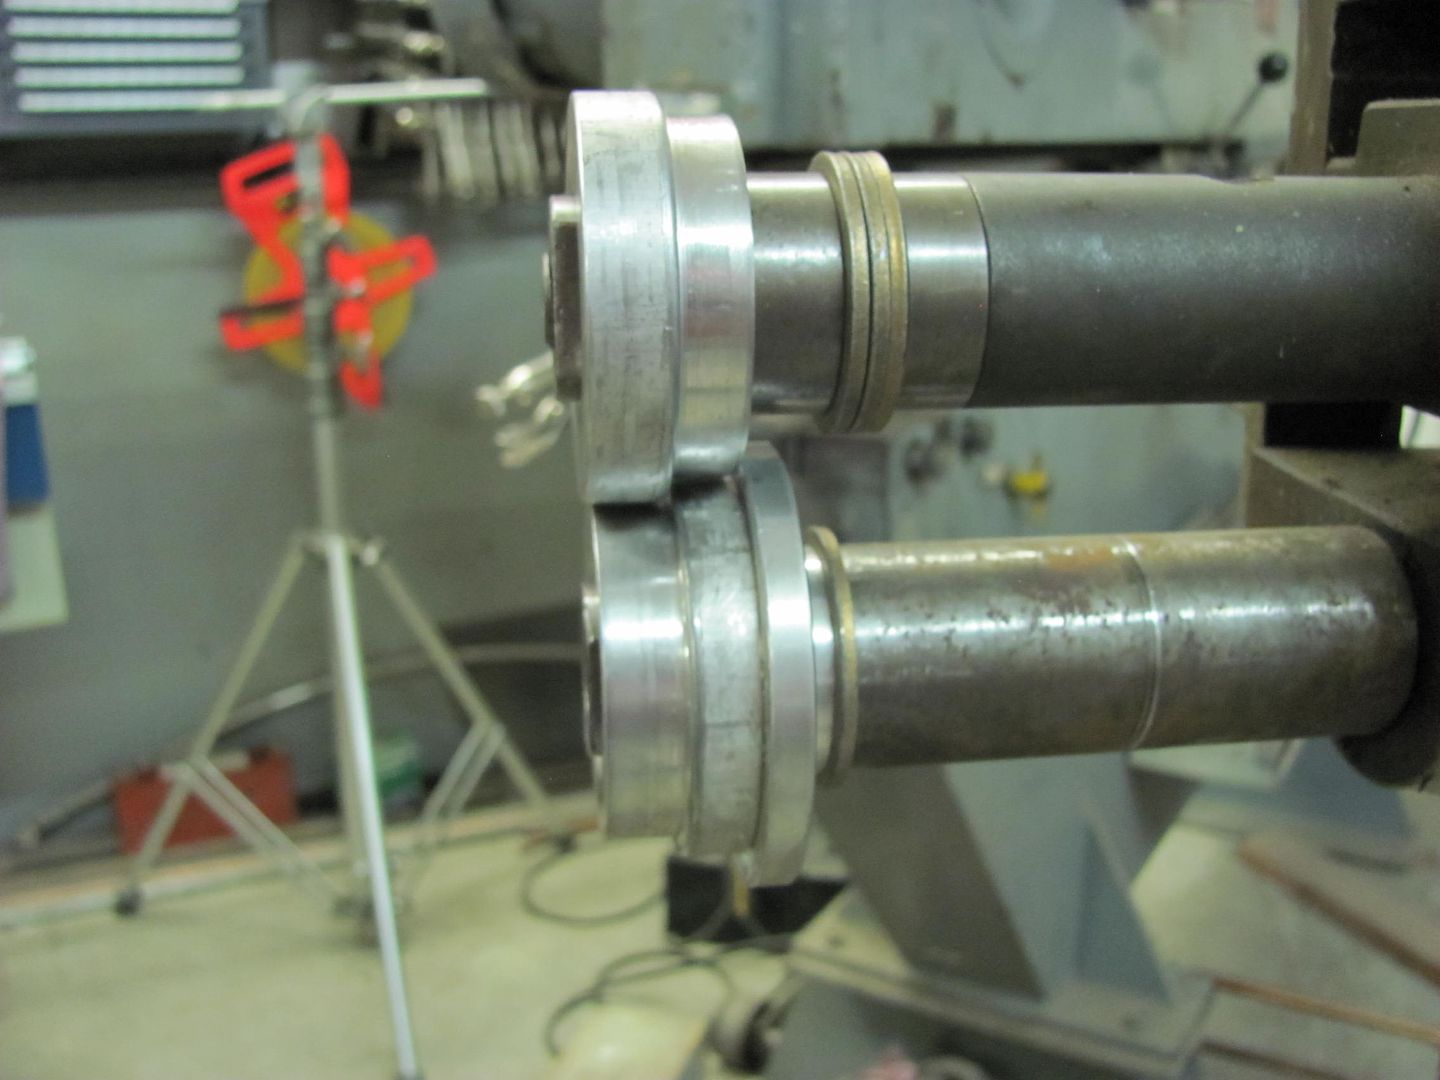
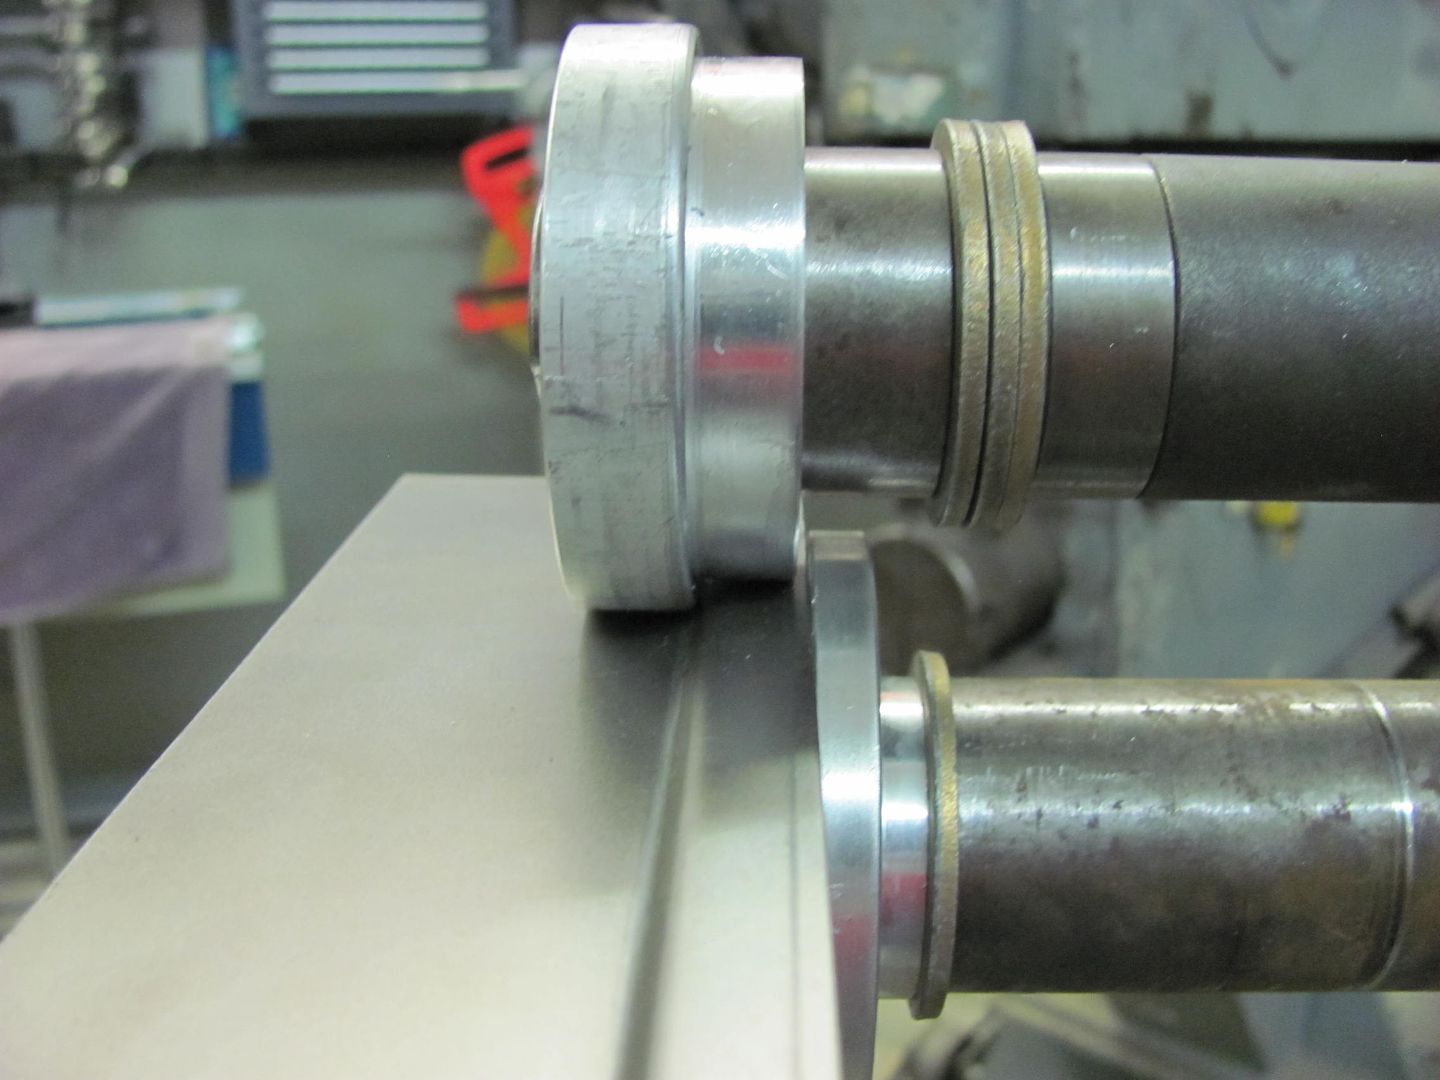
Then the "backstop" die was radiused to use with the skateboard wheel in providing the radius for the front face...
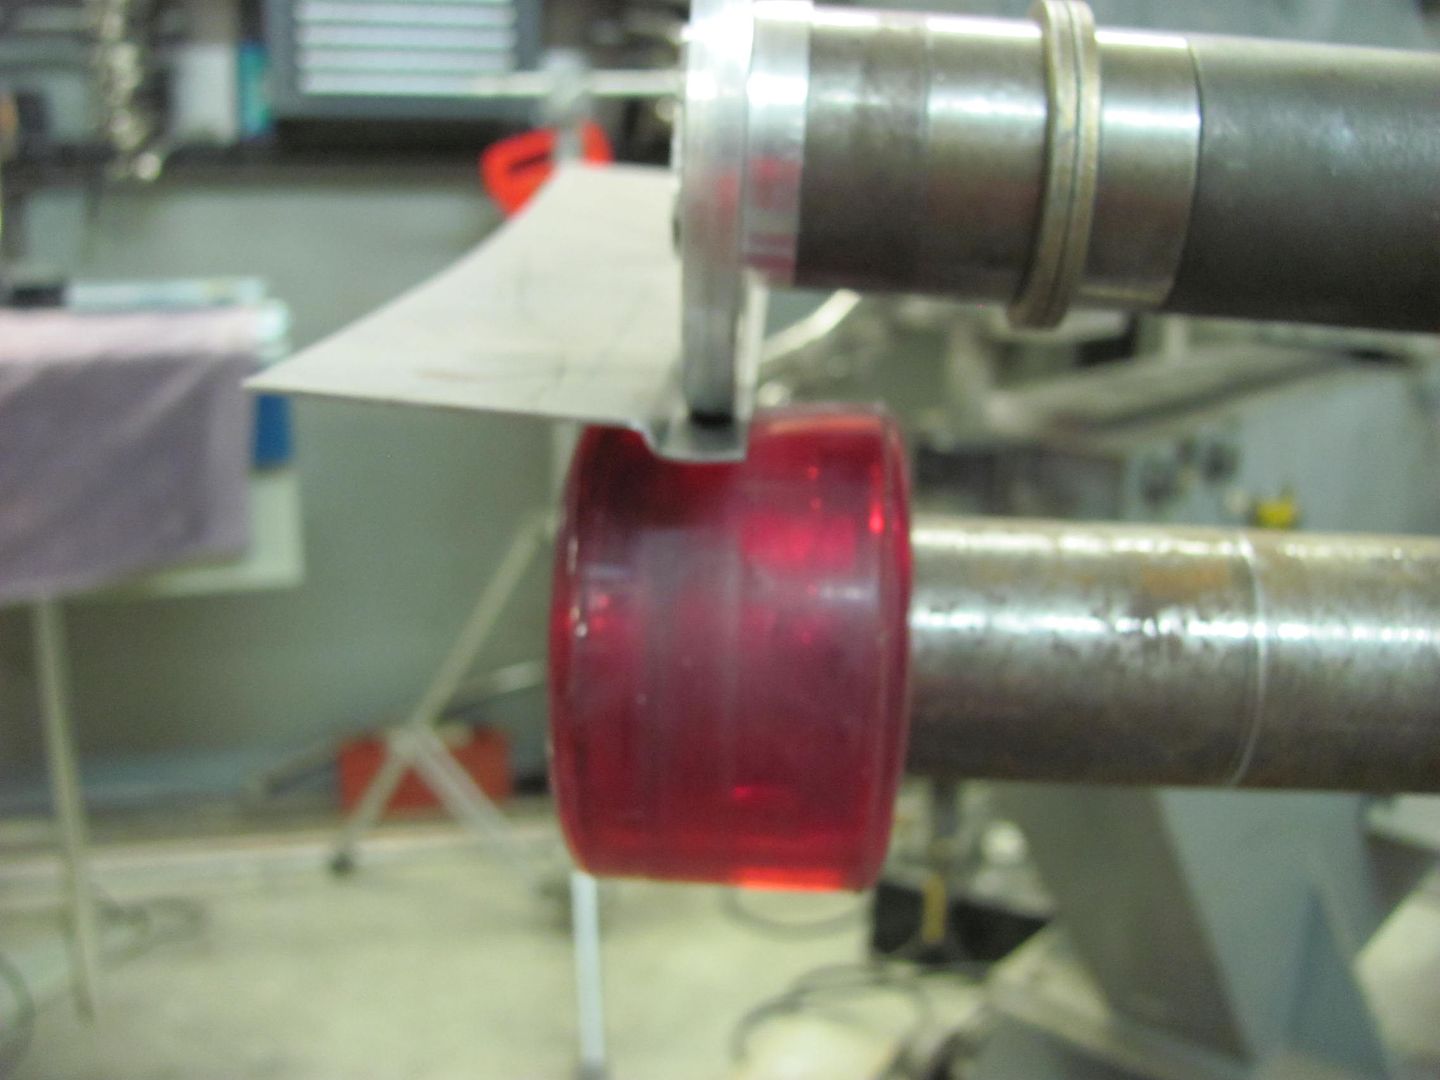
Then a few passes with the tipping die to fold up the front face...
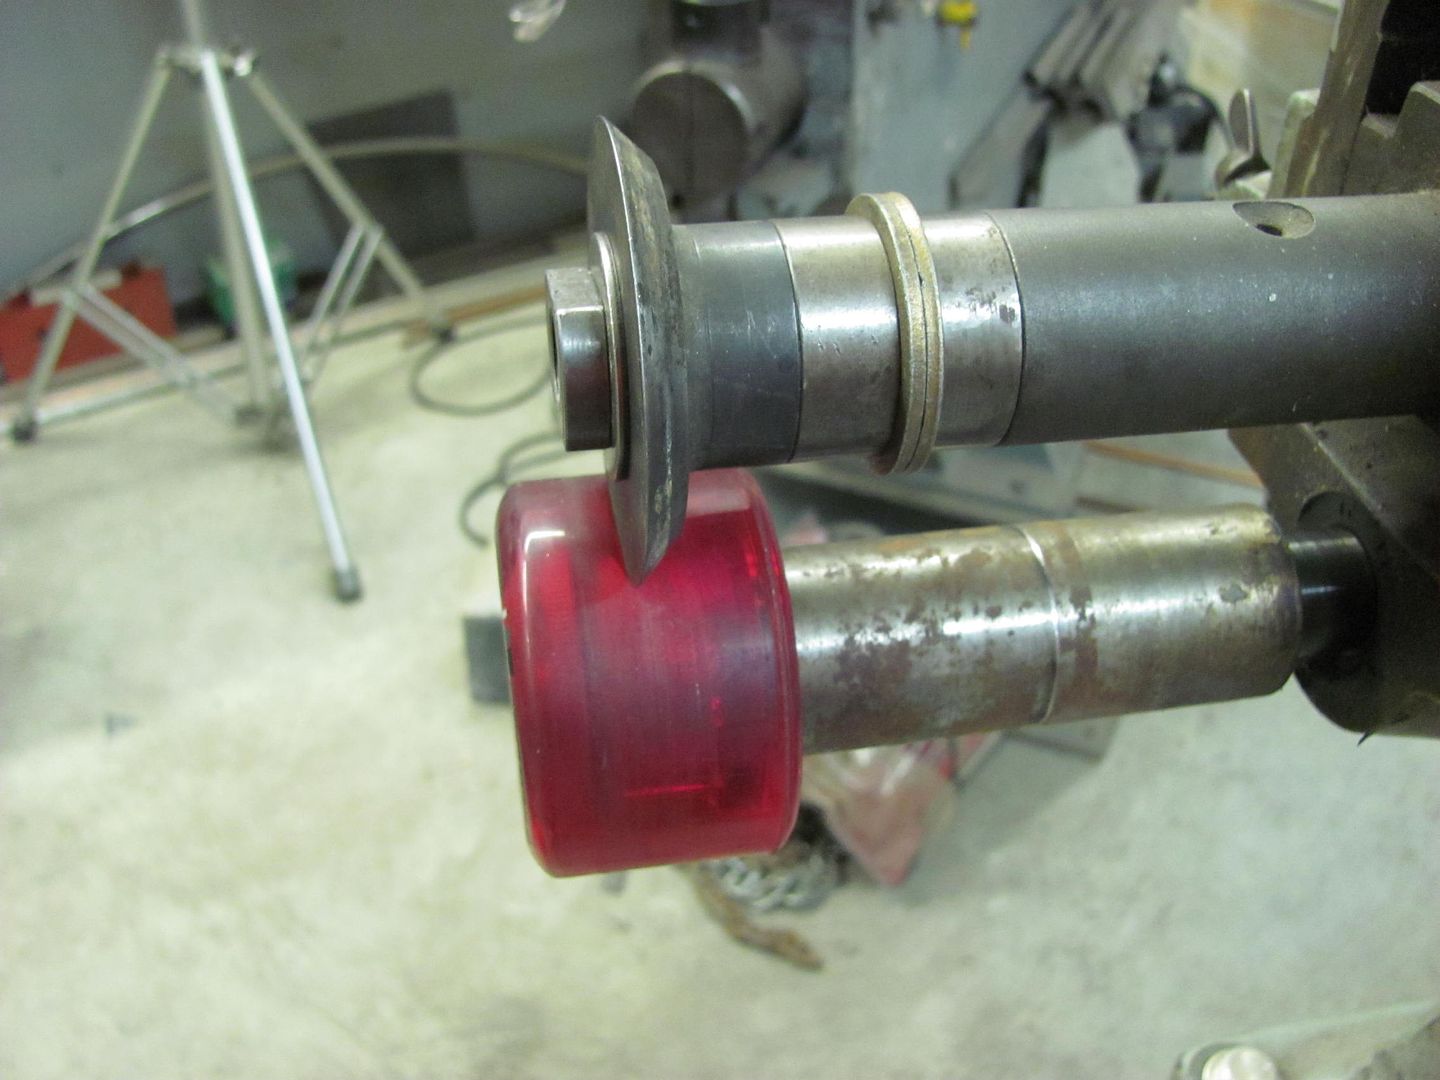
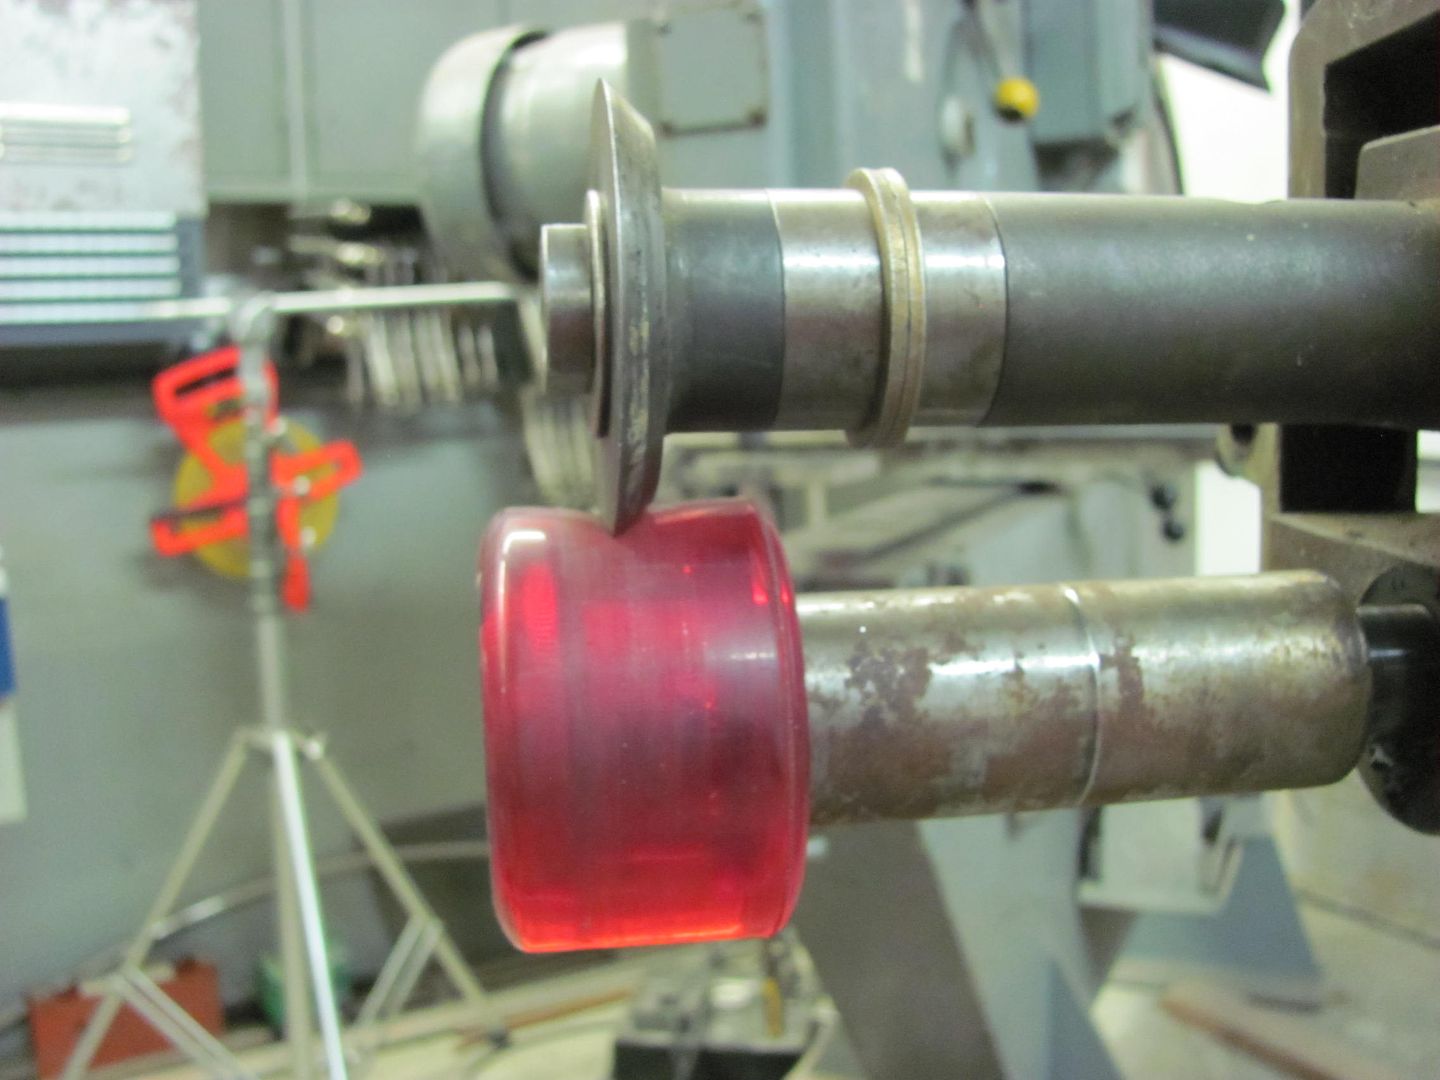
The ends wanted to fold much more than the rest of the trial piece, so rather than continually readjust the tension, I sacrificed the first inch or so and just cut it off in the band saw.
Here is the outer portion formed, the height is about perfect, this is using die width and back stop to regulate dimension...
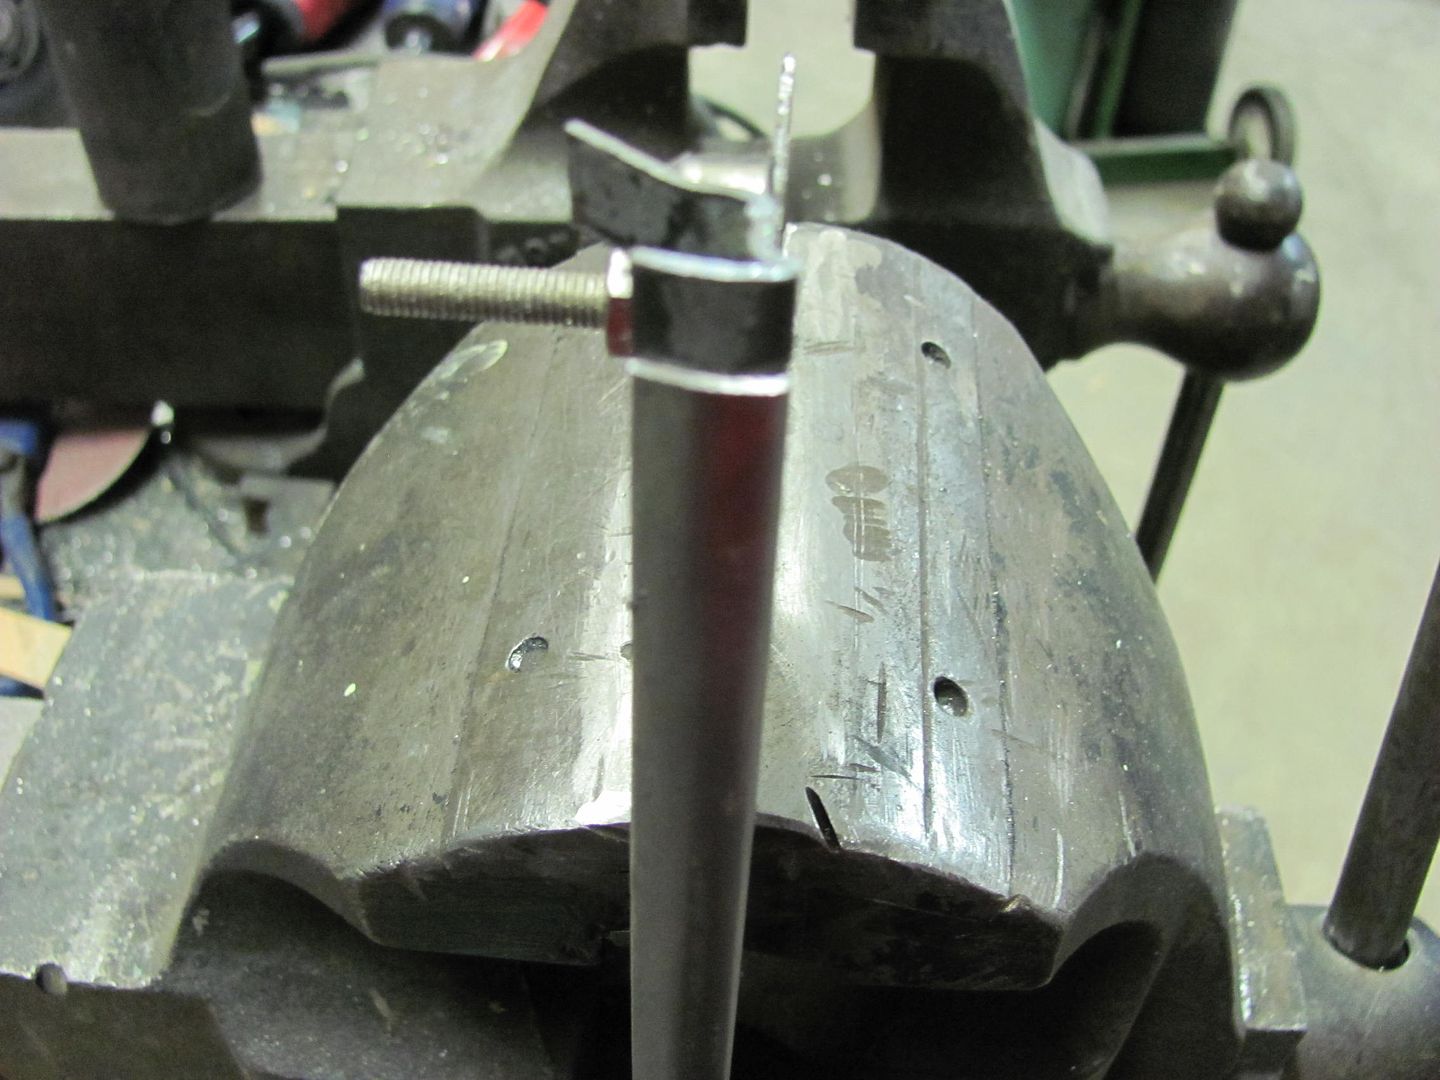
The offset also turned out much better. The sharp bend on mine wasn't quite as tight together, but we'll see what the Jeep guys say to this version.....
Last edited by MP&C; 08-25-2014 at 05:21 AM.
Robert
-
08-25-2014 11:10 AM #273
- Join Date
- Apr 2011
- Location
- Prairie City
- Car Year, Make, Model: 40 Ford Deluxe, 68 Corvette, 72&76 K30
- Posts
- 7,300
- Blog Entries
- 1
Great work on all of it!Ryan
1940 Ford Deluxe Tudor 354 Hemi 46RH Electric Blue w/multi-color flames, Ford 9" Residing in multiple pieces
1968 Corvette Coupe 5.9 Cummins Drag Car 11.43@130mph No stall leaving the line with 1250 rpm's and poor 2.2 60'
1972 Chevy K30 Longhorn P-pumped 24v Compound Turbos 47RH Just another money pit
1971 Camaro RS 5.3 BTR Stage 3 cam, SuperT10
Tire Sizes
-
08-25-2014 04:28 PM #274
As always, Thank You Robert. While I may not run out to the shop to try bending sheet metal like you.. You posts always expand my thinking of how to accomplish metal work...
-
08-25-2014 10:30 PM #275
What he said.johnboy
Mountain man. (Retired.)
Some mistakes are too much fun to be made only once.
I don't know everything about anything, and I don't know anything about lots of things.
'47 Ford sedan. 350 -- 350, Jaguar irs + ifs.
'49 Morris Minor. Datsun 1500cc, 5sp manual, Marina front axle, Nissan rear axle.
'51 Ford school bus. Chev 400 ci Vortec 5 sp manual + Gearvendors 2sp, 2000 Chev lwb dually chassis and axles.
'64 A.C. Cobra replica. Ford 429, C6 auto, Torana ifs, Jaguar irs.
-
08-26-2014 07:36 AM #276
Thanks for the comments guys. I enjoy posting my "thinking out loud" that often occurs in the shop, at times it provides me another perspective in someone's comment that perhaps I overlooked. So it helps to expand my thinking as well.
Robert
-
08-28-2014 05:46 AM #277
The shop's new apprentice started last night, so hopefully we can post project updates a bit more frequently
We did some more metal bumping on the roof repair. We had some high spots to address, so Kyle held the shot bag on the inside while I used the body hammer on the outside.
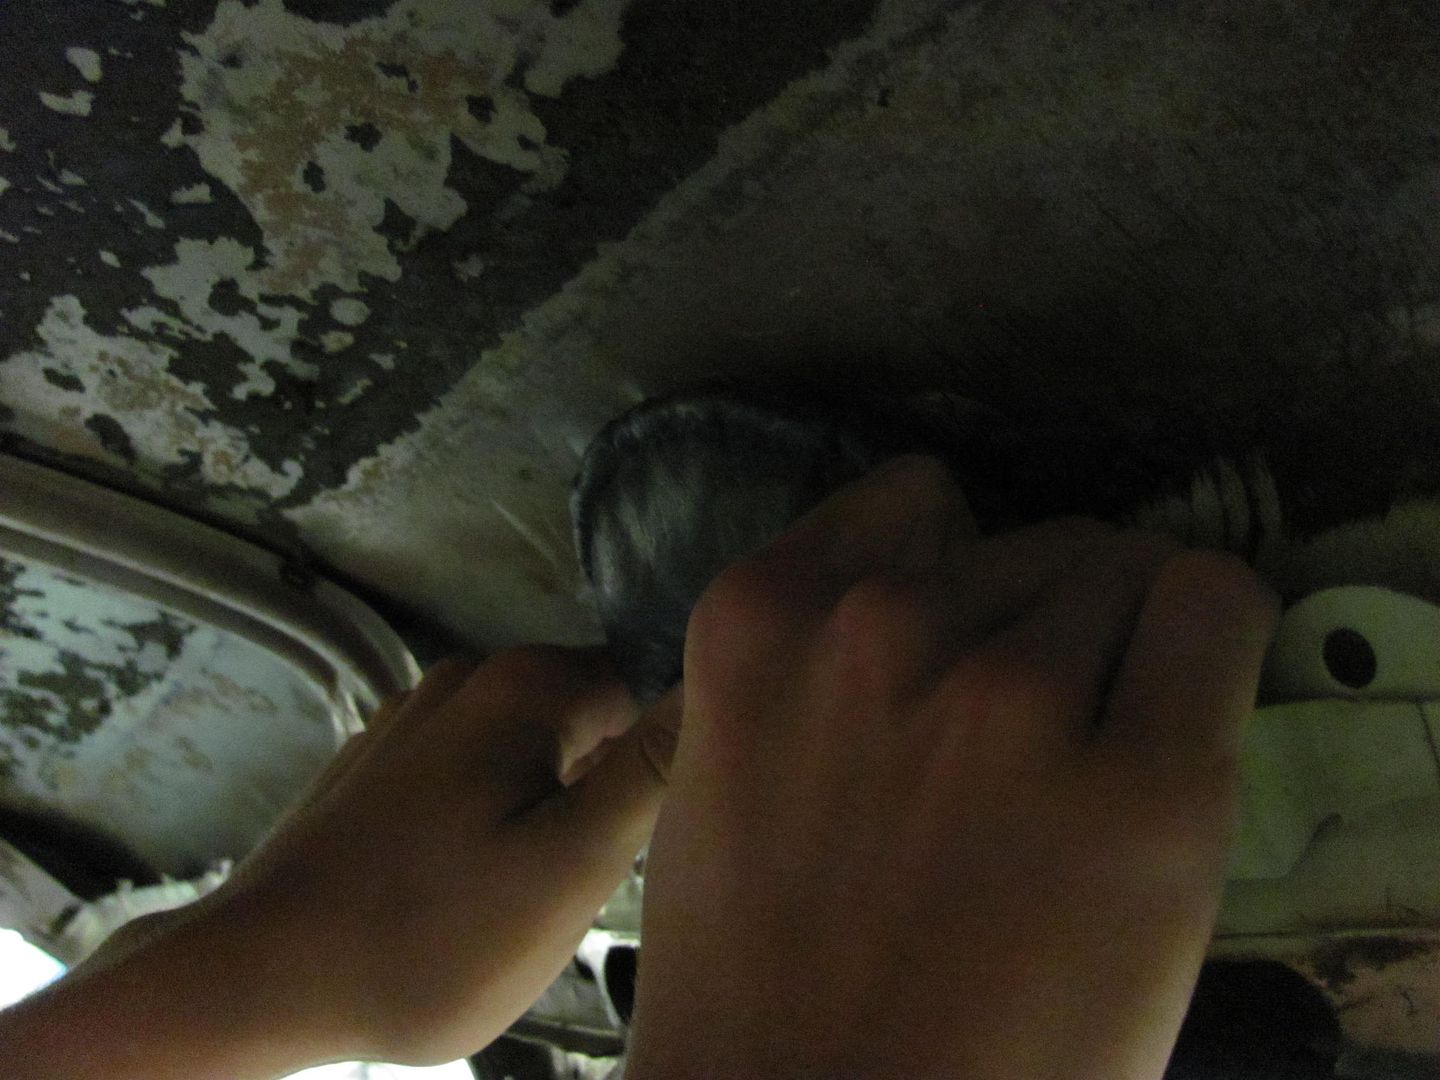
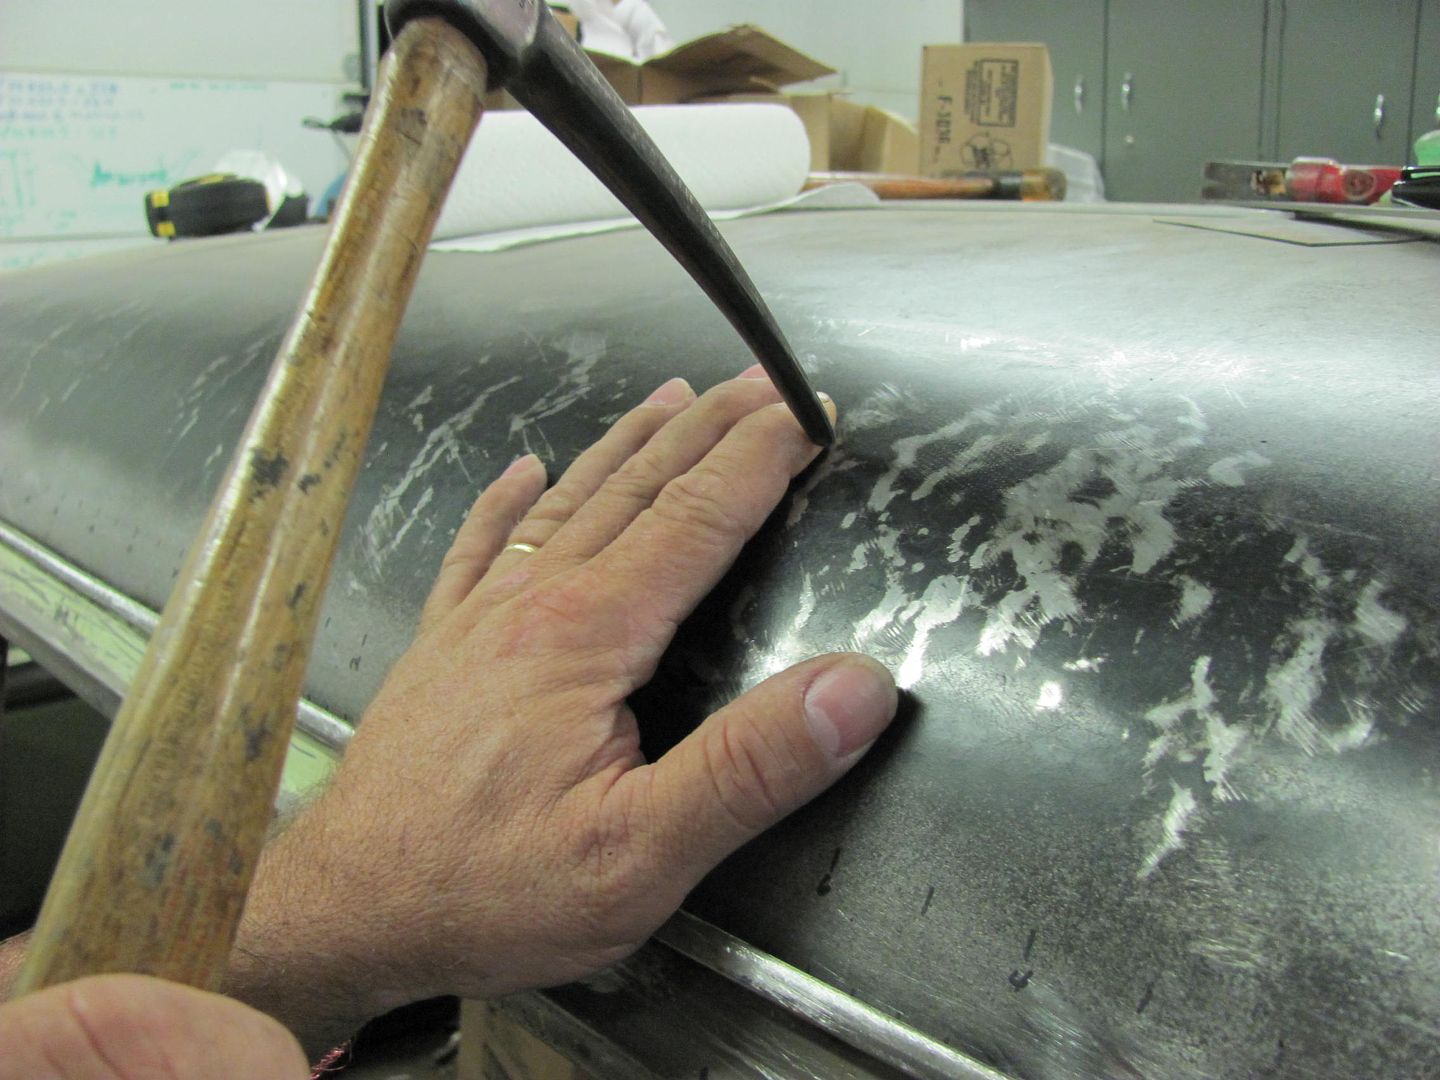
I used the blunted pick end of this hammer to address the narrow high spots. I've found it helps to more precisely locate your "strike area" by laying a guide finger next to it. Tap down the area, move to the next....
We did have a larger high spot that made use of the hammer face, and on the bottom side Kyle held the donut dolly in place. This made short work of bringing down the high spots..
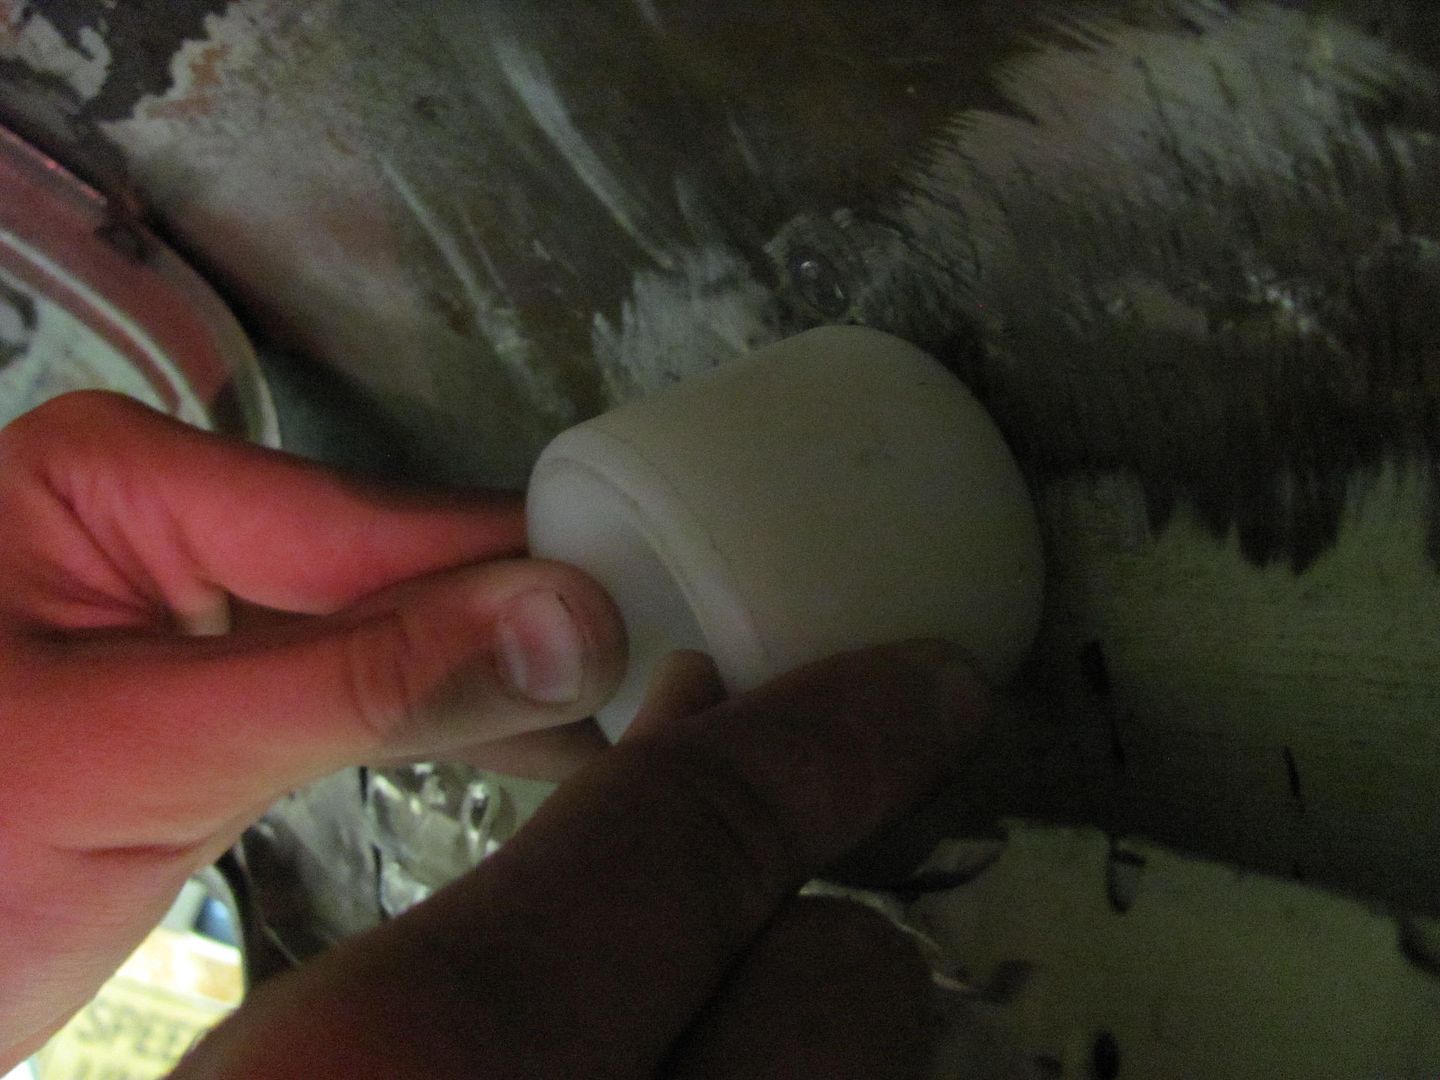
Note the "graduated" markings on the roof are also on the inside to keep inside guy and outside guy on the same page with hammer and dolly alignment.Robert
-
08-28-2014 06:54 AM #278
Just a note on using a finger to locate areas needing attention, MOVE YOUR FINGER BEFORE STRIKING AREA WITH THE PICK!!!!!

 Sometimes I get to concentrating so much on the area I'm working that the hand not holing the hammer gets in the way!!! Life is tough for us Norwegians!!!!


Yesterday is history, tomorrow is a mystery, Live for Today!
Carroll Shelby
Learning must be difficult for those who already know it all!!!!
-
08-28-2014 07:40 AM #279


Just to clarify, I was doing more of a precise bumping than hammer blows. Didn't want to add any dents. So the tip of the hammer was barely raised up past my finger...Robert
-
08-28-2014 09:16 AM #280
I was told, long ago that, if I would put a piece of paper between my fingers and the metal I would feel more finer imperfections. It appeared to work, perhaps only because I wanted it too, don't know.The truth is incontrovertible. Malice may attack it, ignorance may deride it, but in the end, there it is.
Winston Churchill
-
08-28-2014 10:57 AM #281
I use a soft cloth like a hankie You can feel things you can't see.Charlie
Lovin' what I do and doing what I love
Some guys can fix broken NO ONE can fix STUPID
W8AMR
http://fishertrains94.webs.com/
Christian in training
-
08-28-2014 05:37 PM #282
Ice little factoid for future use there August. I will have to give that a try, or the soft cloth Charlie!"  "No matter where you go, there you are!" Steve.
-
08-30-2014 02:39 PM #283
Today we worked on tying up some loose ends. We had a slight mis-alignment at the front corner of the passenger door..
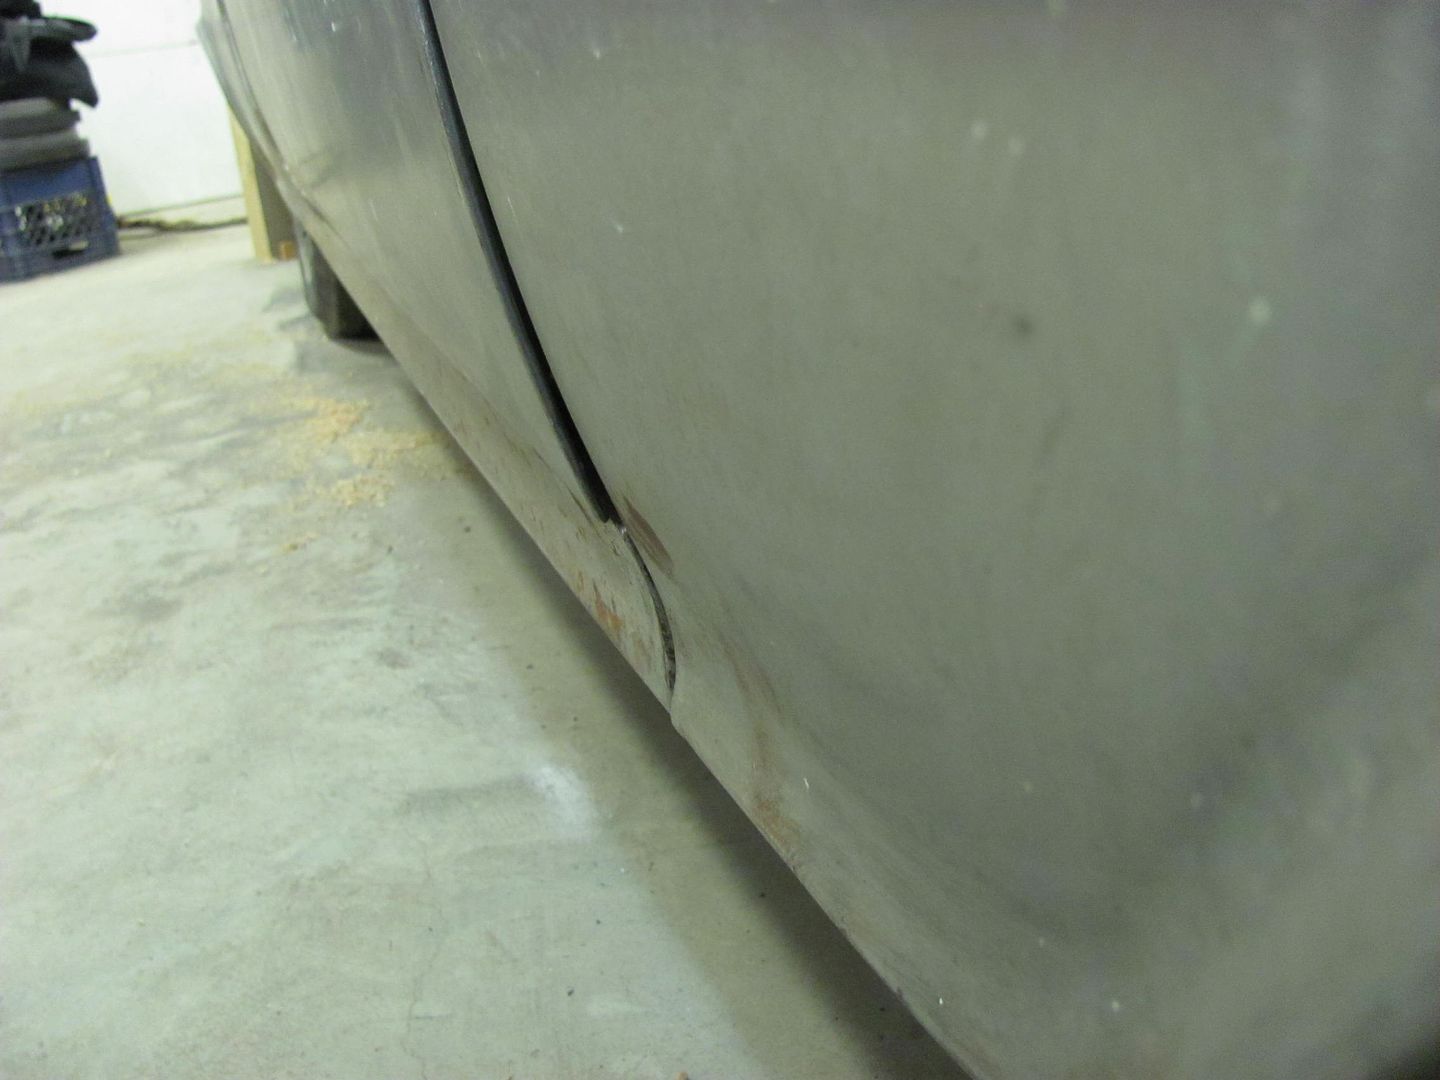
The lower hinge had already been adjusted as far as the floating nut would let it...
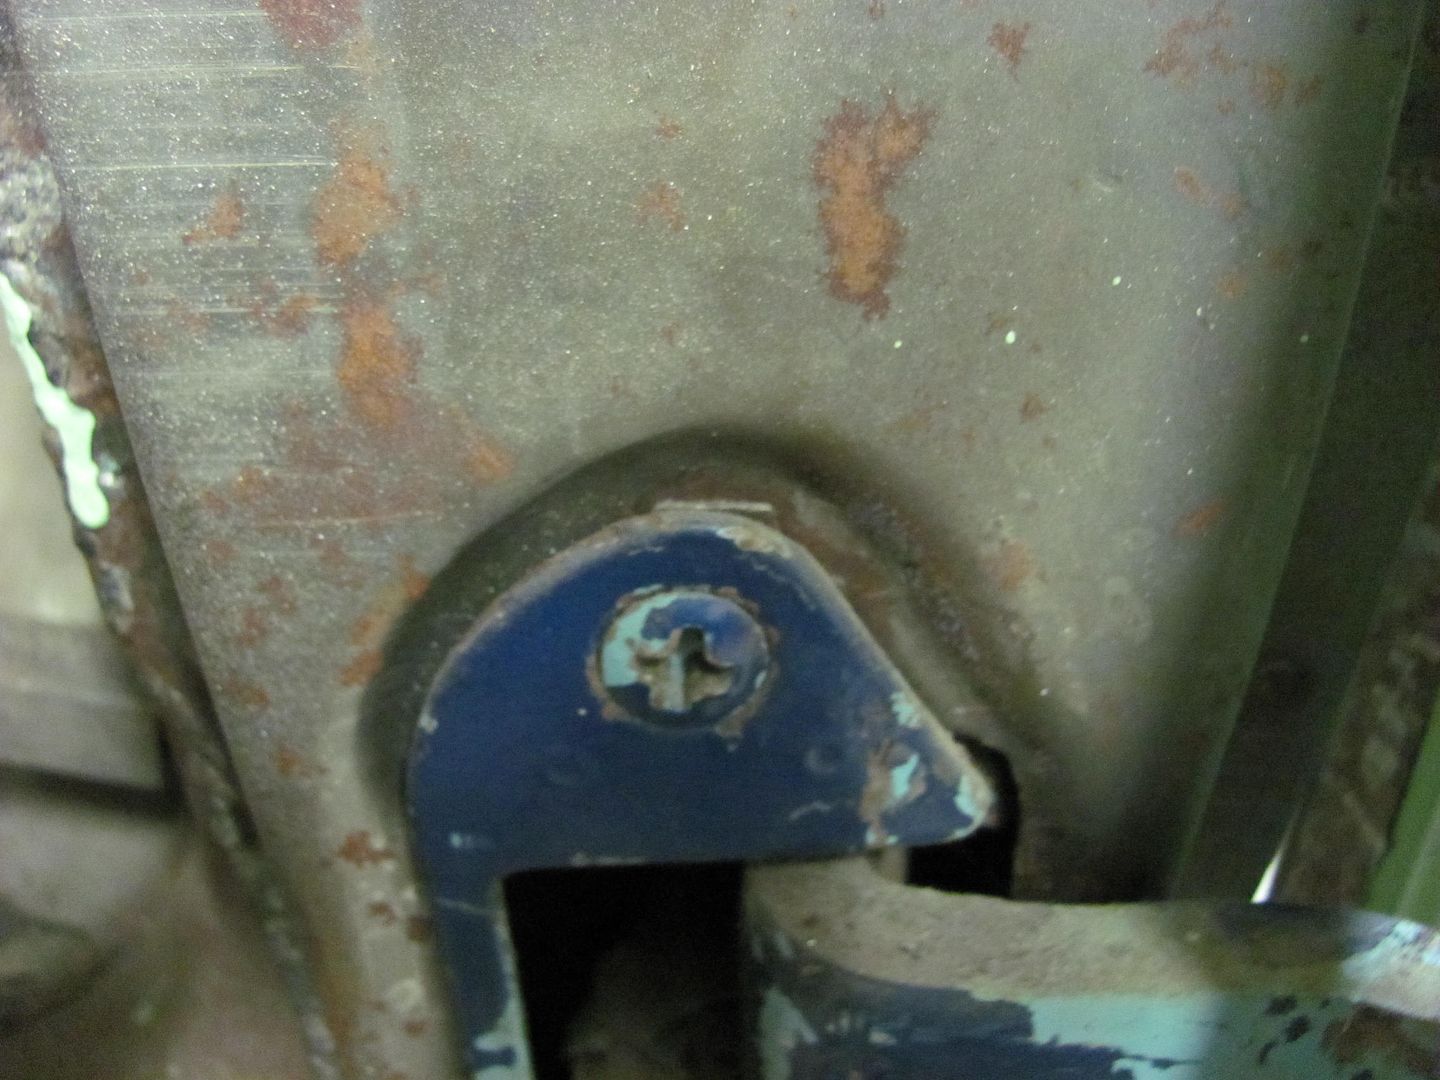
So the door was removed, and since we have no milling machine, we went through about 8 of these 60 grit sanding discs..
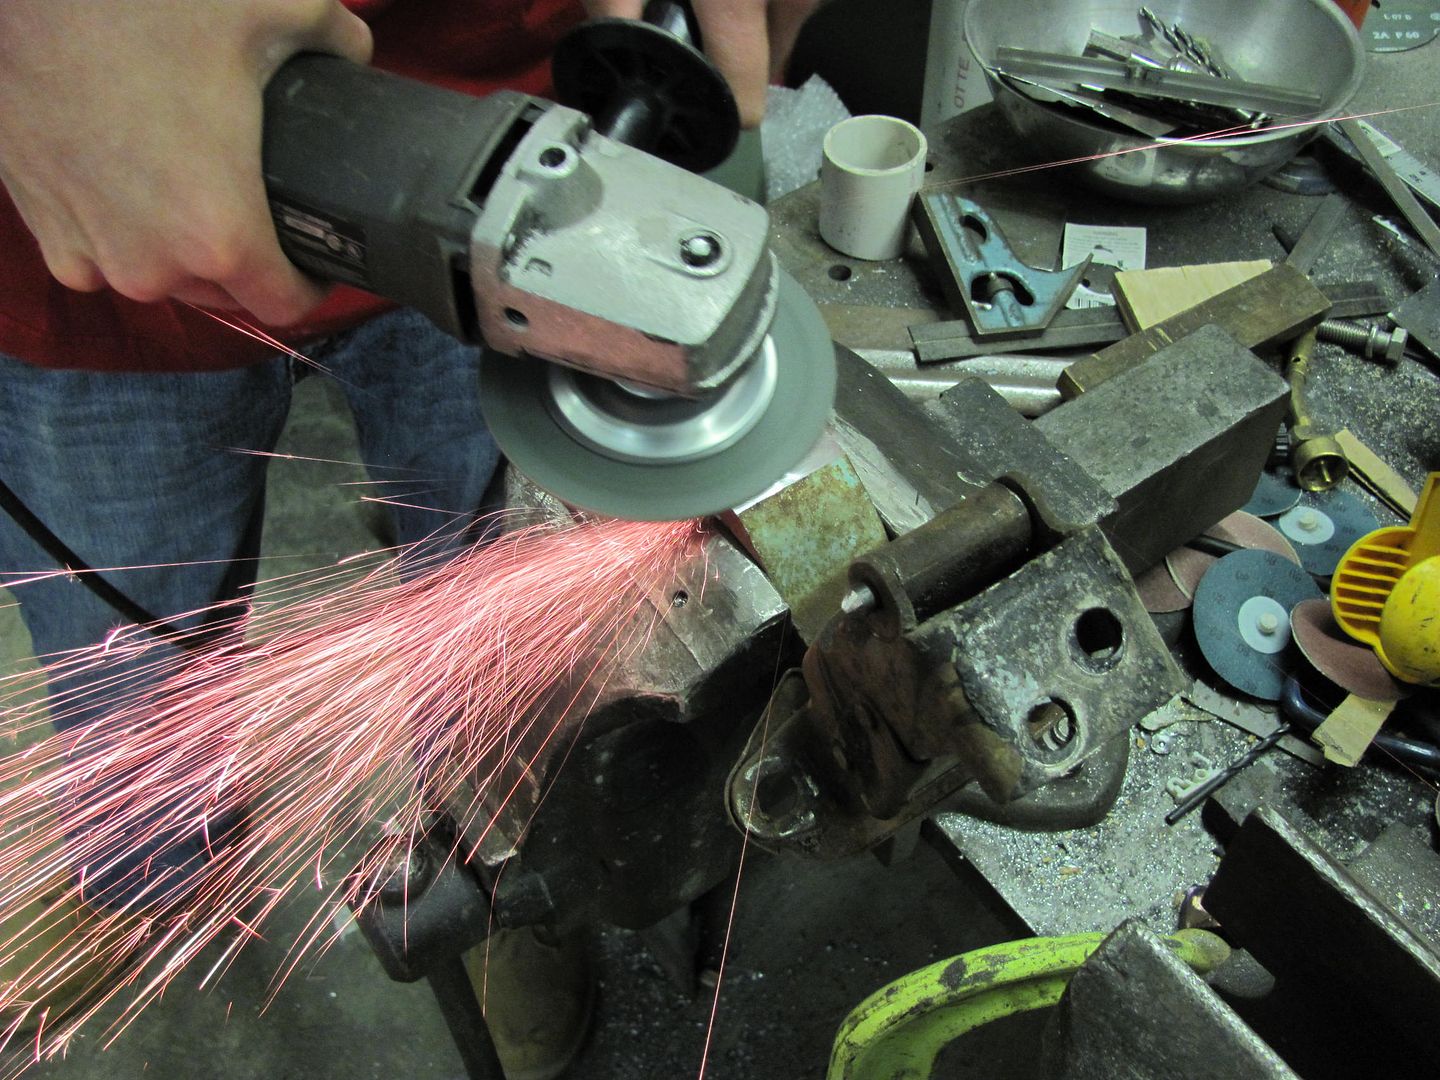
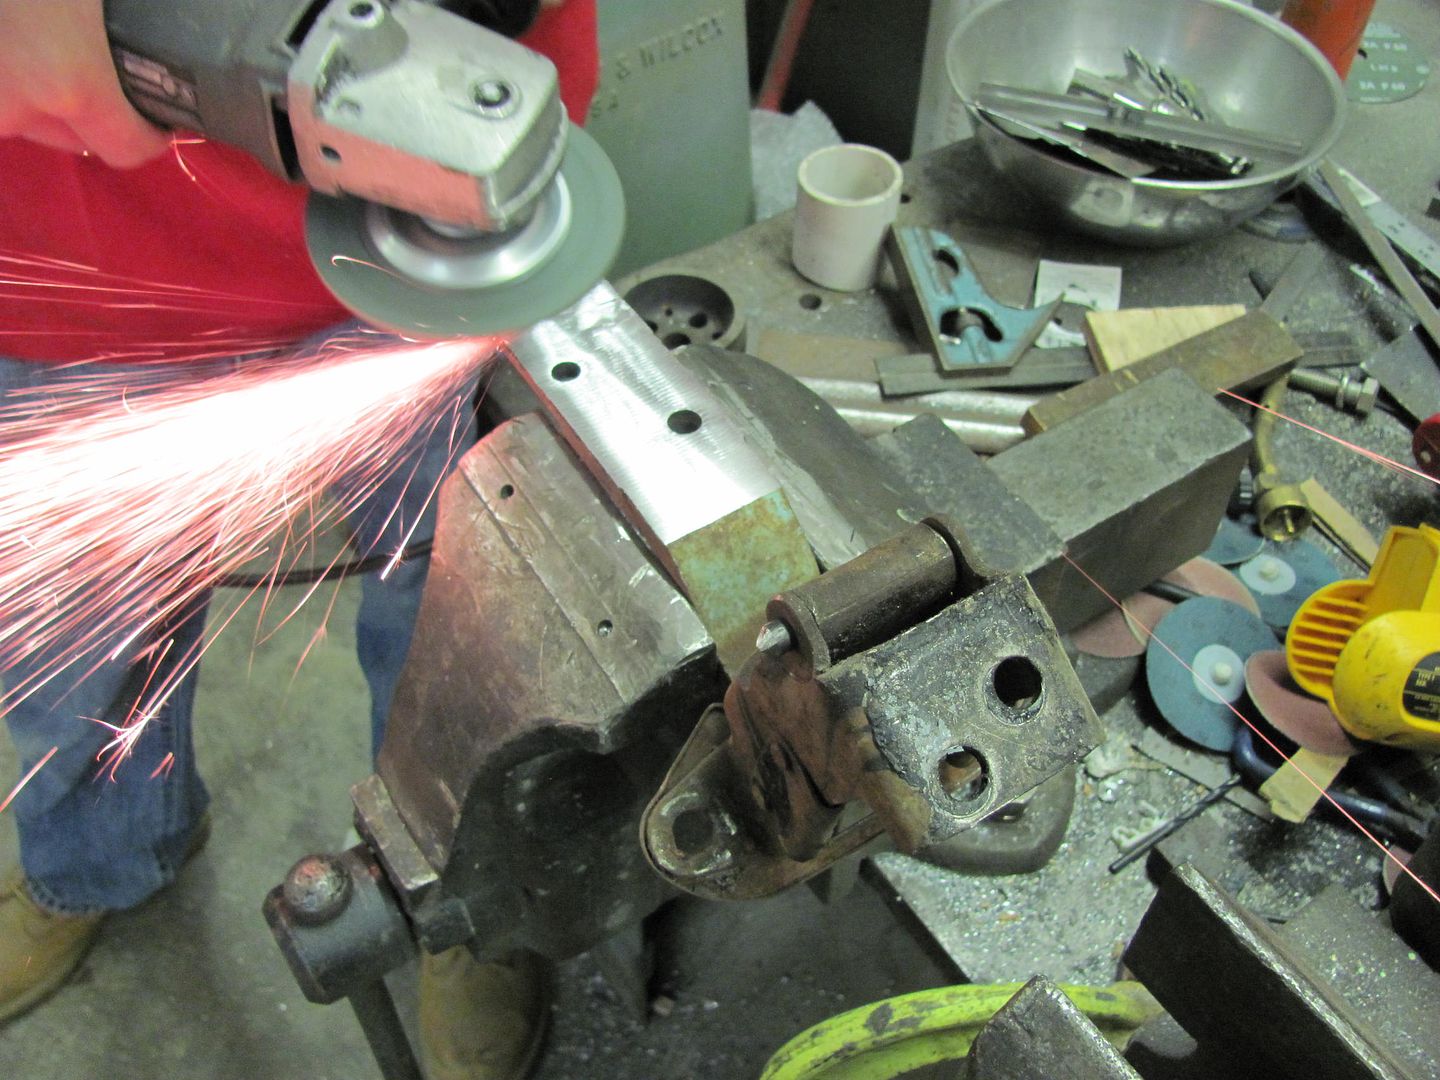
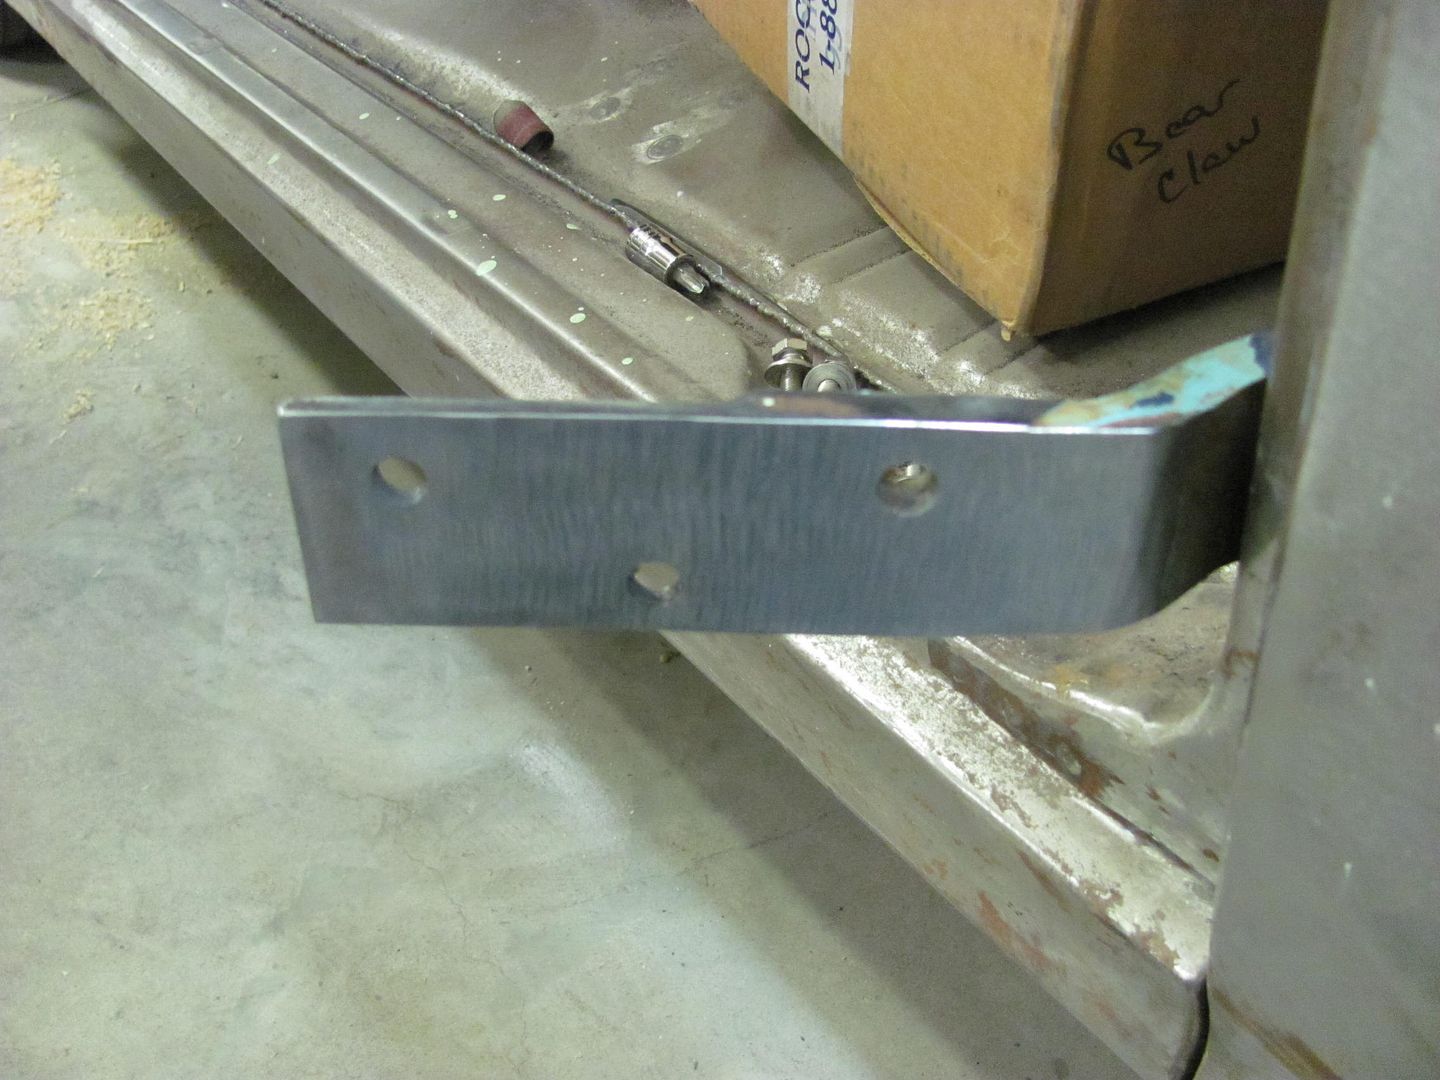
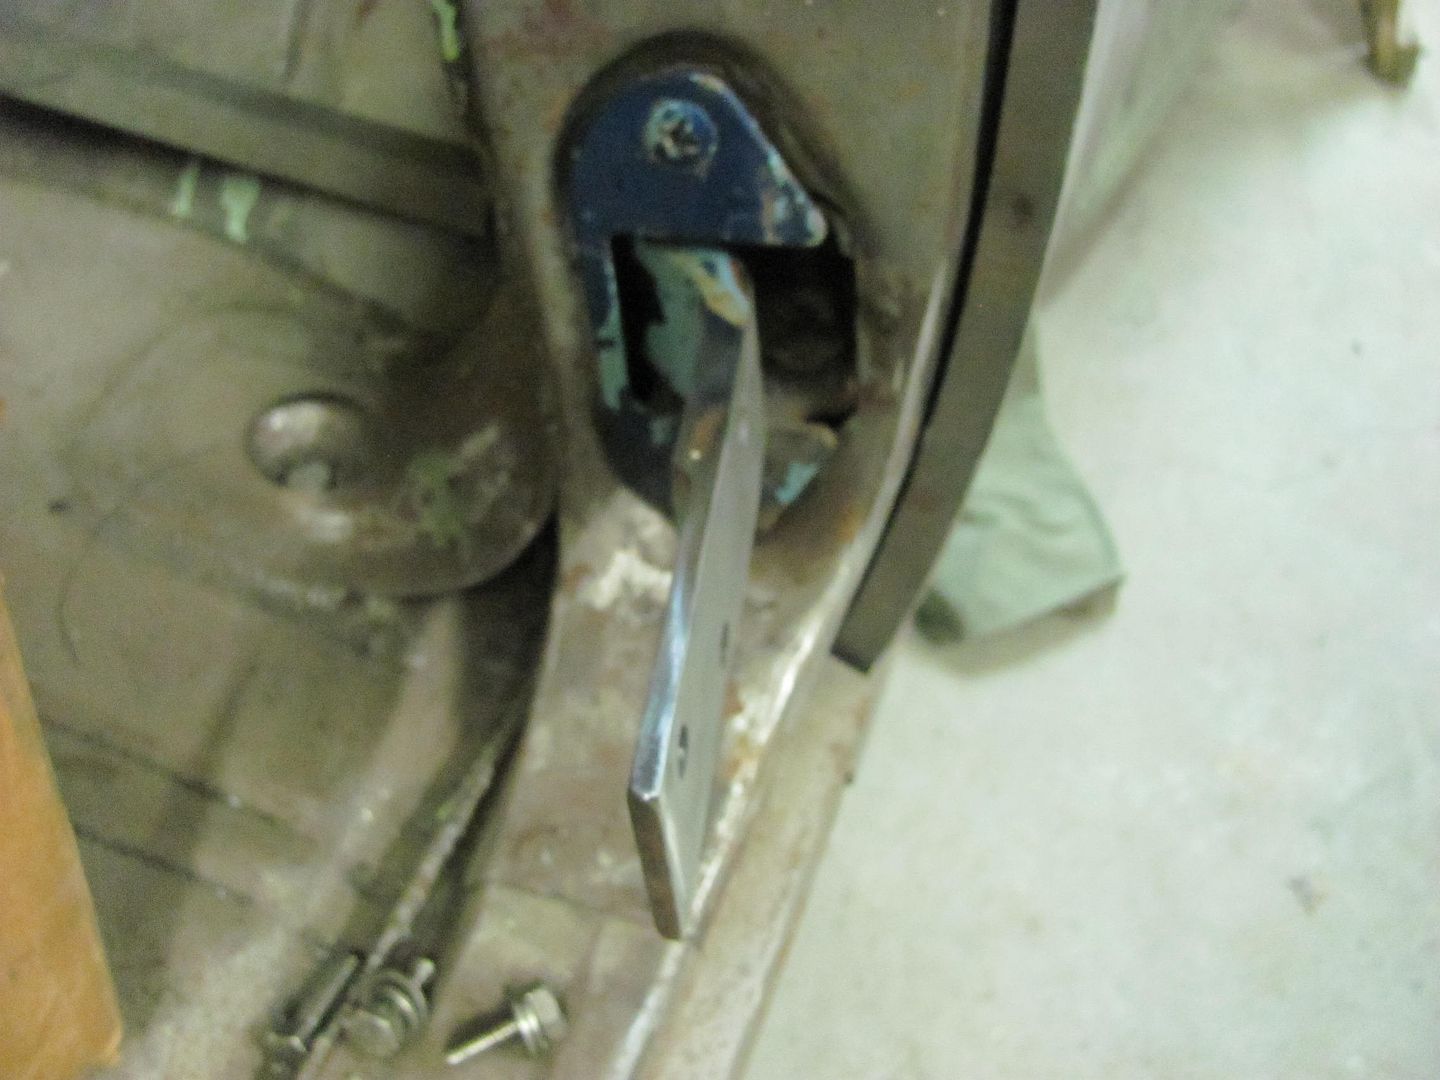
For a better comparison, here's the before again...

After
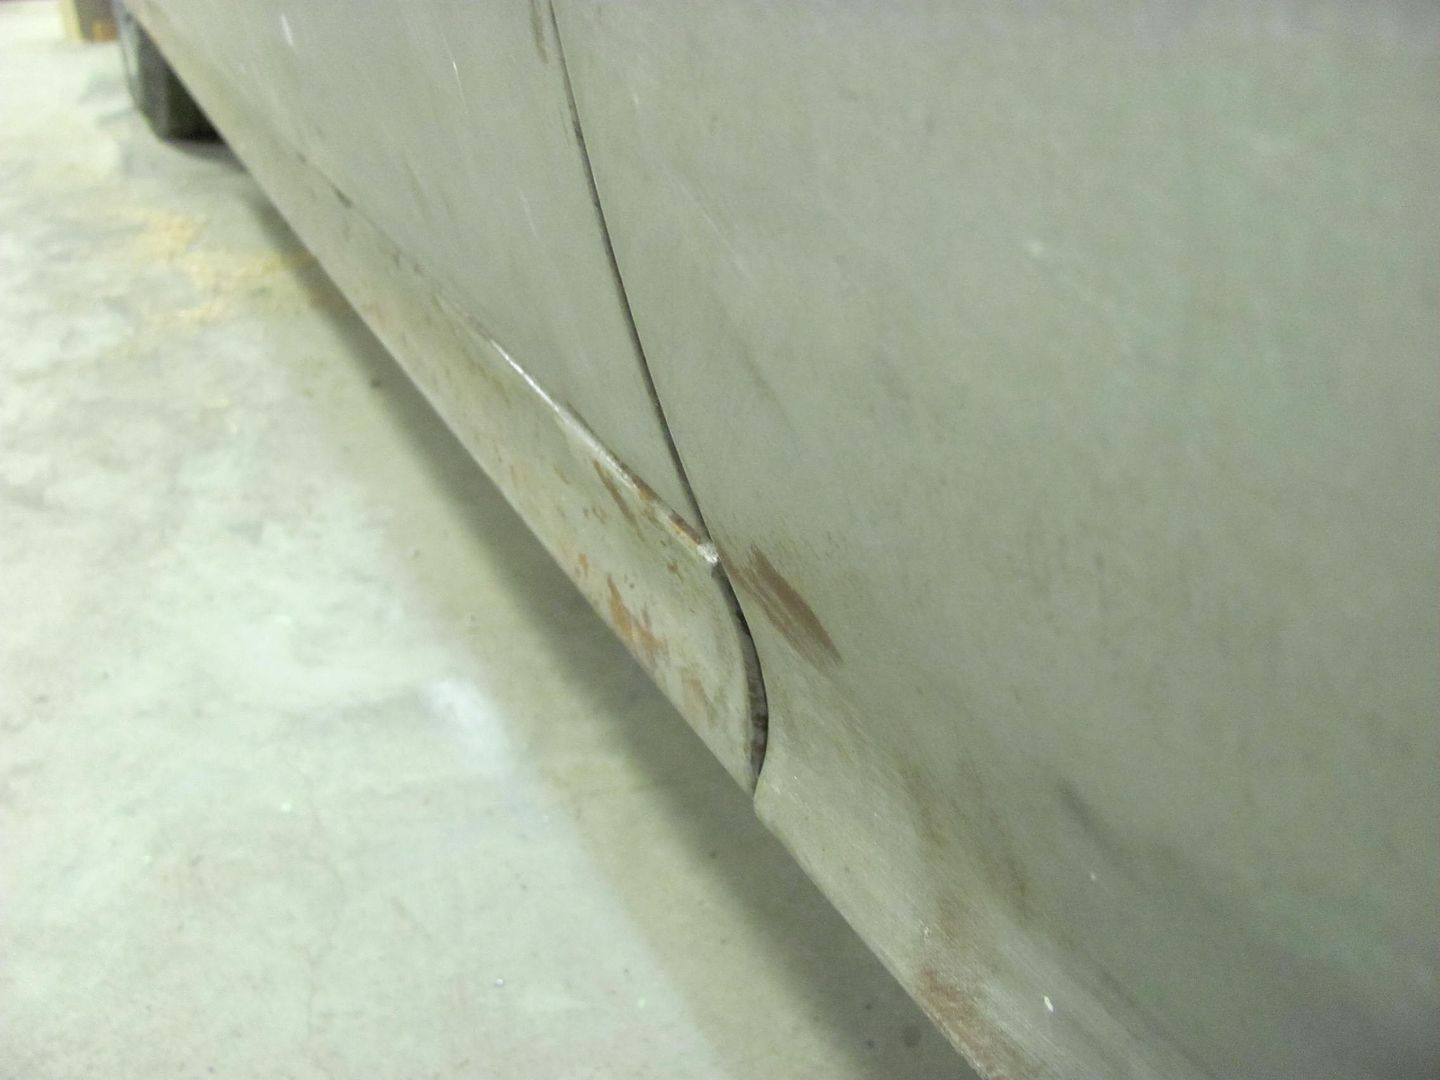
Last edited by MP&C; 08-30-2014 at 02:49 PM.
Robert
-
09-02-2014 05:17 PM #284
- Join Date
- Apr 2011
- Location
- Prairie City
- Car Year, Make, Model: 40 Ford Deluxe, 68 Corvette, 72&76 K30
- Posts
- 7,300
- Blog Entries
- 1
Very nice! The LH bottom rear corner of my door on my 40 sticks out farther than the quarter, but the upper half is flush. When I get to that point, I'm going to have to get your take on how I should fix it as I don't want to ruin the door.
Ryan
1940 Ford Deluxe Tudor 354 Hemi 46RH Electric Blue w/multi-color flames, Ford 9" Residing in multiple pieces
1968 Corvette Coupe 5.9 Cummins Drag Car 11.43@130mph No stall leaving the line with 1250 rpm's and poor 2.2 60'
1972 Chevy K30 Longhorn P-pumped 24v Compound Turbos 47RH Just another money pit
1971 Camaro RS 5.3 BTR Stage 3 cam, SuperT10
Tire Sizes
-
09-03-2014 07:38 PM #285
On a painted car, this involves rolling down the window, wrapping a 2x4 in a towel, and place the 2x4 between the door jamb and the center part of the door that fits. Then lean on the door above and below the 2x4 to "tweak" the fit. On a car without paint, save the wear and tear on the towel.
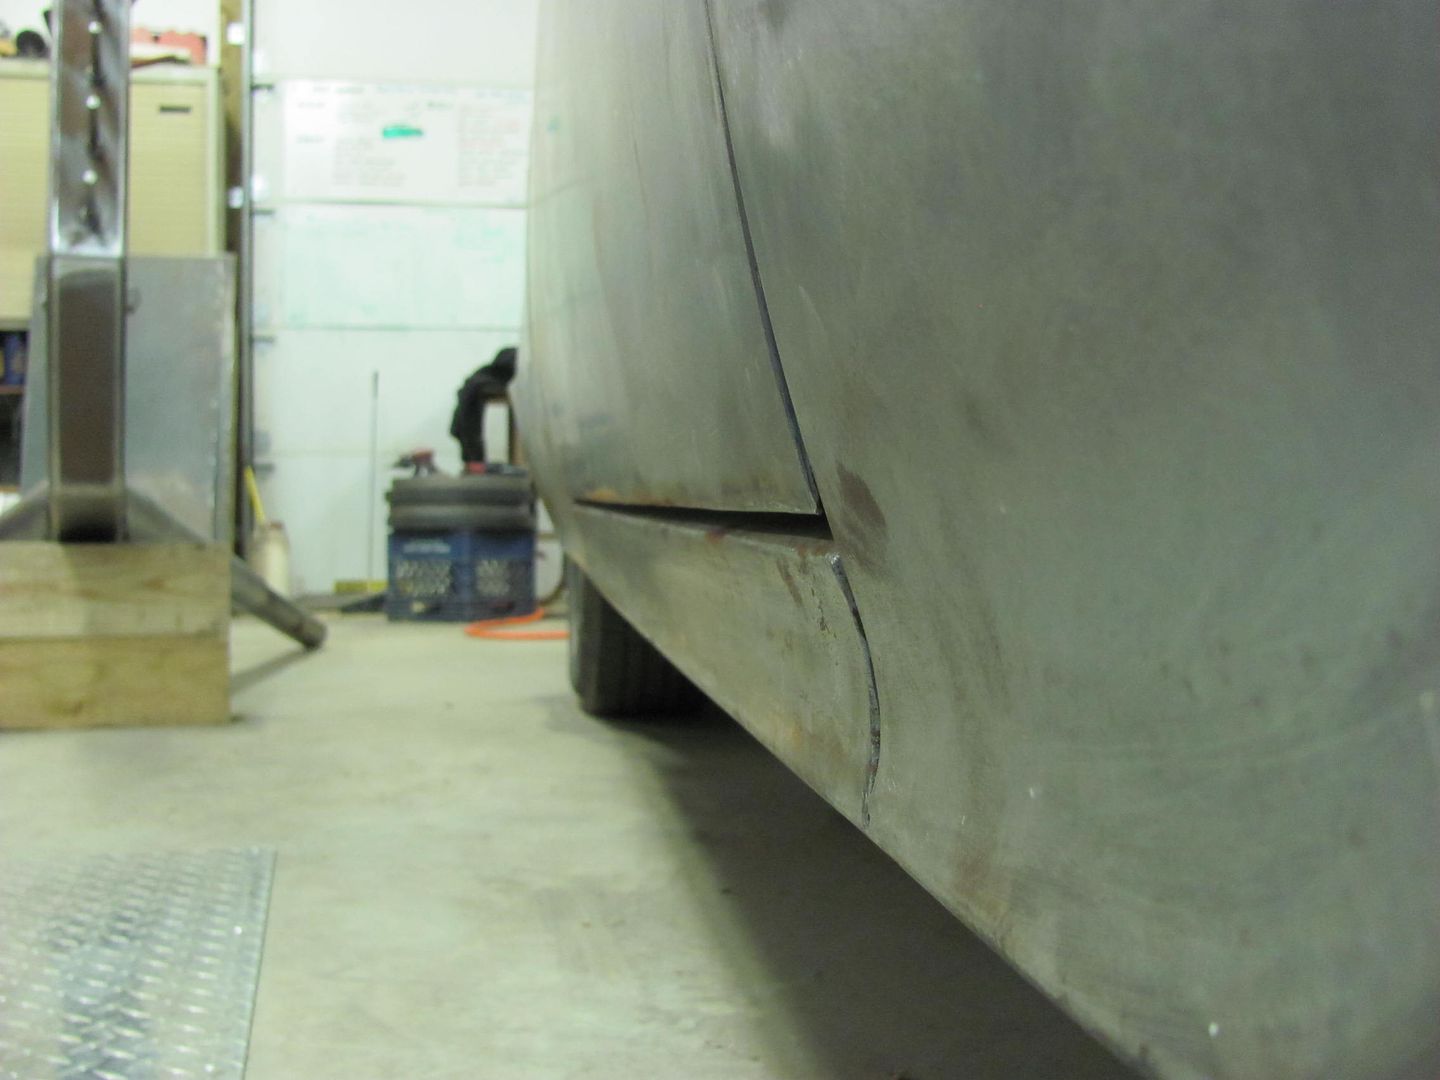
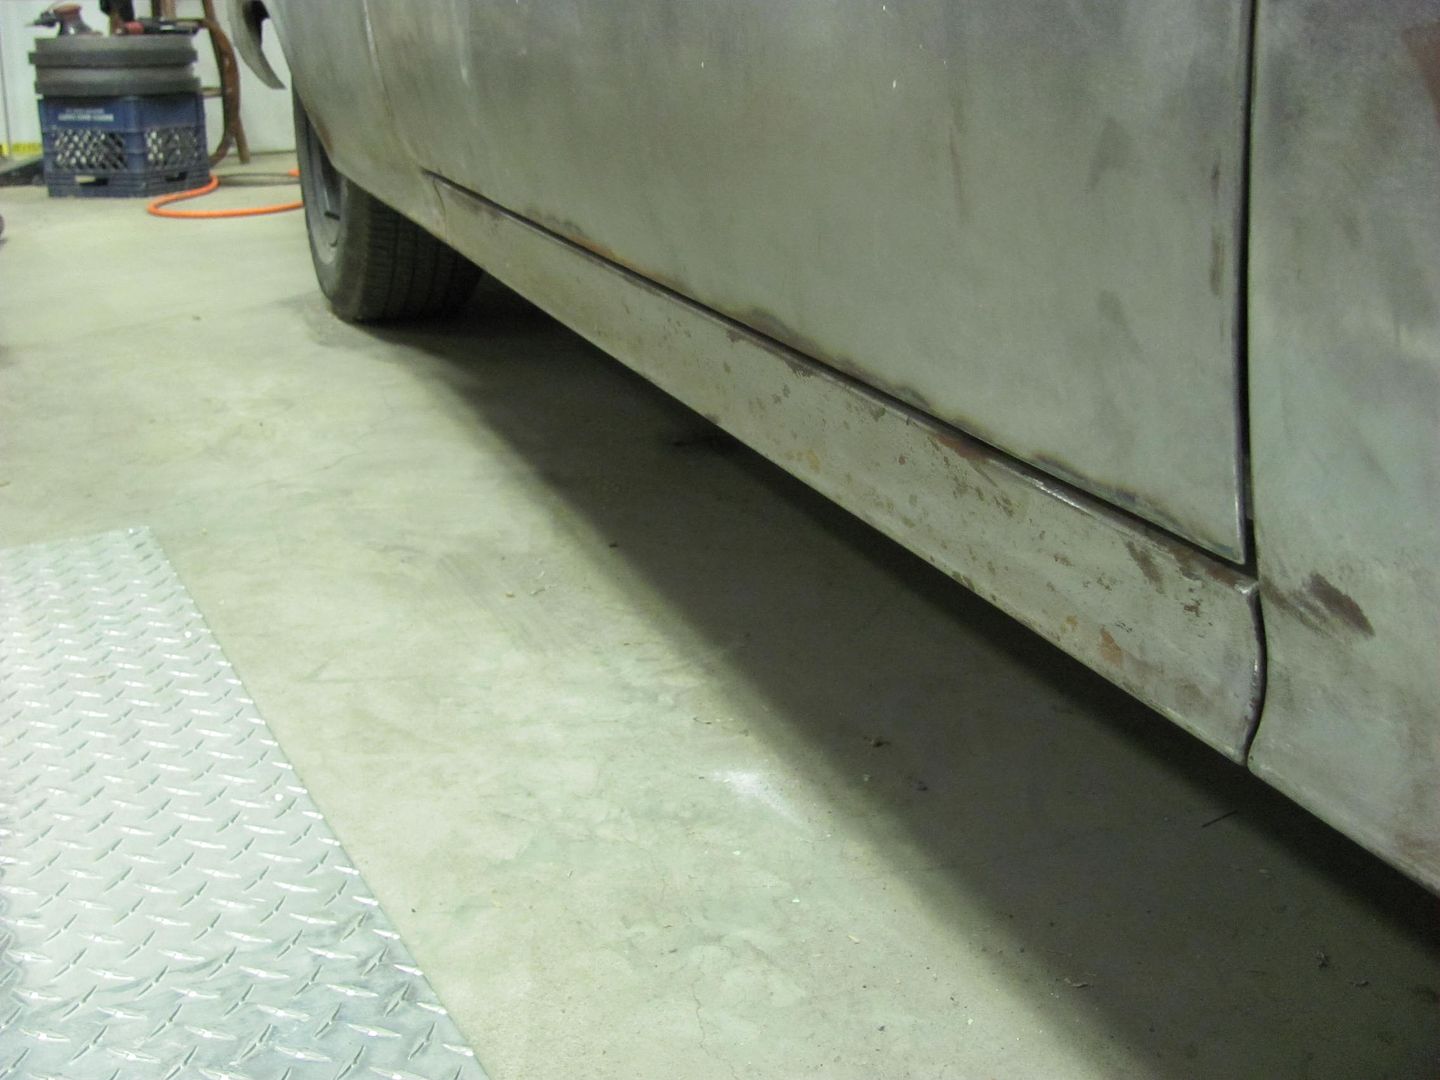
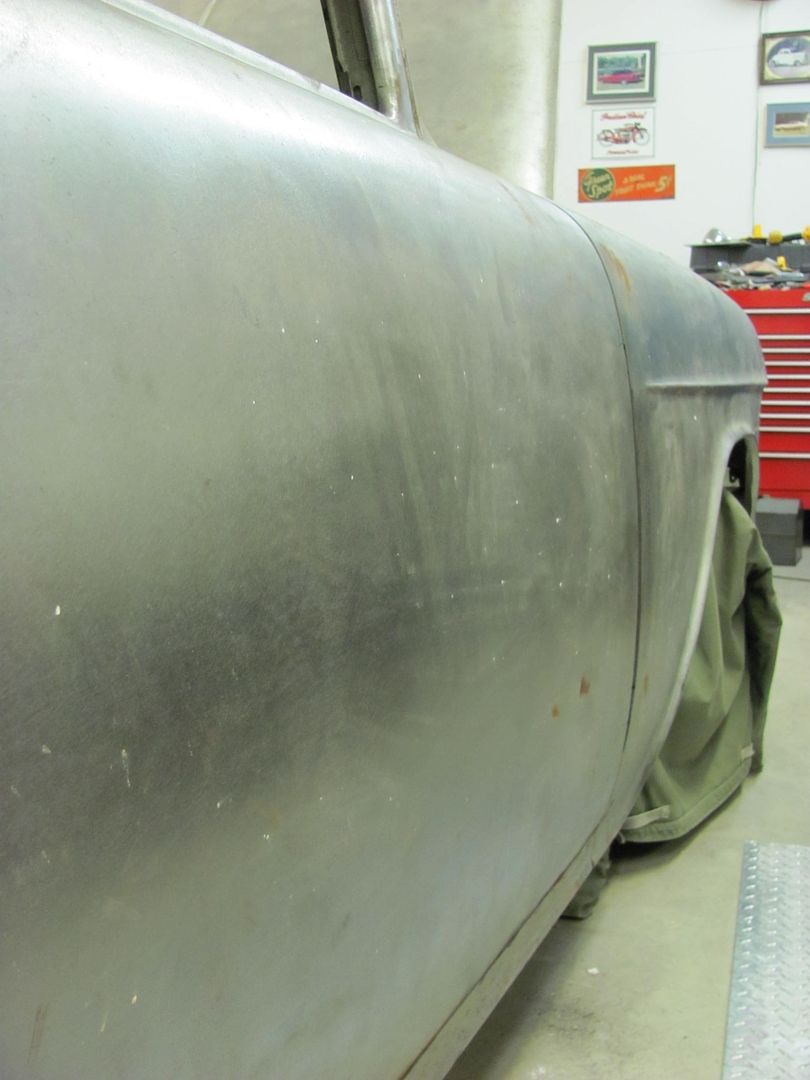
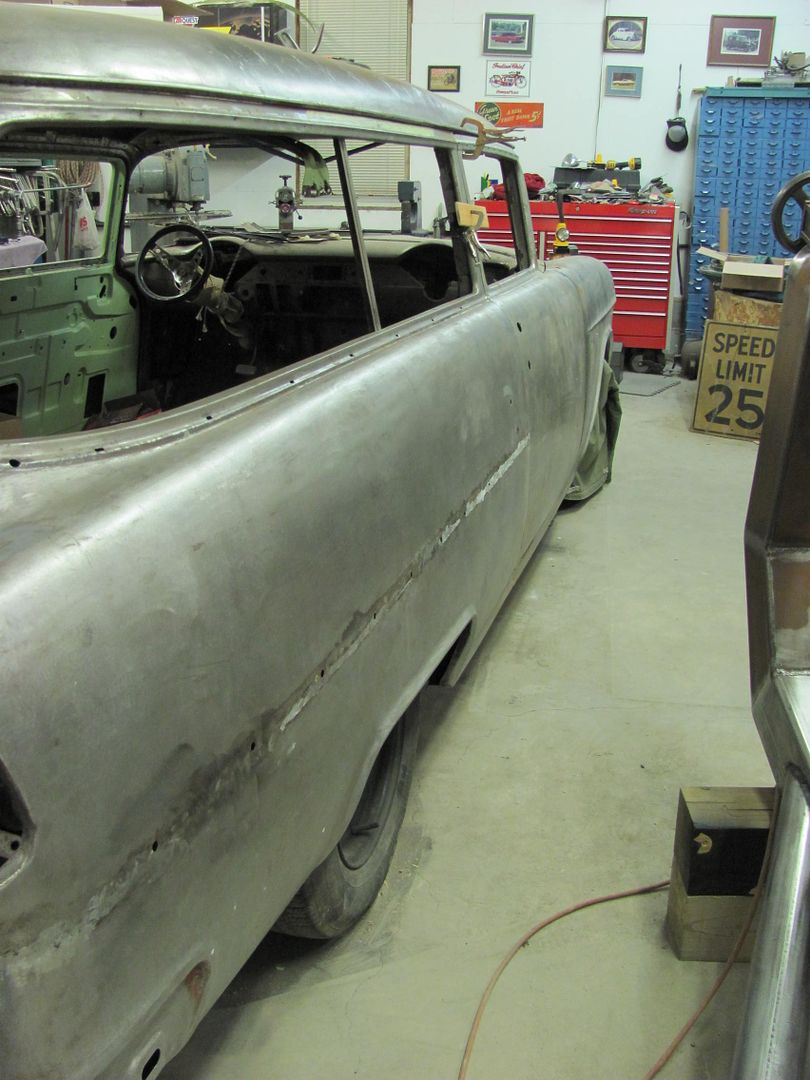
With the lower corner of the door fitting better, it becomes all the more obvious how poor of a reproduction these outer rocker panels are. The "concave" radius does not match the fender to the front or the quarter to the rear of the rocker. This would have been a good fix using the Wheeling machine with a Go Kart slick, had it been noticed before installation.

Matching the lower anvils of the Wheeling machine to the radius on the quarter, this one fits the best. Also notice how it doesn't fit as well in the rocker panel..
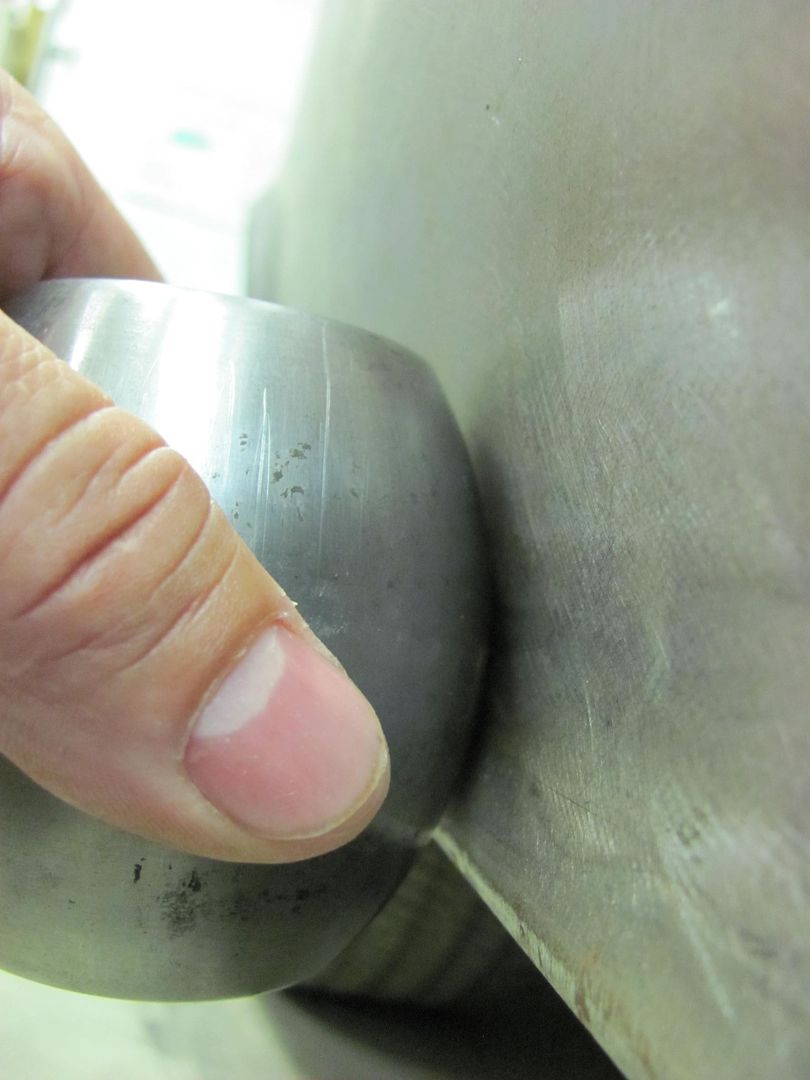
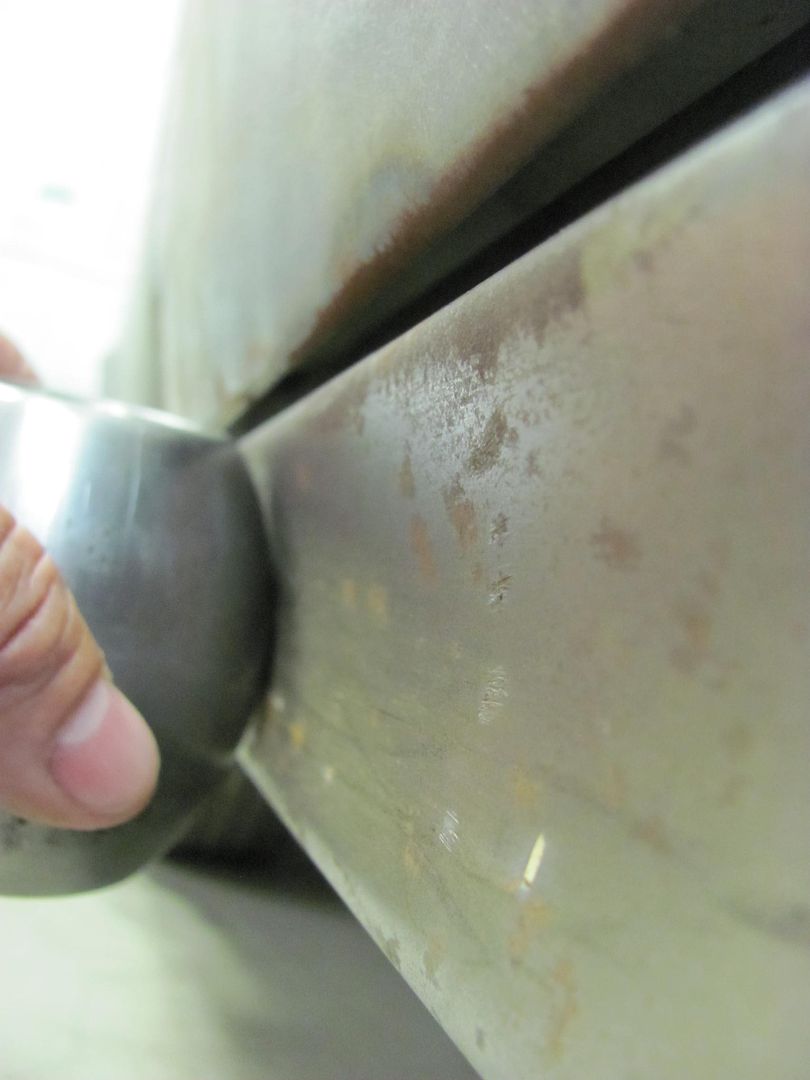
At this point I thought I'd try a "portable" version of the Wheeling machine to add a bit more radius to the rocker panel.
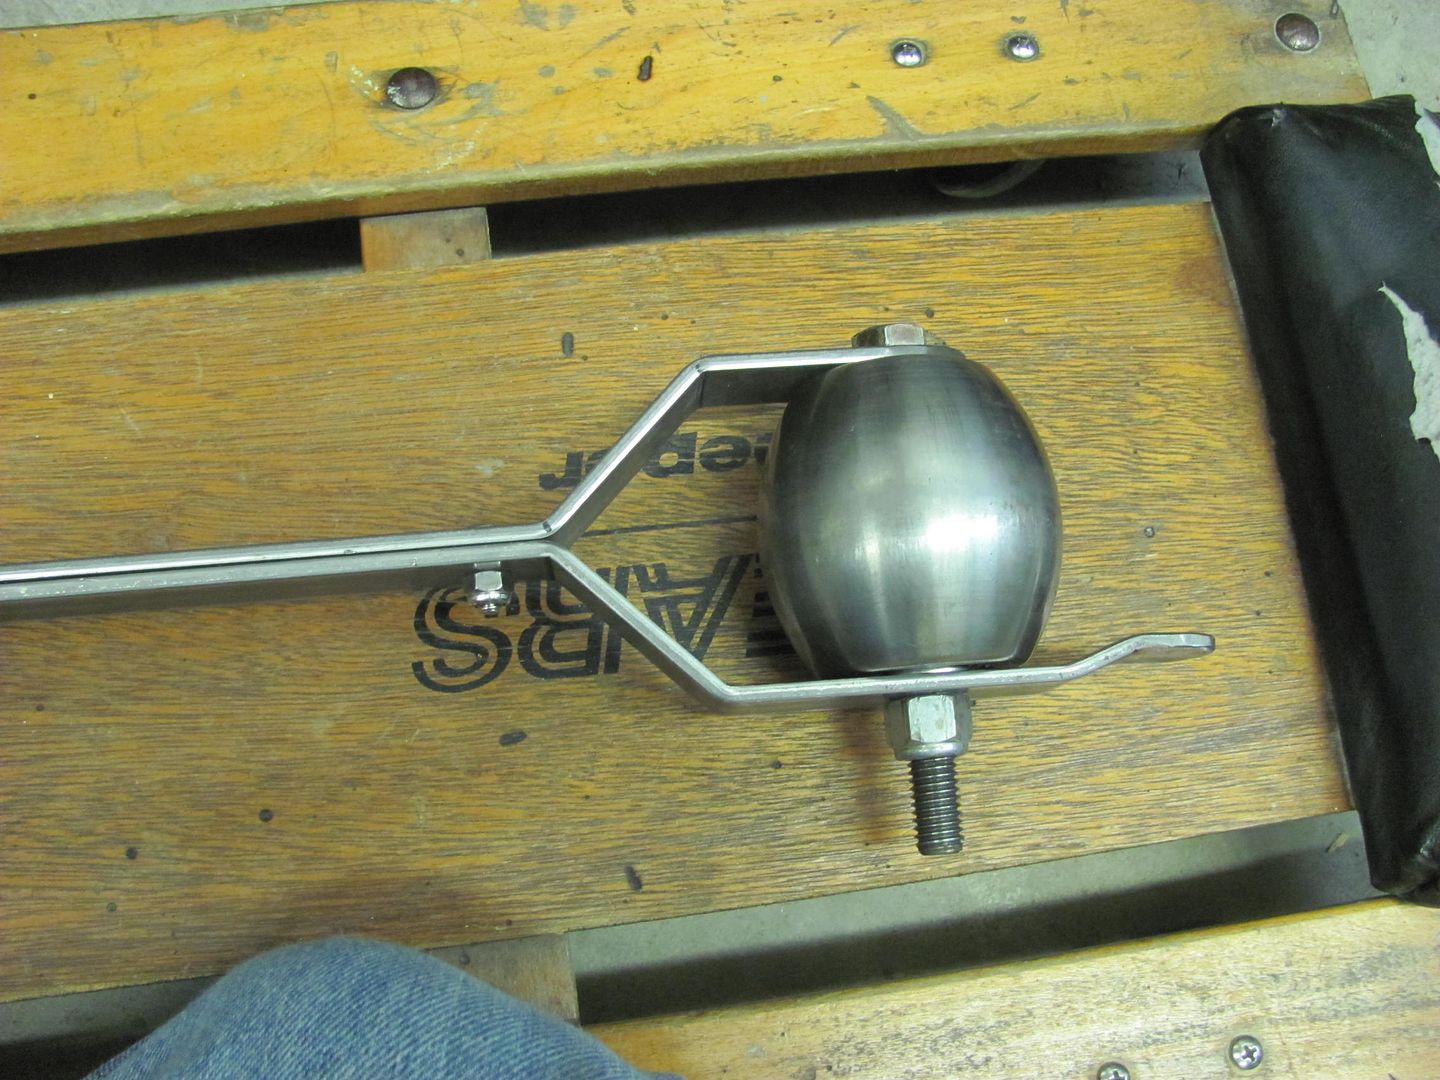
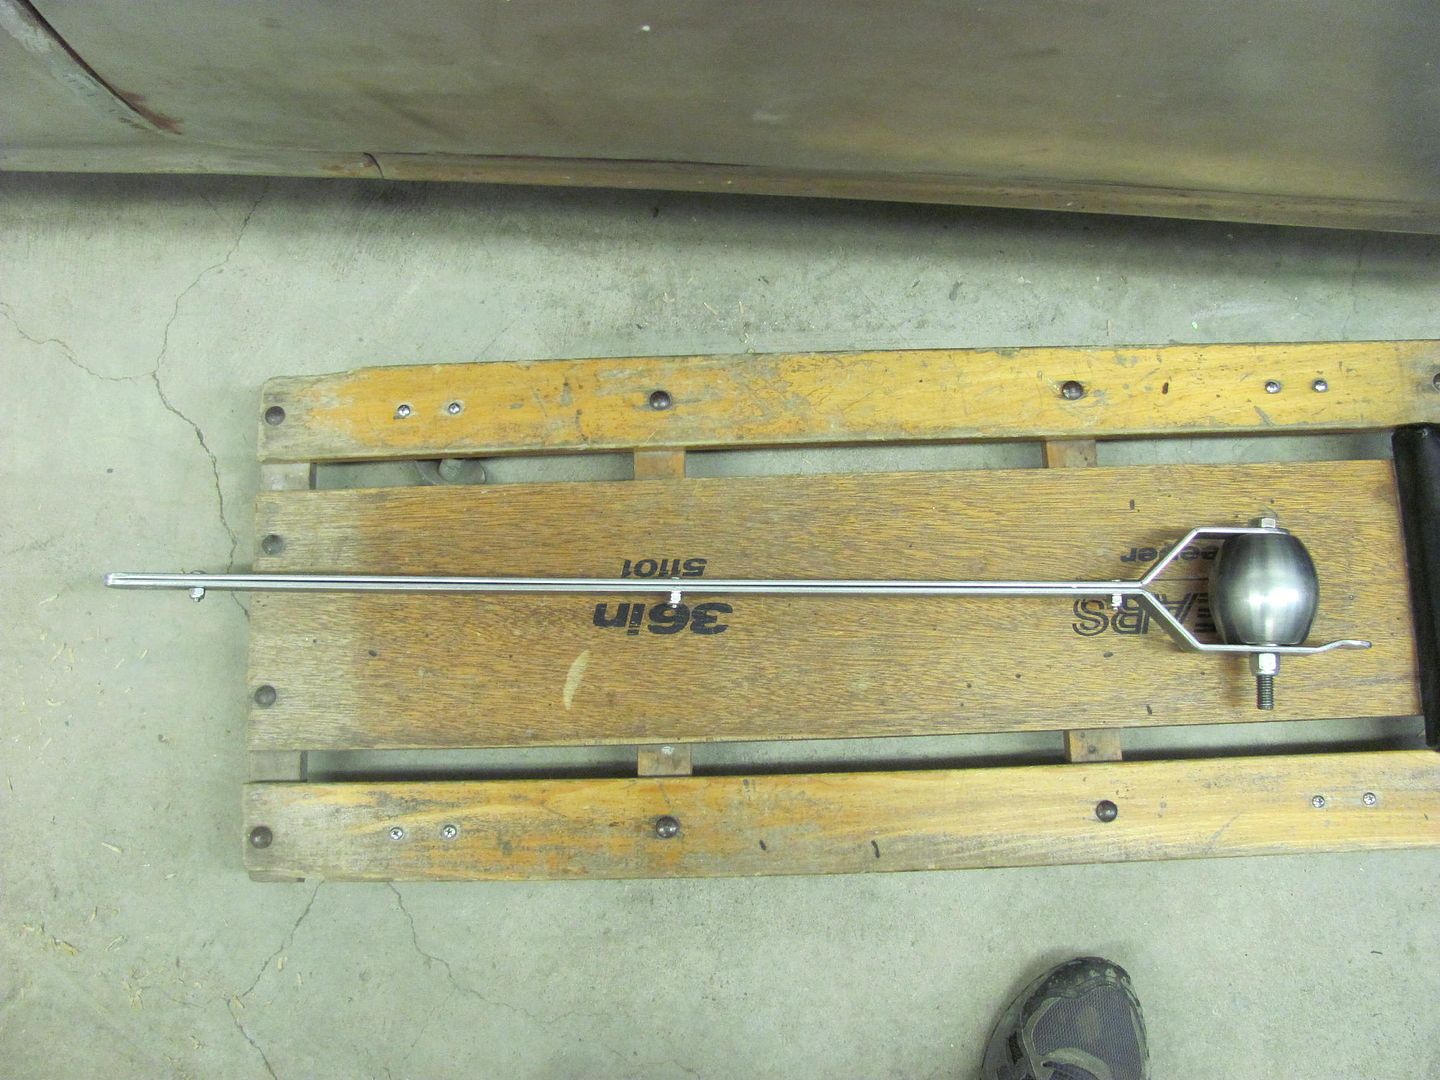
Built in guide......
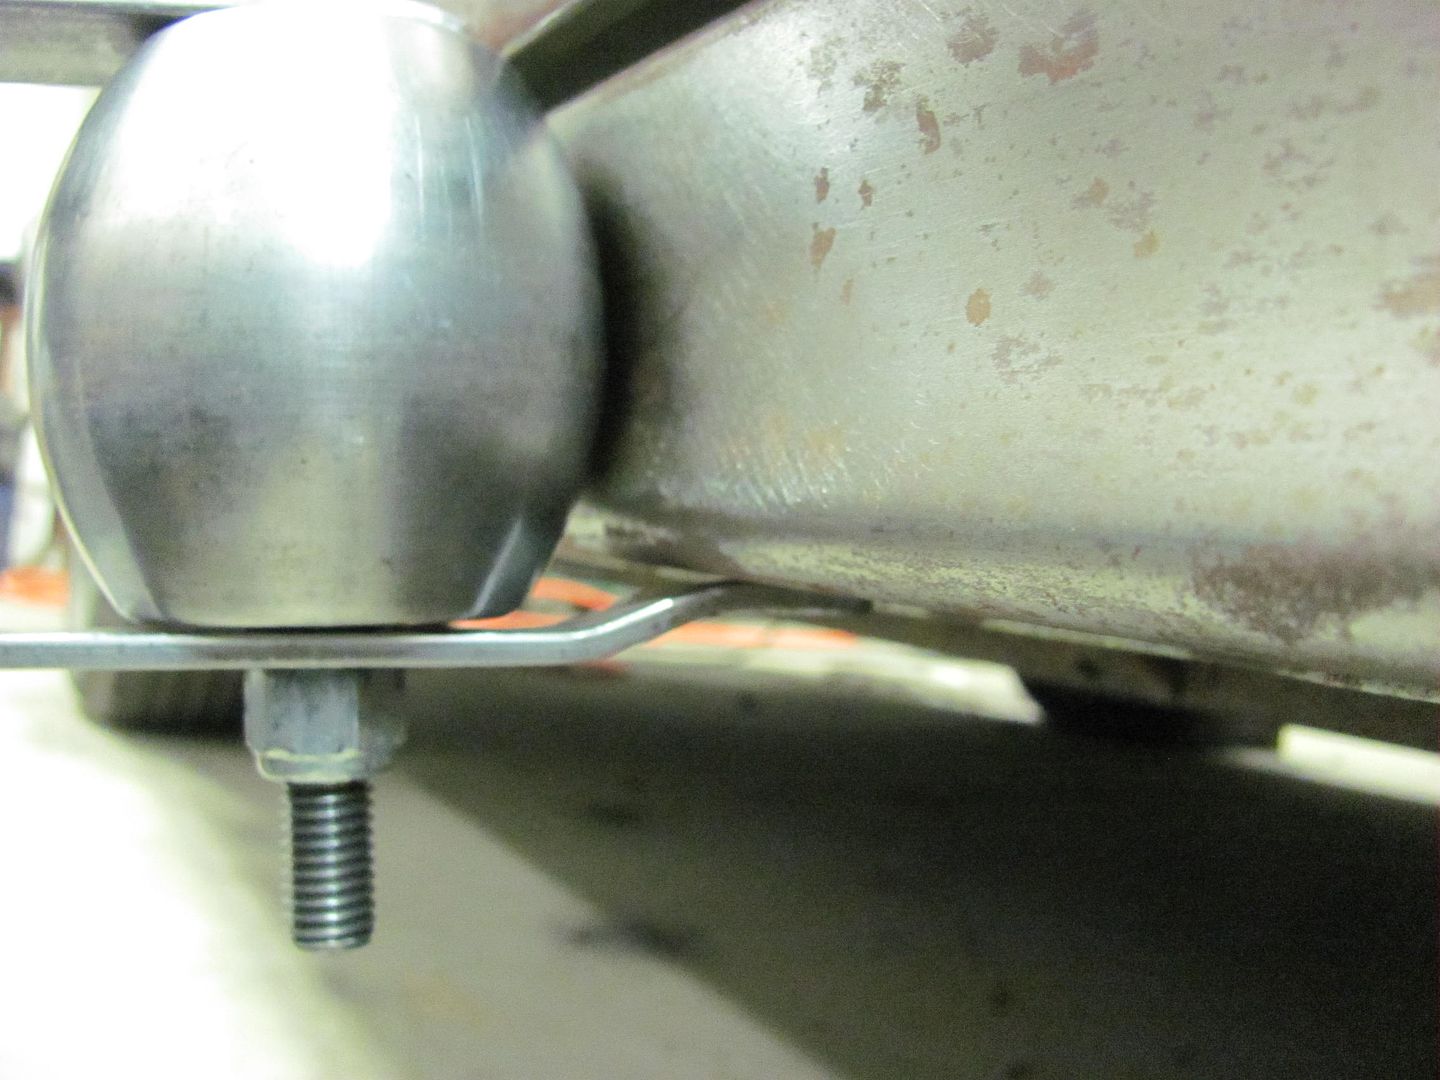
After some "wheeling", and some bumping of the leading edge with a door skin hammer:
Just to show the comparison, before

After:
Robert


 3390Likes

 LinkBack URL
 About LinkBacks
 Reply With Quote


Friday and Saturday (4/11 & 12/25) Chris (my wife) and I made the journey to Homestead-Miami Speedway so I could participate in the Florida Power & Light sponsored Electrathon event.:cool: It was...
Electrathon - A Different Kind of...