Thread: 55 Wagon Progress
Hybrid View
-
09-12-2014 11:34 AM #1
Great work as always. Thanks for all the lessons.The truth is incontrovertible. Malice may attack it, ignorance may deride it, but in the end, there it is.
Winston Churchill
-
09-12-2014 01:40 PM #2
I like the purple people eater!
"  "No matter where you go, there you are!" Steve.
-
09-12-2014 02:05 PM #3
- Join Date
- Apr 2011
- Location
- Prairie City
- Car Year, Make, Model: 40 Ford Deluxe, 68 Corvette, 72&76 K30
- Posts
- 7,298
- Blog Entries
- 1
That purple looks very nice! Great inner fender repairs!Ryan
1940 Ford Deluxe Tudor 354 Hemi 46RH Electric Blue w/multi-color flames, Ford 9" Residing in multiple pieces
1968 Corvette Coupe 5.9 Cummins Drag Car 11.43@130mph No stall leaving the line with 1250 rpm's and poor 2.2 60'
1972 Chevy K30 Longhorn P-pumped 24v Compound Turbos 47RH Just another money pit
1971 Camaro RS 5.3 BTR Stage 3 cam, SuperT10
Tire Sizes
-
09-13-2014 09:54 AM #4
Telephone book? What's that?
"  "No matter where you go, there you are!" Steve.
-
09-17-2014 08:24 PM #5
While Kyle was working on dressing some welds this evening, I took some time to planish the weld on the driver's fender eyebrow. Here's the previous.....
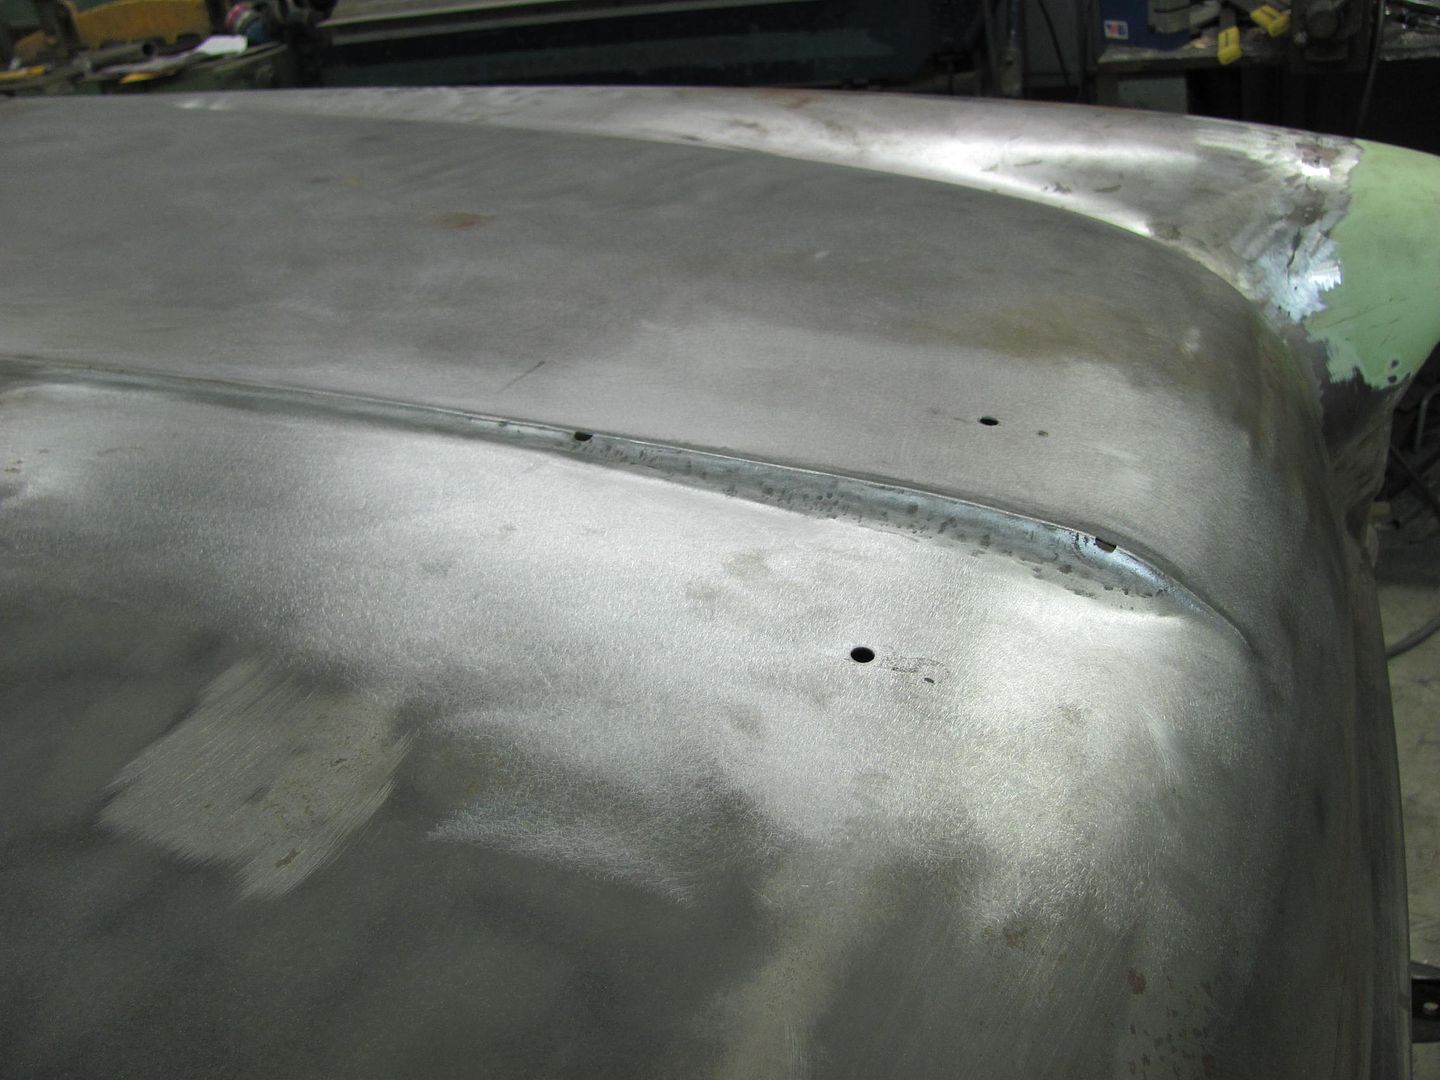
It had a noticeable dip throughout the weld seam. Here's the tool used.....
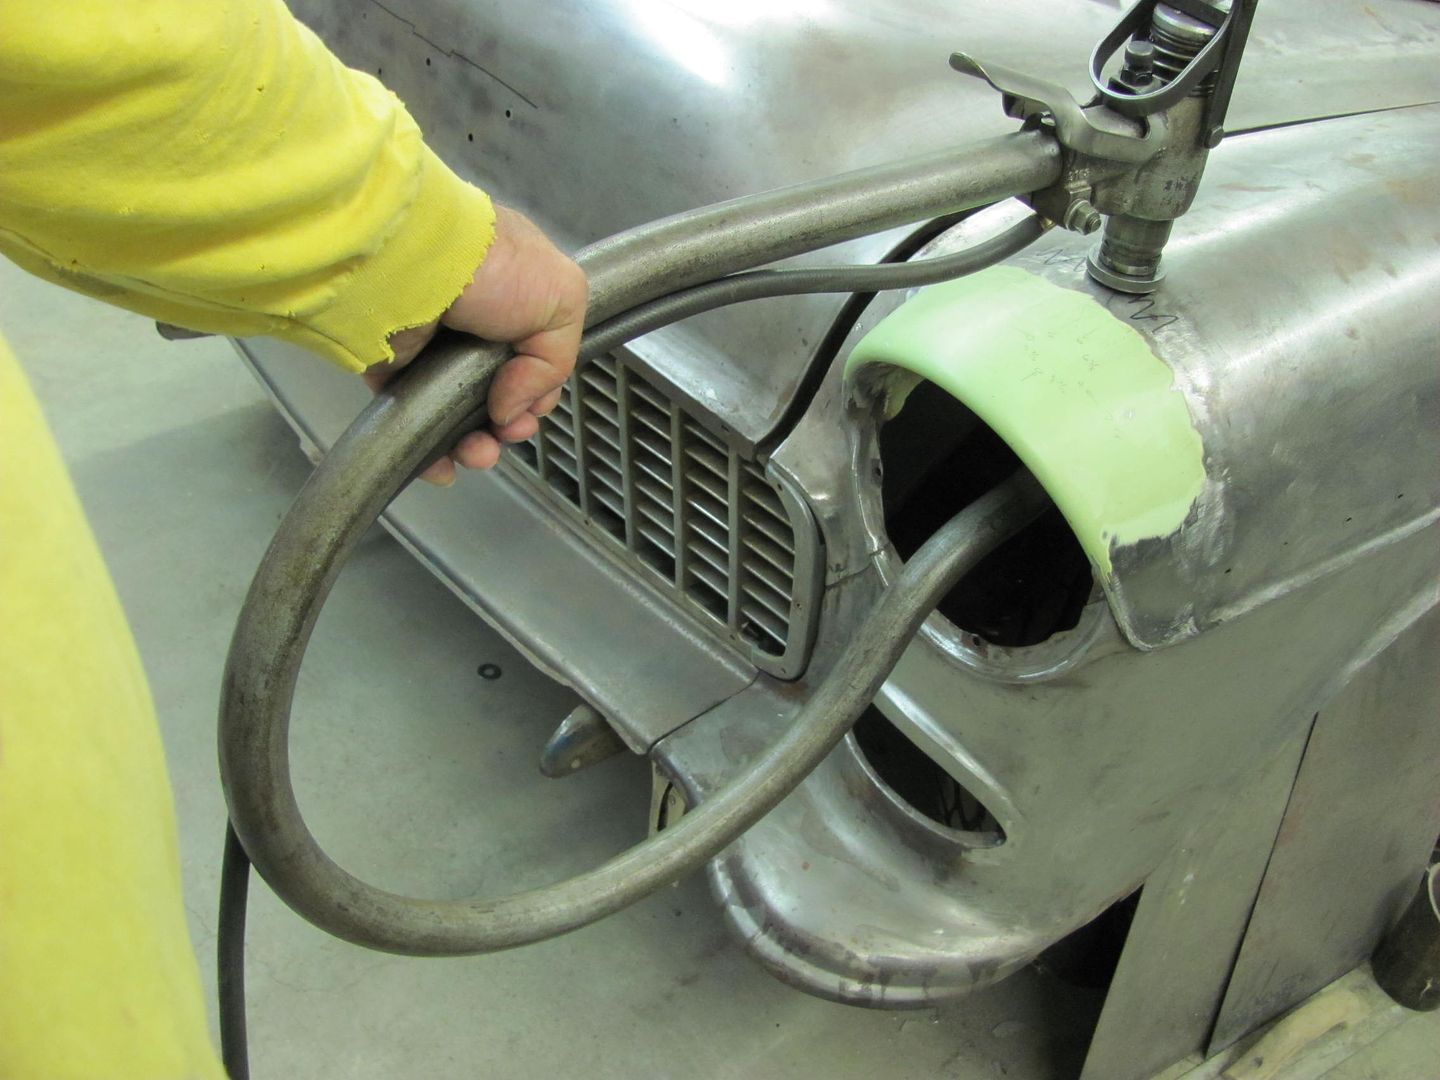
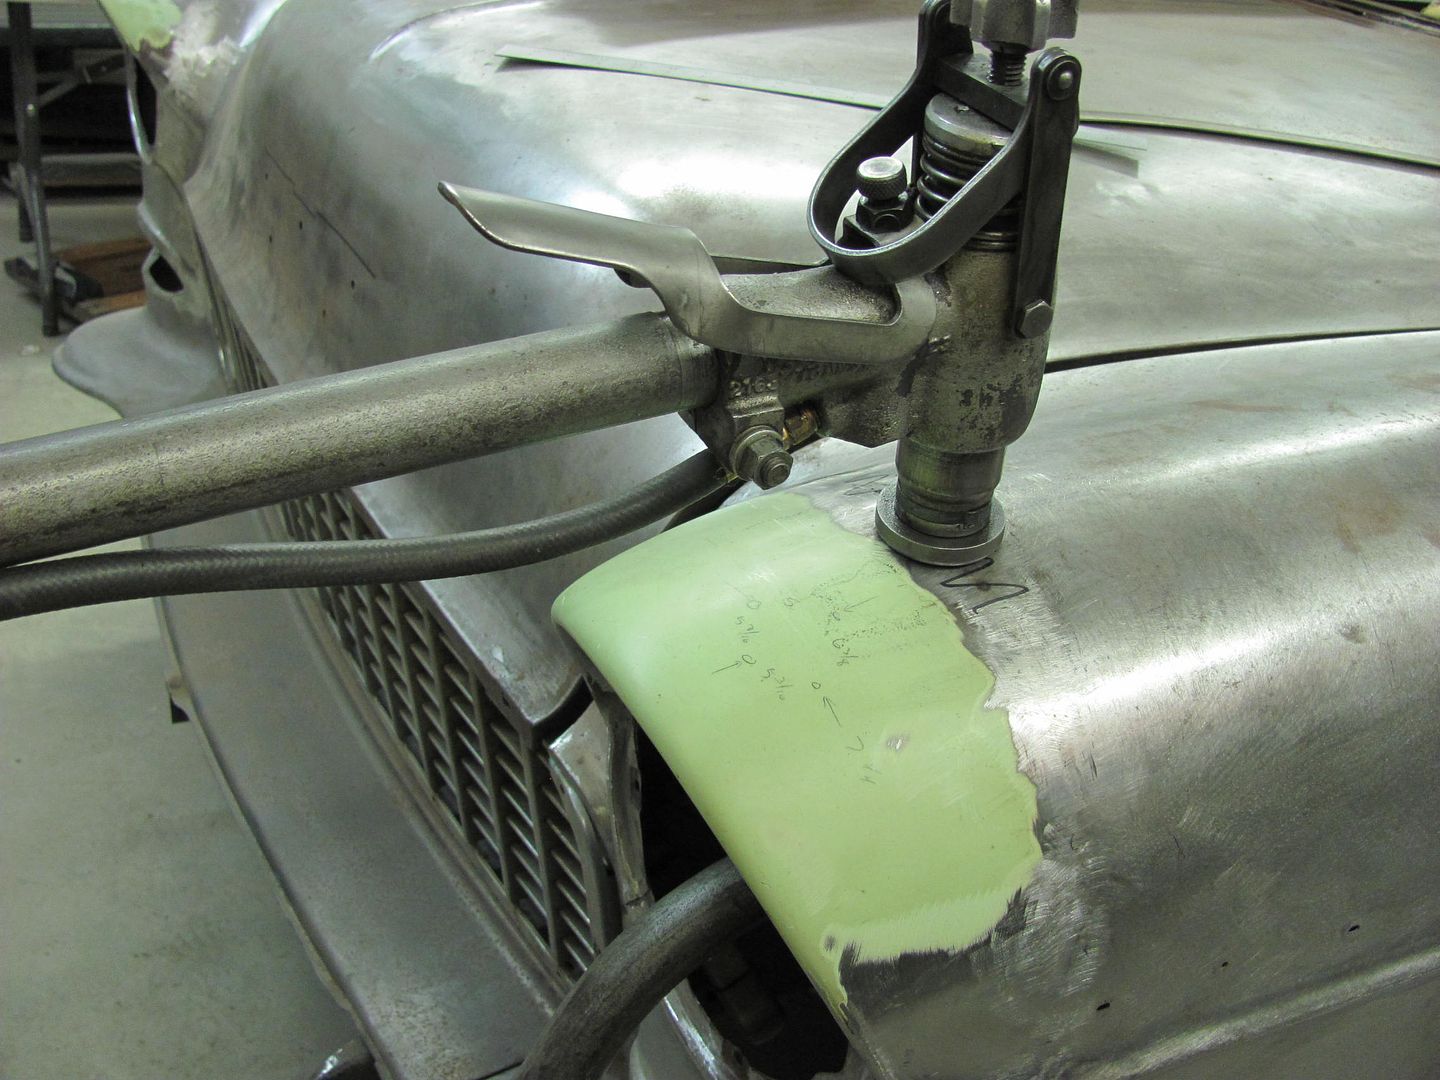
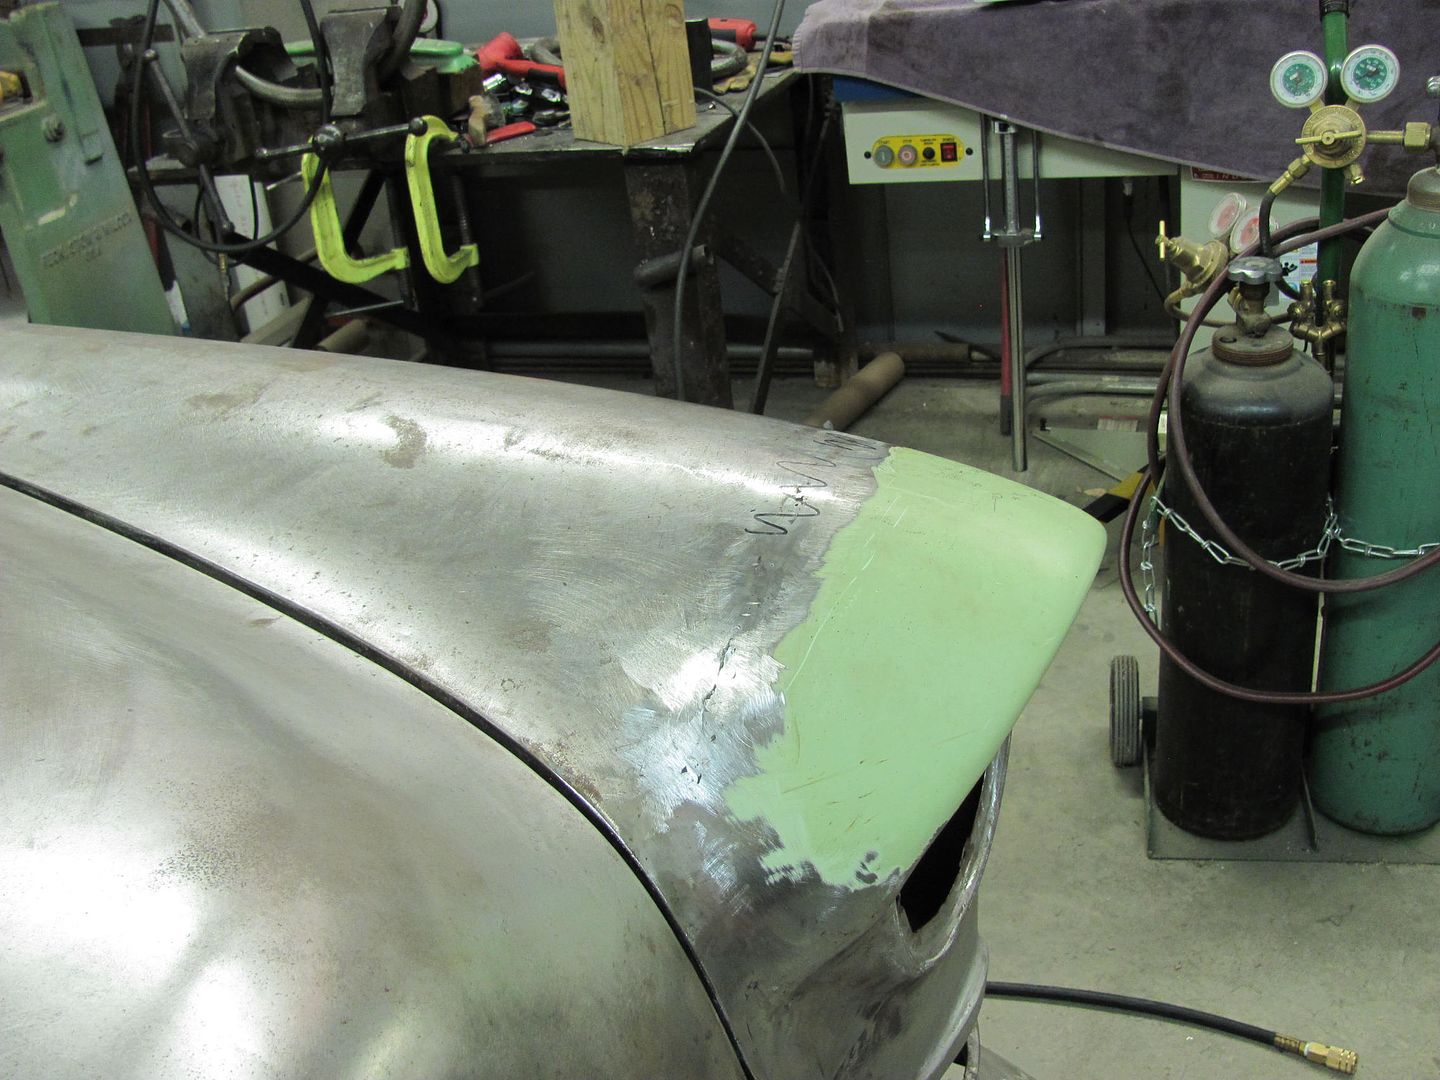
The eyebrow on the passenger side was planished all by hand, and probably has a couple hours of work. The Watervliet planishing hammer made short work of the driver's side, it took all of five minutes time to have it in a comparable state as the passenger side... with the dip all but disappeared
Continuing on with more inner fender work, starting on the driver's side....
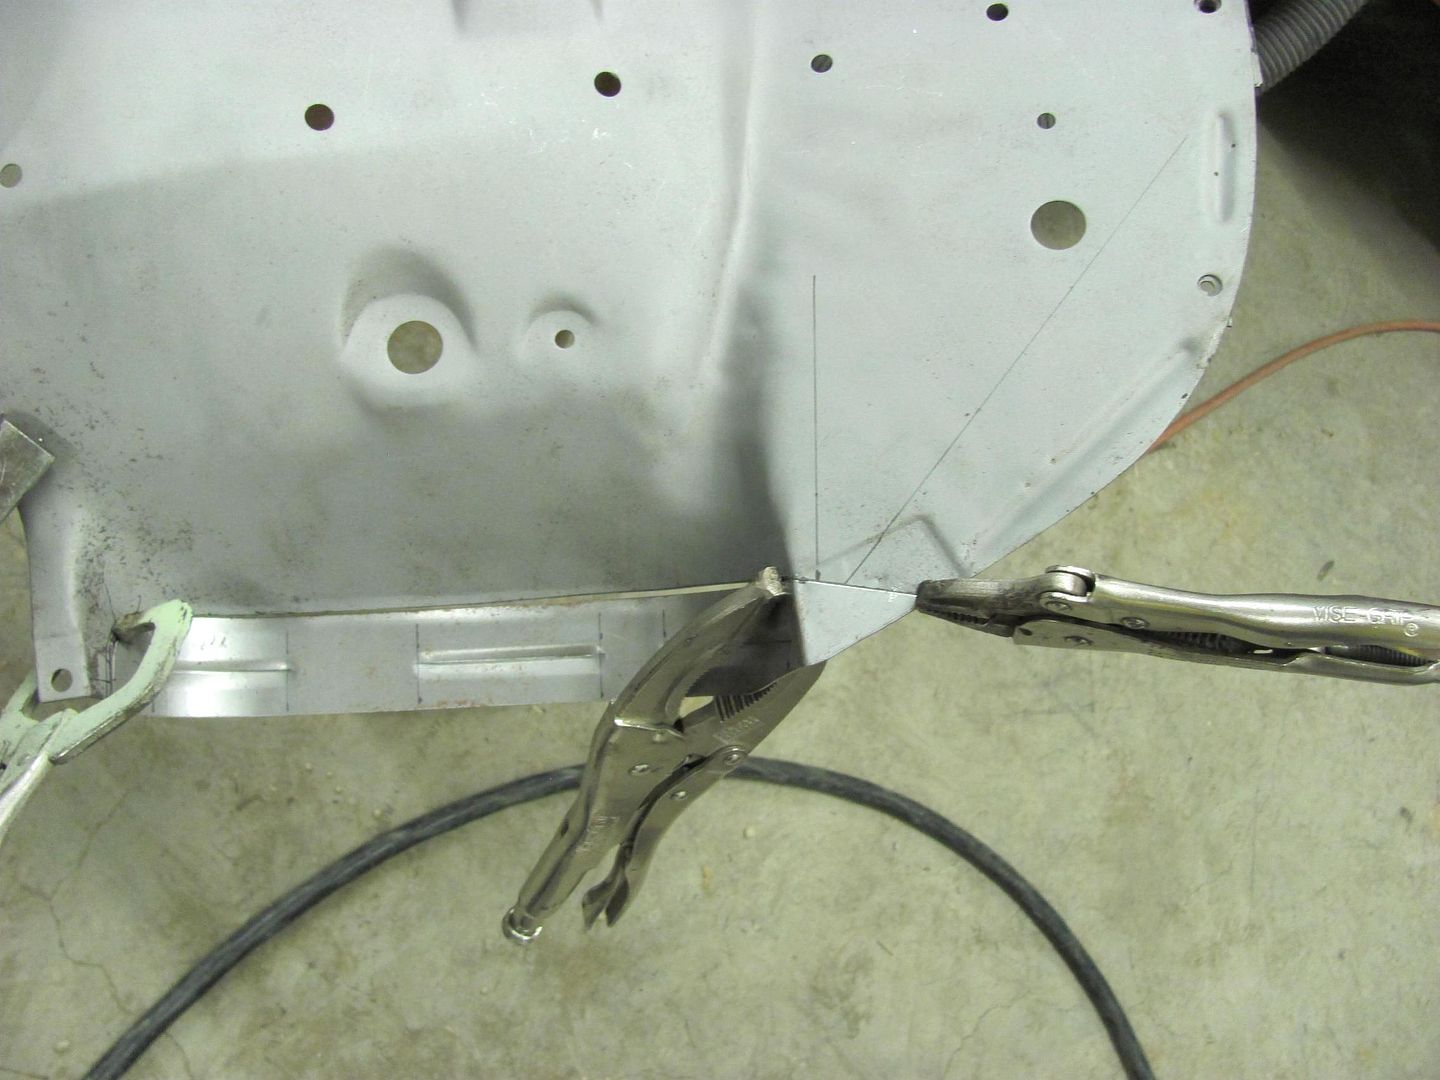
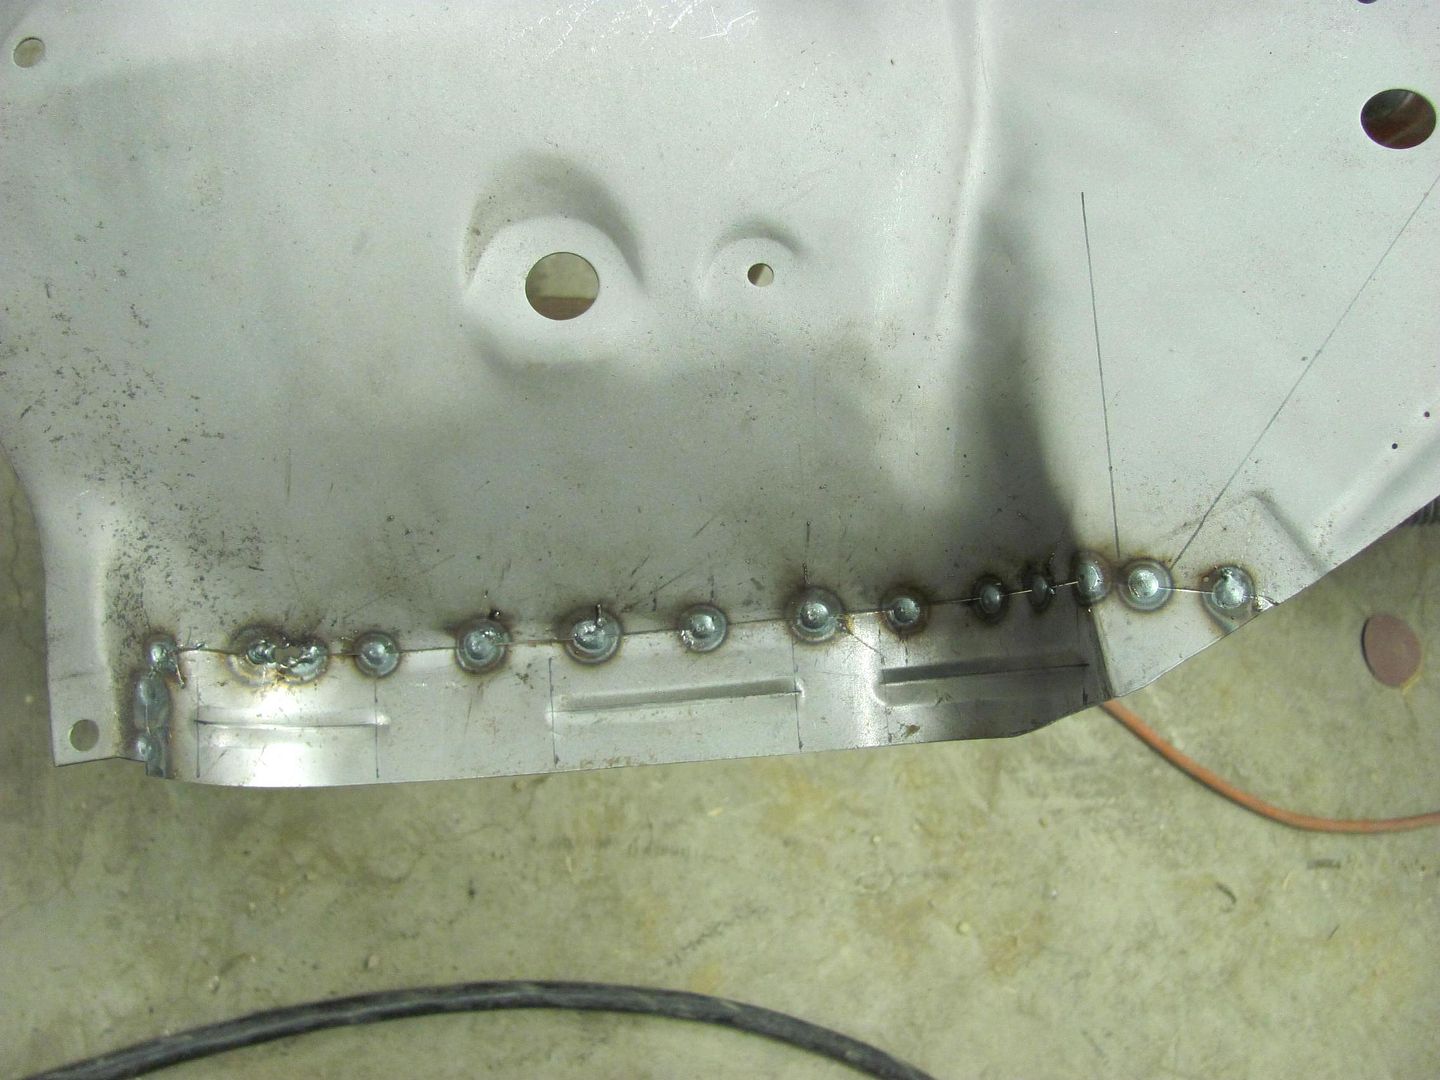
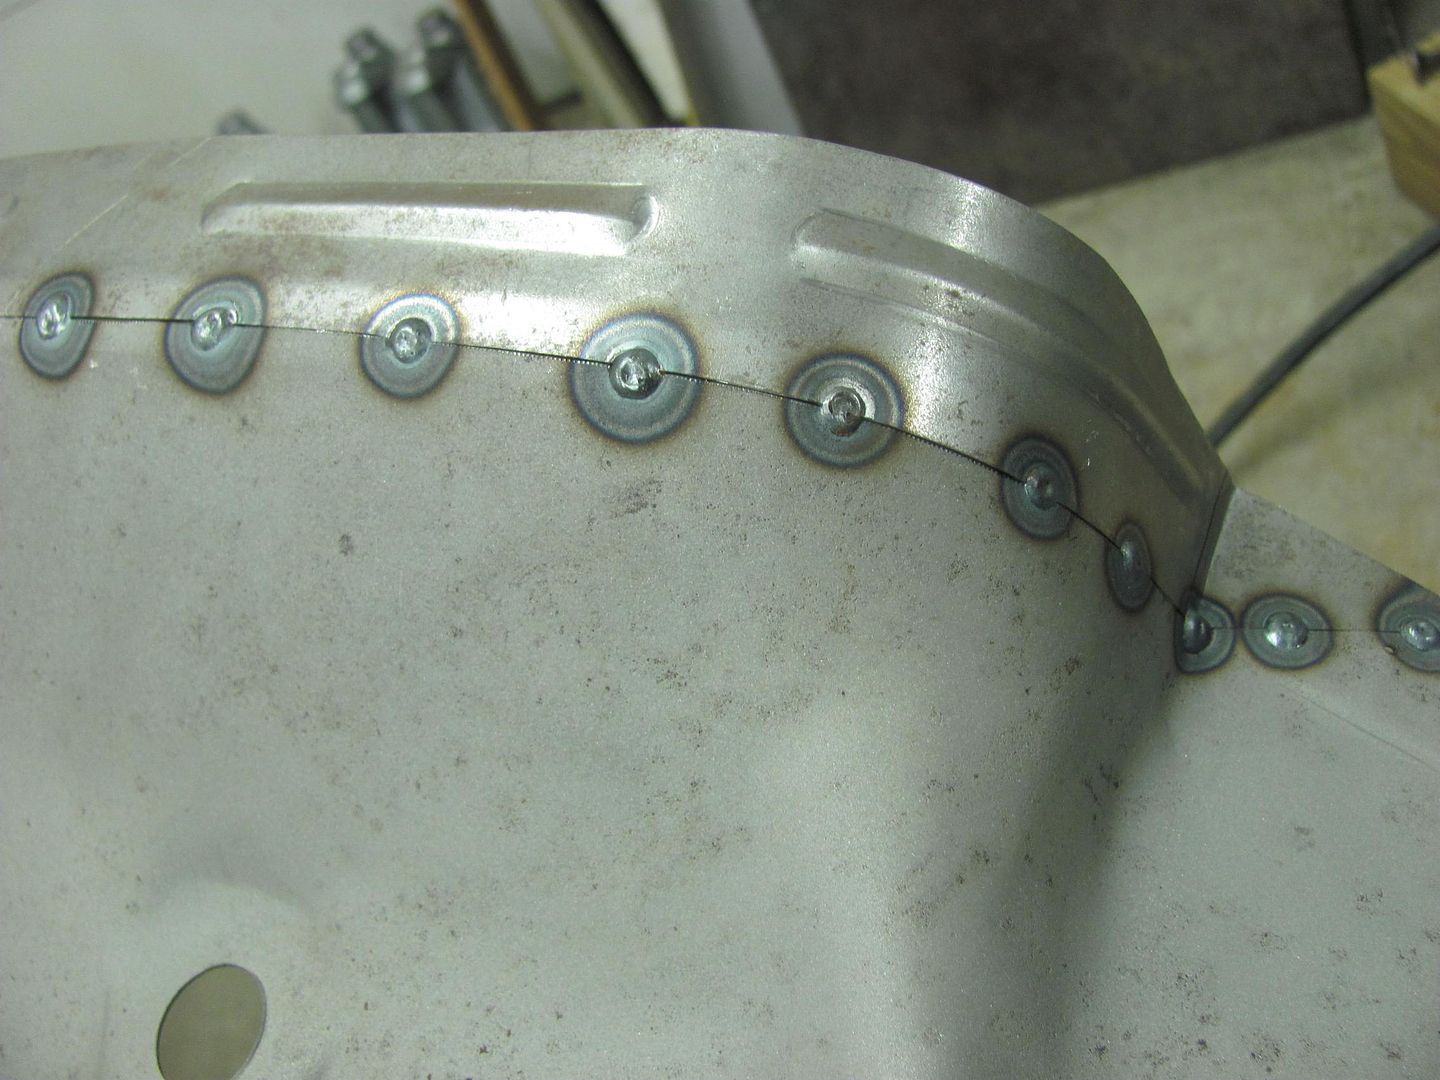
Back side, full penetration welds.....
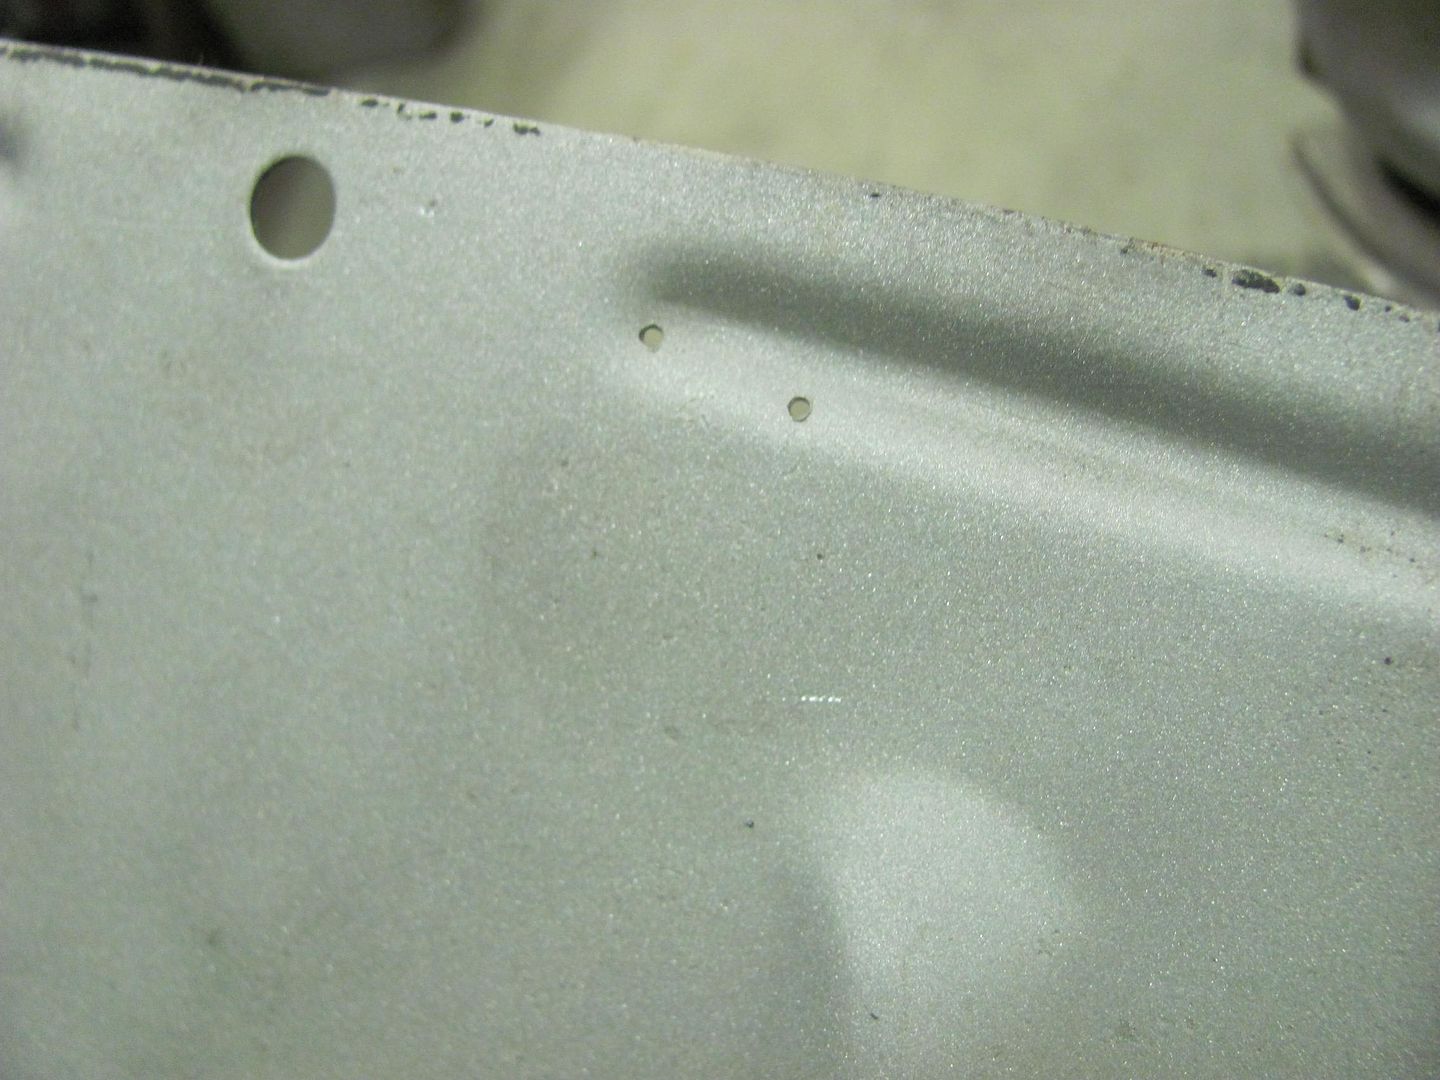
Staple holes for seal filled...
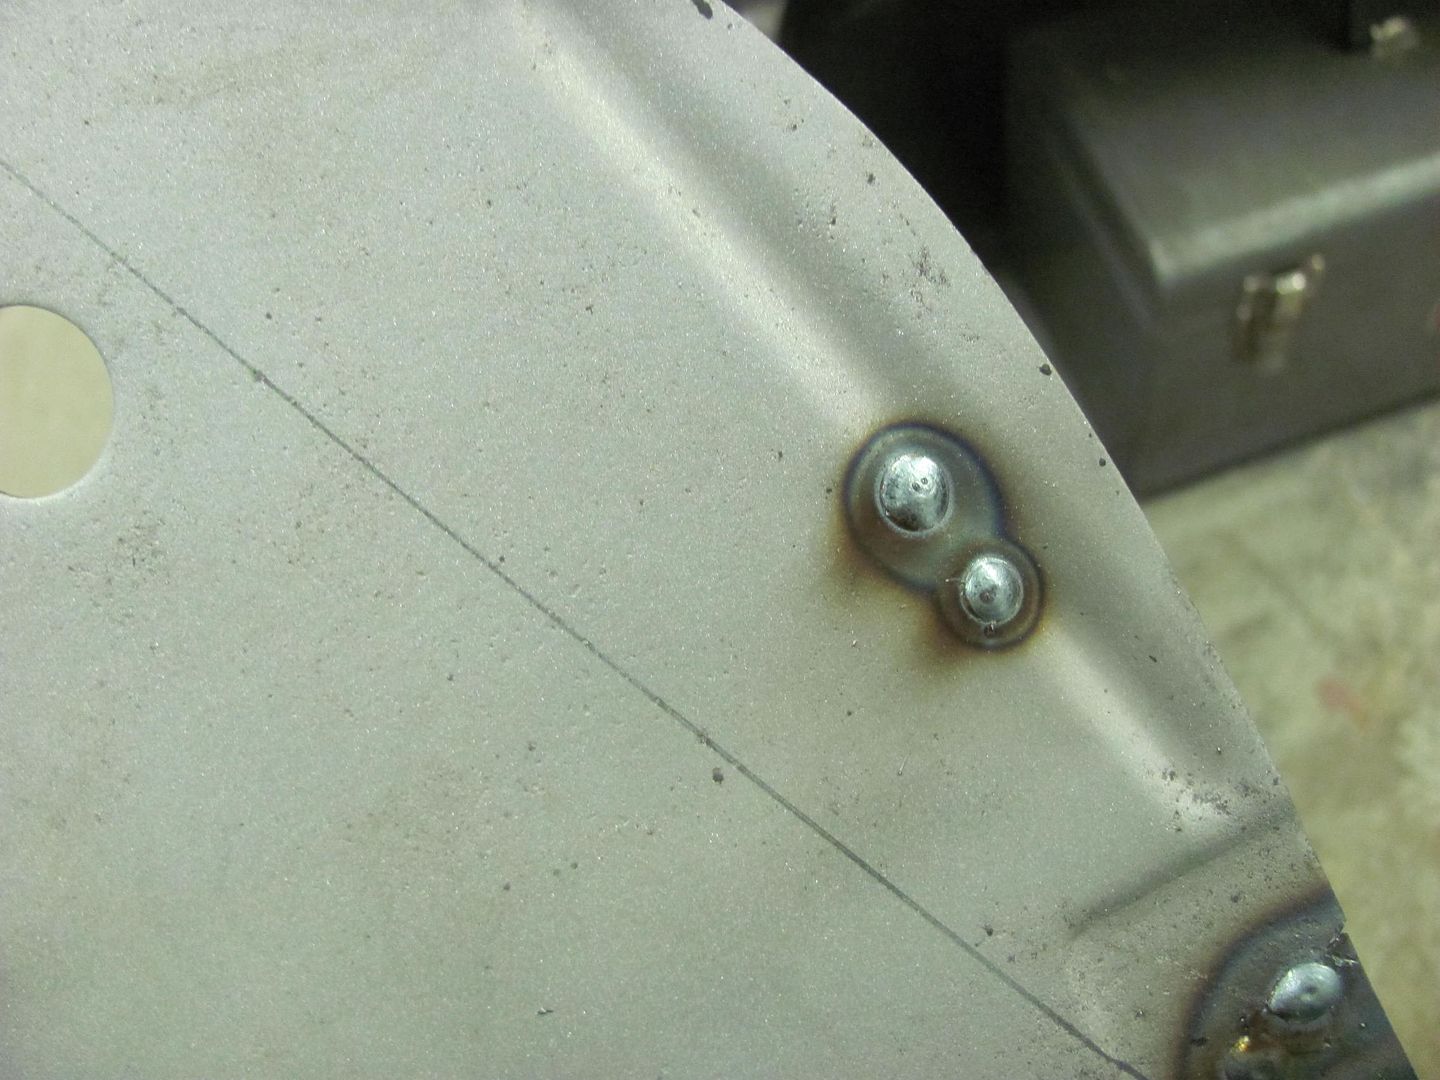
Should get both these finished up Saturday morning and mocked up with the battery tray..Robert
-
09-18-2014 10:56 AM #6
- Join Date
- Apr 2011
- Location
- Prairie City
- Car Year, Make, Model: 40 Ford Deluxe, 68 Corvette, 72&76 K30
- Posts
- 7,298
- Blog Entries
- 1
That planishing tool is very nice! It really looks great.Ryan
1940 Ford Deluxe Tudor 354 Hemi 46RH Electric Blue w/multi-color flames, Ford 9" Residing in multiple pieces
1968 Corvette Coupe 5.9 Cummins Drag Car 11.43@130mph No stall leaving the line with 1250 rpm's and poor 2.2 60'
1972 Chevy K30 Longhorn P-pumped 24v Compound Turbos 47RH Just another money pit
1971 Camaro RS 5.3 BTR Stage 3 cam, SuperT10
Tire Sizes
-
09-19-2014 01:36 PM #7
Think all the members will have to pick a time when the car is finished and drink a toast. I am about as antsy to see this project completed as I am my own.The truth is incontrovertible. Malice may attack it, ignorance may deride it, but in the end, there it is.
Winston Churchill
-
09-20-2014 02:05 PM #8
I think I'll have to join in with the toast!
Here's the passenger side with the welds dressed and mocked up to the grille....
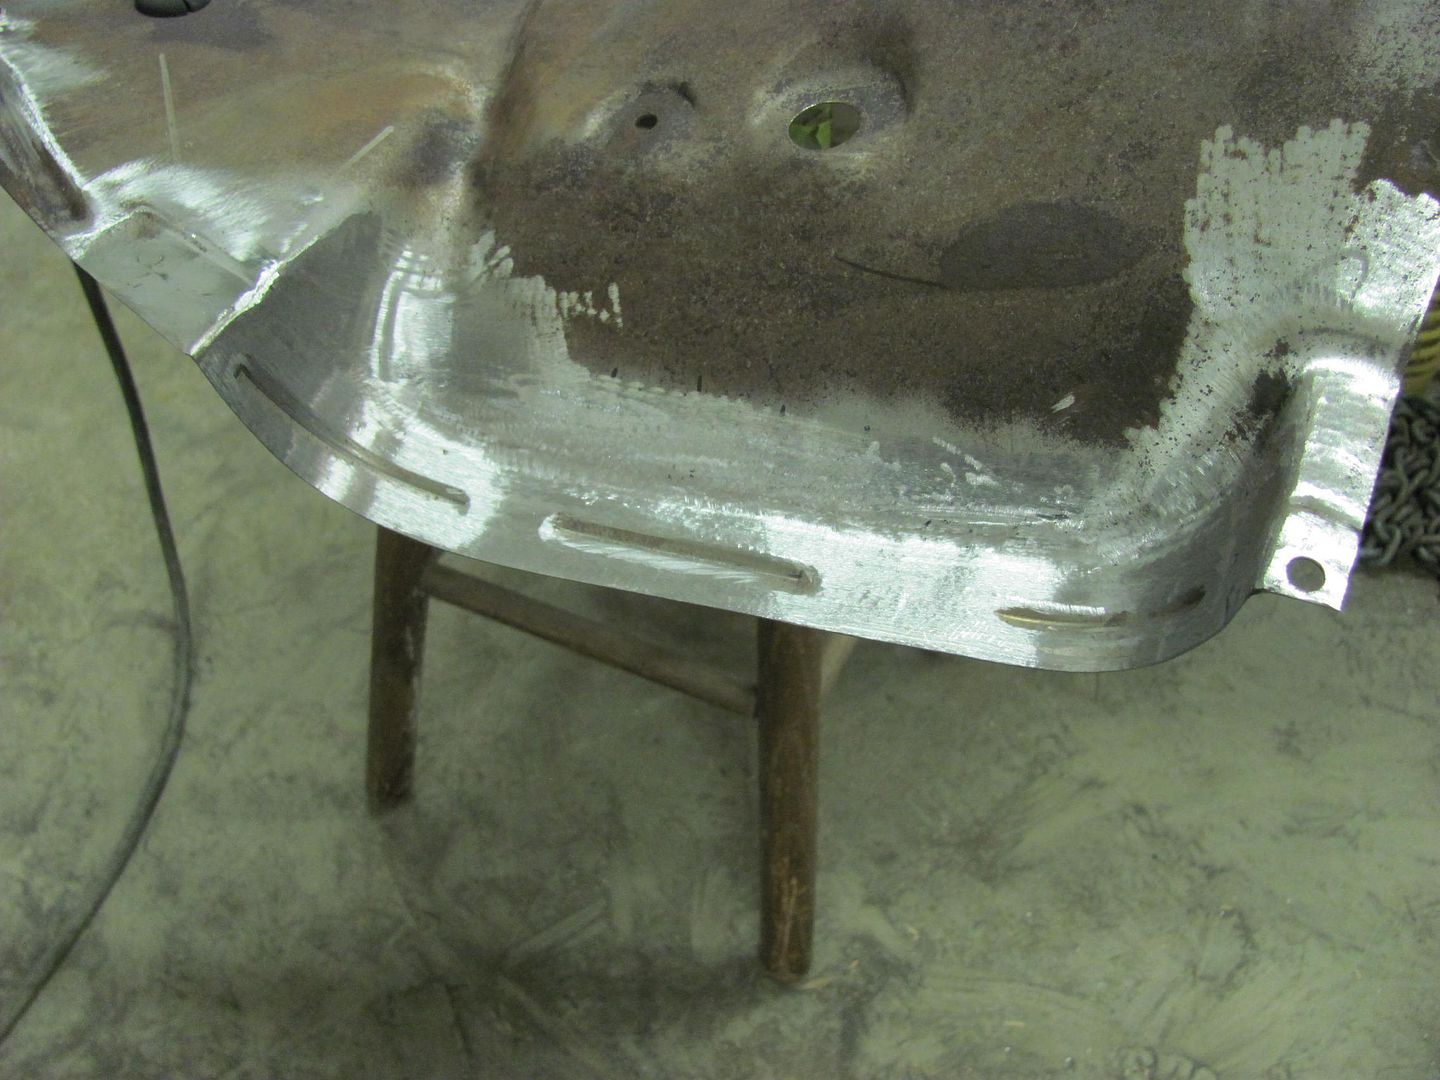
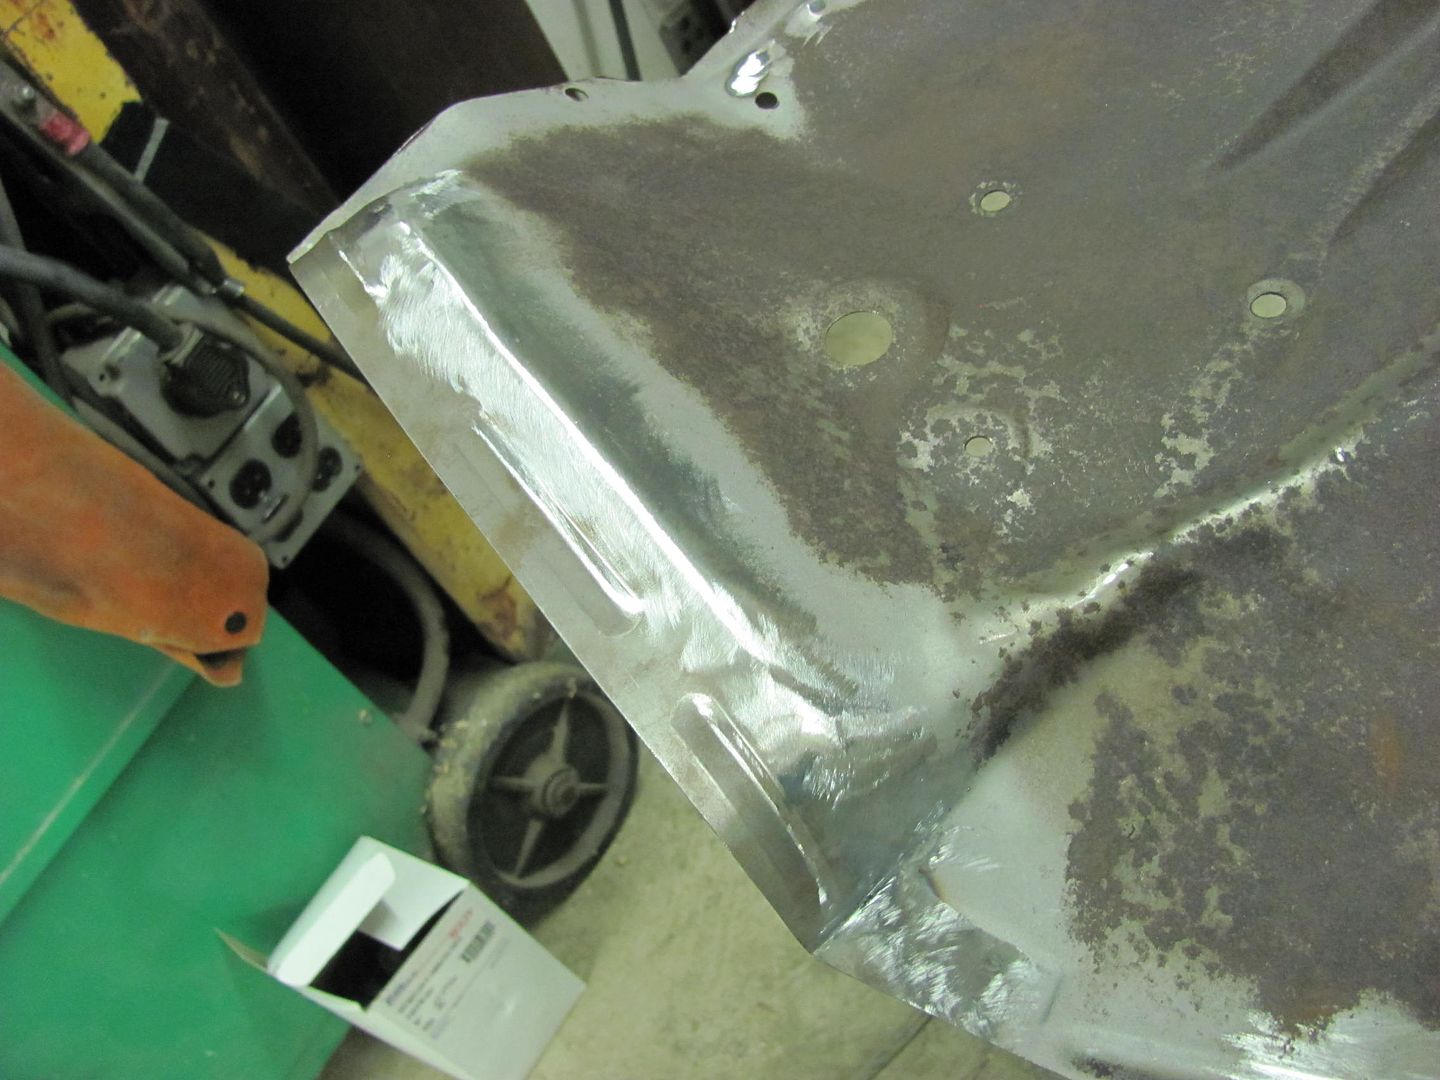
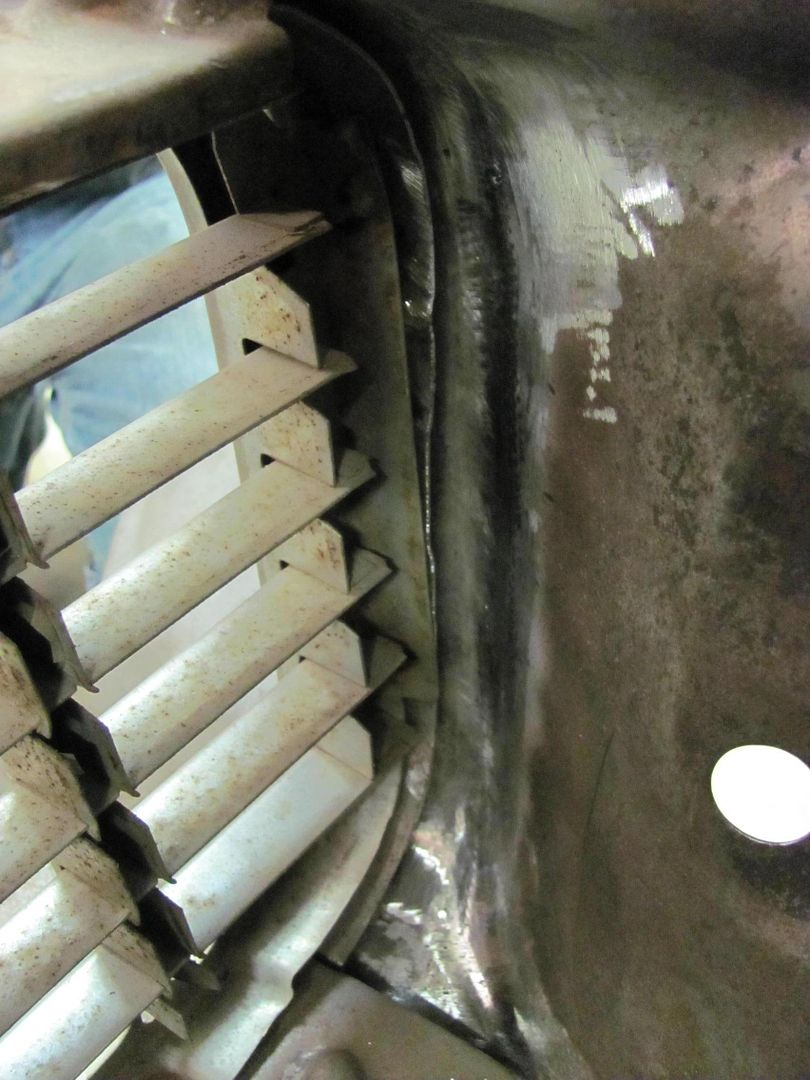
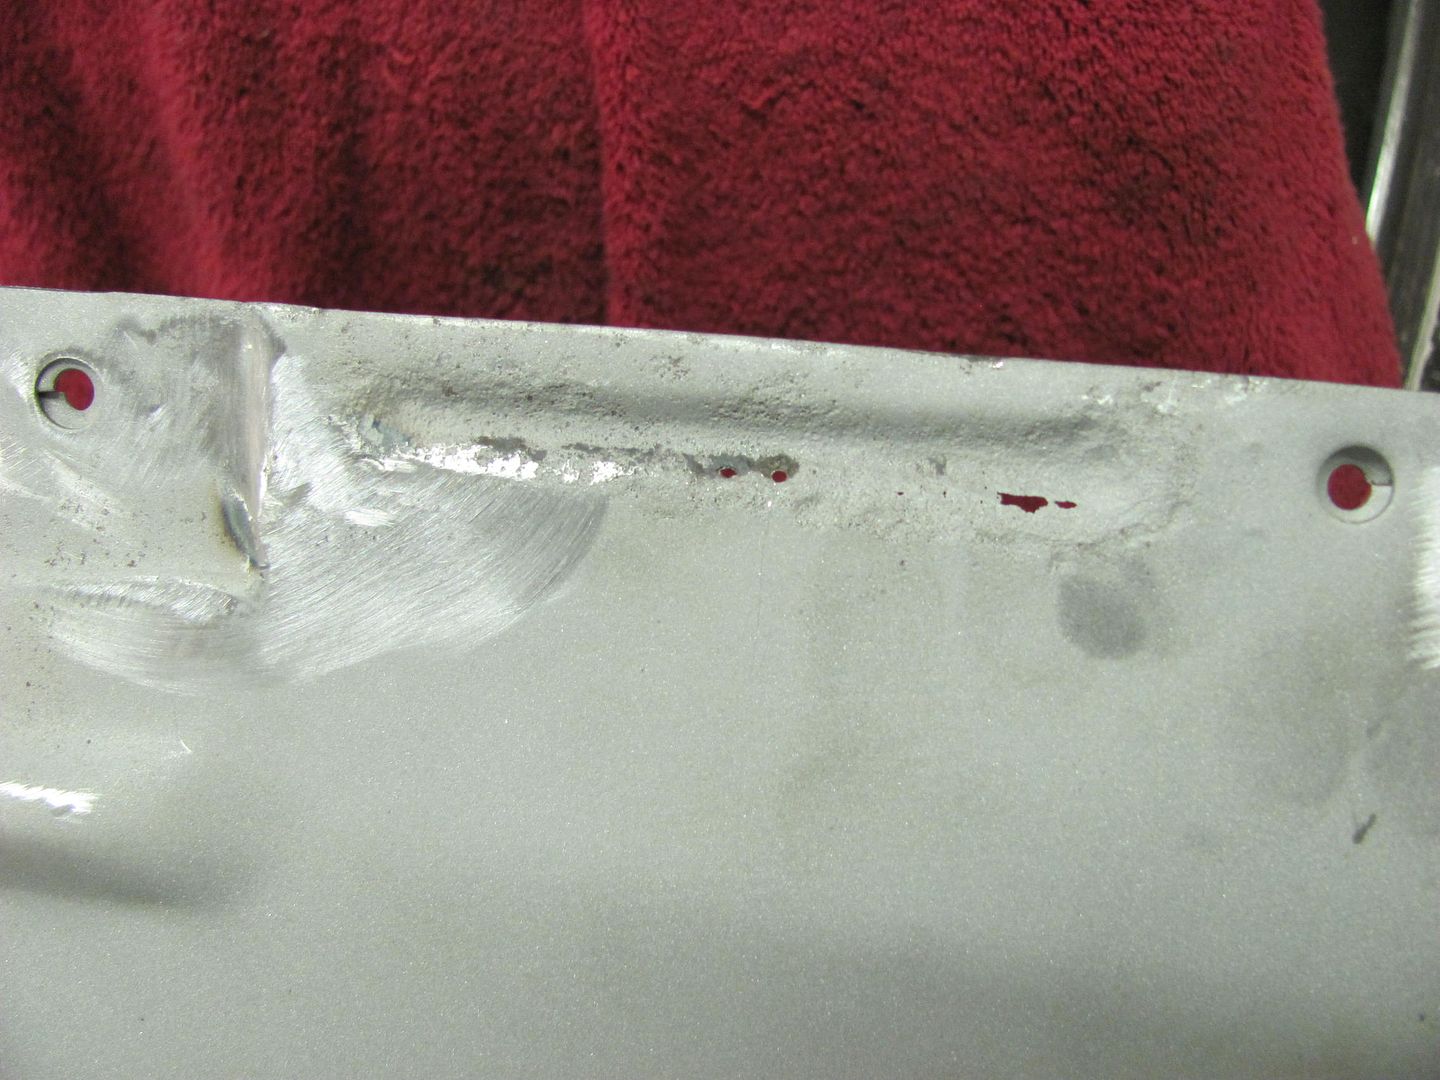
While Kyle media blasted the passenger side, I did some finish work on the driver's side. We still had this up at the top to fix...
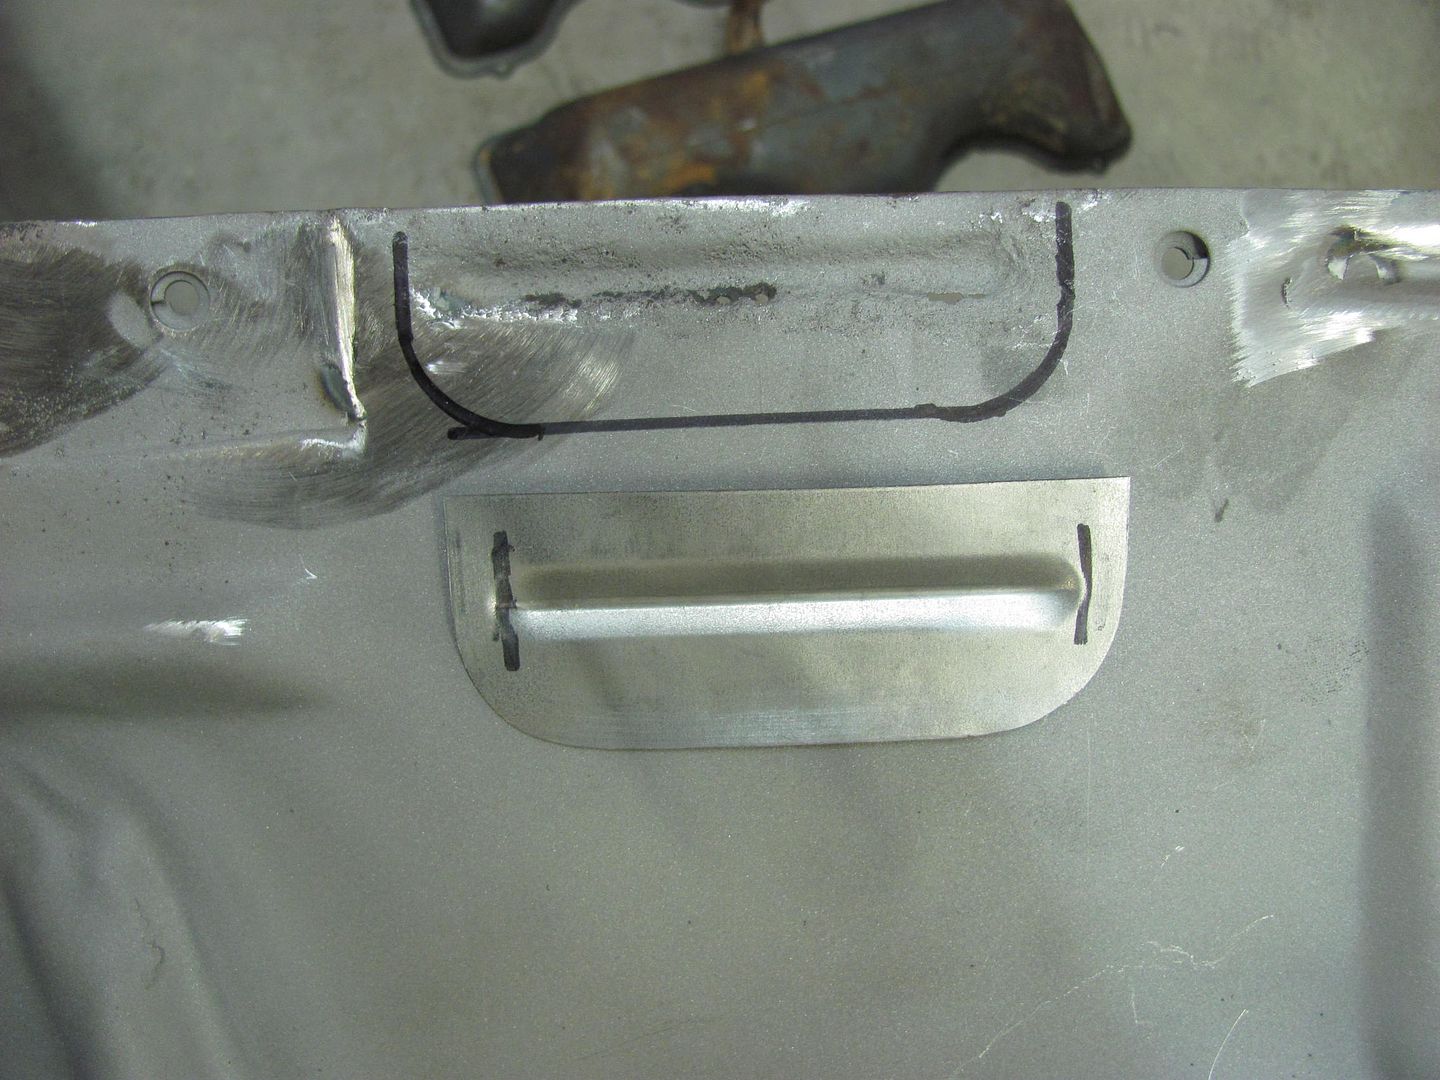
A replacement was made and marked out on the inner fender..
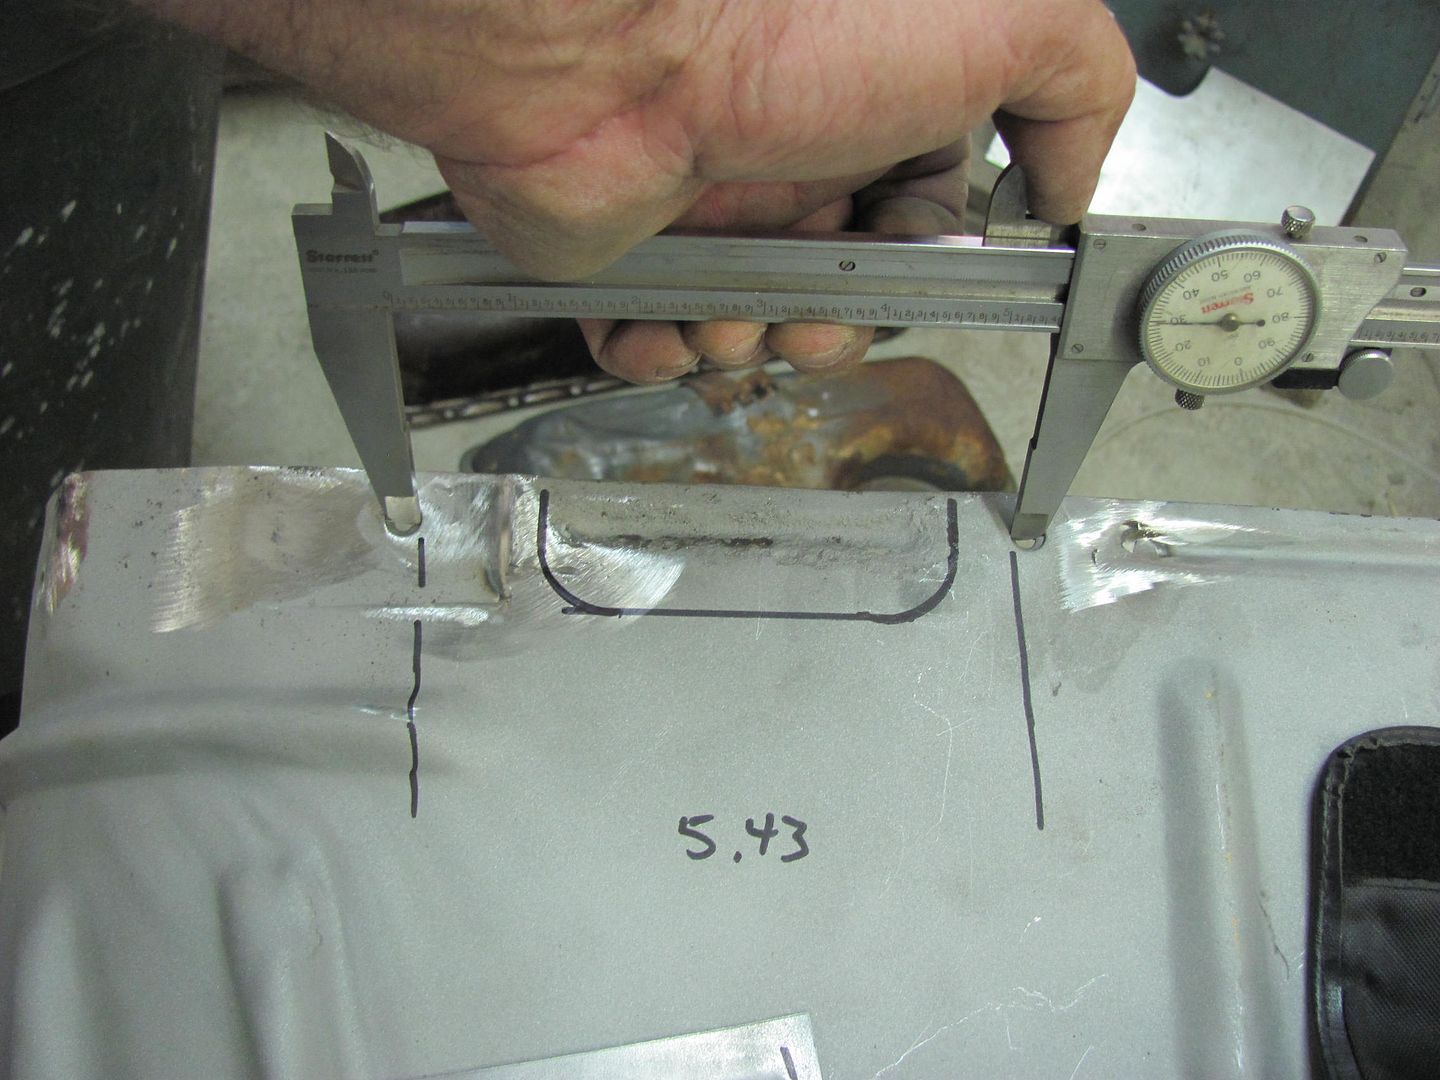
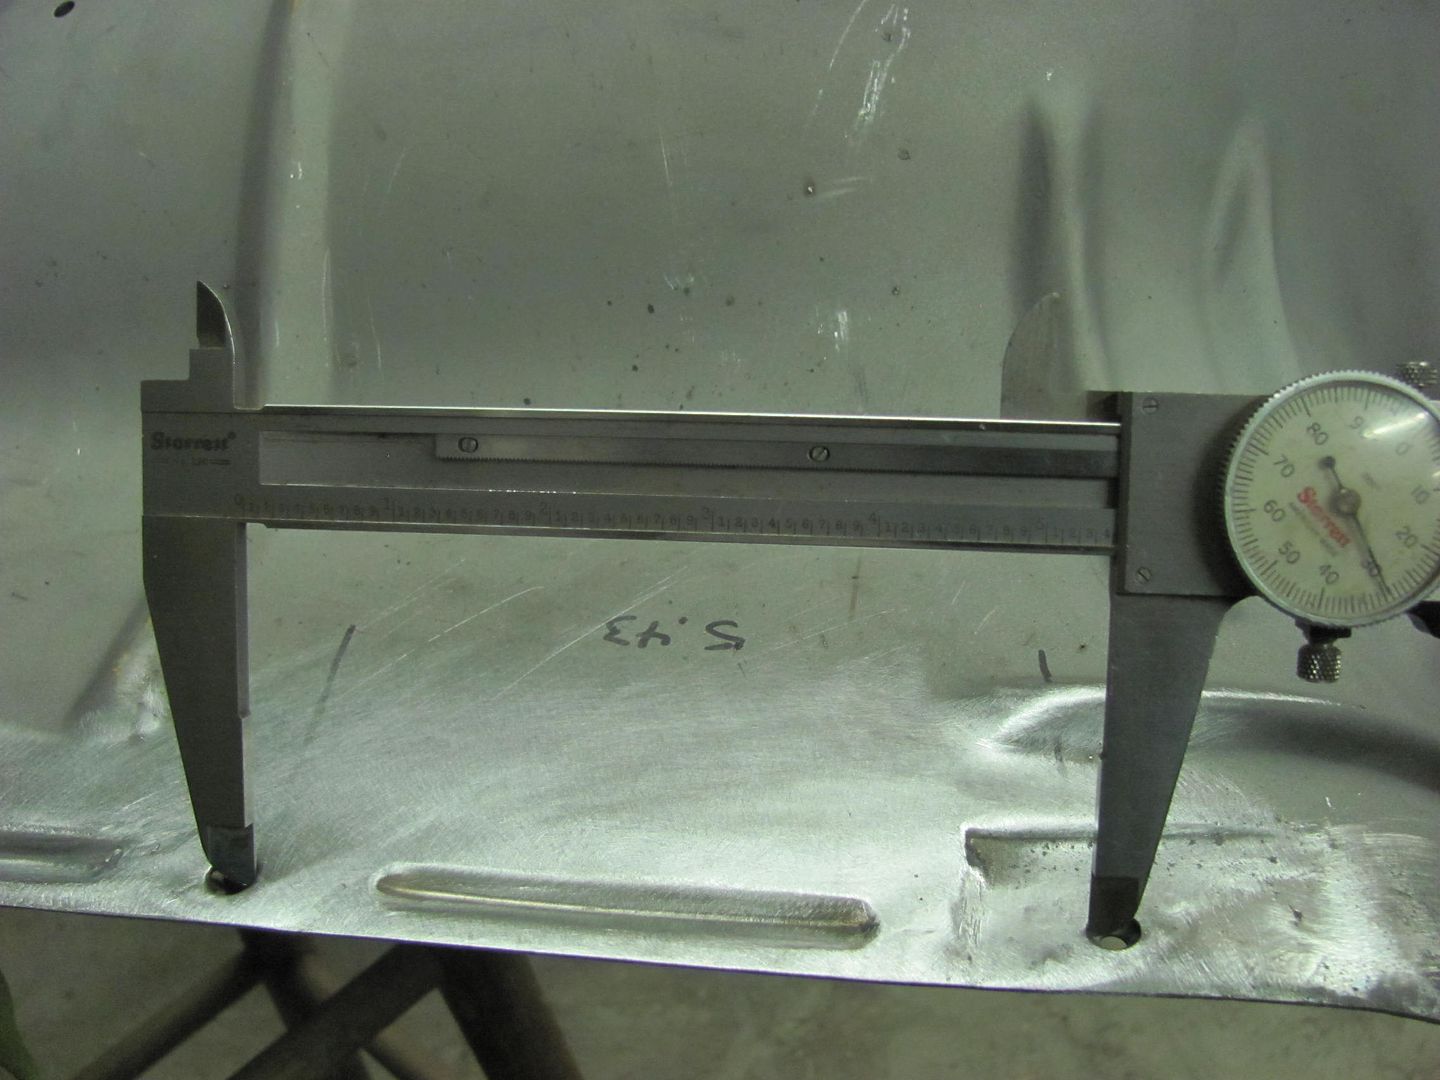
Took a reference measurement to insure any shrinking effects were properly planished out...
Ice pick works well in marking the cutout pattern...
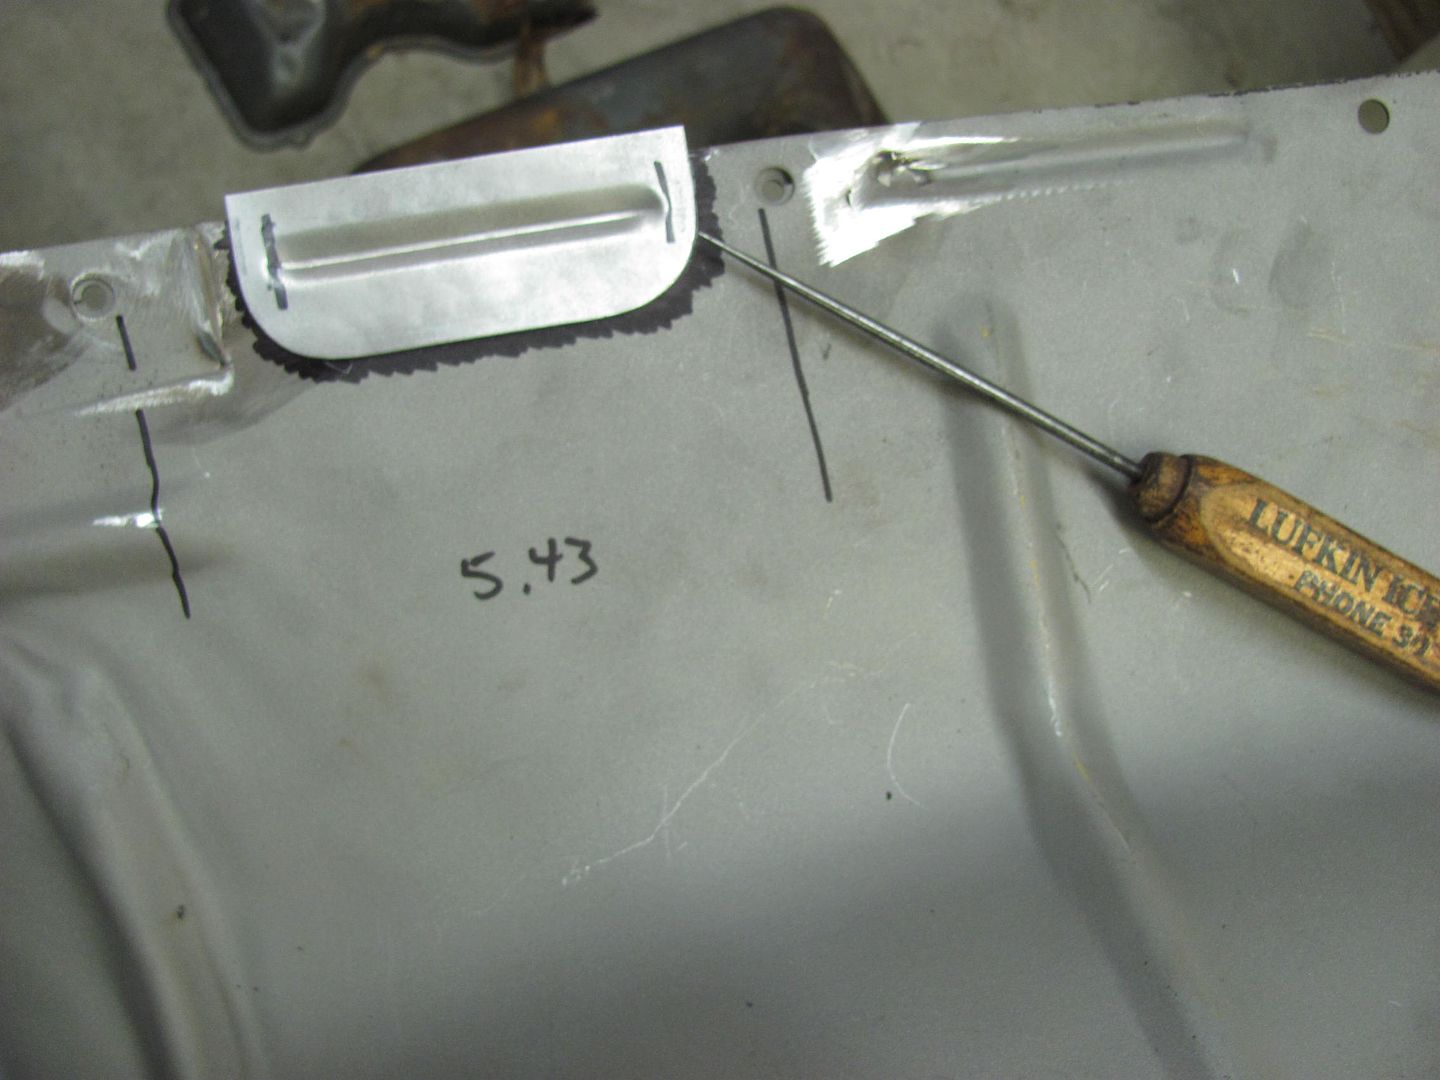
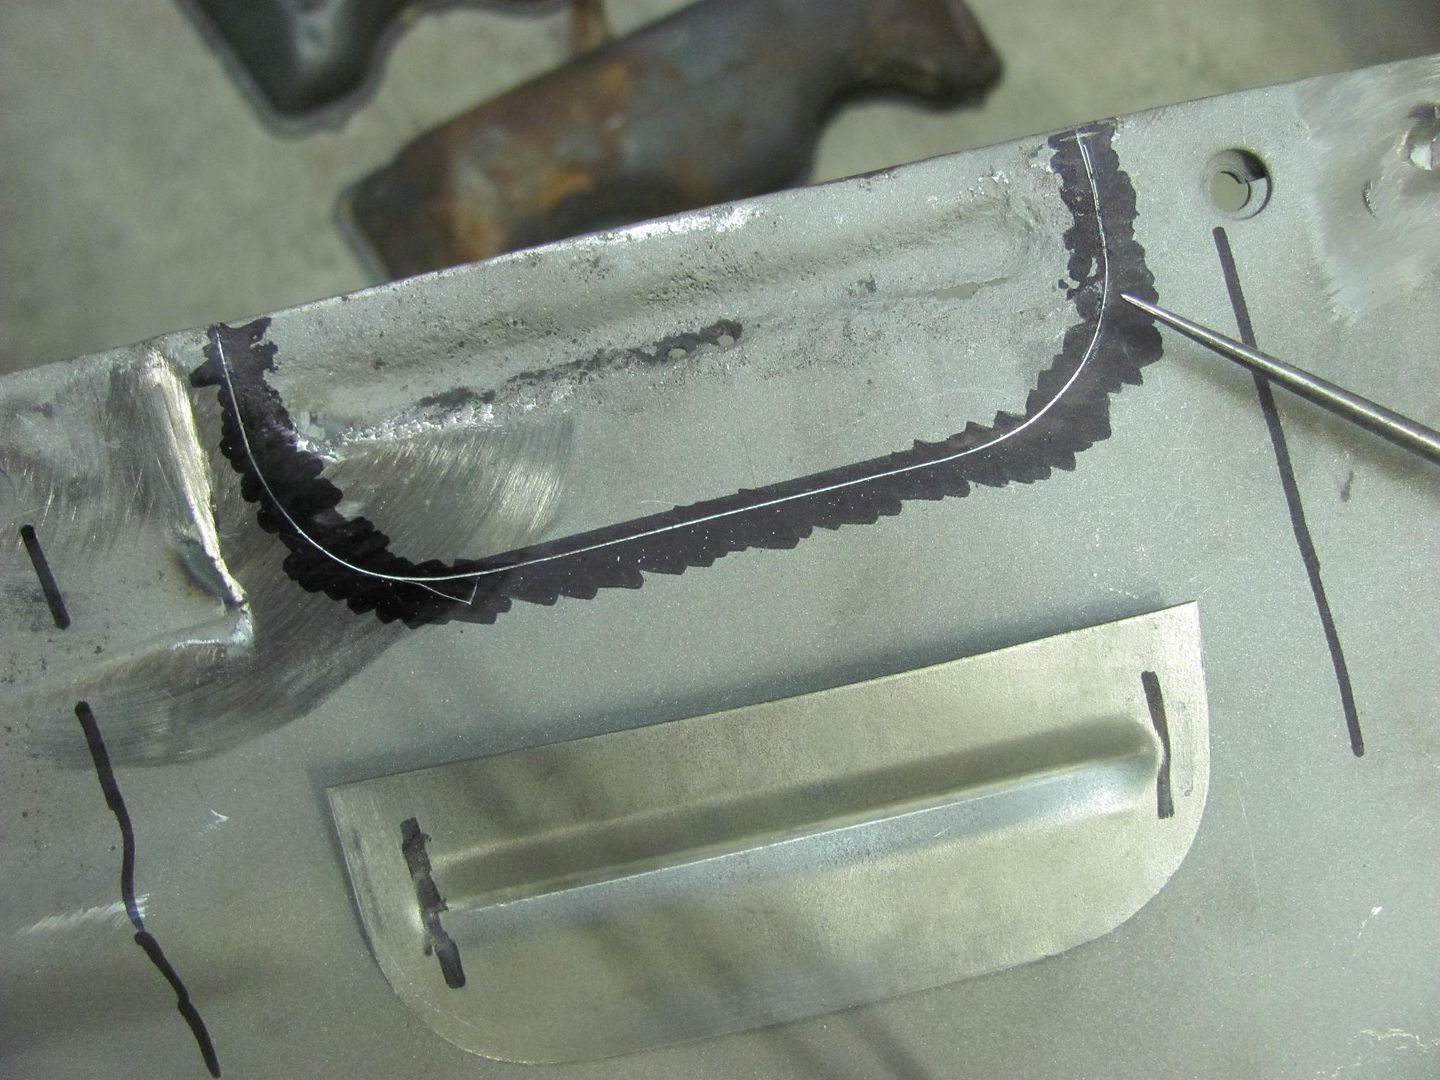
Trimmed and fitted
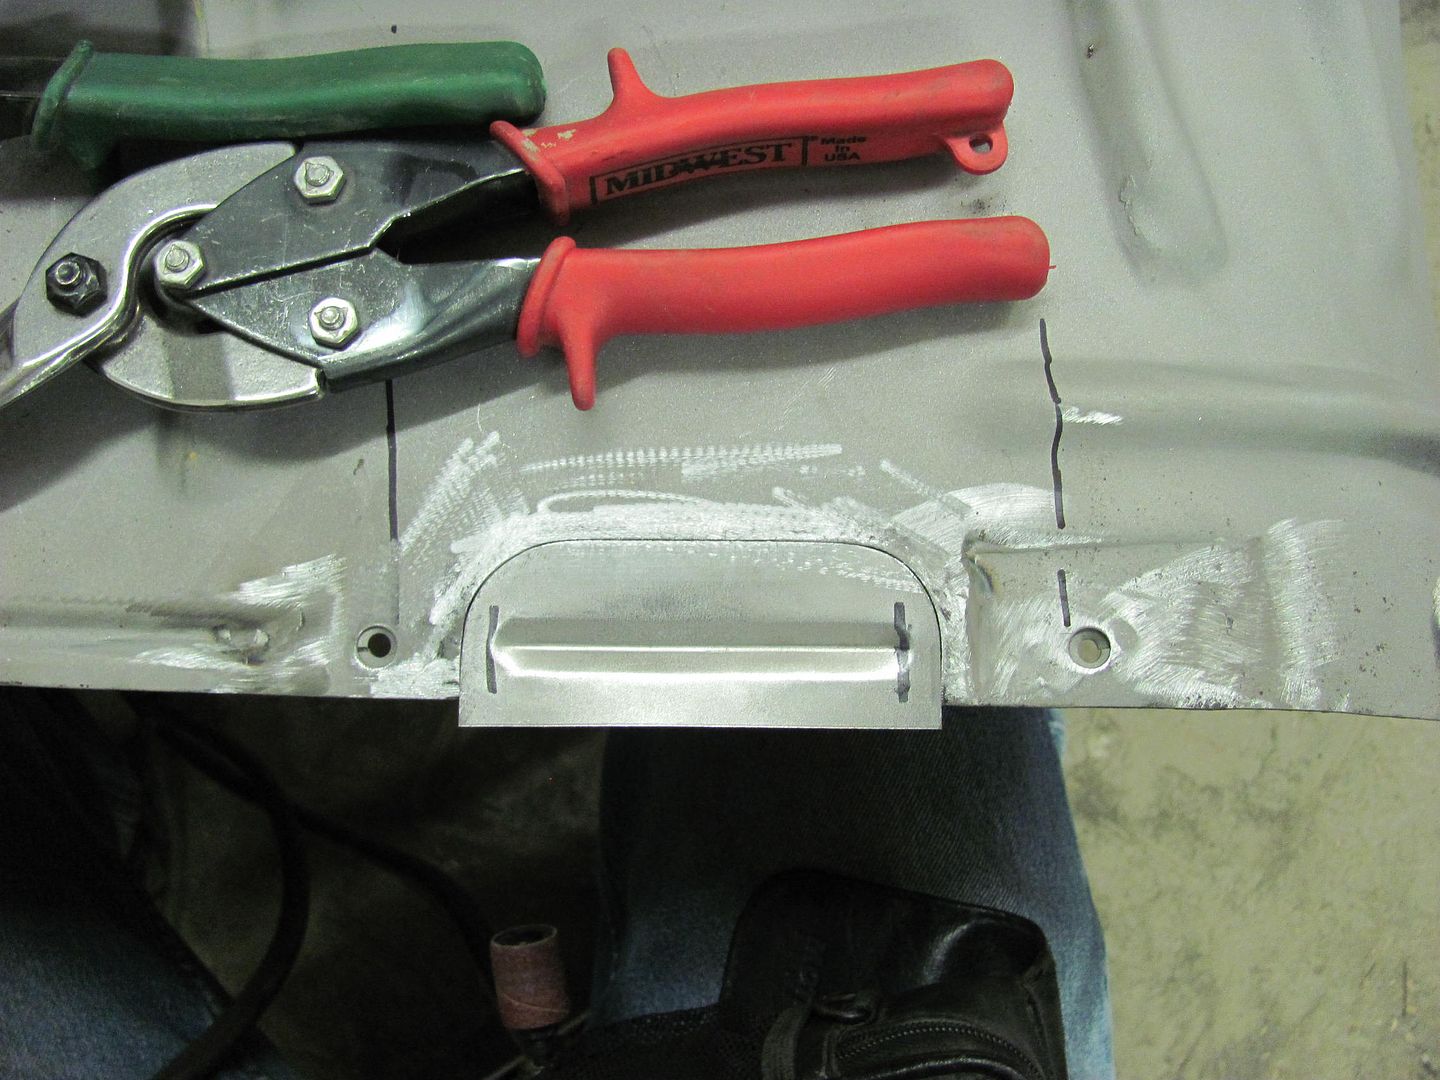
Tacked in place...
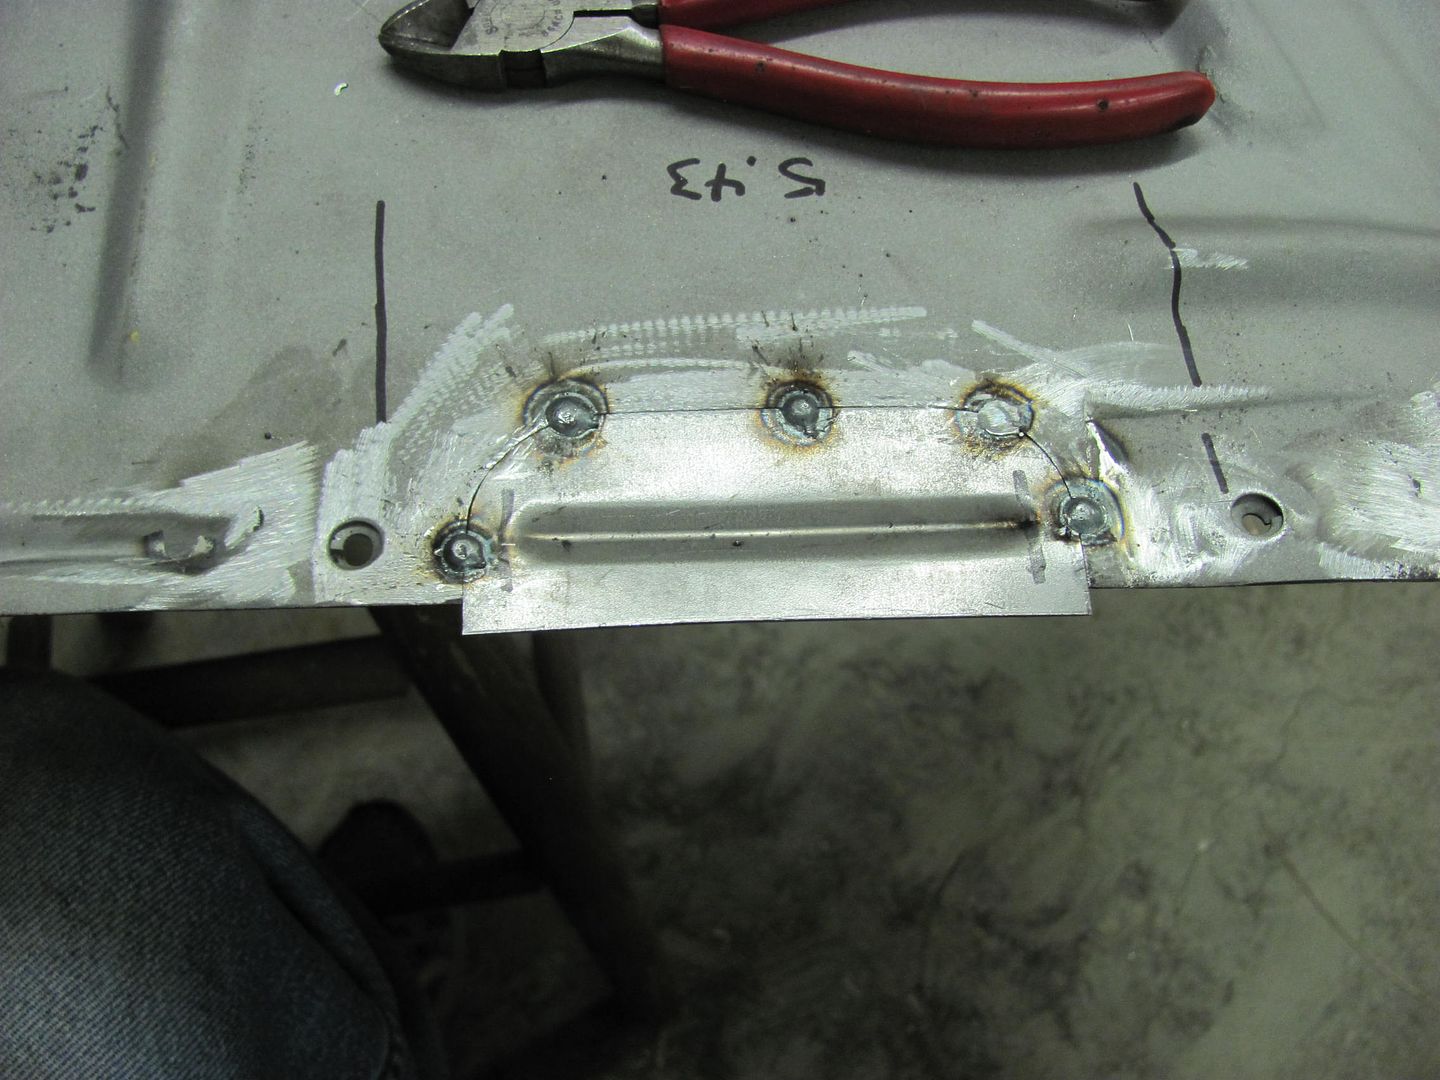
Rear side
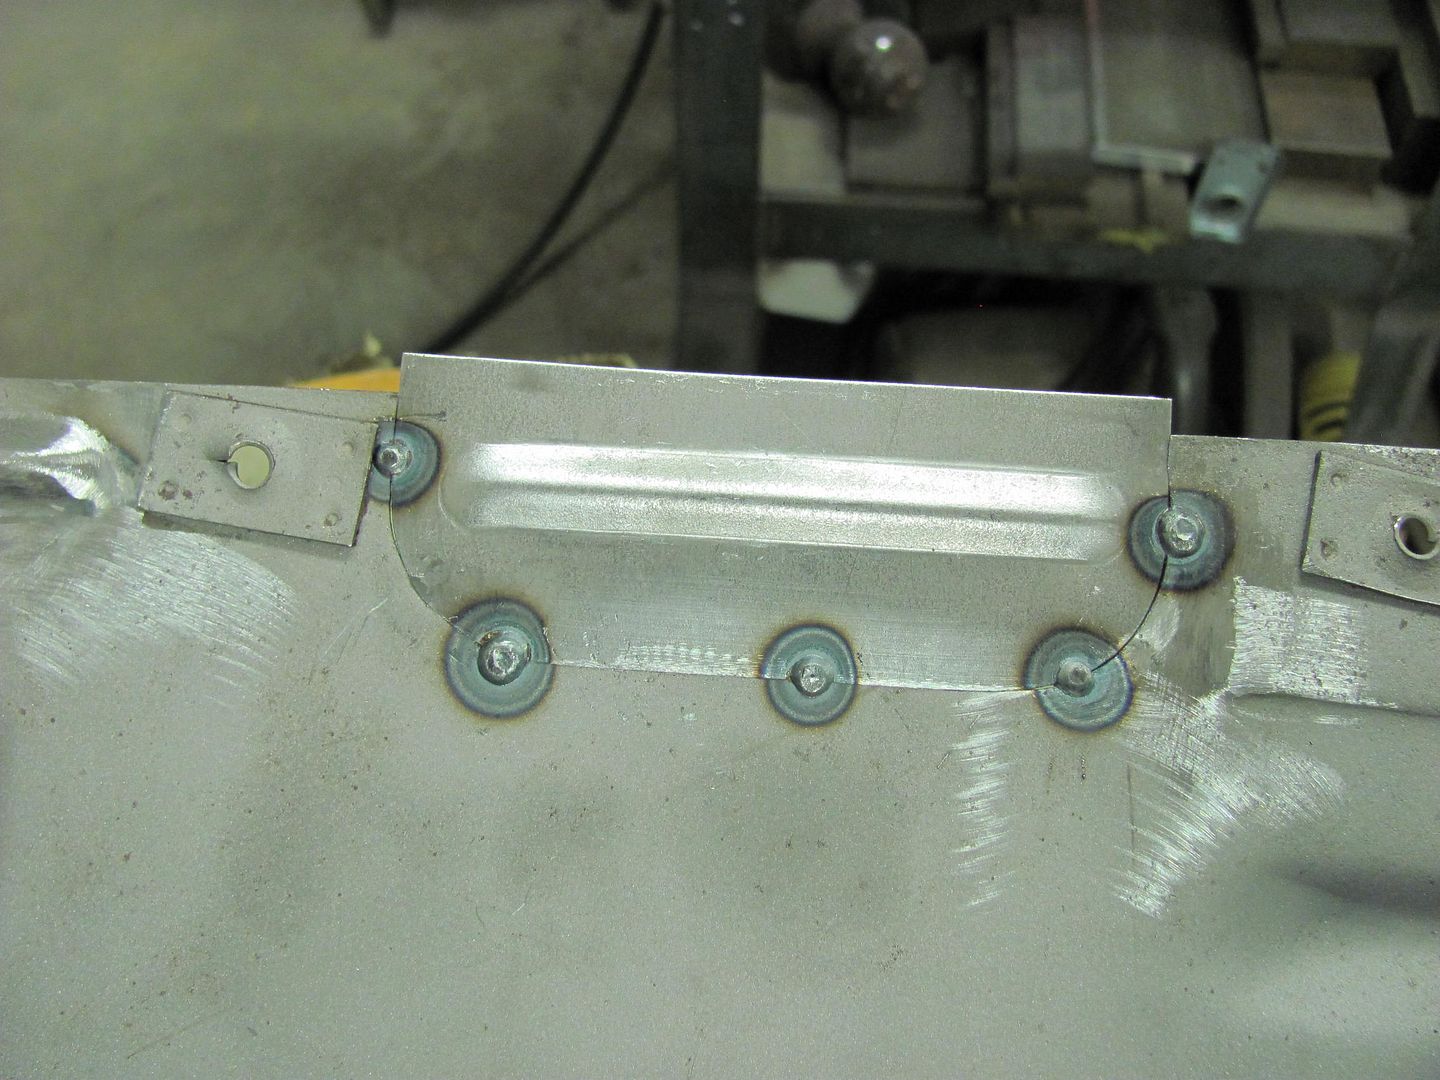
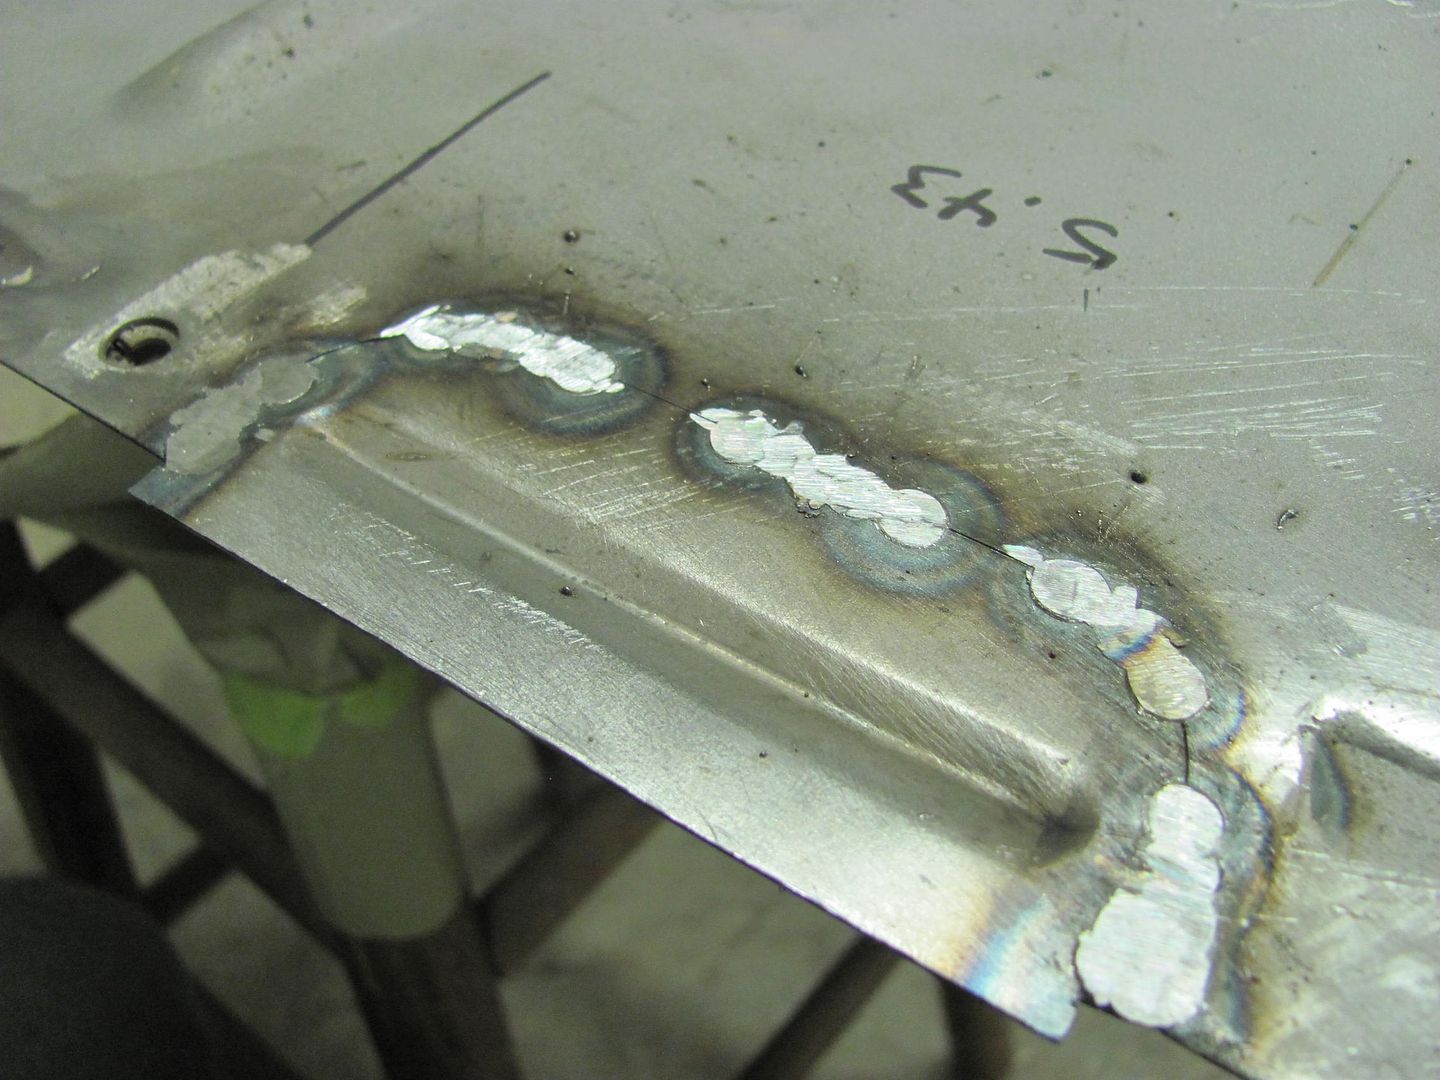
After planishing and dressing the welds, re-checking the reference measurement....
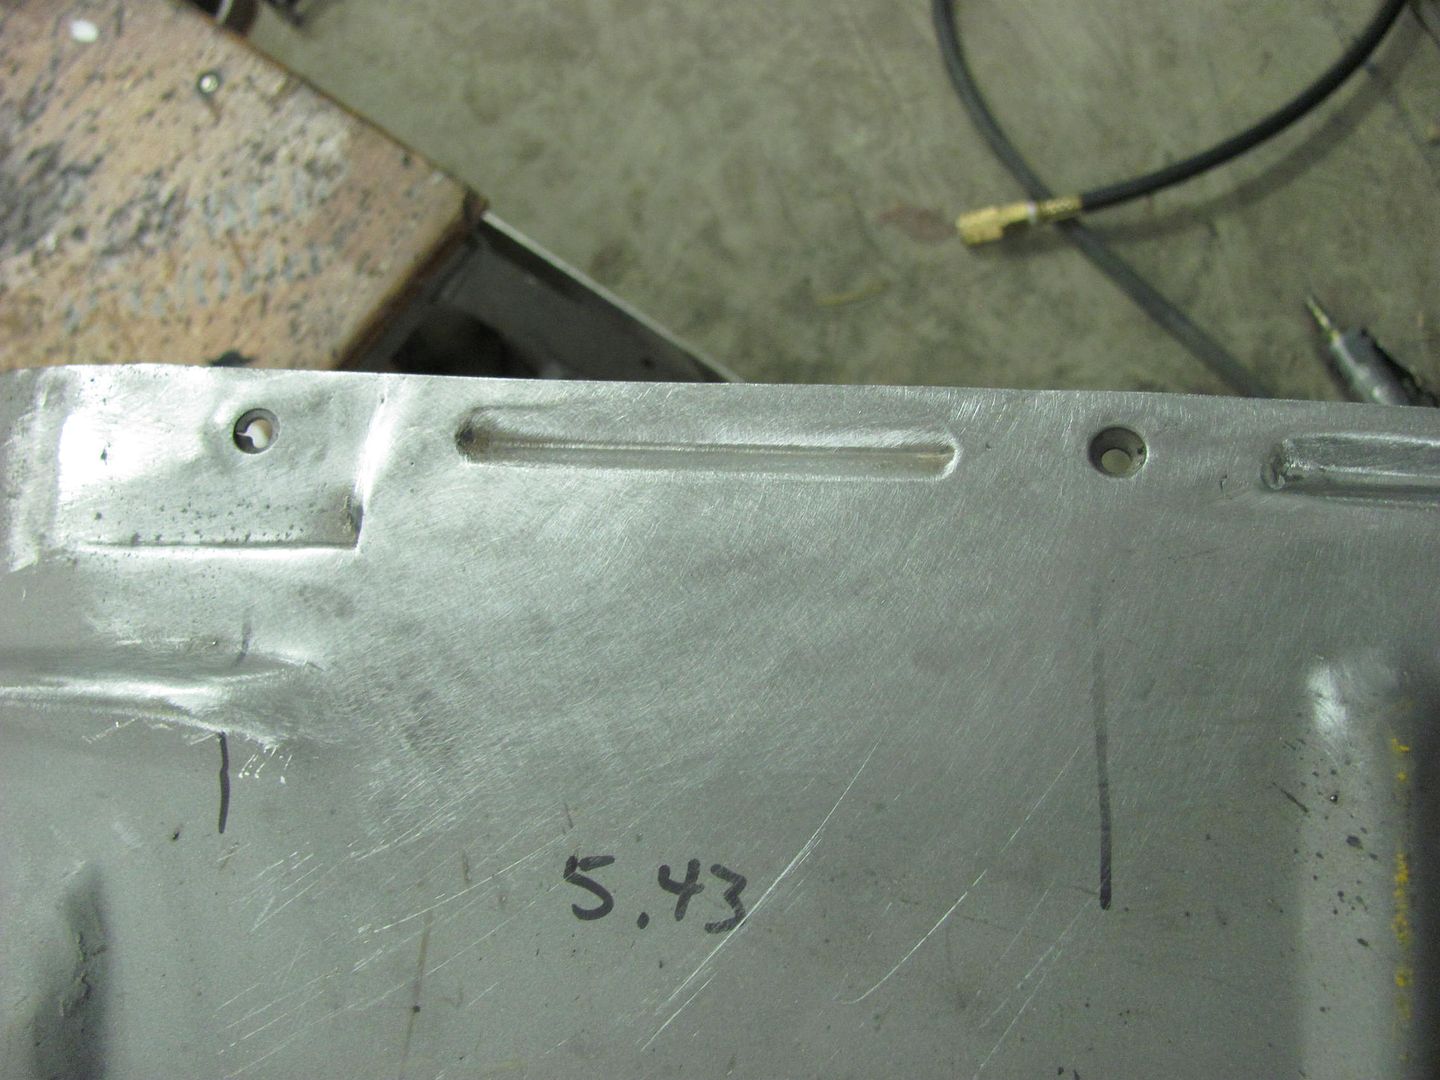
Passenger side complete....
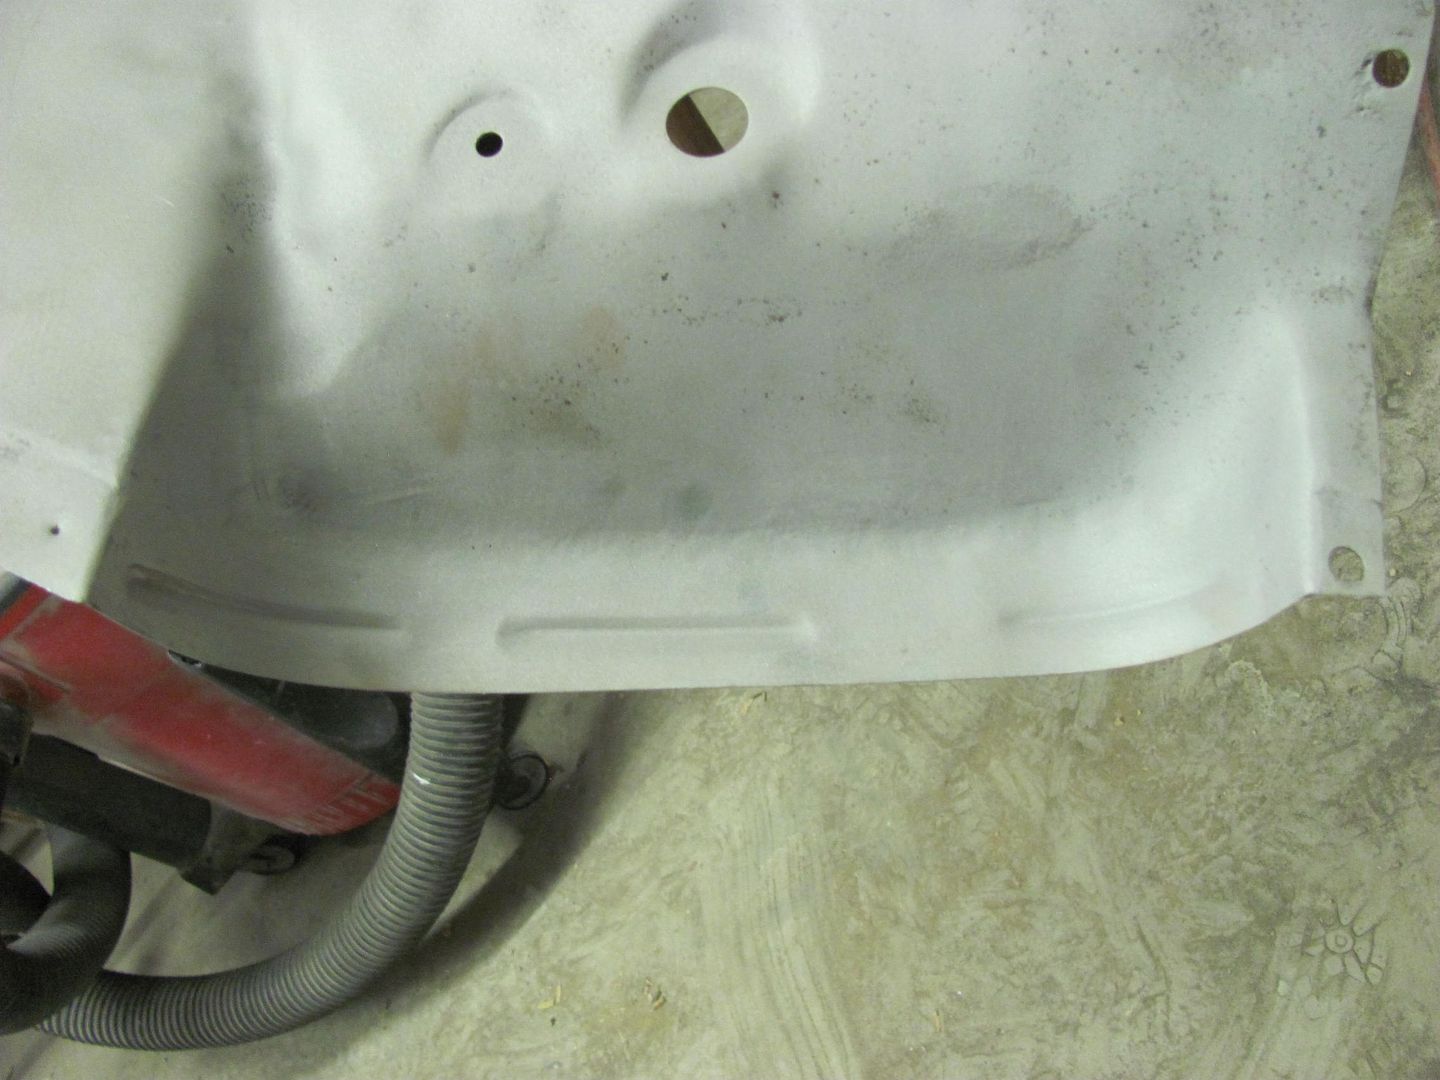
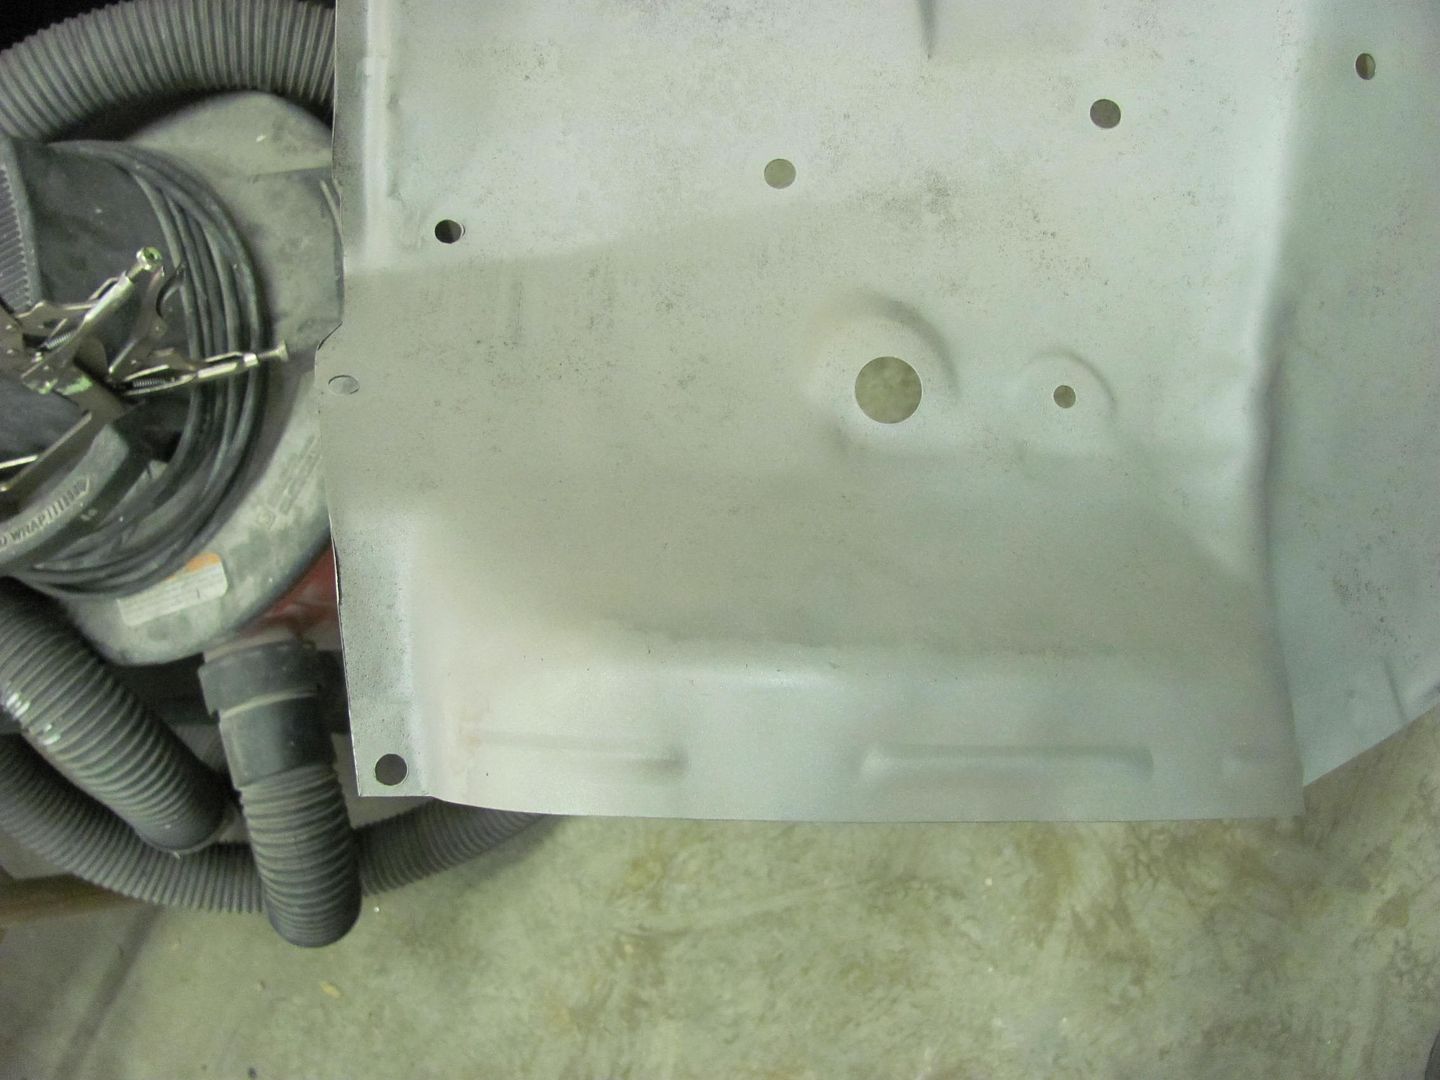
Driver's side complete.....
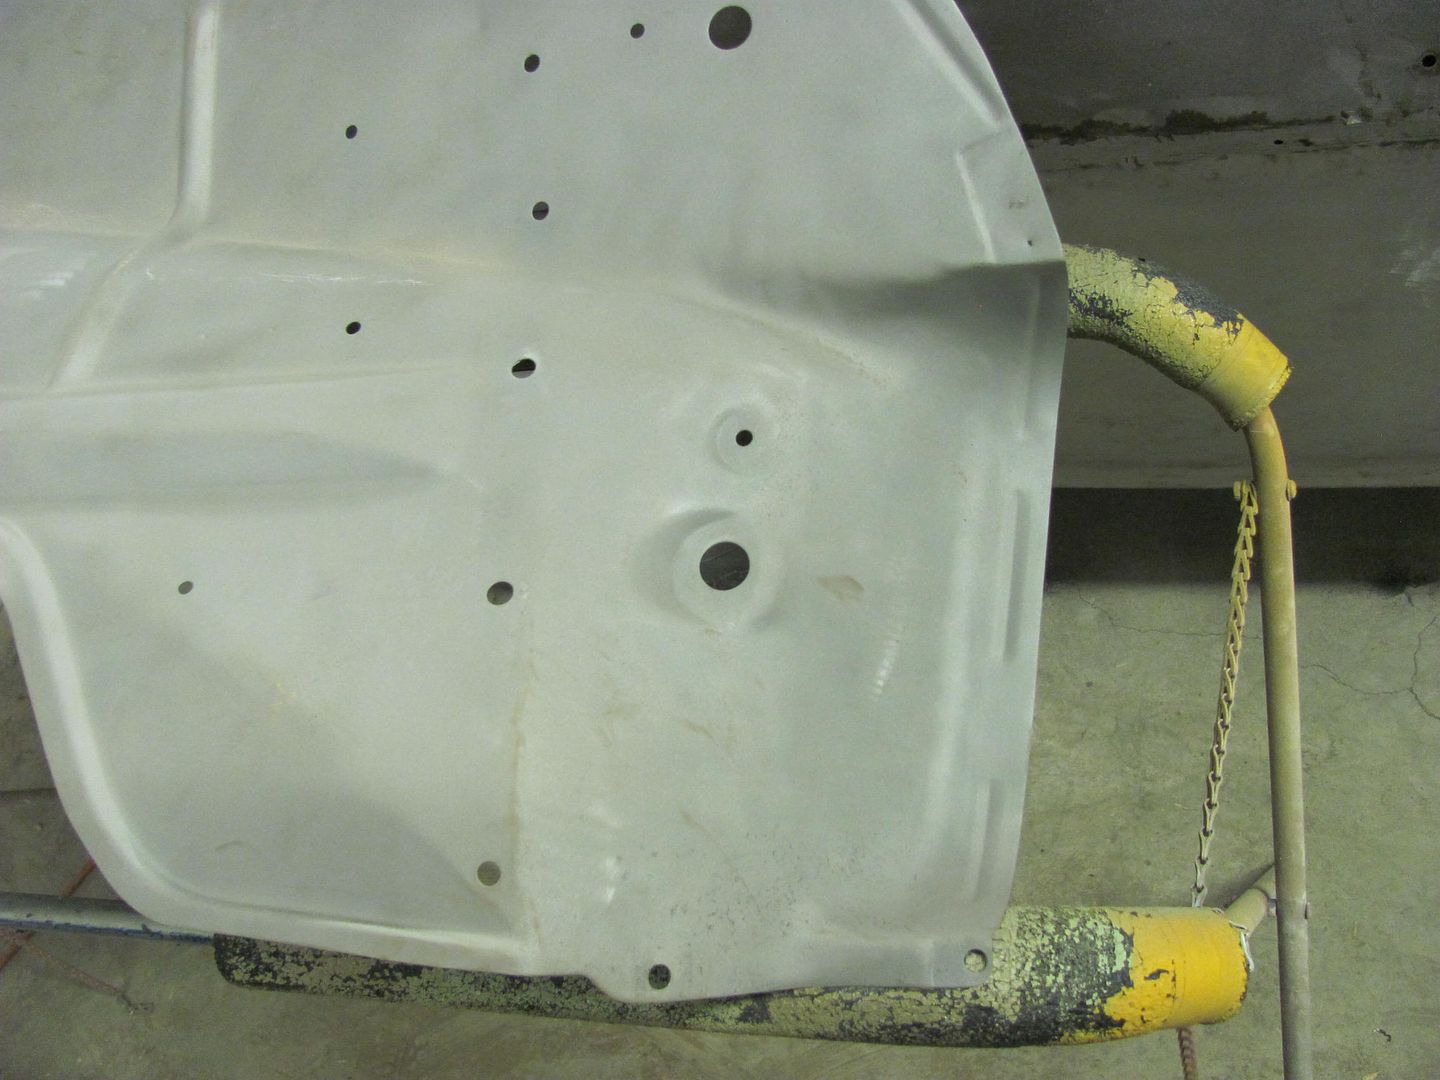
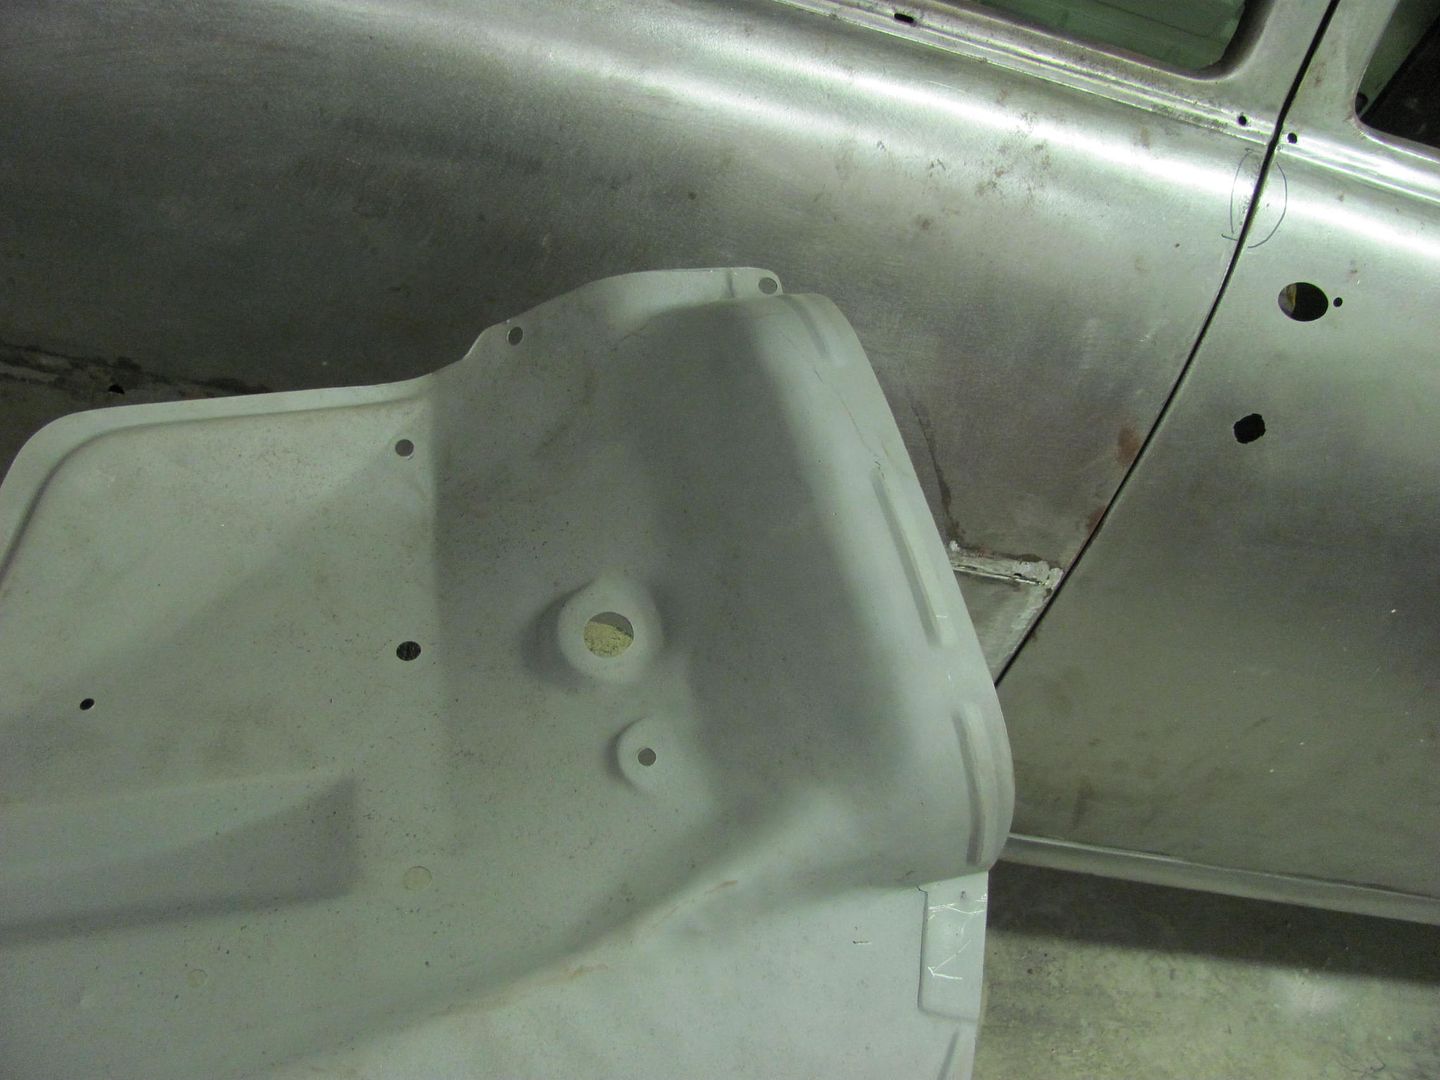
Next task will be to assemble the battery tray and send off the goodies for powder coating.Robert
-
09-20-2014 02:53 PM #9
I will toastyou too!"  "No matter where you go, there you are!" Steve.
-
09-22-2014 12:57 PM #10
- Join Date
- Apr 2011
- Location
- Prairie City
- Car Year, Make, Model: 40 Ford Deluxe, 68 Corvette, 72&76 K30
- Posts
- 7,298
- Blog Entries
- 1
Looking very nice!Ryan
1940 Ford Deluxe Tudor 354 Hemi 46RH Electric Blue w/multi-color flames, Ford 9" Residing in multiple pieces
1968 Corvette Coupe 5.9 Cummins Drag Car 11.43@130mph No stall leaving the line with 1250 rpm's and poor 2.2 60'
1972 Chevy K30 Longhorn P-pumped 24v Compound Turbos 47RH Just another money pit
1971 Camaro RS 5.3 BTR Stage 3 cam, SuperT10
Tire Sizes
-
09-23-2014 06:28 AM #11
O.K. got it now, appreciate that. Really look forward to your posts.
I belong to Metalmeet, good site, but some times it gets hard to follow. You seem to take the time to explain and illustrate things so that it's easy to understand. Thanks again.
-
09-24-2014 07:30 PM #12
Glad to help! I used to write work instructions at my previous job, so I think my posts have some of that influence...
Tonight we worked on fitting the new Gene Smith grille components. It started with the mandatory instructions...
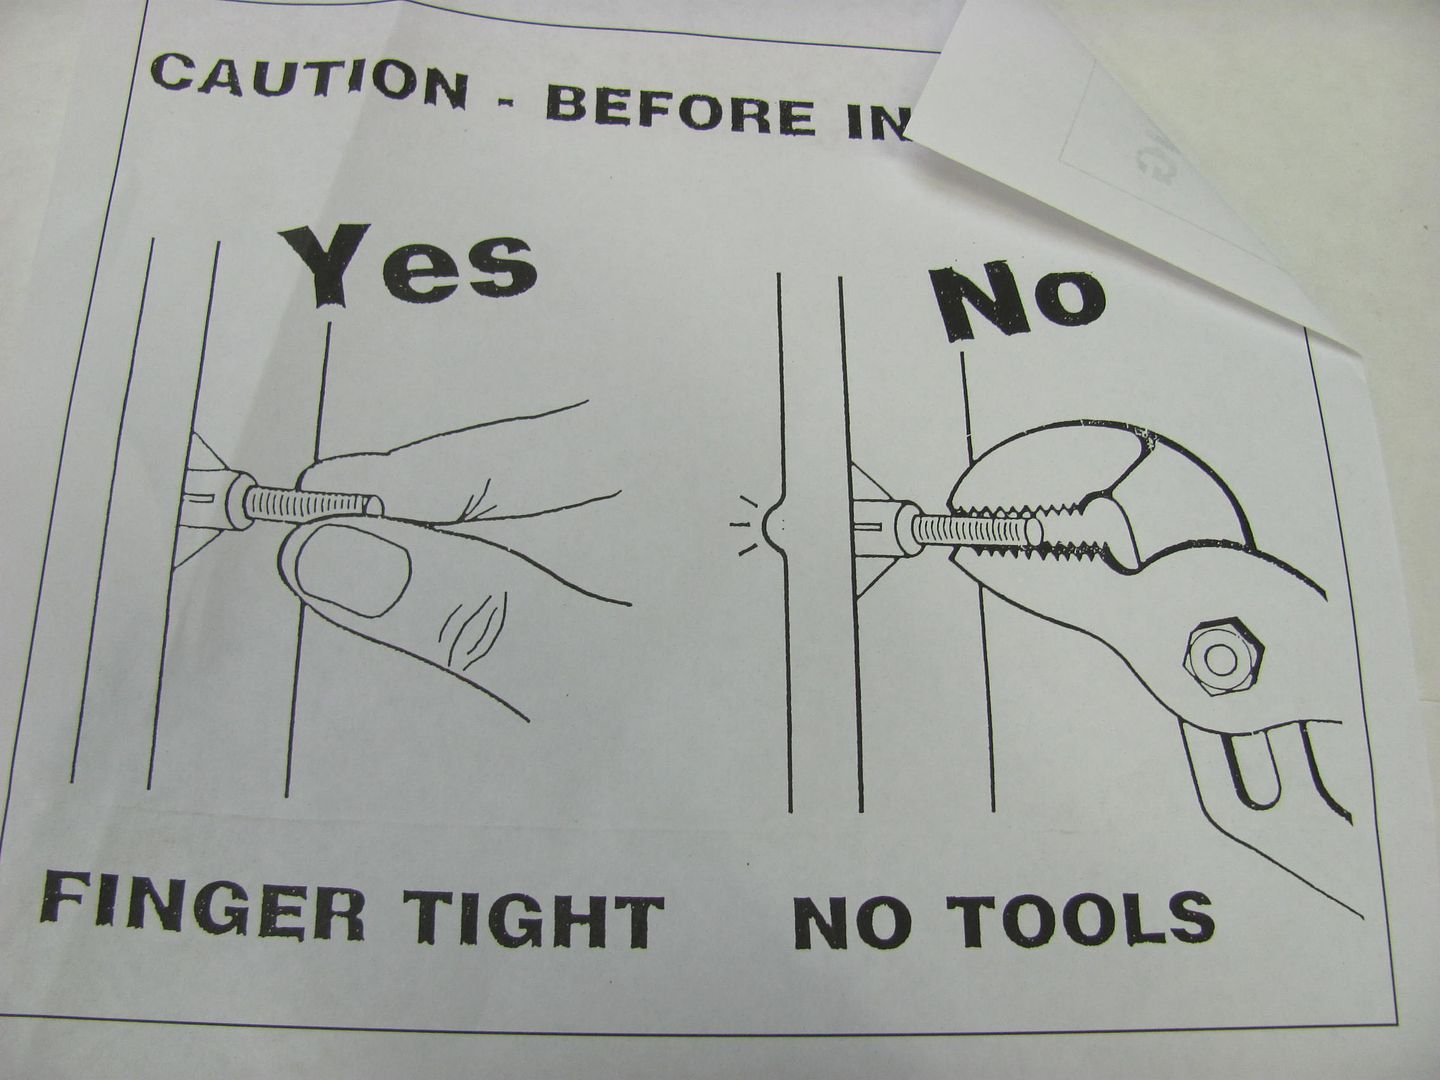
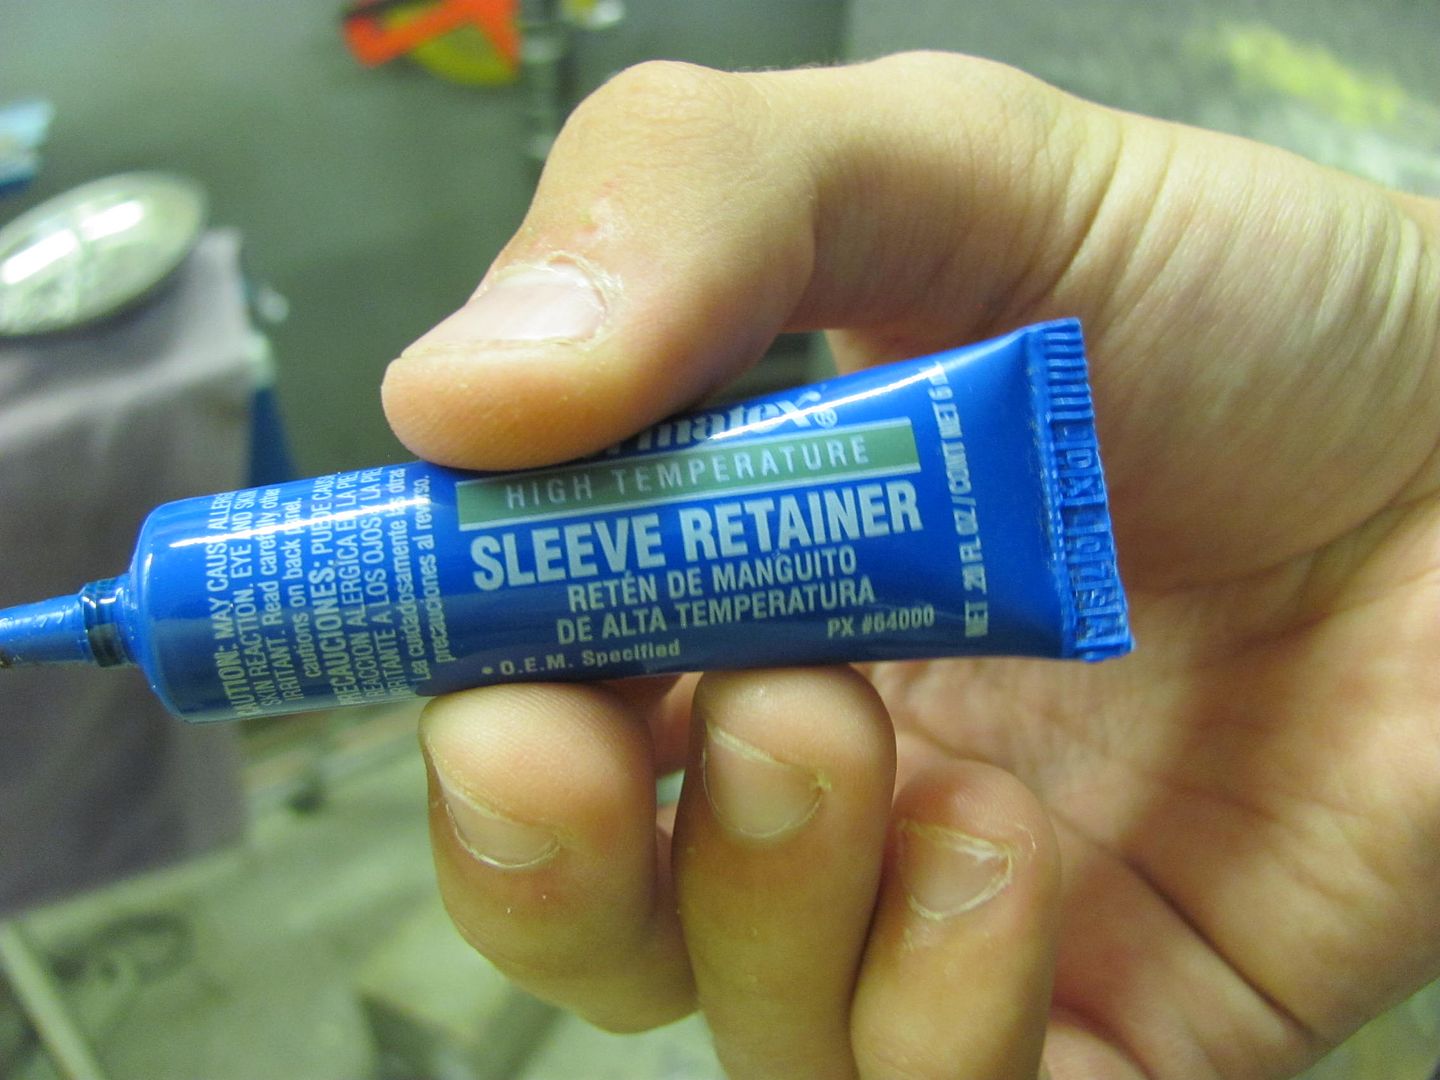
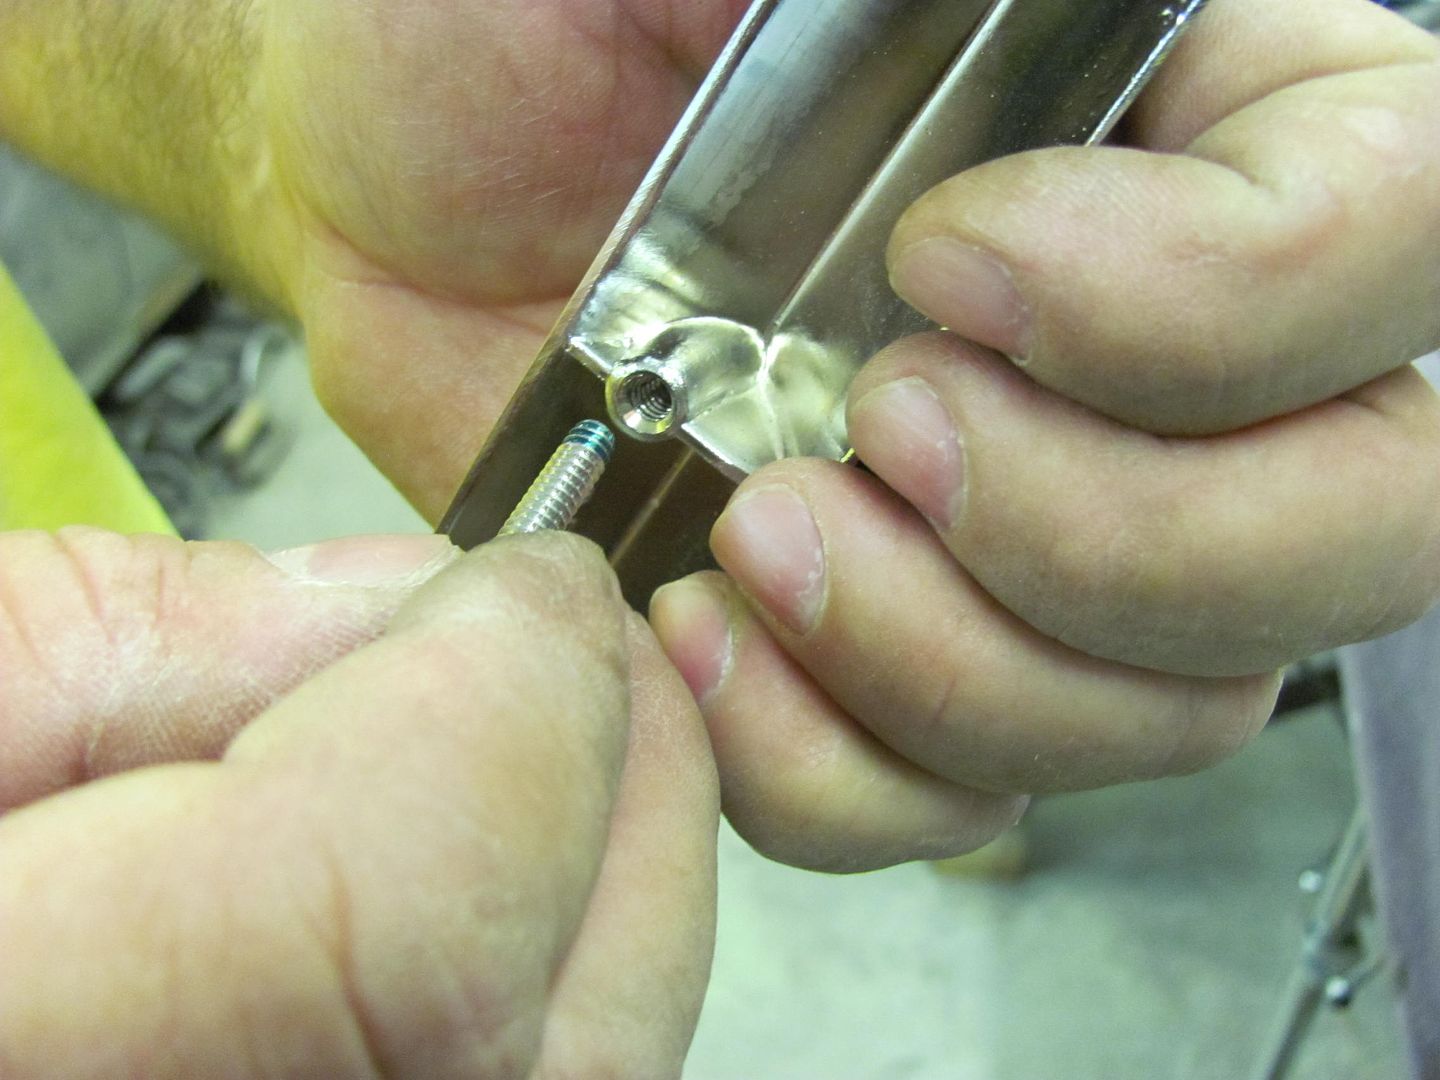
To insure the studs didn't move once hand tightened, some thread lock stuff was used... We did find the qty of hardware was short by two each, and after a quick call to Gene Smith, Fred has some on the way for us..
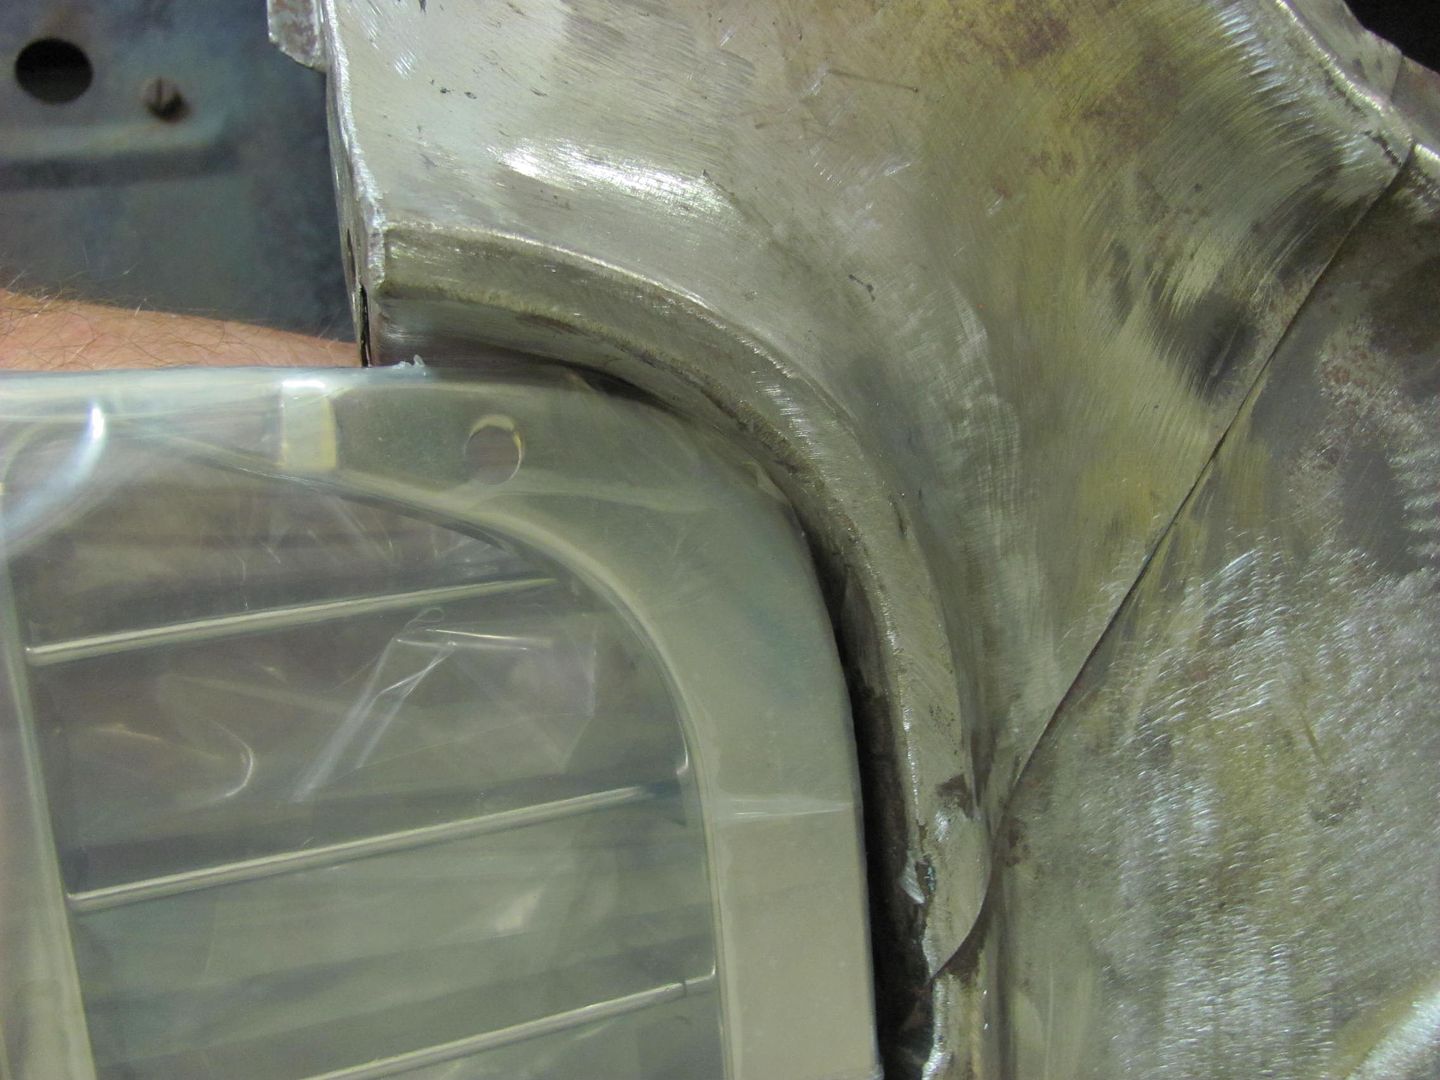
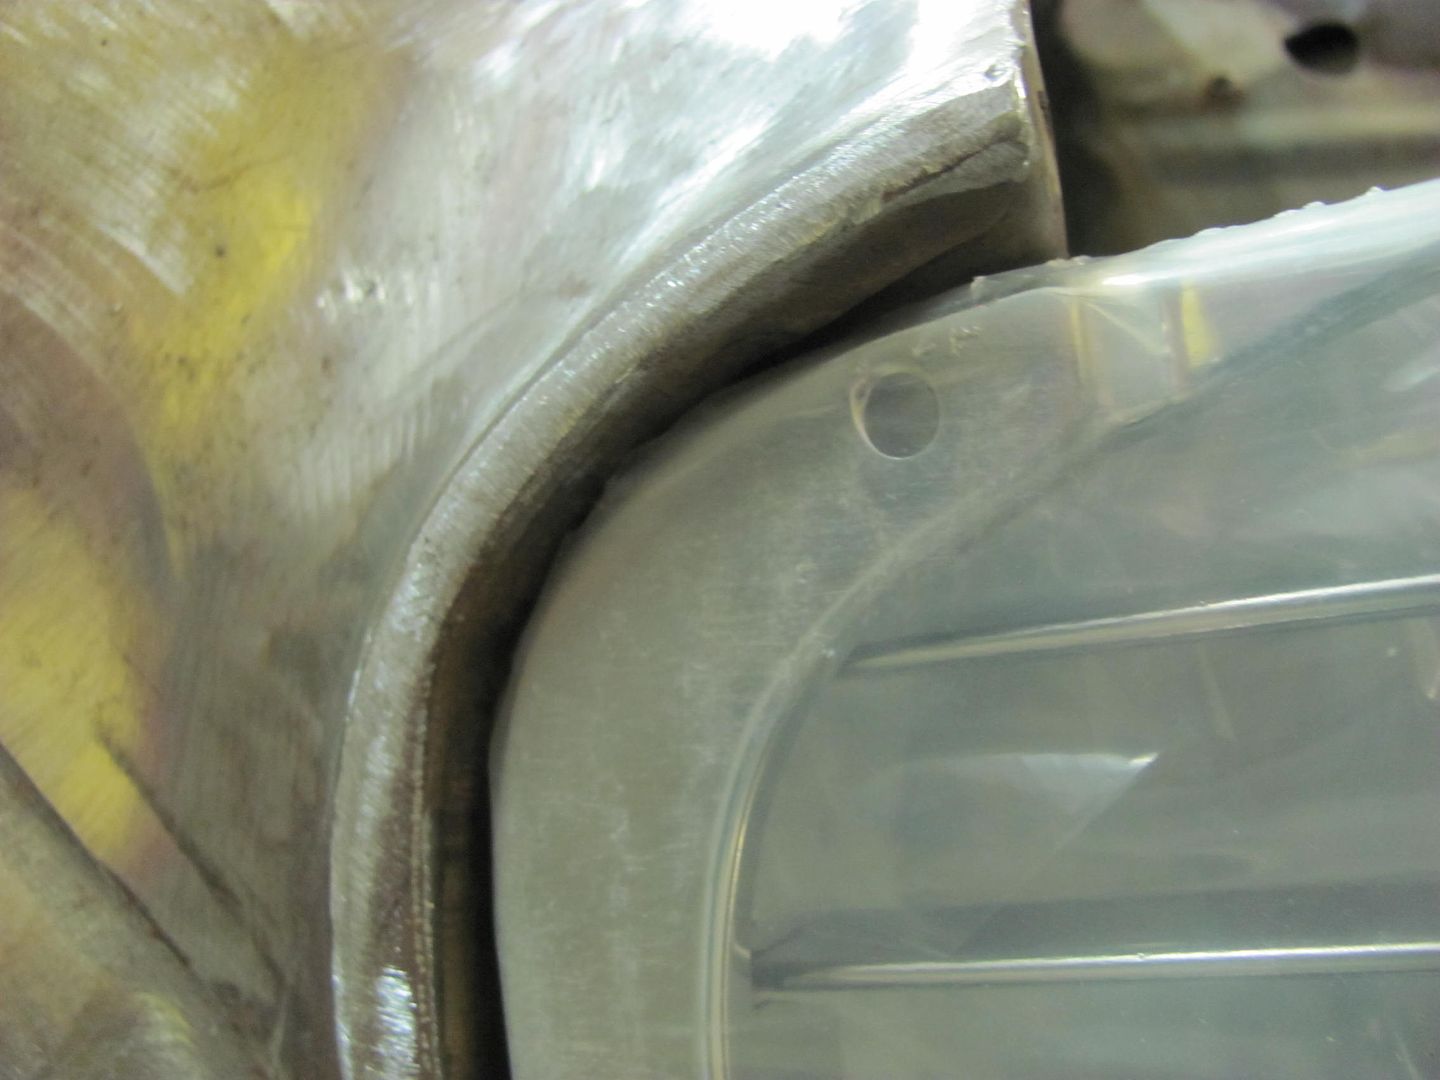
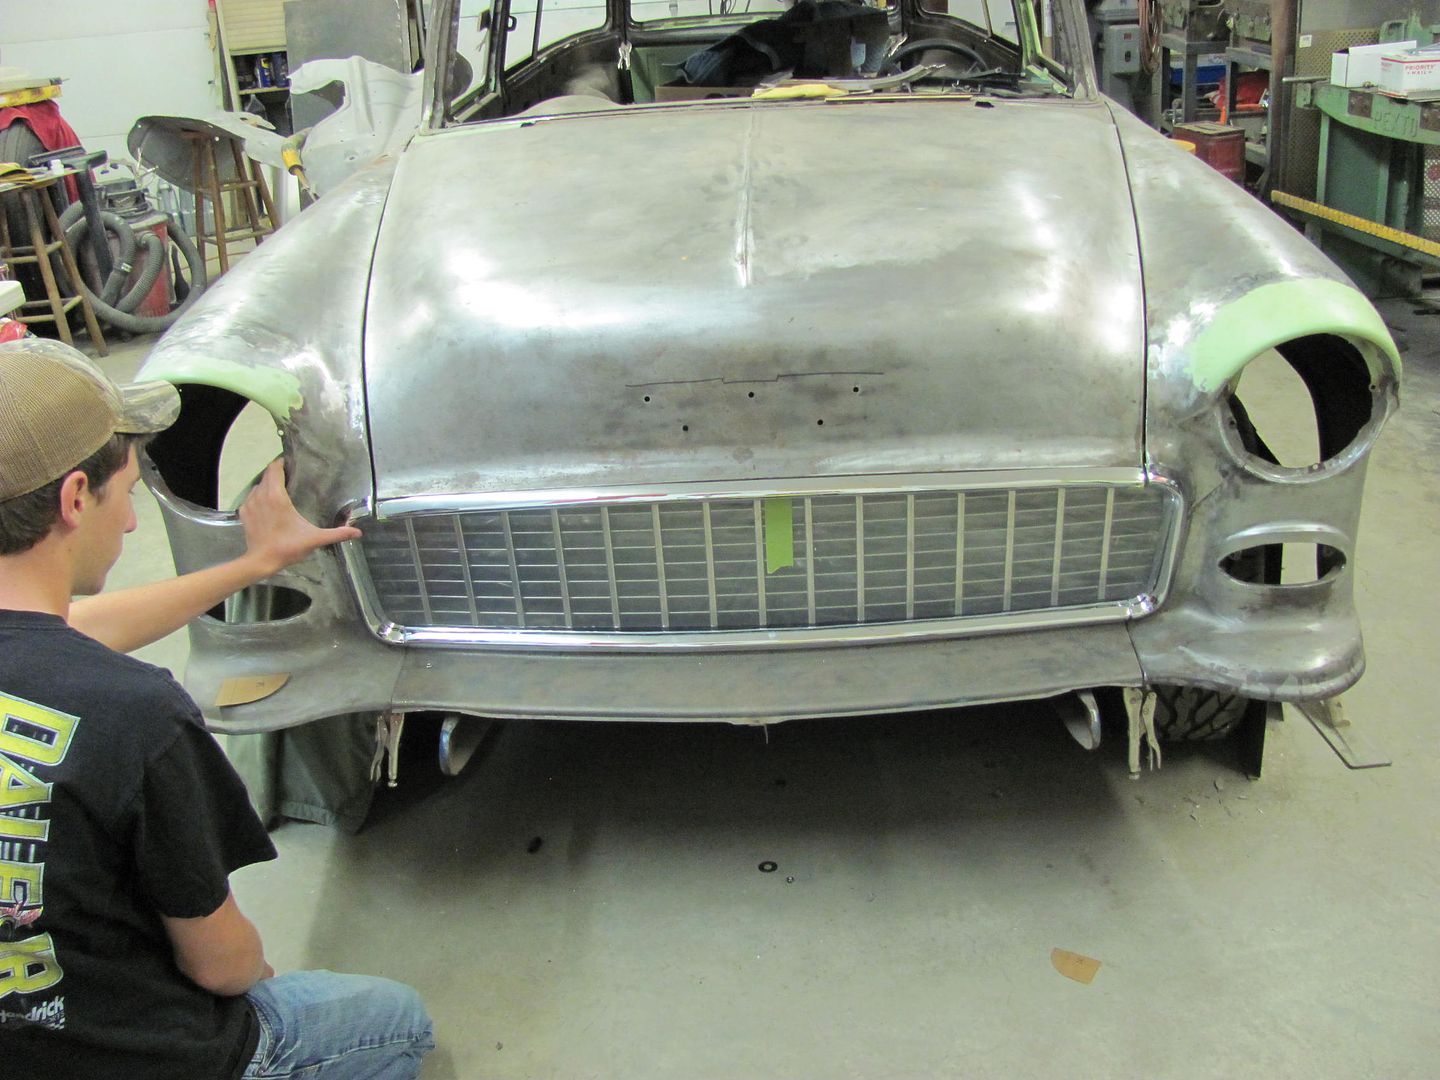
The new grille fits just like the old one, it is VERY tight in the top corners..
To eliminate the paint rub syndrome and other possible front end squeaks from metal on metal, some templates were made so we can do some hammering on the new grille... and keep a consistent distance between.
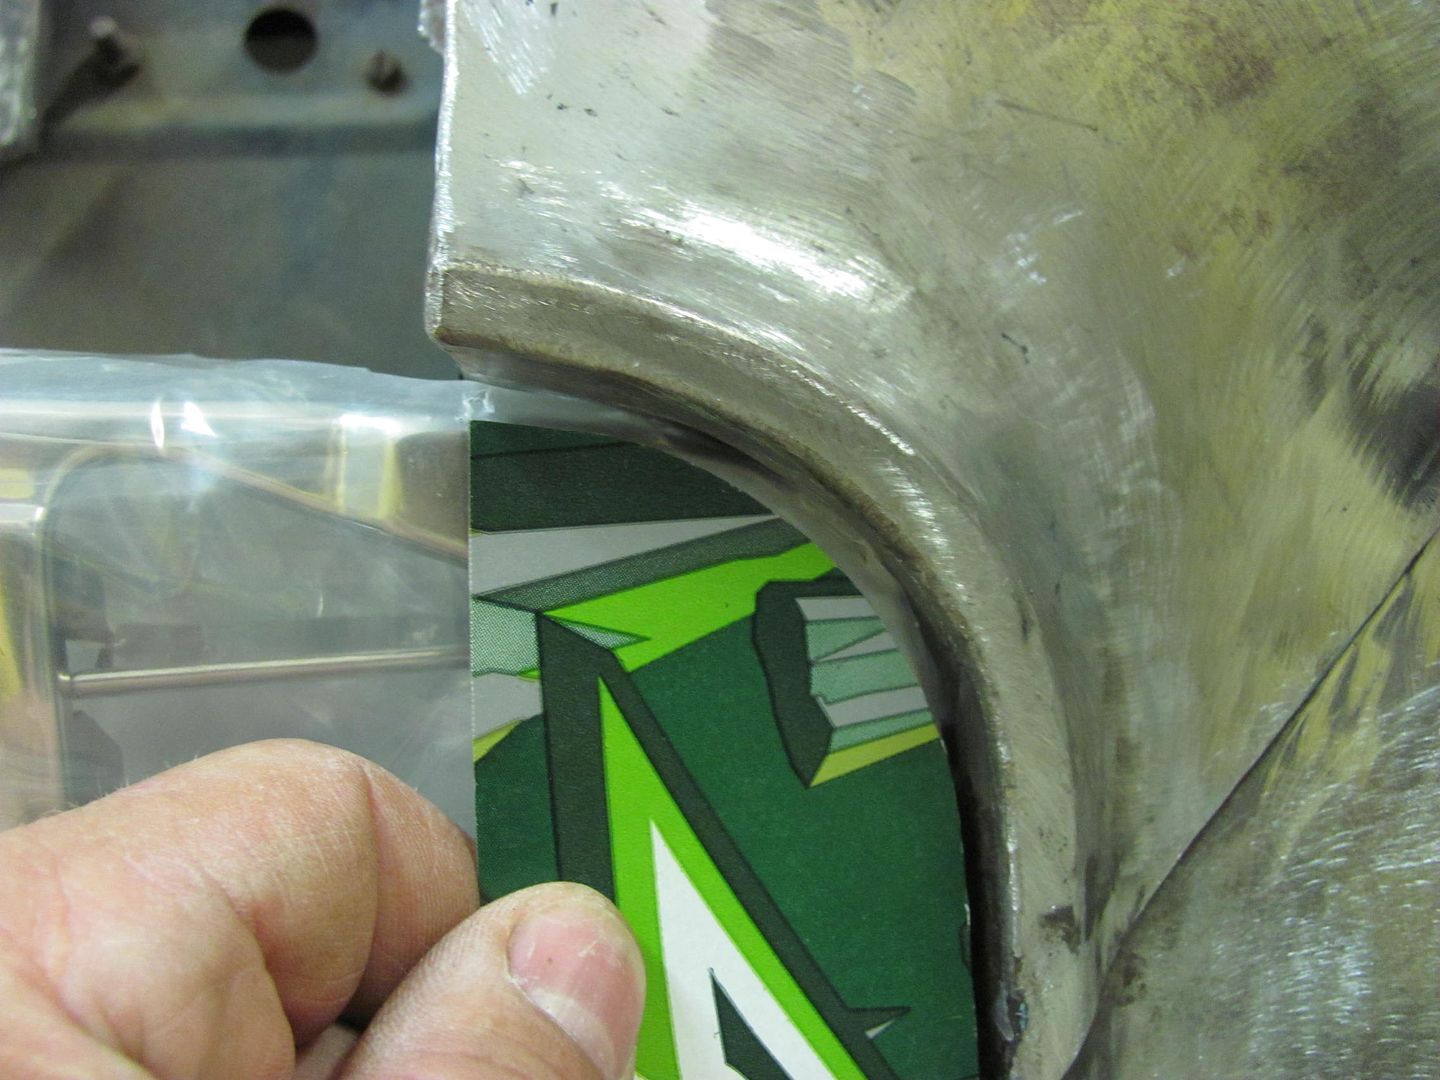
Initial fitment:
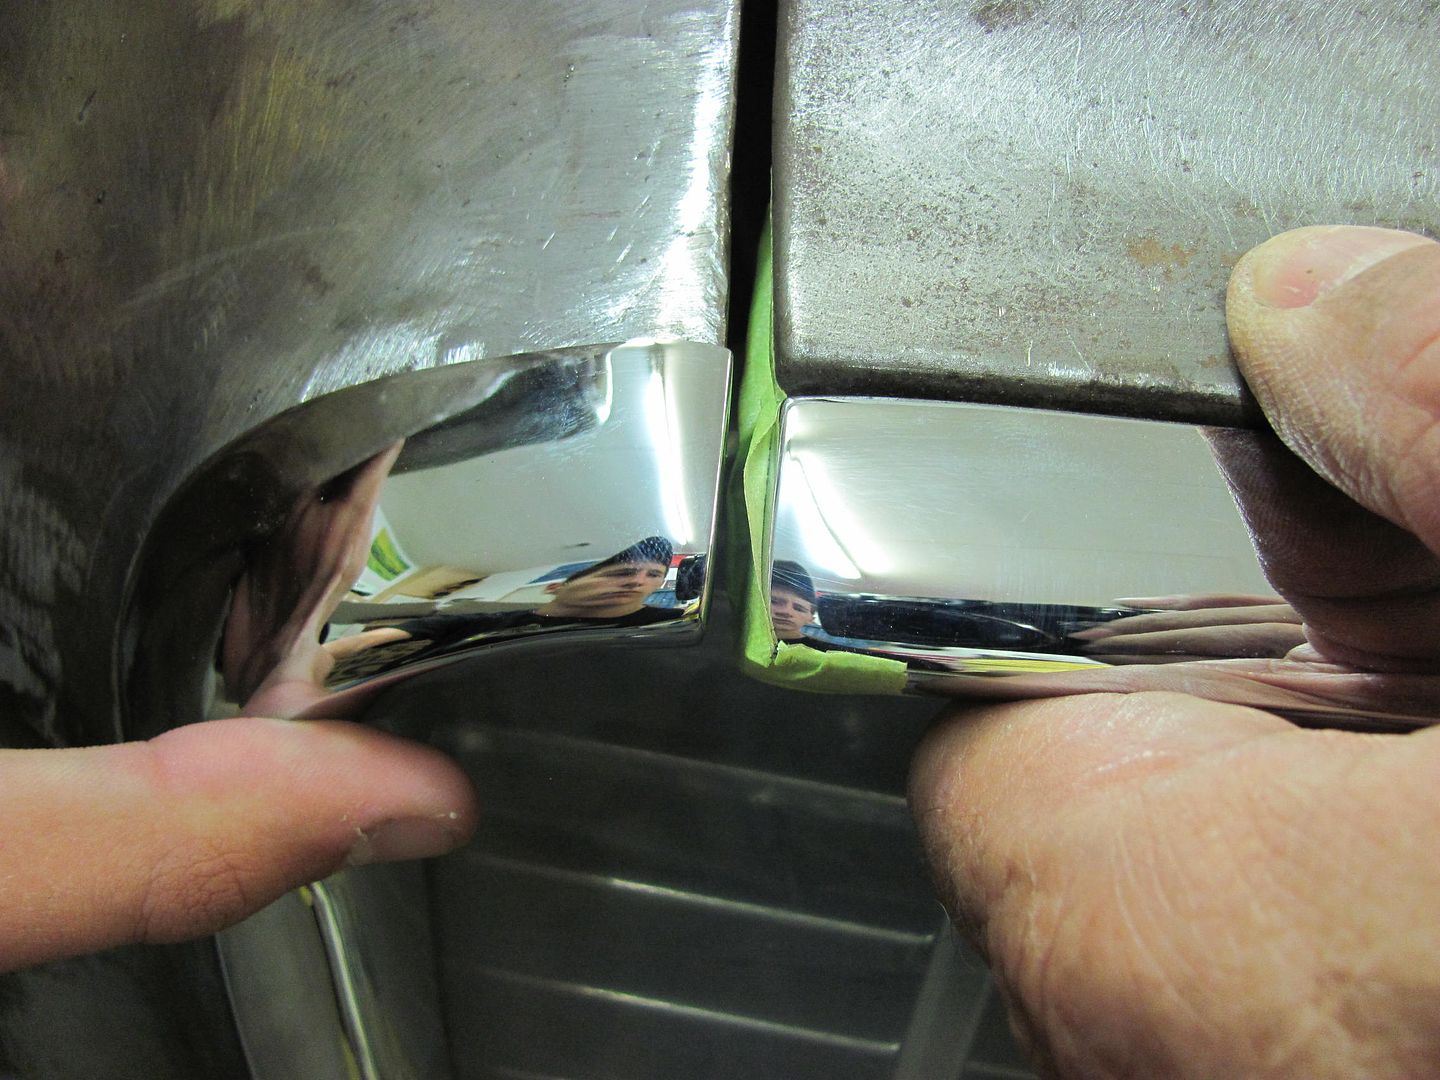
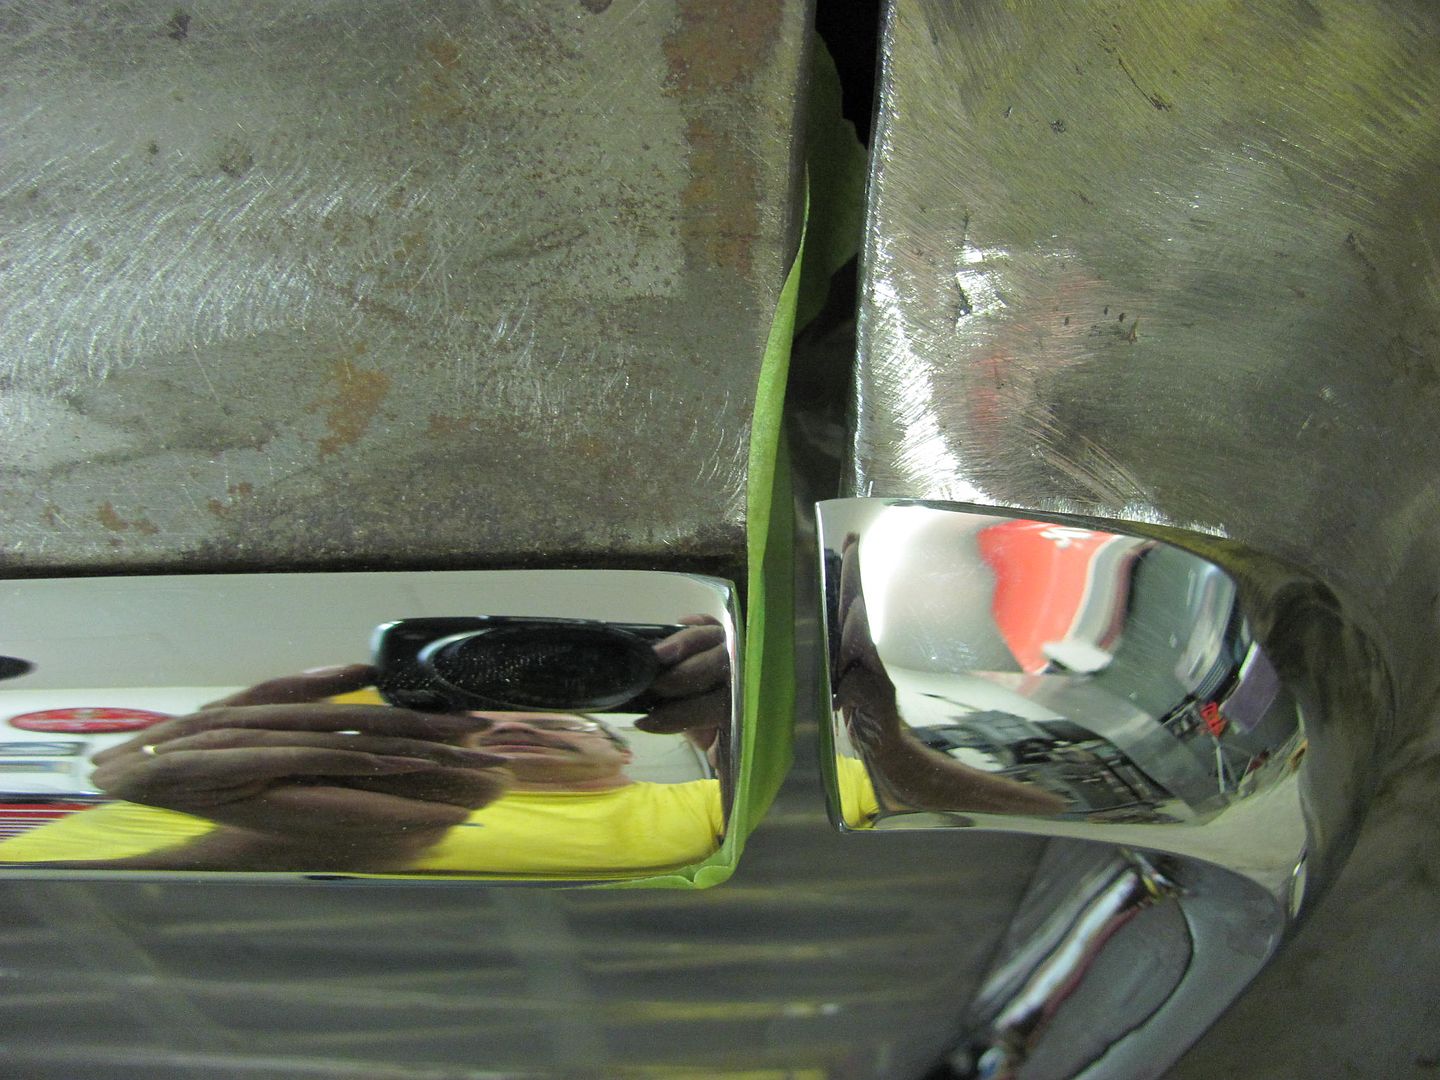
Where the passenger side fit fairly well initially, the drivers side showed some rocking and gap issue.
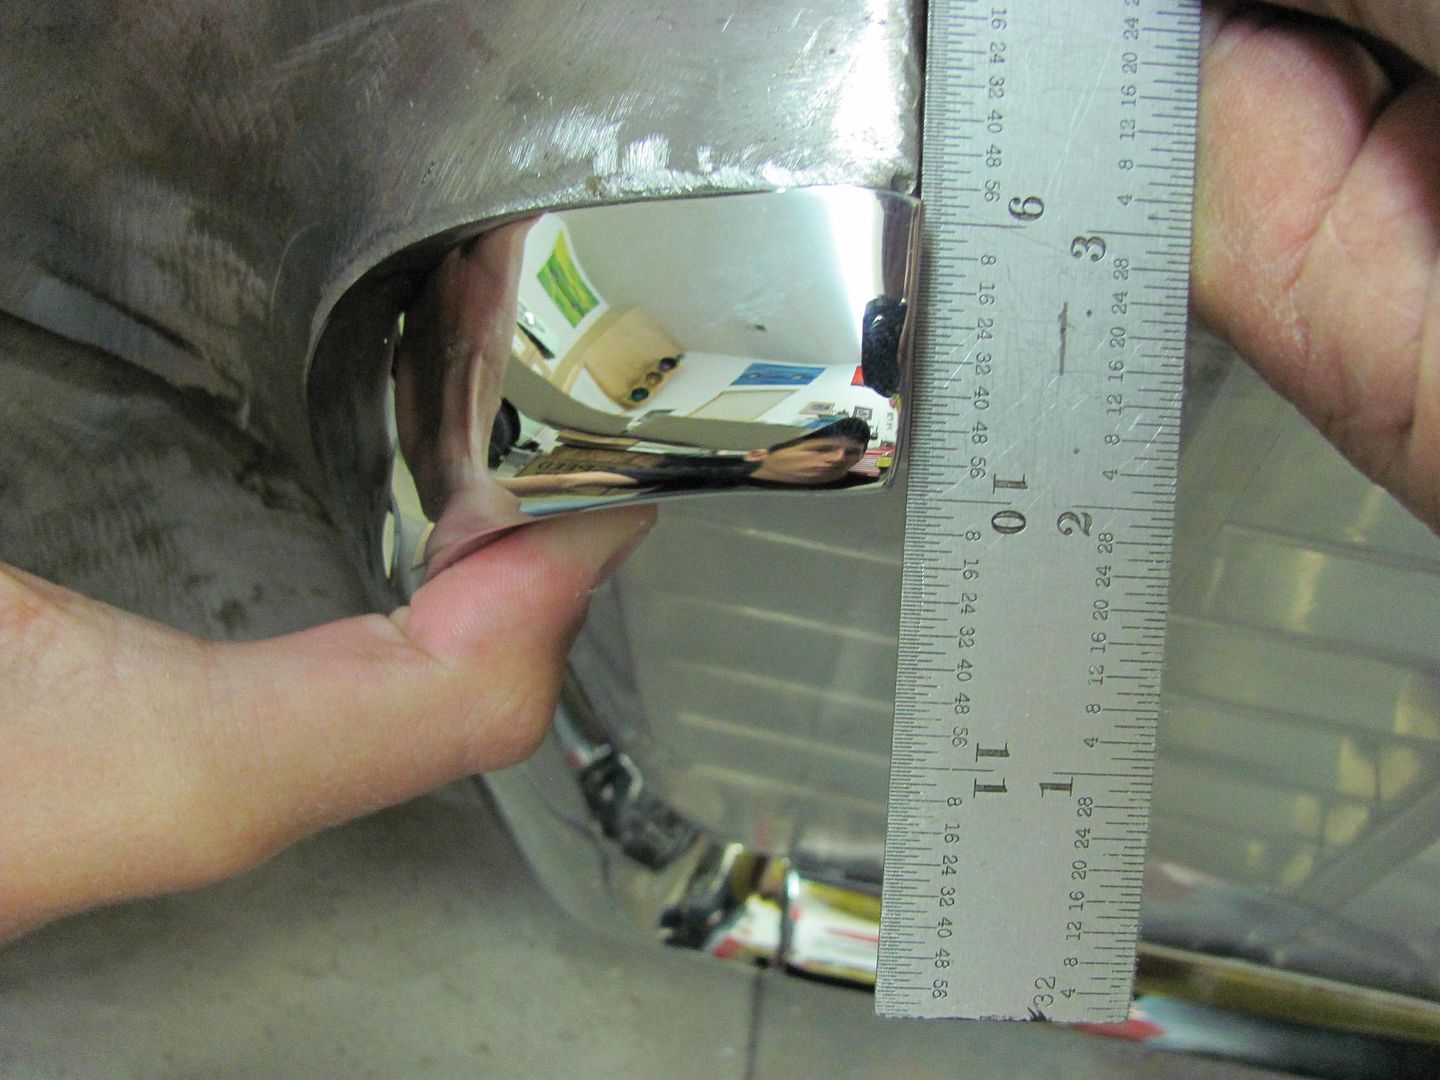
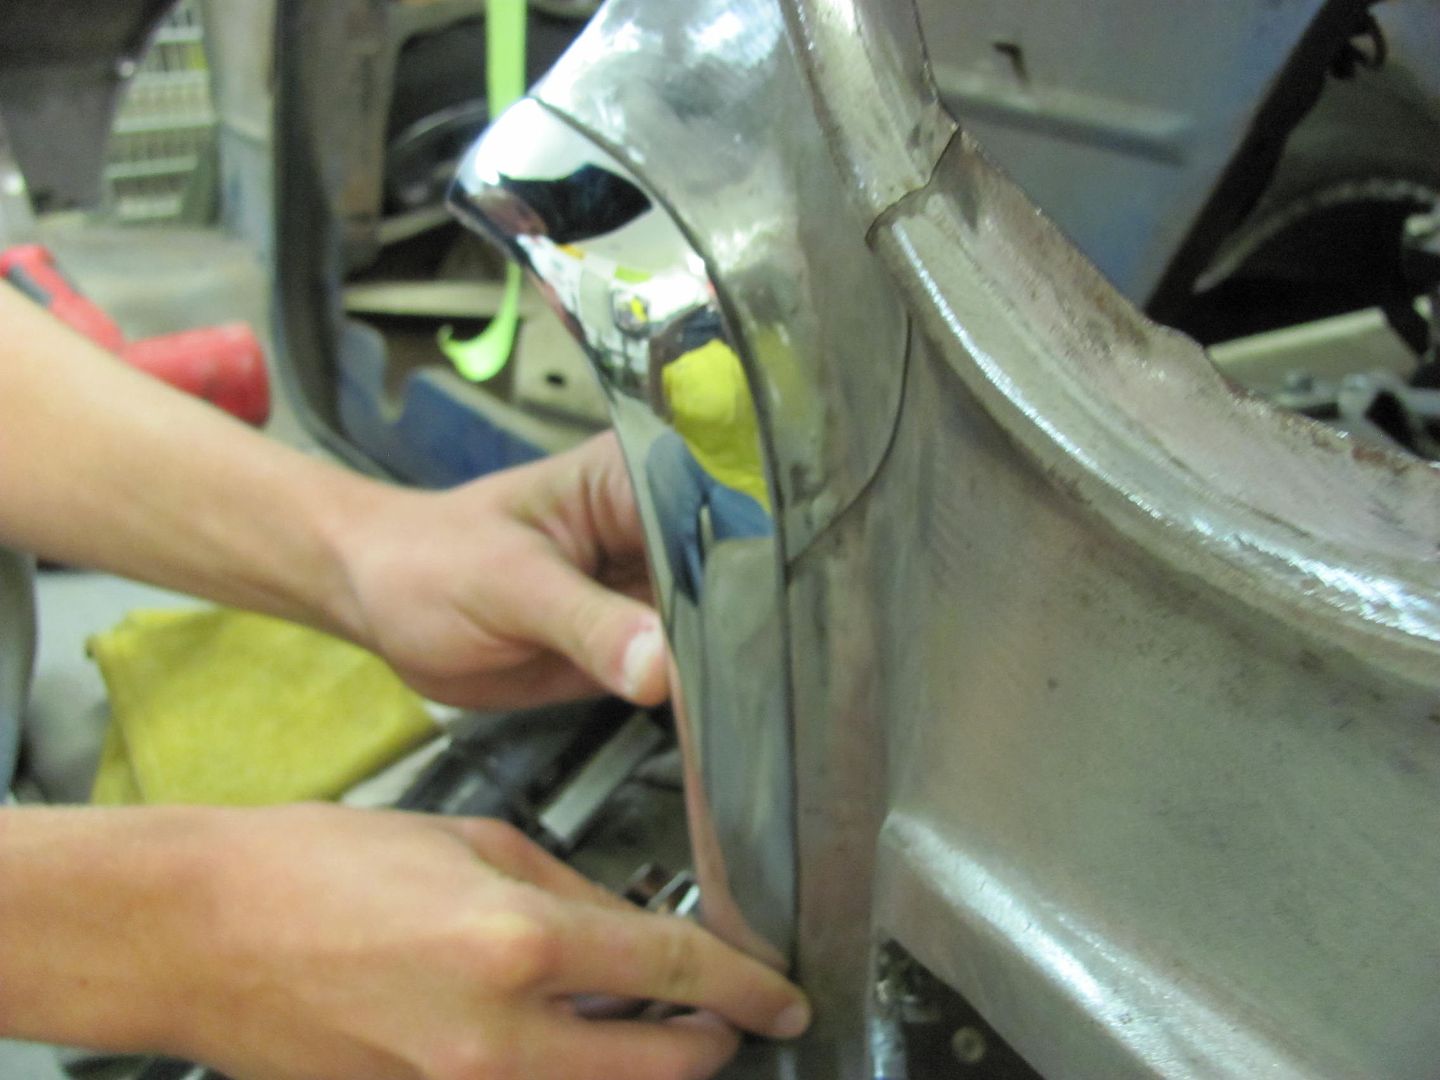
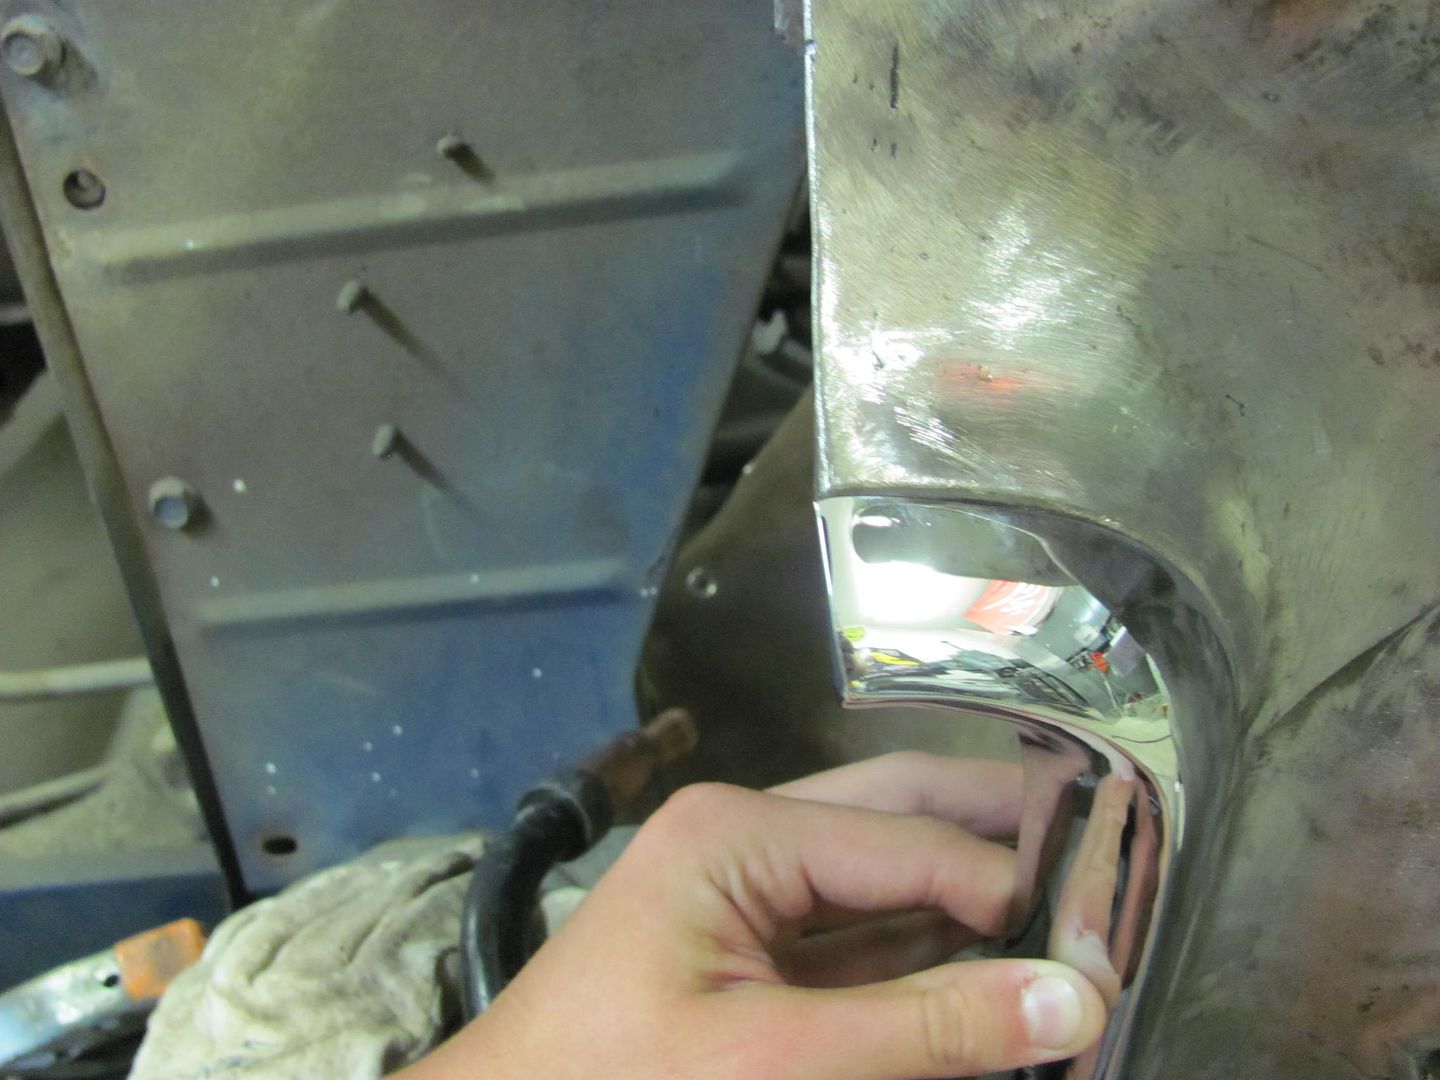
I initially thought the driver's side piece was mis-shapen, but in placing them side by side they were pretty much a mirror image. Checking the front edge of the opening with a straight edge, the passenger side showed to be good and straight, the driver's side had a depressed area. This likely occurred when some fender shaving and rust repairs were performed, without the luxury of the chrome pieces for fitment. So some relief cuts were made to bring out the low area of the opening...
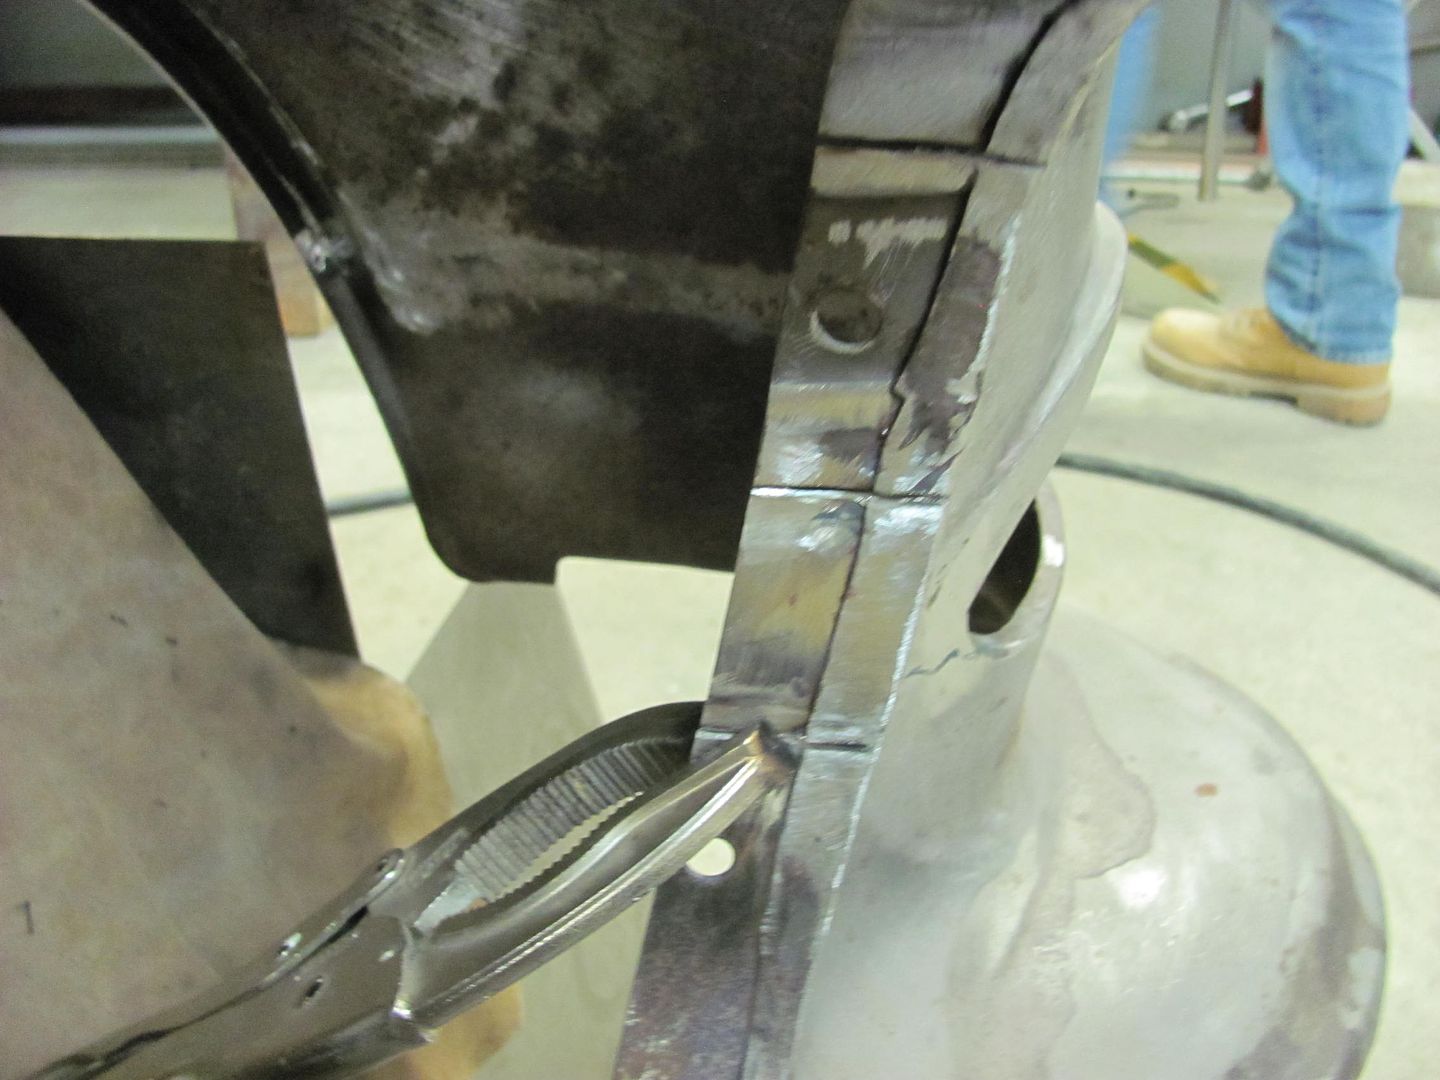
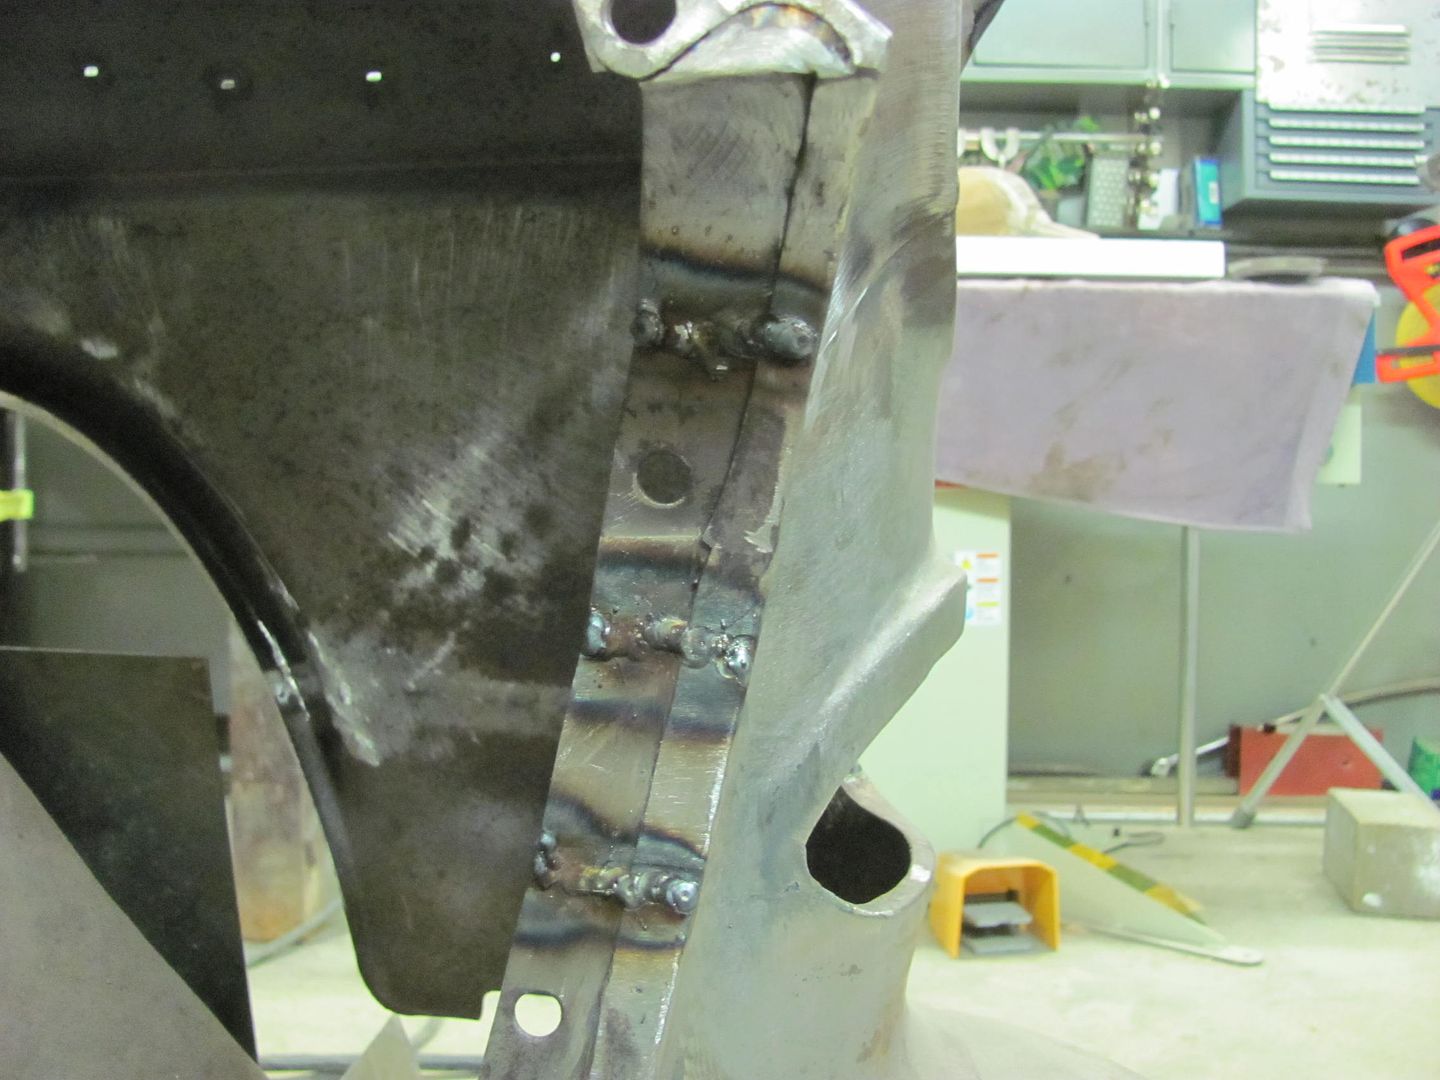
....for a drastic improvement in the fitment.
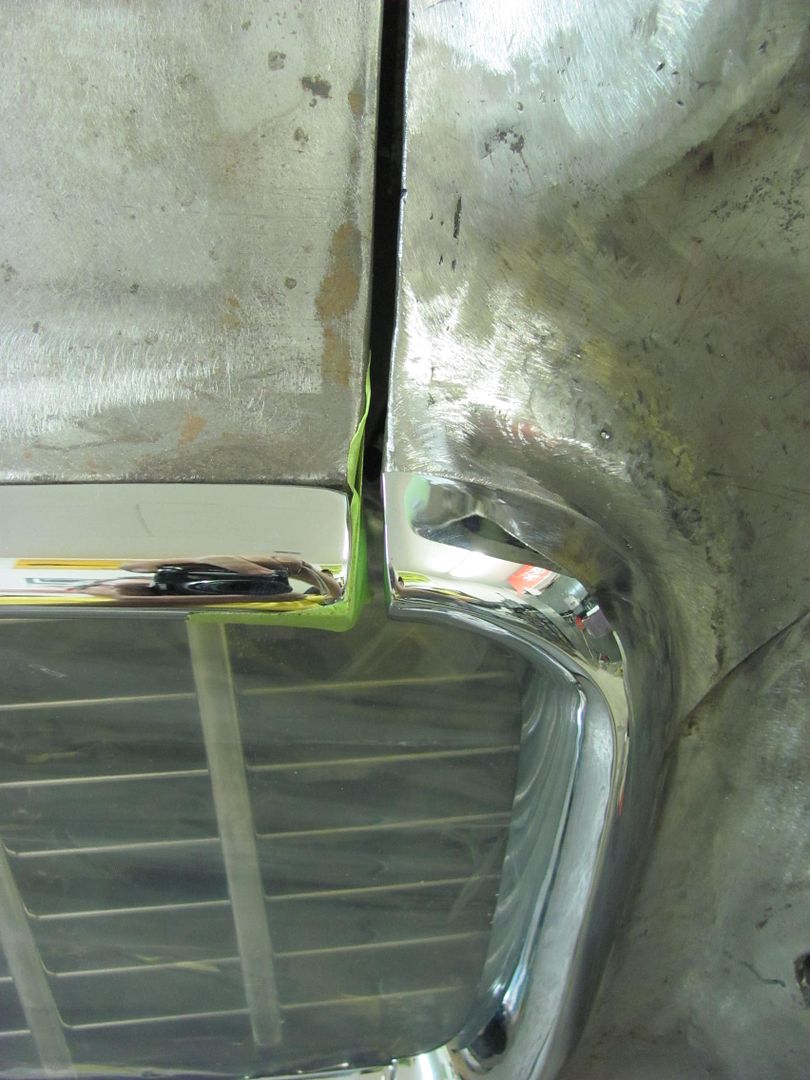
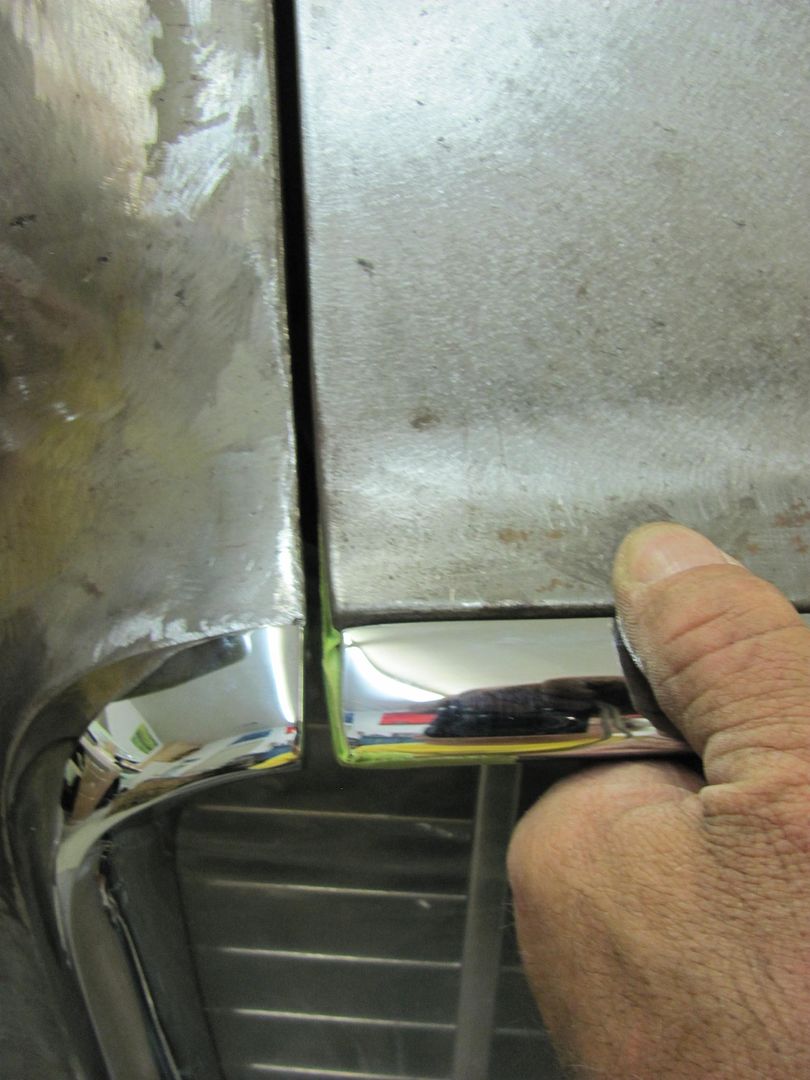
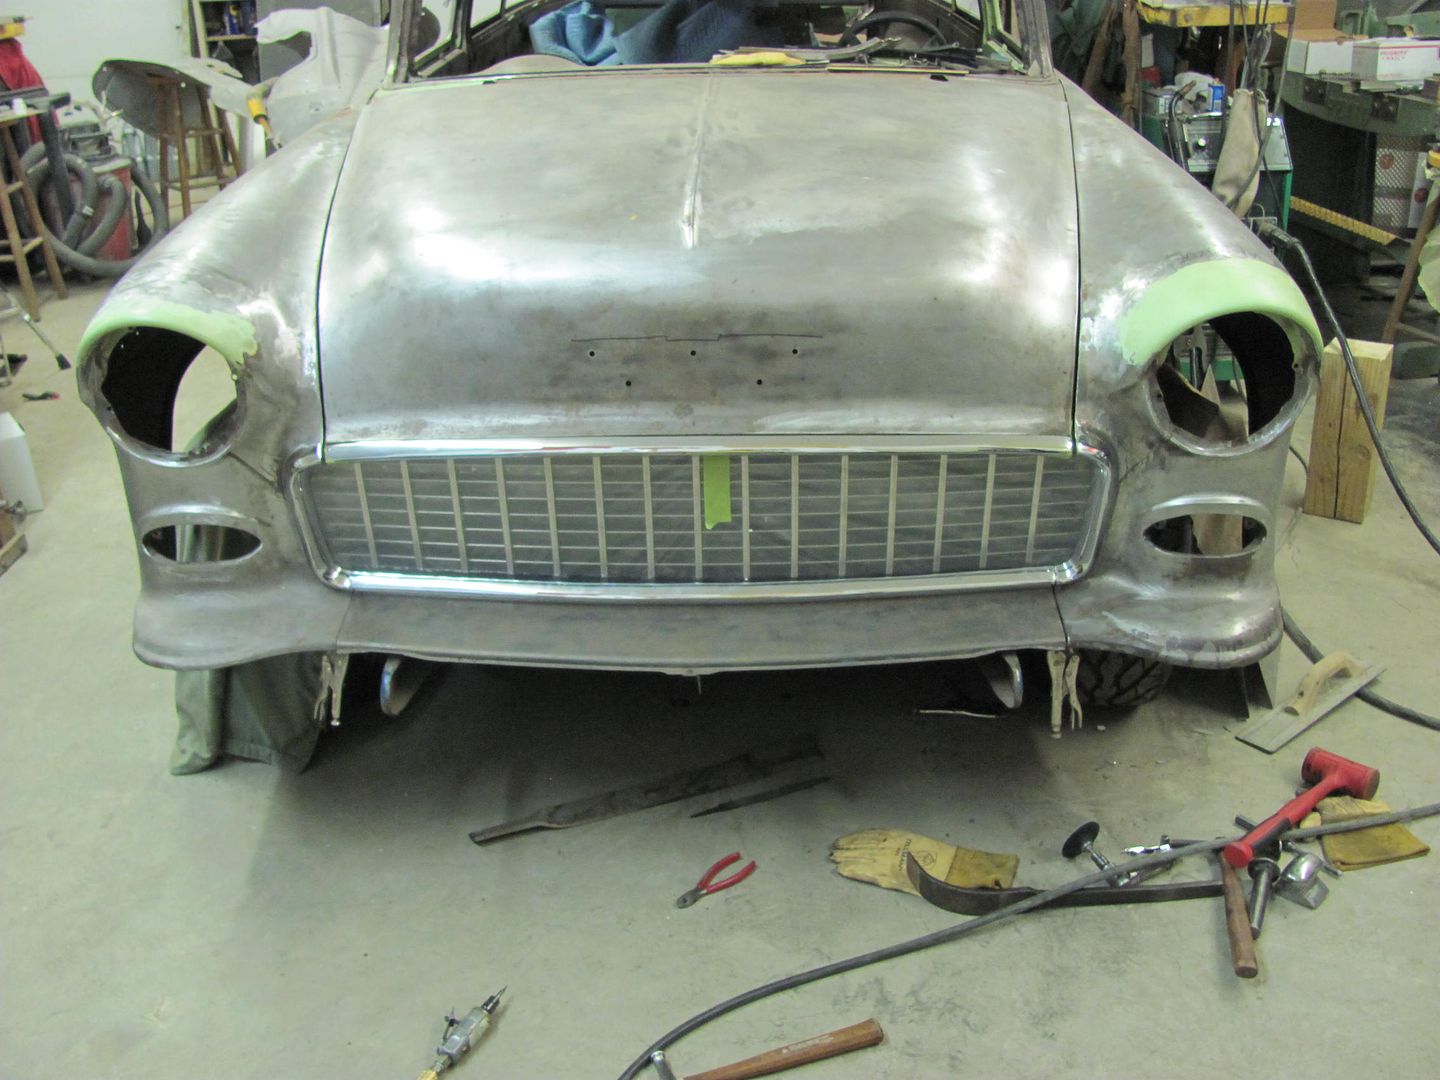
The surround trim studs did have some alignment issues with the grille. One of these "tweaking" devices is highly recommended to fine tune the fitment..
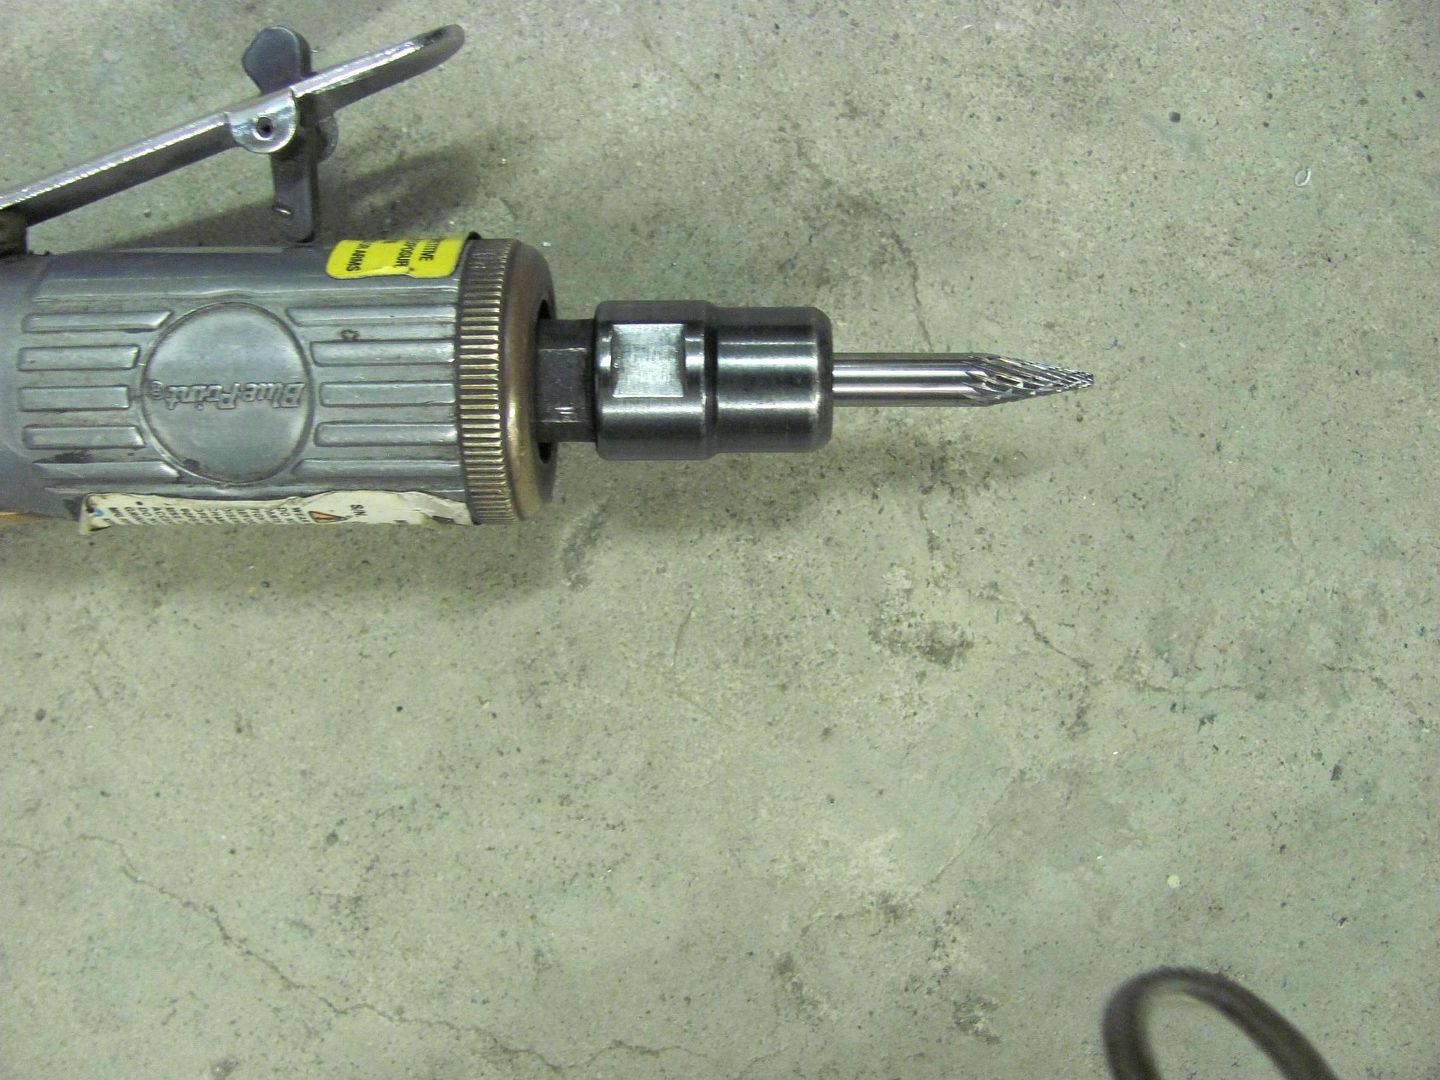
Robert
-
09-24-2014 11:27 PM #13
- Join Date
- Apr 2011
- Location
- Prairie City
- Car Year, Make, Model: 40 Ford Deluxe, 68 Corvette, 72&76 K30
- Posts
- 7,298
- Blog Entries
- 1
Very nice work. It's looking really sweet!Ryan
1940 Ford Deluxe Tudor 354 Hemi 46RH Electric Blue w/multi-color flames, Ford 9" Residing in multiple pieces
1968 Corvette Coupe 5.9 Cummins Drag Car 11.43@130mph No stall leaving the line with 1250 rpm's and poor 2.2 60'
1972 Chevy K30 Longhorn P-pumped 24v Compound Turbos 47RH Just another money pit
1971 Camaro RS 5.3 BTR Stage 3 cam, SuperT10
Tire Sizes
-
09-25-2014 05:18 AM #14
That tweaking device get a work out around here, with bigger deburr cutters. hahahaCharlie
Lovin' what I do and doing what I love
Some guys can fix broken NO ONE can fix STUPID
W8AMR
http://fishertrains94.webs.com/
Christian in training
-
09-27-2014 03:36 PM #15
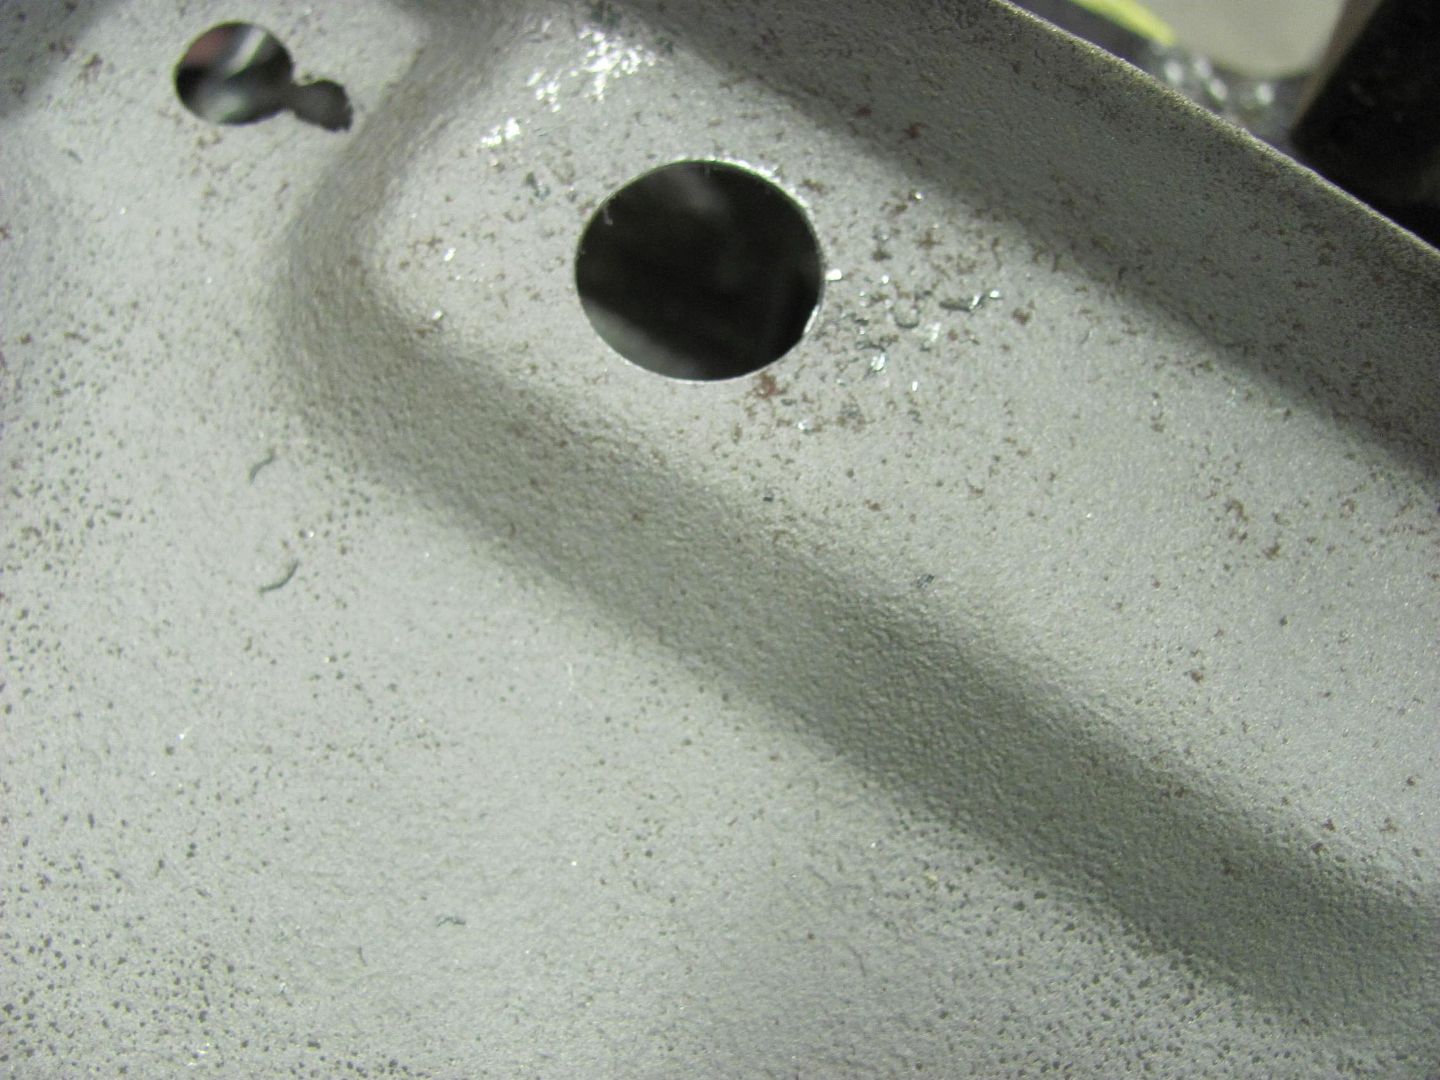
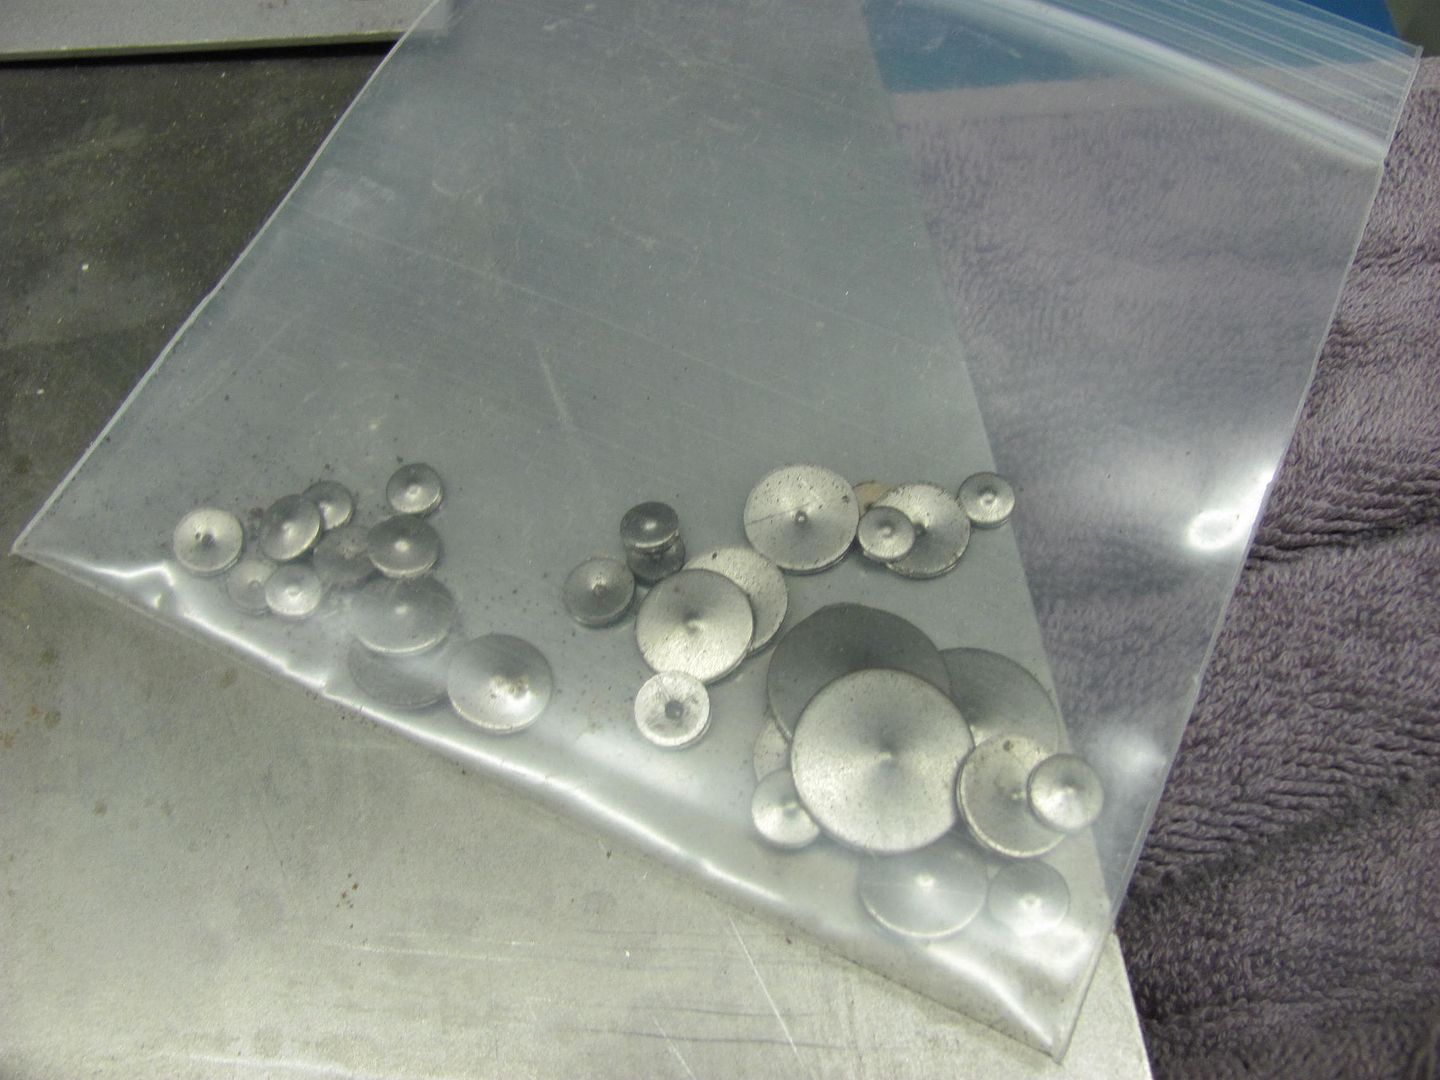
Today we worked on filling some holes in the battery trays. Hard to drill out a slot, so we clamped on a plate with a pilot hole to use with the Blue Point sheet metal hole cutter:
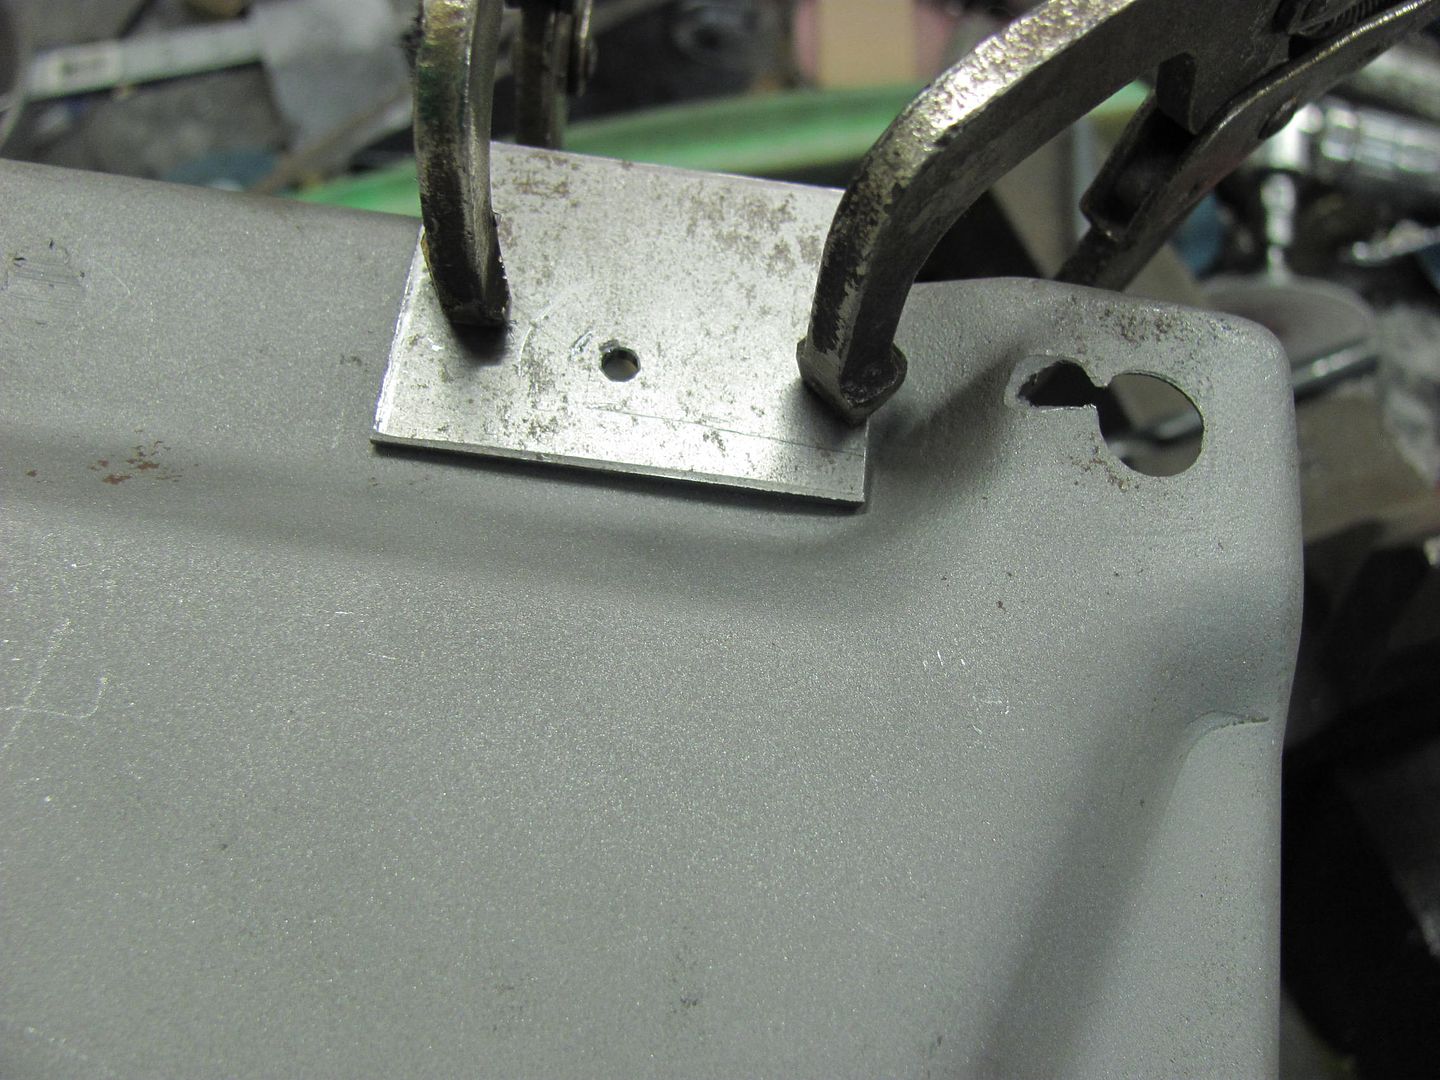
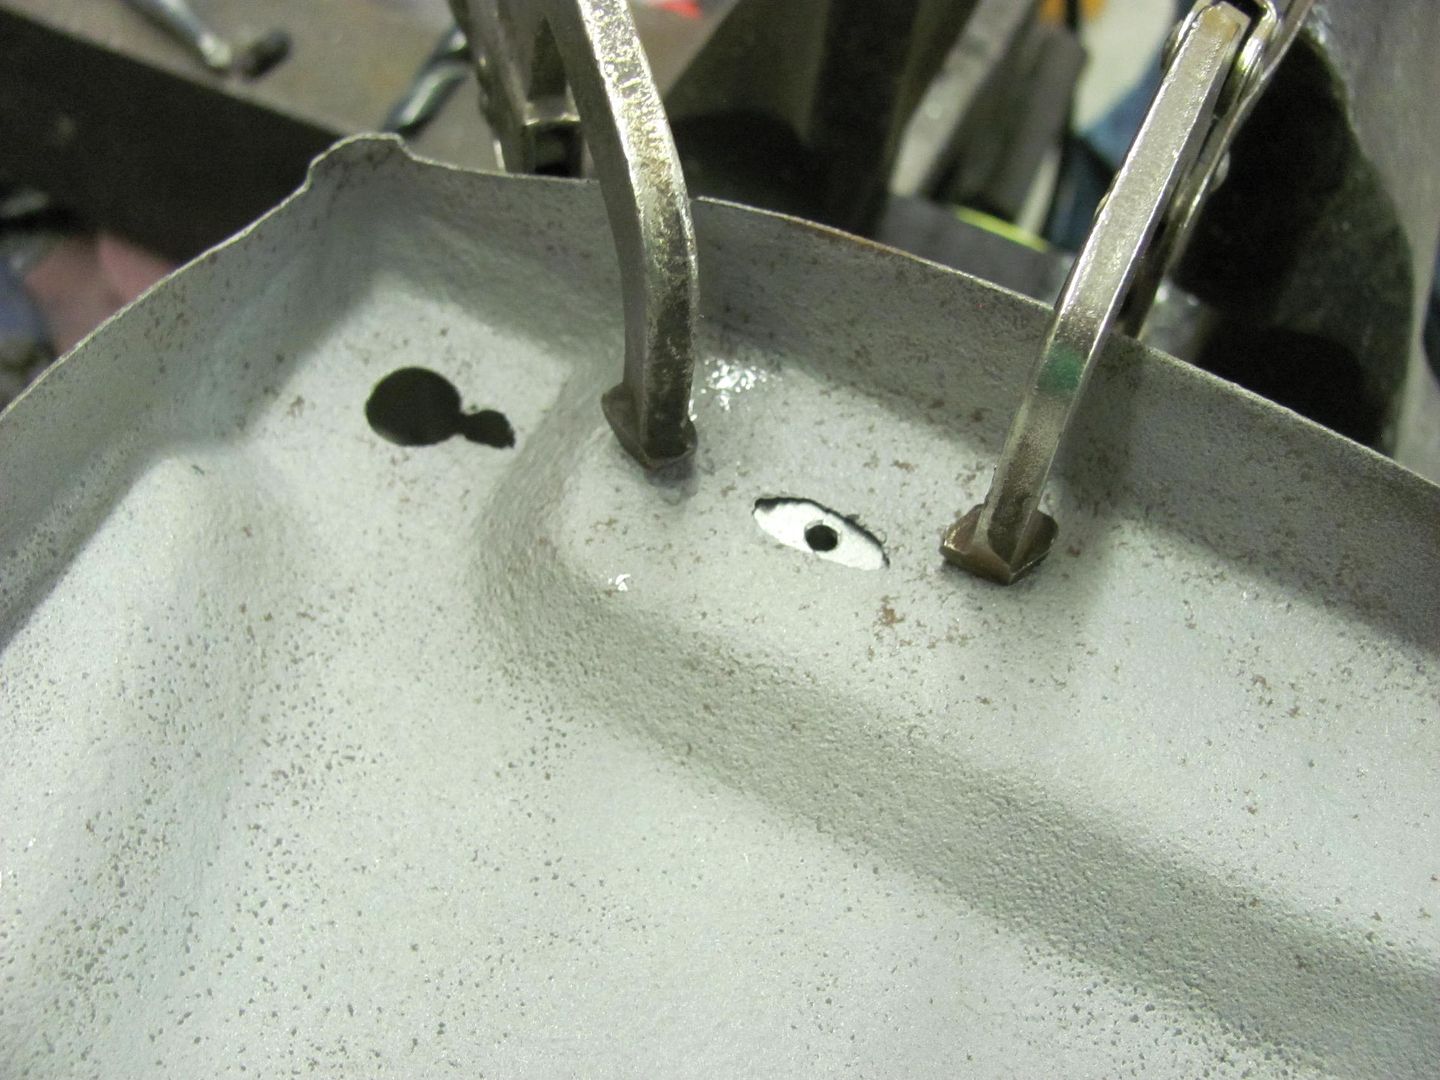
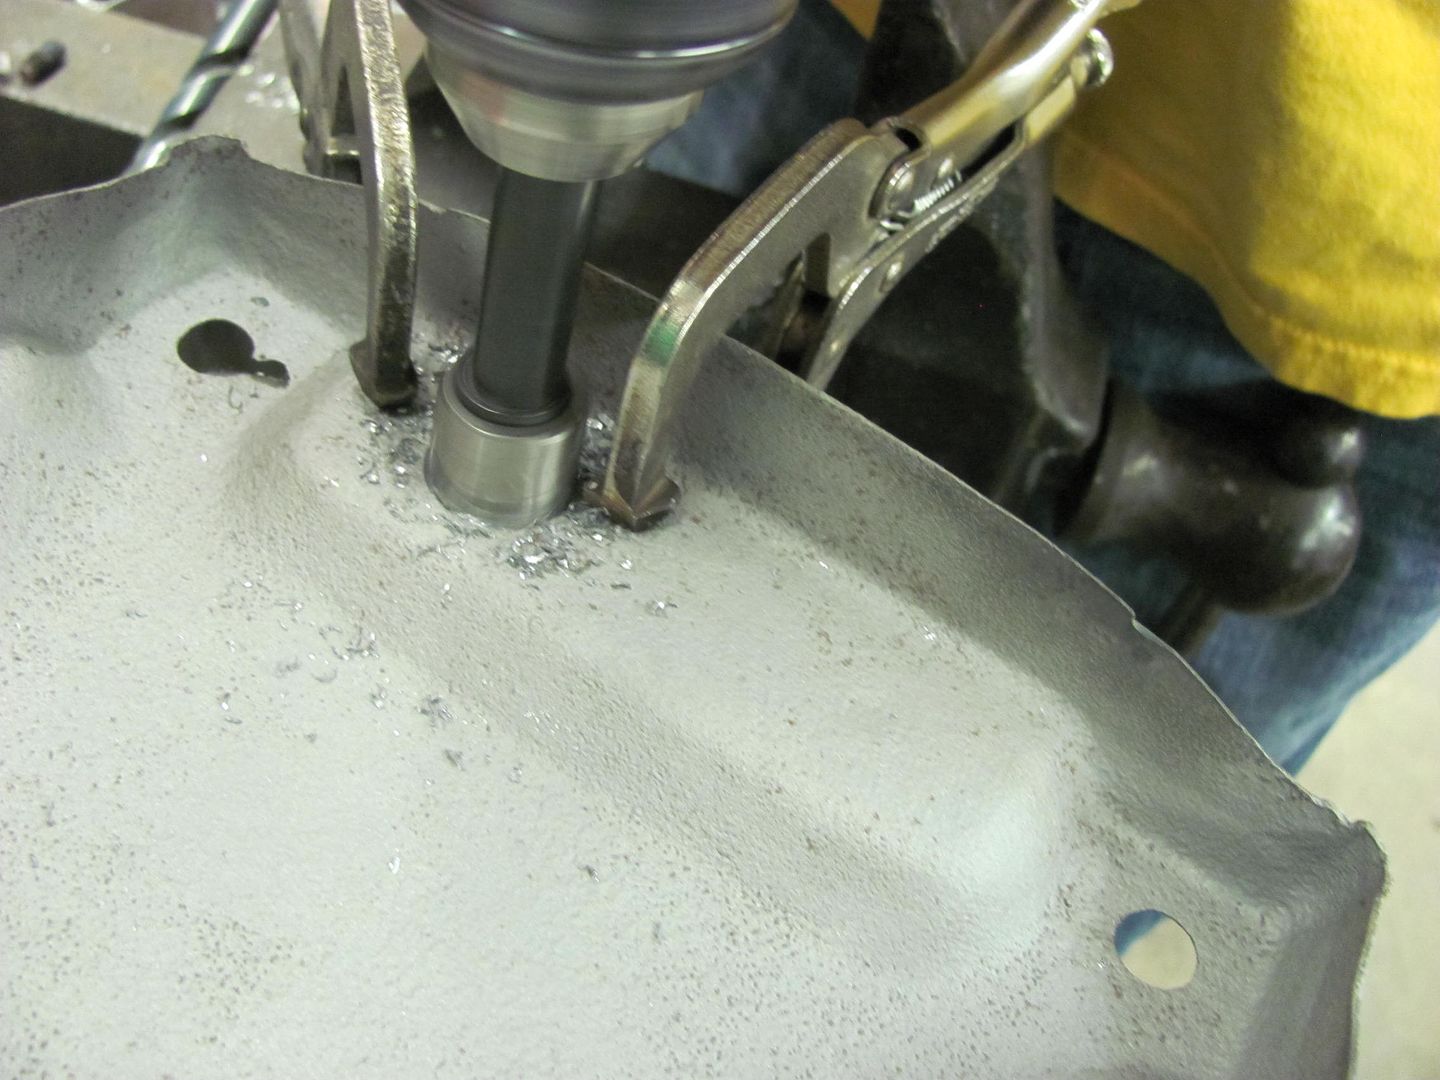
Plugs.....
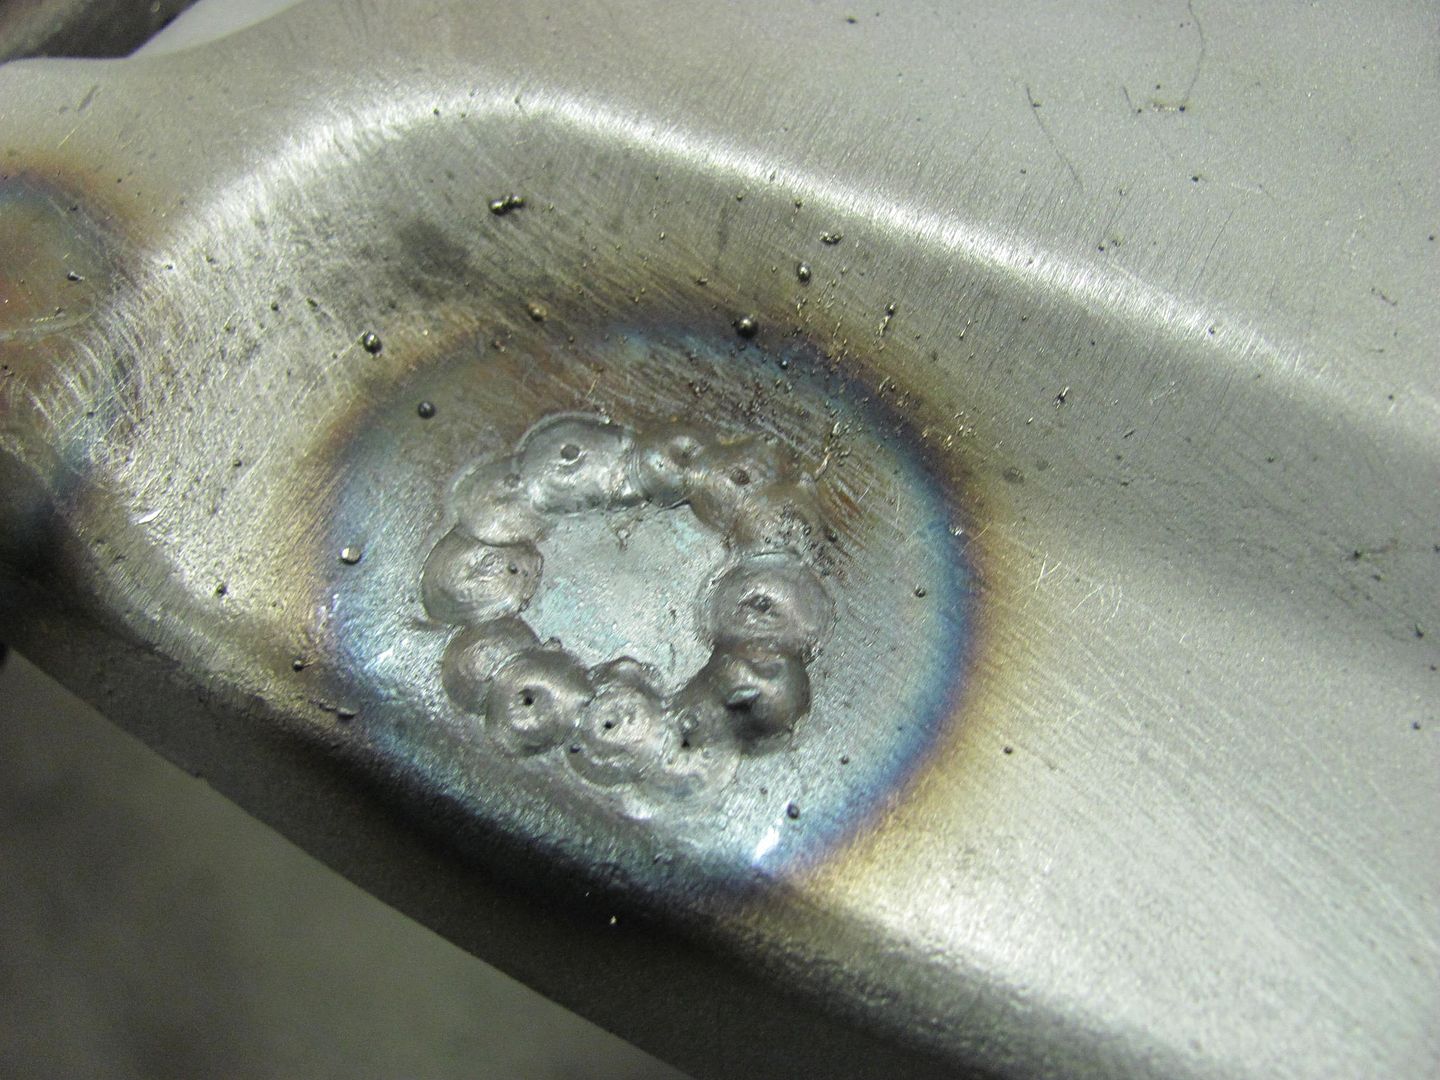
We tried this same repair in the corners, but the pitting was too far along and did a good job of blowing holes. So, time to back up an punt, let's make some new corners..
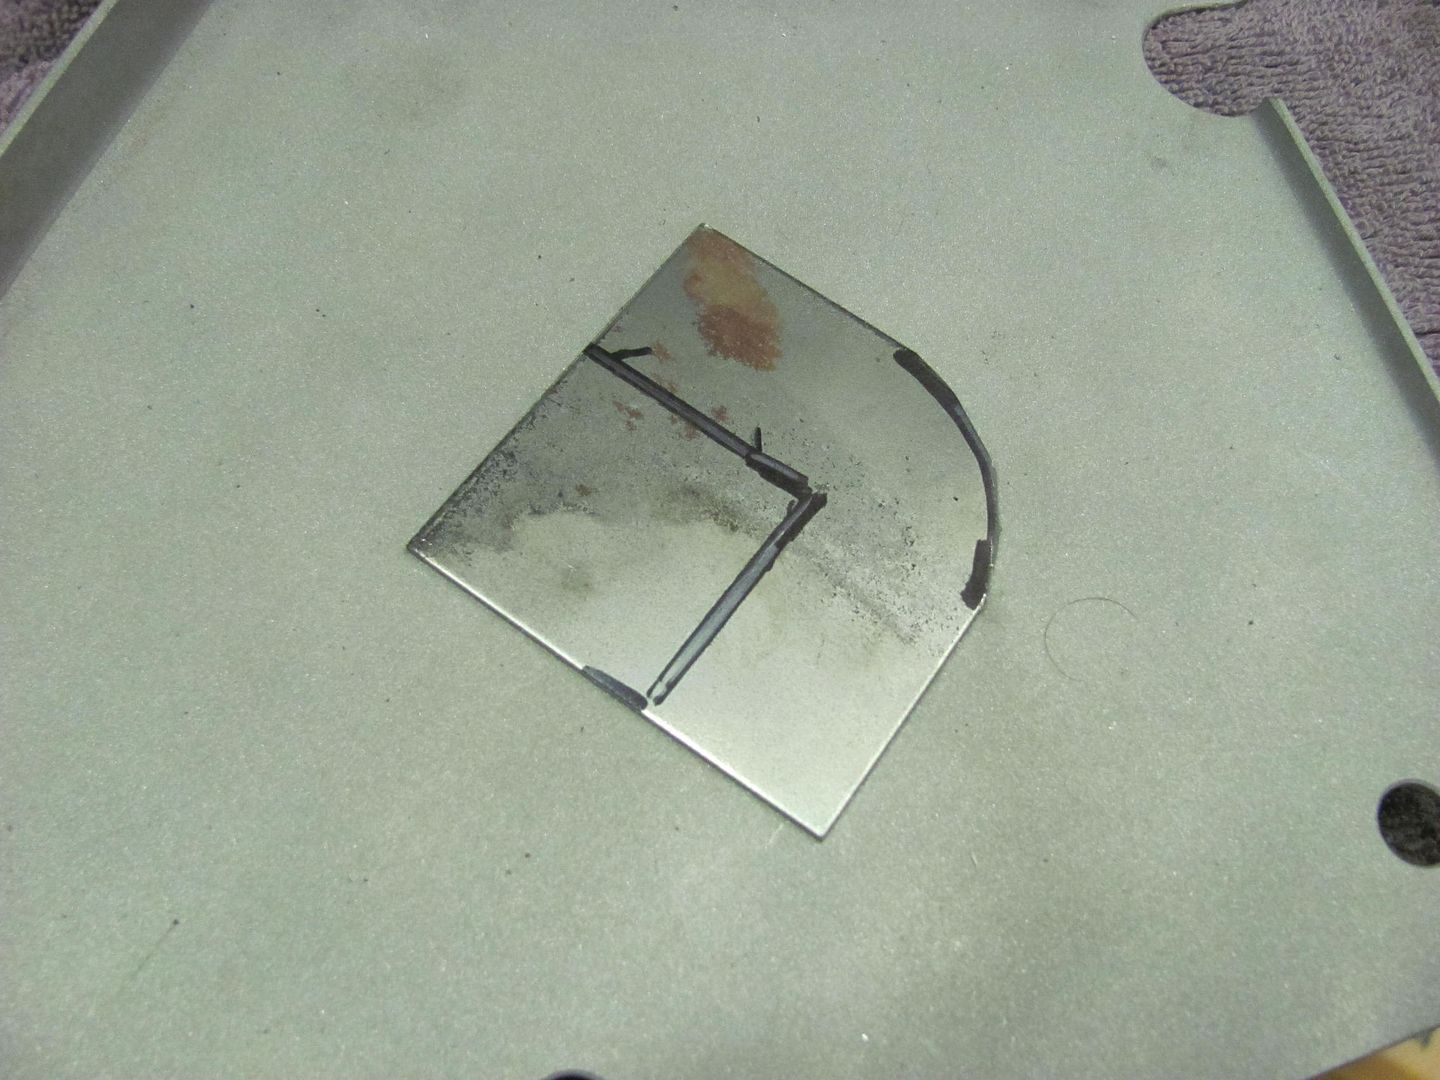
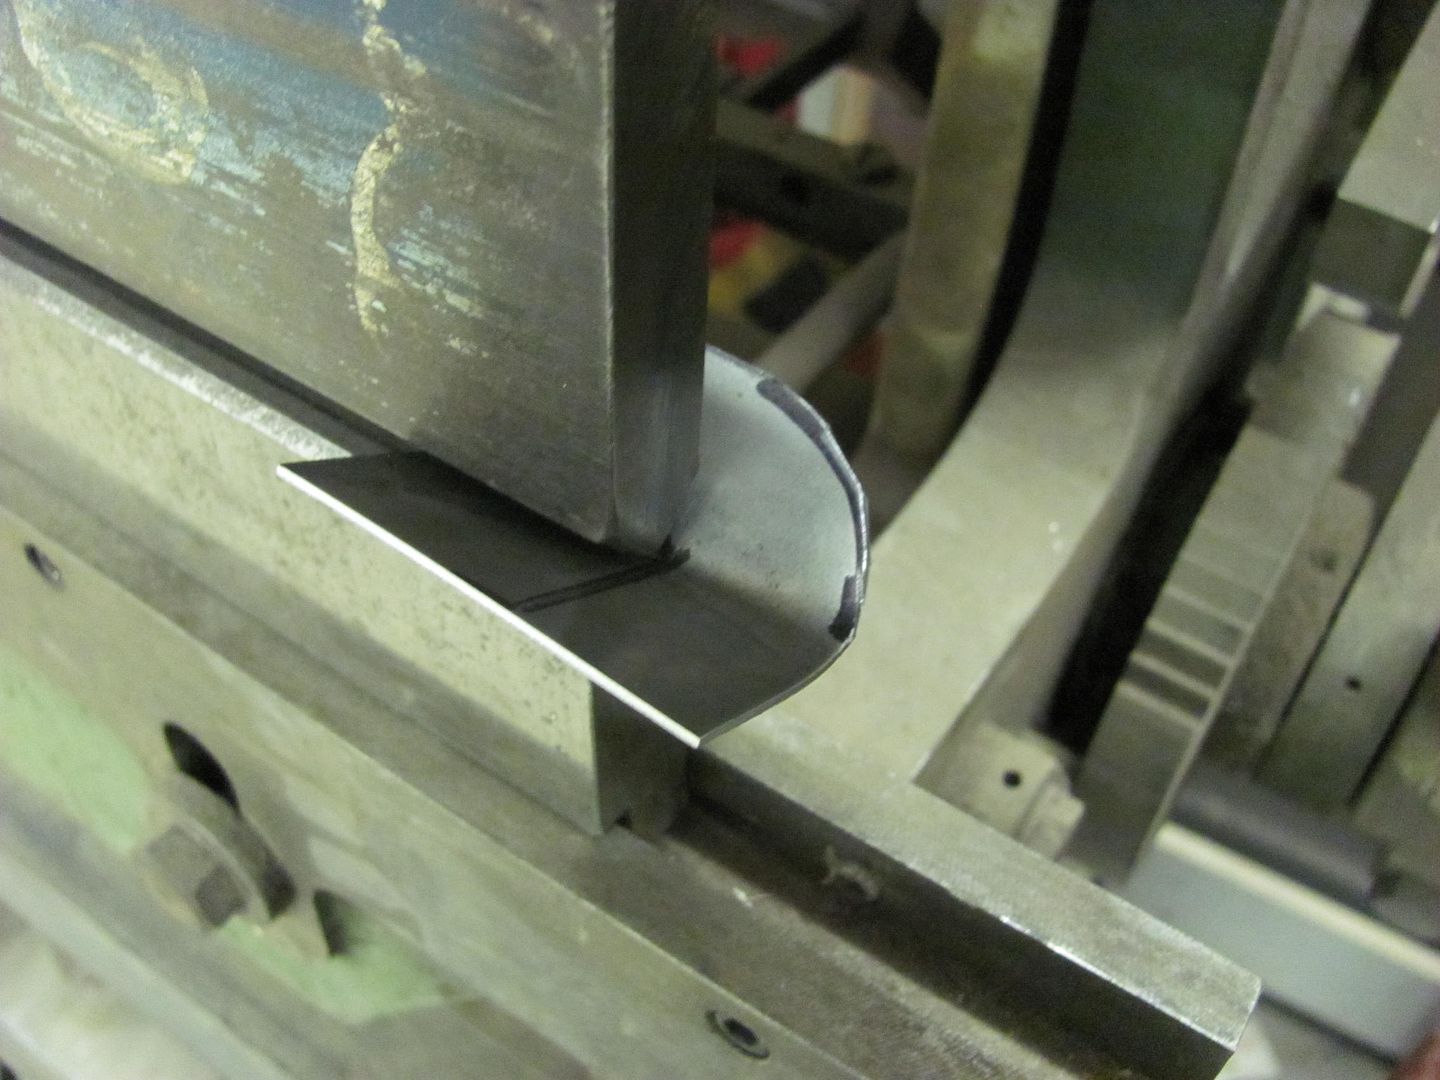
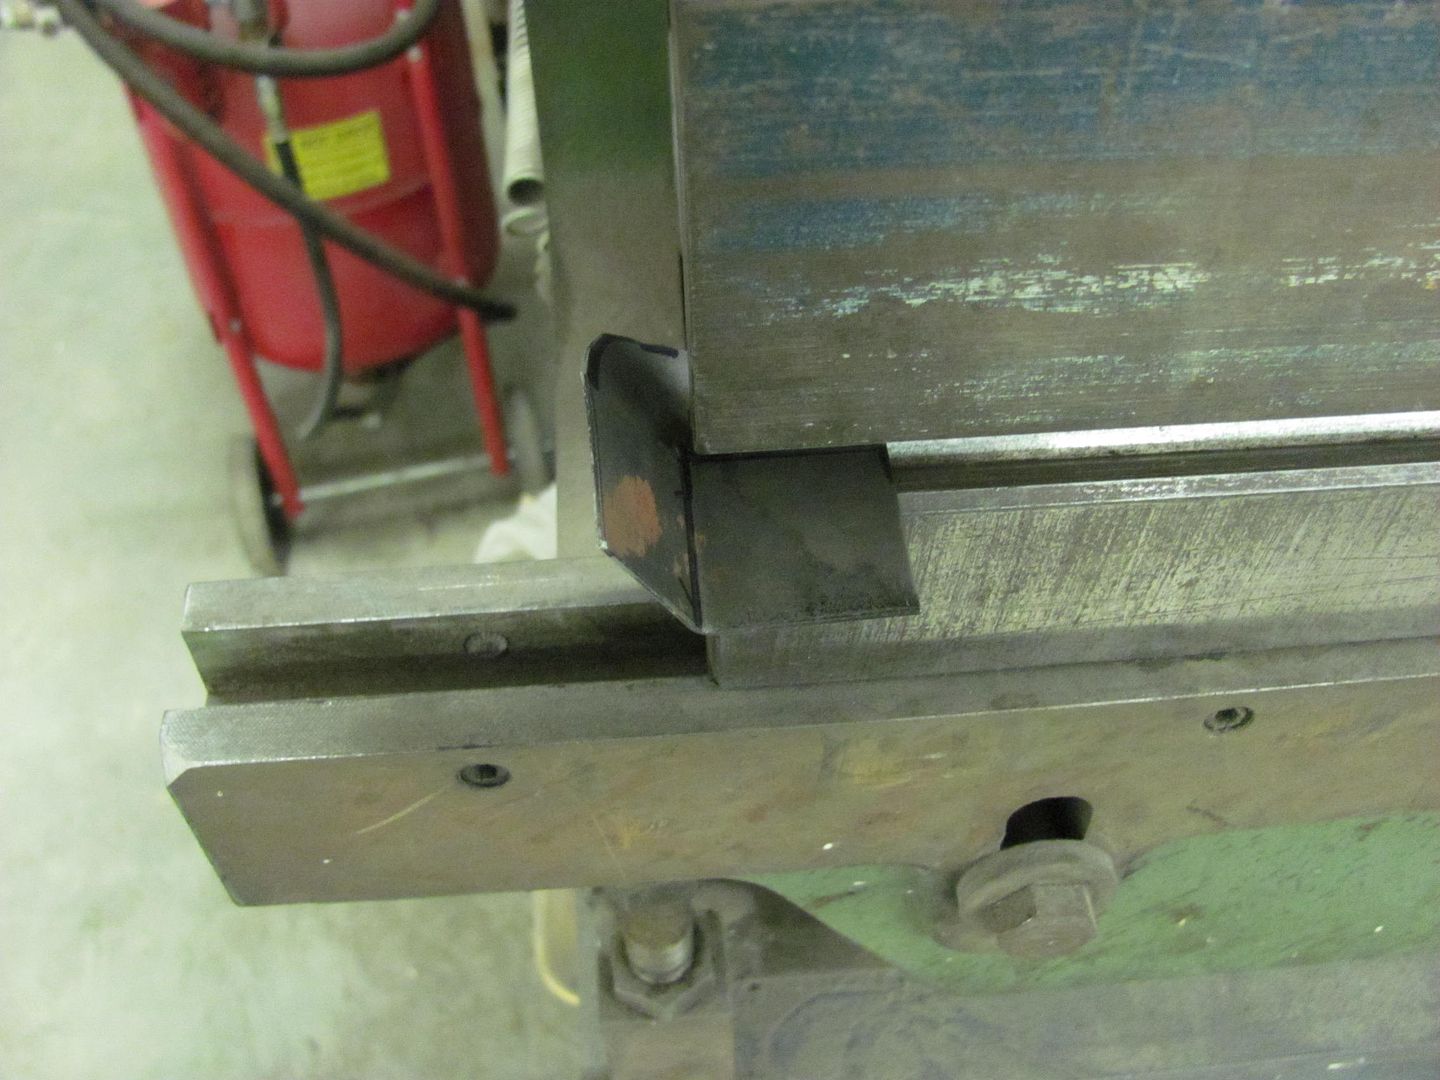
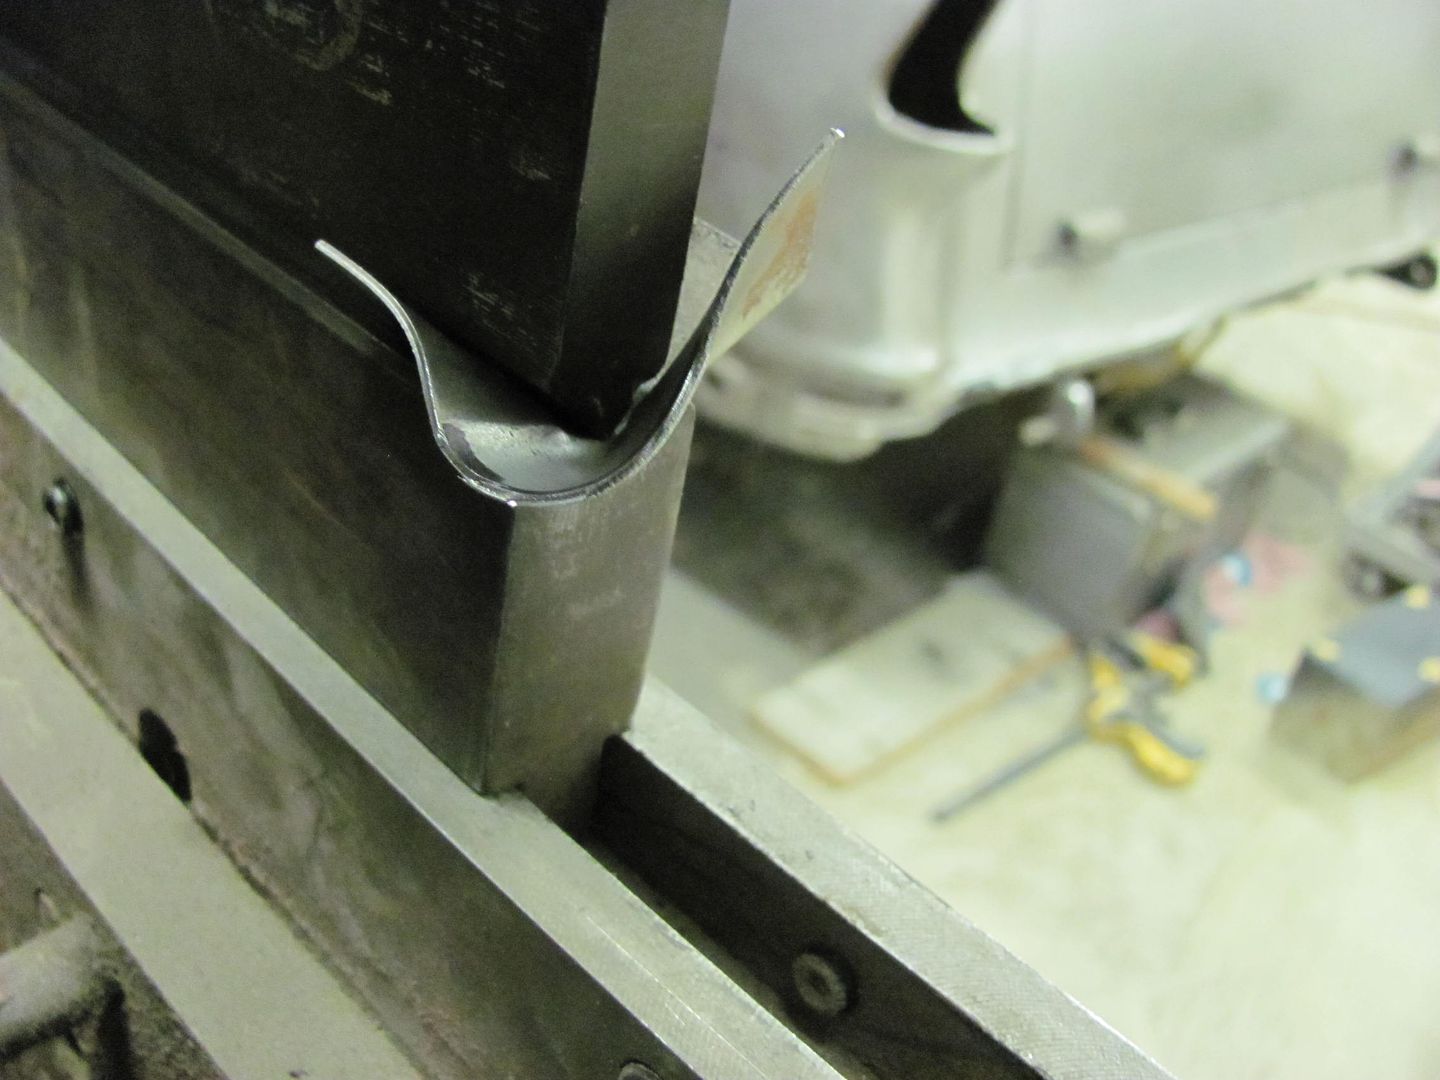
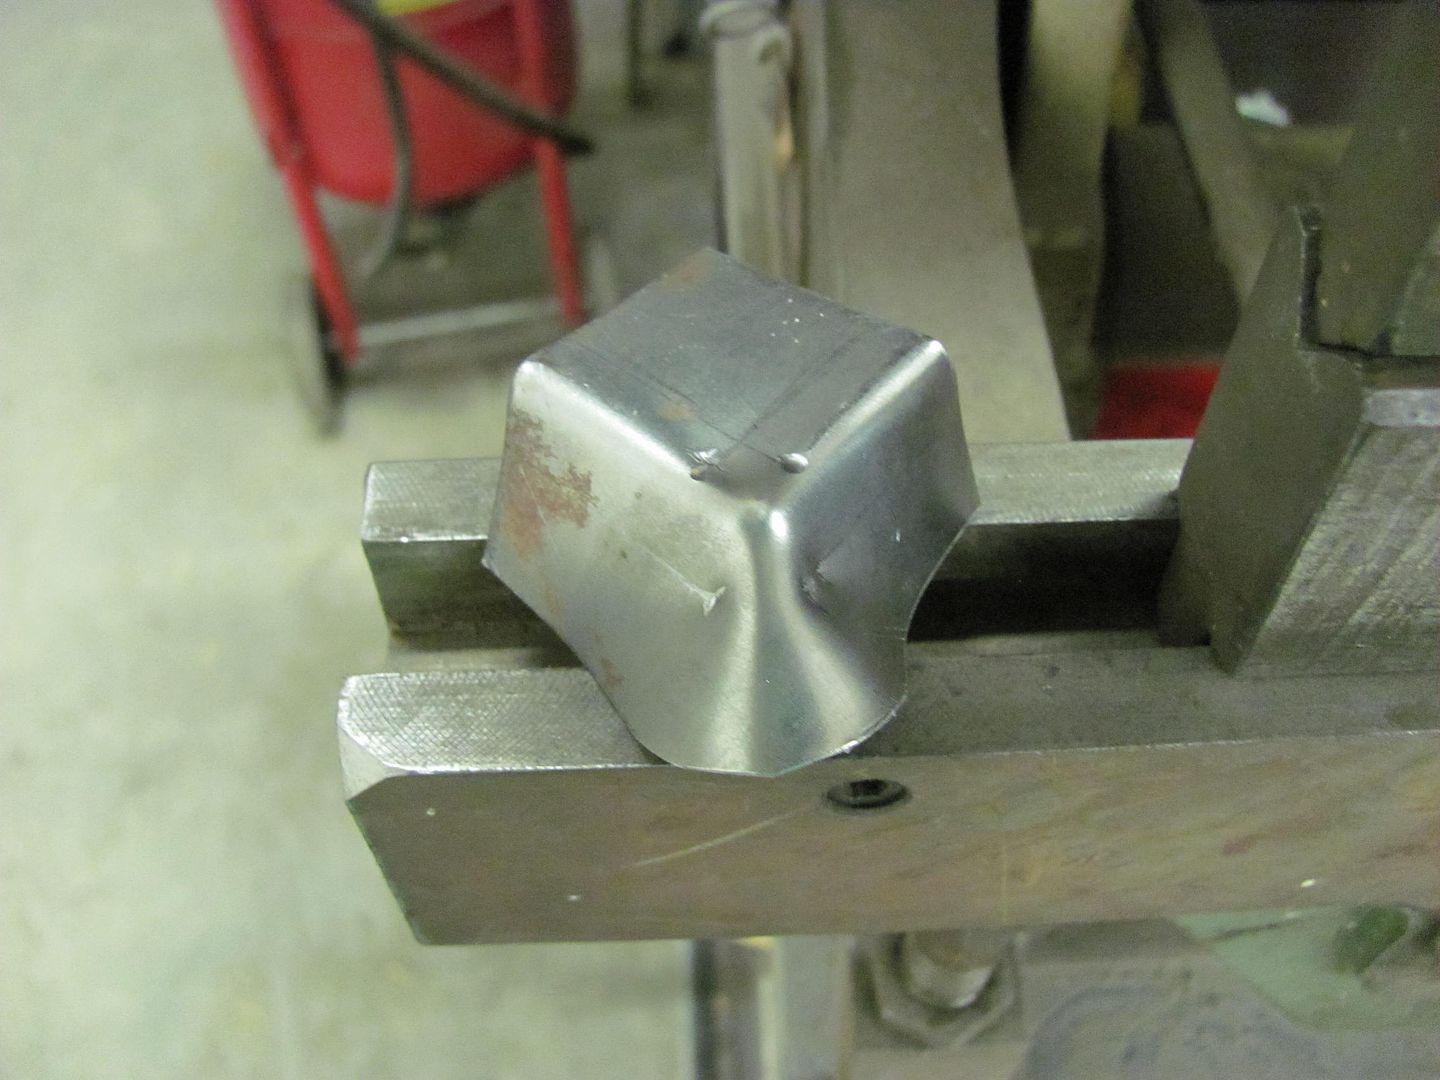
Shrinking the tuck....
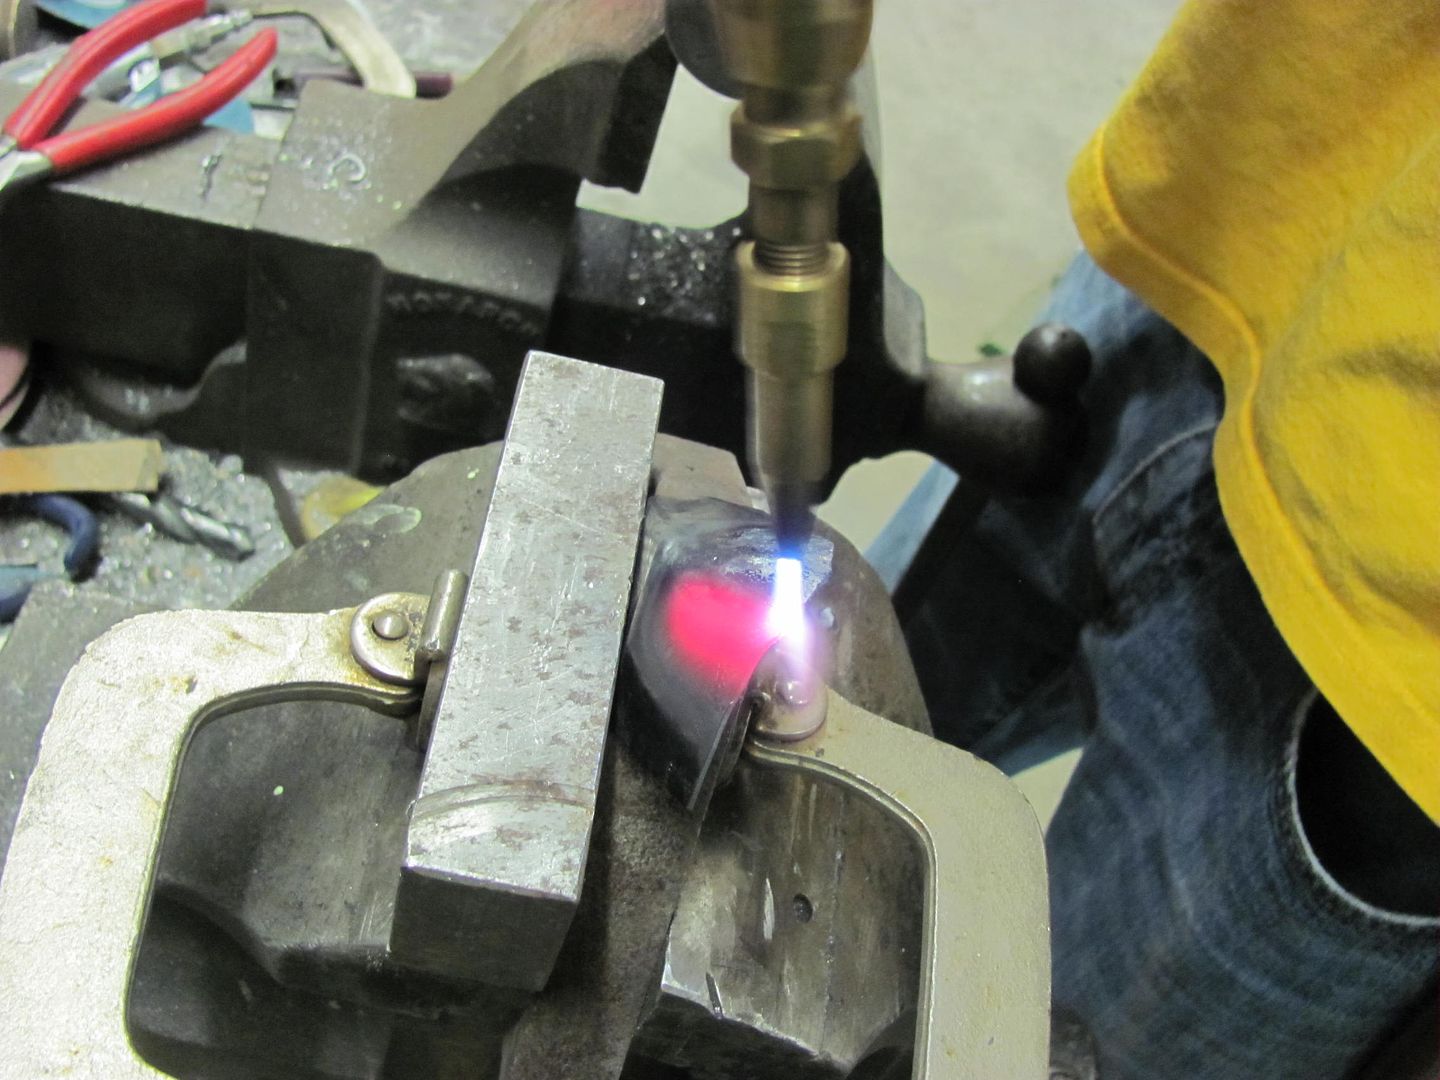
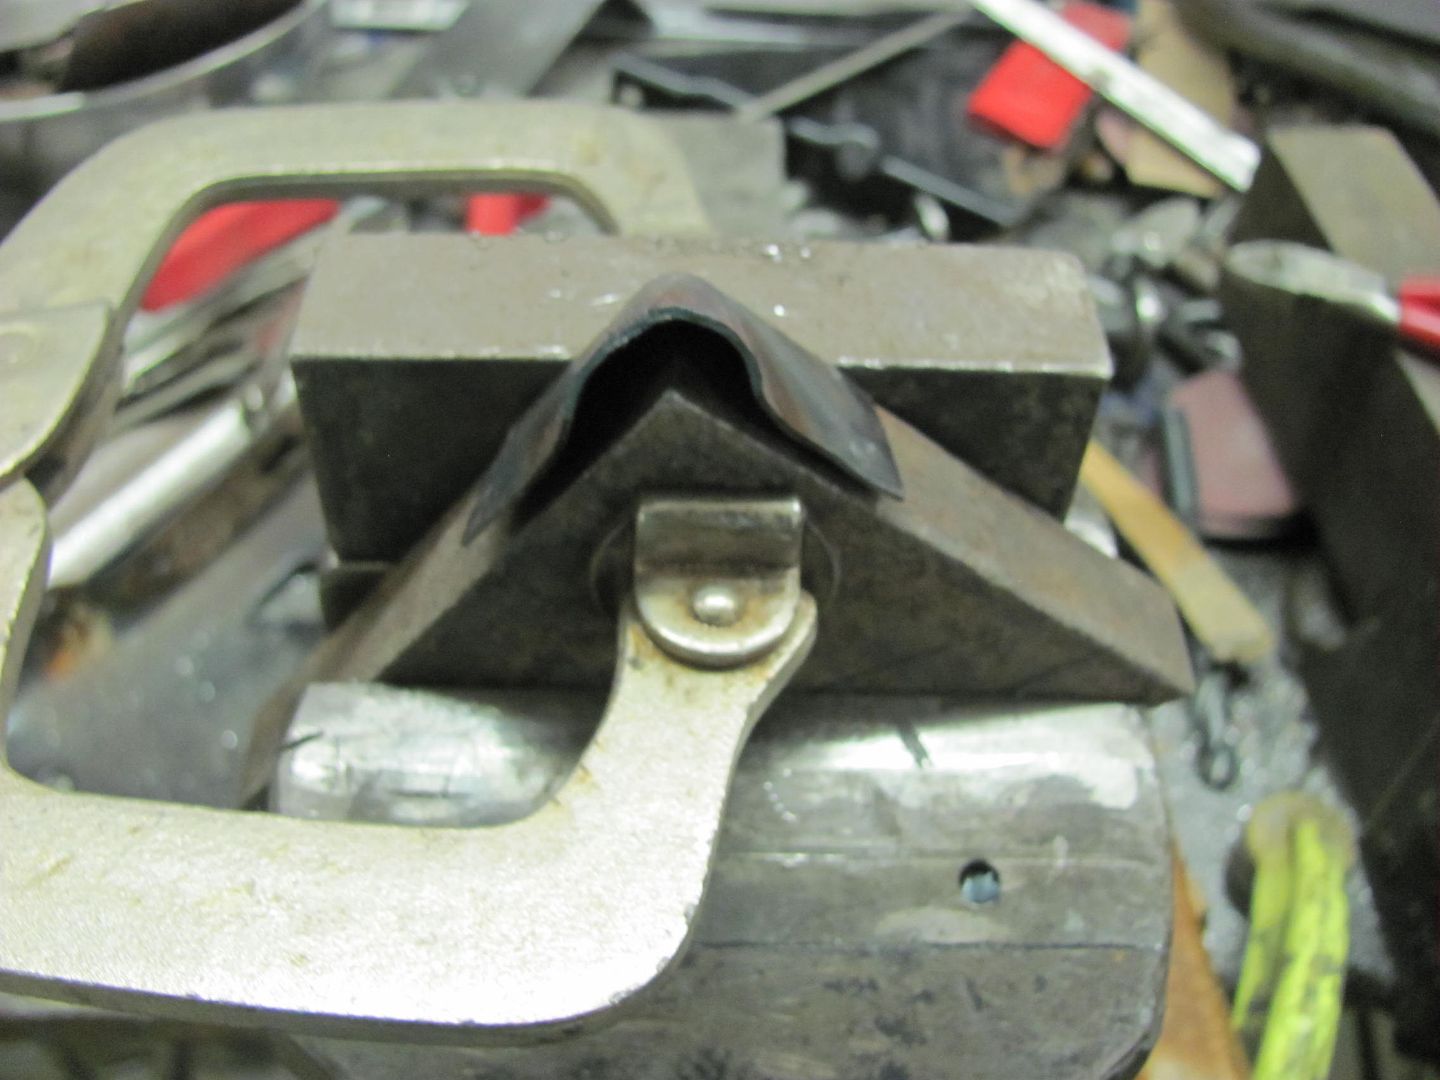
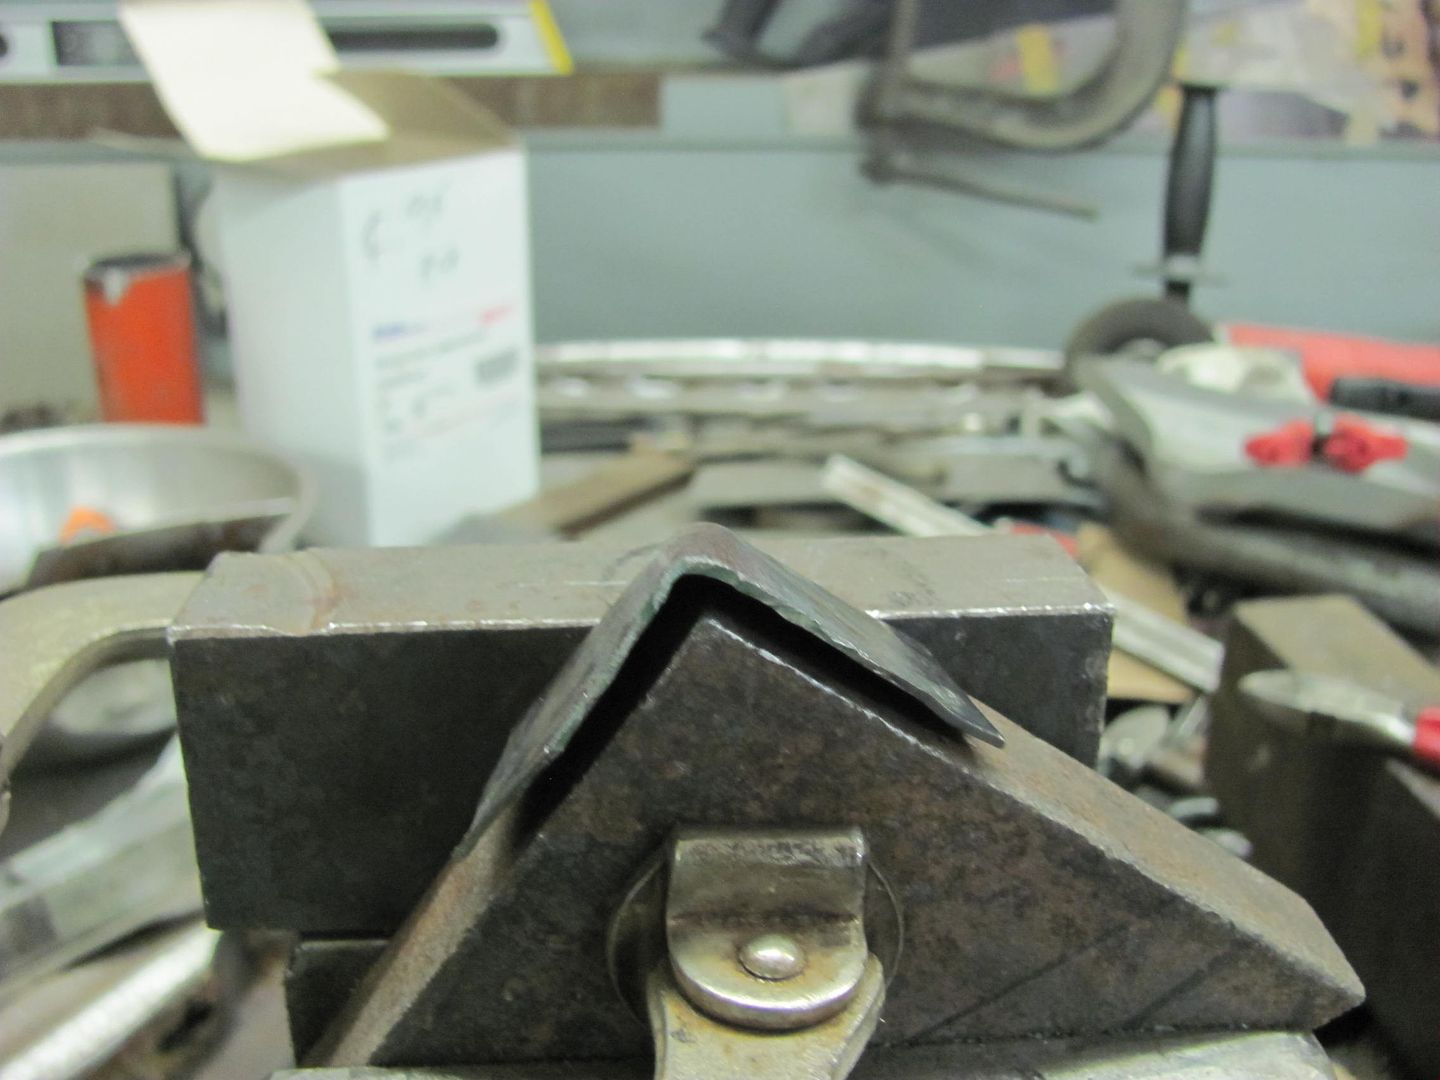
New corners welded in....
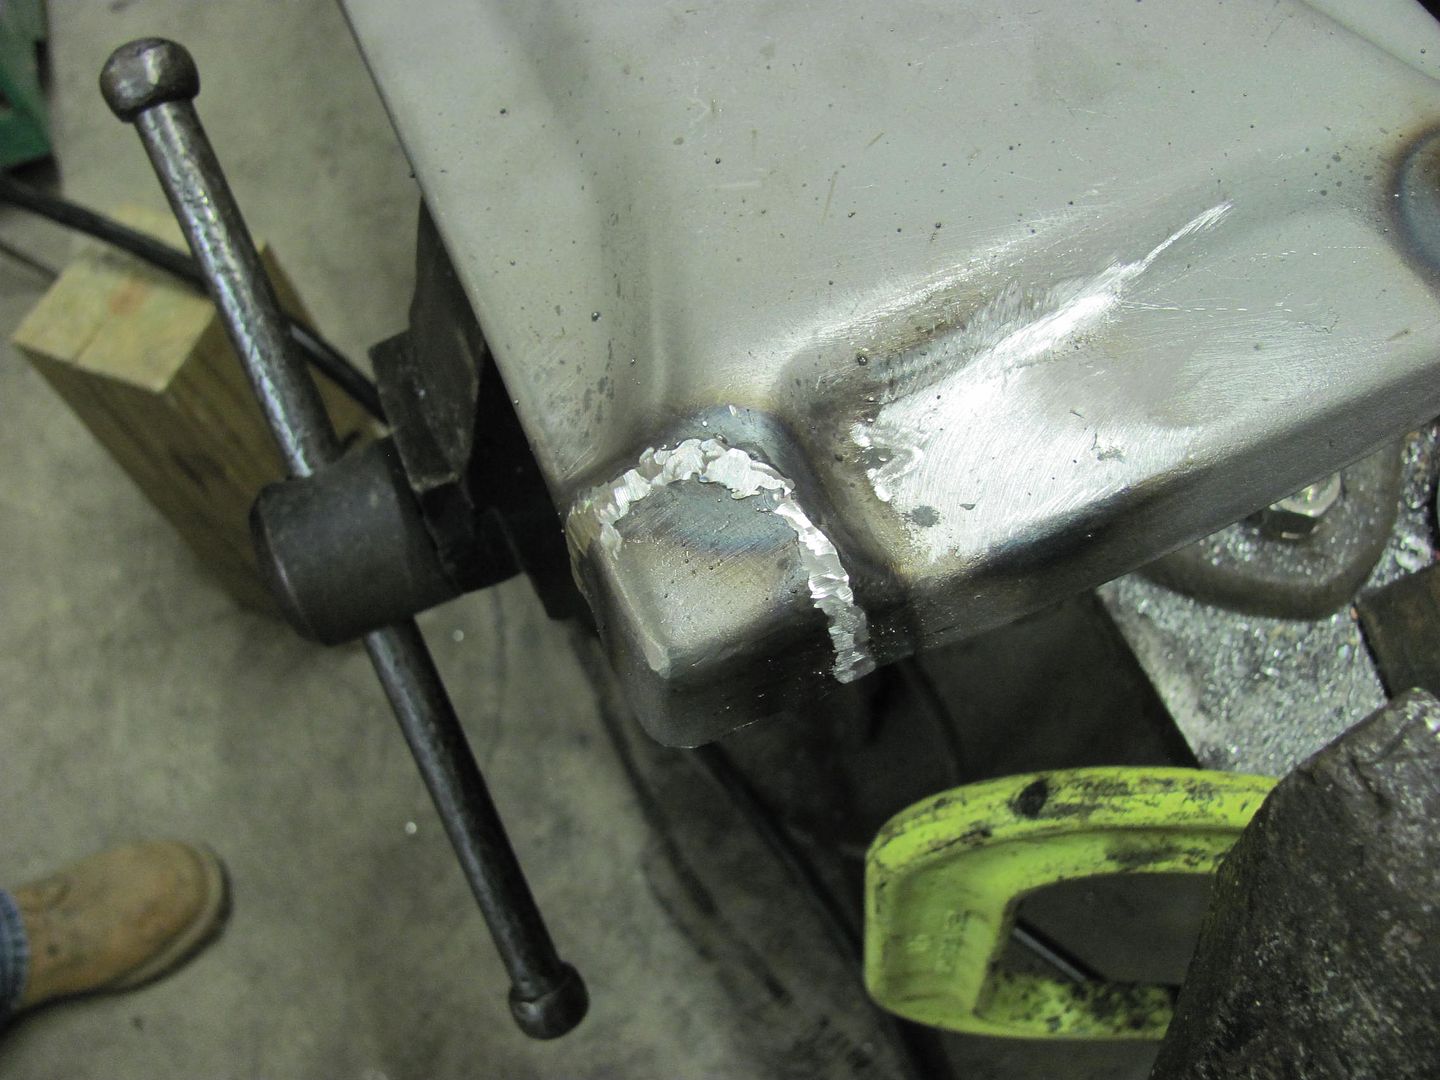
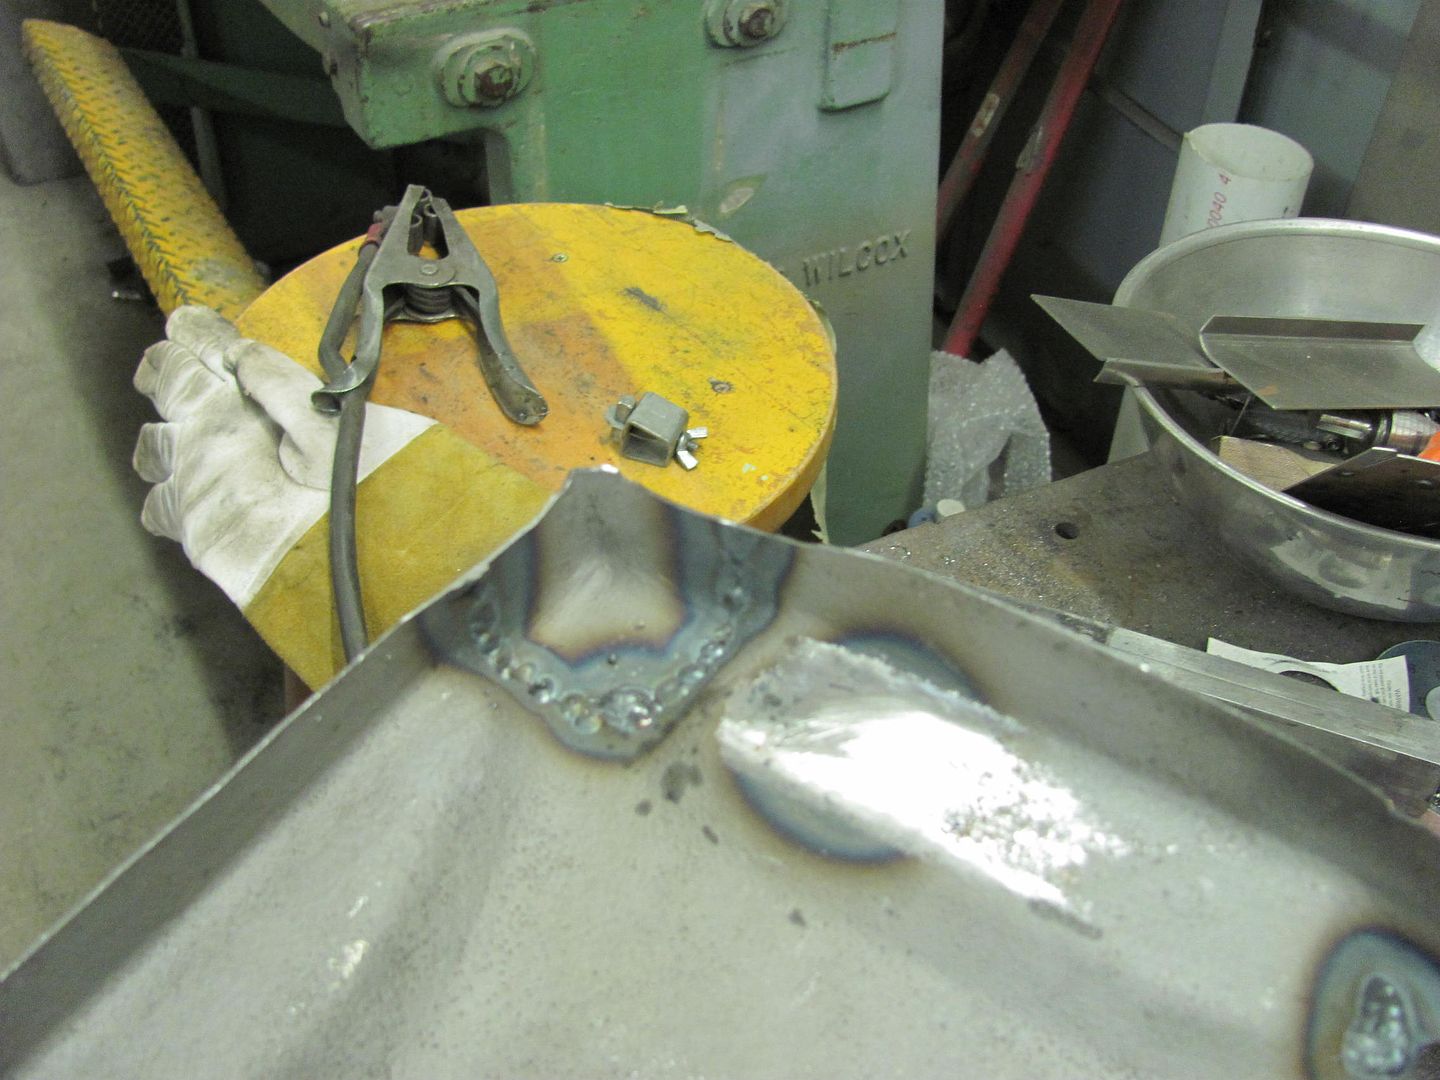
Some of the lines from forming were left to duplicate those from the factory...
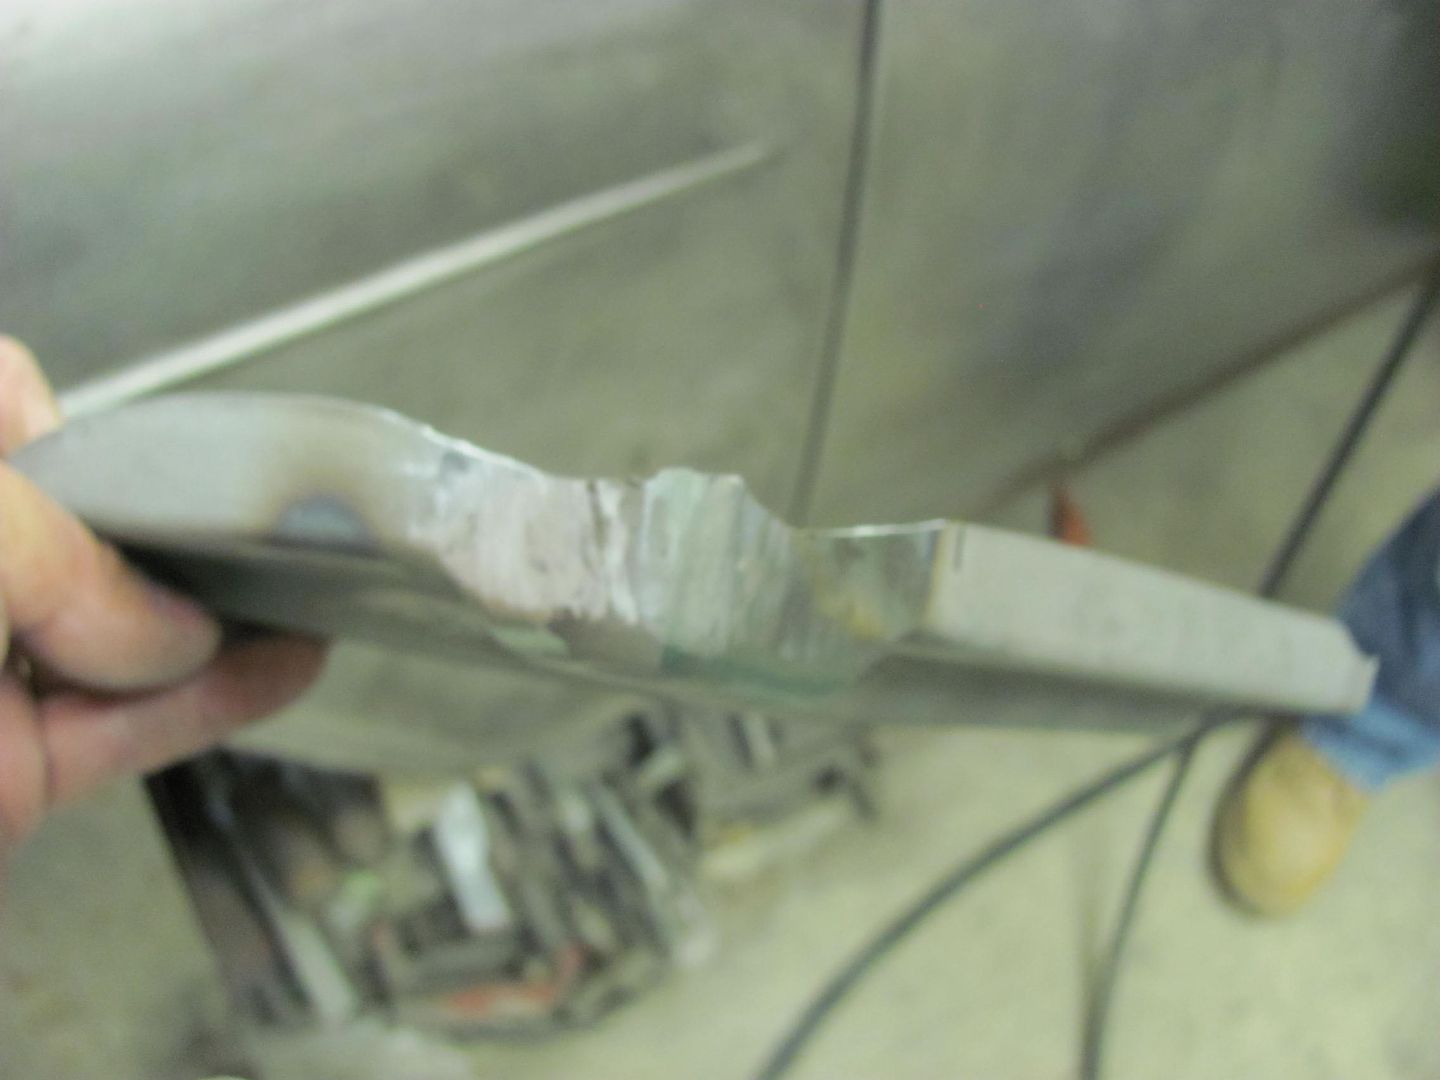
Gusset bracket added to core support....
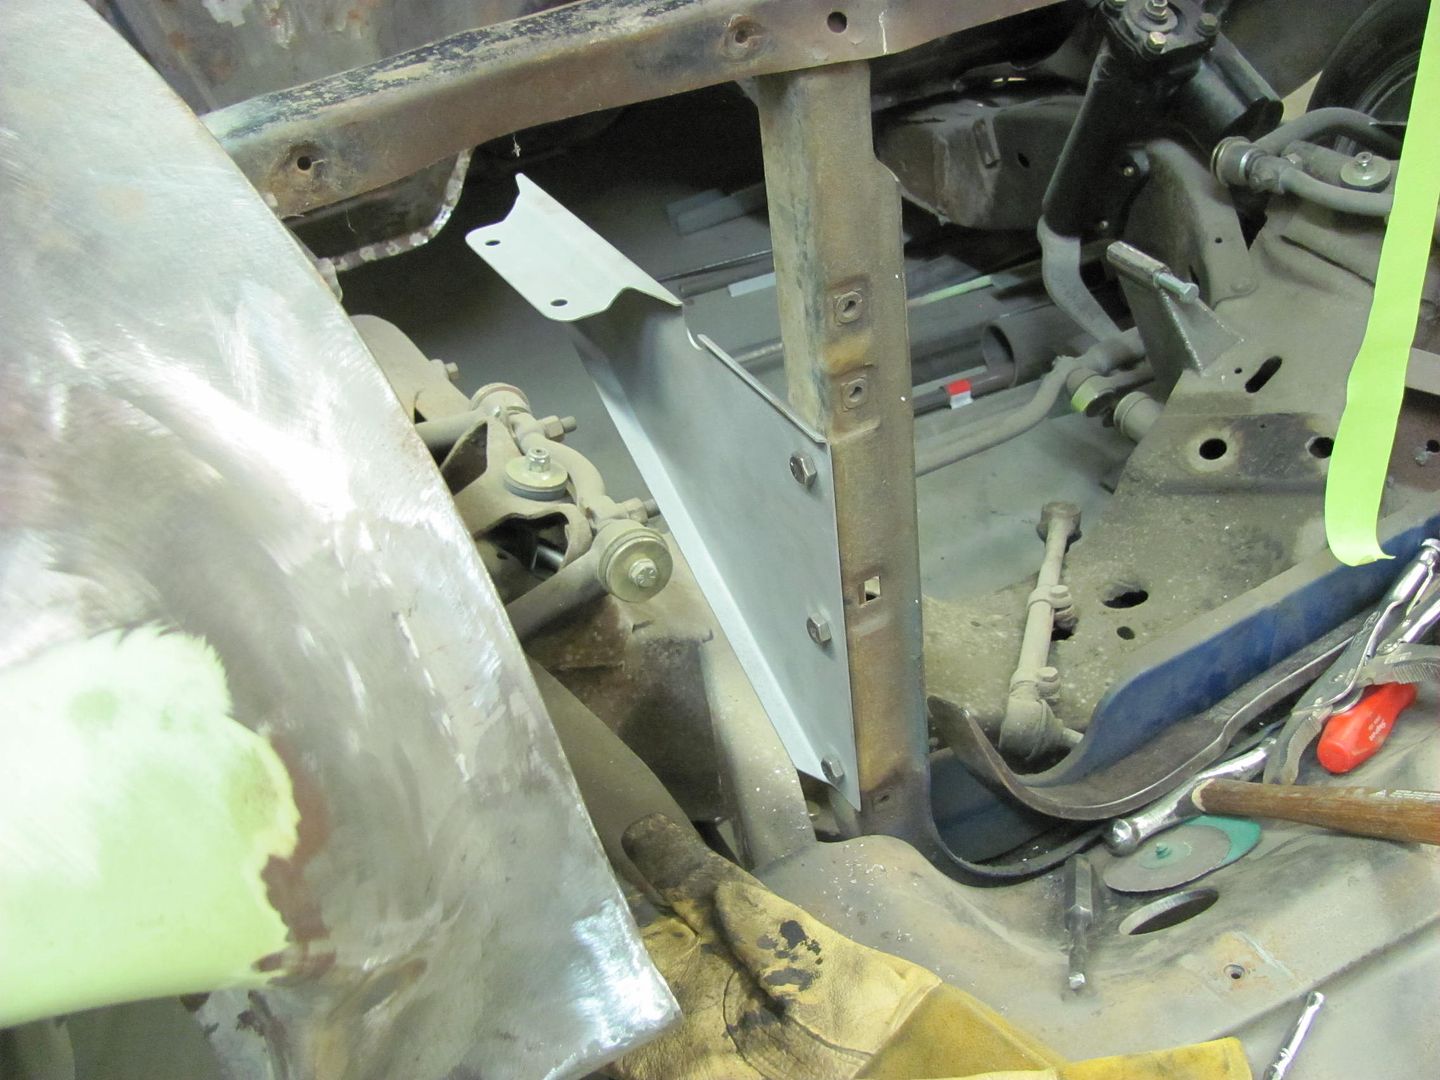
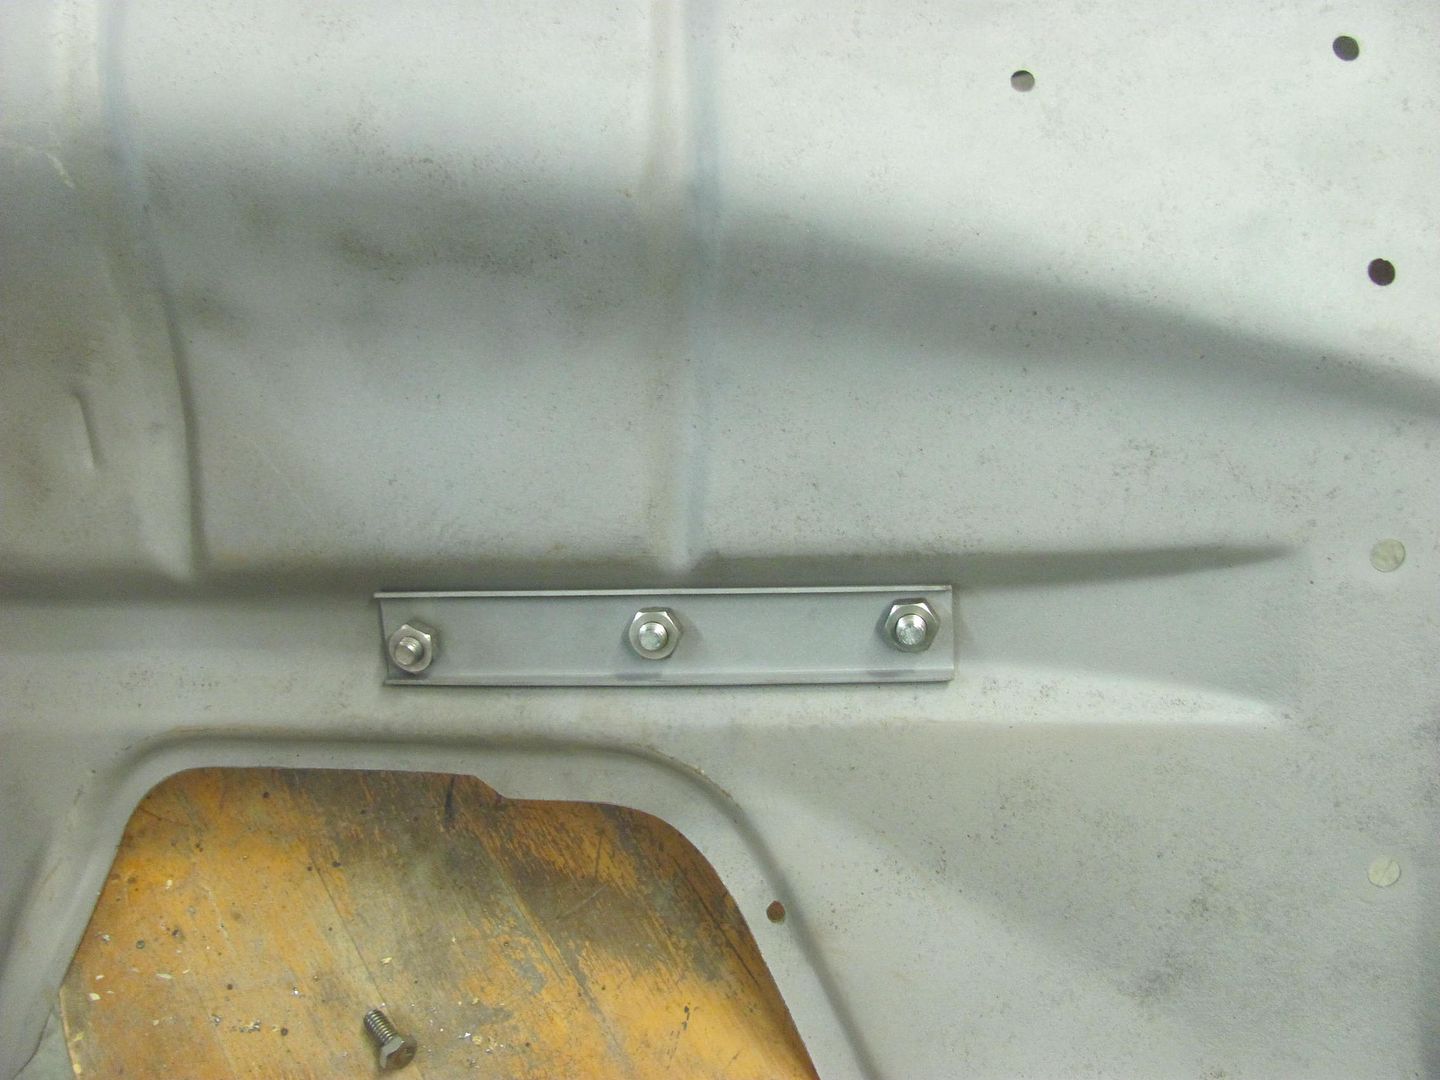
Holes located on inner fender....
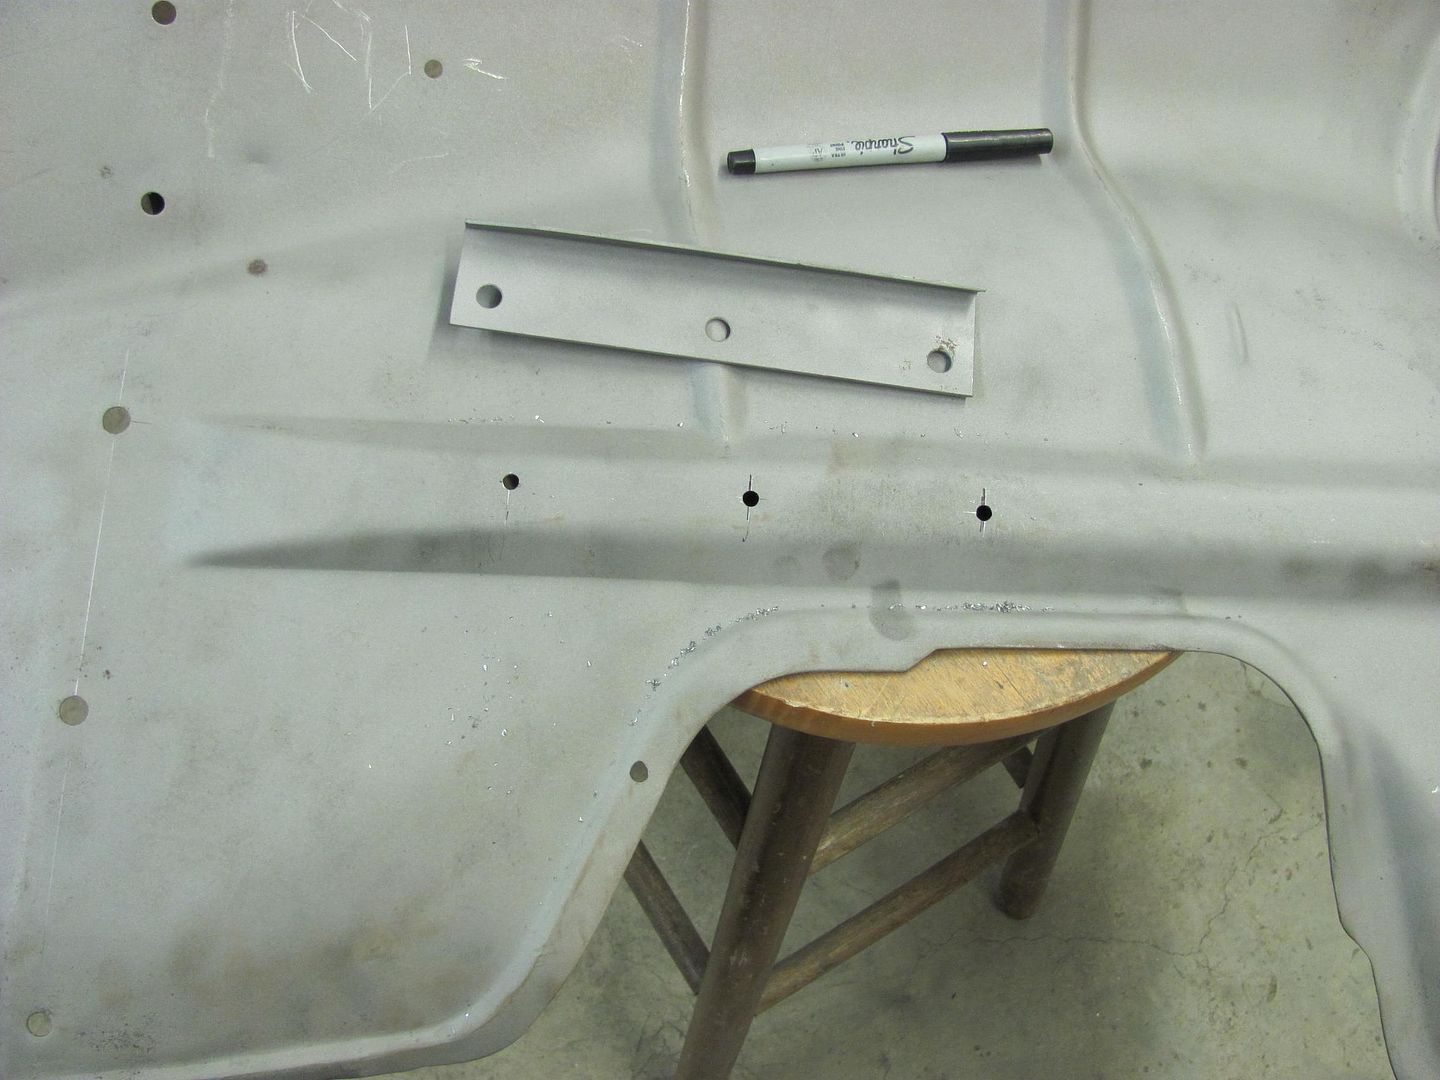
Stiffener brace and angle bracket bolted in....
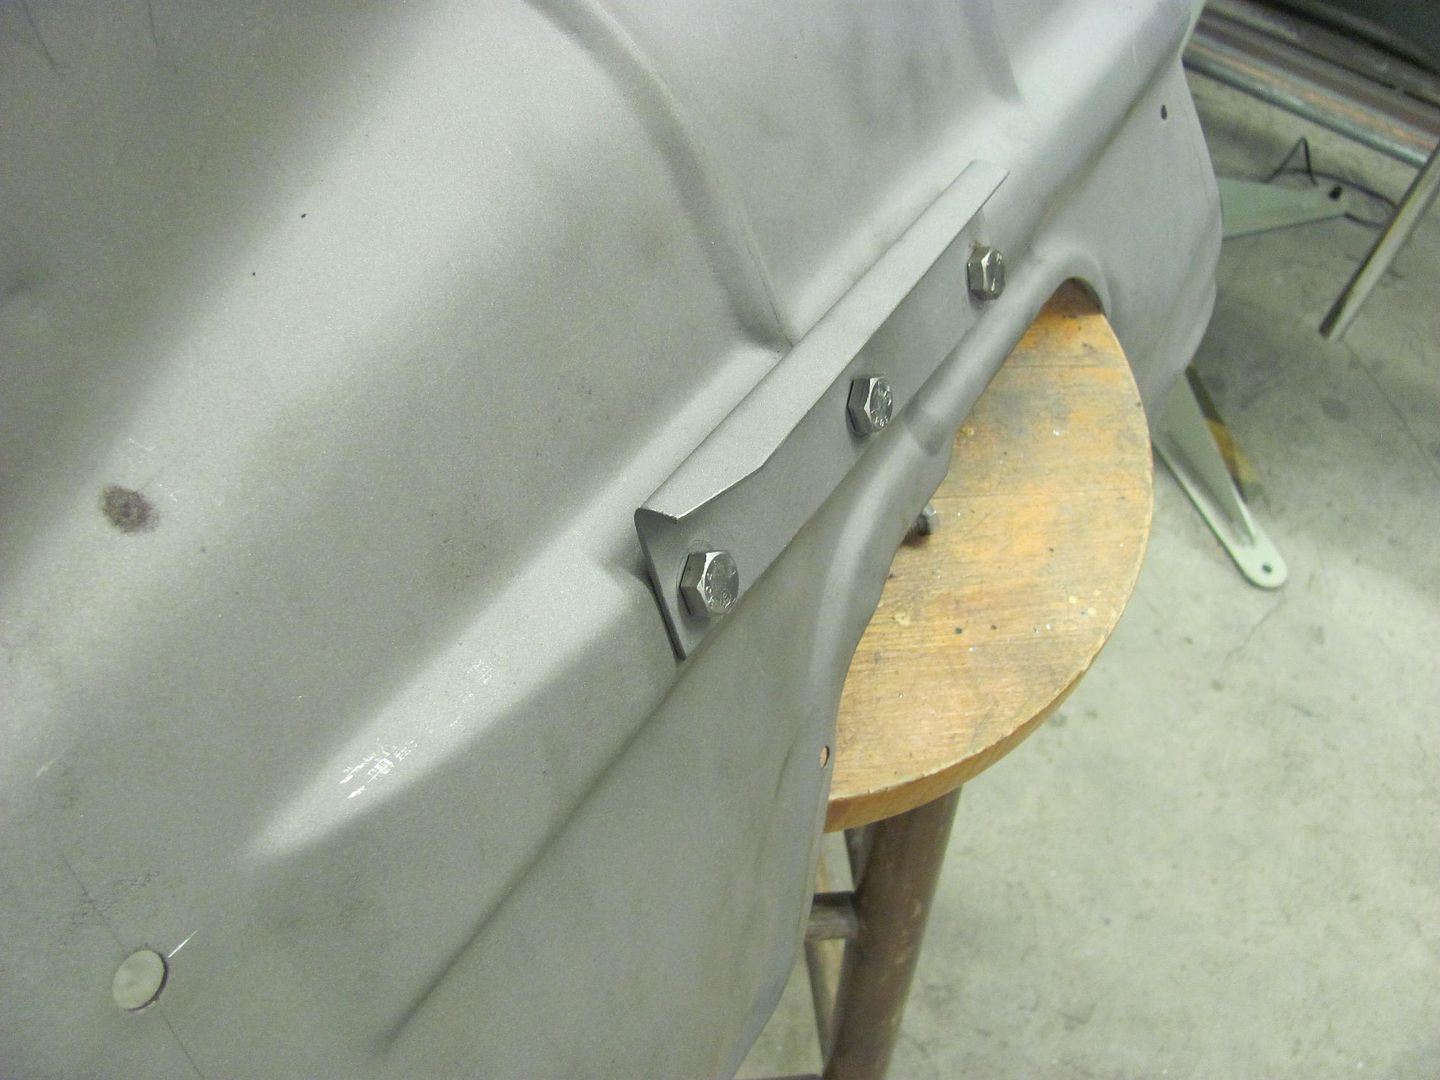
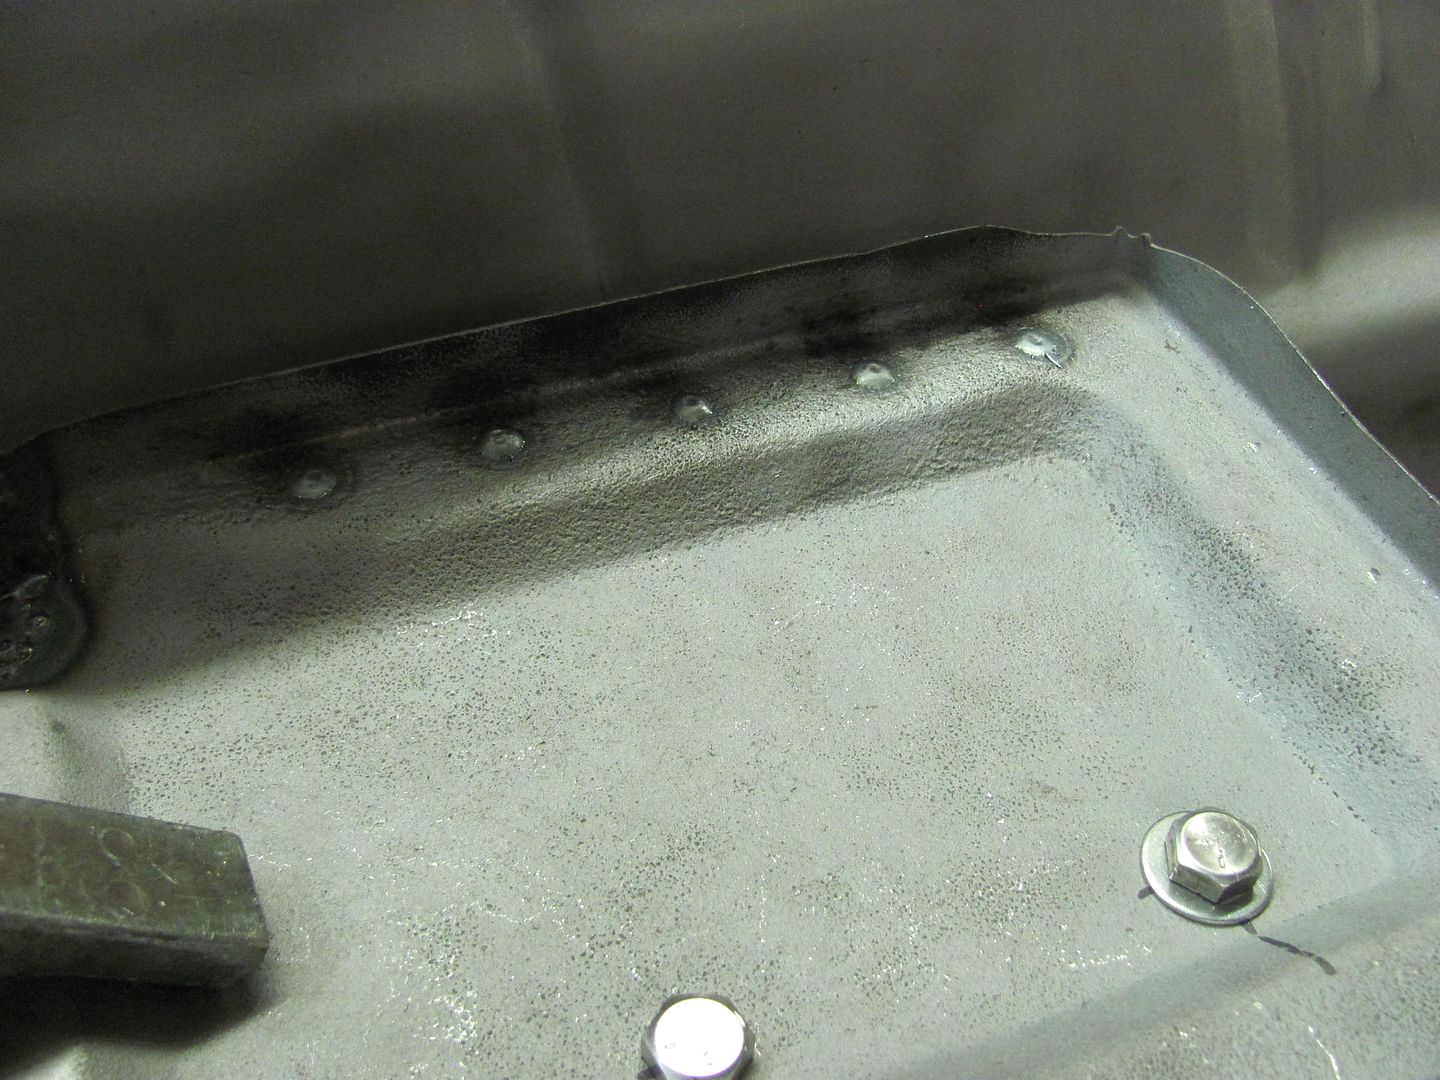
Tray bolted to the gusset, and plug welded to the angle bracket....
Battery hold down brackets added....
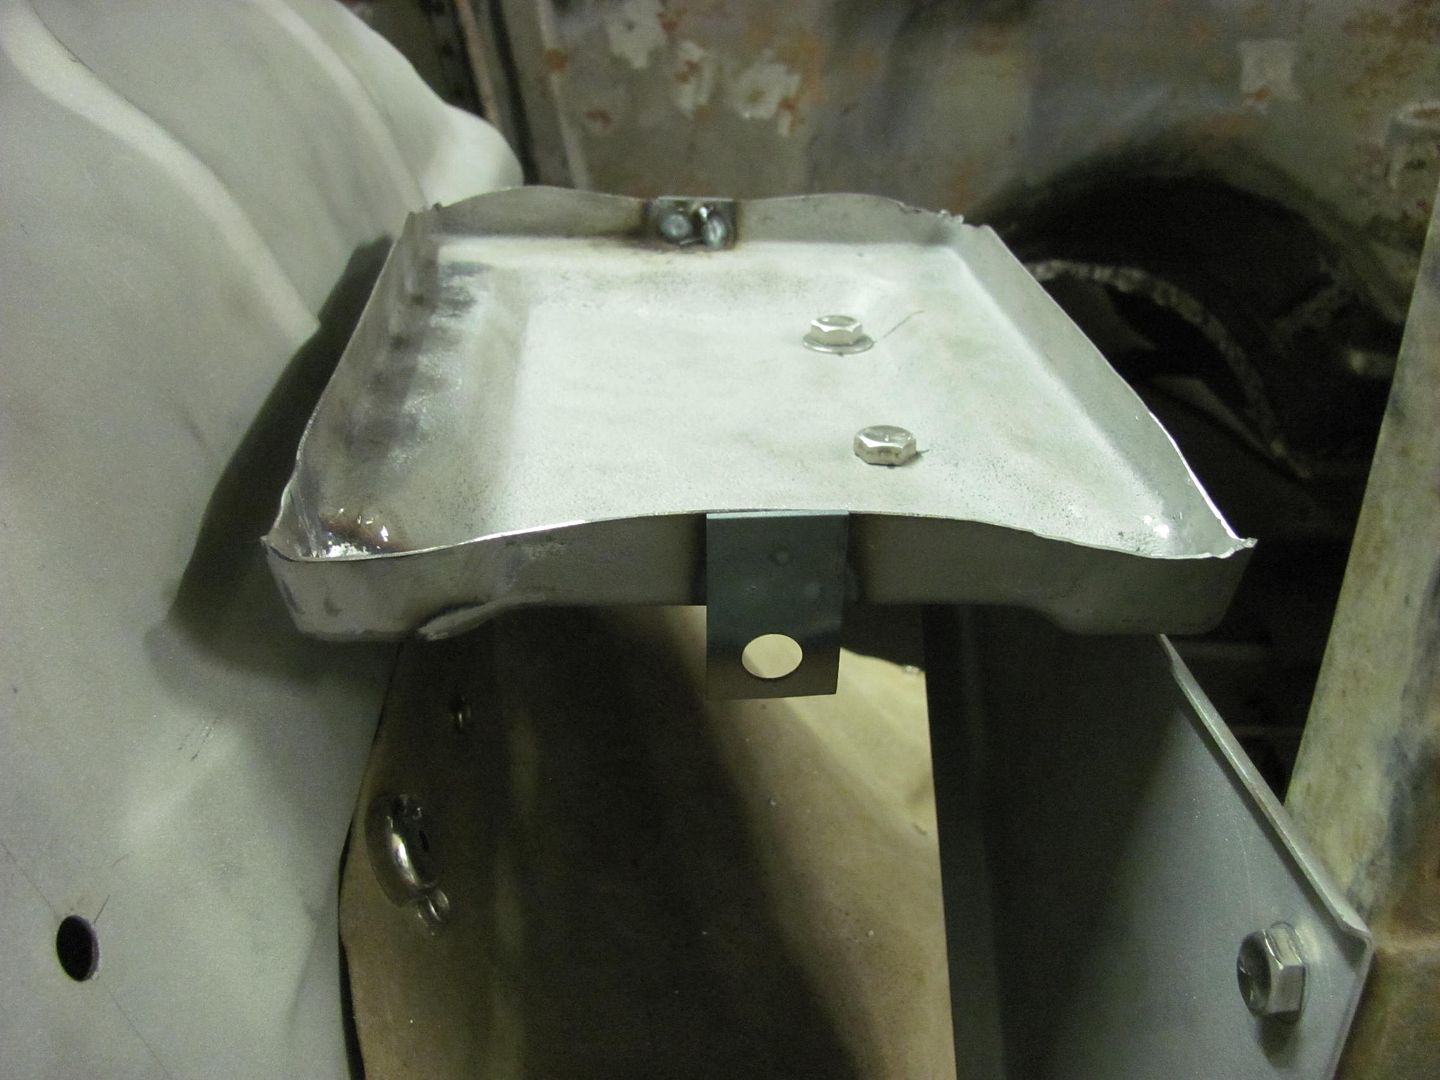
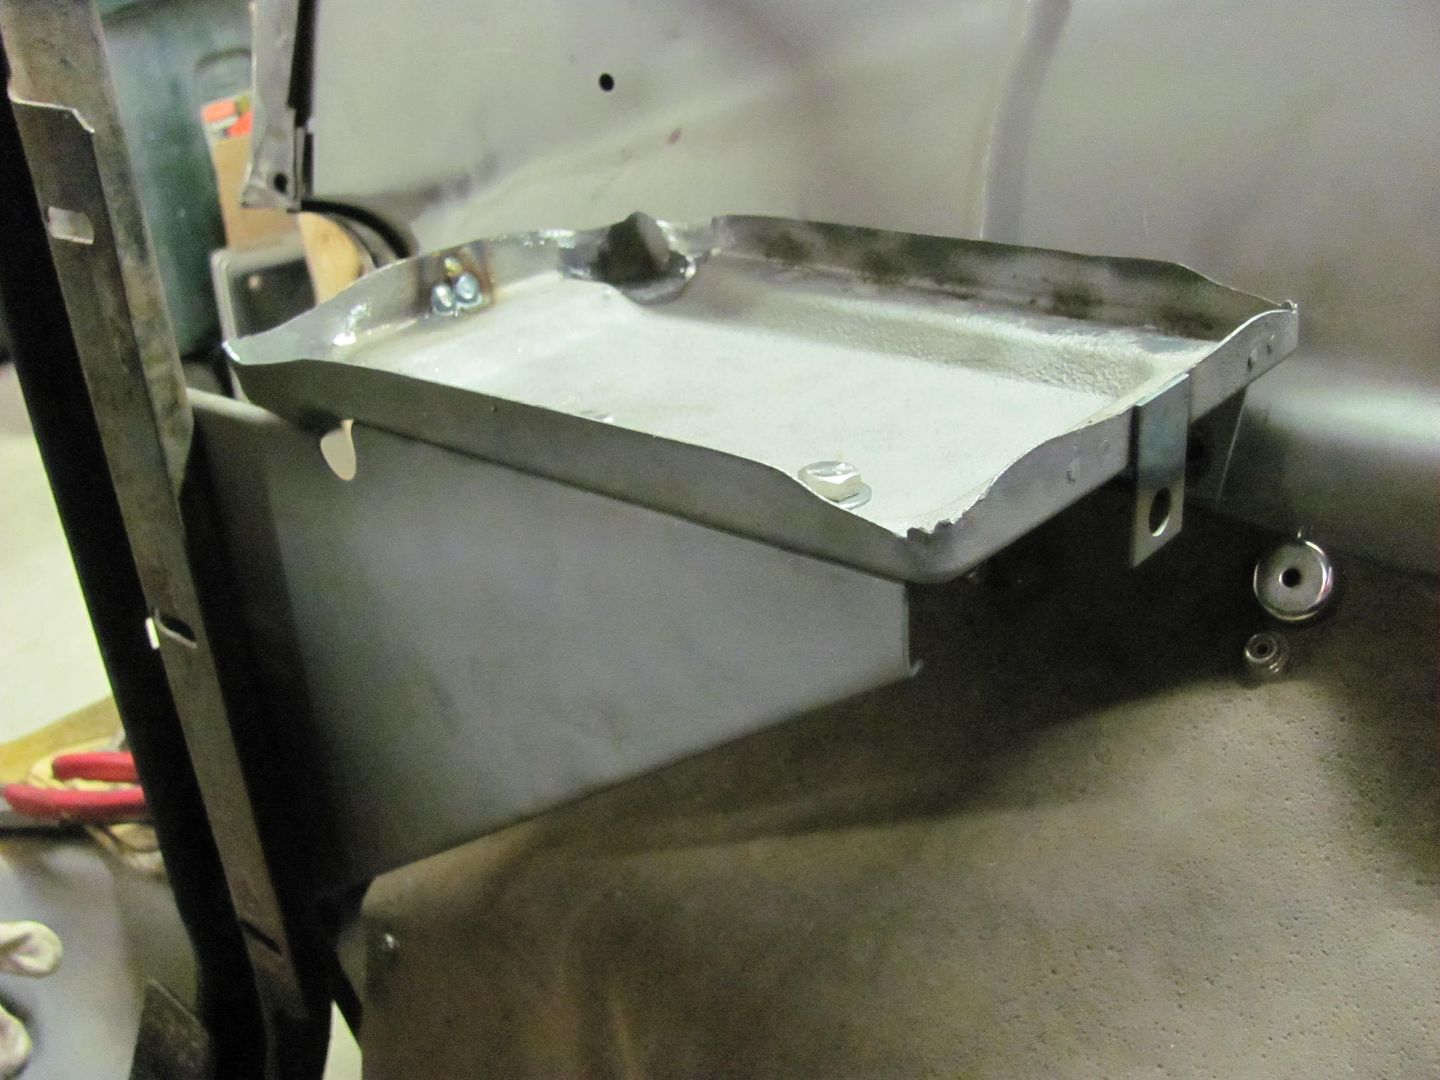
Got a couple plug welds to grind, media blasting, and these parts are ready for powder coating!Robert


 3390Likes

 LinkBack URL
 About LinkBacks
 Reply With Quote

I can't remember a singular event that triggered this nuttiness so I'll say it was being born. After we moved from Kansas to Chicago (I was 5 then) we'd drive back down each summer to visit the...
How did you get hooked on cars?