Thread: 55 Wagon Progress
-
10-02-2014 05:48 AM #316
Robert, does anything ever have you stumped? Love following this thread.


Jack.www.clubhotrod.com/forums/showthread.php?t=44081
-
Advertising

- Google Adsense
- REGISTERED USERS DO NOT SEE THIS AD
-
10-02-2014 07:38 AM #317
Thanks guys. Sometimes I look forward to that being backed in a corner... gets the McGuyver ideas going!Robert
-
10-02-2014 08:54 AM #318
We like the McGyuyver solutions too! But you always seem to have more than a swiss army knife in the tool box!
"  "No matter where you go, there you are!" Steve.
-
10-02-2014 10:45 AM #319
- Join Date
- Apr 2011
- Location
- Prairie City
- Car Year, Make, Model: 40 Ford Deluxe, 68 Corvette, 72&76 K30
- Posts
- 7,300
- Blog Entries
- 1
Very nice work! I agree the way you pop off new tools for your work is amazing. I always try to think of a way but some times the idea just doesn't pop out and look as sweet as yours.
Ryan
1940 Ford Deluxe Tudor 354 Hemi 46RH Electric Blue w/multi-color flames, Ford 9" Residing in multiple pieces
1968 Corvette Coupe 5.9 Cummins Drag Car 11.43@130mph No stall leaving the line with 1250 rpm's and poor 2.2 60'
1972 Chevy K30 Longhorn P-pumped 24v Compound Turbos 47RH Just another money pit
1971 Camaro RS 5.3 BTR Stage 3 cam, SuperT10
Tire Sizes
-
10-03-2014 06:25 AM #320
McGuyver 100, Corner 0.


Jack.www.clubhotrod.com/forums/showthread.php?t=44081
-
10-03-2014 09:22 AM #321
Here's a few MacGuyver quotes for you,
"Well, when it comes down to me against a situation, I don't like the situation to win." - MacGyver (The Road Not Taken)
"It's kinda interesting how you can put one thing with another and cook up the right formula for stayin' out of trouble." - MacGyver (For Love or Money)
"One of my biggest problems is I can never leave a puzzle alone." - MacGyver (Ghost Ship)
and my favorites
"For the past seven years I have done nothing but travel around the world getting shot up, locked up, blown up ... and all I have to show for it are a couple of empty rolls of duct tape." - MacGyver (Friends)
"It's a little recipe I use in emergencies." - MacGyver, explaining the fertilizer bomb he's making (Last Stand)Last edited by stovens; 10-03-2014 at 09:26 AM.
"  "No matter where you go, there you are!" Steve.
-
10-05-2014 06:32 PM #322
 Those are pretty good..
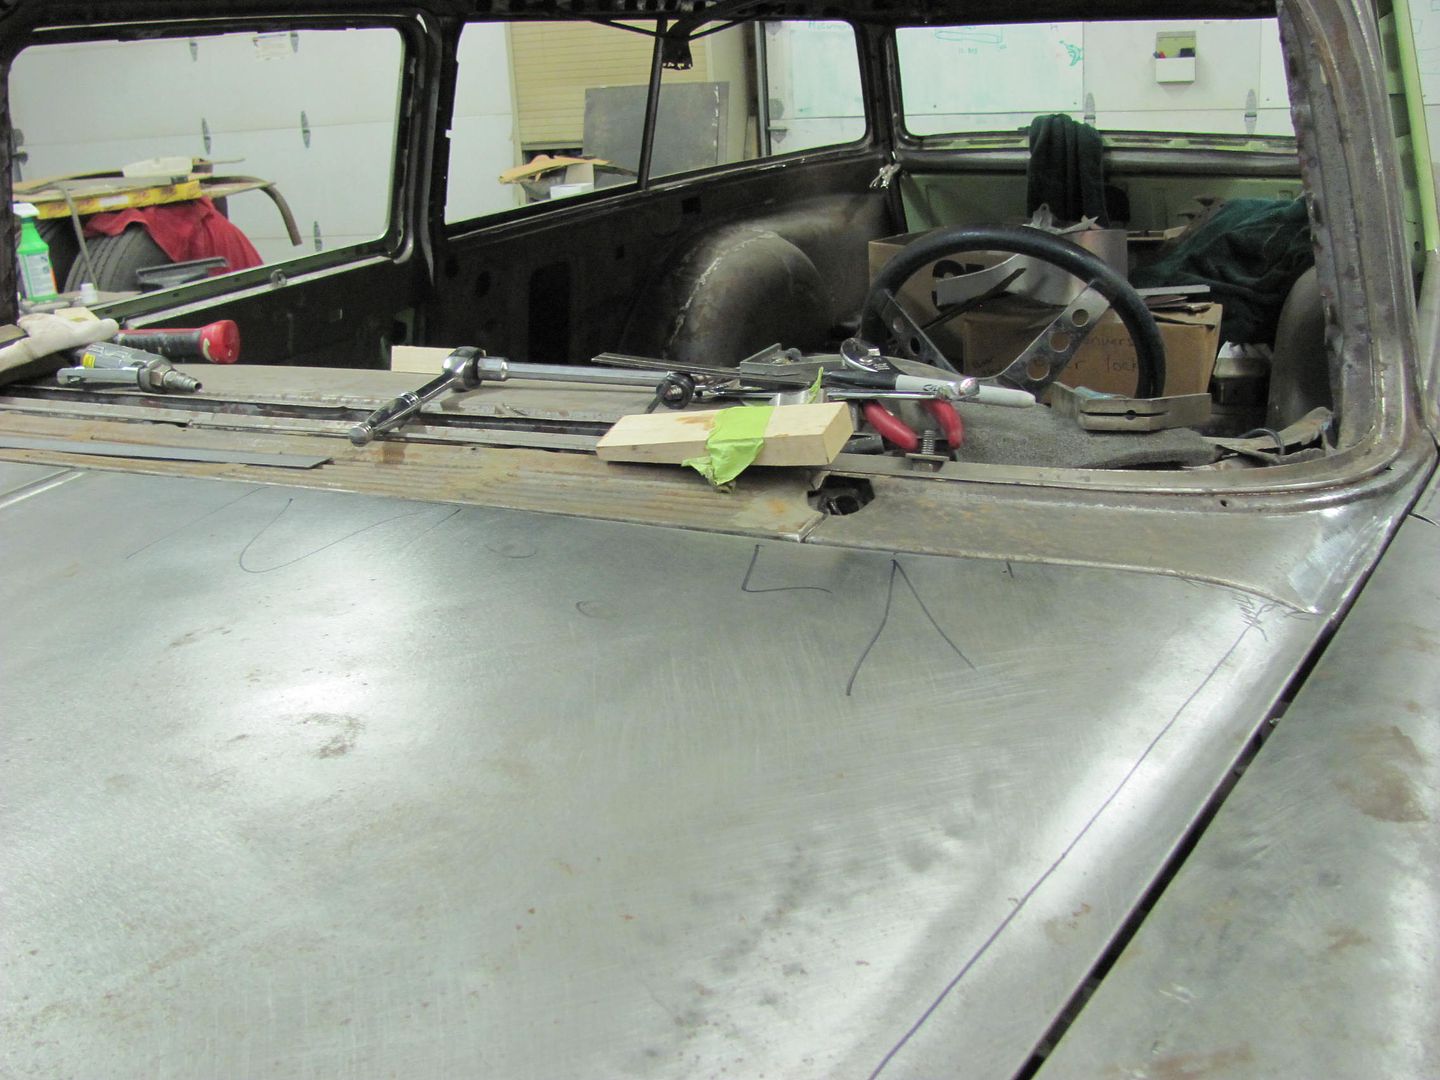
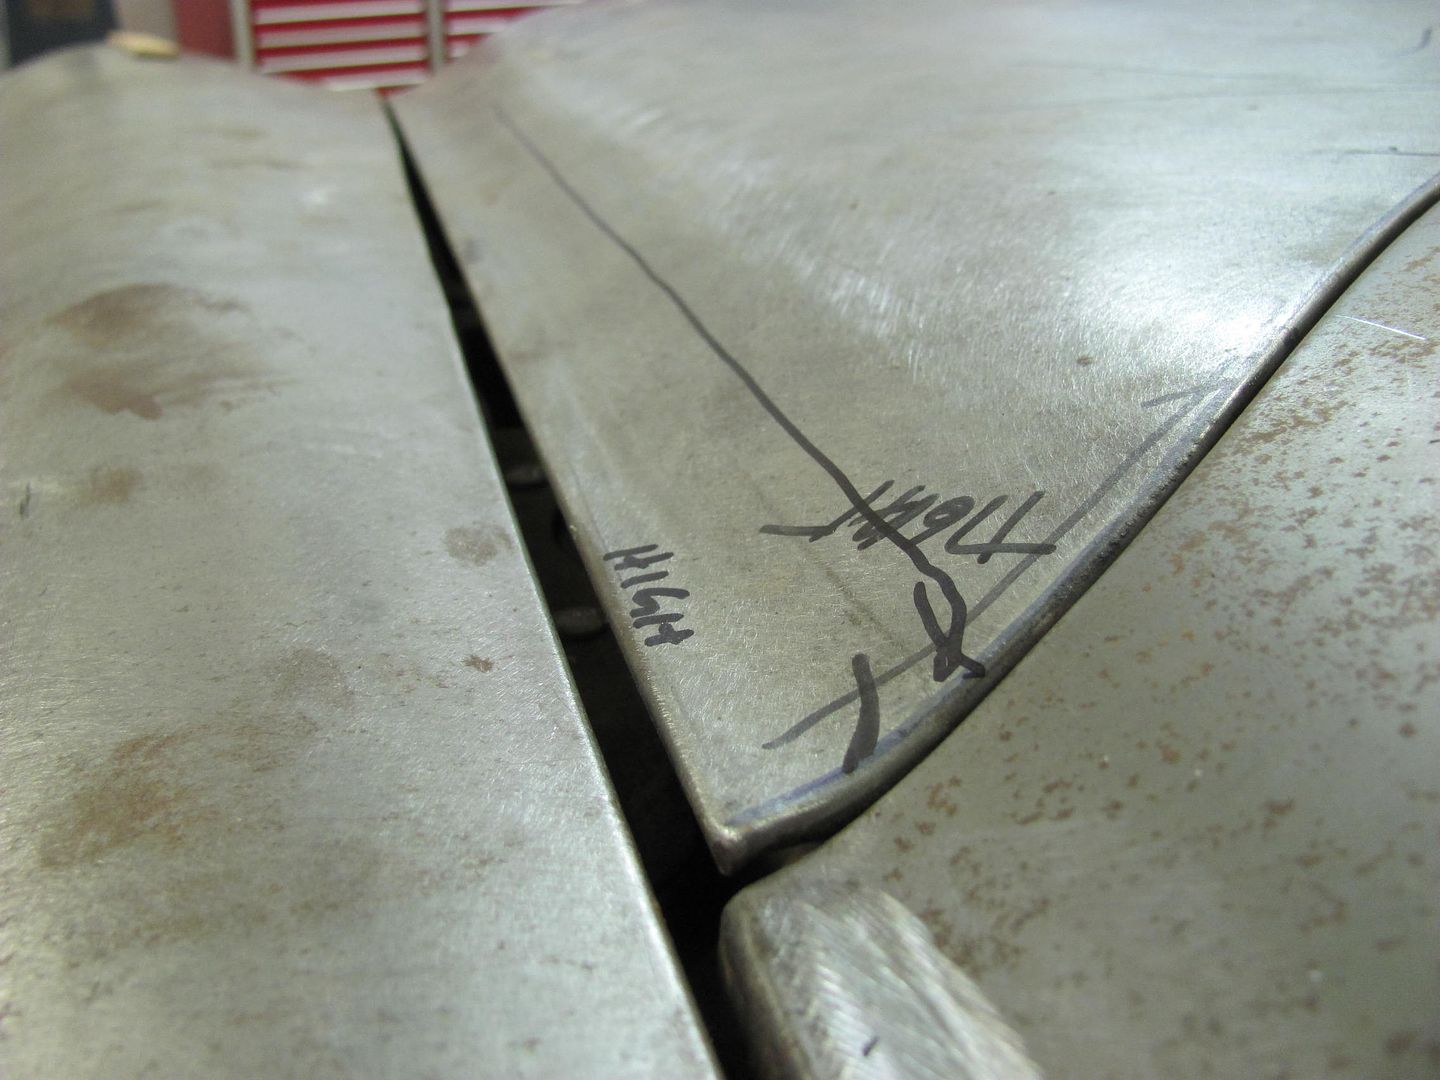
Today we worked on hood and gap alignment at the front of the car, the passenger side is all but done, so we started around to the driver's side. The windshield cowl showed a high spot behind the fender and door, that was bulged about 3/16. Good ol' factory fit!

So we made a vertical slice behind the fender and door, bumped the high spot down, and welded the joint.
We had a blowout near the leaded seam due to some rust that had collected on the back side.. Forgot to take a picture before slicing and dicing, but here's the culprit. Also had some porosity in the vertical weld that got cleaned out and re-welded later...
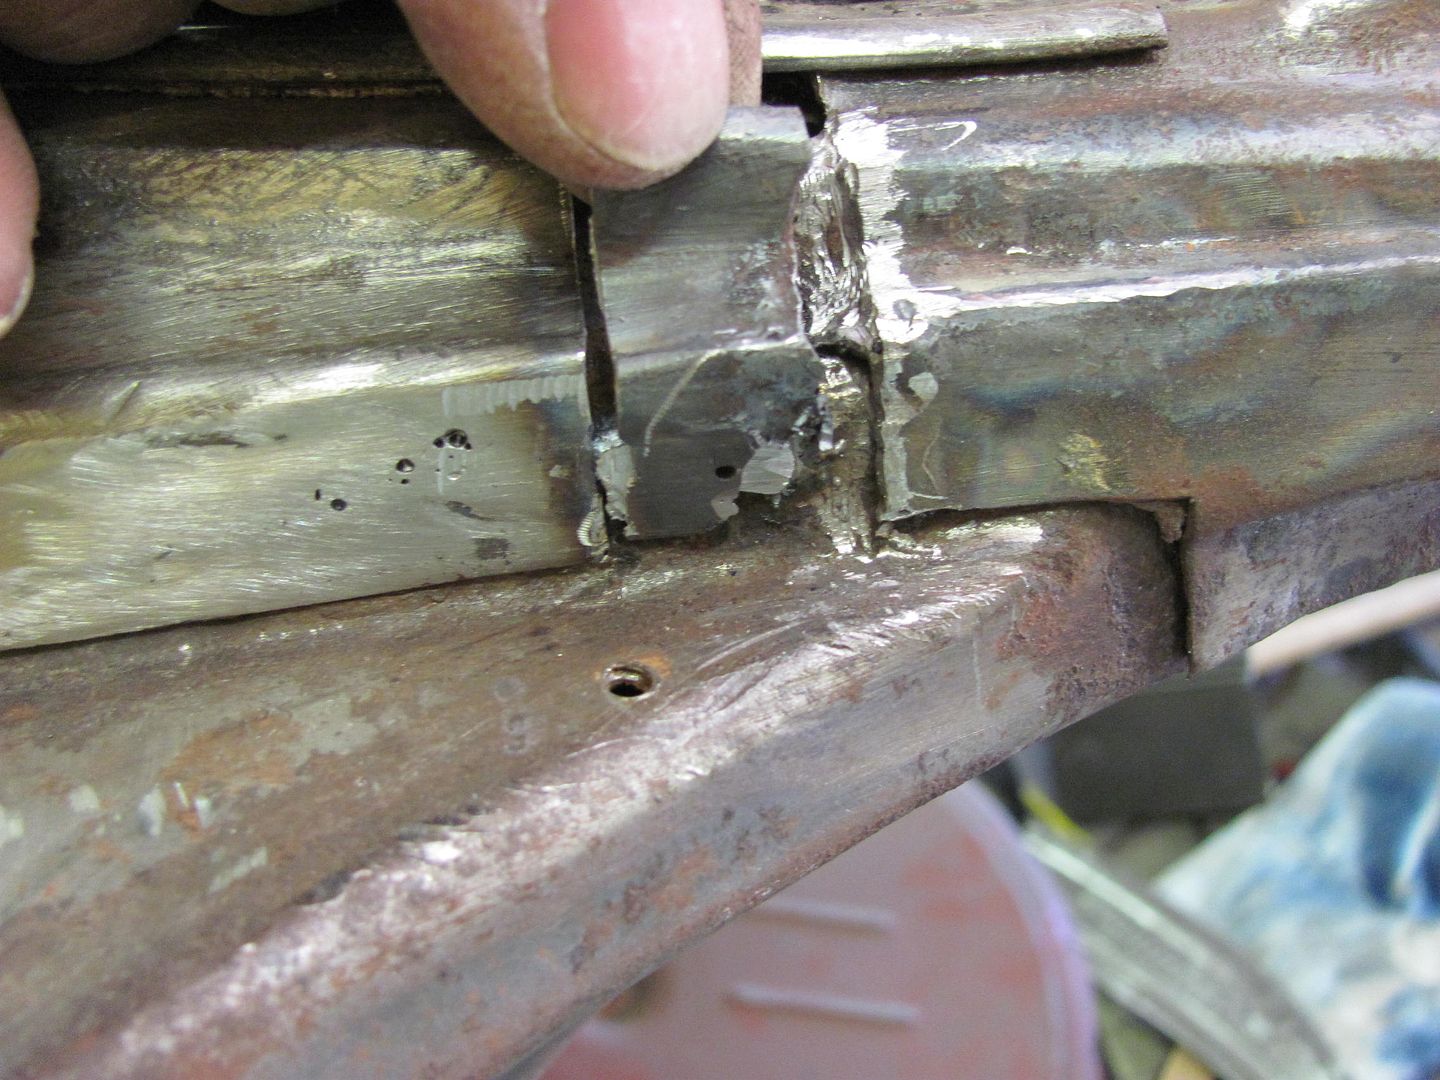
Fitted, tacked, and finished
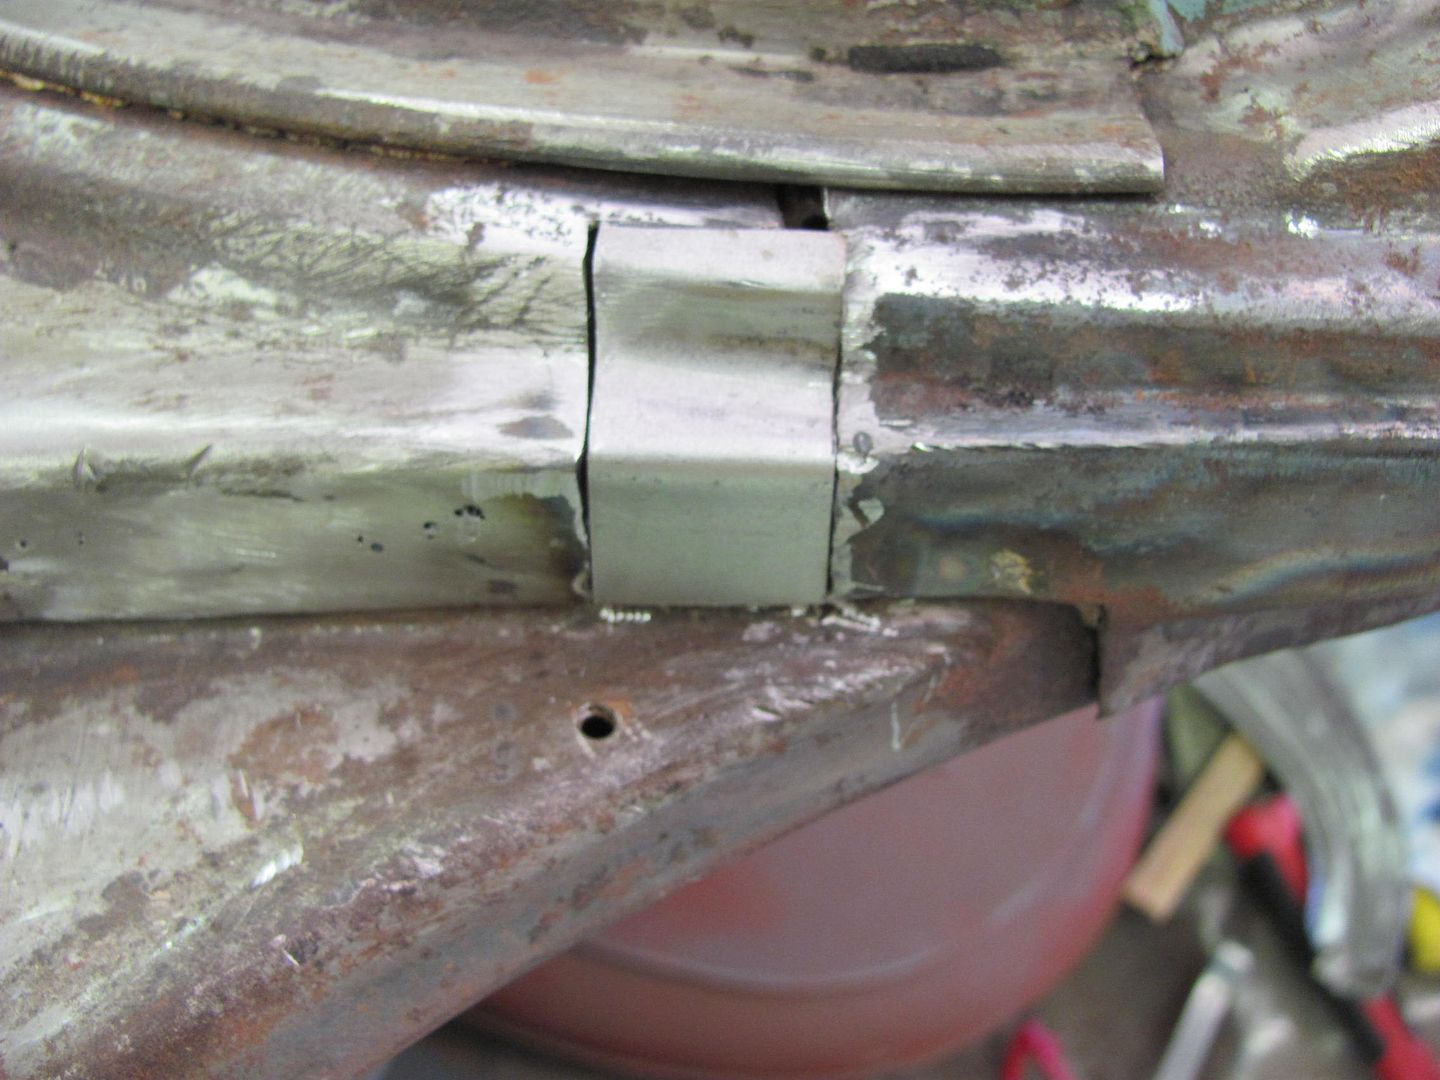
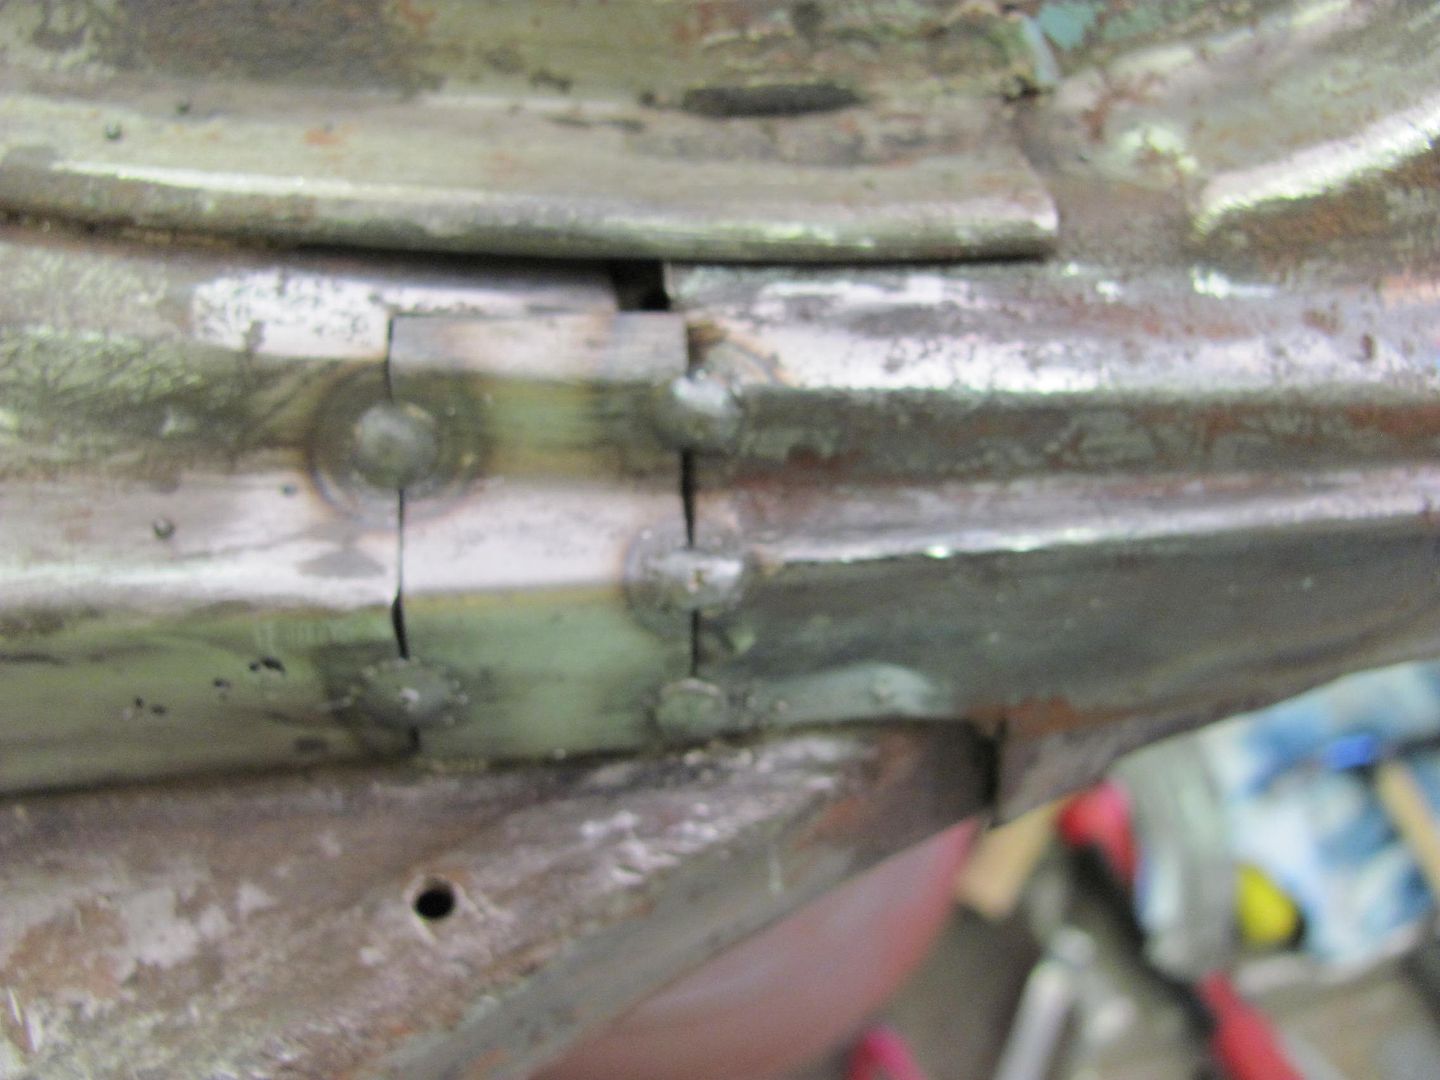
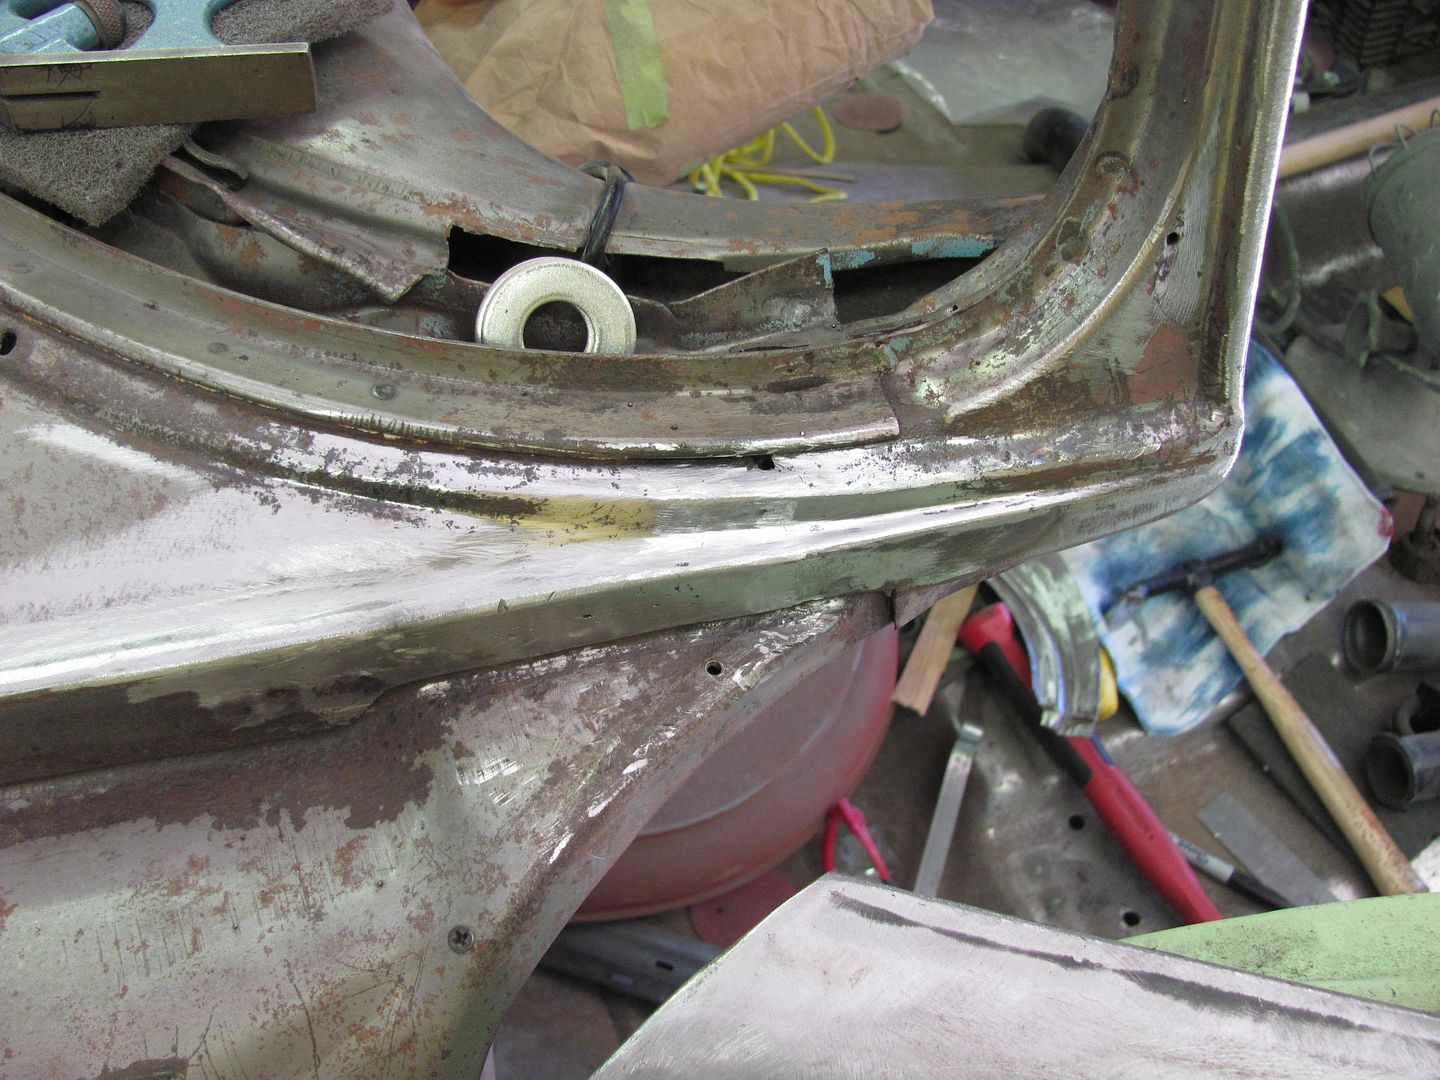
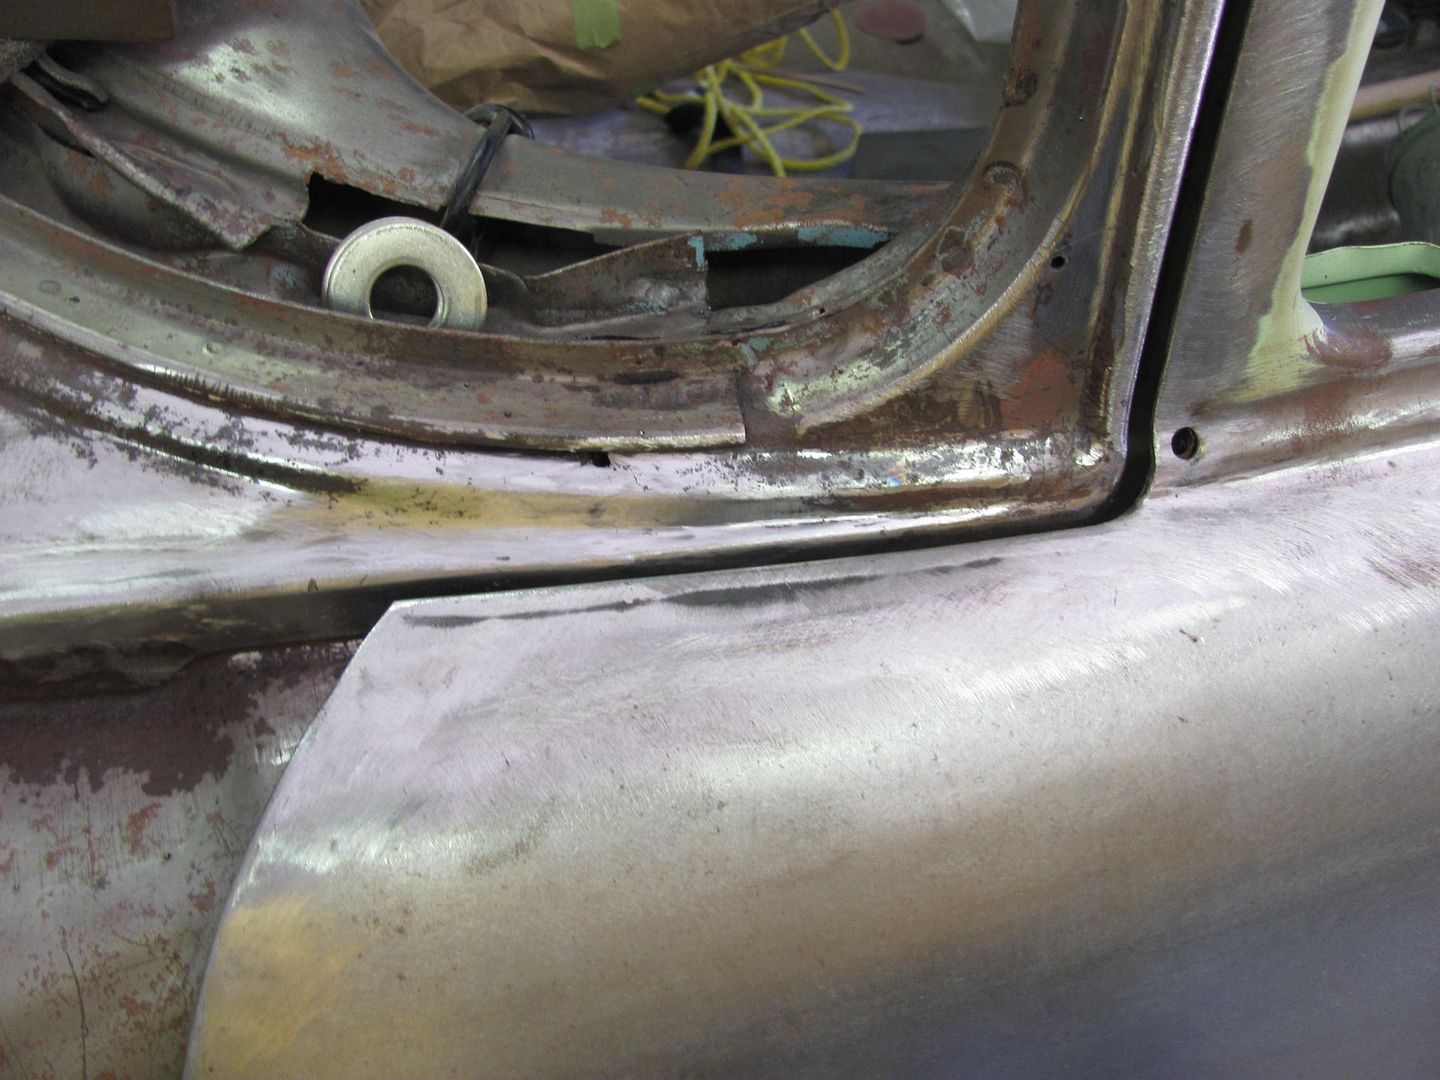
Gaps...
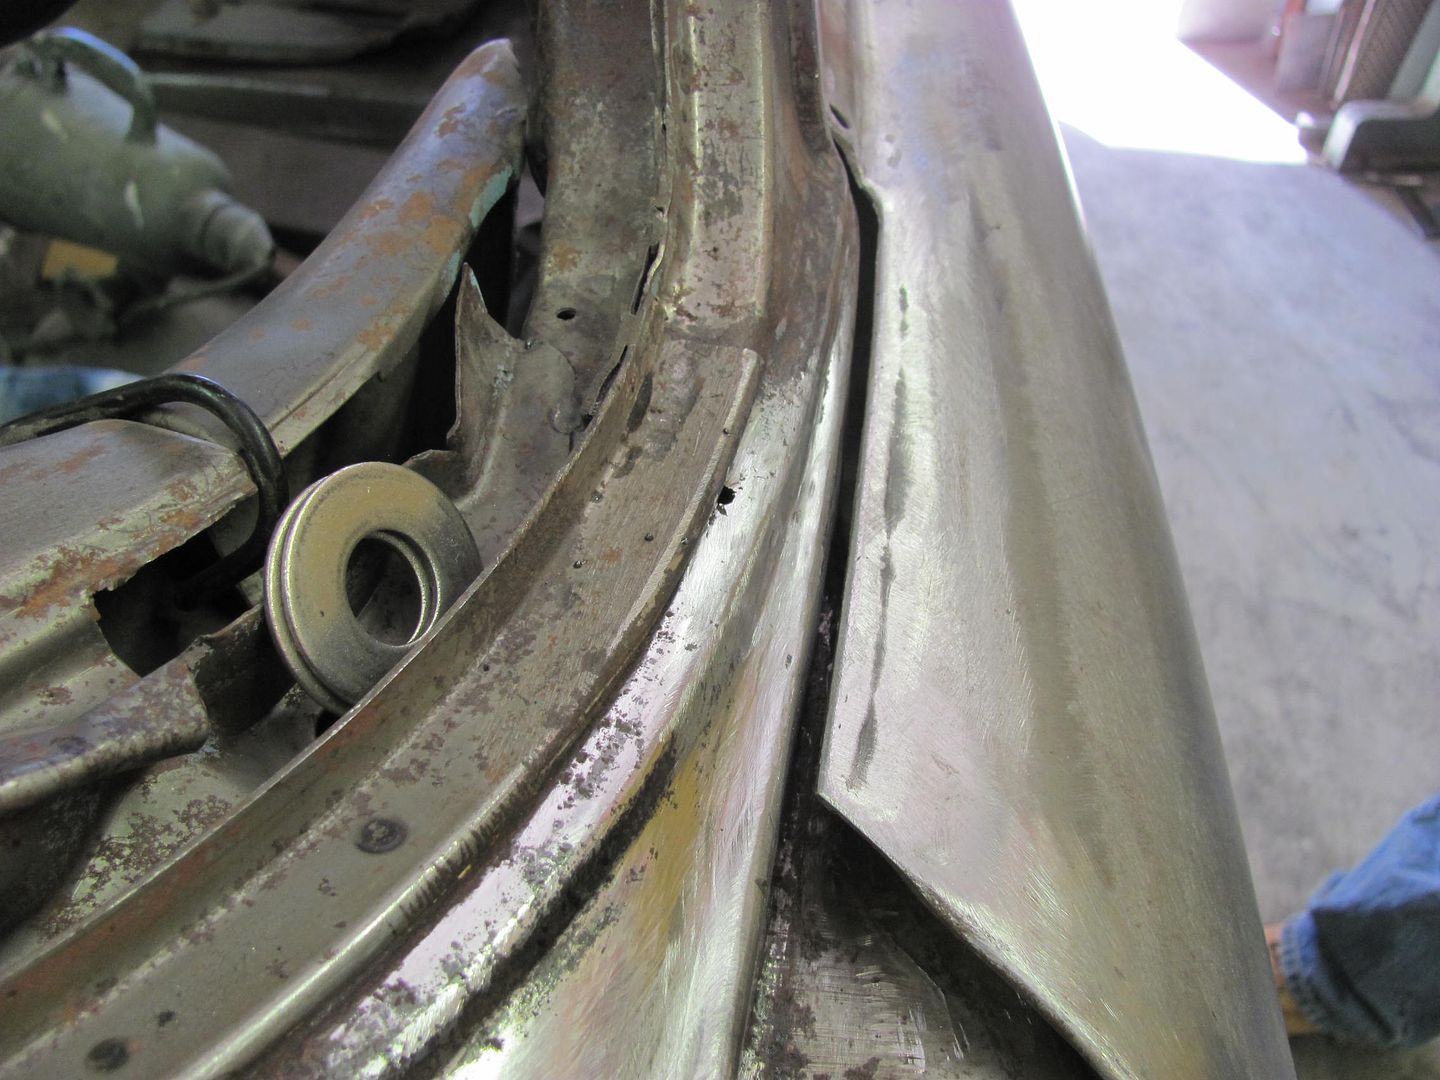
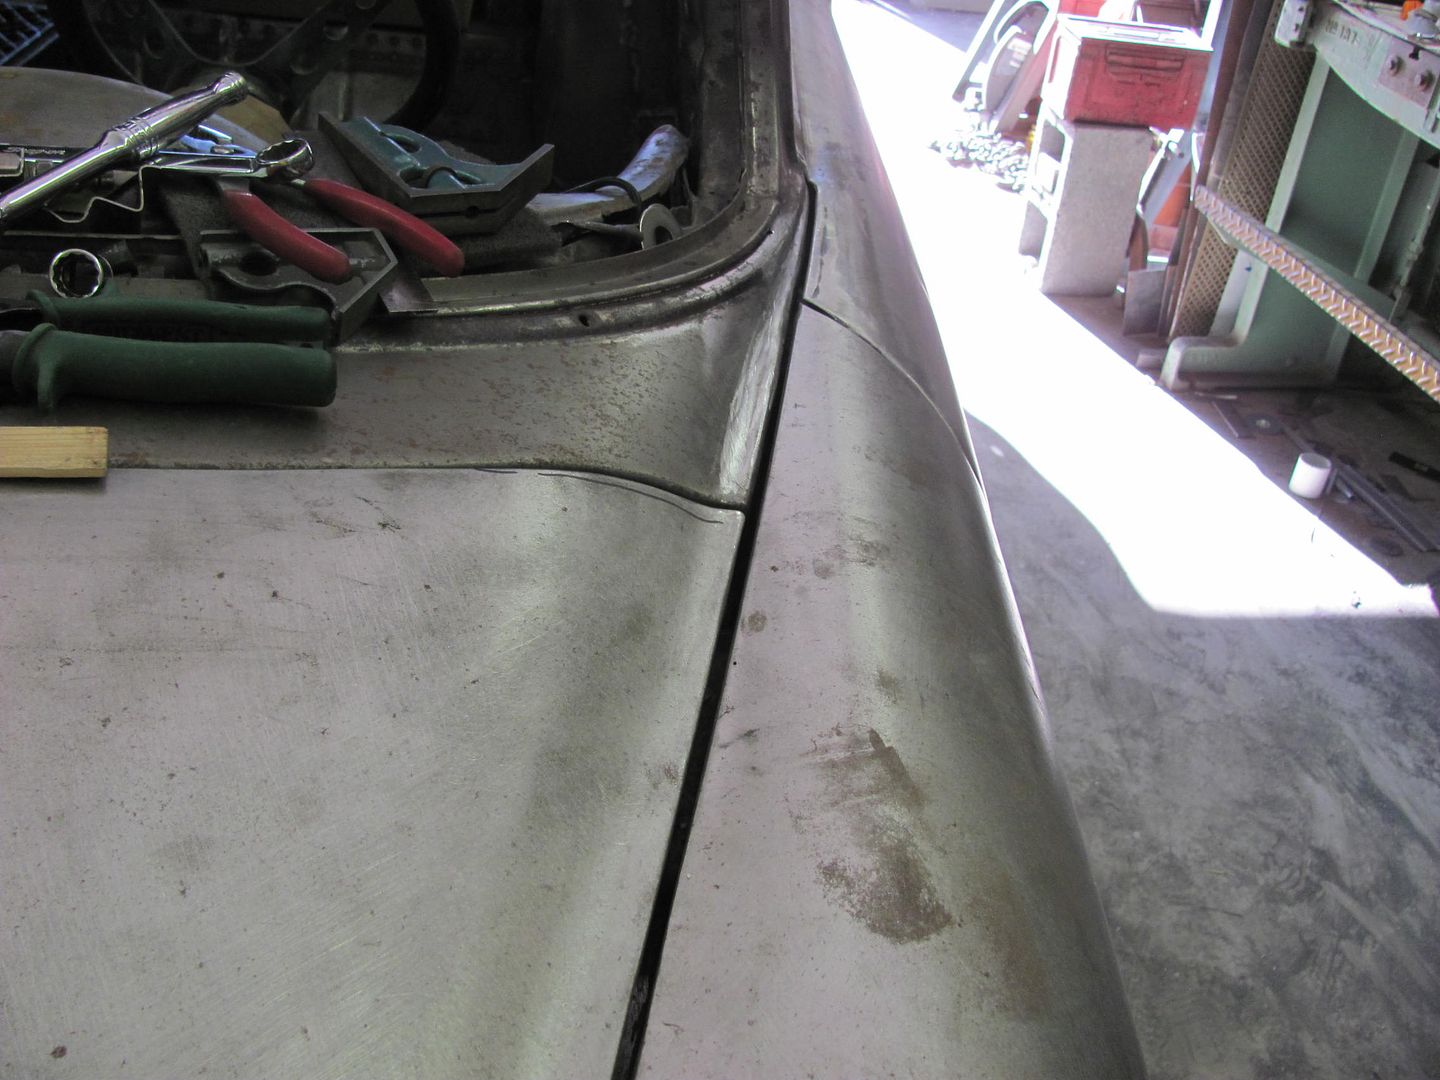
Much better

Robert
-
10-05-2014 06:45 PM #323
Enjoy your step by step. My Dad had got a brand new 55 Nomad,I thought was really pretty wagon,I loved the thing as a kid,but 265 leaked n smoked so bad,in Dec of 1955 the dealer put a new 283 in it,that thing sang then,but two more years an dad using it as a work car took a toll on it. Point is I really like 55 wagons.
-
10-06-2014 12:13 PM #324
- Join Date
- Apr 2011
- Location
- Prairie City
- Car Year, Make, Model: 40 Ford Deluxe, 68 Corvette, 72&76 K30
- Posts
- 7,300
- Blog Entries
- 1
More great work. Most places I swear just fill those areas with seam sealer.Ryan
1940 Ford Deluxe Tudor 354 Hemi 46RH Electric Blue w/multi-color flames, Ford 9" Residing in multiple pieces
1968 Corvette Coupe 5.9 Cummins Drag Car 11.43@130mph No stall leaving the line with 1250 rpm's and poor 2.2 60'
1972 Chevy K30 Longhorn P-pumped 24v Compound Turbos 47RH Just another money pit
1971 Camaro RS 5.3 BTR Stage 3 cam, SuperT10
Tire Sizes
-
10-08-2014 07:57 PM #325
Thanks for the comments guys.
I've had my Mig welder for quite a while now, and thought I'd downsize a bit. Most of the work I do is sheet metal, and the occasional 1/8 or 3/16 plate. I had looked at the Miller 211's online and on eBay, so I had a price range in mind. I stopped by my local Welding supply and was pleased to find that he had those prices beat by a good bit. So it came home with me..
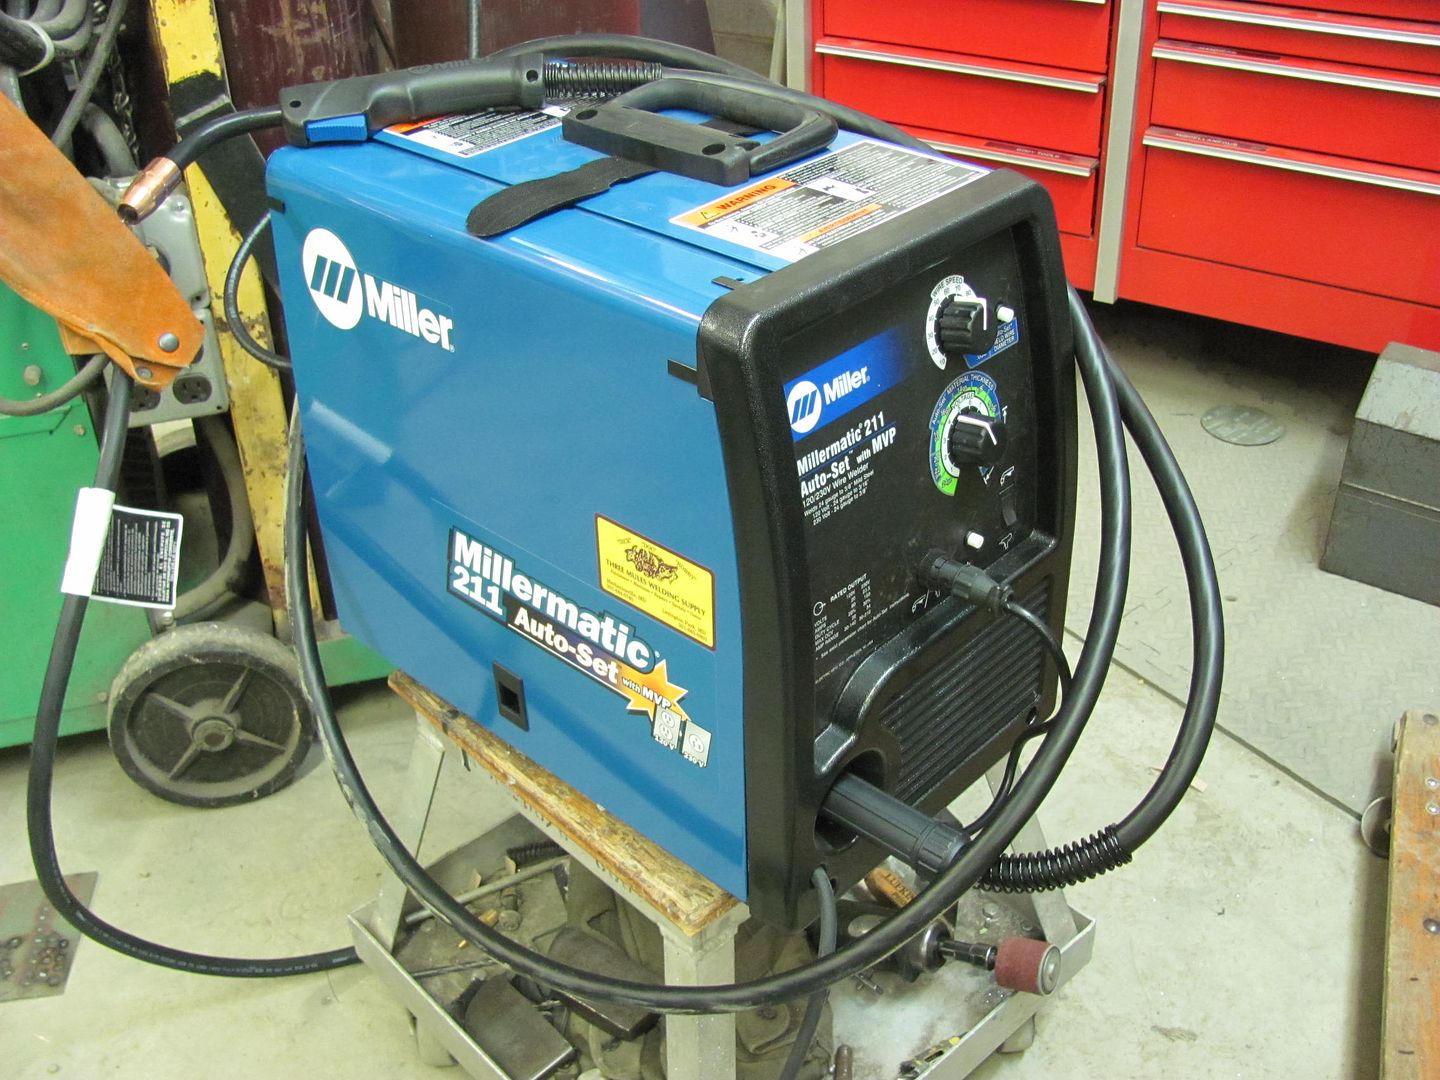
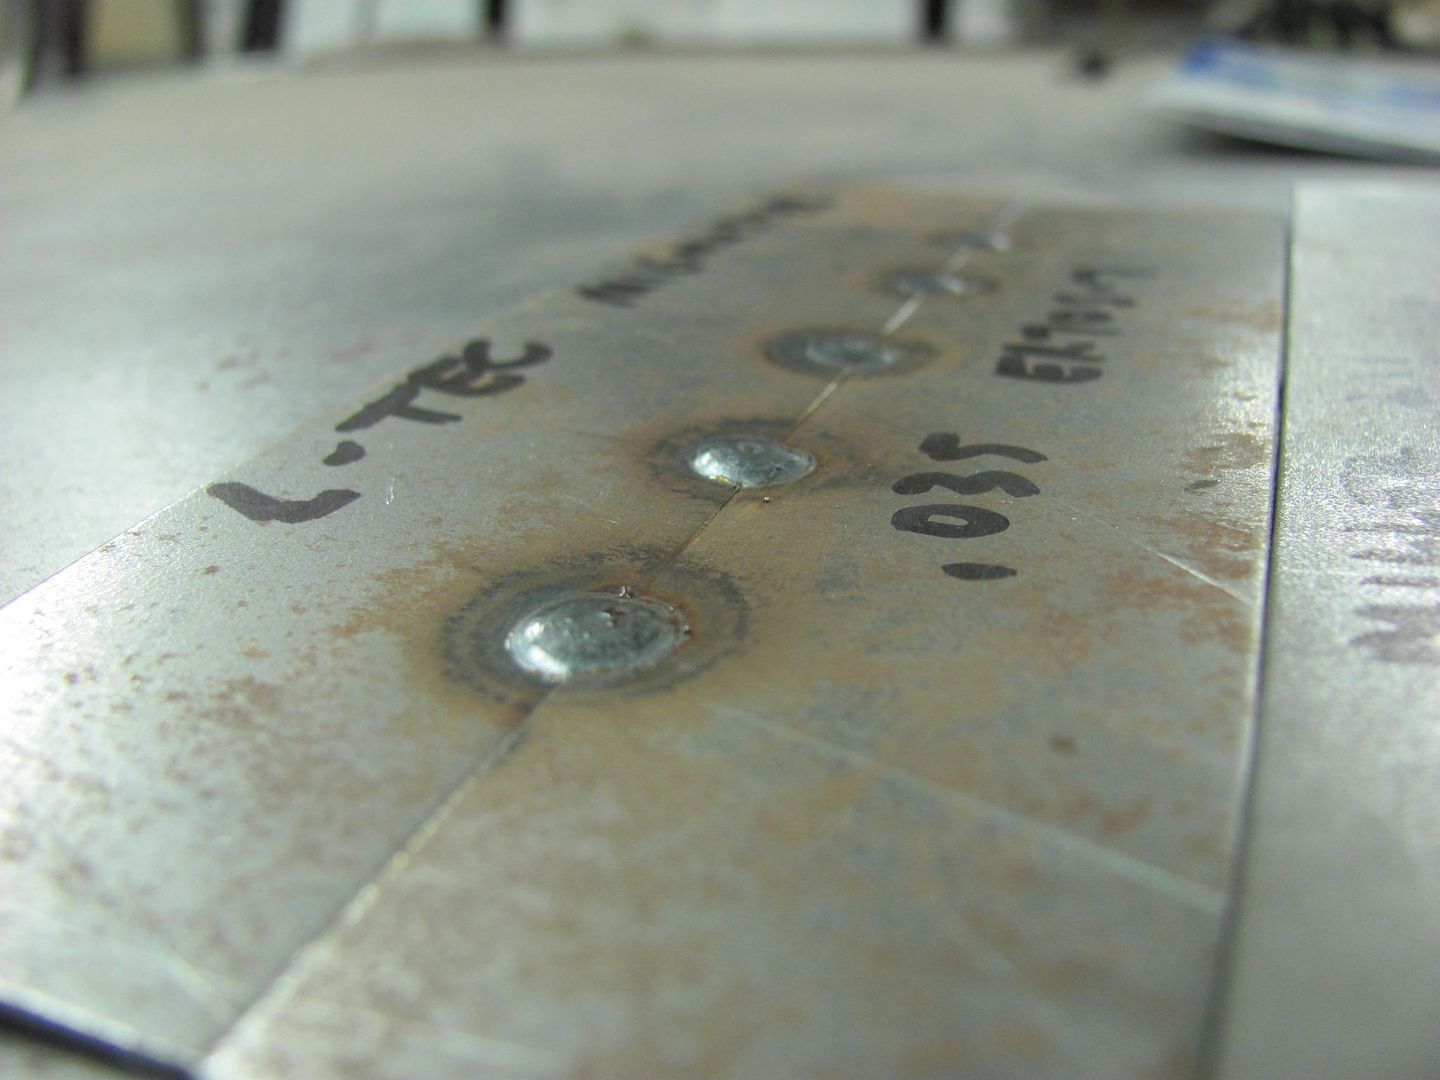
First order of business was to test it out and do a comparison to the coupon I had done with the old machine. I still had the 11 lb. roll of .023 EZ Grind, so that was used in the new machine. Here are the results...
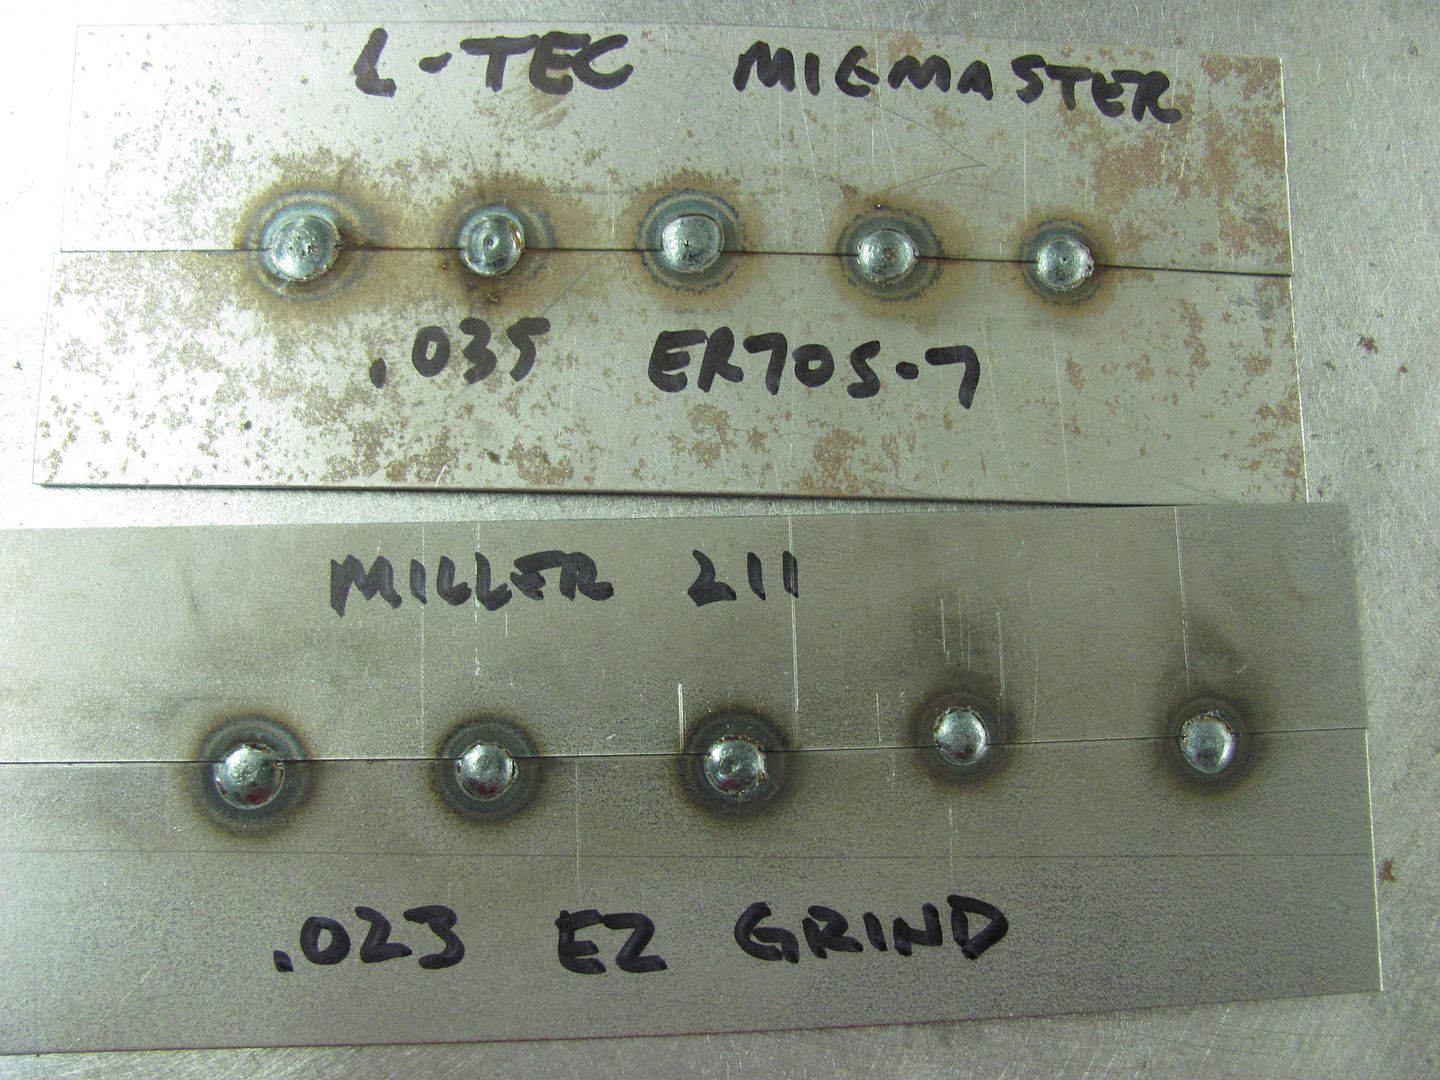
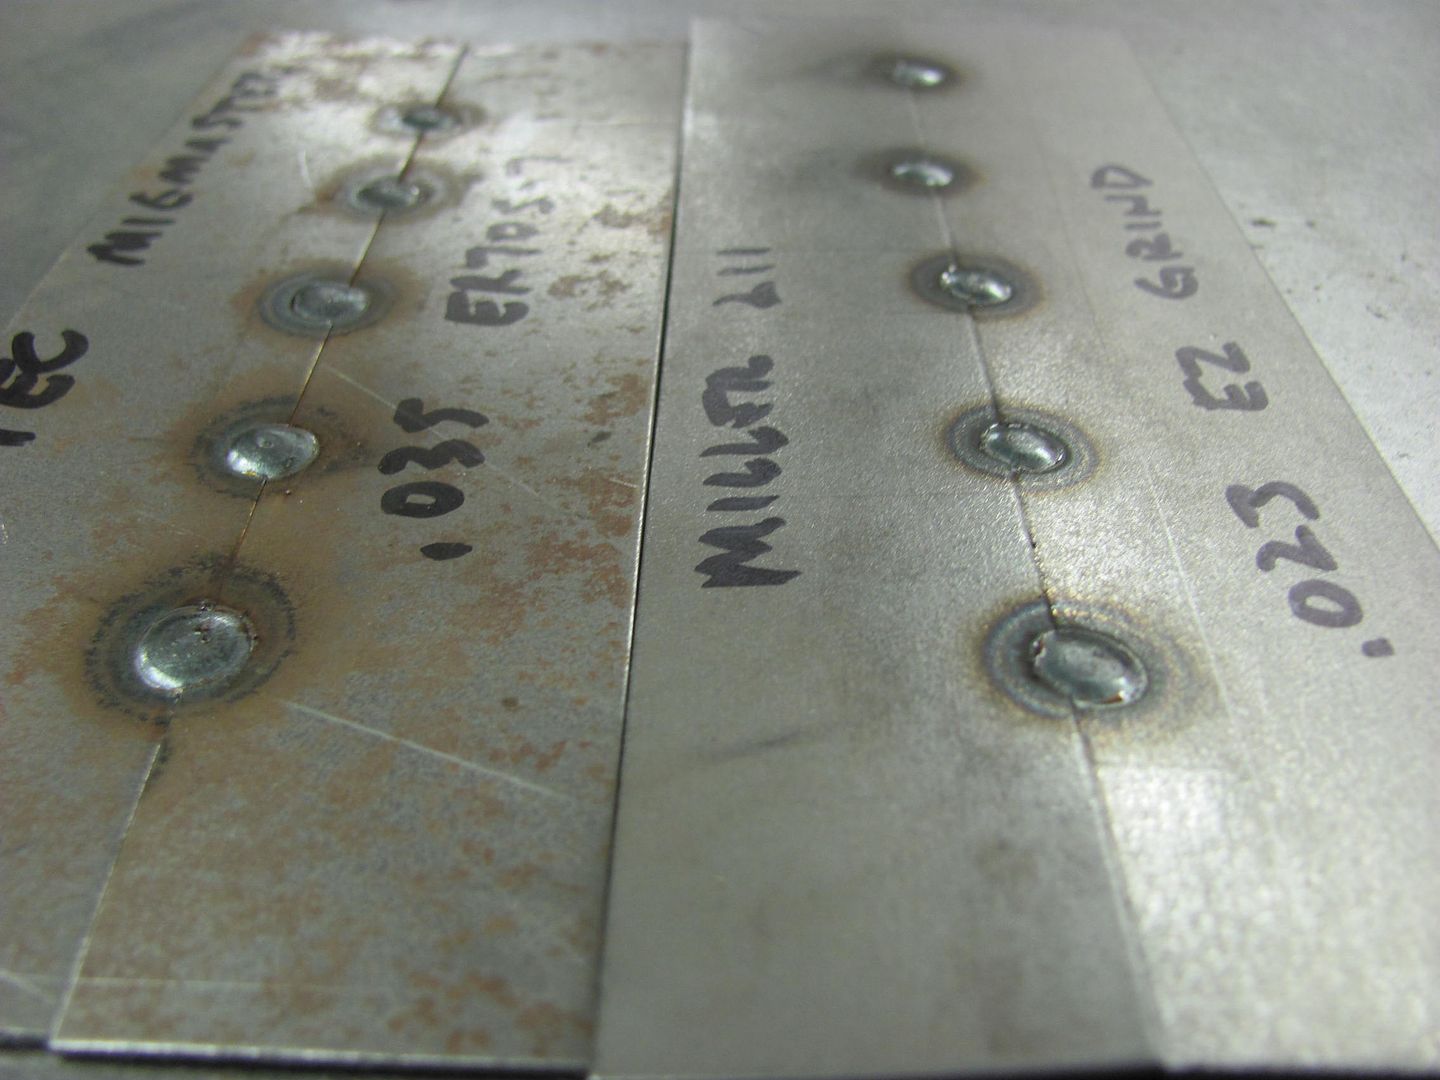
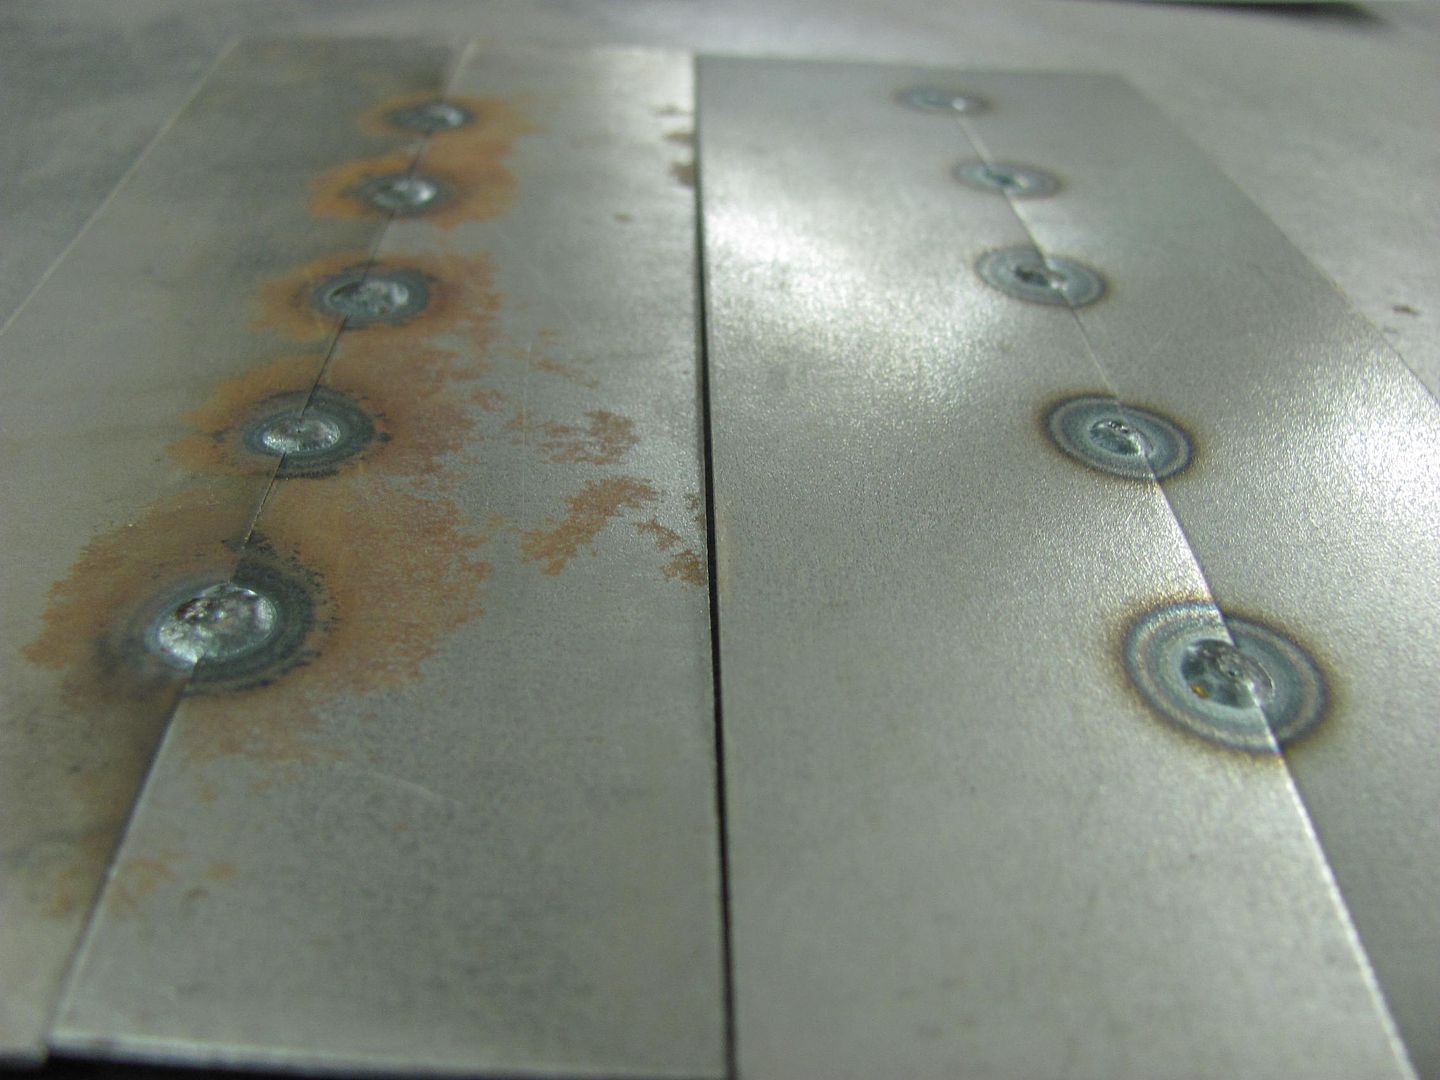
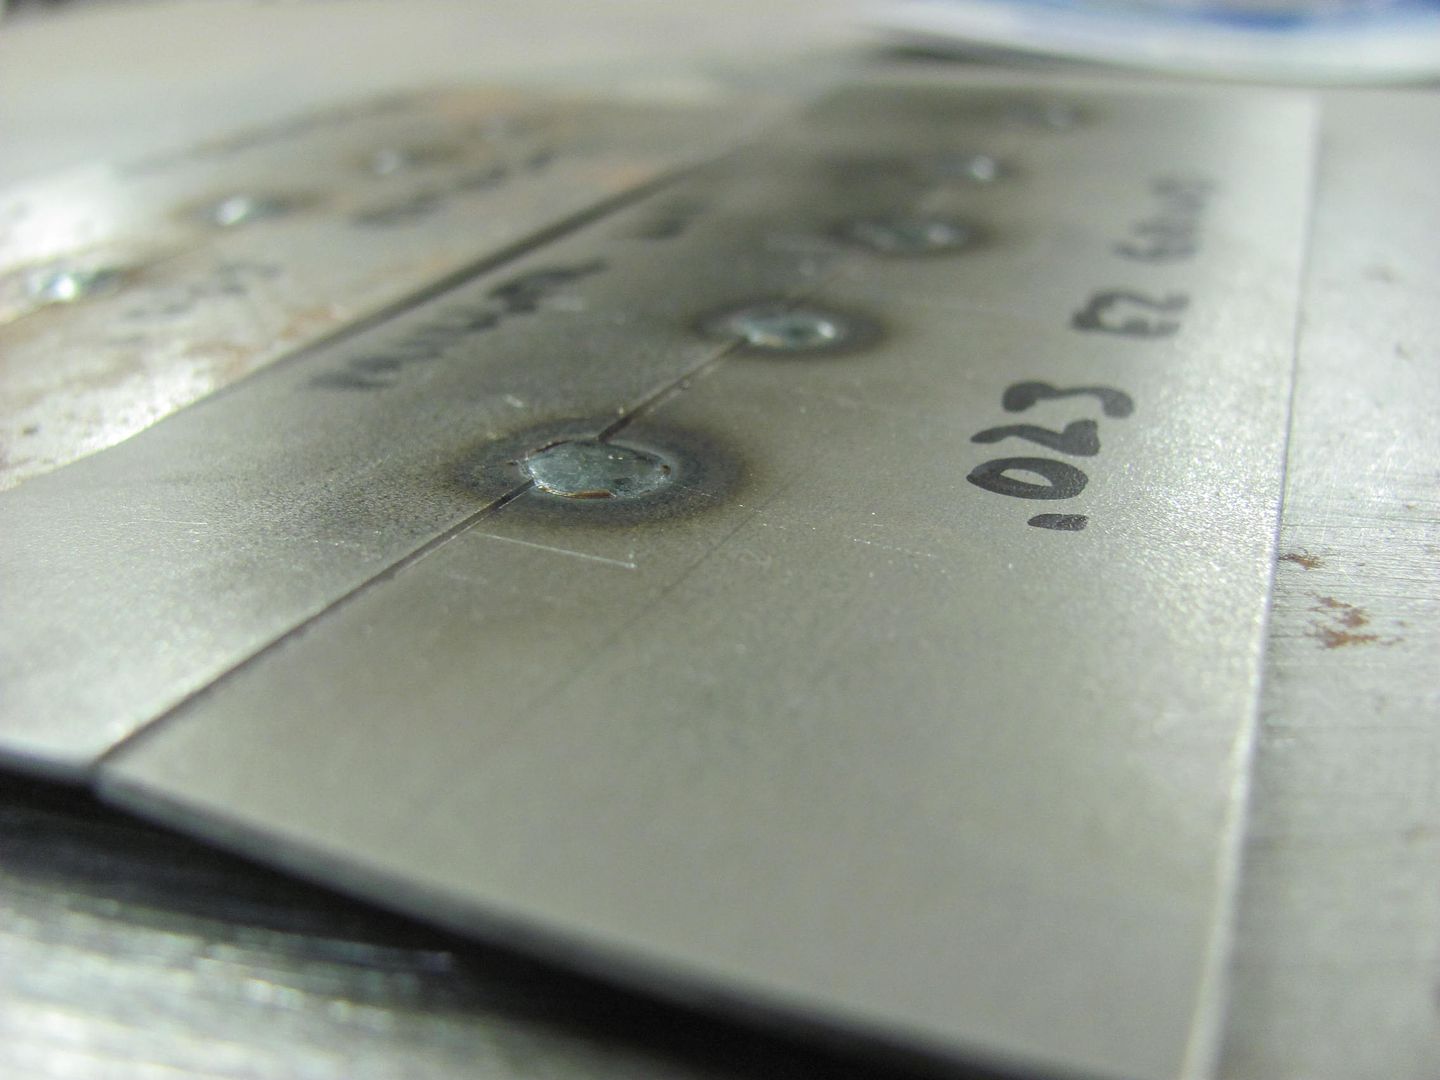
Both versions, .023 EZ grind and the .035 ER70S-7 in the old machine had very similar results. Good wetting, nice flat weld for minimal build, less grinding, less cleanup.
Back to the front end of the car, the hood had been giving us fits when opening, it was dragging the cowl vent in a few spots...
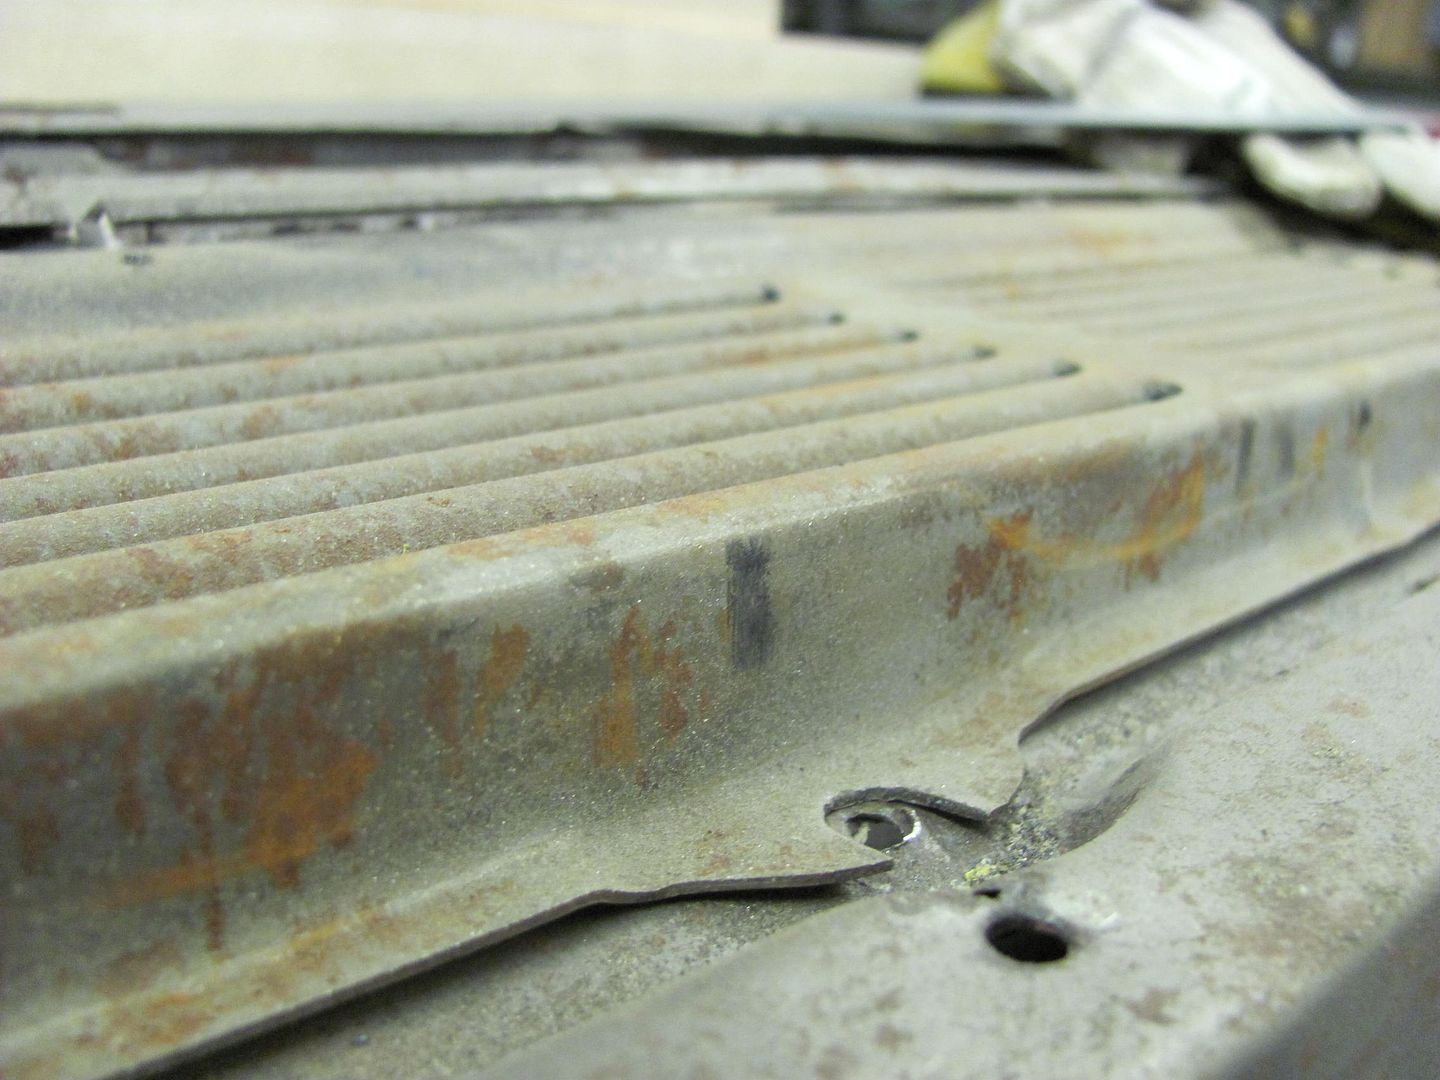
Removed the hood and altered the angle of the rear flange for better clearance to the cowl vent....
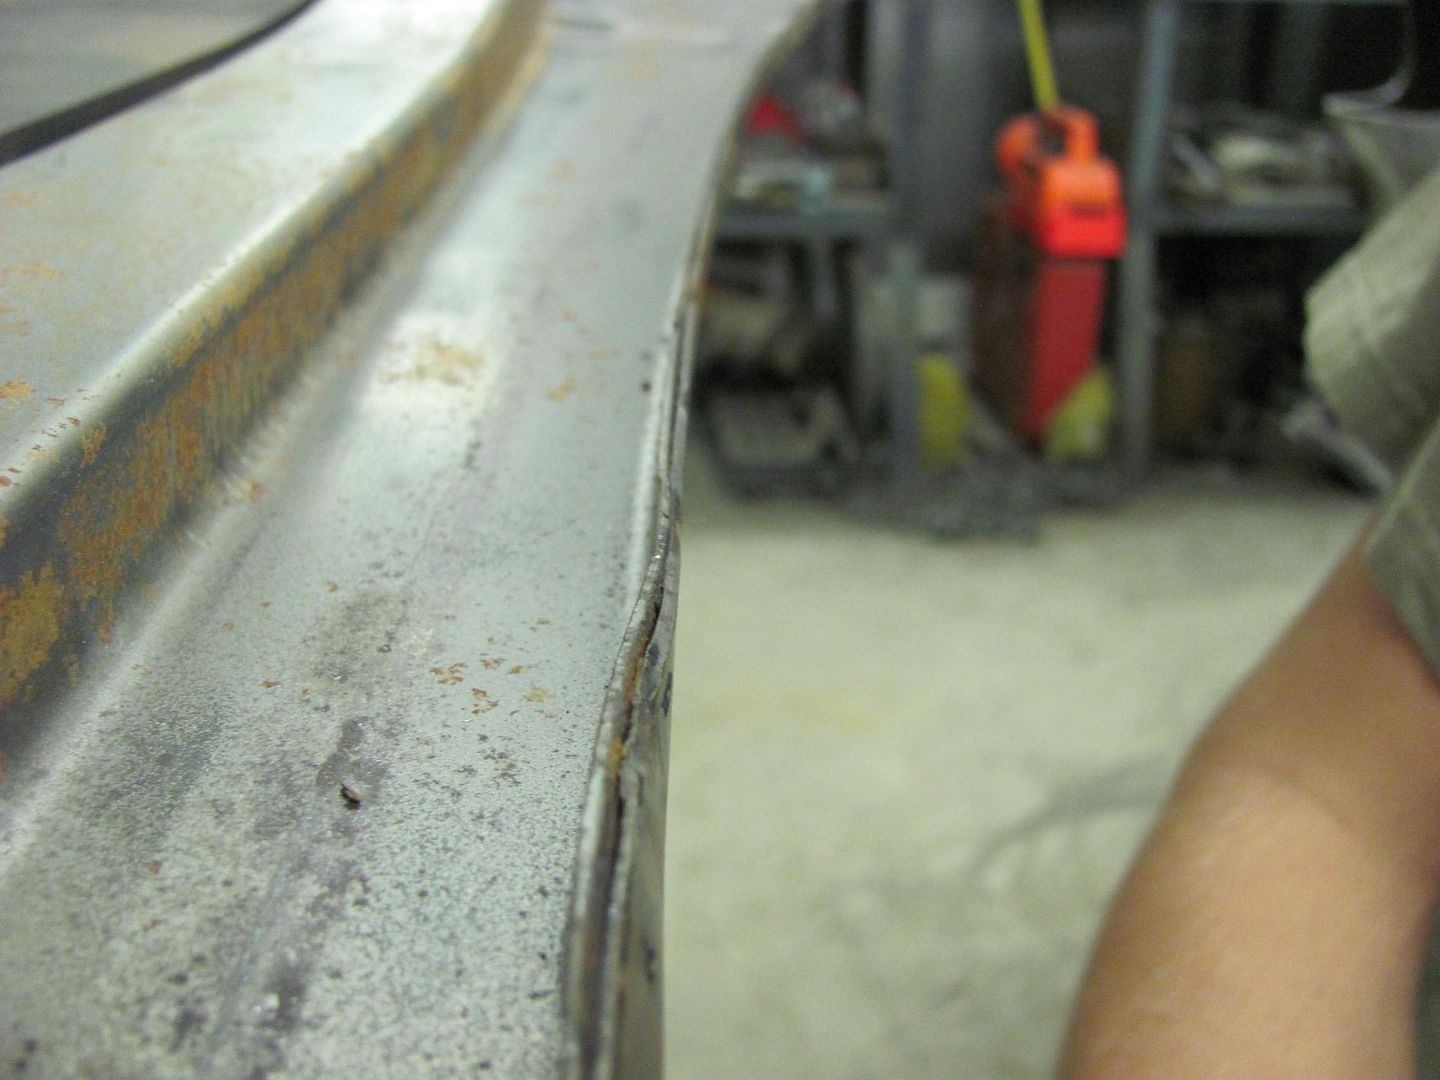
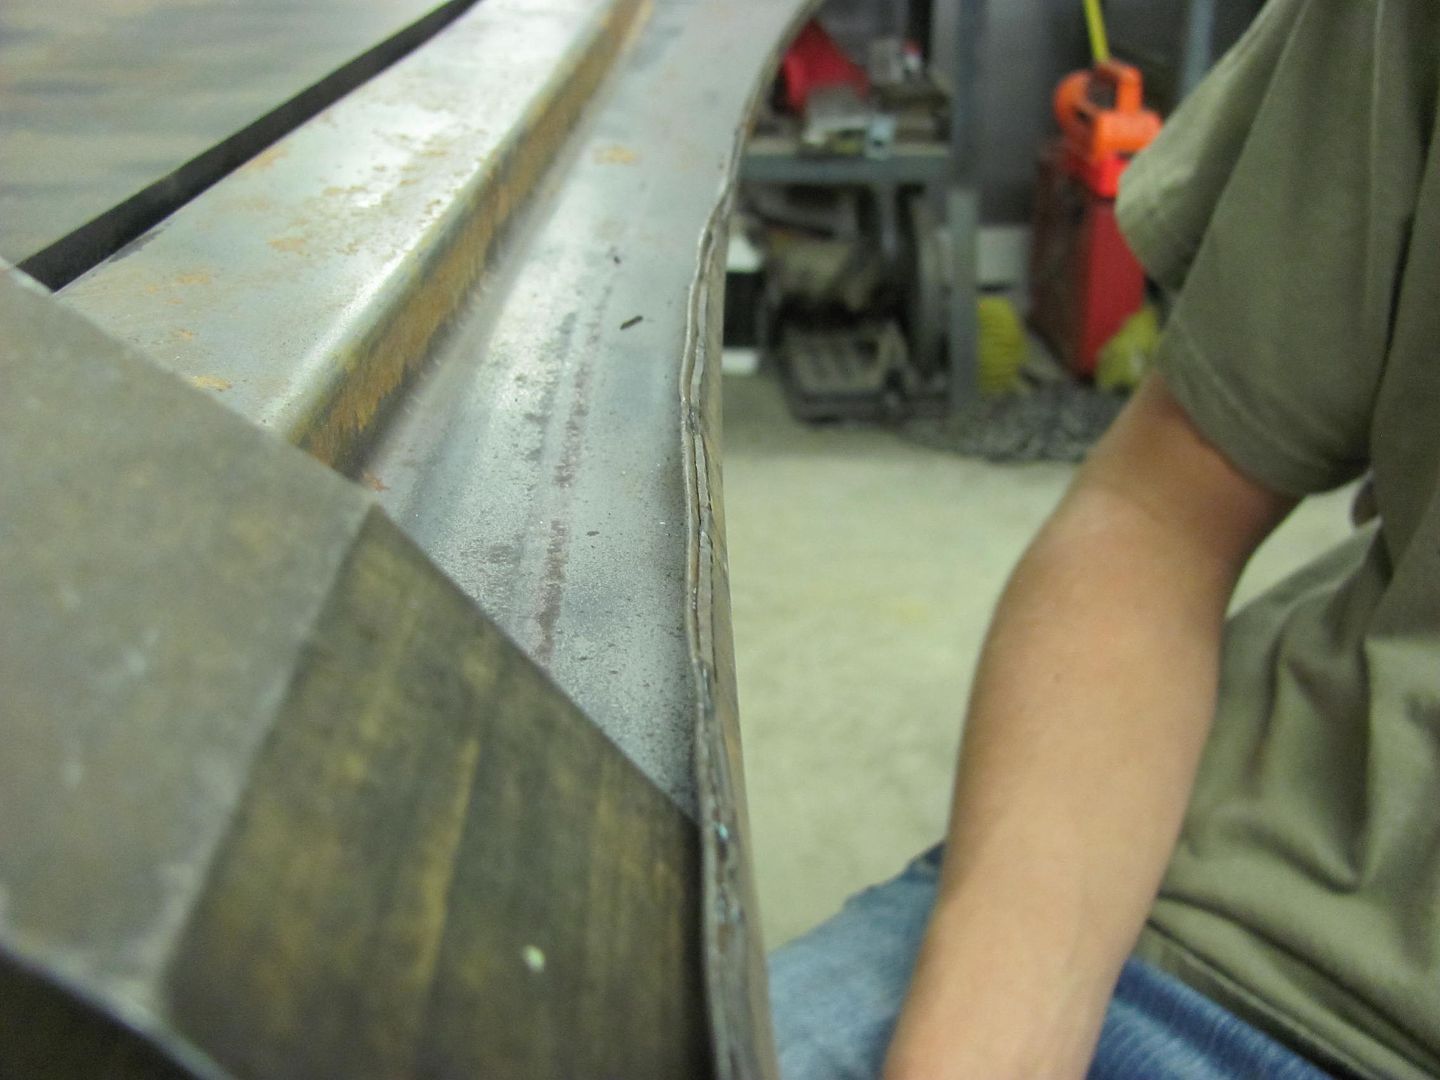
After refitting, the problem persisted, but was not as pronounced. We did notice the center of the hood was sagging a bit. So I jumped inside the engine compartment with the torch and did some contracting of the rear brace to give the center a lift...
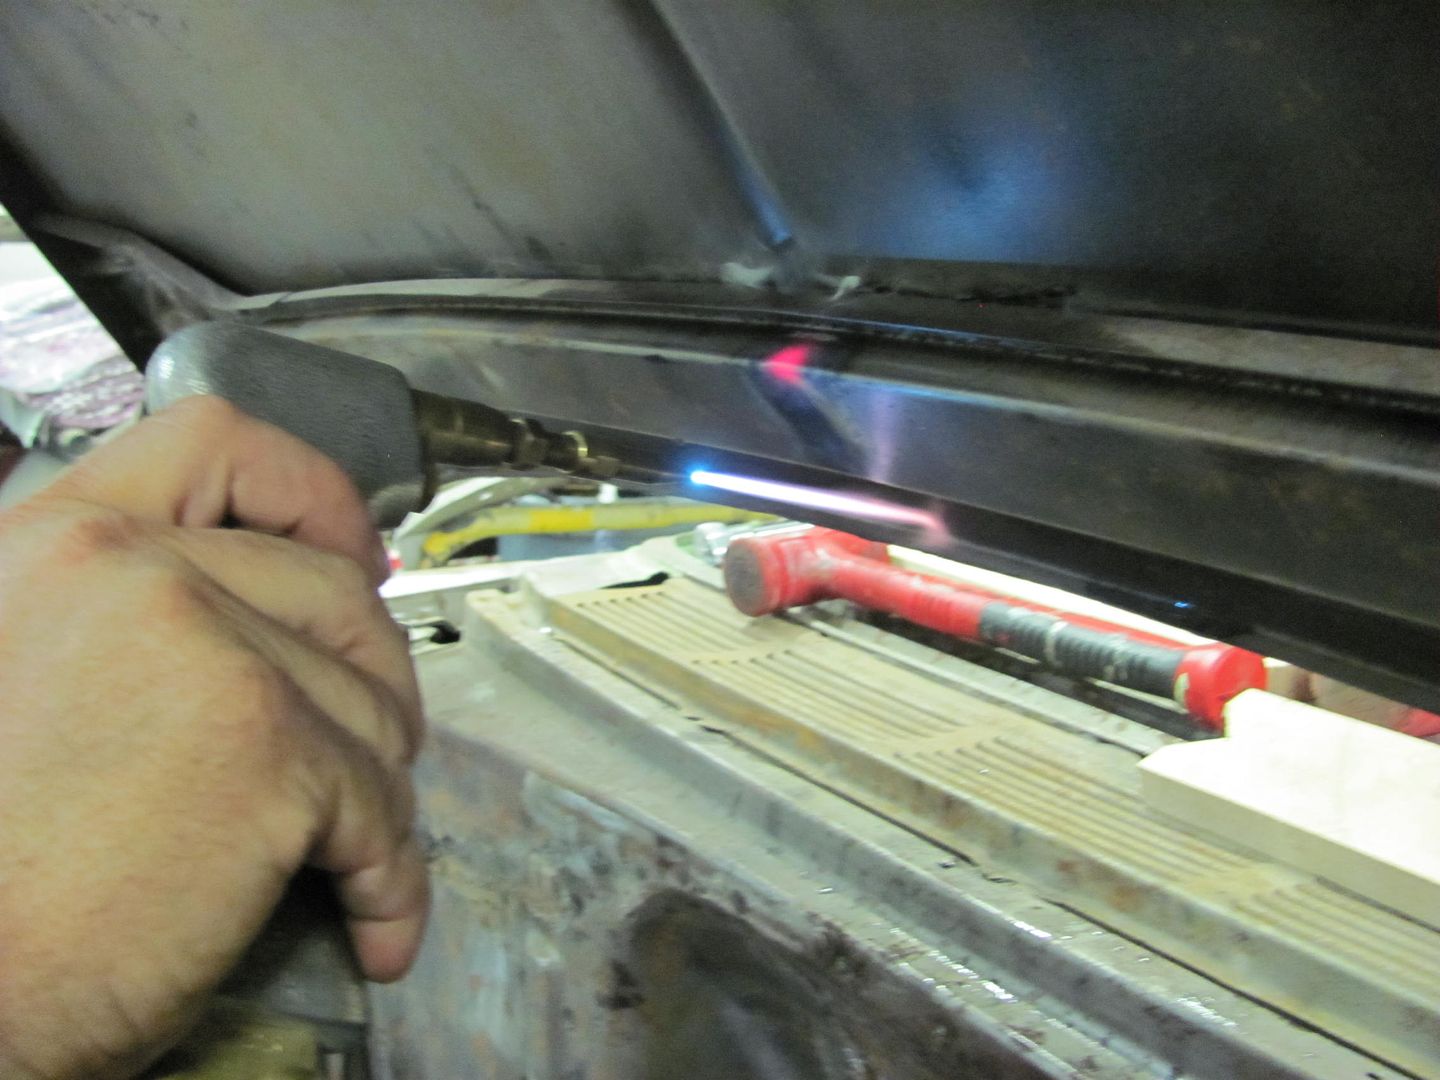
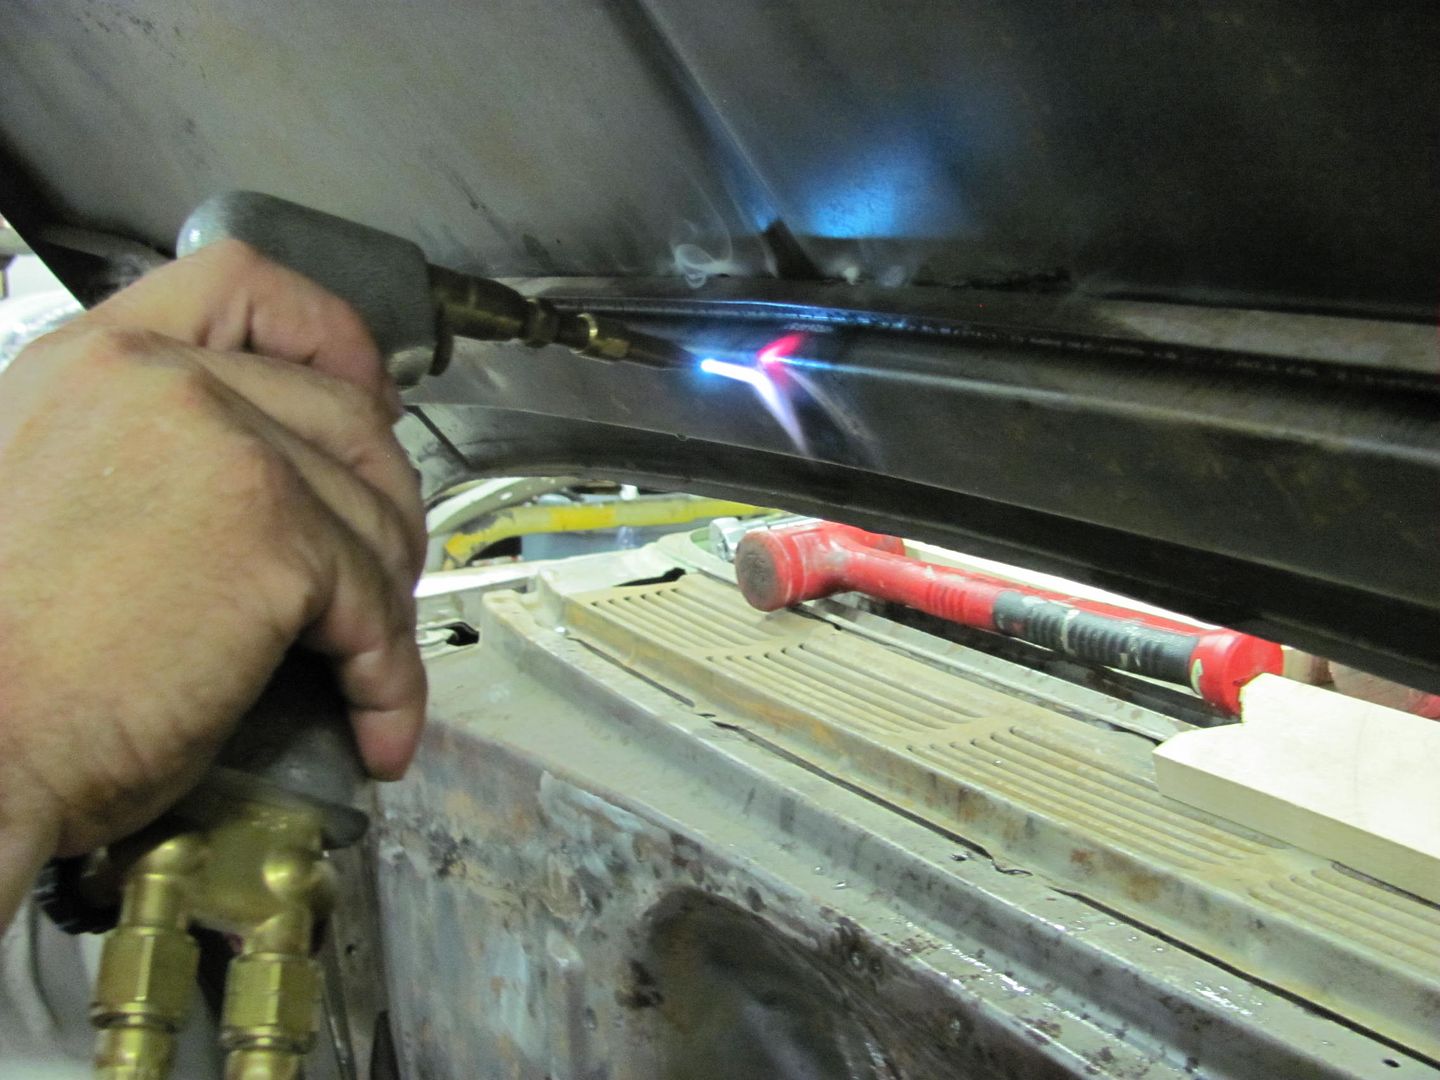
Cooling off the hot spots with a damp rag did the trick. Next we worked on getting the hood's rear edge to match up to the cowl. This is something that the driver will stare at continually, so it needs to be a whole lot better than it is now:
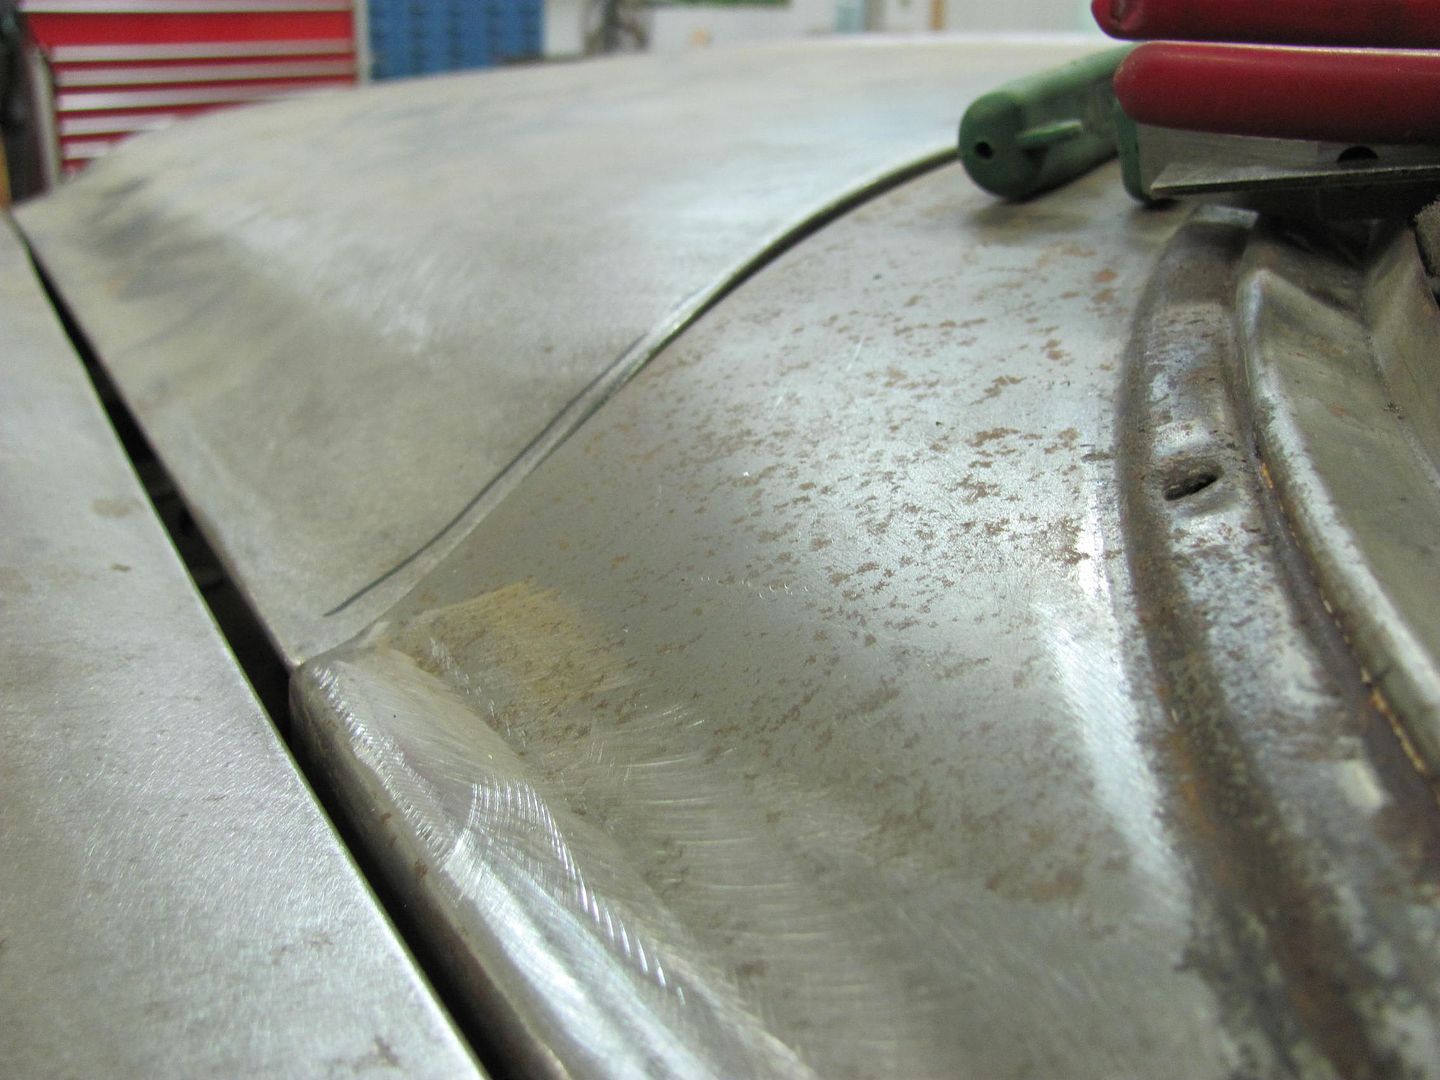
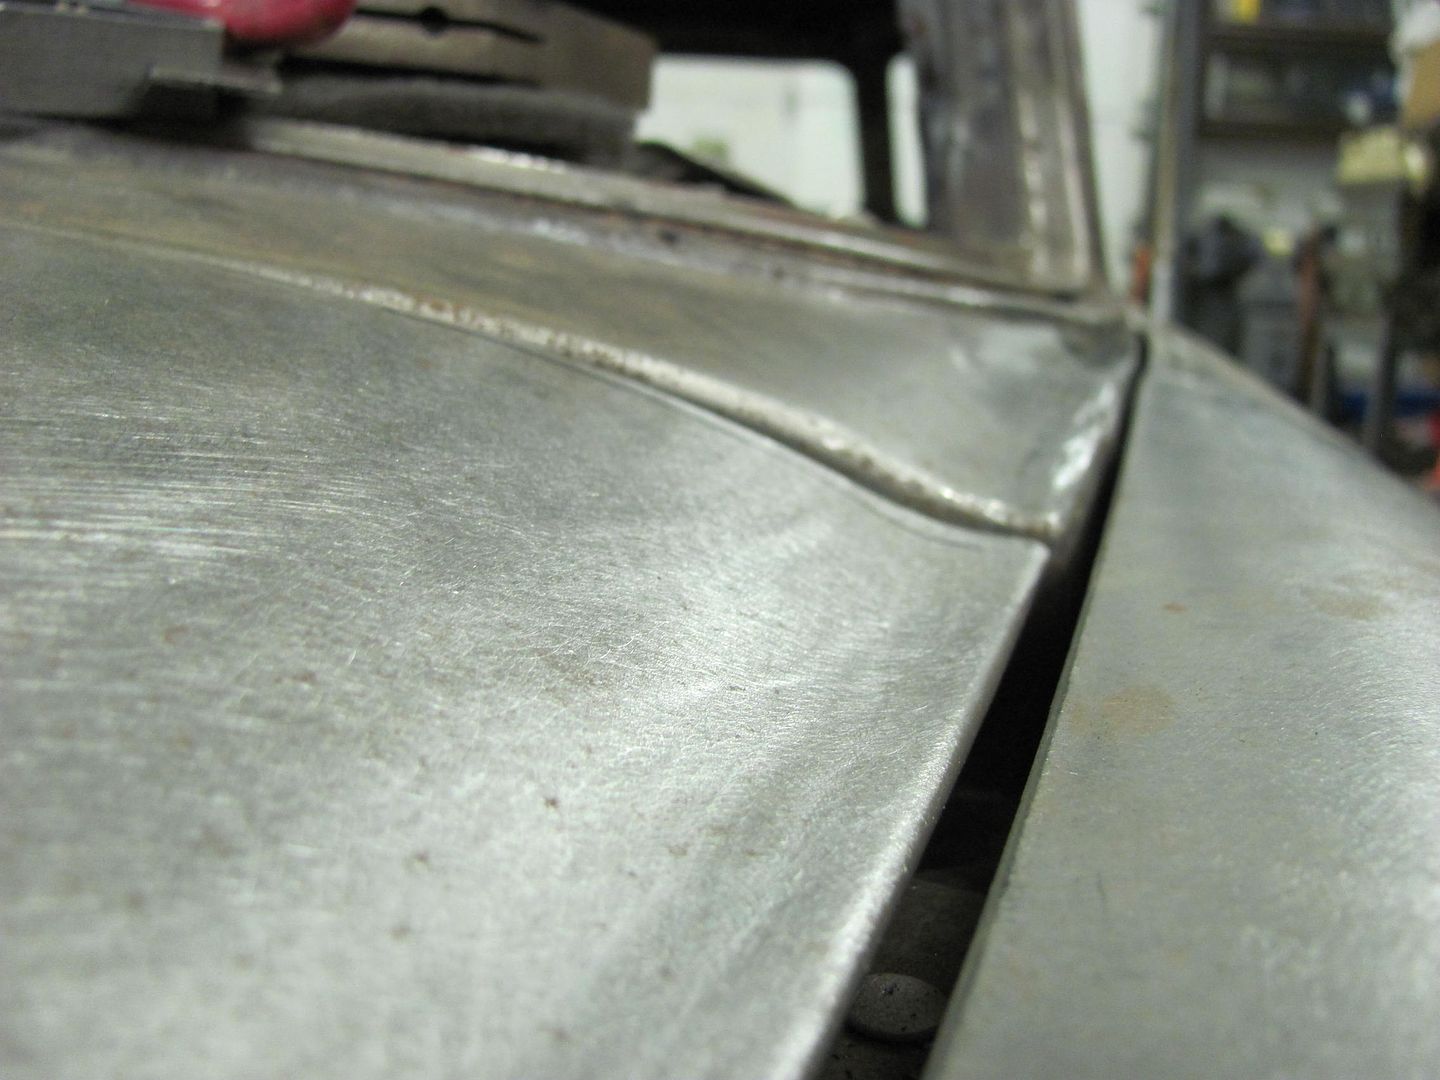
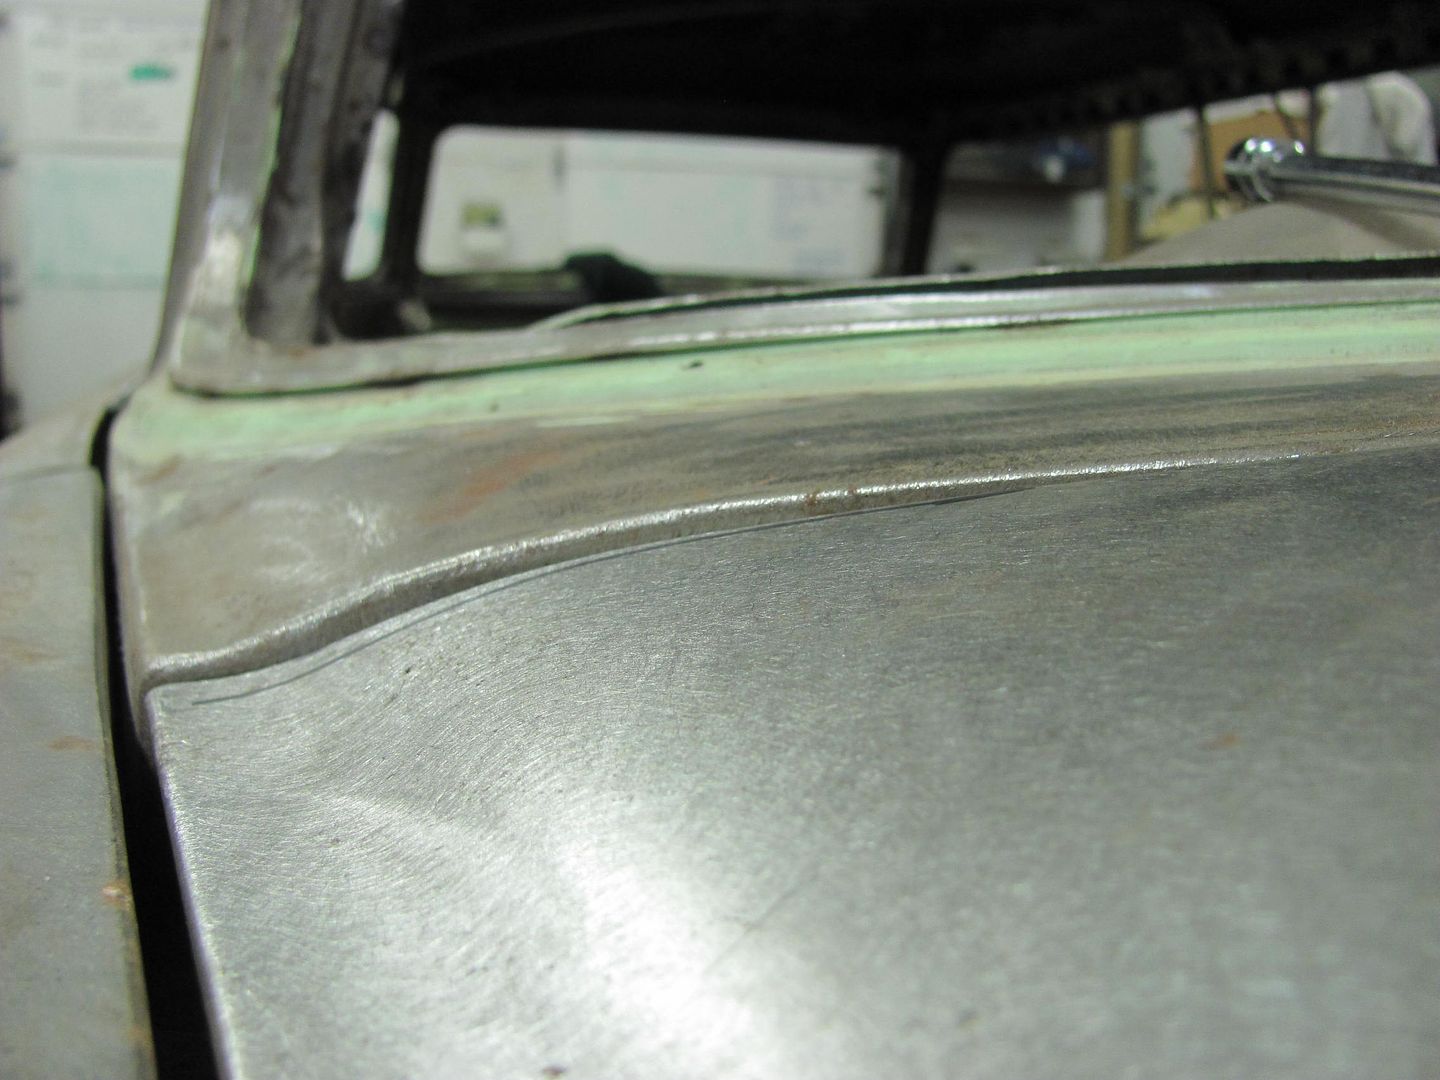
Further refinements included this and others:
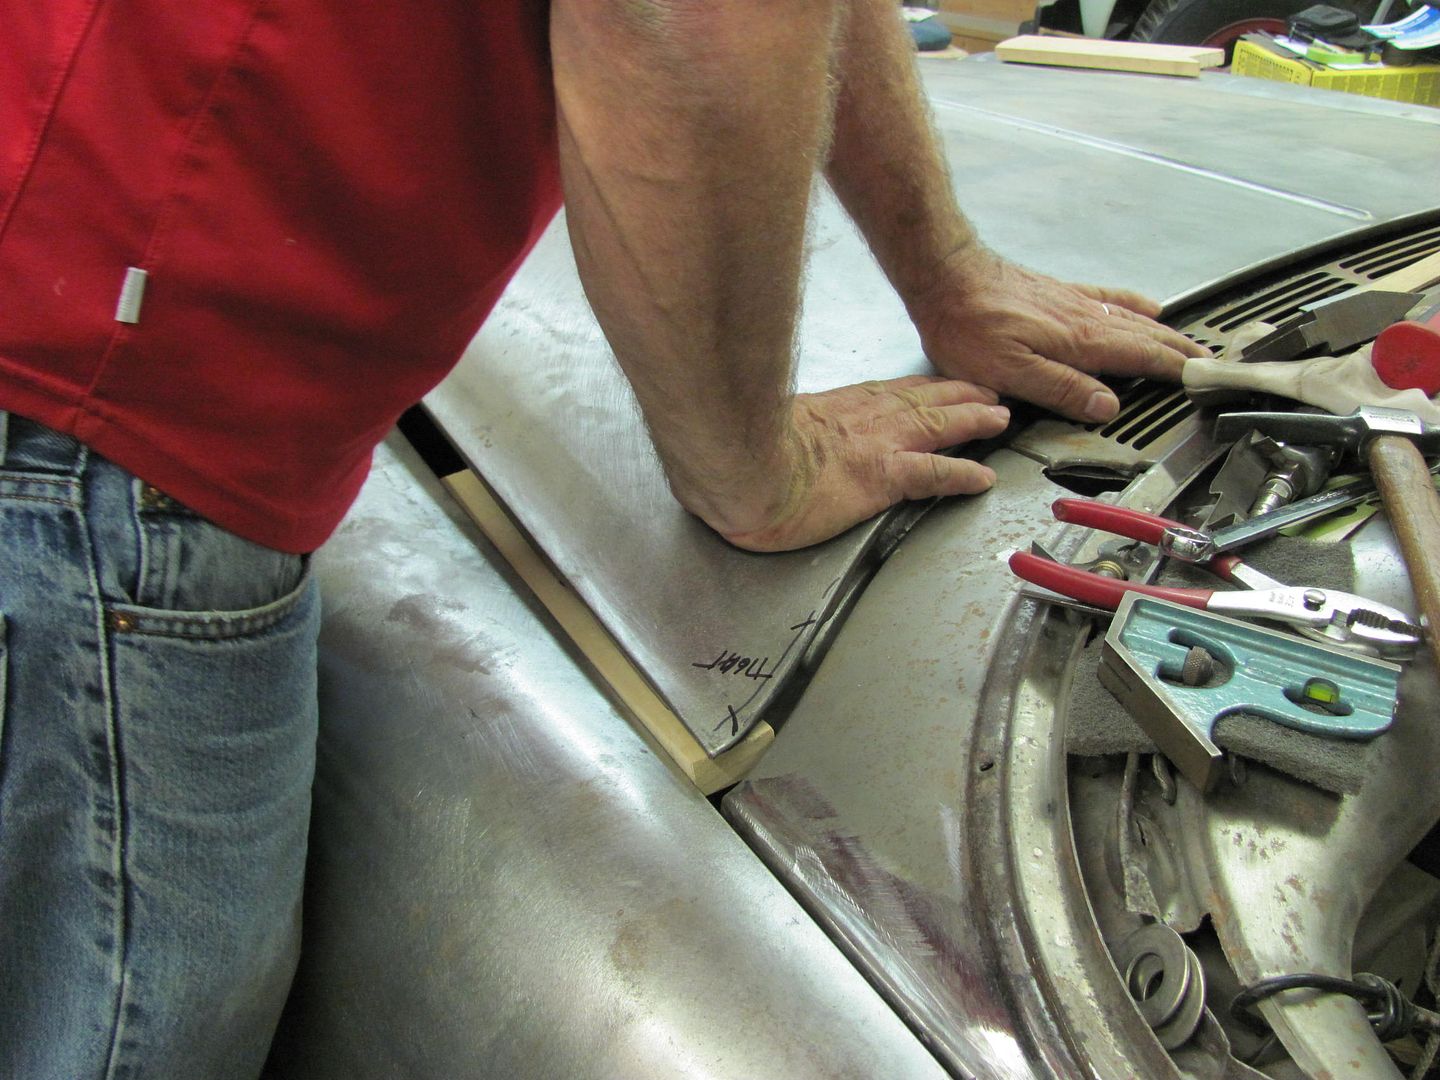
After taking the hood on and off about a dozen times, this is closer, and the outer edge adjacent to the fender needs to "droop" a bit more. We're running out of time this evening, so we'll try our luck next time with the rocker panel roller to see how well it addresses the edge.
Robert
-
10-08-2014 11:56 PM #326
- Join Date
- Apr 2011
- Location
- Prairie City
- Car Year, Make, Model: 40 Ford Deluxe, 68 Corvette, 72&76 K30
- Posts
- 7,300
- Blog Entries
- 1
Nice new welder. I've had an automatic 185 for a long time which us a Miller 180 and I loved it. Now my old boss has had it for ever since his snap on one died. I'm still trying to get used to this putsch I got last year.
Boy those gaps are large. I'm sure they'll be gone by next post.
Ryan
1940 Ford Deluxe Tudor 354 Hemi 46RH Electric Blue w/multi-color flames, Ford 9" Residing in multiple pieces
1968 Corvette Coupe 5.9 Cummins Drag Car 11.43@130mph No stall leaving the line with 1250 rpm's and poor 2.2 60'
1972 Chevy K30 Longhorn P-pumped 24v Compound Turbos 47RH Just another money pit
1971 Camaro RS 5.3 BTR Stage 3 cam, SuperT10
Tire Sizes
-
10-09-2014 04:16 PM #327
-
10-16-2014 04:52 AM #328
Camera perspective. The edge at the fender was opened upwards, the back gap was too tight.
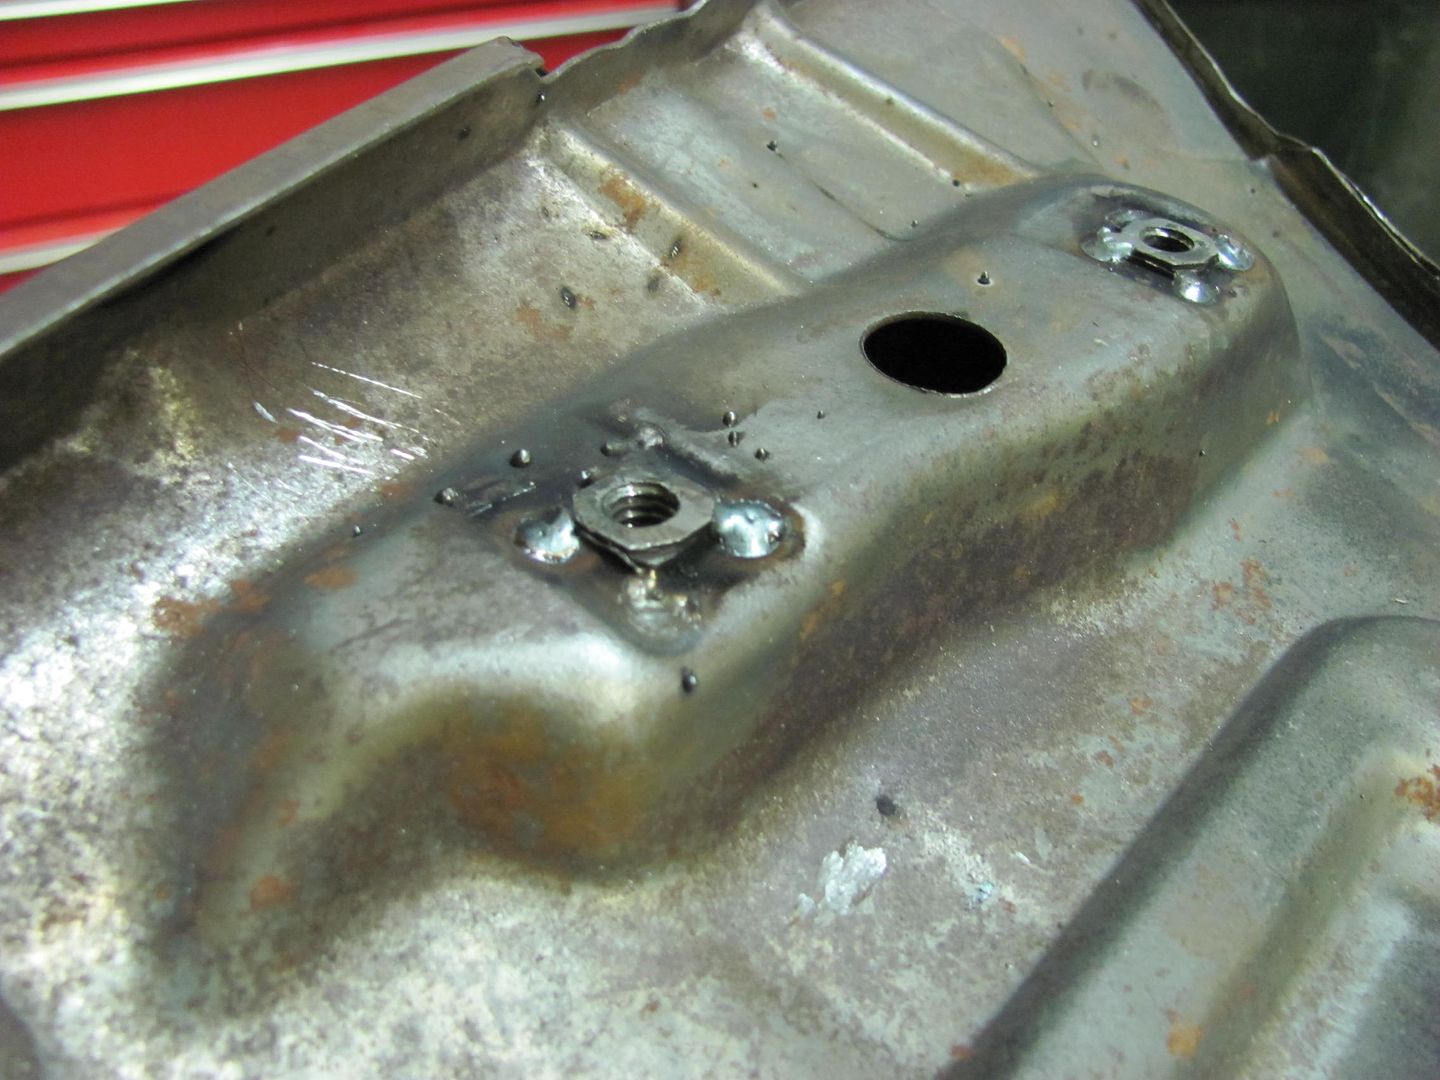
A bit more progress last night on the front end fitment. We've taken the hood off and reinstalled so much that one of the captive nuts came out. Once we fished it out of the hole, it still looked intact, so it will get reinstalled. It was proving difficult to pull back up into the hole, so a bolt was threaded into the nut and the fancy dent puller clamped onto the bolt head. One pull and it was back in place..
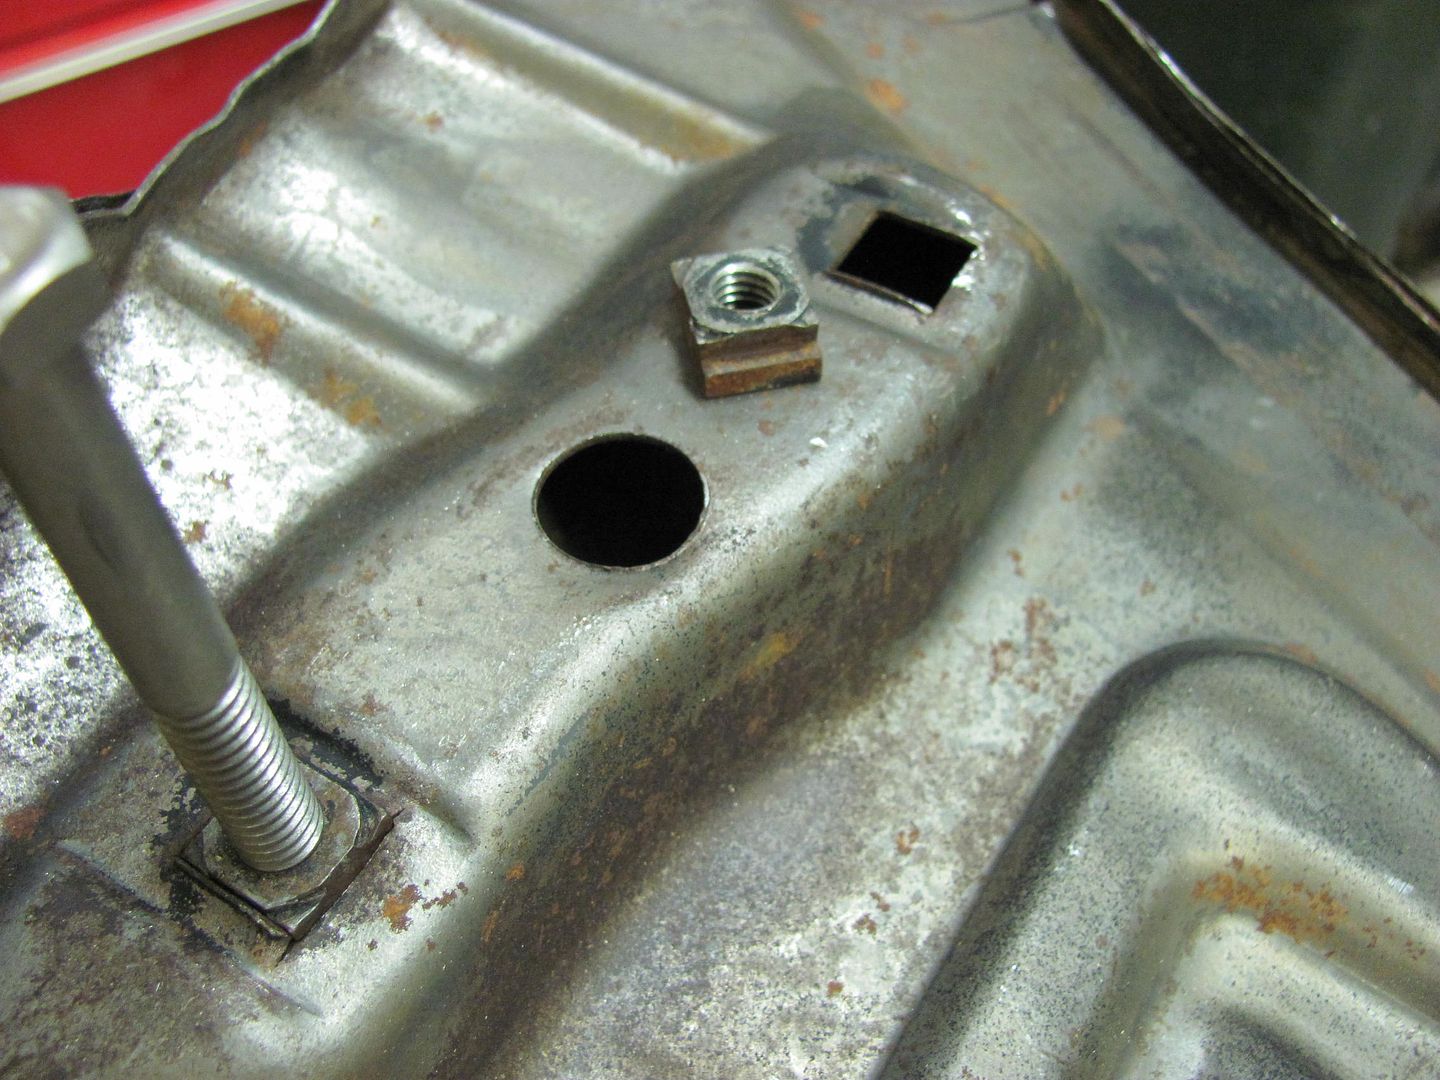
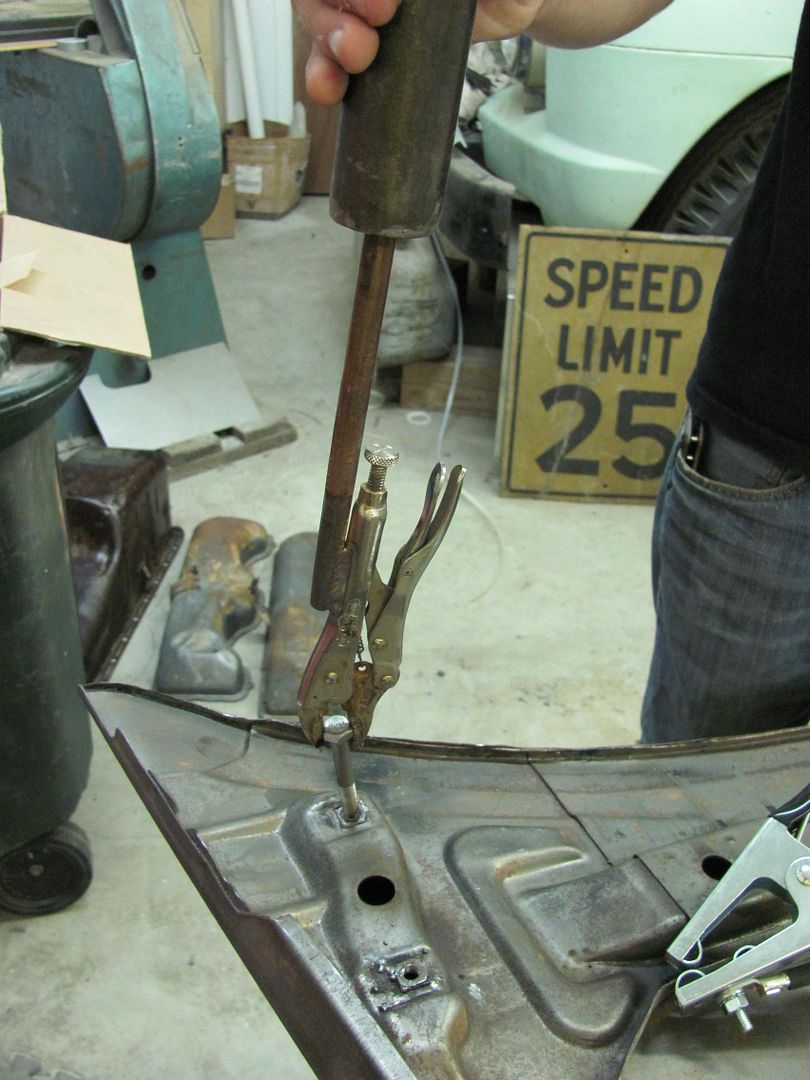
It was tacked in place, and to prevent a reoccurrence with the other three, they received tack welds also.
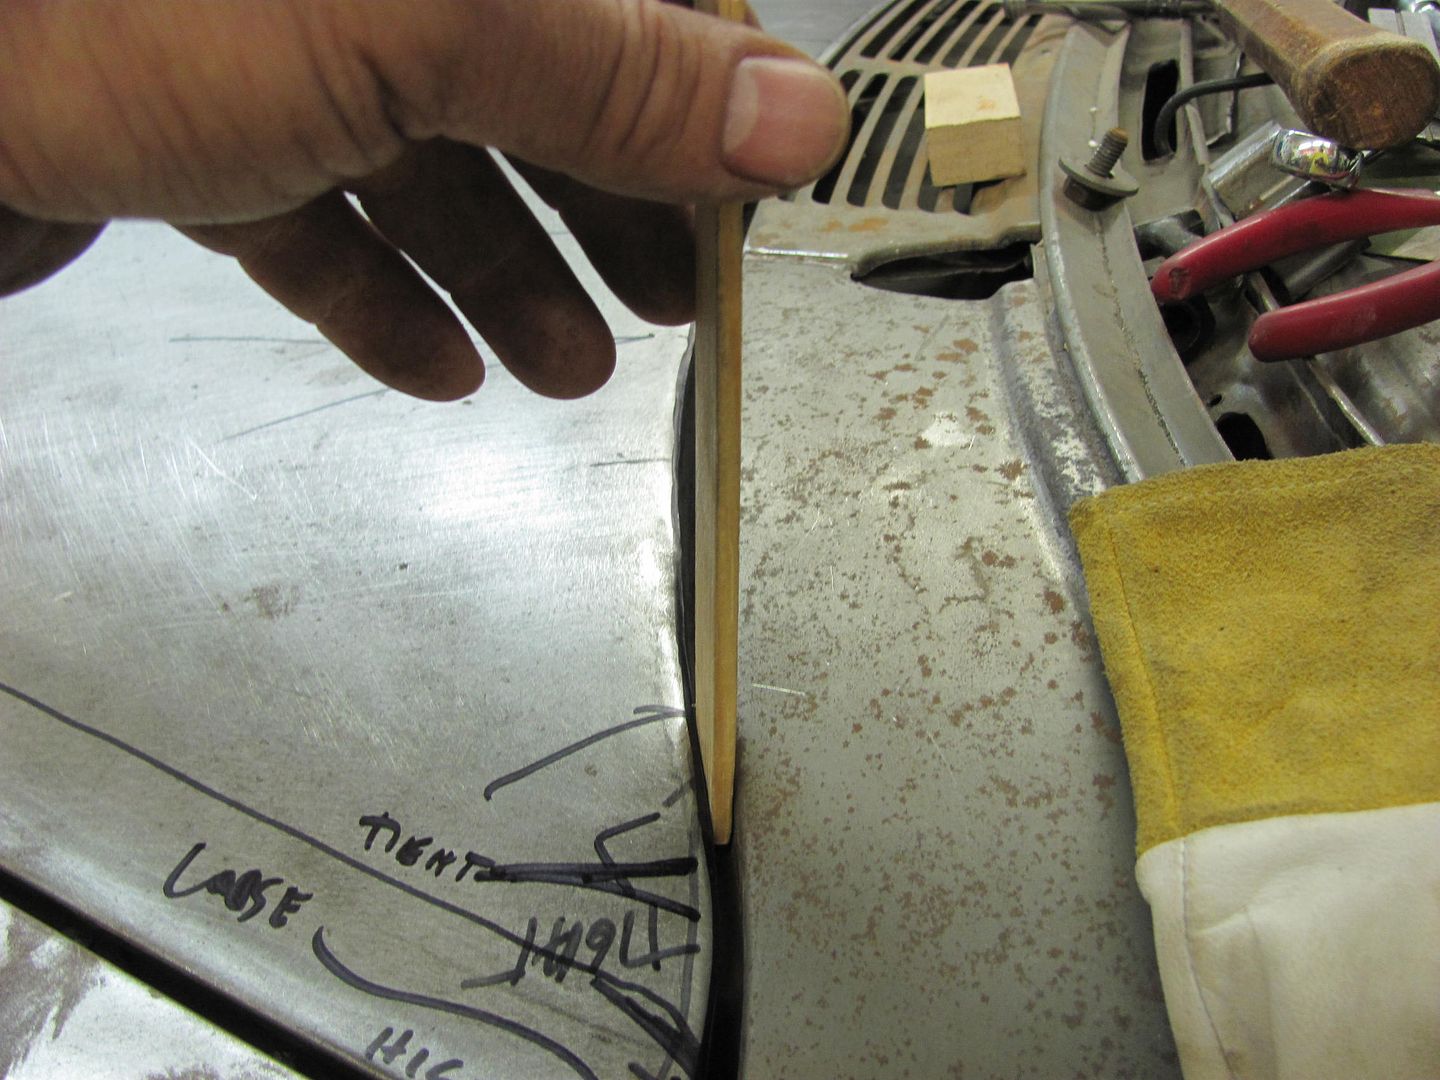
Next, we were working on the hood to cowl gap. We noticed towards the ends of this gap it tended to tighten up. The highly calibrated gap feeler gauge was used...
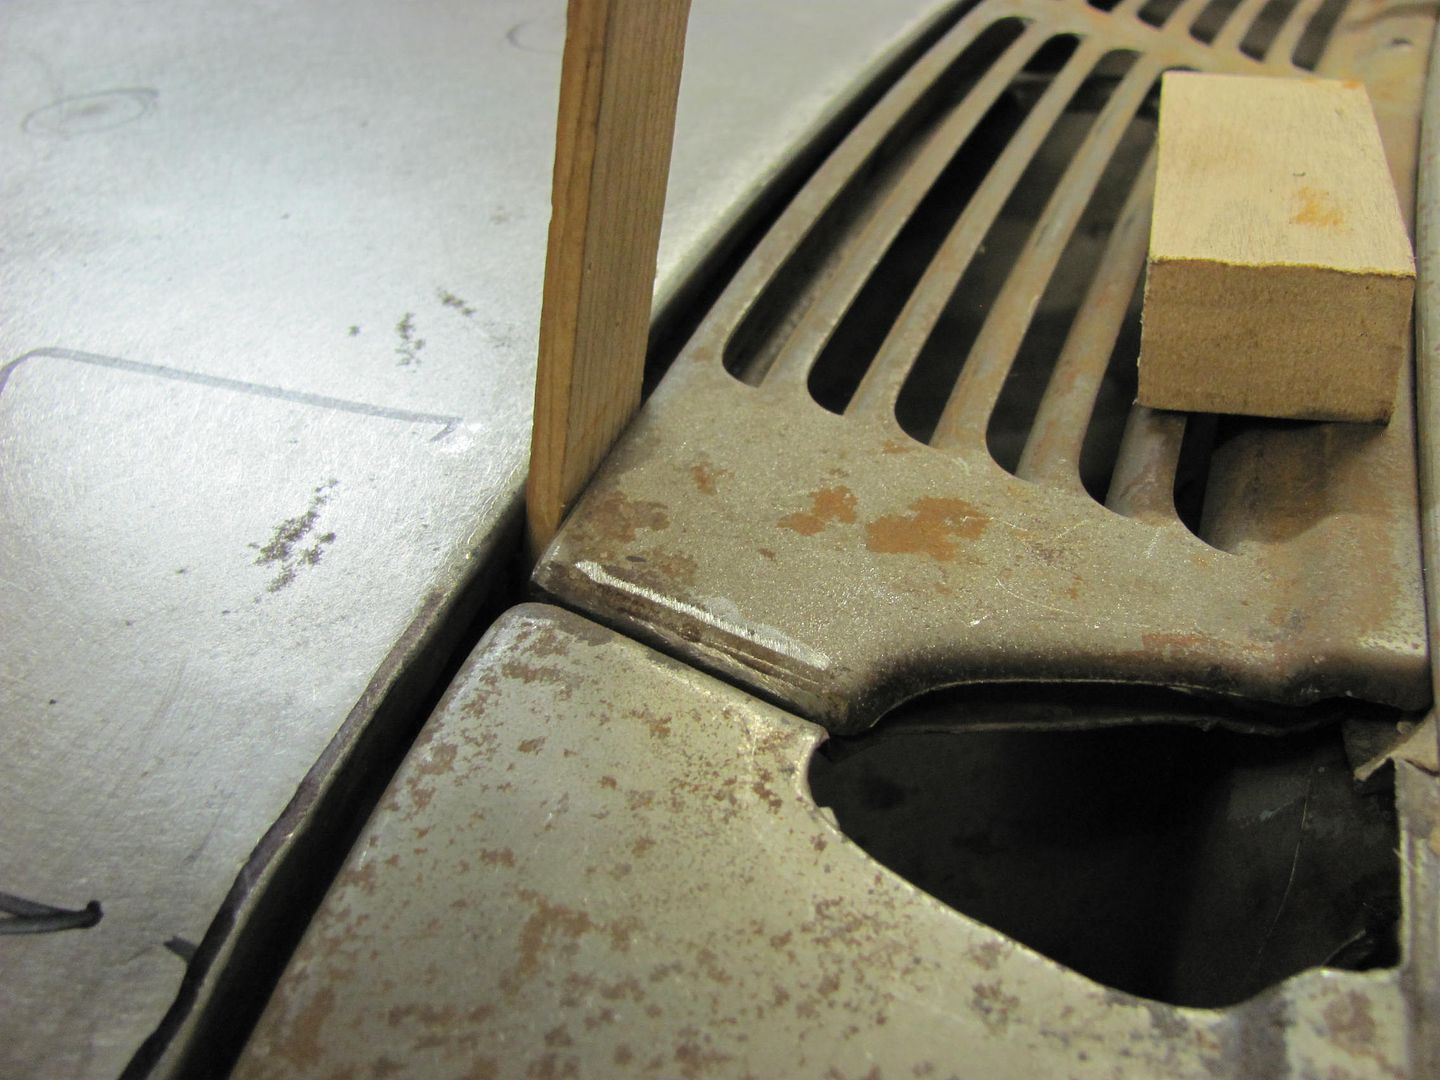
Here the gap tool had no chance, we need to reform the rear fold on the ends...
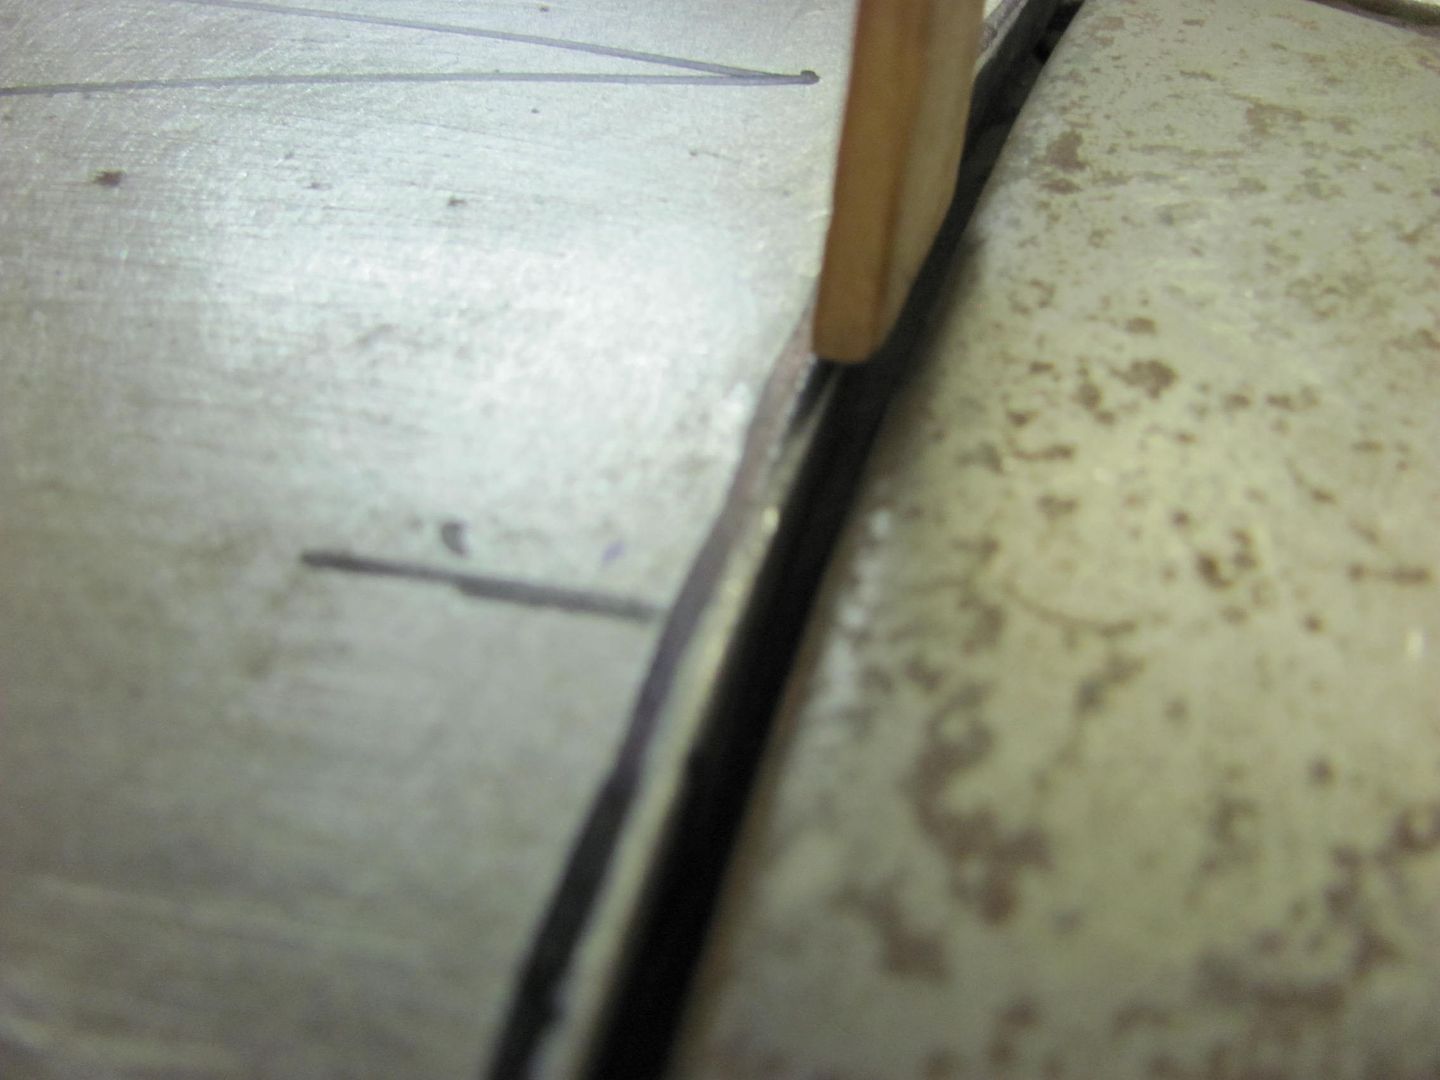

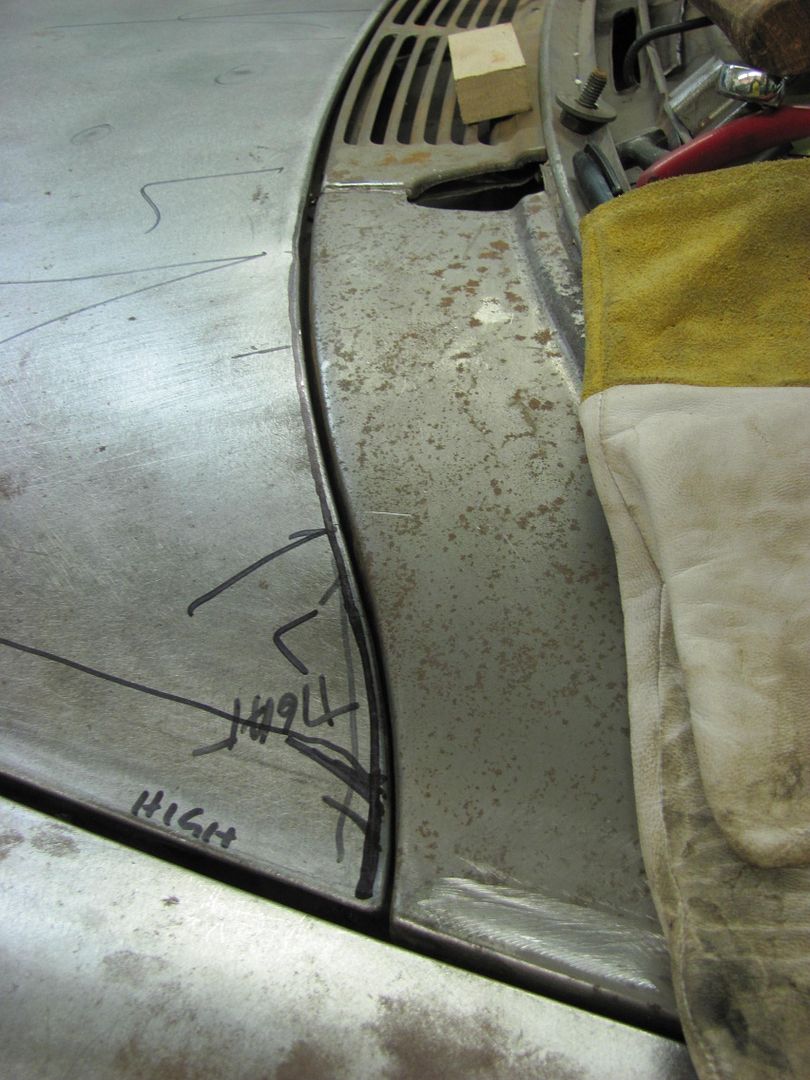
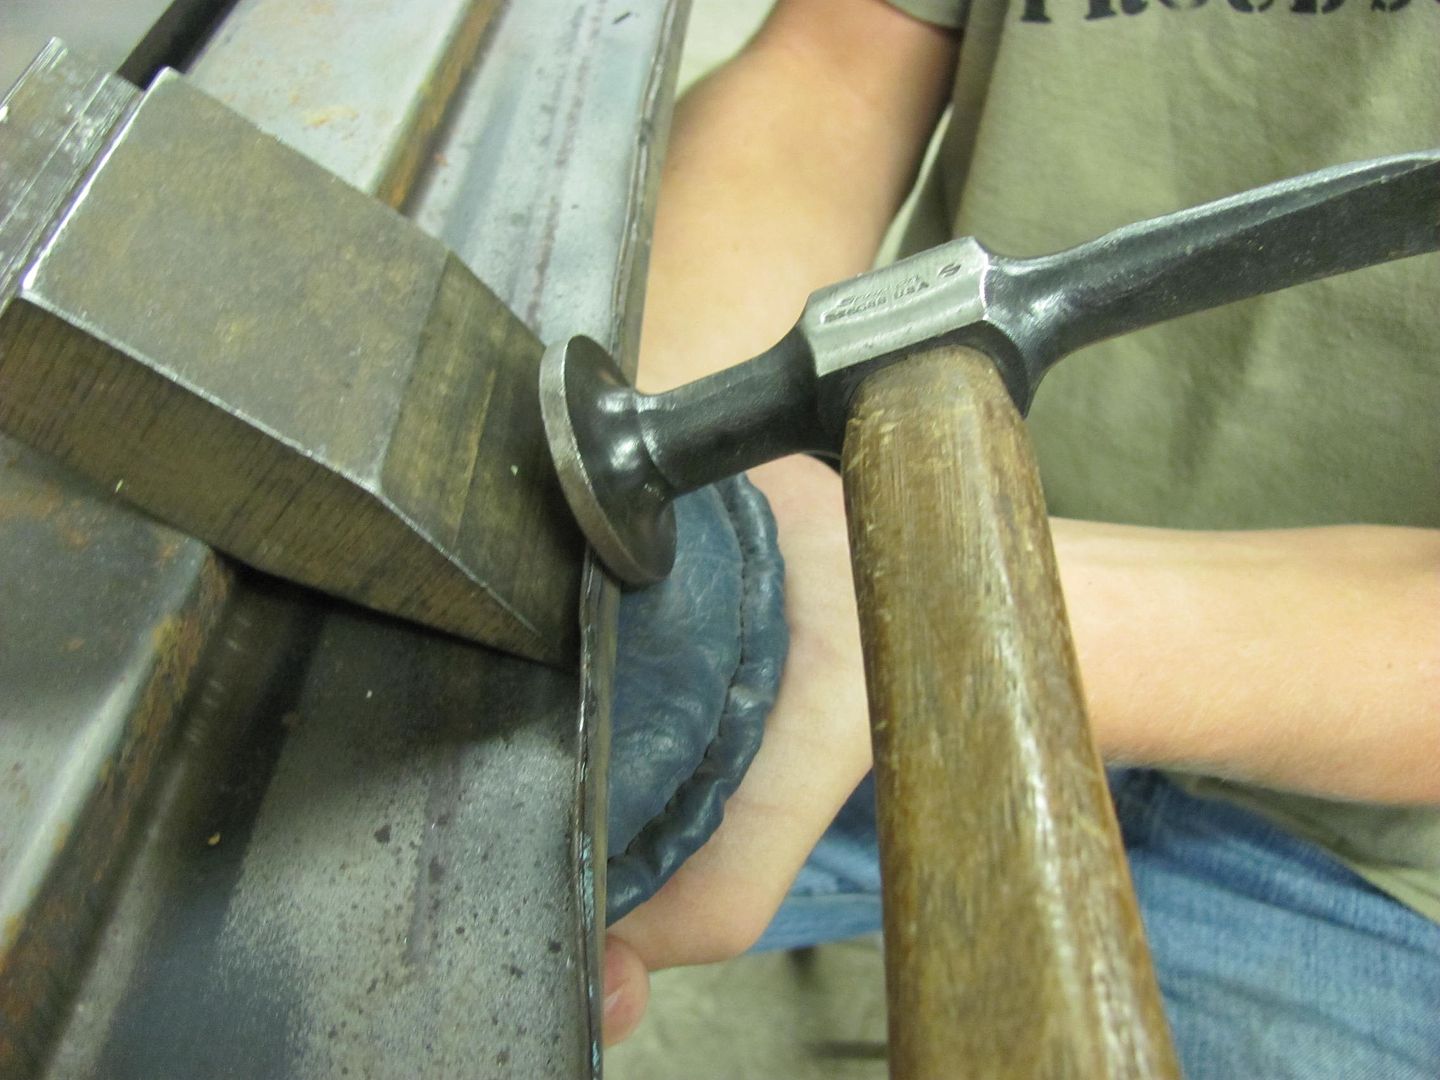
The wedge anvil was used, along with a x-large cold chisel that had a radiused edge formed for the more curvaceous profiles (forgot to get a picture), to reform the rear fold inward for this tight area..

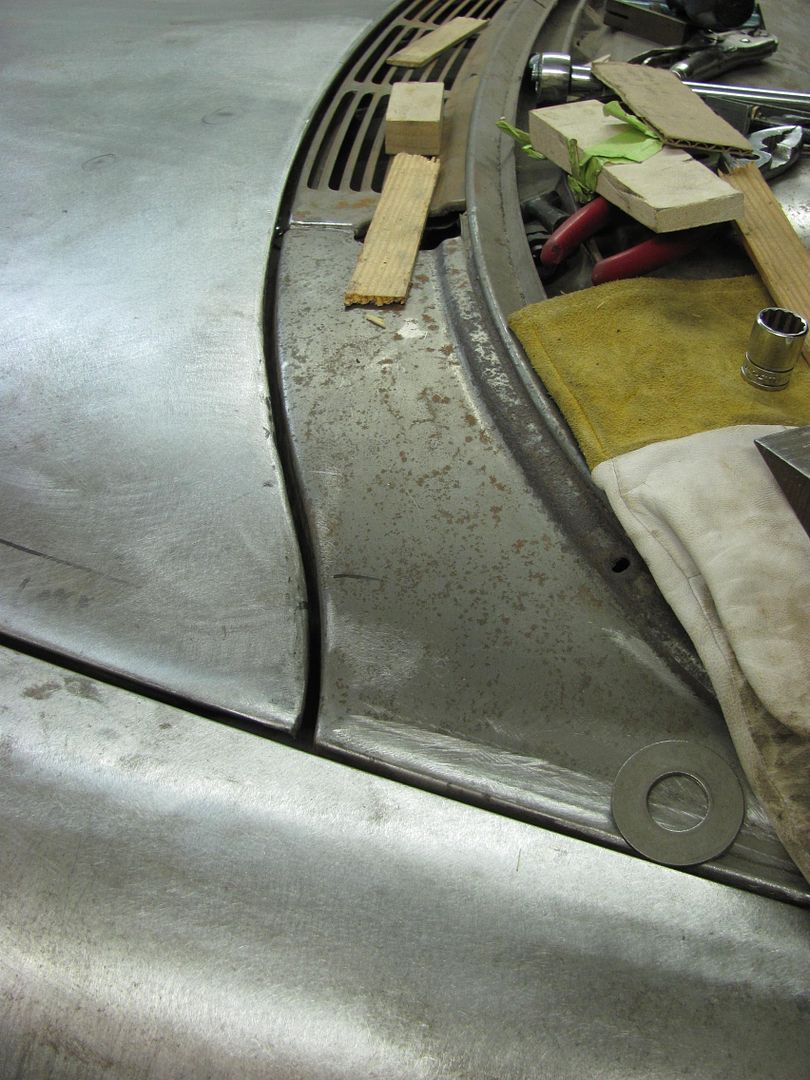
Gap looks much more consistent there, a quick look at the passenger side shows it needs reforming as well, but not nearly as much. Getting late, so we'll finish this up next time...
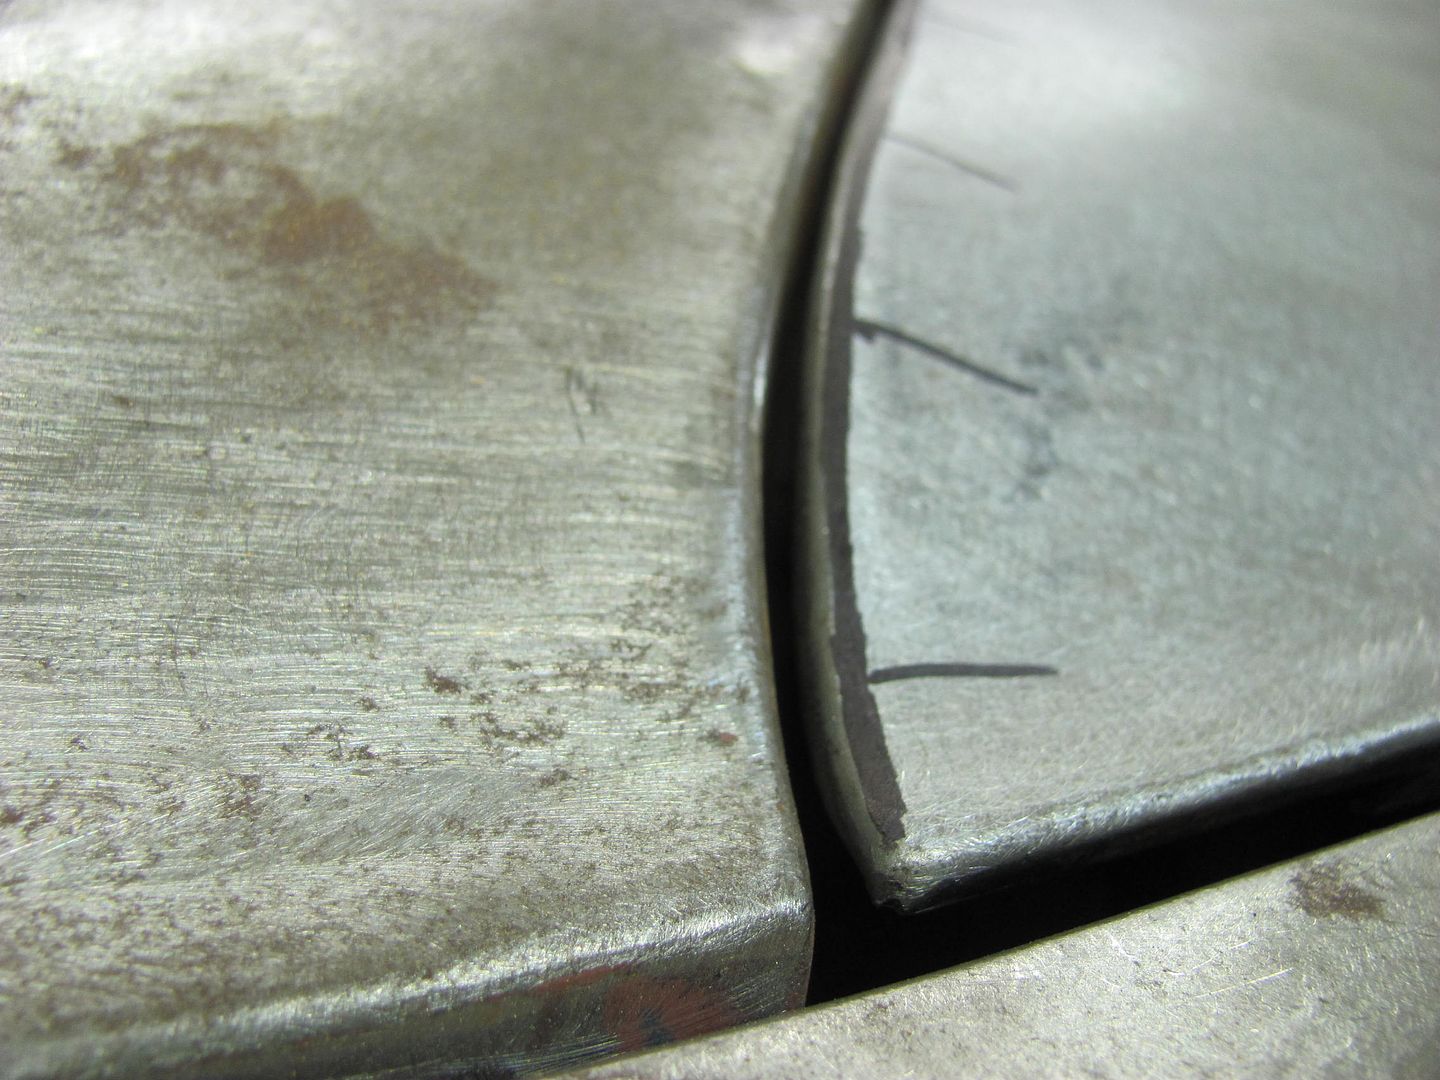
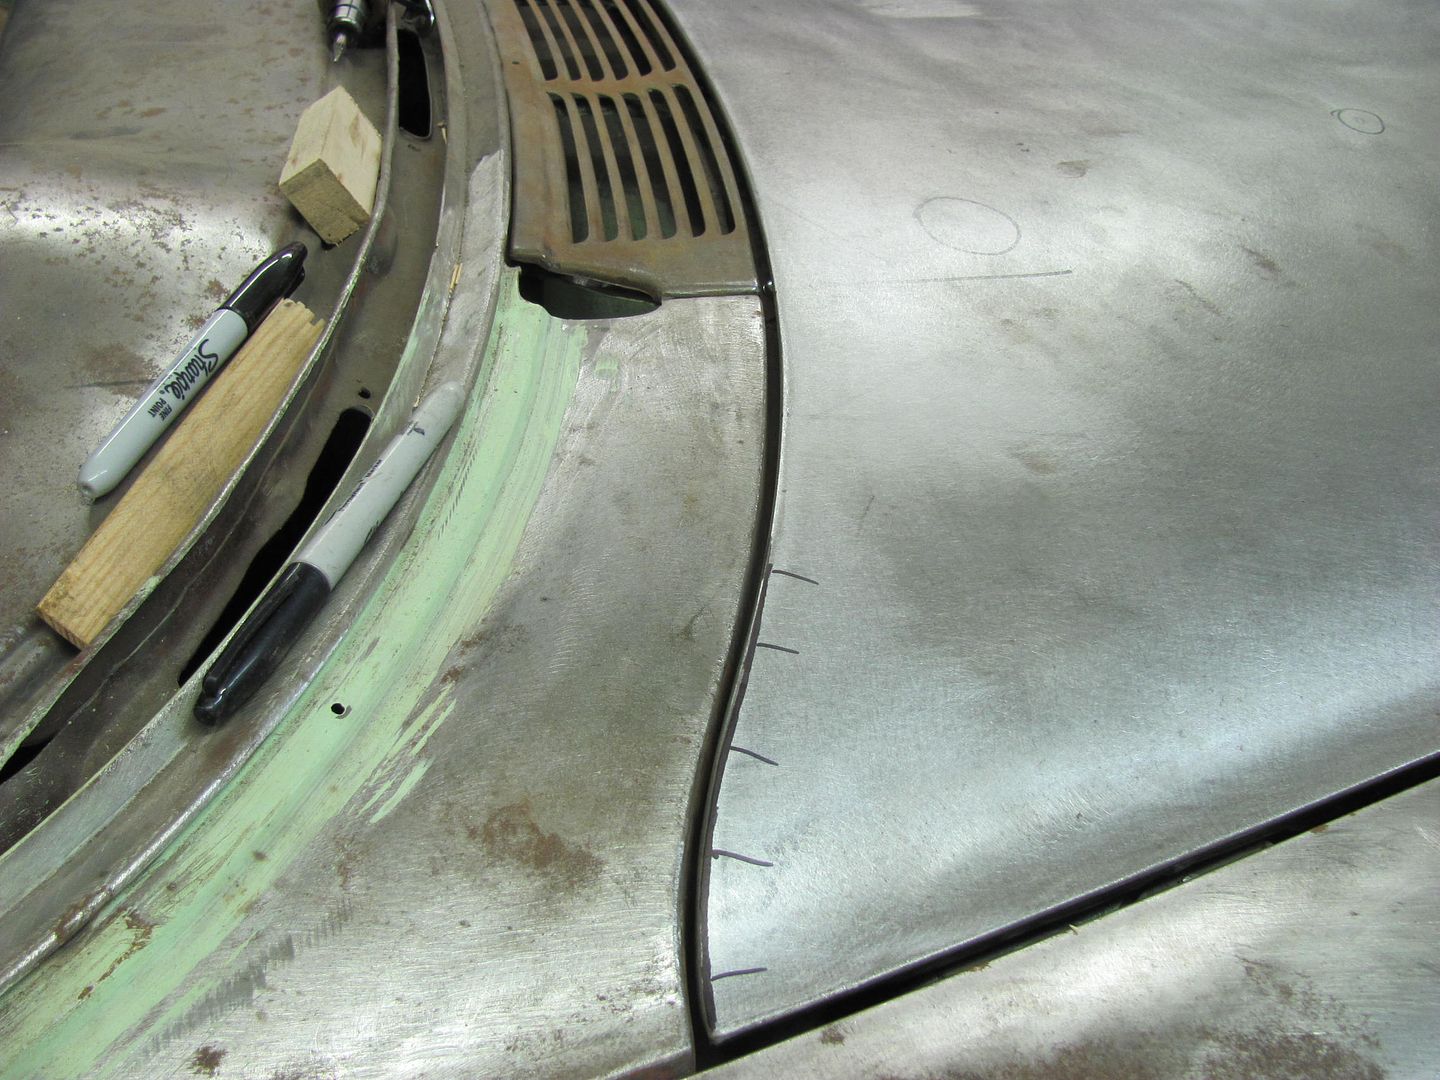

Robert
-
10-18-2014 05:41 PM #329
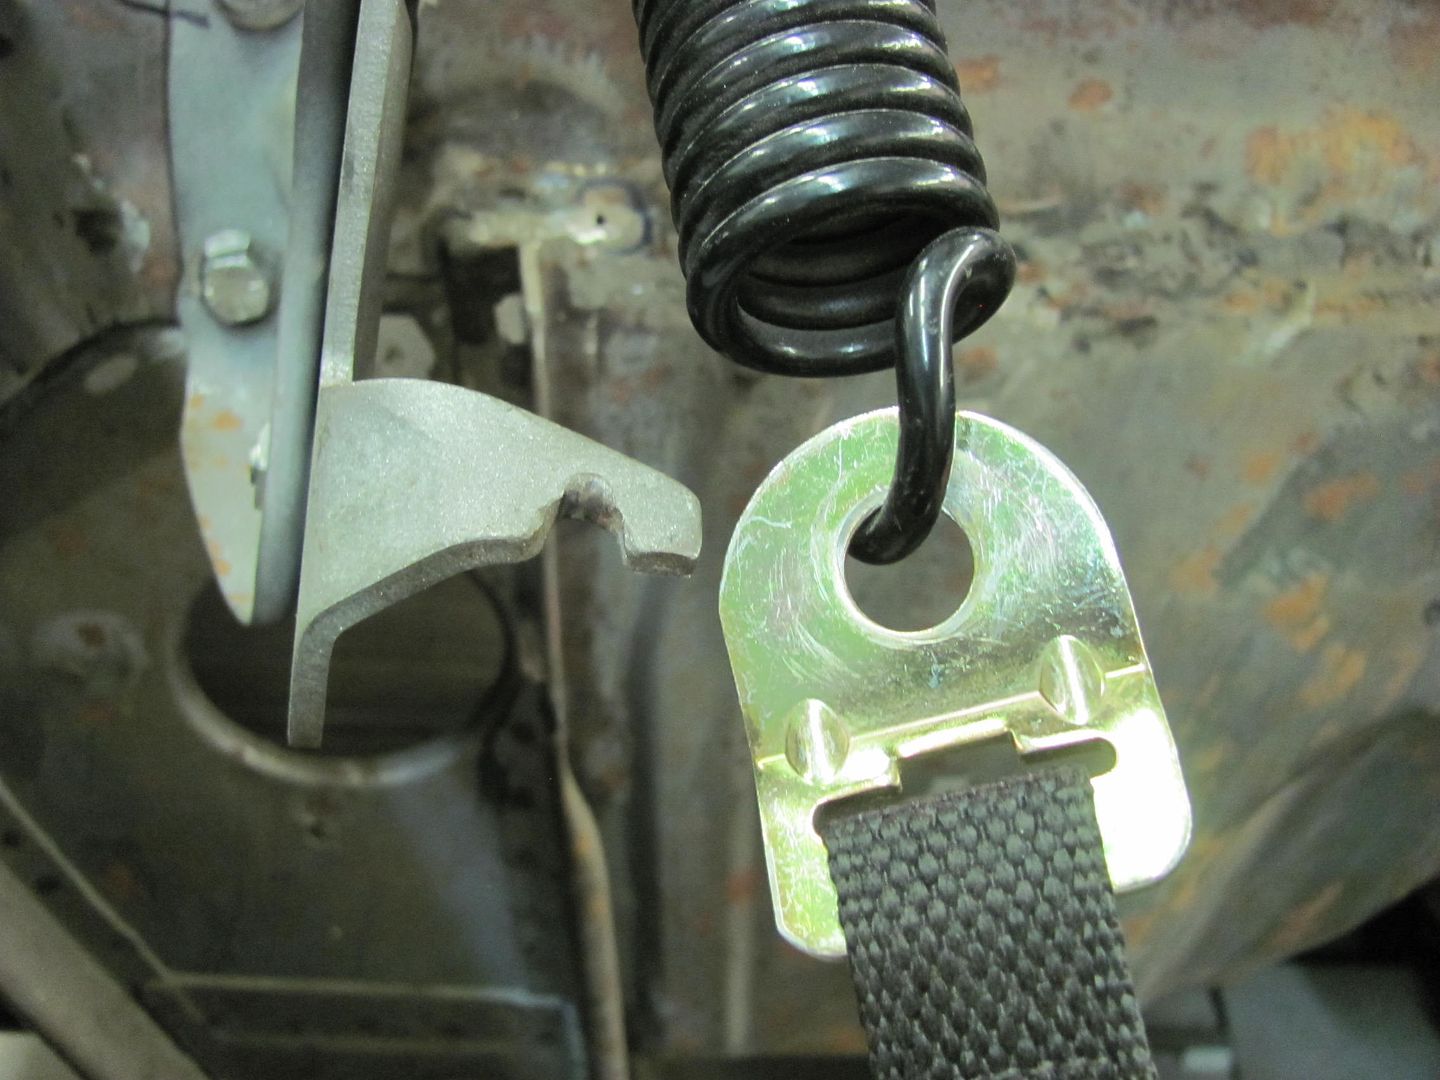
More progress today, part of our hood fitment has been hindered by the hinges. When closing the hood they didn't want to close properly and the back corners of the hood had to be pushed down by hand. Don (acardon) on Trifive website suggested replacing the original shouldered rivets with some bolts and sleeves. We hadn't heard anything promising with reproduction hinges, so what did we have to lose.
First to come up with a hinge spring removal tool...
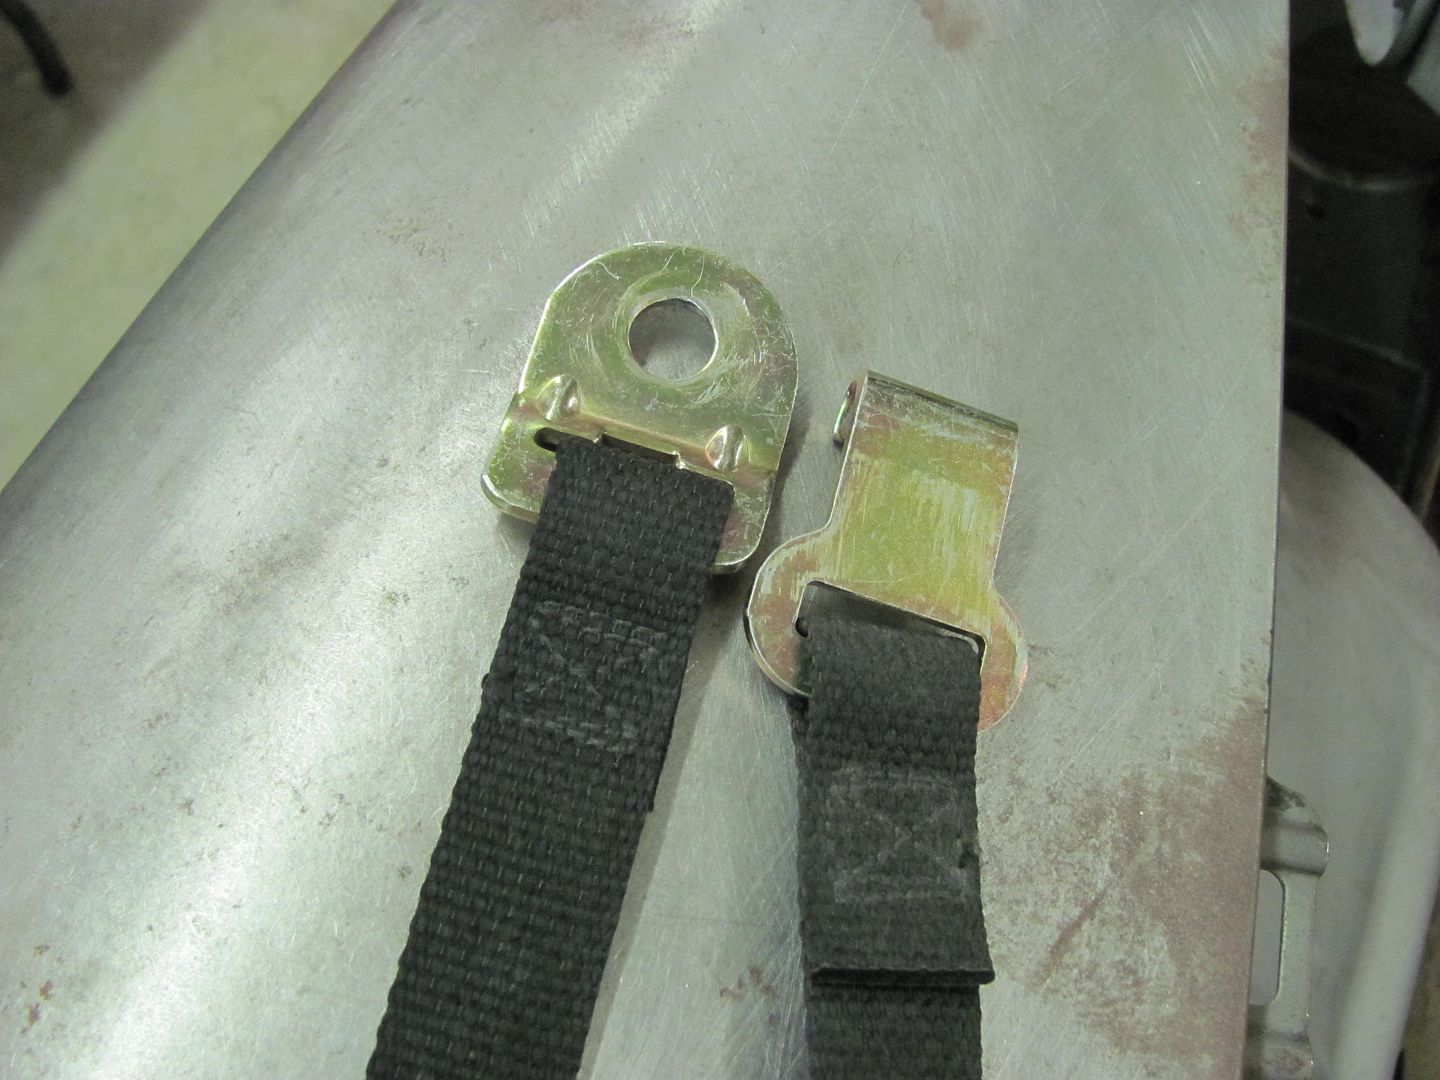
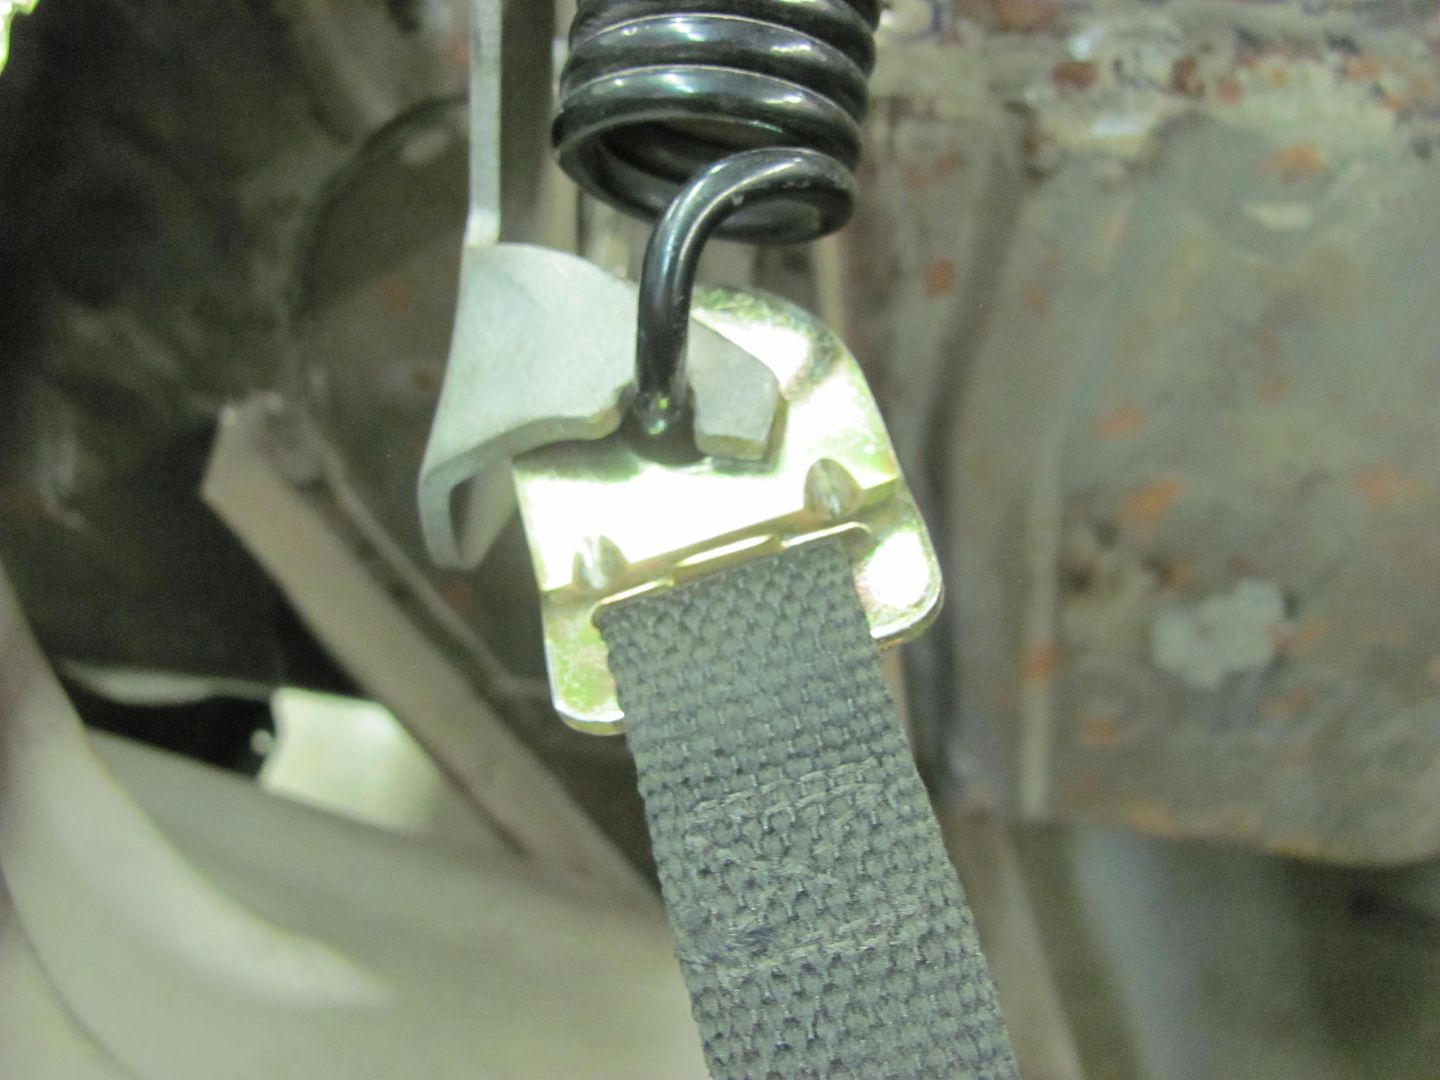
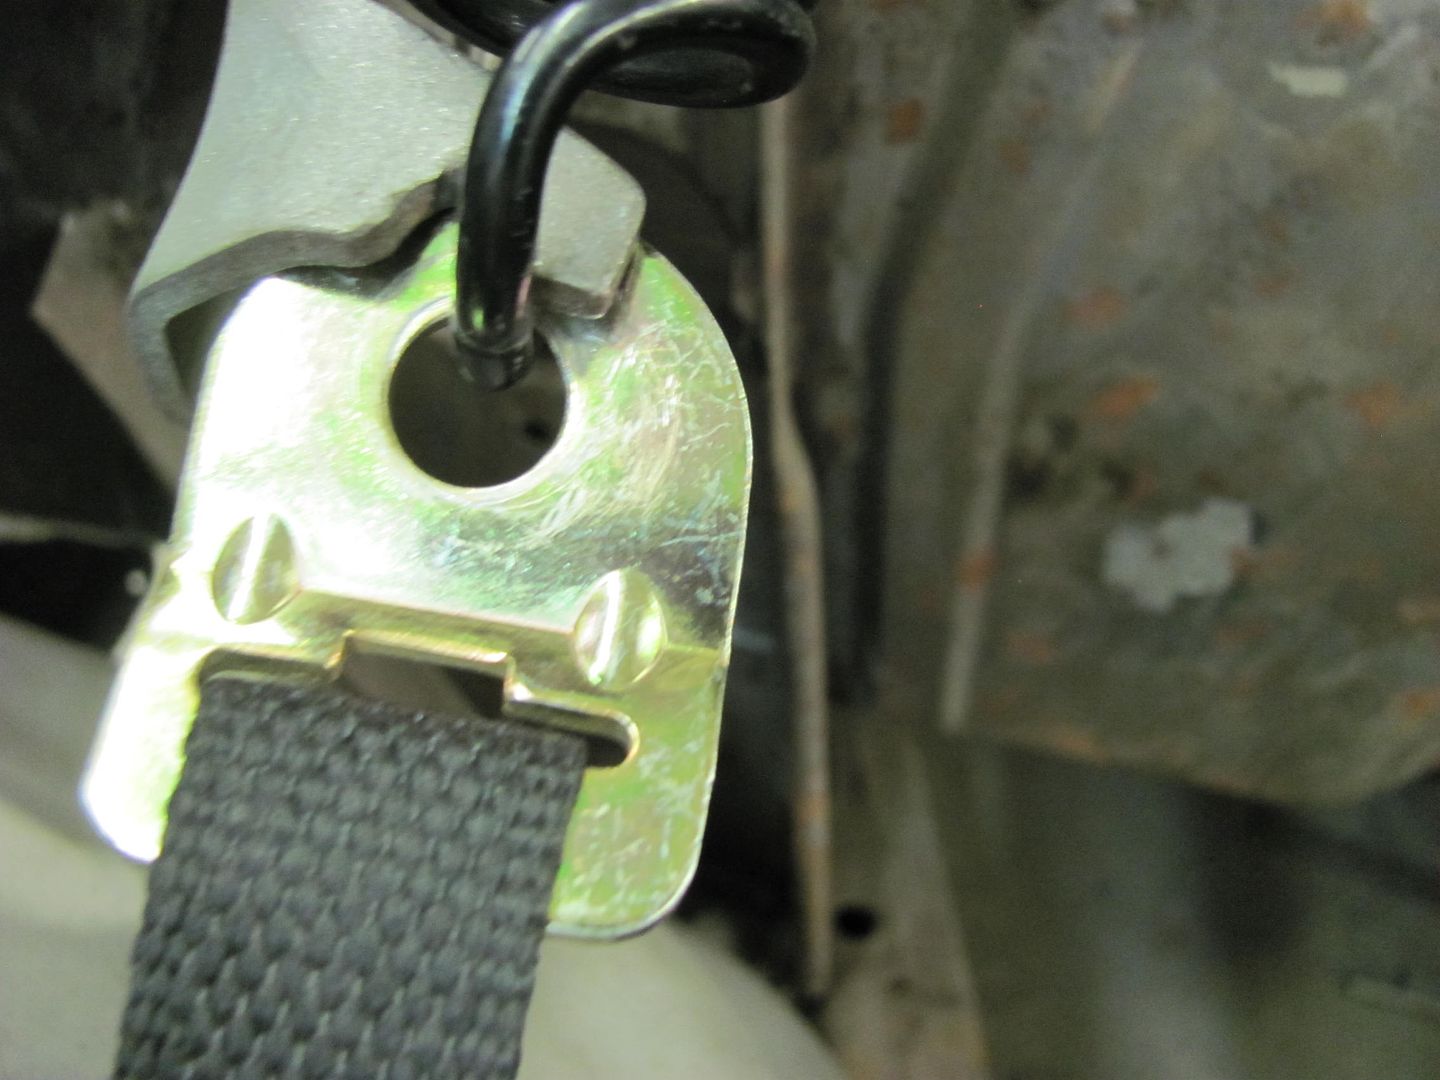
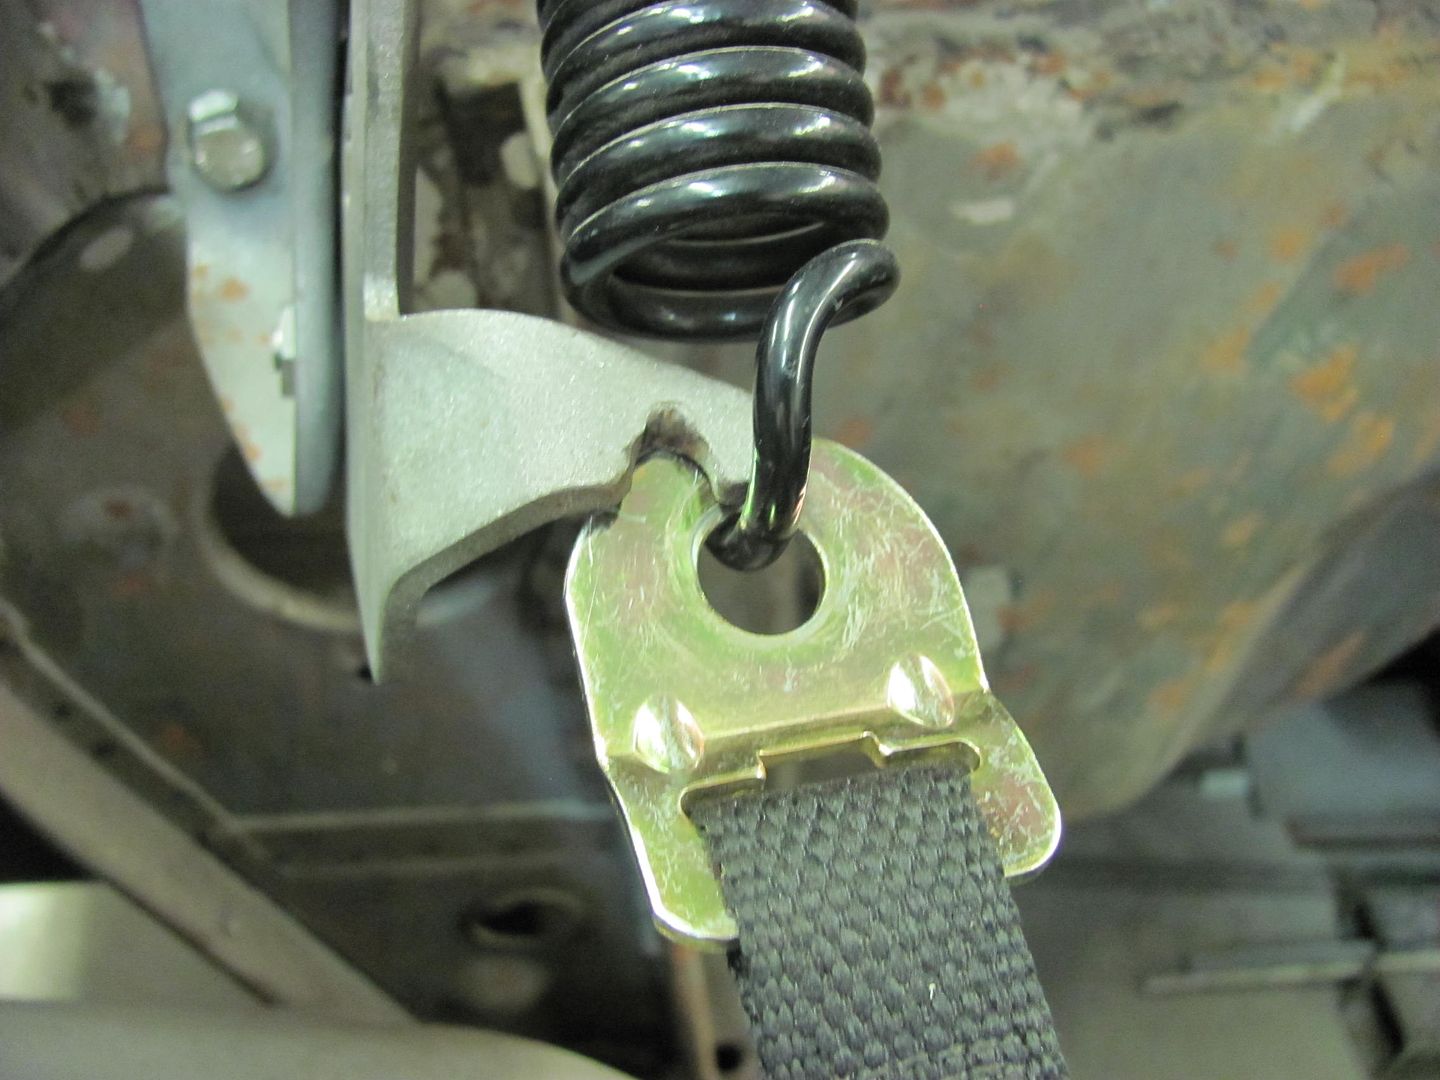
Now to disassemble the hinge and remove the rivets..
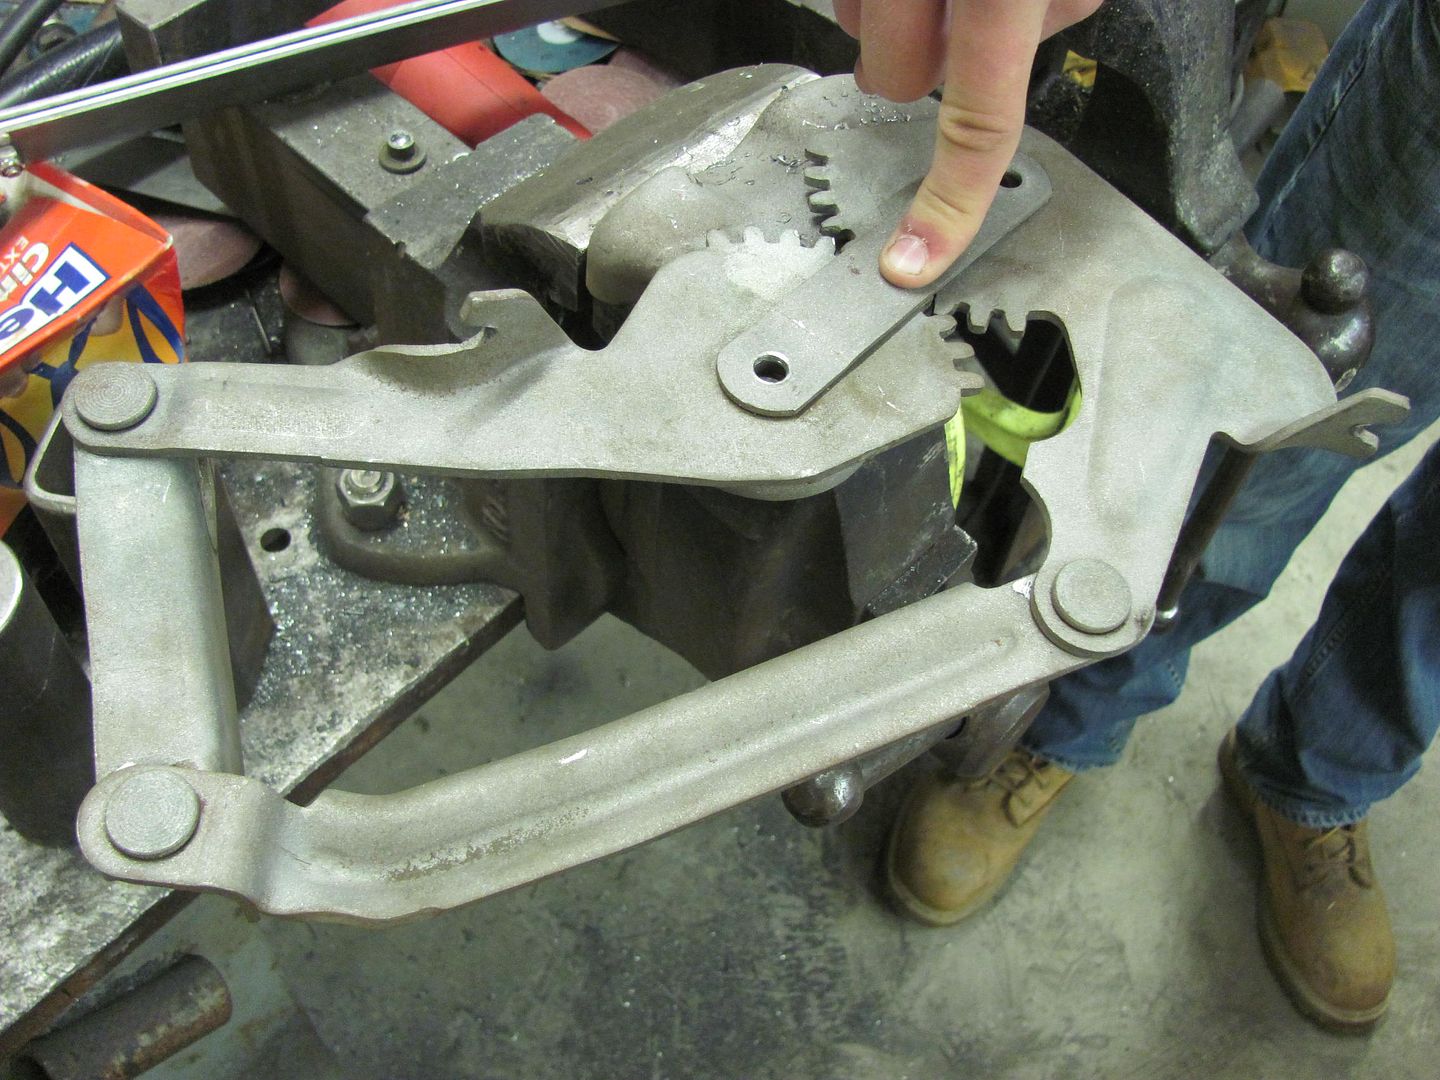
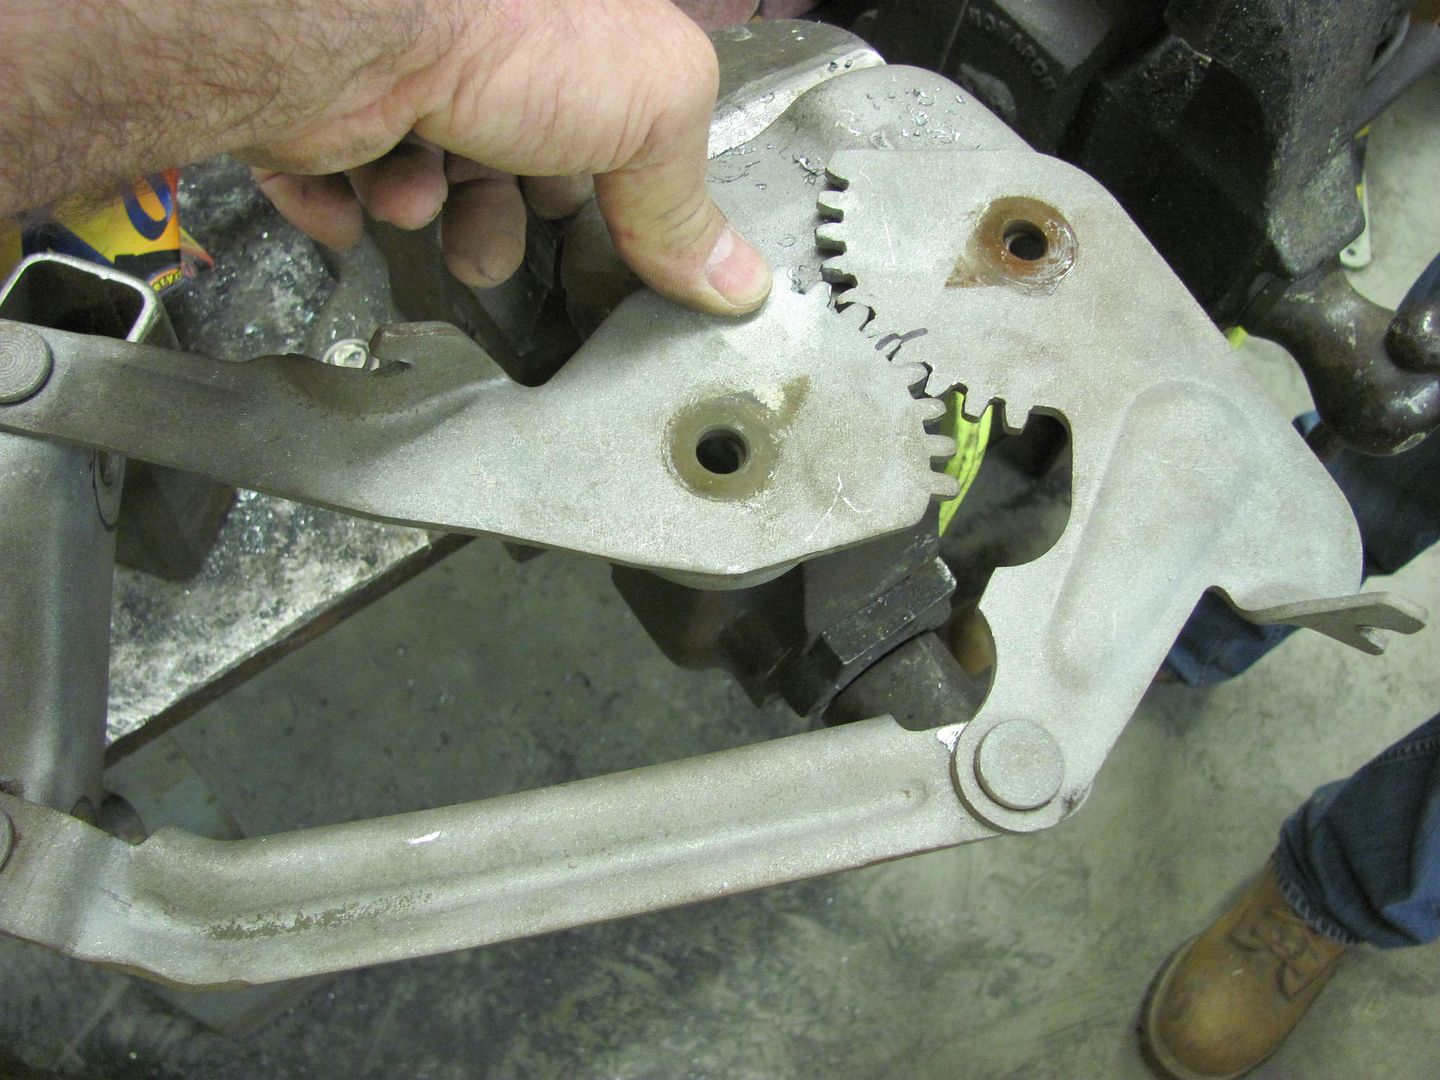
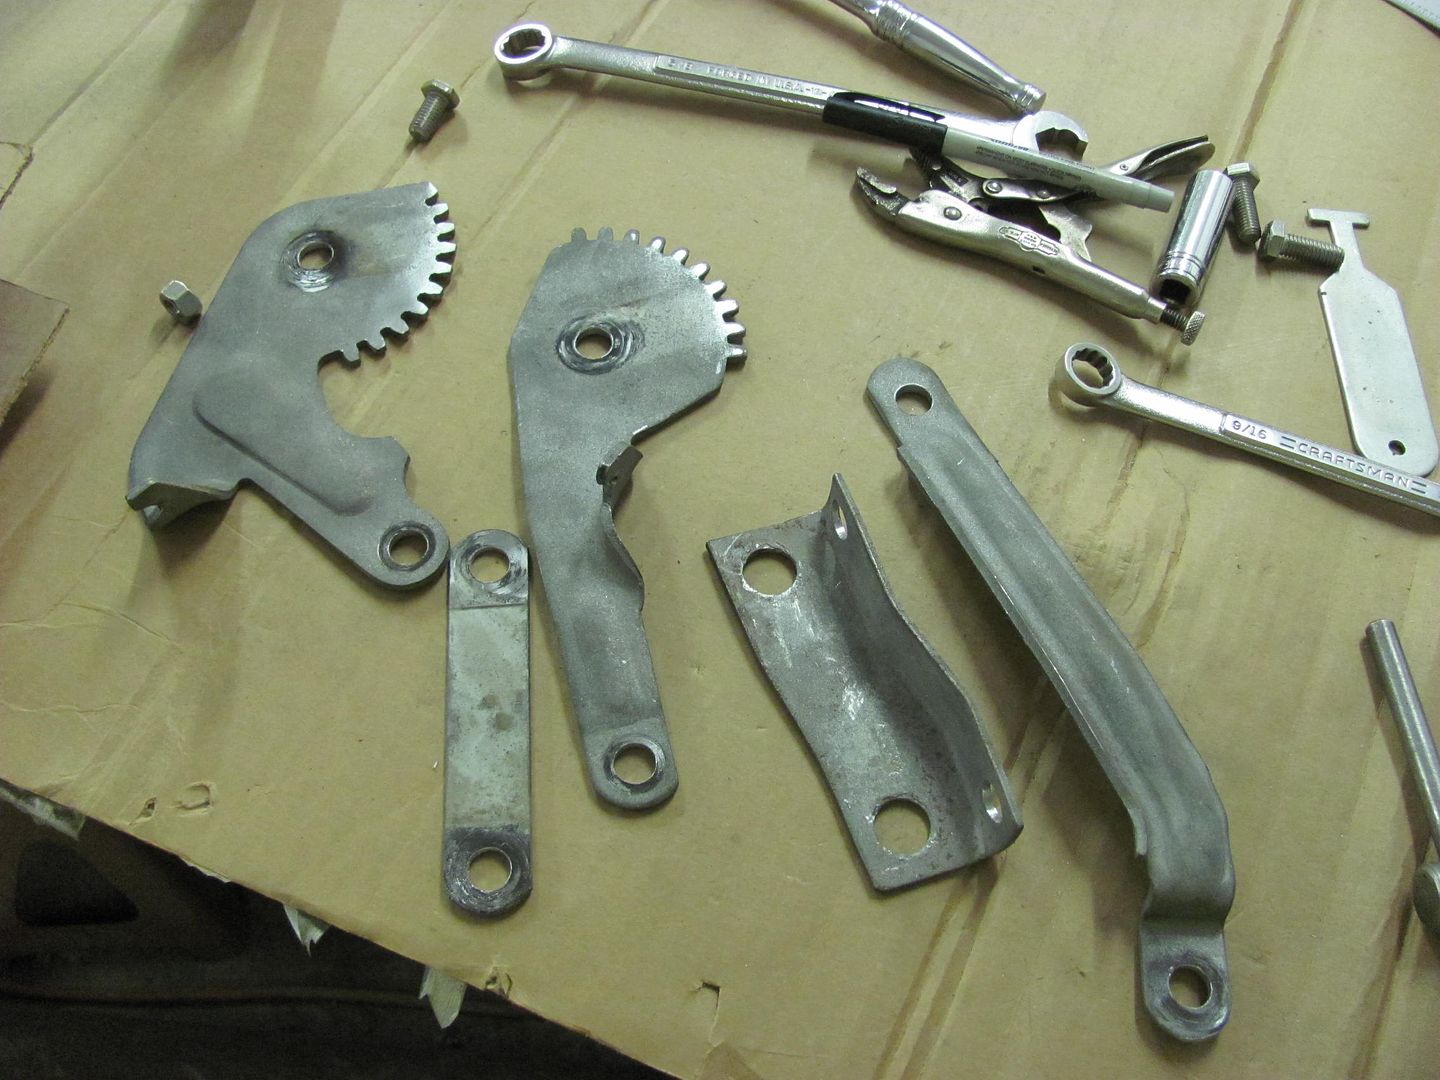
Some 3/8-16 rivnuts were used to make some spacers, and used the lathe to trim them to size, allowing a few thousandths clearance. All of the rivet holes were drilled out for the spacers..
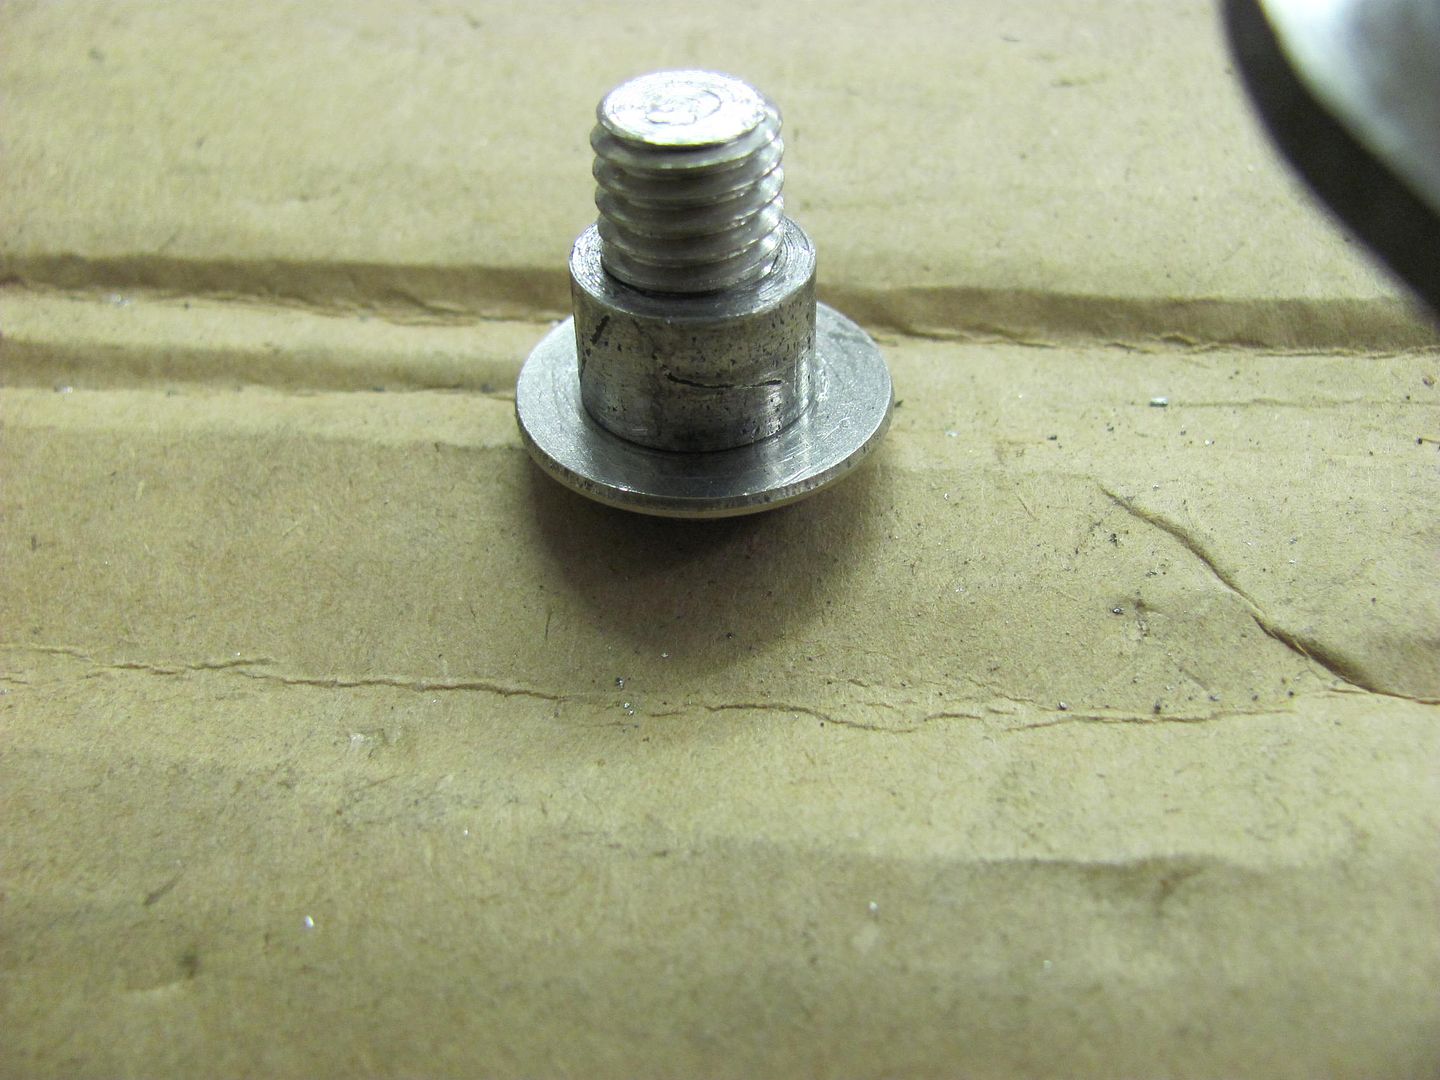
Here are the results, click on the pic for video
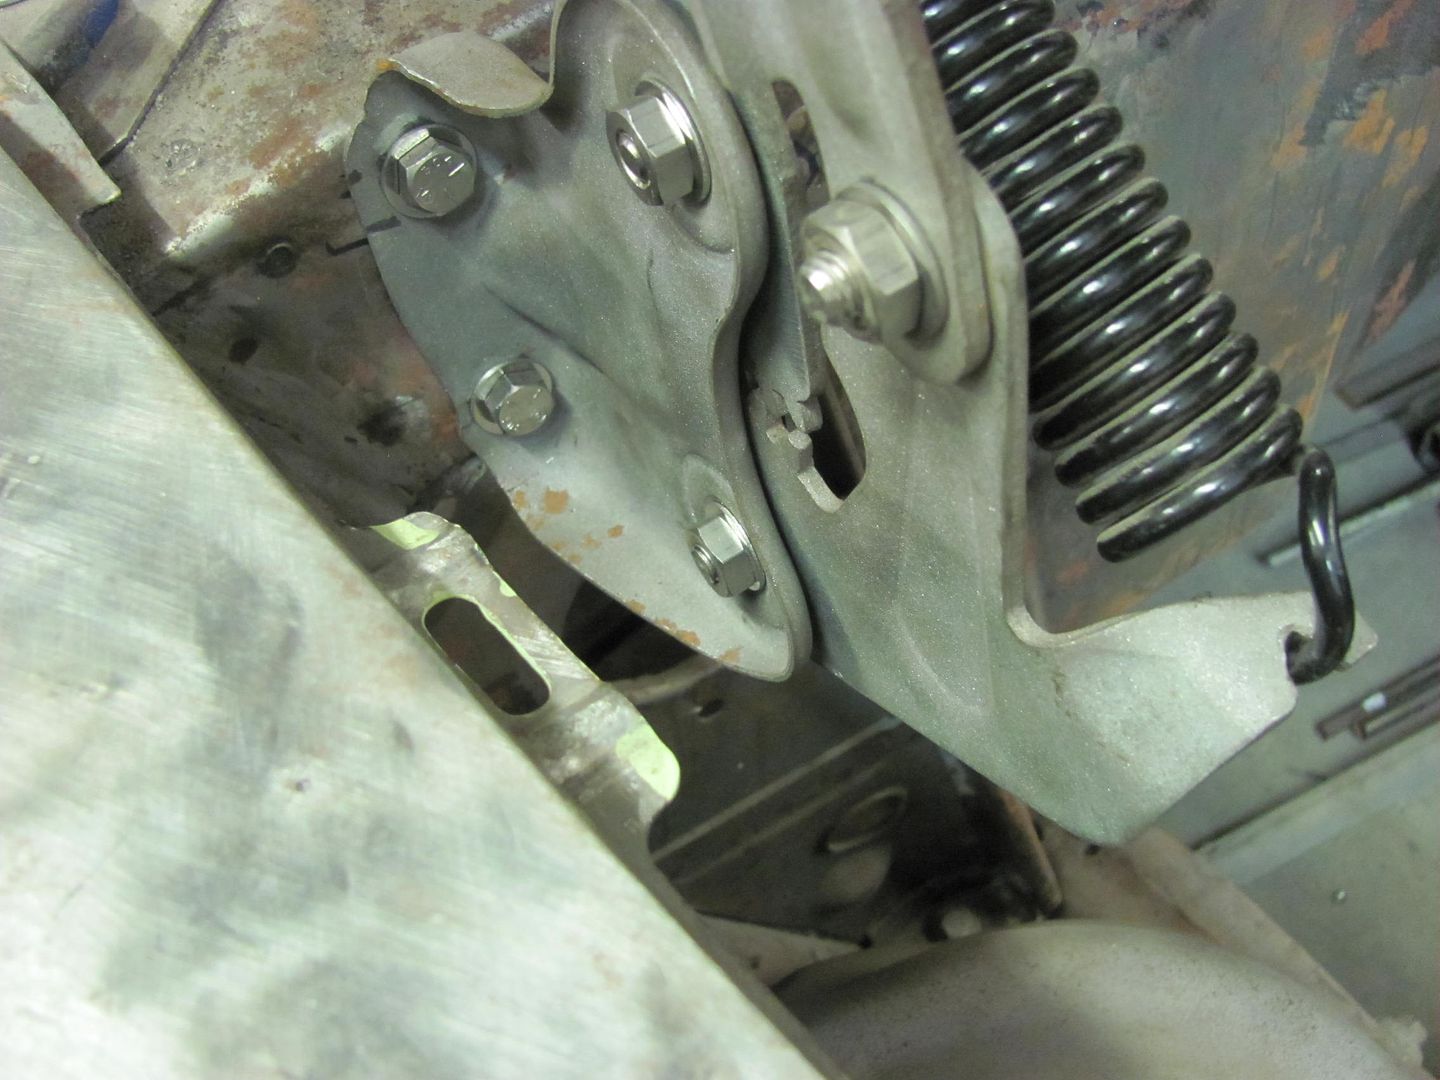
Thanks much to Don for the suggestion!Robert
-
10-18-2014 06:56 PM #330
that closes niceCharlie
Lovin' what I do and doing what I love
Some guys can fix broken NO ONE can fix STUPID
W8AMR
http://fishertrains94.webs.com/
Christian in training


 3390Likes

 LinkBack URL
 About LinkBacks
 Reply With Quote


Thanks for the happy birthday wishes, so far 50 feels a lot like 49 LOL
Happy Birthday 53Chevy5