Thread: 55 Wagon Progress
-
11-02-2014 09:19 AM #346
looks nice and solid"  "No matter where you go, there you are!" Steve.
-
Advertising

- Google Adsense
- REGISTERED USERS DO NOT SEE THIS AD
-
11-05-2014 07:47 PM #347
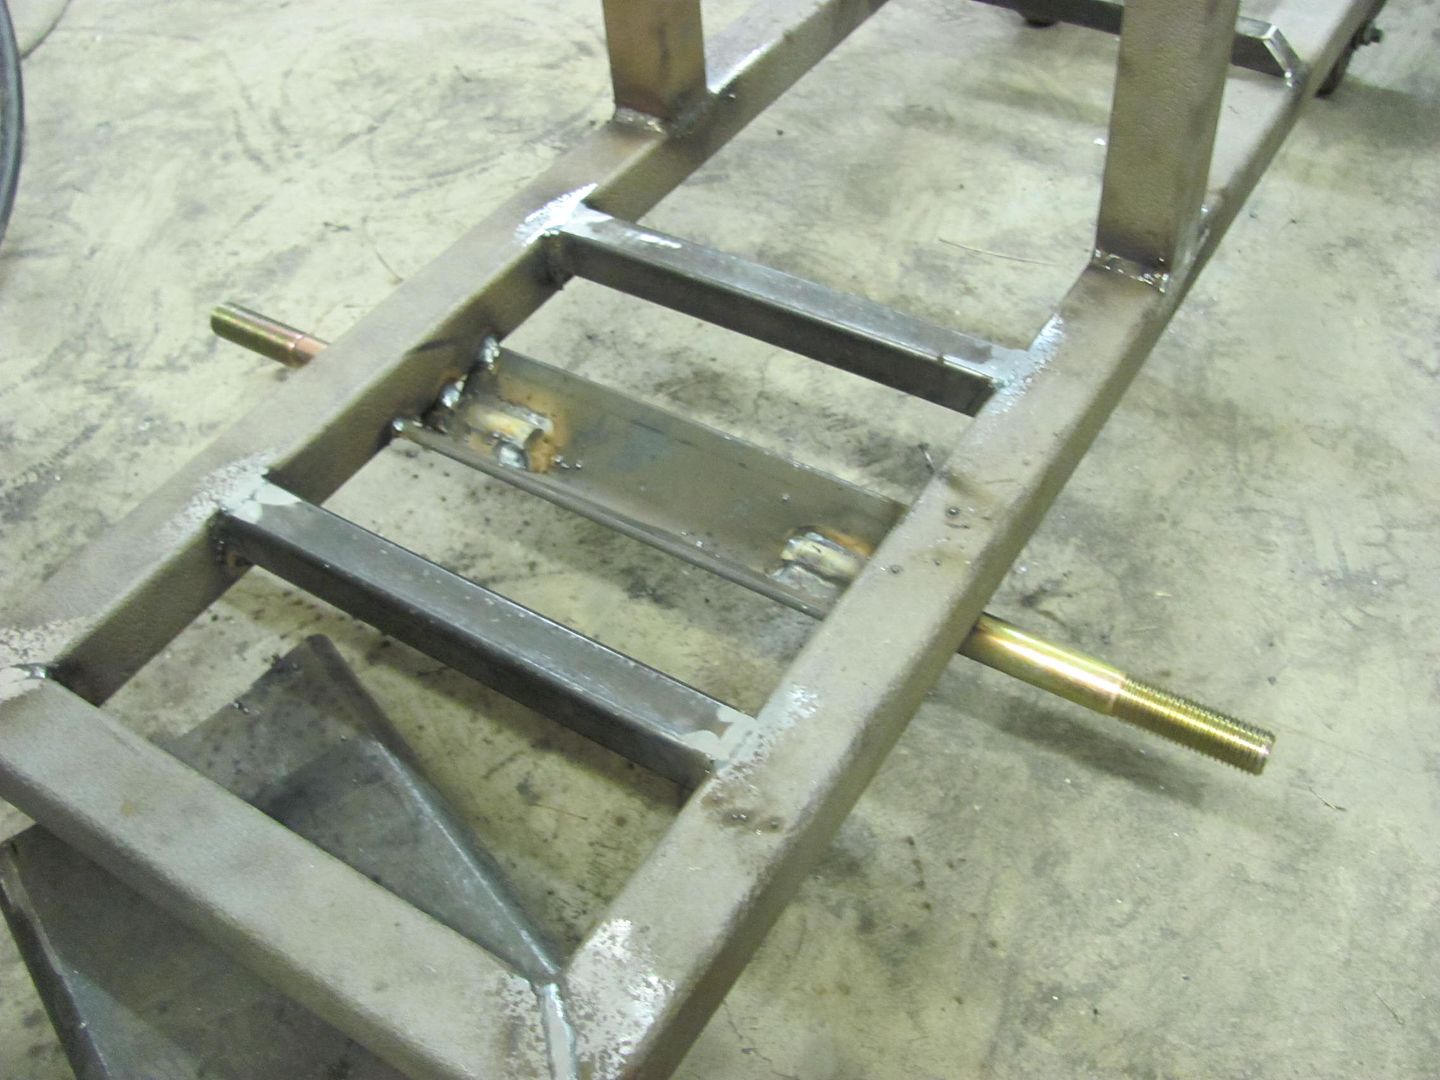
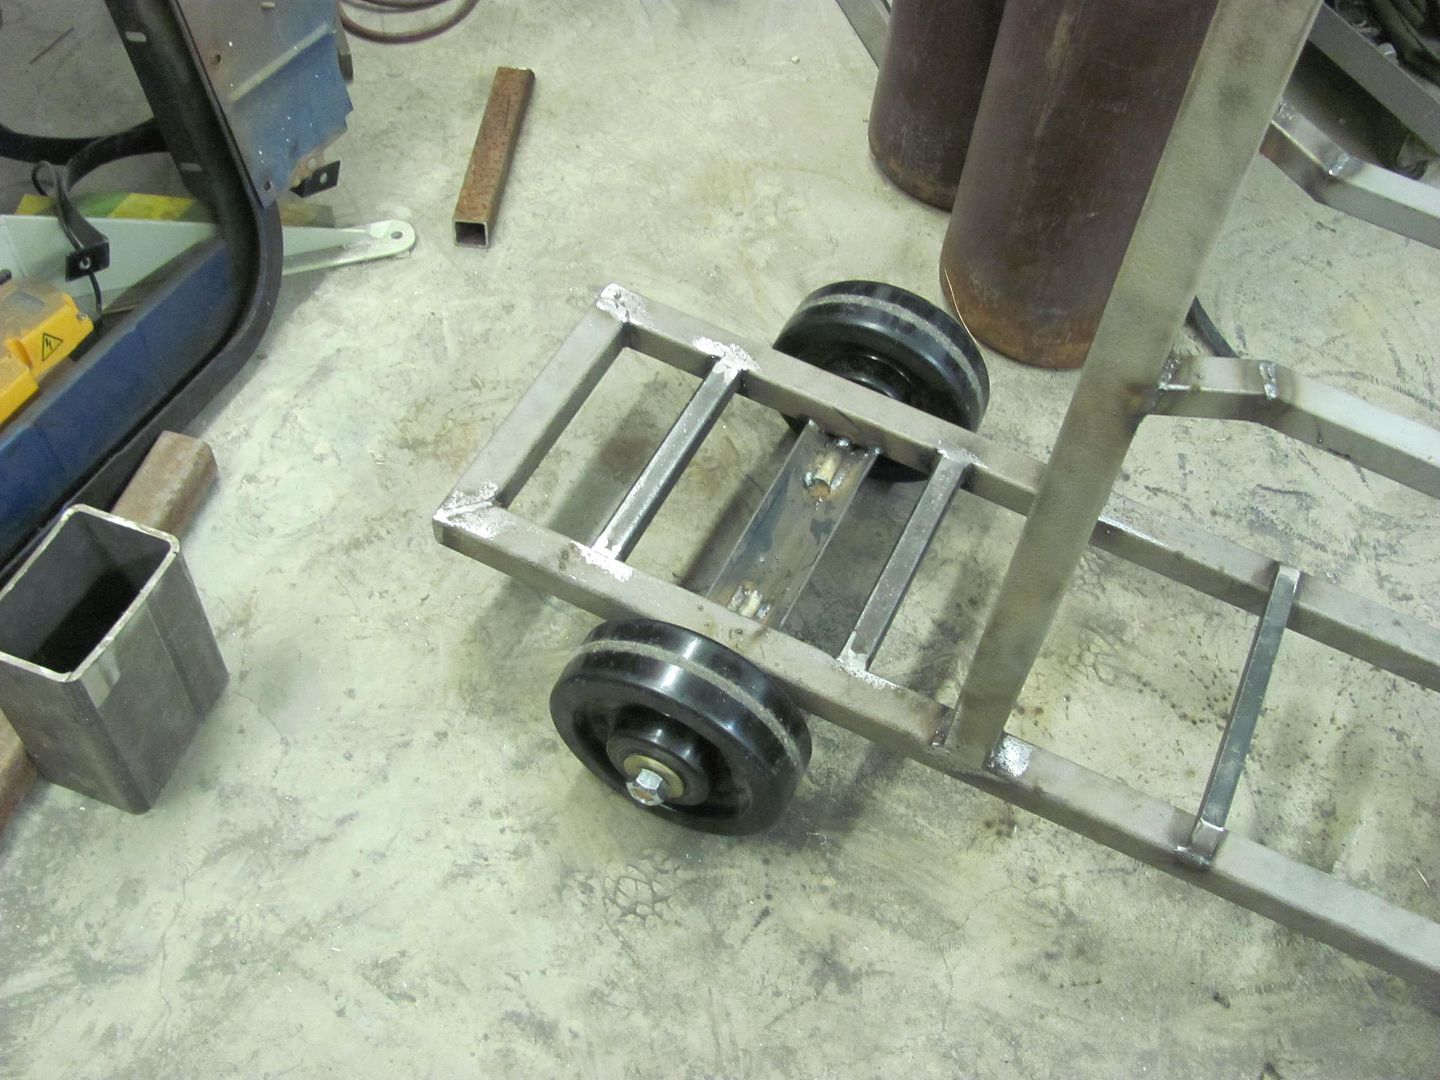
More progress on the welding cart tonight, the rear axle was made from a piece of angle and two 3/4-10 bolts..
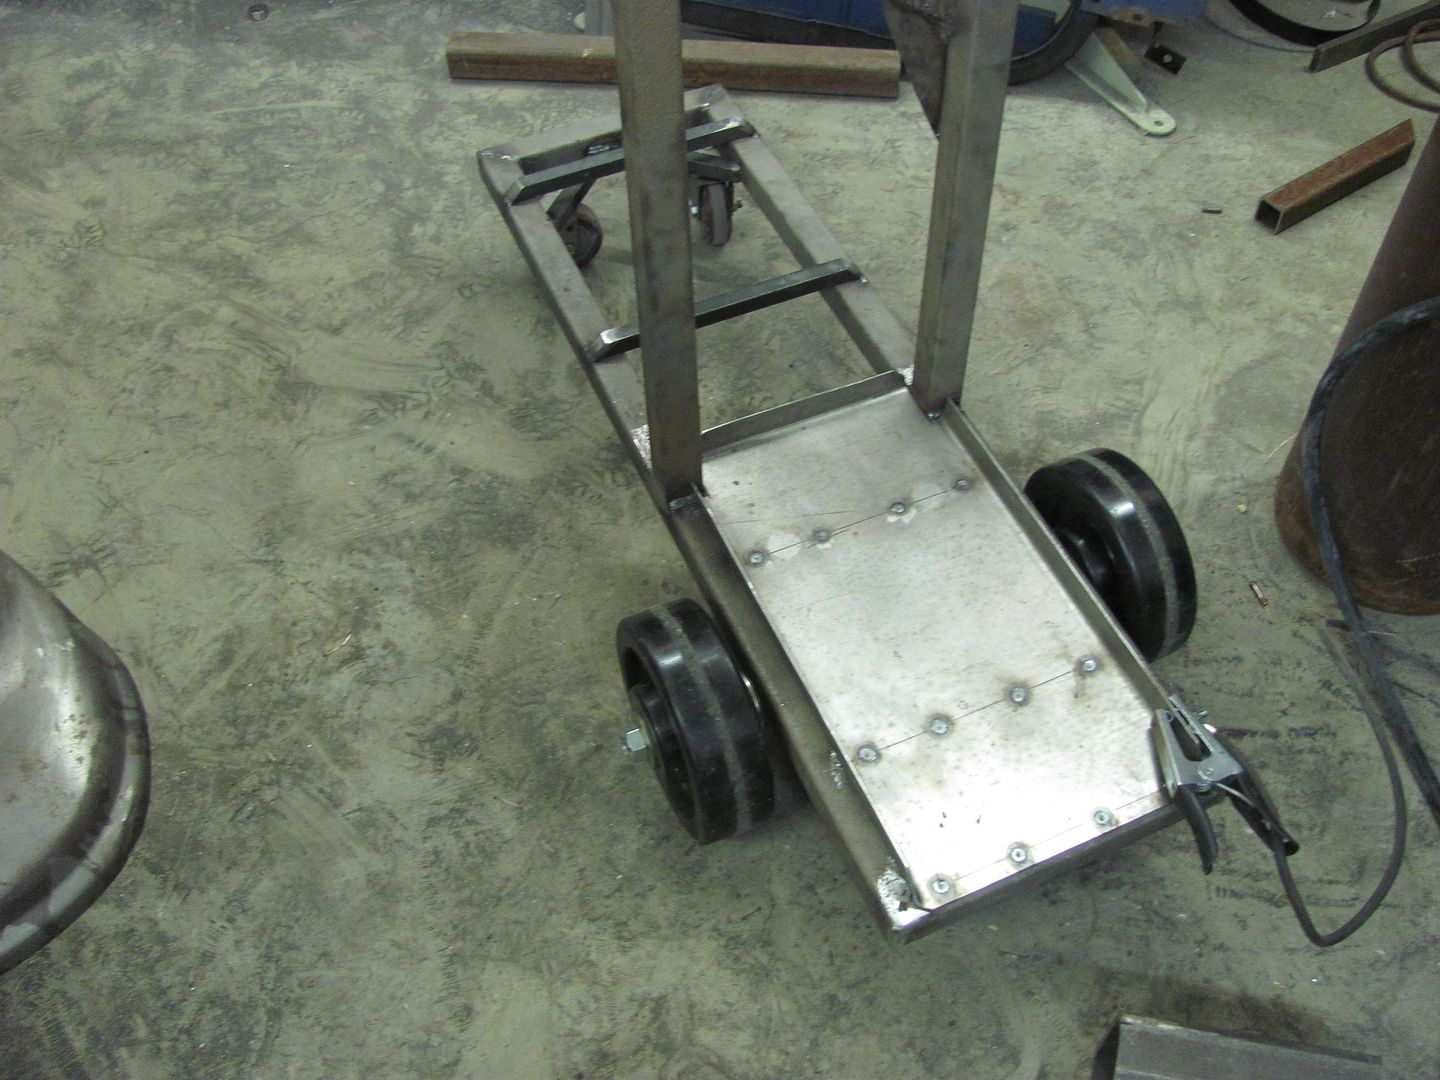
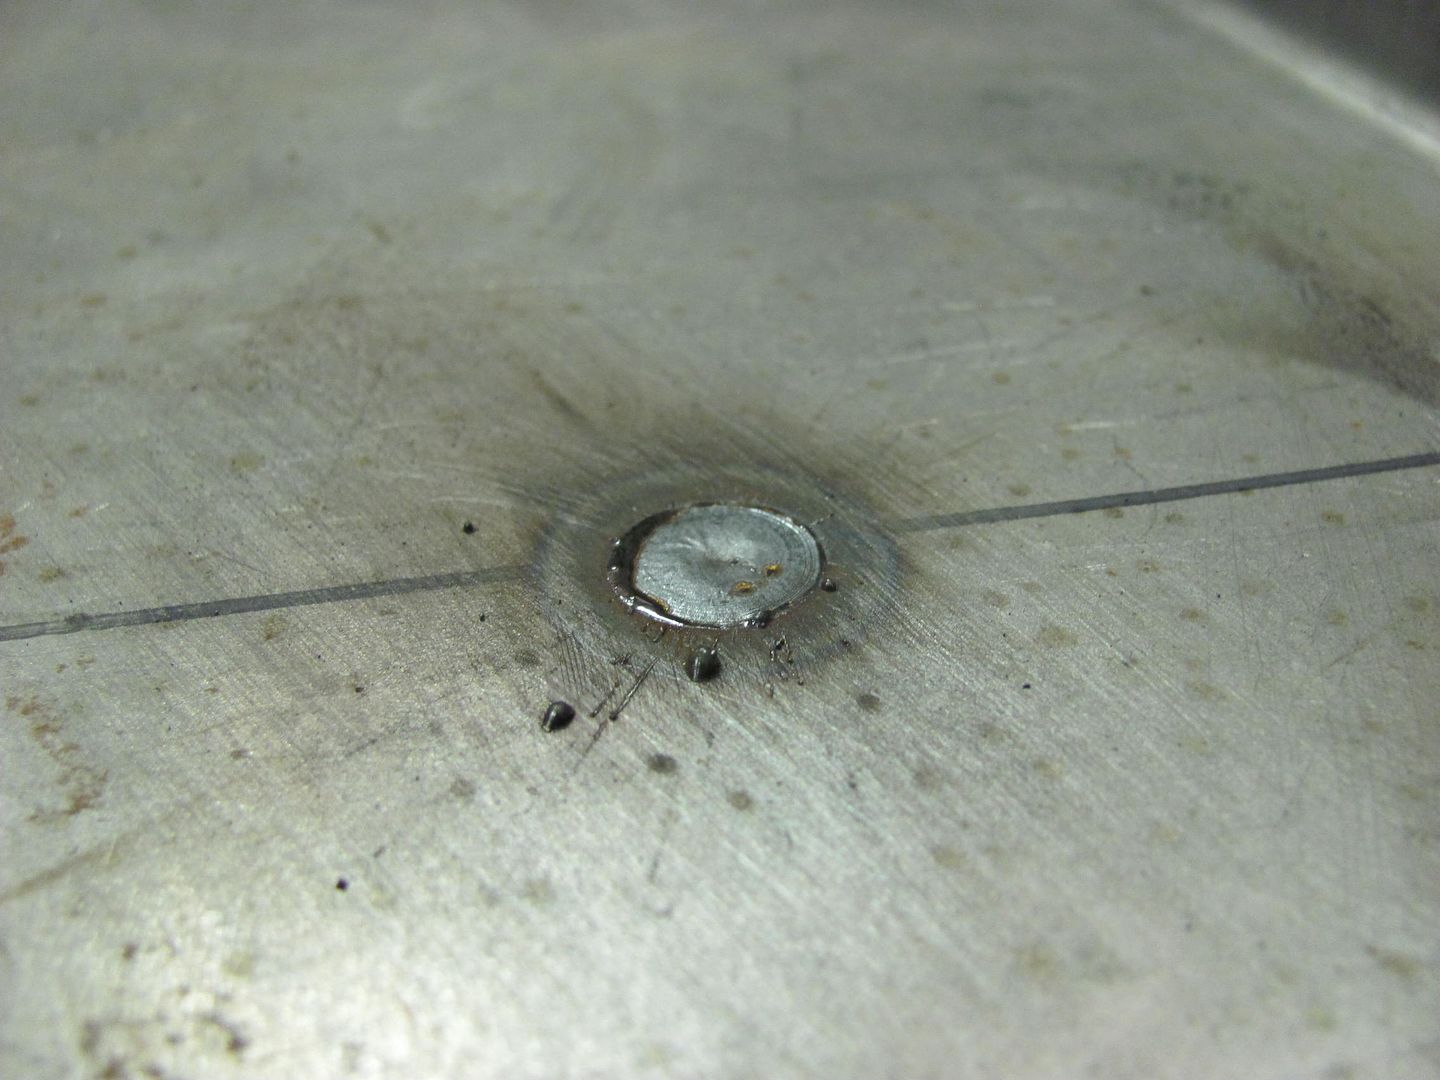
Rear bottle tray made from some 12 gauge, and welded on using about 3/8 diameter plug welds..
Top shelf added along with some gussets made of 12 gauge..
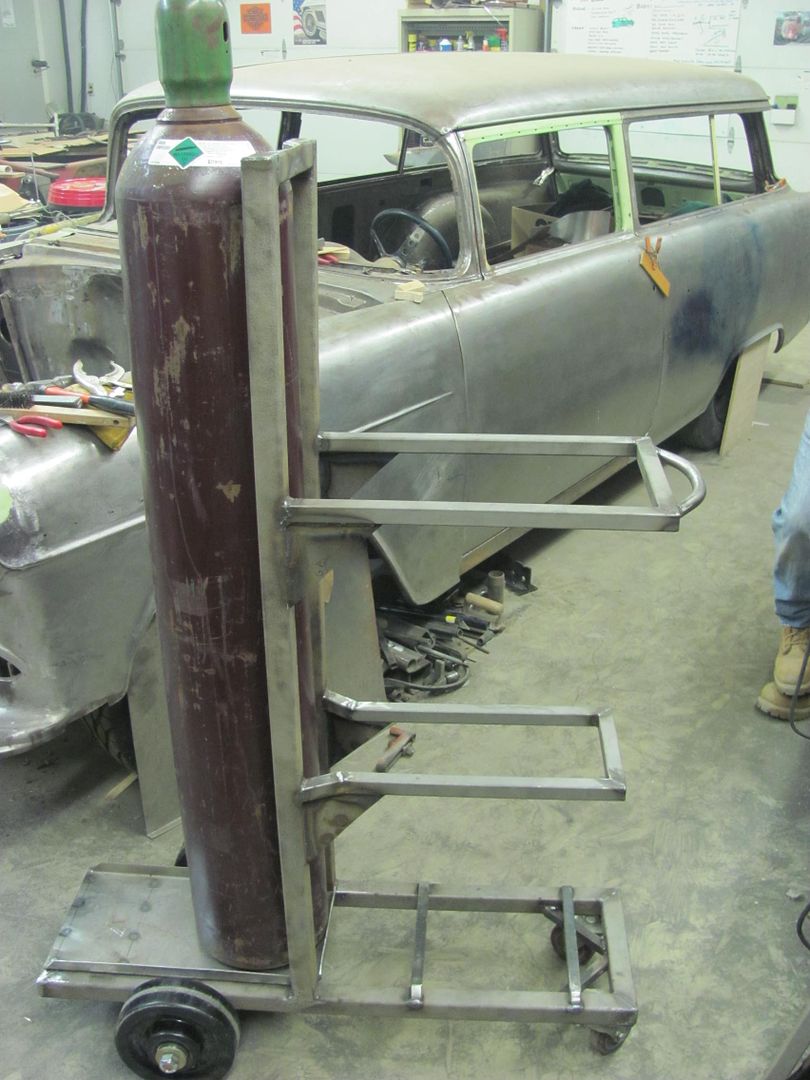
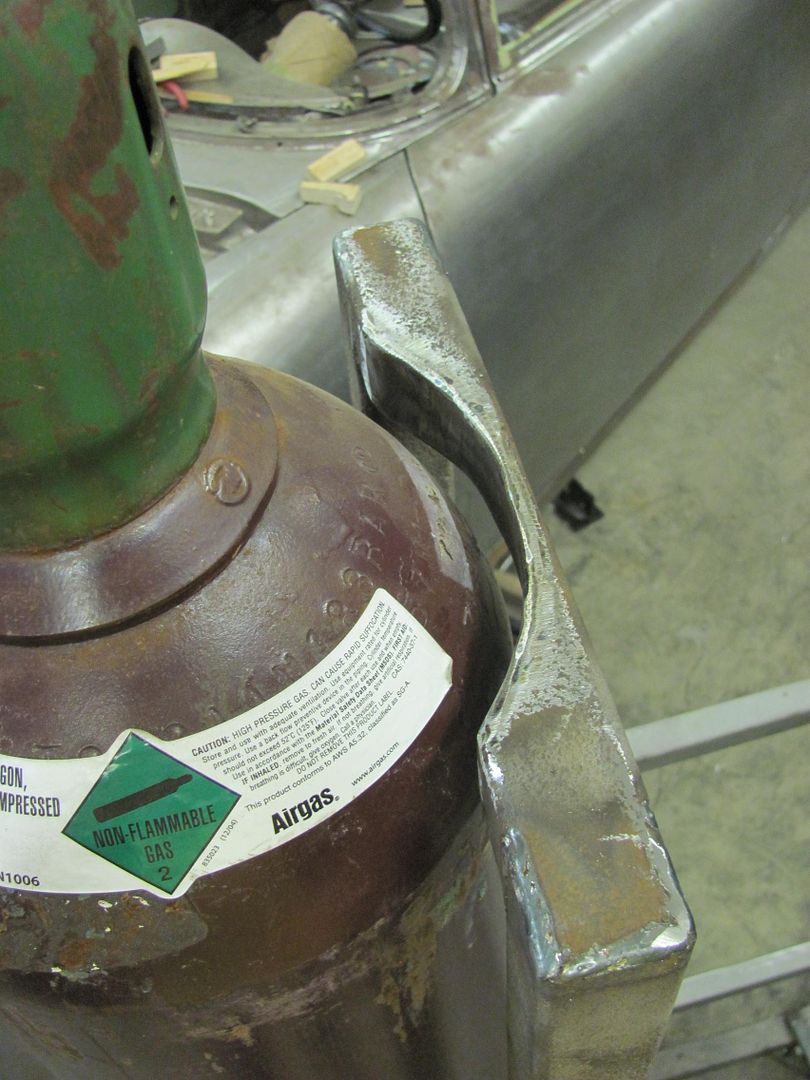
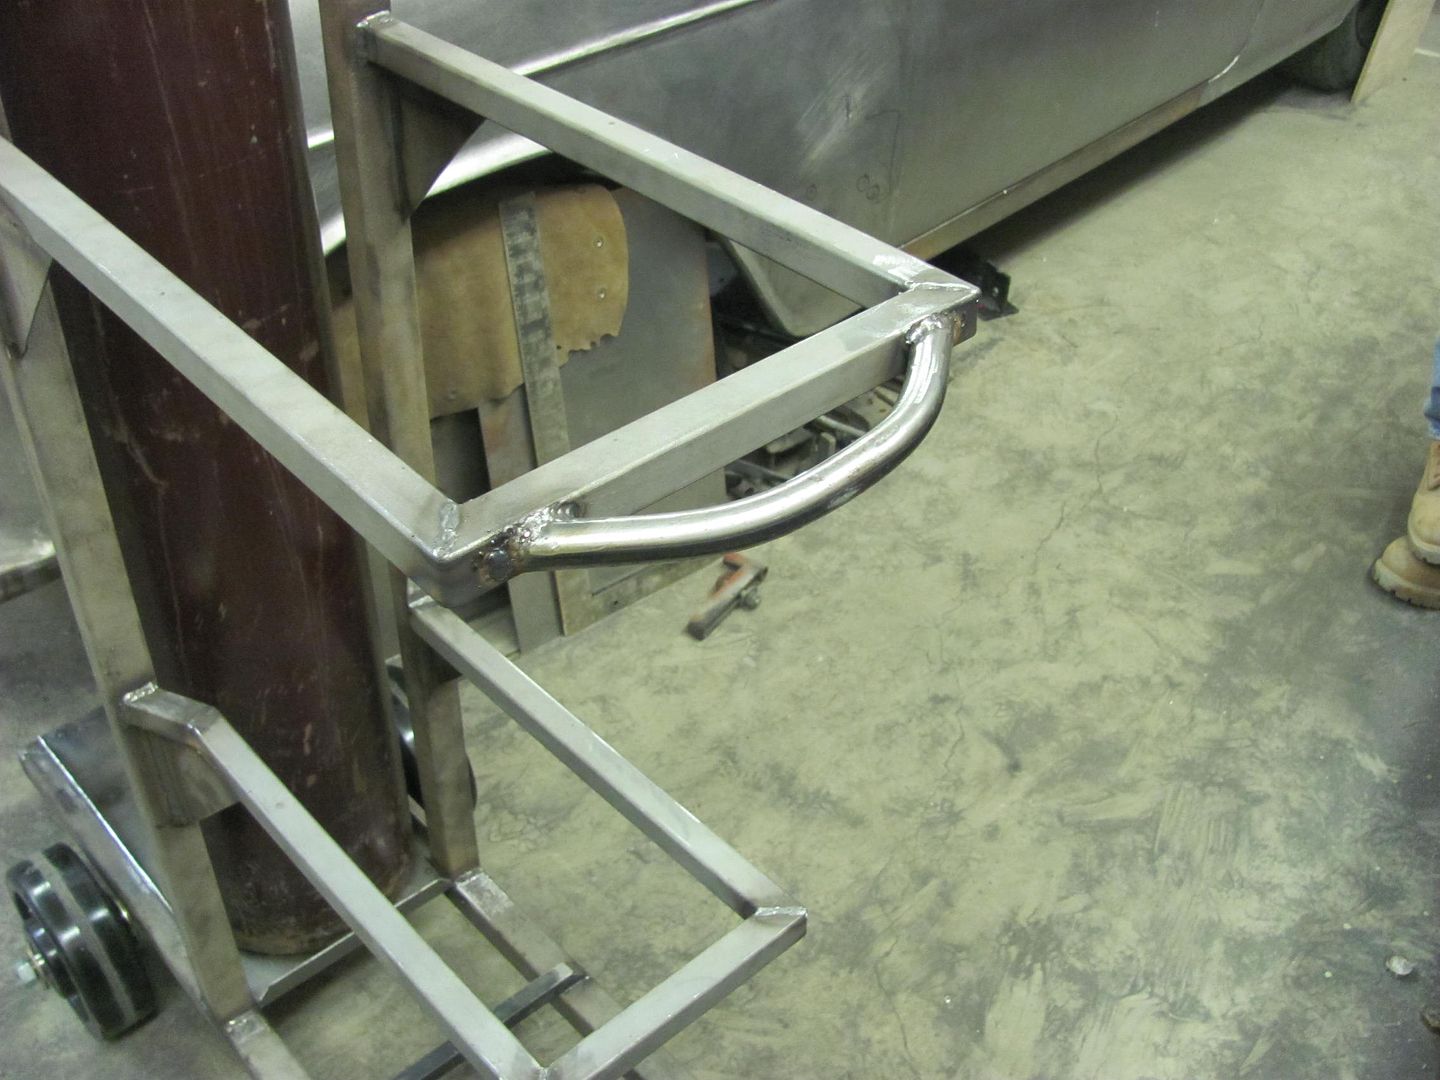
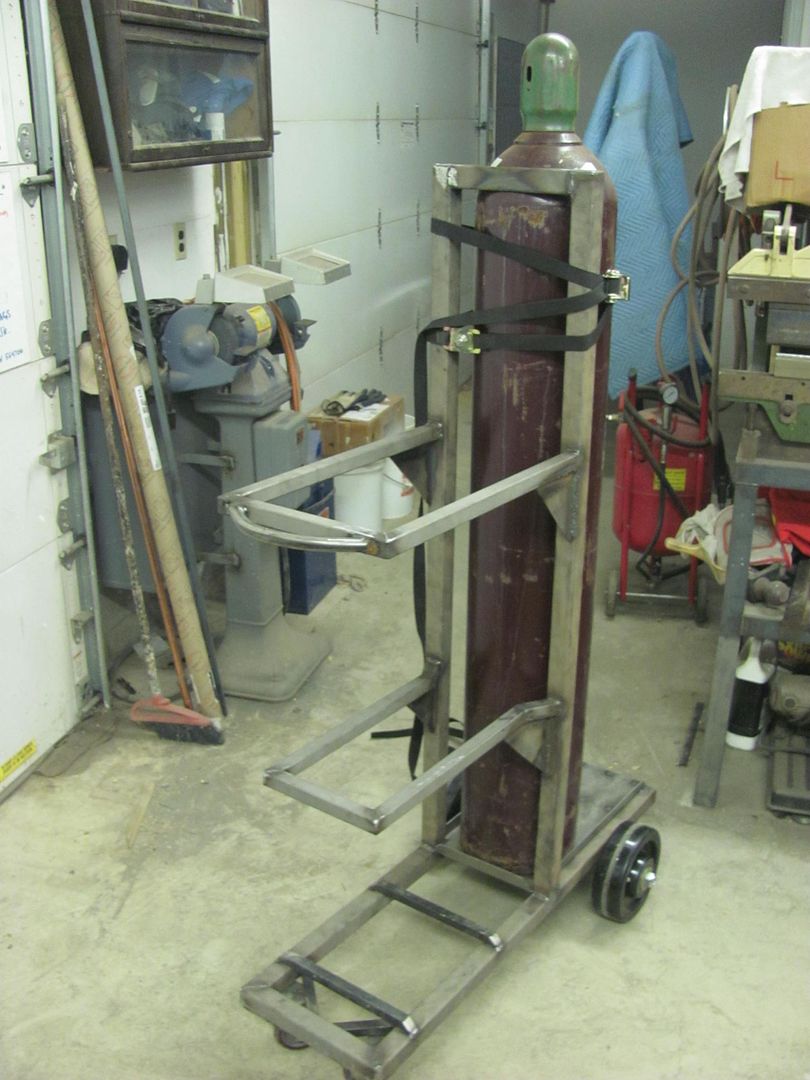
Bottle relief and pull handle added....
Robert
-
11-07-2014 08:14 PM #348
Rivnut installation video!
https://www.youtube.com/watch?v=3jrrf_VbTsc
.Robert
-
11-07-2014 08:38 PM #349
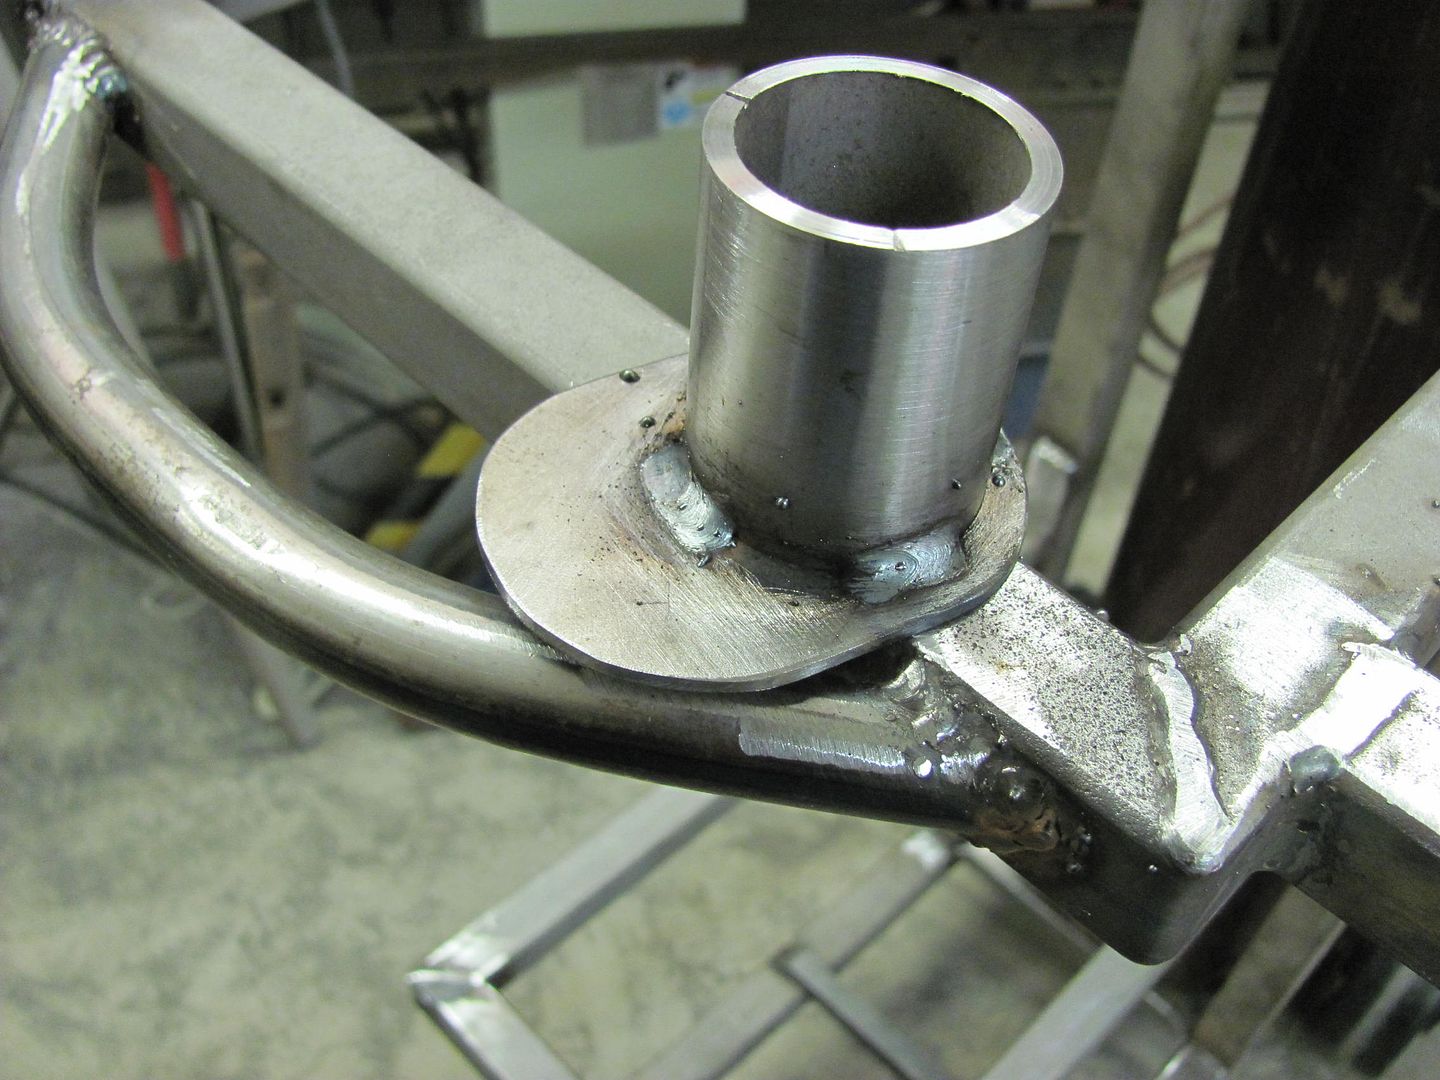
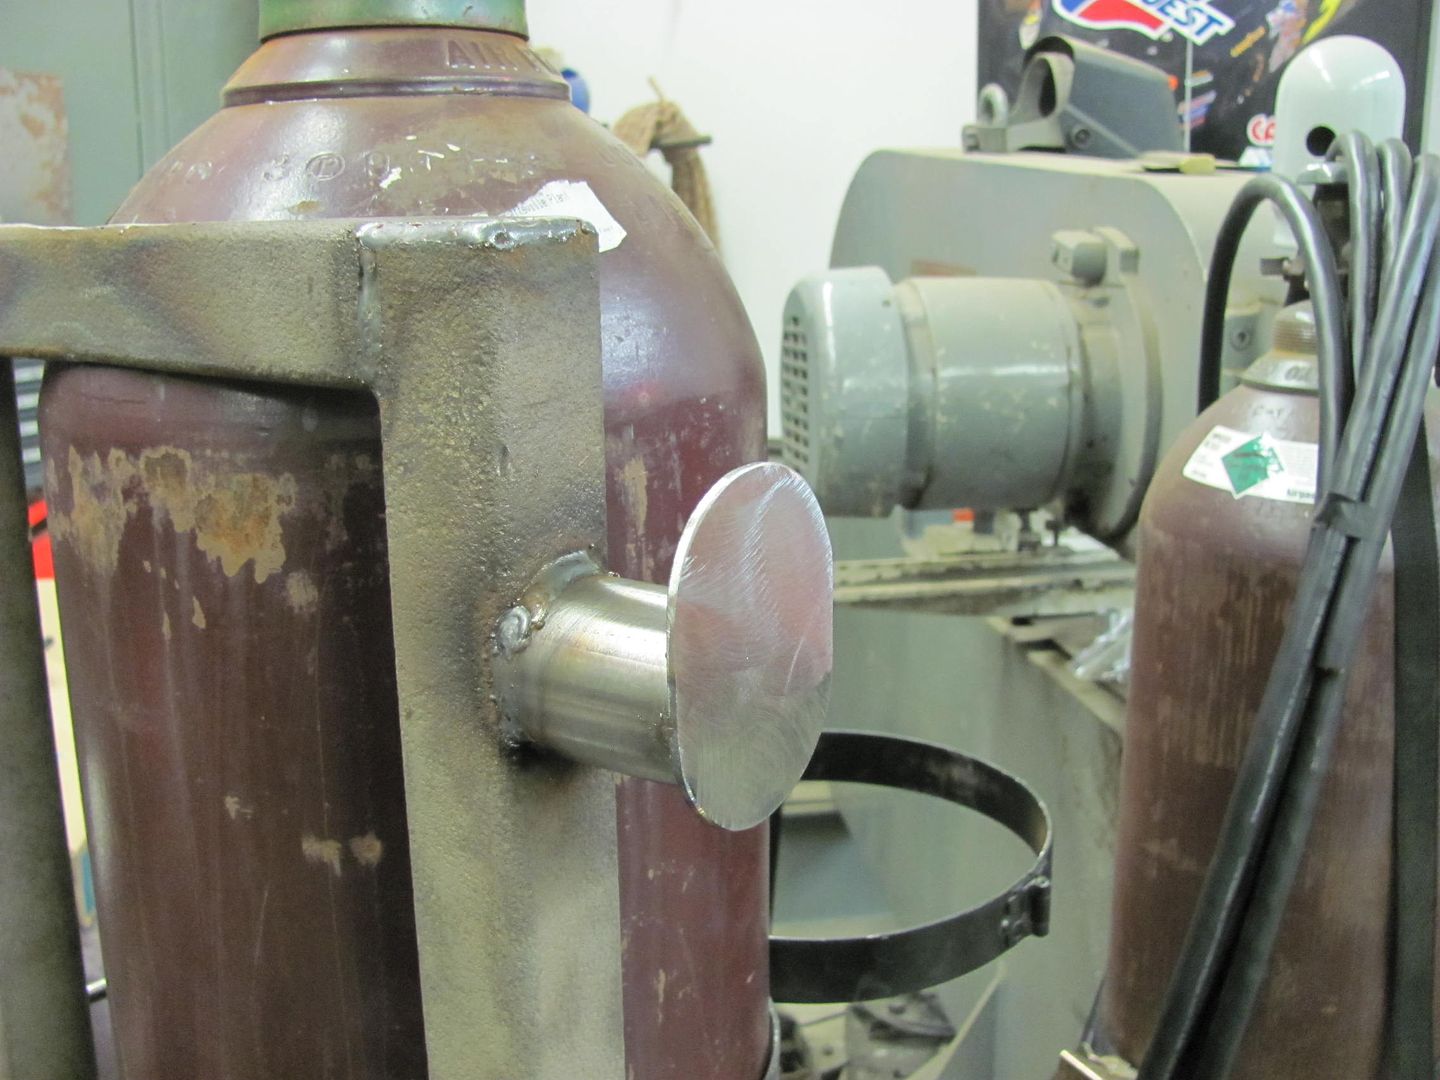
More progress this evening on the welder cart, these studs are added to make use of the bottle bracket that came off the old welder. My brother in law had borrowed it at one time, and it came back with the fancy bracket. He retired the ratchet strap I had around the two bottles. This worked pretty well, so rather than reinvent the wheel.... Reminds me, I have some other things needing finishing I should lend him...
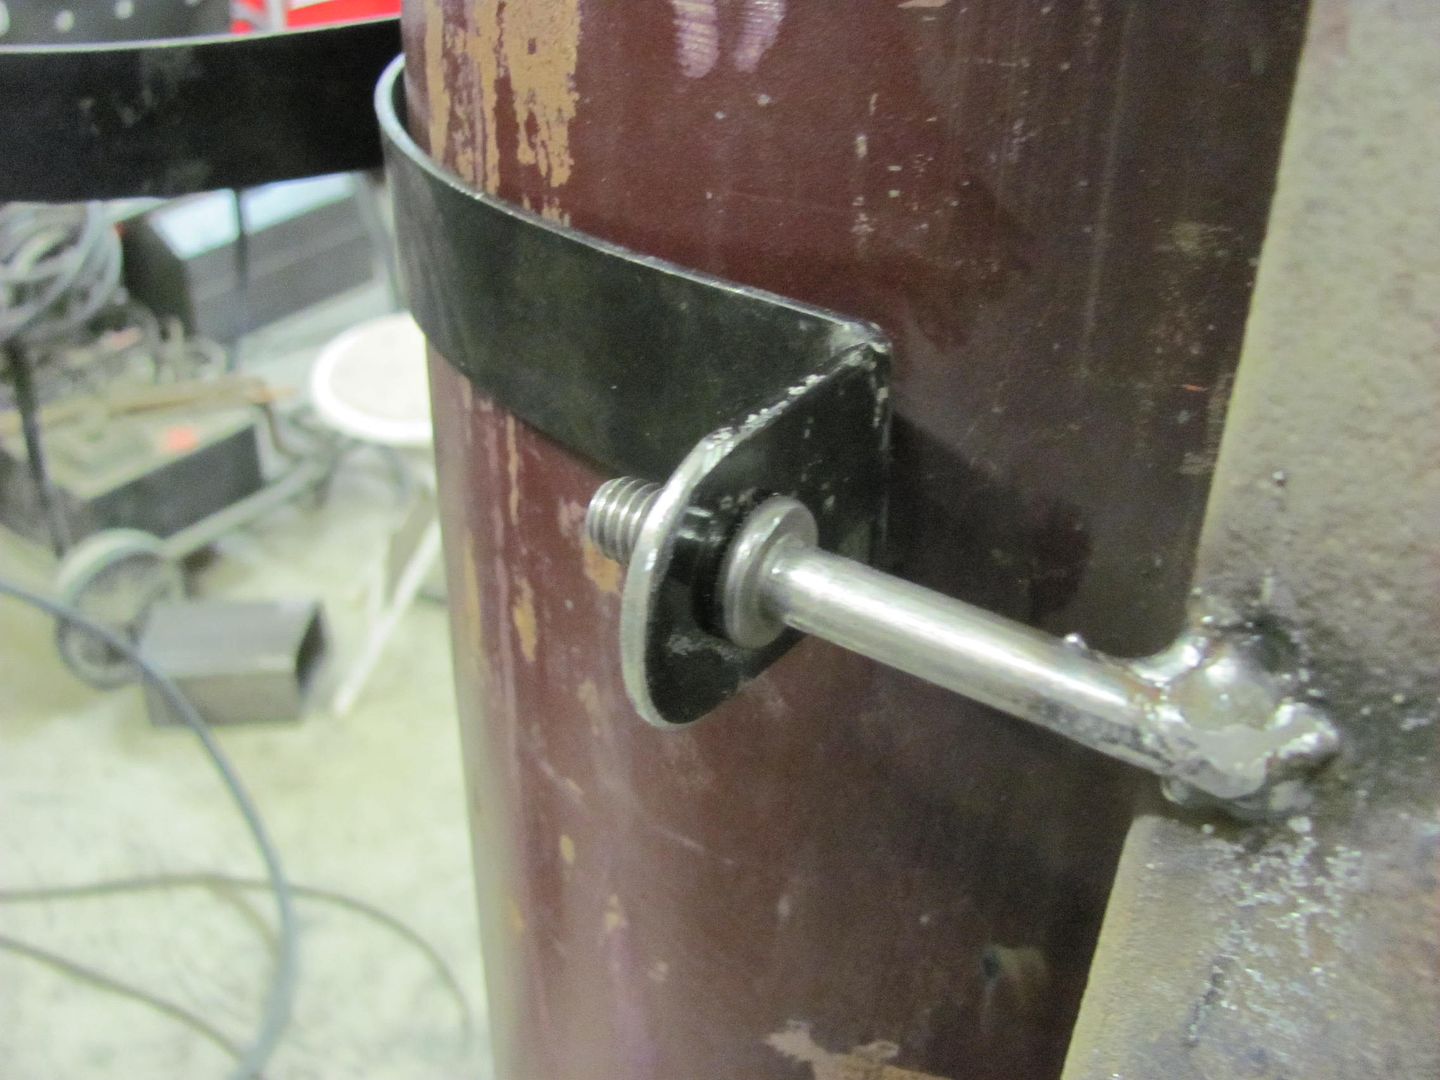
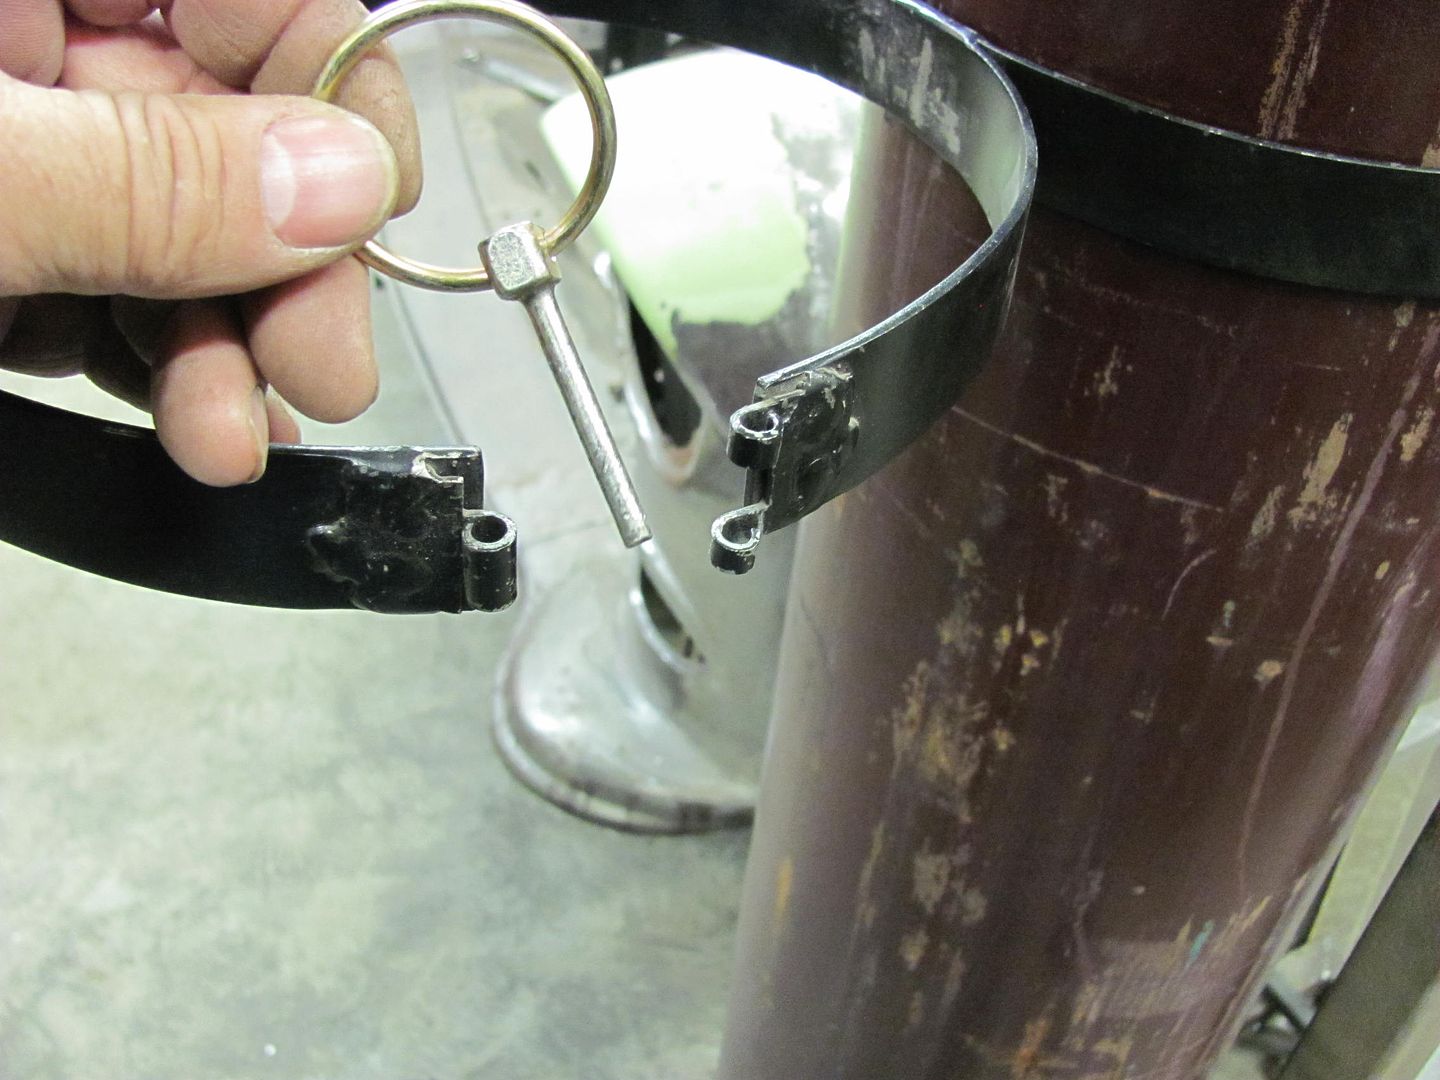
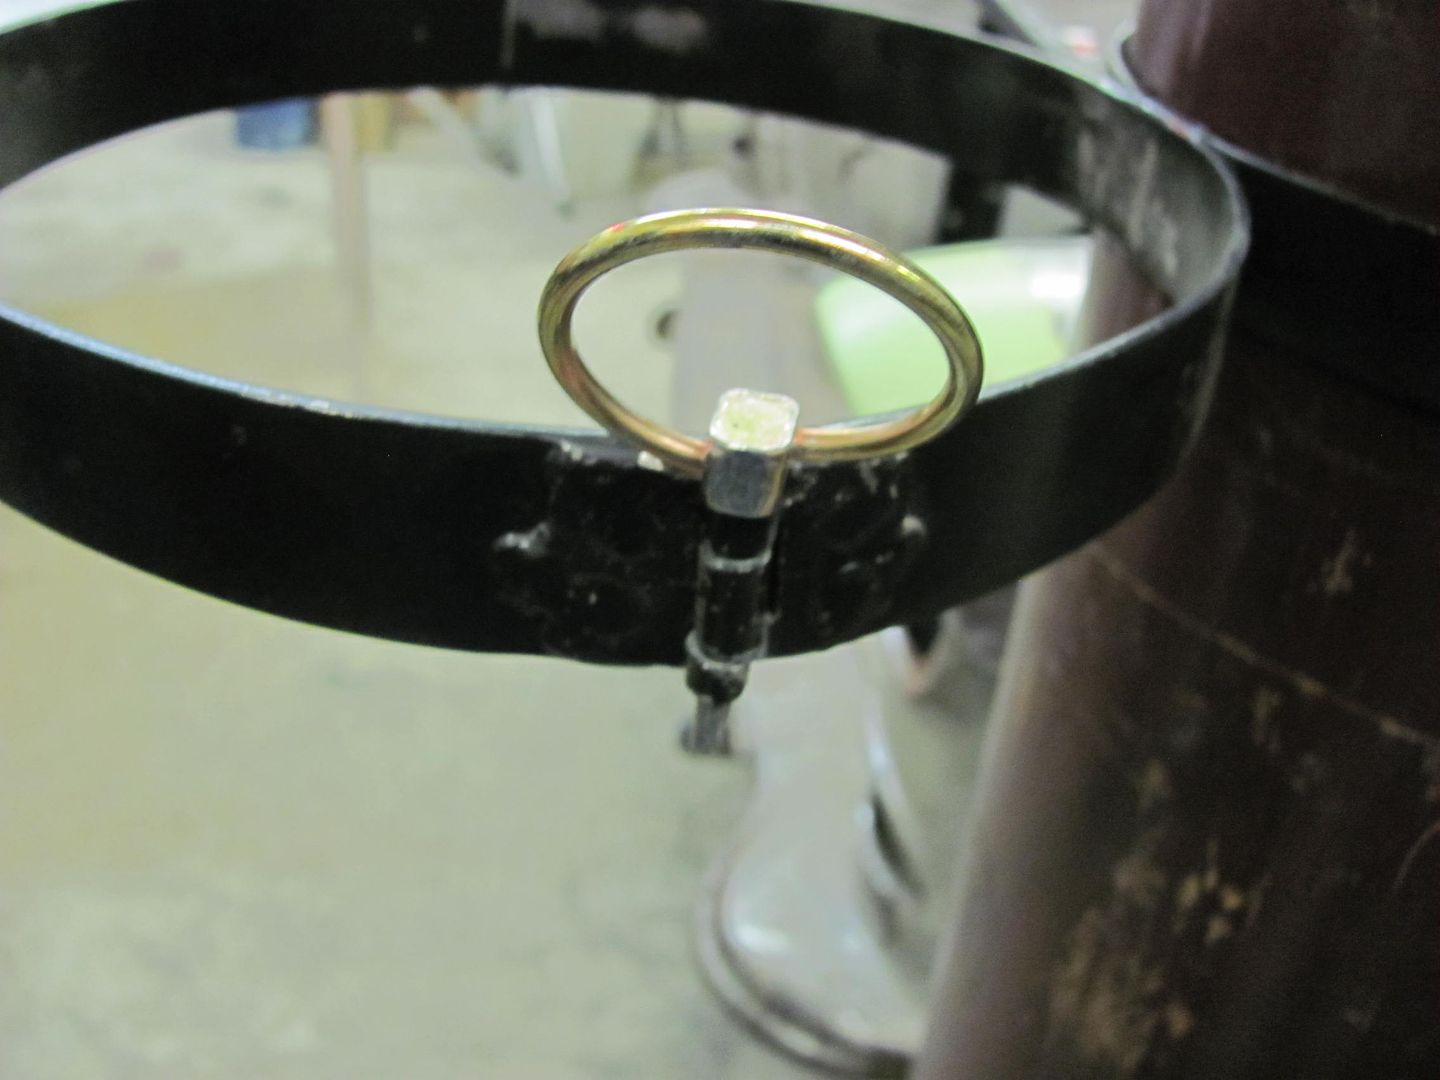
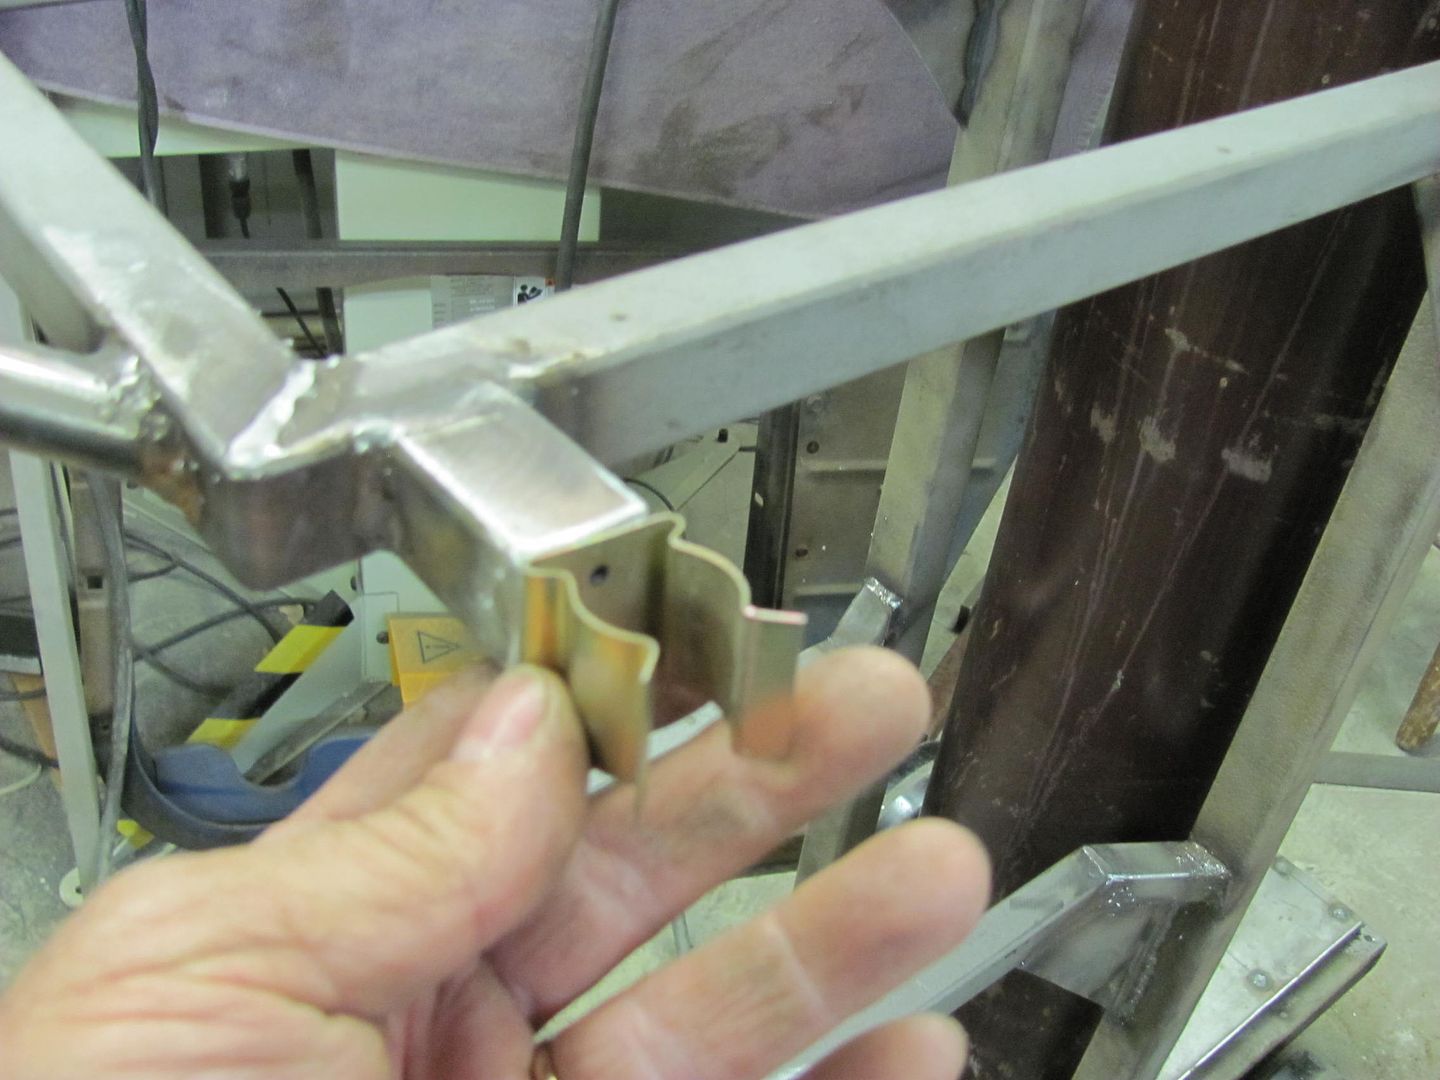
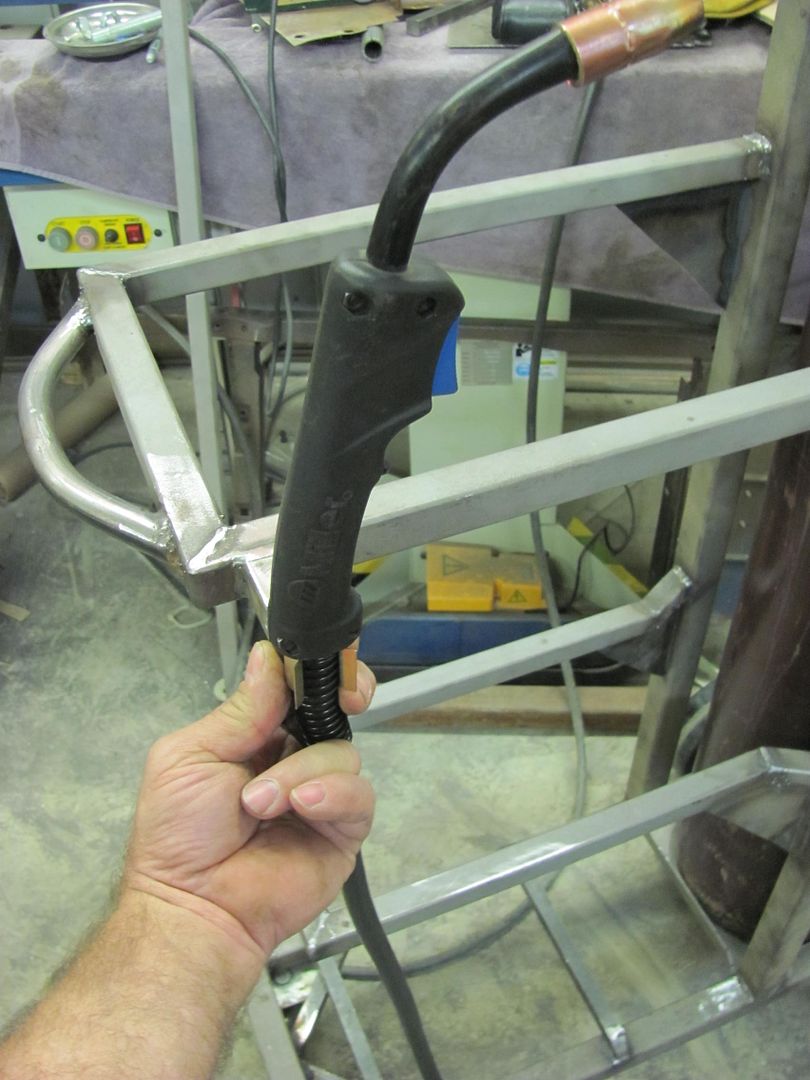
Then a bracket for the clip is added to hold the Mig torch..
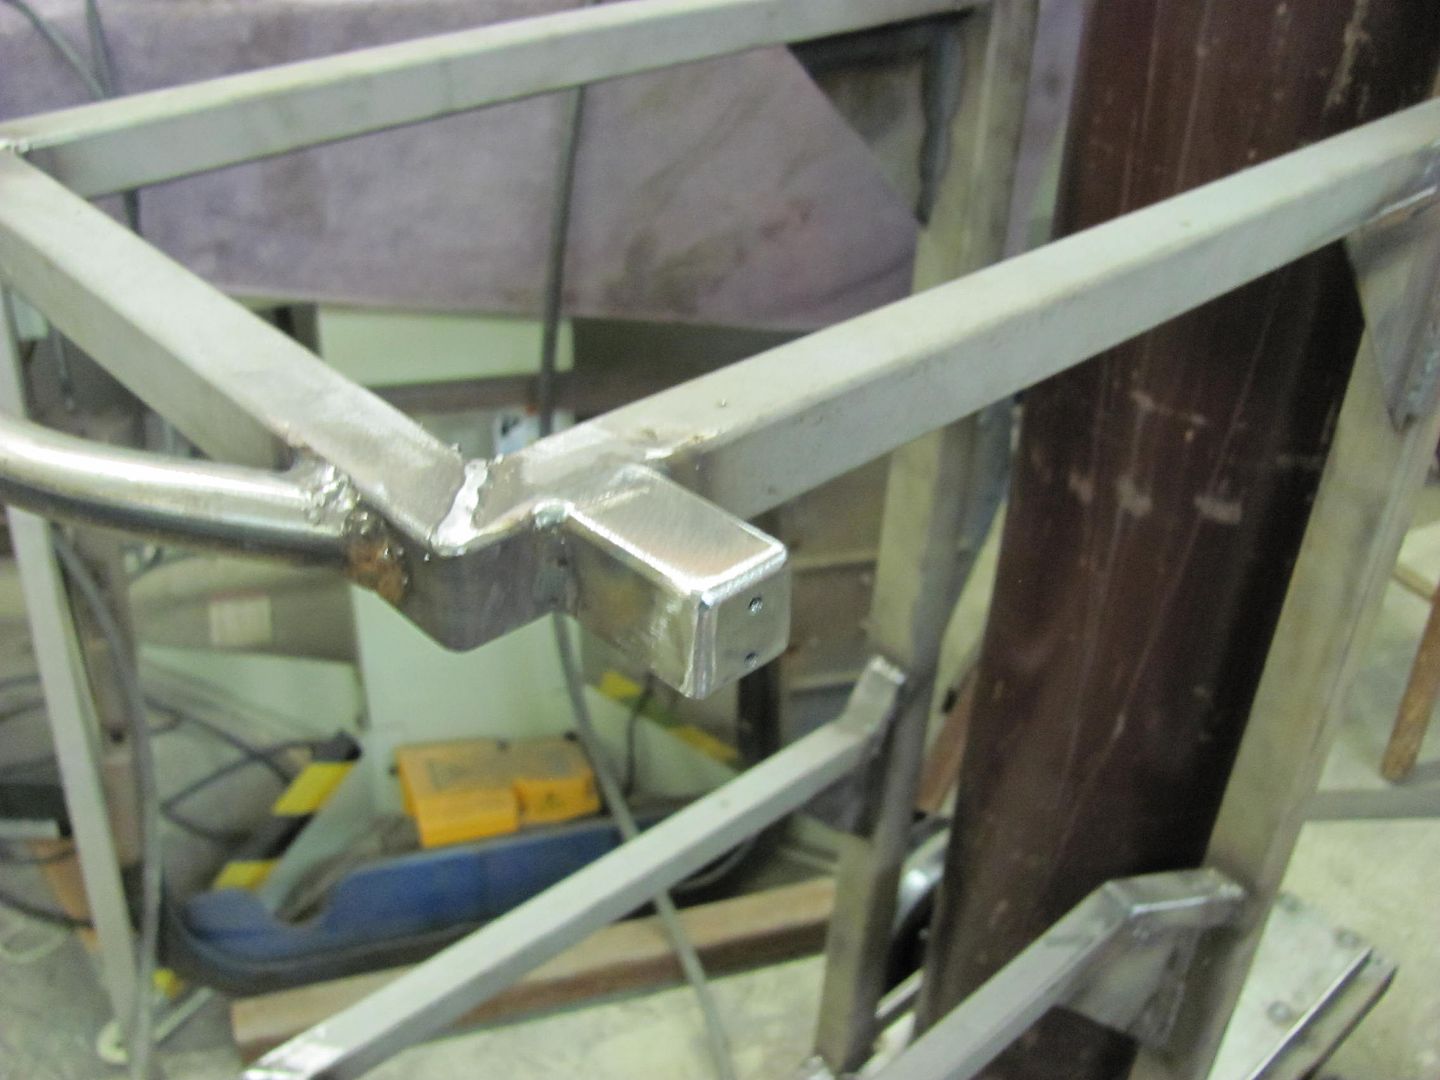
Holders for the various cables....
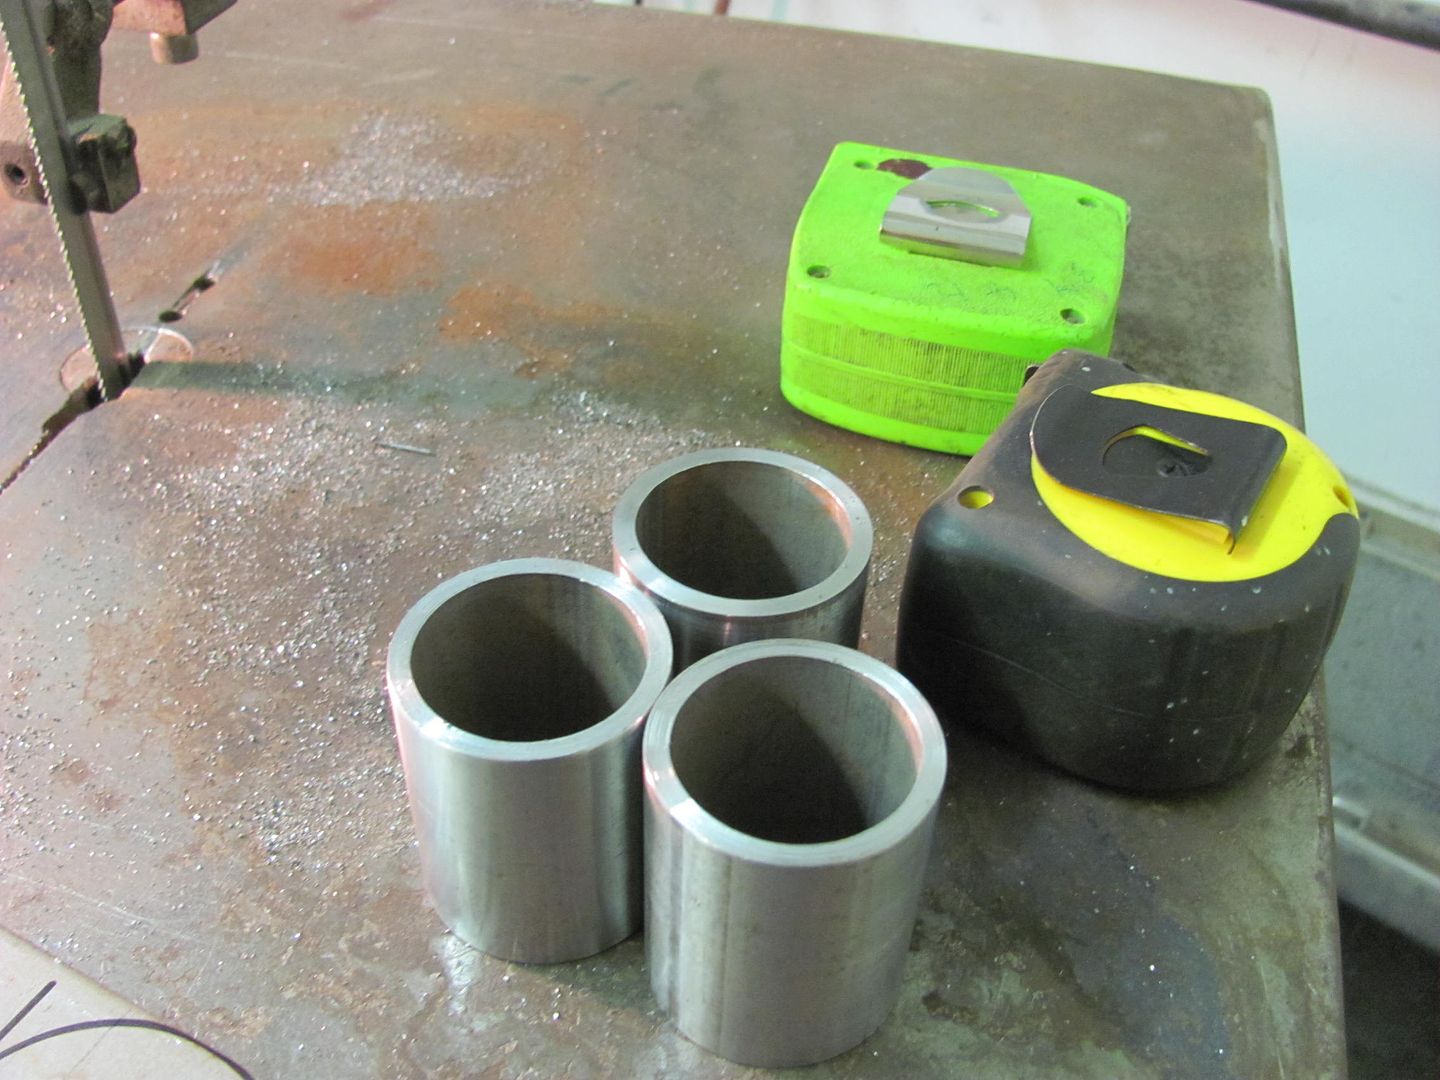
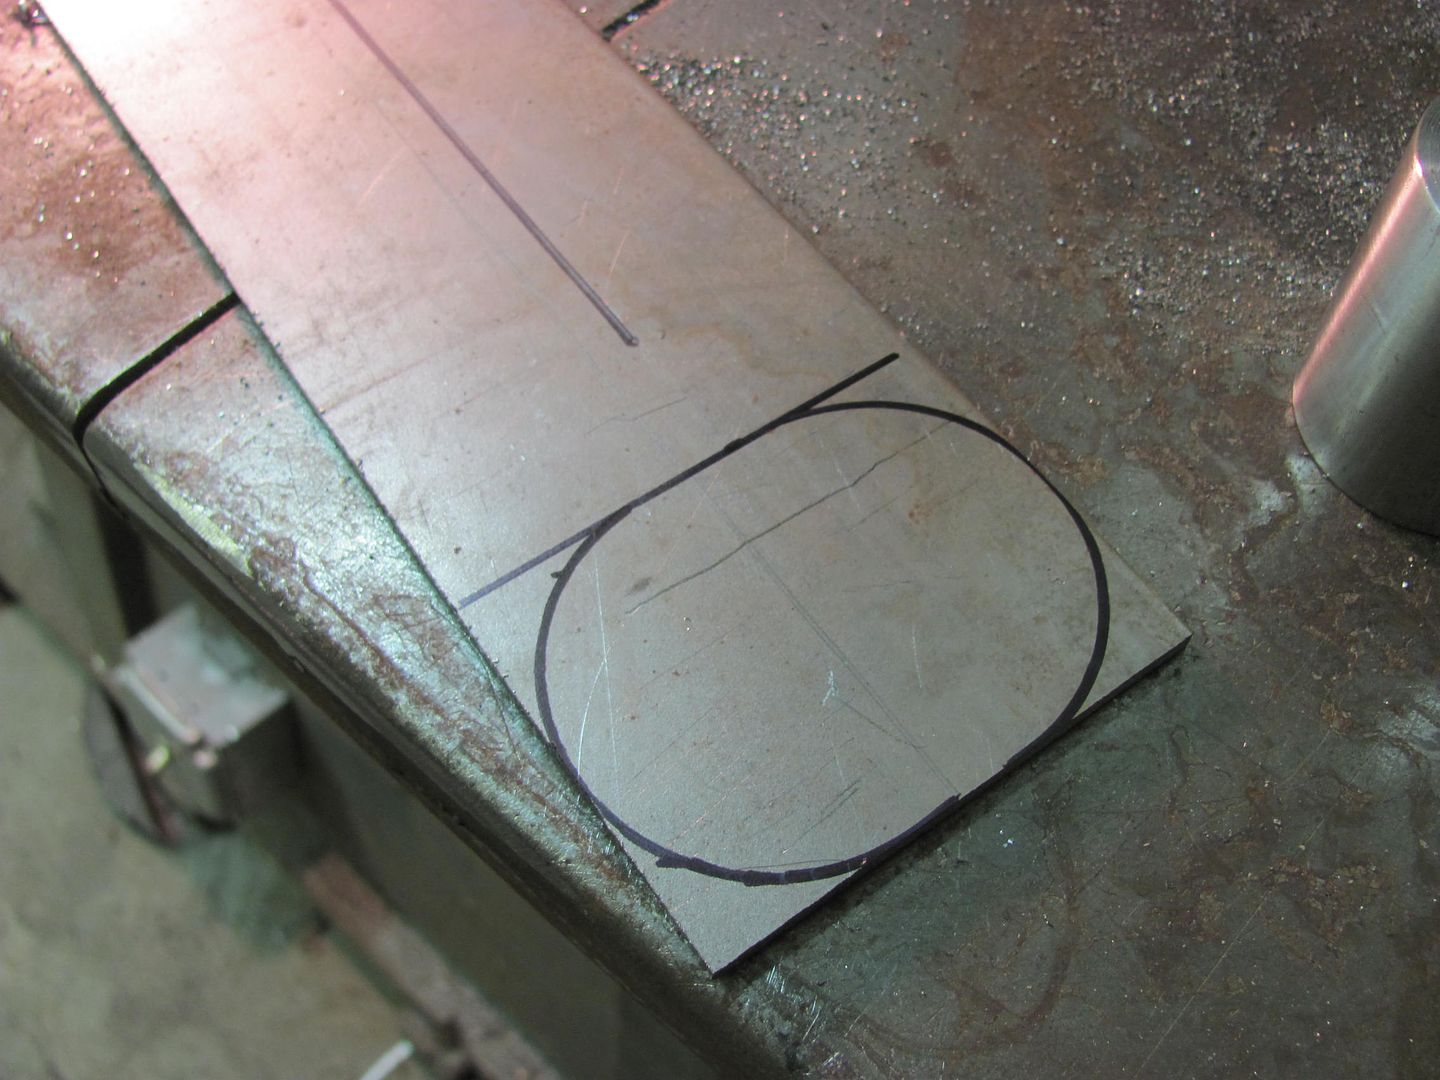
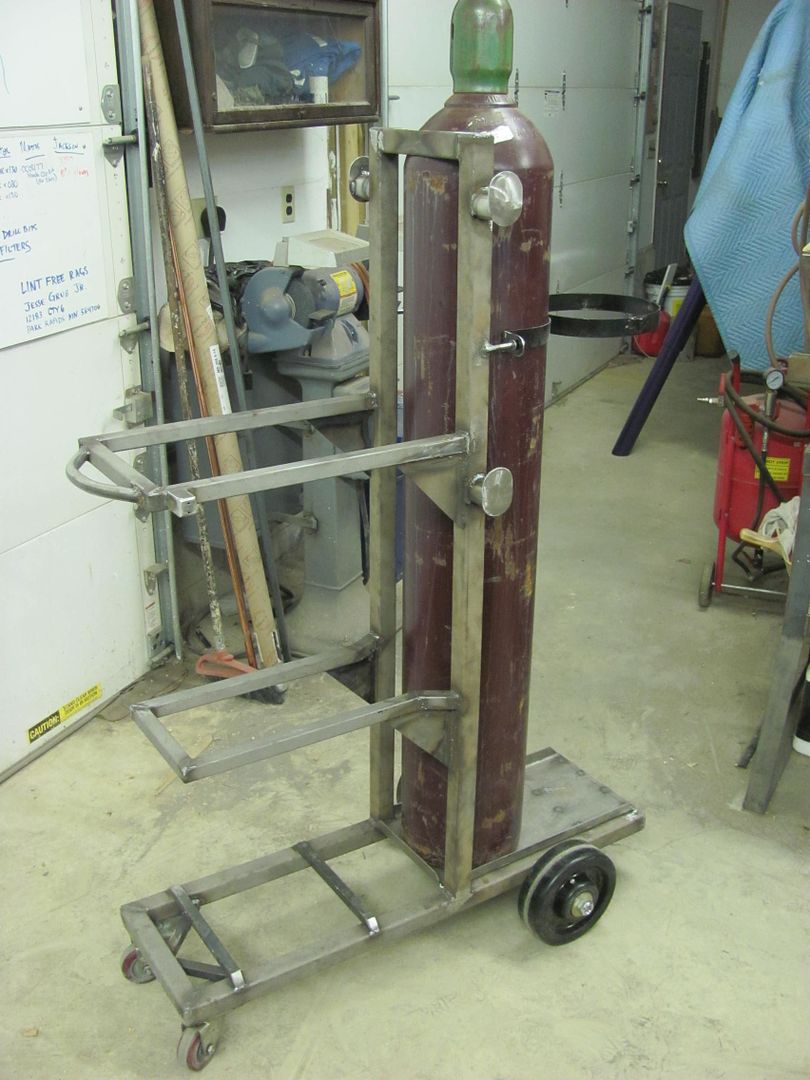
.....and a test fit before we throw some paint on it...
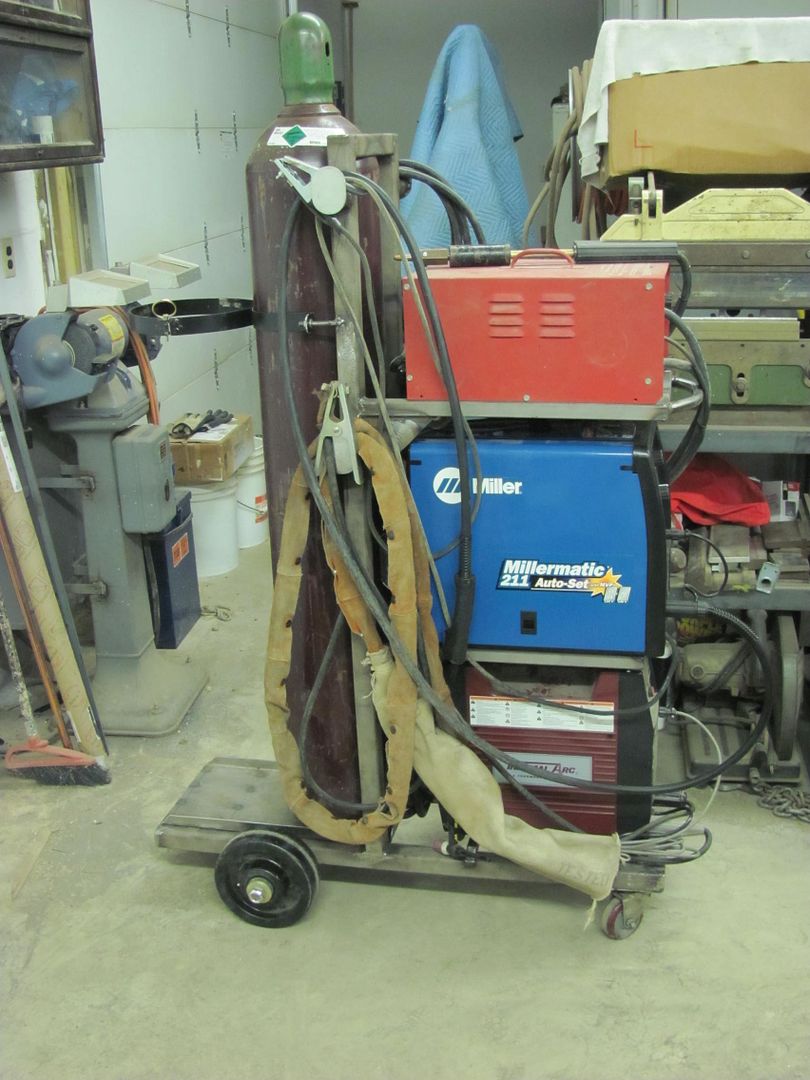
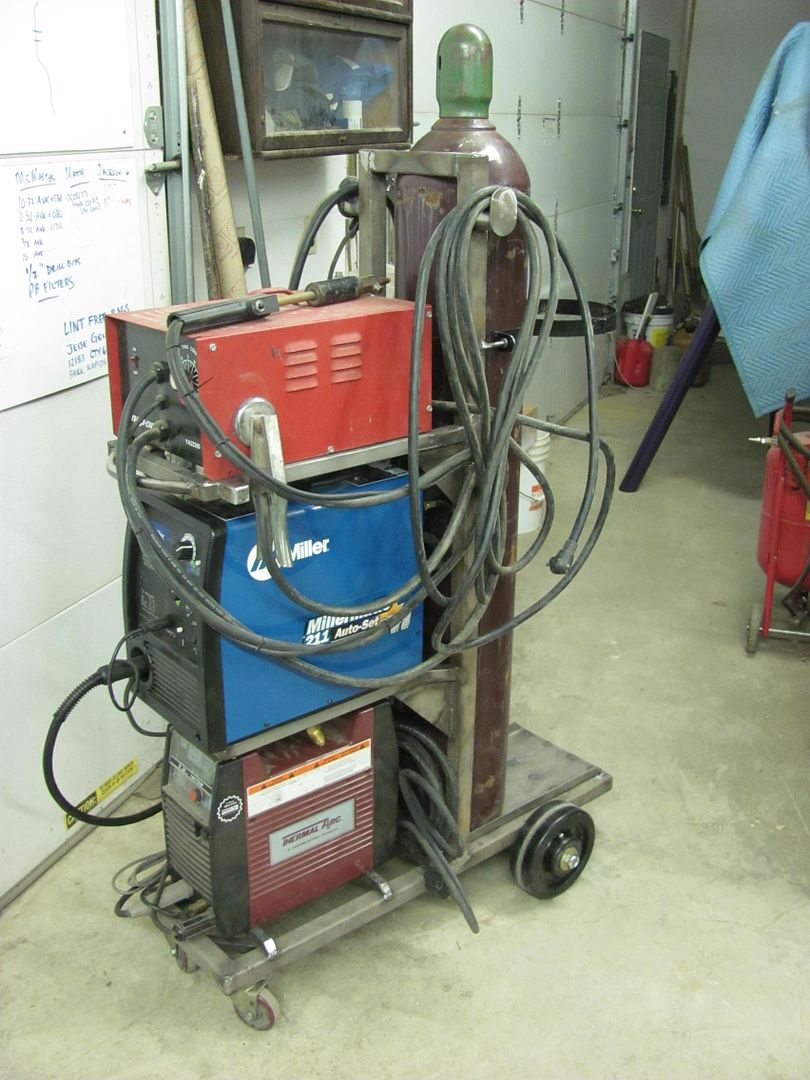
Looks like I have some room left, may have to add one more....Robert
-
11-08-2014 02:55 AM #350
That's a pretty sweet cart. Lots of good ideas in that one.
-
11-08-2014 09:35 AM #351
Fully loaded portable welding tool kit!"  "No matter where you go, there you are!" Steve.
-
11-08-2014 11:34 AM #352
OK, one last welder to add and I promise I'm done...
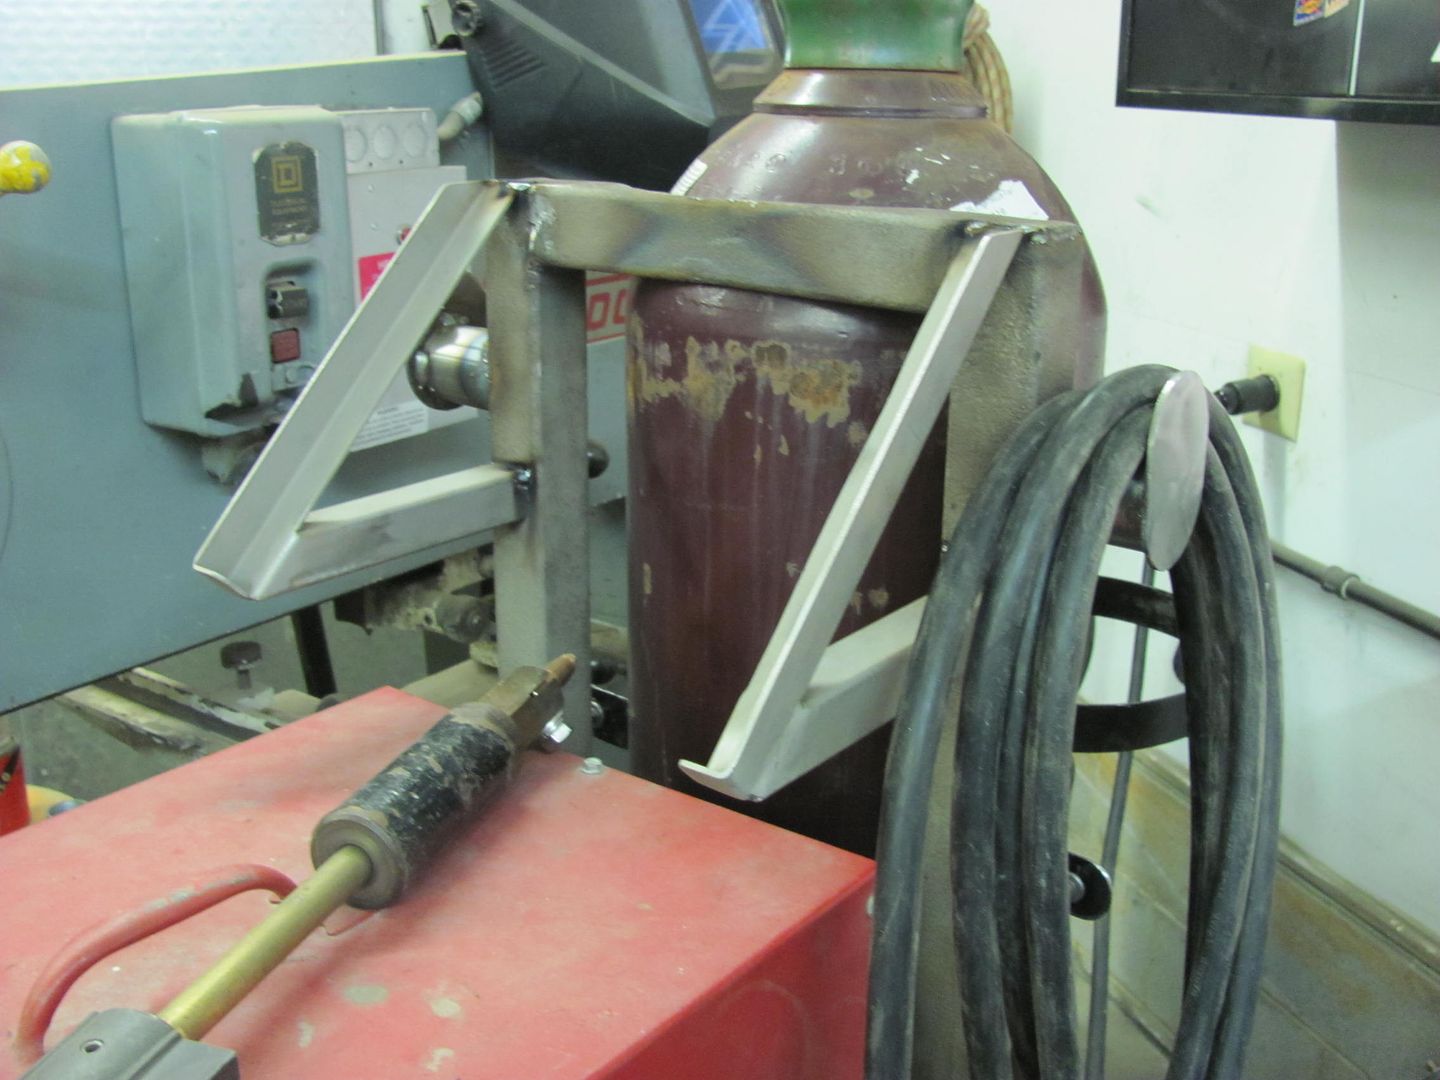
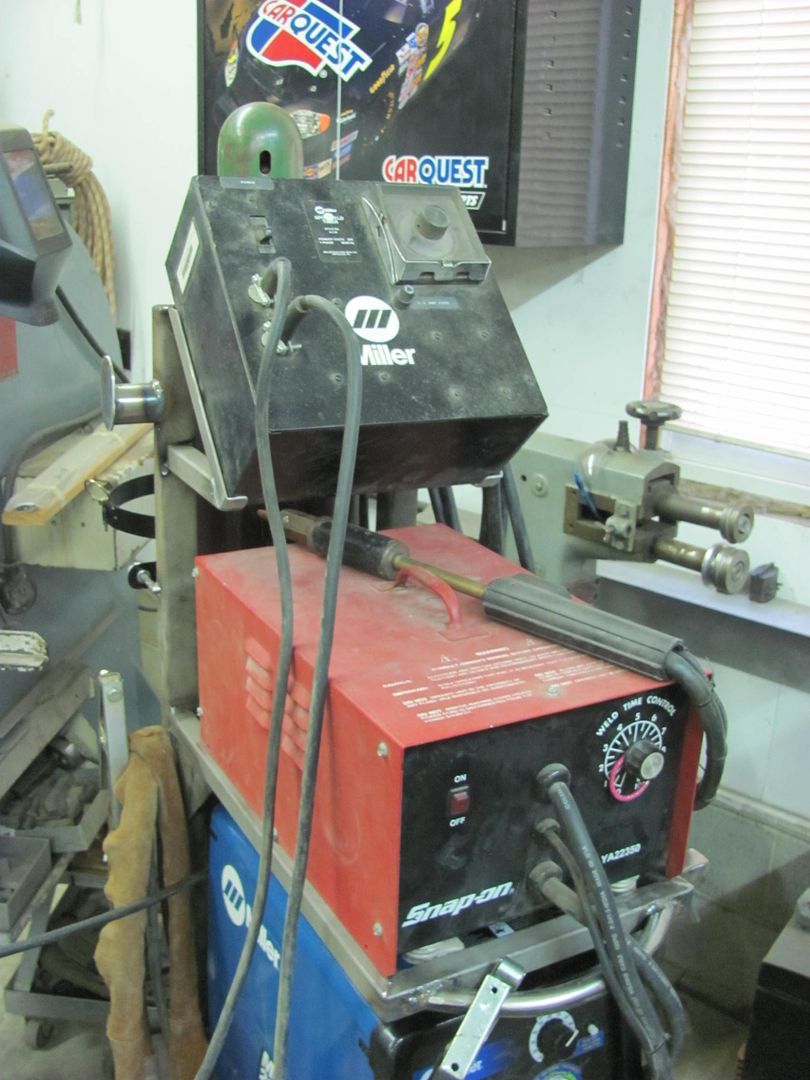
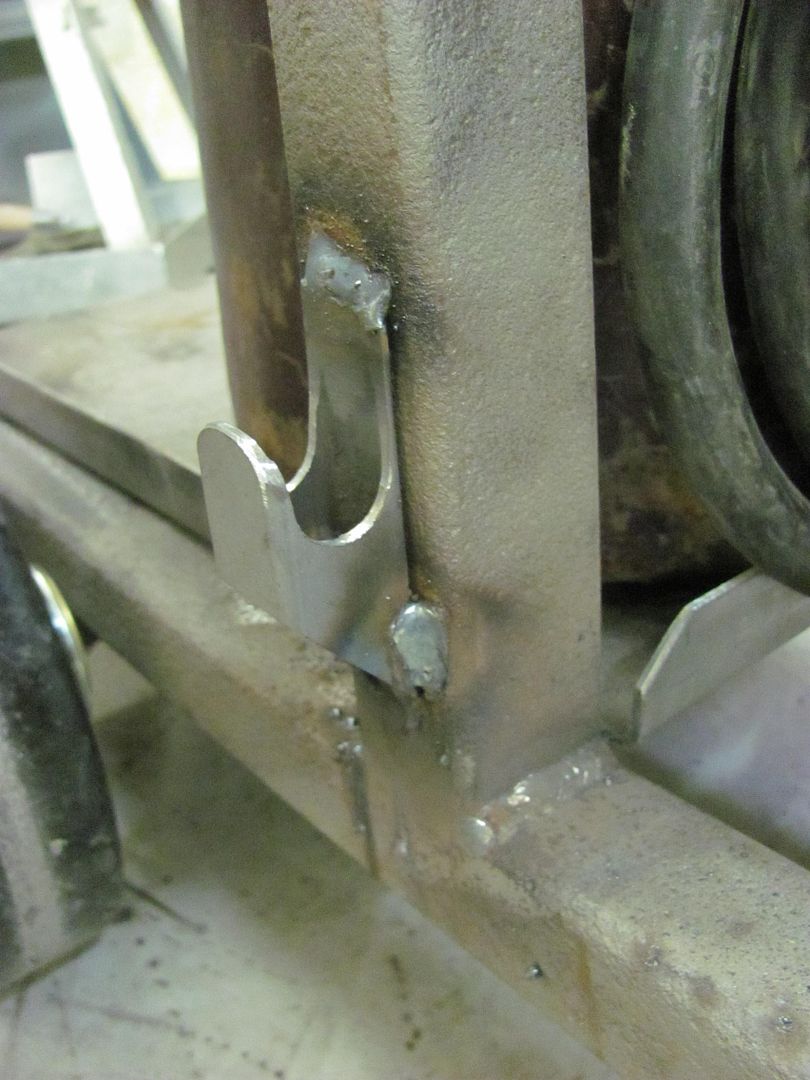
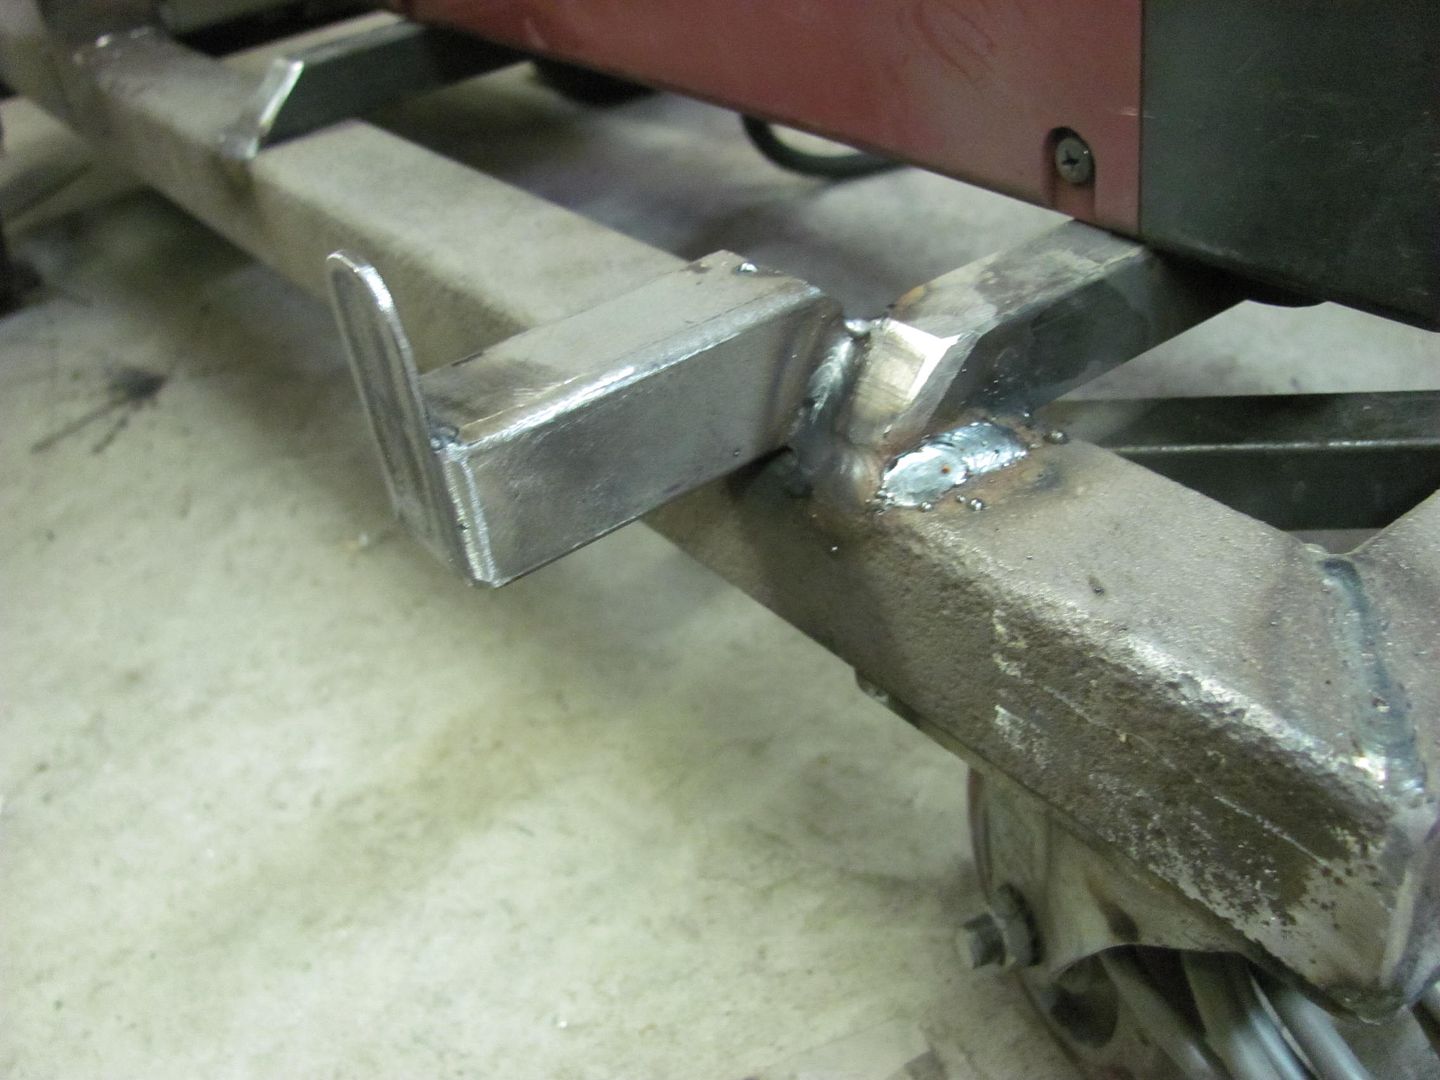
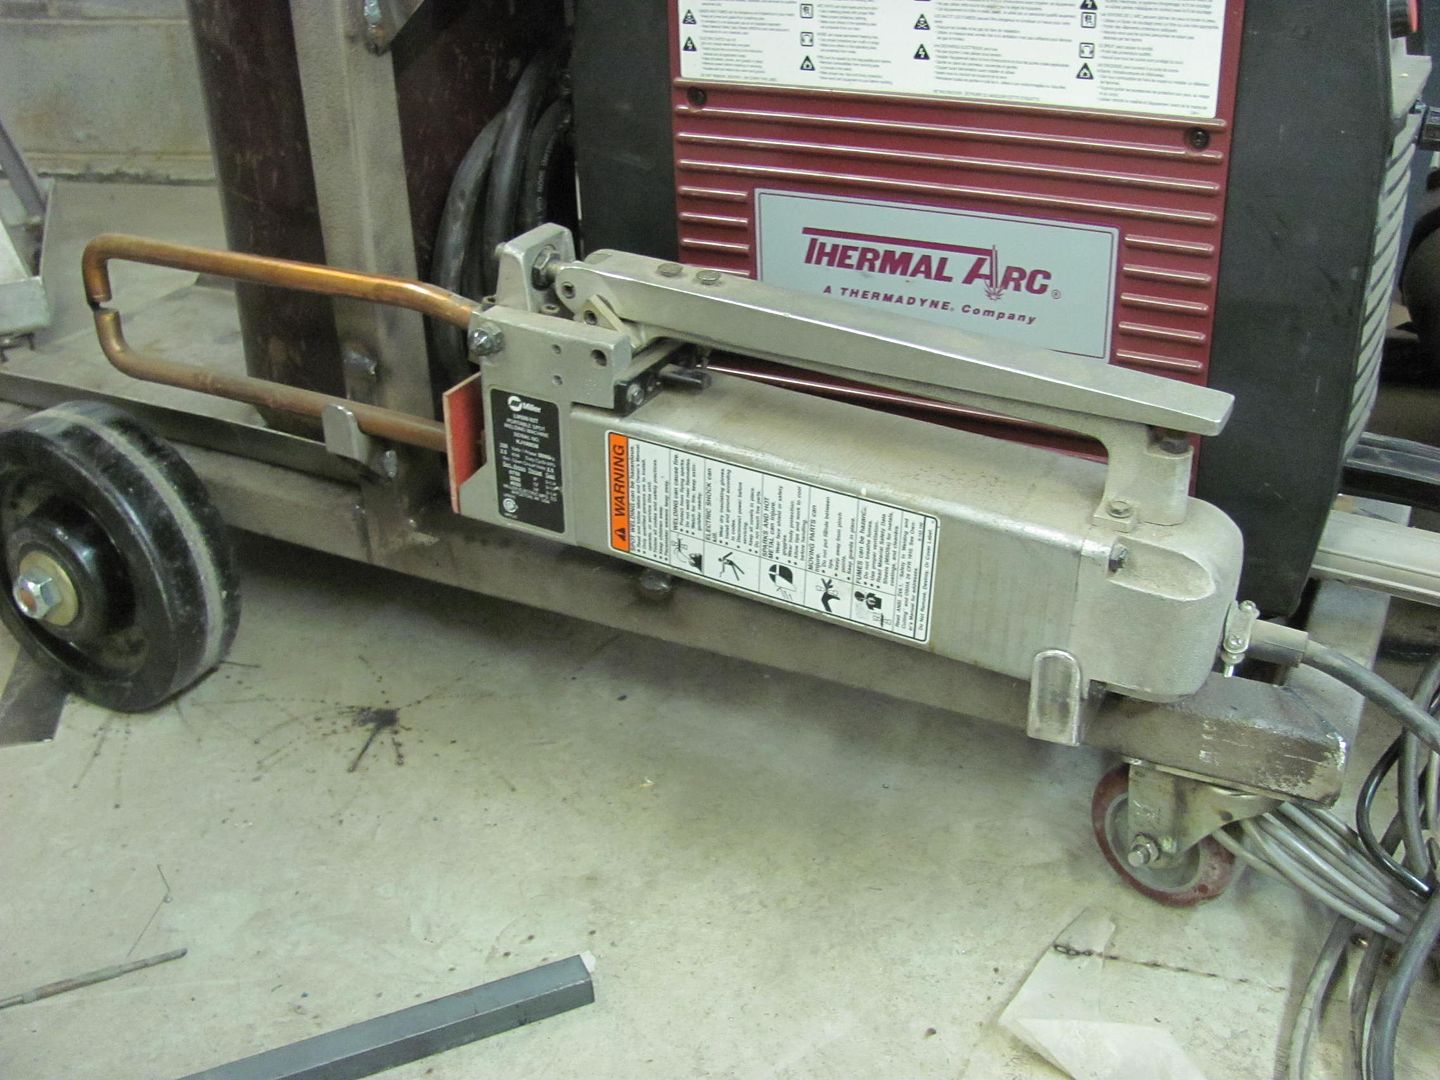
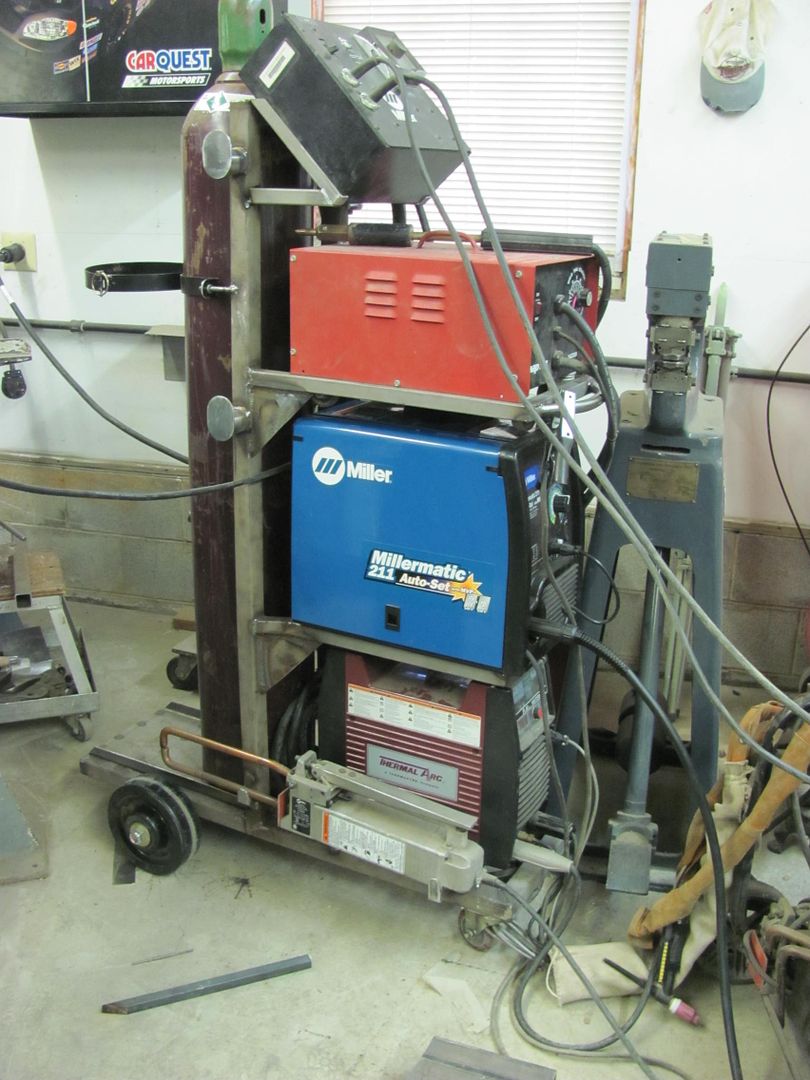
Now to disassemble and paint it...Robert
-
11-09-2014 08:18 AM #353
I now have a new project for when I move to my new shop in Idaho.


Jack.www.clubhotrod.com/forums/showthread.php?t=44081
-
11-12-2014 07:34 PM #354
Jack, sorry to be a bad influence!
Kyle worked this evening to repair the remaining damaged threaded holes in the inner fenders. A couple of the ones for the core support were stripped, so he changed those out to 5/16-18 rivet nuts.
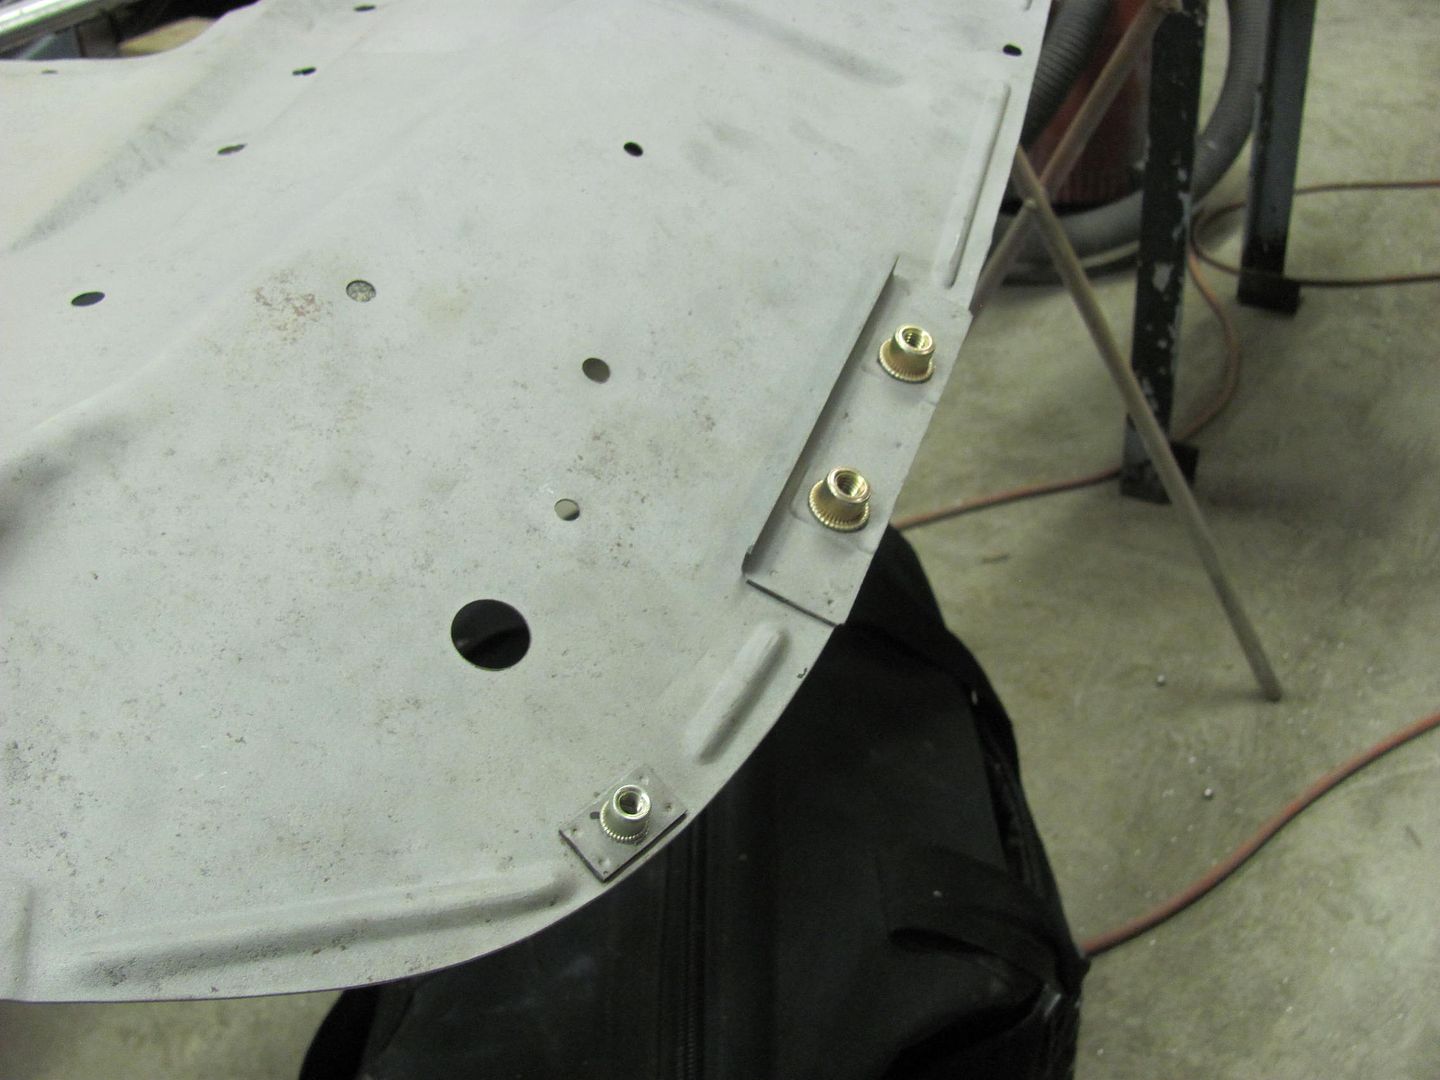
For the welded on clip nuts for the sheet metal style fasteners, we had drilled them out and installed 1/4-20 rivet nuts to be able to use machine screws instead. A couple of them popped off while drilling, and these were welded back on with the Miller spot welder to keep a good backing support for the rivet nut..
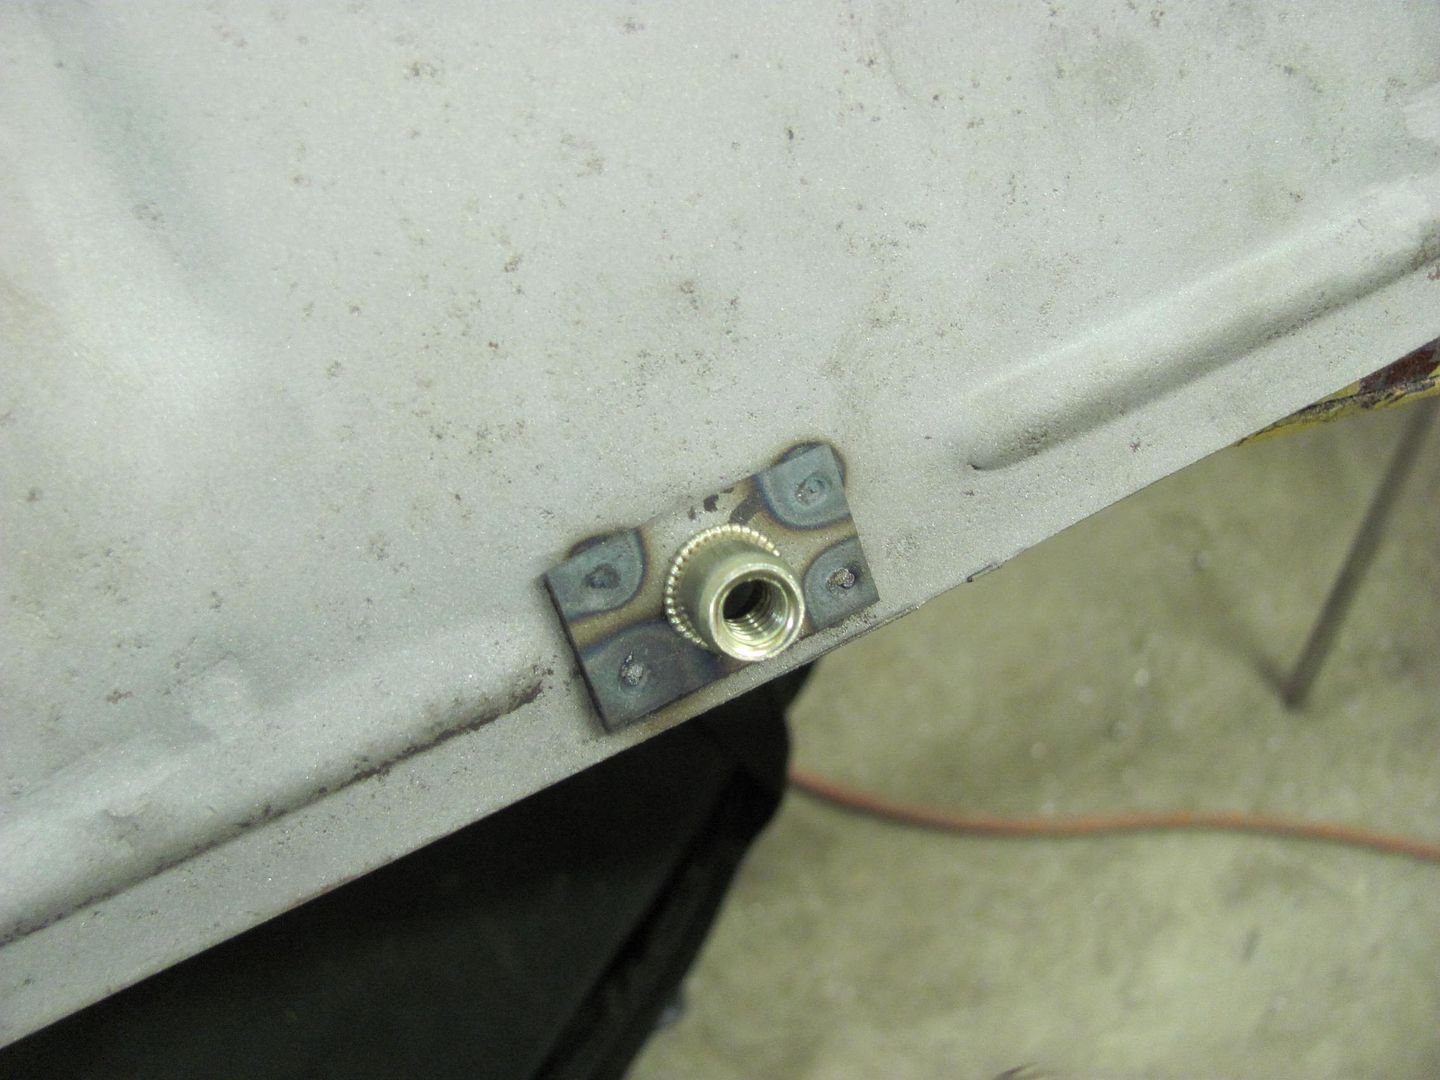
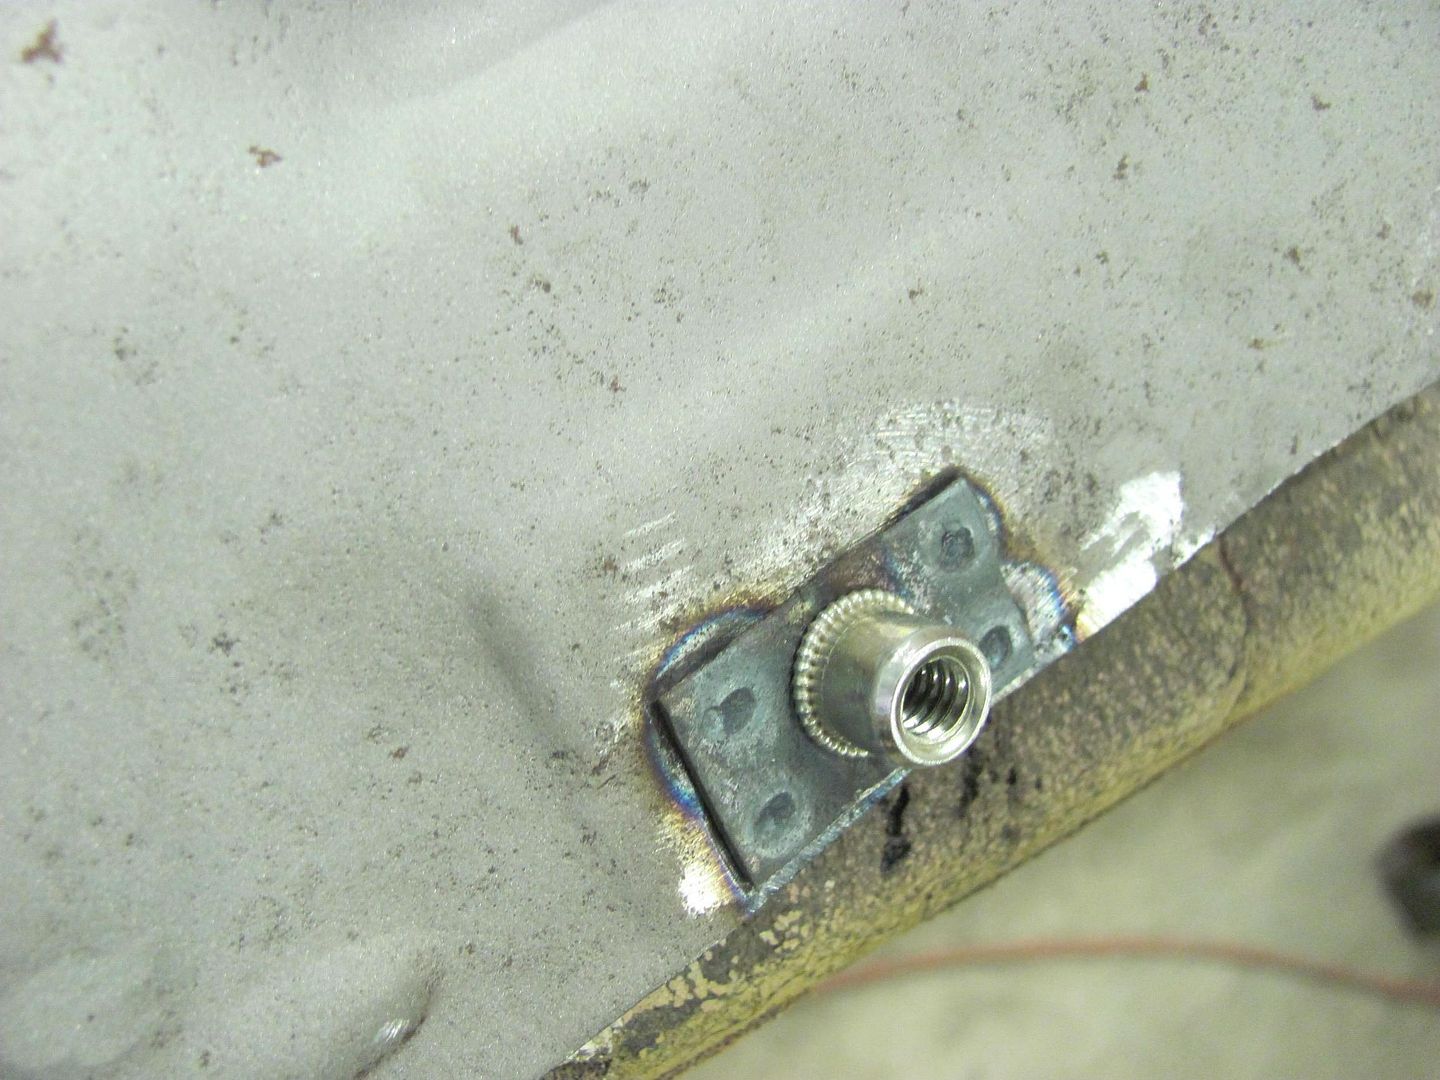
While he was working on that, I got busy adding some color to the welding cart. It was a toss up between some bright red (HD color) which was acrylic lacquer, or a bright yellow (H/K Lemon Yellow basecoat). As I didn't have any lacquer thinner in stock for the red, yellow it is...followed by clearcoat
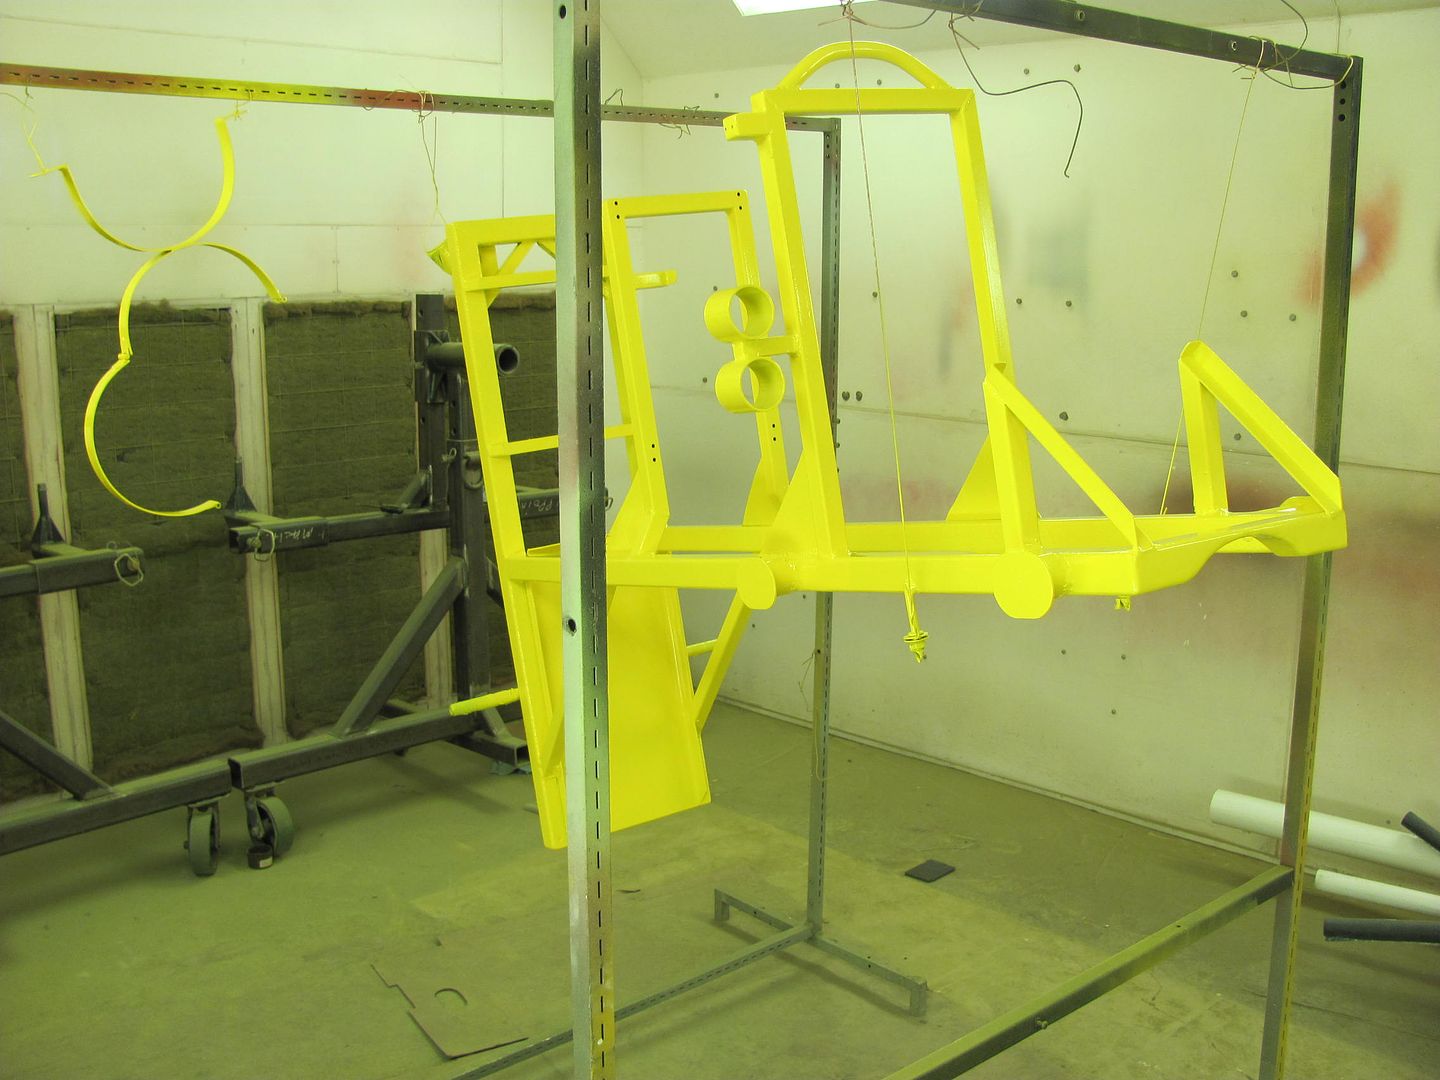
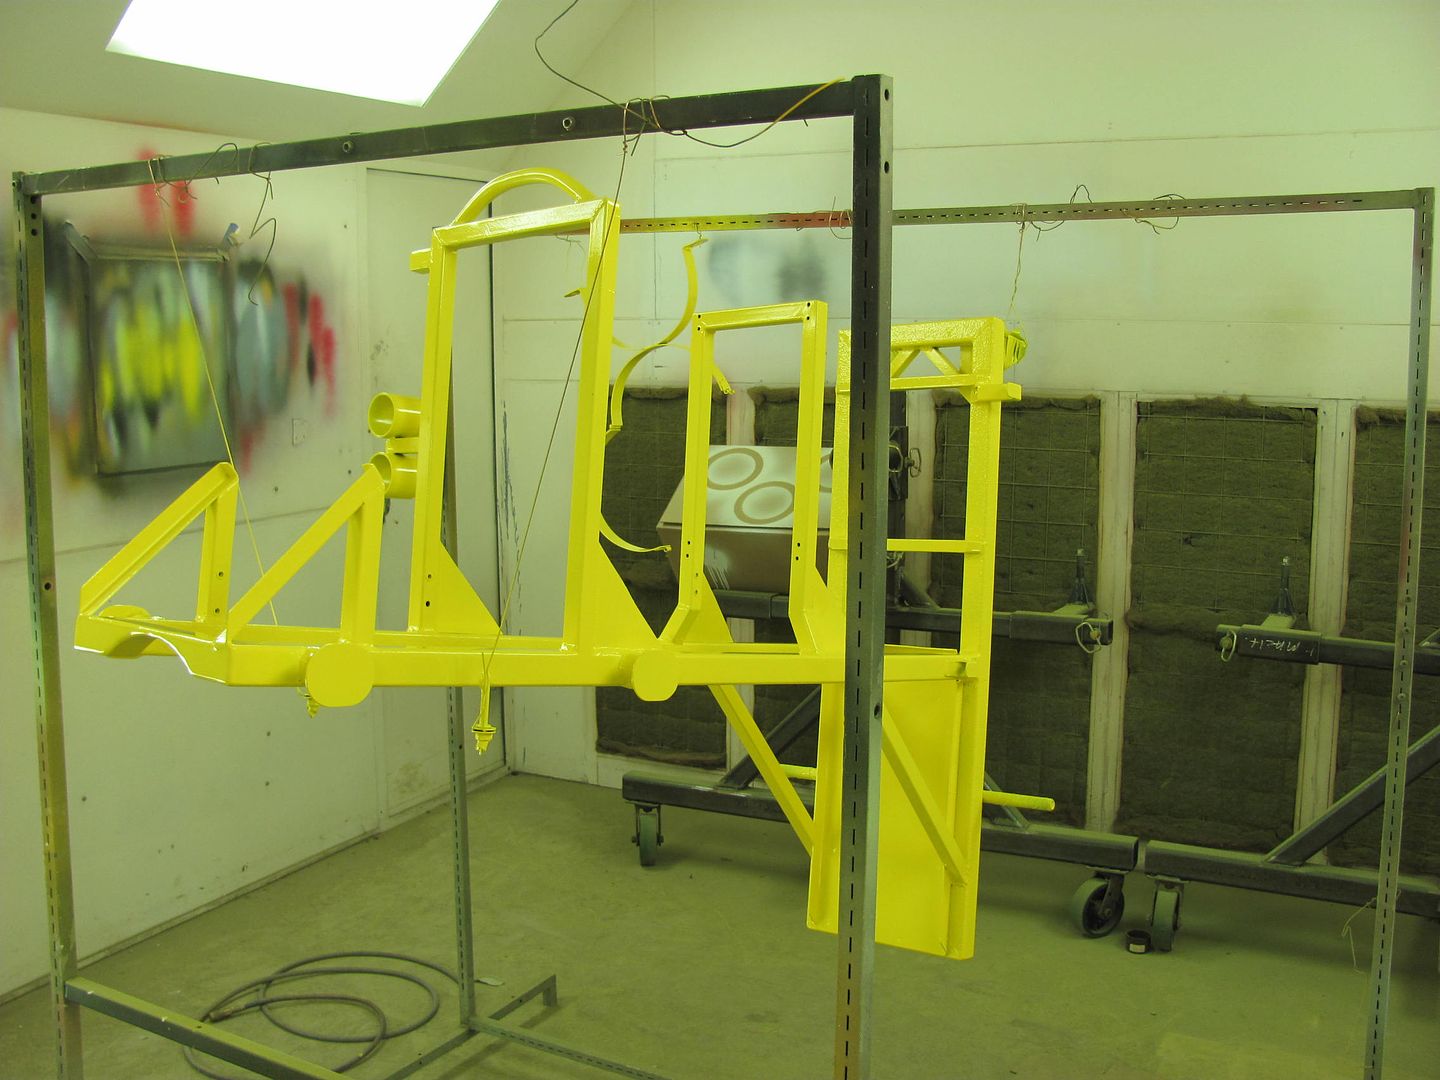
Along with the purple E-wheel, this should help to brighten up the shop!Robert
-
11-16-2014 06:03 PM #355
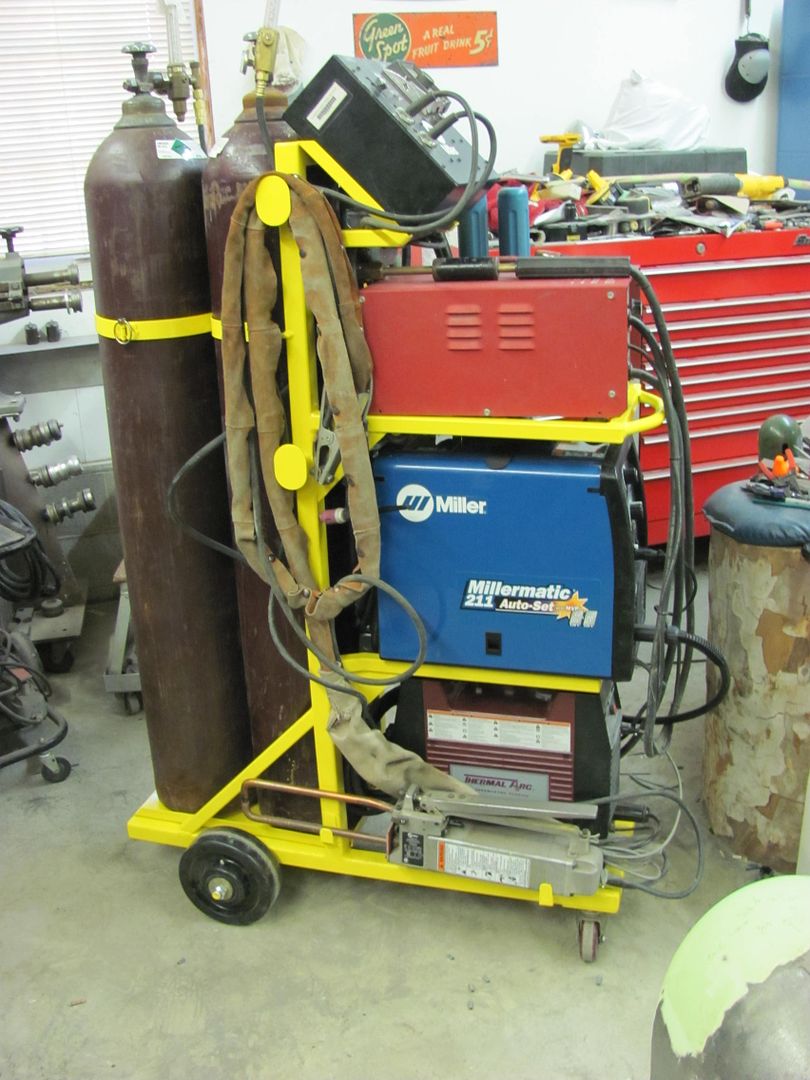
Okay, got the welding cart together yesterday. Here's the total conglomeration...
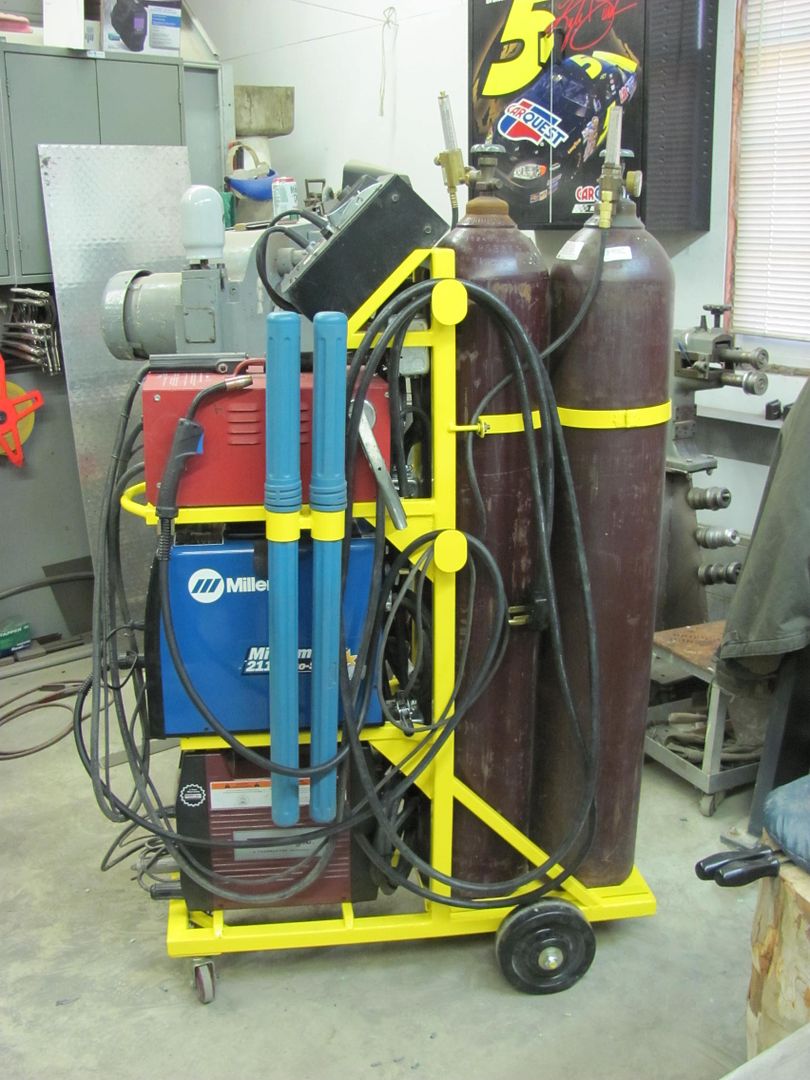
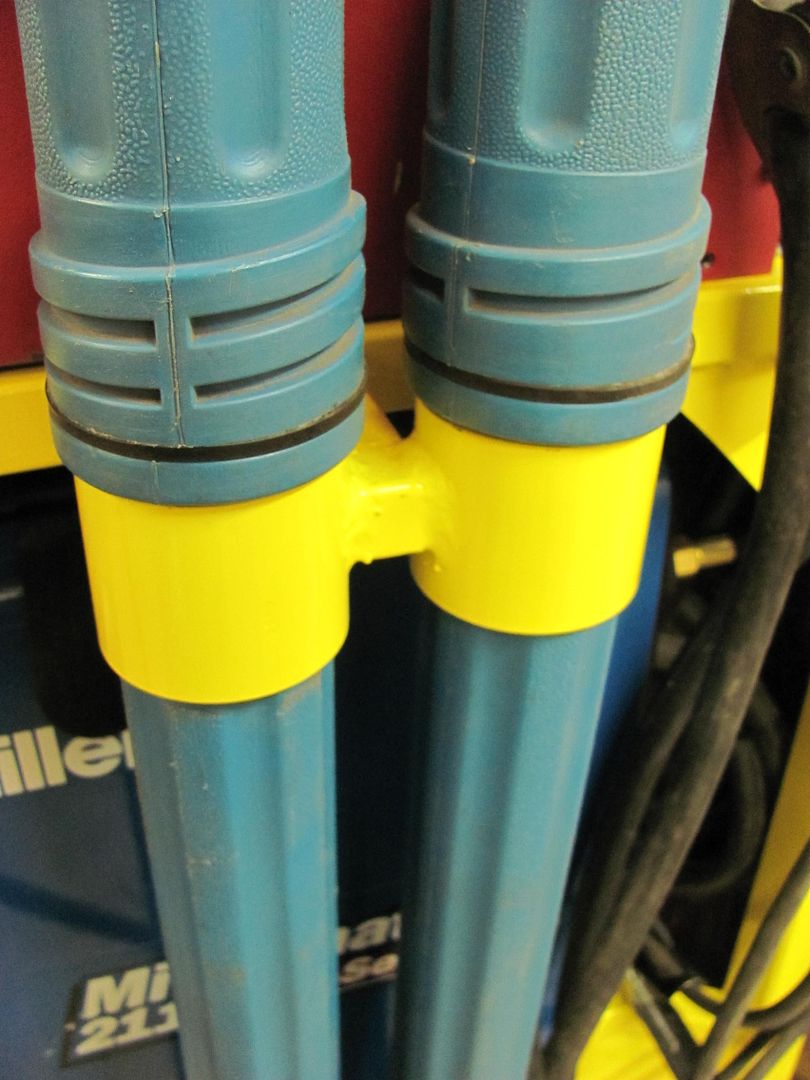
Welded rings to hold the Tig rod tubes......
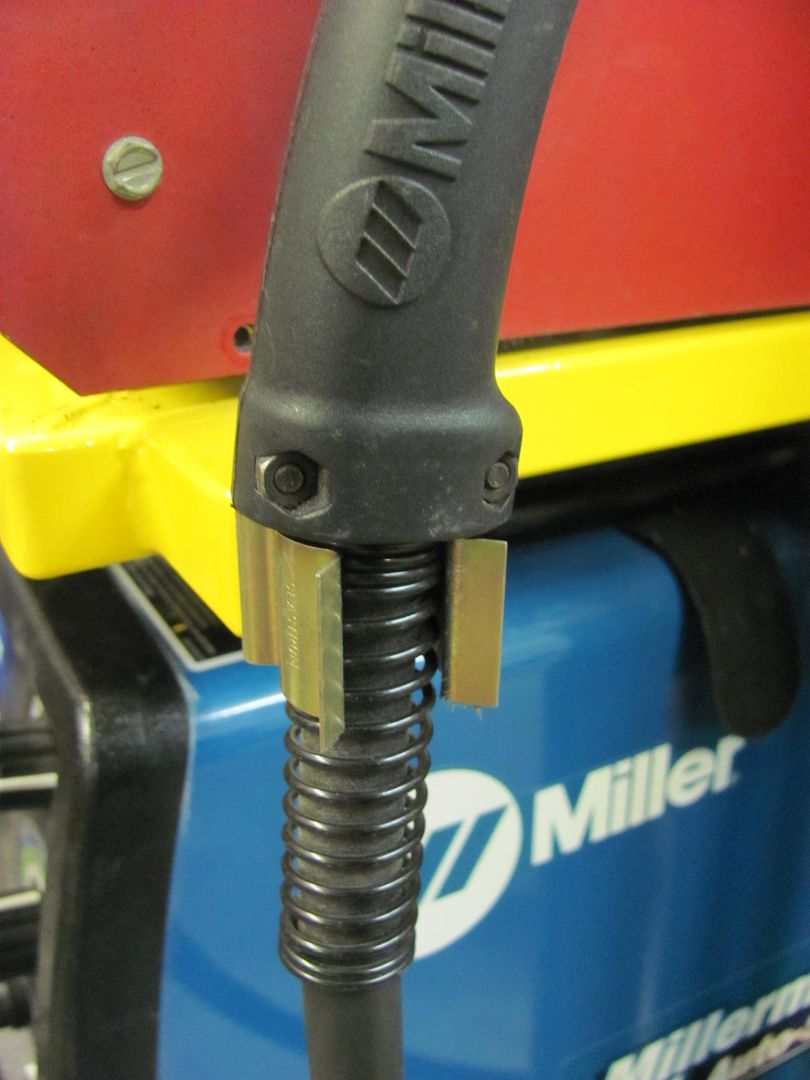
Retaining clip so the Mig torch doesn't have to lay on the floor...
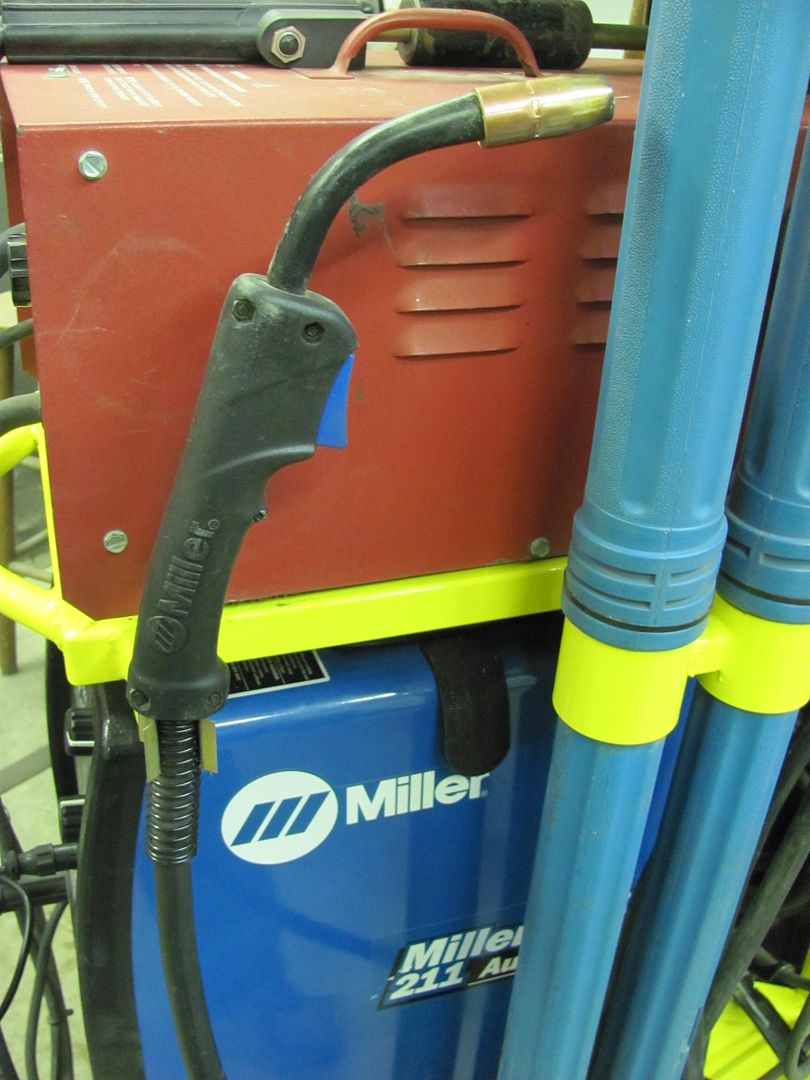
As you can see, not much for wasted space. Here's the outlet box for the Mig....
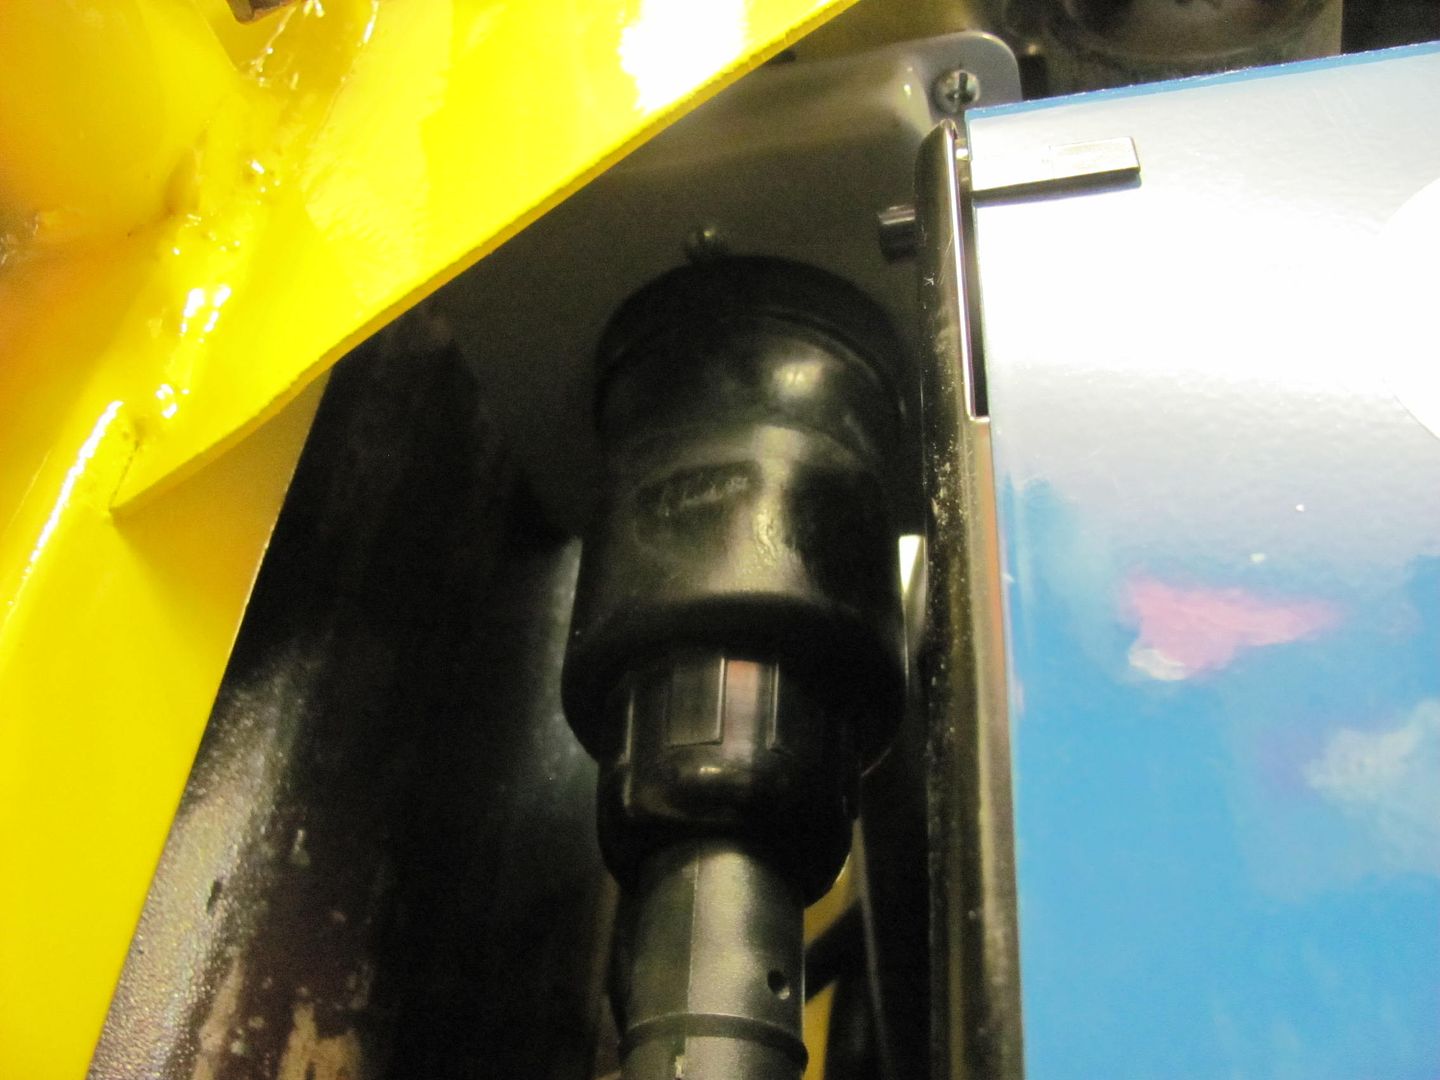
and Tig.....
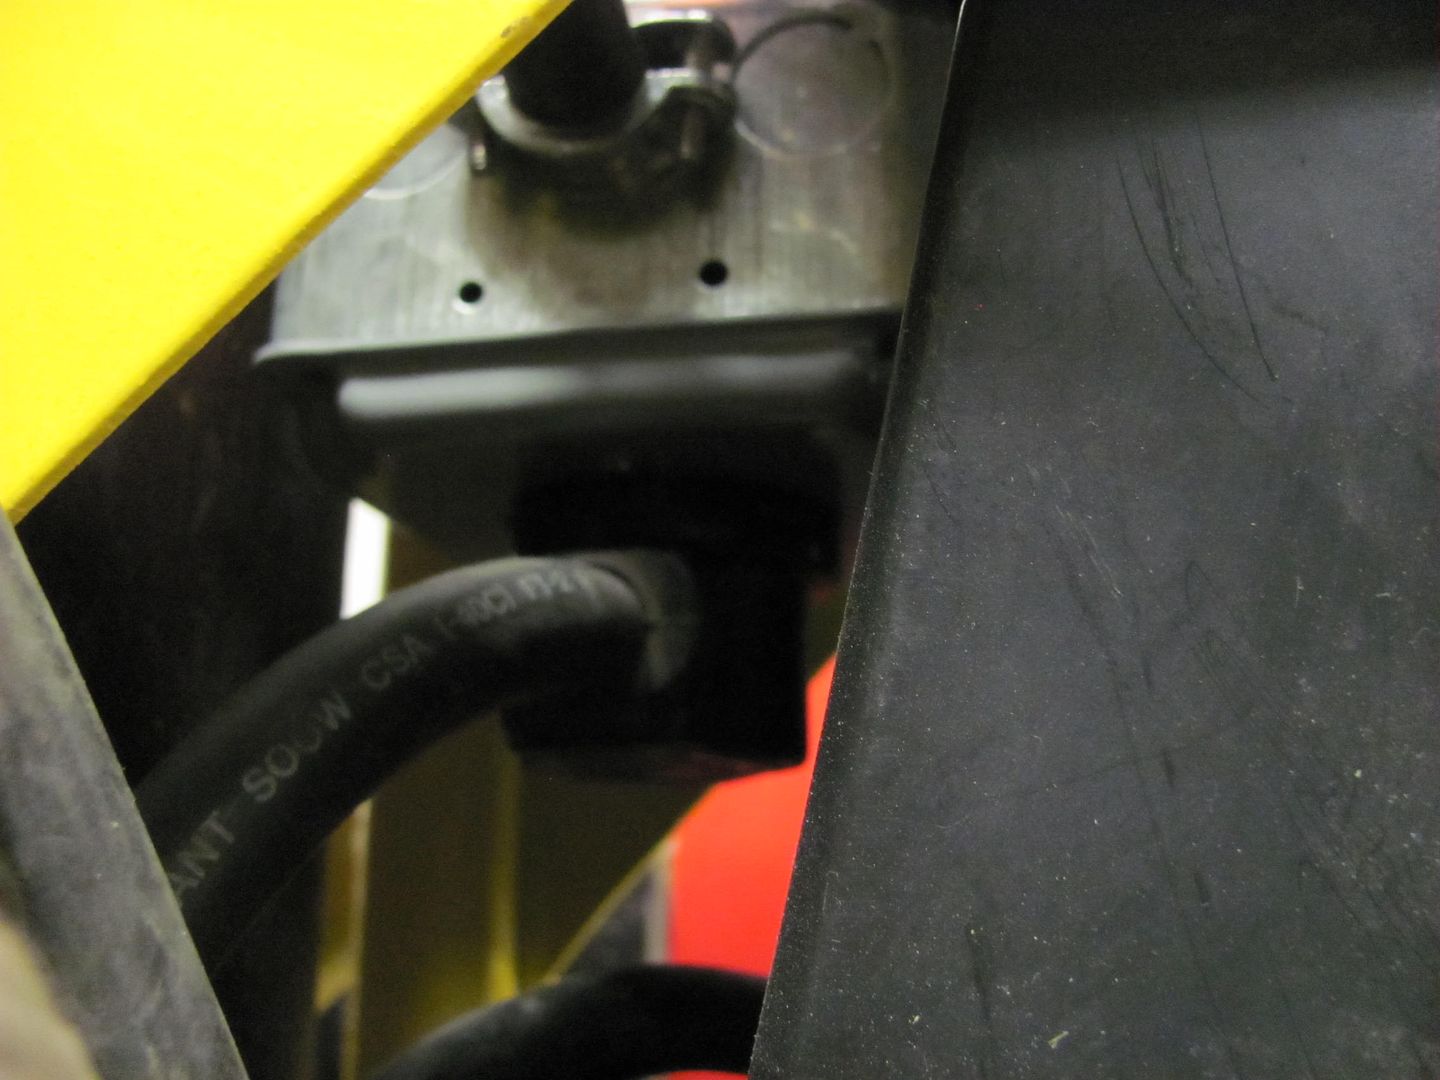
Bottle bracket.....
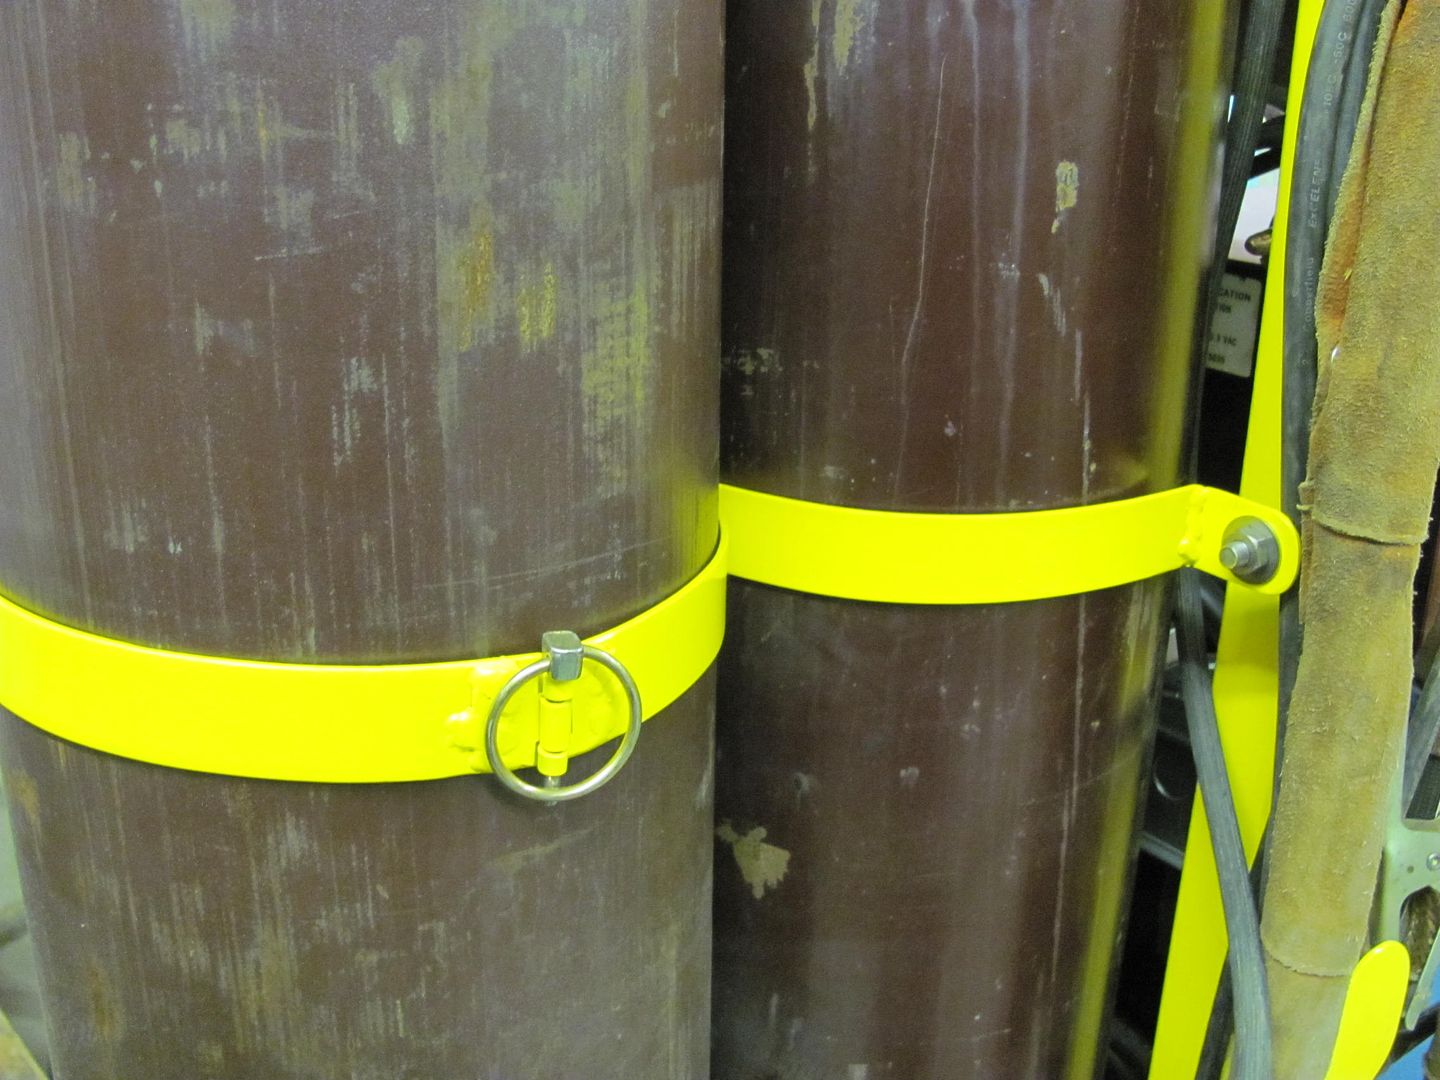
I did give it a good shove to see how top heavy it was, and with the two bottles directly over the rear wheels it's very stable. Don't think I'll need worry about any accidental turnovers...
While I was assembling the welding cart, Kyle tried his hand at the rocker panel roller on the driver's side. It had a poor match to the fender, just as the passenger side did.
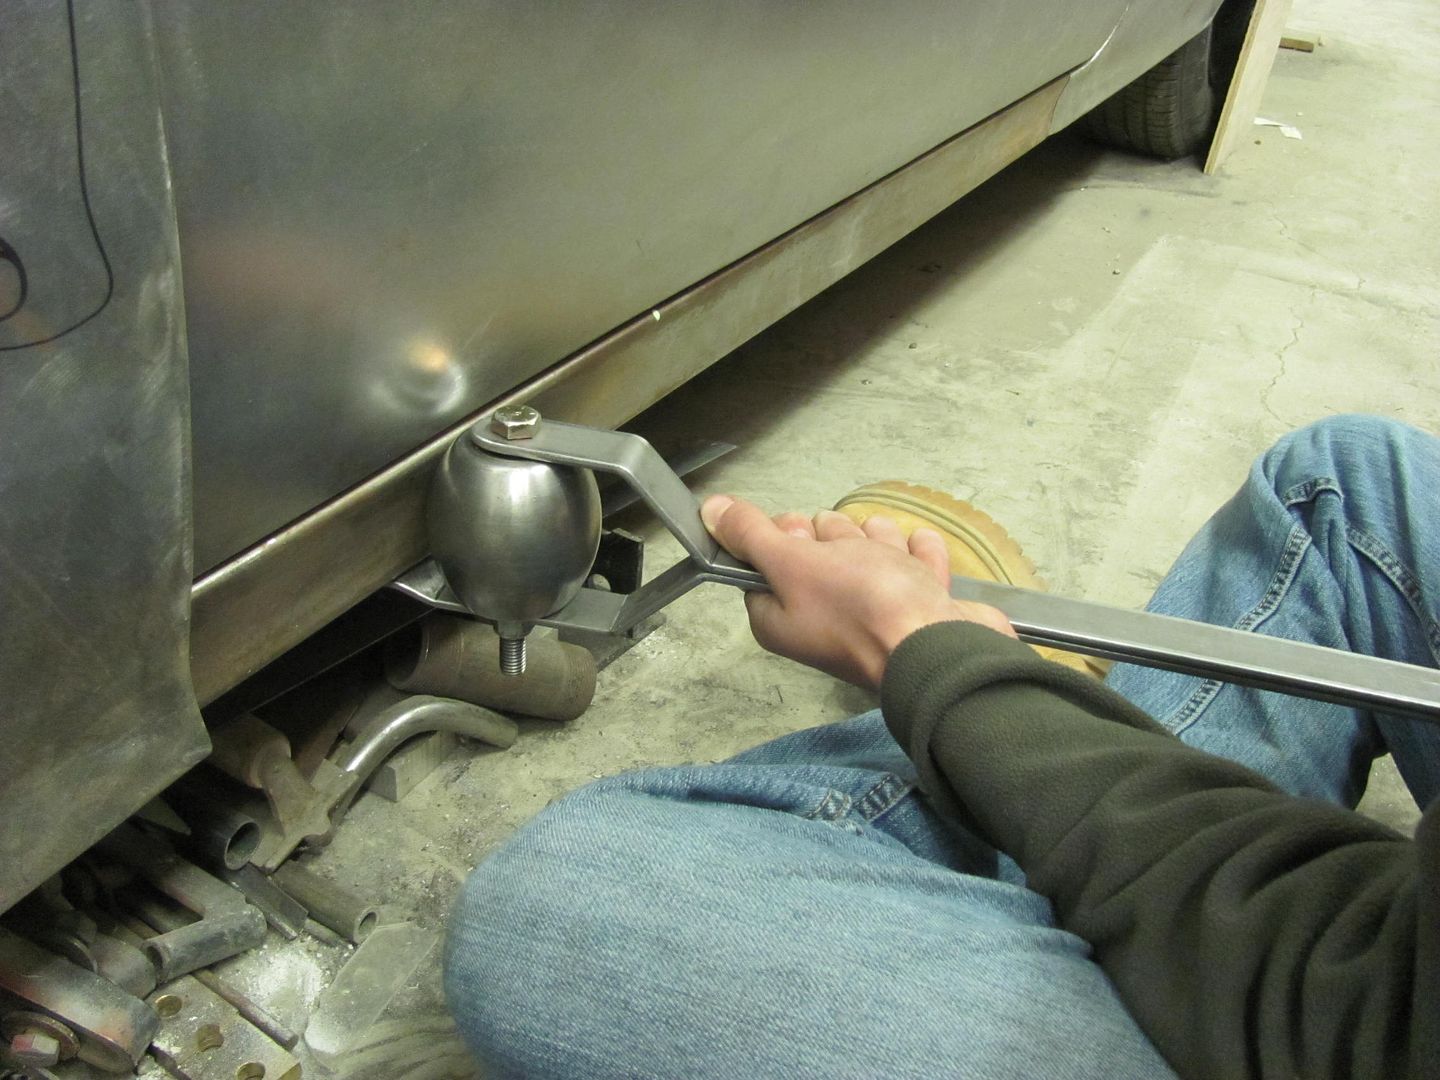
This made a noticeable improvement, and the front edge was tweaked using the door skin hammer..
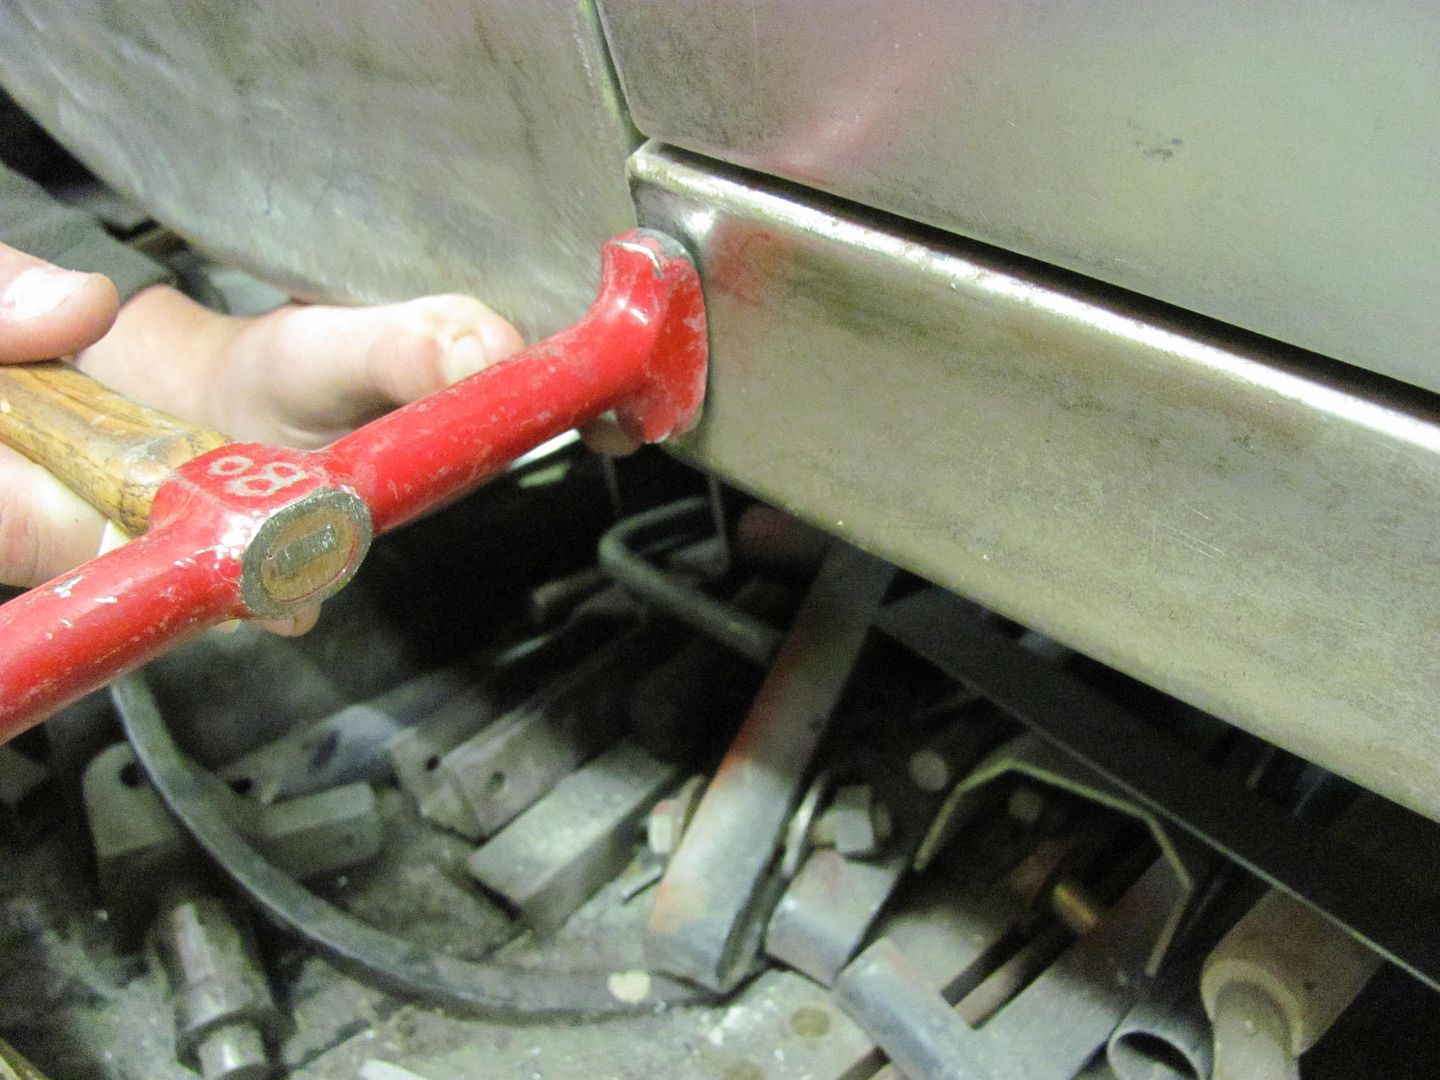
With a more consistent contour across the gap, we can start getting the front end ready for some epoxy..
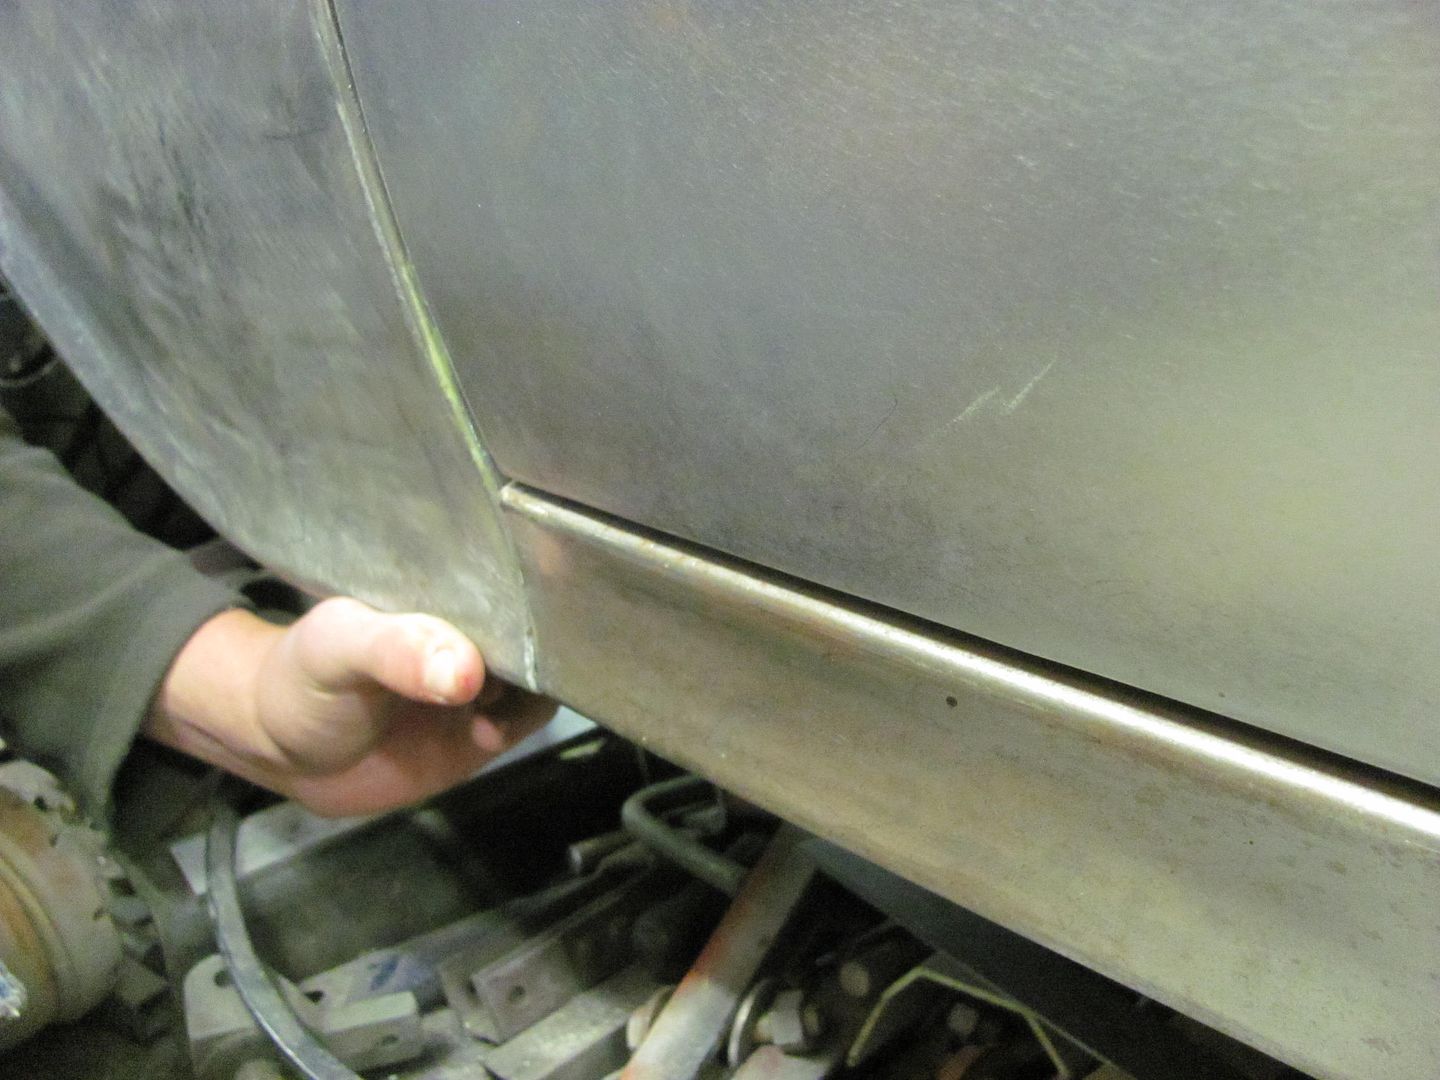
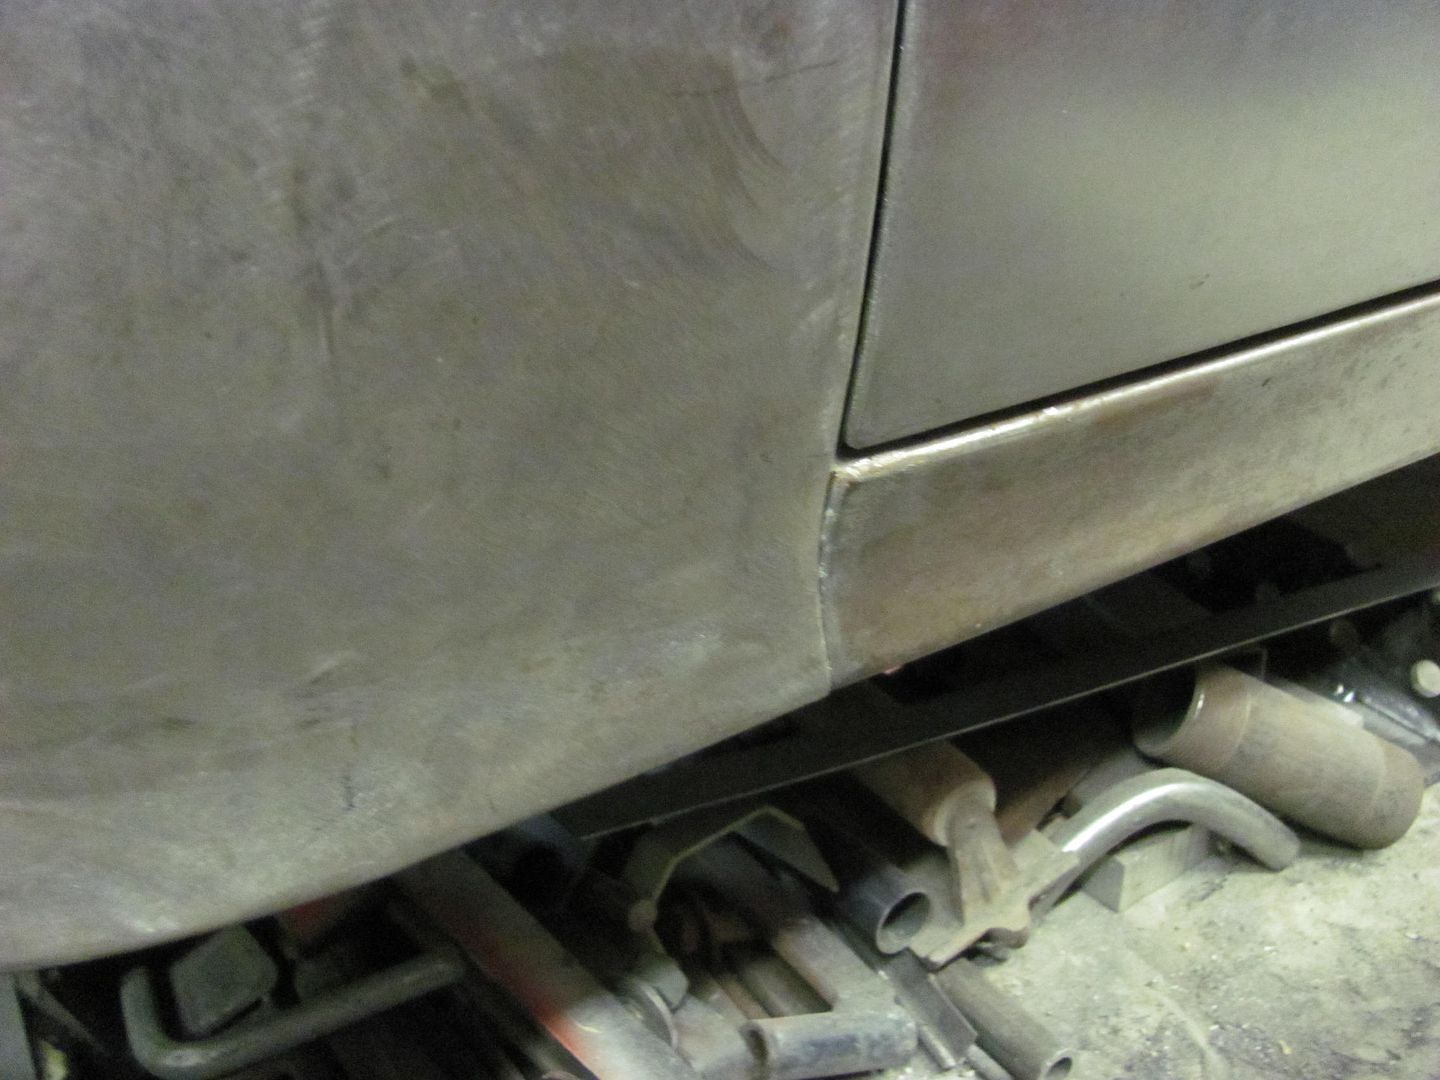
Robert
-
11-16-2014 06:12 PM #356
WOW!!!!!!!!!!!!!!!!!!!!!!!!!!!!!!!!!!!!!!!!!!!! Fantastic job on the cart!


"  "No matter where you go, there you are!" Steve.
-
11-22-2014 09:21 PM #357
Thanks
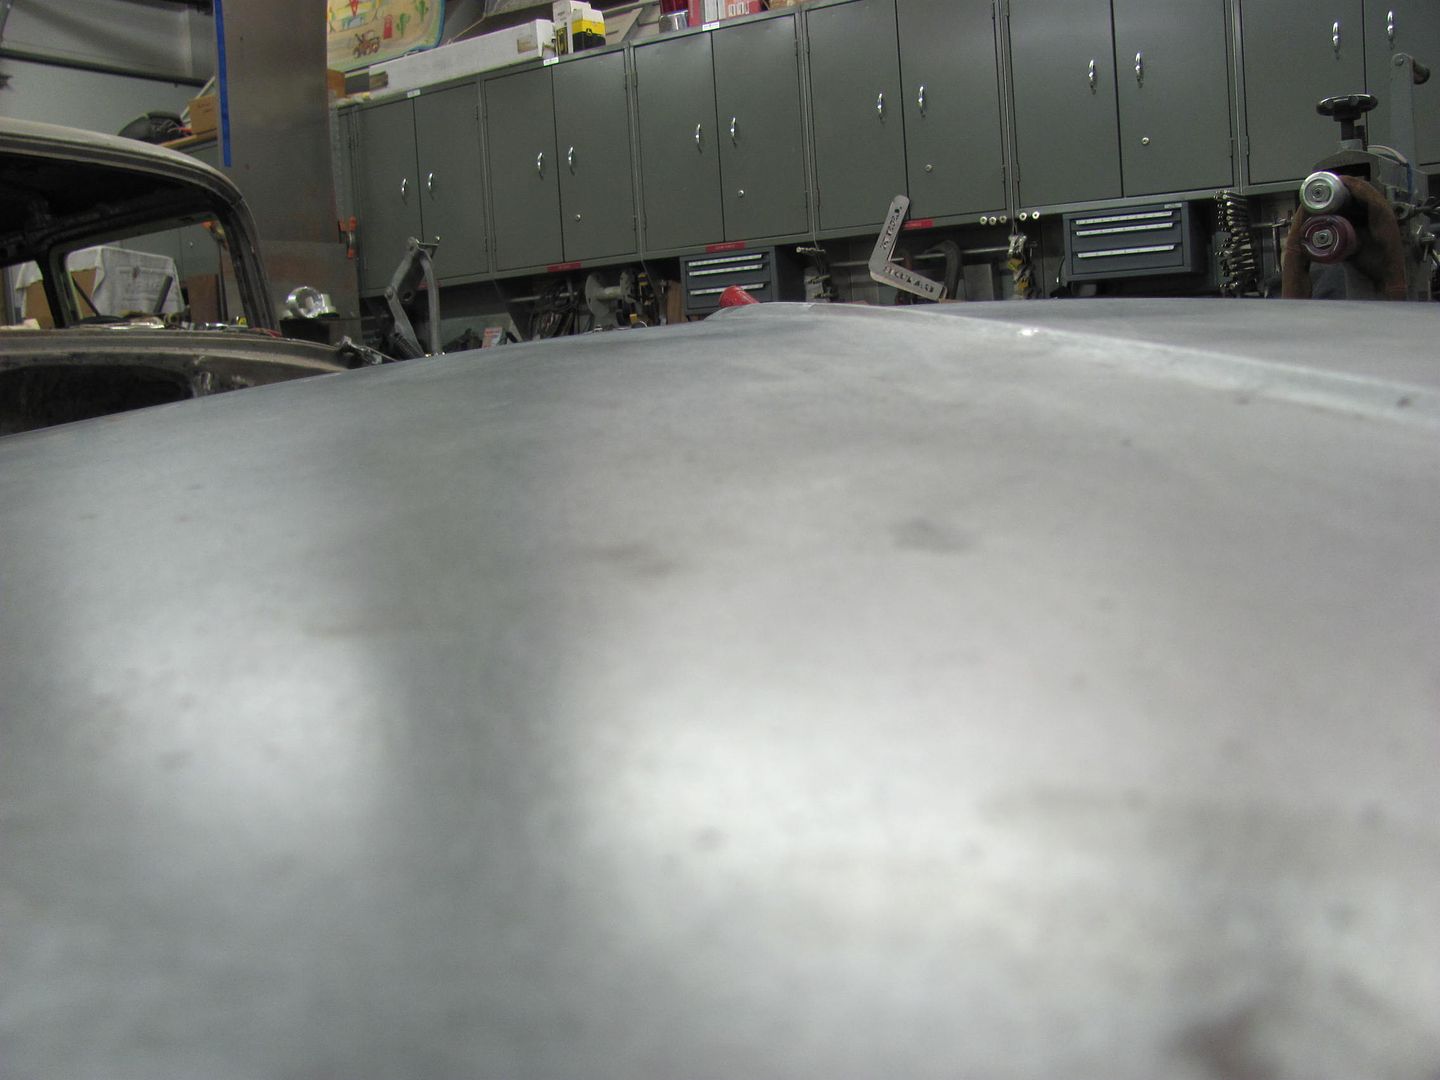
Well today was a slight back up and punt. Part of the hood peaking work in "fixing" the low spots......
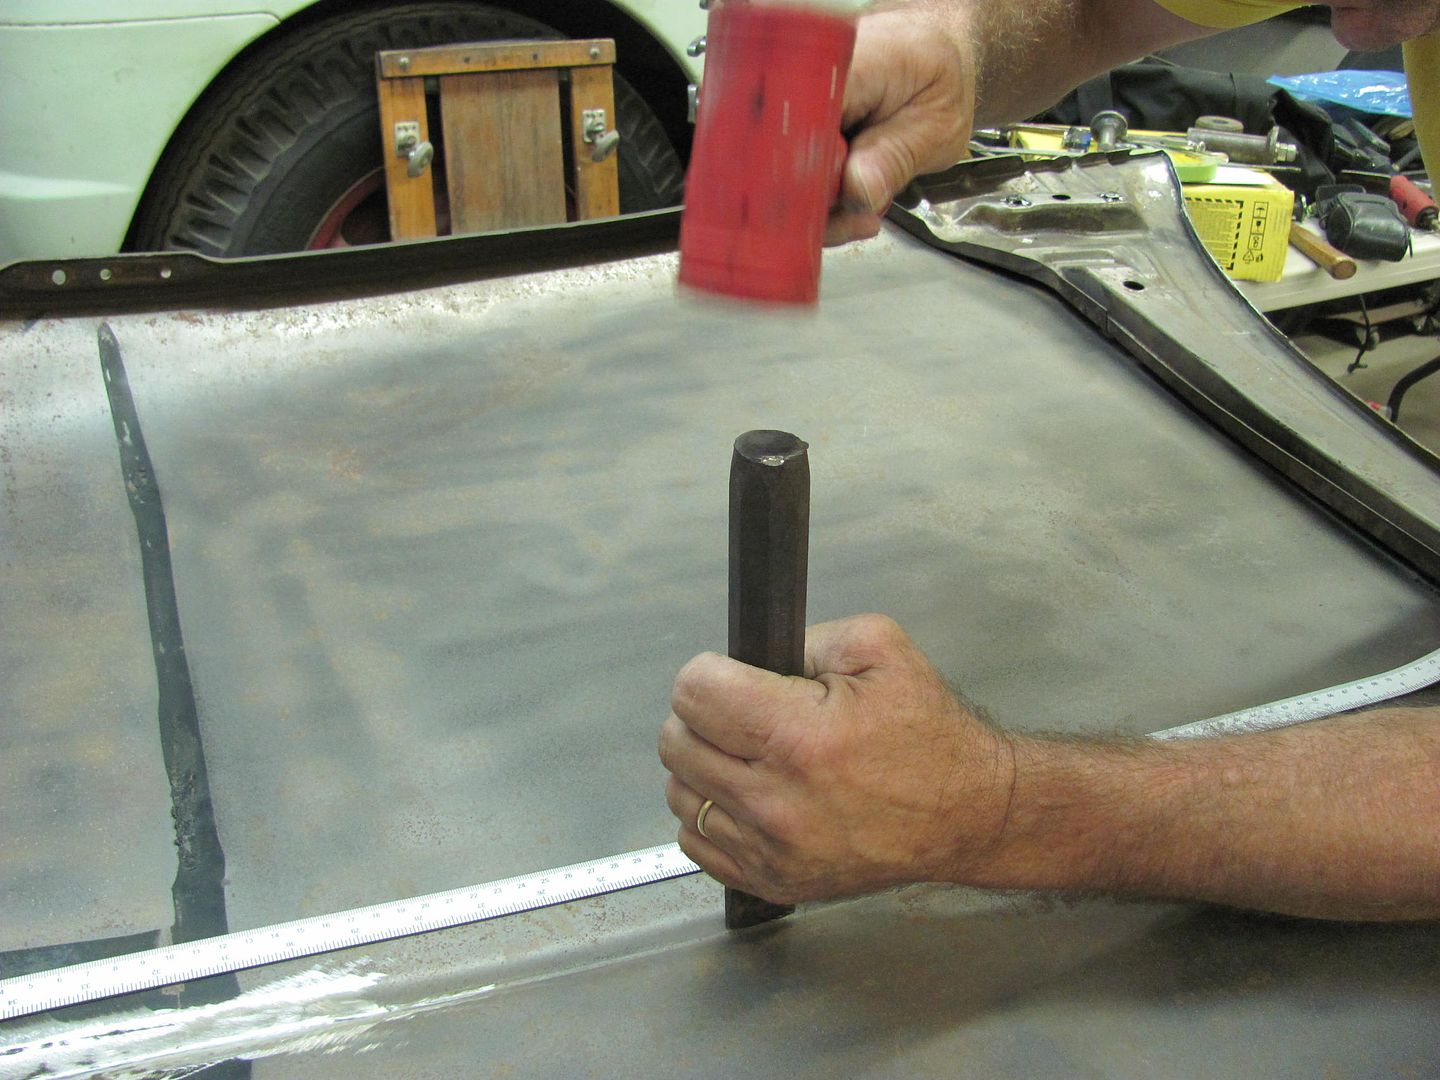
....resulted in a slight tear in the sheet metal.... It was about 1/2" long and opened about 1/32. I thought this would be a good place to use the Tig, but it didn't work out that way.. Remainder of the tear can be seen at arrow..
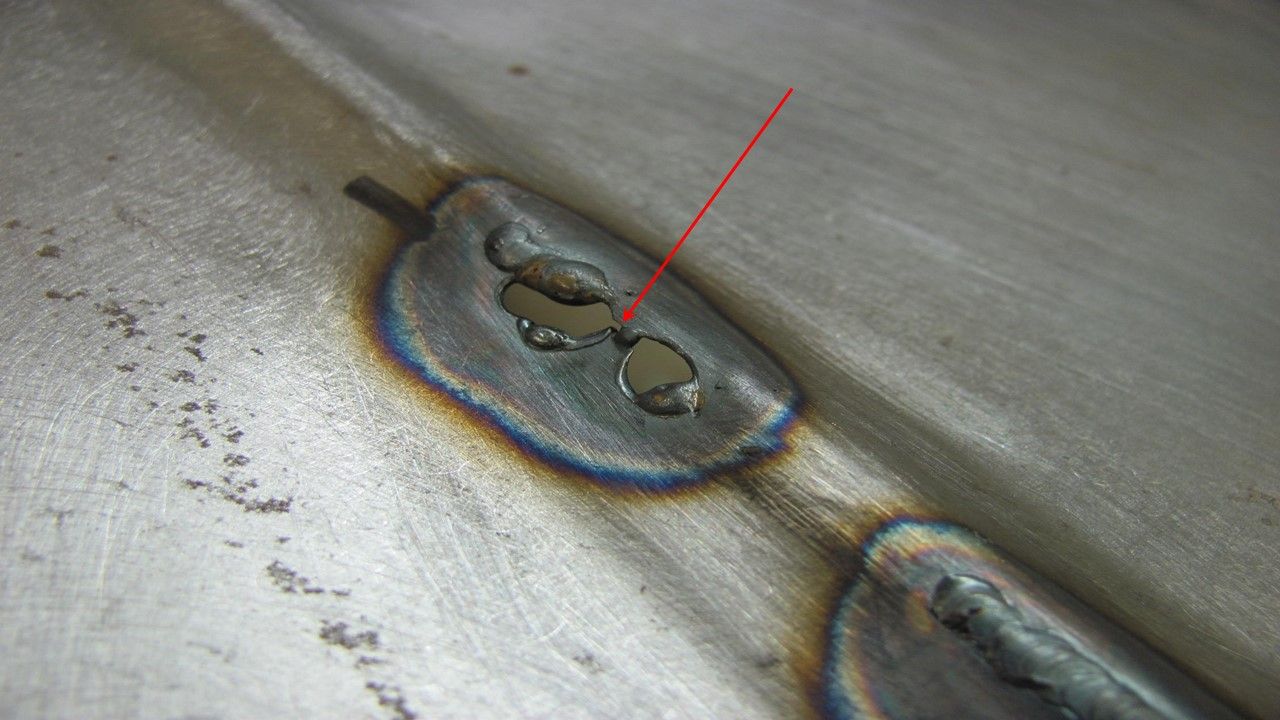
This helps to show that the Tig process prefers tight fitting panel joints.. Well, time to fix the gaping hole..
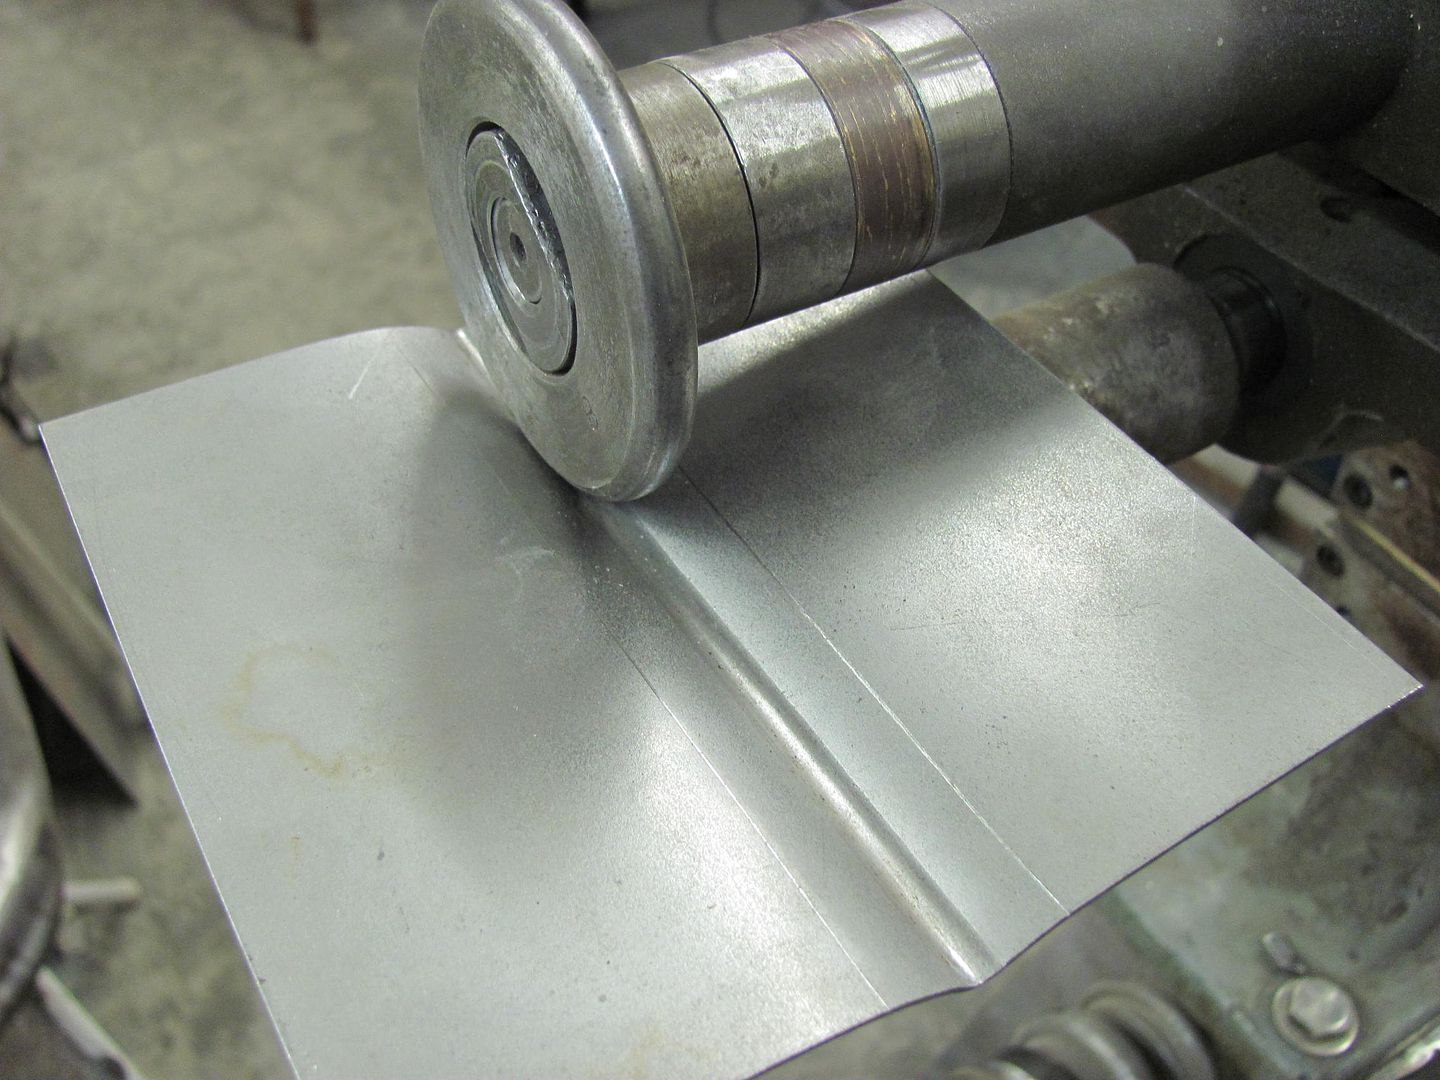
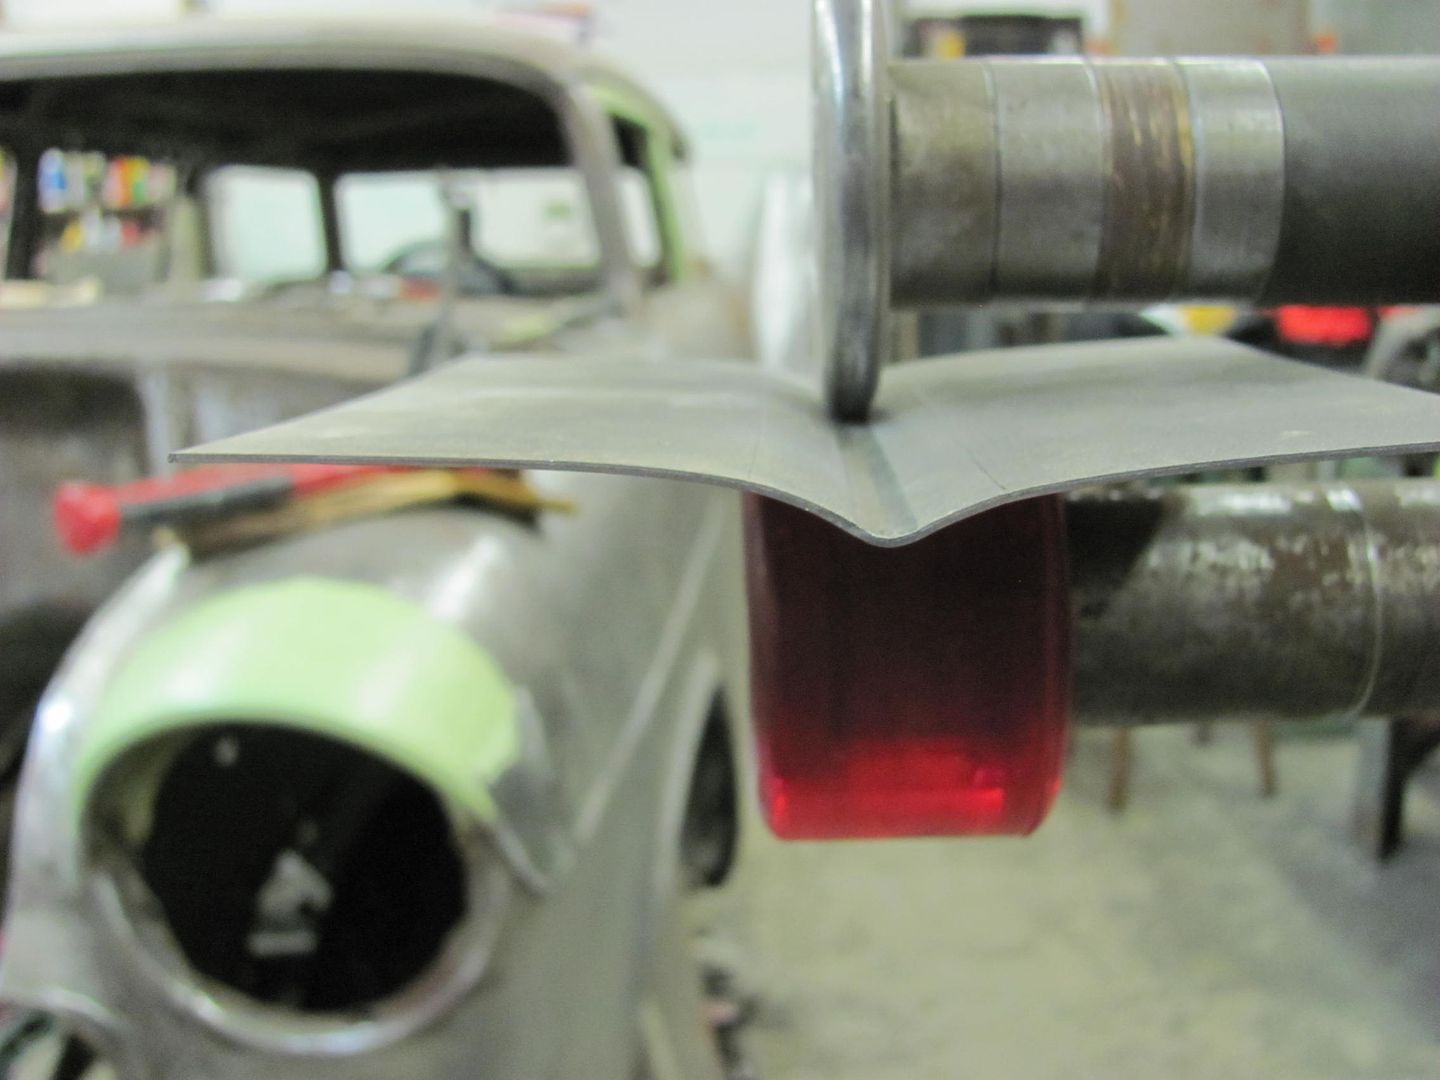
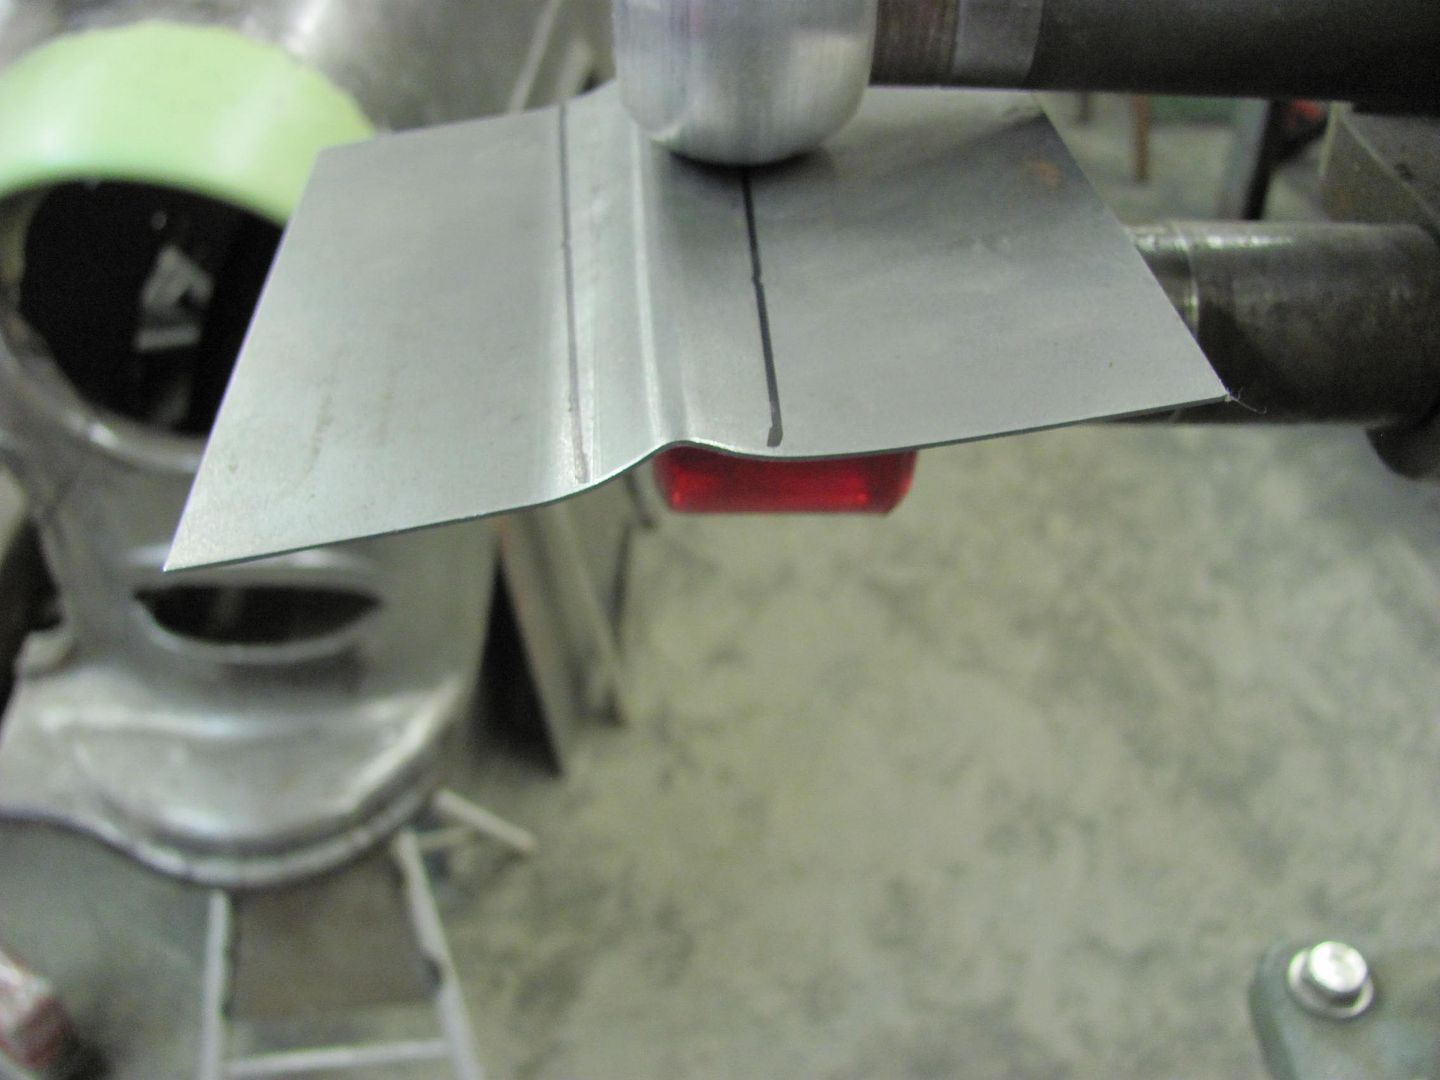
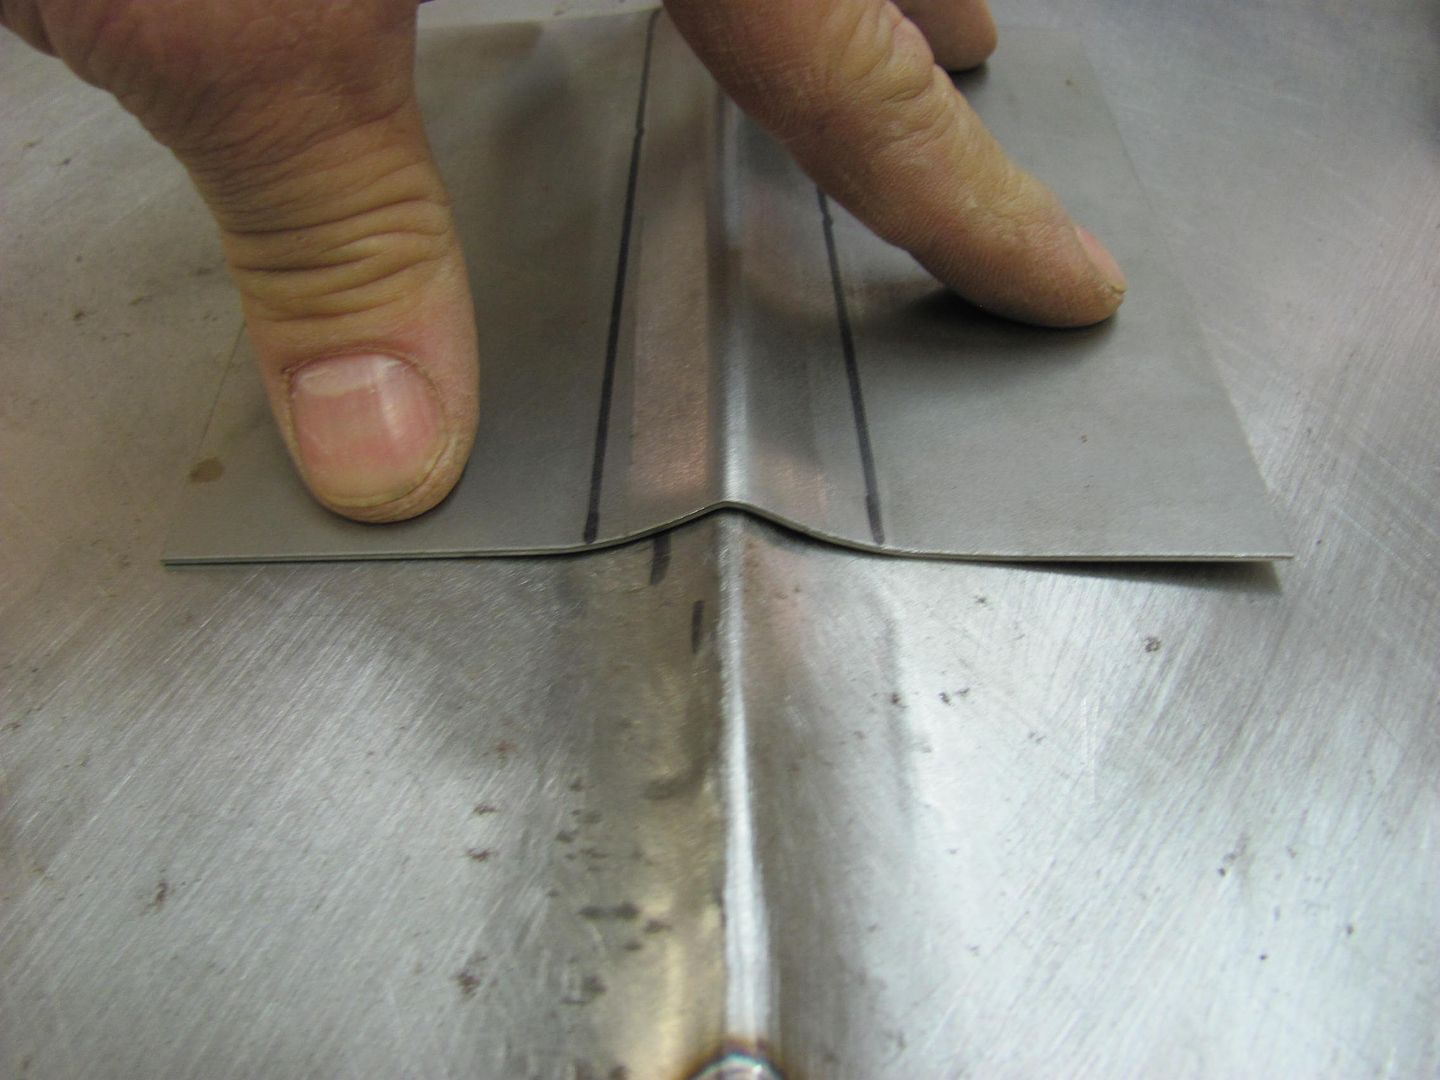
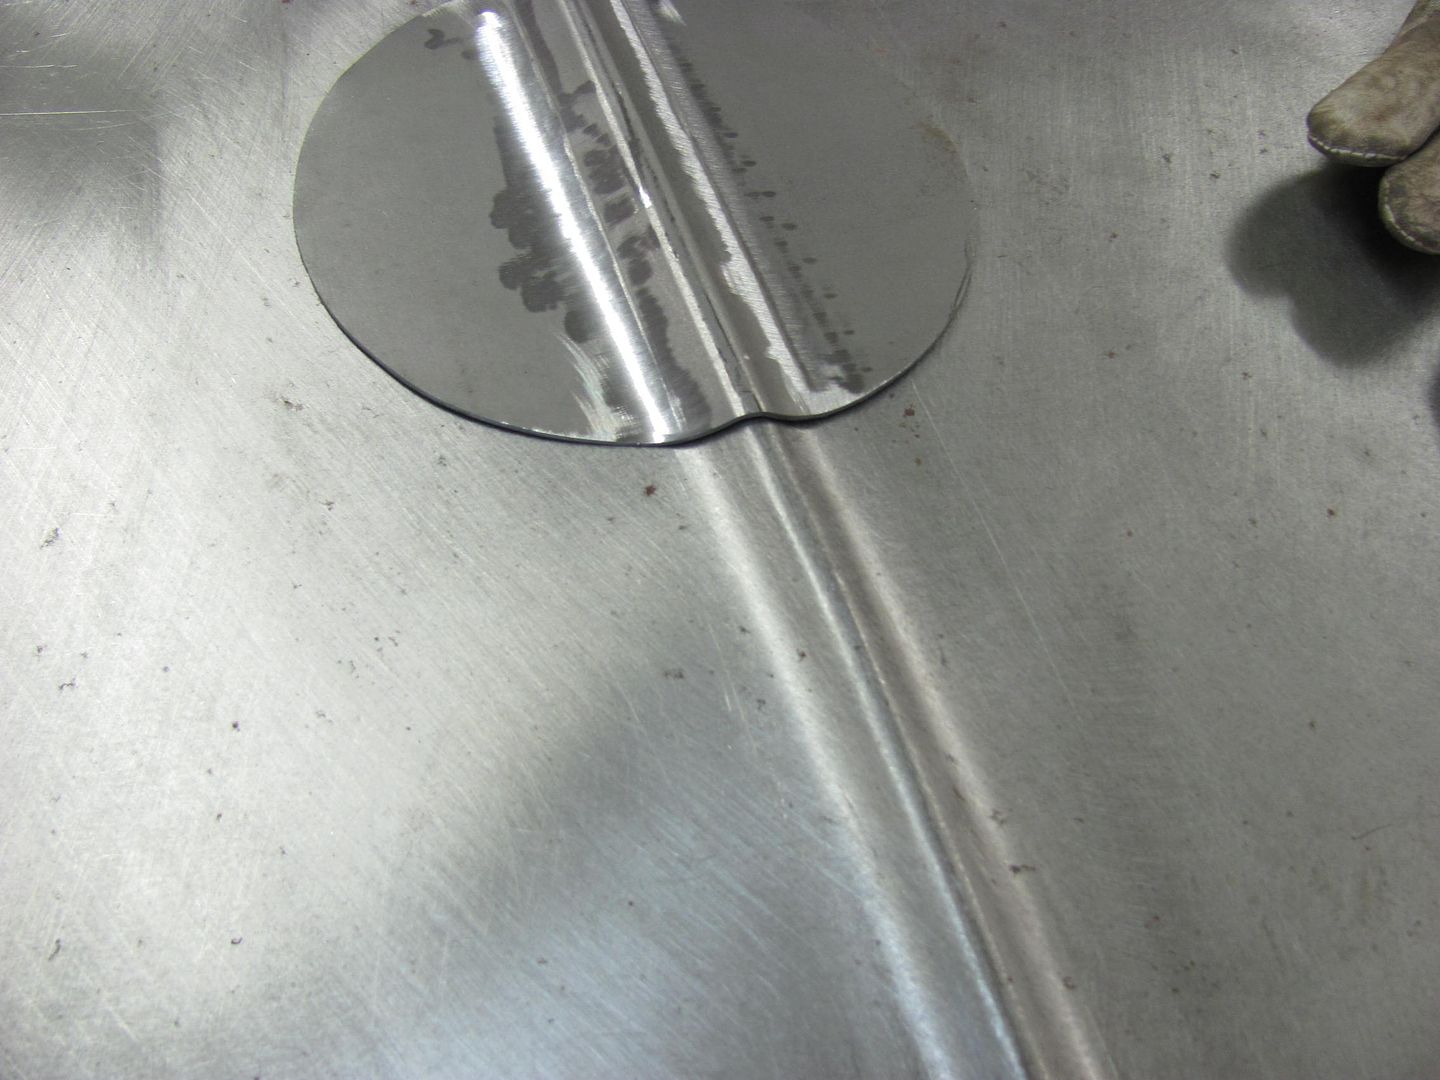
Making room for the new patch
Nice tight fit, tacked in place..
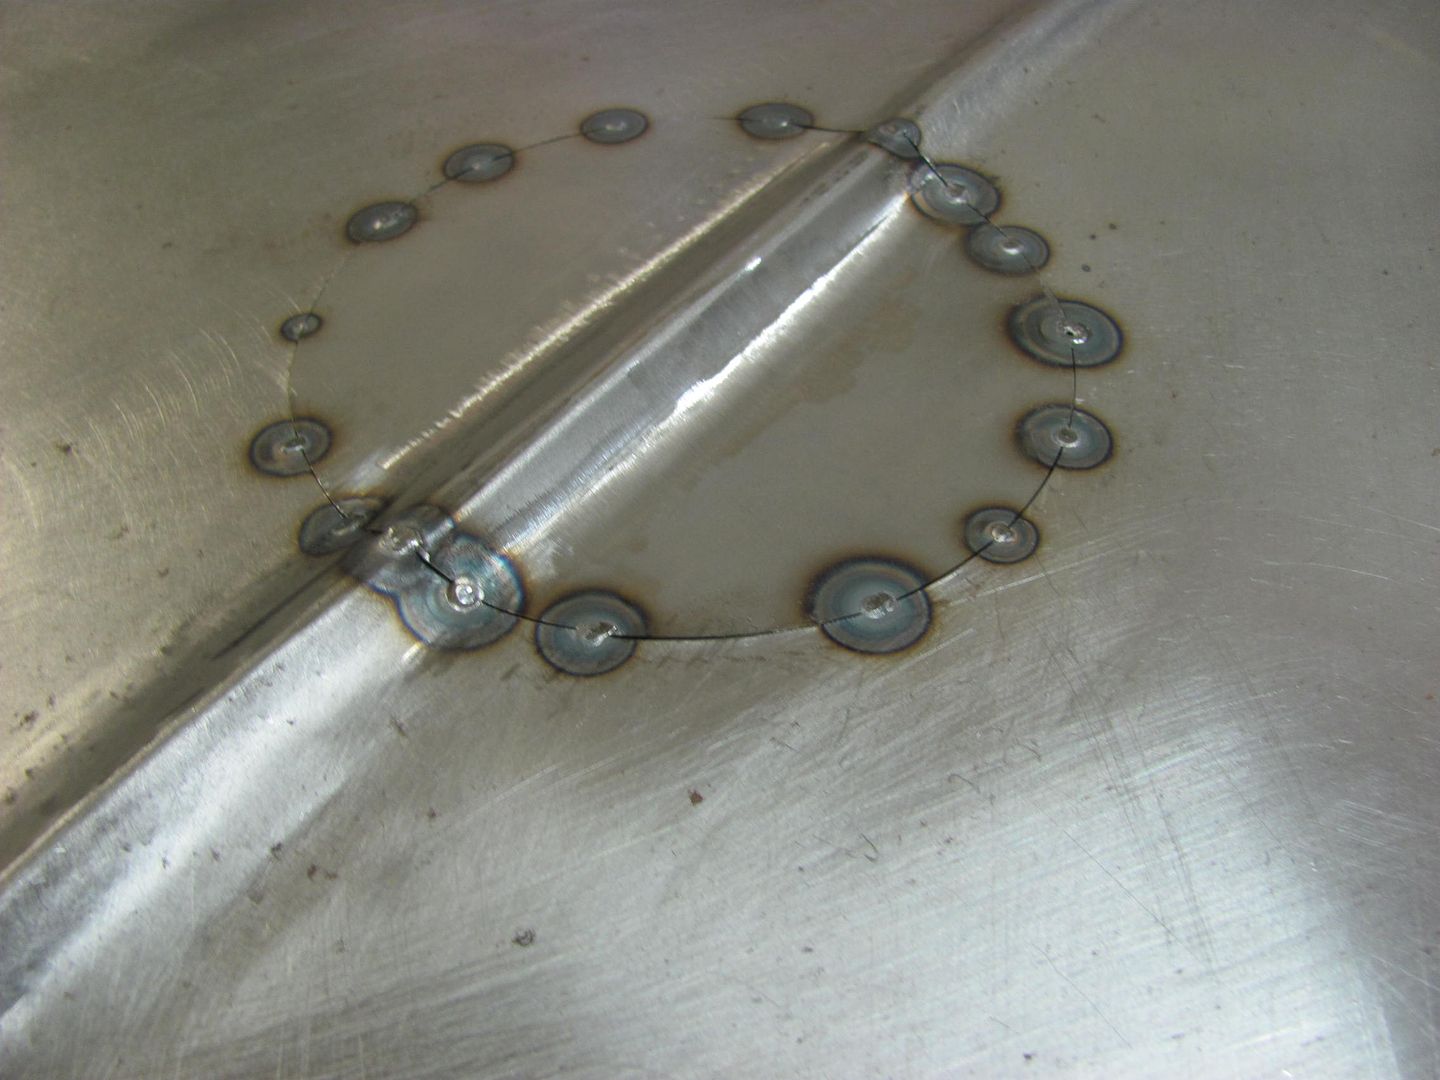
Tig welded, dressed and planished....
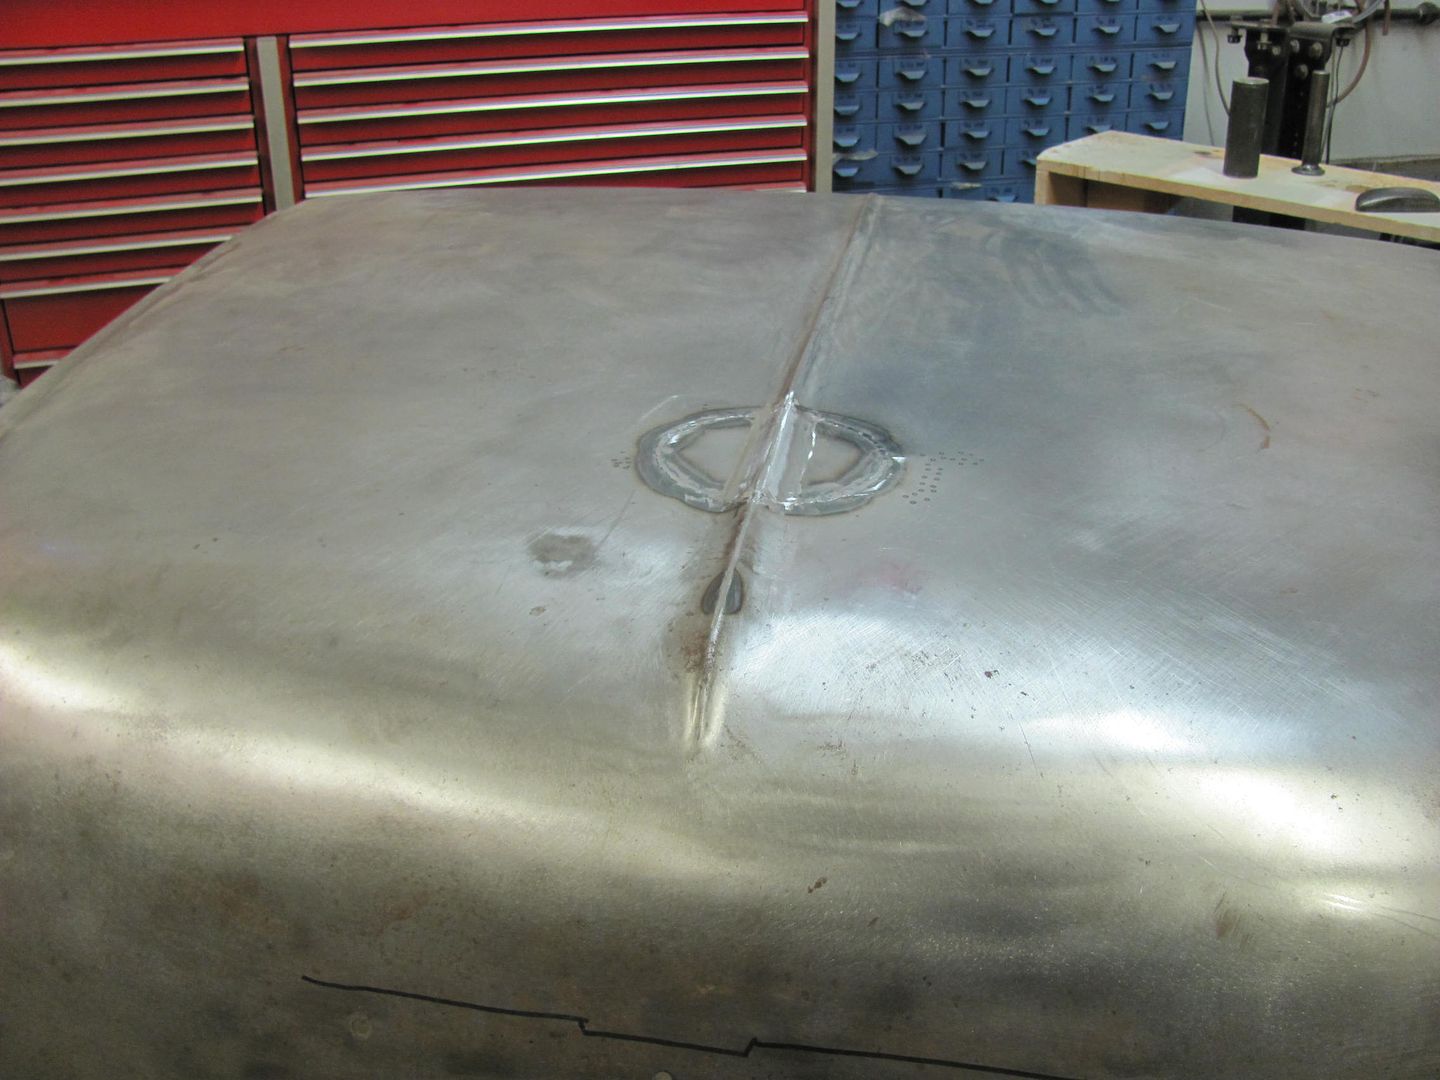
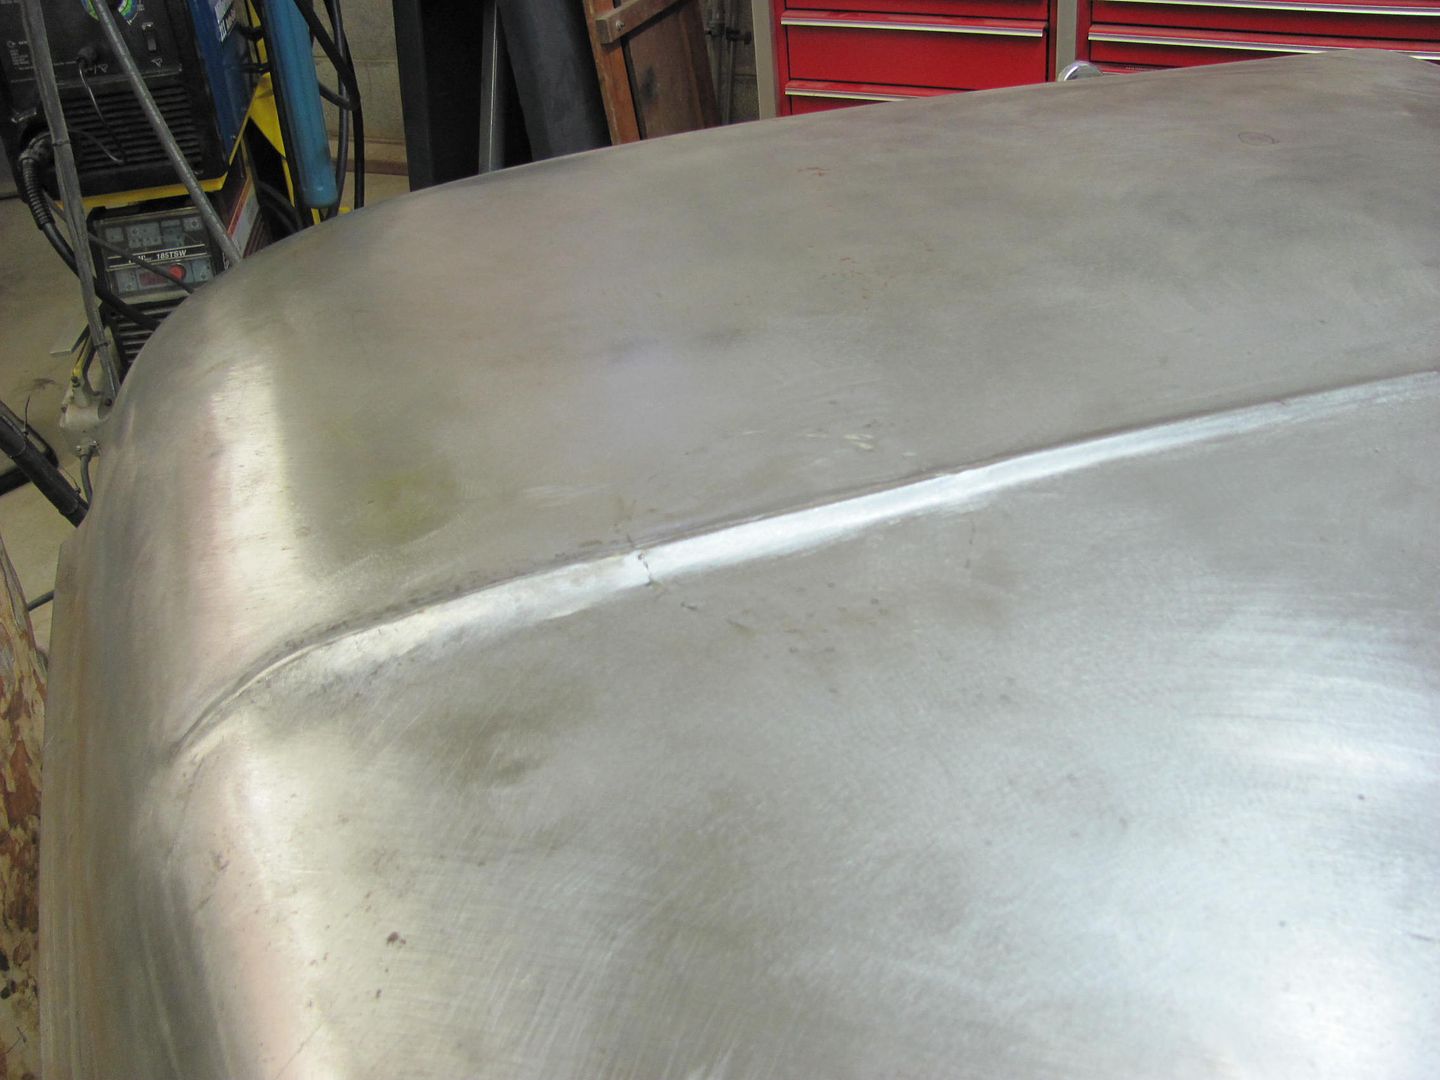
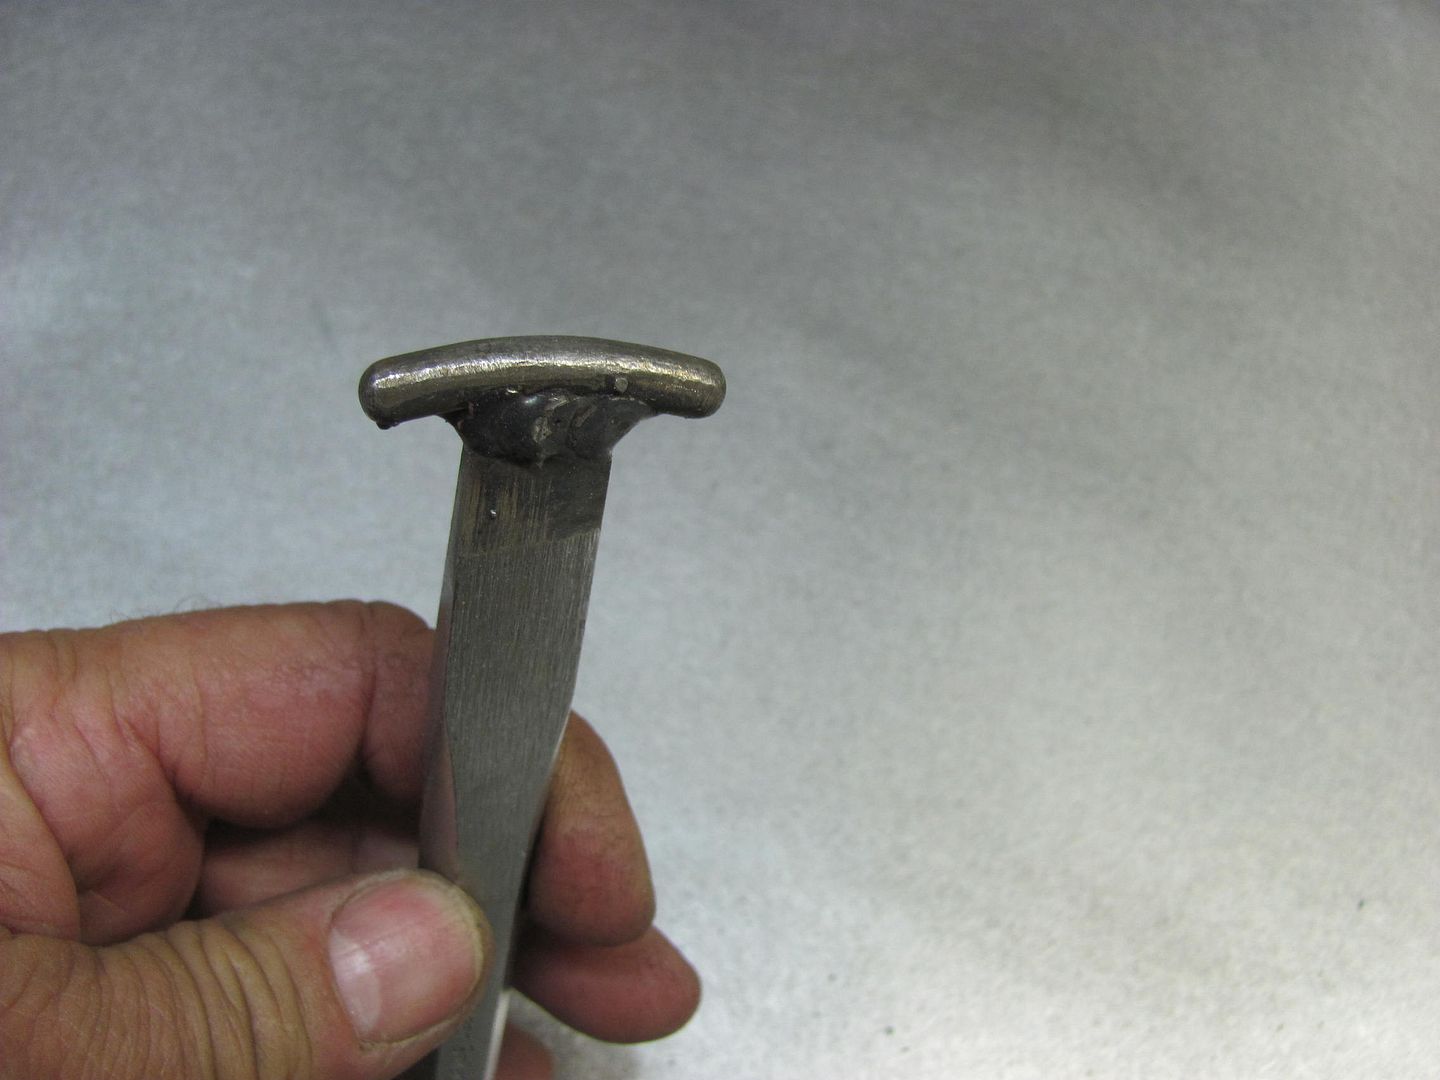
The dulled and radiused chisel was retired and this was used to tweak the peak for a nice consistent crown...
Robert
-
11-23-2014 04:31 AM #358
Thanks! (as always..) but this time it was good to see that even a pro such as yourself hits an unexpected snag and then it gets worse.
Of course your solution came out far better than anything I've put together so far... but it was good to see the bad happen and then how a pro handles the issue(s).
-
11-23-2014 07:29 AM #359
Robert, beautiful work. Just curious, how did you cut the hole in the hood?
Jack.www.clubhotrod.com/forums/showthread.php?t=44081
-
11-23-2014 07:42 AM #360
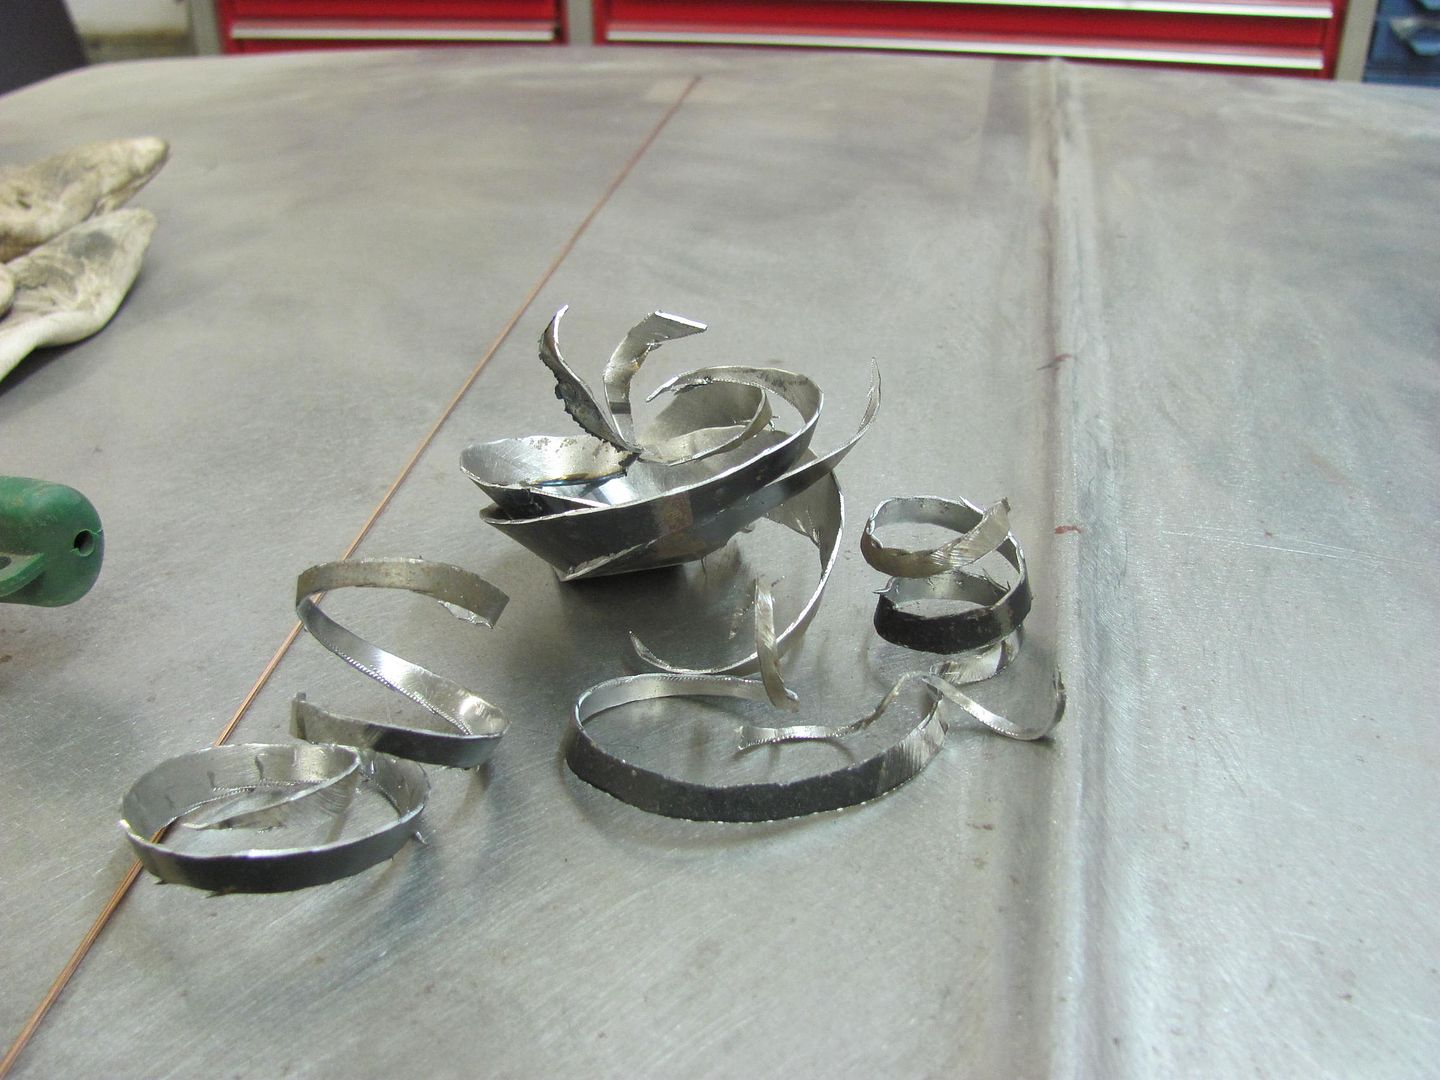
Cutoff wheel to make an opening and about 4 revolutions with a pair of Midwest offset shears. The larger a bite you try to take with the shears the more distortion you'll have. Keep the scrap coming off as close to a 1/4" wide cut as you can and it will help out tremendously. Touched it up with a 1-1/2 dia drum sander to fine tune for the fit..Last edited by MP&C; 11-23-2014 at 07:44 AM.
Robert


 3390Likes

 LinkBack URL
 About LinkBacks
 Reply With Quote

Thanks for the happy birthday wishes, so far 50 feels a lot like 49 LOL
Happy Birthday 53Chevy5