Thread: 55 Wagon Progress
-
05-08-2013 06:29 PM #61
- Join Date
- Apr 2011
- Location
- Prairie City
- Car Year, Make, Model: 40 Ford Deluxe, 68 Corvette, 72&76 K30
- Posts
- 7,301
- Blog Entries
- 1
That looks amazing! I just got a new welder so now I have to practice to see what heat and wire speed to weld what. Anyhow, you do great work! Keep at it!
Ryan
1940 Ford Deluxe Tudor 354 Hemi 46RH Electric Blue w/multi-color flames, Ford 9" Residing in multiple pieces
1968 Corvette Coupe 5.9 Cummins Drag Car 11.43@130mph No stall leaving the line with 1250 rpm's and poor 2.2 60'
1972 Chevy K30 Longhorn P-pumped 24v Compound Turbos 47RH Just another money pit
1971 Camaro RS 5.3 BTR Stage 3 cam, SuperT10
Tire Sizes
-
Advertising

- Google Adsense
- REGISTERED USERS DO NOT SEE THIS AD
-
05-10-2013 09:22 AM #62
Thanks! I'd say your welder setup is key to getting the good results, good luck with it!
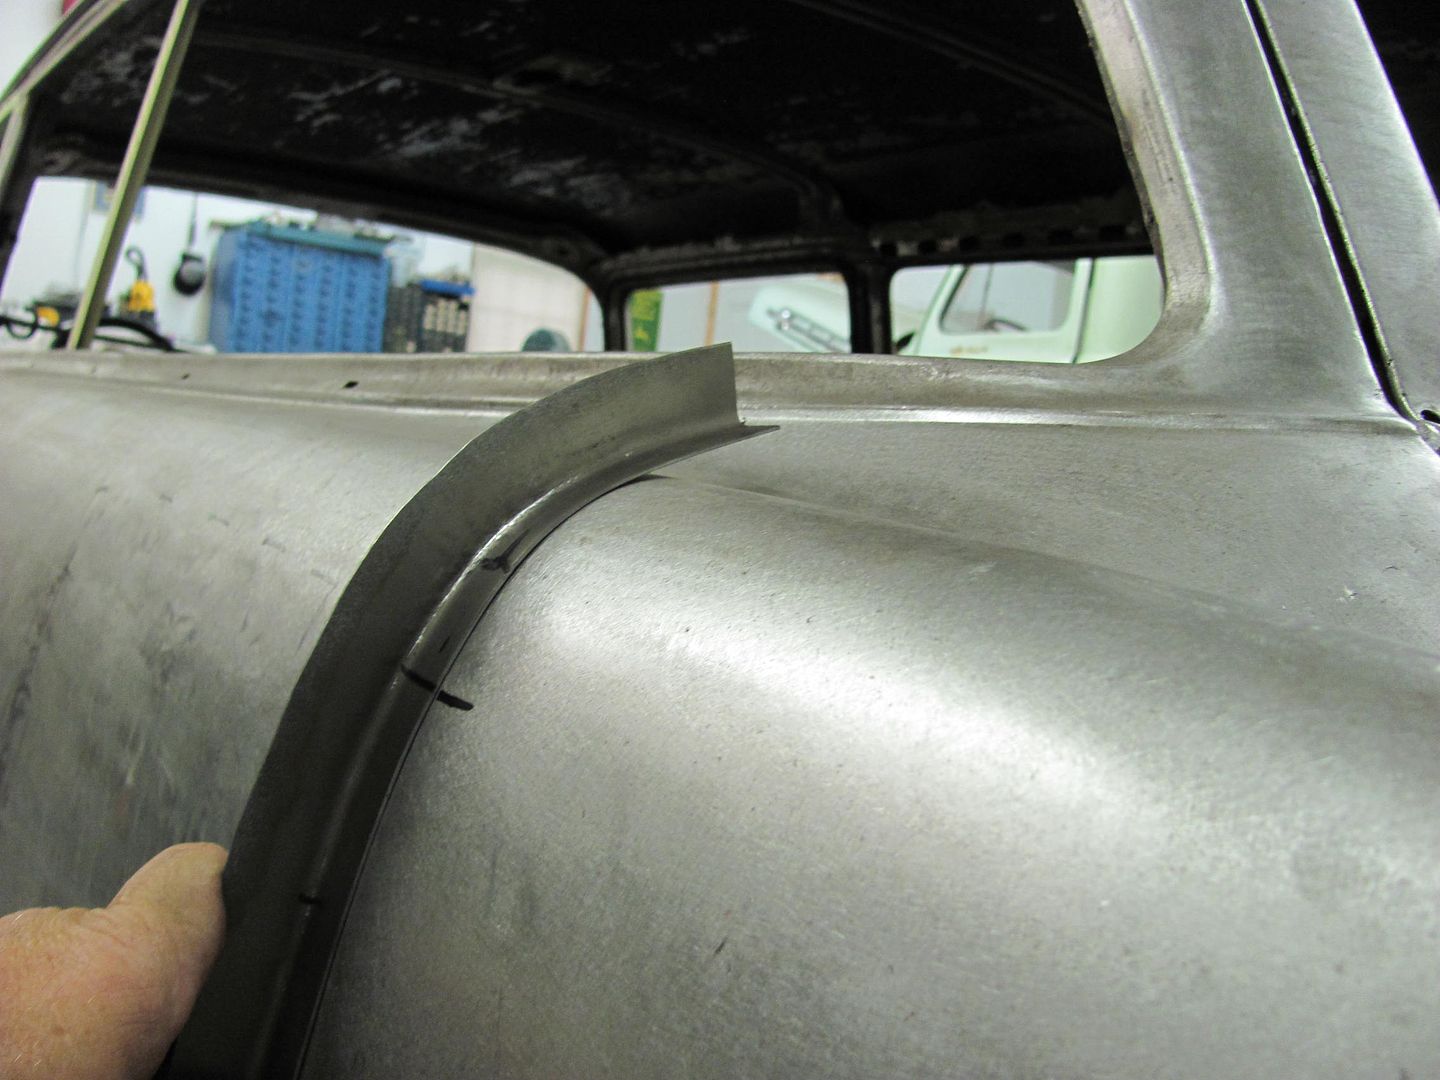
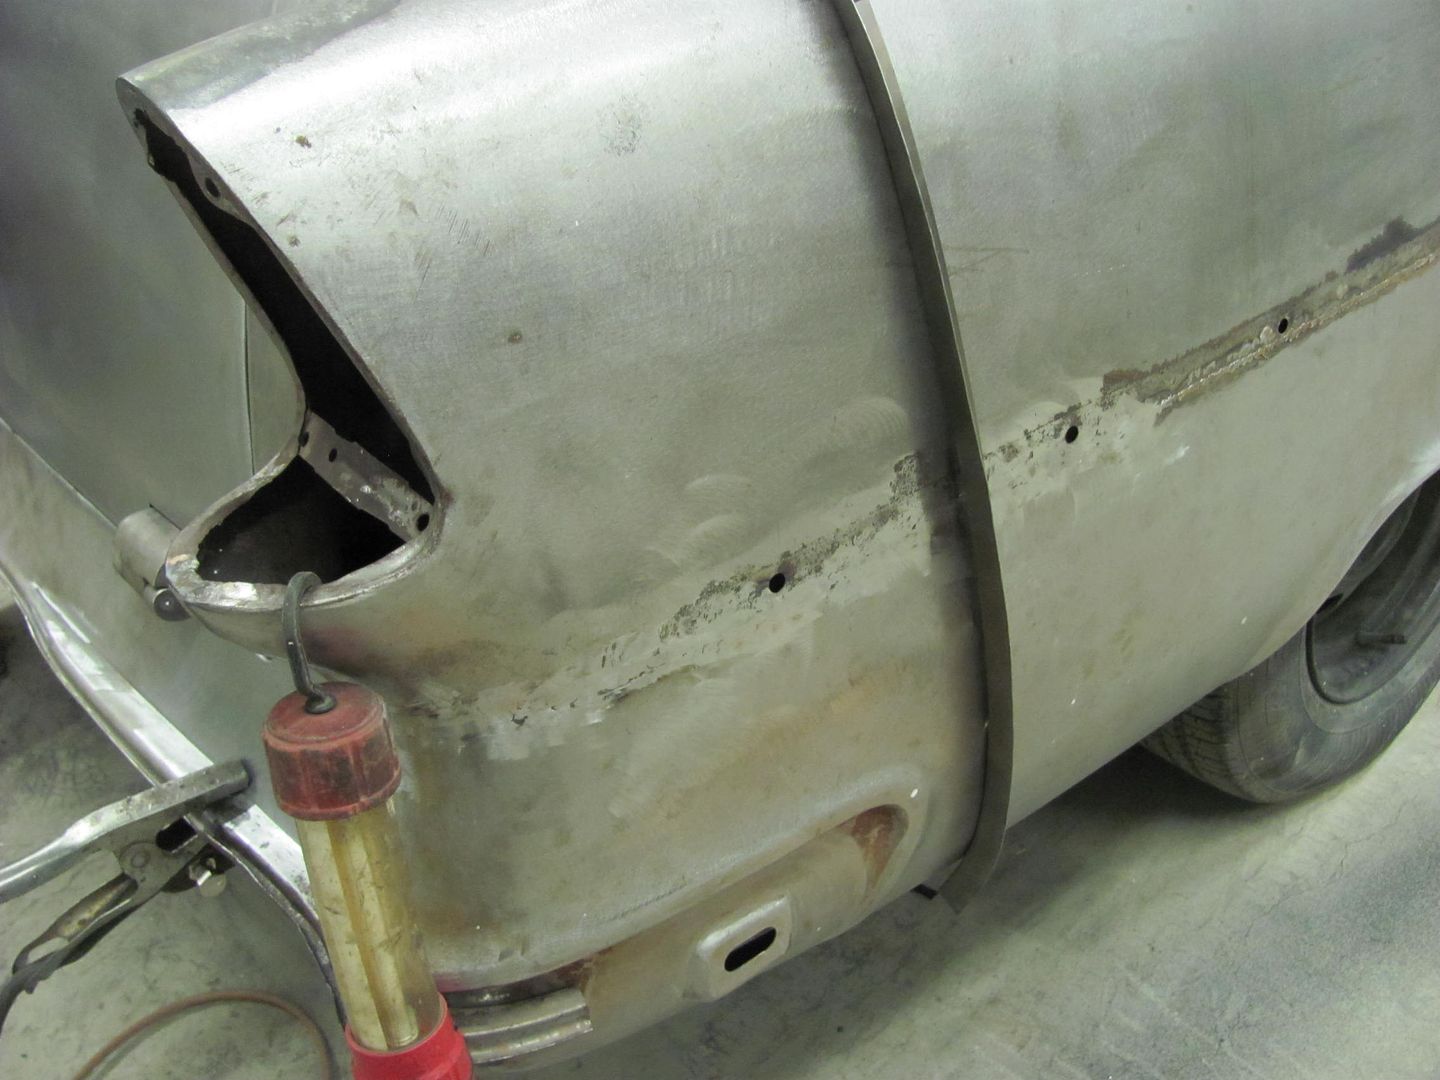
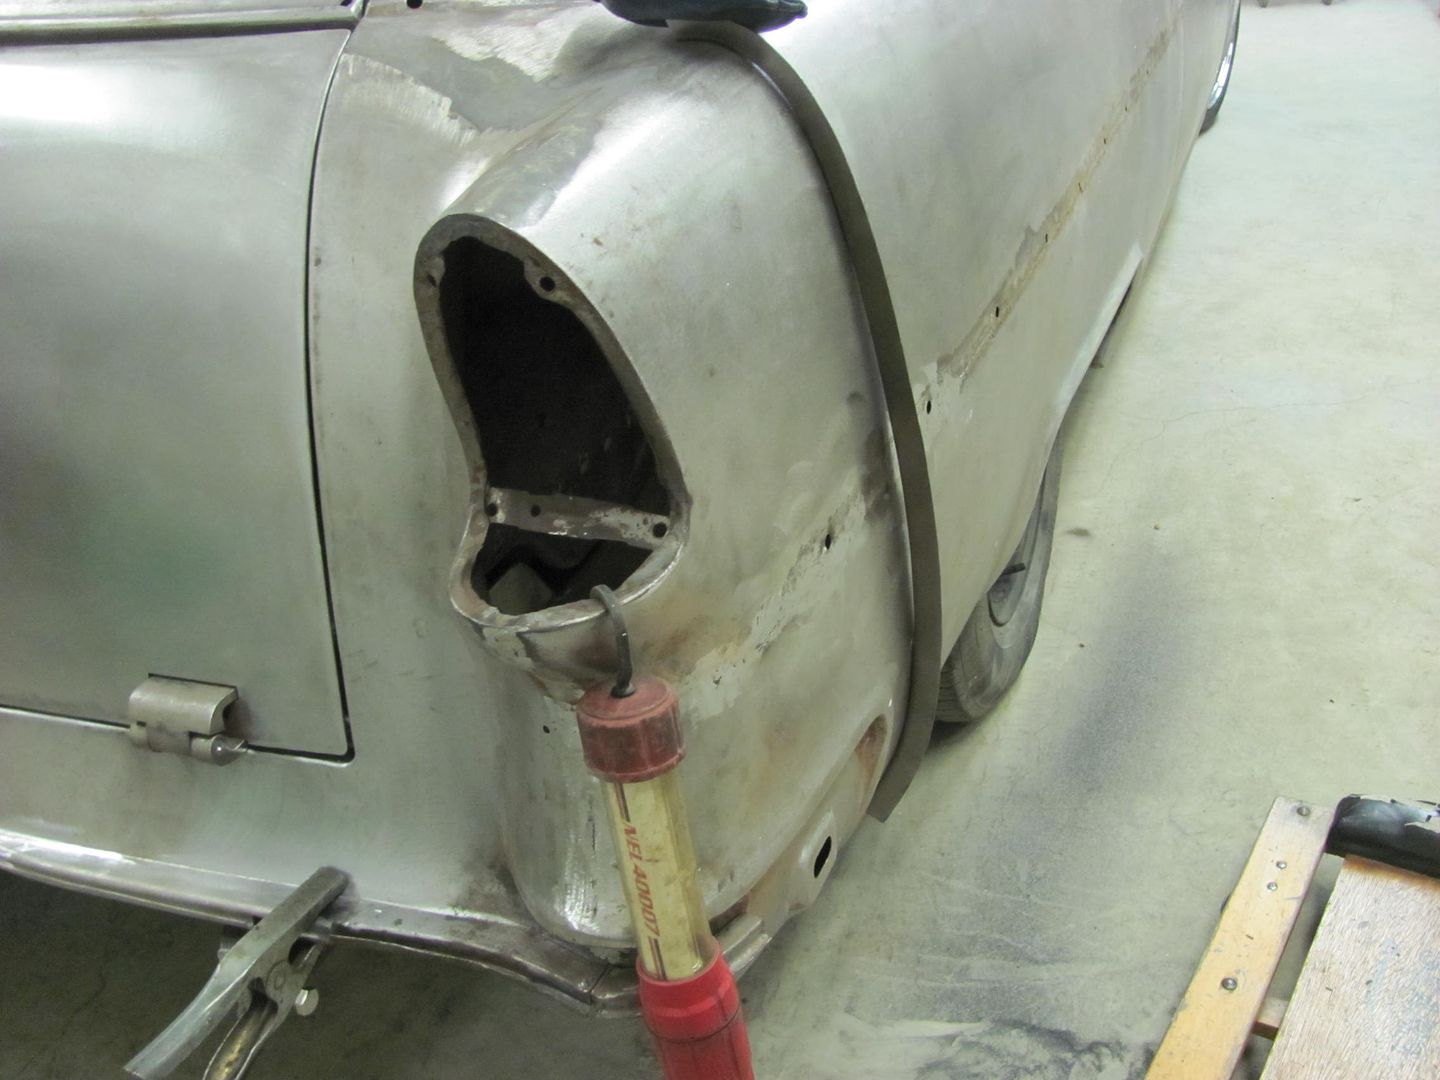
Moving on to the right side.....
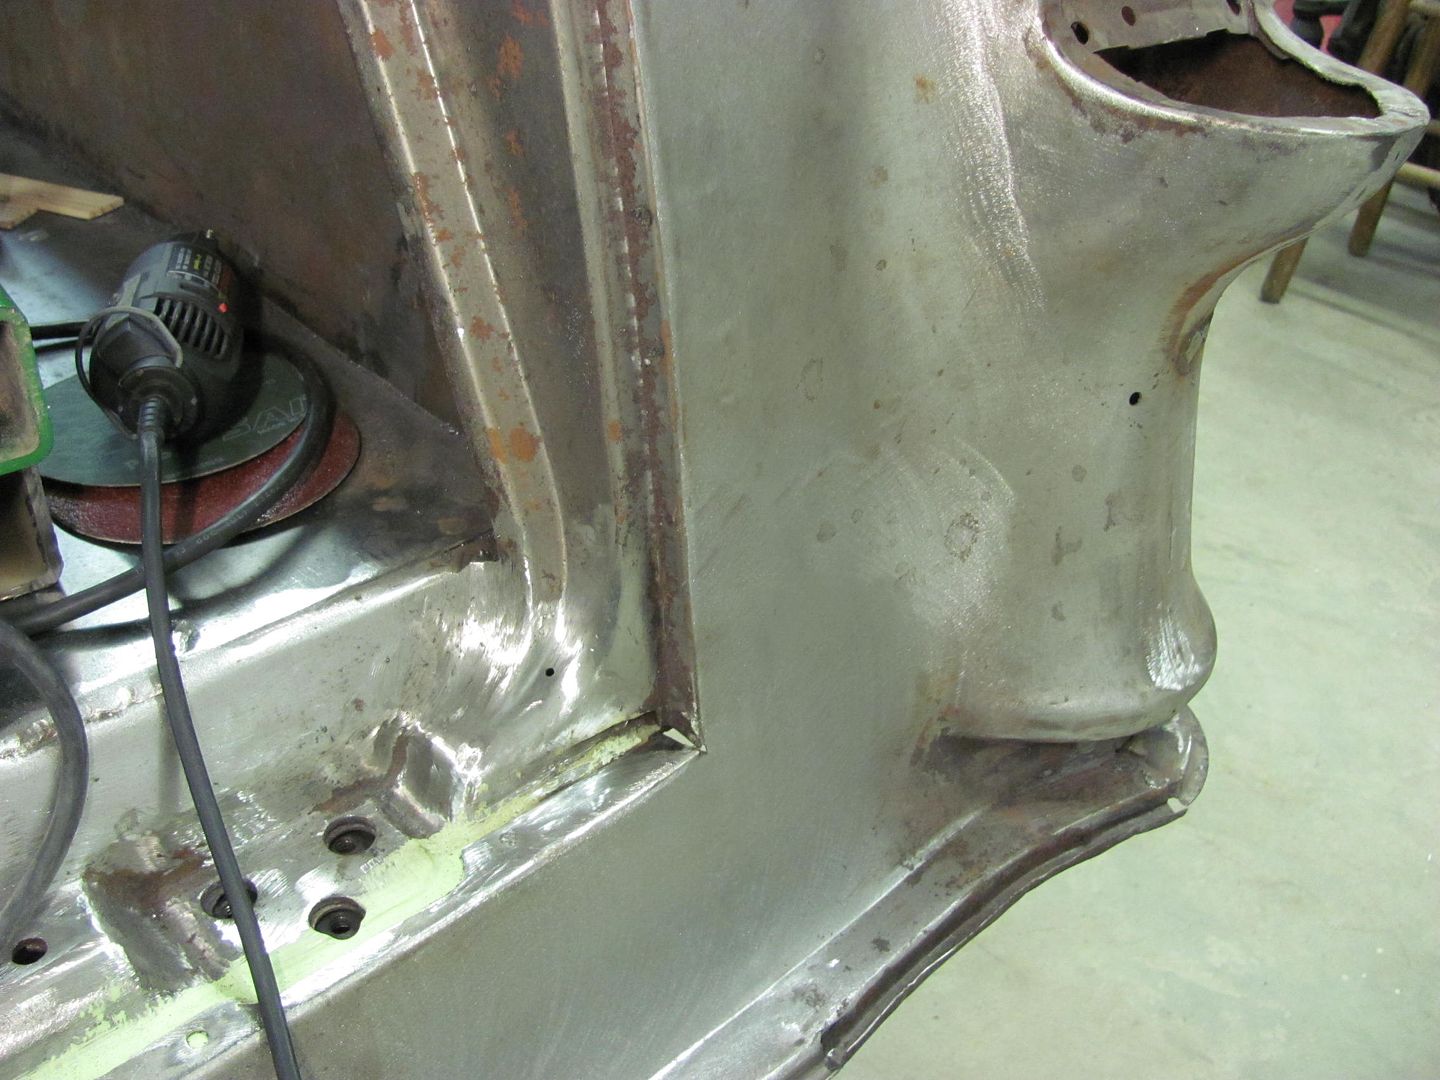
Trimming the excess for the radius piece to fit in....
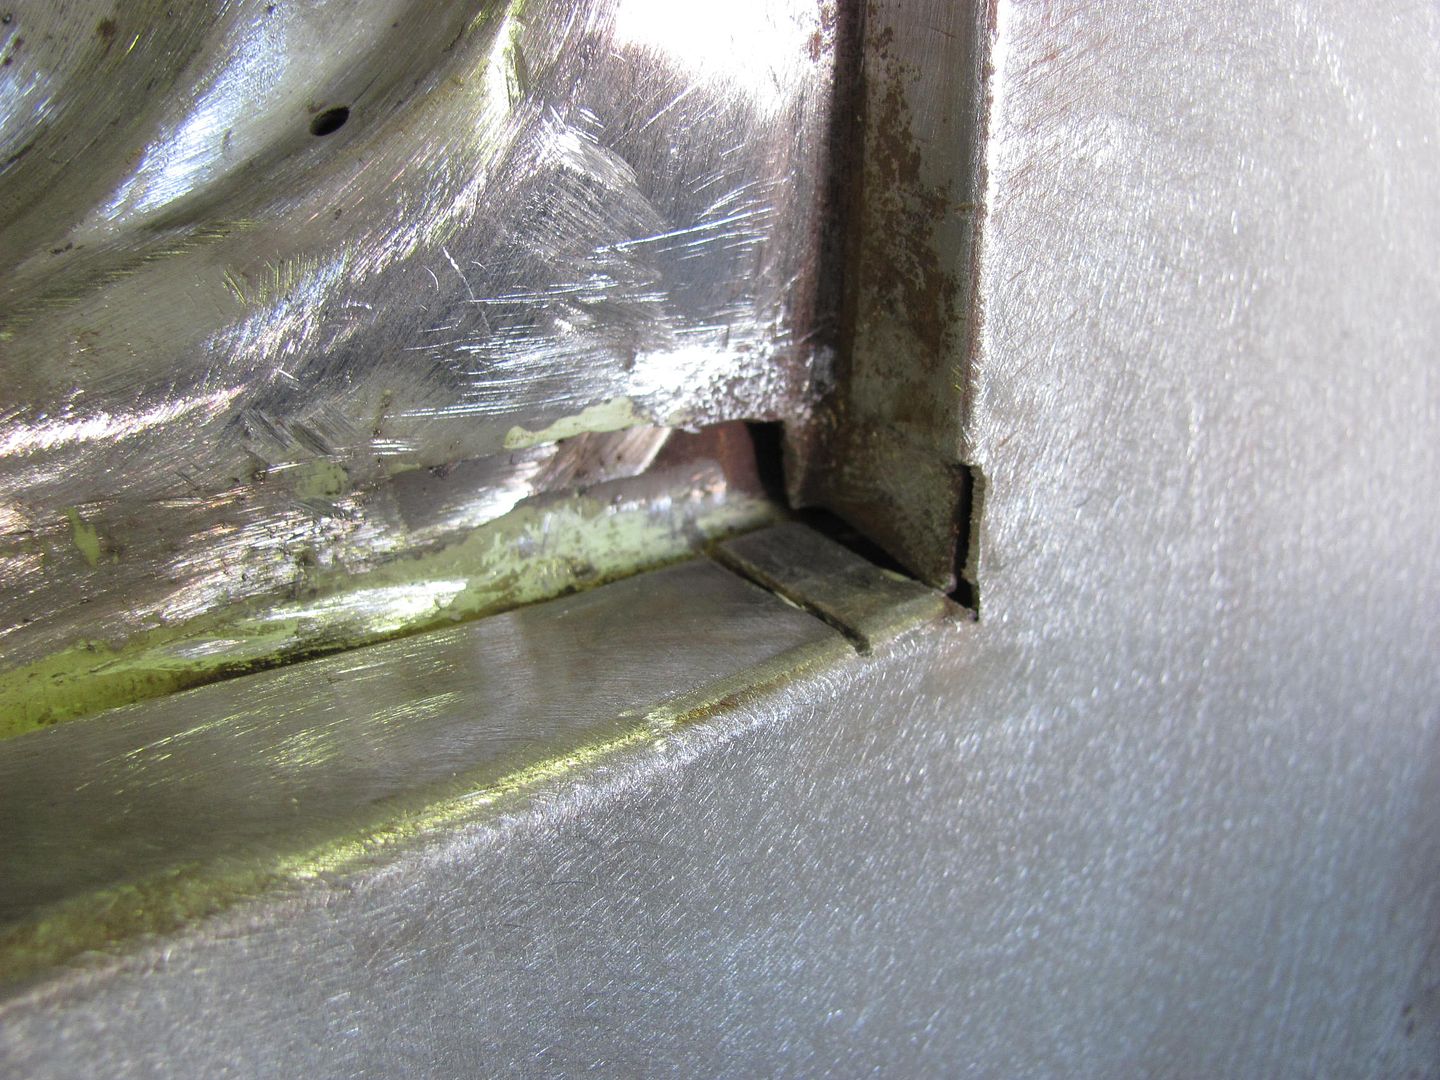
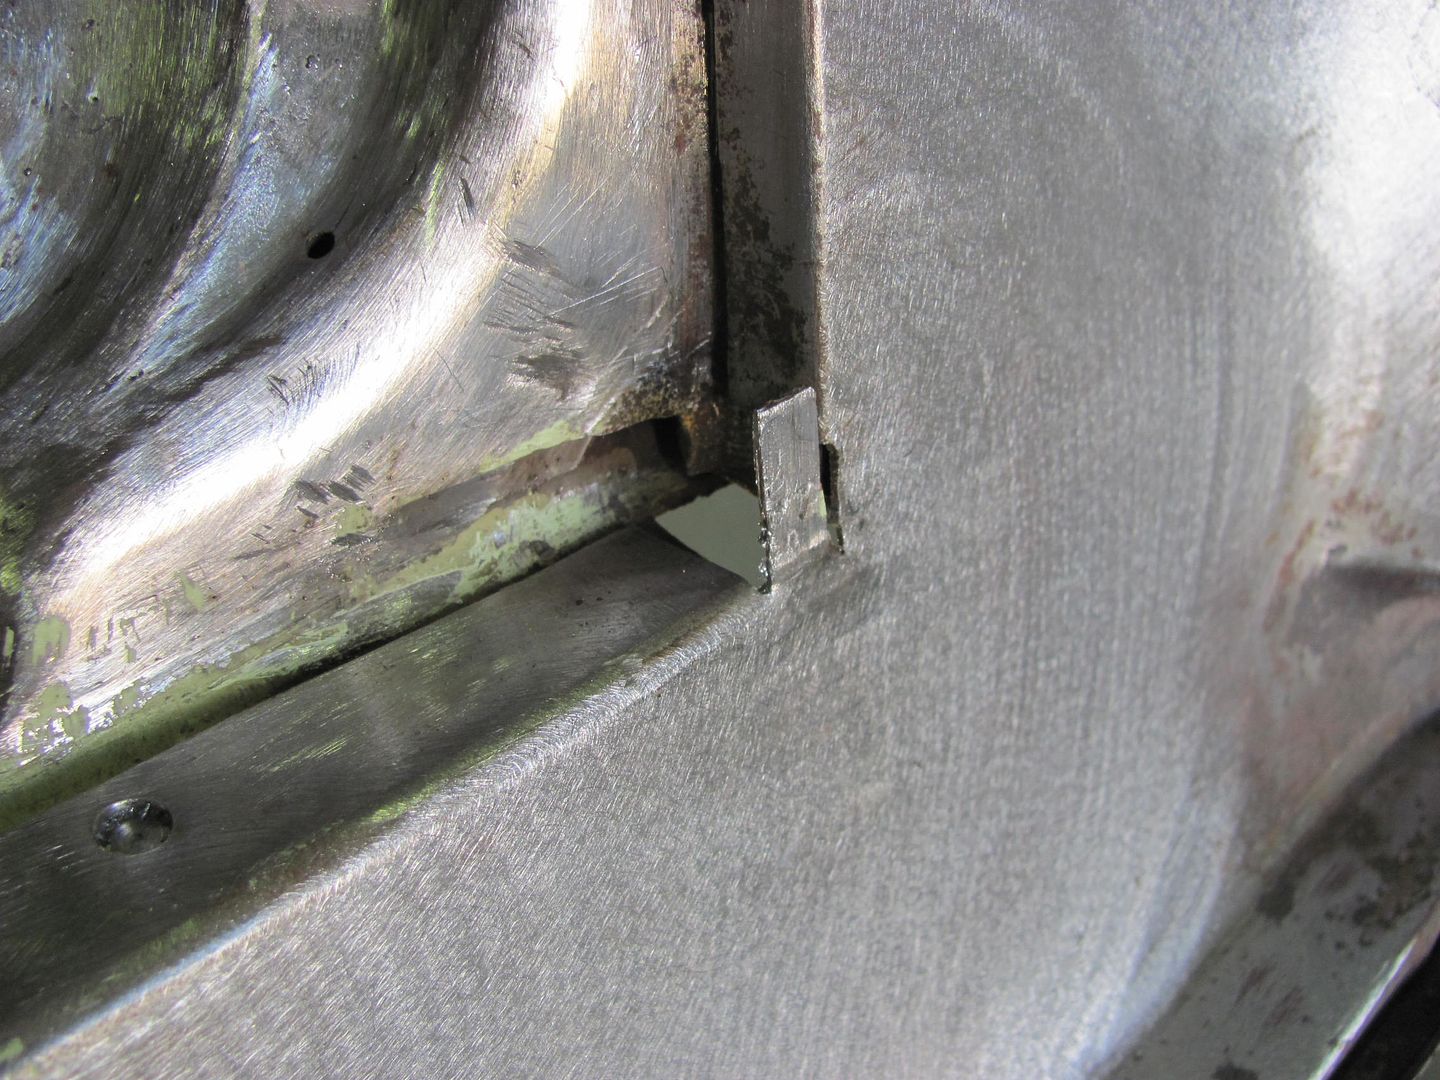
Trimmed to fit....

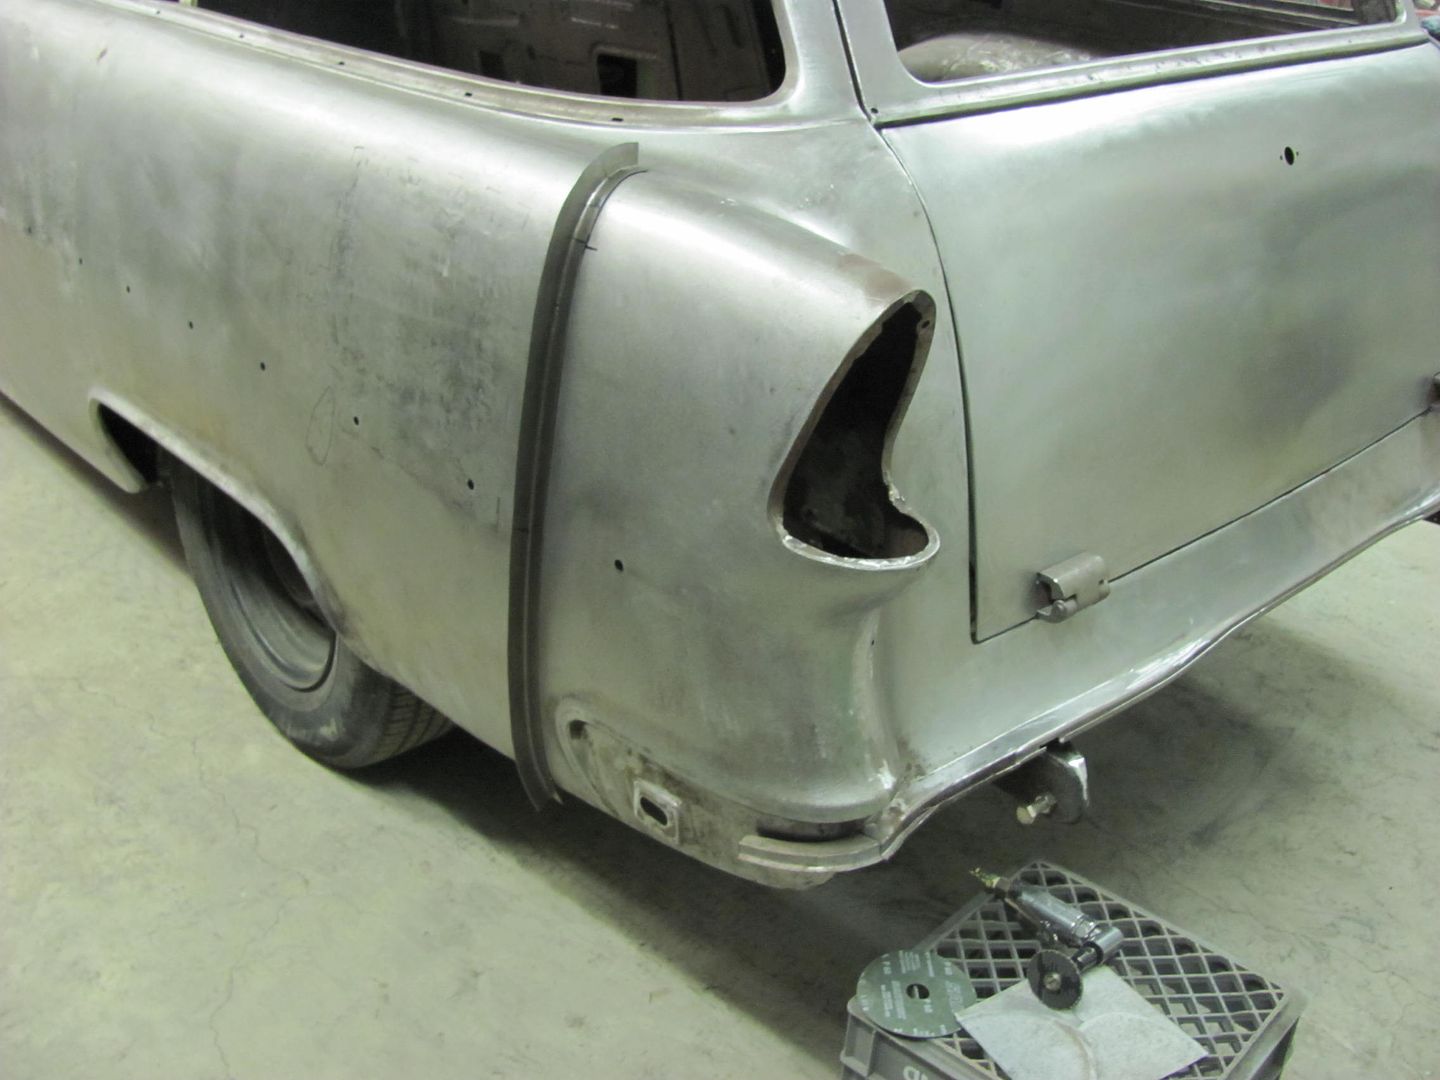
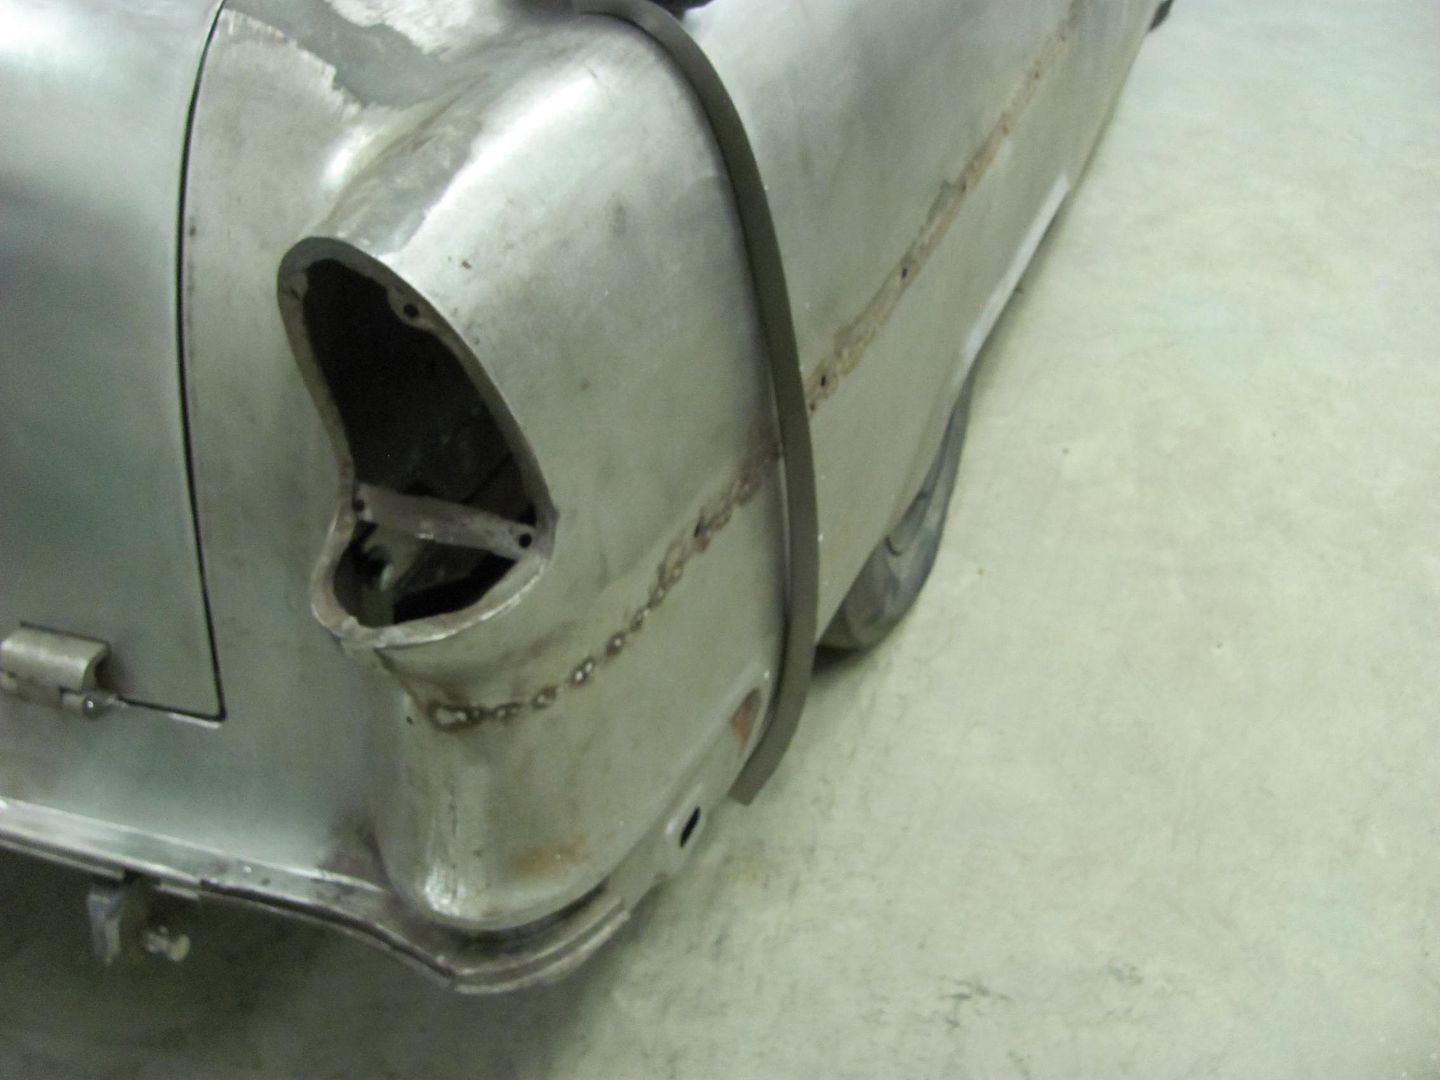
Welded in place...
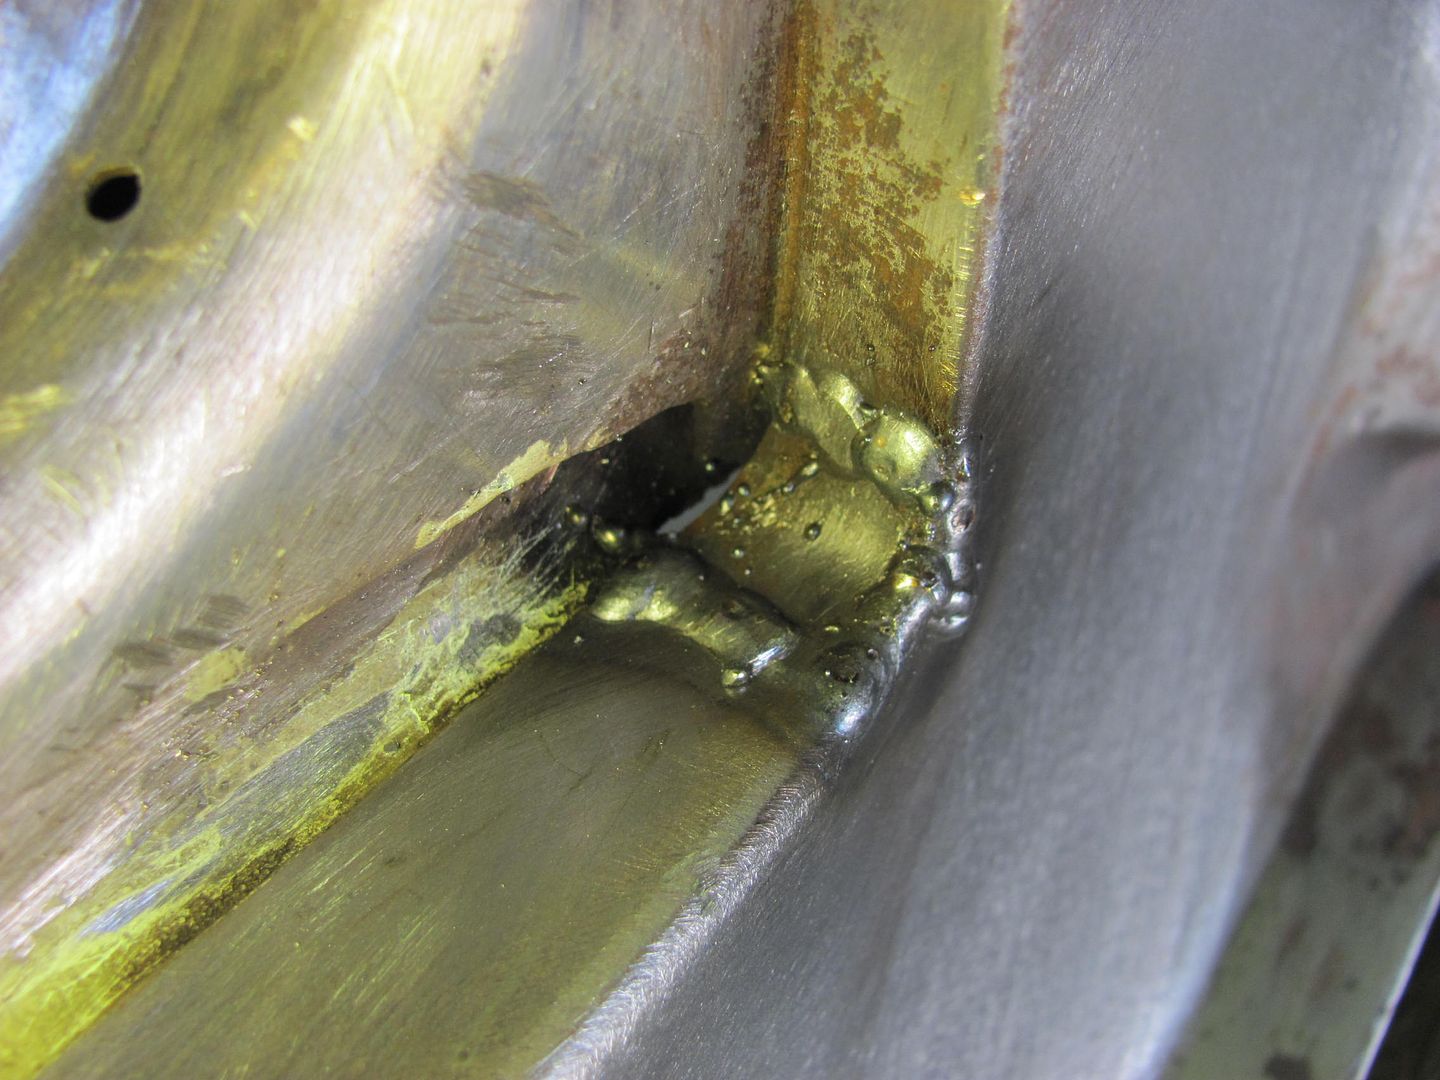
Welds dressed
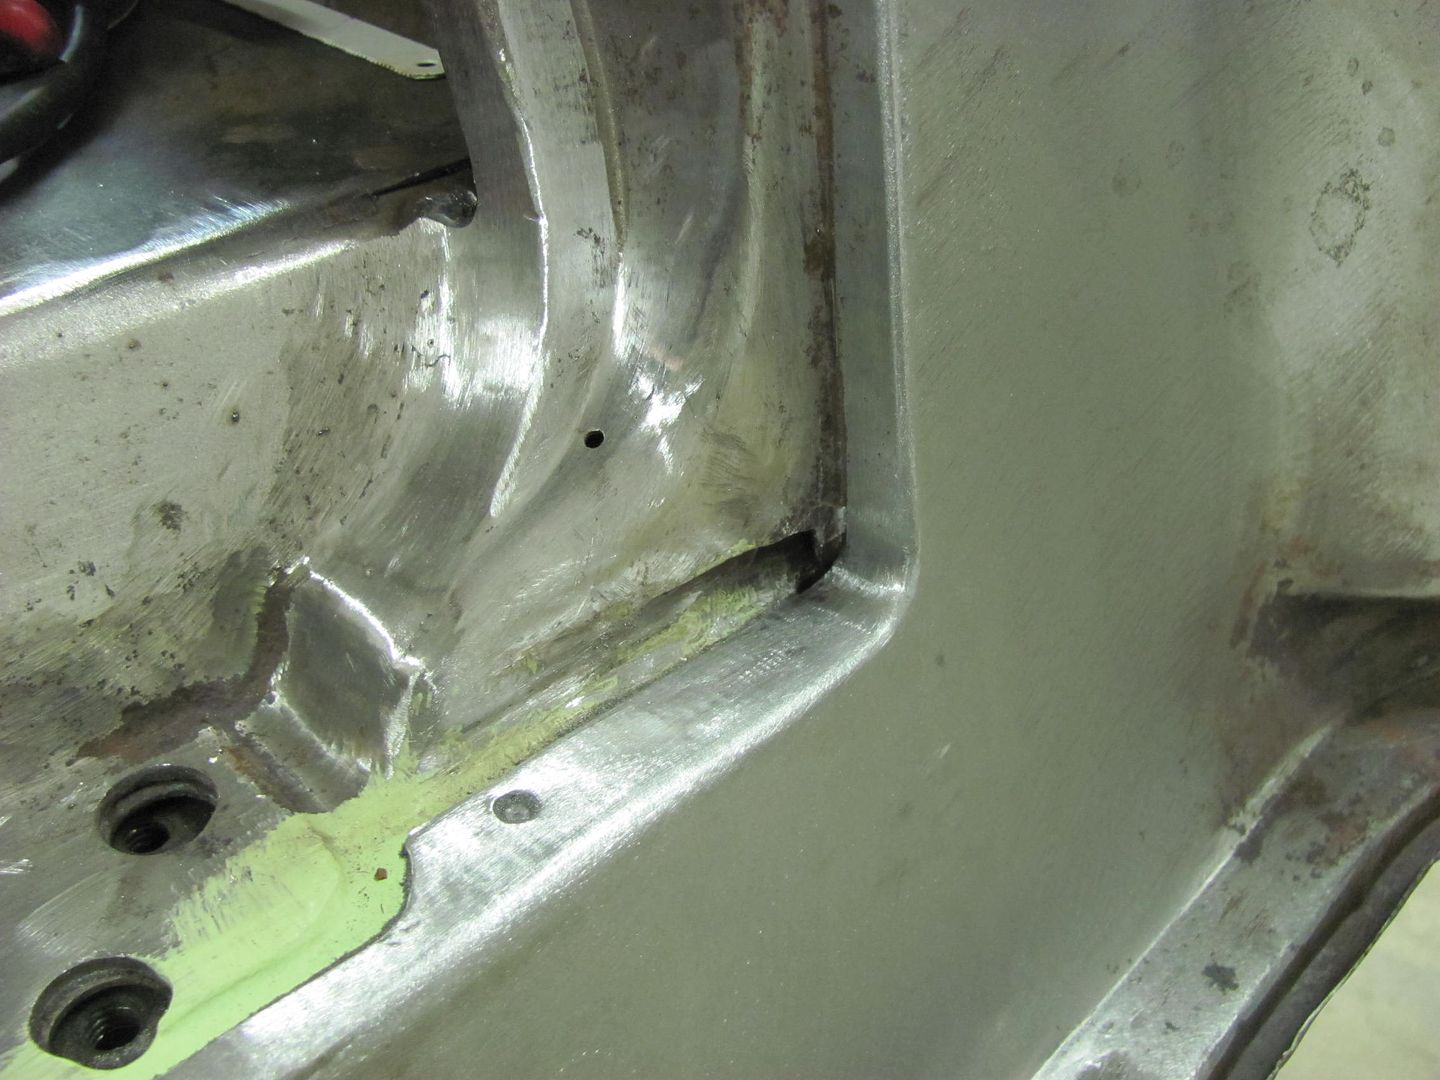
Yeah, I like this look much better!
Robert
-
05-10-2013 09:28 AM #63
Wish I had learned to weld like this...!Toys
`37 Ford Coupe
`64 Chevy Fleet side
`69 RS/SS
`68 Dodge Dart
Kids in the back seat may cause accidents, accidents in the back seat may cause kids, so no back seat, no accidents...!
-
05-10-2013 09:40 AM #64
Beautiful work once again, Robert!!! What are you using to "dress" the welds in the small area?"It is not much good thinking of a thing unless you think it out." - H.G. Wells
-
05-10-2013 10:34 AM #65
Where I normally use a cutoff wheel to knock down the proud of the weld, this corner is much too tight for that, so the majority of the weld is removed with a carbide burr in the die grinder, then switched to a 3/4" dia sanding drum on the die grinder.Robert
-
05-10-2013 03:47 PM #66
- Join Date
- Apr 2011
- Location
- Prairie City
- Car Year, Make, Model: 40 Ford Deluxe, 68 Corvette, 72&76 K30
- Posts
- 7,301
- Blog Entries
- 1
I was wondering if you used a carbide bit to finish those hard to get welds. Definitely top notch work!Ryan
1940 Ford Deluxe Tudor 354 Hemi 46RH Electric Blue w/multi-color flames, Ford 9" Residing in multiple pieces
1968 Corvette Coupe 5.9 Cummins Drag Car 11.43@130mph No stall leaving the line with 1250 rpm's and poor 2.2 60'
1972 Chevy K30 Longhorn P-pumped 24v Compound Turbos 47RH Just another money pit
1971 Camaro RS 5.3 BTR Stage 3 cam, SuperT10
Tire Sizes
-
05-12-2013 07:01 PM #67
Thanks! Not too much shop time this weekend (hey, it is Mother's day), but I did manage to test fit the tailgate to see how well it matched the new radiuses added to the opening.
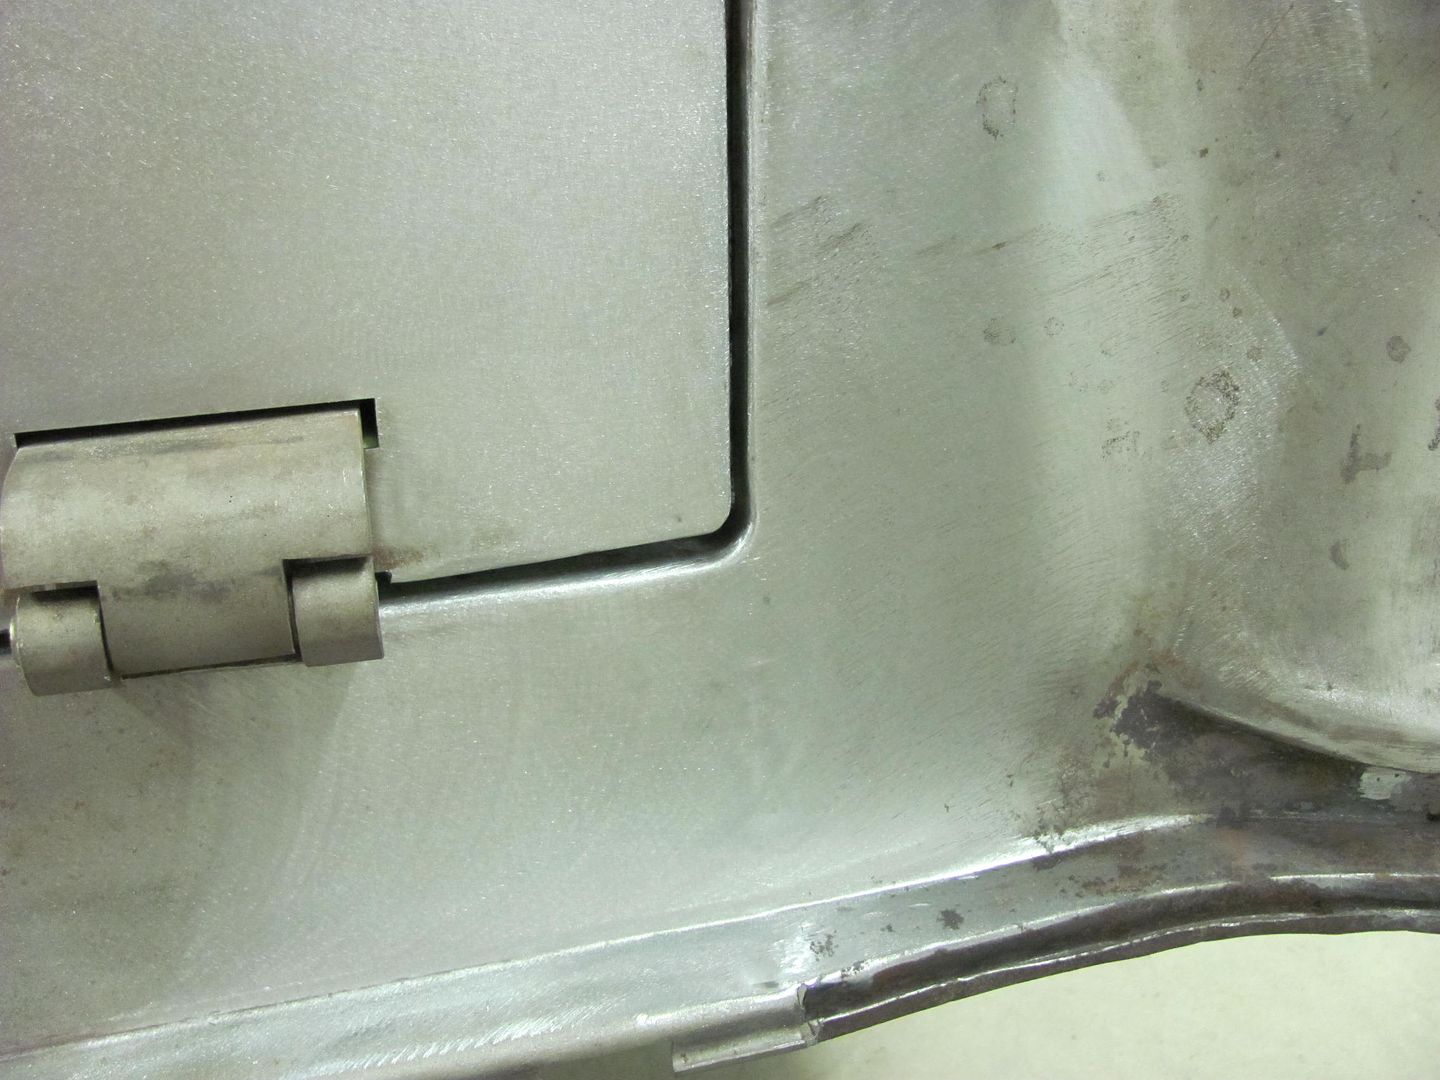
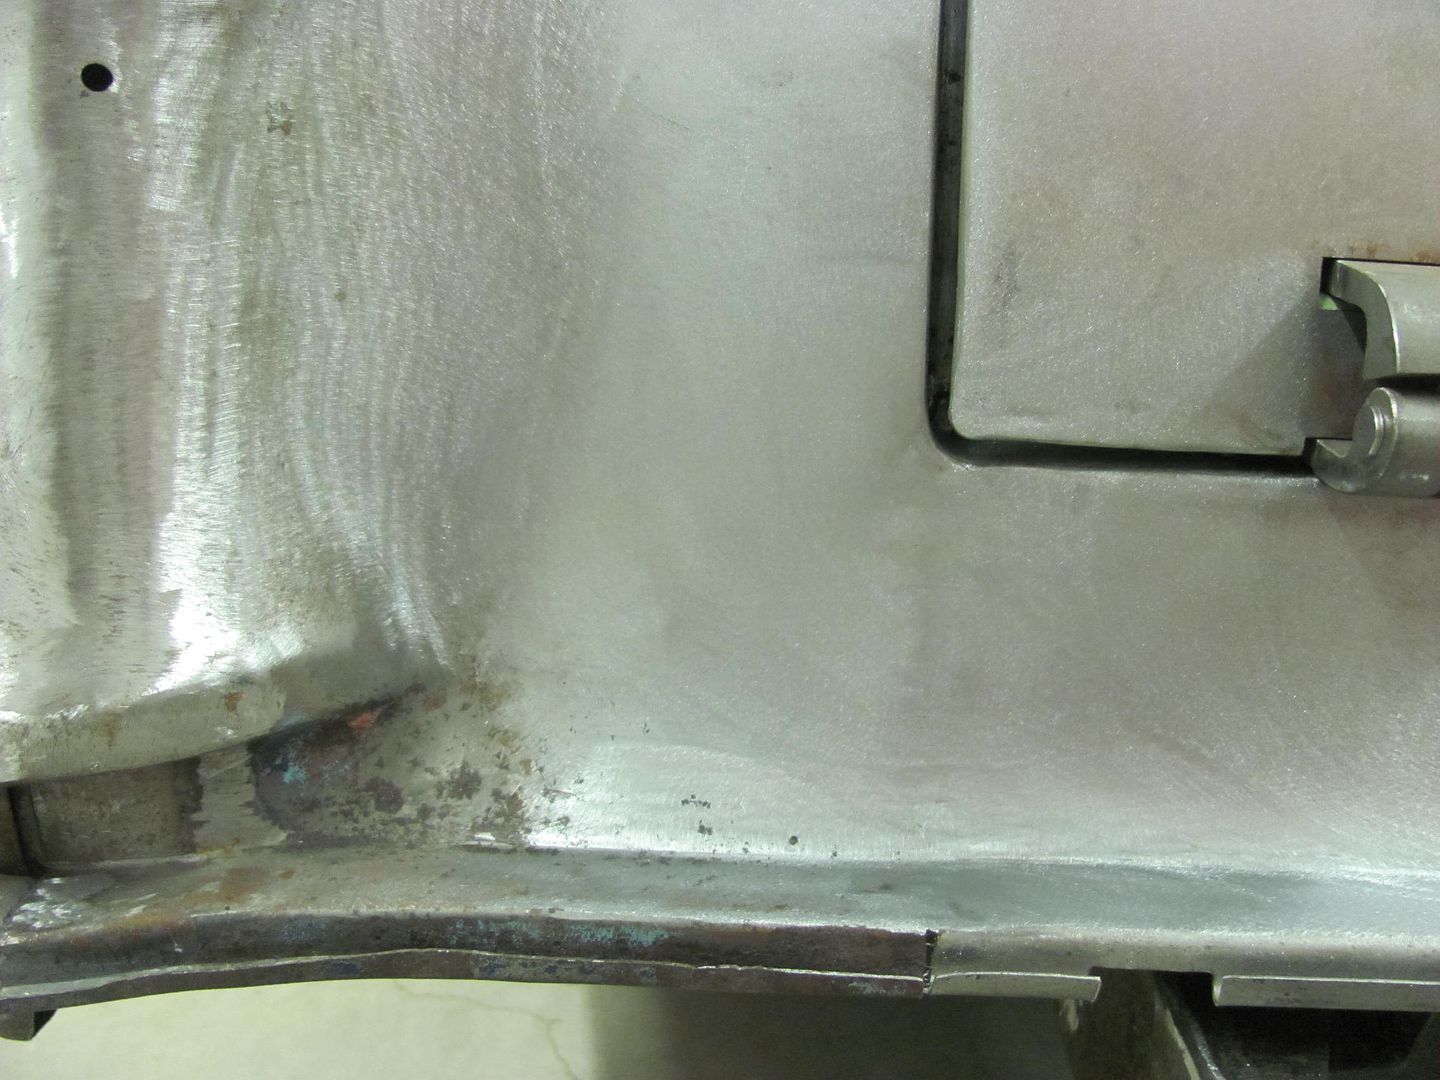
There are a couple areas the gaps will need tweaking, but the "new" corners should help add to the other subtle changes.Last edited by MP&C; 05-12-2013 at 07:07 PM.
Robert
-
05-27-2013 08:32 PM #68
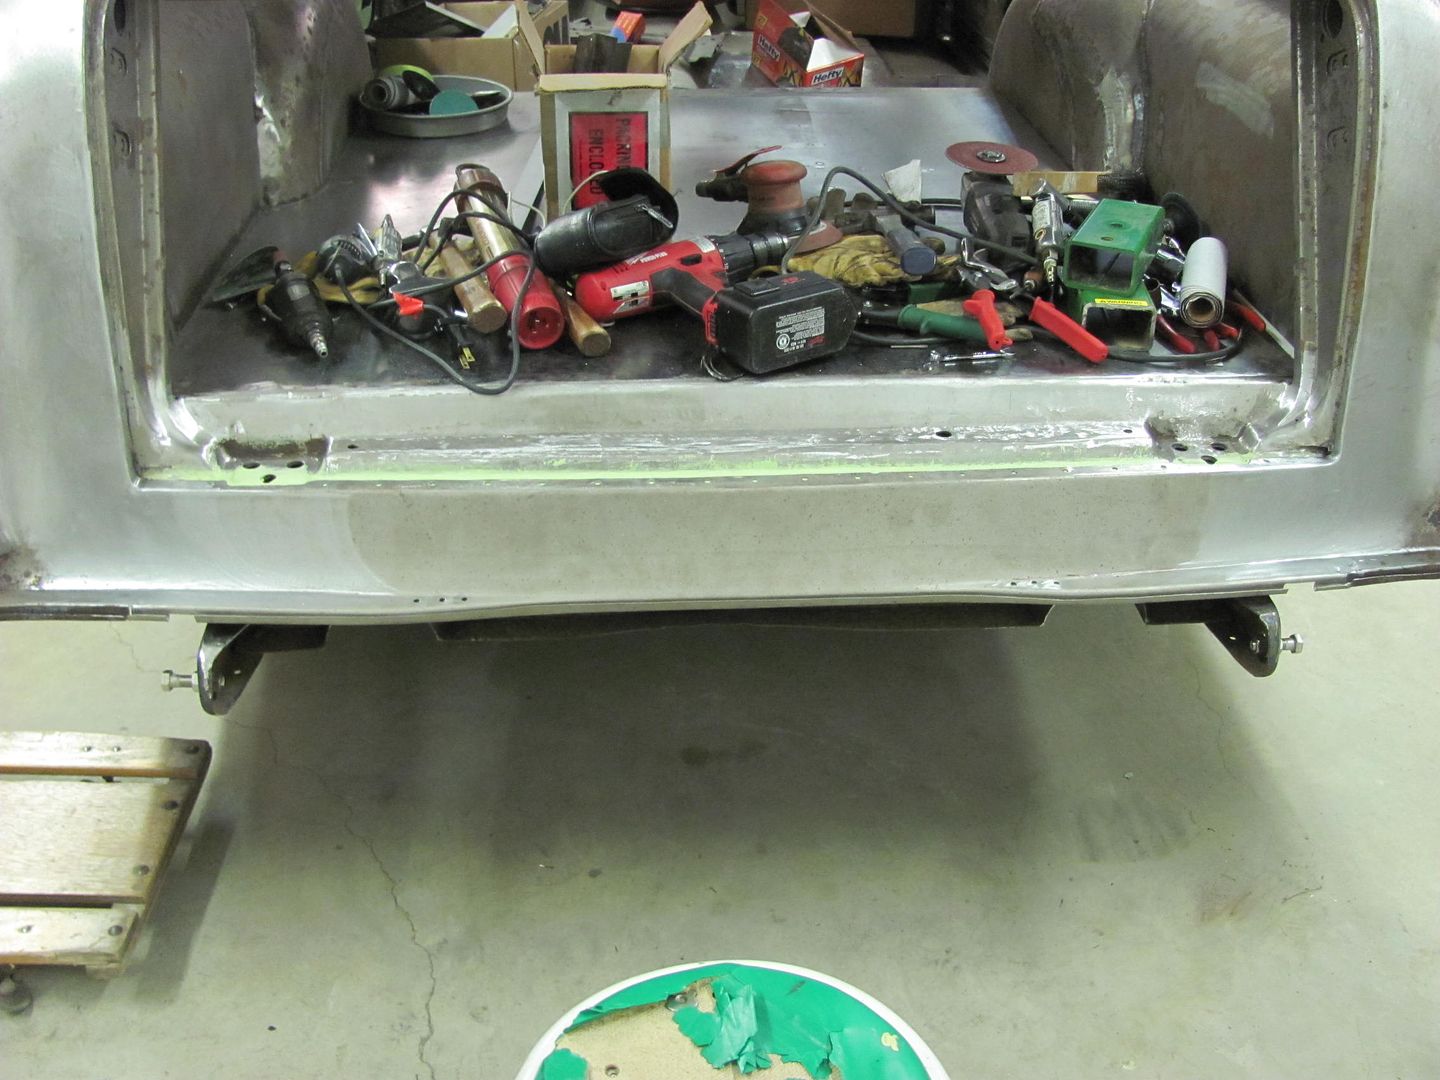
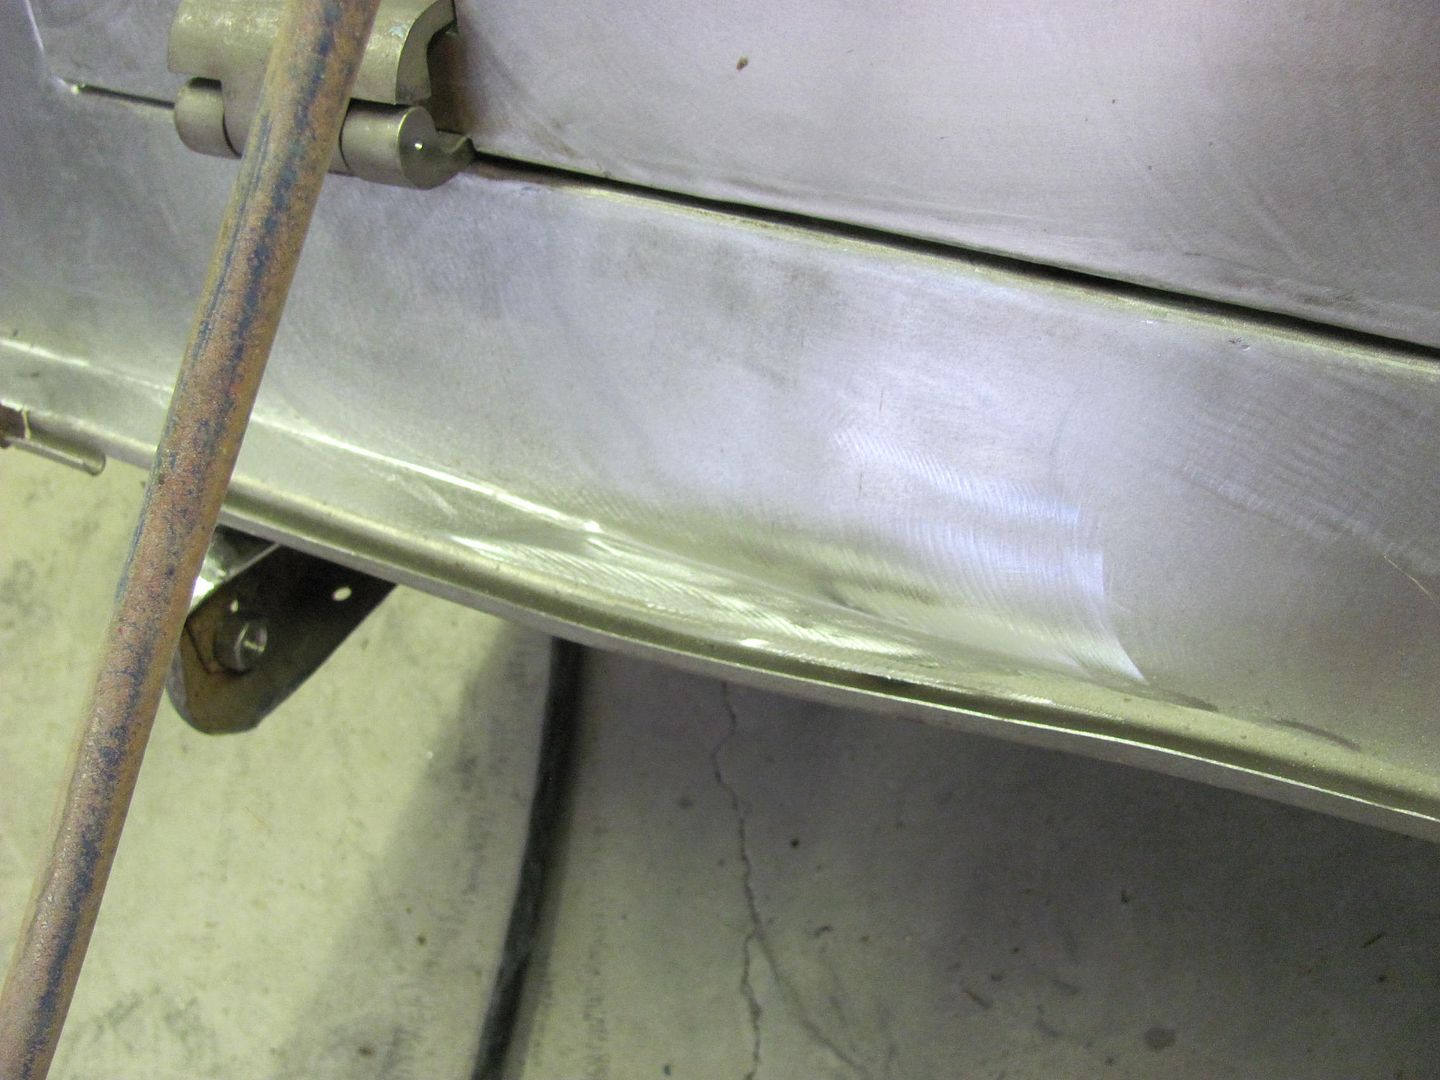
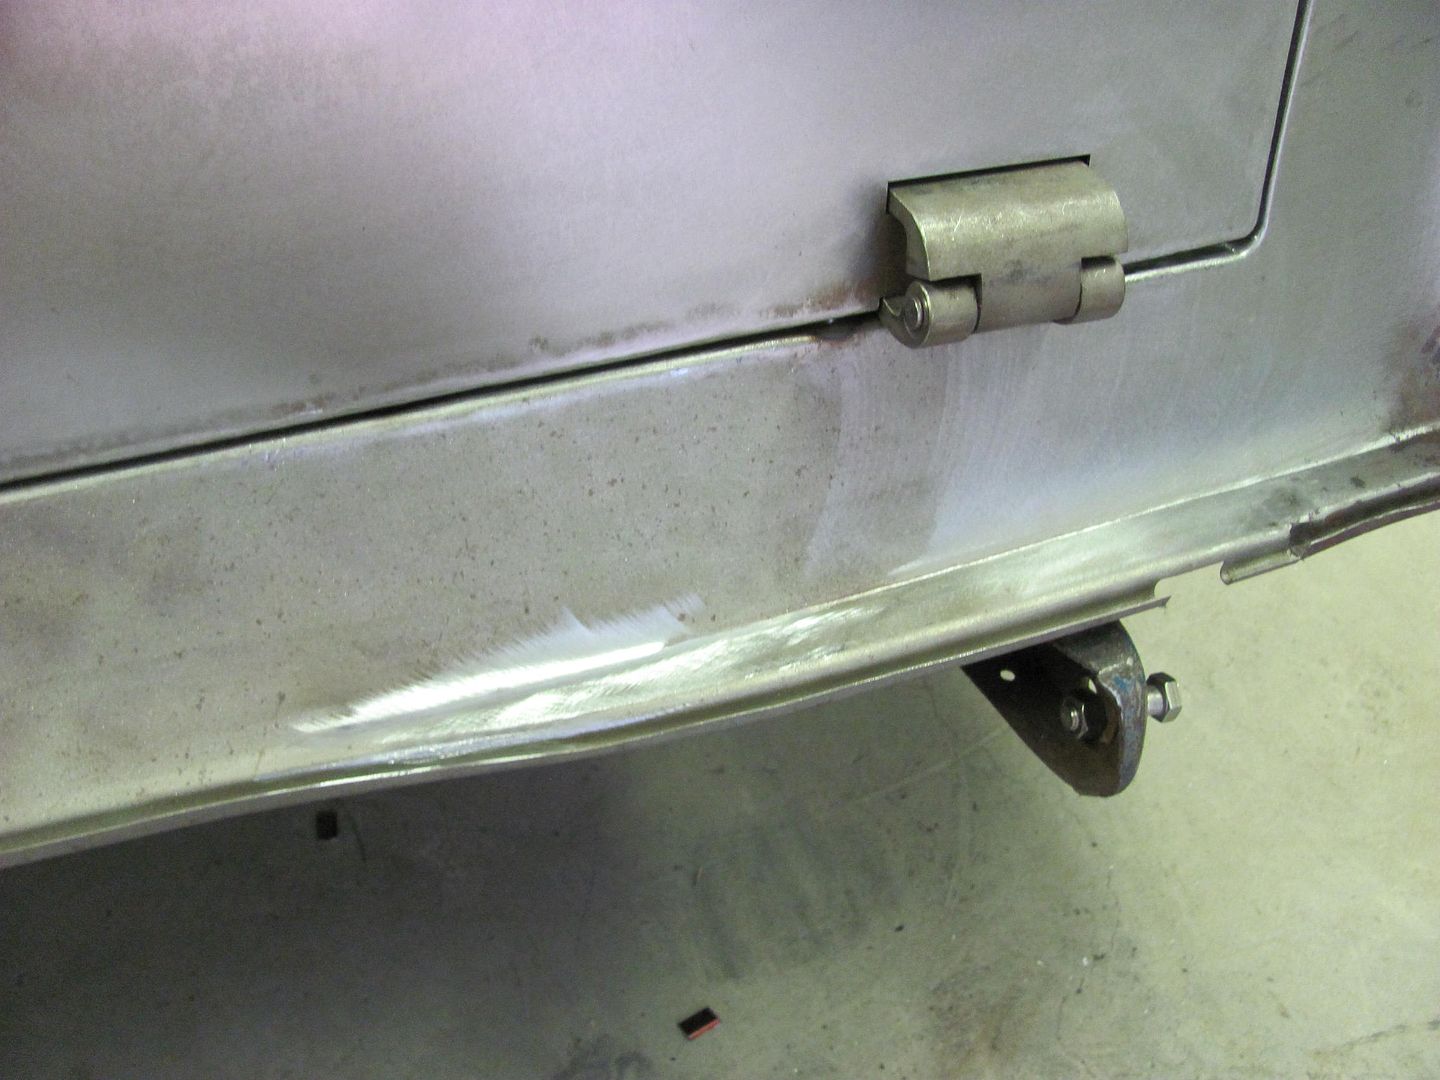
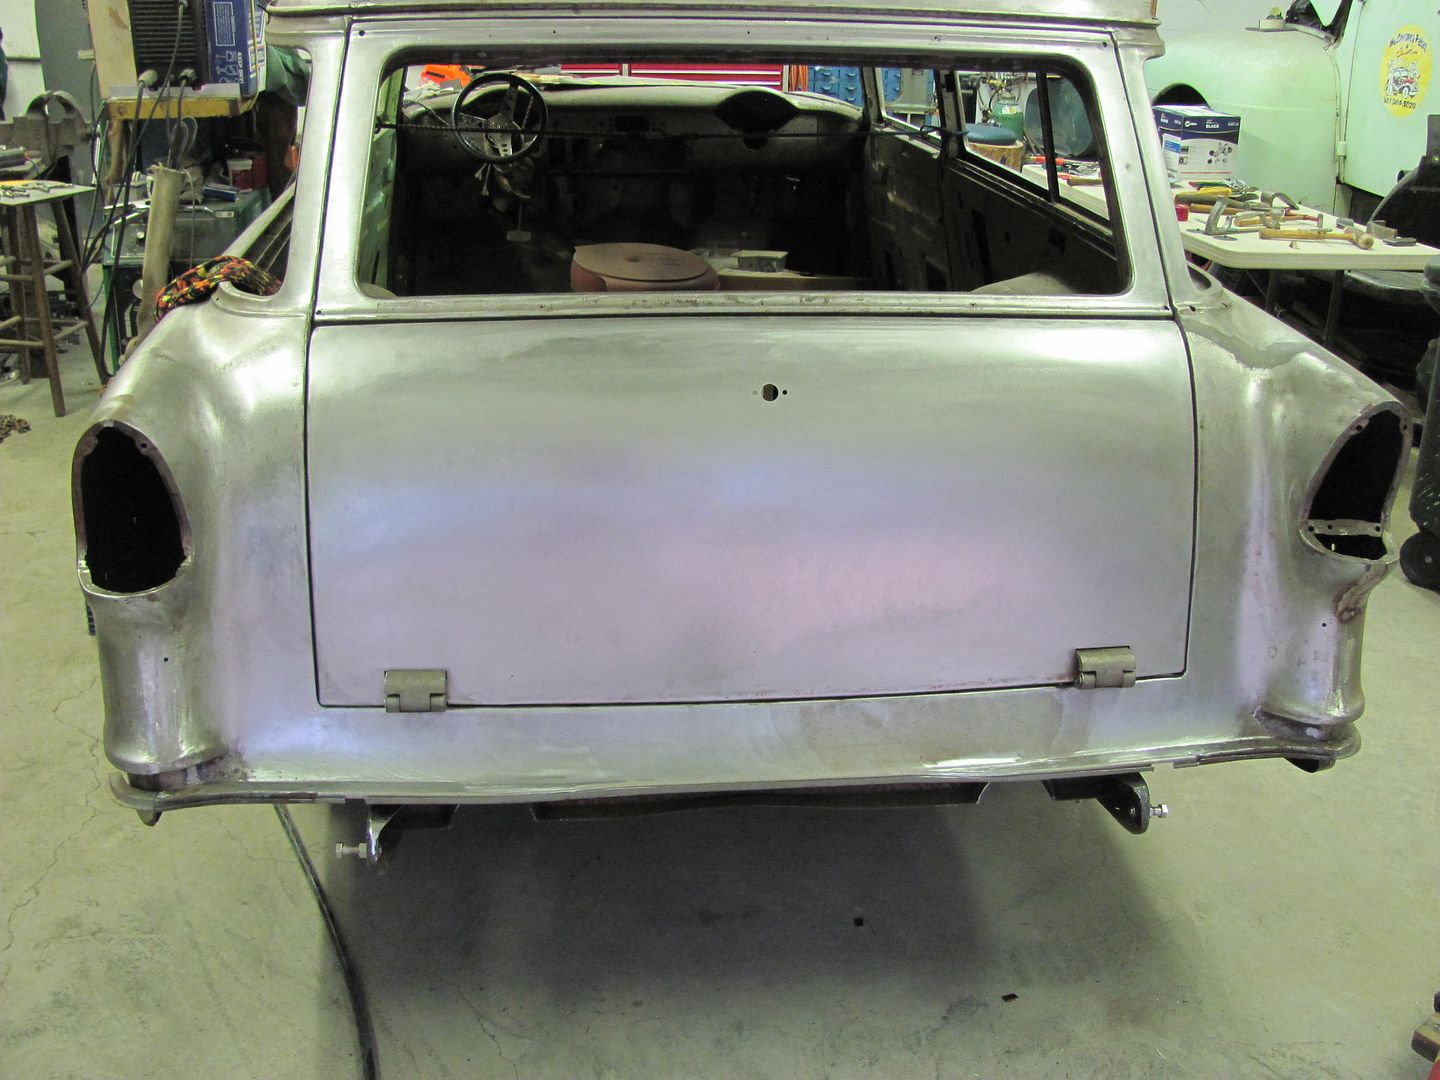
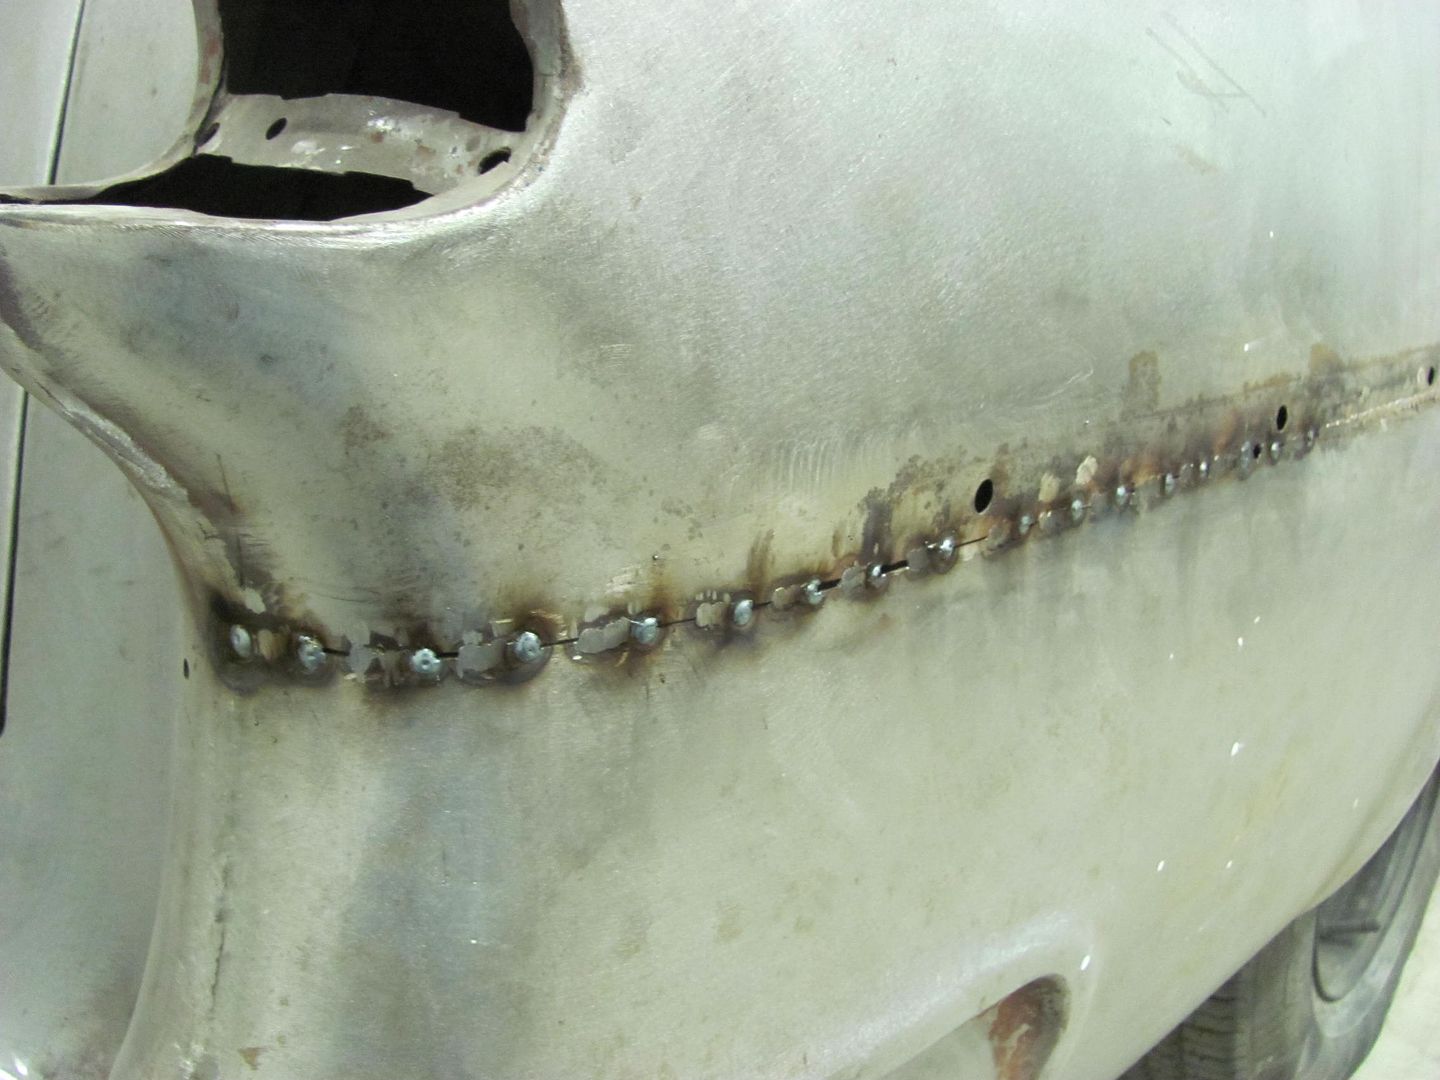
Been a busy couple weeks working on honey do's, painted the inside of the garage so I could hang a canoe for storage, so I could paint the inside of the car trailer that it used to be stored in, so we could sell the car trailer. Late today, found a bit of time for the wagon, working on some of the plug welds for the rear valance....

The ones at the bottom attach to two braces underneath, and fitted the tailgate to pull in the valance to match the bottom of the tailgate...

Last edited by MP&C; 05-27-2013 at 08:36 PM.
Robert
-
05-29-2013 06:48 AM #69
Great work Robert, its' those little pieces that drive you nuts but they make all the difference in the world.
-
06-07-2013 09:17 PM #70
Worked today to finish up the weld seam on the passenger quarter panel. First, I wanted a profile template to check the crown of the panel. As the rear half of the driver's quarter was NOS, this would make a good template....
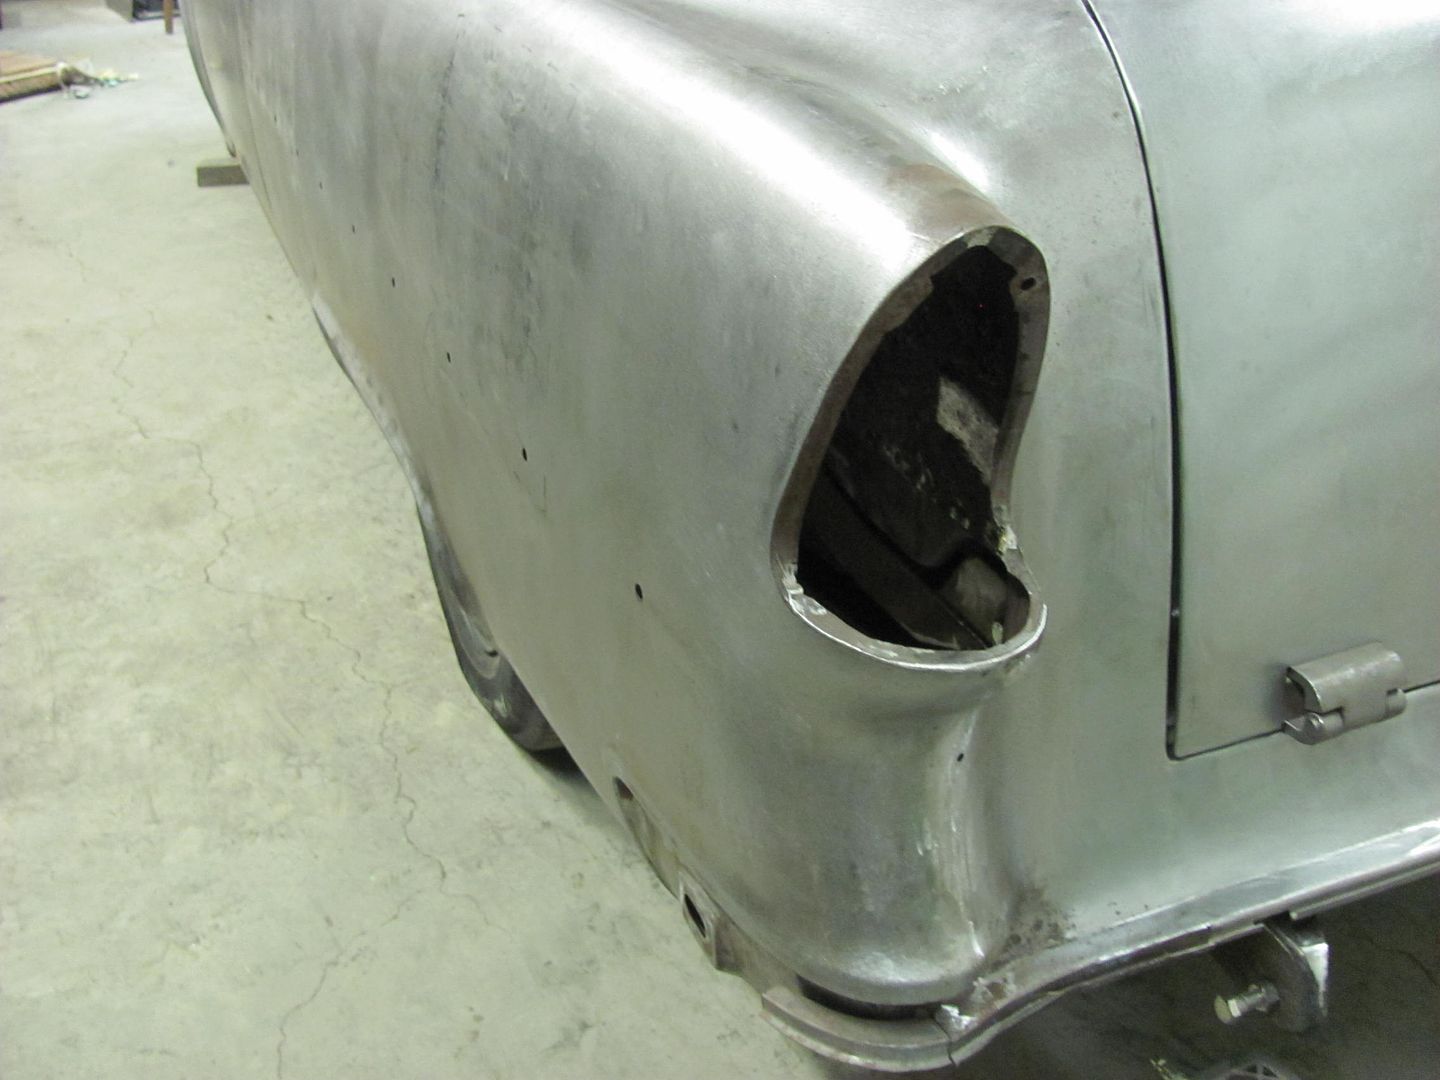
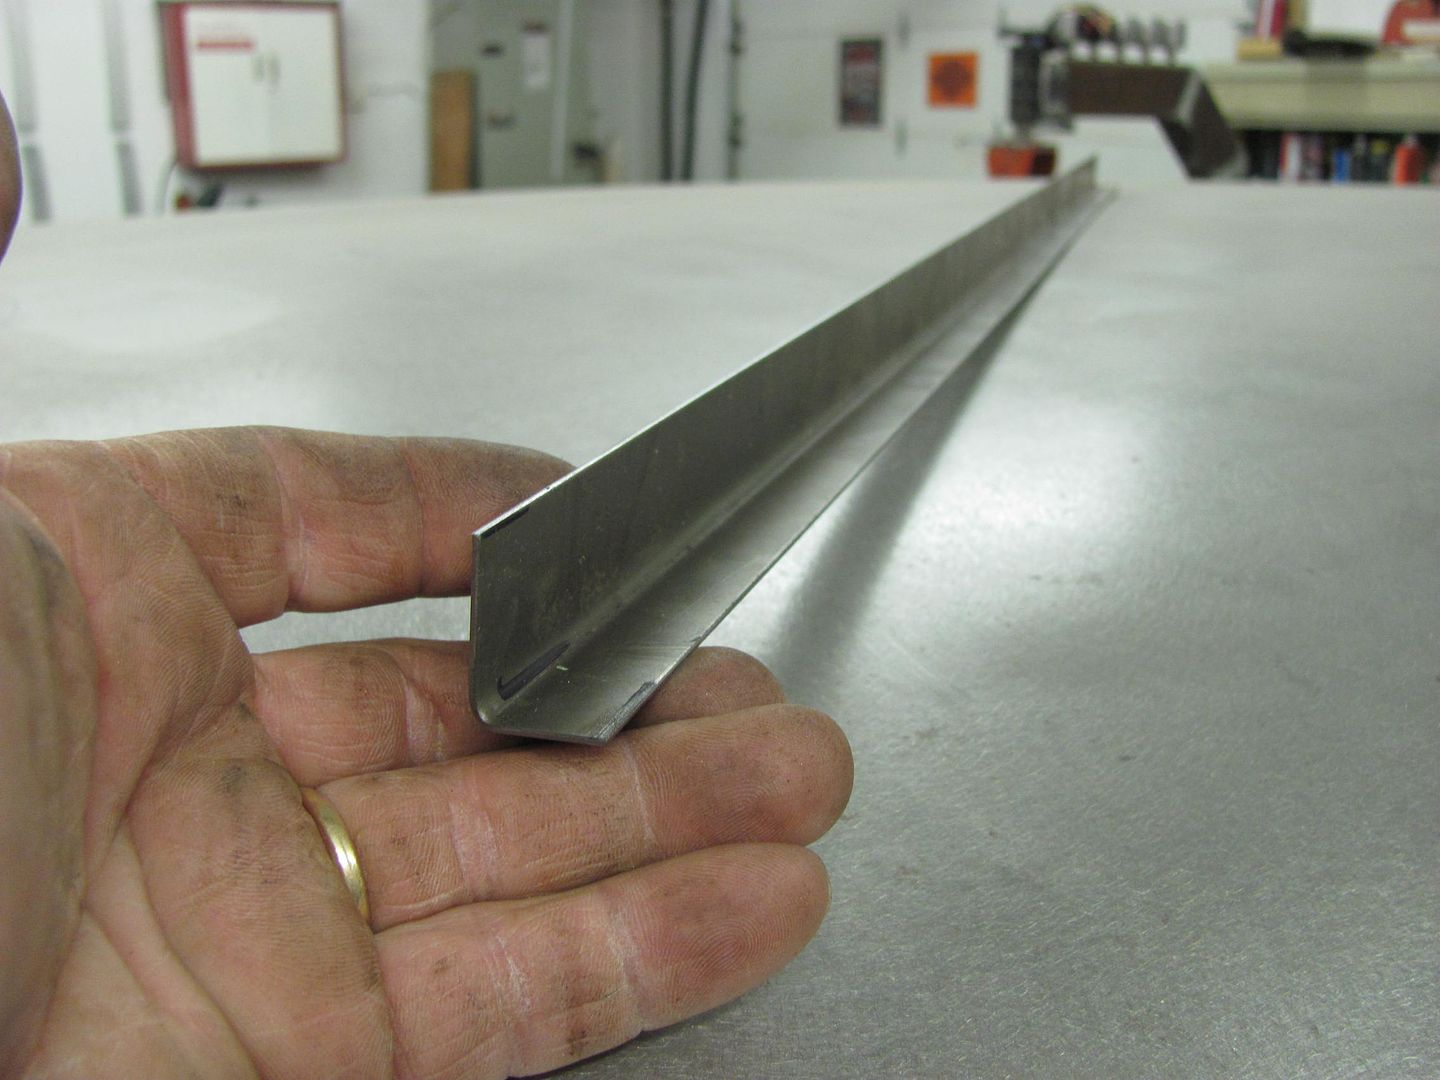
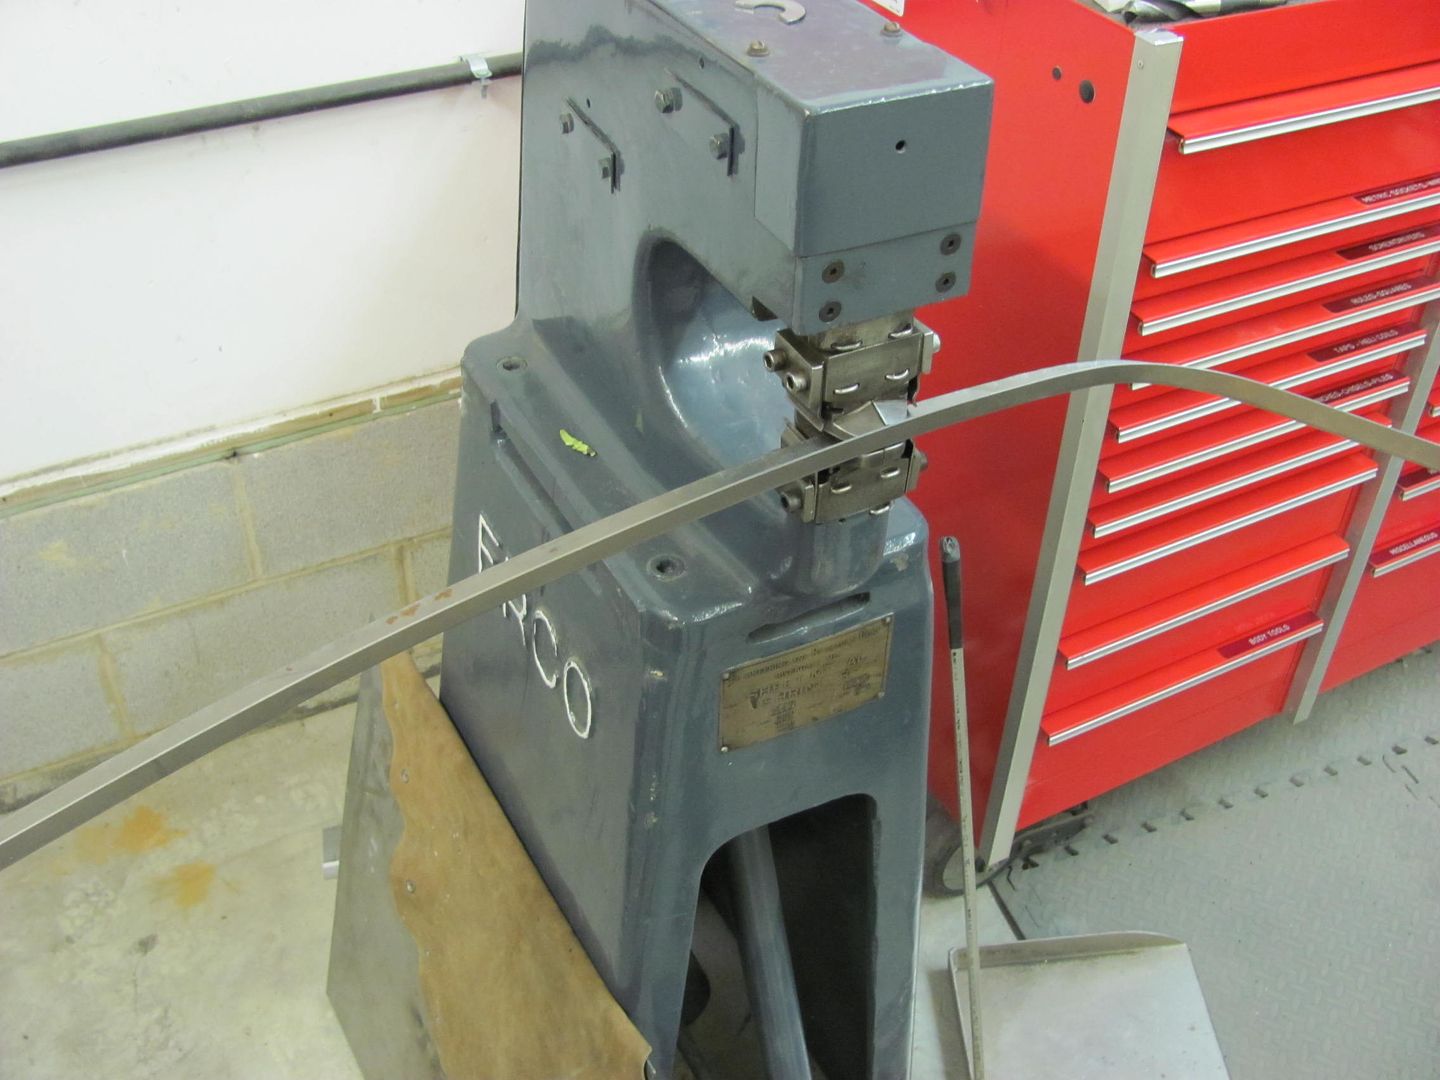
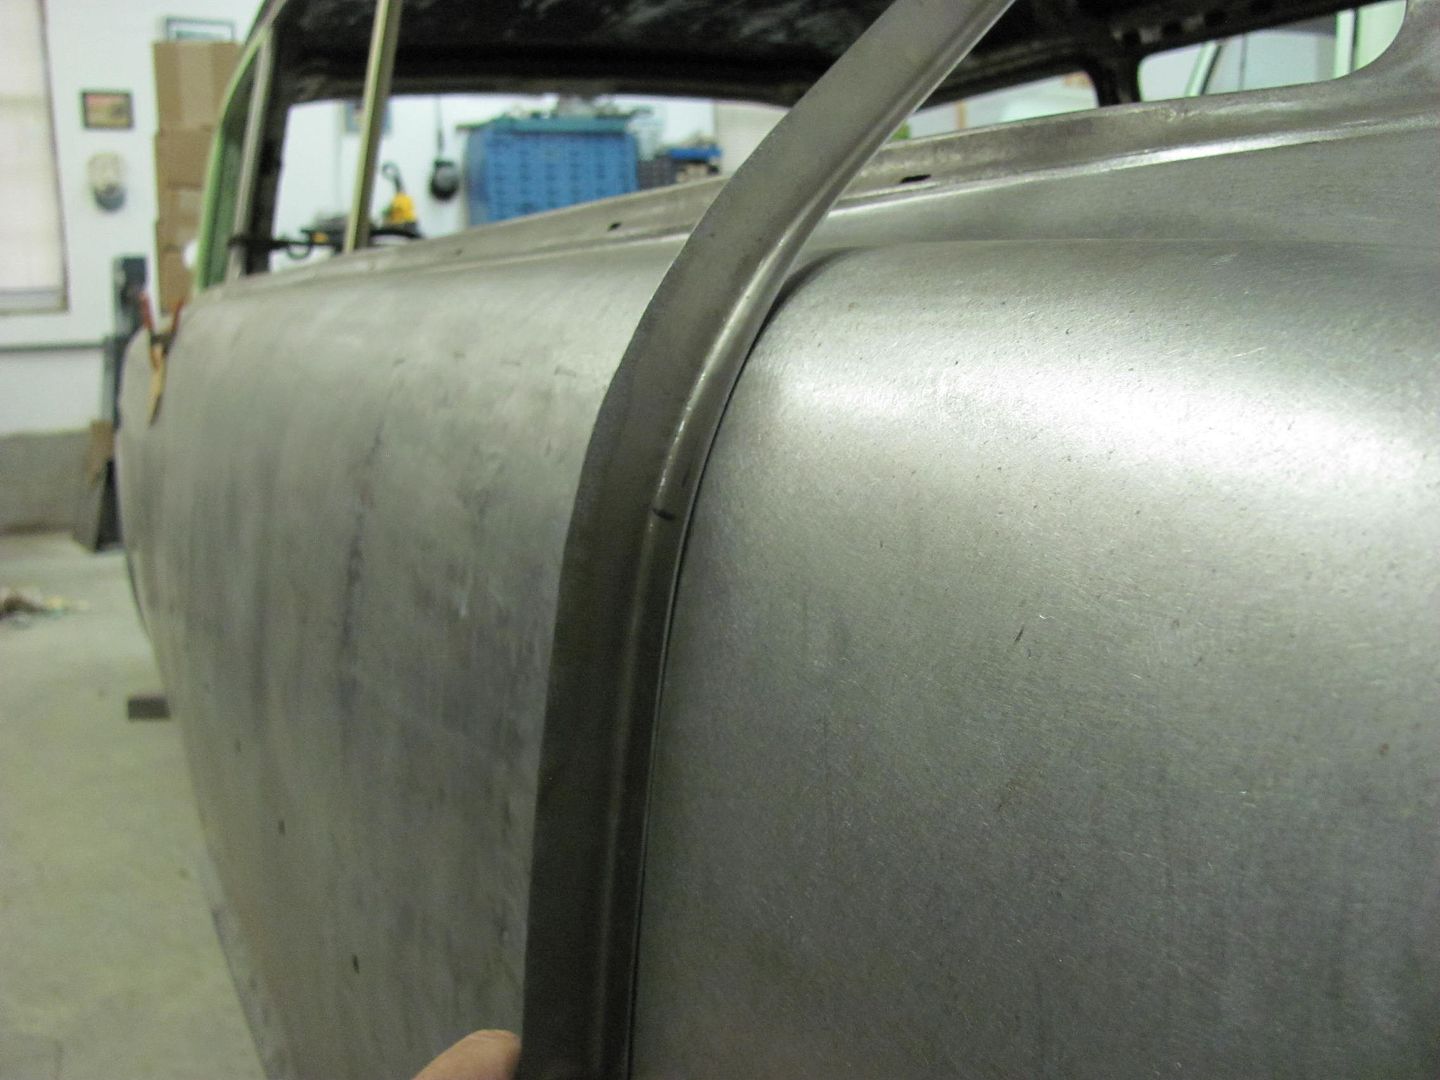
Adding an alignment mark to the quarter....
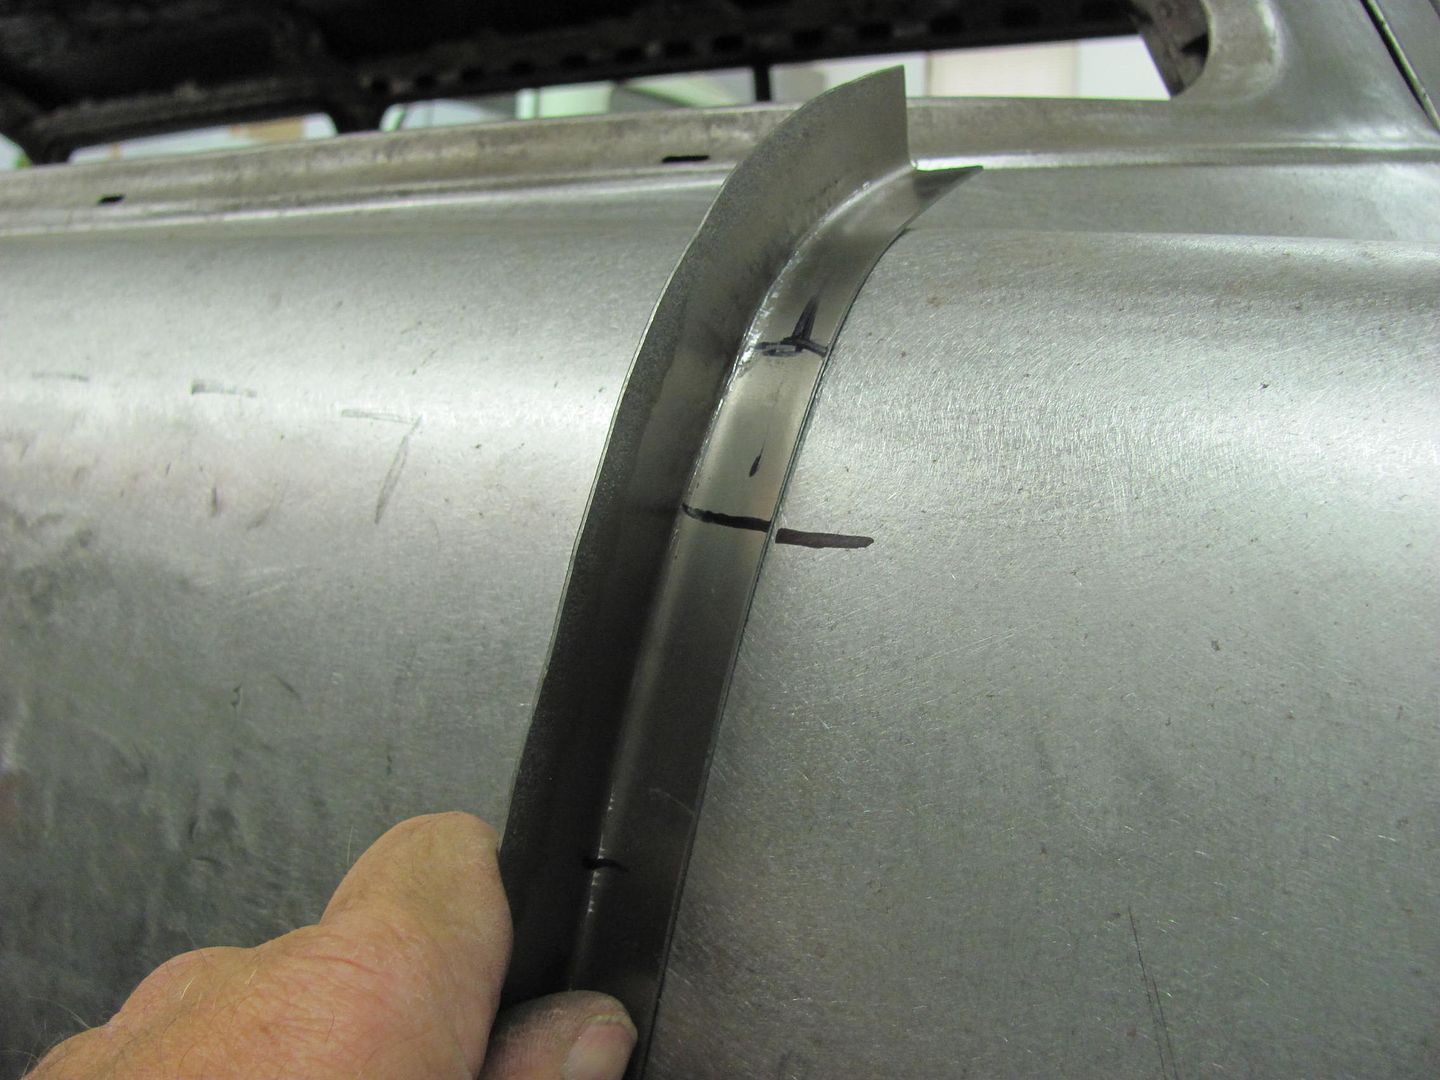
Using the profile template against the welded seam of the passenger side, we can see the low area along the center. This is a typical problem with using "half quarters", welding through the center of panel tends to flatten out this low crown area. A full quarter with the welded seam up top where there is a bit more crown tends to not have as much of a "flattening" effect.
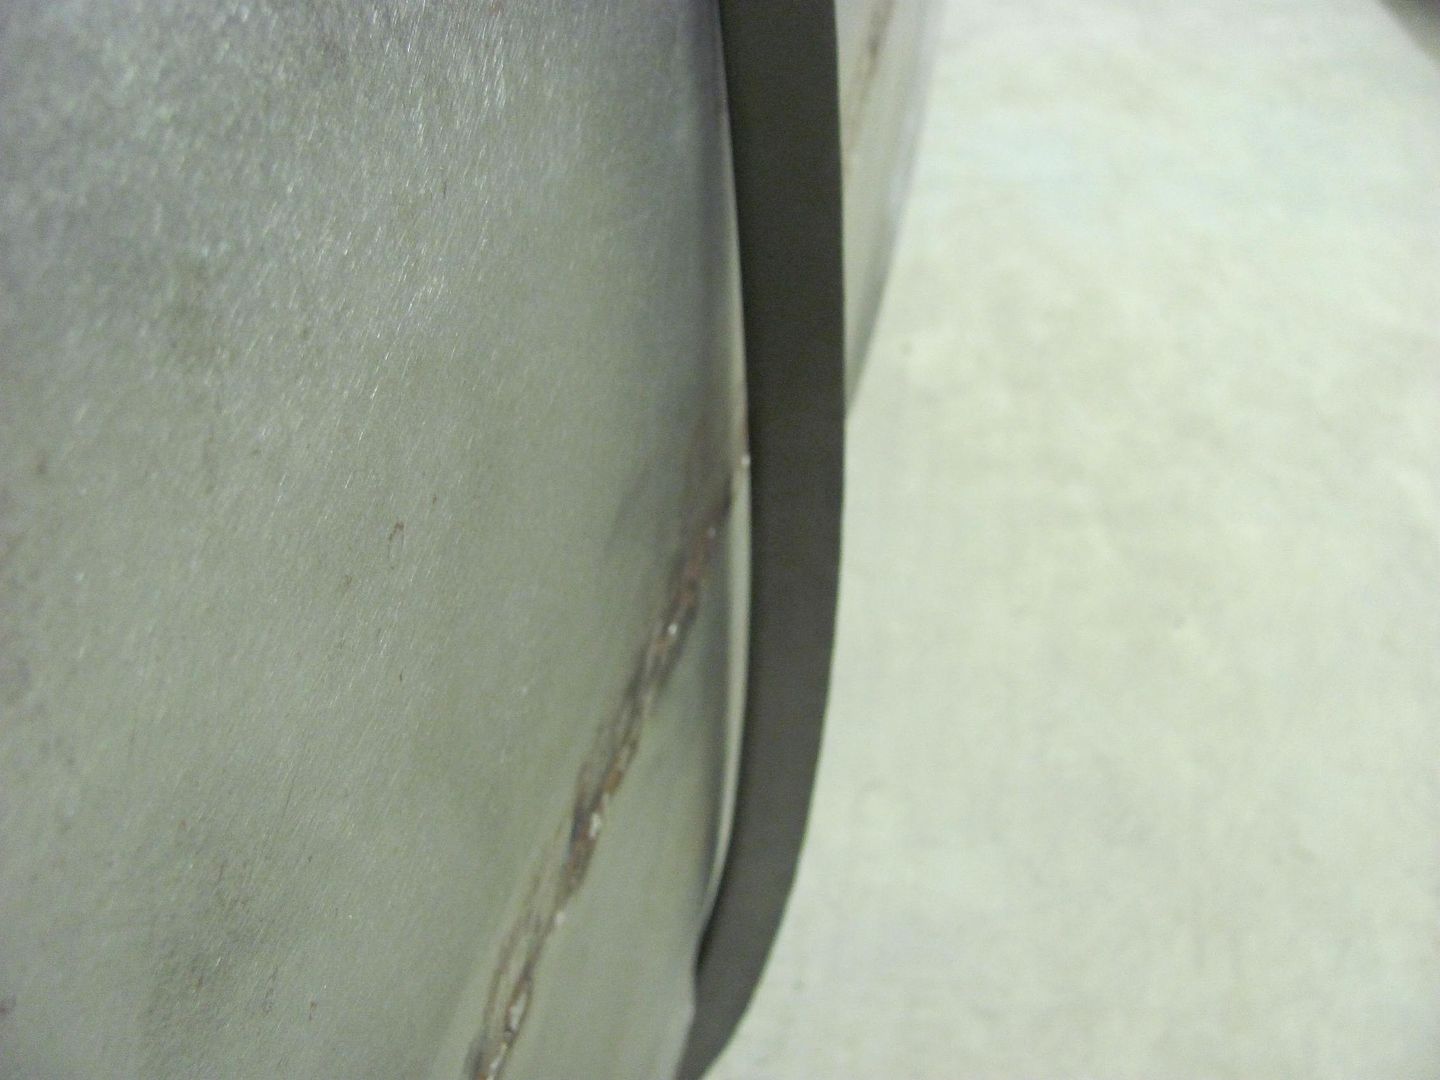
Finishing the welds and checking with the profile template.....
Still shows some more crown needed through the middle of the panel, will do some more planishing tomorrow...
Last edited by MP&C; 06-07-2013 at 09:27 PM.
Robert
-
07-14-2013 08:29 PM #71
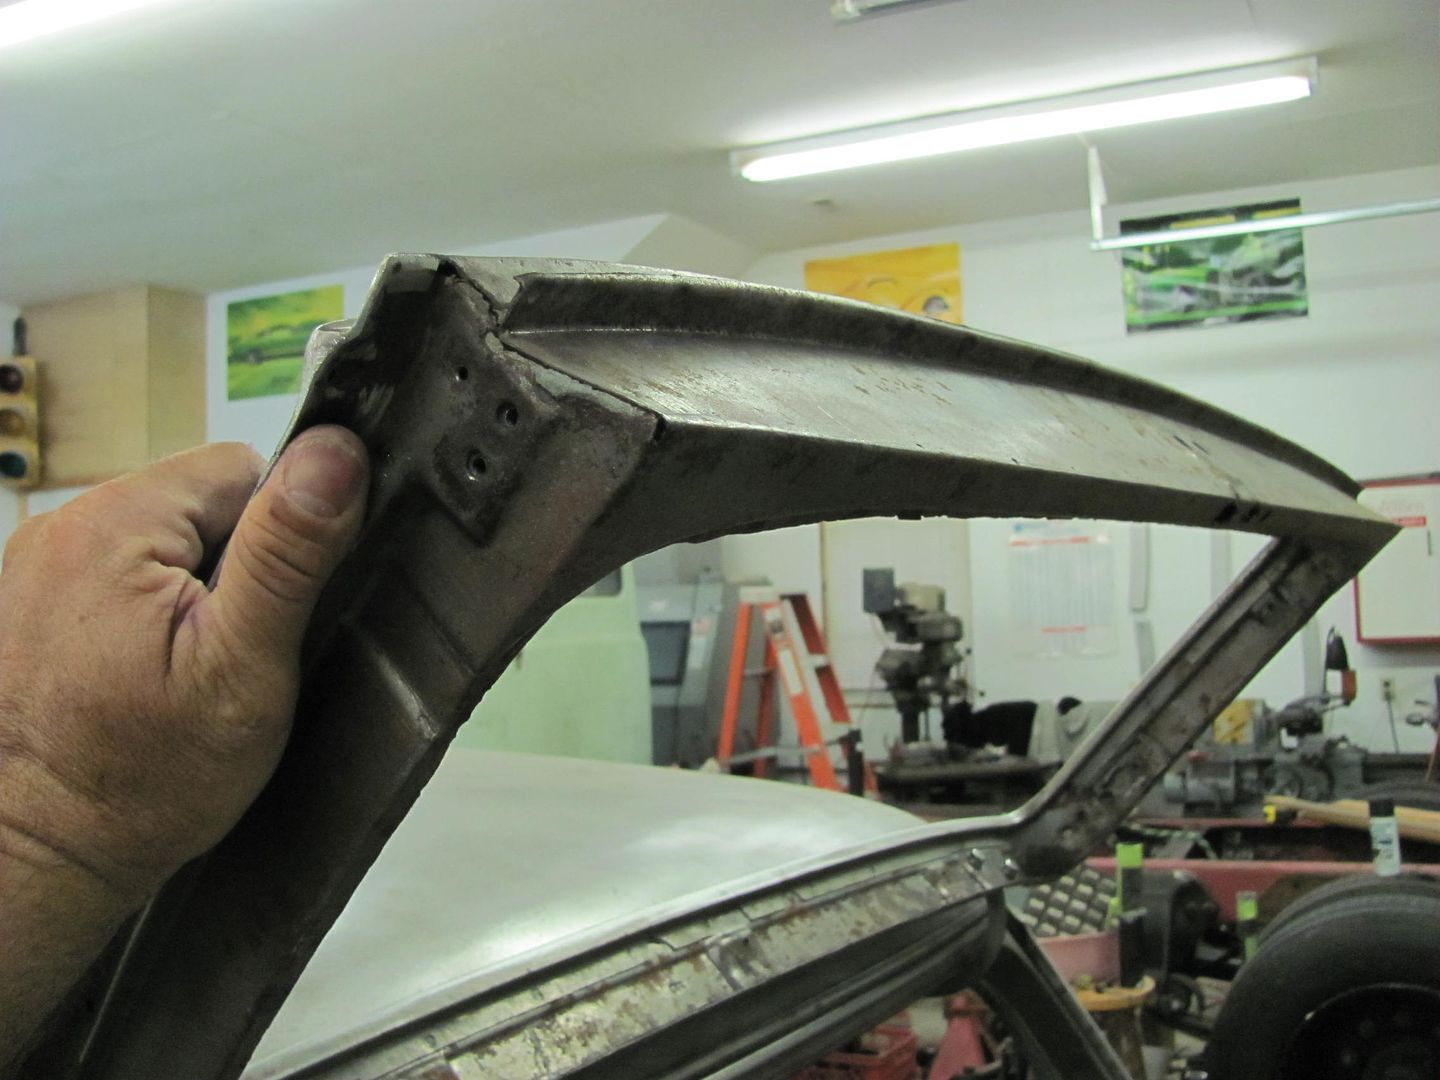
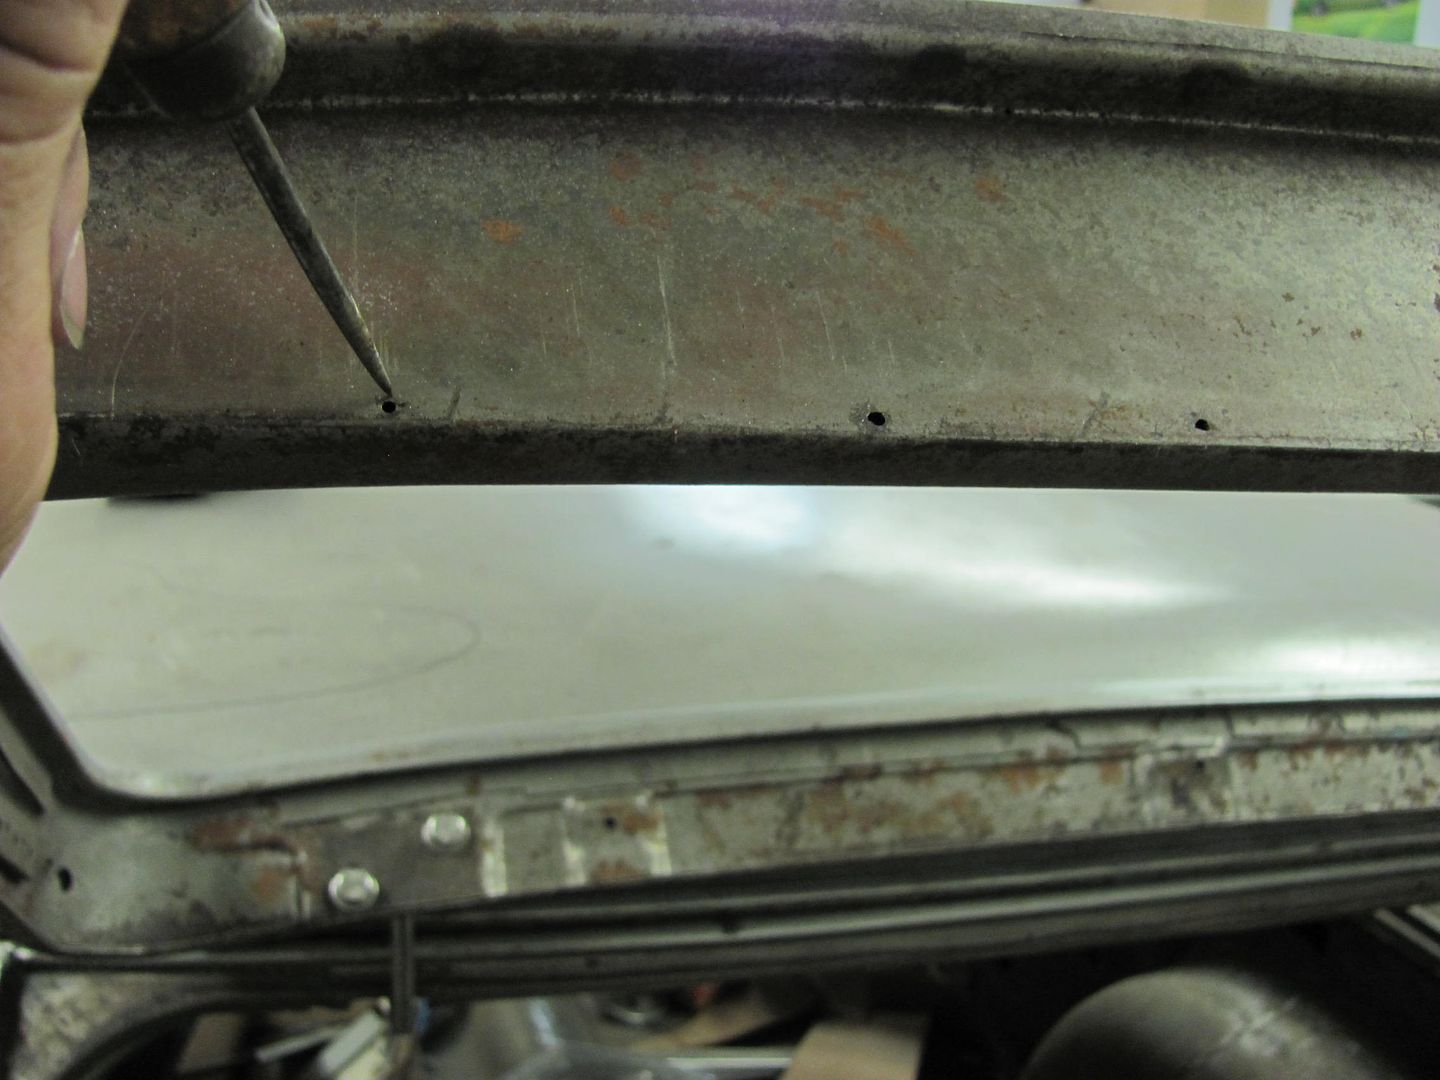
Next on the list for the wagon, the upper gate. It has a similar stance as the lower gate when closed, and as such, water lays along the inner window frame at the bottom.
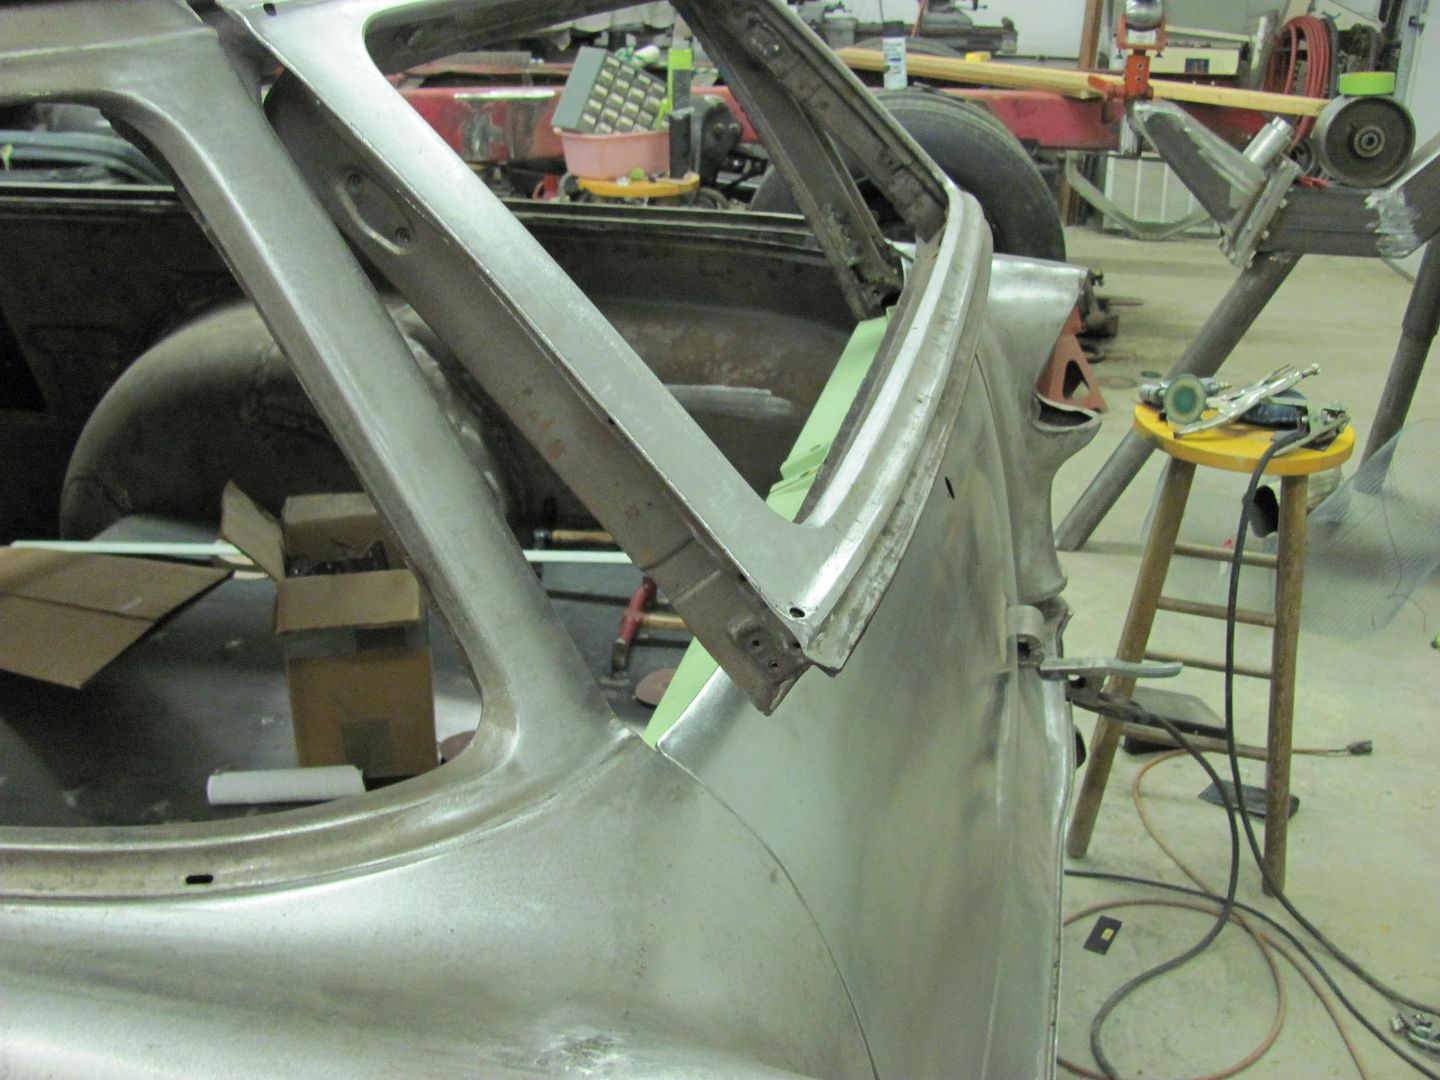
Ice pick test....
The lower bend is fairly flat, going to a tipped flange in the form of an arc, the inside has some compound curves going to the window opening flange...
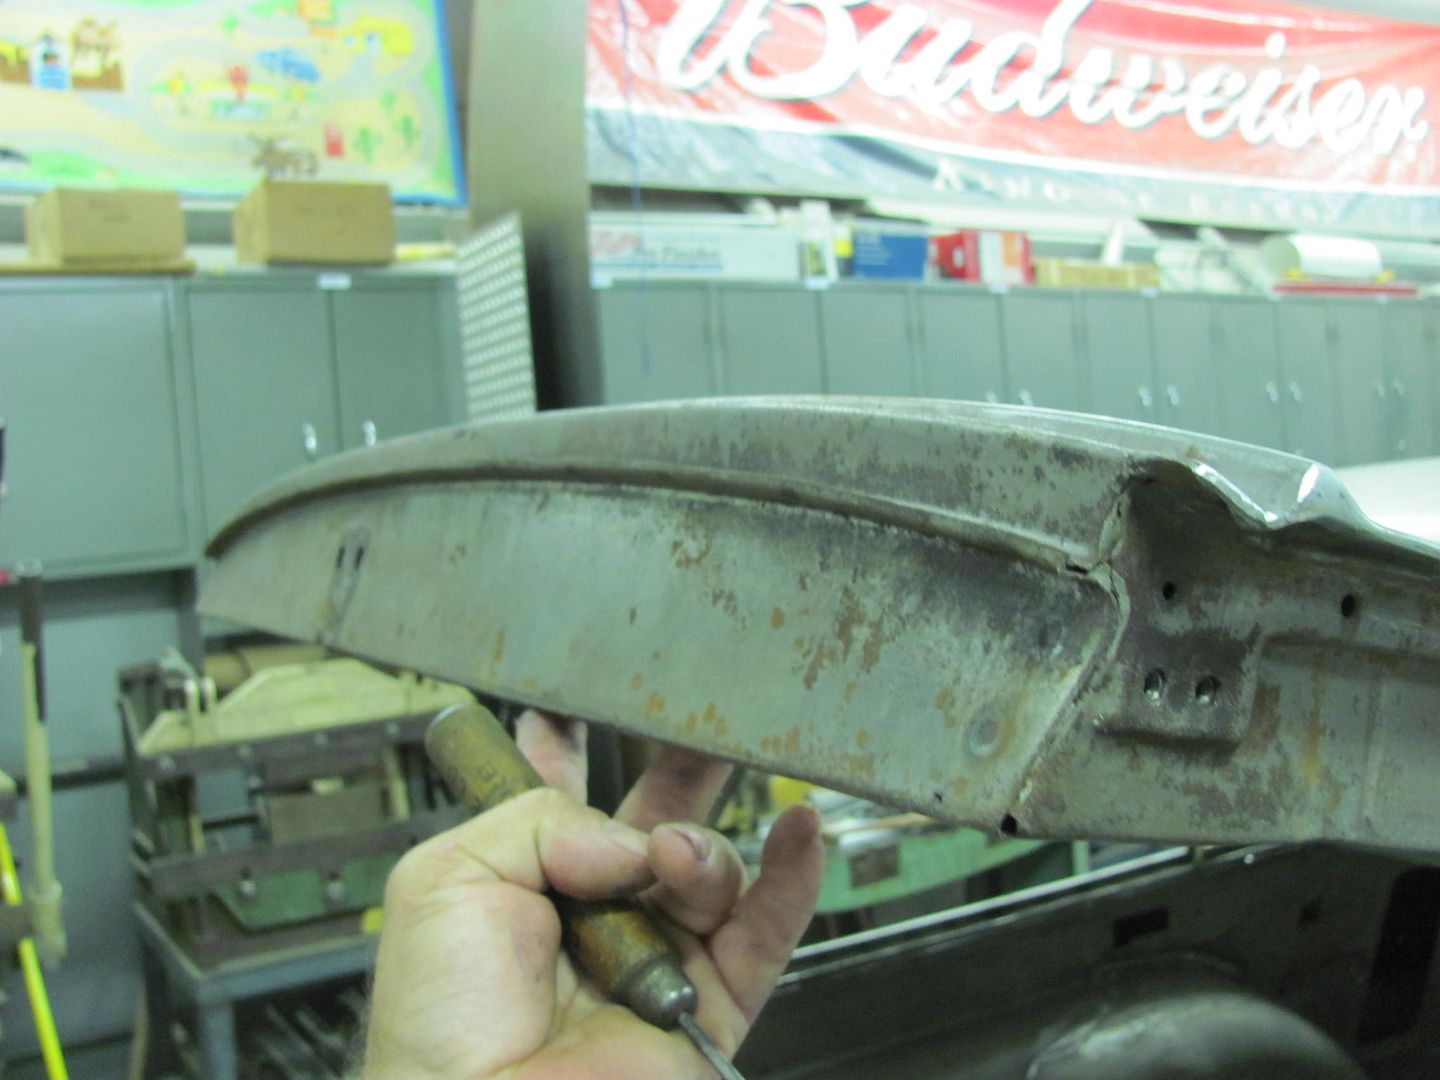
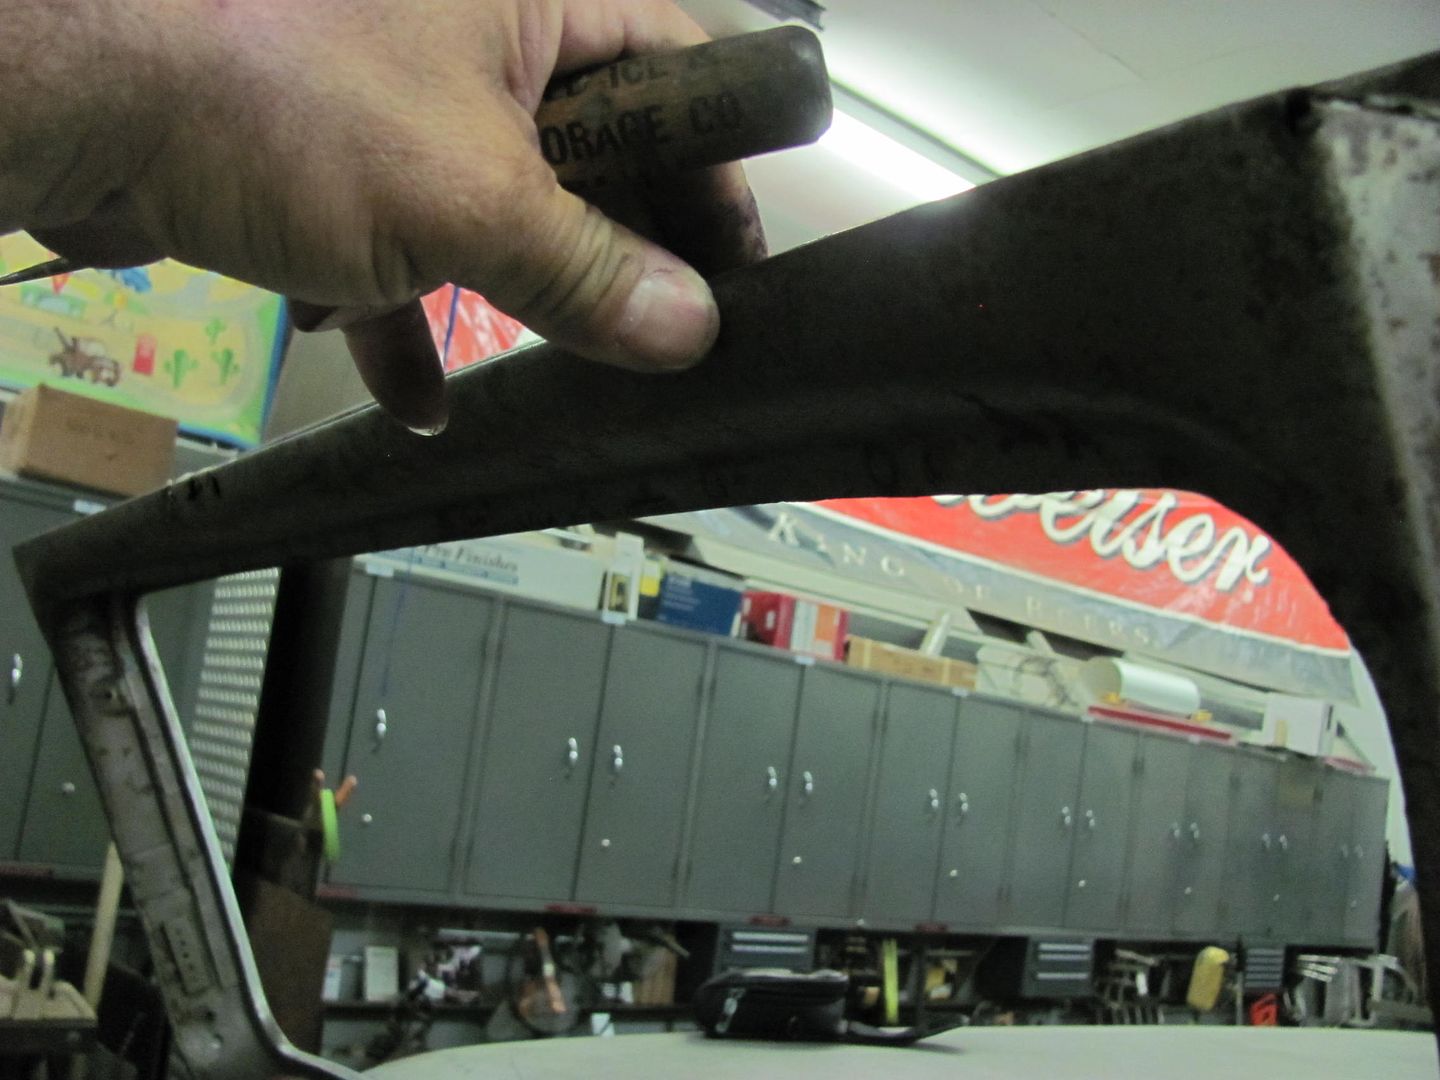
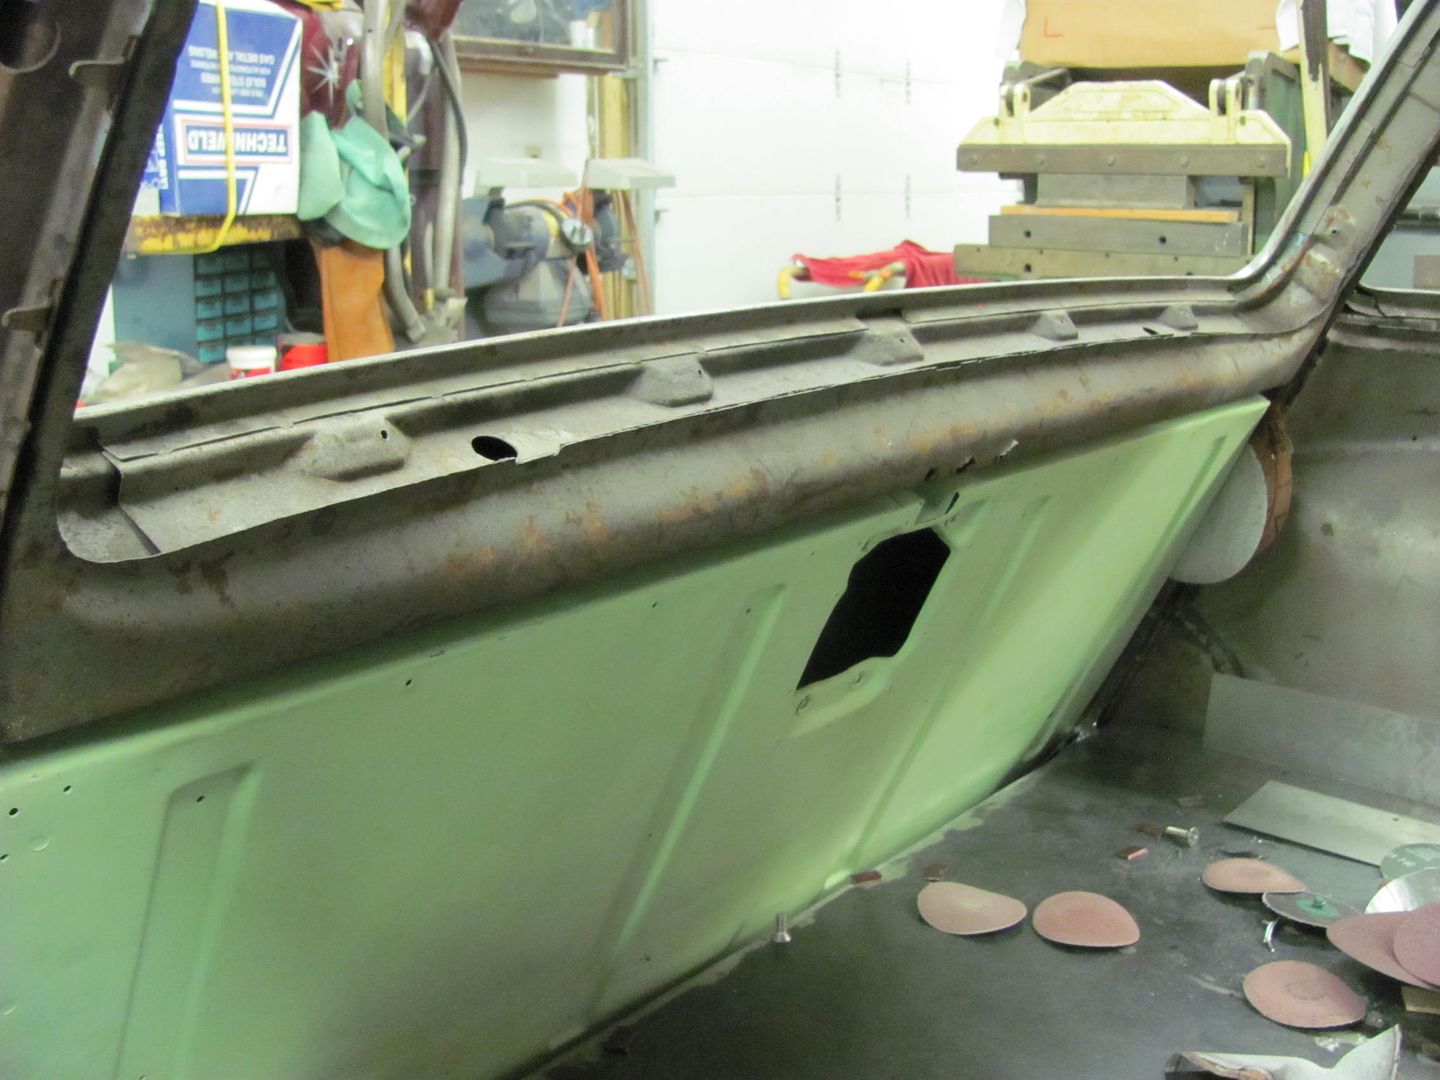

I'll get this bottom cut out next week and attempt to form it in one piece, flange to flange, for a easier job of replacing..Robert
-
07-15-2013 05:47 PM #72
- Join Date
- Apr 2011
- Location
- Prairie City
- Car Year, Make, Model: 40 Ford Deluxe, 68 Corvette, 72&76 K30
- Posts
- 7,301
- Blog Entries
- 1
Very nice work, and cool little template you made up to check your quarter curvature!Ryan
1940 Ford Deluxe Tudor 354 Hemi 46RH Electric Blue w/multi-color flames, Ford 9" Residing in multiple pieces
1968 Corvette Coupe 5.9 Cummins Drag Car 11.43@130mph No stall leaving the line with 1250 rpm's and poor 2.2 60'
1972 Chevy K30 Longhorn P-pumped 24v Compound Turbos 47RH Just another money pit
1971 Camaro RS 5.3 BTR Stage 3 cam, SuperT10
Tire Sizes
-
07-15-2013 07:09 PM #73
Excellent metal work, Robert!
-
07-18-2013 09:33 PM #74
Thanks guys!
Took the upper gate off tonight...
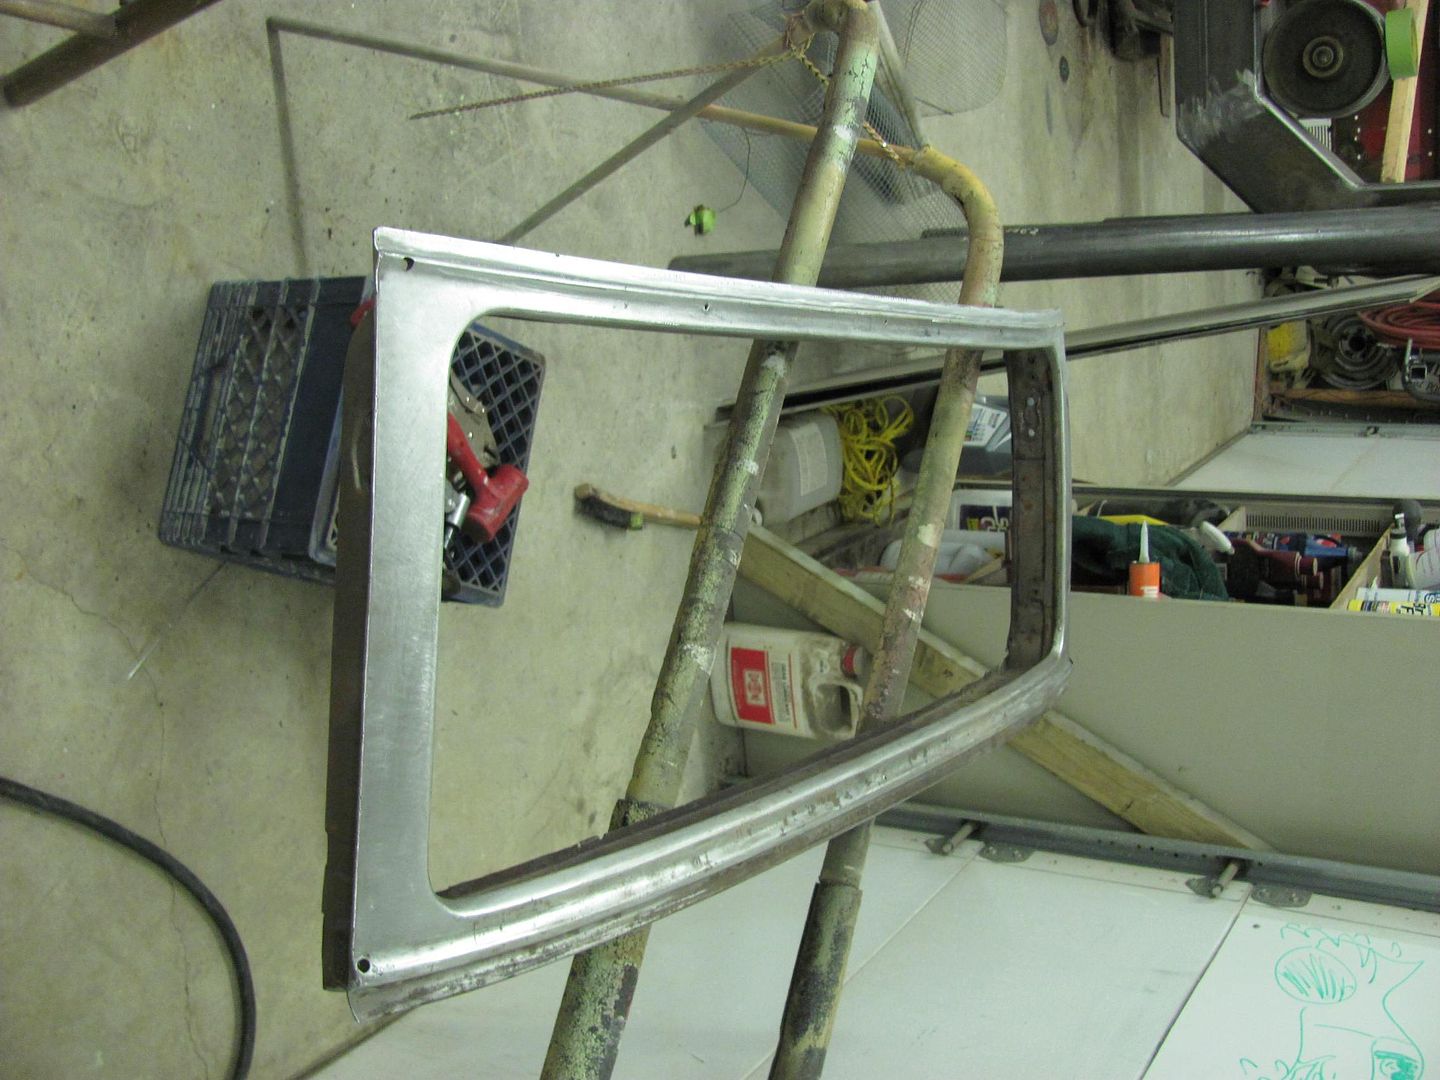
My tool of choice for removing spot welds is a 3" x 1/16 cutoff wheel. I also use the premium wheels made for stainless steel. It's worth the extra money when you don't have a brown cloud in the shop, like the el cheapo wheels leave, nothing but resin wearing away.
The upper layer of metal will start to turn blue when it gets thin and hot, letting you know you're getting close to the next layer. When you have a blue circle with shiny metal in the center, you are now in the second layer, grind around the blue a bit more and pry the layers apart..
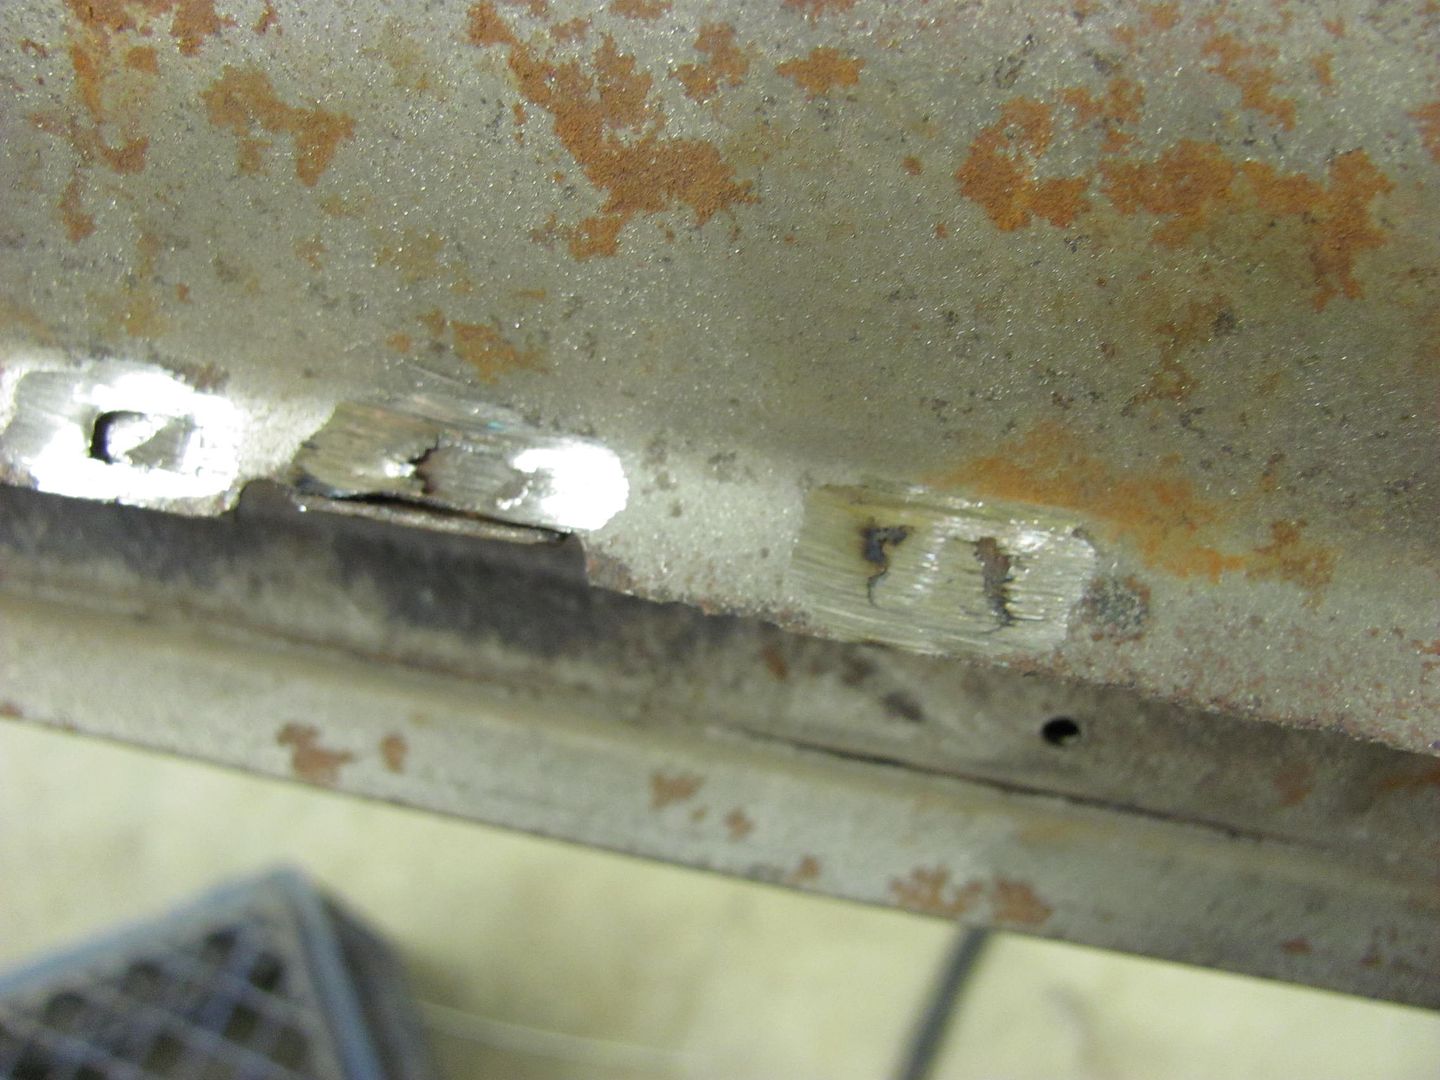
With all the spot welds removed, here's what we find inside...

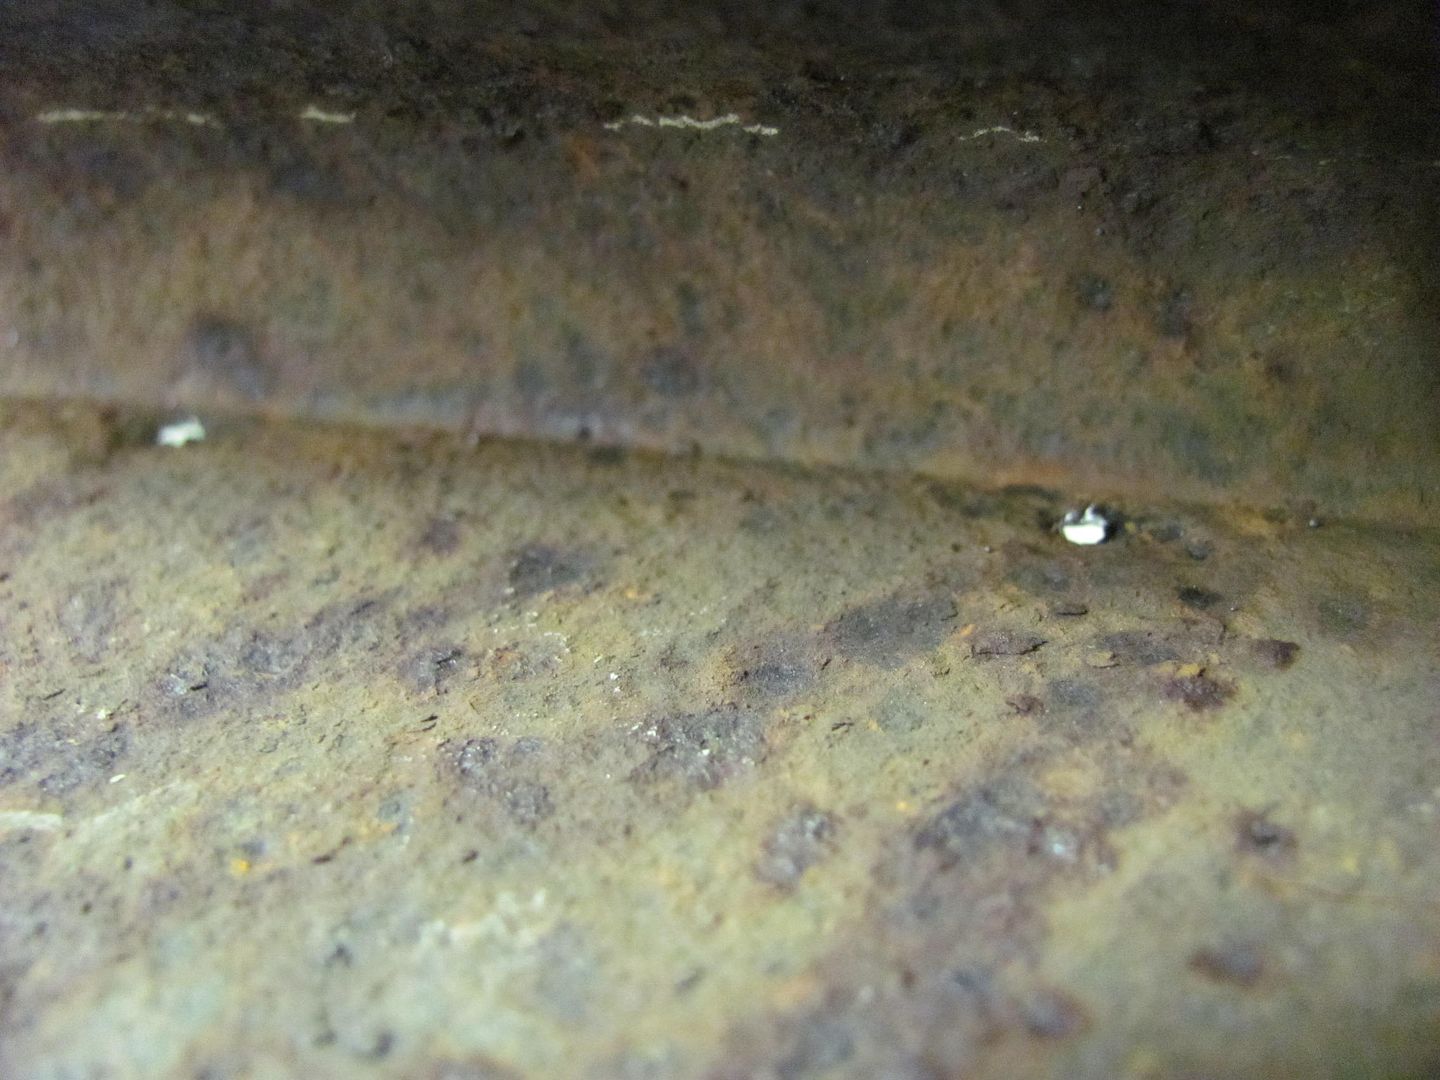
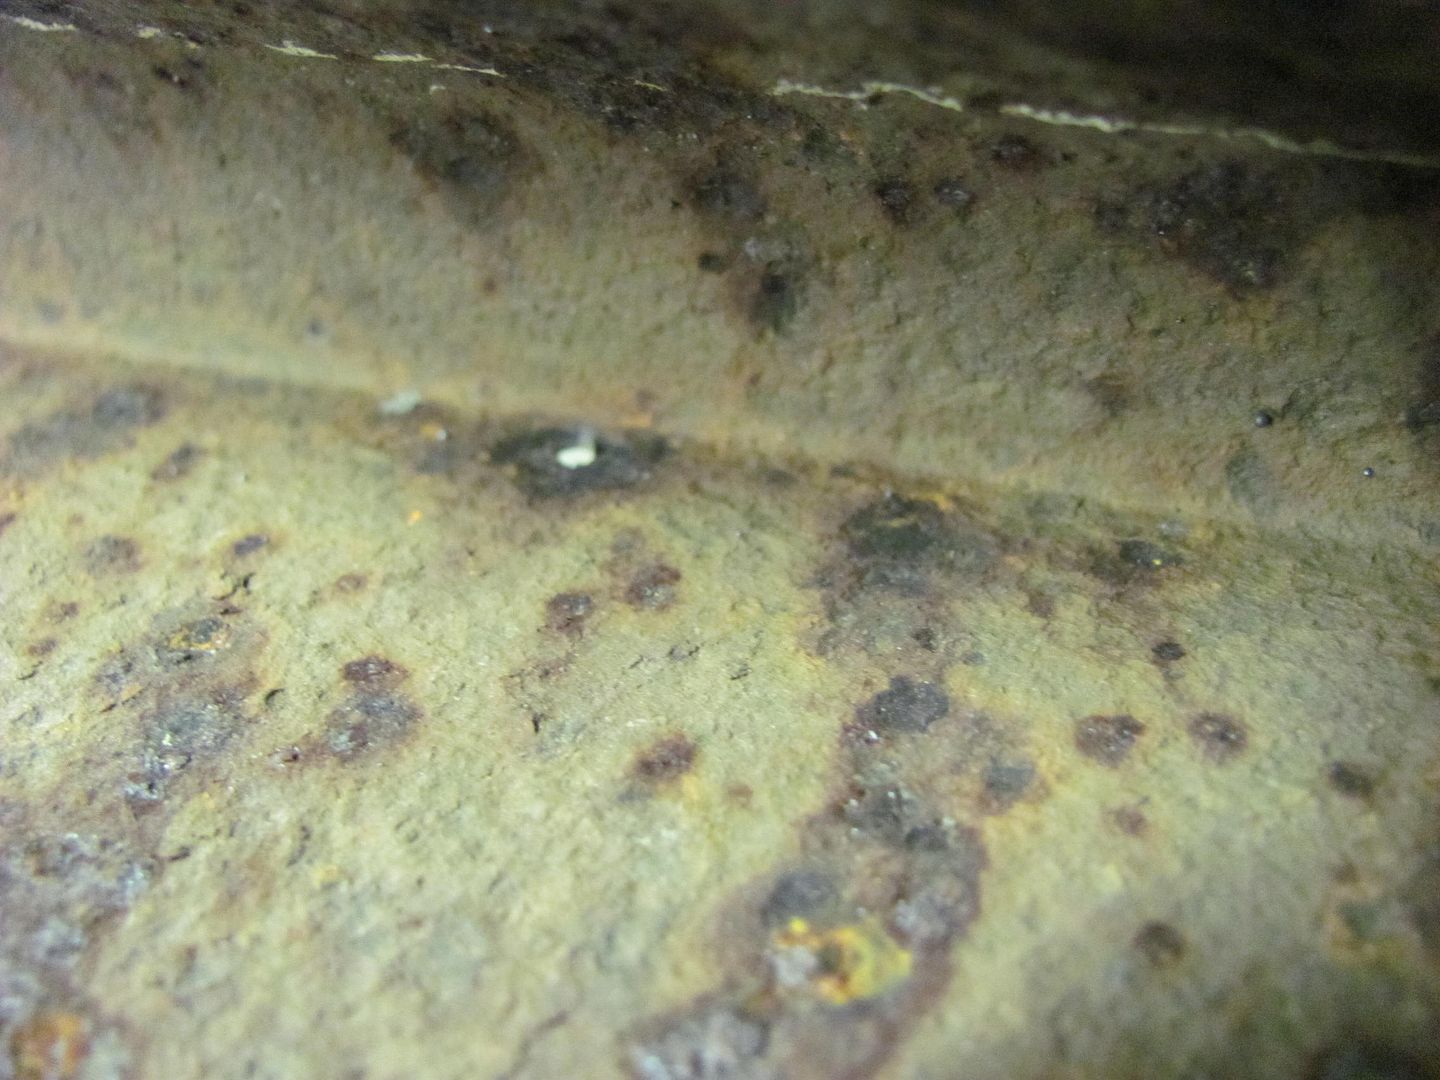
Note the deep pits. The big problem with just welding a hole closed is you don't know where the next pit is lurking, ready to break through your new paint.
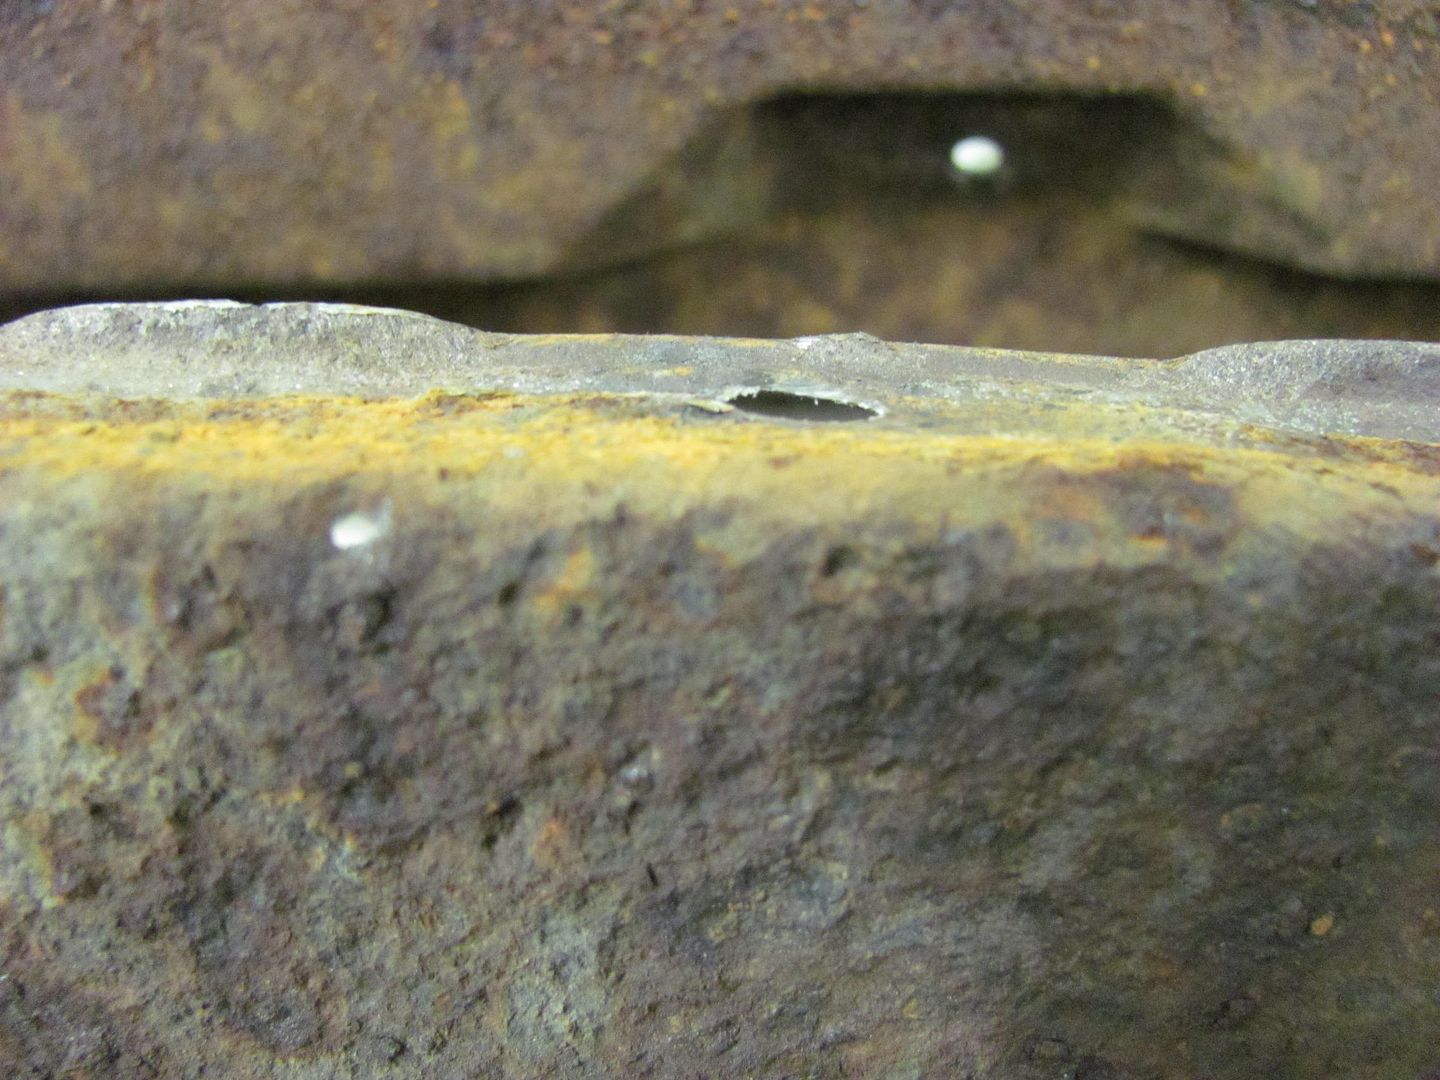
Funny, with all the rust and scale inside, then you find this area of bare steel nice and shiney..
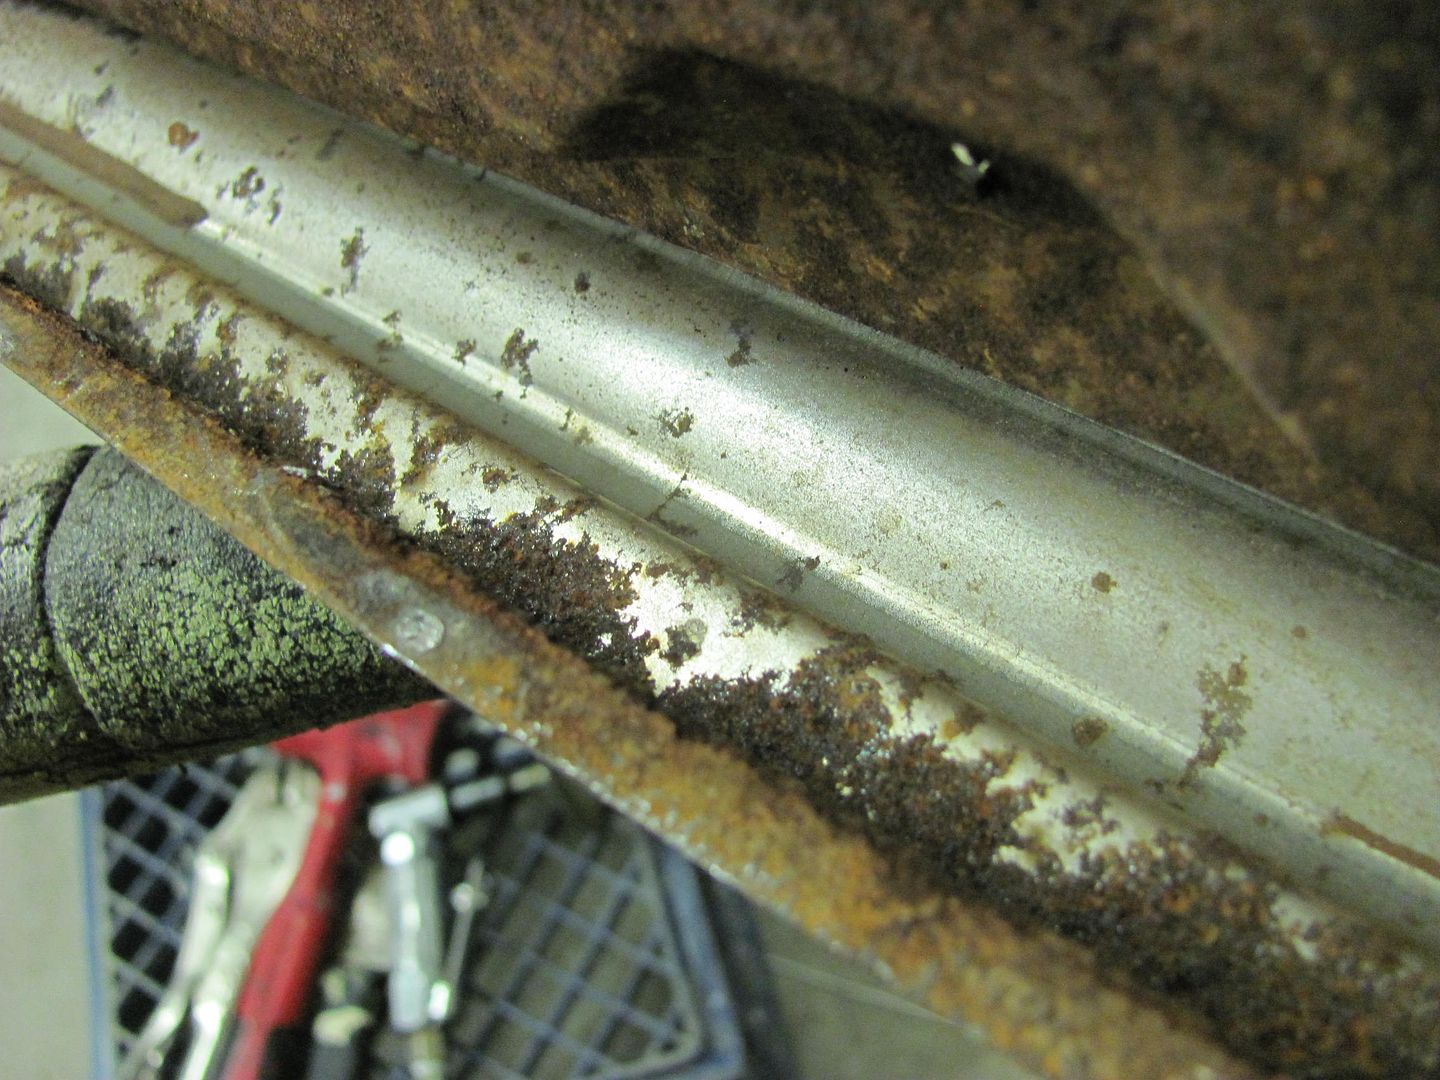
The inside will get media blasted to insure there is no more lurking issues and then epoxy primered before re-assembly.
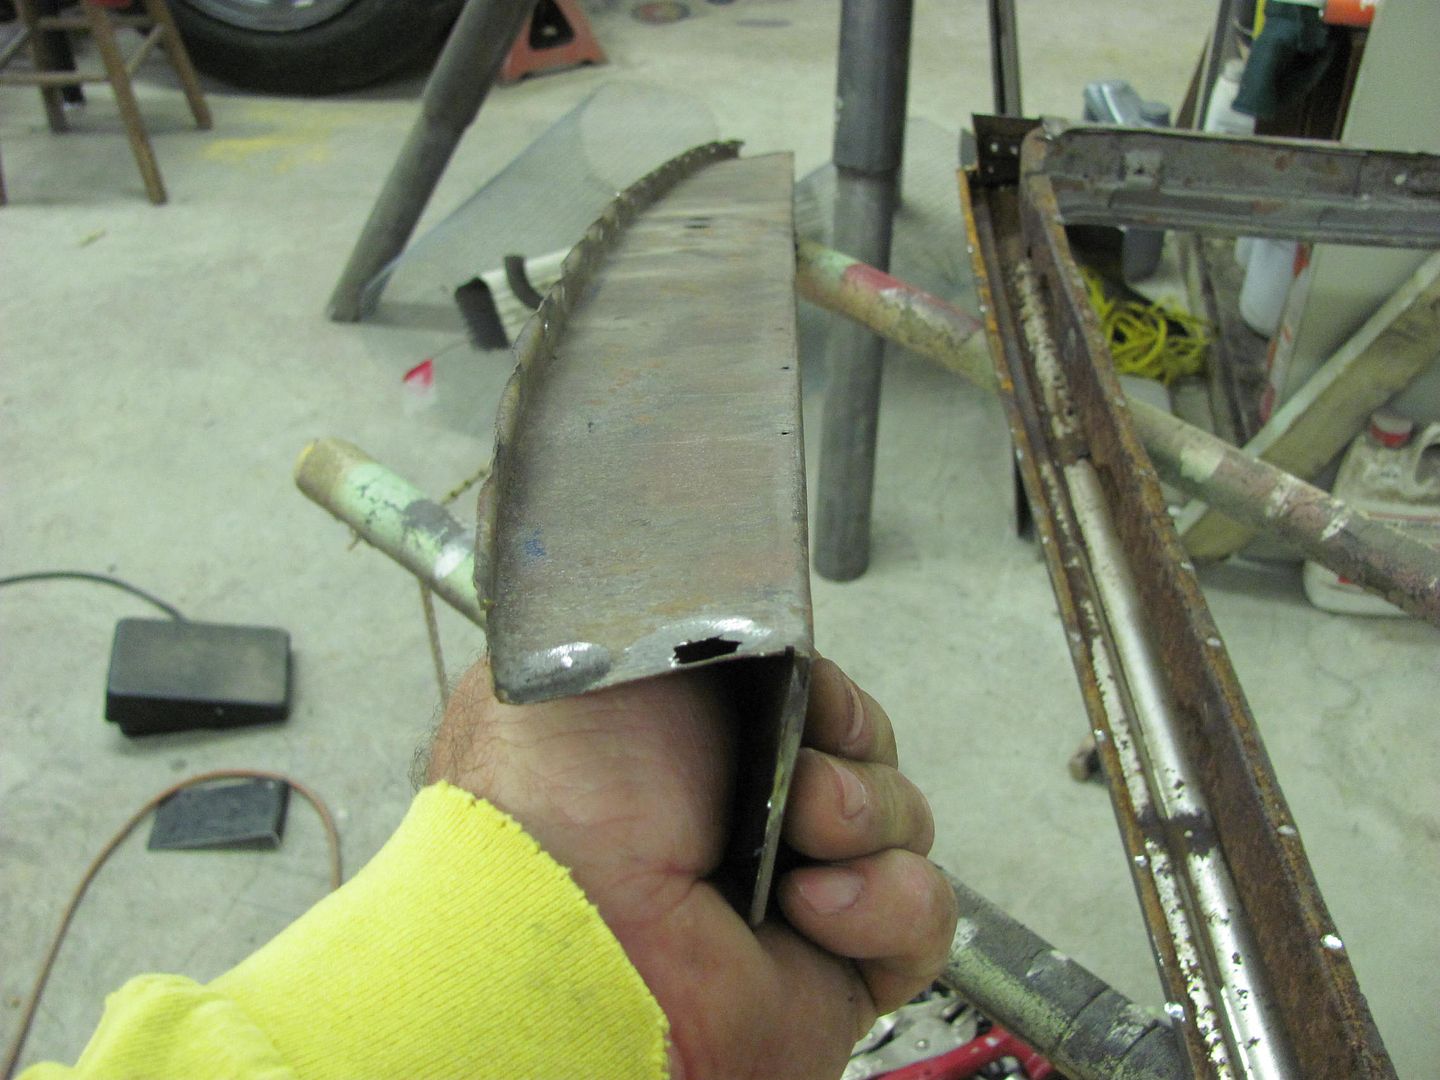
Here's a better look at the shape we'll need...

Robert
-
07-19-2013 02:14 PM #75
- Join Date
- Apr 2011
- Location
- Prairie City
- Car Year, Make, Model: 40 Ford Deluxe, 68 Corvette, 72&76 K30
- Posts
- 7,301
- Blog Entries
- 1
Spot welds can sure be a PITA if you're trying to save the outer piece. Nice work! I like the cut off wheel approach too.
Ryan
1940 Ford Deluxe Tudor 354 Hemi 46RH Electric Blue w/multi-color flames, Ford 9" Residing in multiple pieces
1968 Corvette Coupe 5.9 Cummins Drag Car 11.43@130mph No stall leaving the line with 1250 rpm's and poor 2.2 60'
1972 Chevy K30 Longhorn P-pumped 24v Compound Turbos 47RH Just another money pit
1971 Camaro RS 5.3 BTR Stage 3 cam, SuperT10
Tire Sizes


 3390Likes

 LinkBack URL
 About LinkBacks
 Reply With Quote

To the top
Where is everybody?