Thread: 55 Wagon Progress
-
11-16-2018 05:56 PM #1246
I did have quite a bit of 3/16 rod left over from our Metalshaping class last year. It's coming in handy!
Robert
-
Advertising

- Google Adsense
- REGISTERED USERS DO NOT SEE THIS AD
-
11-22-2018 08:33 AM #1247
Happy Thanksgiving everyone!
Had a request to show how the inside corners were tipped for wire edging the AC condenser opening. Here's a video (with poor audio.. iPhone seems to want to do a noise cancelling) that shows stretching the inner corners. I do spend a bit more time and accuracy on the real part, this was a quick, down and dirty demonstration.
https://www.youtube.com/watch?v=bkfr...ature=youtu.be
We drilled out mounting hole pattern in the AC condenser to the radiator, and added AVK style rivet nuts to the radiator cross bars to secure..
Installed, this will be the profile of the upper mounting bracket (about 24+ inches wide), that will share the AC condenser upper mounting screws. Not sure if we want to do this in polished stainless or paint. Thoughts?
The upper bracket will be attached to the core support also using rivet nuts, mainly from the back side to hide some of the hardware..
Last edited by MP&C; 11-23-2018 at 08:28 AM.
Robert
-
11-23-2018 12:52 PM #1248
- Join Date
- Apr 2011
- Location
- Prairie City
- Car Year, Make, Model: 40 Ford Deluxe, 68 Corvette, 72&76 K30
- Posts
- 7,299
- Blog Entries
- 1
Very nice work and thanks for the video! You just showed me how I can put a flange on a inner corner on a piece of sheet metal! I never thought to cut down a tube like that and use it as a die. That's great!
How much other shiny aluminum/ss will you have under the hood?Ryan
1940 Ford Deluxe Tudor 354 Hemi 46RH Electric Blue w/multi-color flames, Ford 9" Residing in multiple pieces
1968 Corvette Coupe 5.9 Cummins Drag Car 11.43@130mph No stall leaving the line with 1250 rpm's and poor 2.2 60'
1972 Chevy K30 Longhorn P-pumped 24v Compound Turbos 47RH Just another money pit
1971 Camaro RS 5.3 BTR Stage 3 cam, SuperT10
Tire Sizes
-
11-26-2018 06:46 AM #1249
Ryan, I think we will be mostly paint other than chrome valve covers, etc. on the engine. Alternator brackets, etc will likely be powder-coated. So that has me leaning toward painting body color or something...
So this weekend I worked on the "new" dolly to remove some of the rust..
Started with the media blaster to remove all the rust and scale...
Next, the pits were removed using 60 grit roloc sanding discs, followed by brown, red, and then blue scotchbrite discs. Then some media blasting to give a good finish..
Lastly, some 320 on the DA to remove scratches from the dolly face, and a trip to the pedestal buffer with some thick gloves.
All that fun aside, back on radiator mounts. The upper will be a combination mount and also cover for the top of the core support. This will be 44" long, so to help the magnetic brake make some more crisp bends we'll thin the bend lines in the Lennox using a tipping die. the 44" length on the panel is a bit long for my 48" linear slide, so another section is added to give us 96" to play with. Just clears the Pexto shear..
Motion picture of the process:
https://www.youtube.com/watch?v=rCxakebyQzs
Bend lines in place ....
….and we left off there for some turkey dinner. Should get it trimmed on the sides and folded up this Tuesday night.Robert
-
11-26-2018 11:55 AM #1250
- Join Date
- Apr 2011
- Location
- Prairie City
- Car Year, Make, Model: 40 Ford Deluxe, 68 Corvette, 72&76 K30
- Posts
- 7,299
- Blog Entries
- 1
Nice work on that dolly! I'm sure you have some time in getting it all smoothed back out. I think body color will look the best on the cover panel. Nice start to the panel too.Ryan
1940 Ford Deluxe Tudor 354 Hemi 46RH Electric Blue w/multi-color flames, Ford 9" Residing in multiple pieces
1968 Corvette Coupe 5.9 Cummins Drag Car 11.43@130mph No stall leaving the line with 1250 rpm's and poor 2.2 60'
1972 Chevy K30 Longhorn P-pumped 24v Compound Turbos 47RH Just another money pit
1971 Camaro RS 5.3 BTR Stage 3 cam, SuperT10
Tire Sizes
-
11-27-2018 08:36 PM #1251
Our 18 Gauge upper radiator mount / core support cover is cut out and bent to fit. Still needs some minor trimming around the radiator top and then we’ll make some threaded spotters to mark our rivet-nut holes.
https://www.youtube.com/watch?v=5ZbACO-IHY4
.Robert
-
12-02-2018 09:02 AM #1252
Well as normal, one change leads to one or more others. We thought we'd test fit to check out the clearance for the hood latch striker out in front of the AC condenser.
I missed getting a picture of our attempt, but here's a view of the original from the service manual.
No way the original latch striker will work with the AC condenser that far forward. So we filled in the rear bolt hole and bent the latch striker as close as we could to the latch hole, which gave us 1-1/2” more room.
The support structure would no longer have the rear bolt hole in the same location, and we needed to slim it down to the same width as the modified striker...
Next, the rear bolt for the striker will need to be horizontal now, so a stud is fabricated and welded in place, and the support bracket modified for this bolting arrangement as well.
Media blasted....
test fit....
https://www.youtube.com/watch?v=d5iE1T77WHQ
.......and on to the next hurdleRobert
-
12-07-2018 10:35 PM #1253
I took delivery the other day on a set of slide tracks so we used the opportunity to get the Arbor Press metalshaping dies from Pat Brubaker mounted under the table for better use of space. We used the Diacro press brake to bend some 1/8" aluminum for making some angle brackets for mounting.
For those with a Diacro manual press brake, be aware the factory cast parts may not be 100% compatible with cheater bars. This happened a few months back, and our billet steel replacement is holding up much better, still has yet to transfer the problem farther down the line, knock on wood.
E got the holes drilled out in the brackets, and I assembled the pieces..
This is much better.. a good start to cleaning off the table..
https://www.youtube.com/watch?v=i65pvDZGzio
A demo of the process of using the arbor press....
https://www.youtube.com/watch?v=MUQghpUVohU
.....and then today, Mike and I worked on blocking and straightening out the roof to get it a bit closer for painting.
We did find a stretched spot in the roof, and chased it around a few times in using the body hammer and shot bag. No matter what we did, it tended to still have an up and down wave, so too much metal. The roof has been covered in SPI Epoxy for a while and I had no intention of removing the epoxy, so we opted for the donut dolly (this one home made) as it would leave the paint intact over using a torch....
Part of the difficulty in using the donut dolly is insuring the hammer aligns with the dolly for the most effective shrink.
So we employed our magnet trick seen here:
https://www.youtube.com/watch?v=Ubq89aPMJjY
.......once the trouble areas needing a bump outward were located (they were stretched inward), the magnet was placed directly over the spots and then we could trace the locations on the inside for proper hammer strike while the donut dolly was held over the corresponding location on the outside. This was about the best results I've had using the donut dolly.
Here are a few of the shrink locations used to straighten out the roof and its waves...
Robert
-
12-08-2018 12:43 AM #1254
You guys are amazing!"  "No matter where you go, there you are!" Steve.
-
12-08-2018 03:54 AM #1255
yeah, what he said. Amazing!
Thanks (as always) for sharing the knowledge..
-
12-10-2018 07:09 AM #1256
https://www.youtube.com/watch?v=pTp3yWKFTdk
Had a couple questions about the donut dolly. Basically this is just like off dolly but on steroids, as supporting the panel surrounding the hammer strike gives a much more effective capture and shrink of the dent. This also helps to explain why alignment of the hammer to the dolly is so critical, and why the magnet alignment trick I showed in the earlier post works so well to make your shrinking more effective. The dolly should always be placed on the concave side to be able to hammer into the dolly and bring the panel back straight. For a larger, more pronounced dent I’ll use a flat hammer, like the Snap-on BF603. If the panel is wavy but still somewhat flat, then I’ll use a crowned hammer such as the Snap-on BF618. Use caution with the crowned hammer to not hit hard enough to add a dent, ideally we want to hit so that the metal pushes slightly into the dolly but the springback would bring it back to flush. (This comes with experience) It’s at this point that the donut dolly is most effective.
The video shown simulates using a flat faced hammer on a large radius/dent. This could be used to remove the dent altogether, or perhaps just reduce the sharpness of the radius, like the rear roof corner on a Model A. None of the tools we have will do everything, but I’ve found the donut dolly especially useful in shrinking where you don’t want to use heat (torch).Robert
-
12-15-2018 09:39 PM #1257
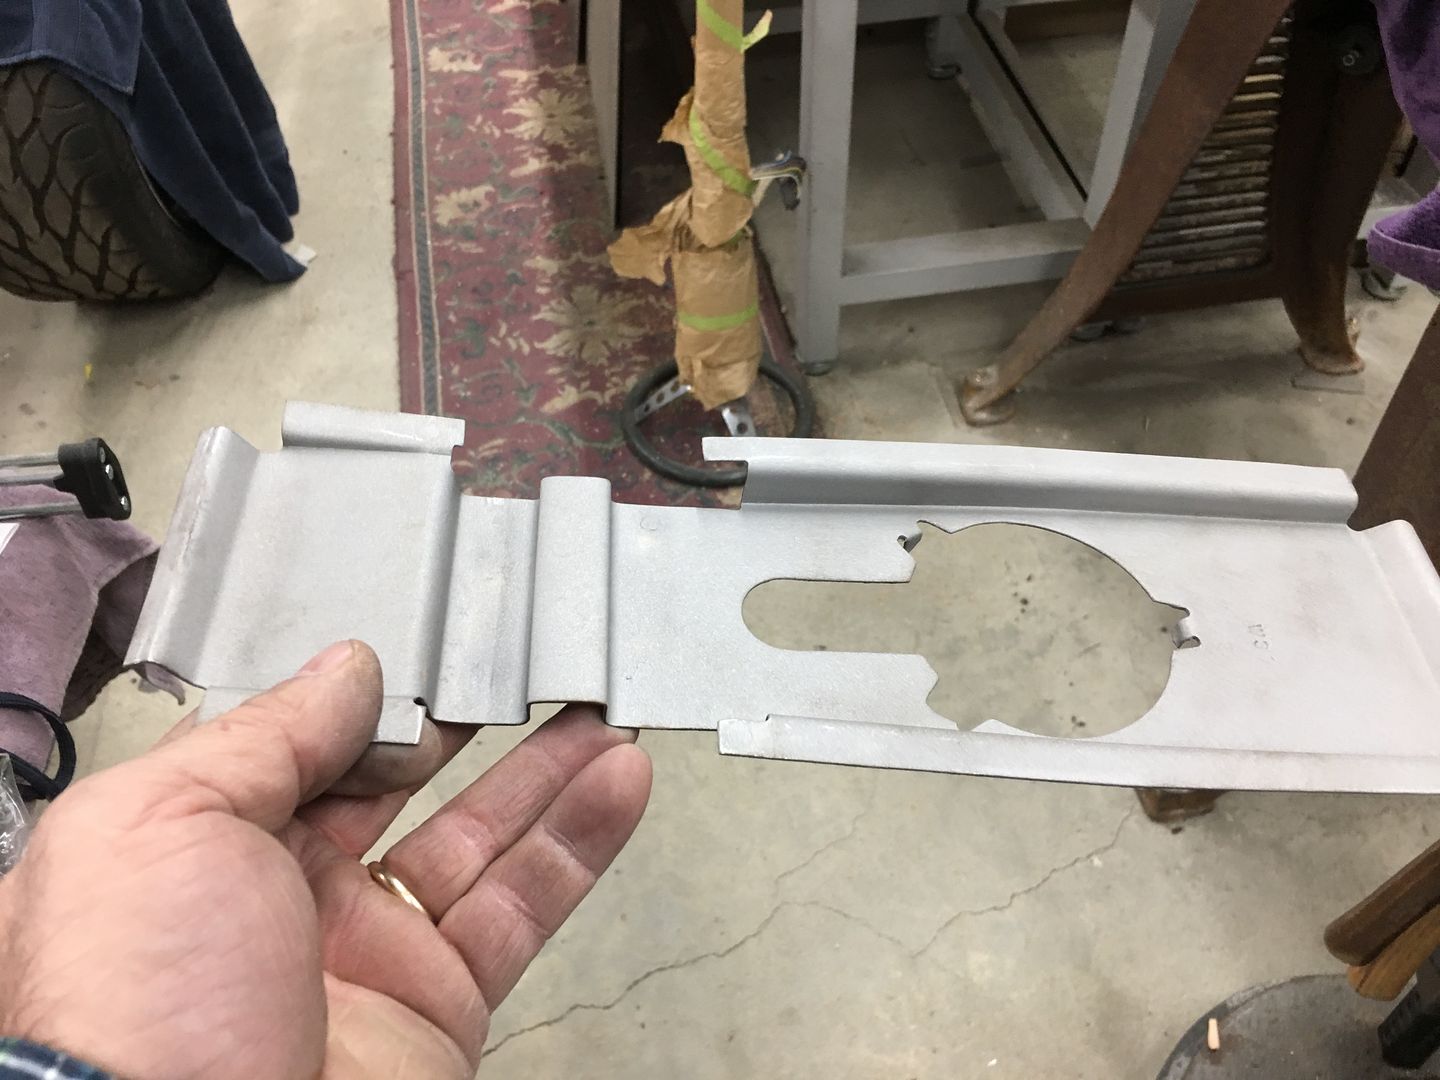
More progress on the wagon, we are adding a second interior light, so an original was sourced so they would match...

.....and media blasted, ready for primer..
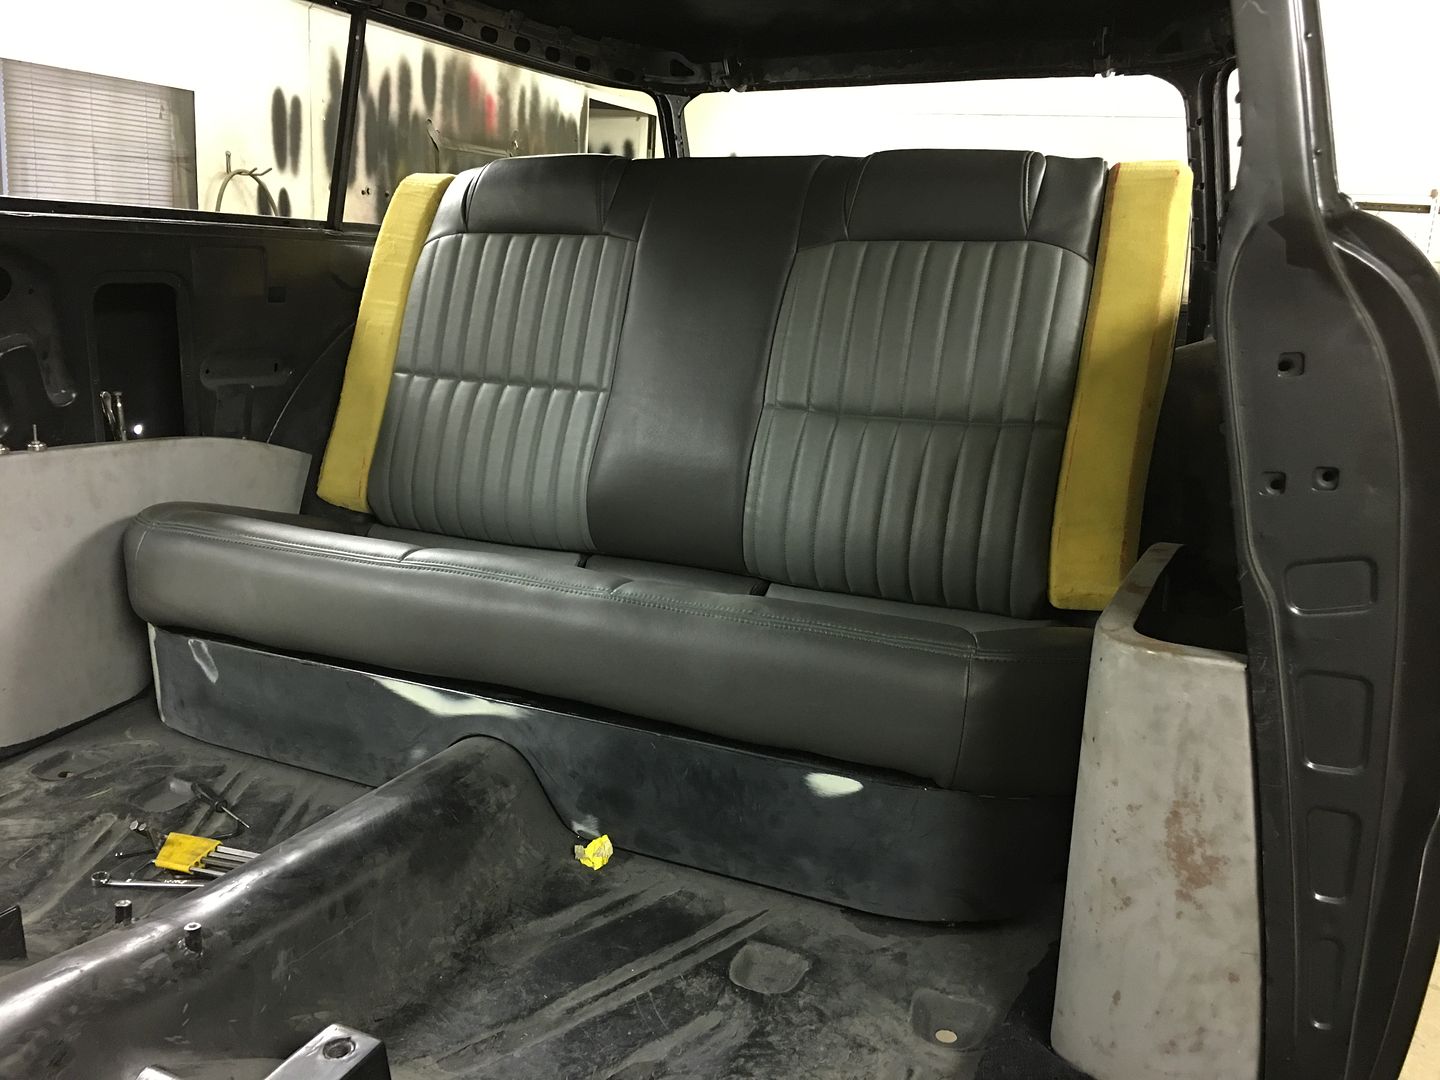
Gary dropped off the rear seat so we could match drill holes into the side bolsters and install 5/16 rivet nuts for attachment..

And we found another low spot in the roof, likely due to media blasting the light bracket too close to the roof skin. We used the rare earth magnet trick to accurately locate the inside to outside for exact alignment of the hammer to the donut dolly..
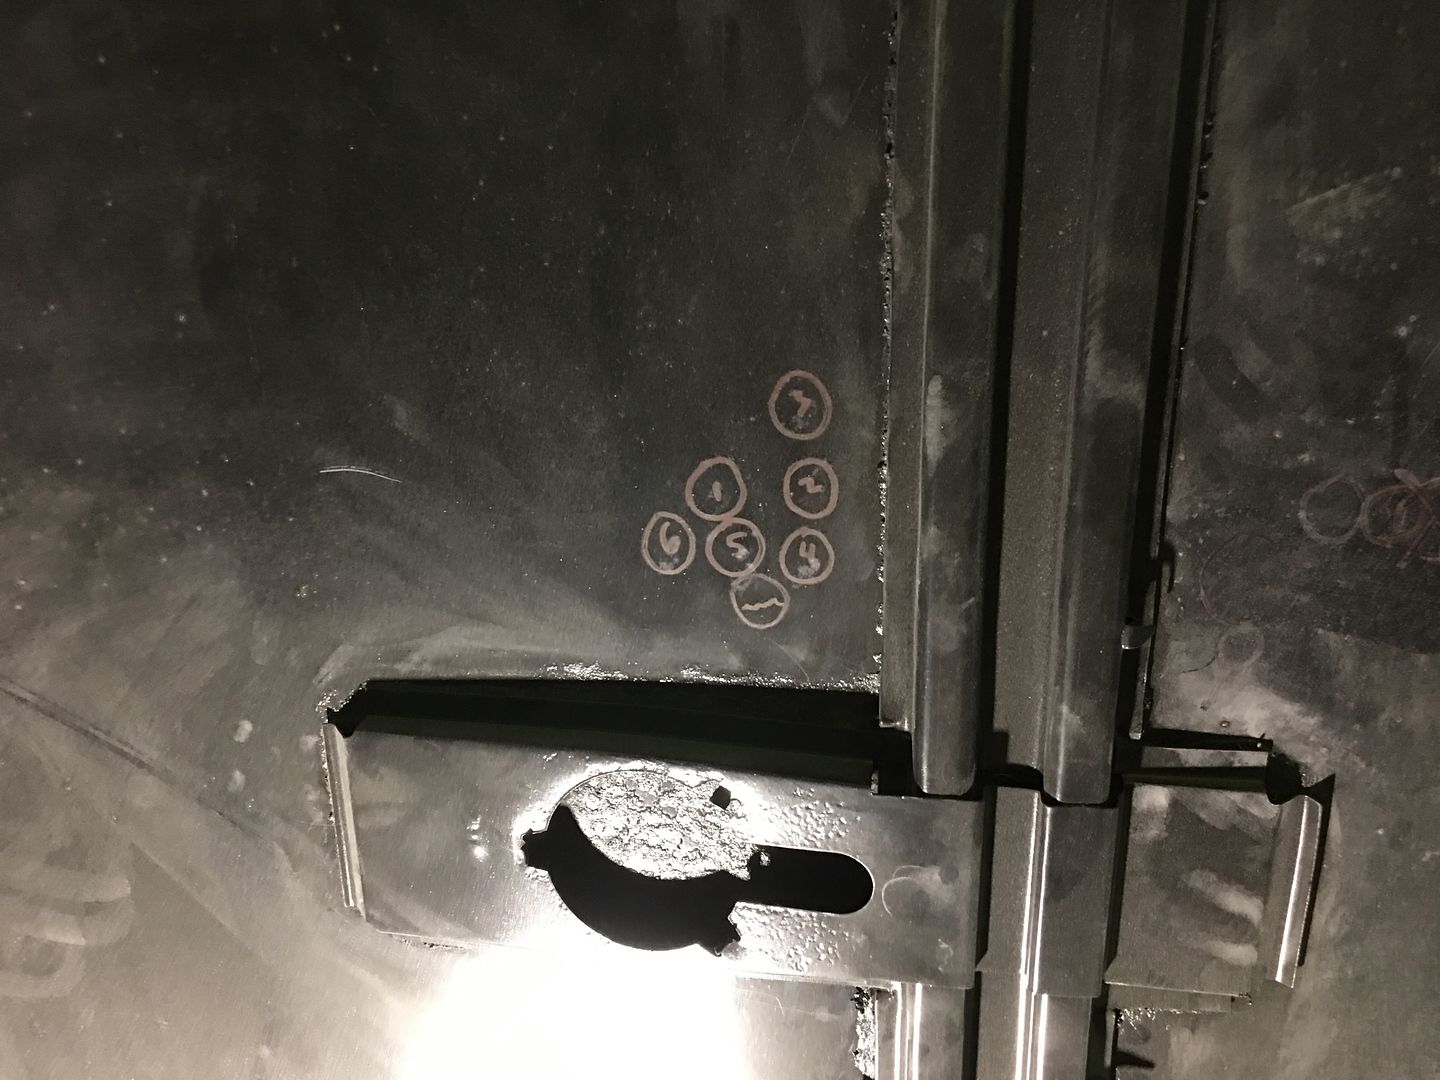
outside, where we used the donut dolly to hammer into...
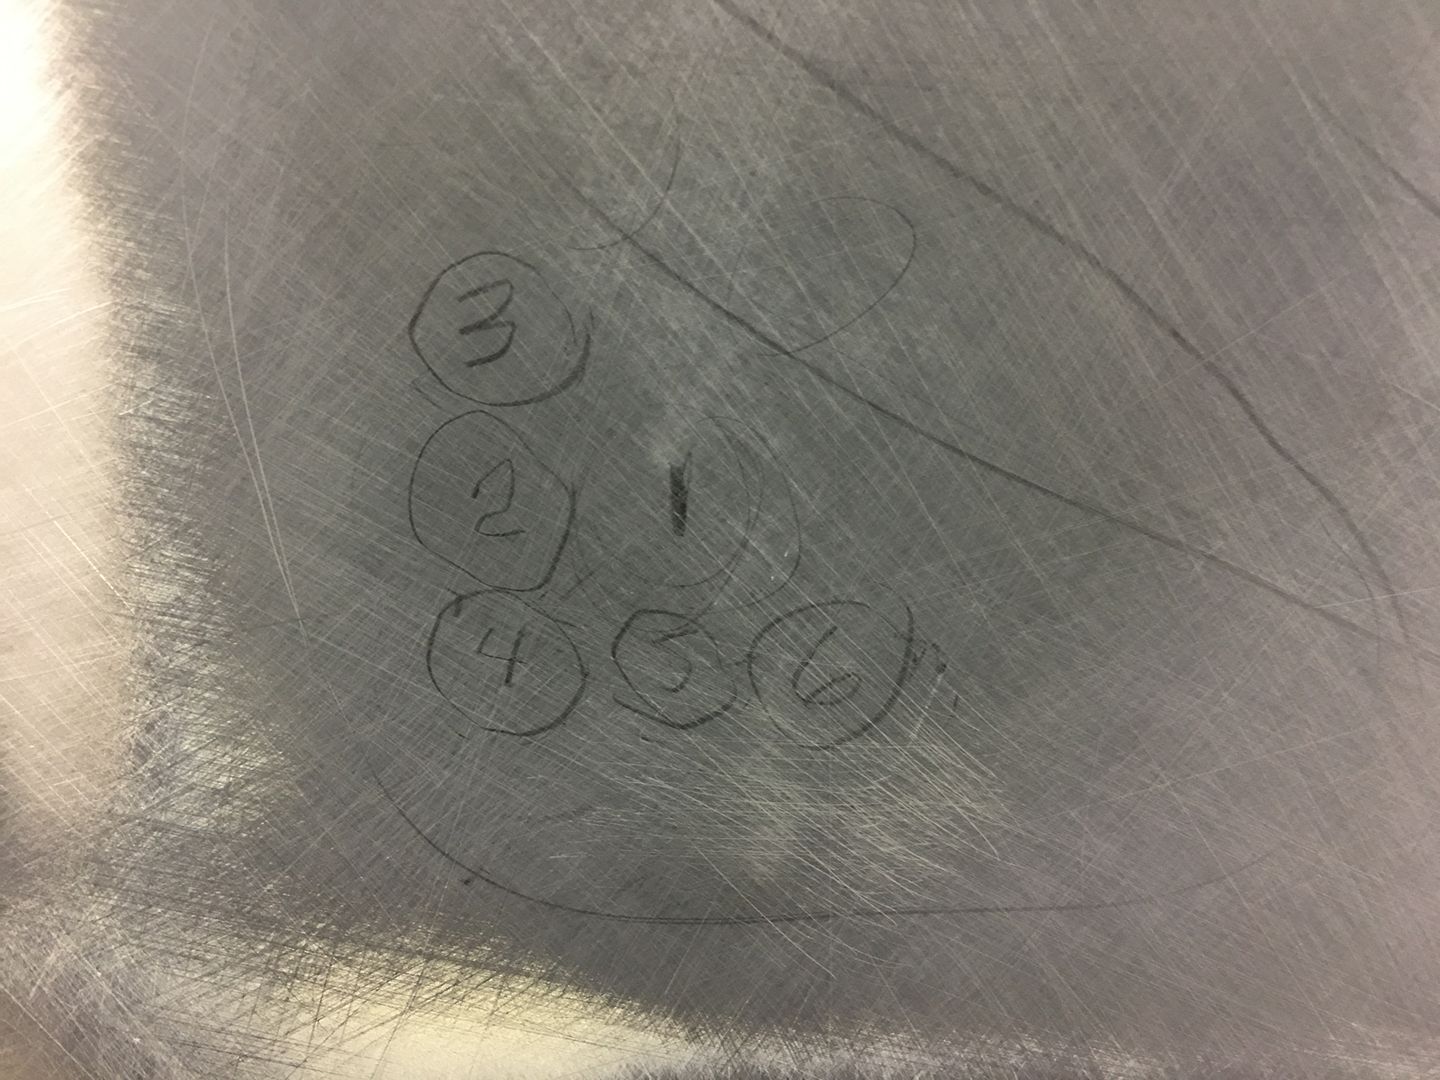
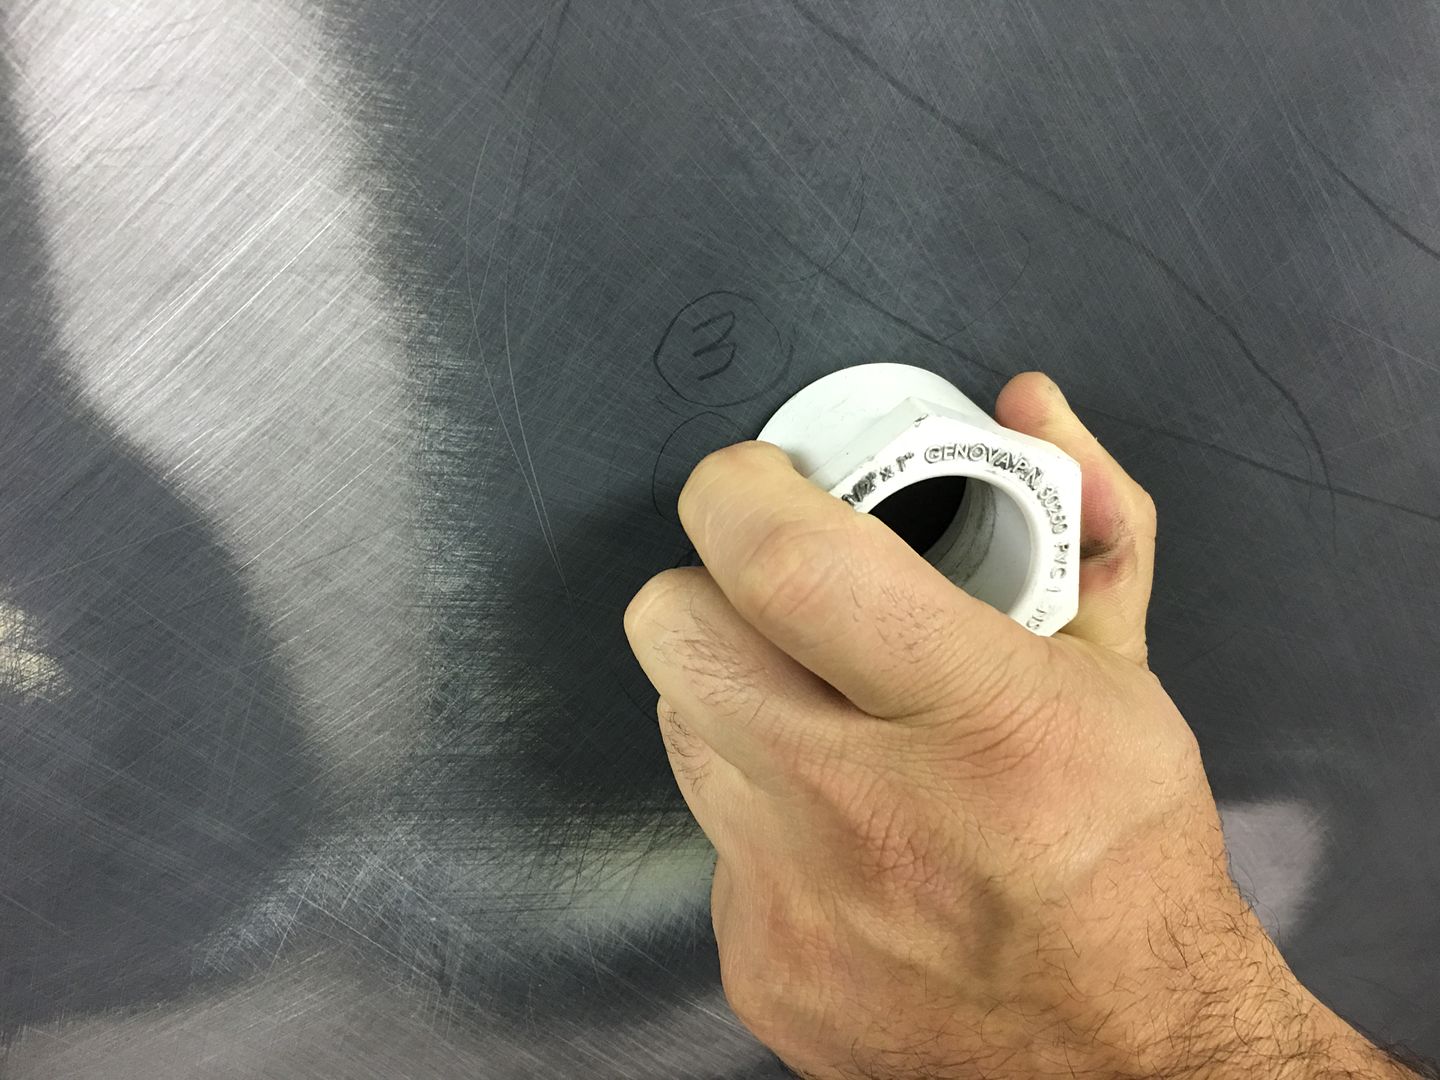
....and the inside, where we use the crowned hammer.....
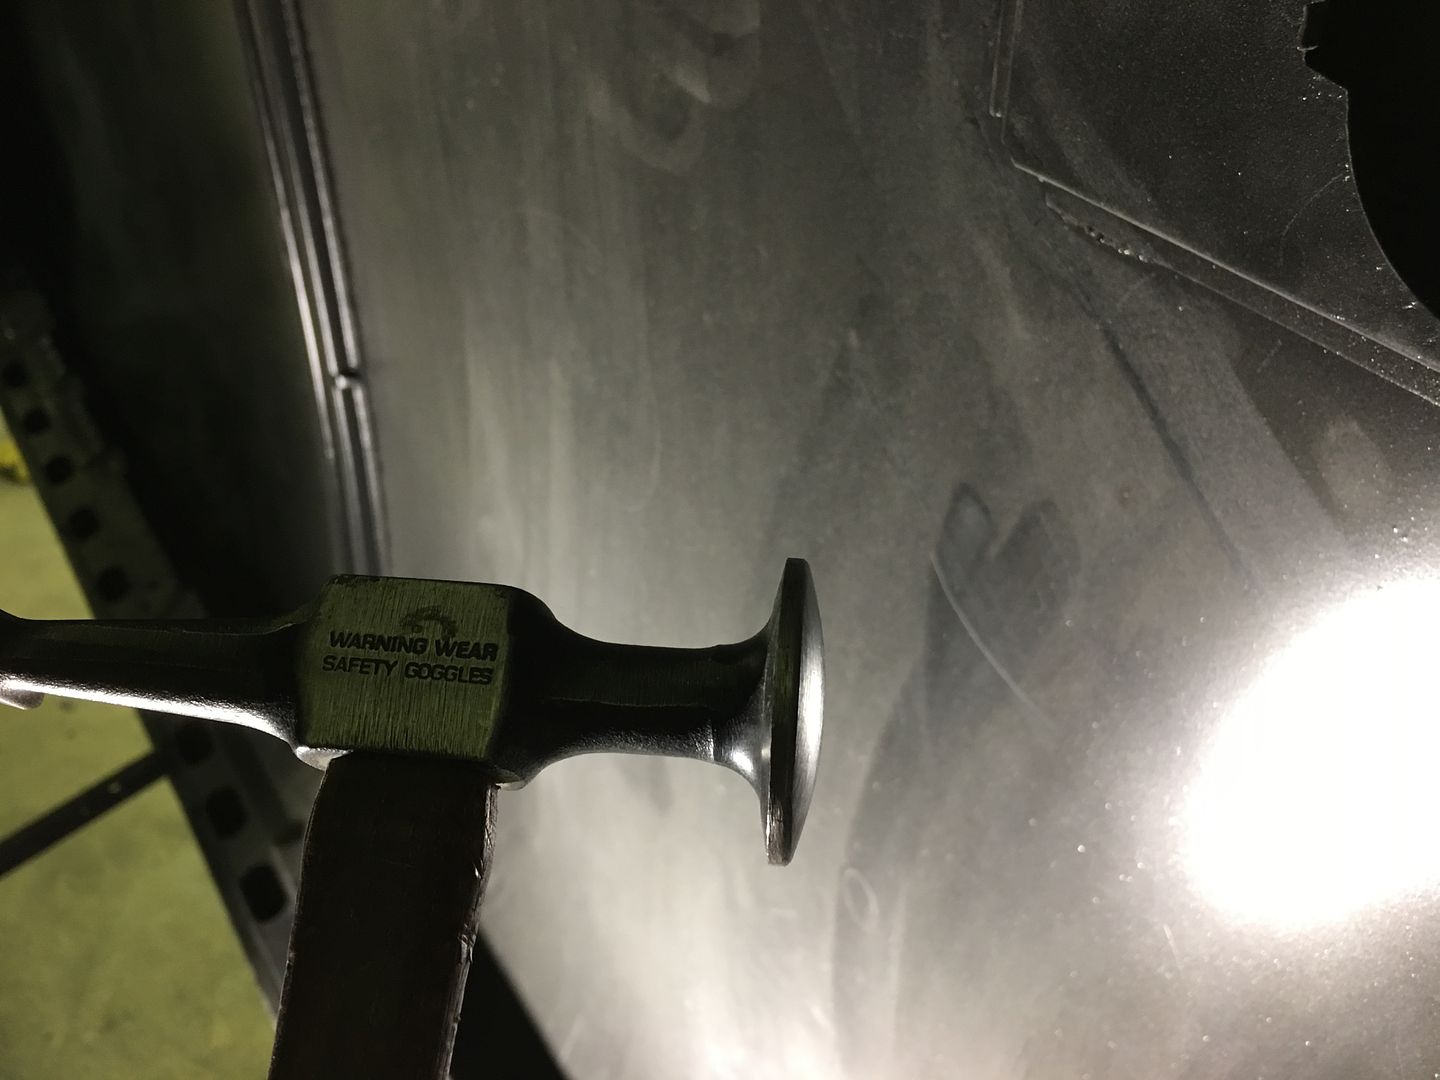

Using this method we were able to locate, layout, and bump all of the low spots to a consistent crown to match the surrounding panel, all in less than 5 minutes. In this case, a much better option than mixing and sanding filler.
This video better shows the concept..
https://www.youtube.com/watch?v=HHHT...ature=youtu.beRobert
-
12-16-2018 06:48 AM #1258
-
12-16-2018 08:05 AM #1259
It does to me!
Robert
-
12-17-2018 12:31 PM #1260
- Join Date
- Apr 2011
- Location
- Prairie City
- Car Year, Make, Model: 40 Ford Deluxe, 68 Corvette, 72&76 K30
- Posts
- 7,299
- Blog Entries
- 1
Man, you do great work. I can just see myself making that little low spot a surface similar to a golf ball in 5 minutes and being mad and making 24hrs more work for myself.
Ryan
1940 Ford Deluxe Tudor 354 Hemi 46RH Electric Blue w/multi-color flames, Ford 9" Residing in multiple pieces
1968 Corvette Coupe 5.9 Cummins Drag Car 11.43@130mph No stall leaving the line with 1250 rpm's and poor 2.2 60'
1972 Chevy K30 Longhorn P-pumped 24v Compound Turbos 47RH Just another money pit
1971 Camaro RS 5.3 BTR Stage 3 cam, SuperT10
Tire Sizes


 3390Likes

 LinkBack URL
 About LinkBacks
 Reply With Quote

 For giggles I went back to the first post in this thread.. January, 2013.. Wow.. Doesn't seem like it's been that long.

RIP Mike....prayers to those you left behind. .
We Lost a Good One