Thread: 55 Wagon Progress
-
12-17-2018 02:13 PM #1261
Better to hit it more than once lightly than only once producing a dent the other way!
Robert
-
Advertising

- Google Adsense
- REGISTERED USERS DO NOT SEE THIS AD
-
12-21-2018 08:37 PM #1262
Today we were working on more interior parts for Gary to upholster. Here is the design for the trim rings for our speakers, the cutaway shows the relief on the bottom which provides clearance for stainless mesh. This should provide a more 55 correct grill for the speakers than the plastic ones it came with. My cousin JB is making the trim rings for us..


Mike trimmed out the slots we previously had for the bass speaker, it will also get the trim ring and mesh treatment.
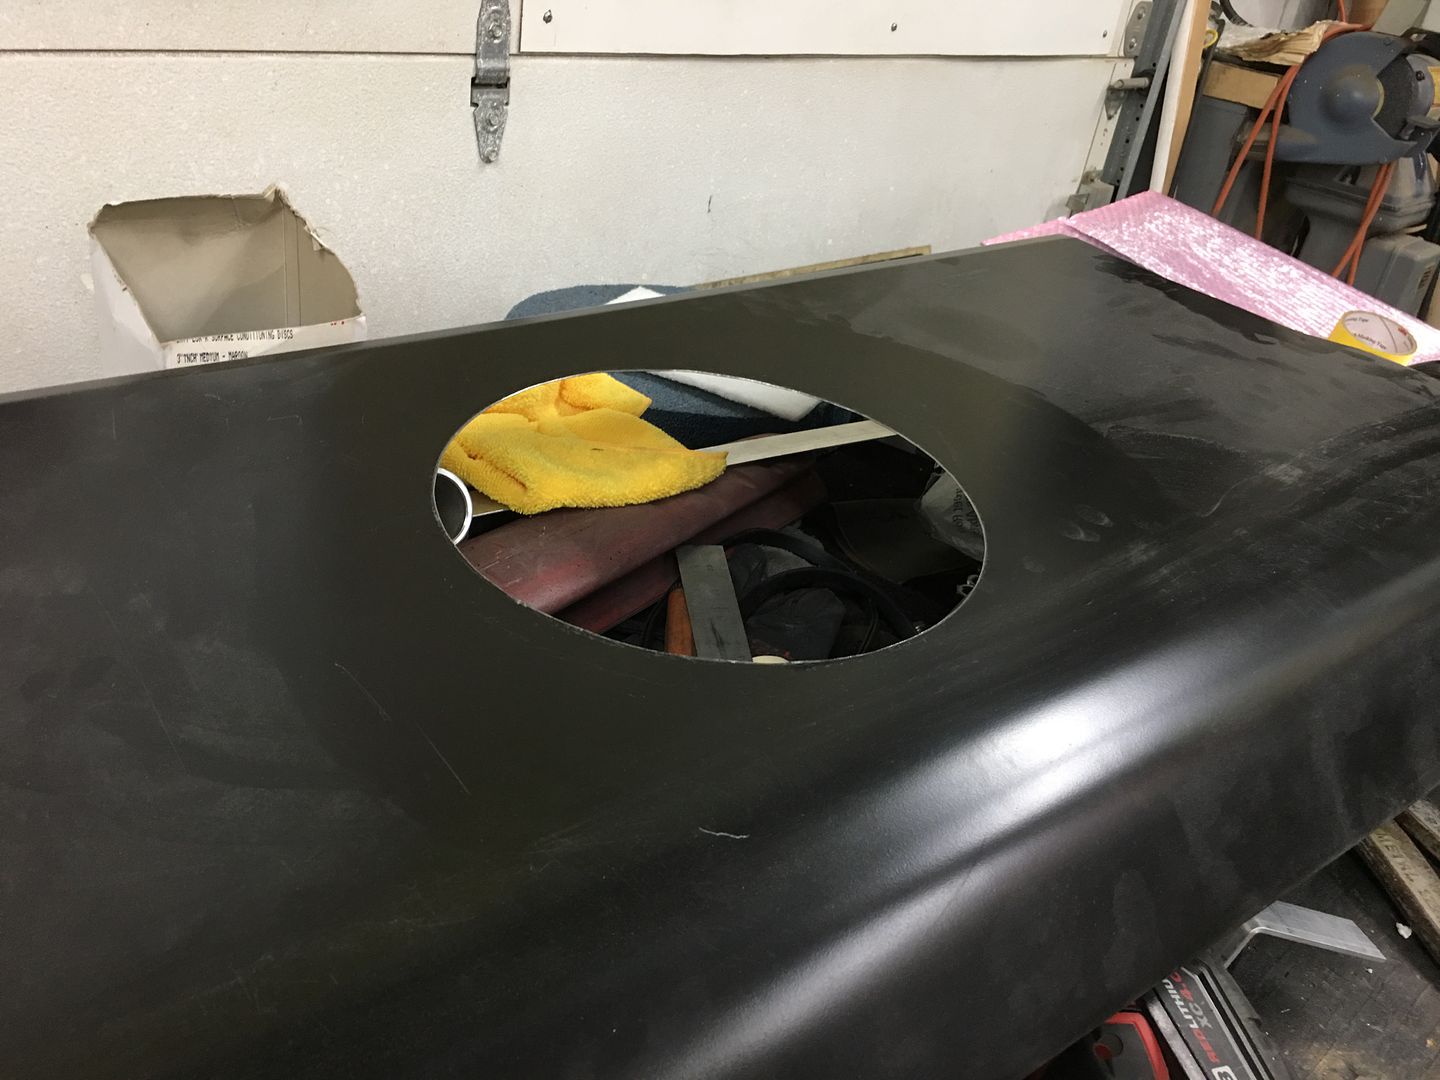
We drilled holes in the rear kick panel arm rest for panel clips to hold the arm rest down. I thought these would be a better option than the wire clips..
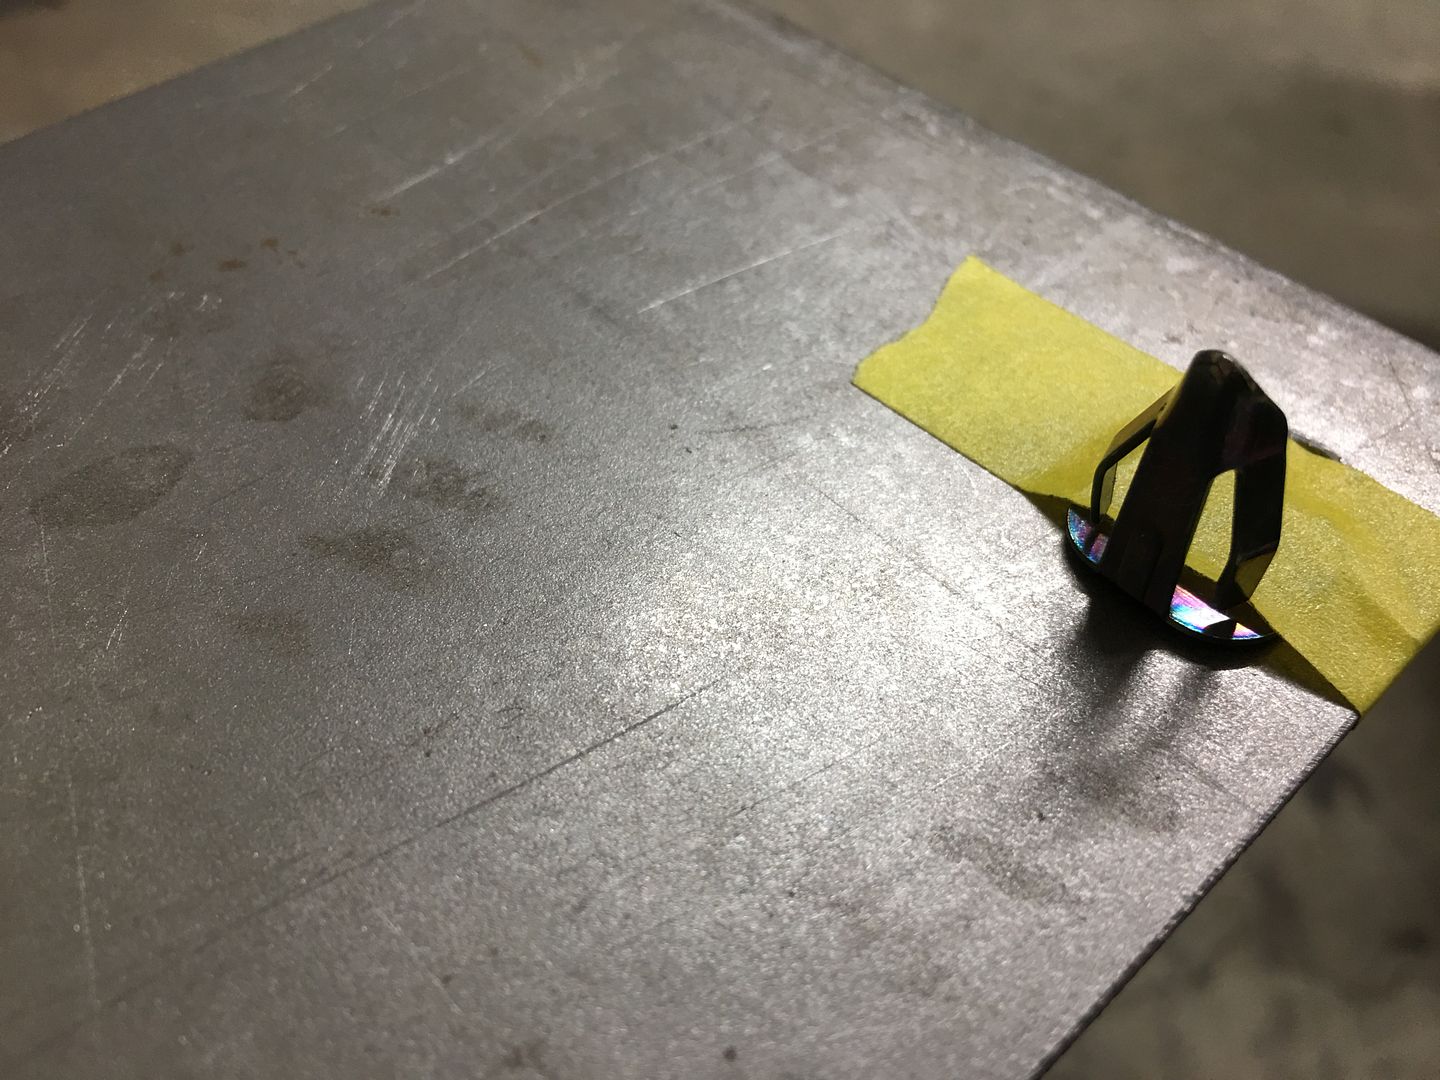
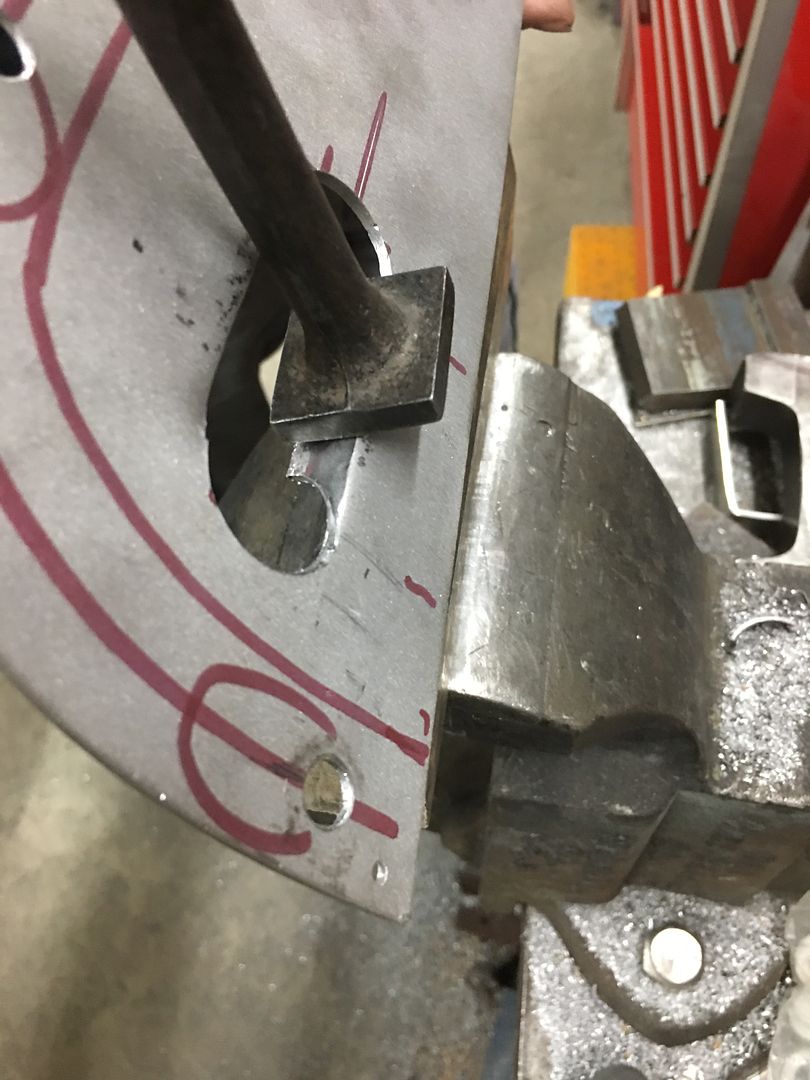
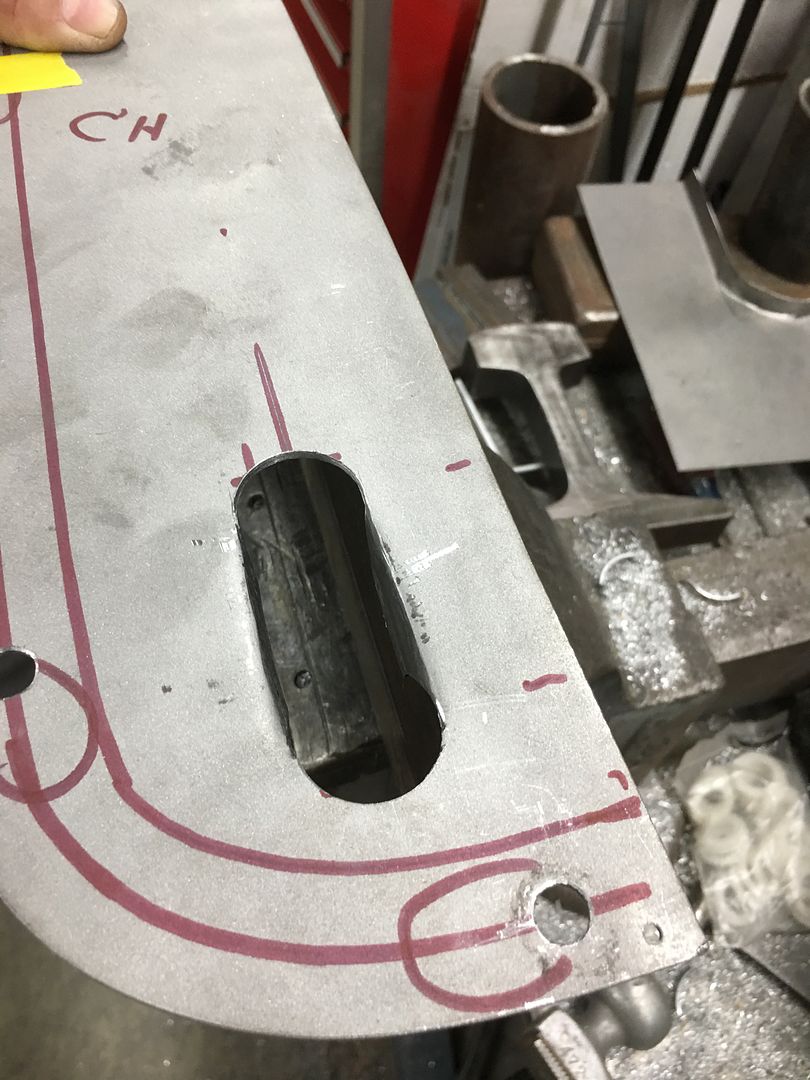
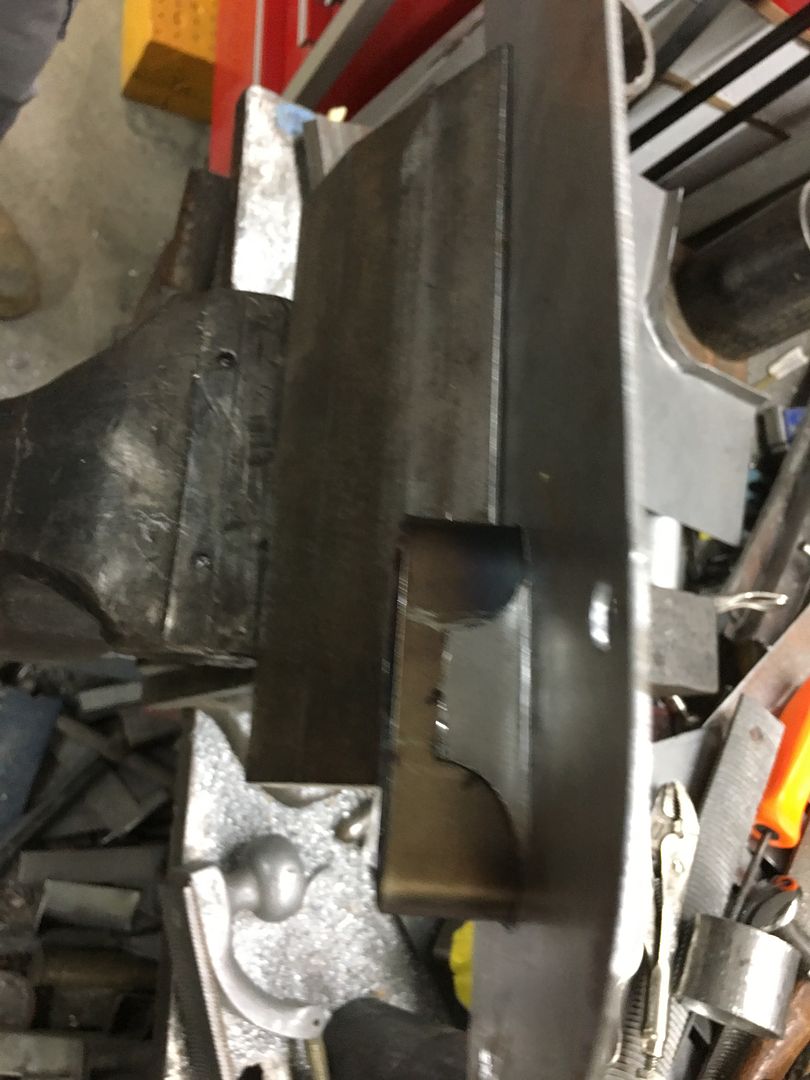
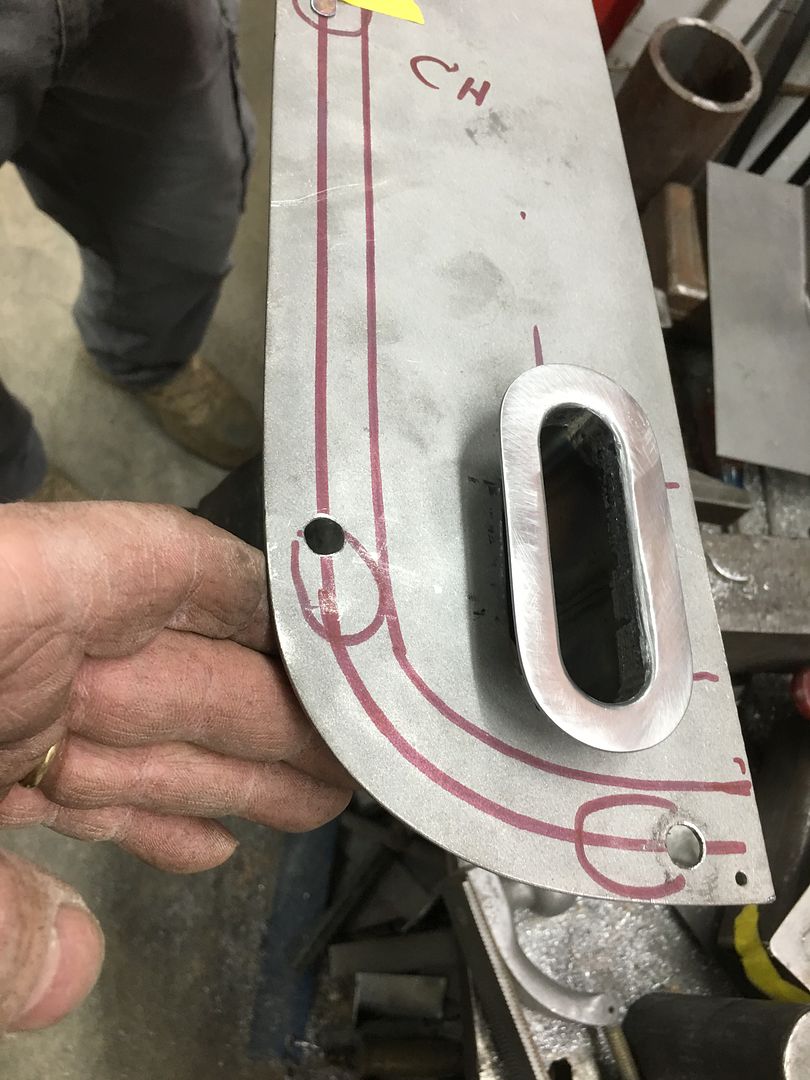
We also needed an escutcheon for our seat belt to pass through the arm rest, as the retractor is located behind the kick panel. Not finding much in the local salvage yard but plastic to choose from, and little in aftermarket, we opted to make a sample out of steel to insure the seat belt buckle and harness support would pass through. We will make the final version out of stainless and polish them..
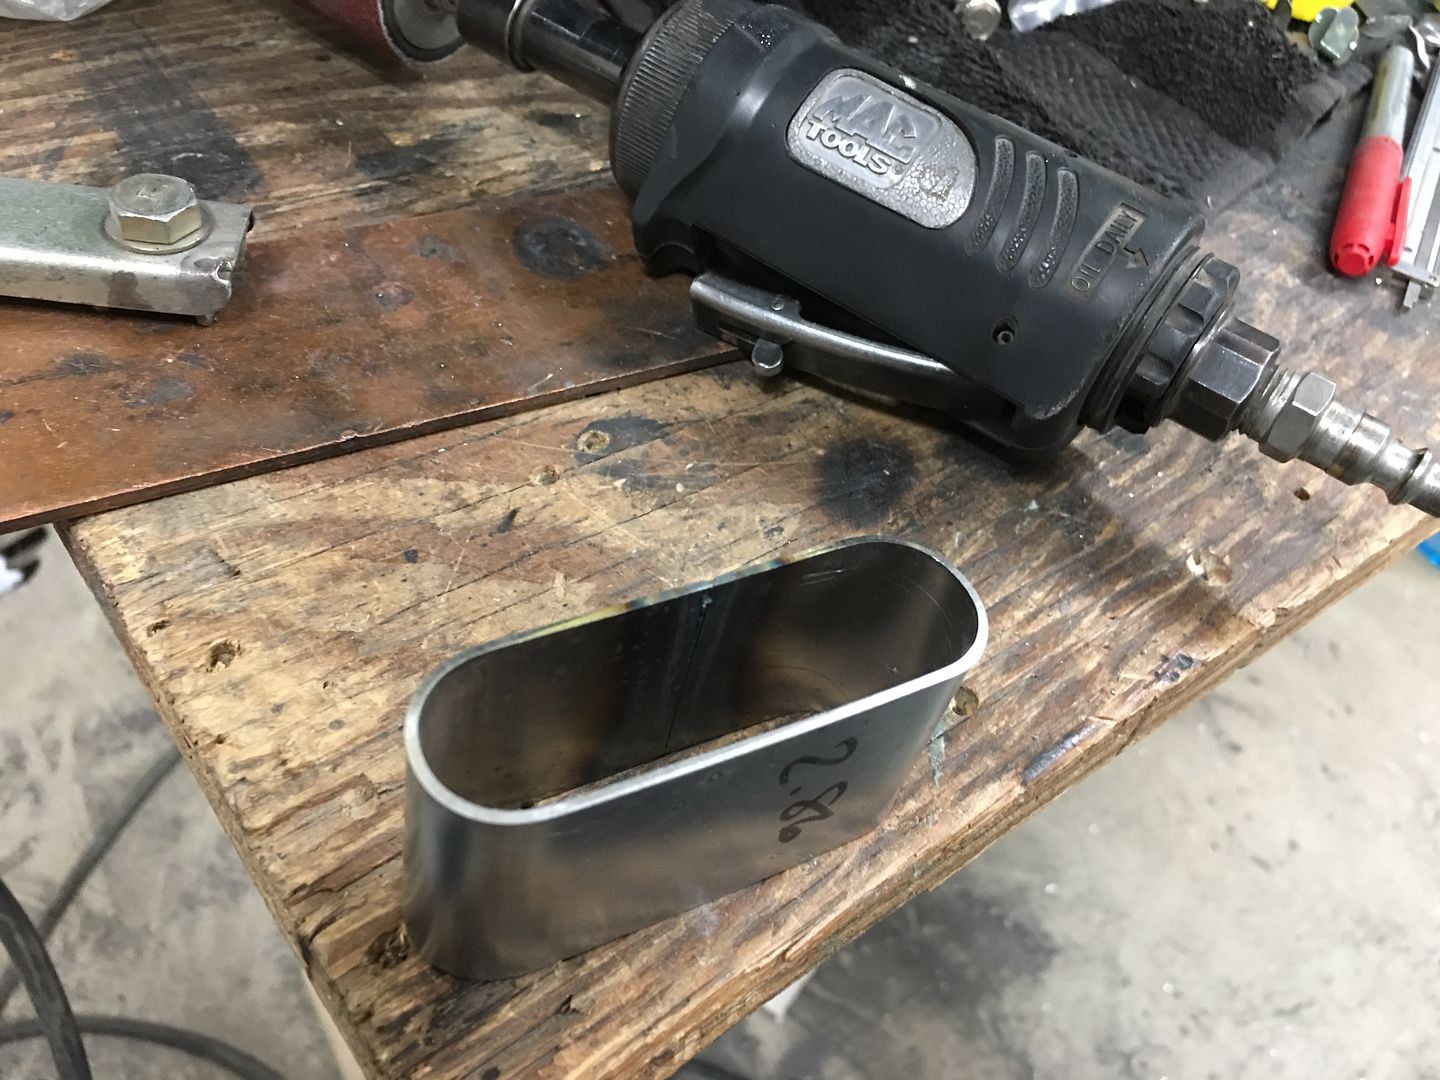

Cleaned up and "polished" with Scotchbrite rolocs to simulate what the stainless should look like..
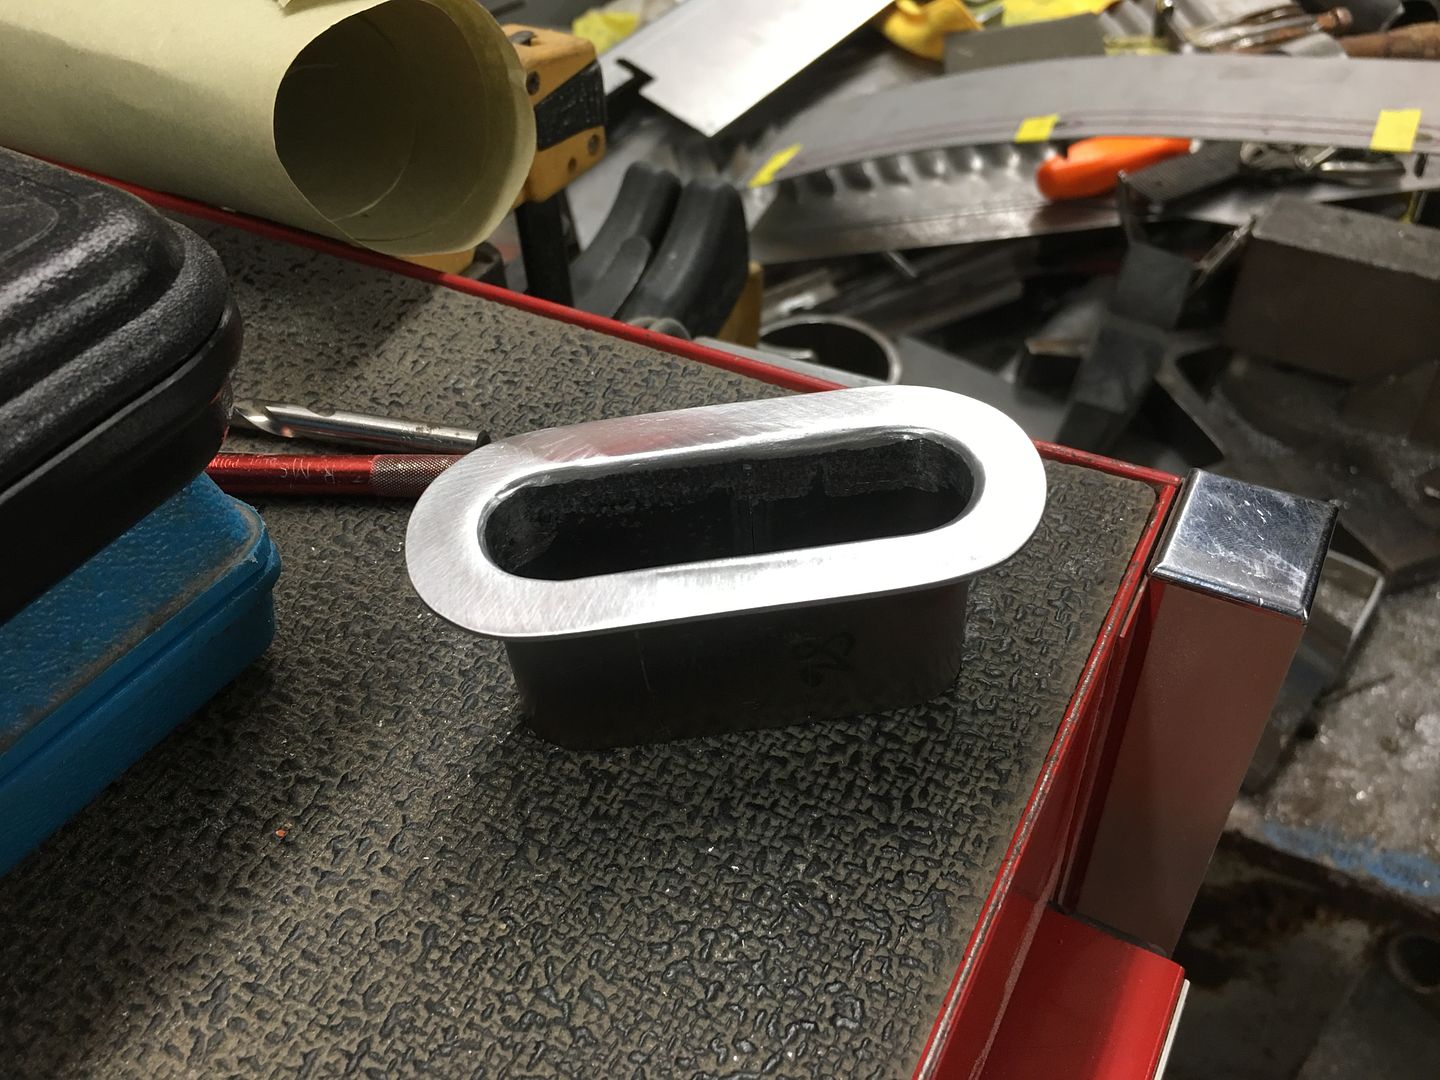
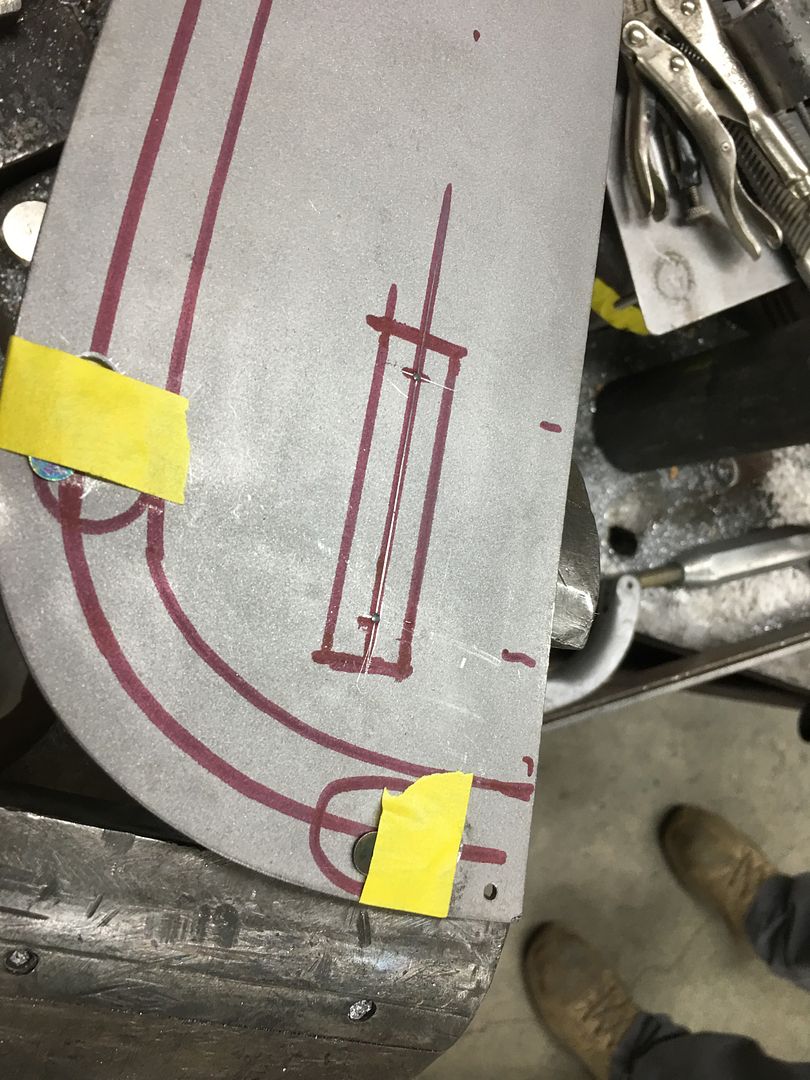
In our arm rest two clearance holes are drilled, then a cut made between the two. Next, the two "tabs" are hammered downward to provide the void needed for the escutcheon such that they are tight enough to hold it in place.

Robert
-
12-22-2018 12:21 AM #1263
Wow! for a minute there I thought you were building a particle excellerator!
"  "No matter where you go, there you are!" Steve.
-
12-26-2018 03:13 PM #1264
- Join Date
- Apr 2011
- Location
- Prairie City
- Car Year, Make, Model: 40 Ford Deluxe, 68 Corvette, 72&76 K30
- Posts
- 7,299
- Blog Entries
- 1
Nice work on those. You should just have your cousin make billet ones. I bet you could sell them!Ryan
1940 Ford Deluxe Tudor 354 Hemi 46RH Electric Blue w/multi-color flames, Ford 9" Residing in multiple pieces
1968 Corvette Coupe 5.9 Cummins Drag Car 11.43@130mph No stall leaving the line with 1250 rpm's and poor 2.2 60'
1972 Chevy K30 Longhorn P-pumped 24v Compound Turbos 47RH Just another money pit
1971 Camaro RS 5.3 BTR Stage 3 cam, SuperT10
Tire Sizes
-
12-27-2018 04:15 AM #1265
Got a new addition to the shop, this Meco came from TM Technologies, or TinManTech. I got it hooked up last night and ran a couple passes.
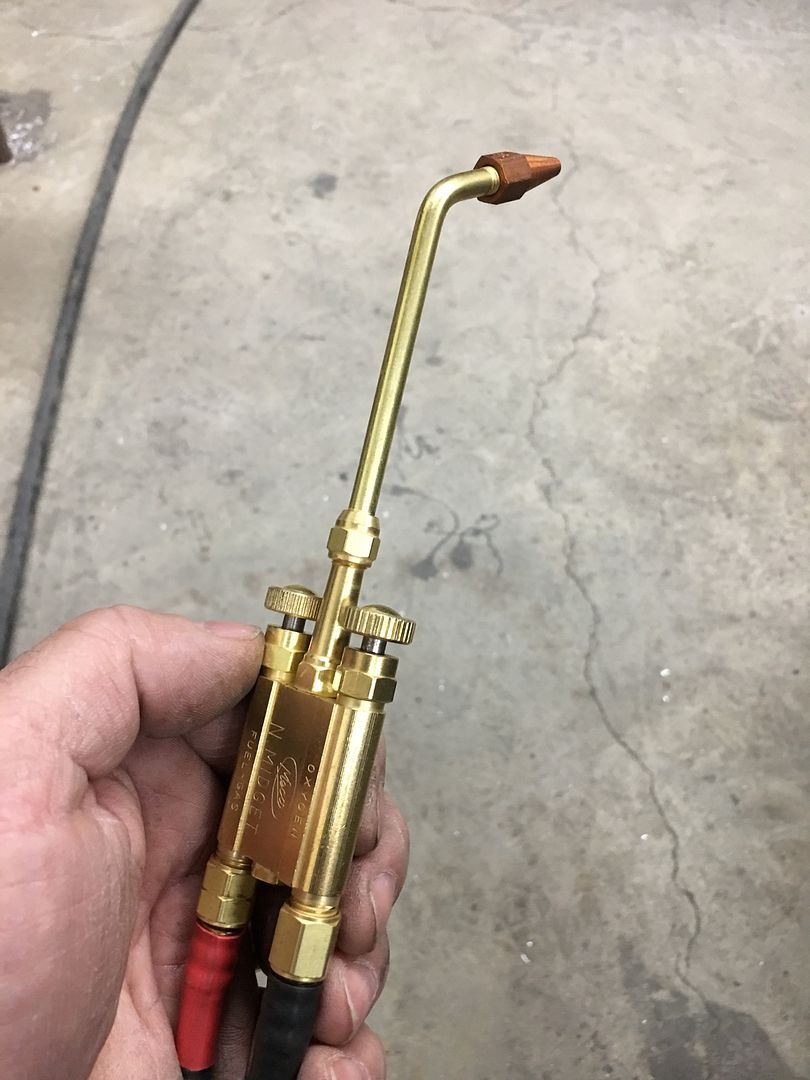
Let me start by saying I am not a gas welder. I have a Henrob torch that I have found awkward to use, likely the operator, so I have always used either MIG or TIG. This video shows my second attempt with the Meco, the first attempt I did not have sufficient heat as I was worried about blowing holes. The two “scraps” were picked off the floor and tacked together about every 3/4”, then fusion welded the distance shown, yielding a full penetration weld with nice HAZ conisistency. Very impressed with the light weight and ease of use, even for an old dog learning new tricks. Video shows in order: front, back, planished, and bent at 90* for our destruction test.
https://www.youtube.com/watch?v=td4y...ature=youtu.be
Tacks, front side..

Rear side, full penetration...
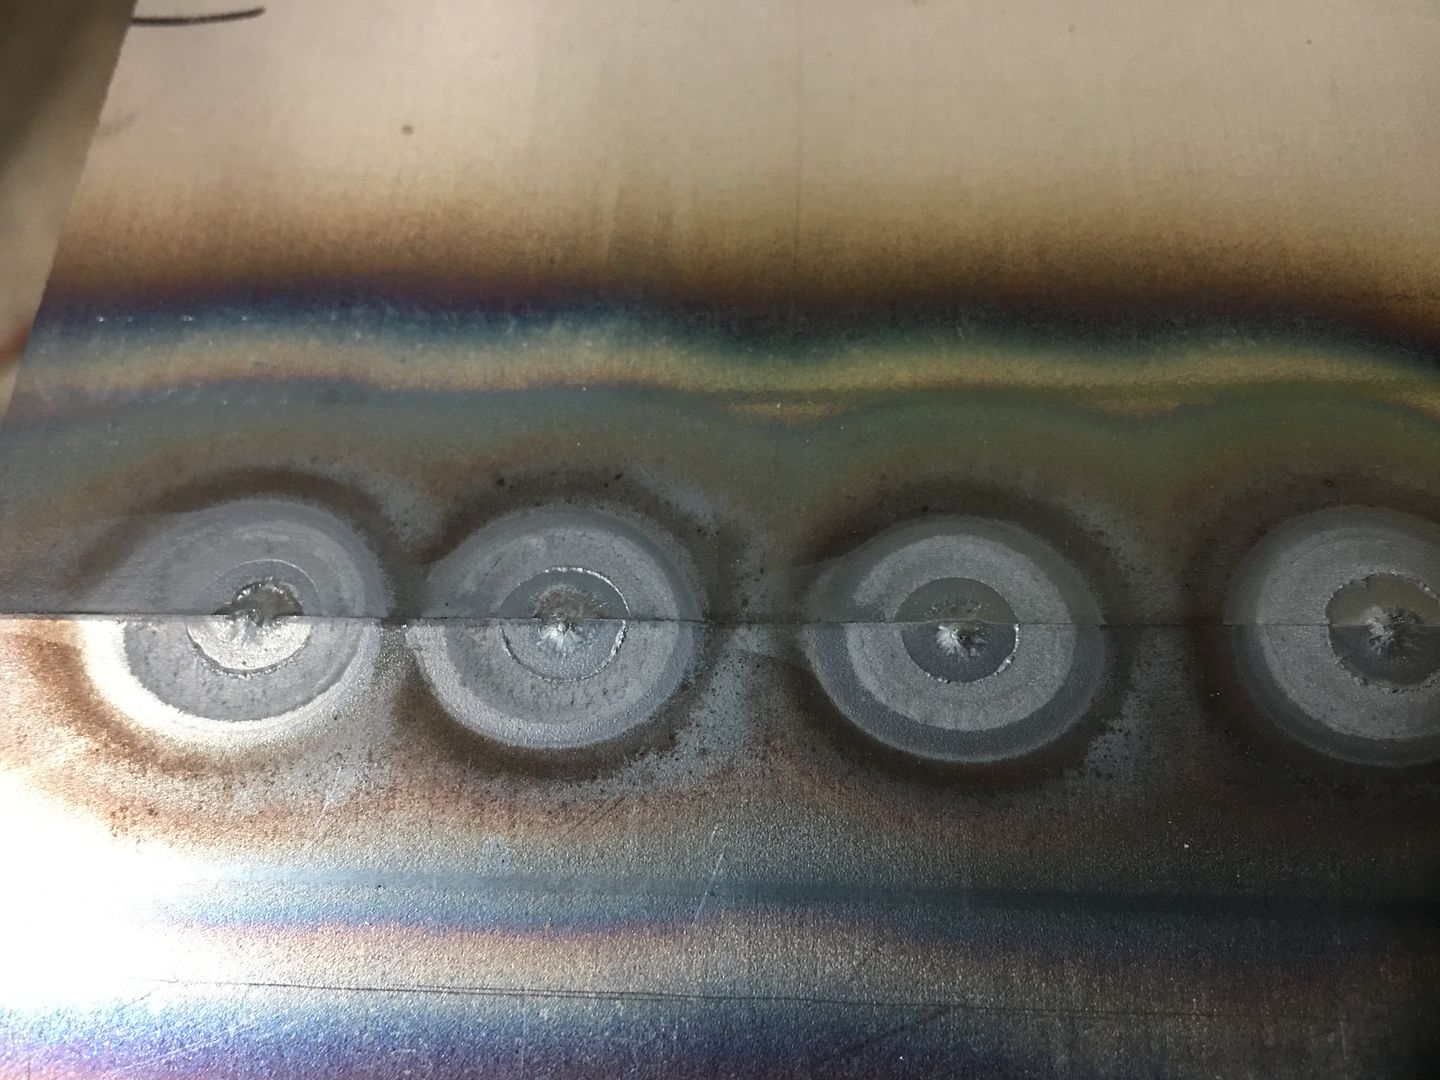
Full pass with full weld penetration, bent 90* for destruction test.. Line shown is mark left by press brake die....
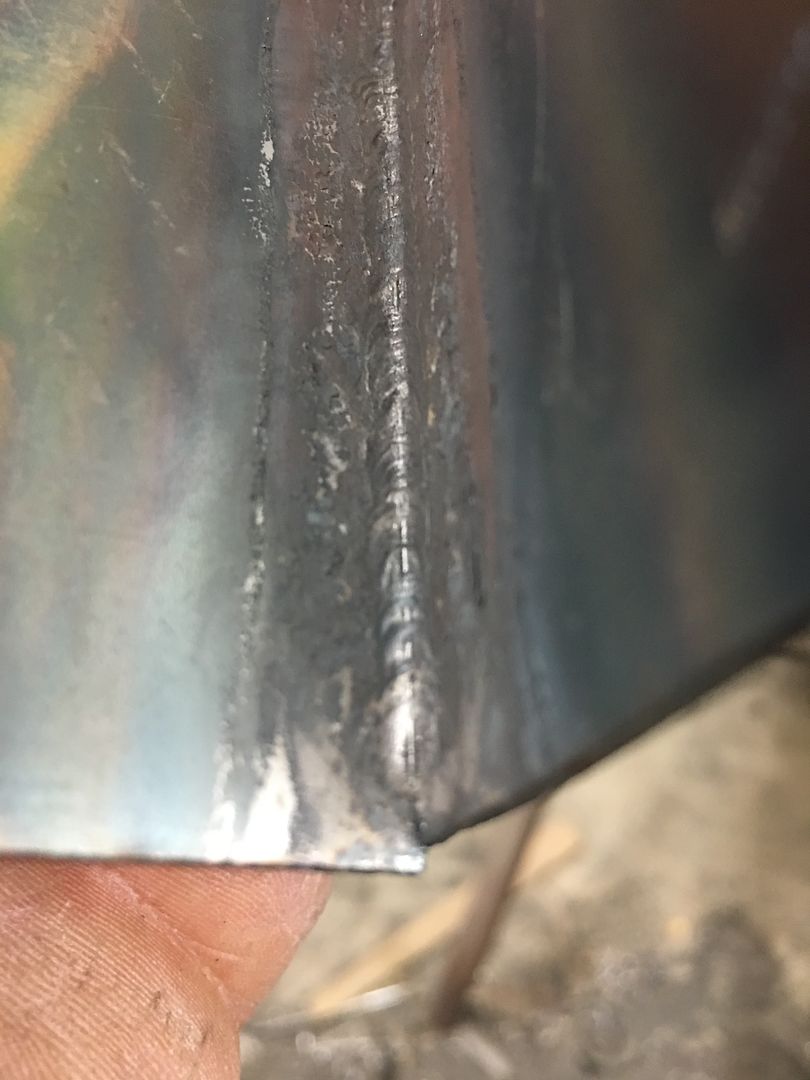
Rear side held up well
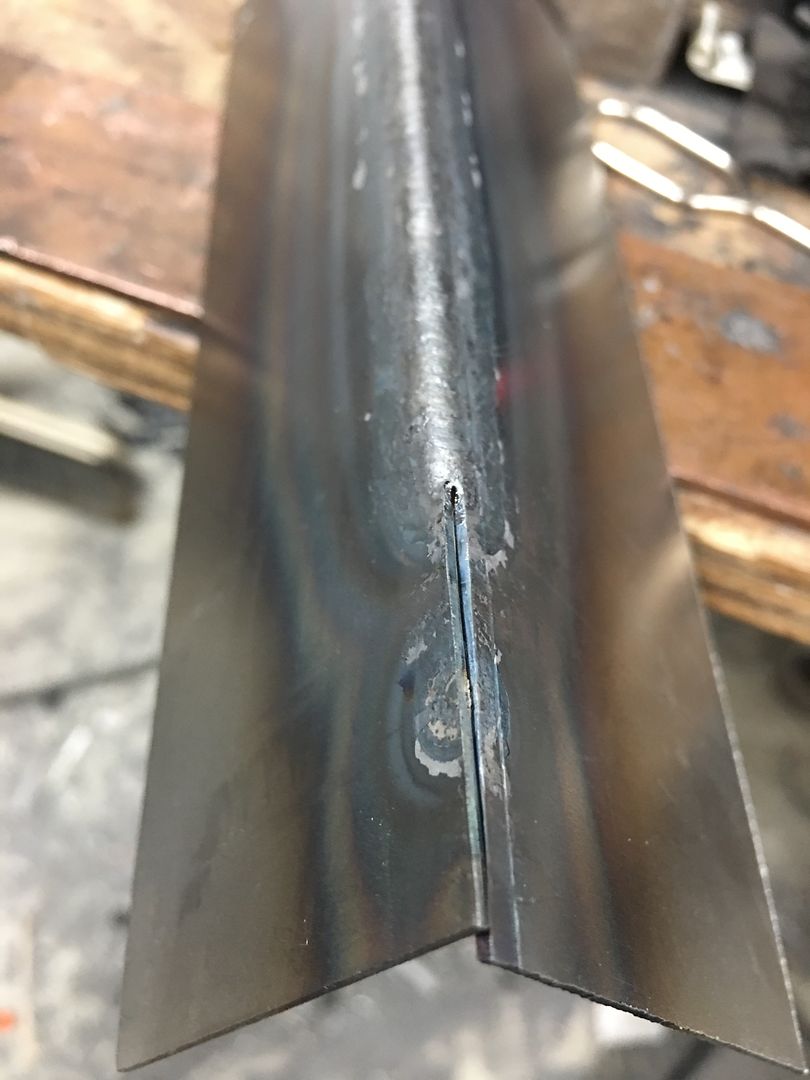
Very impressed with this torch, one handed valve adjustments are a breeze, light weight and easy to use..Robert
-
12-27-2018 09:54 AM #1266
really impressed that t did not break or crackCharlie
Lovin' what I do and doing what I love
Some guys can fix broken NO ONE can fix STUPID
W8AMR
http://fishertrains94.webs.com/
Christian in training
-
12-27-2018 12:54 PM #1267
- Join Date
- Apr 2011
- Location
- Prairie City
- Car Year, Make, Model: 40 Ford Deluxe, 68 Corvette, 72&76 K30
- Posts
- 7,299
- Blog Entries
- 1
Very nice! I used to do a lot of fusion welding with an oxy/acetylene torch before I had my own mig. I actually liked it a lot. Yours looks great and that torch is pretty nice.Ryan
1940 Ford Deluxe Tudor 354 Hemi 46RH Electric Blue w/multi-color flames, Ford 9" Residing in multiple pieces
1968 Corvette Coupe 5.9 Cummins Drag Car 11.43@130mph No stall leaving the line with 1250 rpm's and poor 2.2 60'
1972 Chevy K30 Longhorn P-pumped 24v Compound Turbos 47RH Just another money pit
1971 Camaro RS 5.3 BTR Stage 3 cam, SuperT10
Tire Sizes
-
12-27-2018 05:07 PM #1268
I don't see much warpage, nice. How would you rate it against TIG?.
Education is expensive. Keep that in mind, and you'll never be terribly upset when a project goes awry.
EG
-
12-27-2018 07:31 PM #1269
Where the gas torch really shines is when joining aluminum panels for coach work... A TIG will give you a nice weld on aluminum but the back side will most likely need a weld pass as well, which is not always accessible. The gas torch when welding aluminum will give a good weld bead on both sides.
I do think the TIG is going to be slightly harder of a weld than the gas torch, but either is going to be better than MIG on sheet metal. The start and stop of any weld is where the most distortion (puckers) is added to the panel, so either TIG or O/A with a no-fill fusion weld will give the optimal weld with the least amount of distortion. The gas torch may have the advantage in areas that are cumbersome to use the TIG pedal.
I was asked to bend the weld sample to a complete 180* to give the weld a "REAL" test. So the following video does such, please excuse the erratic movement of the camera operator, he also had to close the vise and position the sample..
https://www.youtube.com/watch?v=JzfL...ature=youtu.be
.Last edited by MP&C; 12-27-2018 at 07:36 PM.
Robert
-
01-02-2019 04:35 AM #1270
Best wishes to everyone for a healthy and prosperous New Year!
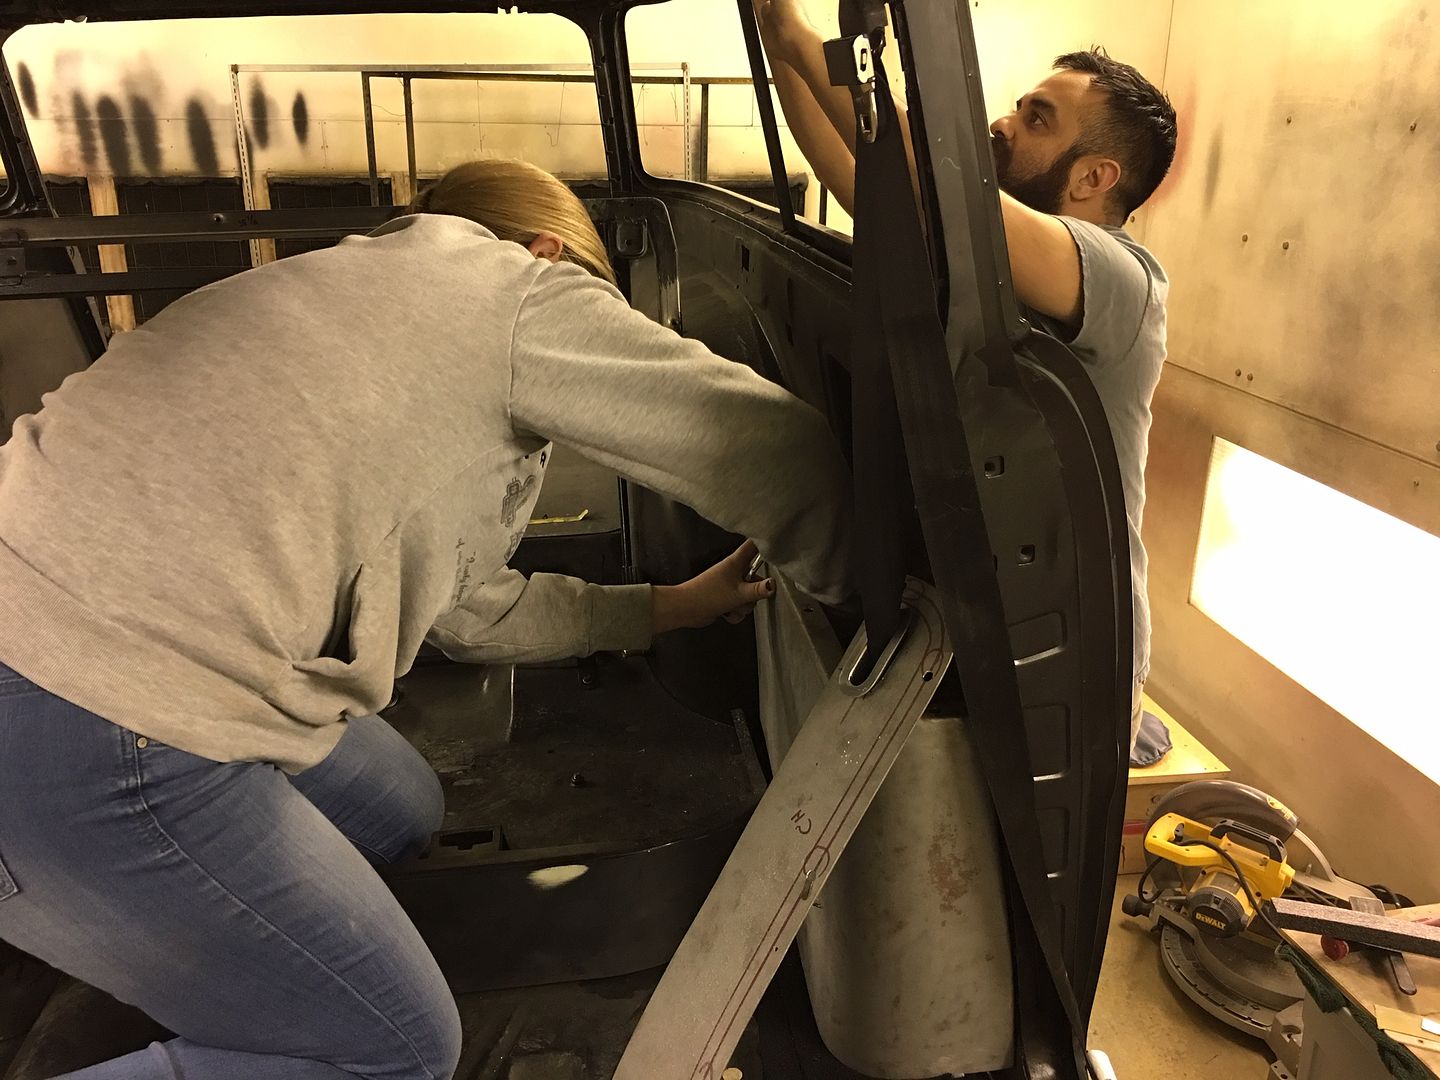
Some wagon updates, we've been tying up loose ends to get parts ready for upholstery and the roof ready for paint. With the arm rest details ironed out, E is unbolting the kick panels so we can cut out the speaker holes. Mike is getting the roof skin blocked out..

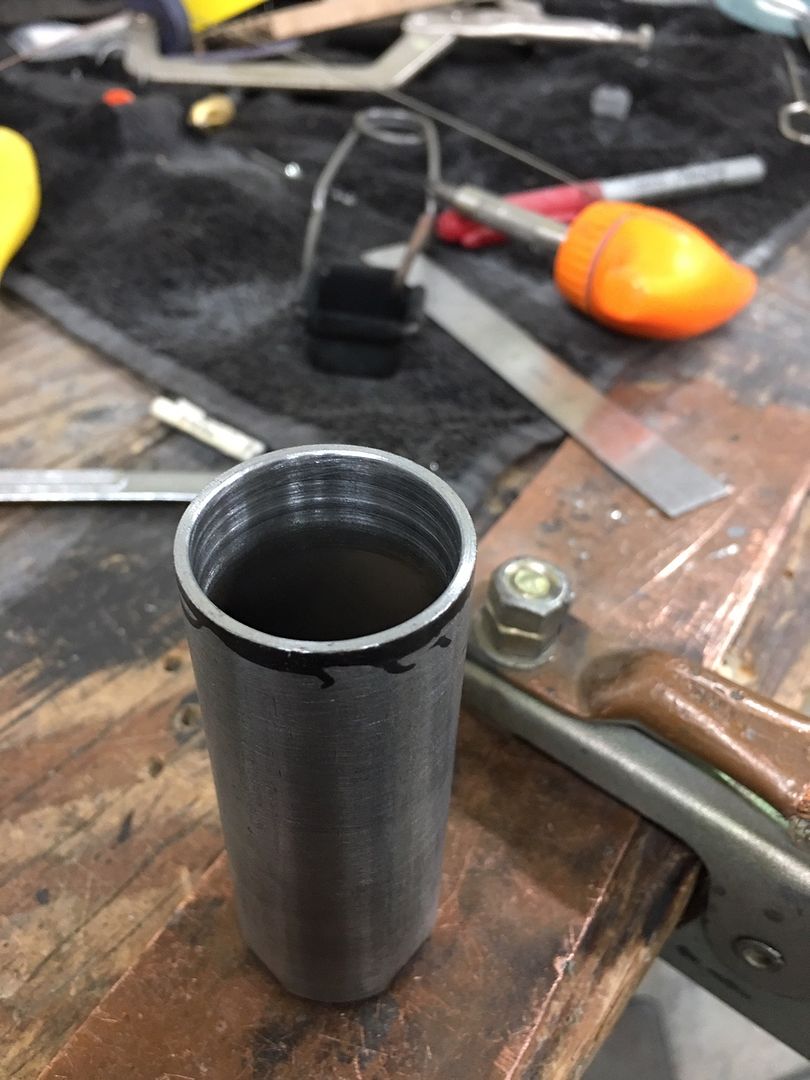
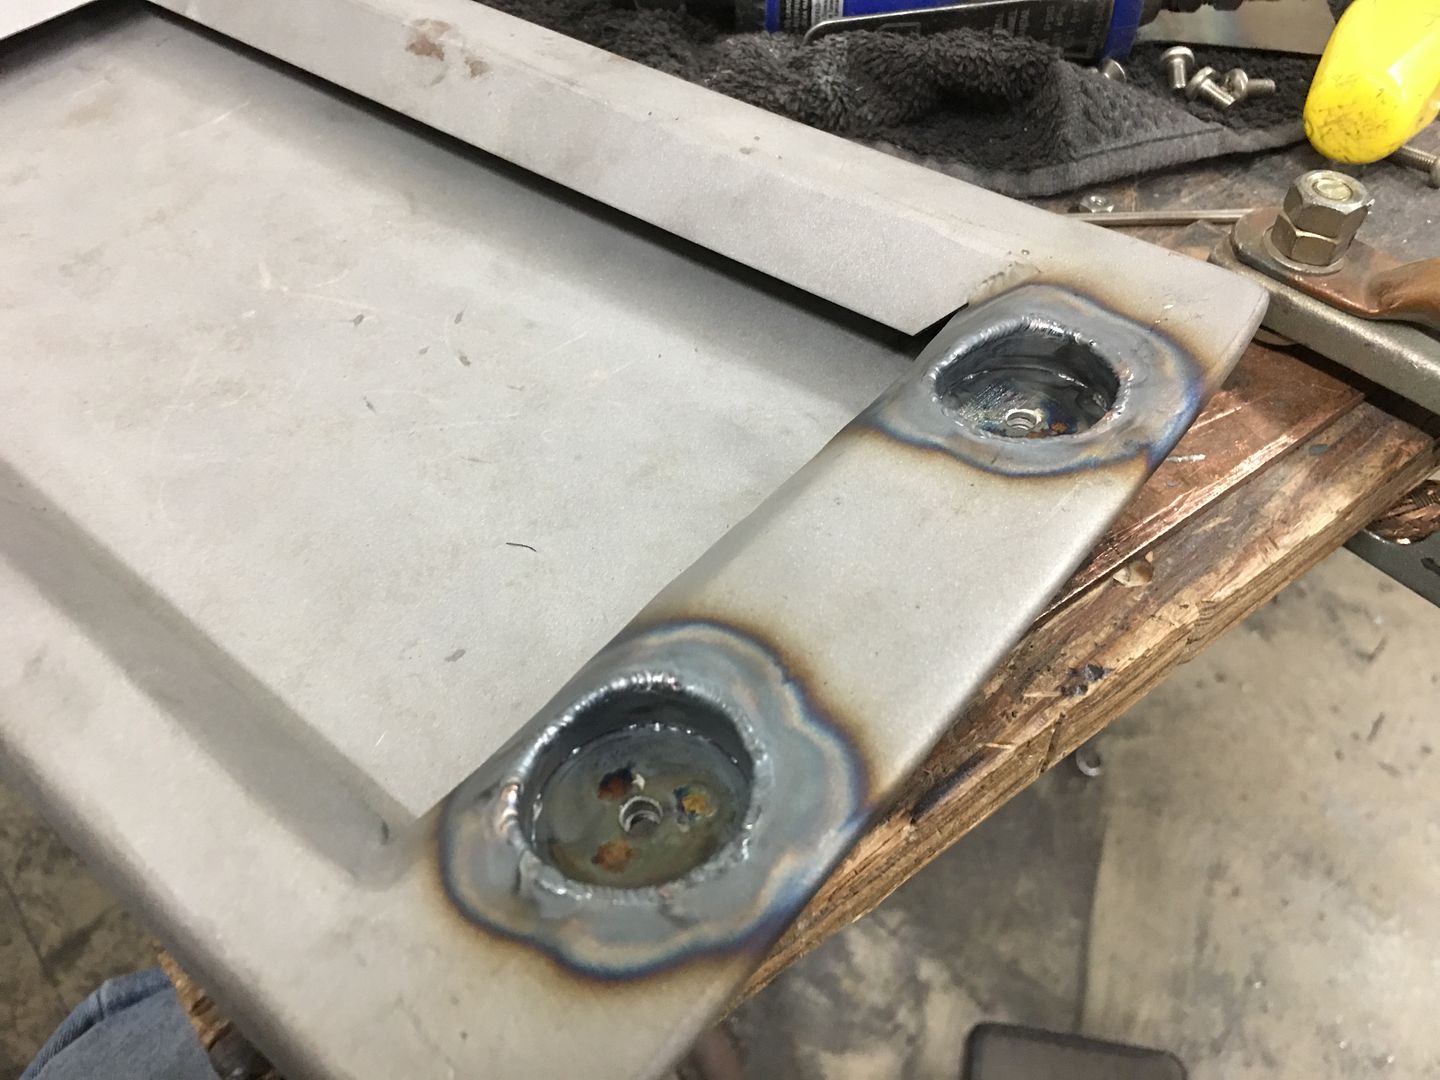
Here's the last detail for the console, we still need our latching mechanism. To keep a minimalist approach, we're going to flush recess some rare earth magnets in the lid, so here's our "pockets" that will be welded into the lid. Starting with some .065 wall tubing the end was faced on the lathe, and the end plates turned to a welding diameter of slightly undersized than the tubing, which allows for a good fusion weld.
Tacked:
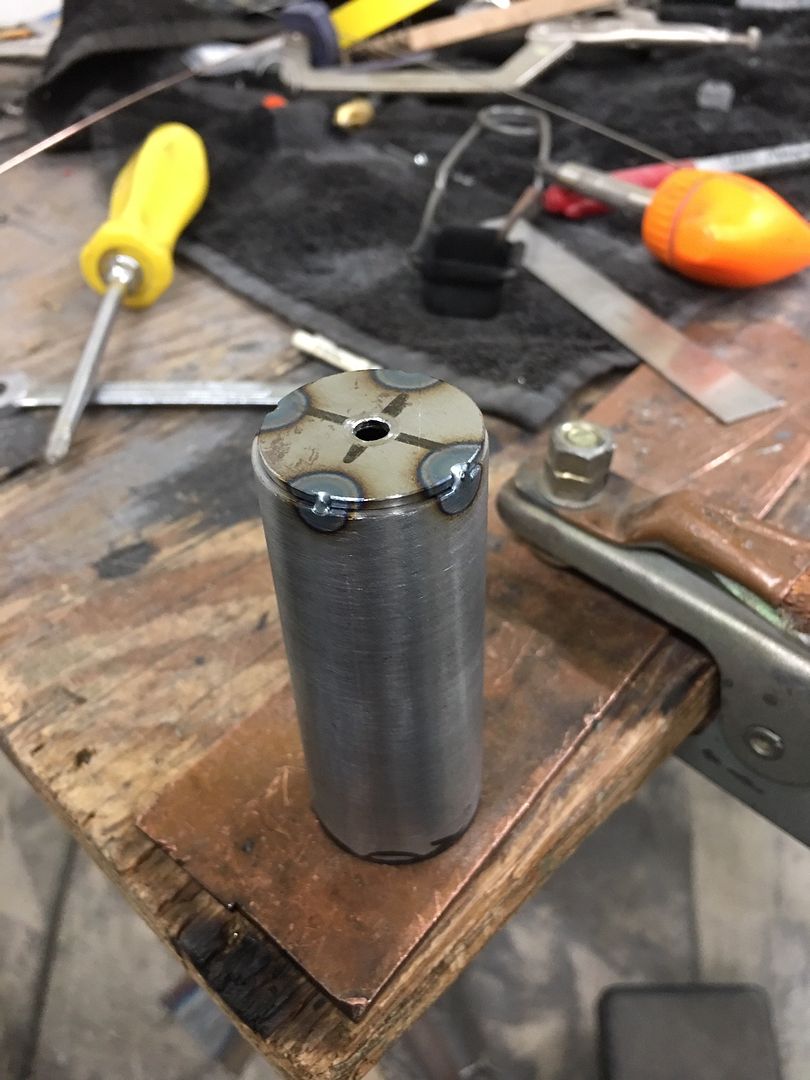
Fusion welded using the TIG:
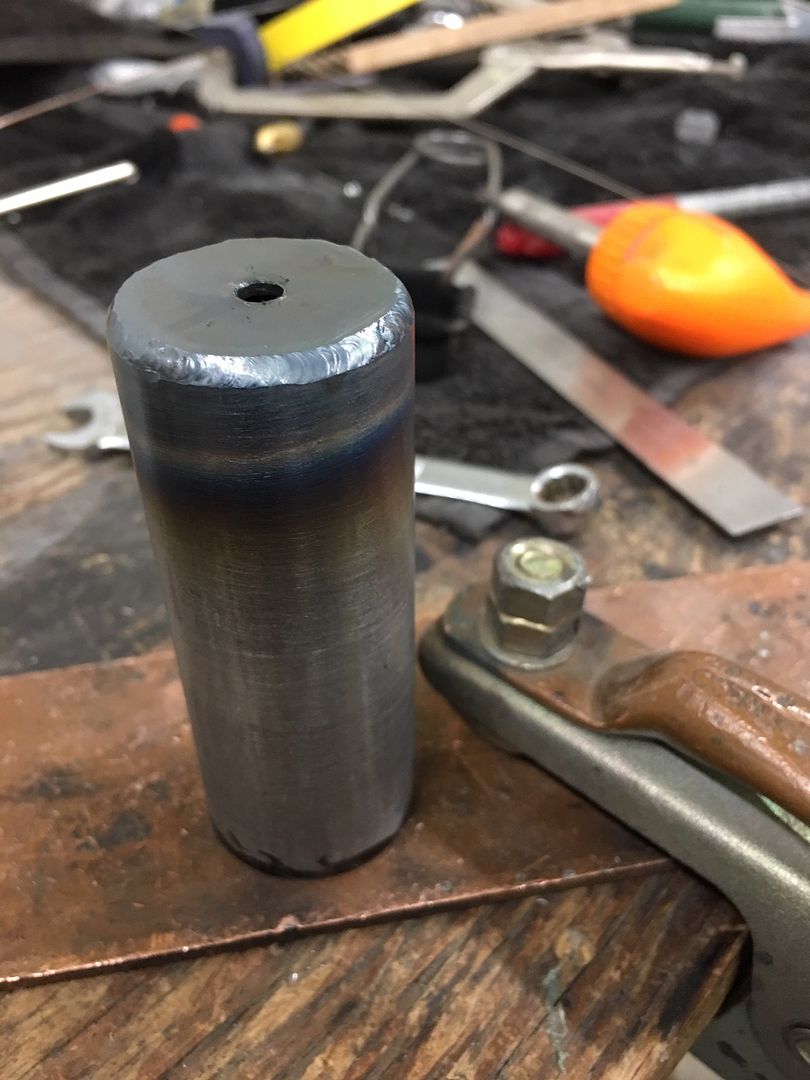
10-32 hex nut for magnet attachment is tacked on....
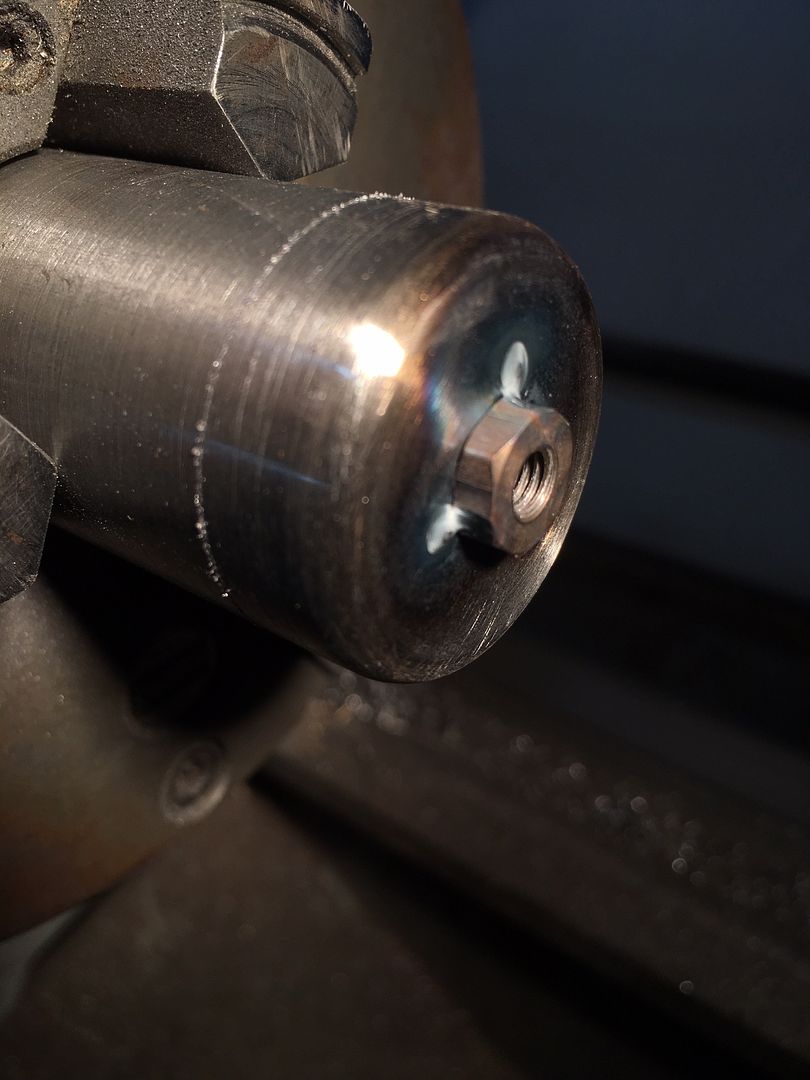
Trimmed to size...
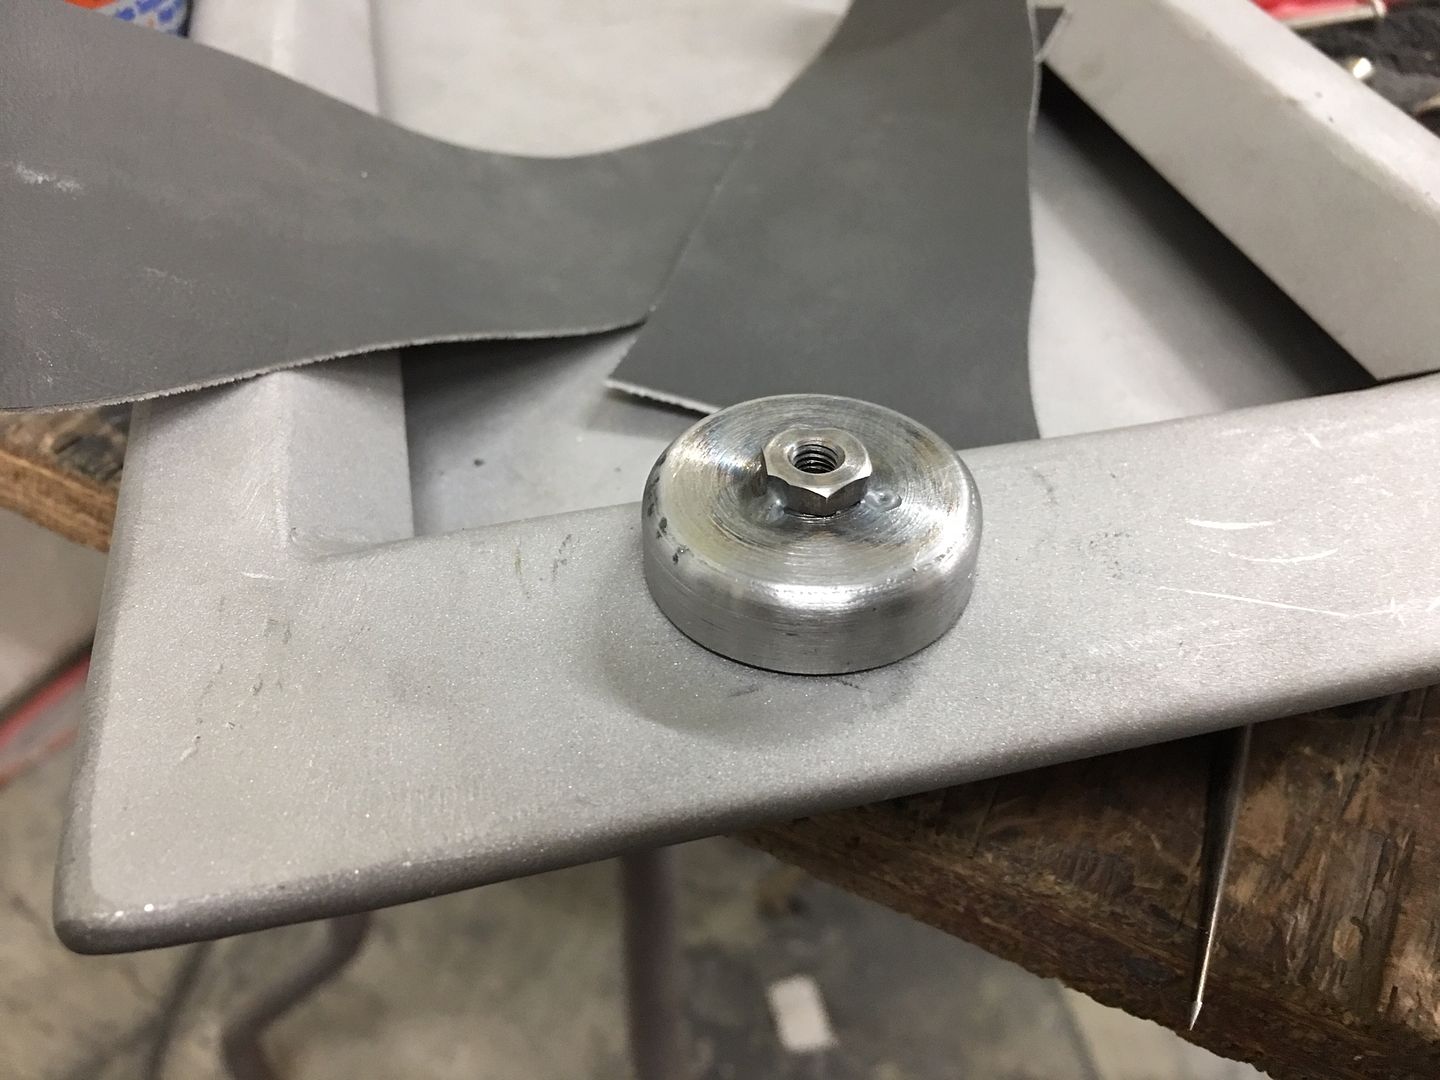
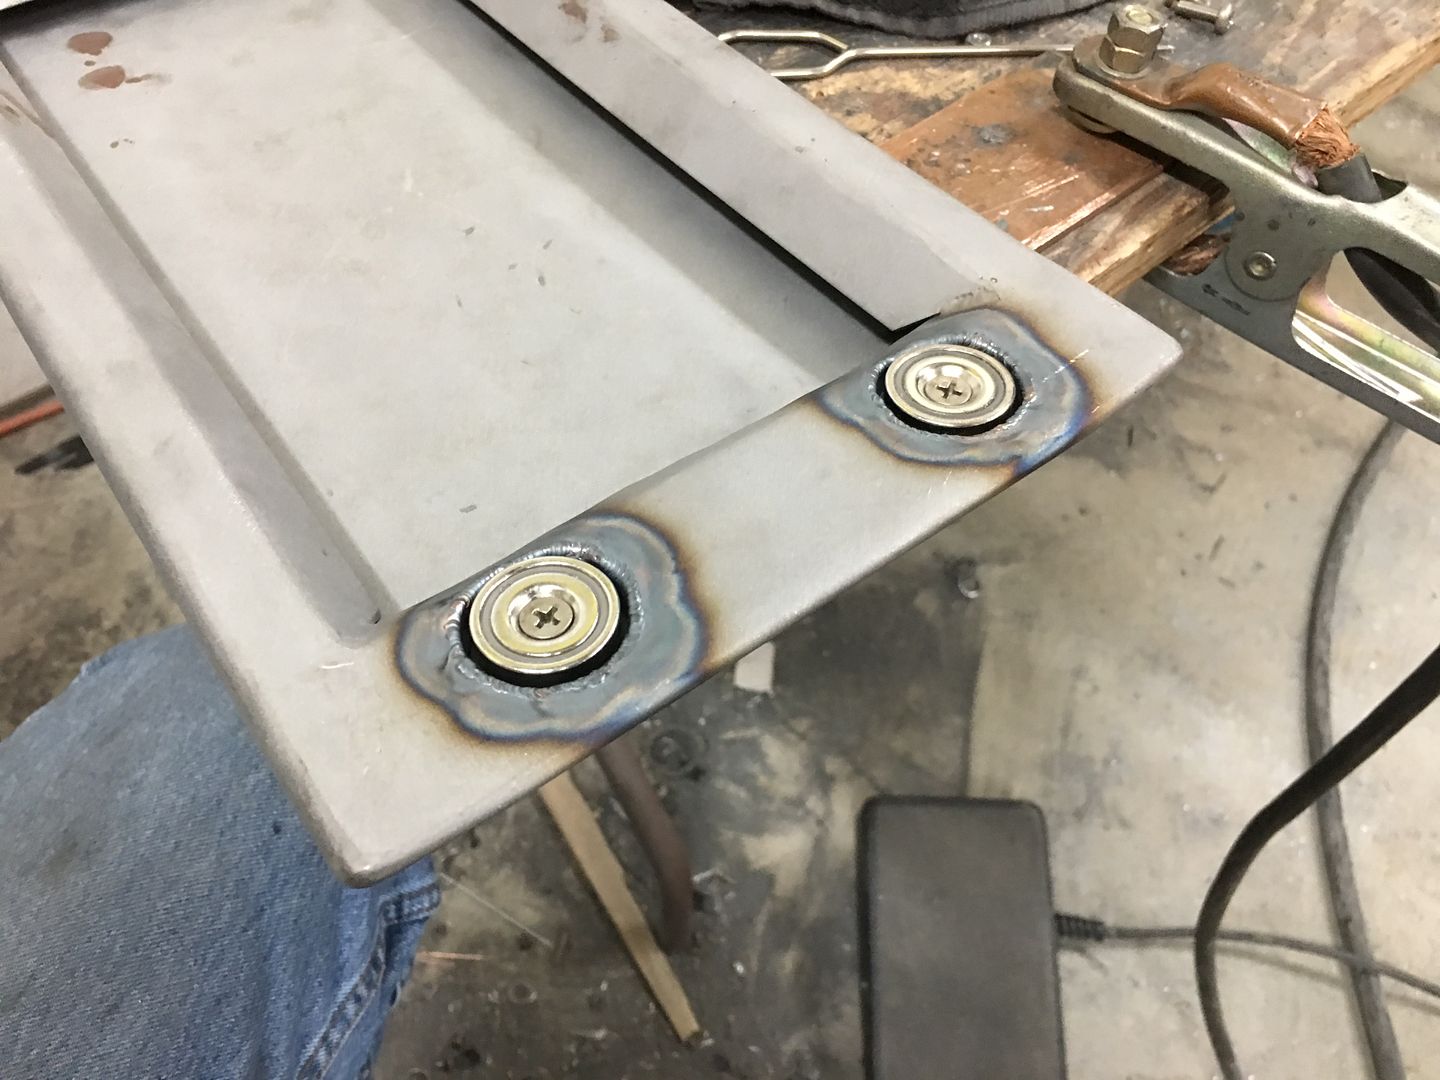
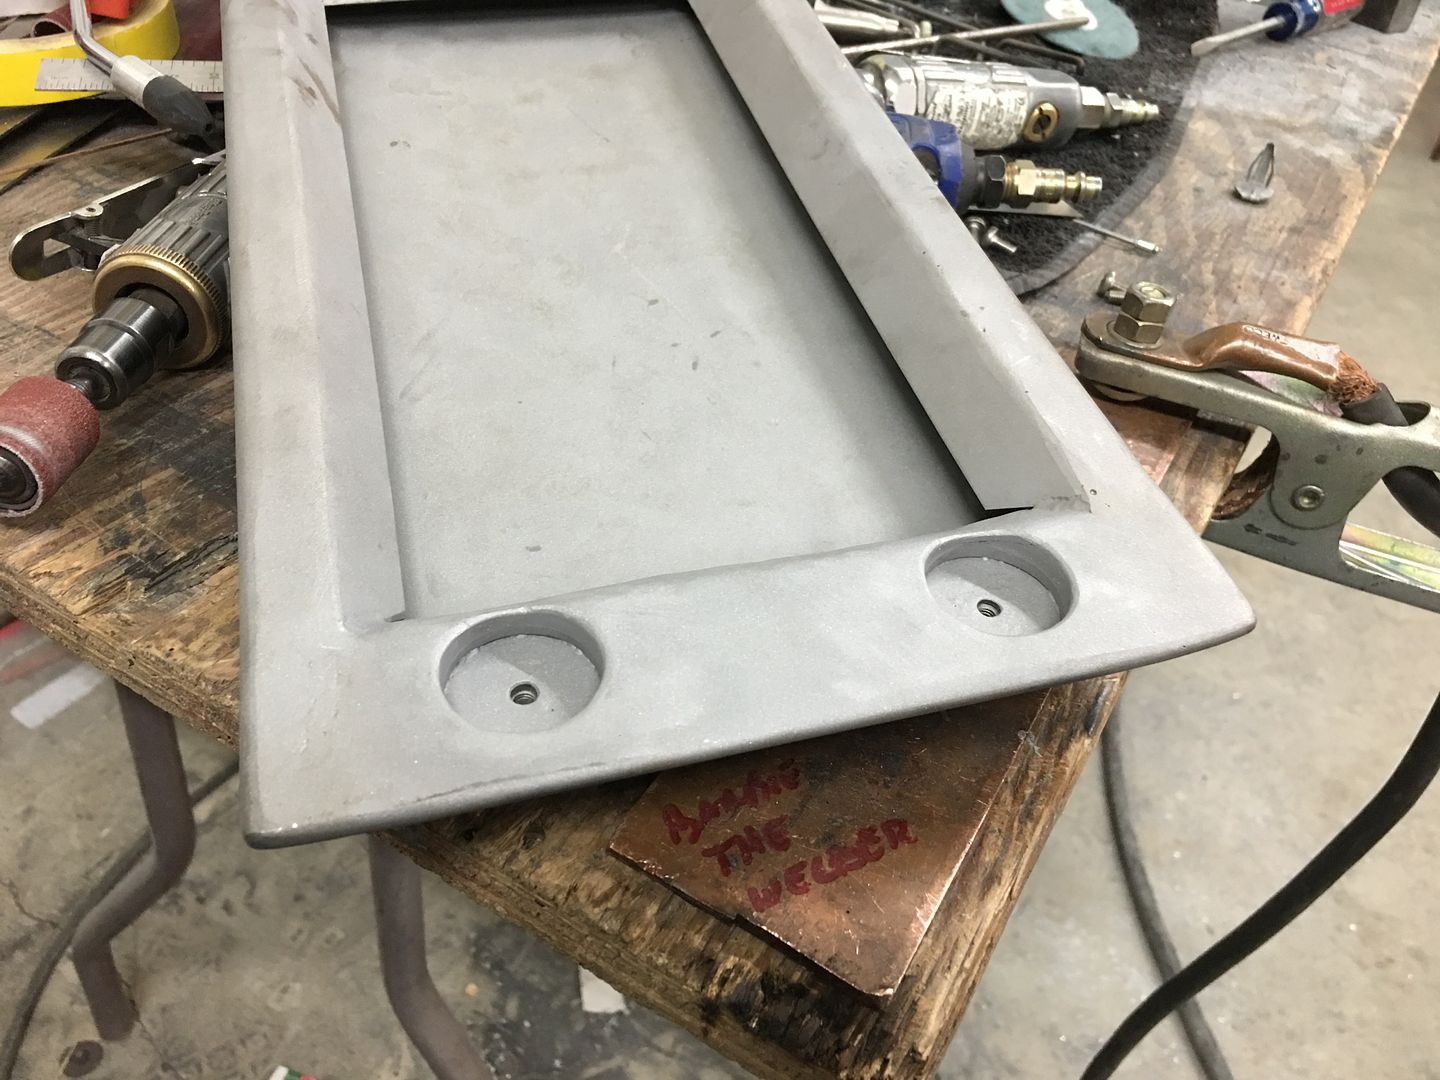
The material scraps shown were to simulate what will be covering the console and lid for the "pull test". Three magnets appeared to work too well, so we are going drill holes and weld in our recess pockets to use two magnets but leave a space in the center for a third, just in case... Once welded and fitted we'll do one more pull test just to make sure the third one isn't needed..
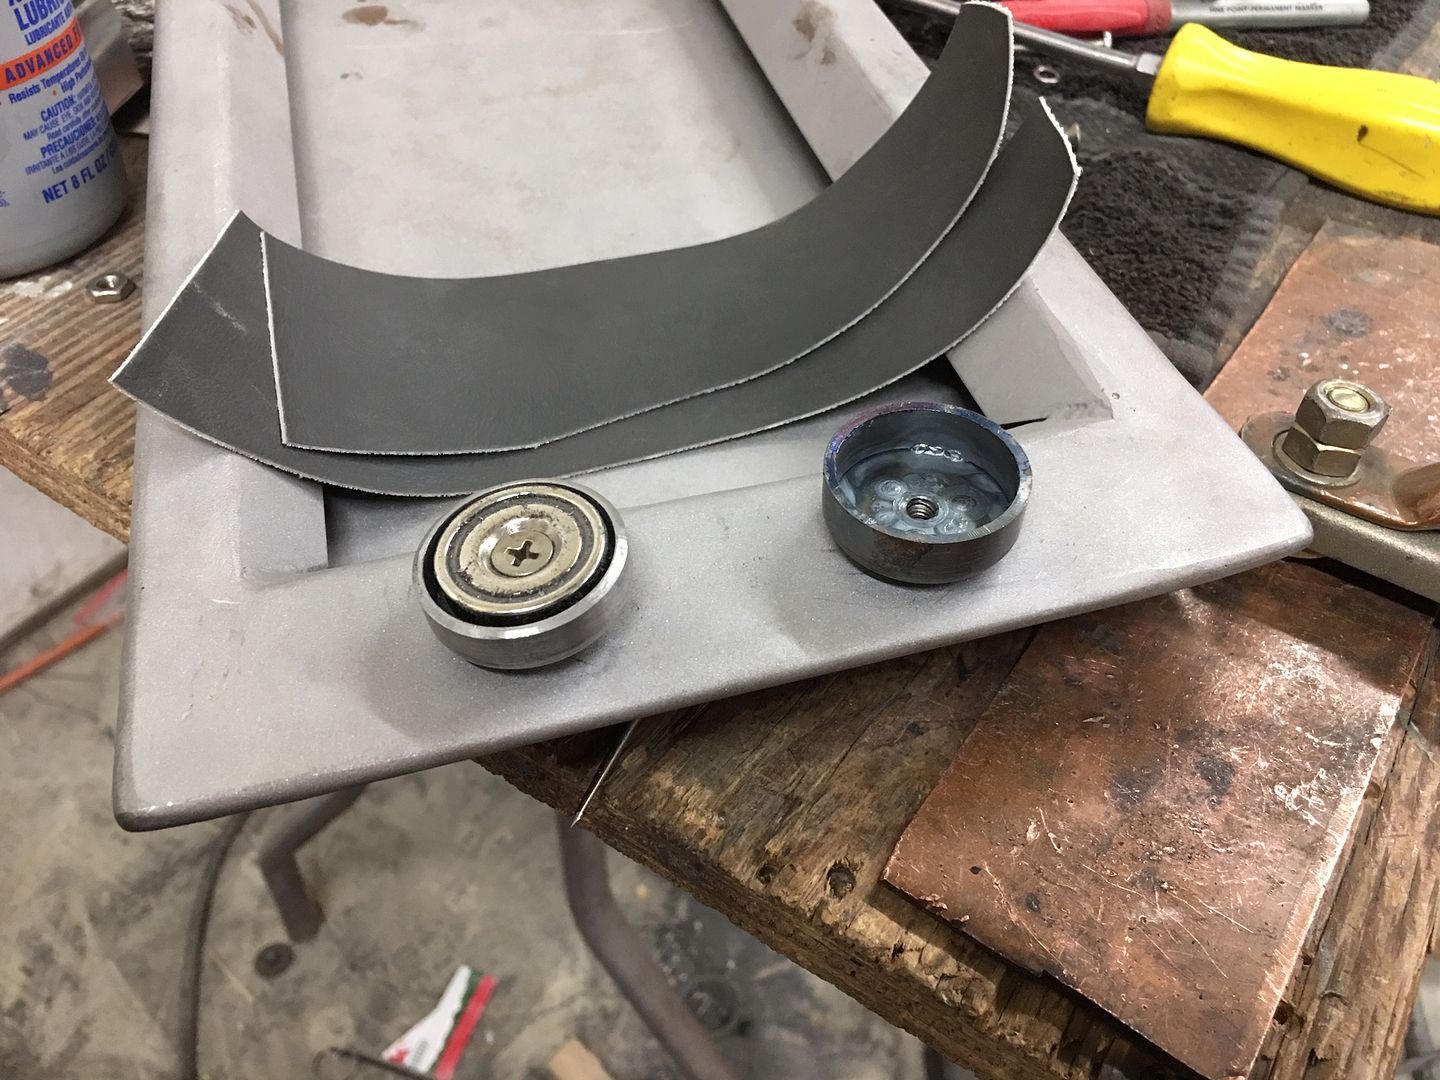
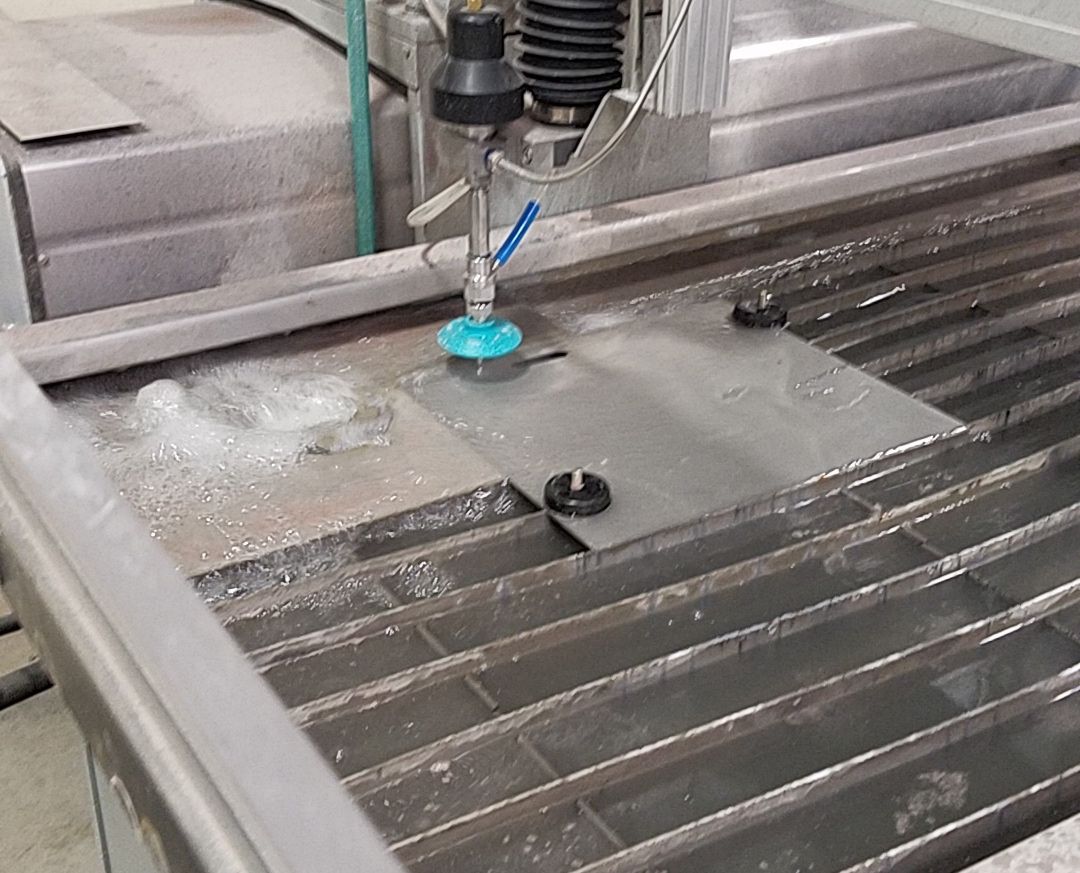
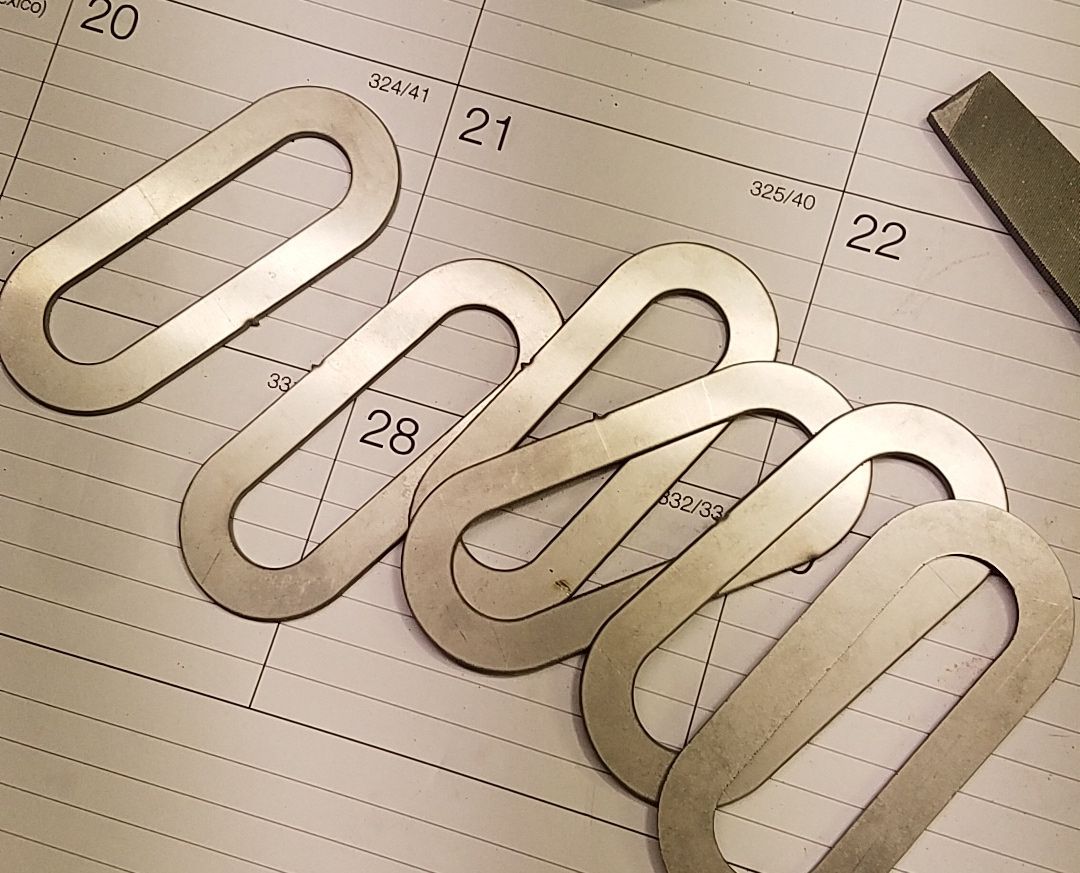
We also had some parts water jetted out of stainless for our seat belt escutcheons, this should help us get better consistency between parts.....and save time..
Last edited by MP&C; 01-02-2019 at 11:40 AM.
Robert
-
01-02-2019 06:01 PM #1271
- Join Date
- Apr 2011
- Location
- Prairie City
- Car Year, Make, Model: 40 Ford Deluxe, 68 Corvette, 72&76 K30
- Posts
- 7,299
- Blog Entries
- 1
The magnet pockets turned out sweet!Ryan
1940 Ford Deluxe Tudor 354 Hemi 46RH Electric Blue w/multi-color flames, Ford 9" Residing in multiple pieces
1968 Corvette Coupe 5.9 Cummins Drag Car 11.43@130mph No stall leaving the line with 1250 rpm's and poor 2.2 60'
1972 Chevy K30 Longhorn P-pumped 24v Compound Turbos 47RH Just another money pit
1971 Camaro RS 5.3 BTR Stage 3 cam, SuperT10
Tire Sizes
-
01-03-2019 08:09 PM #1272
Thanks Ryan!
We got the holes added in the console lid for the pocket recesses.....
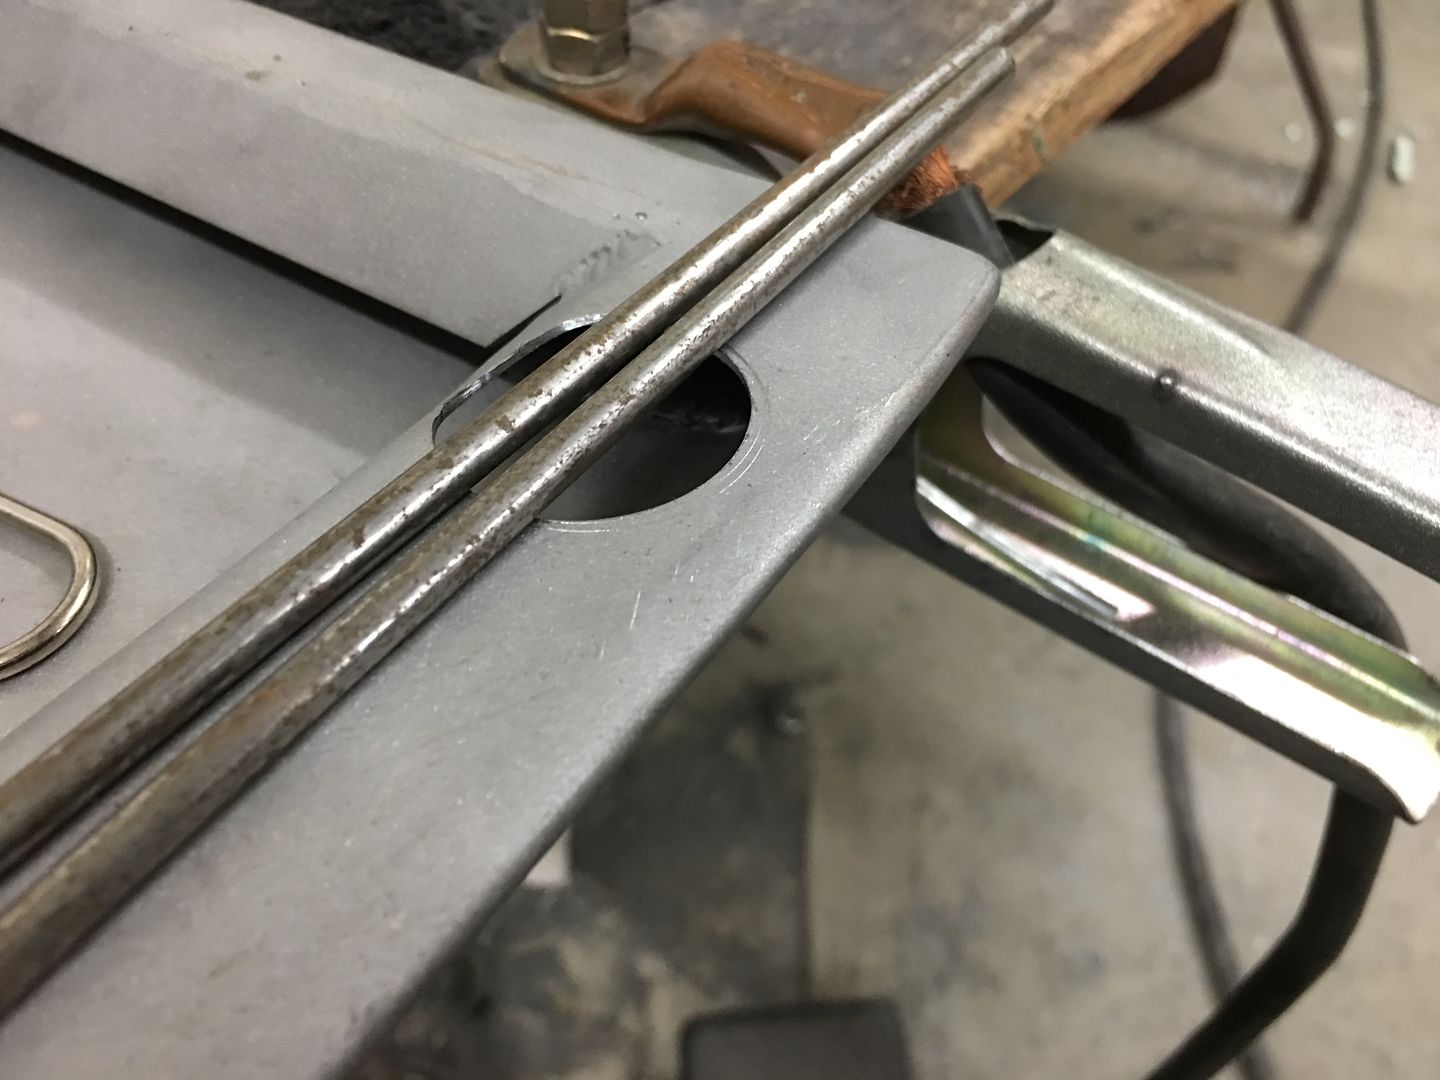
A bent fender washer and 3/16 rods serve to hold the pockets in place while tacked in with the TIG....
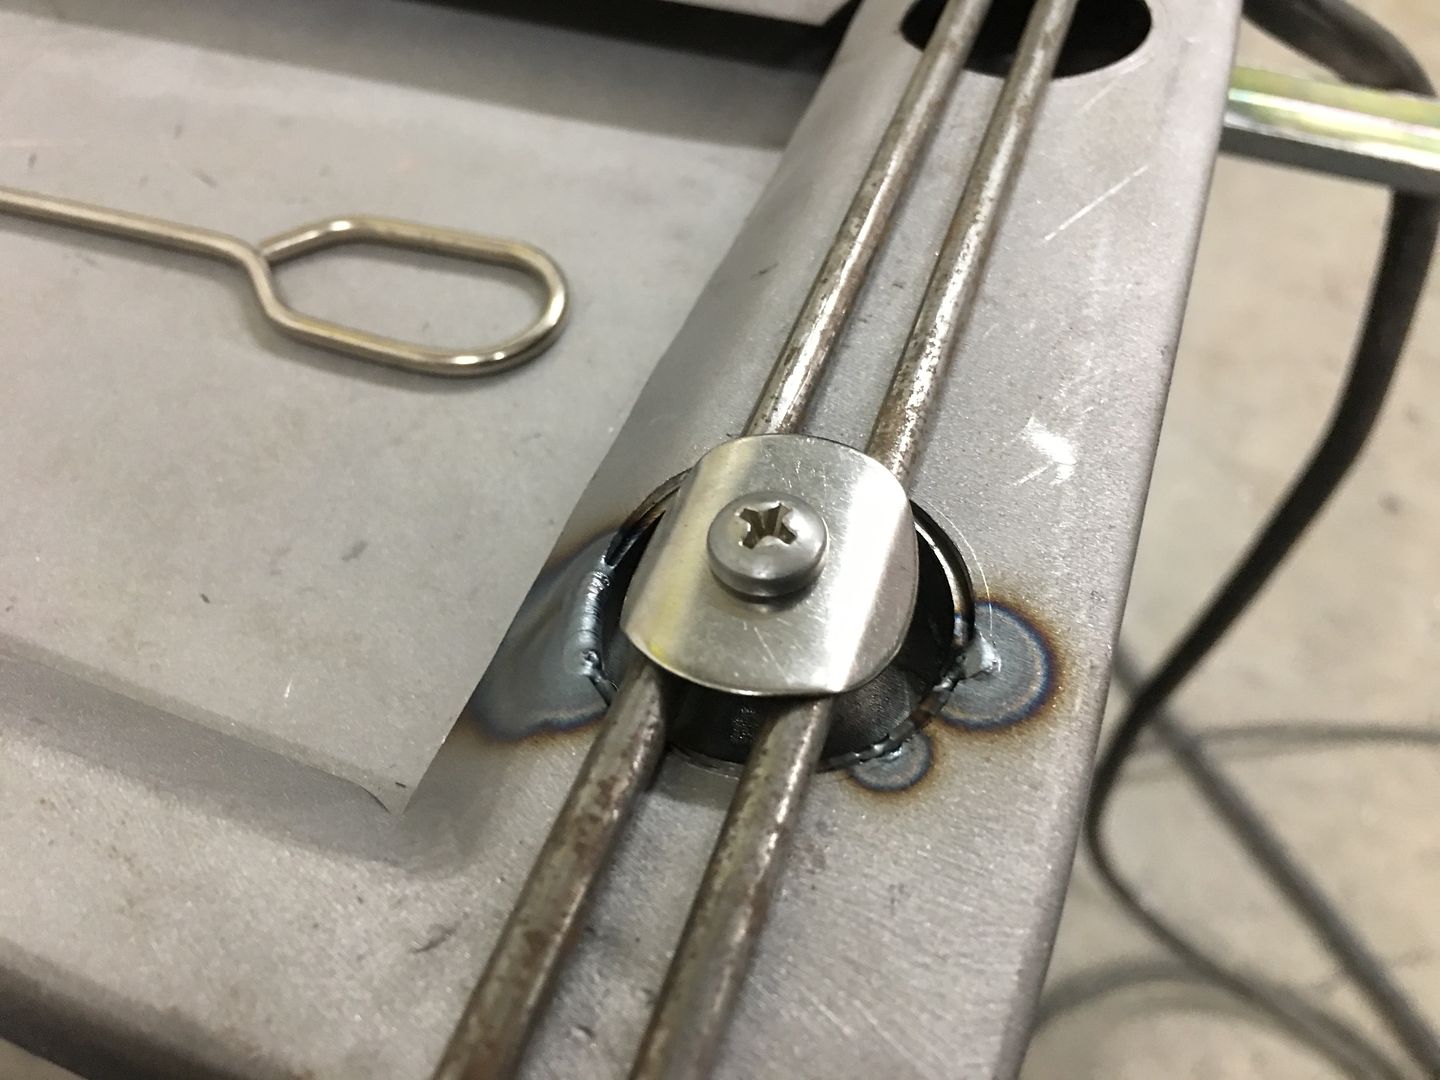
Test fit of the magnets...
Video of the console lid, testing the magnet pull for our latching method..
https://www.youtube.com/watch?v=vgJM...ature=youtu.be
.Robert
-
01-04-2019 10:52 AM #1273
Very nice, incredible detail.
-
01-04-2019 01:45 PM #1274
You are a metal artistMy Chevy Truck Project
-
01-04-2019 03:17 PM #1275
I'll have to admit, I couldn't "see" it.
I had no real idea of what you were doing! LOL..
But it came together didn't it. Dang that'll be nice. Them guys are right, you are the master of metal.
As always thanks for making time for us.


 3390Likes

 LinkBack URL
 About LinkBacks
 Reply With Quote


I did not know Mike very well, we exchanged some messages from time to time but from what I understand he was a very good man. I was sad to learn about this
We Lost a Good One