Thread: 55 Wagon Progress
-
11-20-2013 01:05 AM #121
Wow! Just went thru this thread from the start. Your metal working skills are a thing of beauty. Thanks for taking the time to photograph your process and show your home made jigs and tools. Definately will be watching this to the end. Steve."  "No matter where you go, there you are!" Steve.
-
Advertising

- Google Adsense
- REGISTERED USERS DO NOT SEE THIS AD
-
11-22-2013 07:25 PM #122
Thanks!
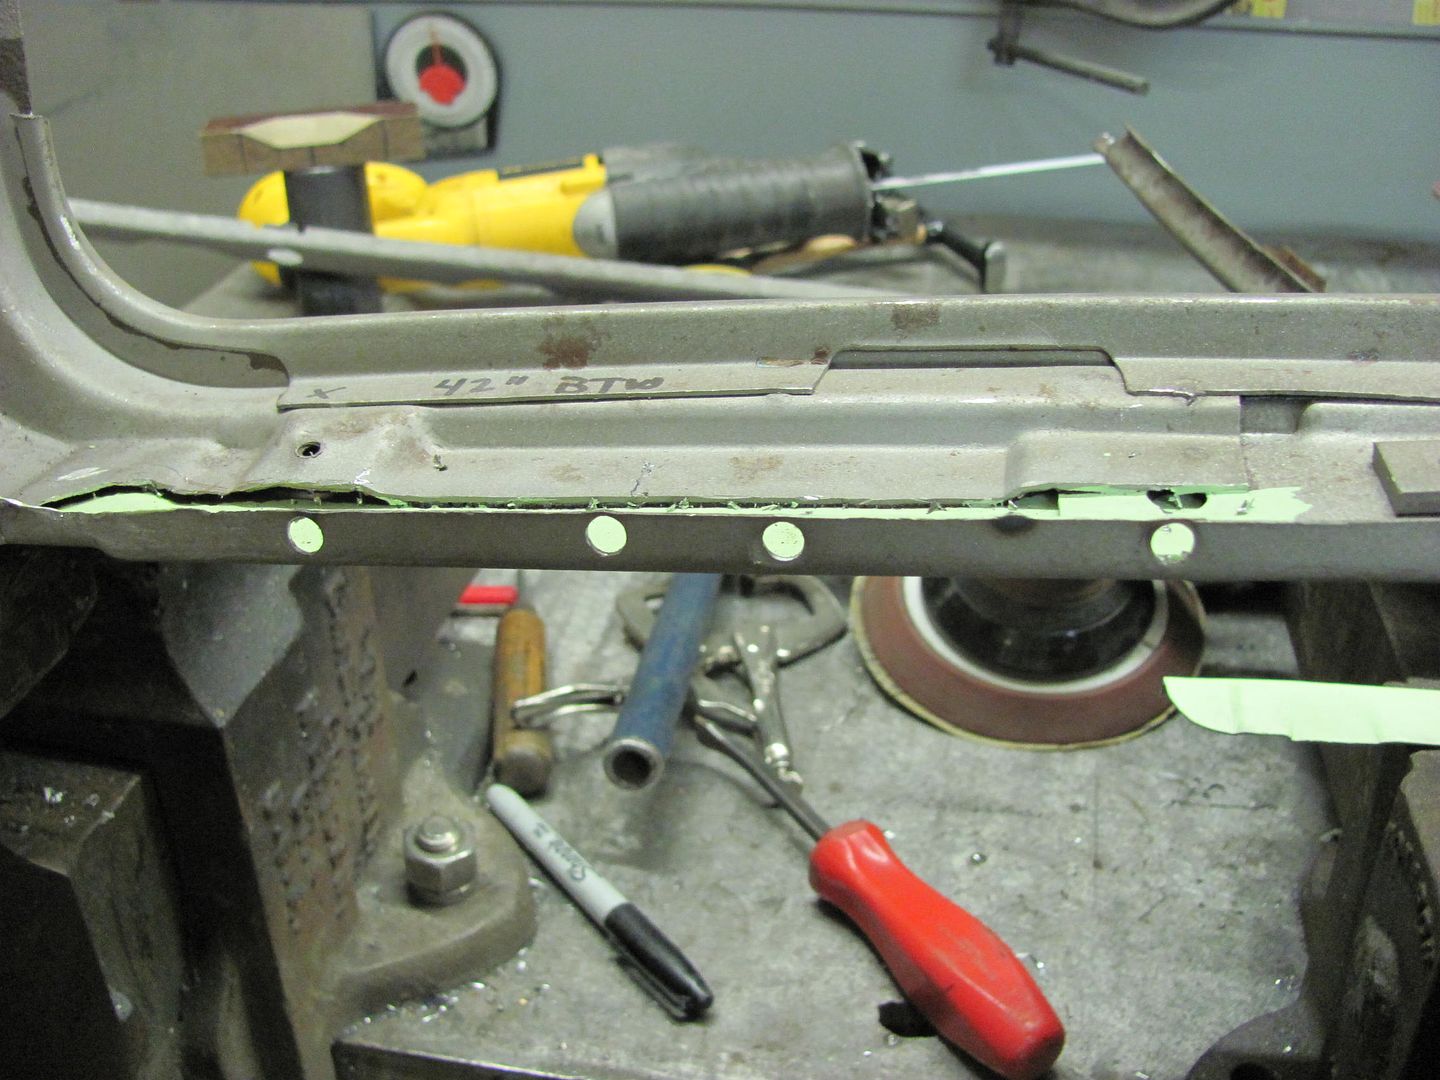
With the epoxy well cured, holes were drilled for plug welds....
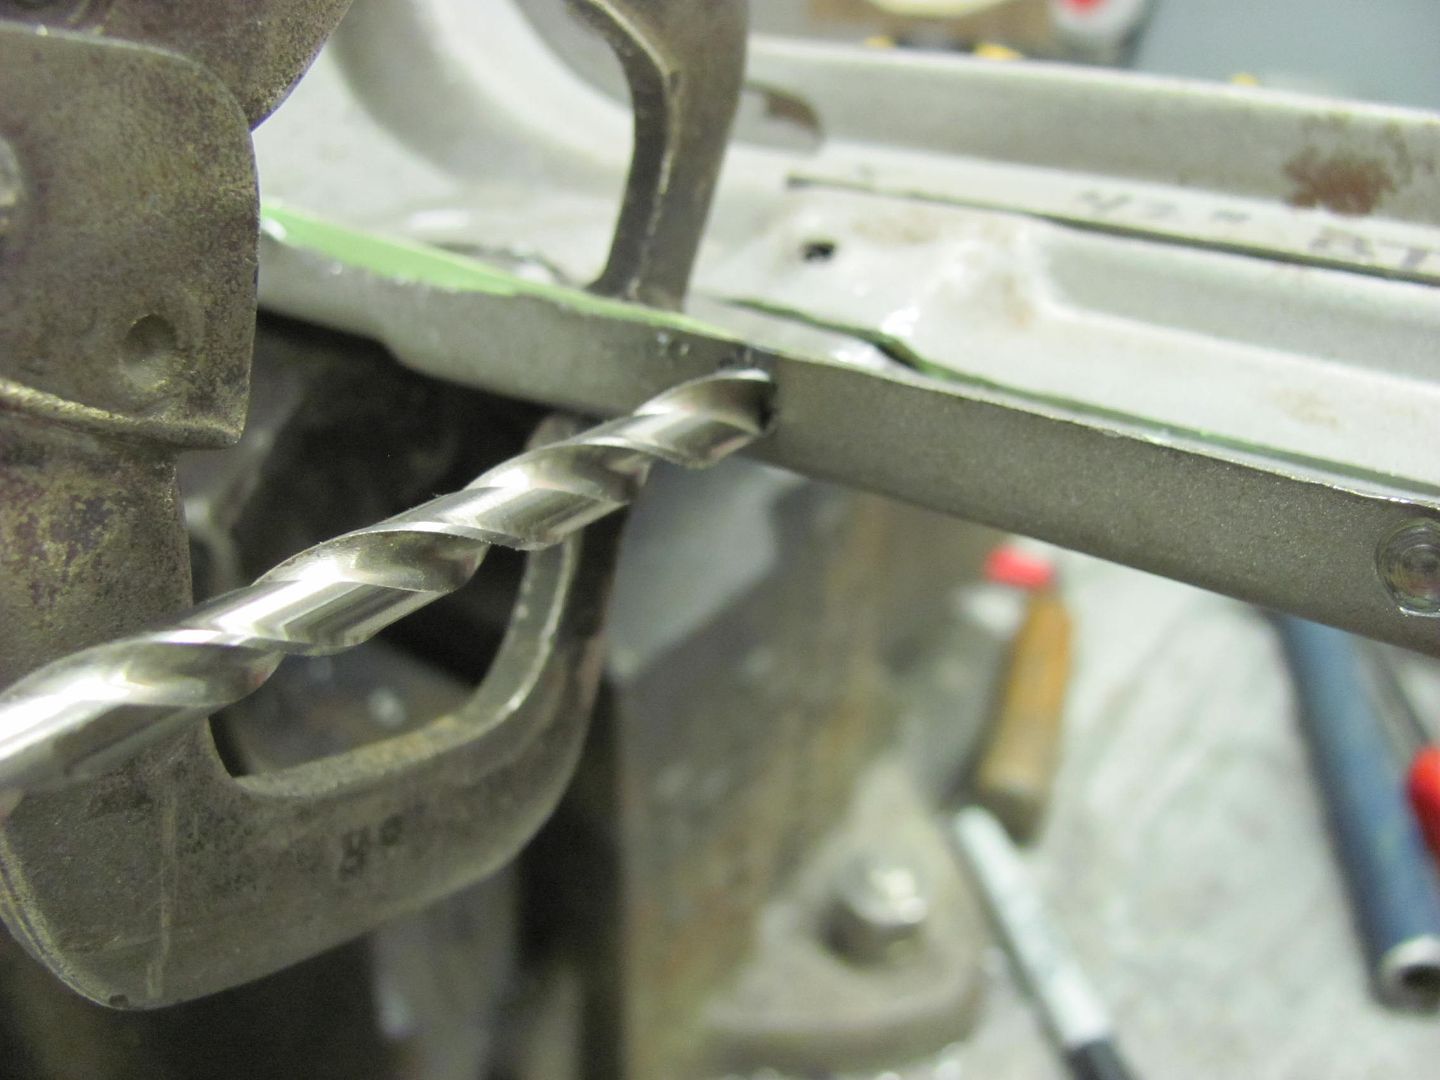
Then used the modified plug weld bit for cleaning out the adjacent panel...

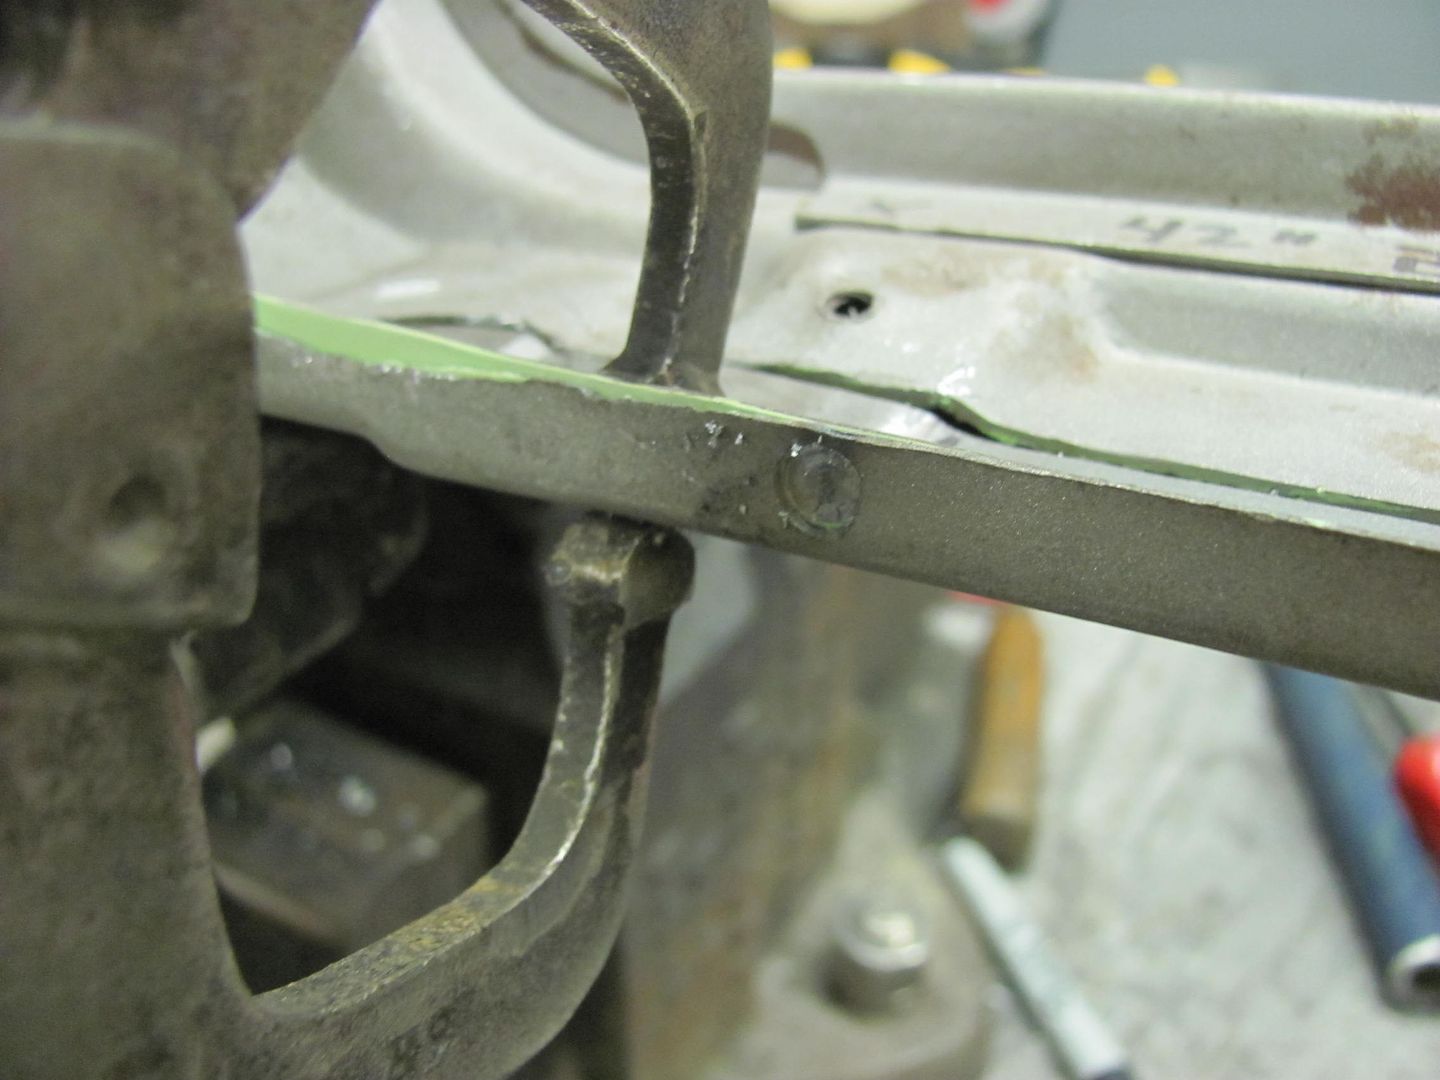
Cleaned spots for the plug welds...

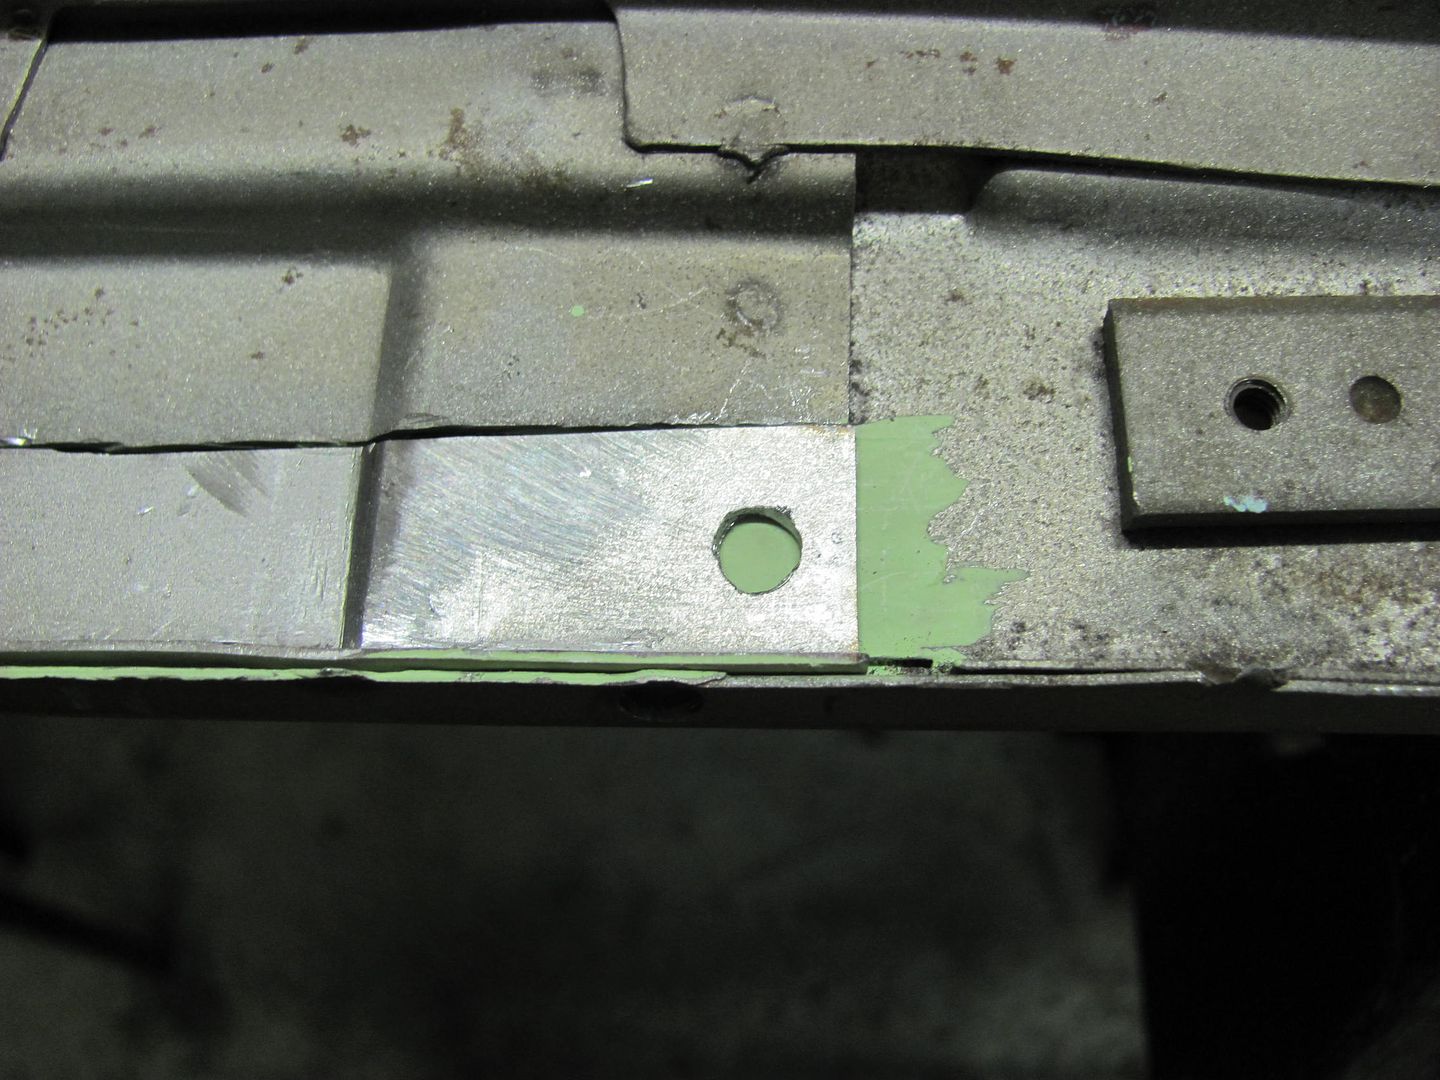
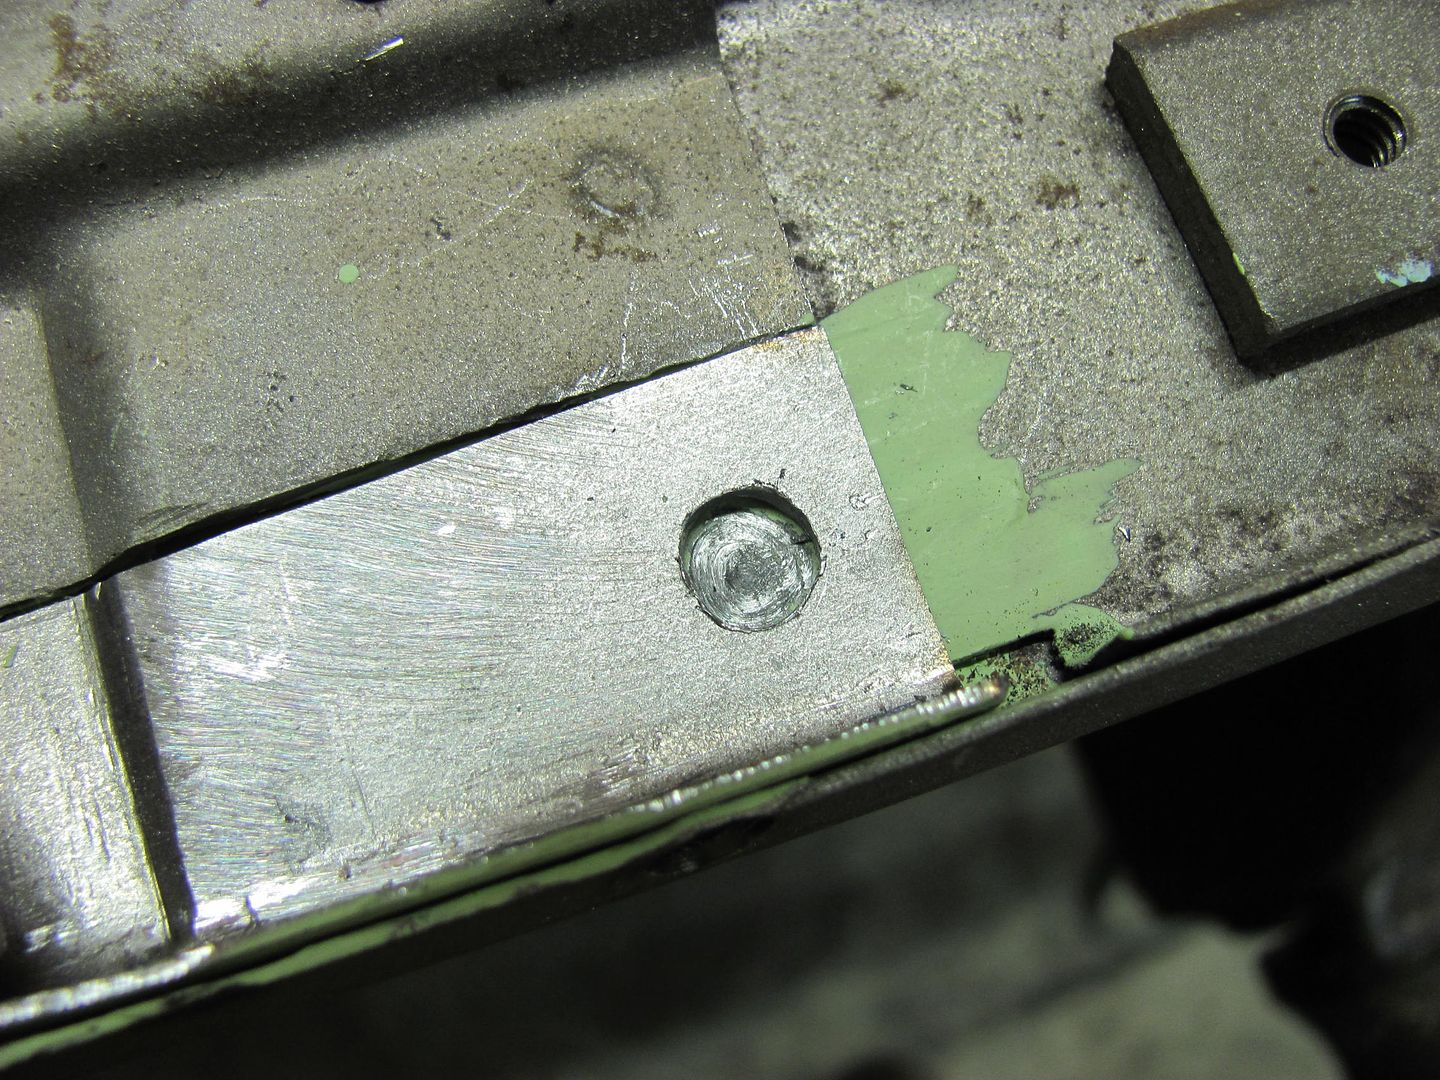
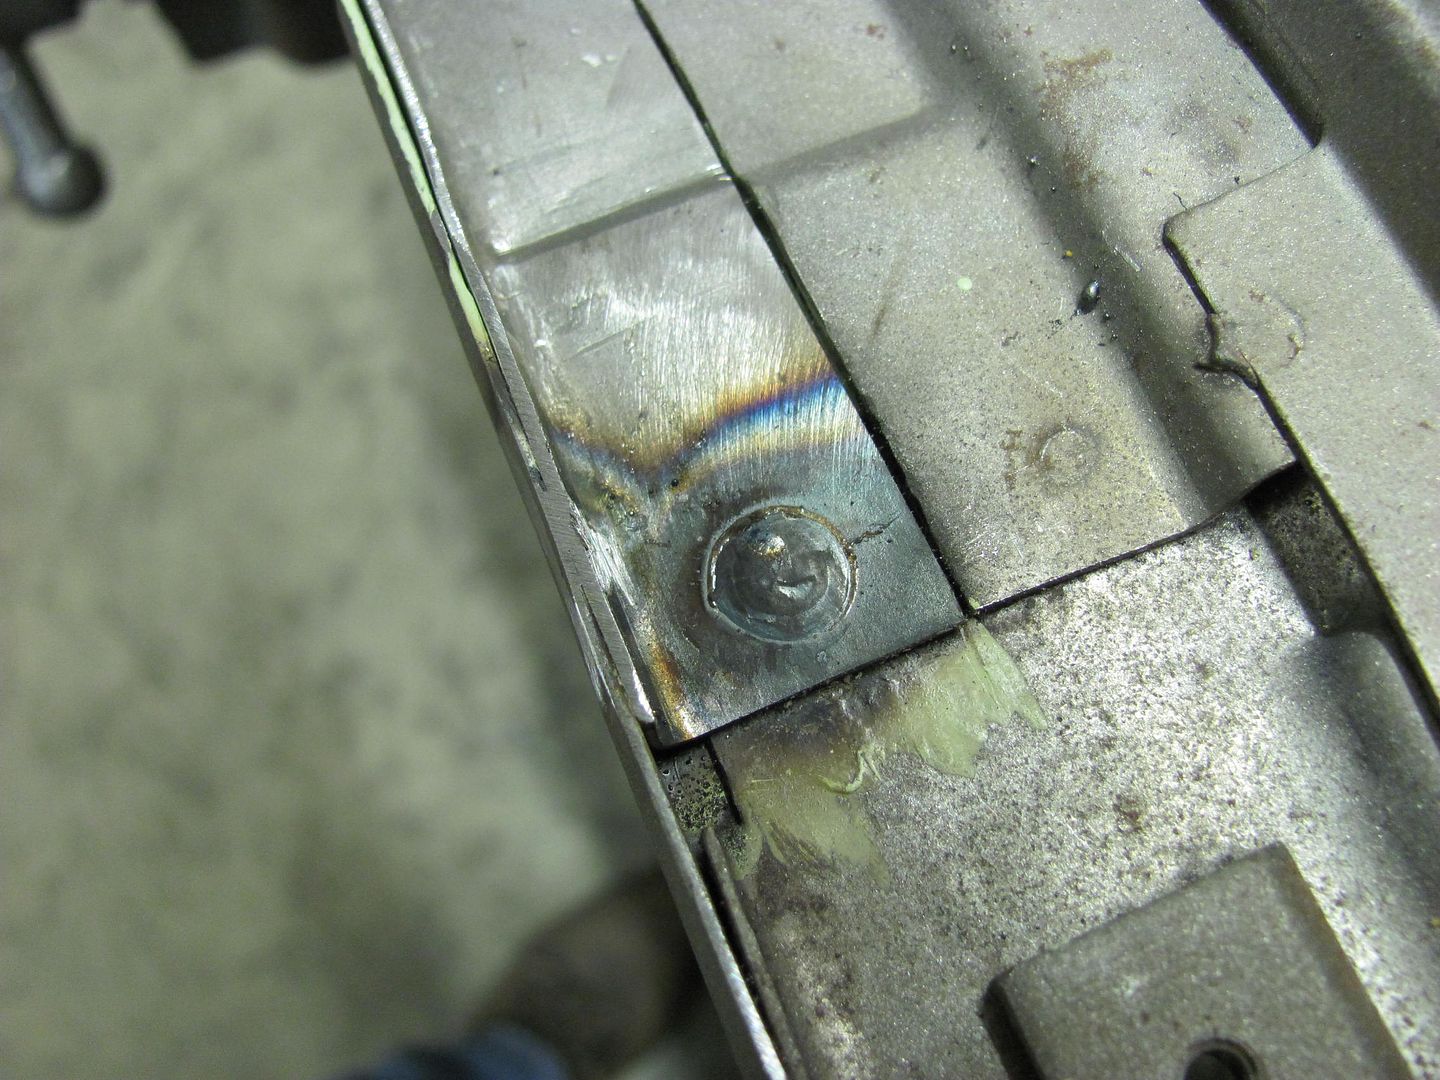
I had some questions about how well the epoxy held up to heat from welding. The epoxy next to the weld above, where it turned brown from the heat, was allowed to cool off, then attempted to scrape the paint with my thumbnail. I thought it may scrape some off, but it held tight, not so much as a scratch.
Then I got on a roll and forgot pictures, but here's the patch all welded in....
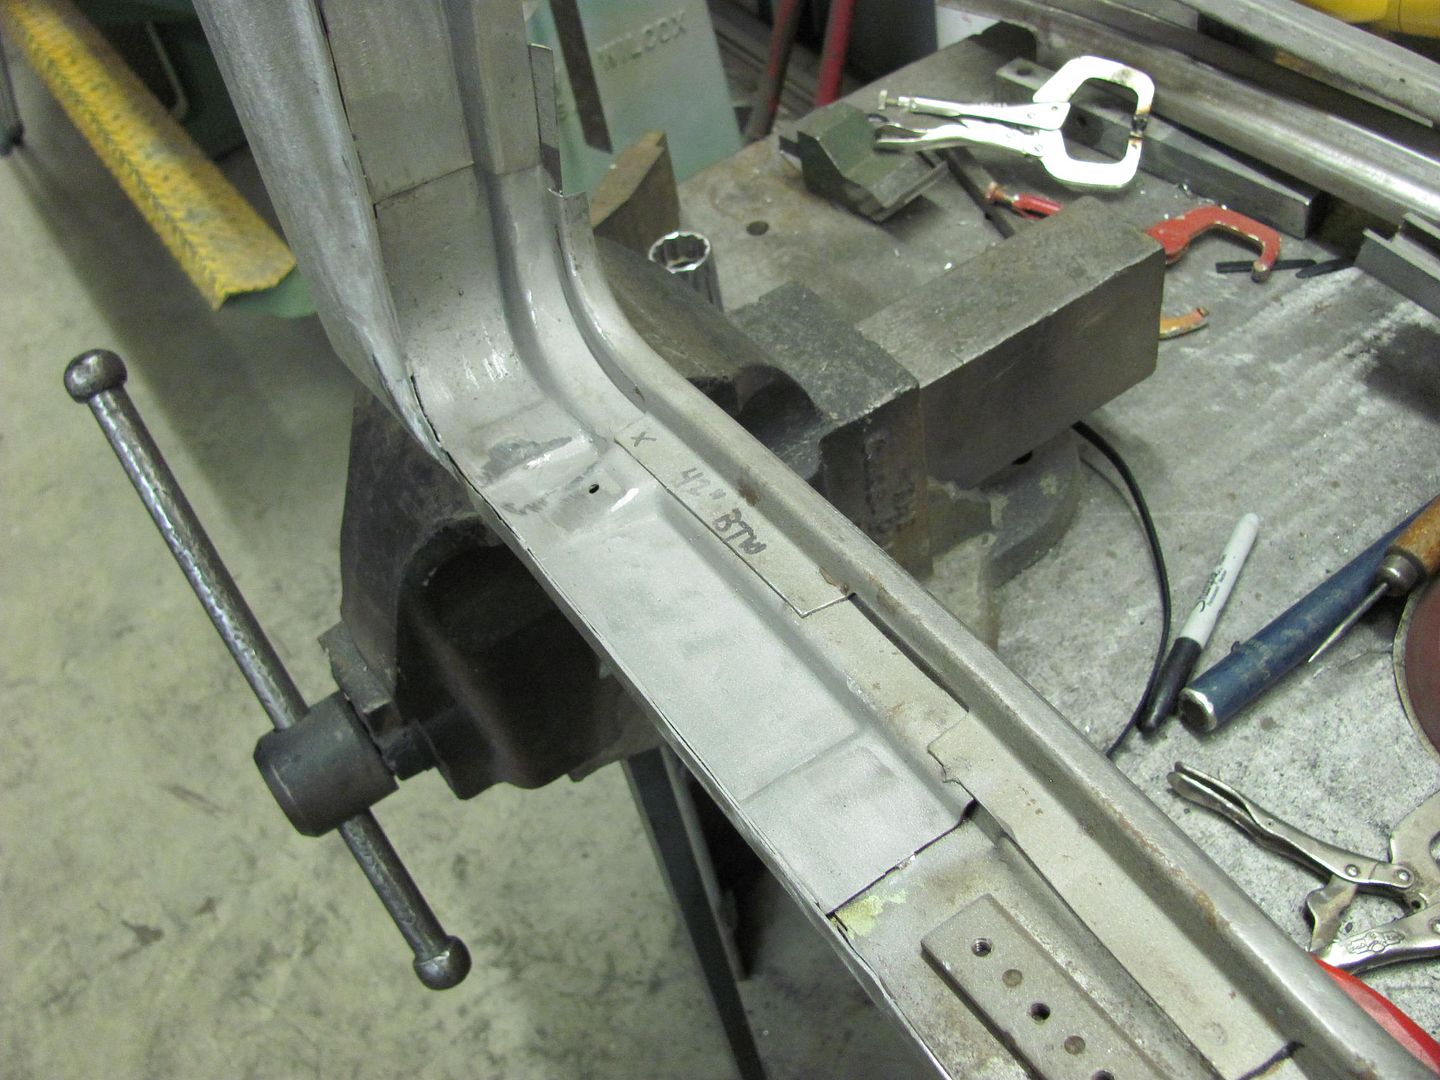
Next, drilled the holes in the lower window opening....
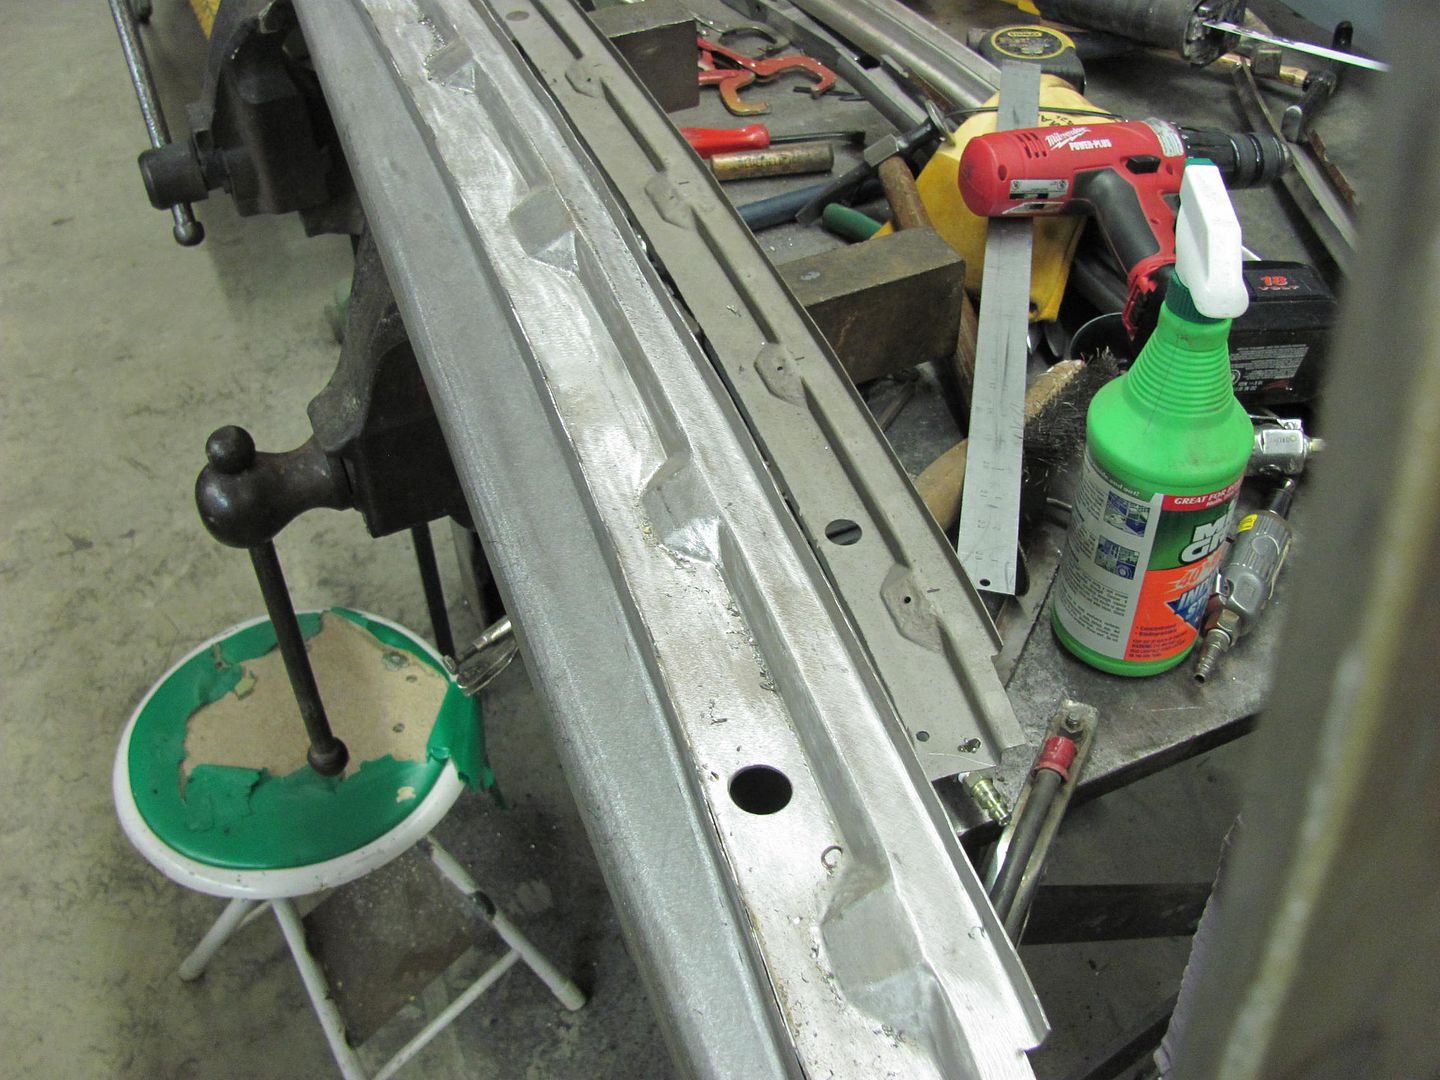
.....and got the holes placed for the nut plate and it's plug welds...
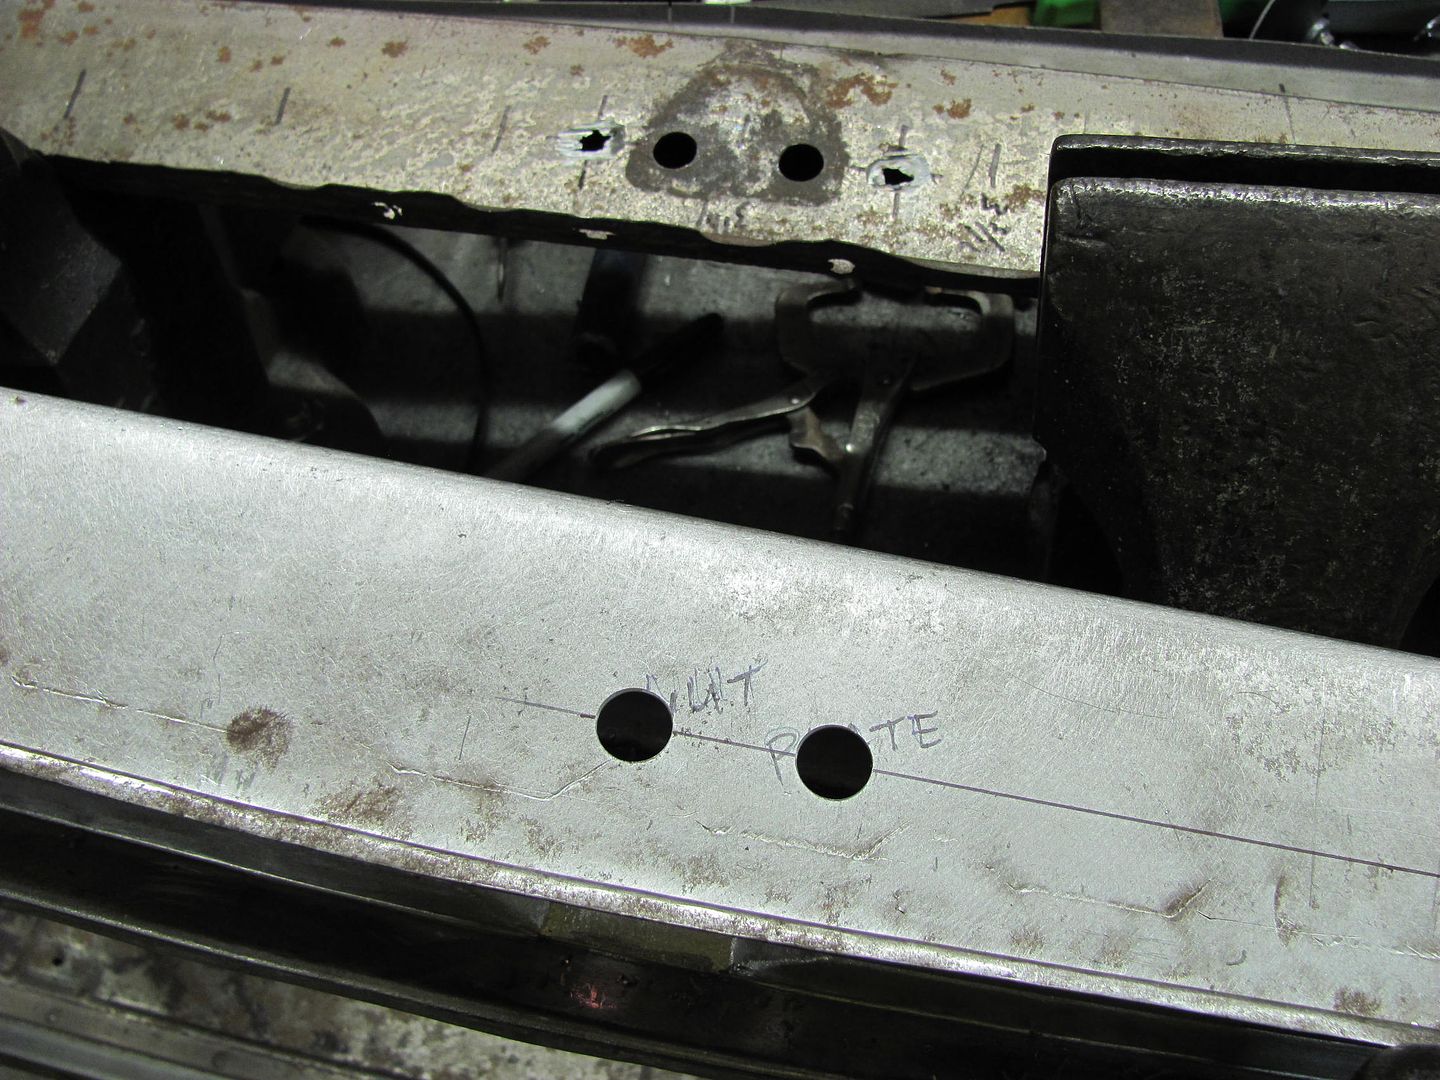
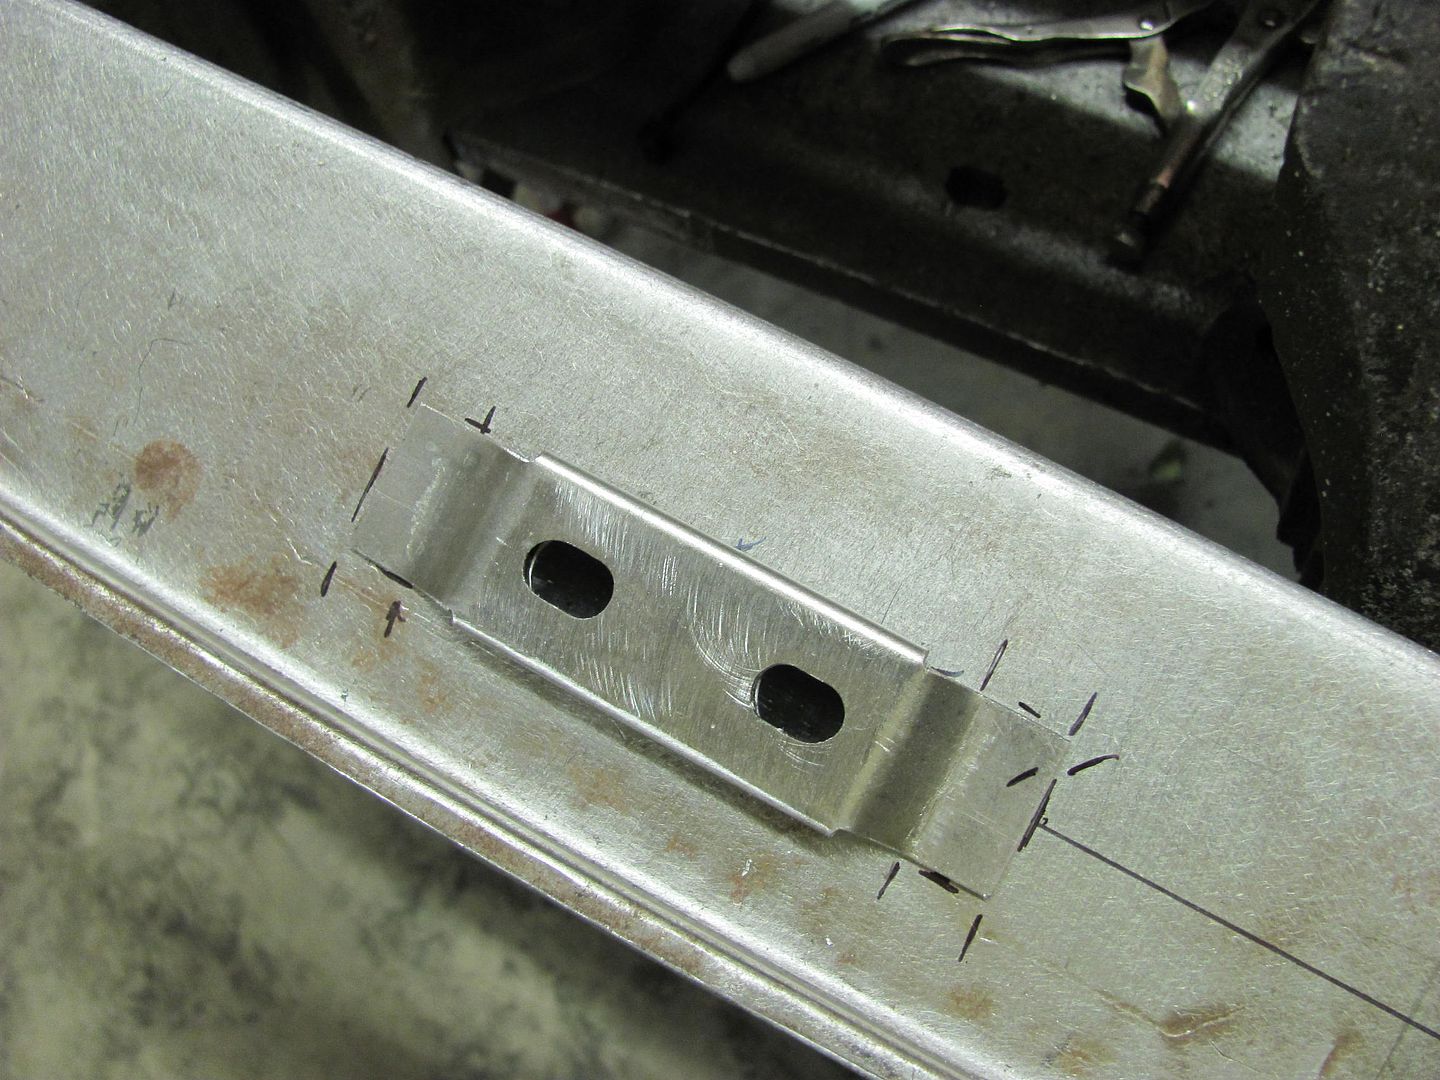
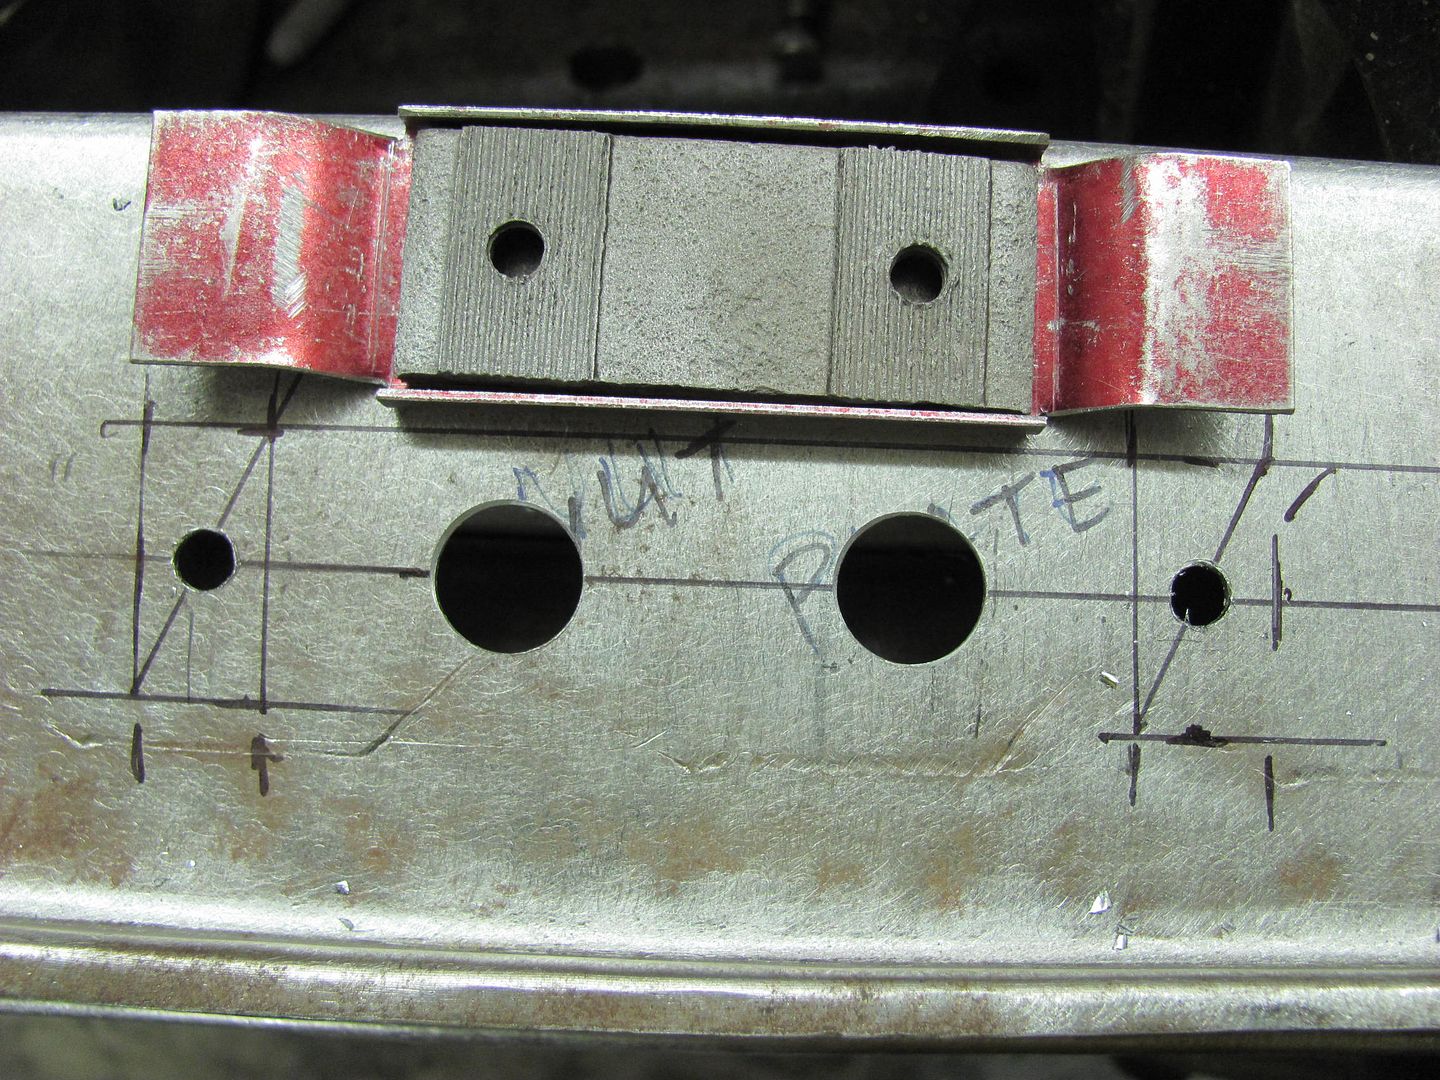
Hopefully tomorrow we can get some profile blocks cut out to fold over the ends of the outer piece...Robert
-
11-23-2013 07:20 PM #123
Laying out the ends for trimming.....
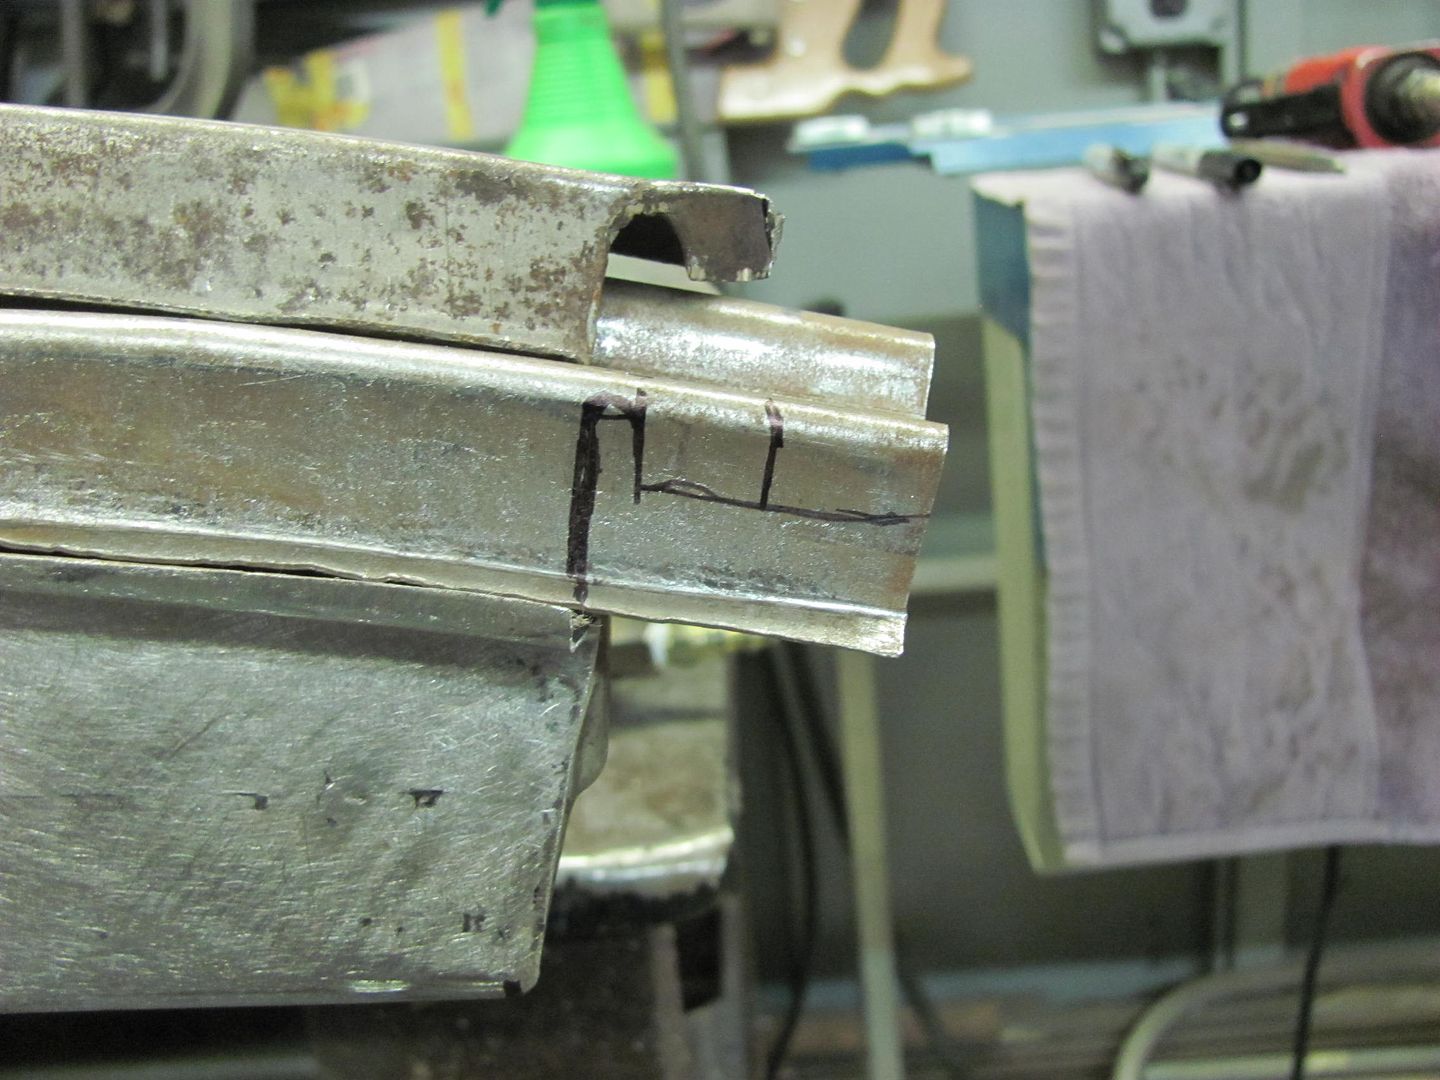
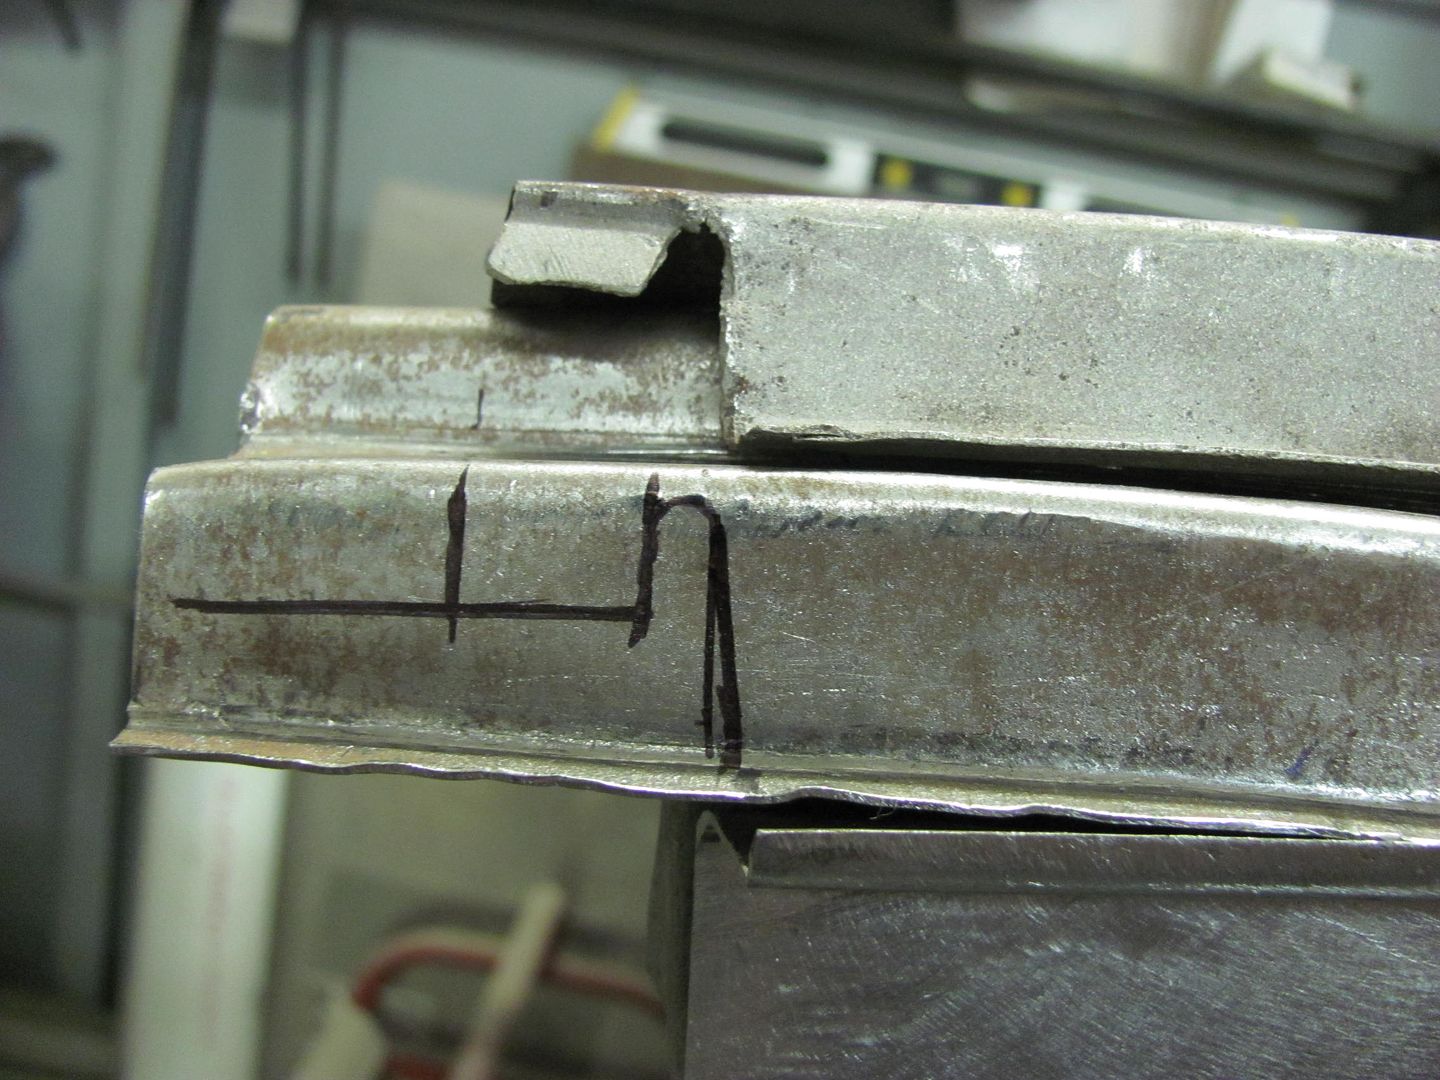
Here's the piece we'll use to cut out the profile blocks, 3/4 thick steel

As I am fresh out of good band saw blades, these were used....

The lower piece was tapered at the bottom as the bottom of the lift gate tapers in below the bead detail..

.....like so.....
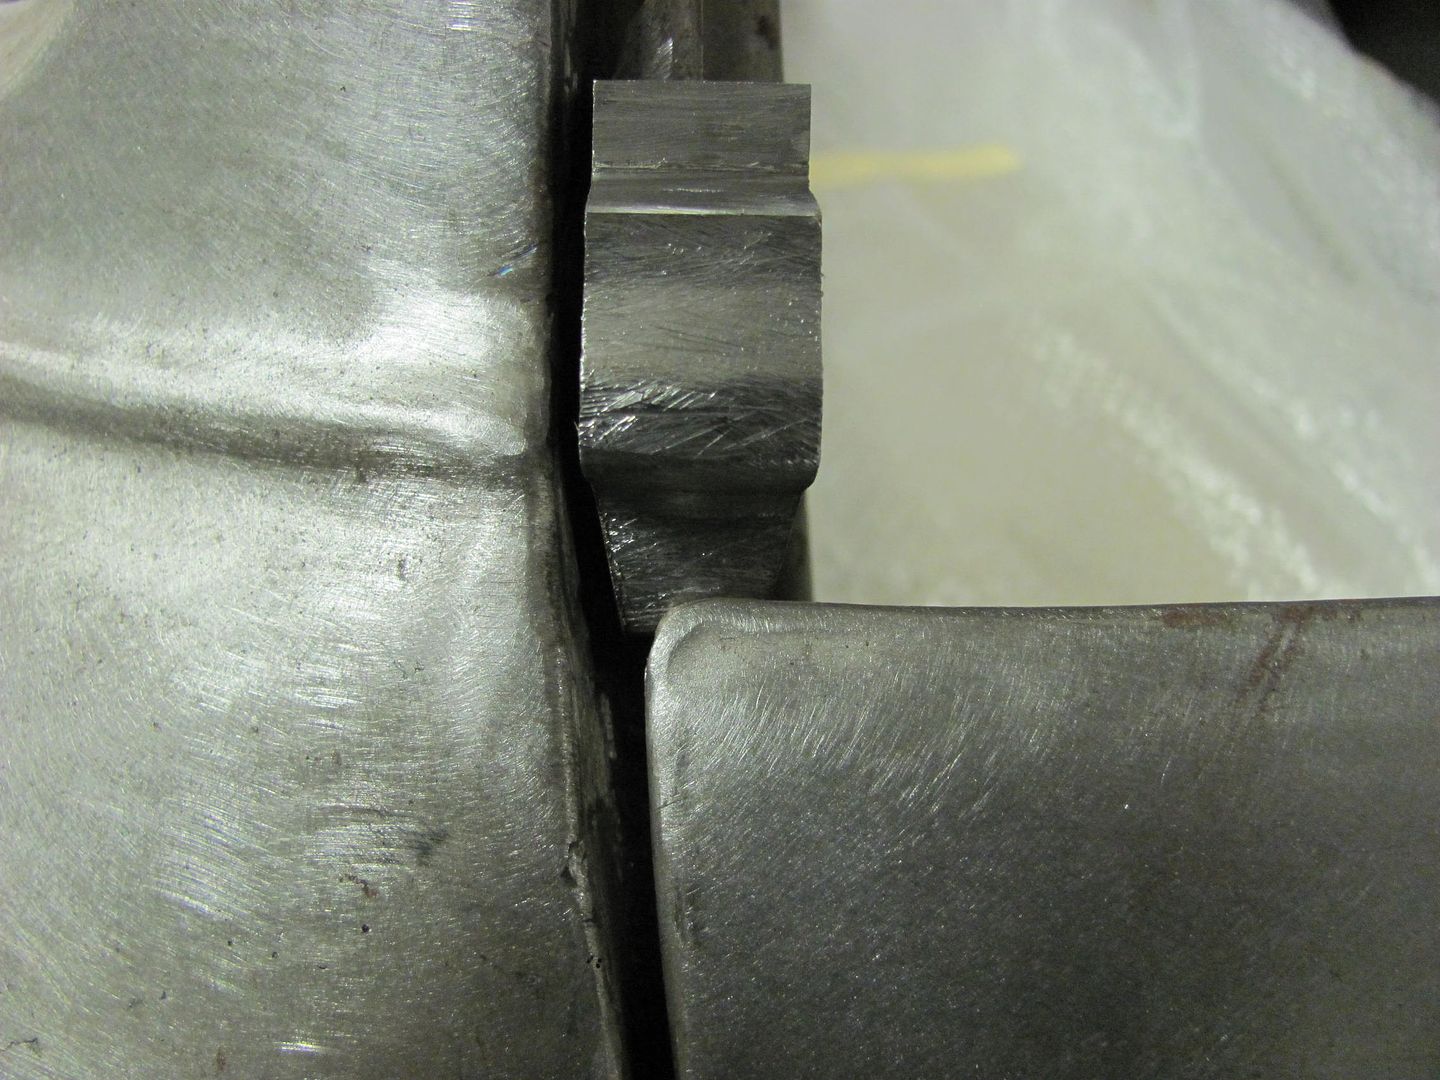
Not perfect, but should work just the same...
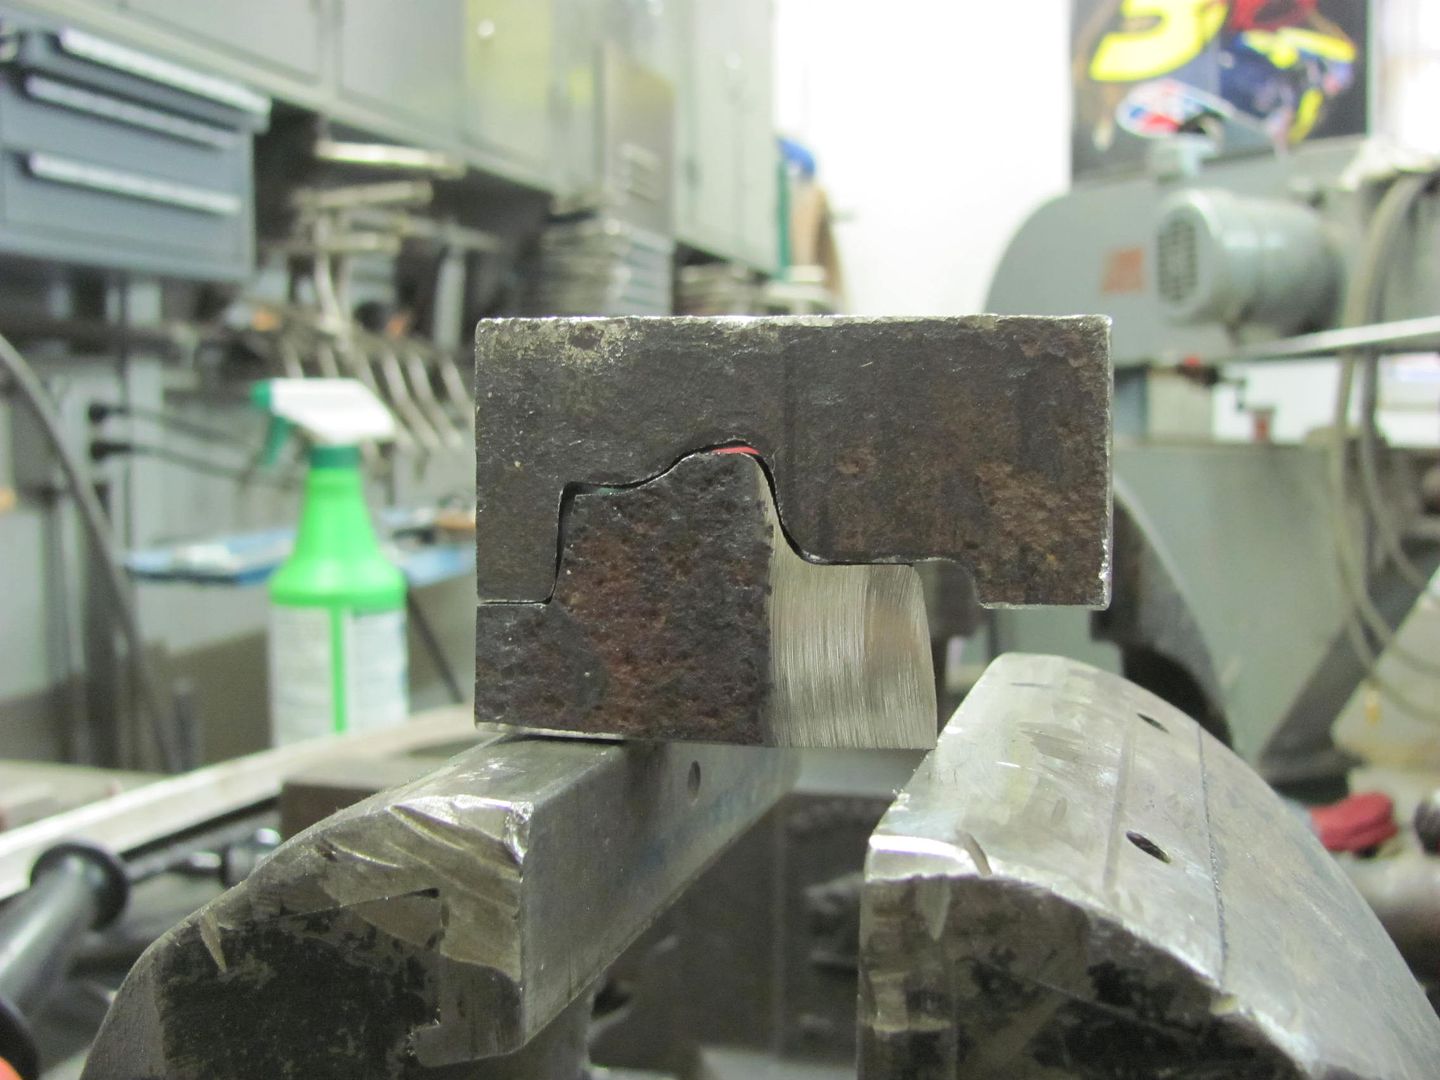
Clamped in the vise.....
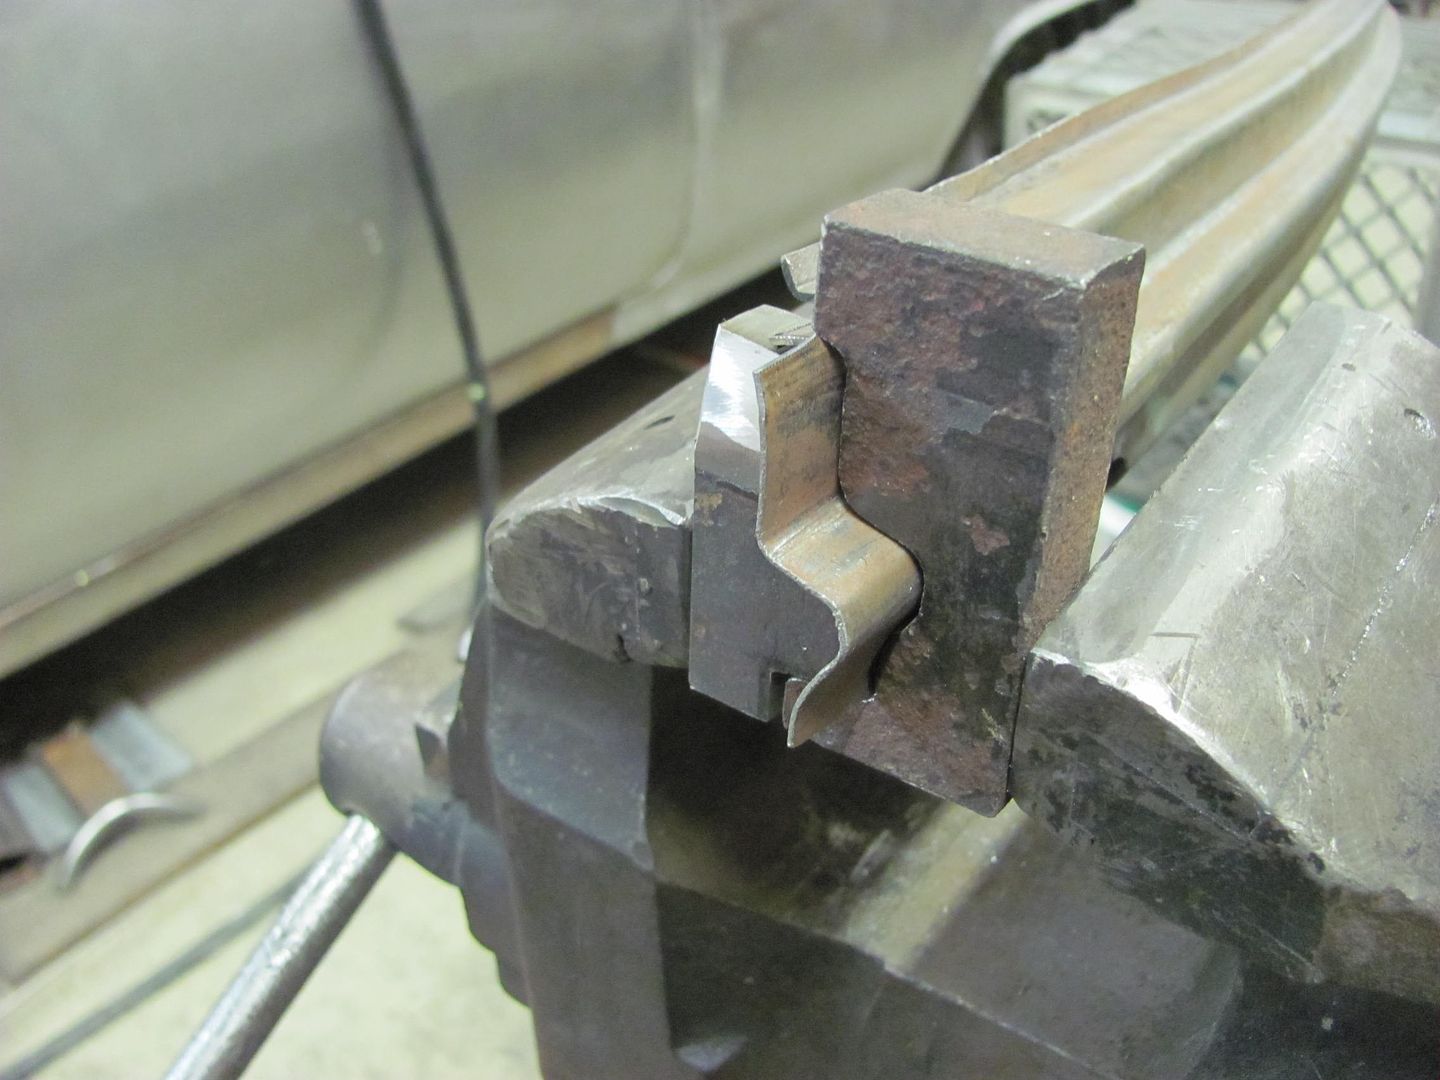
Then some heat is applied, and hammered the high spots..

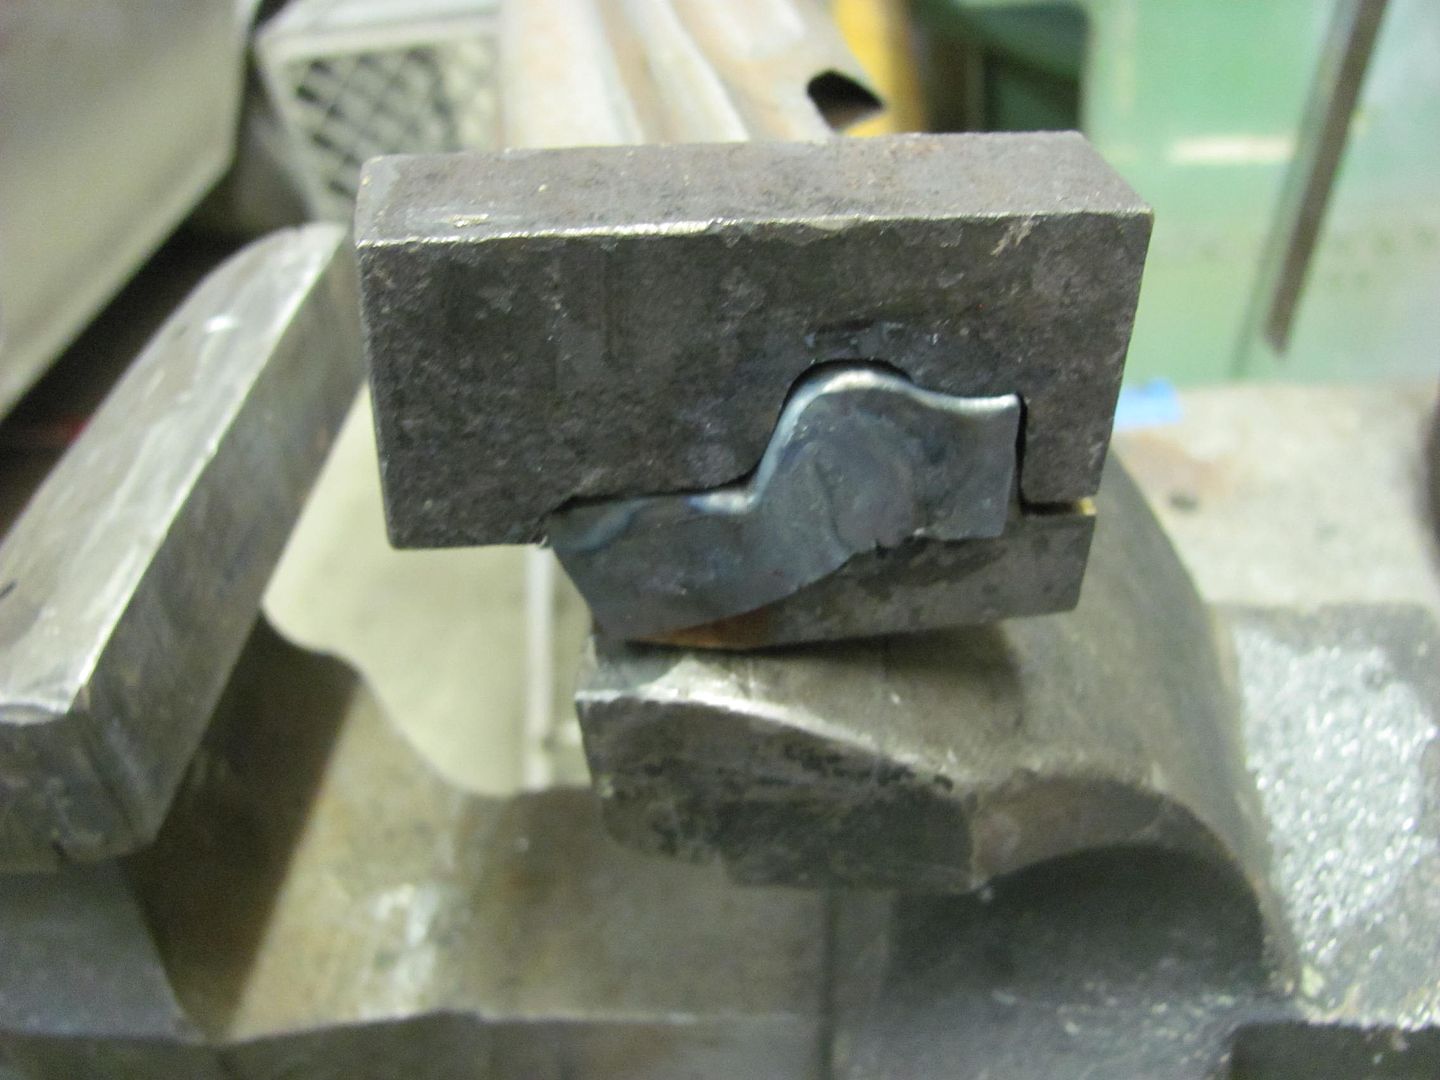

Fitted.....
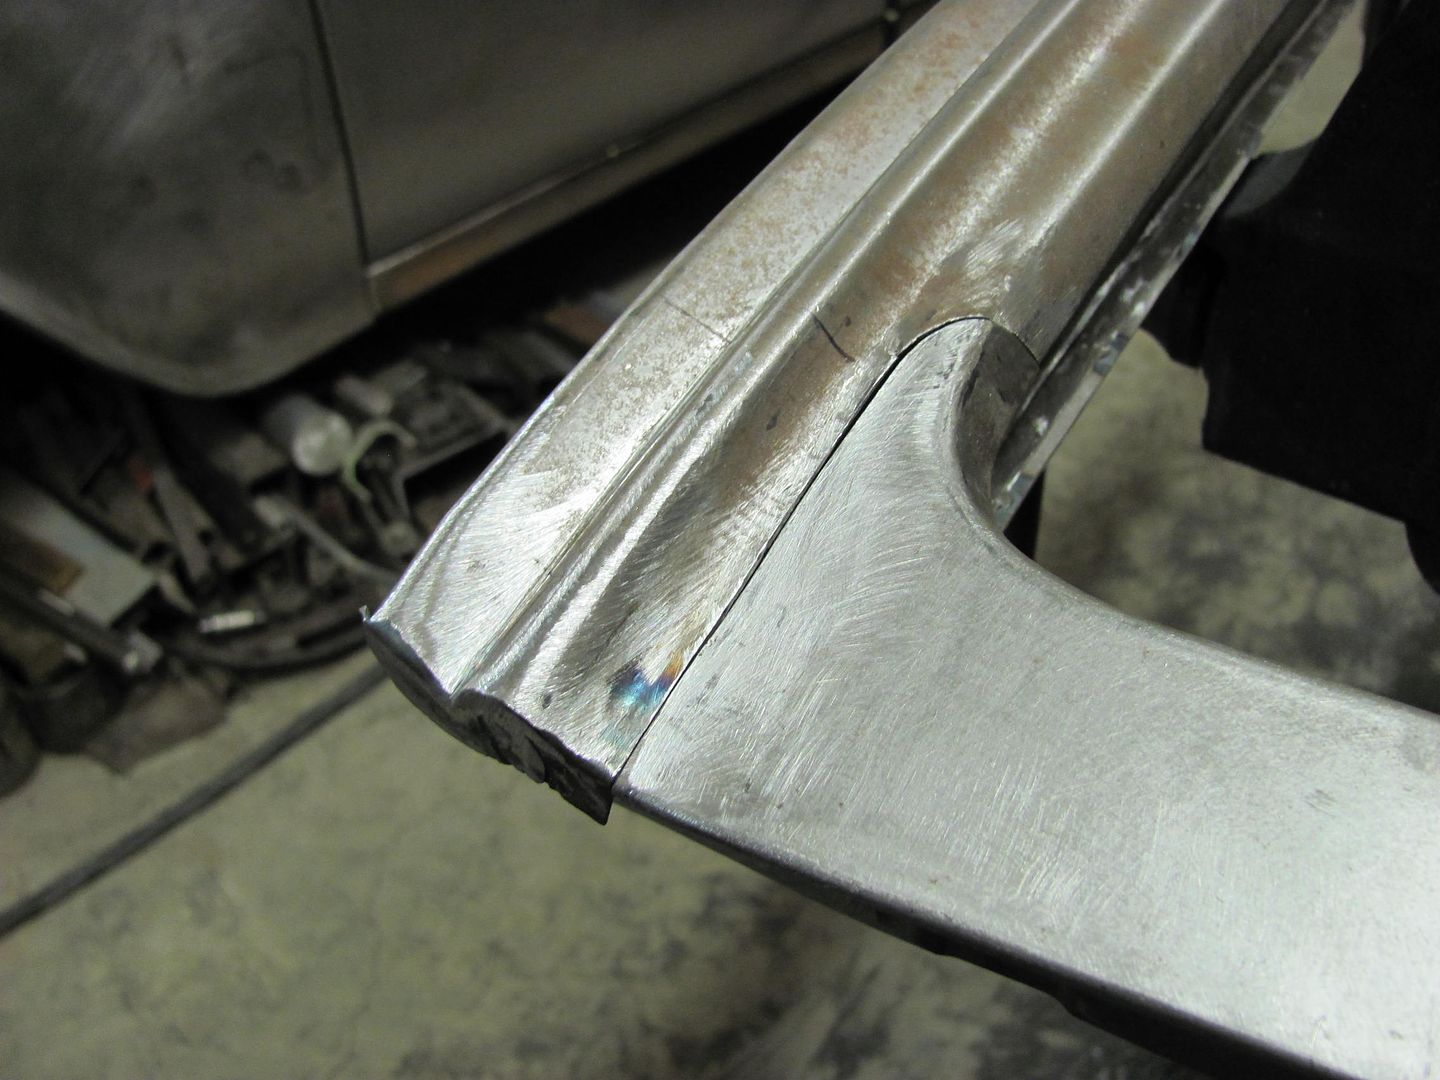
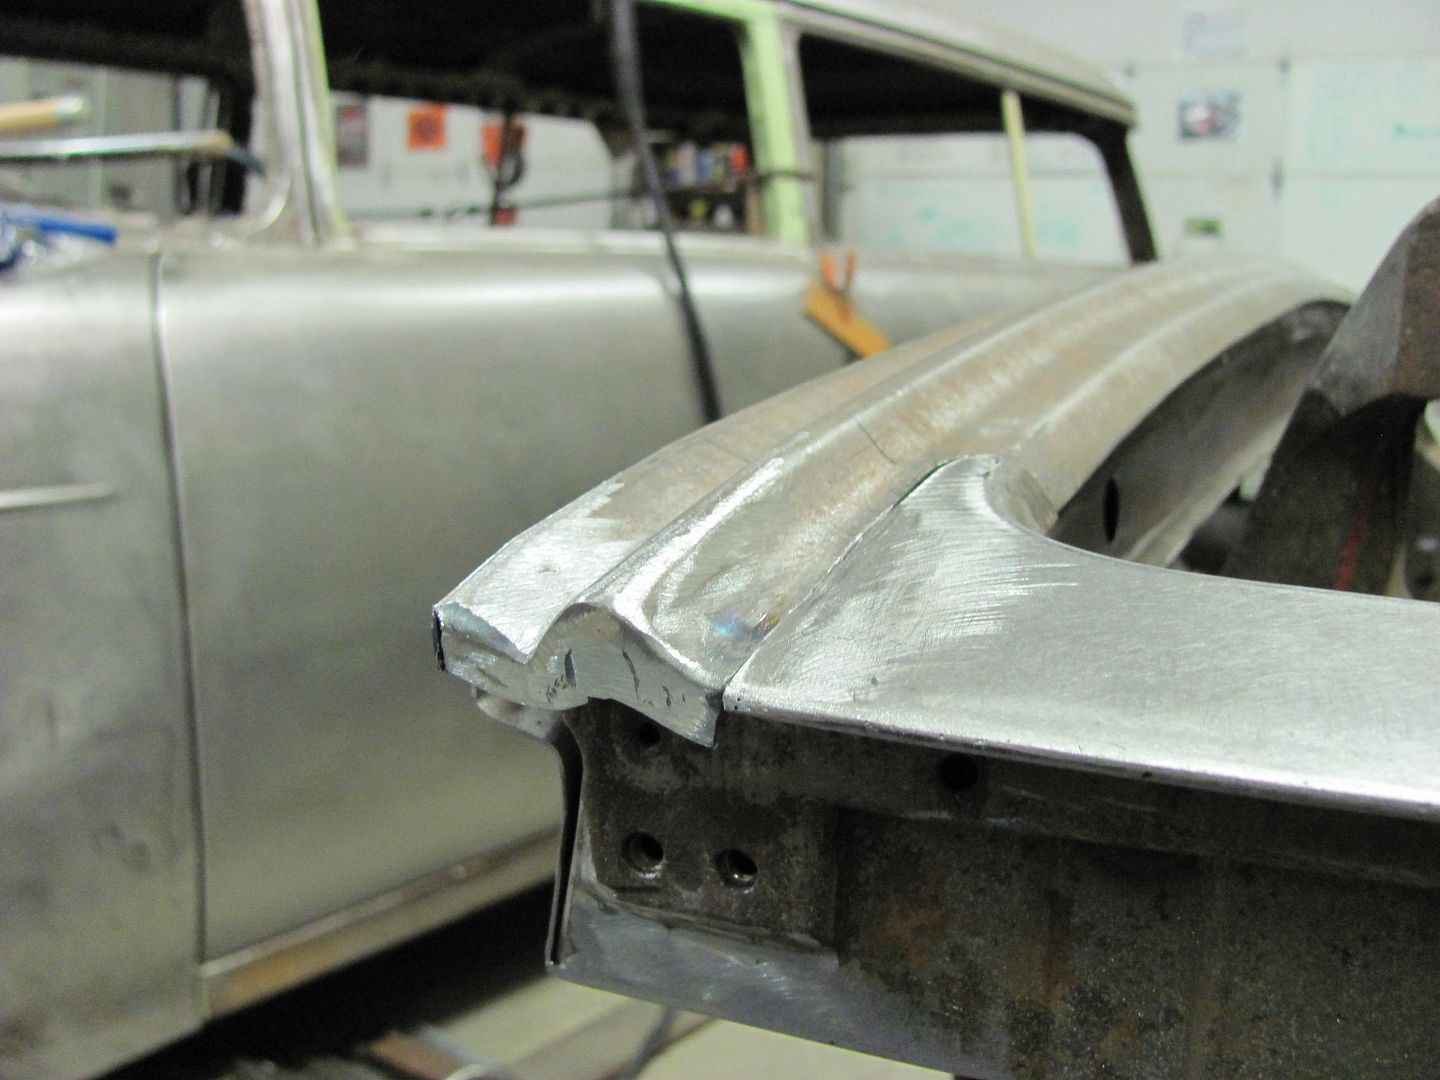
and the other end......
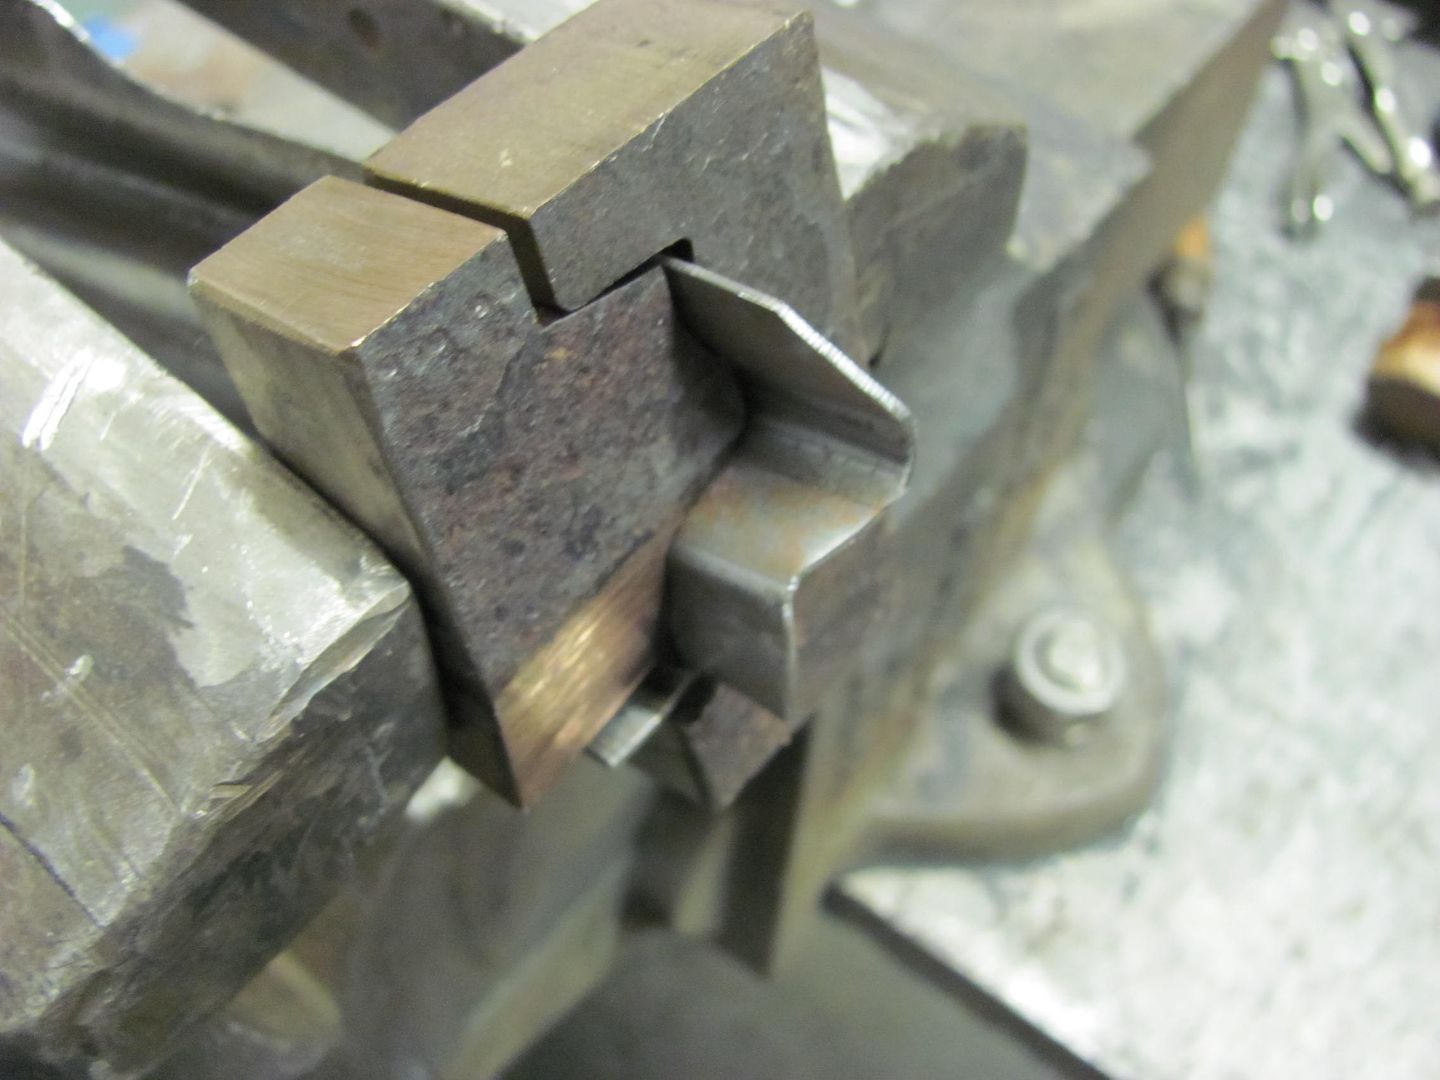

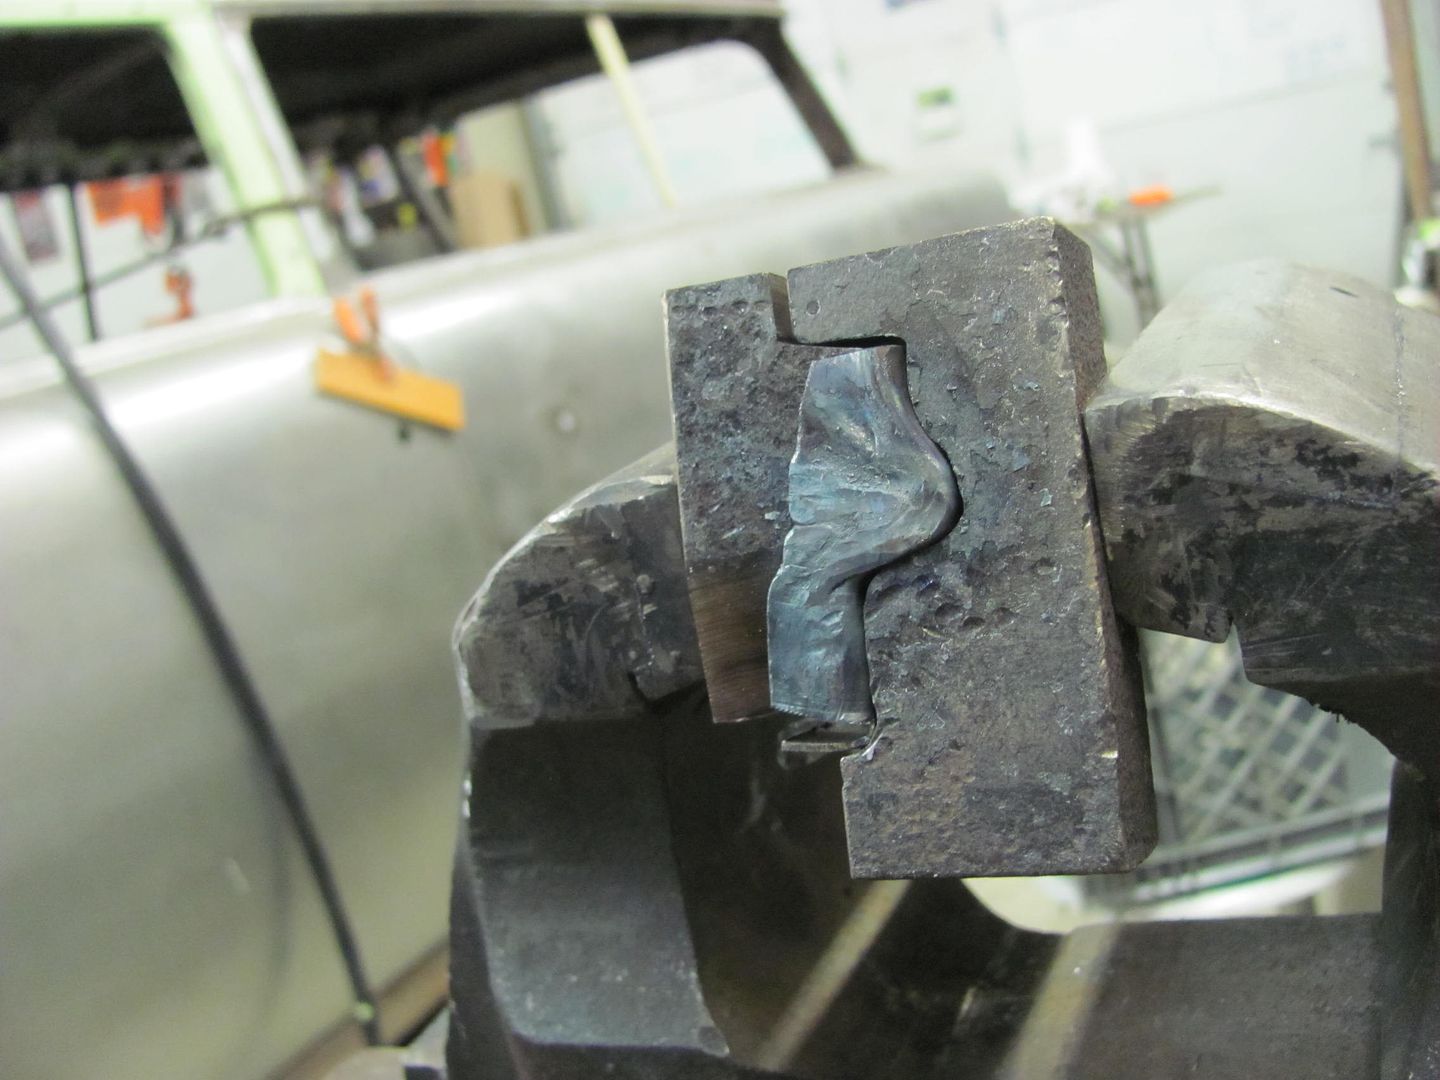
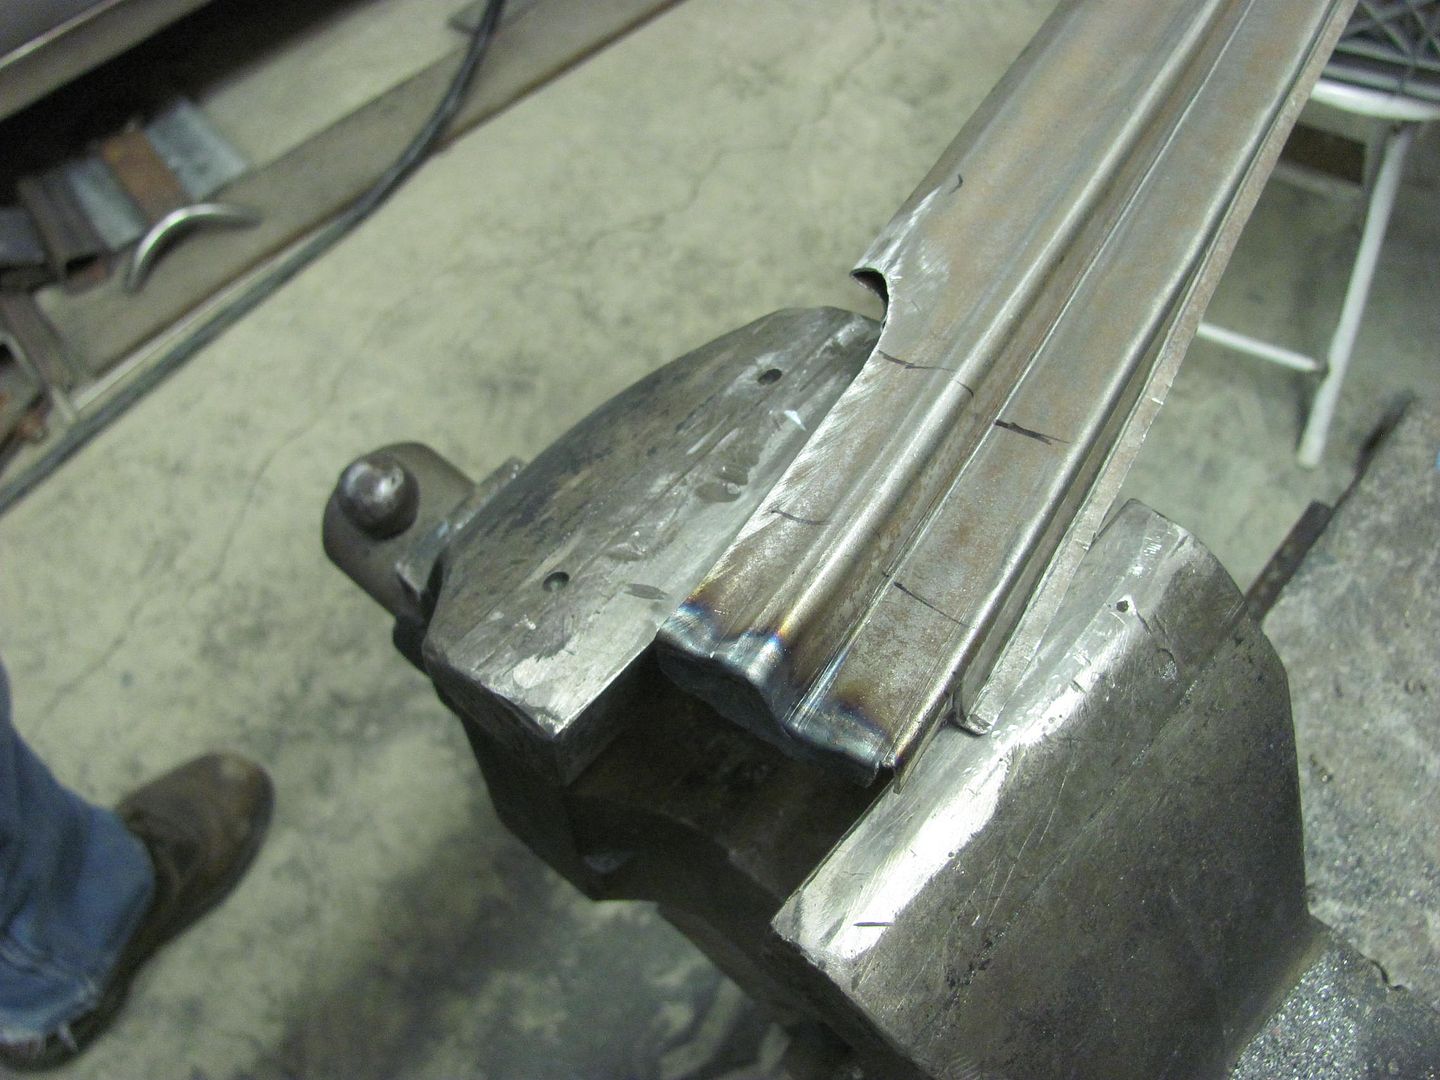
Hope to test fit everything tomorrow before all the parts get media blasted..Robert
-
11-24-2013 10:52 AM #124
Nice work. Some times making the jigs (dies) is more work than using them. Again nice workCharlie
Lovin' what I do and doing what I love
Some guys can fix broken NO ONE can fix STUPID
W8AMR
http://fishertrains94.webs.com/
Christian in training
-
11-24-2013 04:51 PM #125
Very true. About twice as much time in making the dies as using them.
Things don't always work the way you planned. Before the ends were folded, the bottom piece could never be test fit into the opening. Now with the ends folded, it was slipped over the bottom of the lift gate and it bolted into the opening. With the upper bead detail aligned, the lower was considerably off kilter. Slightly off on the contour, I guess.
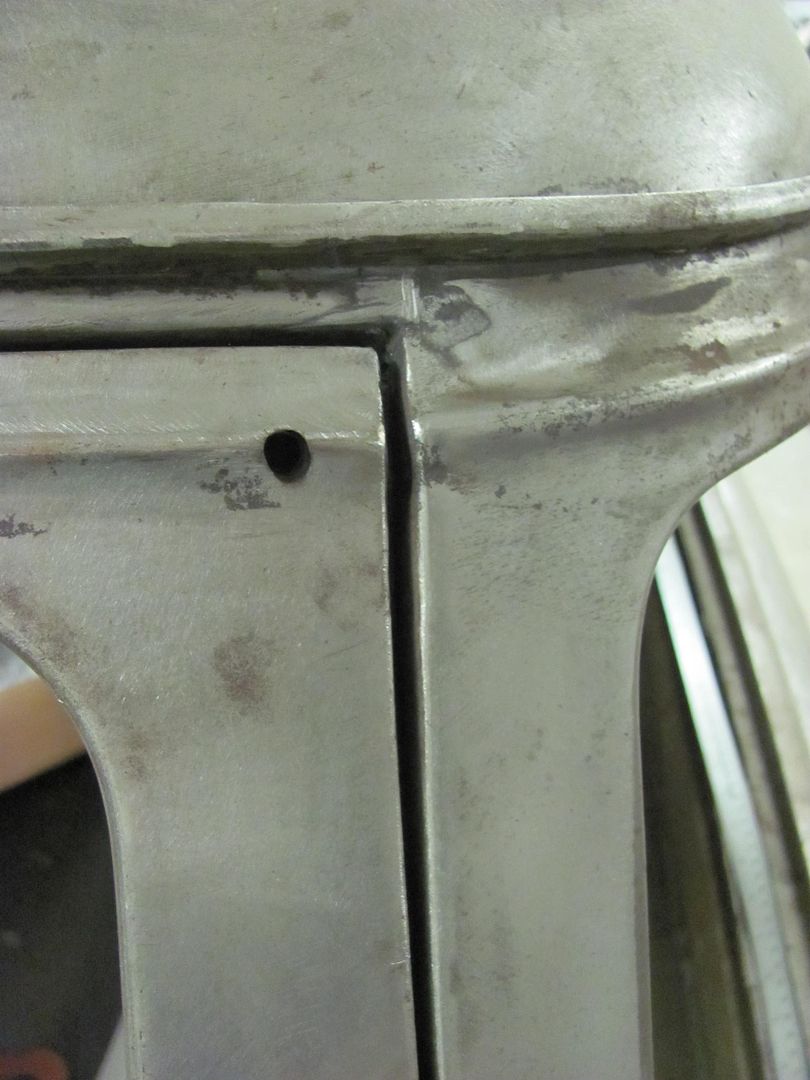
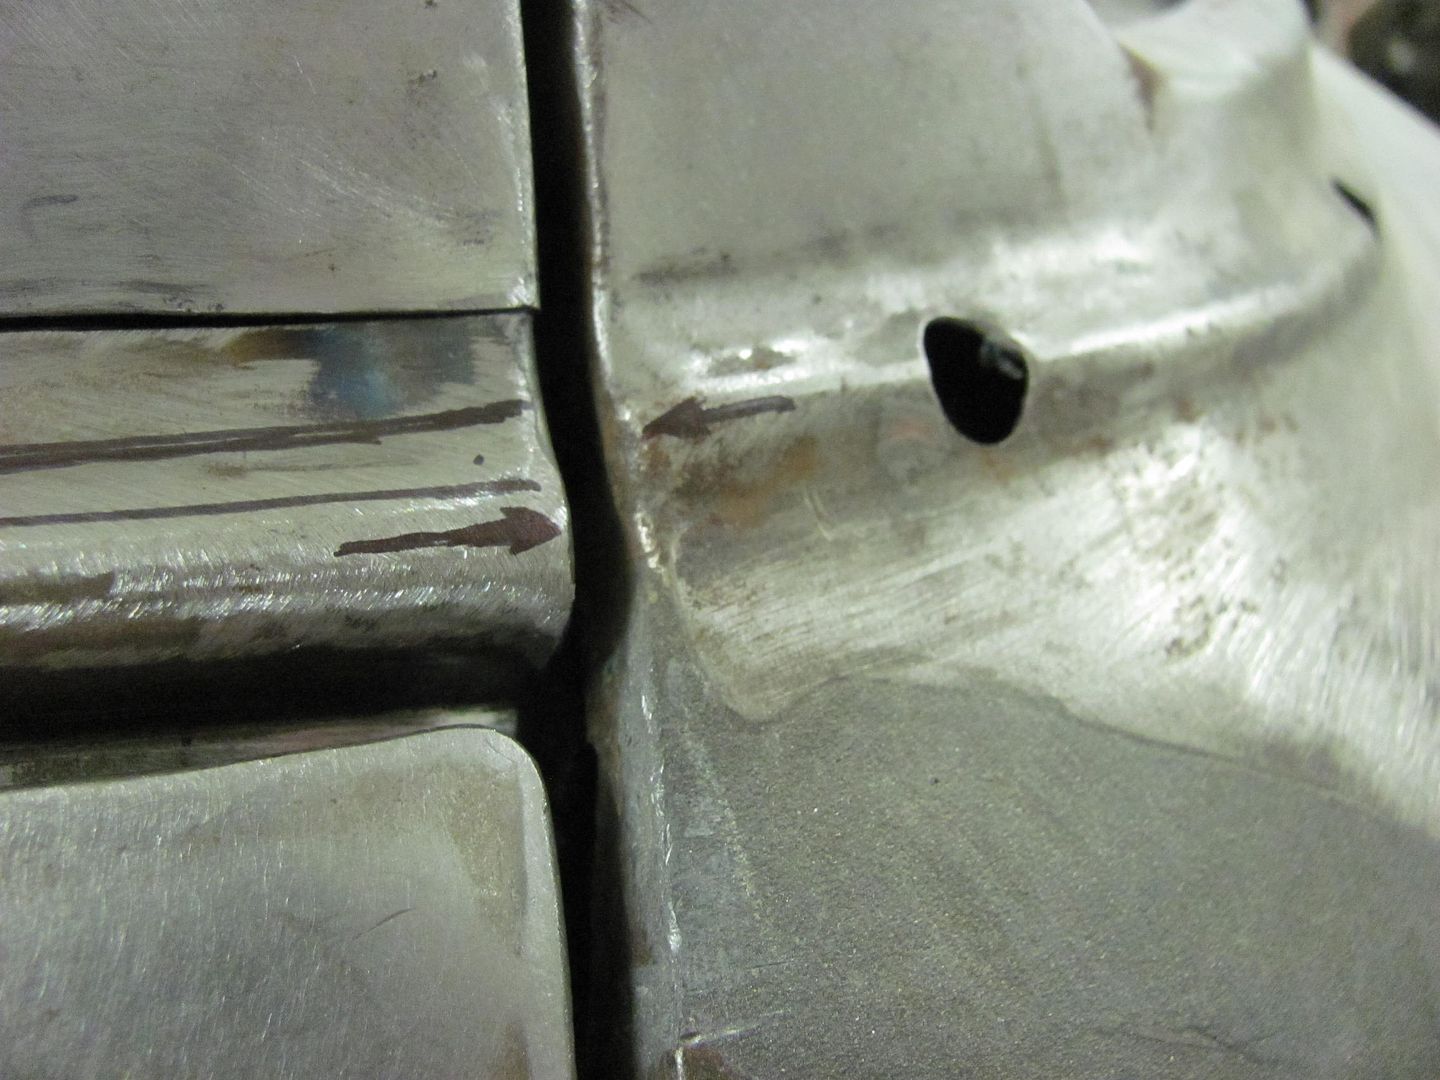
The patch piece was marked off on both ends to bring the lower bead detail up into the car for better alignment...
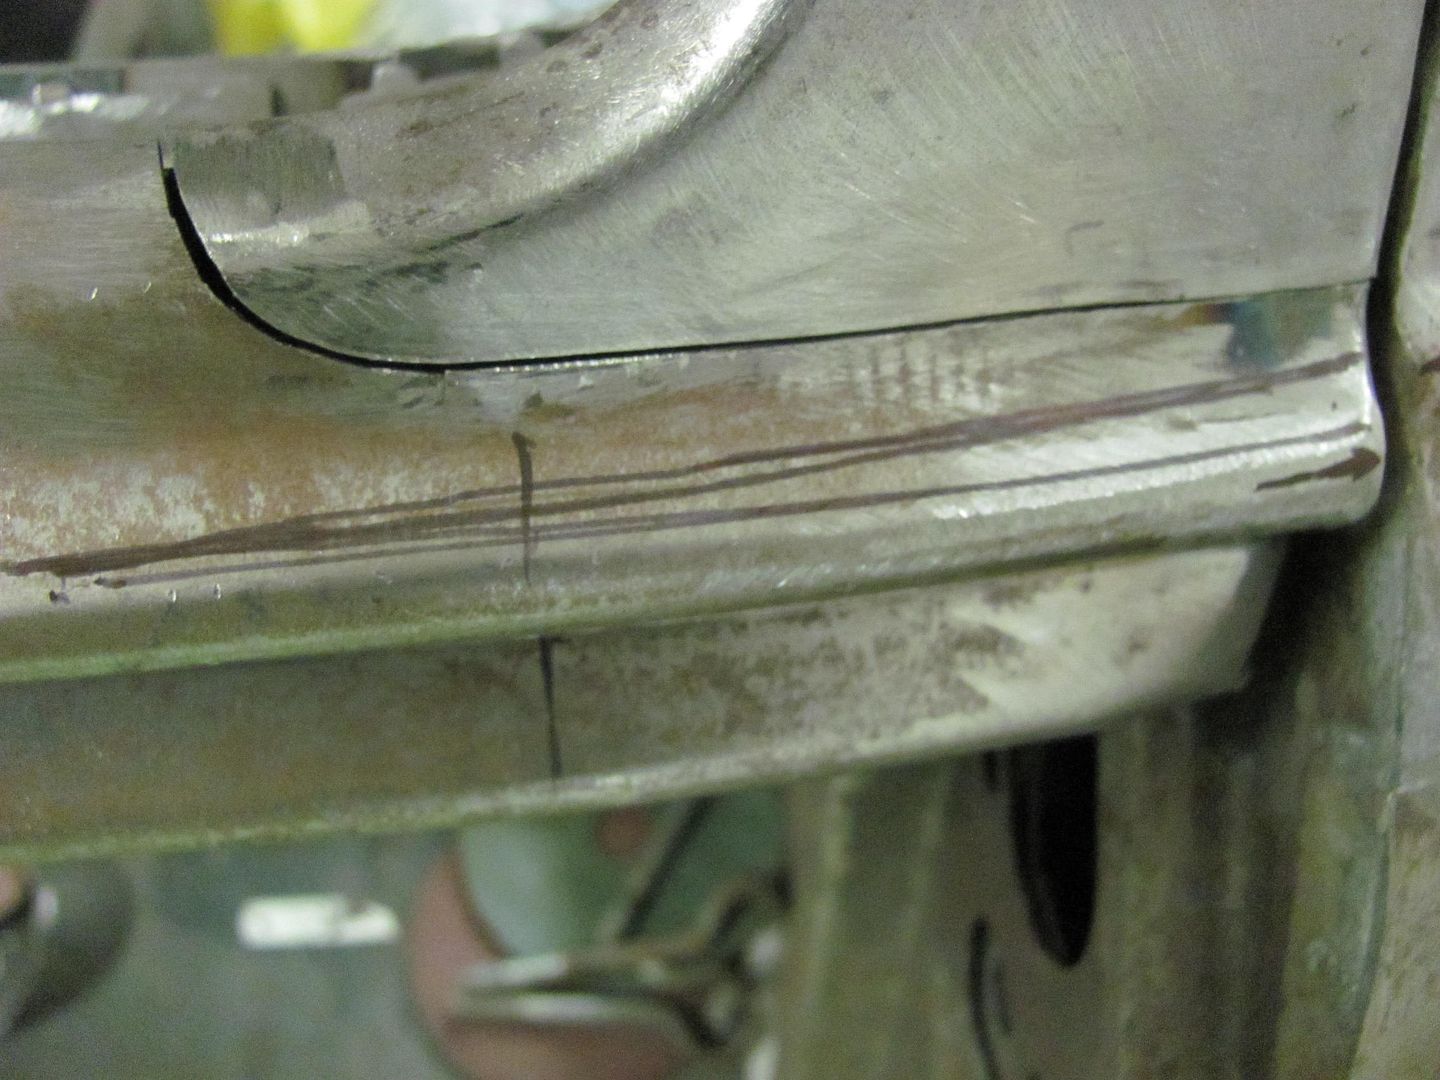
Here's the driver's side after cutting and welding, shows a much better alignment. Good weld penetration on the inside, the seam at the end will be finished after folding onto the lift gate..
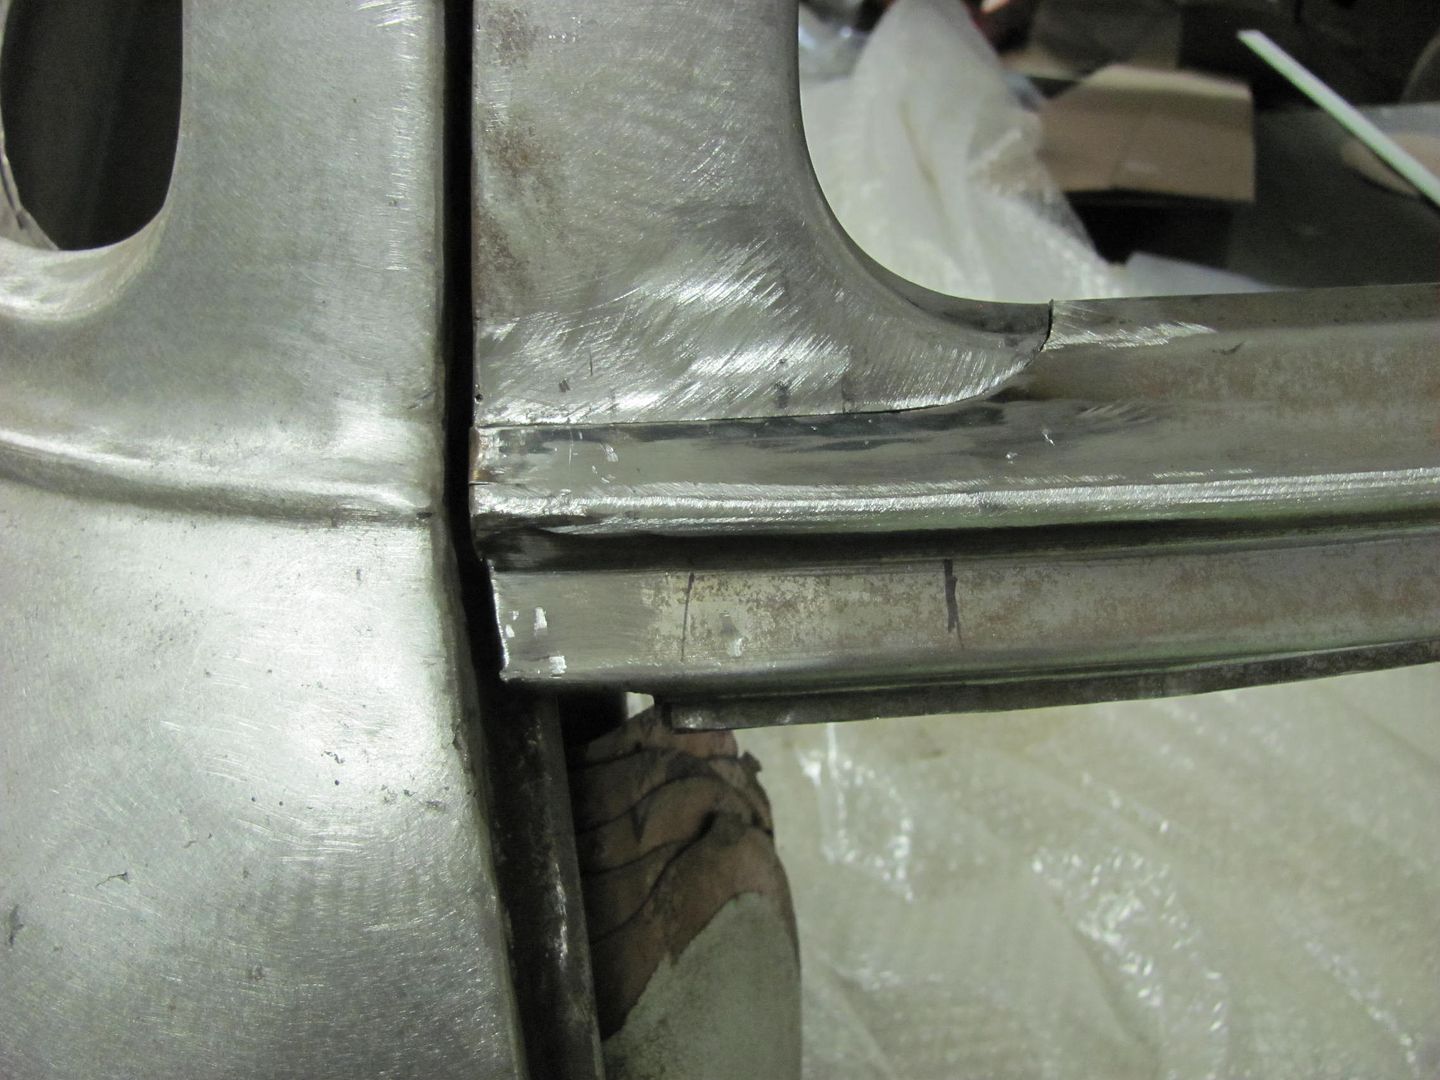
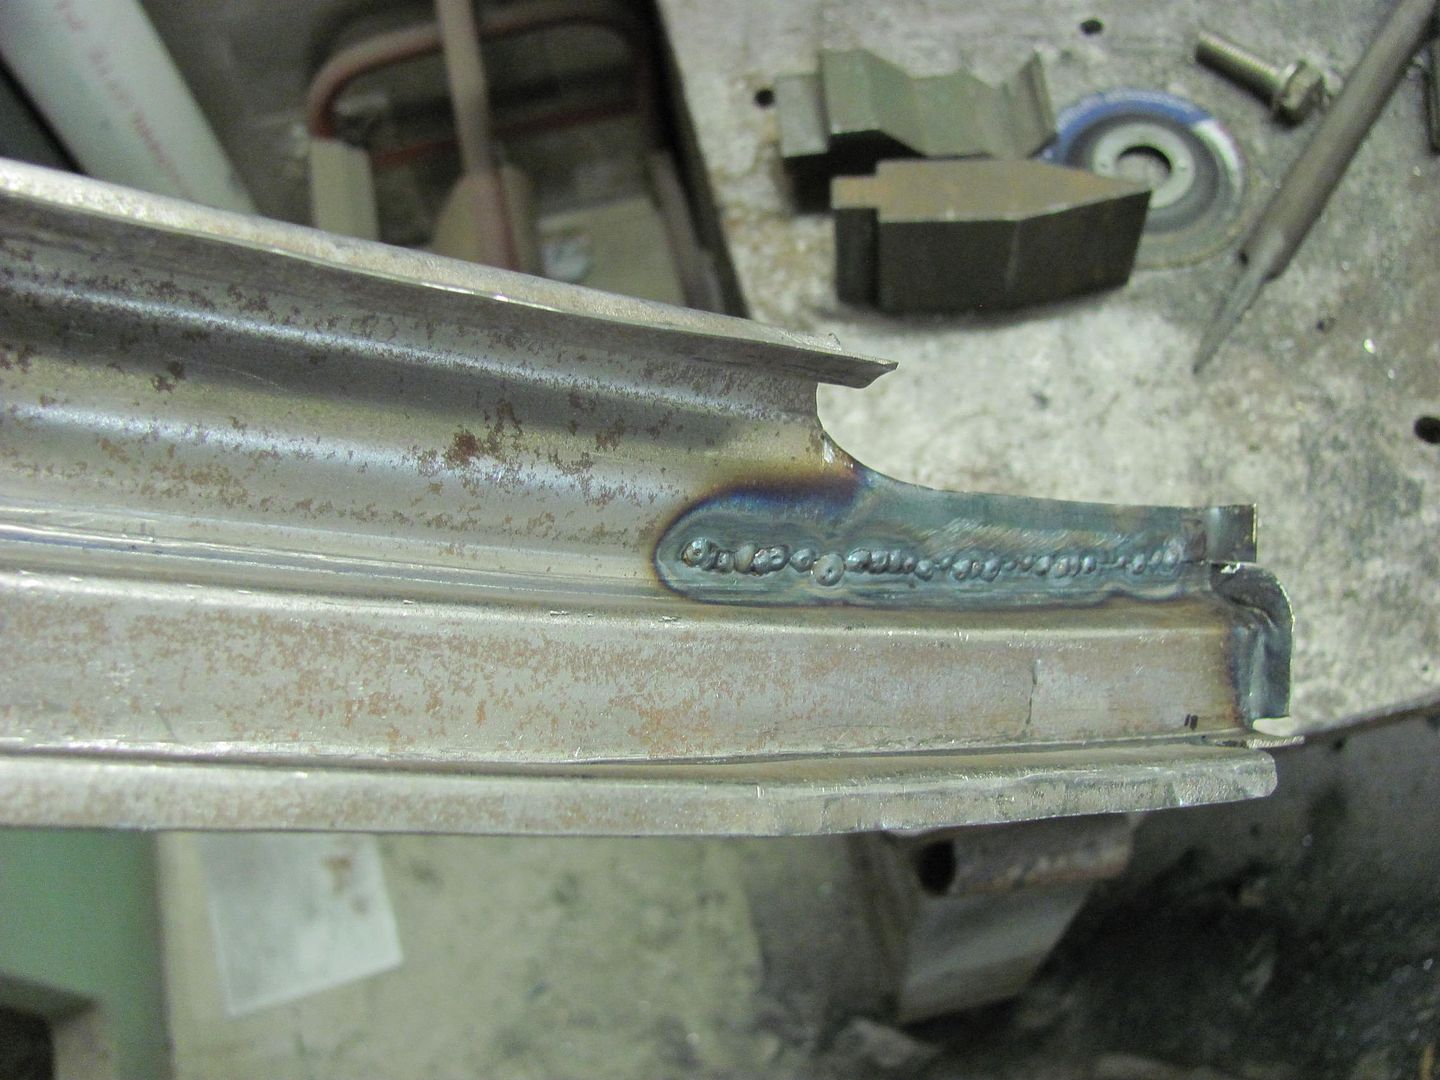

We may be able to save this yet..Robert
-
12-03-2013 06:34 PM #126
- Join Date
- Apr 2011
- Location
- Prairie City
- Car Year, Make, Model: 40 Ford Deluxe, 68 Corvette, 72&76 K30
- Posts
- 7,300
- Blog Entries
- 1
Wow, I hope guys with your talent don't look at my sheet metal work. What kind of torch head is that? That is really cool how you were able to get those wrinkles out of the material after folding it up there.
Ryan
1940 Ford Deluxe Tudor 354 Hemi 46RH Electric Blue w/multi-color flames, Ford 9" Residing in multiple pieces
1968 Corvette Coupe 5.9 Cummins Drag Car 11.43@130mph No stall leaving the line with 1250 rpm's and poor 2.2 60'
1972 Chevy K30 Longhorn P-pumped 24v Compound Turbos 47RH Just another money pit
1971 Camaro RS 5.3 BTR Stage 3 cam, SuperT10
Tire Sizes
-
12-04-2013 04:17 AM #127
The torch is a Henrob, but I believe it goes by the name of Cobra torch now. It has about 6 different tips for the torch head, so you can really fine tune the flame size to the job.Robert
-
12-04-2013 05:16 AM #128
Cobra is correct on the torch. They're sold almost exclusively at trade shows now, with strong focus on big name auto gatherings. Bought mine at the last Good Guys in KC a couple of years ago, and need to spend a few weeks burning gas and learning how to use it. Link - Cobra Torches | Oxy / Acetylene Welding and Cutting SystemRoger
Enjoy the little things in life, and you may look back one day and realize that they were really the BIG things.
-
12-04-2013 07:58 AM #129
That cobra deluxe kit is .. wow. Does it require new regulators, or can I use my old ones? I'll bet It's a bit pricey..
Education is expensive. Keep that in mind, and you'll never be terribly upset when a project goes awry.
EG
-
12-04-2013 09:18 AM #130
Roger
Enjoy the little things in life, and you may look back one day and realize that they were really the BIG things.
-
12-04-2013 10:31 AM #131
Pretty neat setup, never played with a torch before, but what you do with it is very impressive. I'm definately understanding the term Shadetree for my skills will metal!
"  "No matter where you go, there you are!" Steve.
-
12-05-2013 10:00 PM #132
just had a good look at this one. it aint gona get much bettern this.
-
12-28-2013 04:55 PM #133
Sorry for my short hiatus from the shop, after 226K miles my trusty 16 year old truck has been giving me fits with transmission issues. After spending about 3 weeks on and off looking for good used trucks, the year end deals and rebates made a brand new one only slightly higher in price than a three year old model. So.....
Out with the old...

In with the new....

And with the truck shopping headaches behind us, we can get back in the shop ...
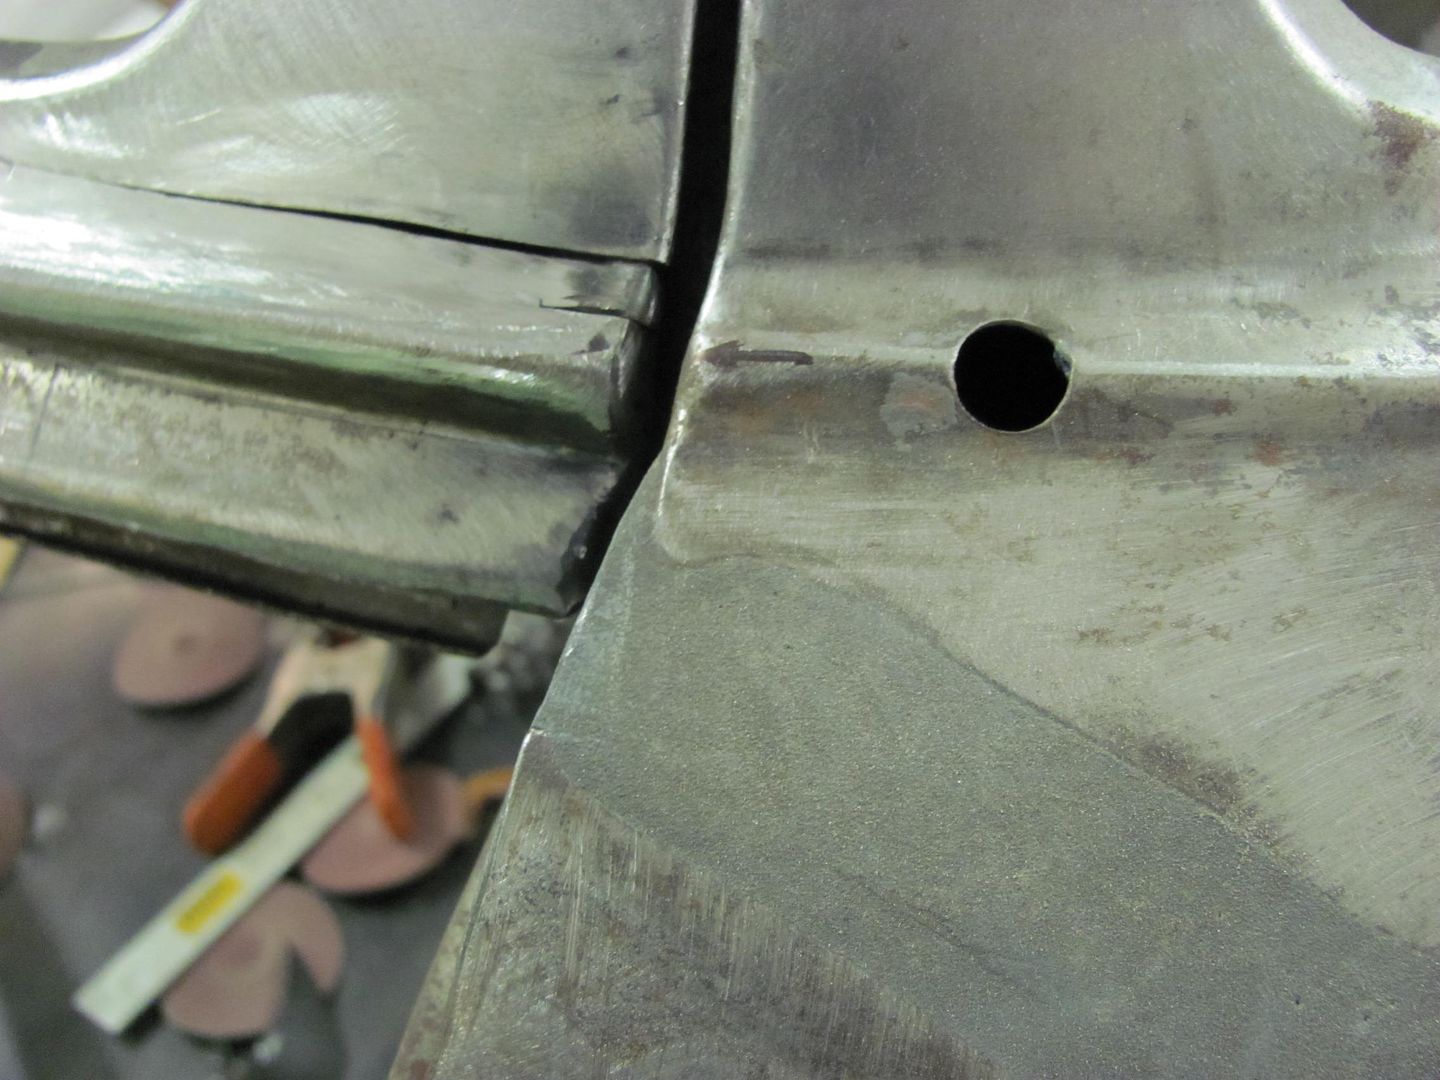
Worked on the other end of the lower patch today, to fix the mis-alignment of the beltline trim...

Made a relief cut....
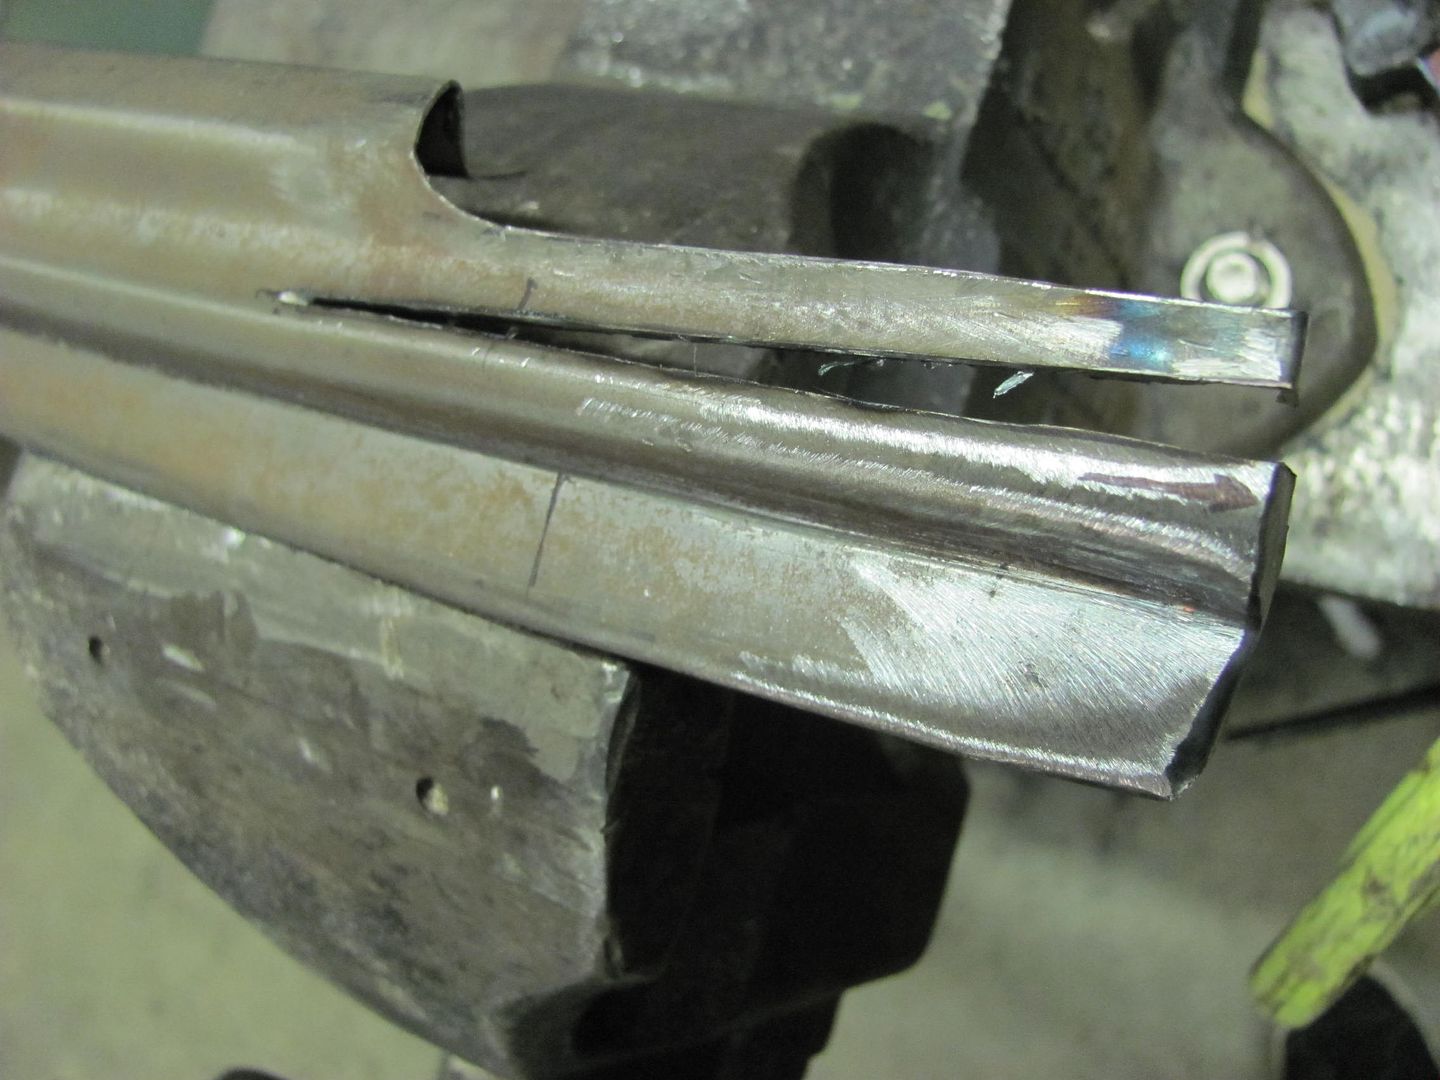
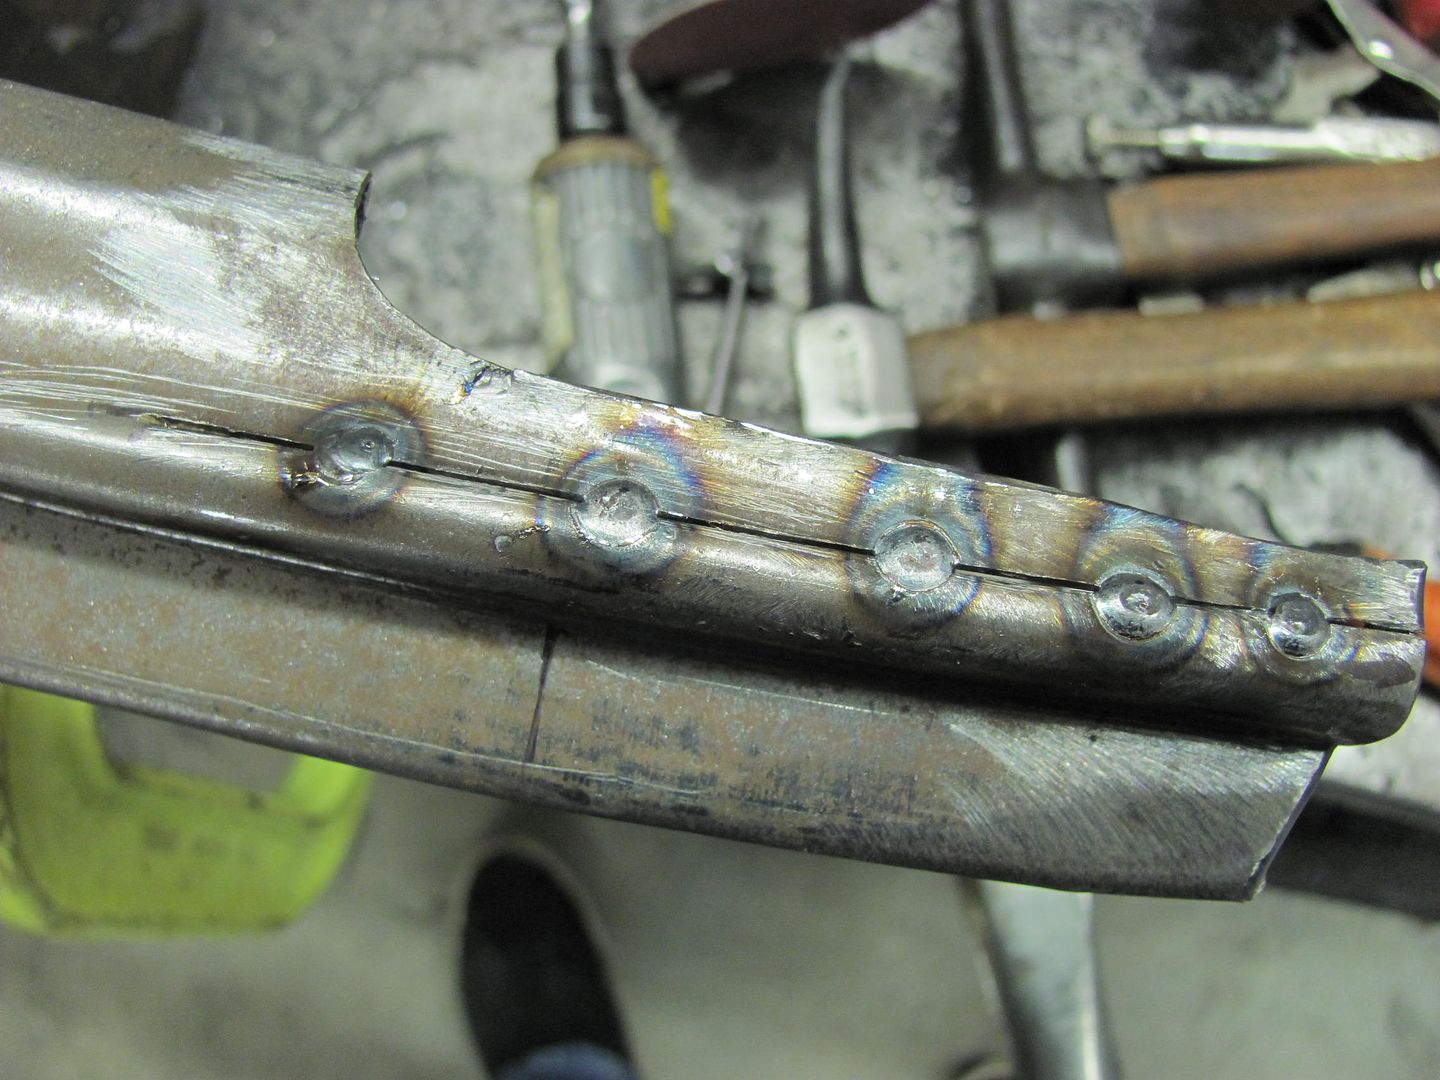
Rear view shows full weld penetration....
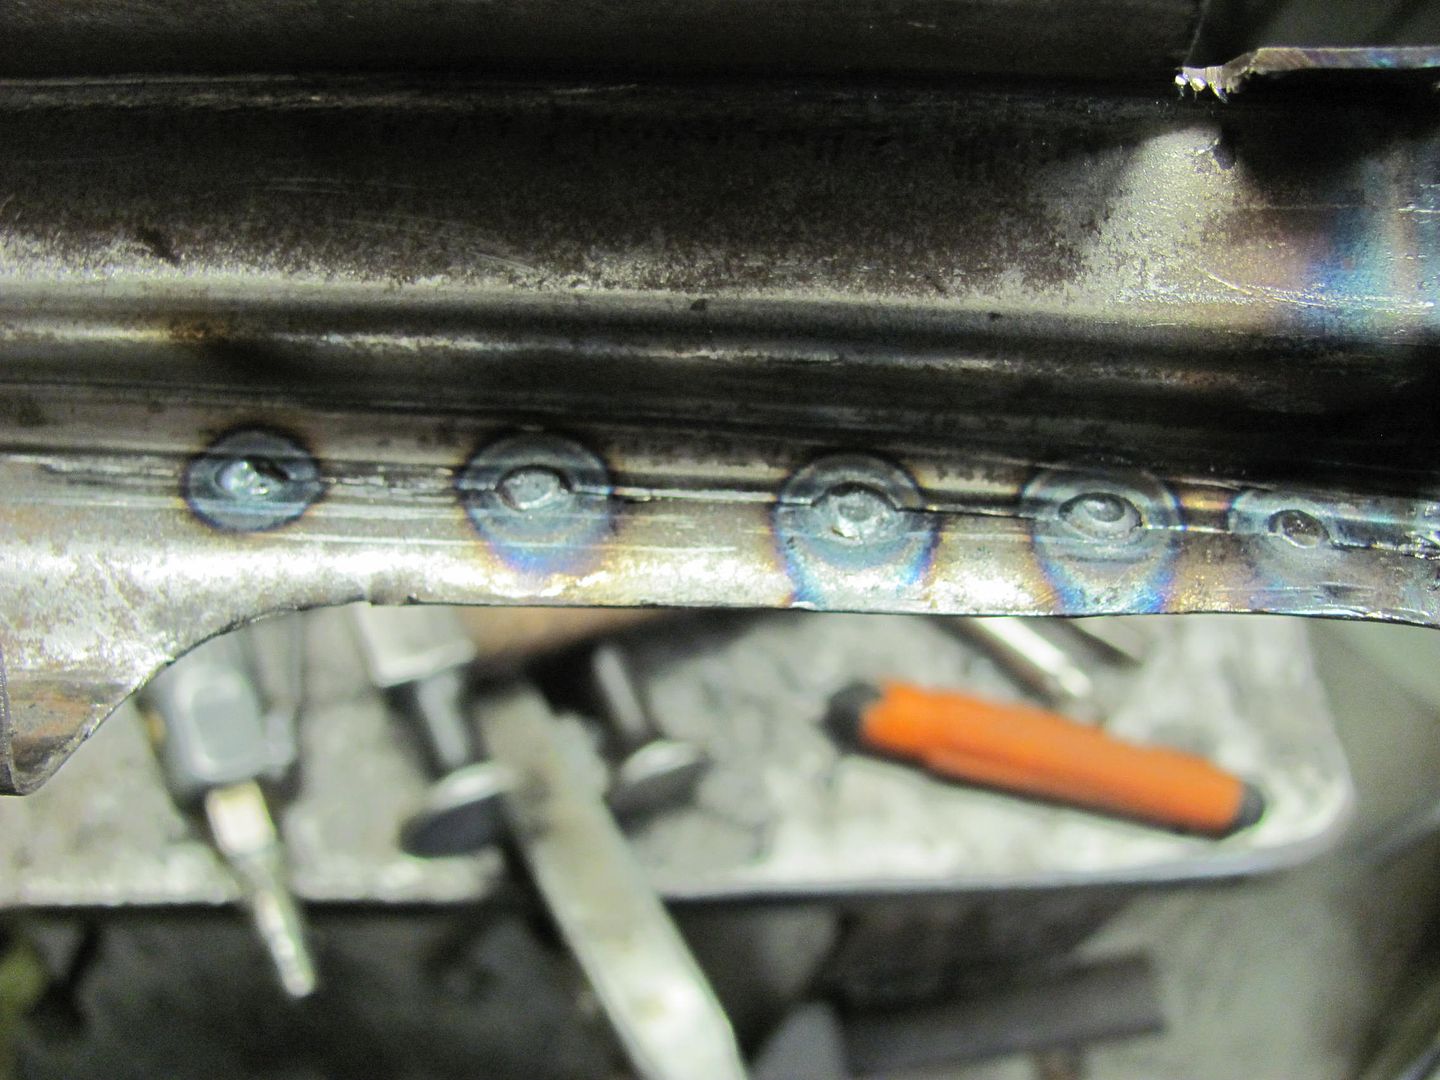
Welds were planished, then ground to just above panel surface, and next weld overlapped, and repeat. The overlapping helps to eliminate any missed welds/pin holes.
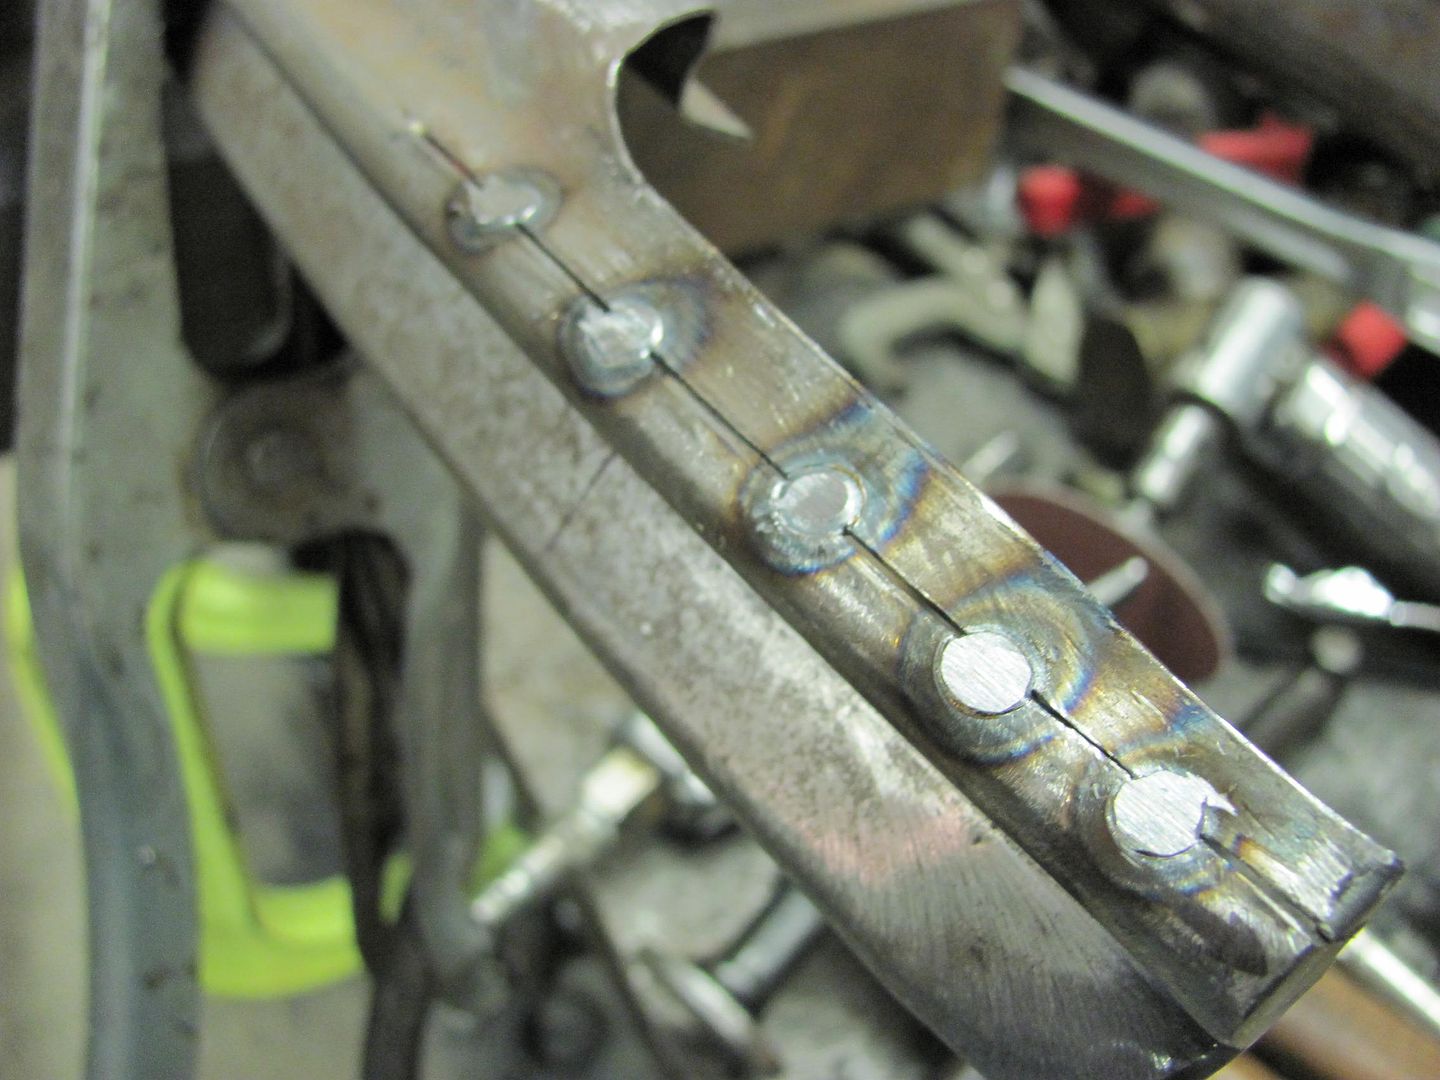
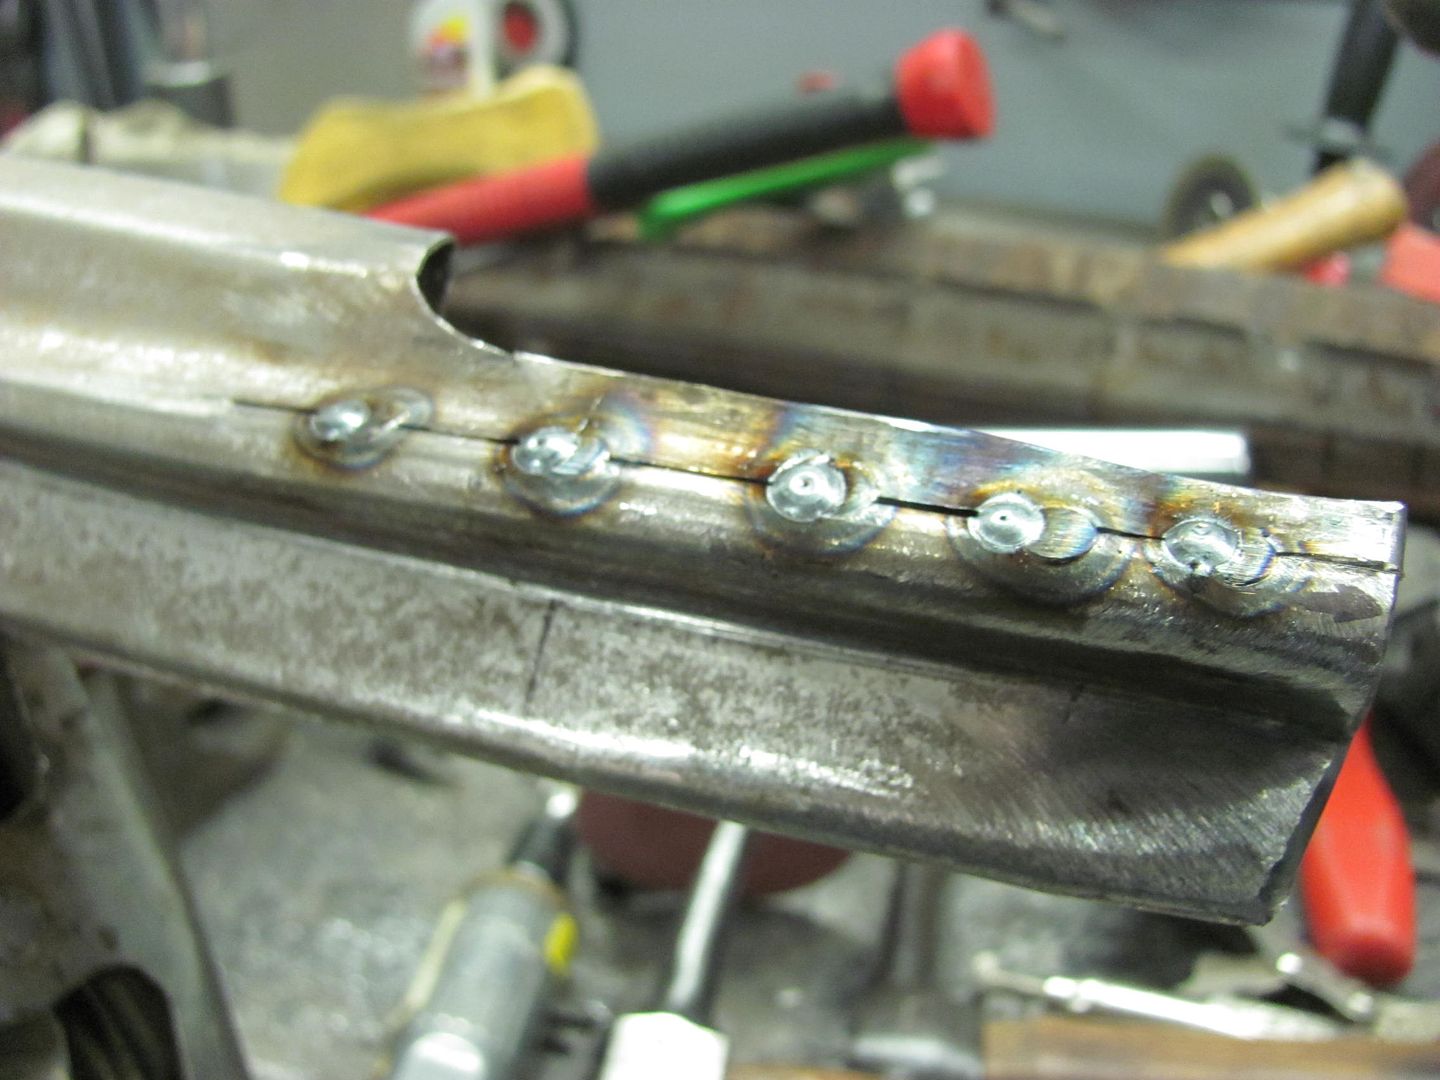

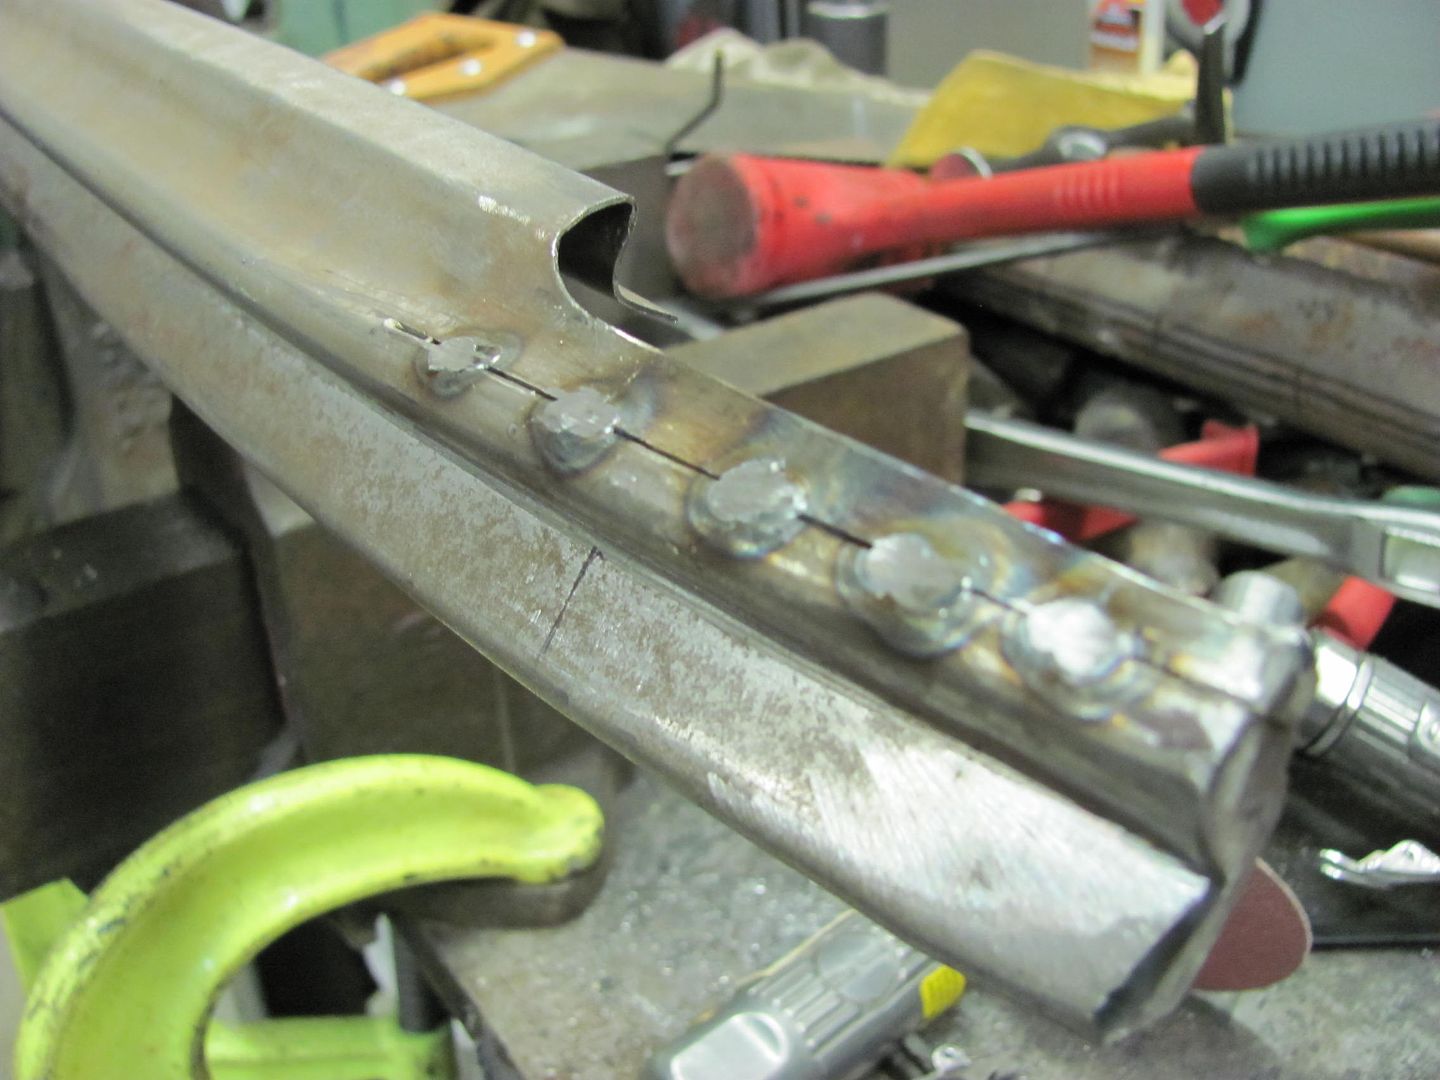
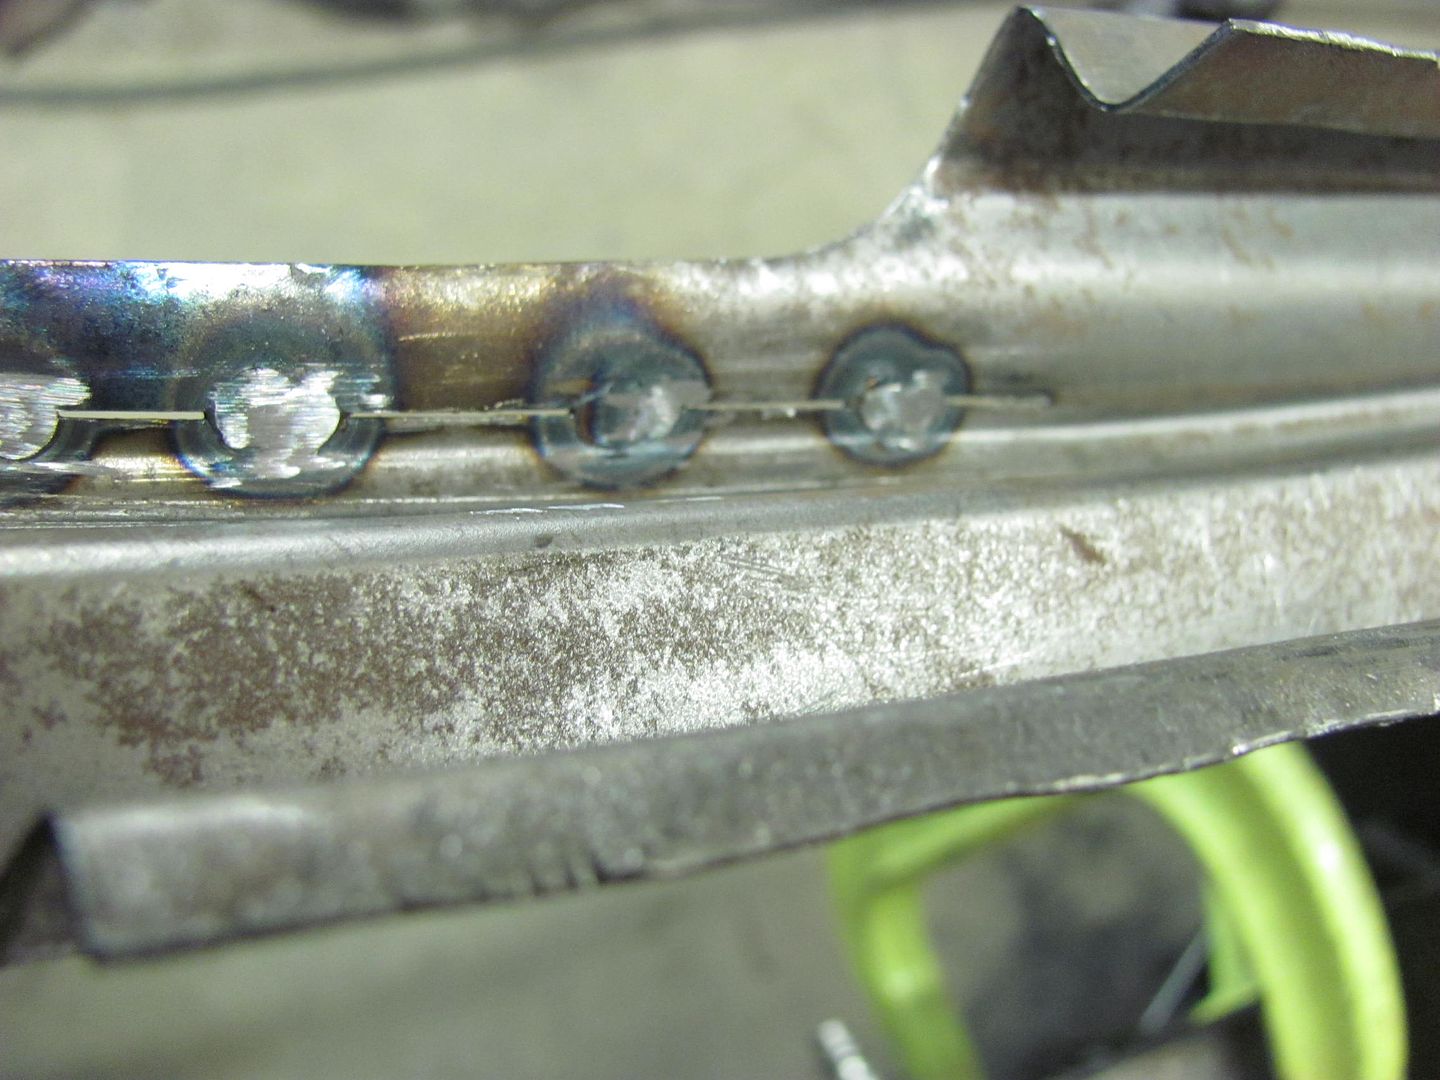
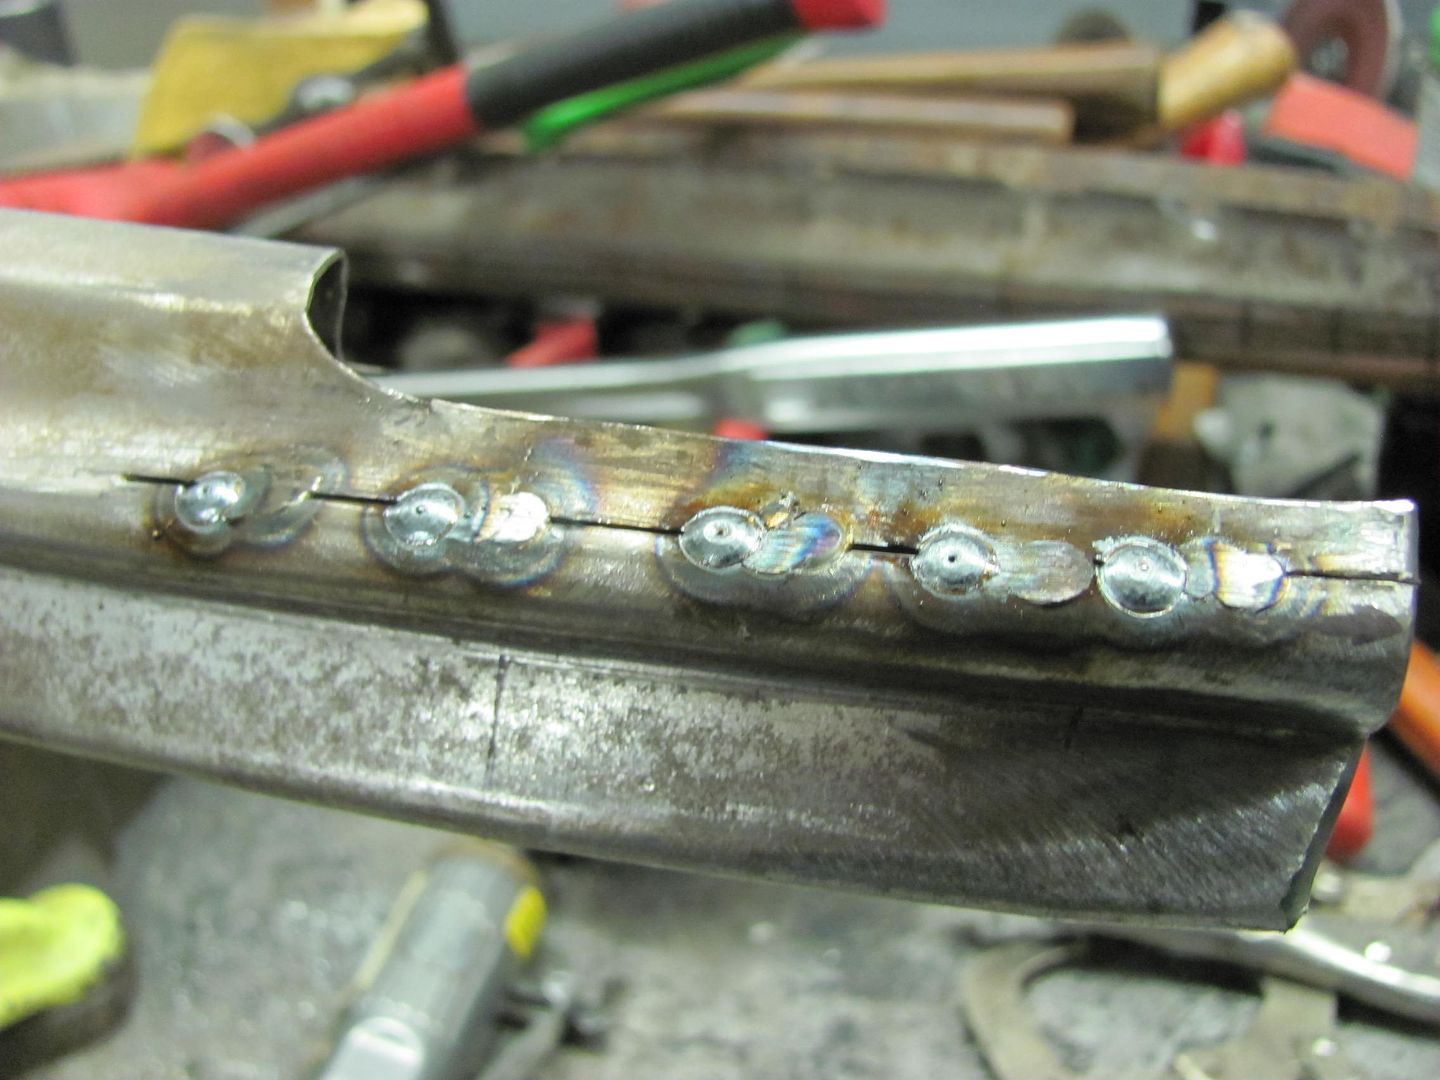
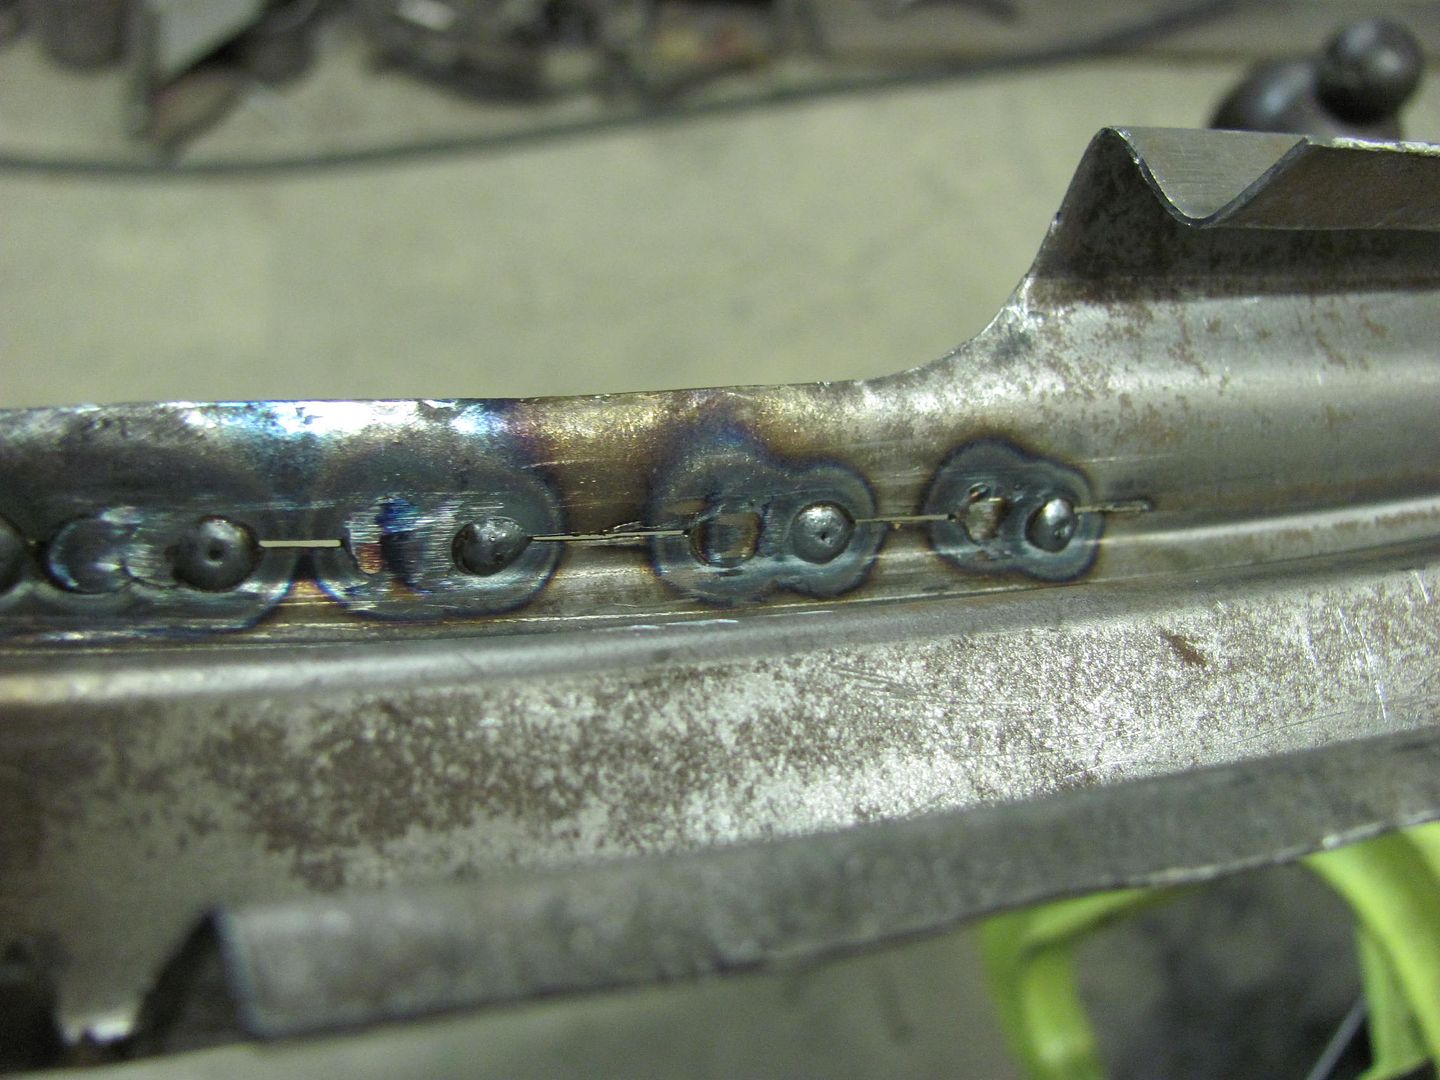
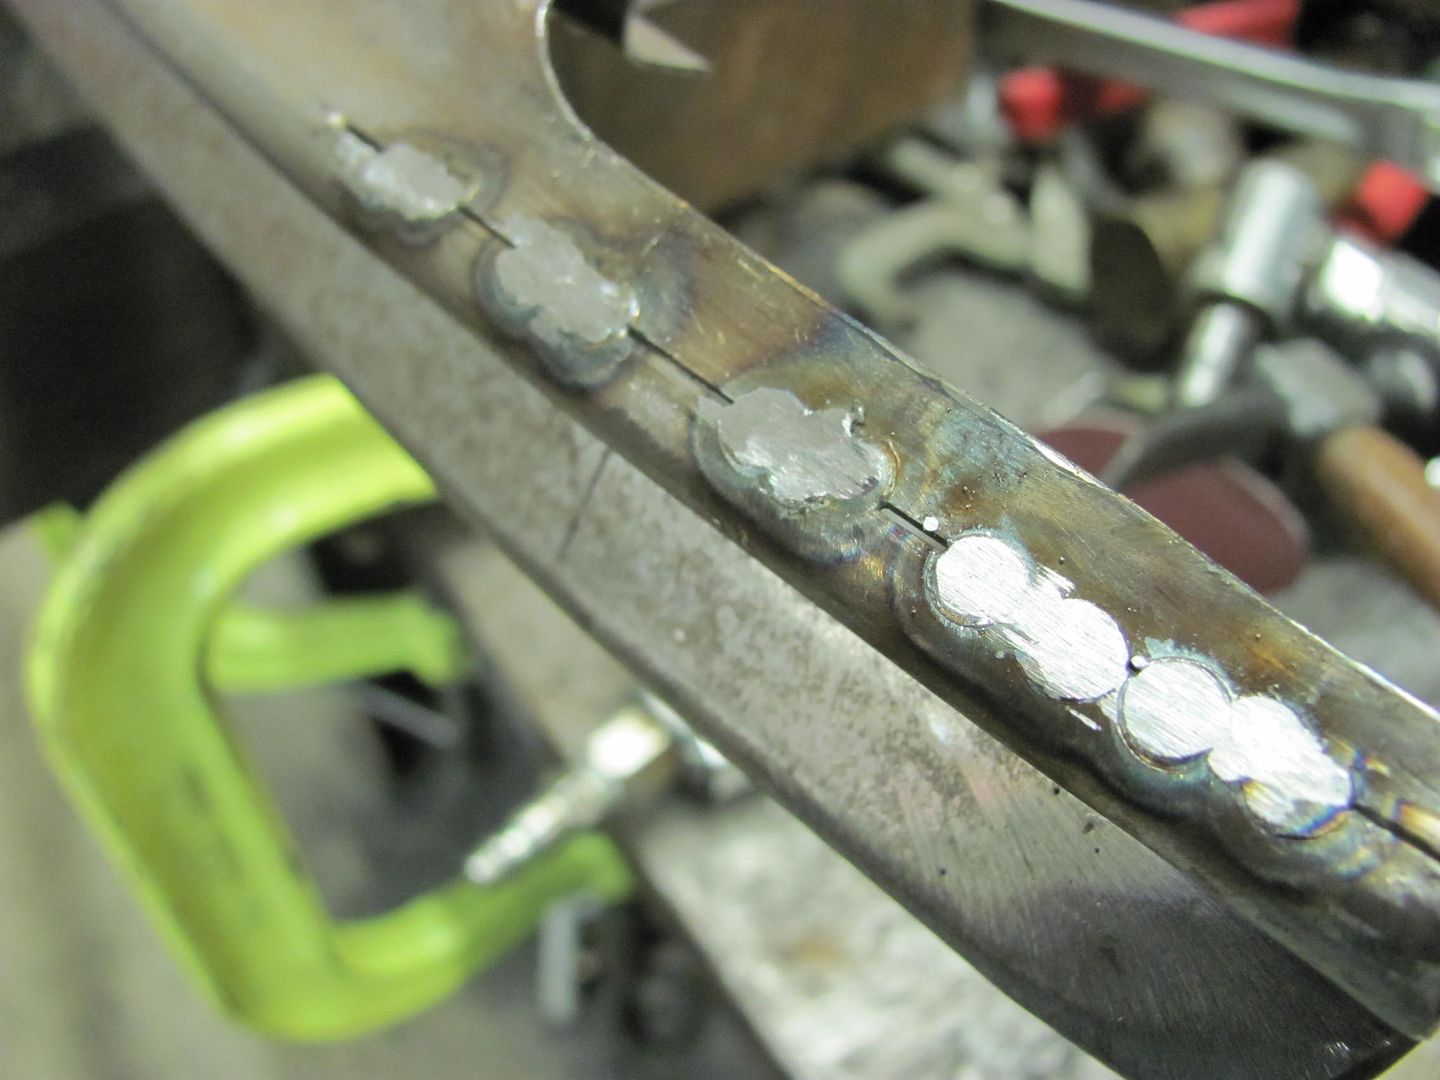
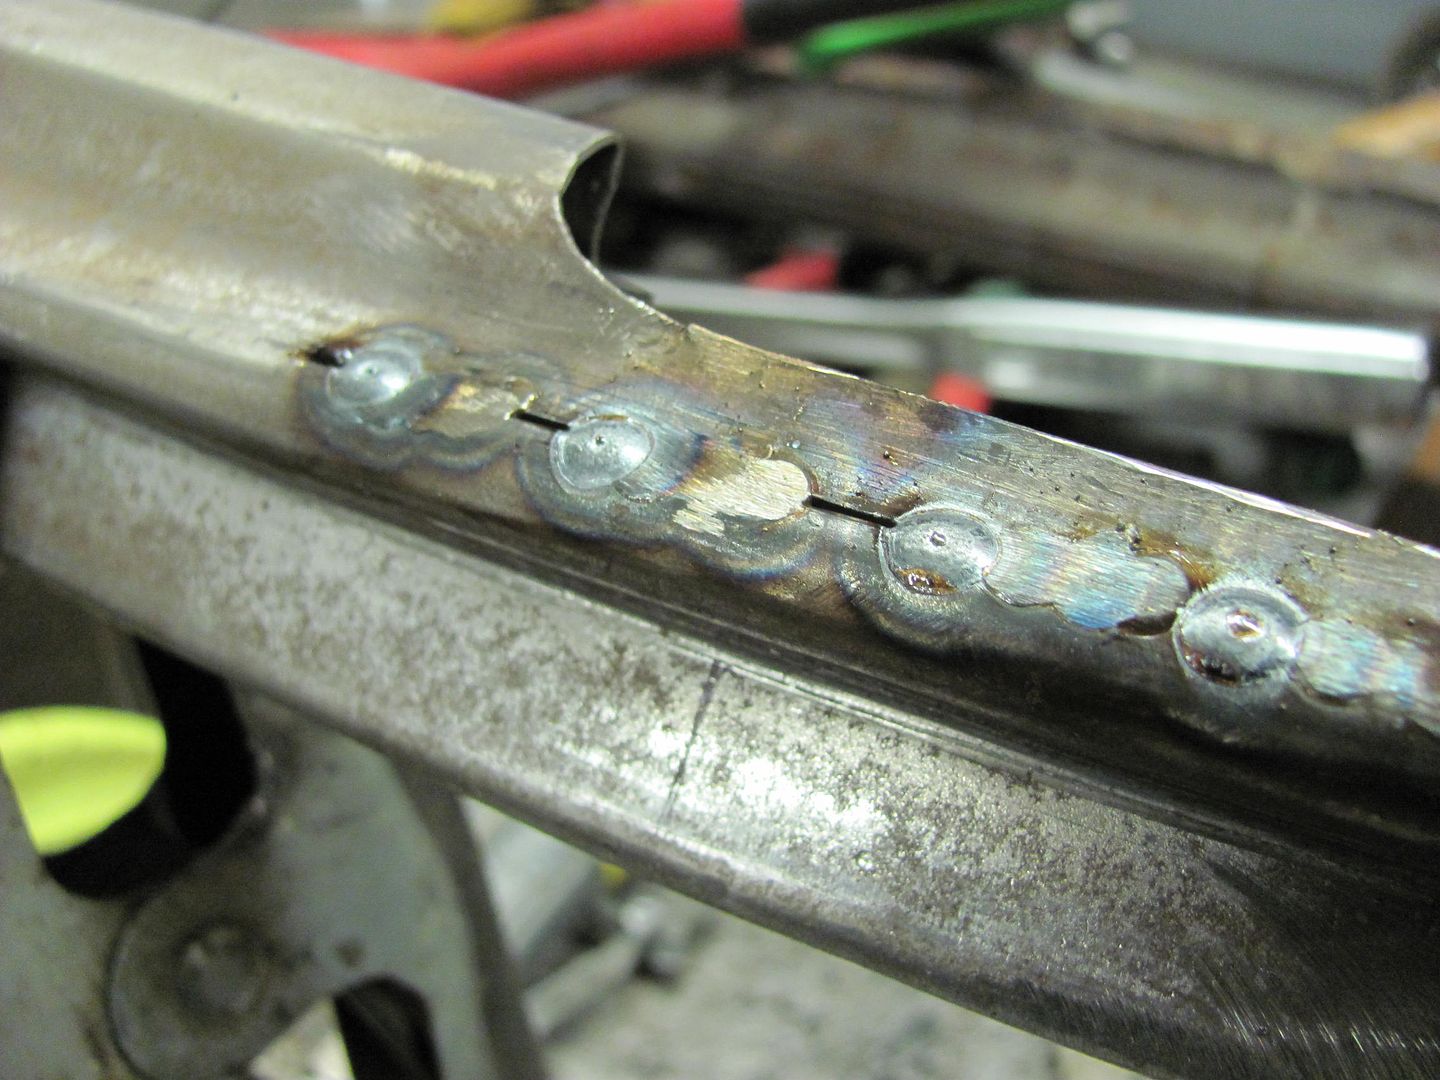
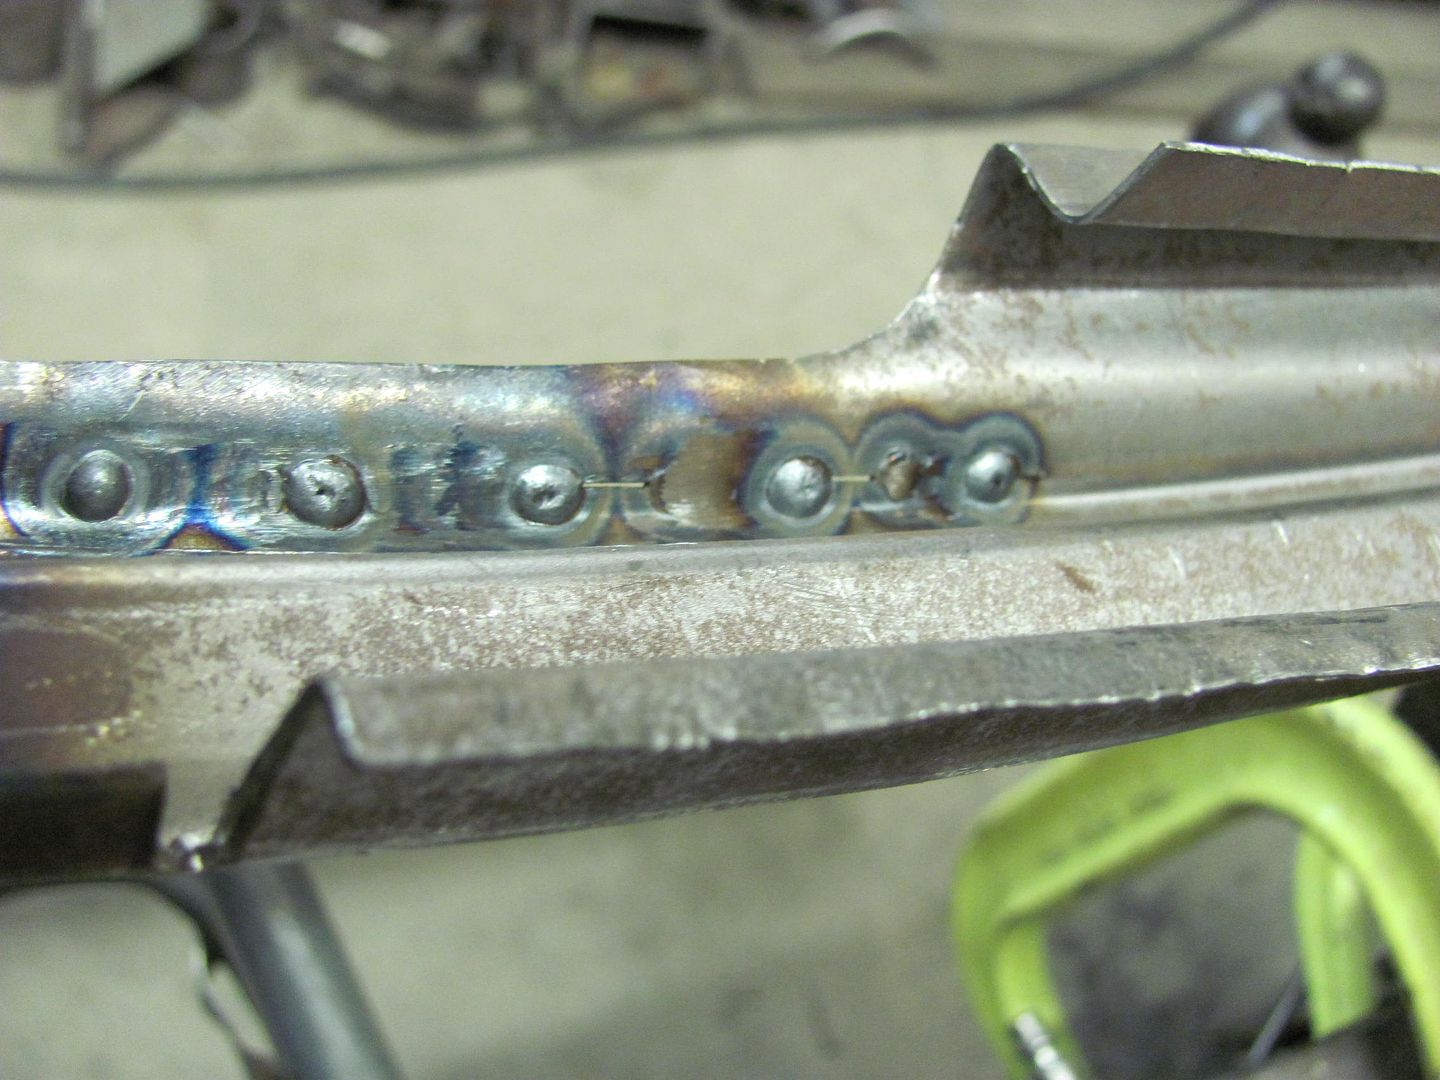
All done and cleaned up....
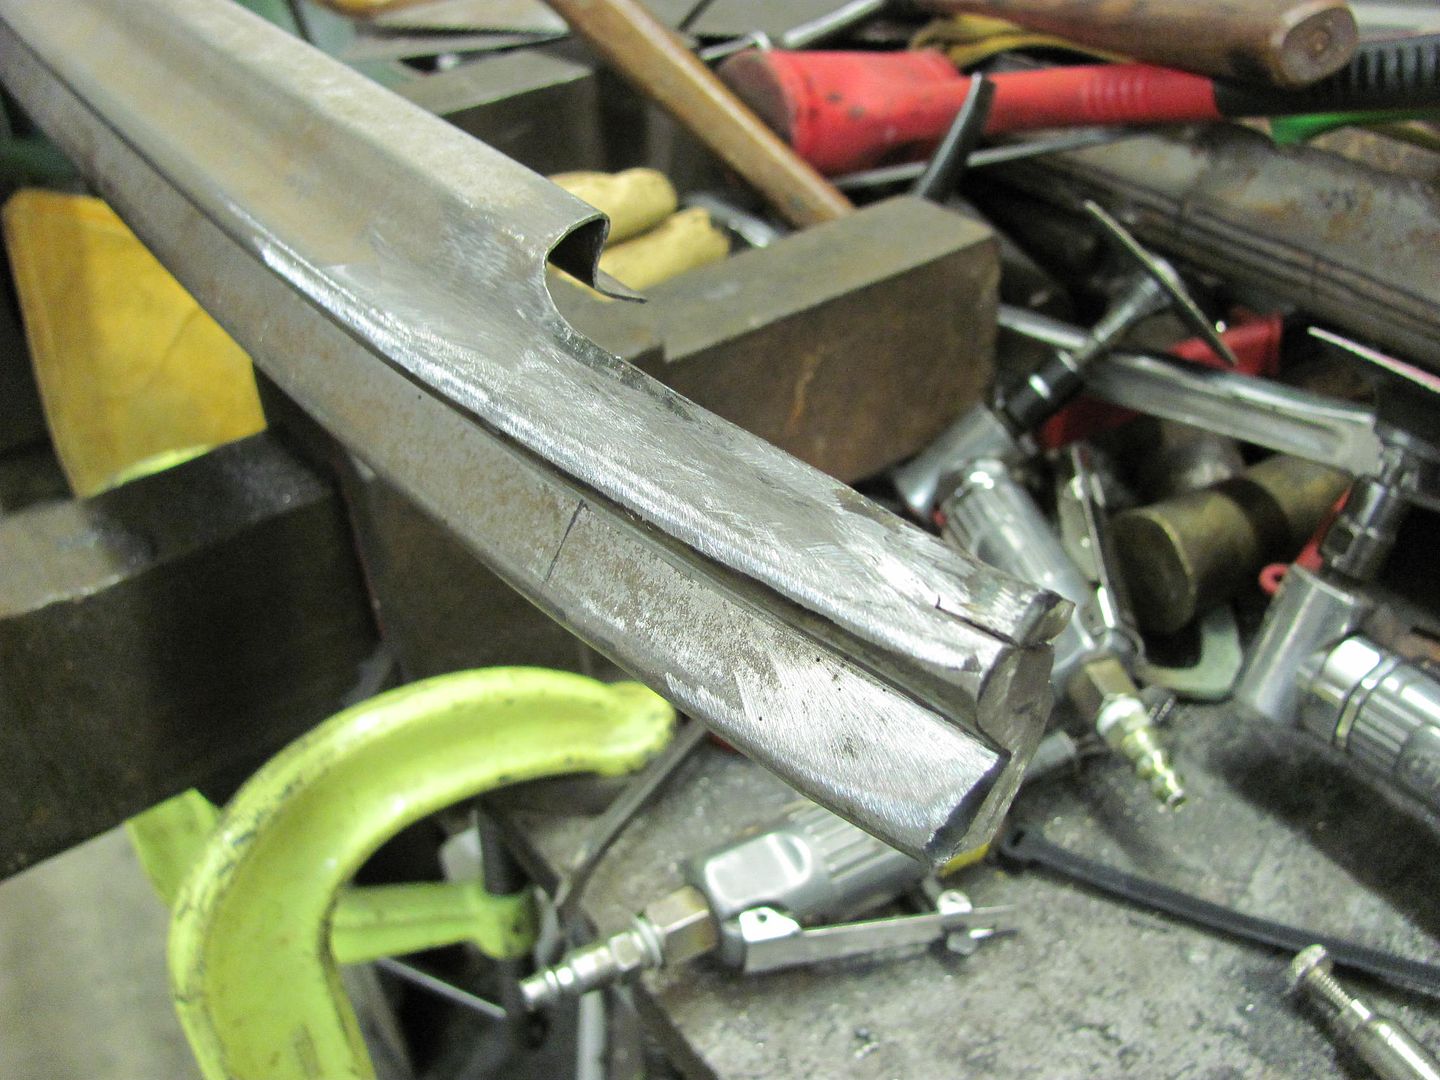
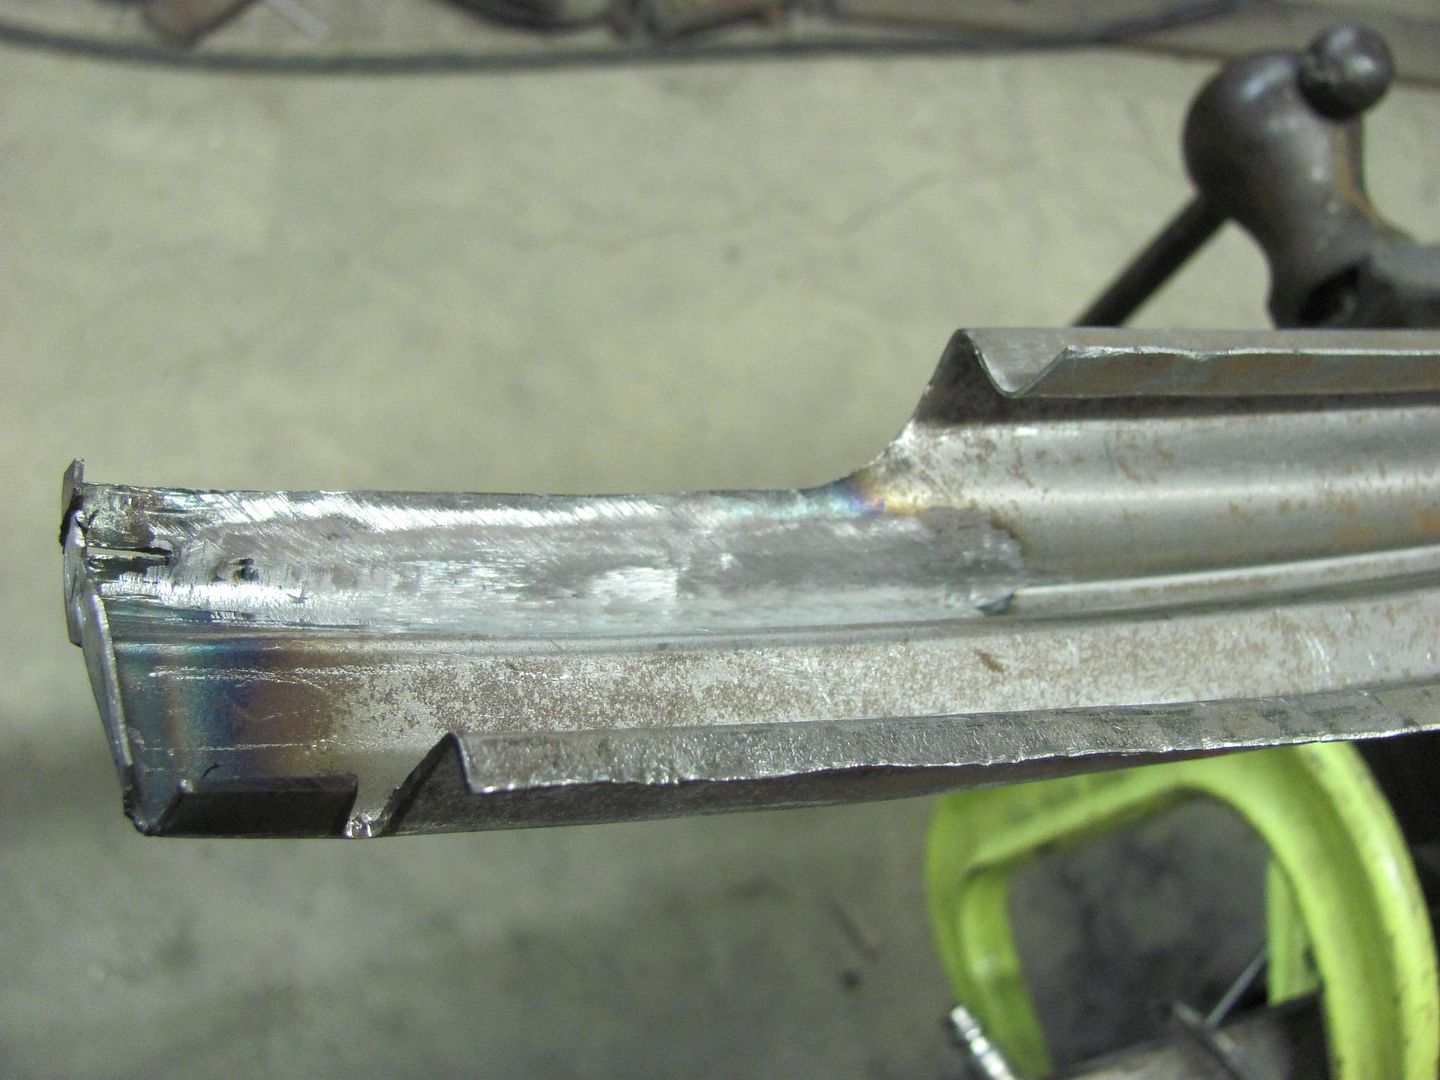
......for a much better fit..
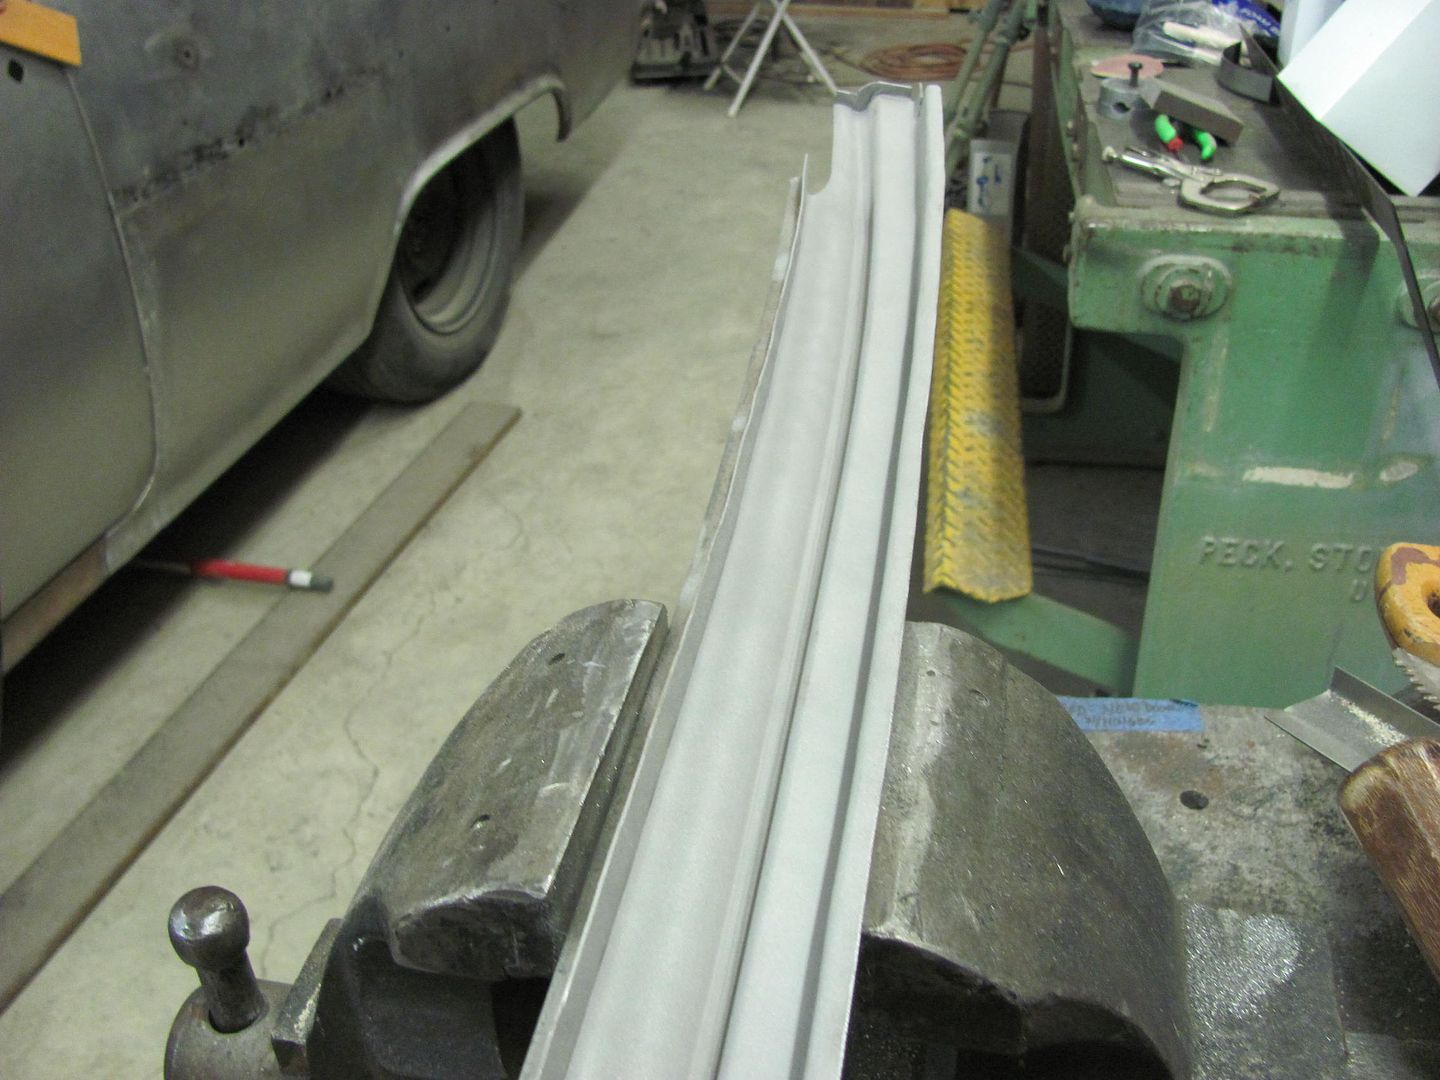
Then media blasted the inside in preparation for some epoxy primer...
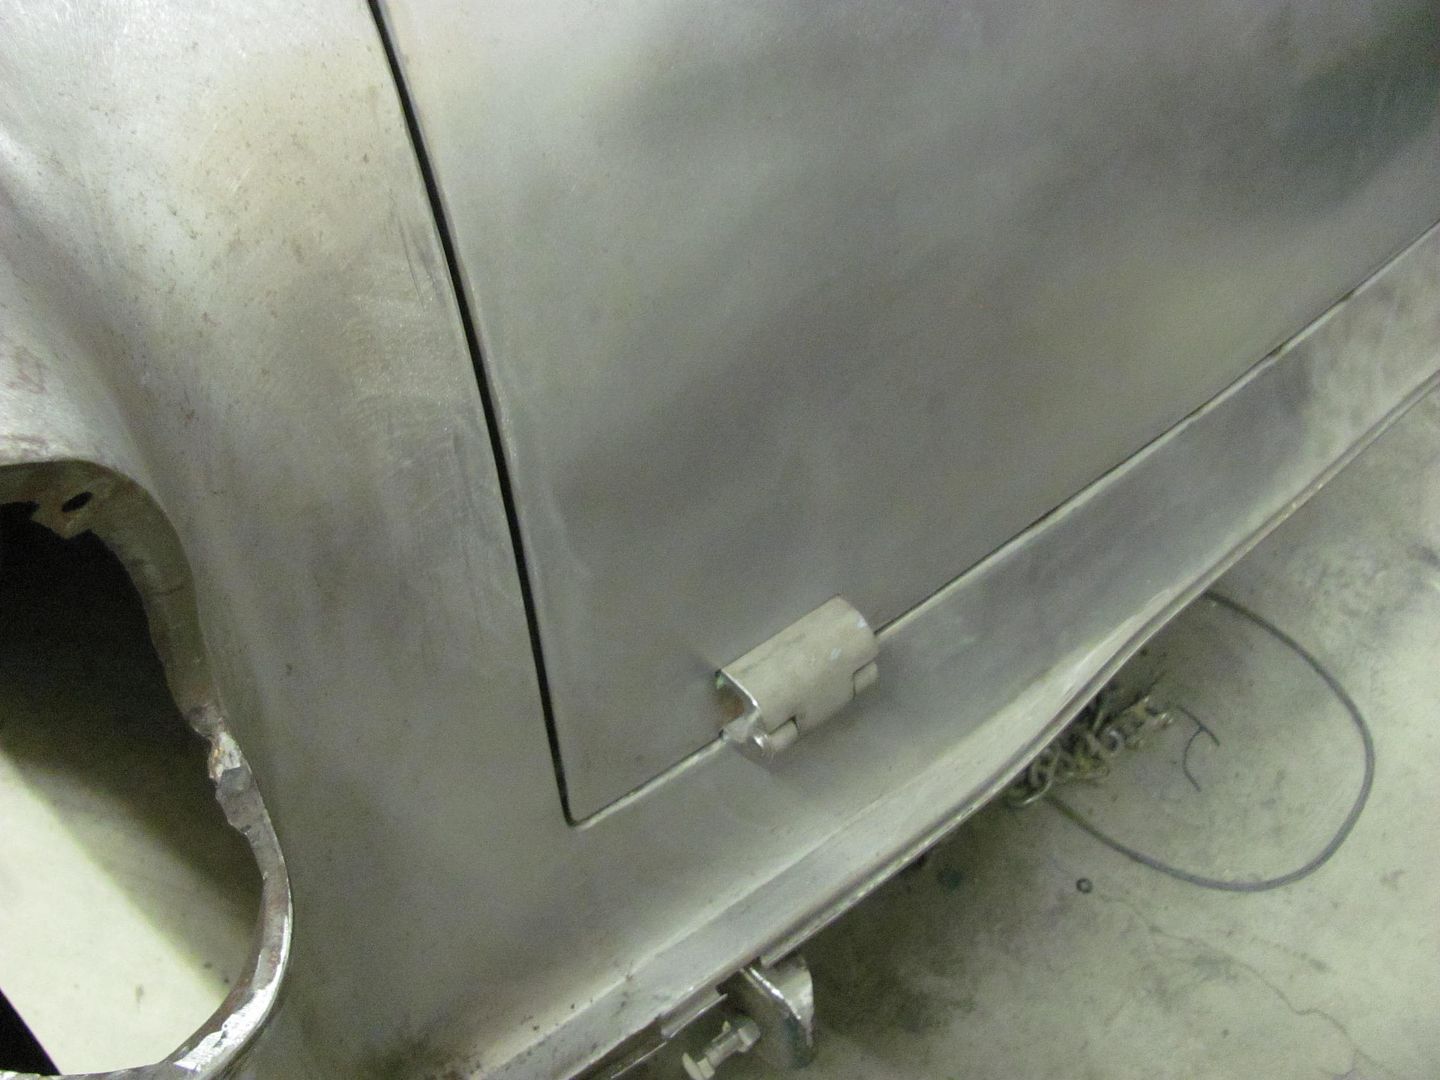
.....and did some adjustment of the tailgate fitment.

Robert
-
01-02-2014 05:48 PM #134
Sometimes you just need to back up and punt.
Even though I have been working on this car far too long, with travel for the day job and two other resto's having been quite an interruption..... you get to where you finally see light at the end of the tunnel, and just come to grips with something that needs to come back out....
When I originally did this roof repair, I did not have the Lennox nibbler or English wheel or many of the tools I now have, and the patch panel you see below.....
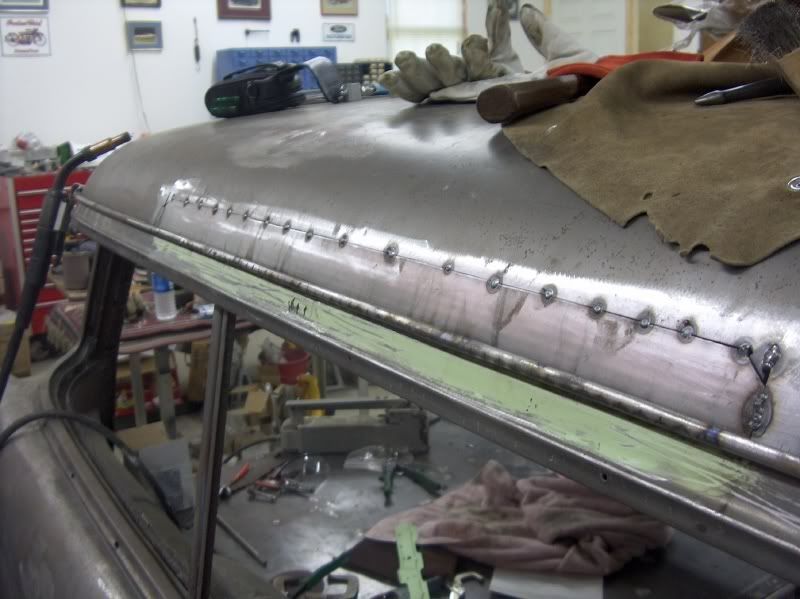
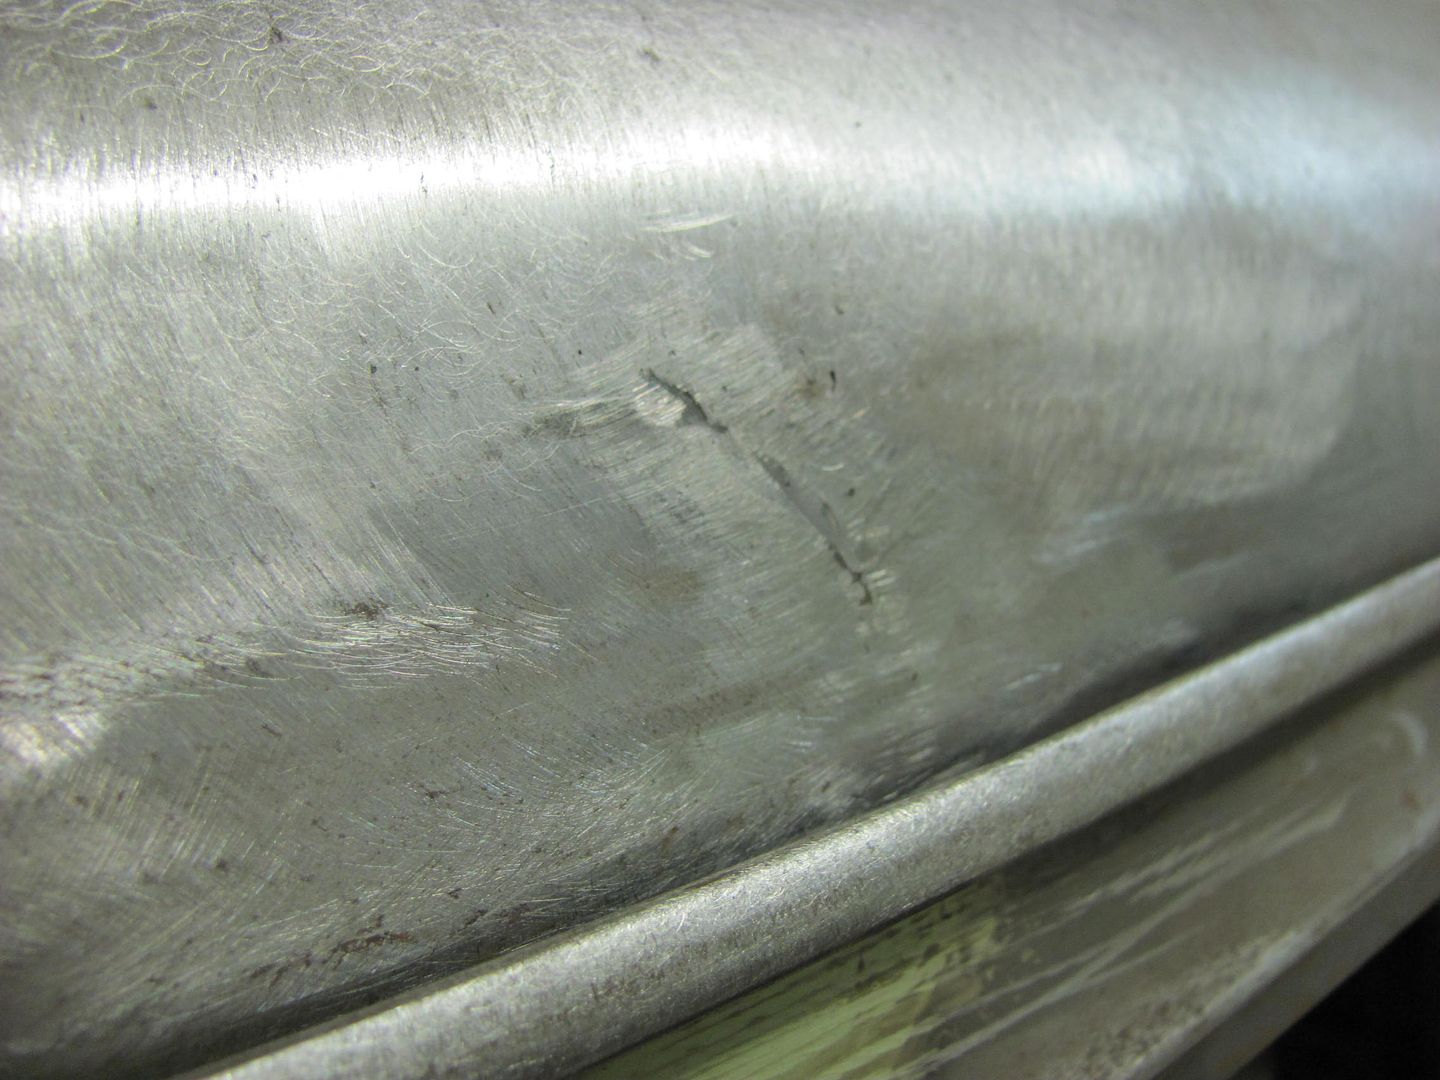
....was fabricated using incremental bends in an apron brake. Given the creases you see due to the fabrication method, I likely made this shorter than I should have in an attempt to limit the creases, and the result was the horizontal weld was not up high enough to be readily accessible for planishing. After making these patch panels for a second roof repair......
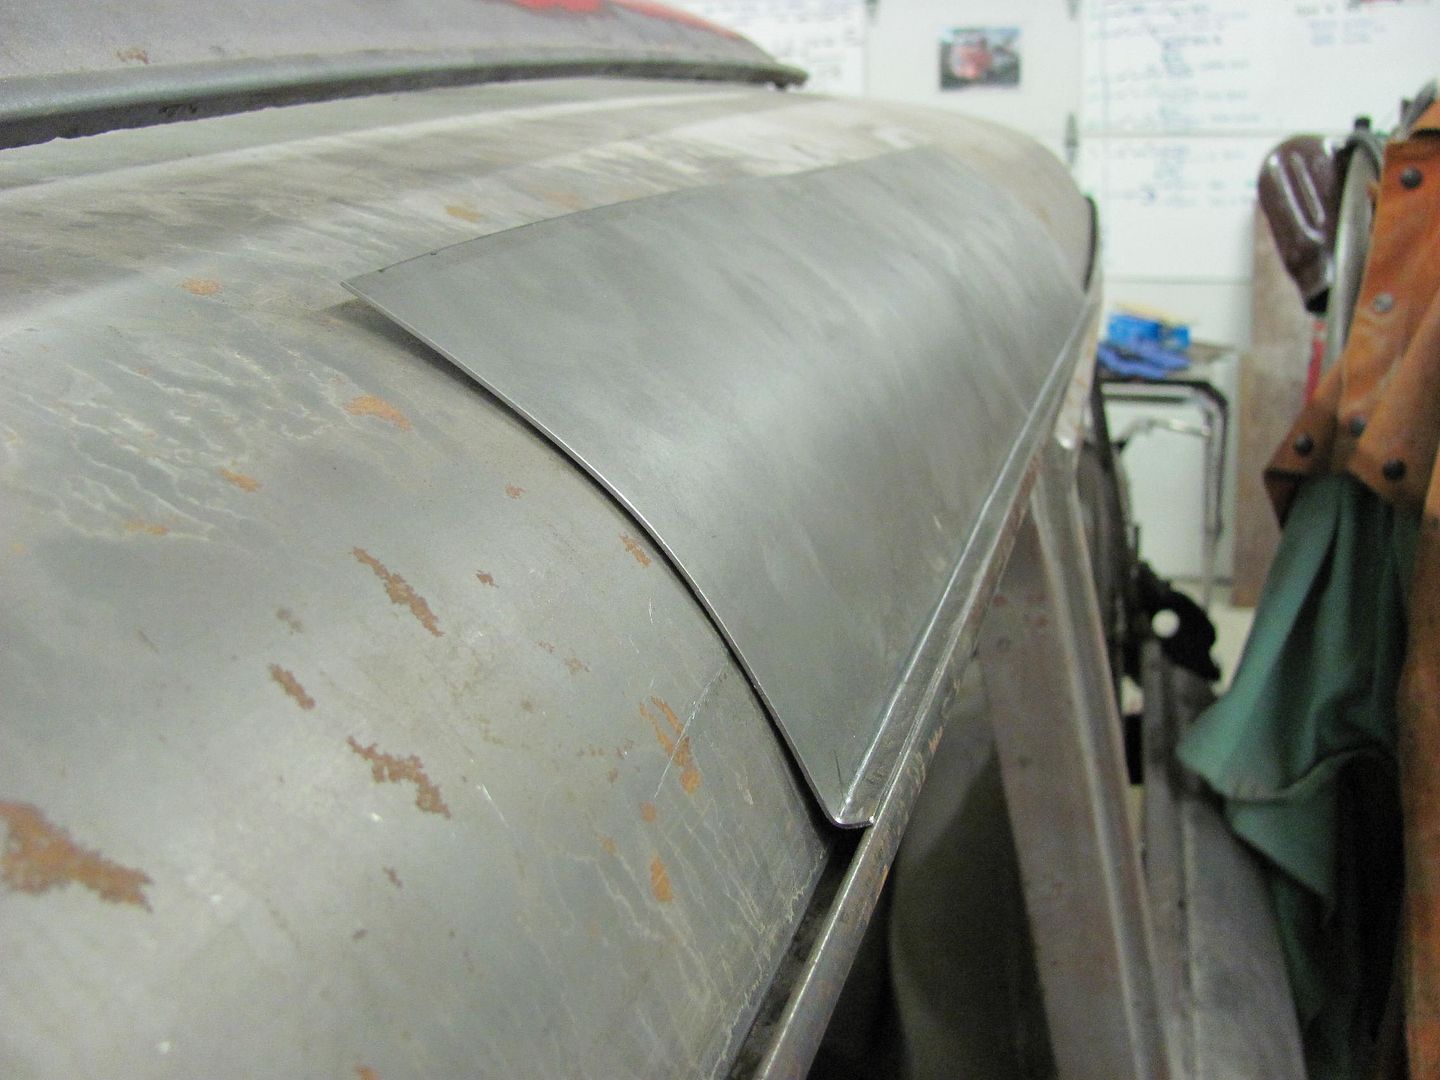
.....it was more apparent that the first attempt was not the best, and if I wasn't happy with it before, this new panel really made the old one grab my attention...each time I've walked by.
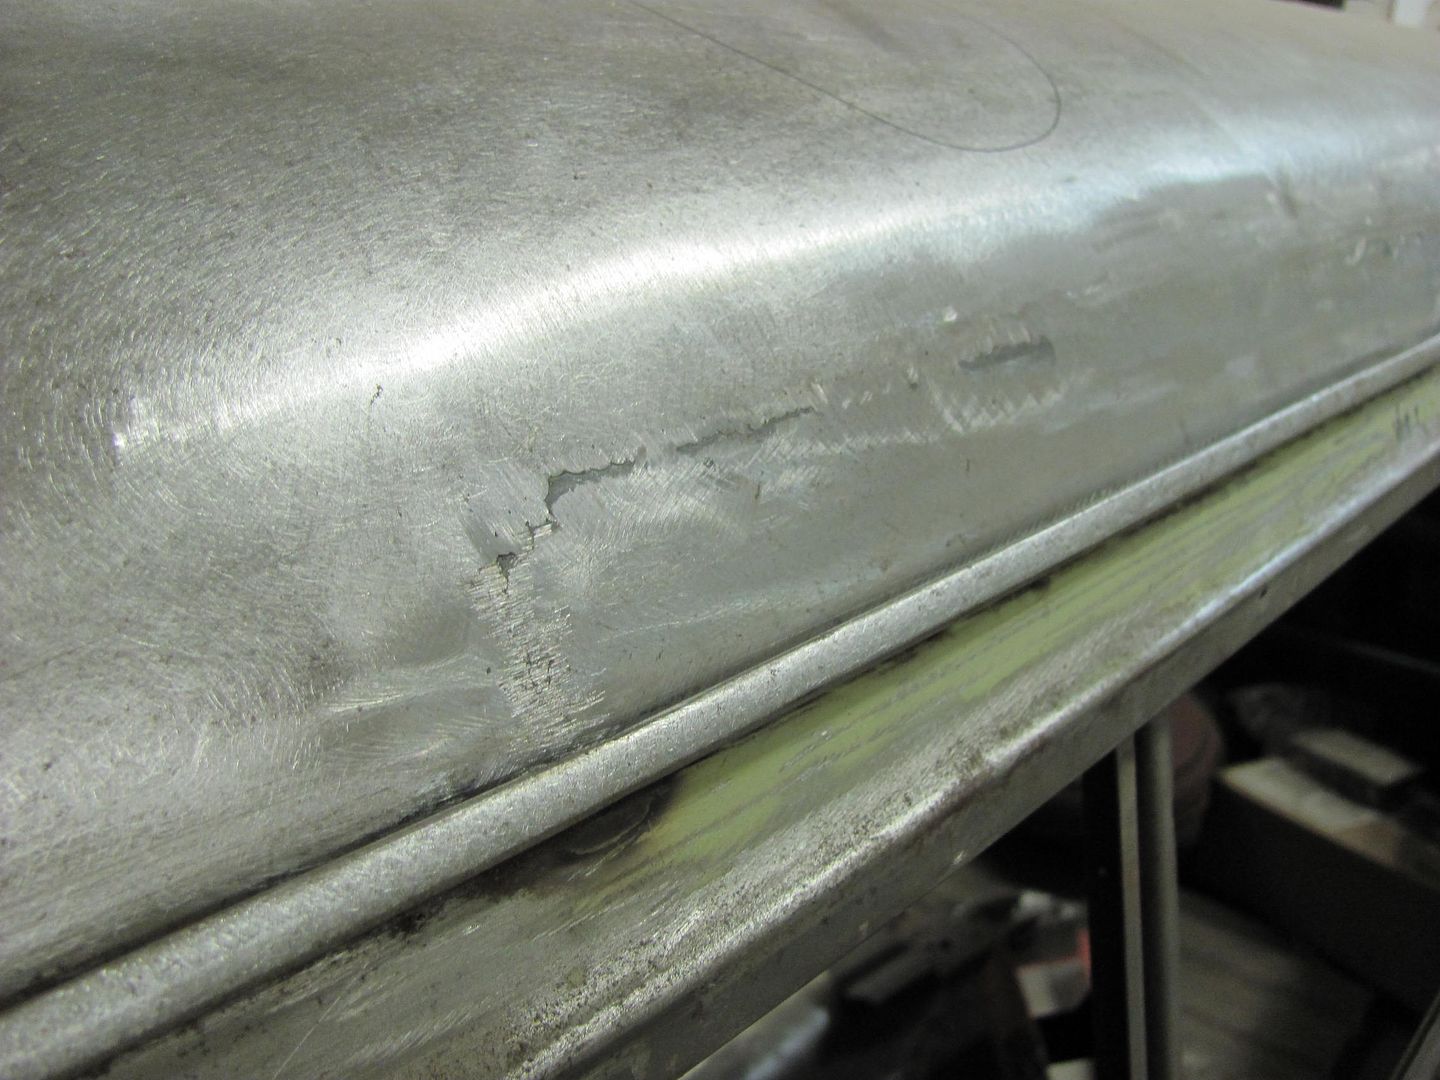
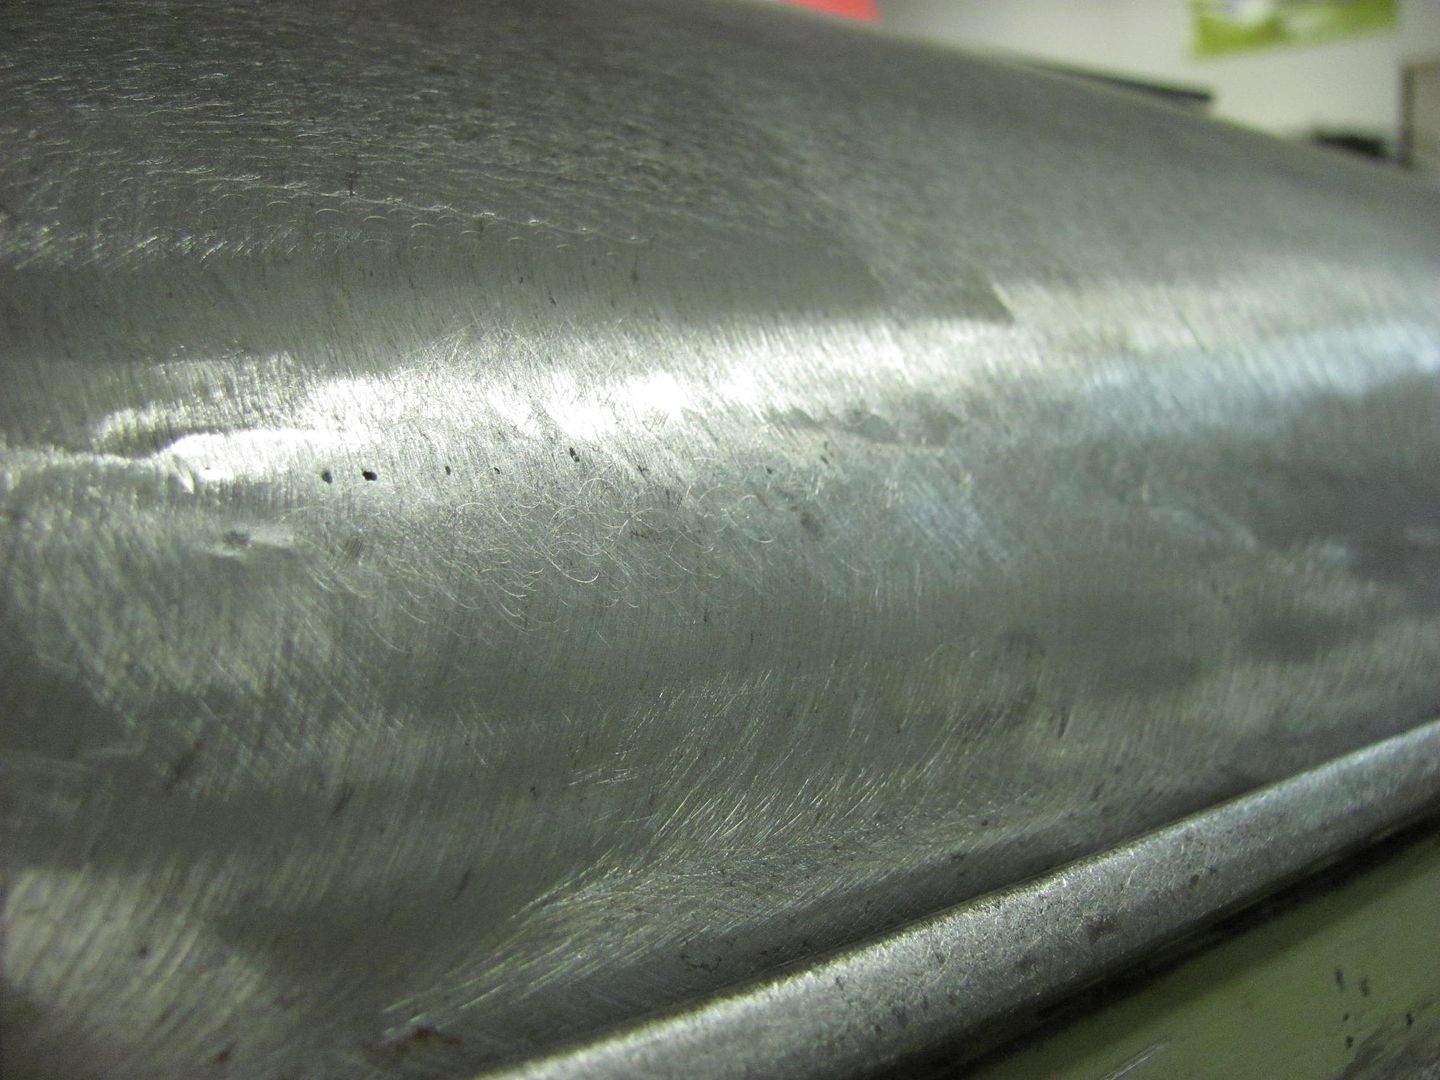
Well a person with spare patches lying around can only take so much, so tonight I checked the fit of one of the spare patch panels.... Looking at the front, the panel needed just a bit more crown....

And the rear needed just a bit less....

So with the Go Kart slick mounted up and ready to go, a 6" then 3.75" radius lower anvil added the crown needed for the front and a 24" radius flattened out the rear for a much better fit.

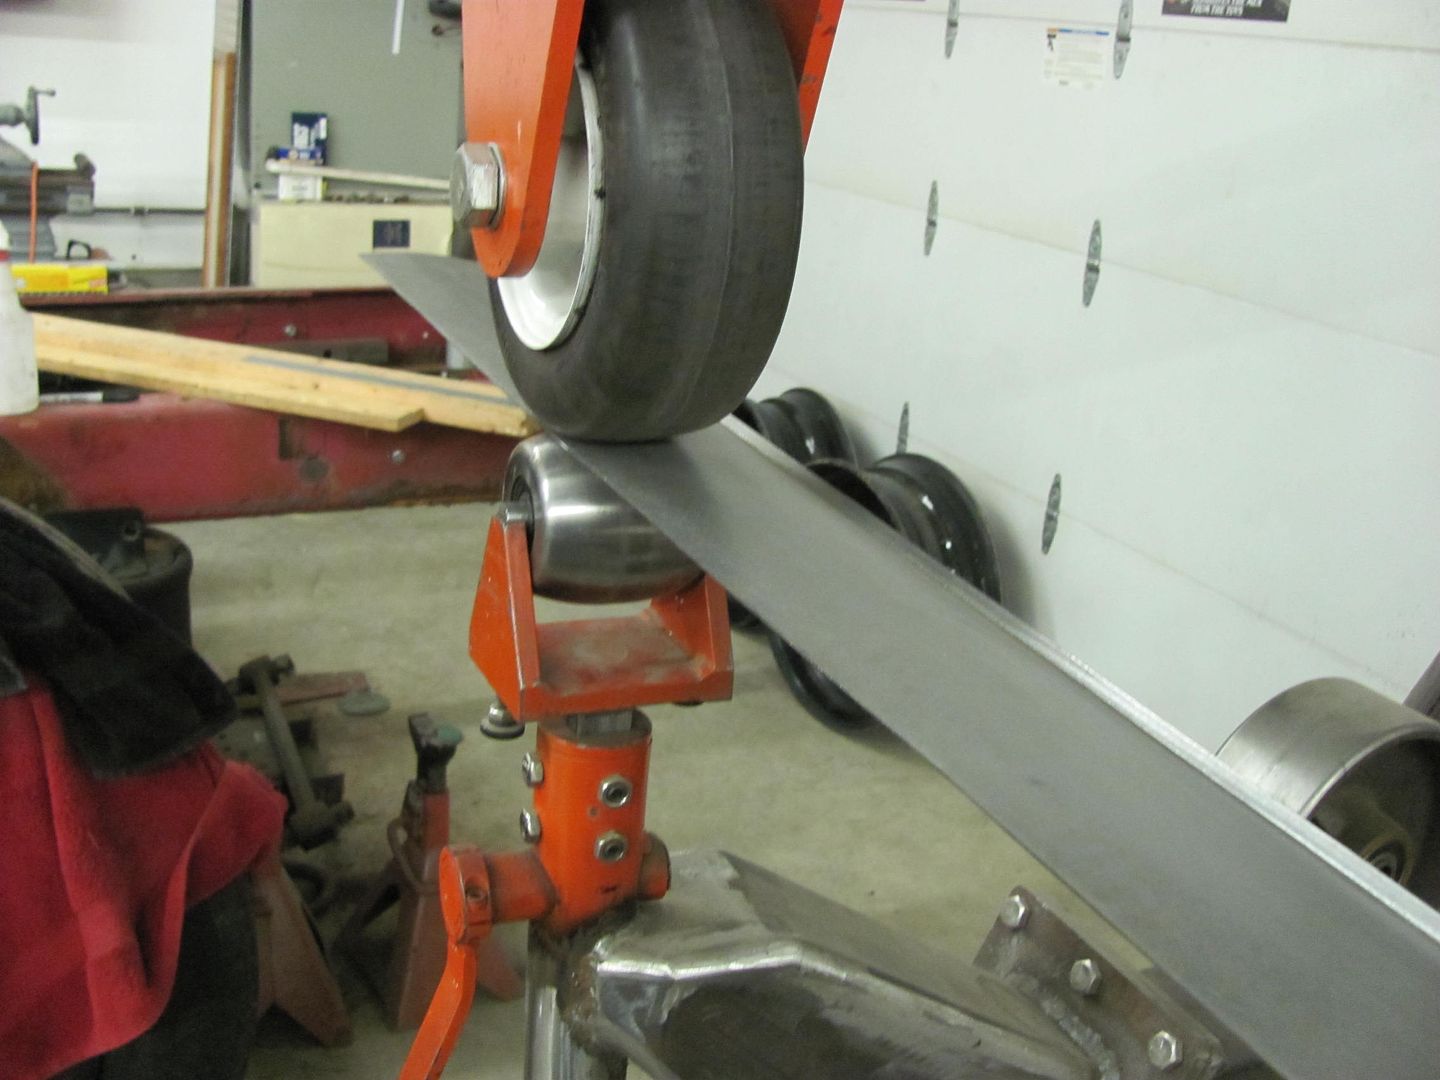
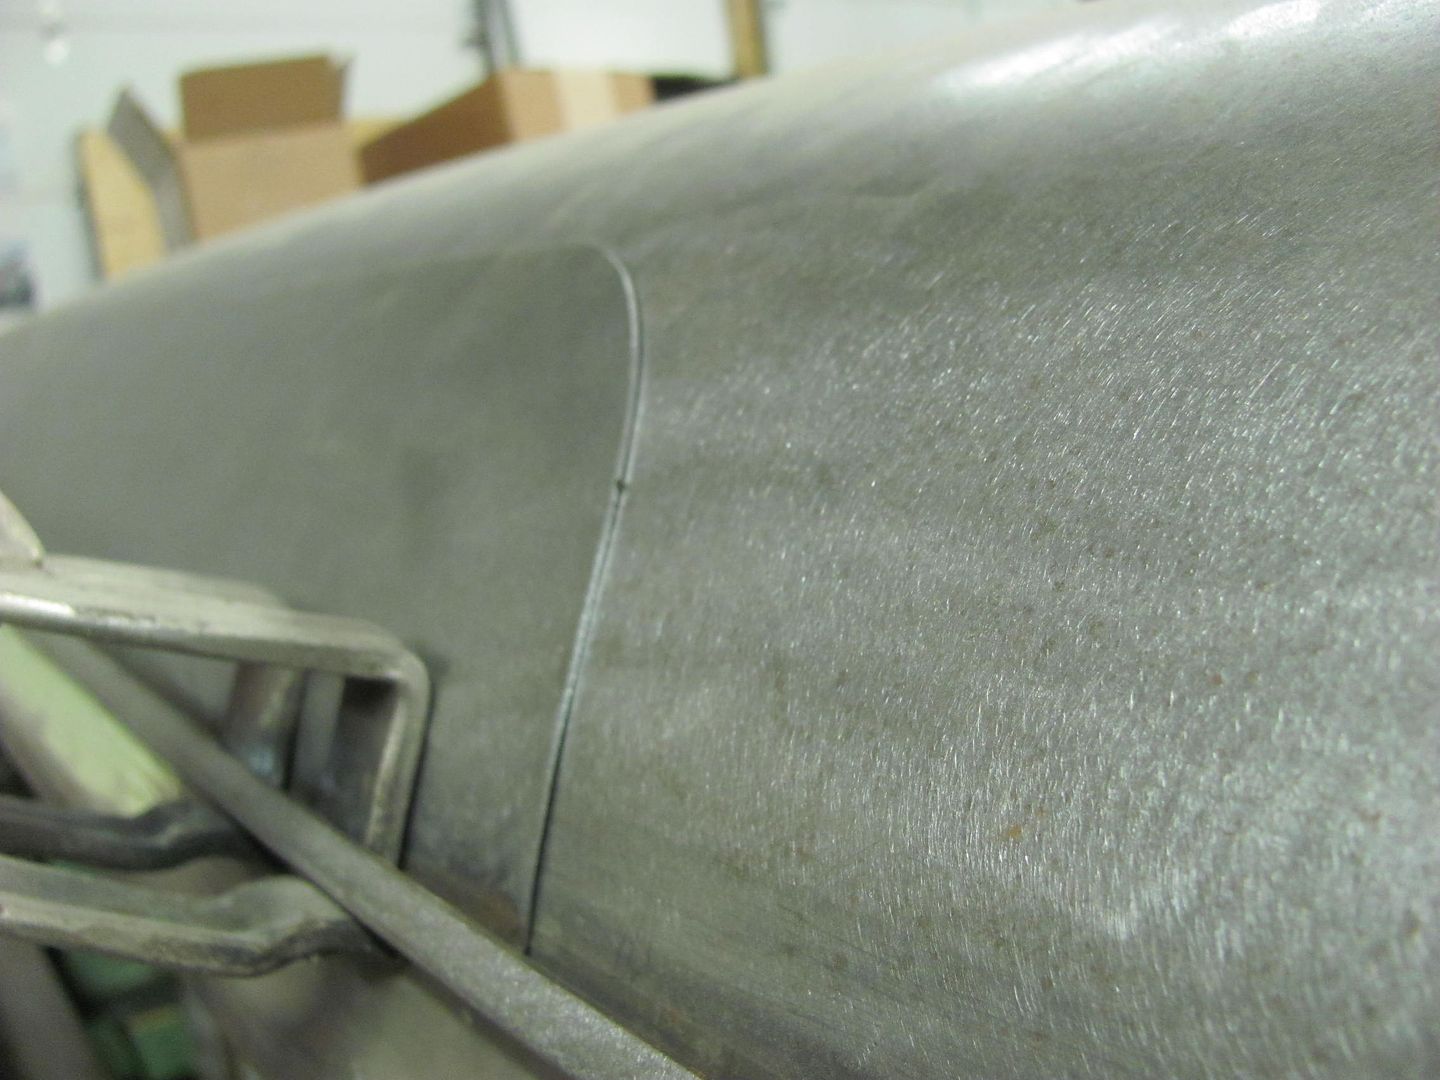
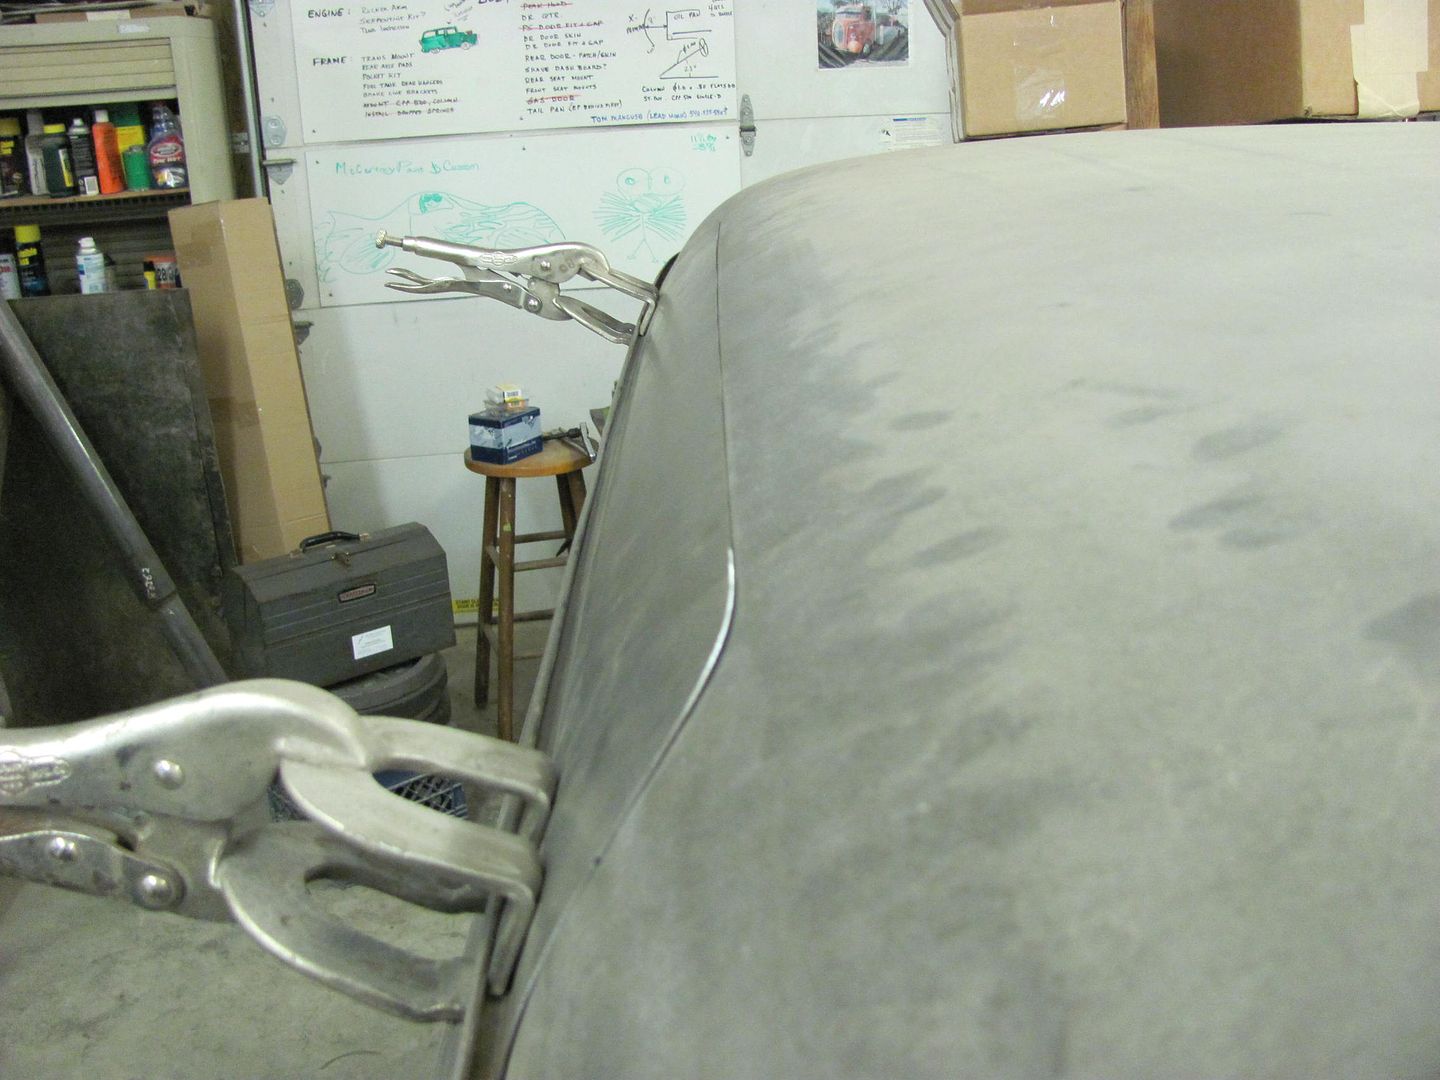
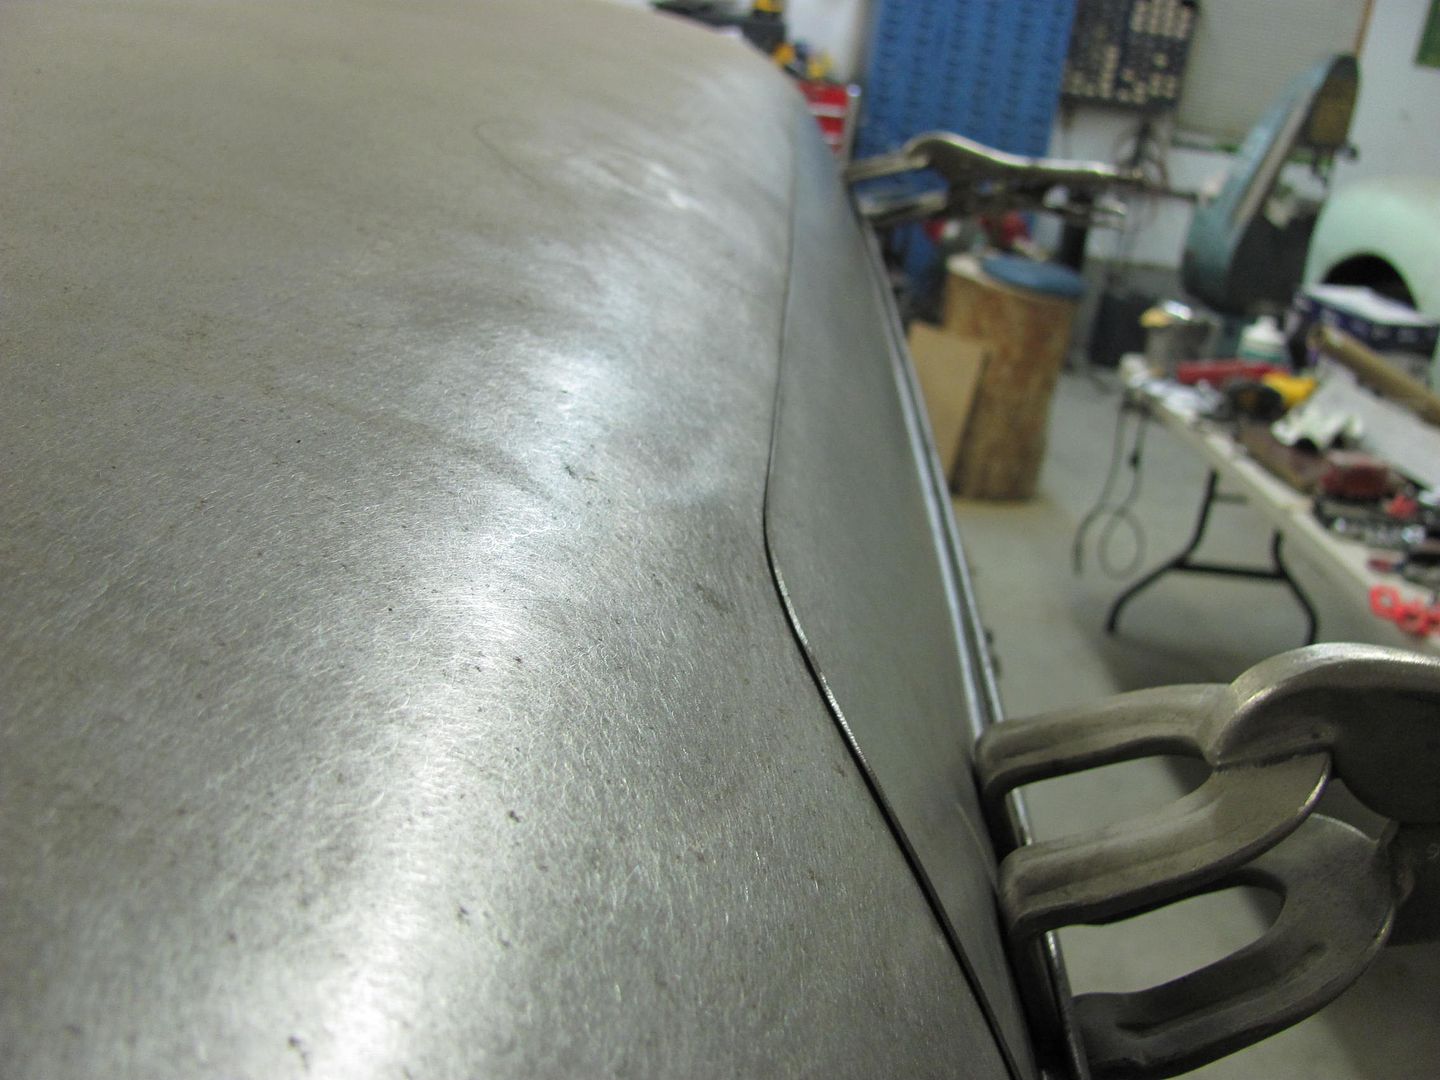

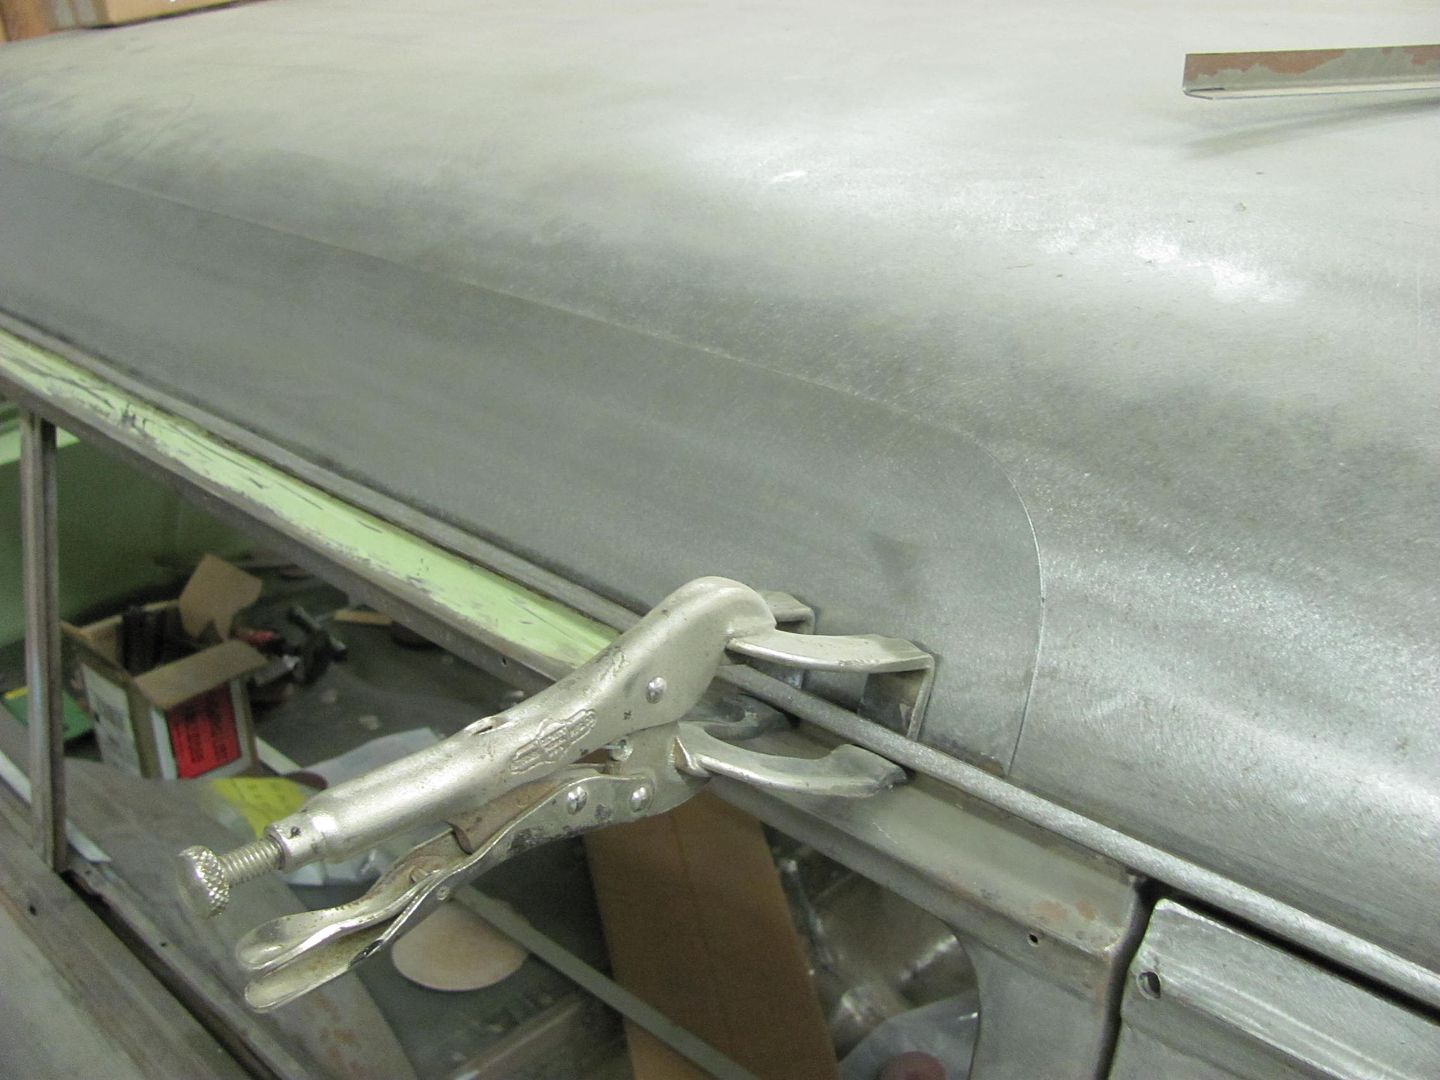
These panels are about 4" high and put the weld up above the roof boxing structure, so planishing will be more accessible to give us a better job. I'll get the patch all primed on the inside and let it cure. Then cut out the old patch and get this new one welded in.. More to come..Robert
-
01-05-2014 03:38 PM #135
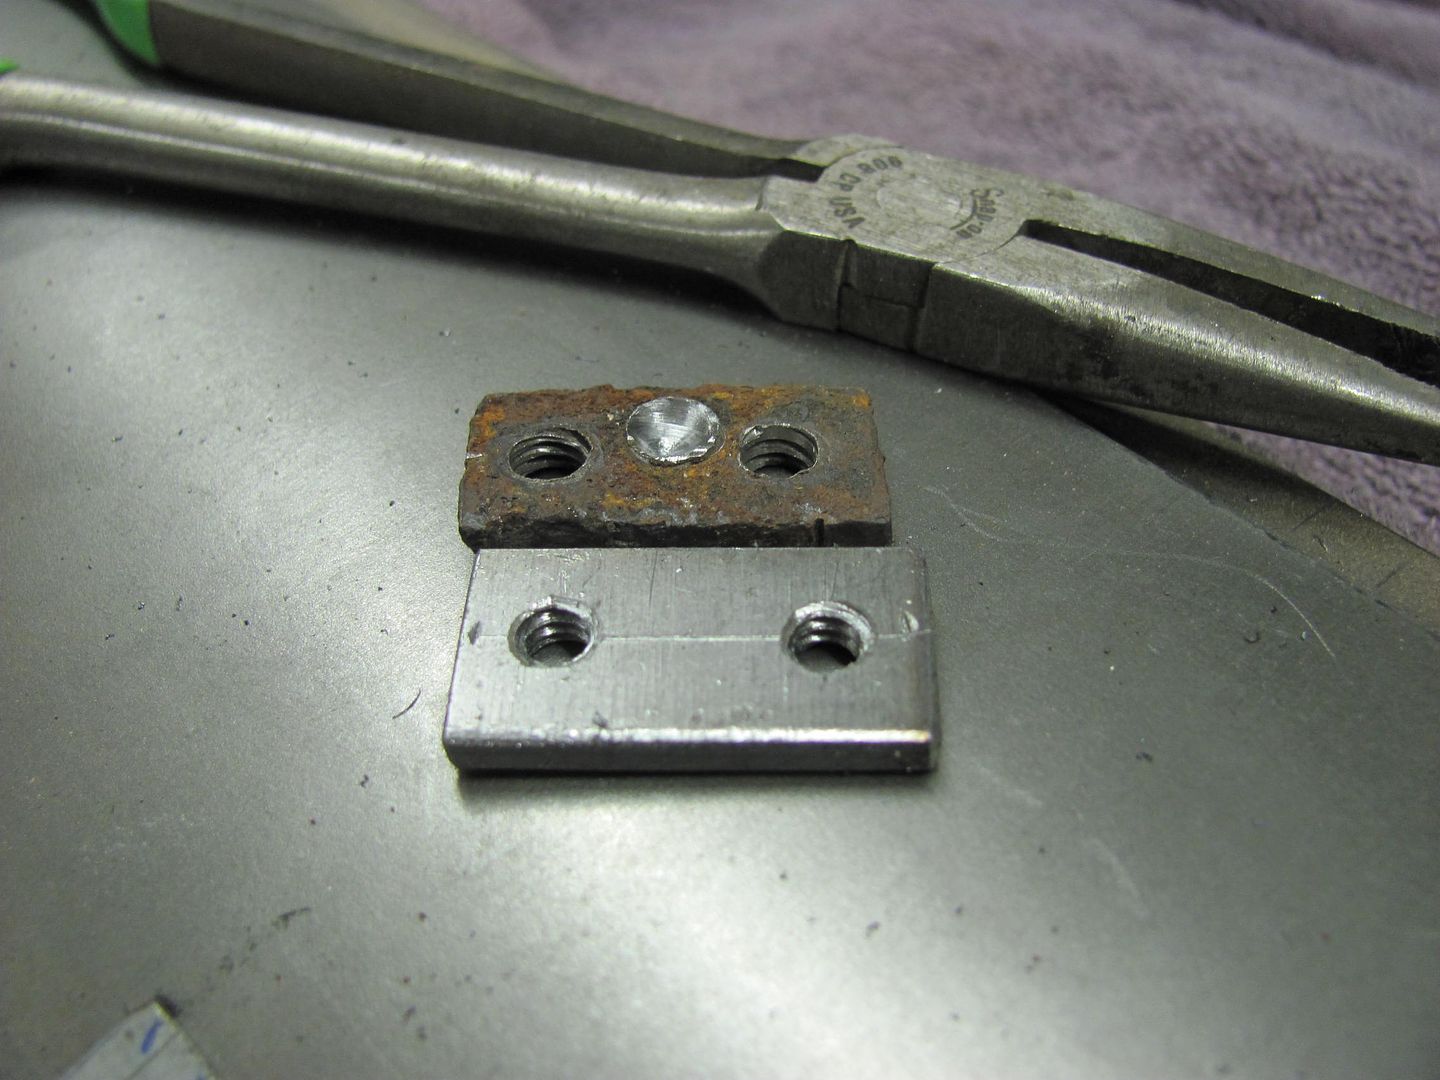
Was in the middle of media blasting the innards of the lift gate and noticed the threads for these nut plates didn't look too "full" A test with a 10-24 screw showed that some of the holes were so bad that they had a "slip" fit.
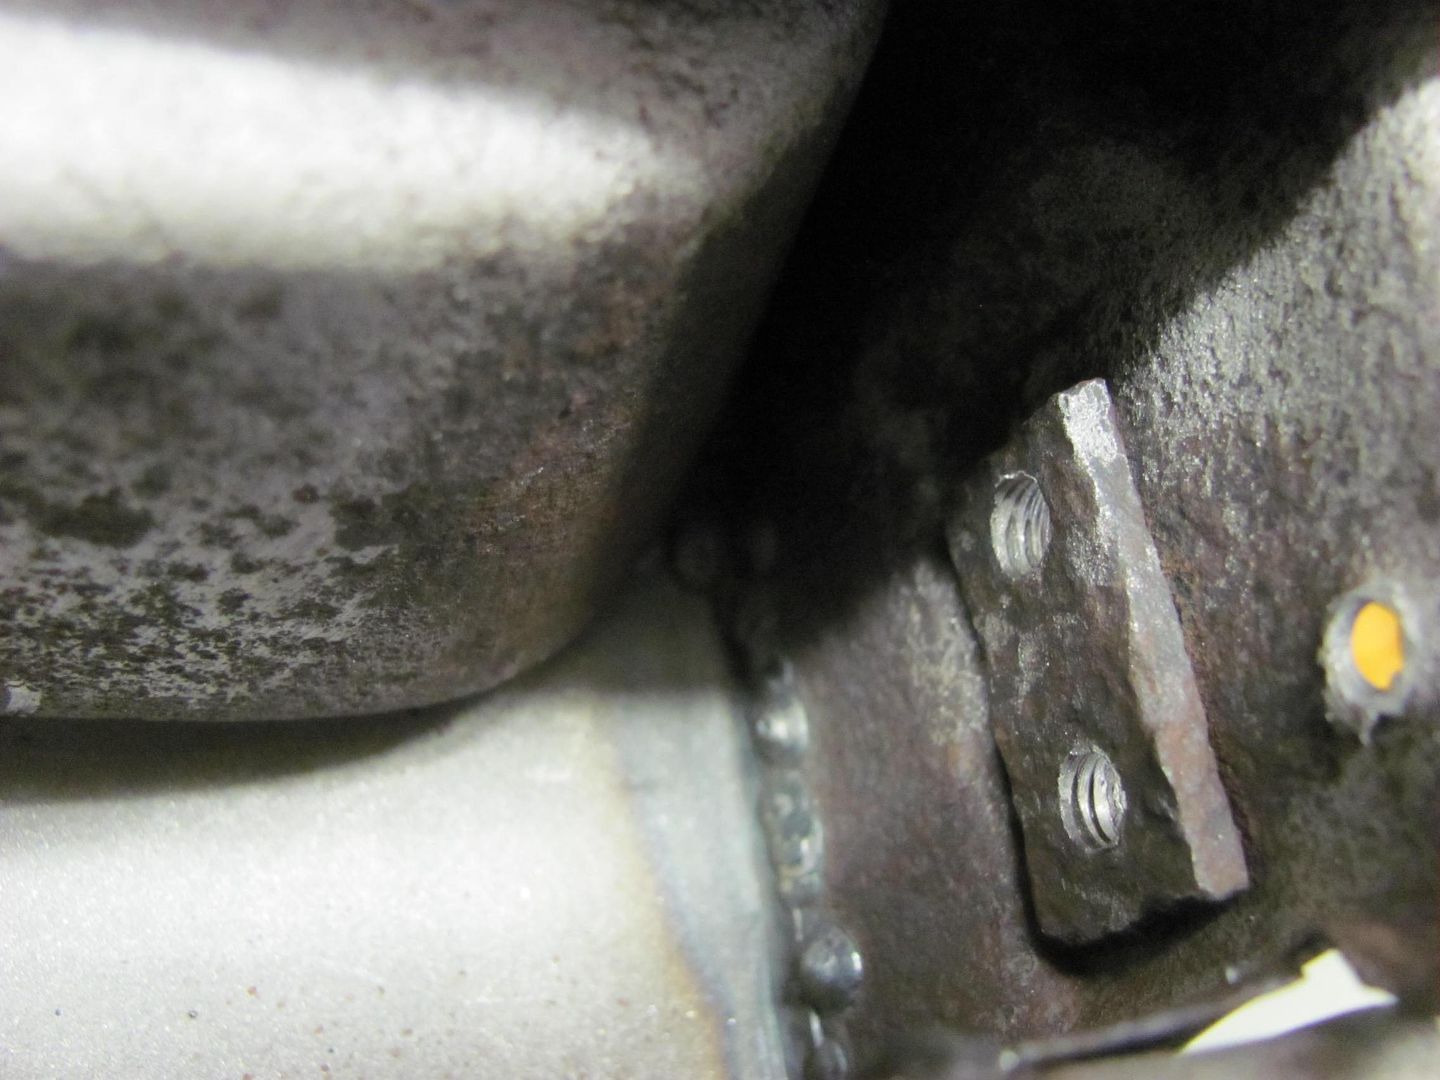
These hold the rubber bumpers on the bottom inside edge of the lift gate. The spot welds are drilled to release the nut plate..

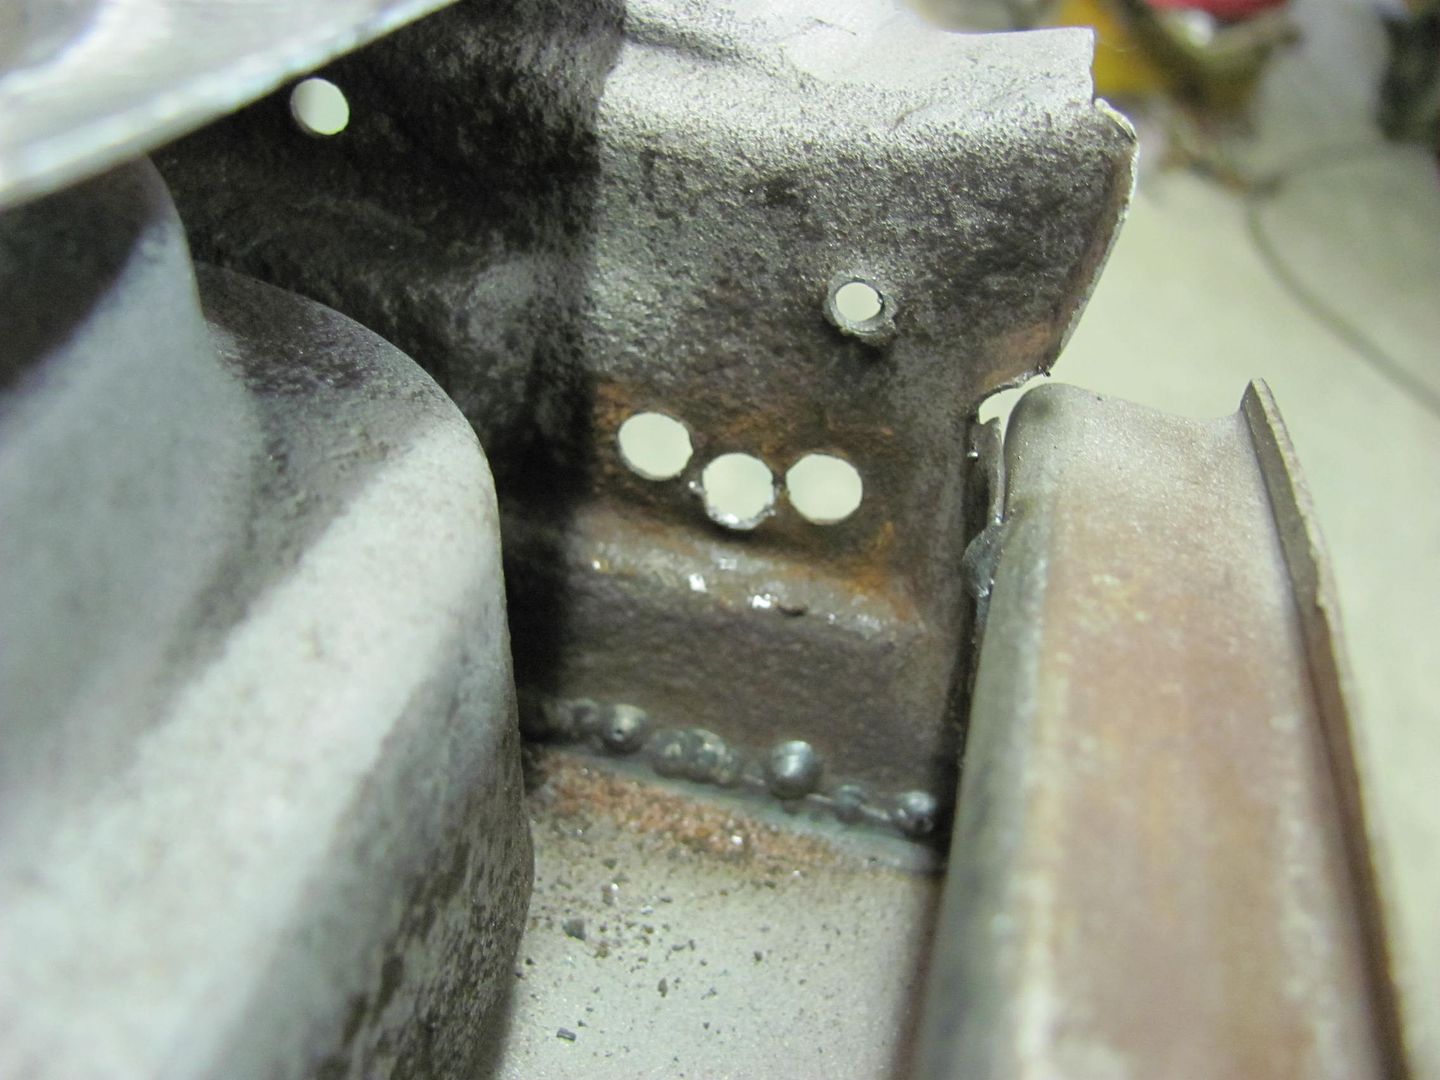
The new ones are cut out of some 10ga steel, holes drilled and tapped.

yeah, these threads look much better....
Where I normally use a couple screws to hold nut plates in place for welding, with the close proximity of the plug weld hole the screw heads would obscure some of the hole, and we would undoubtedly be welding in the screw heads for difficult removal. For this case, we'll use some brass tubing as a spacer. Since the tubing I picked up passes though the screw holes, a sacrificial lock washer is used for it's minimal diameter.
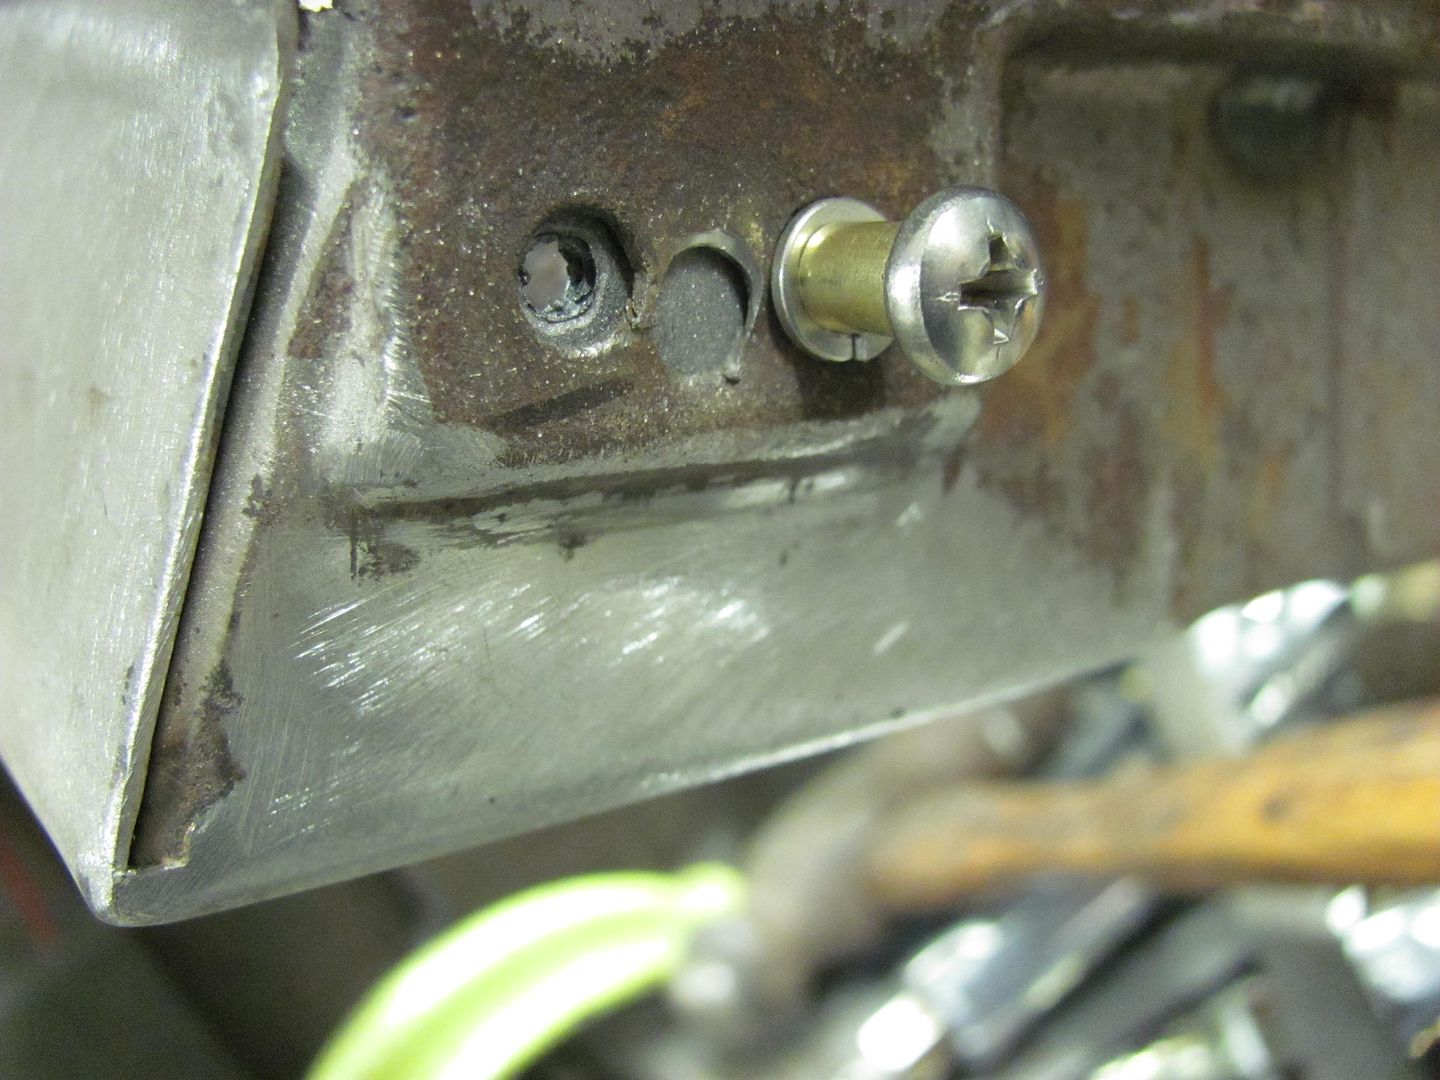
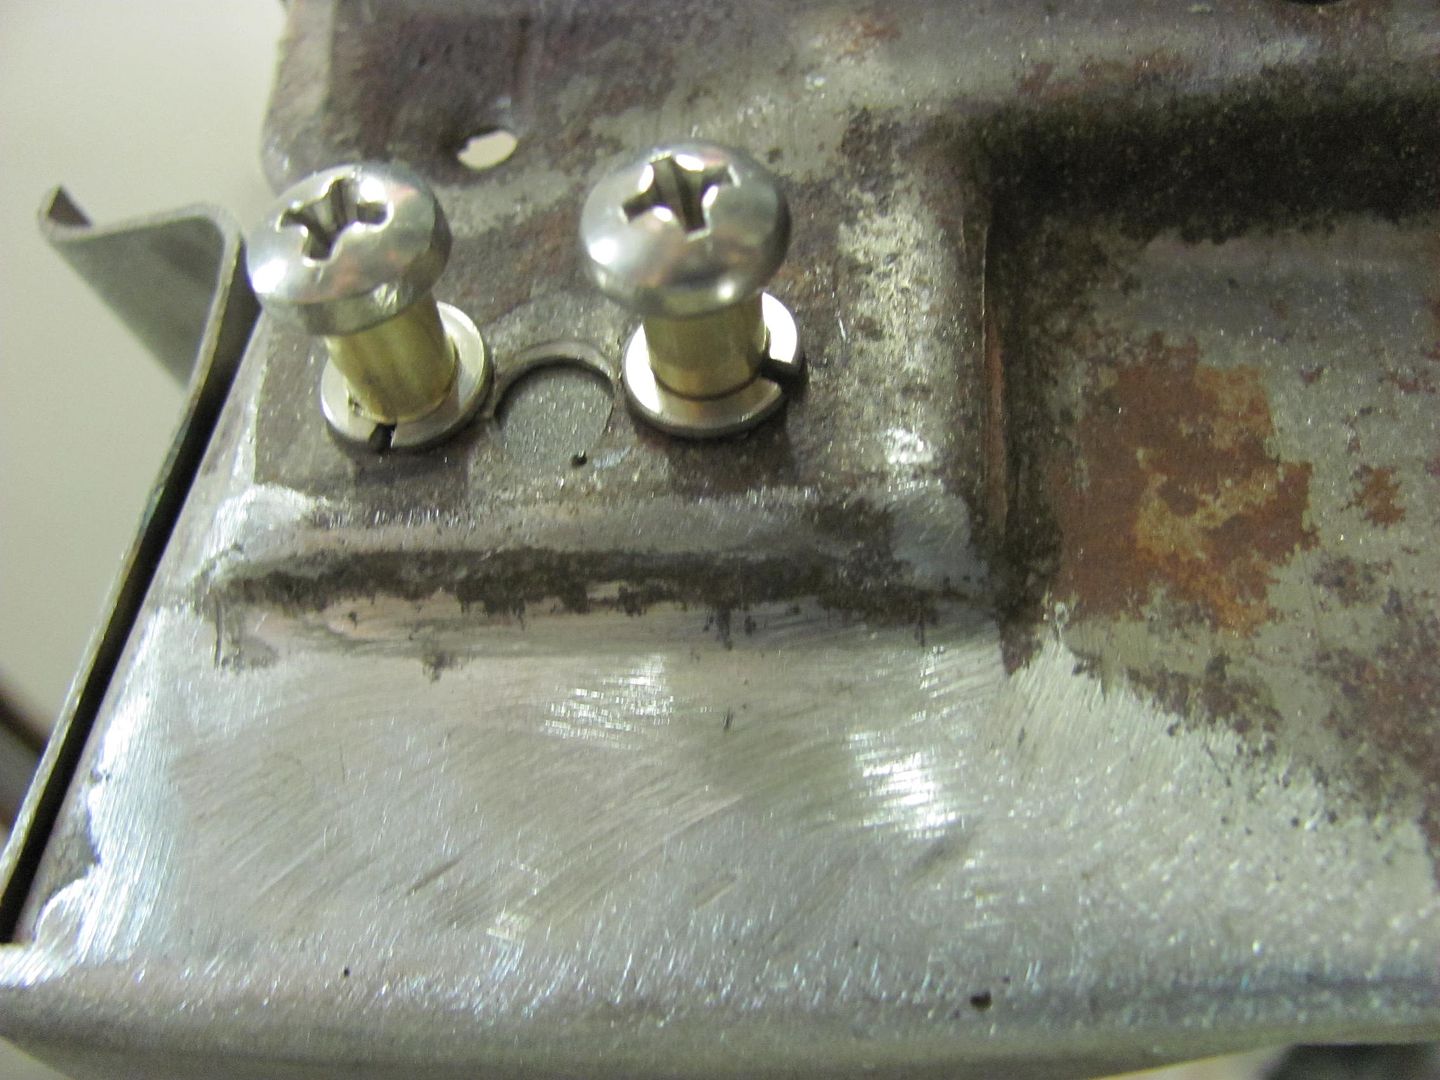
A dab of anti sieze is placed on the screw threads to insure they don't get welded in place from arcing across the threads.. Plug welded, and screws removed.
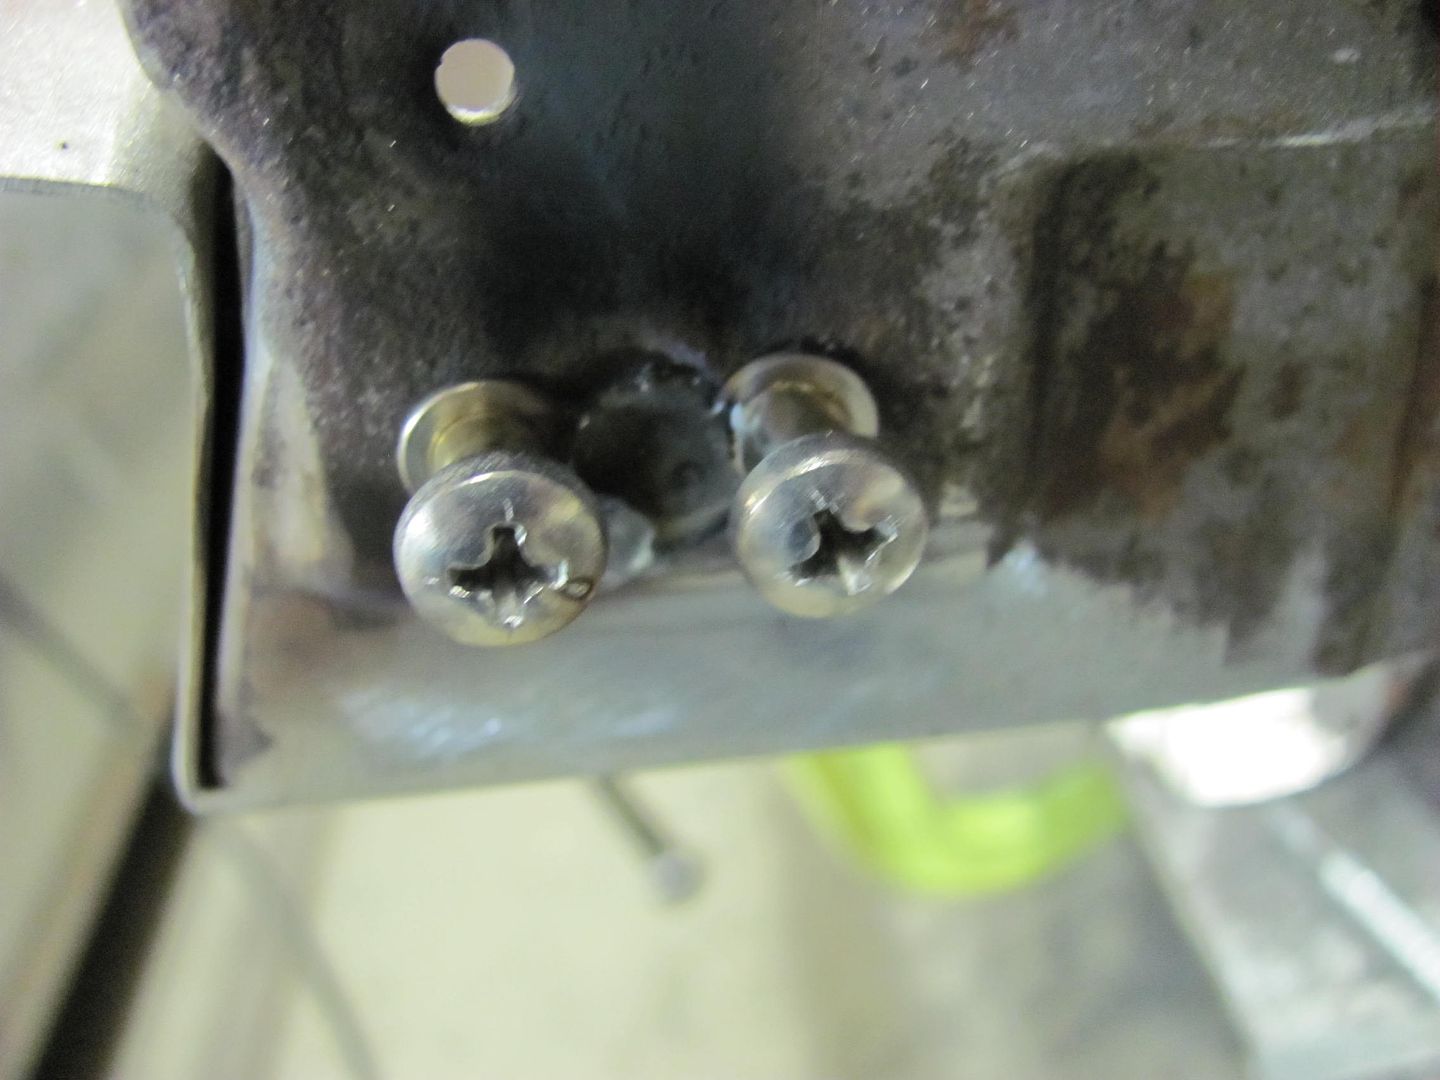
Lock washers removed and plug welds ground flush....
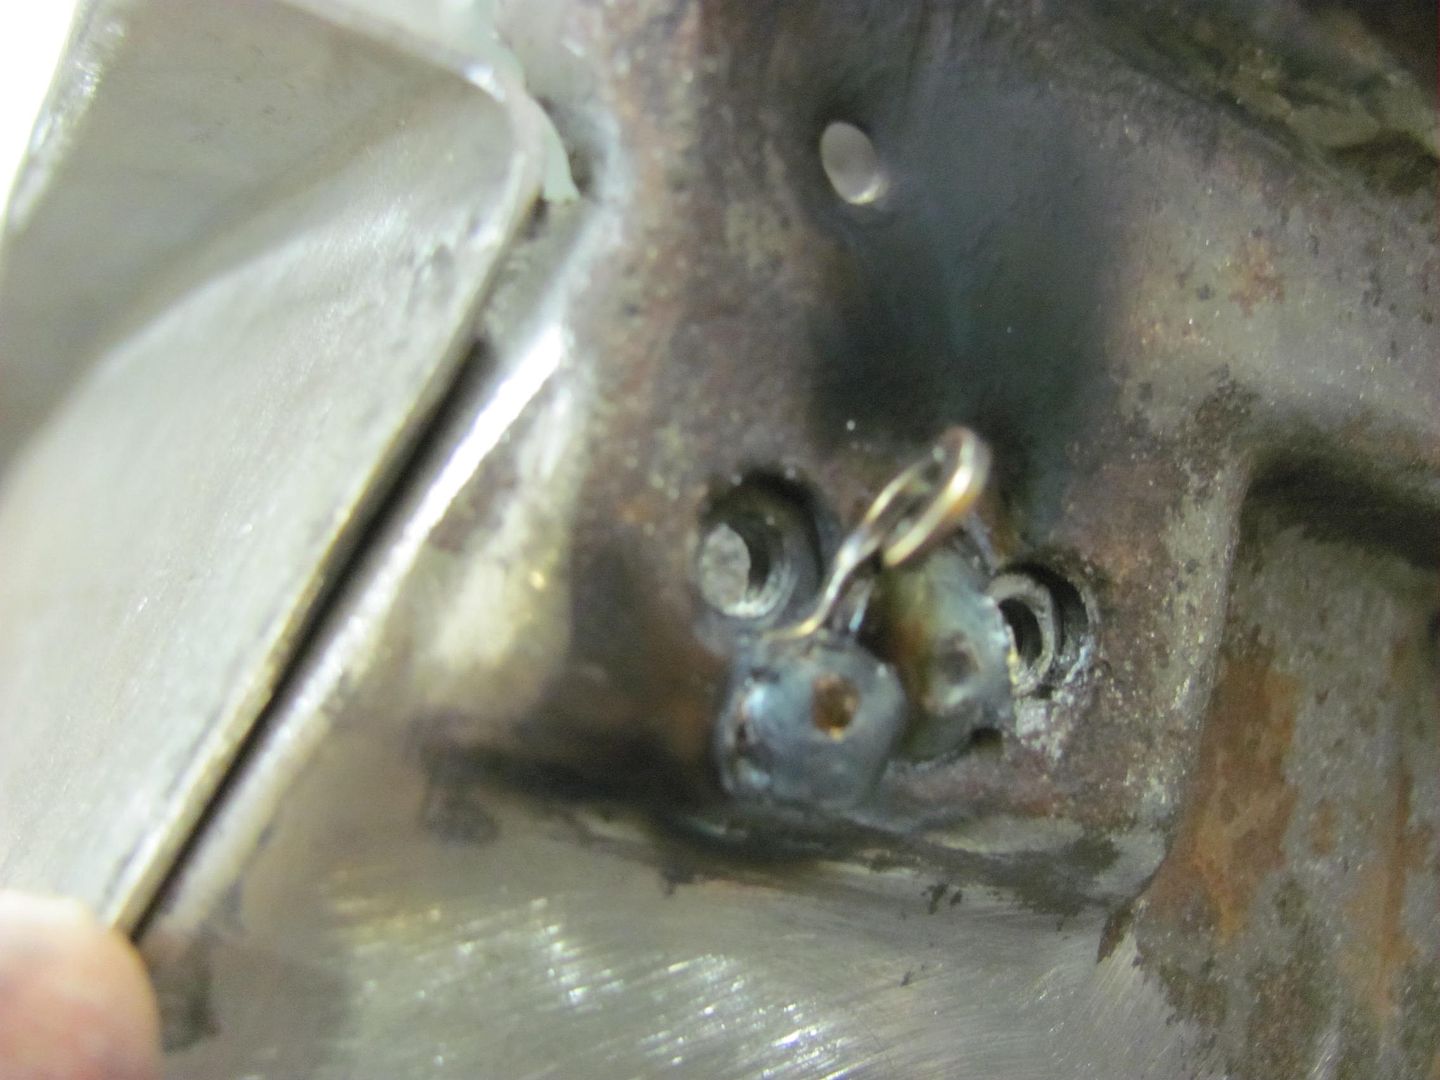

And now we can finish up the media blasting....

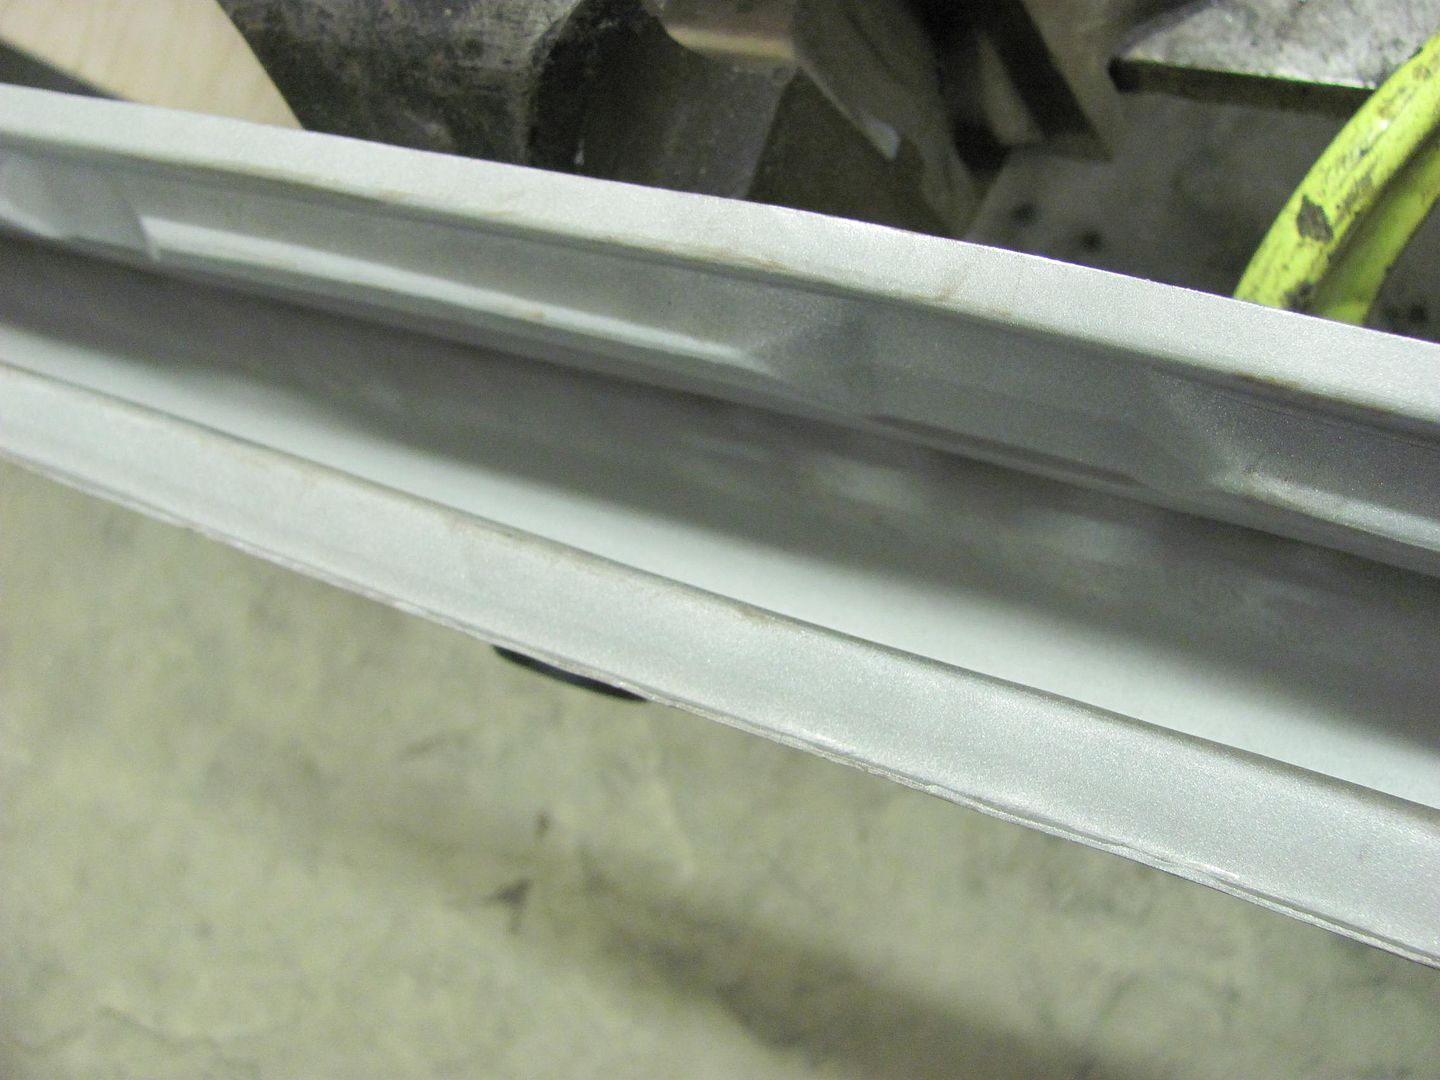
Robert


 3390Likes

 LinkBack URL
 About LinkBacks
 Reply With Quote


Thanks for the happy birthday wishes, so far 50 feels a lot like 49 LOL
Happy Birthday 53Chevy5