Welcome to Club Hot Rod!  The premier site for everything to do with Hot Rod, Customs, Low Riders, Rat Rods, and more. 

  •  » Members from all over the US and the world!
  •  » Help from all over the world for your questions
  •  » Build logs for you and all members
  •  » Blogs
  •  » Image Gallery
  •  » Many thousands of members and hundreds of thousands of posts! 

YES! I want to register an account for free right now!  p.s.: For registered members this ad will NOT show

 
Like Tree3362Likes

Thread: 55 Wagon Progress


Reply To Thread
Page 97 of 124 FirstFirst ... 47 87 89 90 91 92 93 94 95 96 97 98 99 100 101 102 103 104 105 107 ... LastLast
Results 1,441 to 1,455 of 1853
  1. #1441
    MP&C's Avatar
    MP&C is offline CHR Member Visit my Photo Gallery
    Join Date
    Jun 2008
    Location
    Leonardtown
    Car Year, Make, Model: Walking
    Posts
    1,224

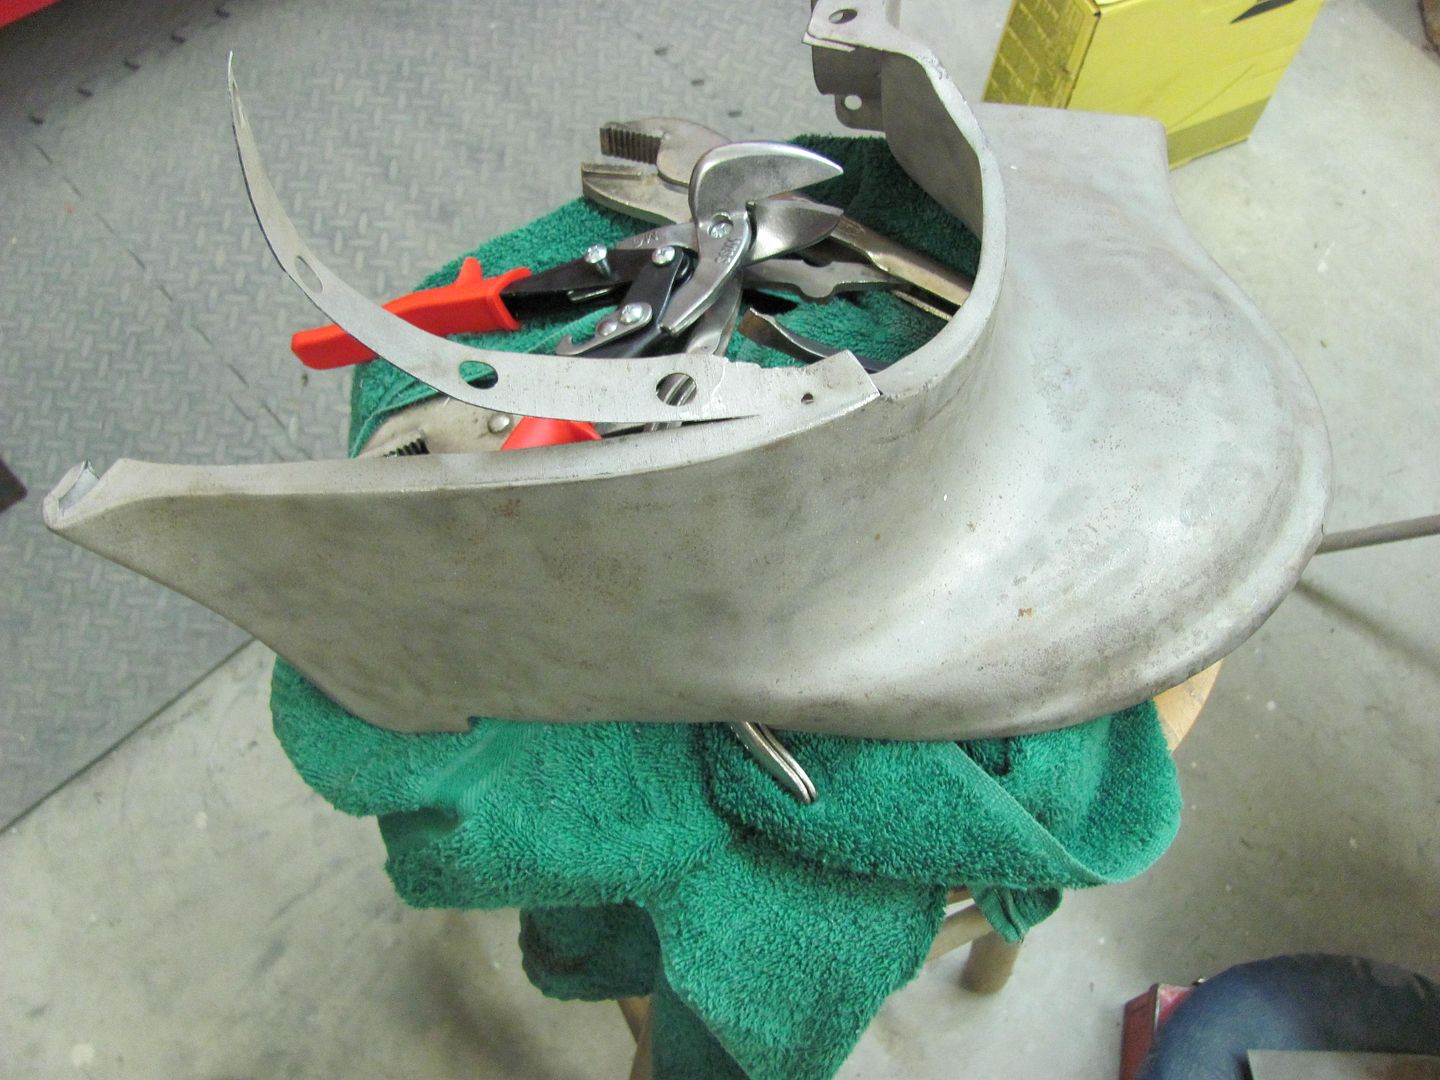
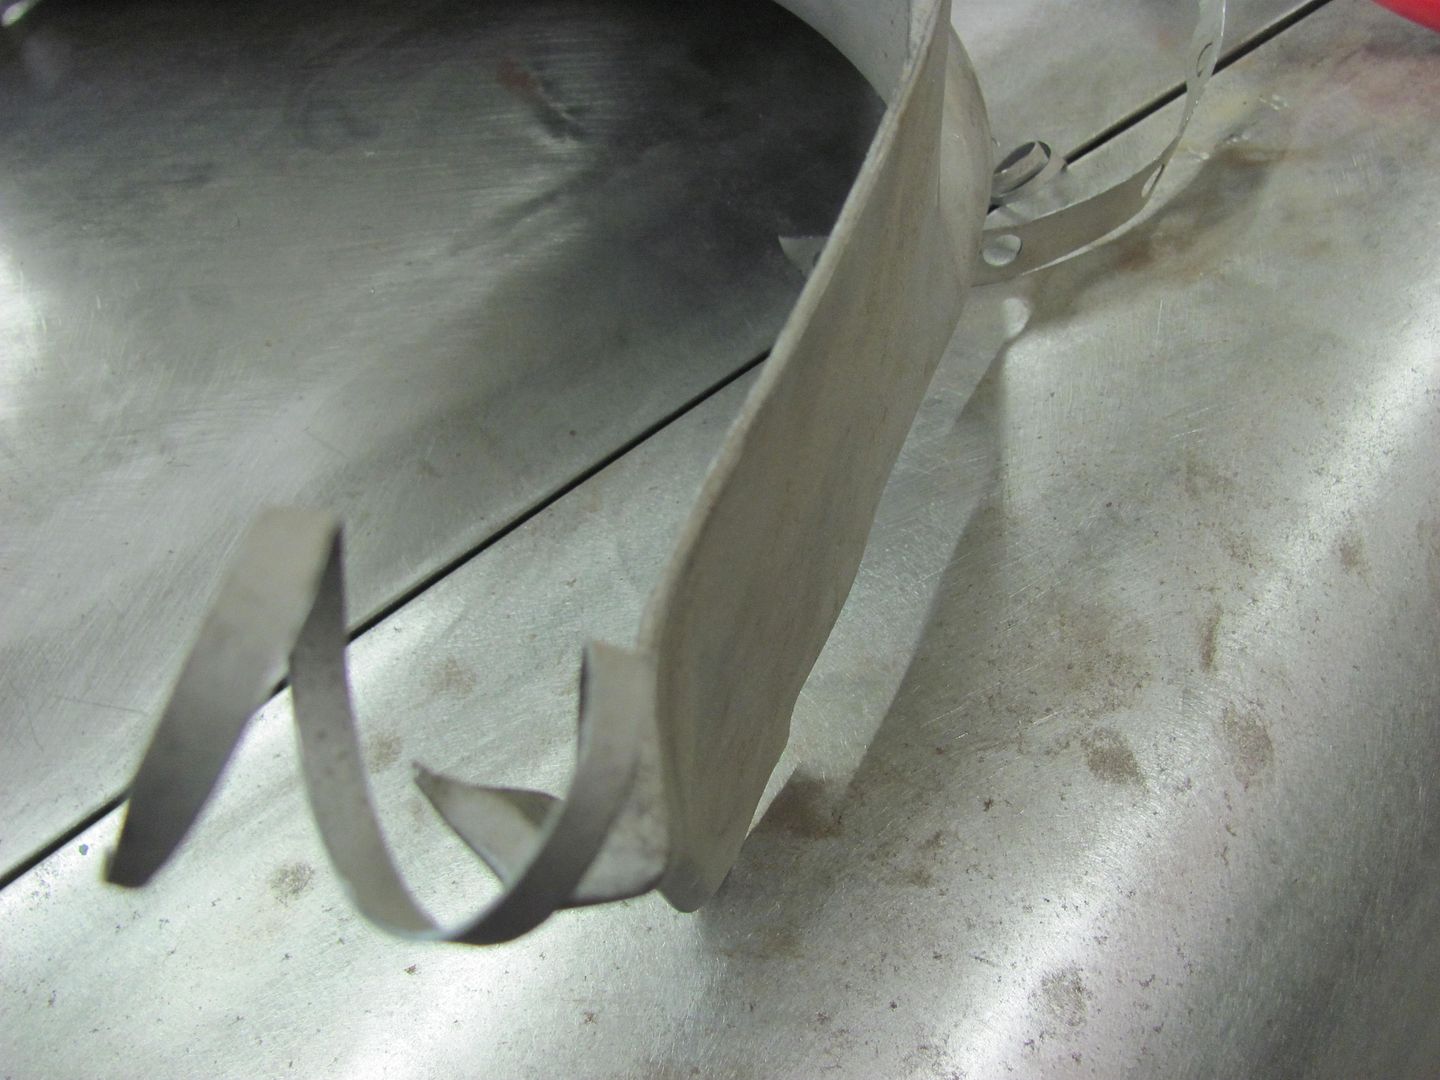
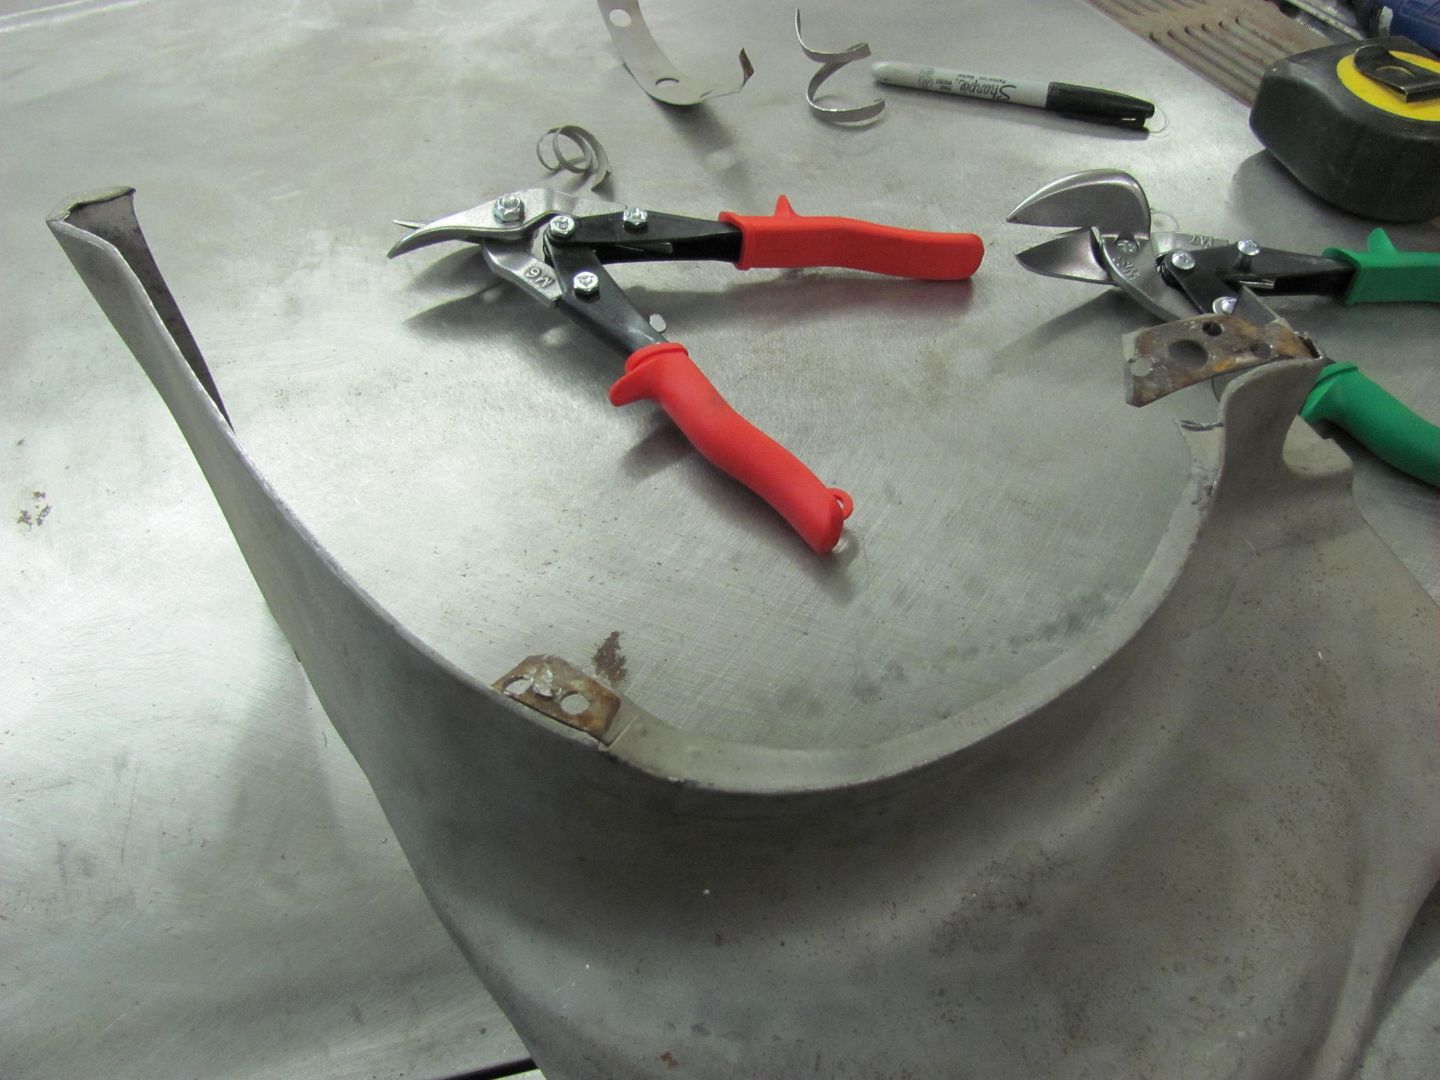
    Now to get our outer patch fabricated.. The corner is going to need a GRUNCH of shrinking.. We started on the Baileigh, but the dies are only going to get us so far. So some tuck shrinking with some heat for persuasion was used..


    A tipping wheel in the bead roller was used to mark our bend line, and an upper press brake die used as an anvil to hammer the flanges over..


    Some hammer action to stretch the corner flange so it will tip the full 90*


    https://www.youtube.com/watch?v=_FEIEQoGzdg


    I missed some in process pictures here, but various hammers, anvils, punches, and other implements of destruction were employed to give us our basic shape...


    After a bit of fine tuning, it is trimmed and fitted into the A Pillar...


    https://www.youtube.com/watch?v=HCDRj5uOU3s


    and the windshield stainless is test fit for good measure..


    The finished piece is media blasted (Barton Garnet) so the SPI epoxy primer will have a good bite. The inside is primed as a bit more preventative measure over factory....


    The flange is quite small compared to what we normally plug weld, so we opted for a .169 drill bit to keep the heat away from the edge...


    In order to clean he primer out the inside of our plug weld holes, we flattened and backfaced our drill bit to mimic an end mill....


    Does a good job of giving us nice clean metal for a good weld..


    much better....


    https://www.youtube.com/watch?v=T8ajeDMzOJ0


    .
    Mike P, NTFDAY, cffisher and 6 others like this.
    Robert

  2. #1442
    firebird77clone's Avatar
    firebird77clone is offline CHR Member Visit my Photo Gallery
    Join Date
    Sep 2005
    Location
    Hamilton
    Car Year, Make, Model: 69 nomad, 73 charger, 74 vega
    Posts
    3,900

    I hadn't seen that particular drill bit mod before, thanks!
    MP&C likes this.
    .
    Education is expensive. Keep that in mind, and you'll never be terribly upset when a project goes awry.
    EG

  3. #1443
    johnboy is offline CHR Member Visit my Photo Gallery
    Join Date
    May 2005
    Location
    Tataraimaka NZ
    Car Year, Make, Model: `47 Ford sedan, A.C.Cobra replica.
    Posts
    2,866

    Neither have I!
    That's just so simple and clever.

    I enjoy this site; the knowledge on here is amazing.
    MP&C likes this.
    johnboy
    Mountain man. (Retired.)
    Some mistakes are too much fun to be made only once.
    I don't know everything about anything, and I don't know anything about lots of things.

    '47 Ford sedan. 350 -- 350, Jaguar irs + ifs.
    '49 Morris Minor. Datsun 1500cc, 5sp manual, Marina front axle, Nissan rear axle.
    '51 Ford school bus. Chev 400 ci Vortec 5 sp manual + Gearvendors 2sp, 2000 Chev lwb dually chassis and axles.
    '64 A.C. Cobra replica. Ford 429, C6 auto, Torana ifs, Jaguar irs.

  4. #1444
    v8nutz's Avatar
    v8nutz is offline CHR Member Visit my Photo Gallery
    Join Date
    Nov 2016
    Location
    rocklin
    Posts
    639

    I could have used that trick replacing my floor and cab corners, nice.
    MP&C likes this.

  5. #1445
    40FordDeluxe's Avatar
    40FordDeluxe is offline CHR Member Visit my Photo Gallery
    Join Date
    Apr 2011
    Location
    Prairie City
    Car Year, Make, Model: 40 Ford Deluxe, 68 Corvette, 72&76 K30
    Posts
    7,297
    Blog Entries
    1

    That is slick!
    MP&C likes this.
    Ryan
    1940 Ford Deluxe Tudor 354 Hemi 46RH Electric Blue w/multi-color flames, Ford 9" Residing in multiple pieces
    1968 Corvette Coupe 5.9 Cummins Drag Car 11.43@130mph No stall leaving the line with 1250 rpm's and poor 2.2 60'
    1972 Chevy K30 Longhorn P-pumped 24v Compound Turbos 47RH Just another money pit
    1971 Camaro RS 5.3 BTR Stage 3 cam, SuperT10
    Tire Sizes

  6. #1446
    MP&C's Avatar
    MP&C is offline CHR Member Visit my Photo Gallery
    Join Date
    Jun 2008
    Location
    Leonardtown
    Car Year, Make, Model: Walking
    Posts
    1,224

    Here's some of the forming process of our A-Pillar fabrication that I missed the other day. Did a couple time lapse videos, first shows the shrinking of the corner. The Vise Grip tucking tool, torch, and hammer is used to get the corner to come down about a 20* angle, then the two flanges were folded, which gives us one big tuck. At that point wide VEE is heated up and the high spots of the flange corner is hammered back into itself. Repeat for the next high spot, until the corner is folded where you want it.


    https://www.youtube.com/watch?v=jH6lybdj94A


    Here's the corner shrink complete...


    Then the barrel end hammer is used to make the joggle creases by using an upper die from our press brake as a post dolly. That’s the basic process.


    https://www.youtube.com/watch?v=-ZBpjeUw6us


    If you find the time lapse too fast, you can change playback speed on YouTube to slow things down a bit..
    .


    .
    40FordDeluxe likes this.
    Robert

  7. #1447
    40FordDeluxe's Avatar
    40FordDeluxe is offline CHR Member Visit my Photo Gallery
    Join Date
    Apr 2011
    Location
    Prairie City
    Car Year, Make, Model: 40 Ford Deluxe, 68 Corvette, 72&76 K30
    Posts
    7,297
    Blog Entries
    1

    Very nice work! You sure make it look easy. Hurry up with that 55 so I can send you a 29 Dodge door to repair for me.

    .
    MP&C likes this.
    Ryan
    1940 Ford Deluxe Tudor 354 Hemi 46RH Electric Blue w/multi-color flames, Ford 9" Residing in multiple pieces
    1968 Corvette Coupe 5.9 Cummins Drag Car 11.43@130mph No stall leaving the line with 1250 rpm's and poor 2.2 60'
    1972 Chevy K30 Longhorn P-pumped 24v Compound Turbos 47RH Just another money pit
    1971 Camaro RS 5.3 BTR Stage 3 cam, SuperT10
    Tire Sizes

  8. #1448
    MP&C's Avatar
    MP&C is offline CHR Member Visit my Photo Gallery
    Join Date
    Jun 2008
    Location
    Leonardtown
    Car Year, Make, Model: Walking
    Posts
    1,224

    Flattening and backfacing a drill bit to clean paint off the adjacent panel in a plug weld hole...


    https://youtu.be/aQyKbhd_qXM


    .
    40FordDeluxe likes this.
    Robert

  9. #1449
    MP&C's Avatar
    MP&C is offline CHR Member Visit my Photo Gallery
    Join Date
    Jun 2008
    Location
    Leonardtown
    Car Year, Make, Model: Walking
    Posts
    1,224

    Today we worked on some rust prevention up inside the roof. This is between the roof skin and the perimeter structure just above the windows.


    The car was rolled on it's side and SPI epoxy poured into the area, acid brush was used to cover everything we could..


    Once the entire passenger side had been flooded around to the liftgate hinge, we rolled the car right side up again. It wasn't long that we had paint dripping on the top of the rocker panel.. It was running down inside the A Pillar and running out the bottom of the dogleg. This is a good indicator of exactly where the roof condensation runs to when it reaches the A Pillar, and why we had rust issues there.


    Here's a picture of when we opened the roof for rust repair, showing what the condensation did for us..


    So our primer is sealing the joint between the roof skin and the structure.. We found an opening above the windshield that would help us to flood the front seam....


    We opened up an acid brush to form a funnel, and poured SPI Epoxy in the area..


    A puddle out of the A Pillar dogleg shows we have good flow through the windshield...


    To insure everything was covered above the windshield header, we joined two acid brushes for an extended reach over the header, and bent to match the roof skin profile....


    NTFDAY, cffisher and 40FordDeluxe like this.
    Robert

  10. #1450
    40FordDeluxe's Avatar
    40FordDeluxe is offline CHR Member Visit my Photo Gallery
    Join Date
    Apr 2011
    Location
    Prairie City
    Car Year, Make, Model: 40 Ford Deluxe, 68 Corvette, 72&76 K30
    Posts
    7,297
    Blog Entries
    1

    I'd say you're going to have one of the best sealed 55's on the planet. Very nice work!
    MP&C likes this.
    Ryan
    1940 Ford Deluxe Tudor 354 Hemi 46RH Electric Blue w/multi-color flames, Ford 9" Residing in multiple pieces
    1968 Corvette Coupe 5.9 Cummins Drag Car 11.43@130mph No stall leaving the line with 1250 rpm's and poor 2.2 60'
    1972 Chevy K30 Longhorn P-pumped 24v Compound Turbos 47RH Just another money pit
    1971 Camaro RS 5.3 BTR Stage 3 cam, SuperT10
    Tire Sizes

  11. #1451
    MP&C's Avatar
    MP&C is offline CHR Member Visit my Photo Gallery
    Join Date
    Jun 2008
    Location
    Leonardtown
    Car Year, Make, Model: Walking
    Posts
    1,224

    Progress this weekend, We had originally left the factory jute insulation under the roof supports, thinking we could just butt up to it with the new stuff. After installing the Noico inside the doors, I guess my OCD wasn't about to leave the old stuff in the roof. So the bottom edge of the roof supports were scribed on the driver's side for relocation purposes, de-spot welded, and pulled downward enough to scrape off the old jute..


    https://www.youtube.com/watch?v=ZOj1...ature=youtu.be


    The bare area is then scuffed with 80 grit and two coats of SPI epoxy primer applied.. After that sets up we applied the Noico sound deadening mat to the inside of the roof skin. Then the roof supports are aligned with our scribed marks and plug welded in place..


    Mike has been plugging along on the Drummers Lounge sign, the arrow is close to done, it still needs fastening hardware added for the access panels, and holes added for the lights..


    Last edited by MP&C; 10-06-2019 at 08:49 PM.
    Mike P, NTFDAY and 40FordDeluxe like this.
    Robert

  12. #1452
    randyr's Avatar
    randyr is offline CHR Member Visit my Photo Gallery
    Join Date
    Feb 2007
    Location
    Santa Monica
    Car Year, Make, Model: 37 Ford tudor humpback
    Posts
    1,988

    37 Chevy Fender...repair find another?


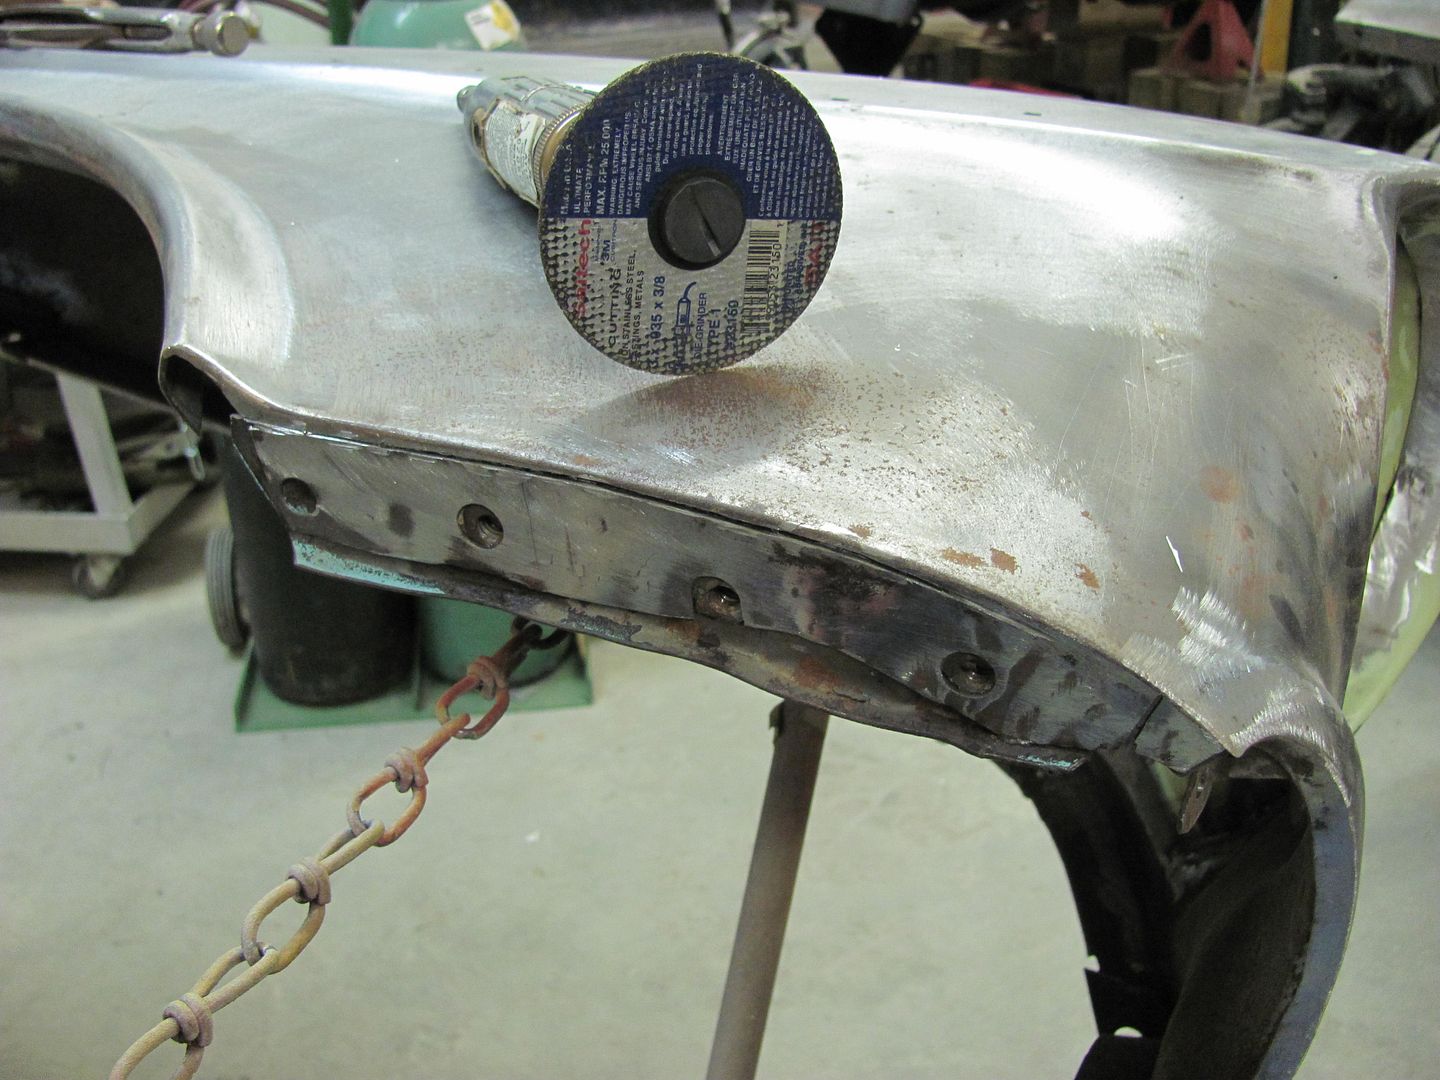
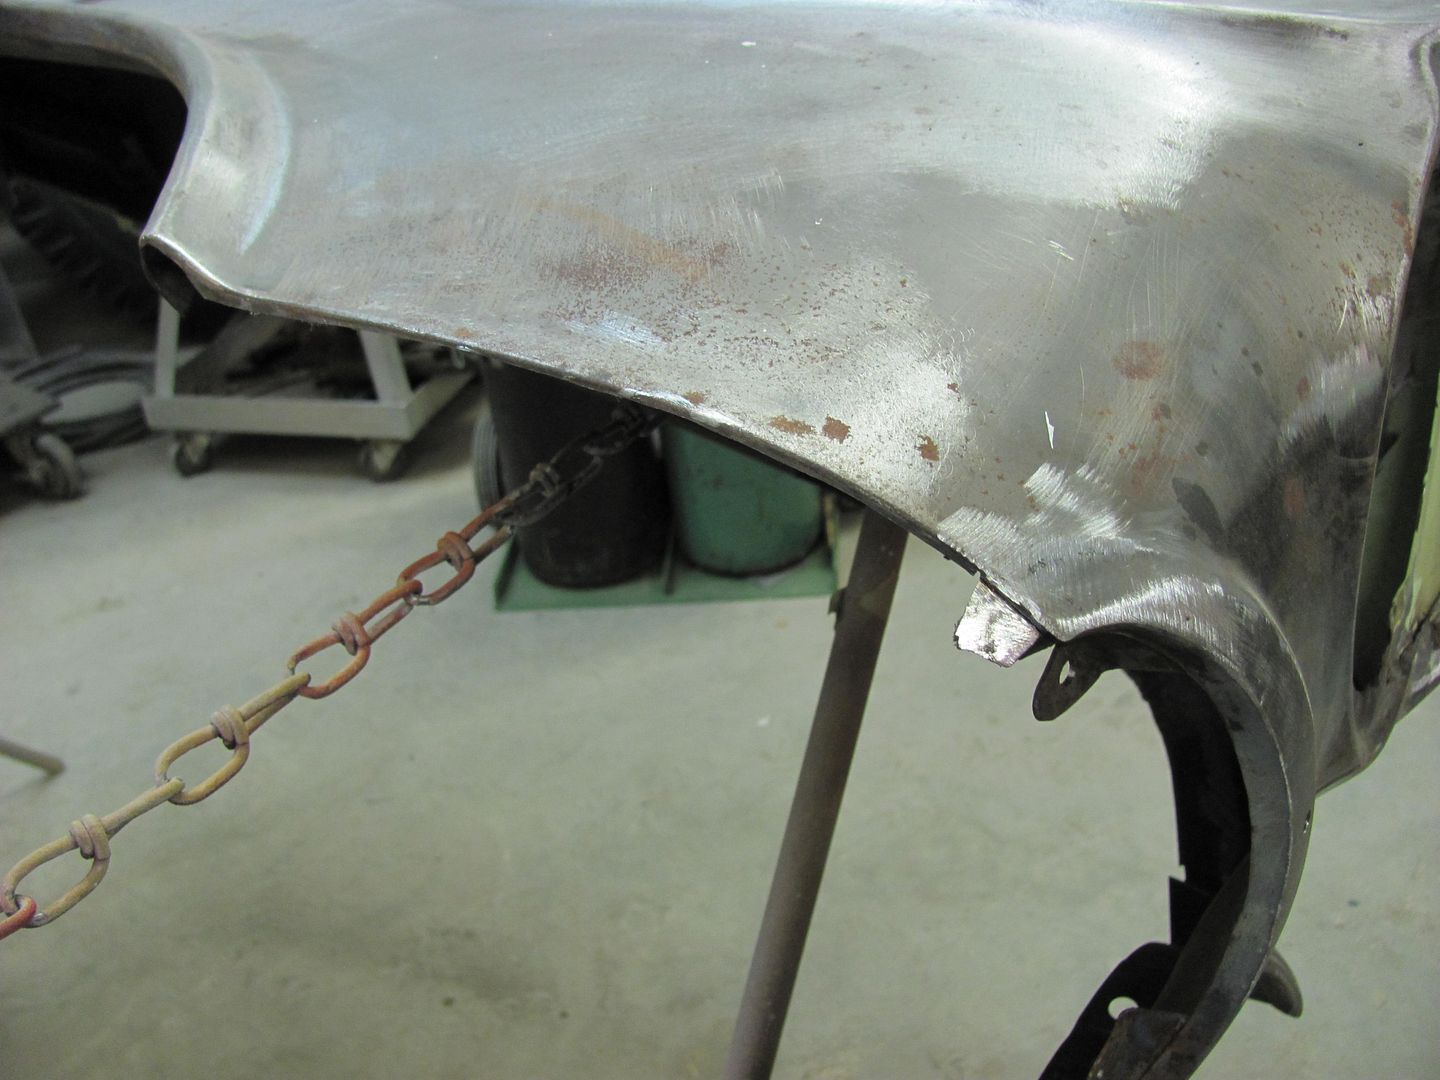
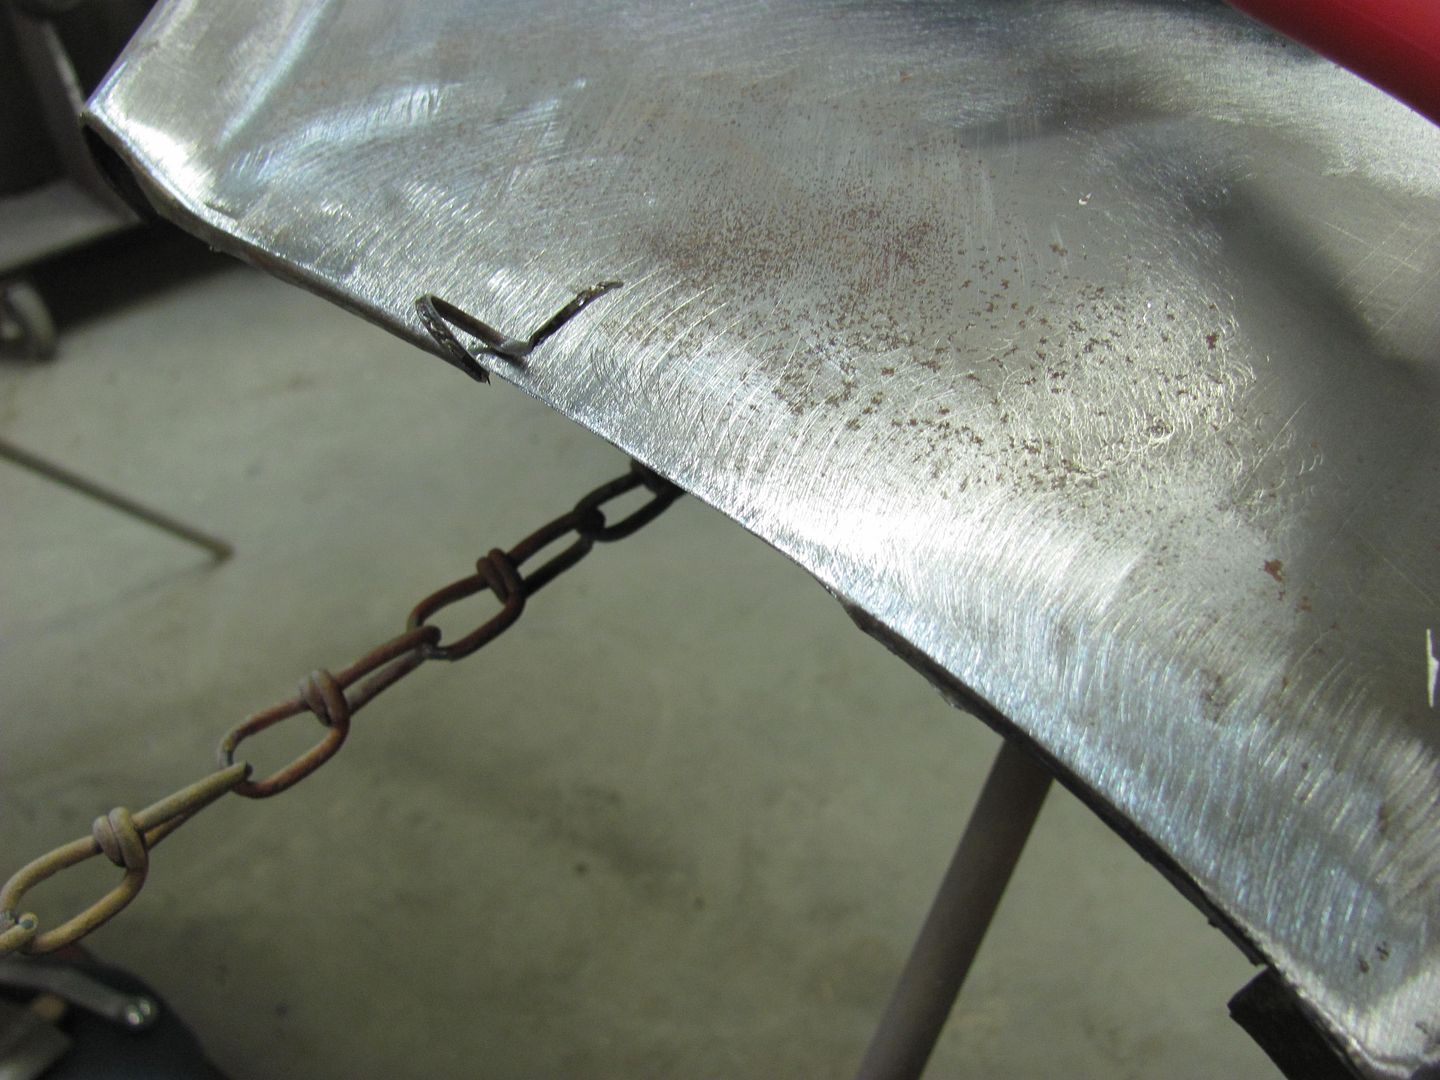
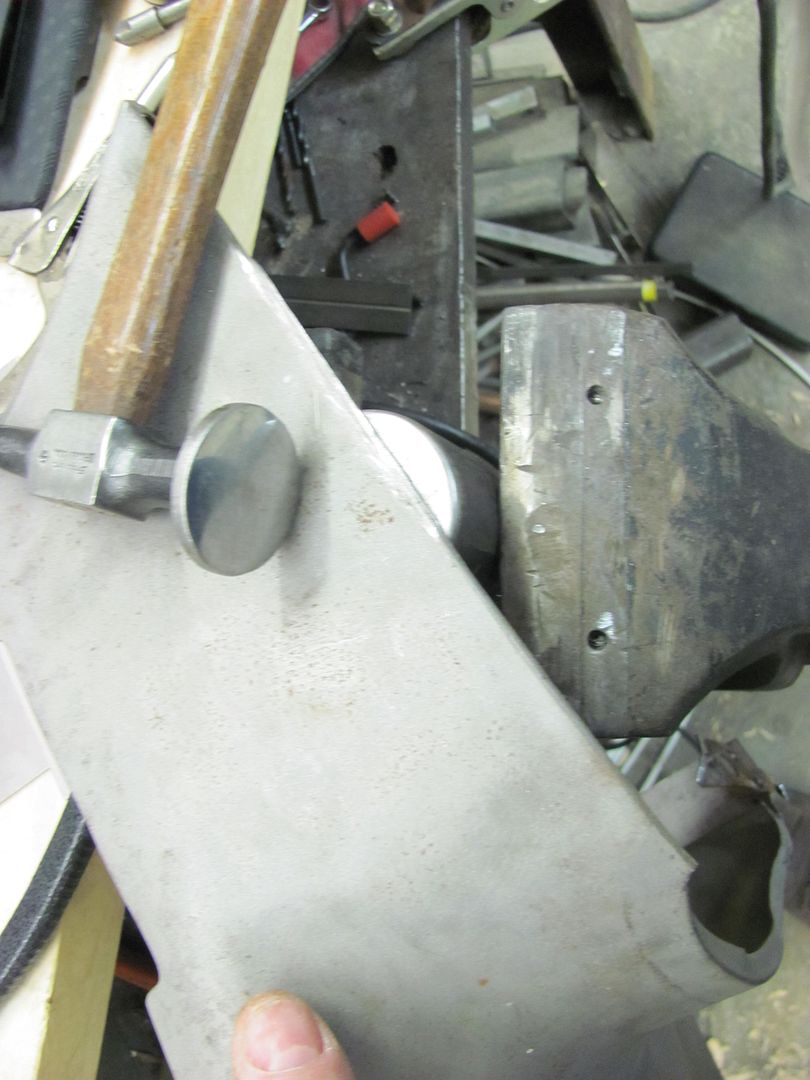
    Hey Robert, I have a question for you if you don't mind...pictures is the right front fender of a 37 Chevy pickup that got smacked in the front. I'm curious if this was yours, would you repair it or try to find another one? If you say repair it, what process would you use to straighten it? This truck belongs to a buddy of mine and we're trying to decide if we're up to the challenge...LOL!!! Thanks in advance for your opinion and for sharing all the amazing work you do! You inspire me every time I scroll this thread!!!
    Randy
    Attached Images
    "It is not much good thinking of a thing unless you think it out." - H.G. Wells

  13. #1453
    MP&C's Avatar
    MP&C is offline CHR Member Visit my Photo Gallery
    Join Date
    Jun 2008
    Location
    Leonardtown
    Car Year, Make, Model: Walking
    Posts
    1,224

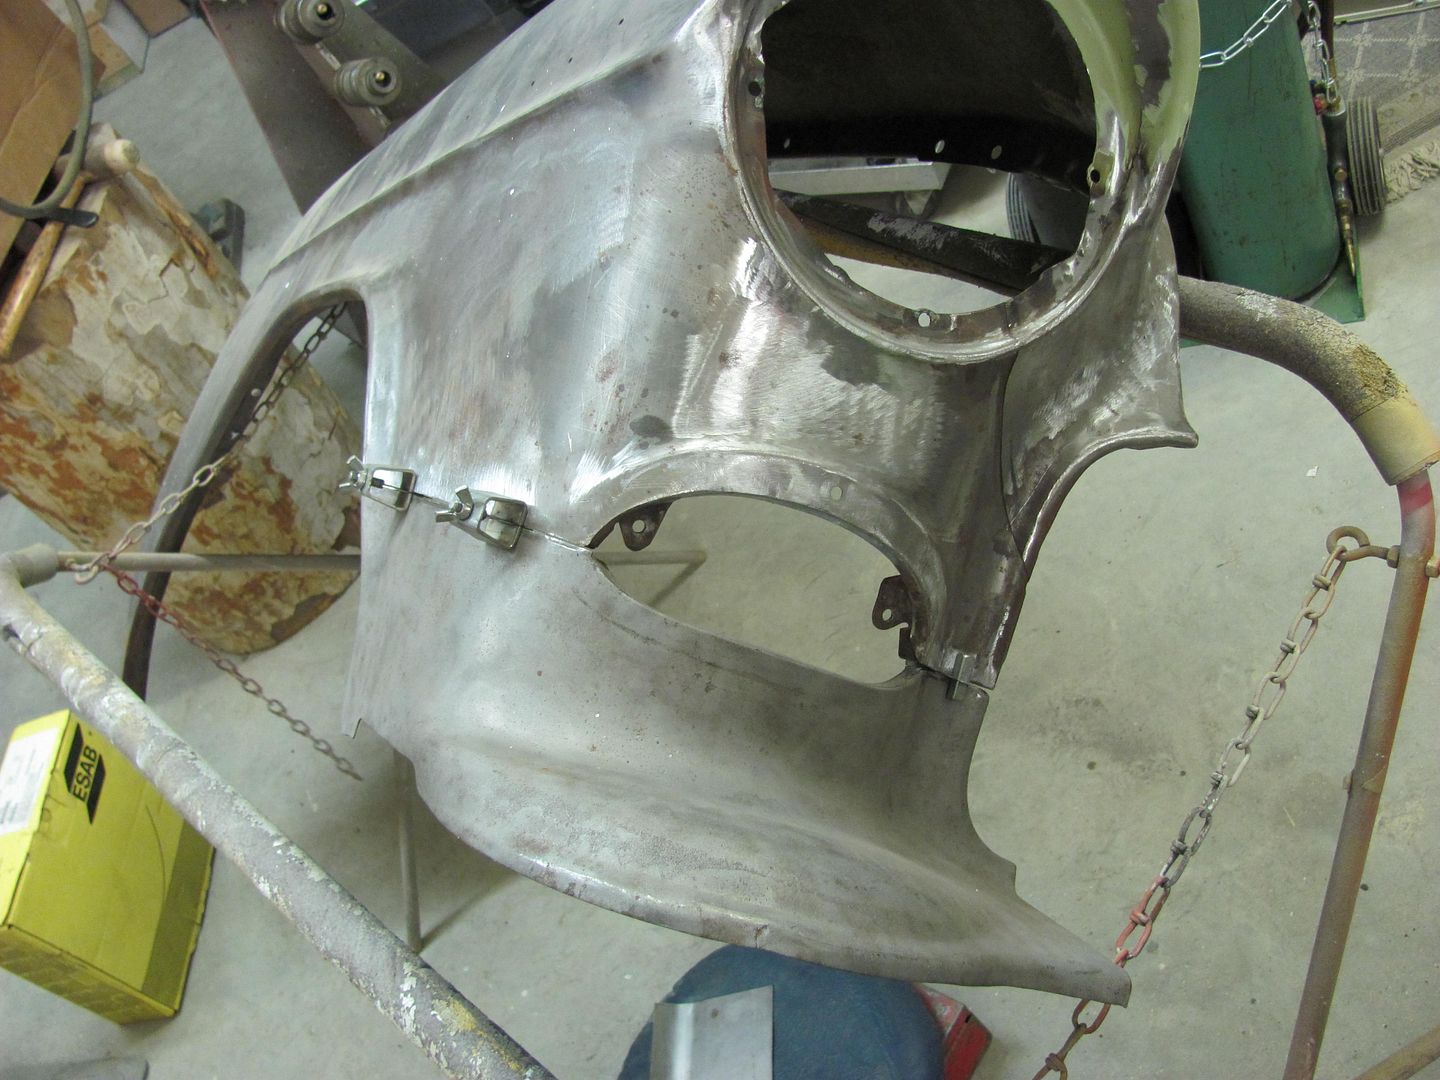
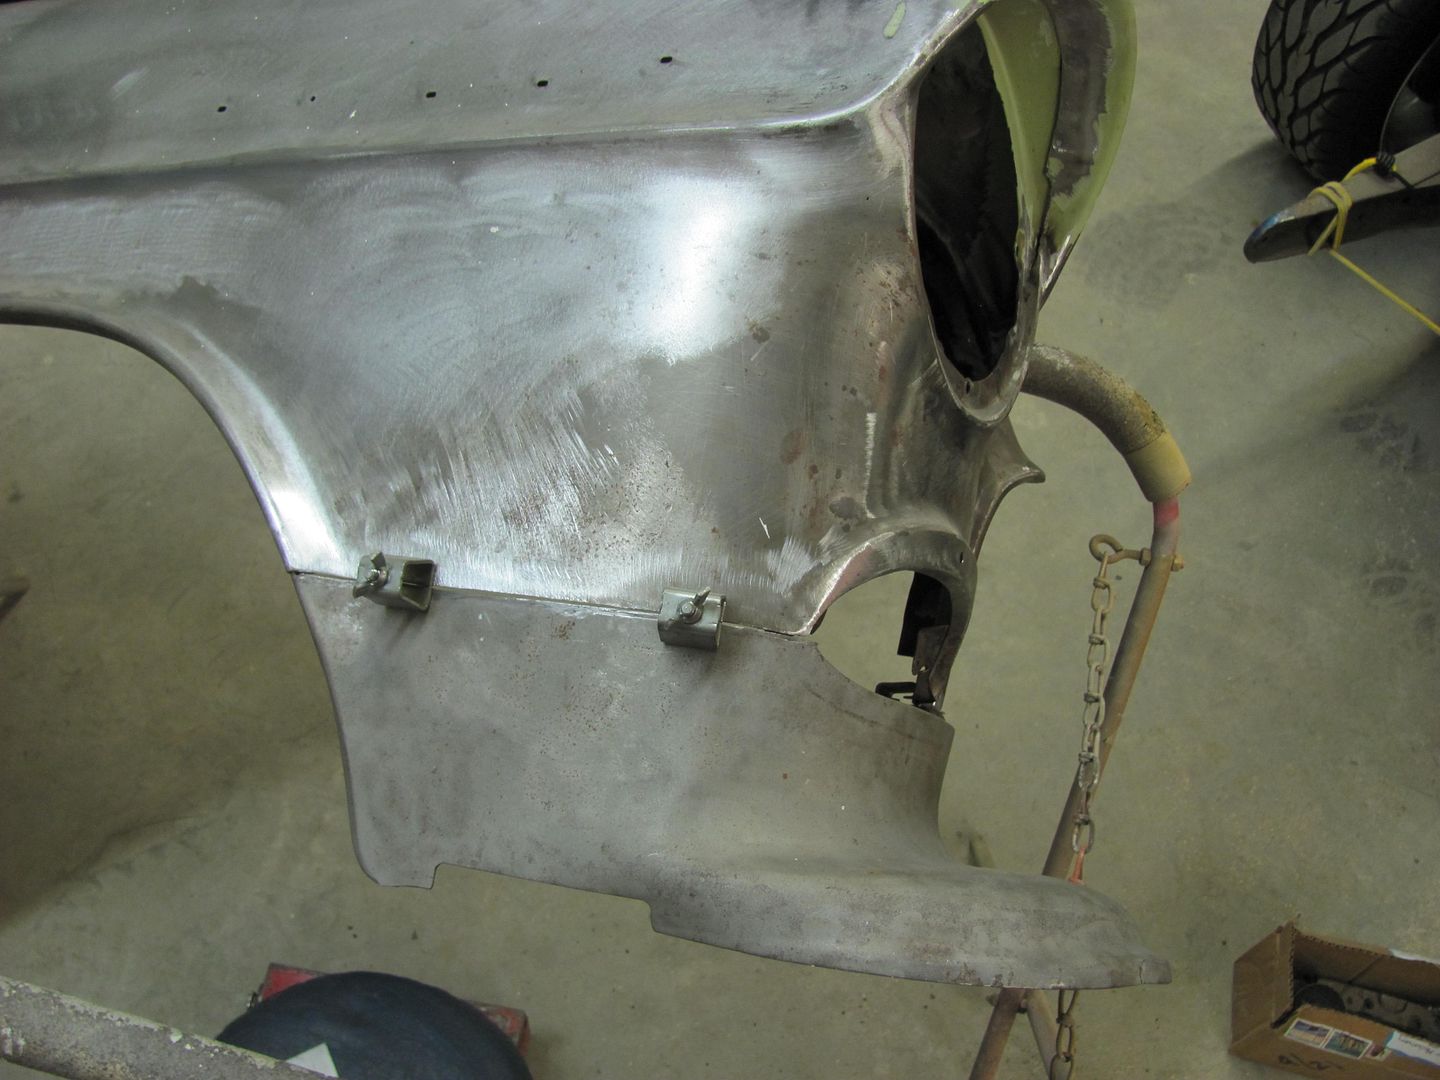
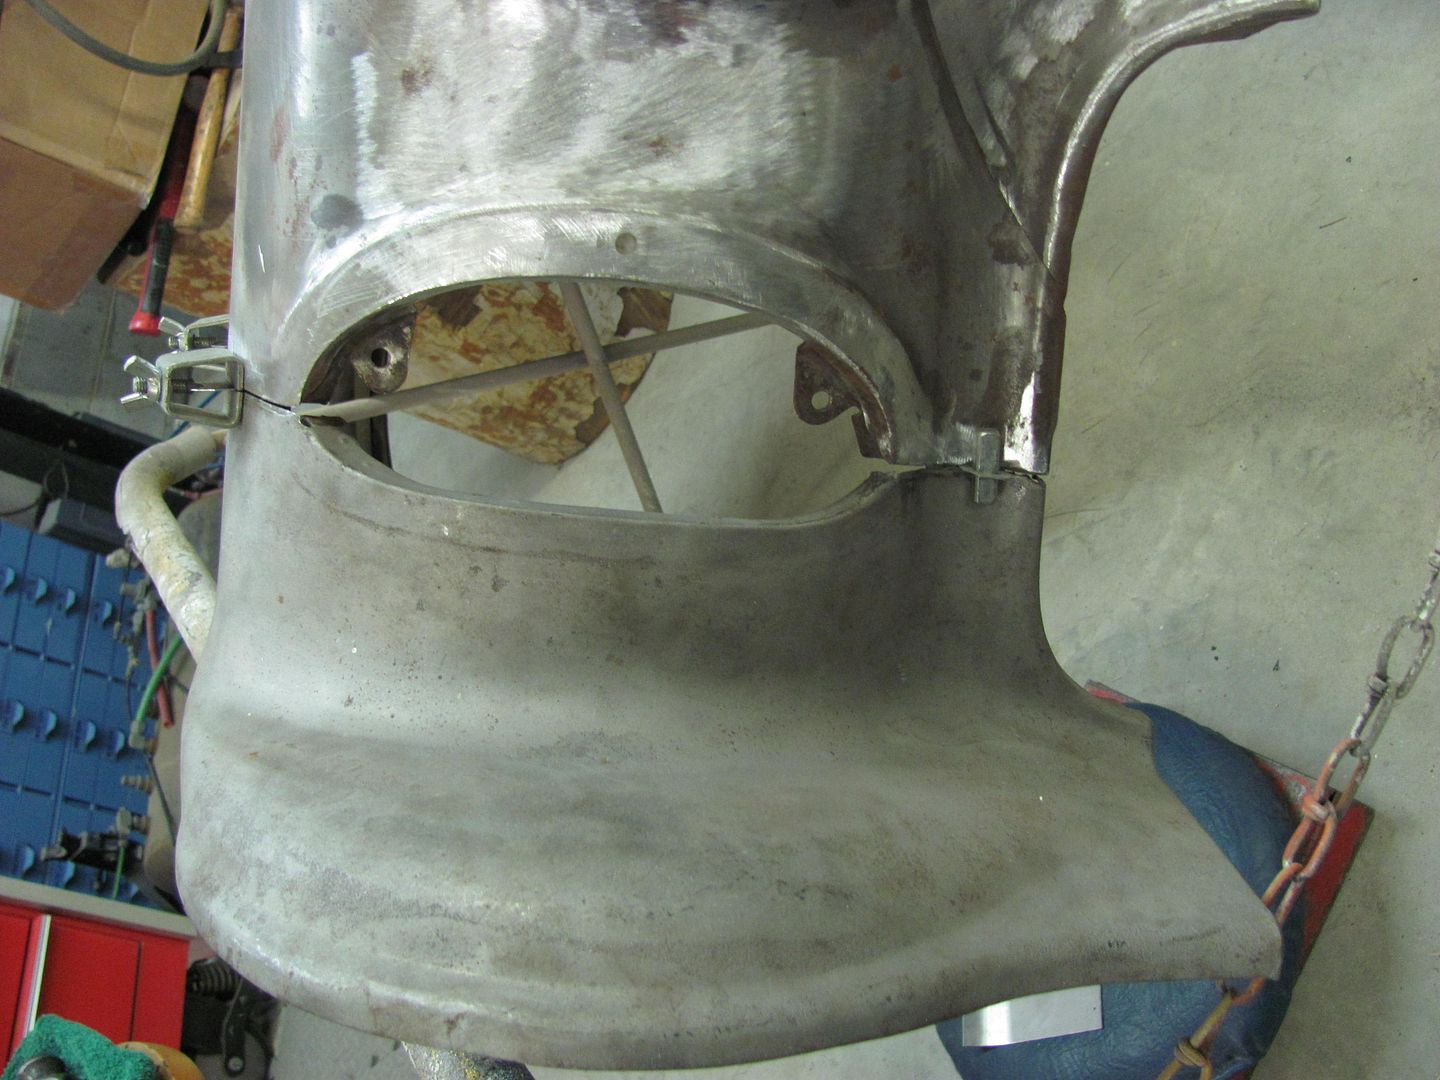
    The fender looks to have a bit of filler but also appears to be fairly solid (subject to verification). Take a look at this post by John Glenn from Anderson SC. (he was at my shop a couple weeks ago) This is a 39 Ford that had deer damage.

    The 1947 - Present Chevrolet & GMC Truck Message Board Network - View Single Post - 1966 F100 Short Bed Styleside Metal/Body/Paint Work


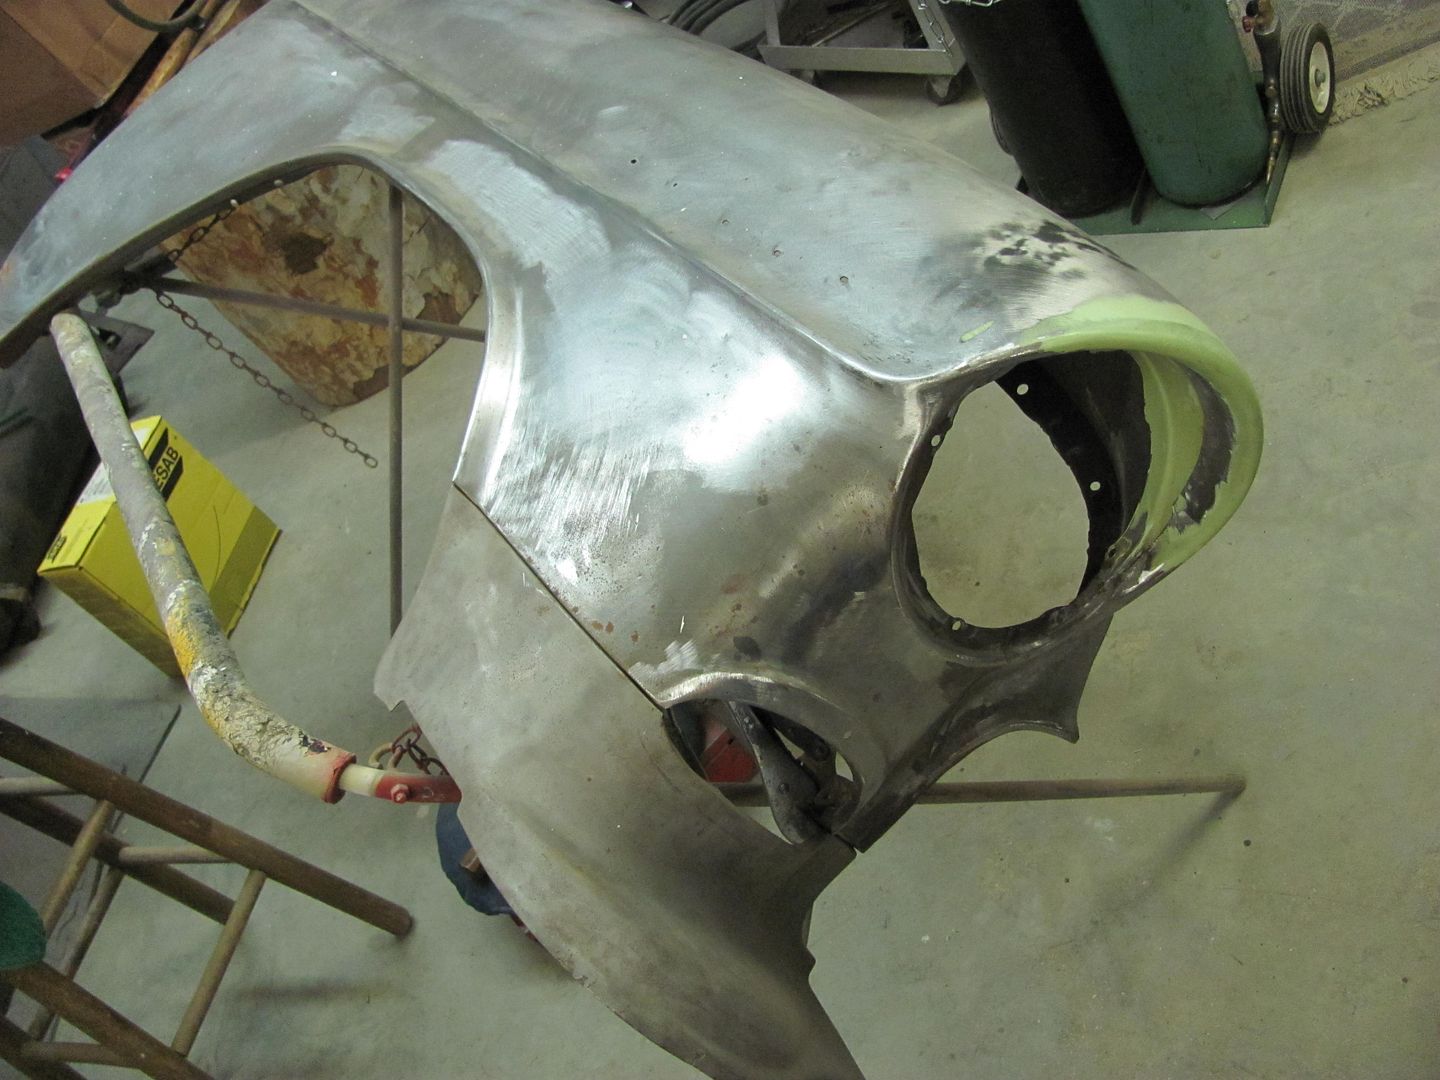
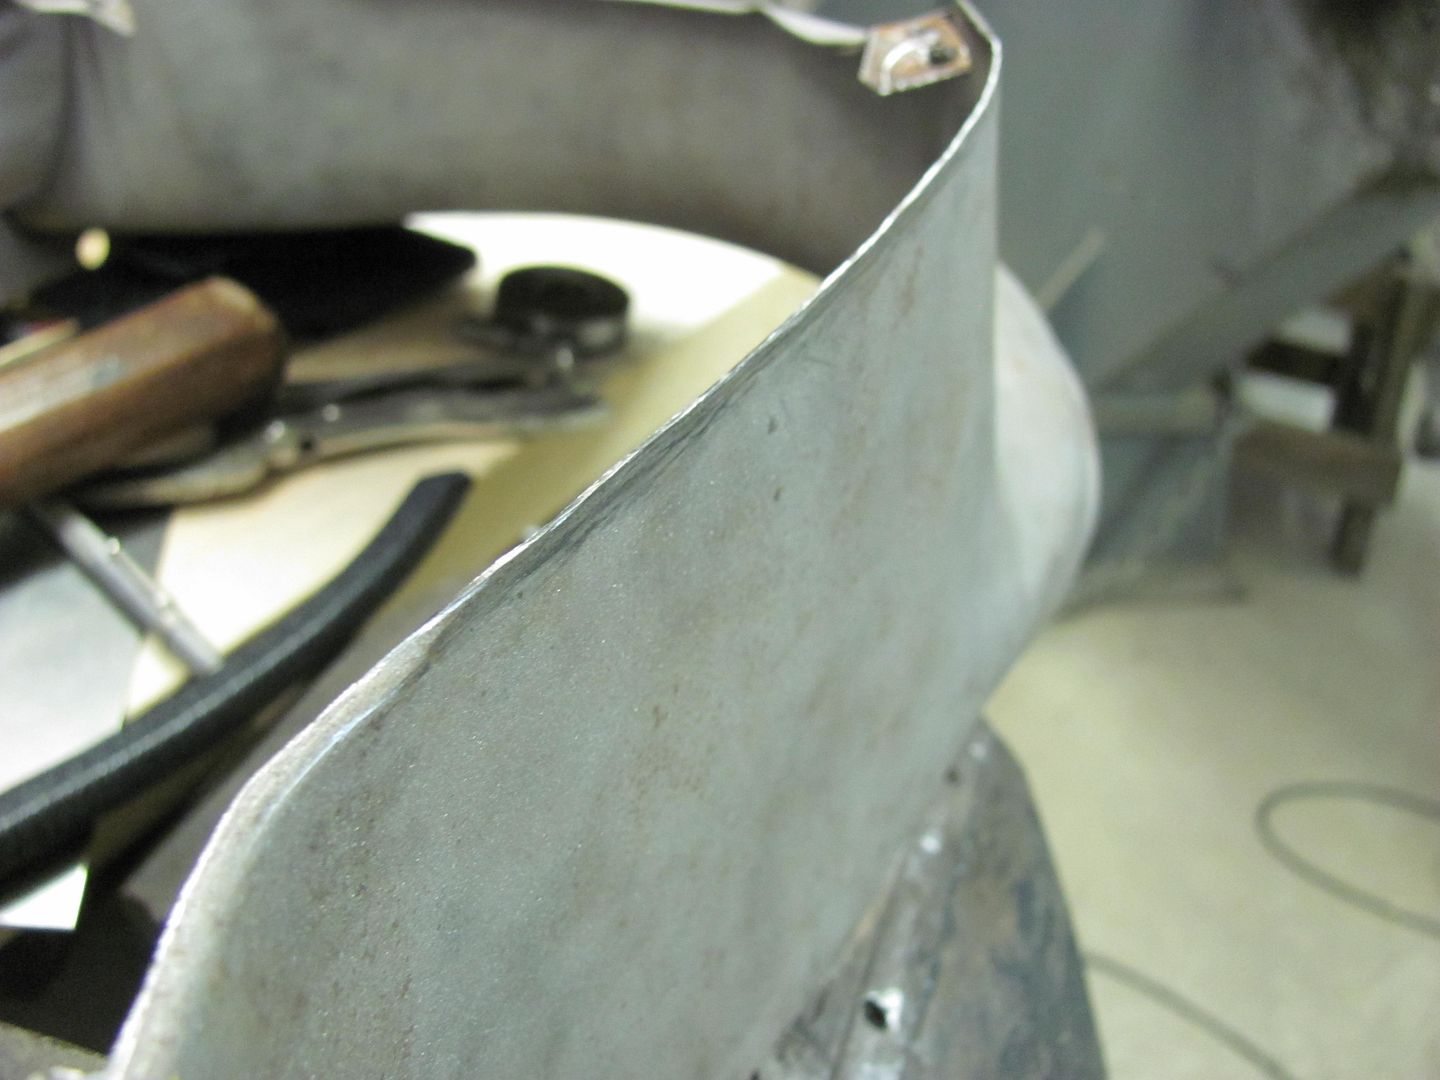
    Much of the previous work is rearing its ugly head as a side effect to the damage. Here I would say to compare the fender you have to see how solid it is in these same damage prone areas.. Now focus on the first picture:


    Notice the direct force of the damage is located approximately on the outer portion of the headlight ring. Outside of that, you see where the force pushing in stops at a pucker, or what I like to call a "lock". It's here that the book "The Key to Metal Bumping" refers to "first in, last out". In other words, the lock is the last damage and needs to be the first addressed, ie: the pucker is softened prior to bumping the damage outward. This is done by hammering the outward peak of the lock inward to lessen it's hold on the area.

    Where the damage you show is metal bumping on steroids, if the problem areas on your fender is still solid, I would rather straighten it. At best, you can save it. At worst, it serves as a good lesson in metal bumping/dent repair.
    Last edited by MP&C; 11-23-2019 at 07:32 PM.
    randyr likes this.
    Robert

  14. #1454
    randyr's Avatar
    randyr is offline CHR Member Visit my Photo Gallery
    Join Date
    Feb 2007
    Location
    Santa Monica
    Car Year, Make, Model: 37 Ford tudor humpback
    Posts
    1,988

    Quote Originally Posted by MP&C View Post


    Where the damage you show is metal bumping on steroids, if the problem areas on your fender is still solid, I would rather straighten it. At best, you can save it. At worst, it serves as a good lesson in metal bumping/dent repair.
    Hey Robert, thanks so much for the response!!! You said pretty much what I thought you might say... I have that metal bumping book so it's time to pull it out and study it a bit, along with scrolling back through your thread for other ideas.

    I'm just curious when the guy with the 39 Ford was at your shop if you hinted that the deer might be telling him this might be a good time for a color change on the entire truck... Just kidding...to each his own...

    I was impressed with the section of wheel lip he fabricated. I need a section like that for the rear fender on my own 37 Ford sedan.

    Anyway, thanks again! You're awesome! Unless we find a deal on a good straight fender, I think we may give this a shot...Will keep you posted...
    Randy
    MP&C likes this.
    "It is not much good thinking of a thing unless you think it out." - H.G. Wells

  15. #1455
    MP&C's Avatar
    MP&C is offline CHR Member Visit my Photo Gallery
    Join Date
    Jun 2008
    Location
    Leonardtown
    Car Year, Make, Model: Walking
    Posts
    1,224

    Believe me, he has had the same conversation with the owner... for whatever reason the owner is keeping the same color....
    randyr likes this.

Posting Permissions

  • You may not post new threads
  • You may not post replies
  • You may not post attachments
  • You may not edit your posts
Links monetized by VigLink