Thread: 55 Wagon Progress
Hybrid View
-
11-20-2013 01:05 AM #1
Wow! Just went thru this thread from the start. Your metal working skills are a thing of beauty. Thanks for taking the time to photograph your process and show your home made jigs and tools. Definately will be watching this to the end. Steve."  "No matter where you go, there you are!" Steve.
-
11-22-2013 07:25 PM #2
Thanks!
With the epoxy well cured, holes were drilled for plug welds....
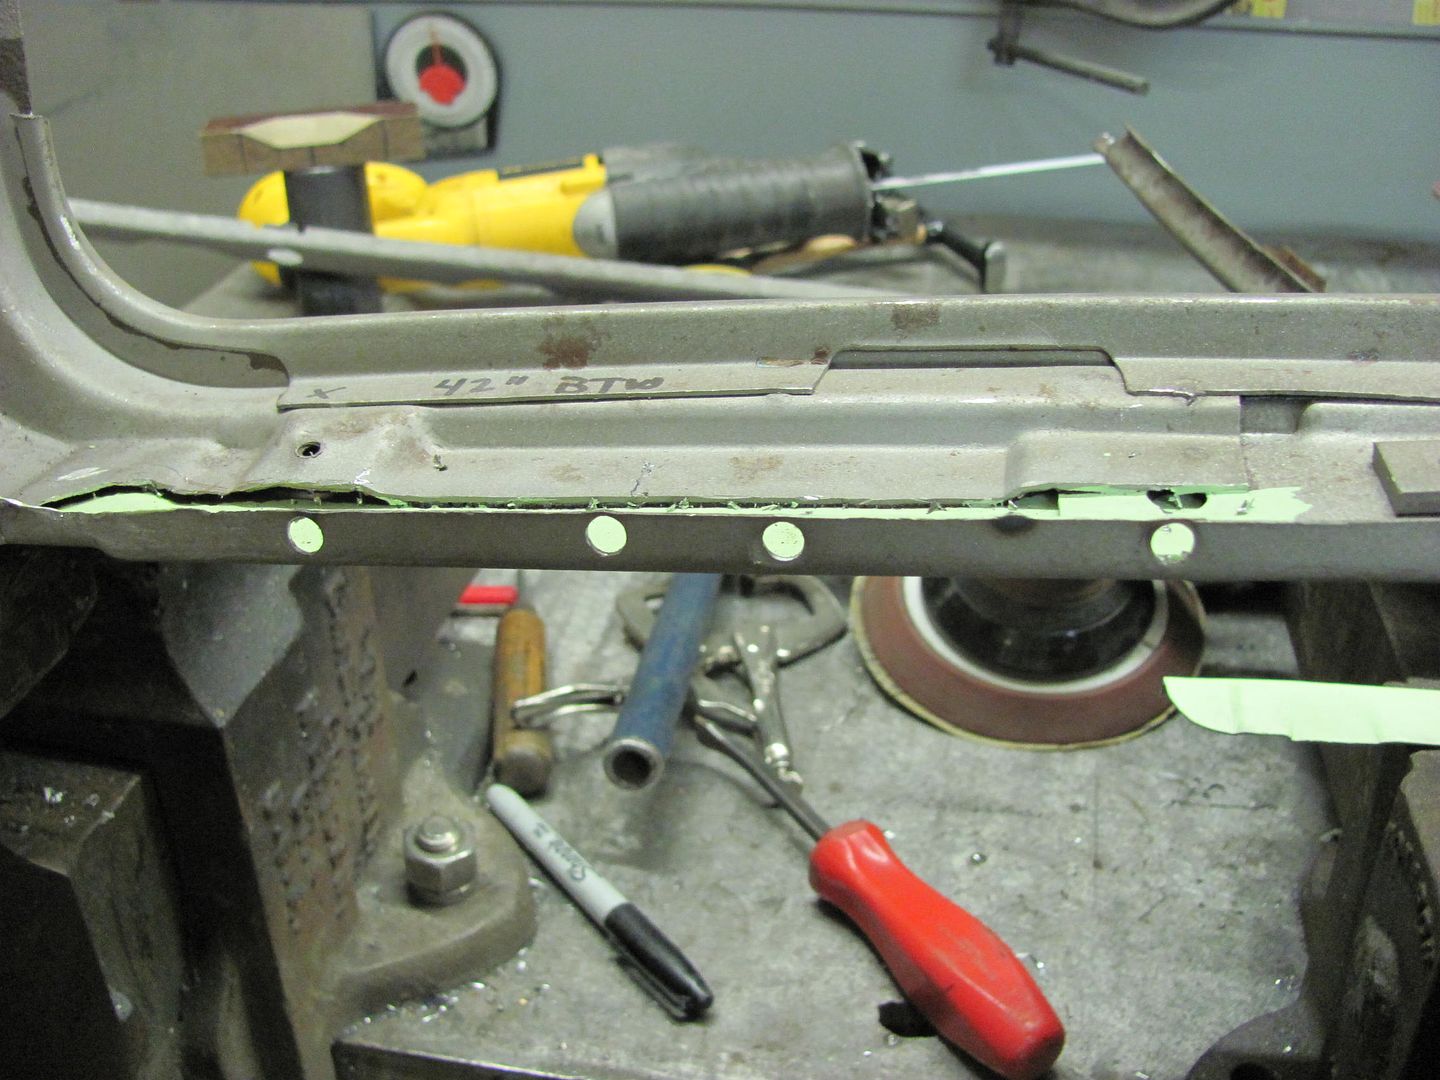
Then used the modified plug weld bit for cleaning out the adjacent panel...

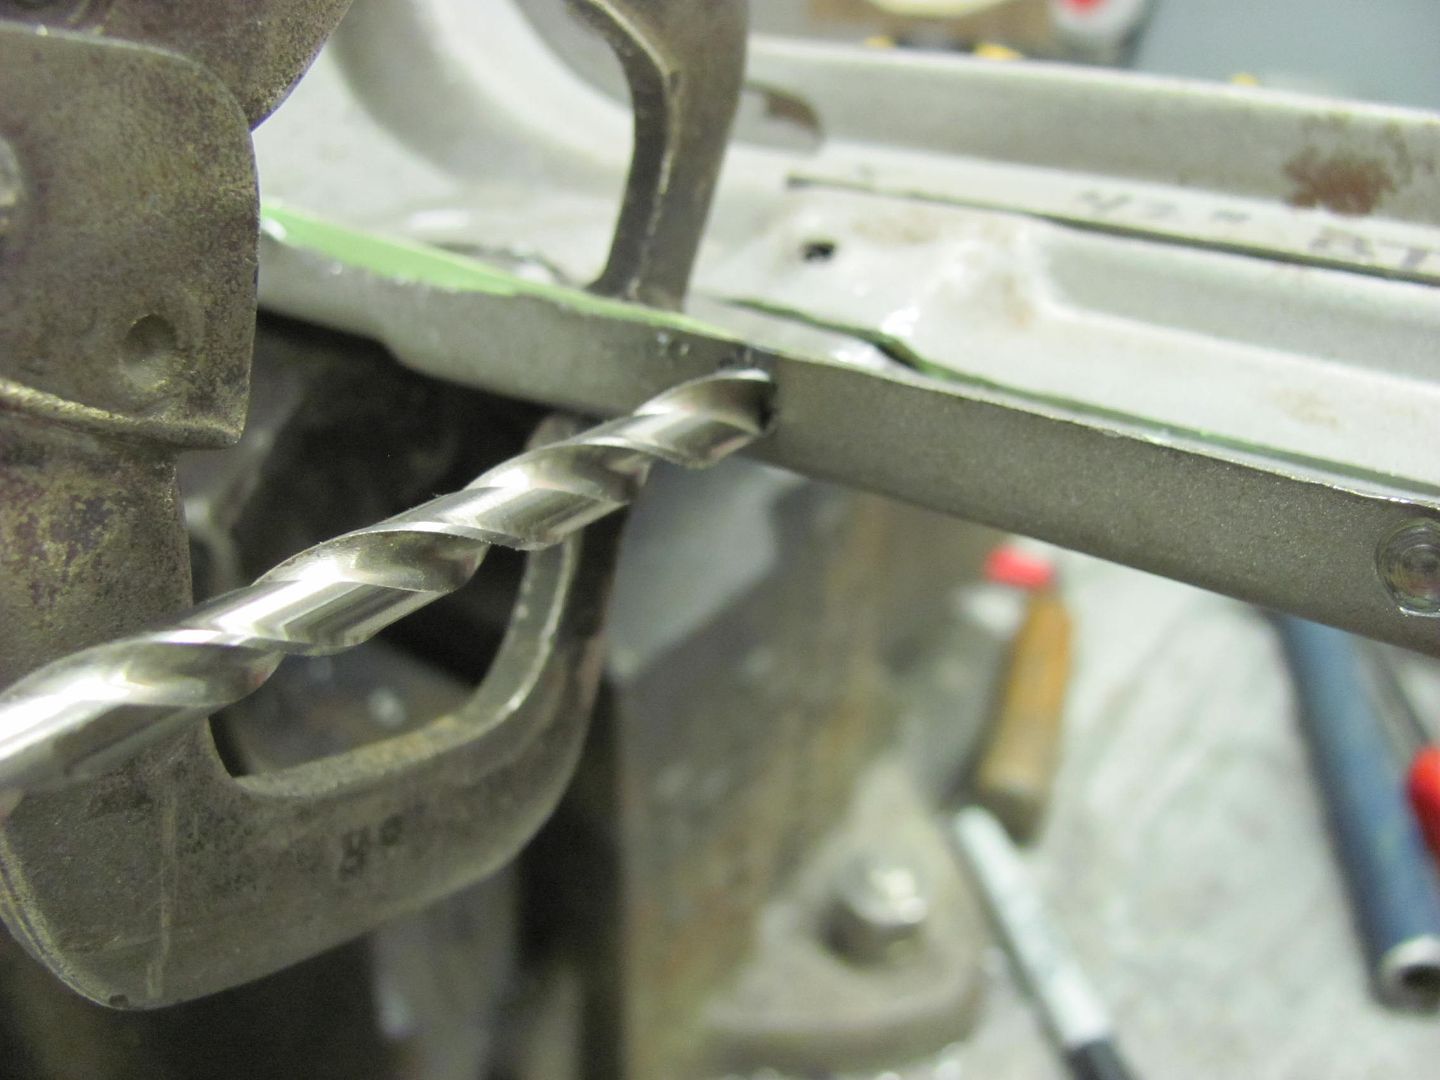
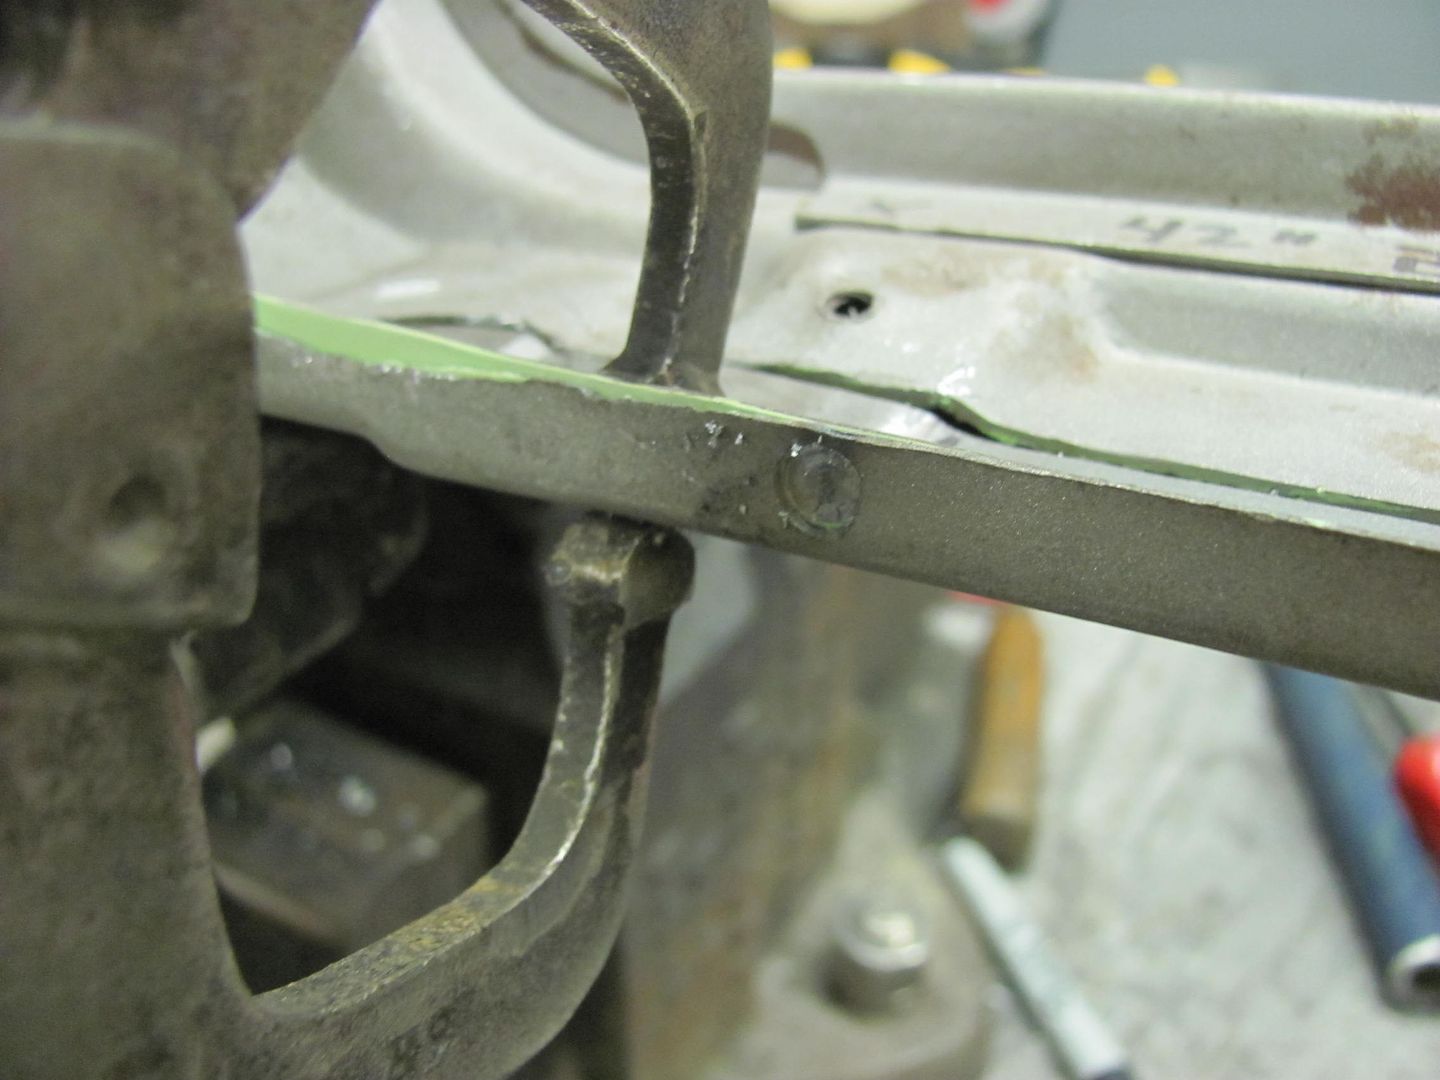
Cleaned spots for the plug welds...

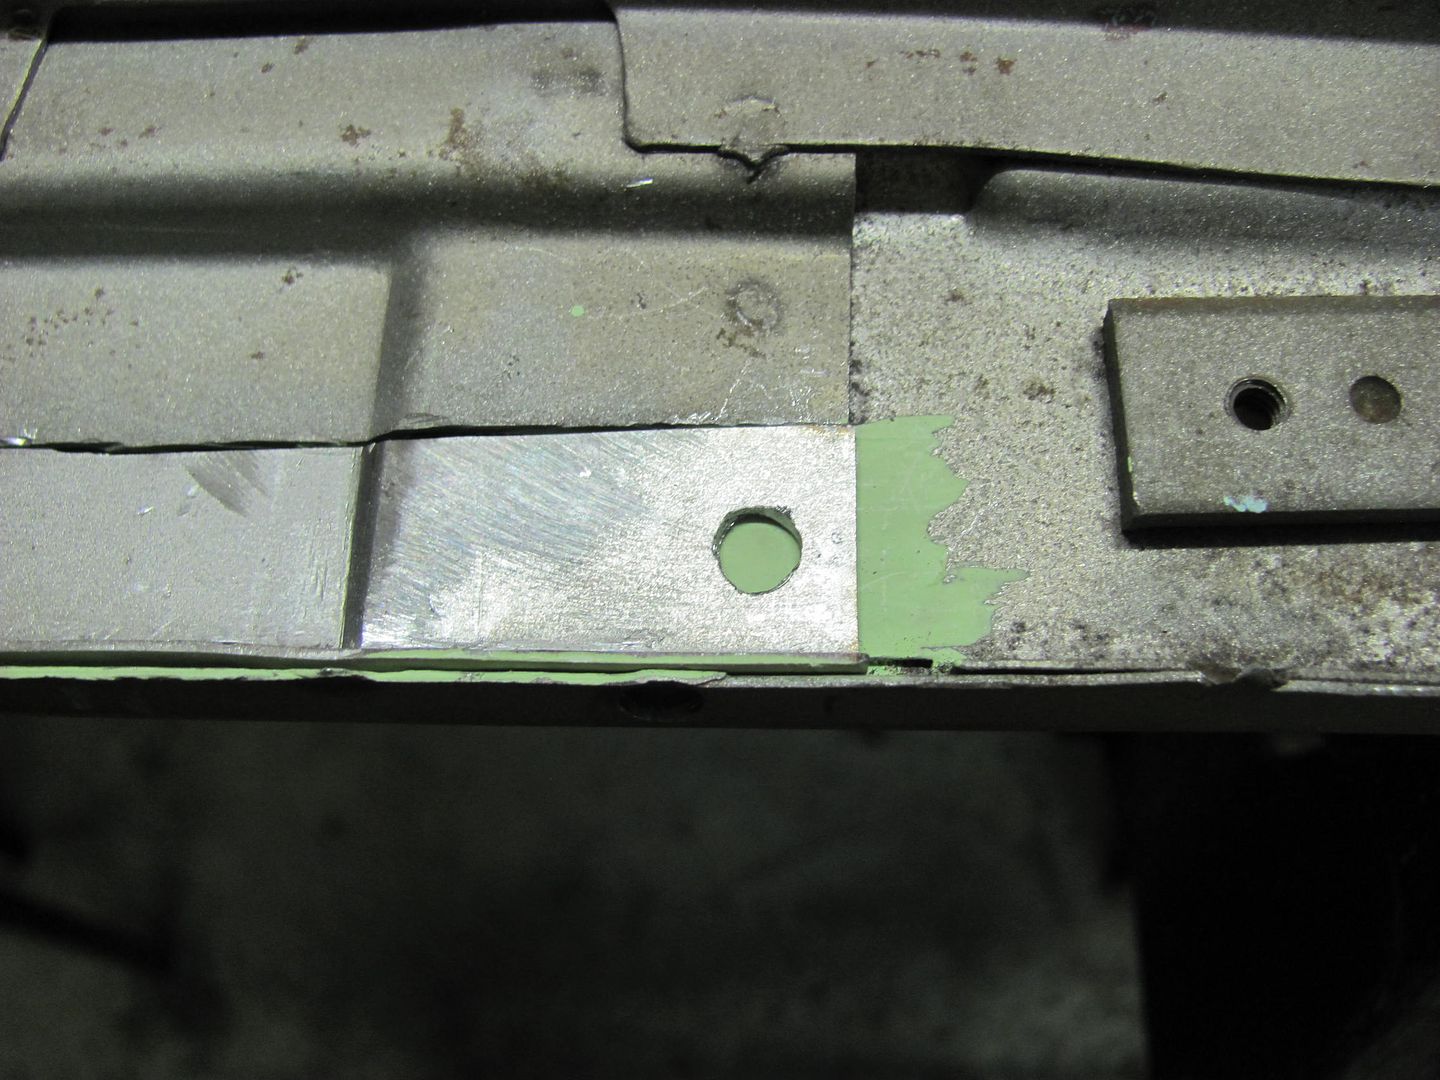
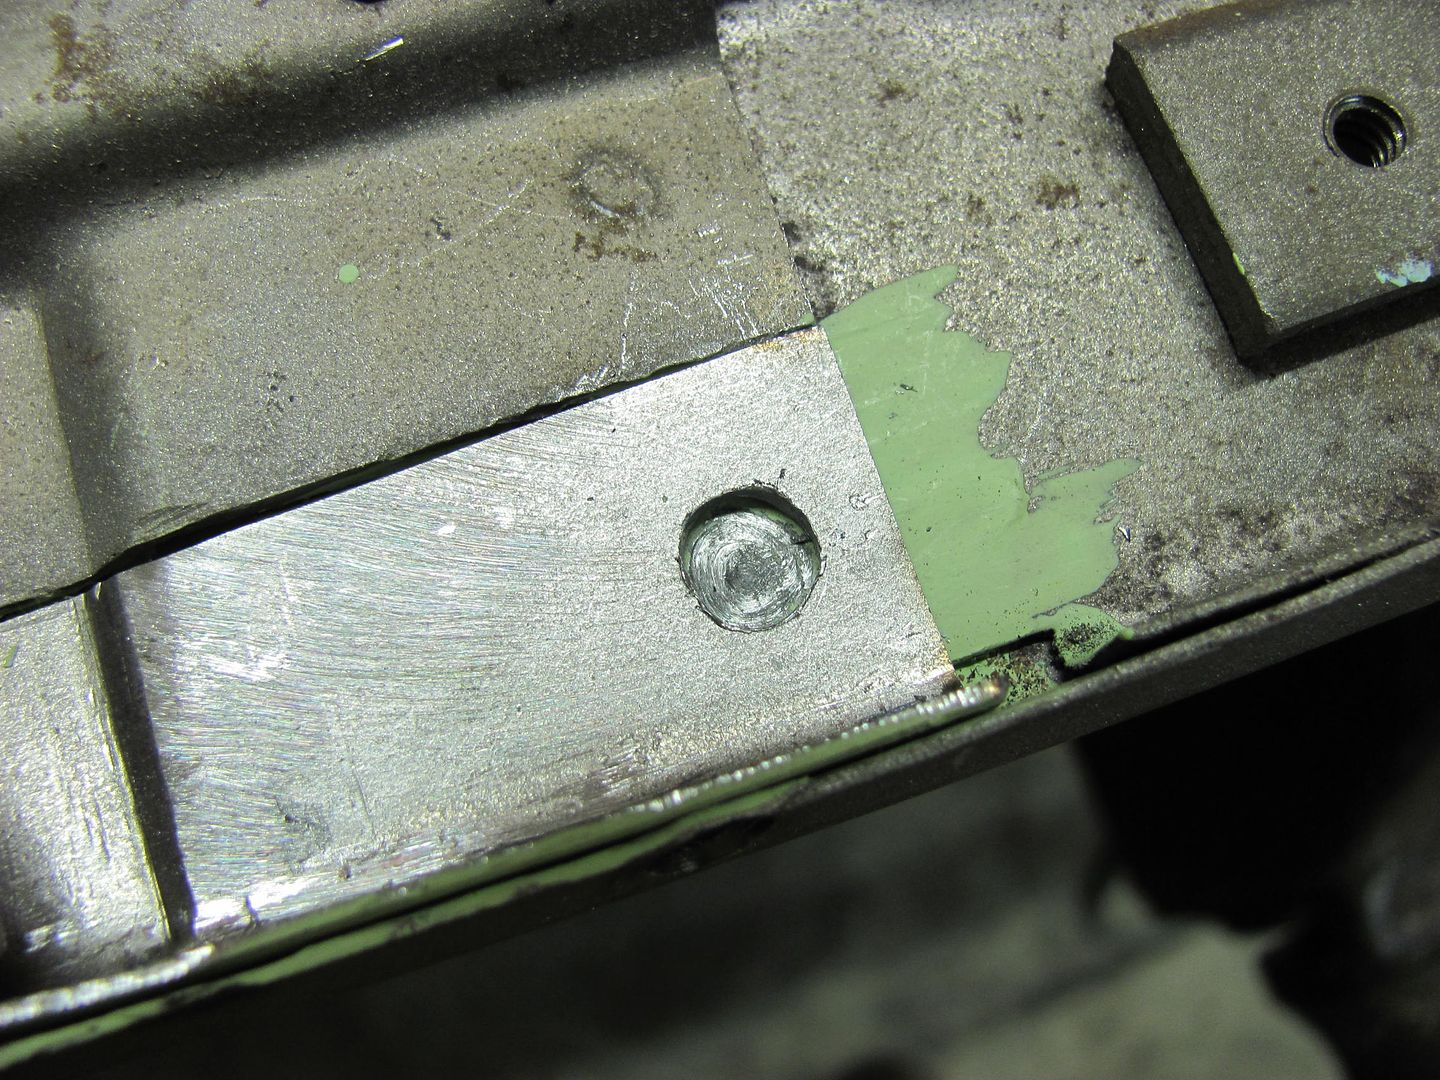
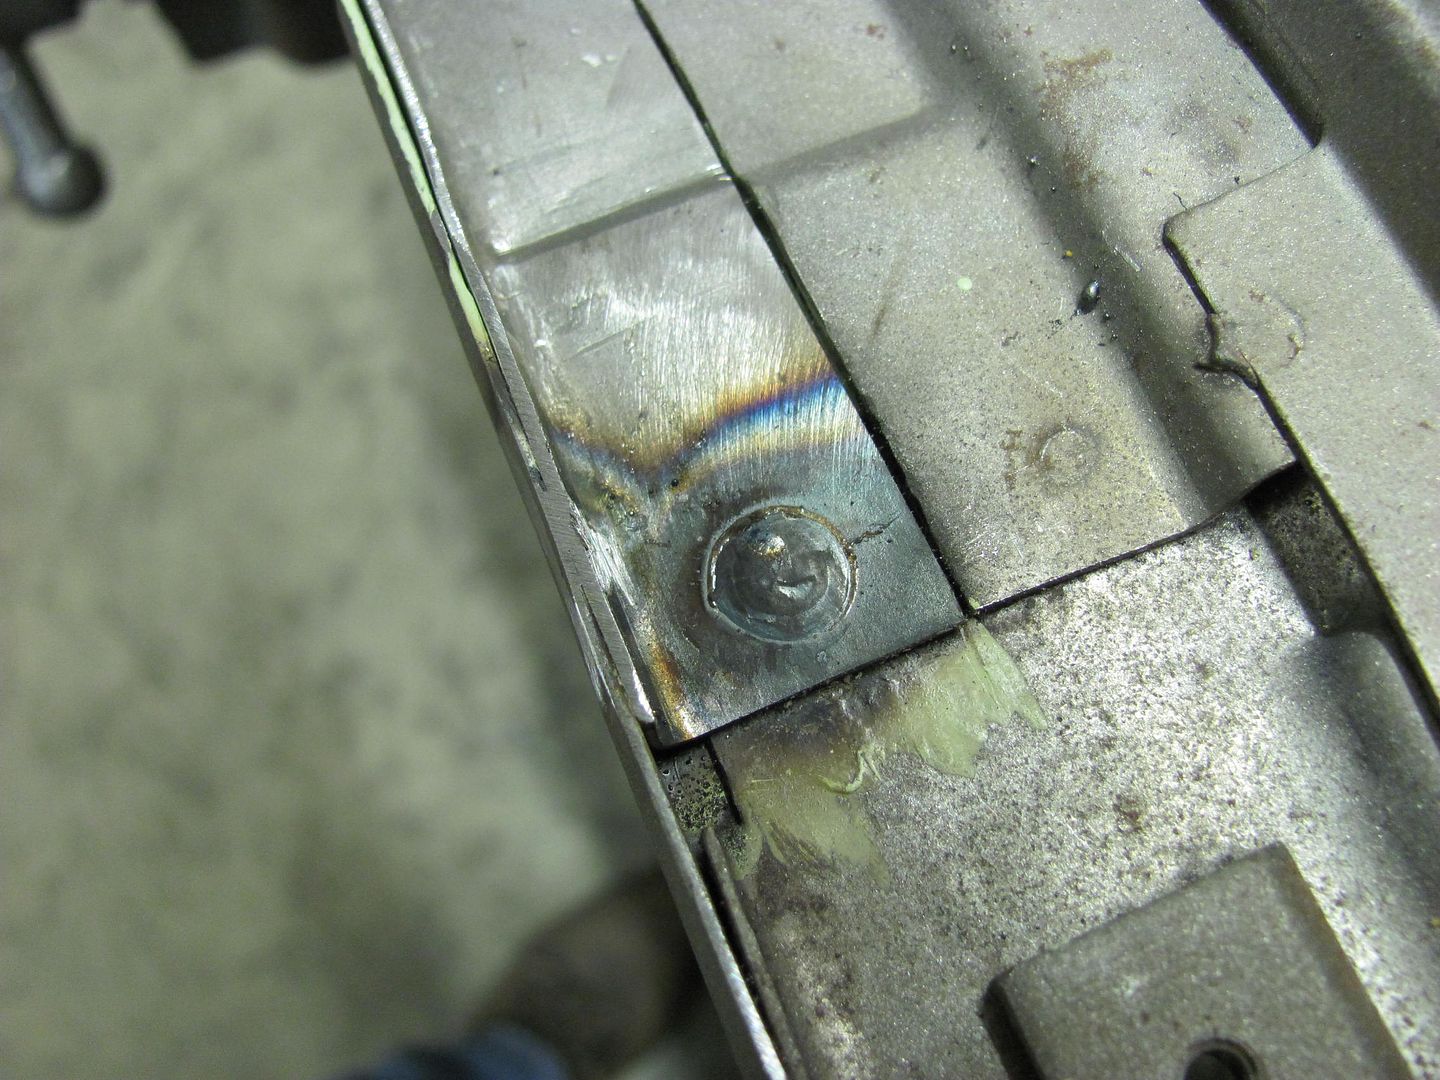
I had some questions about how well the epoxy held up to heat from welding. The epoxy next to the weld above, where it turned brown from the heat, was allowed to cool off, then attempted to scrape the paint with my thumbnail. I thought it may scrape some off, but it held tight, not so much as a scratch.
Then I got on a roll and forgot pictures, but here's the patch all welded in....
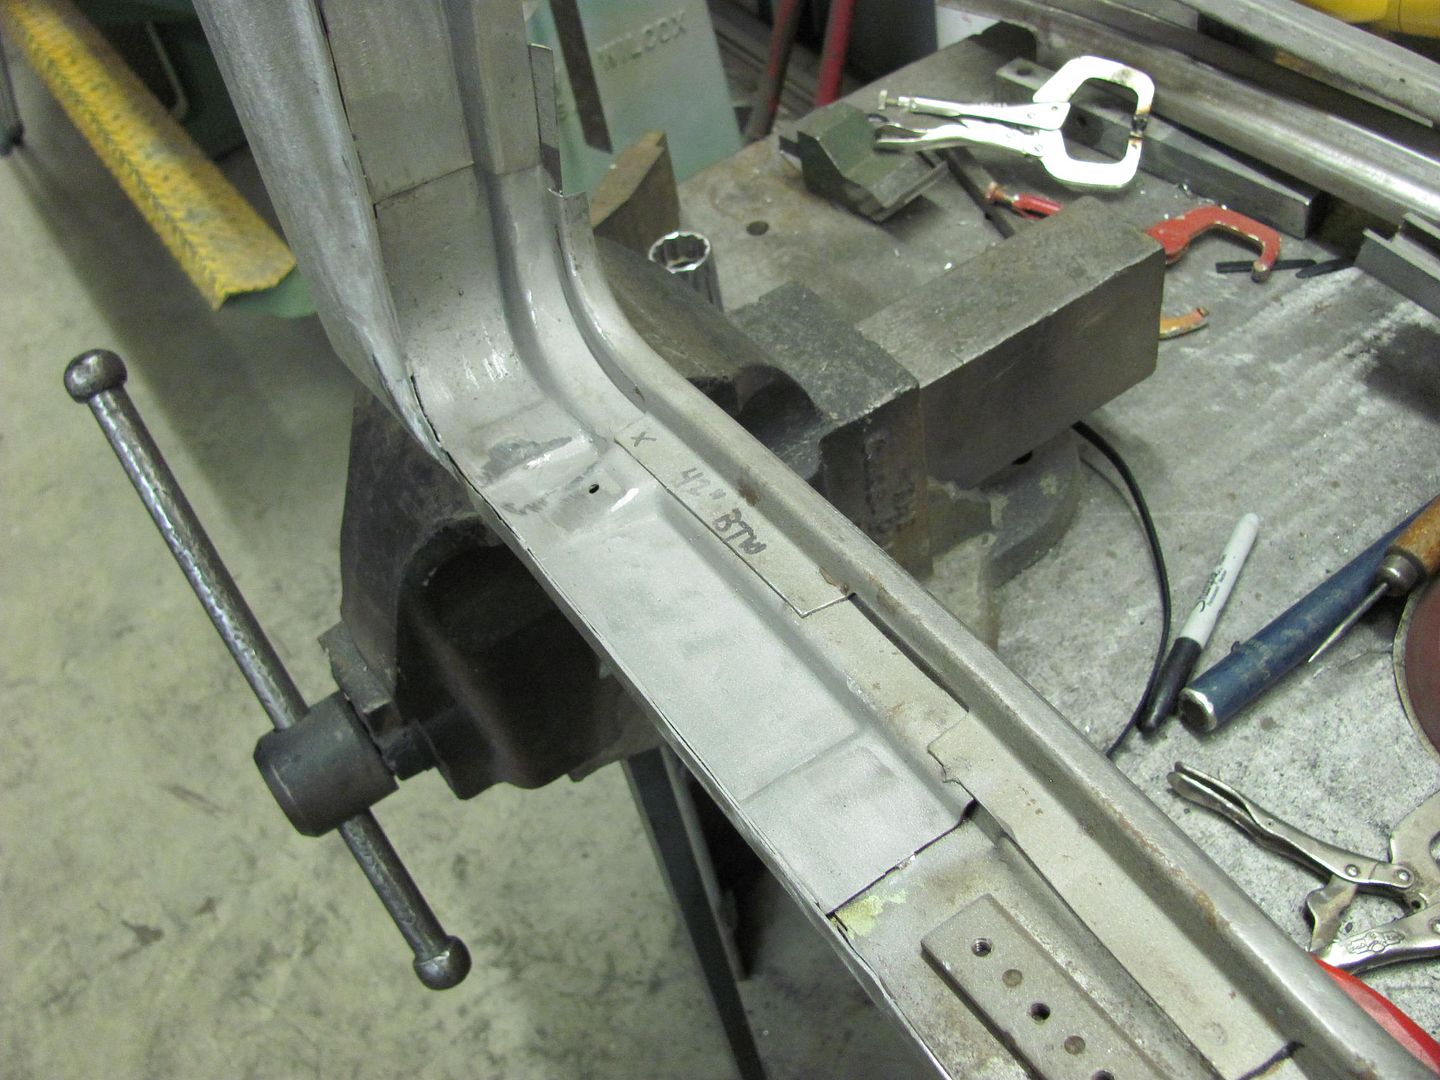
Next, drilled the holes in the lower window opening....
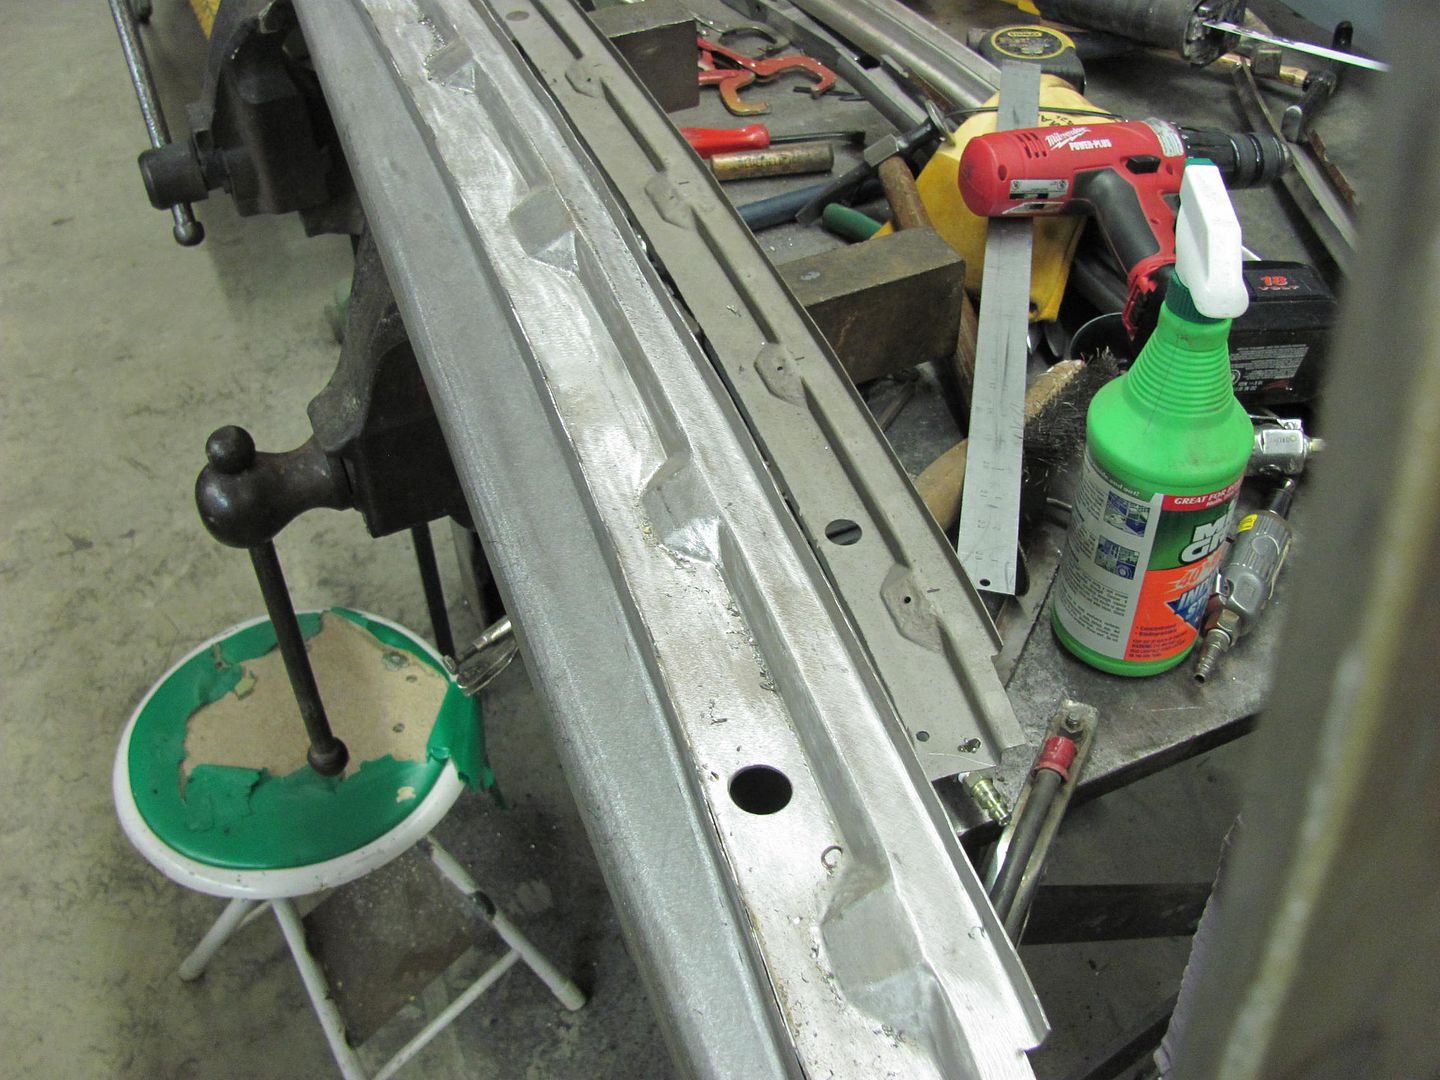
.....and got the holes placed for the nut plate and it's plug welds...
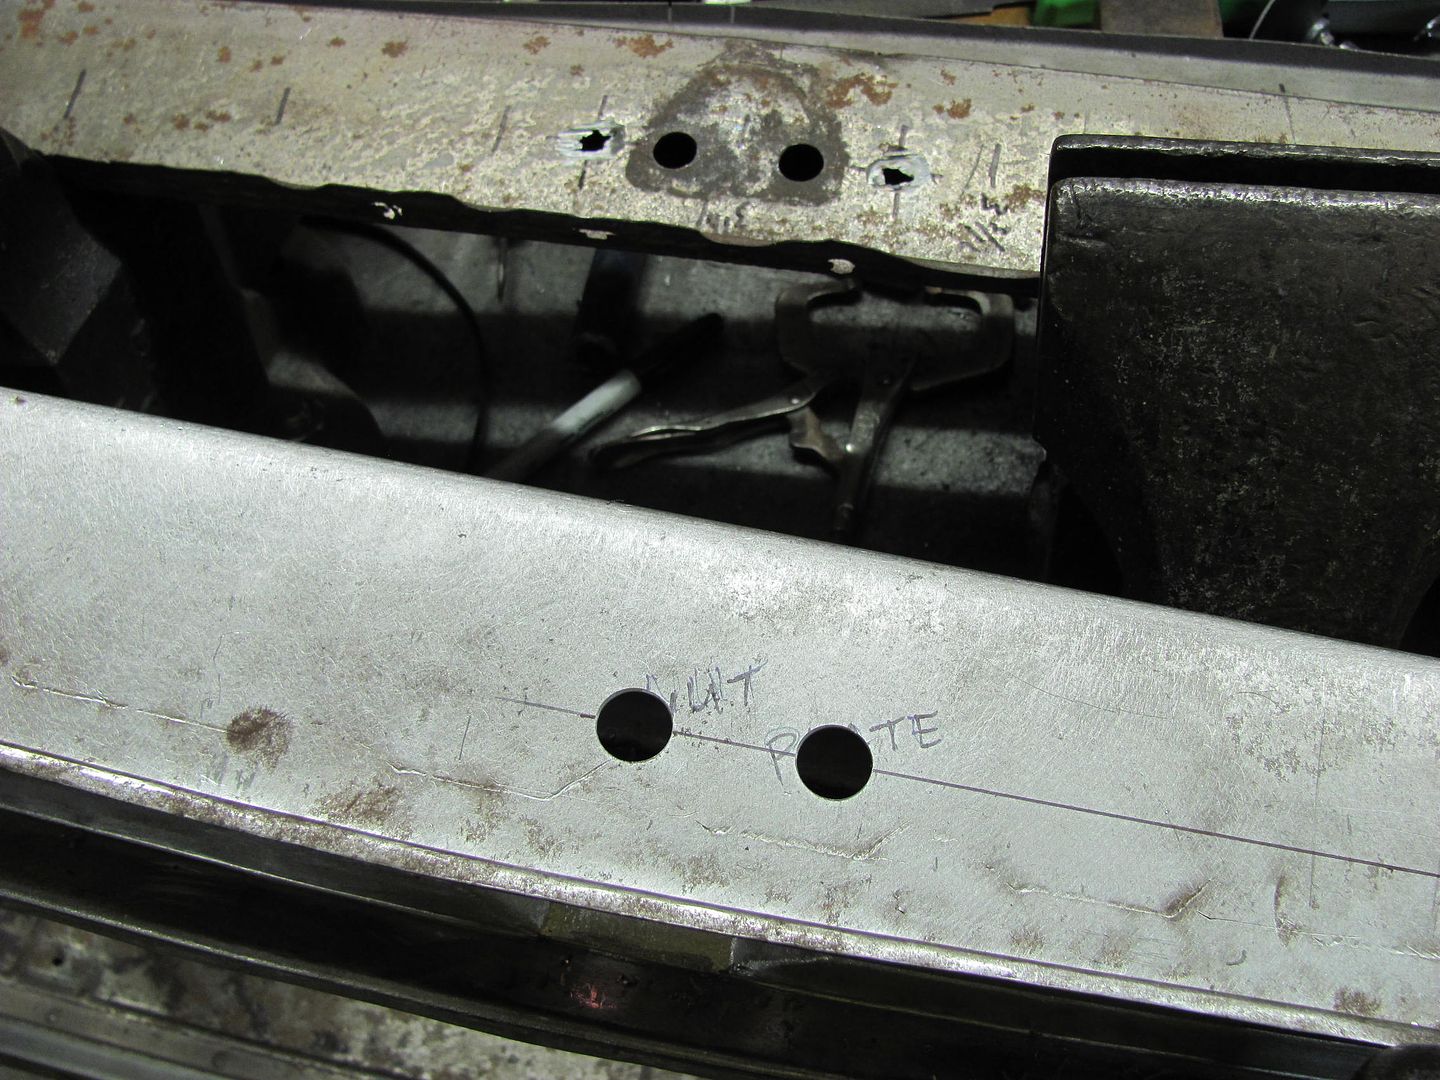
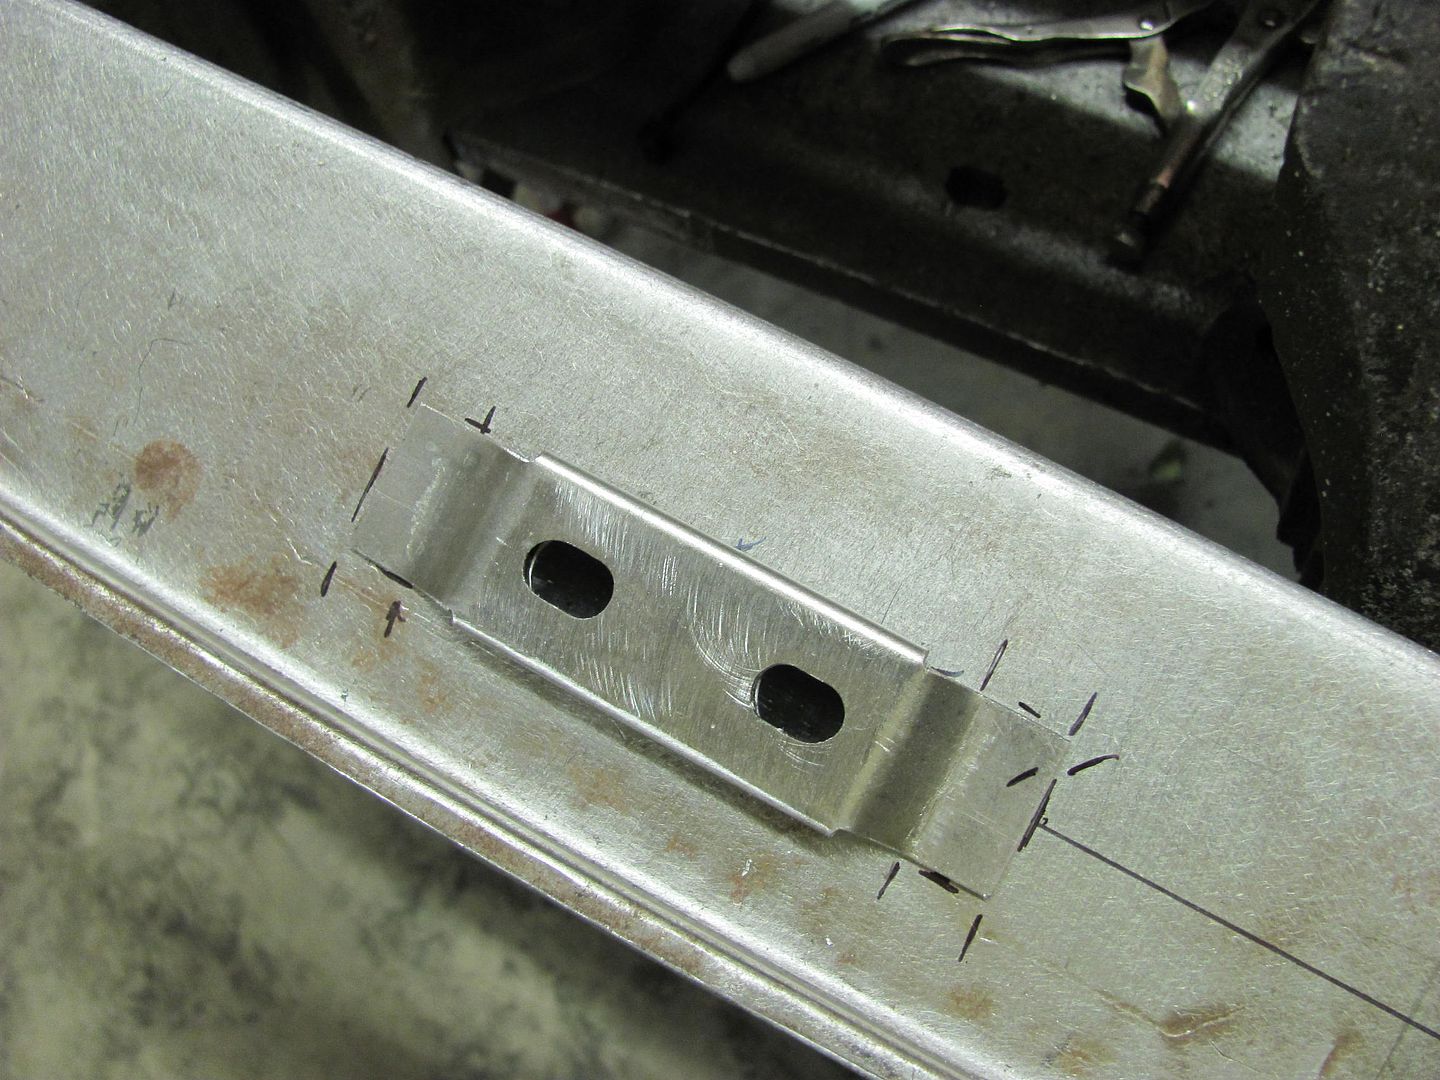
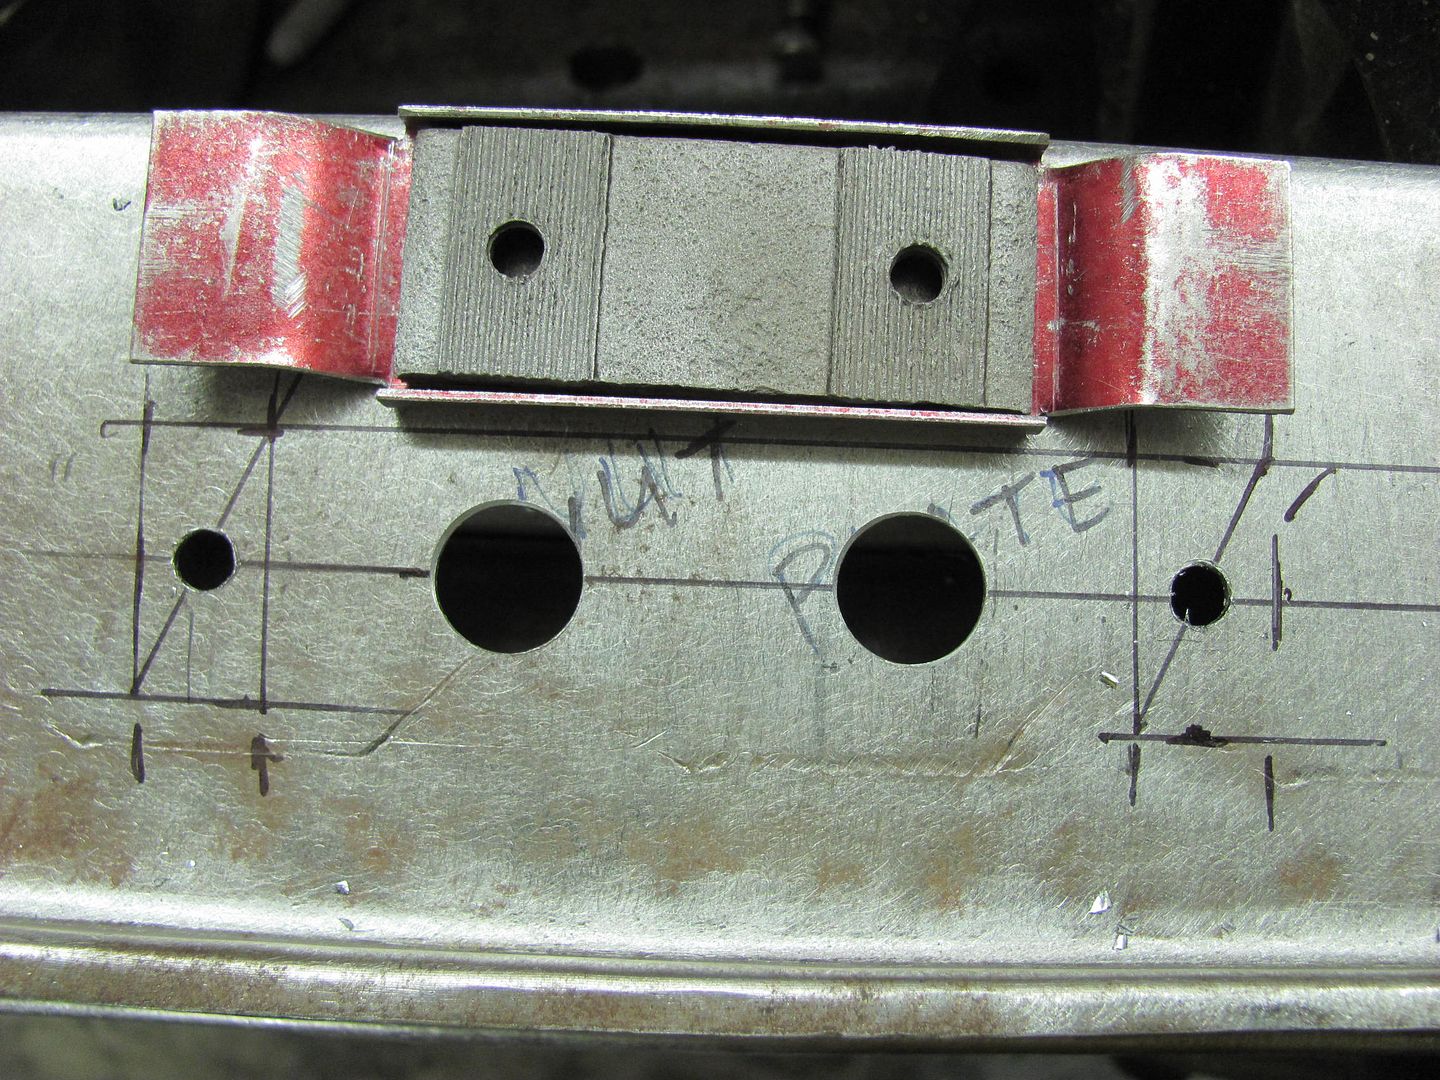
Hopefully tomorrow we can get some profile blocks cut out to fold over the ends of the outer piece...Robert
-
11-23-2013 07:20 PM #3
Laying out the ends for trimming.....
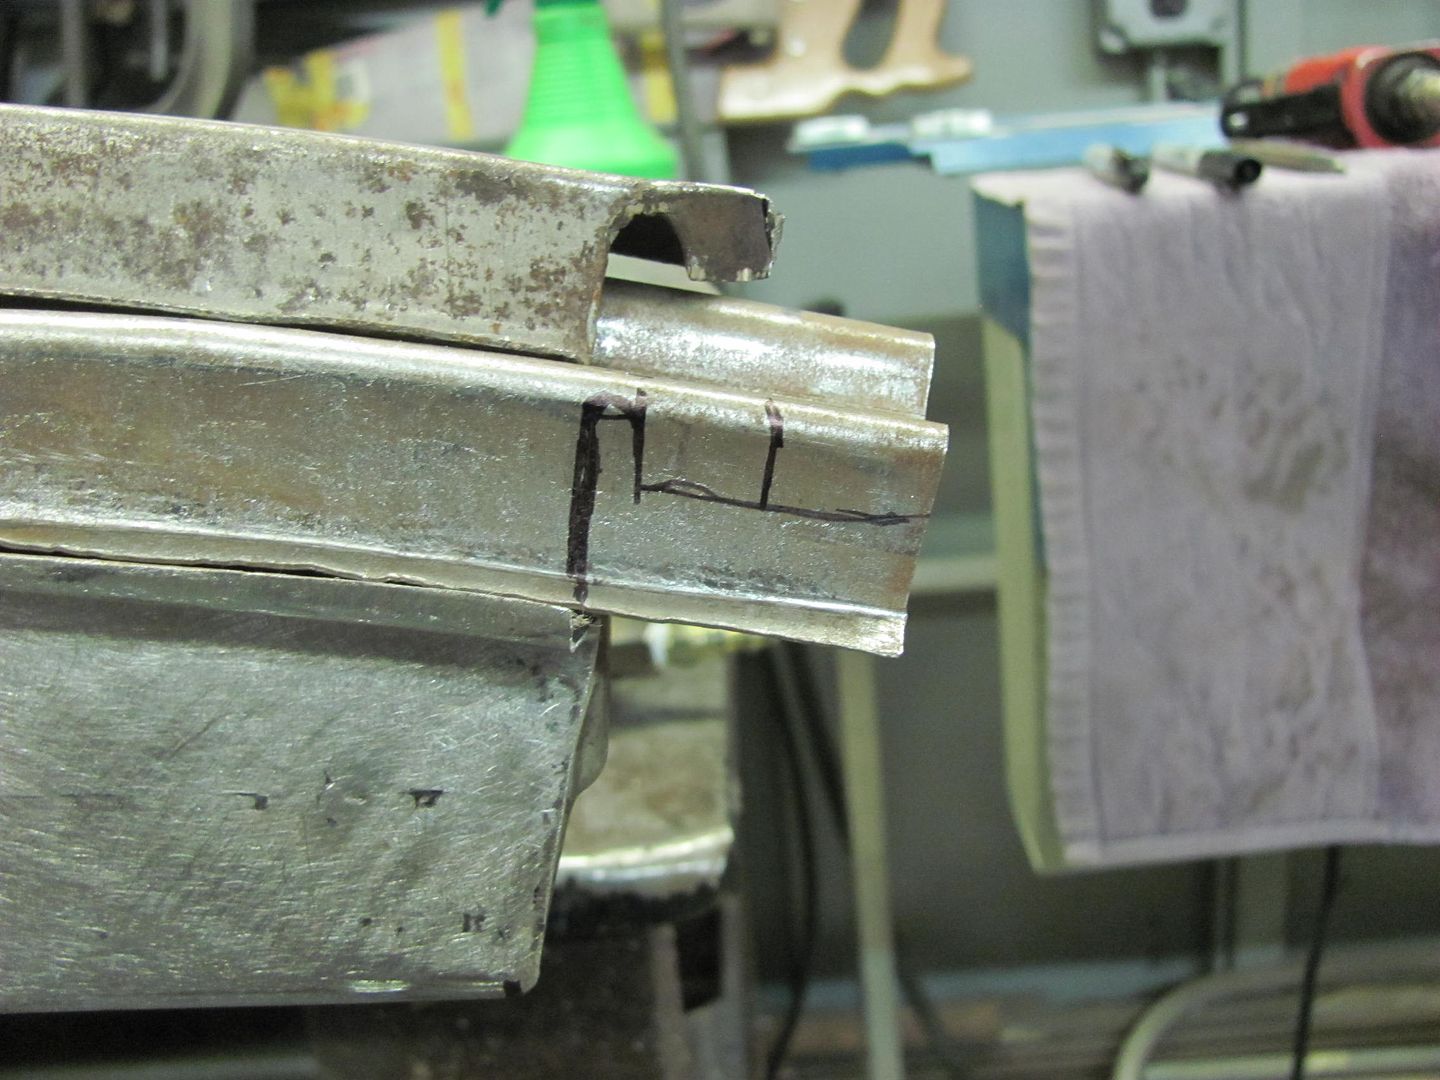
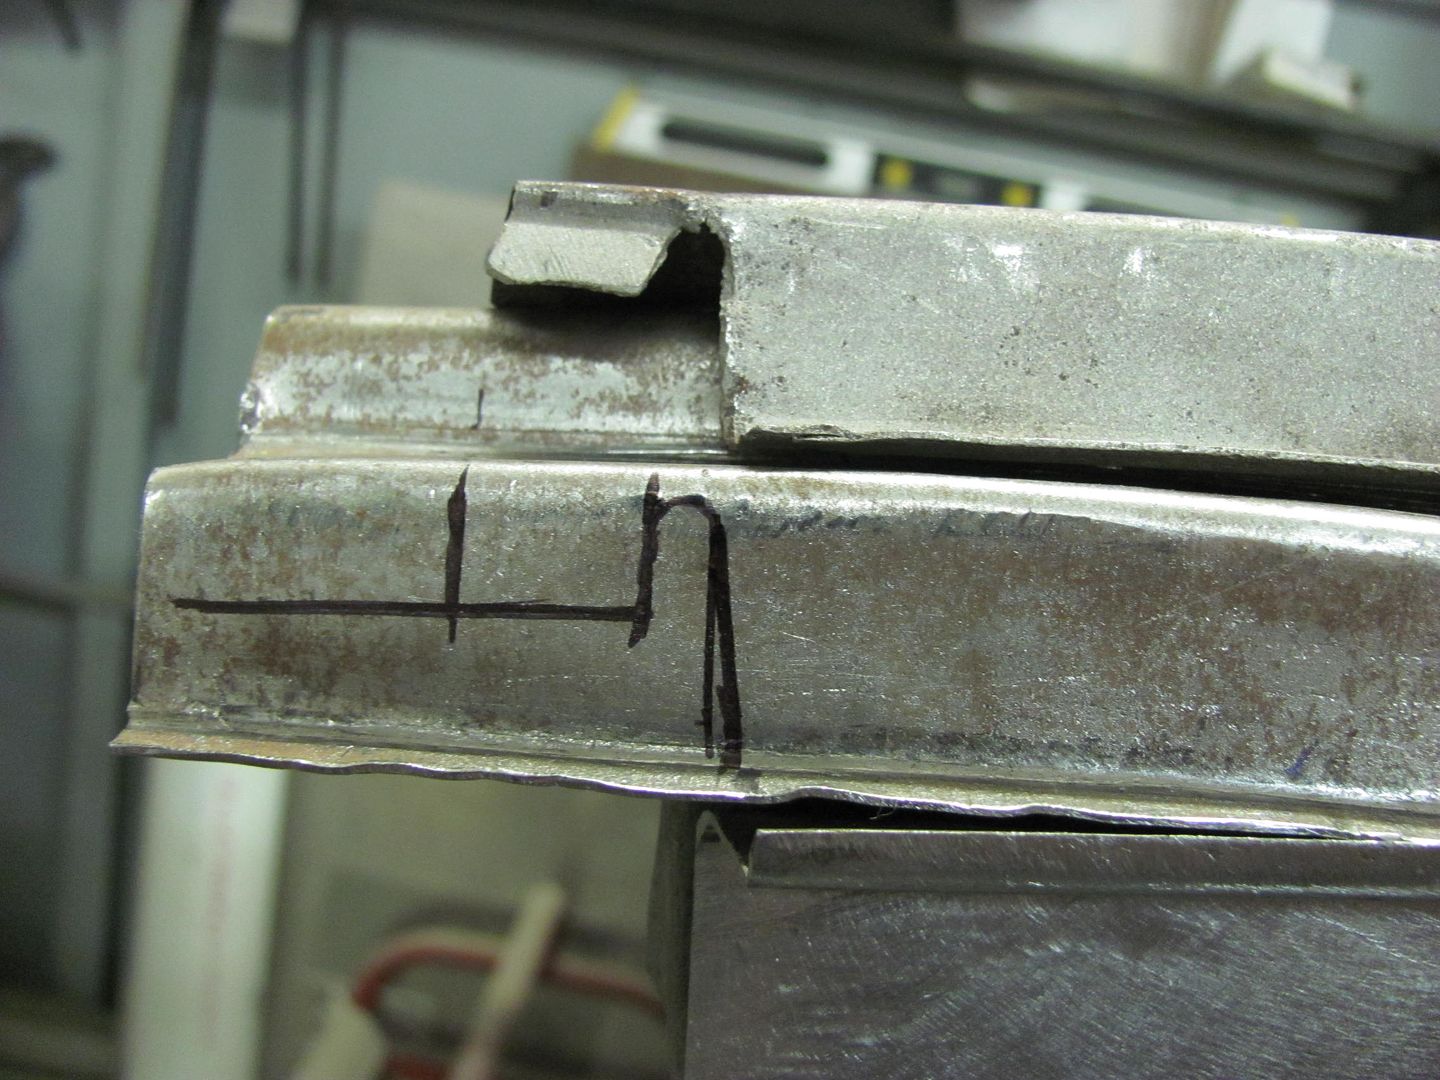
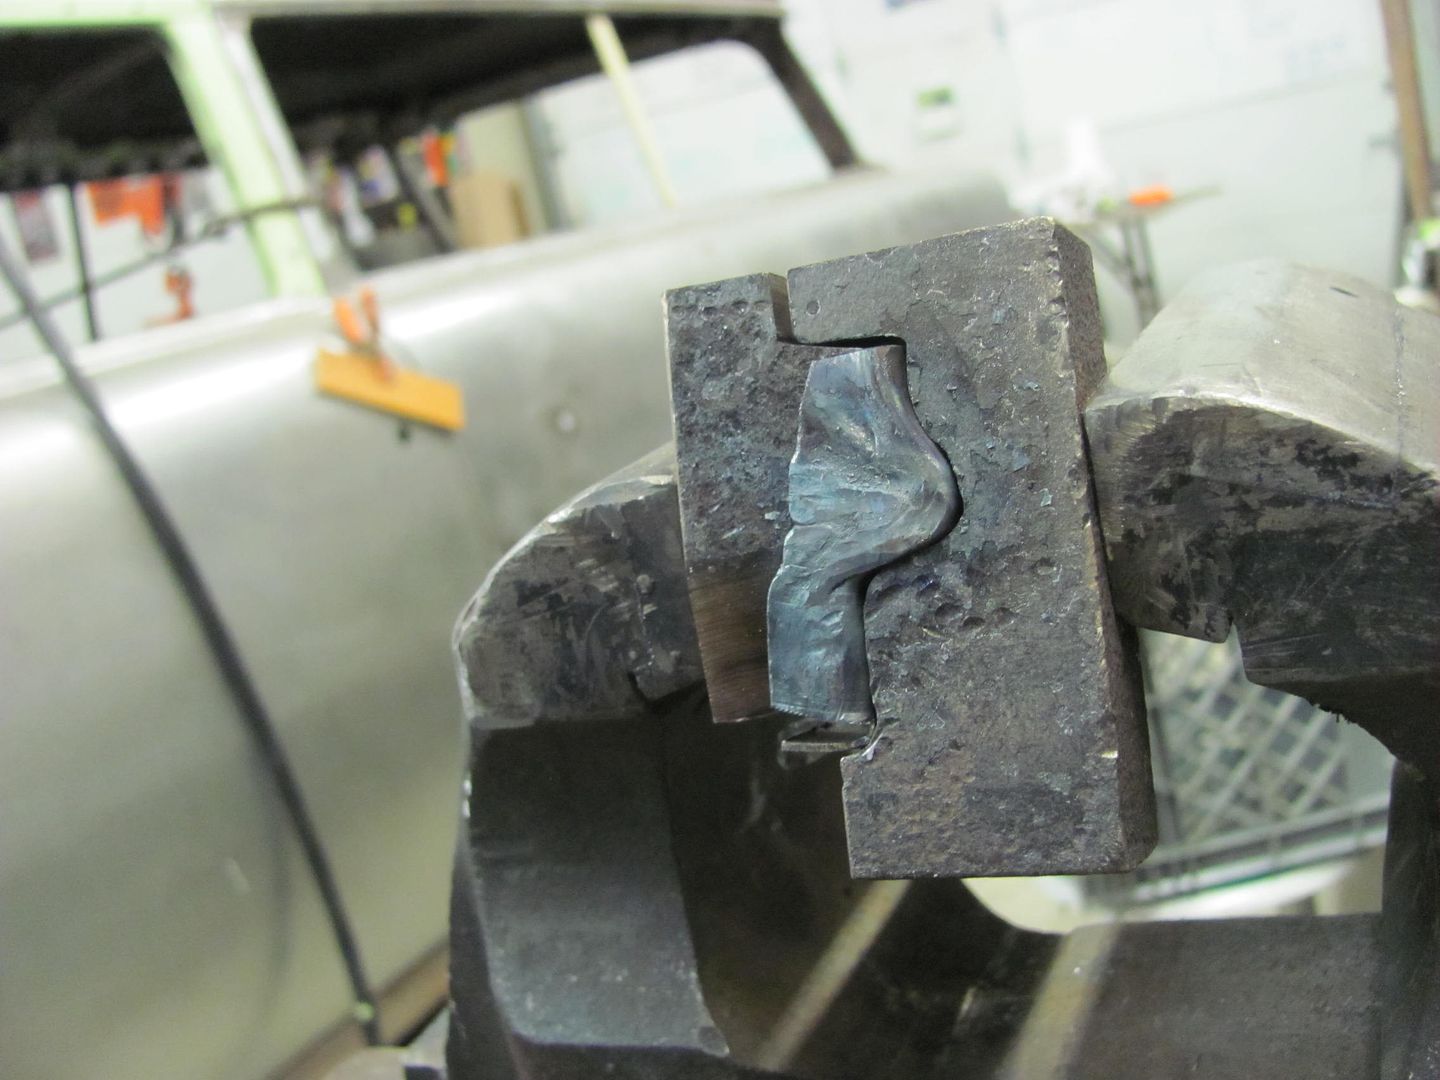
Here's the piece we'll use to cut out the profile blocks, 3/4 thick steel

As I am fresh out of good band saw blades, these were used....

The lower piece was tapered at the bottom as the bottom of the lift gate tapers in below the bead detail..

.....like so.....
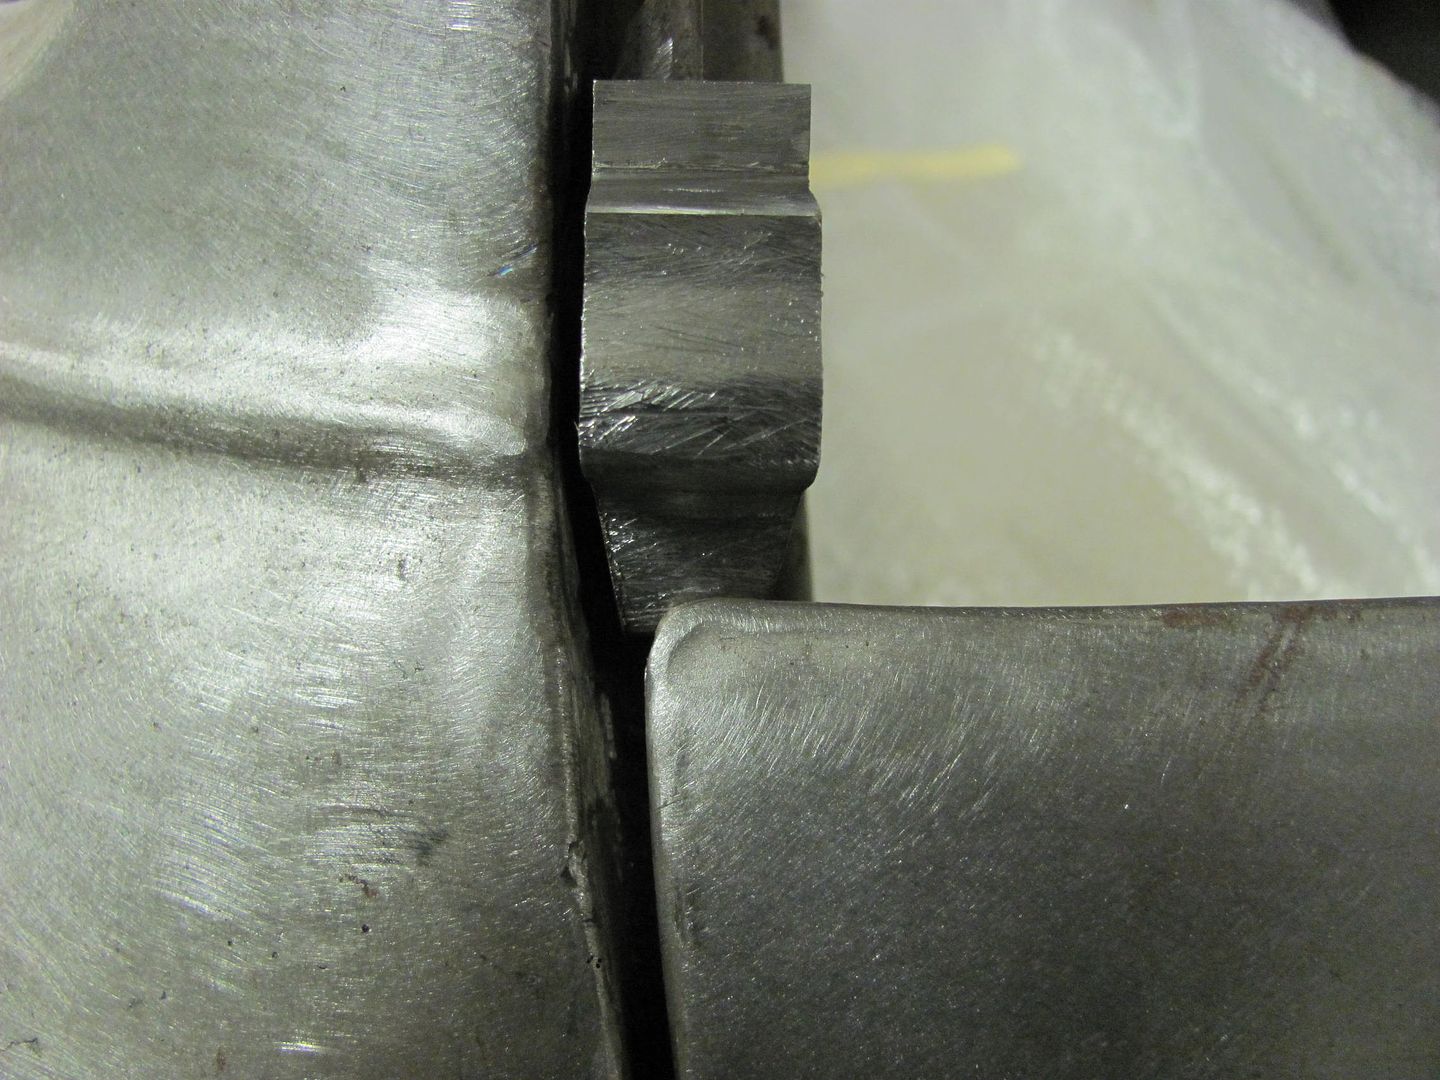
Not perfect, but should work just the same...
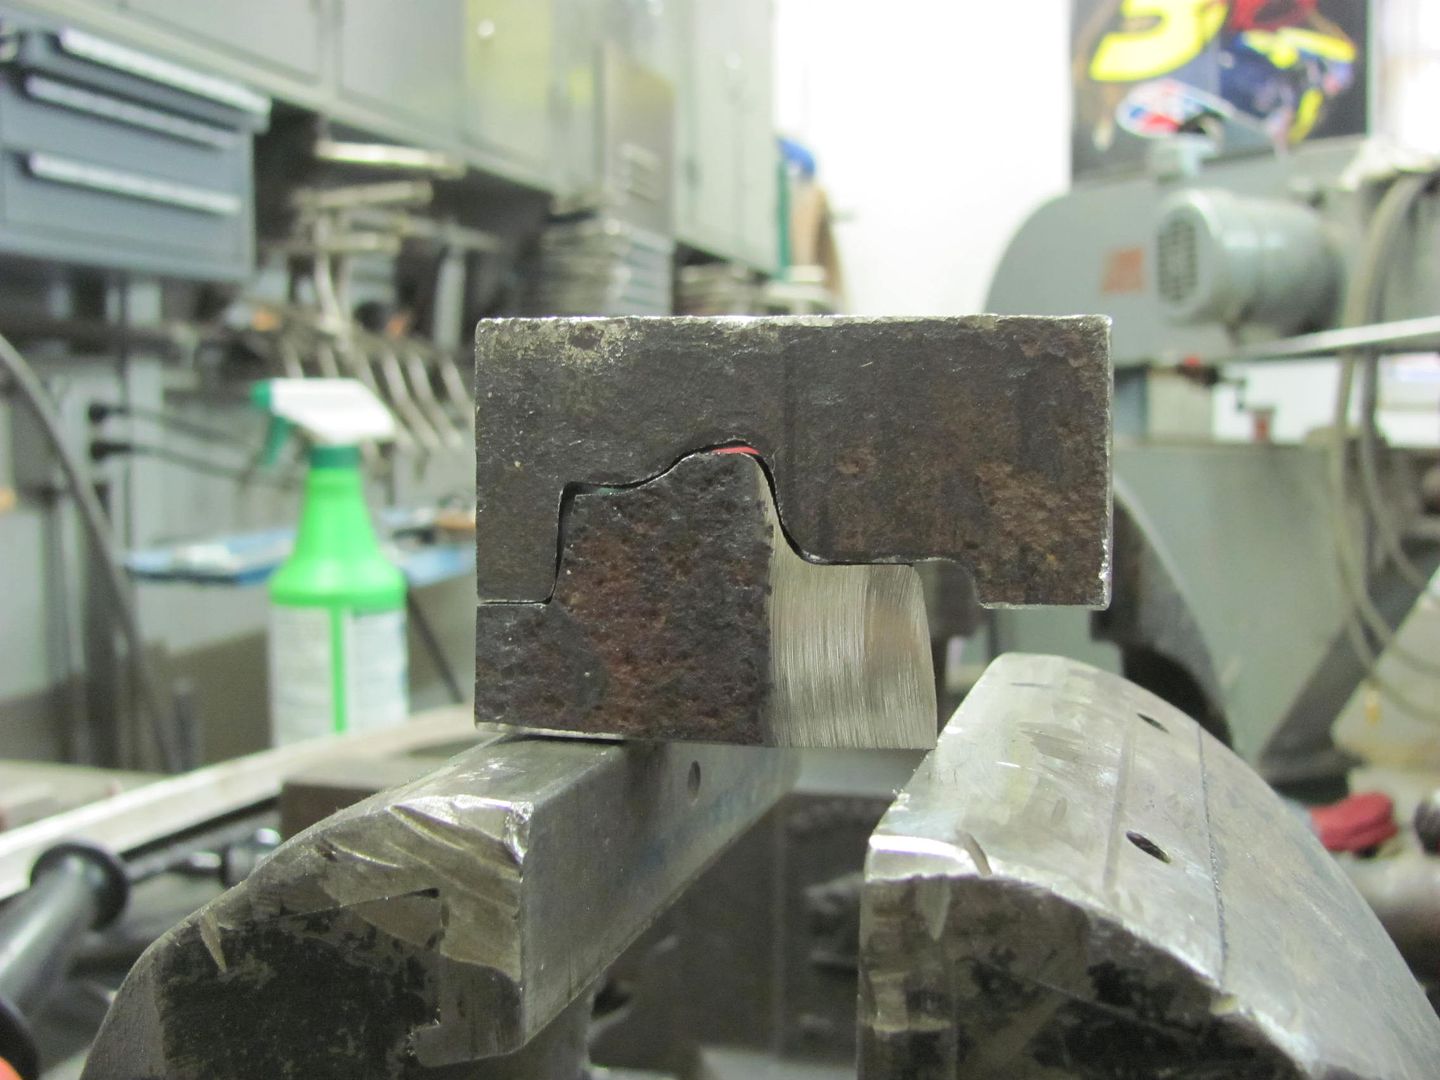
Clamped in the vise.....
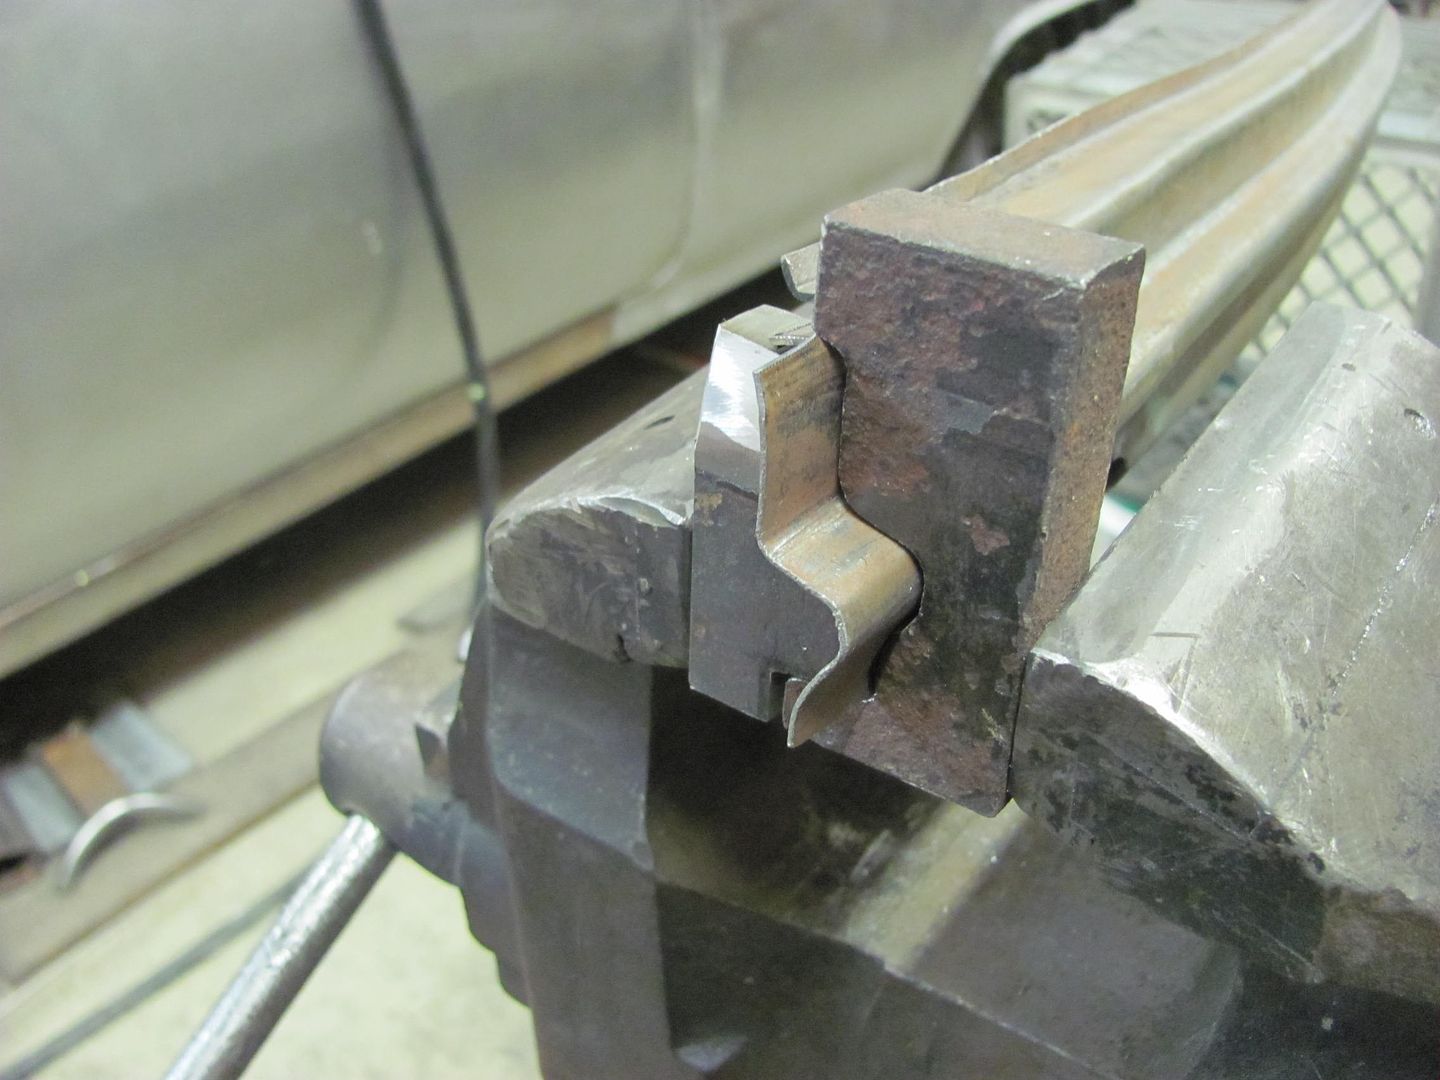
Then some heat is applied, and hammered the high spots..

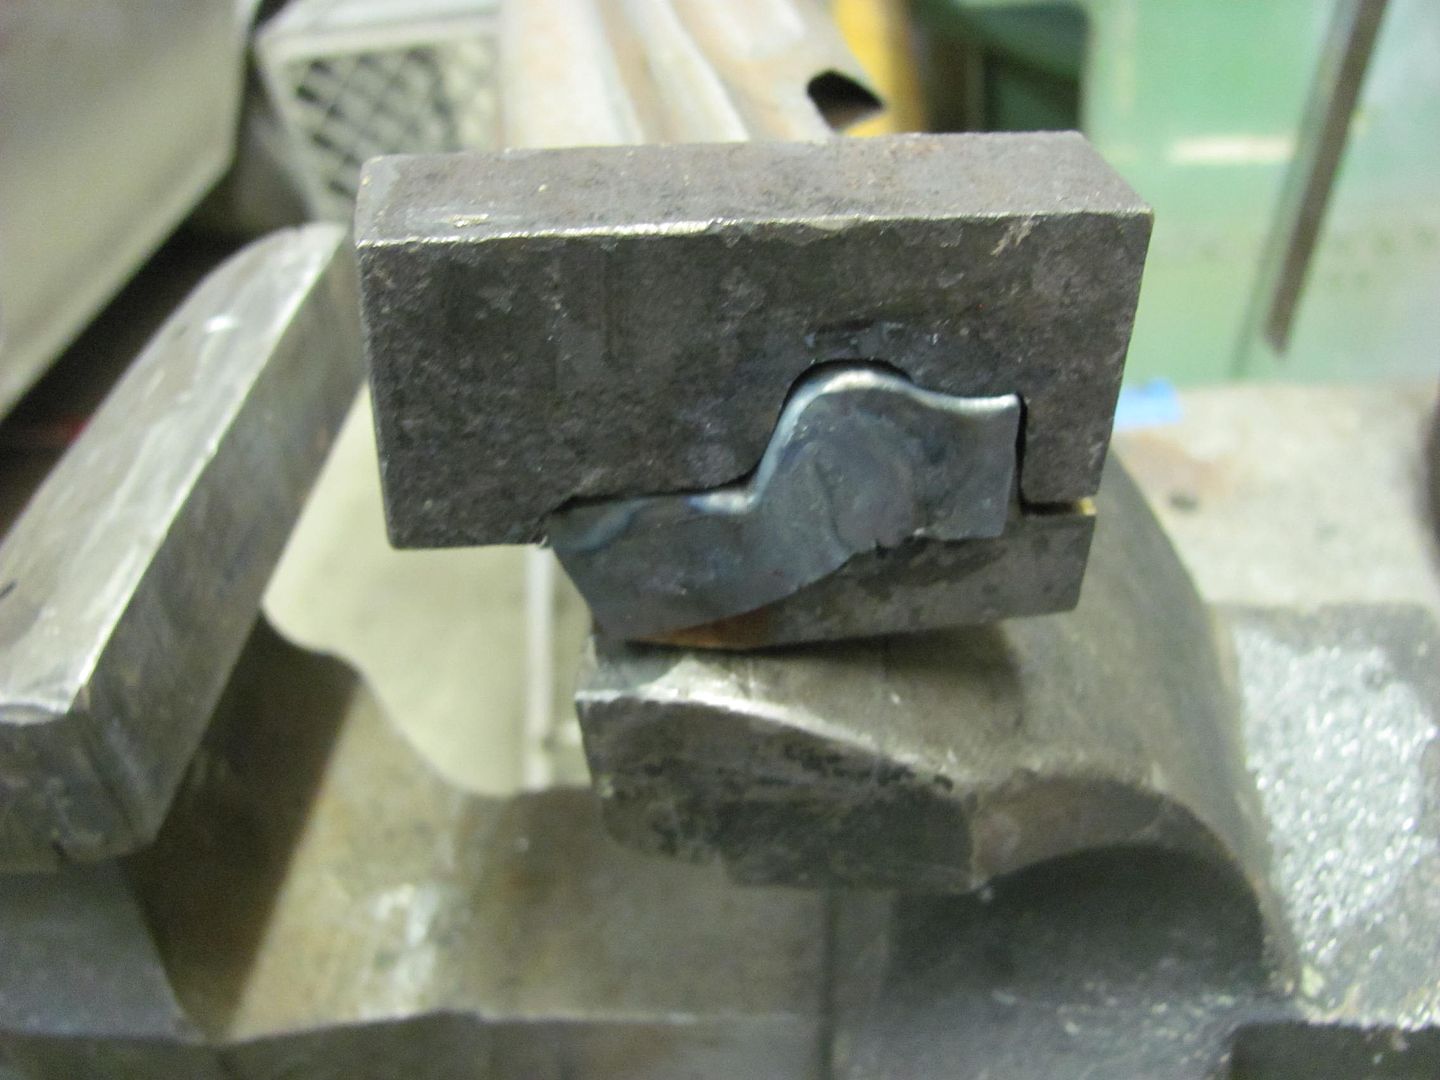

Fitted.....
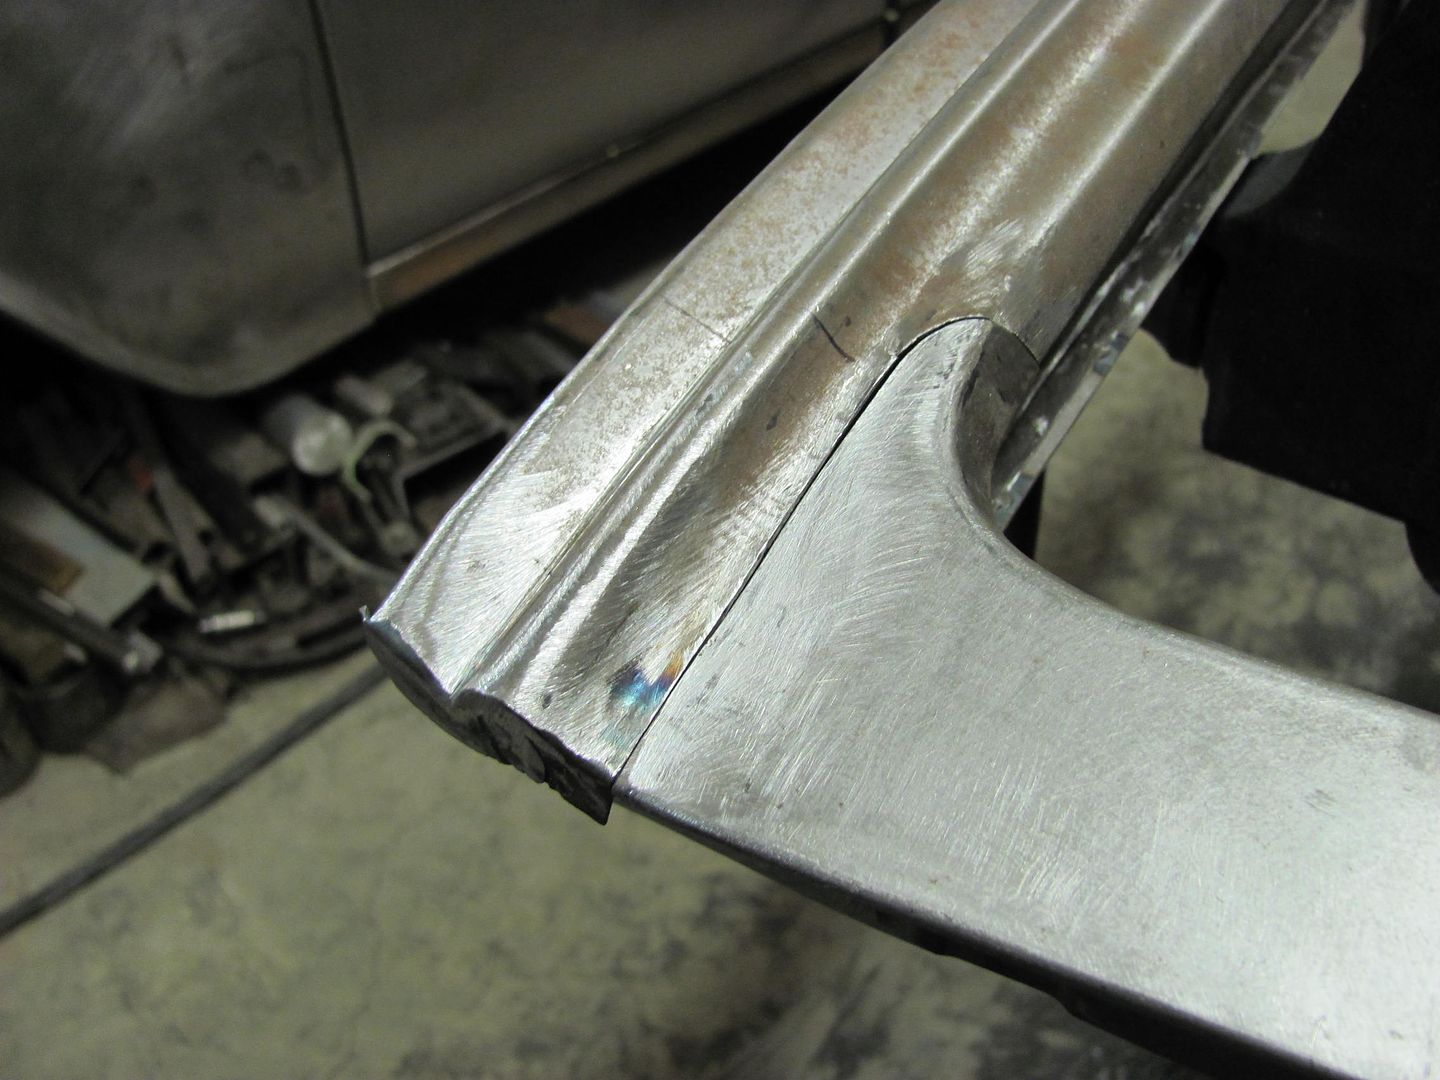
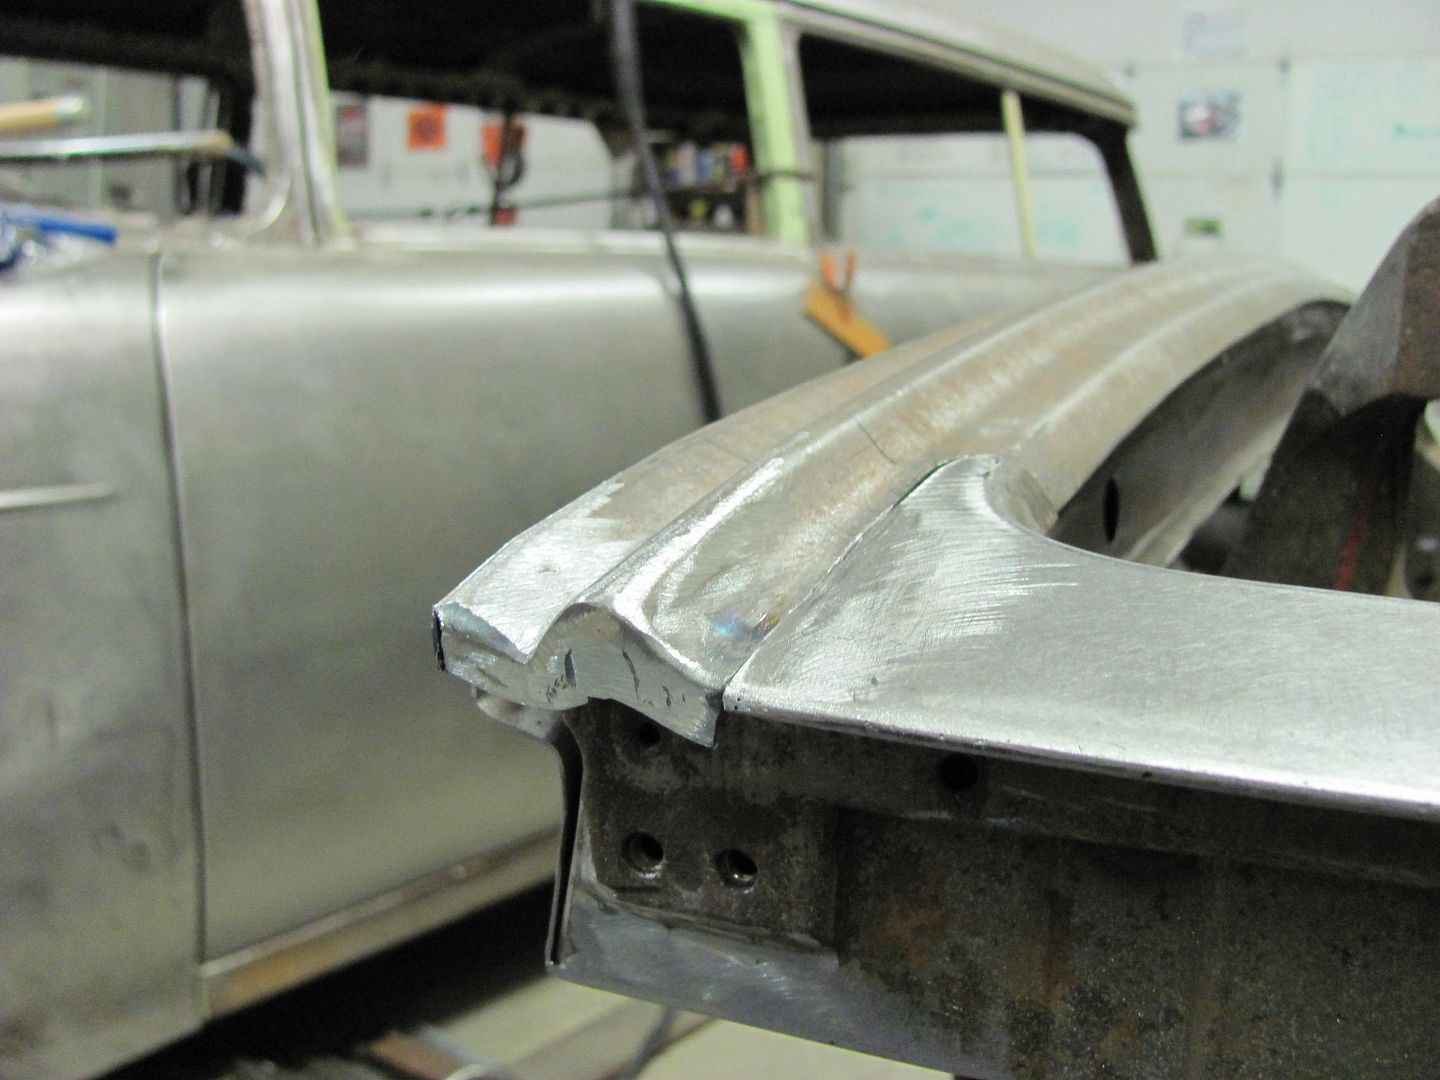
and the other end......
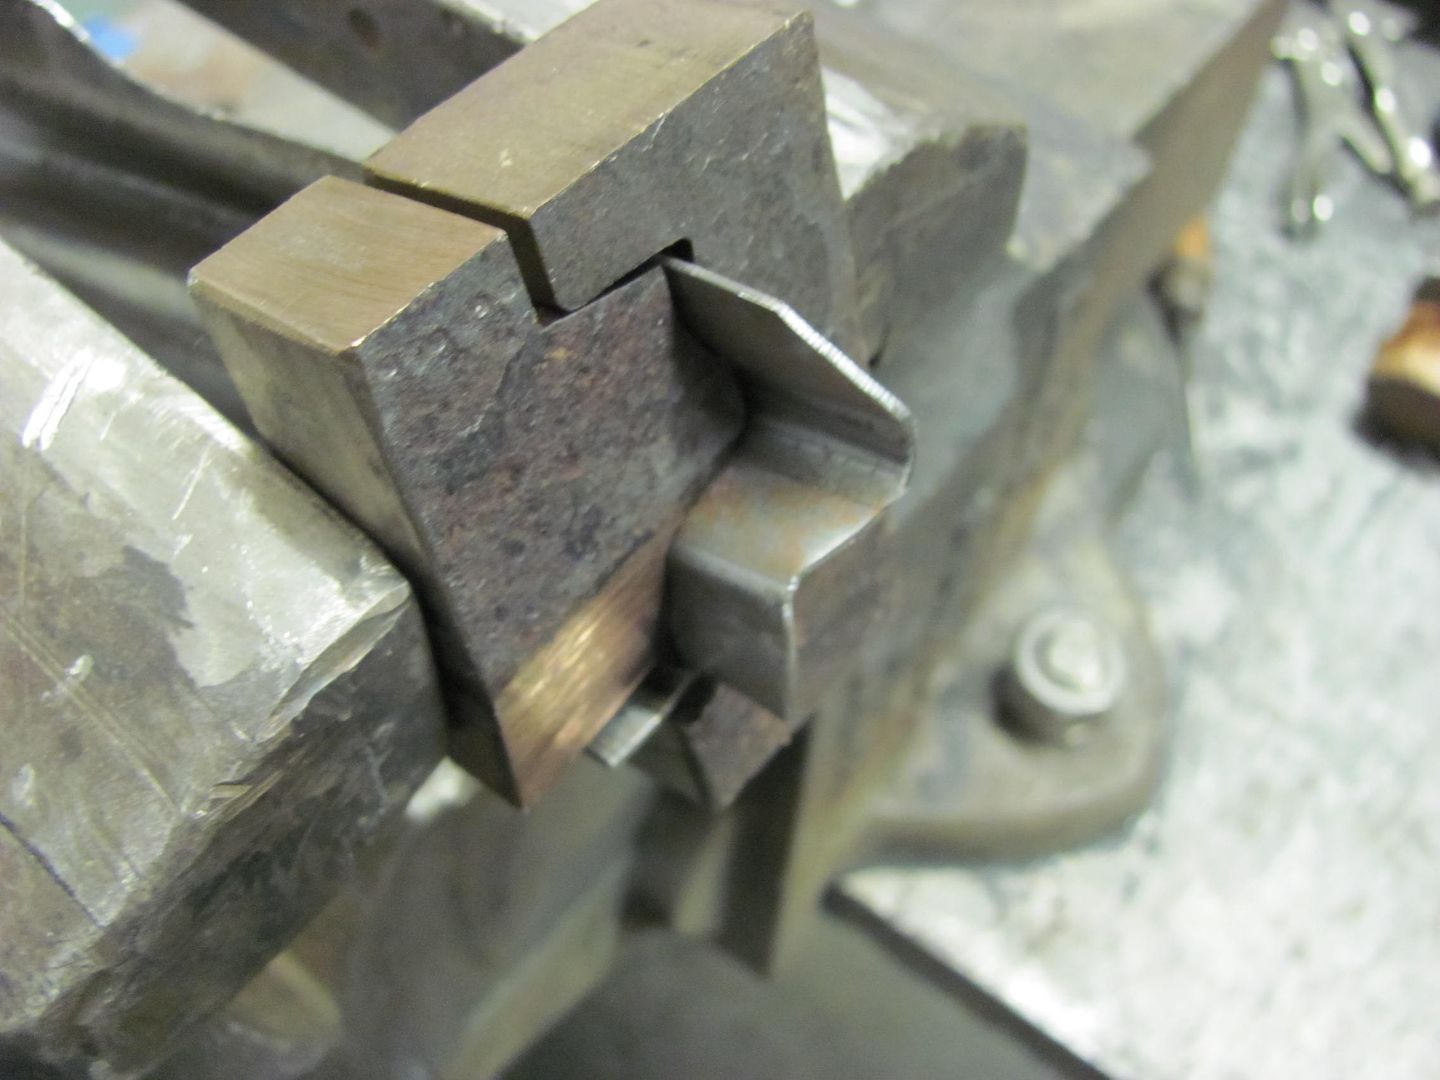

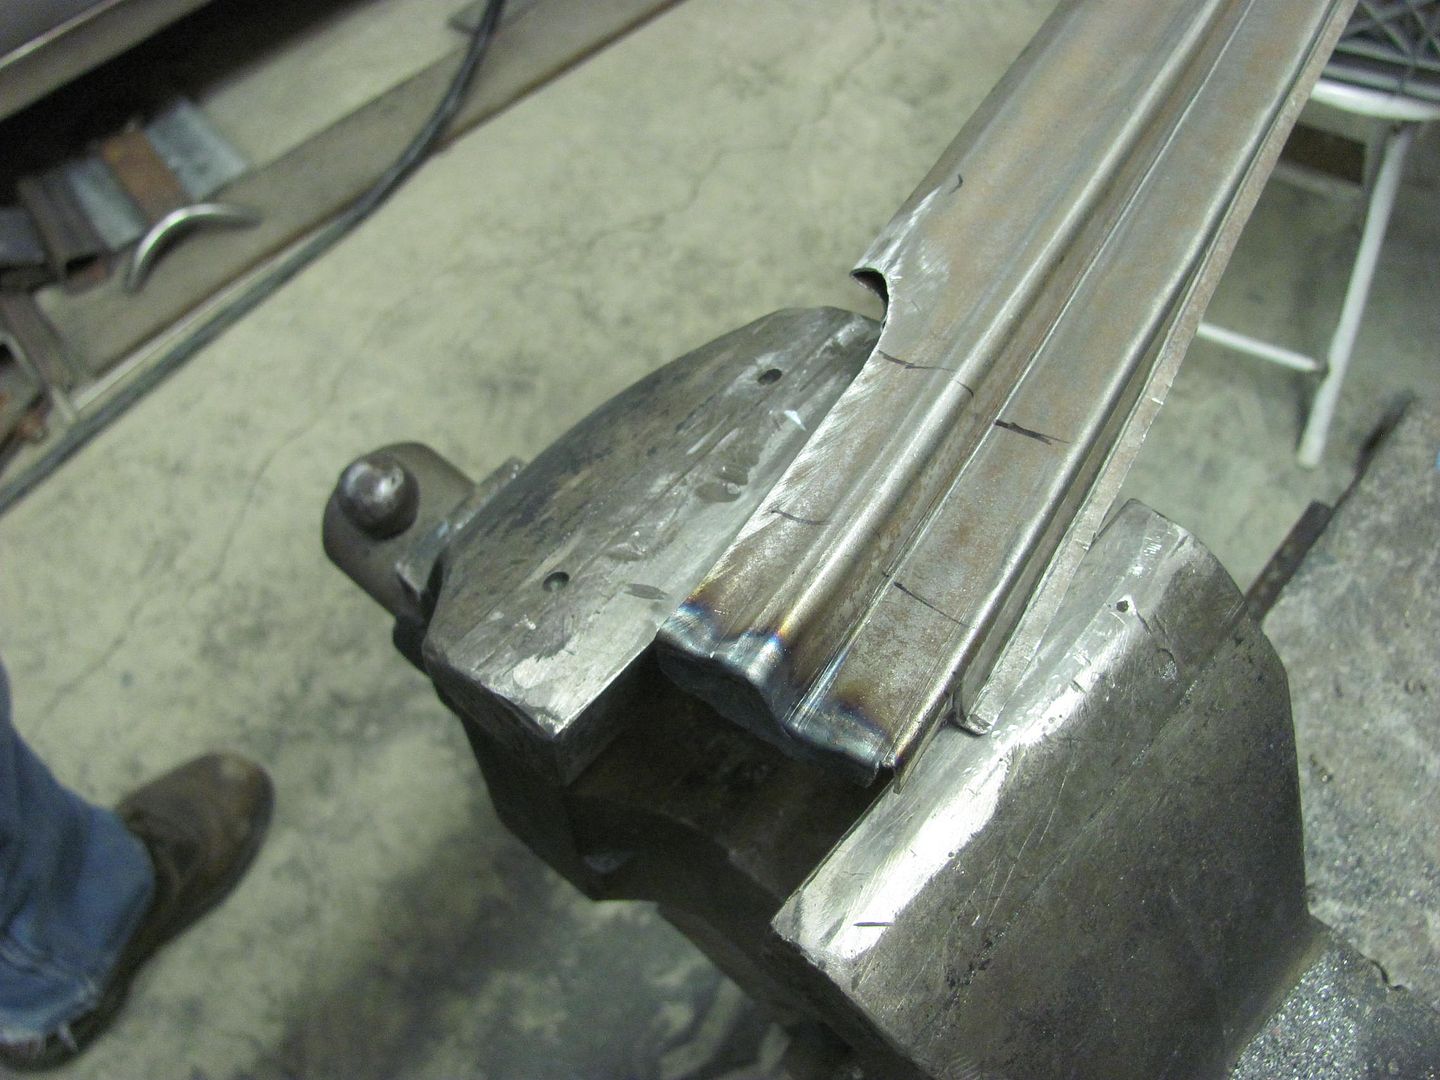
Hope to test fit everything tomorrow before all the parts get media blasted..Robert


 3390Likes

 LinkBack URL
 About LinkBacks
 Reply With Quote

I did not know Mike very well, we exchanged some messages from time to time but from what I understand he was a very good man. I was sad to learn about this
We Lost a Good One