


 3390Likes
Thread: 55 Wagon Progress


Results 1 to 15 of 1865
 LinkBack URL
 About LinkBacks
Hybrid View
-
02-04-2015 08:40 PM #1
 CHR Member

- Join Date
- Jun 2008
- Location
- Leonardtown
- Car Year, Make, Model: Walking
- Posts
- 1,228
Thanks fellas!
I had a bit of a short night as I had to pick up the young'n from after school activities, so most of the progress this evening was Kyle's efforts.
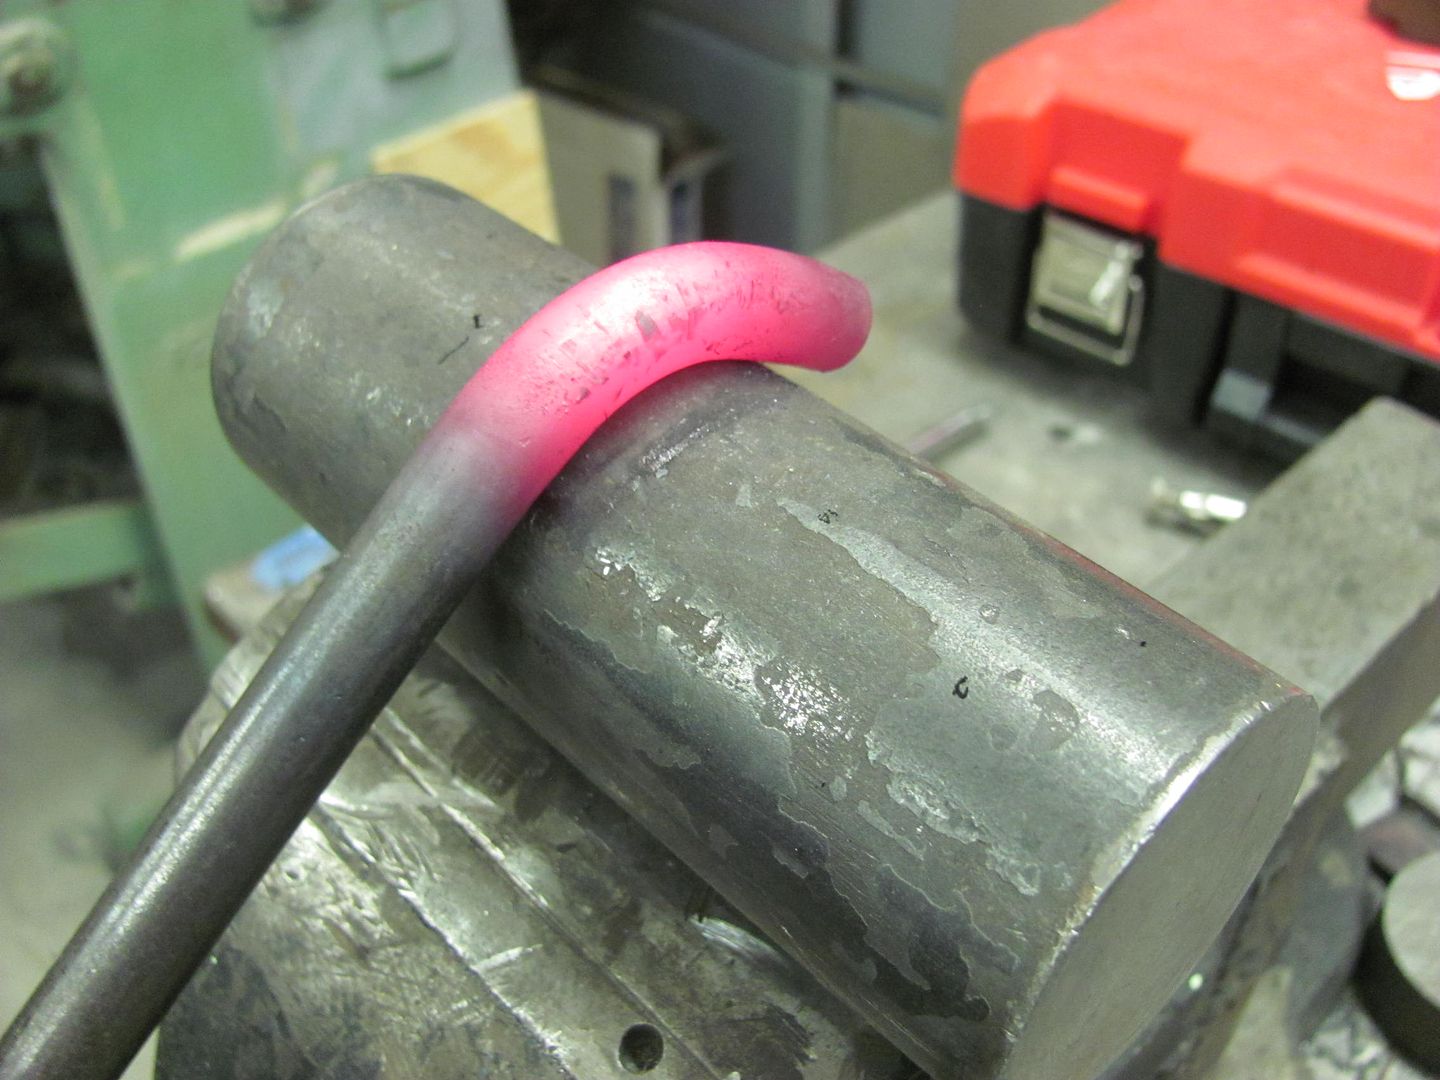
Making the patch for the center relief, starting with adding the radius to the bottom edge... This uses a bottom vee die from the Diacro and a 1/2" rod to form the radius..
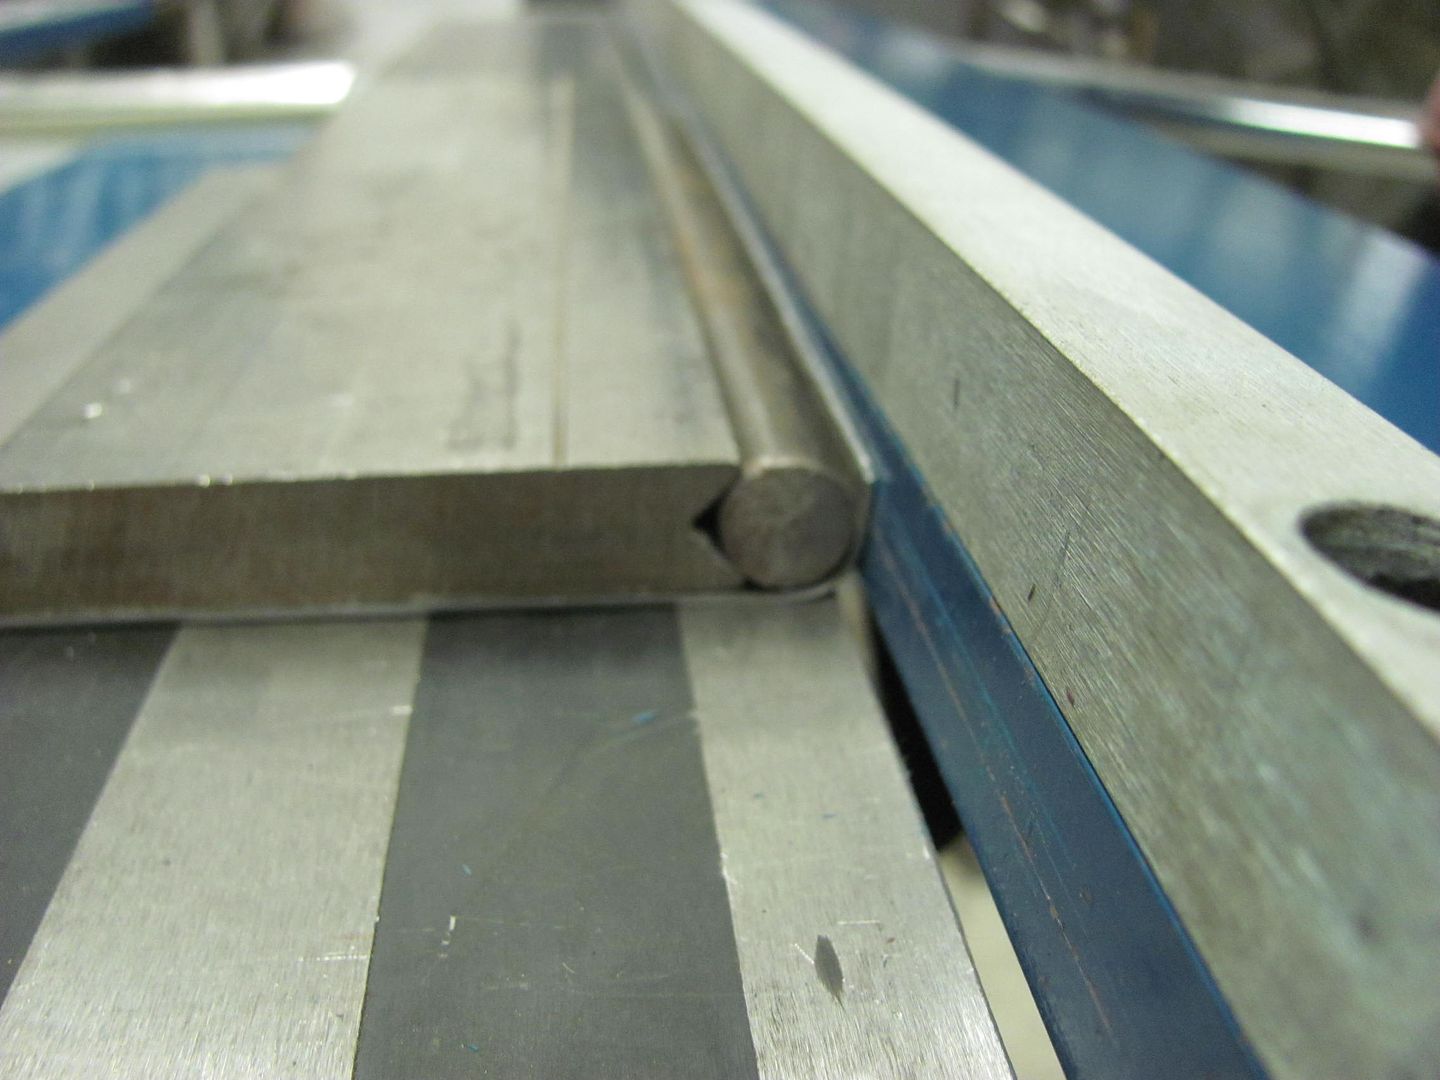
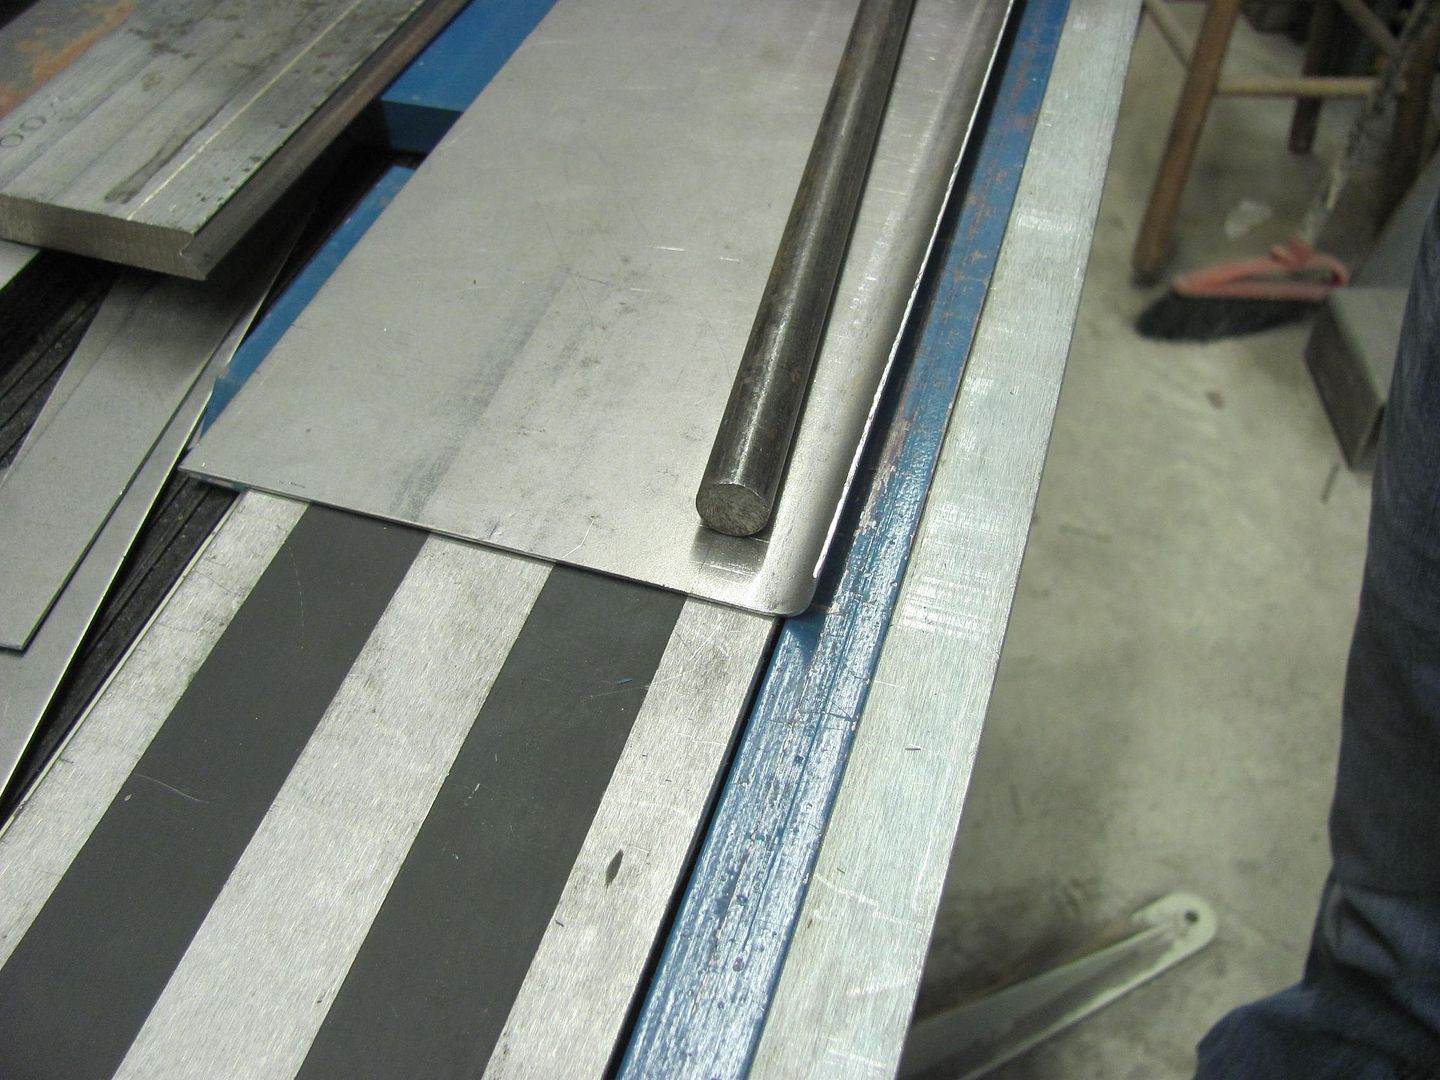
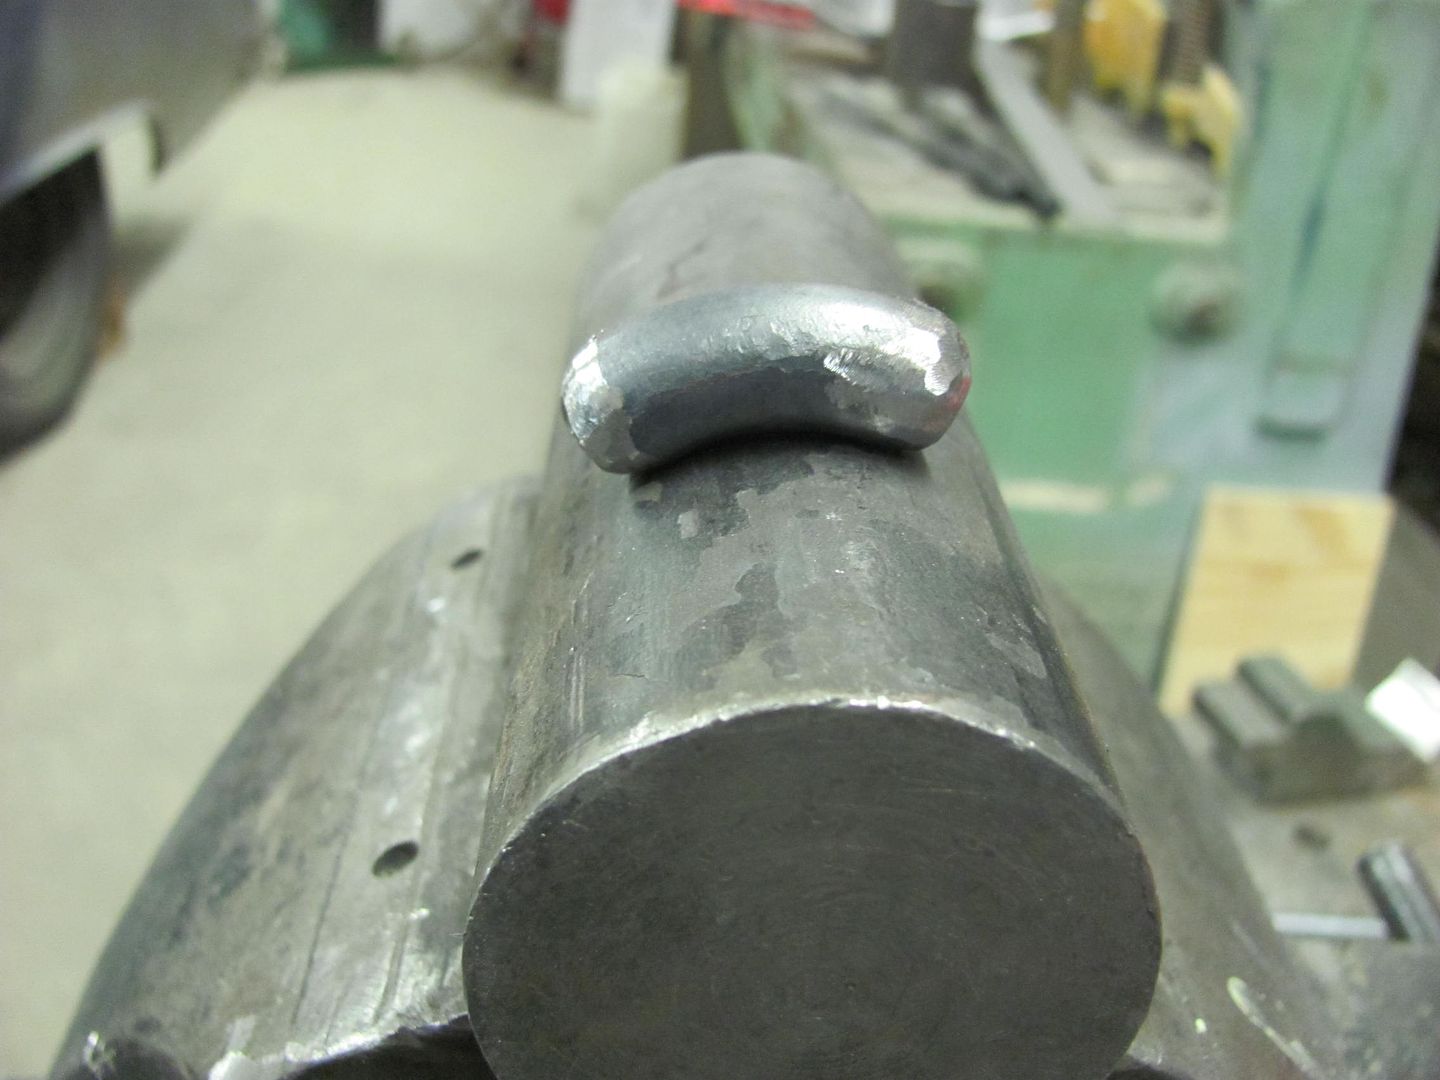
Test fit of the radius...
Trimming out the hood brace...
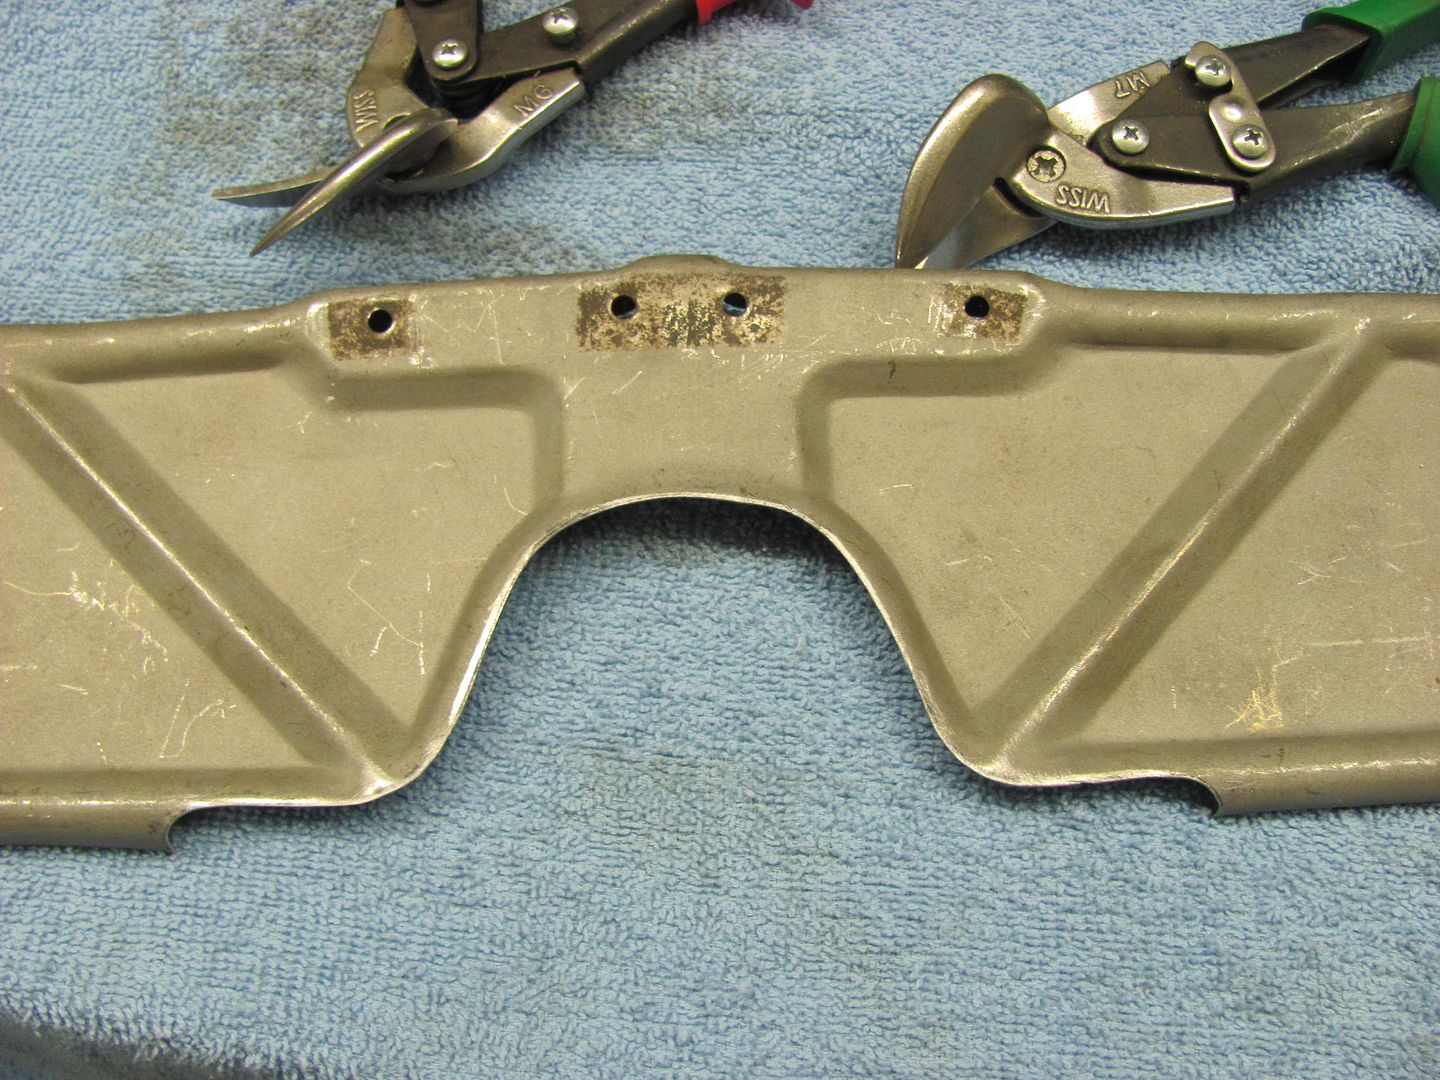
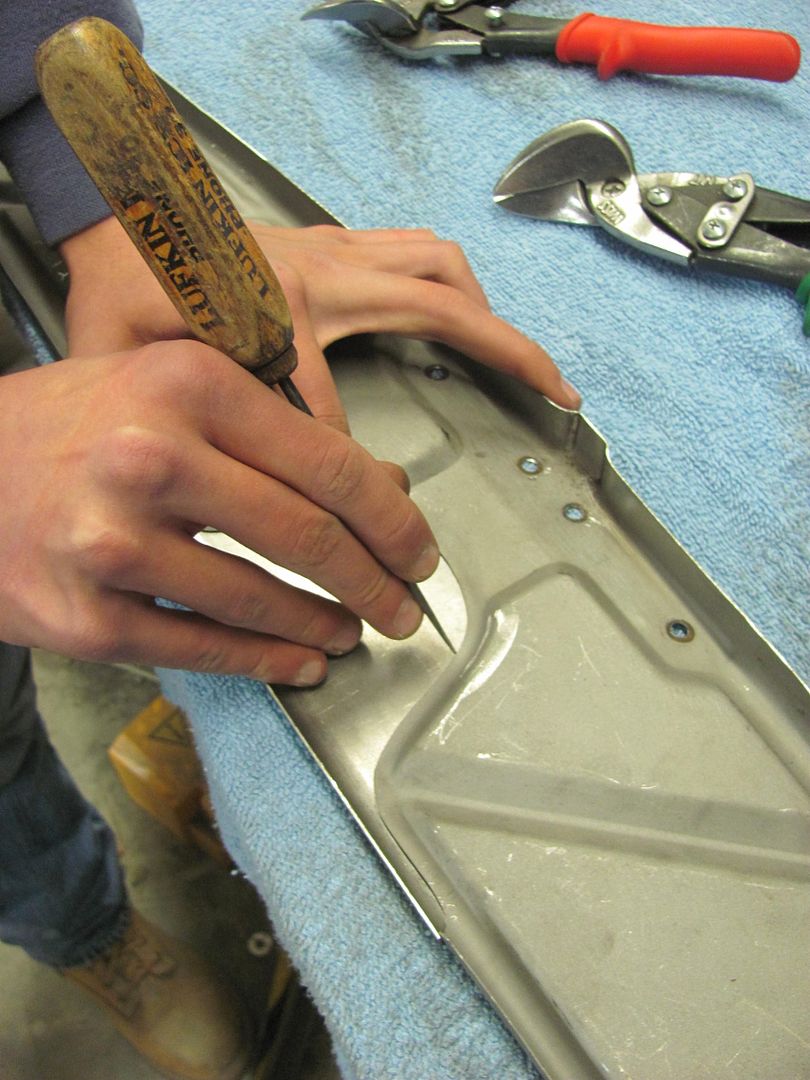
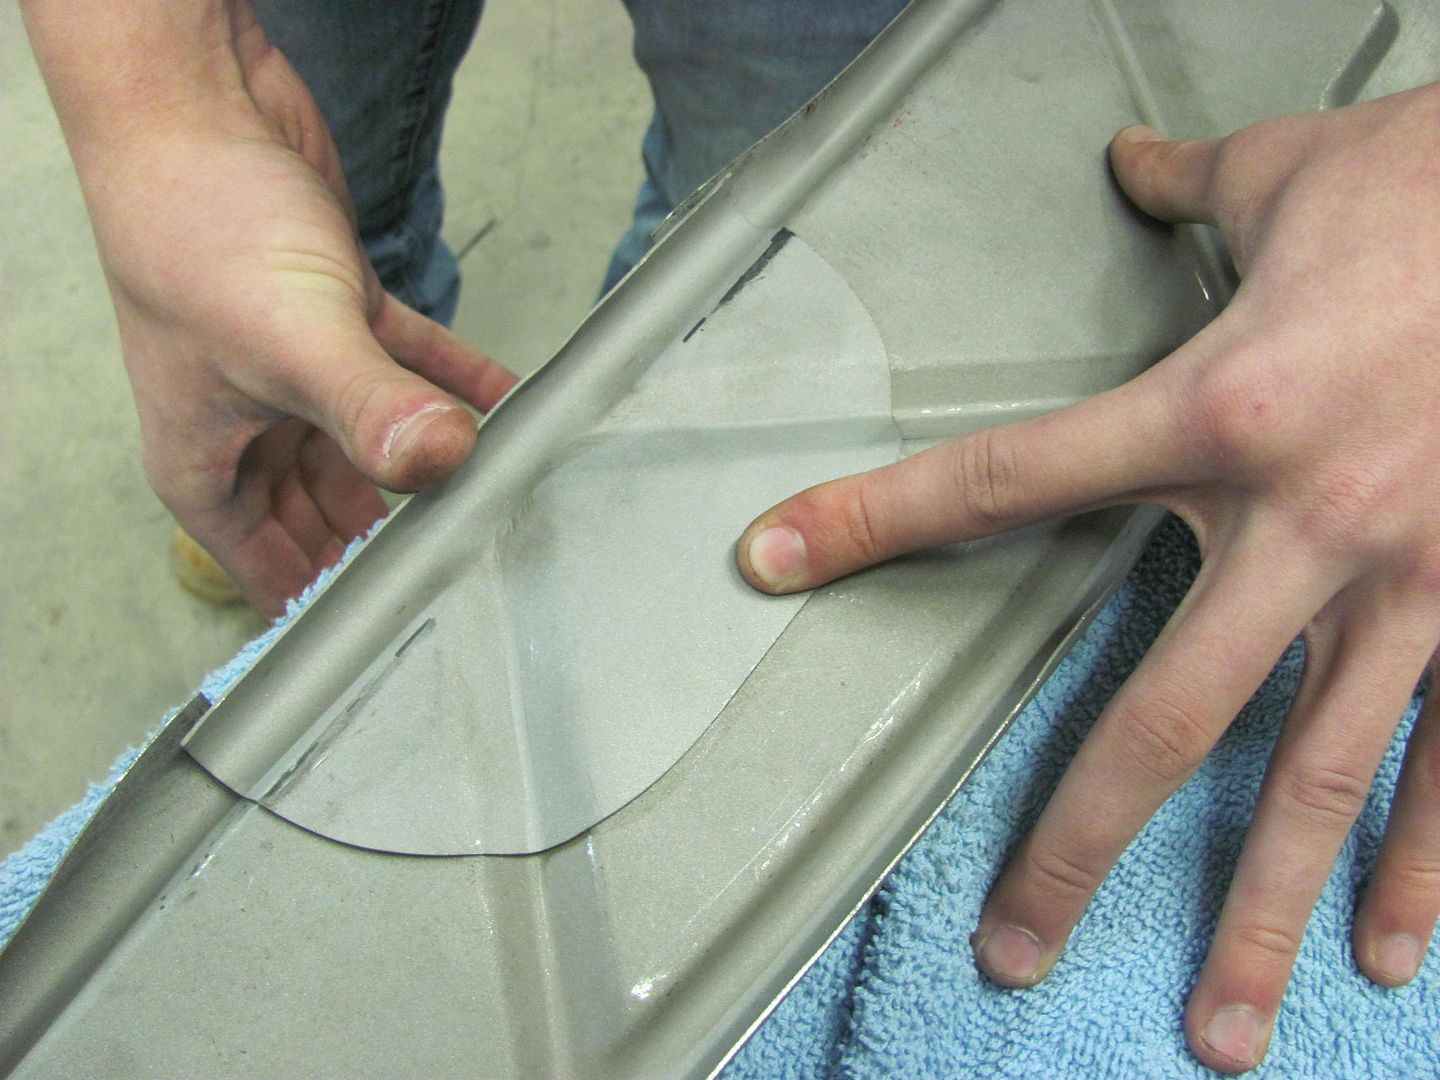
Scribing the patch....
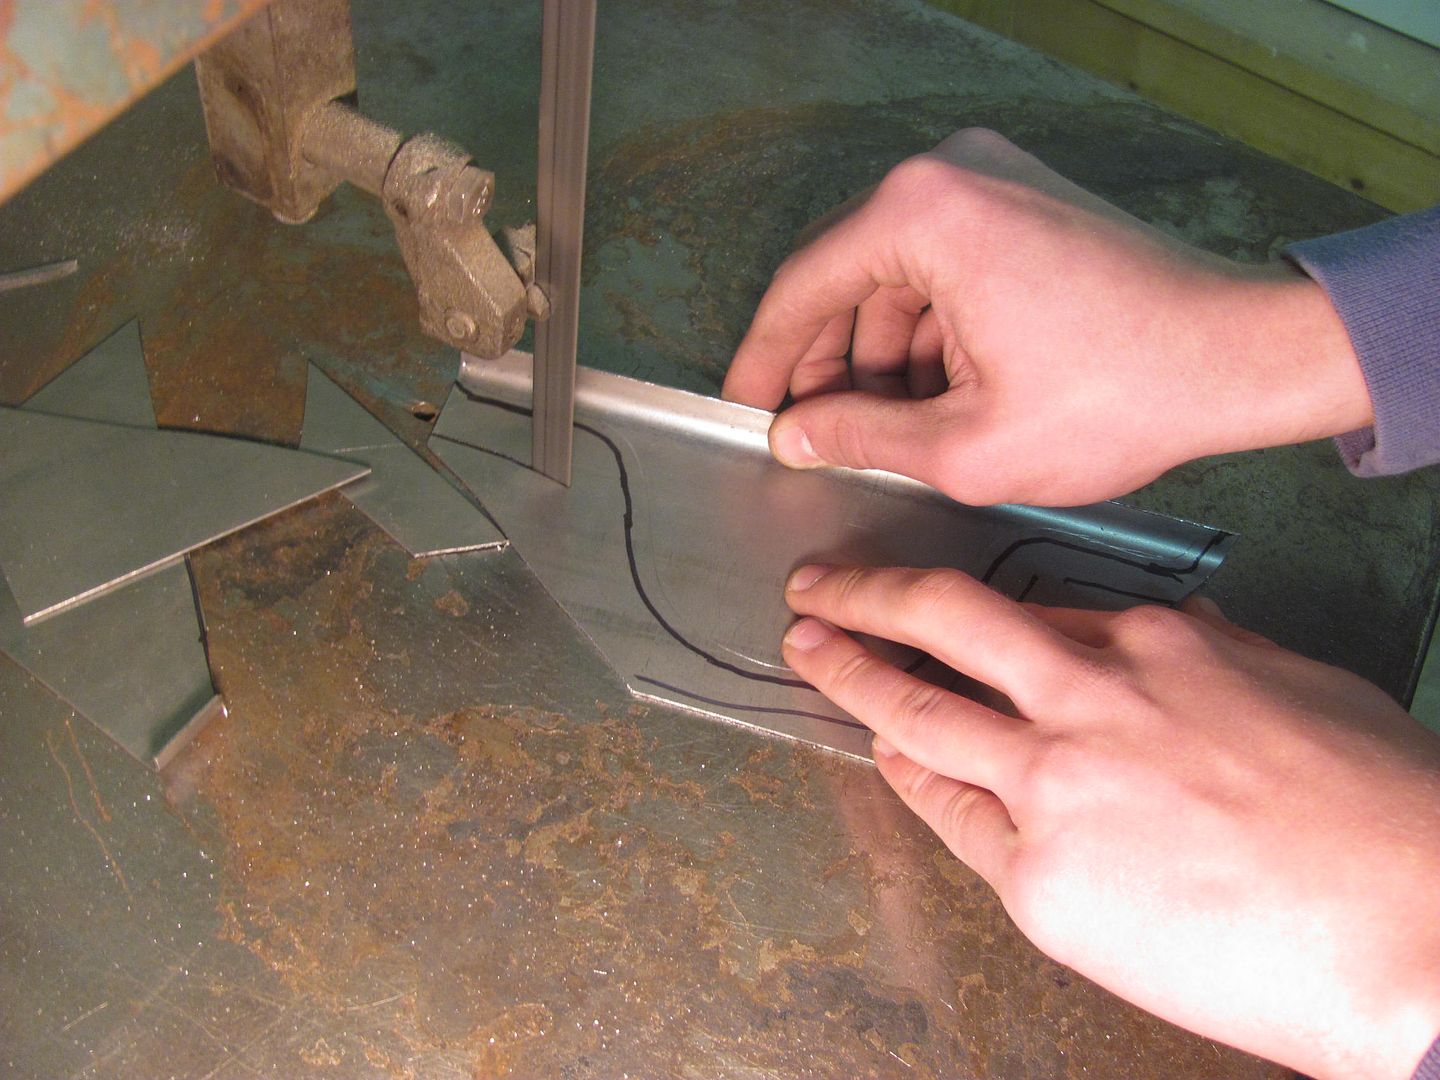
Trimming some of the excess on the bandsaw, and then fine tuning with the snips....
I did work a bit more on hood gaps.. an official gap gauge shown here....
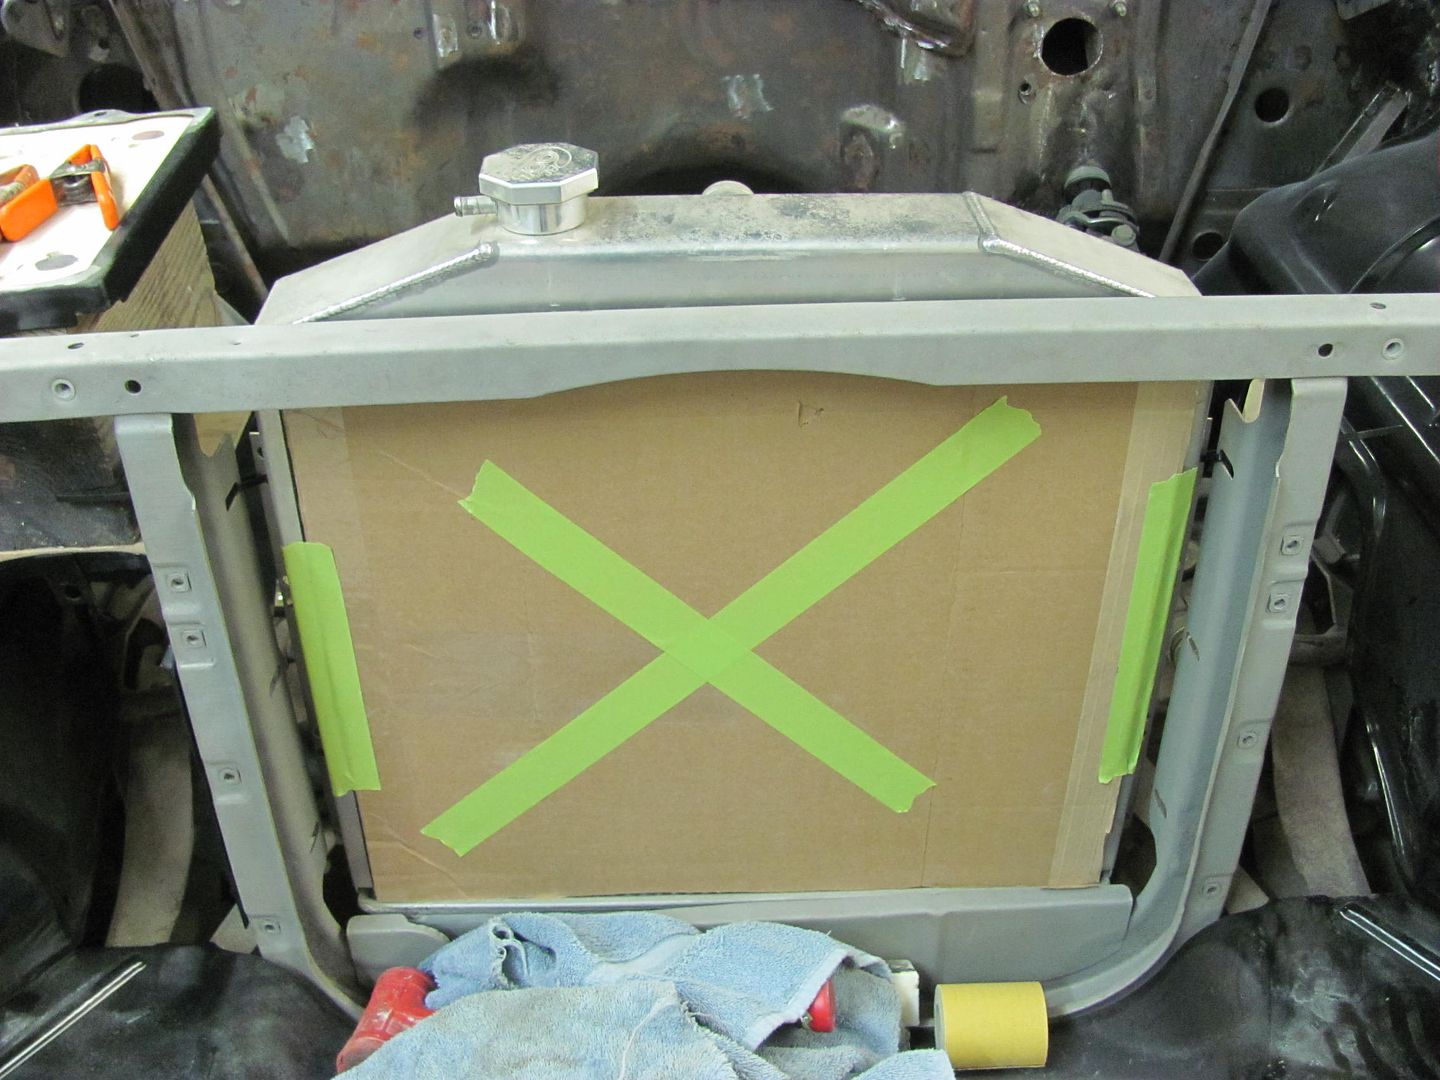
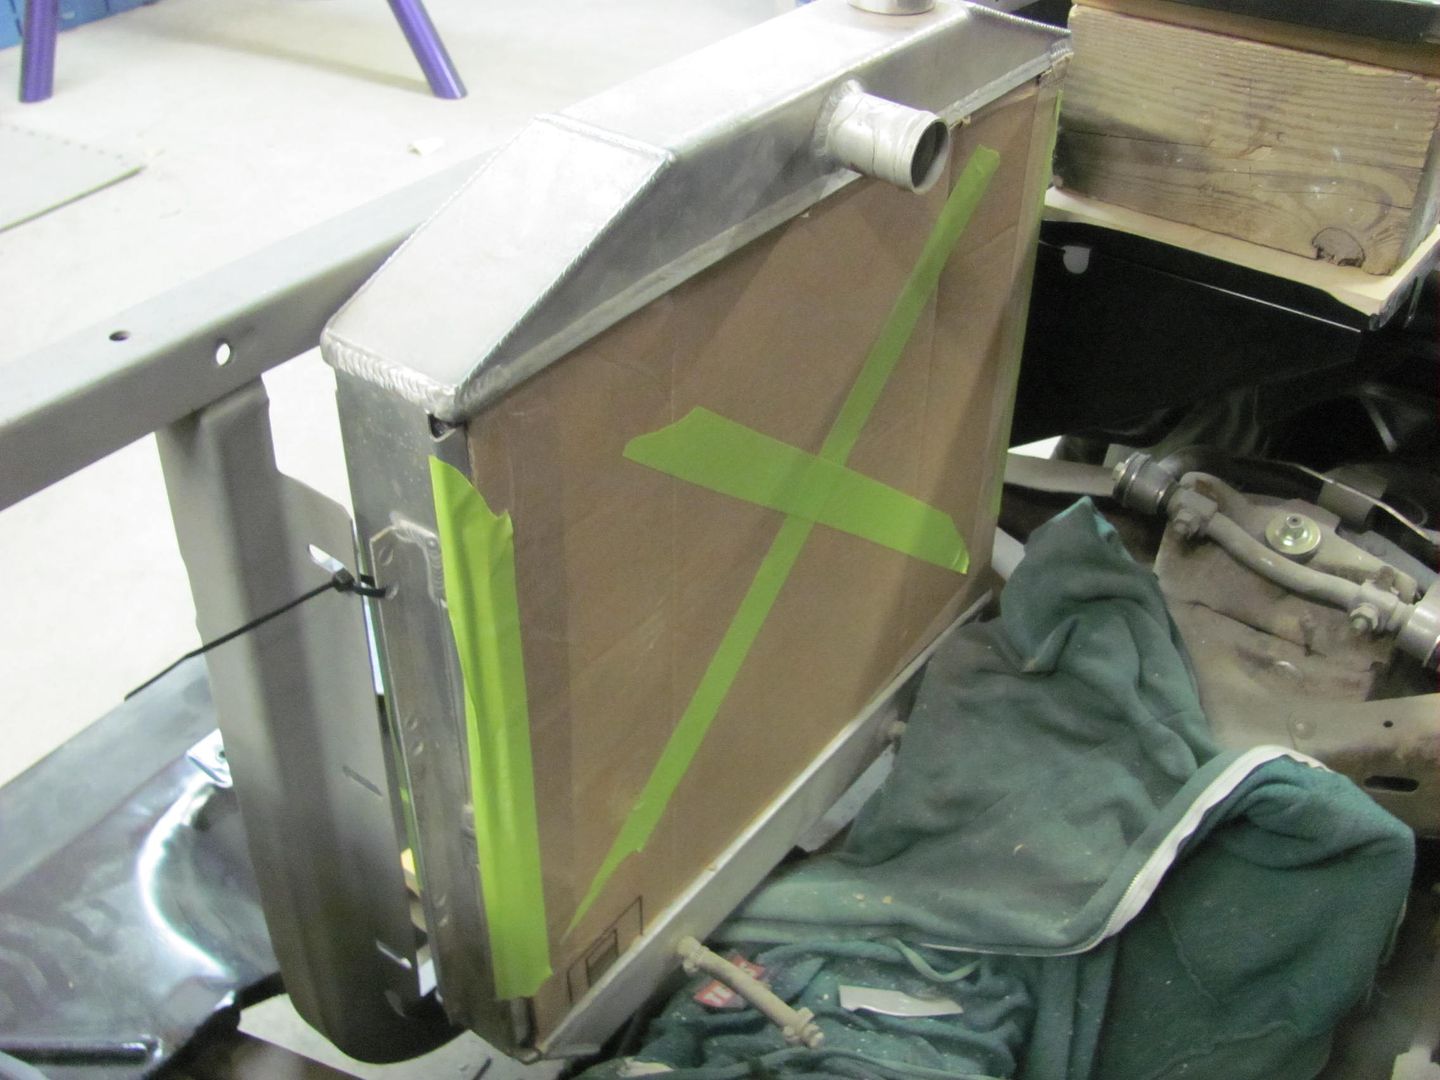
Also took some radiator leak preventative measures....
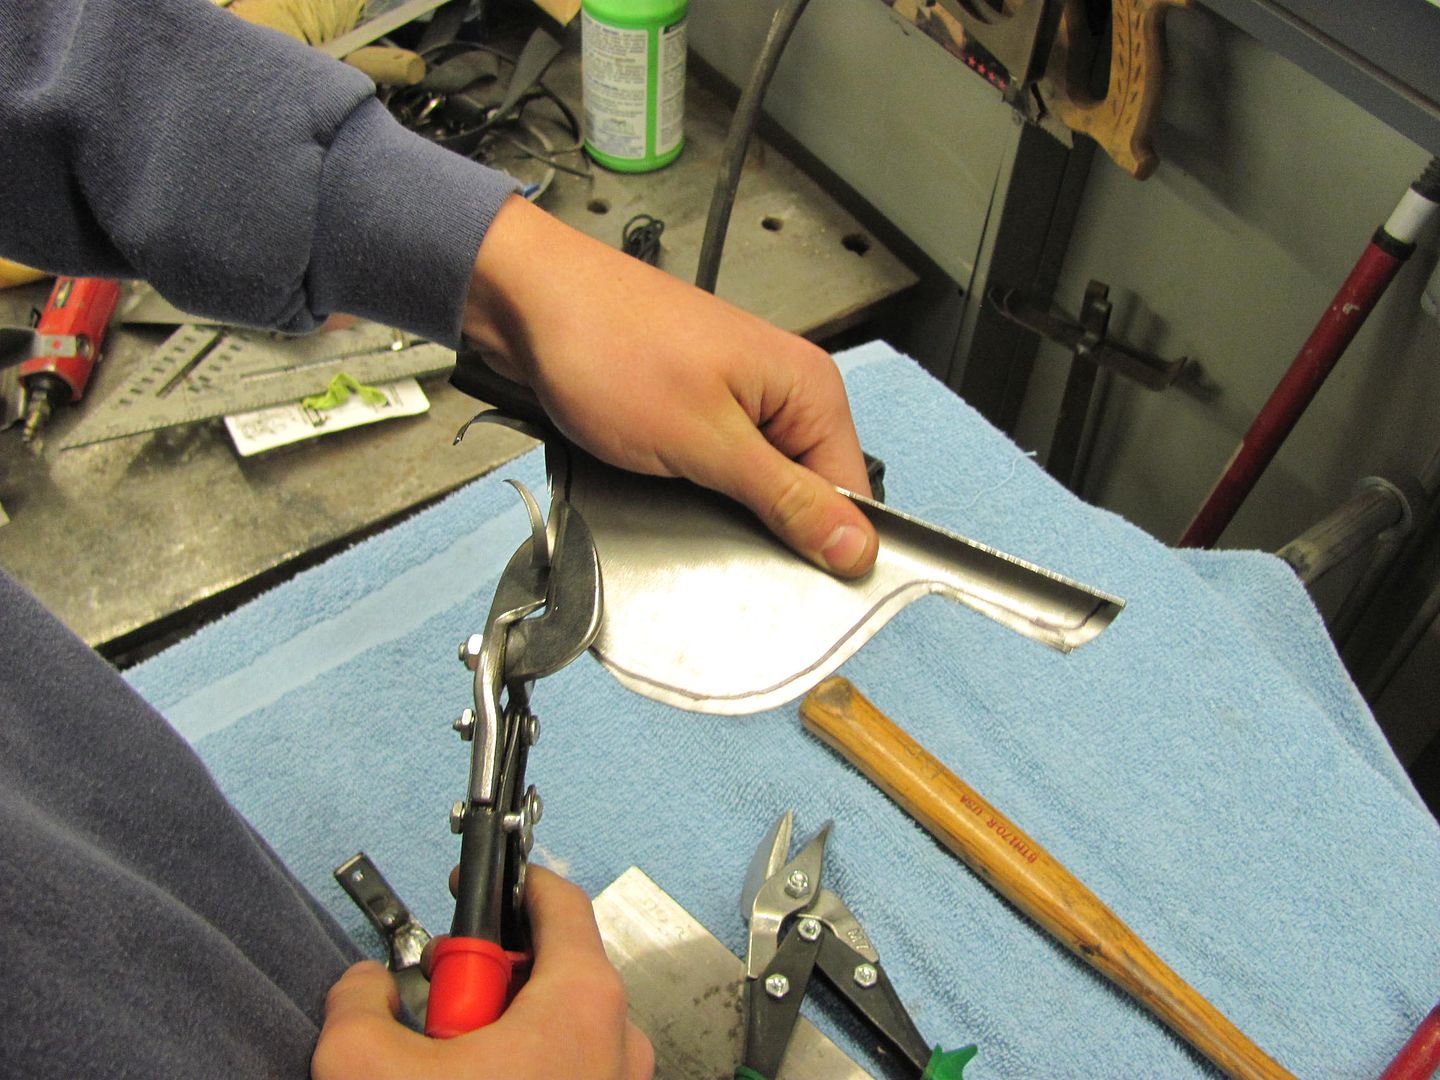
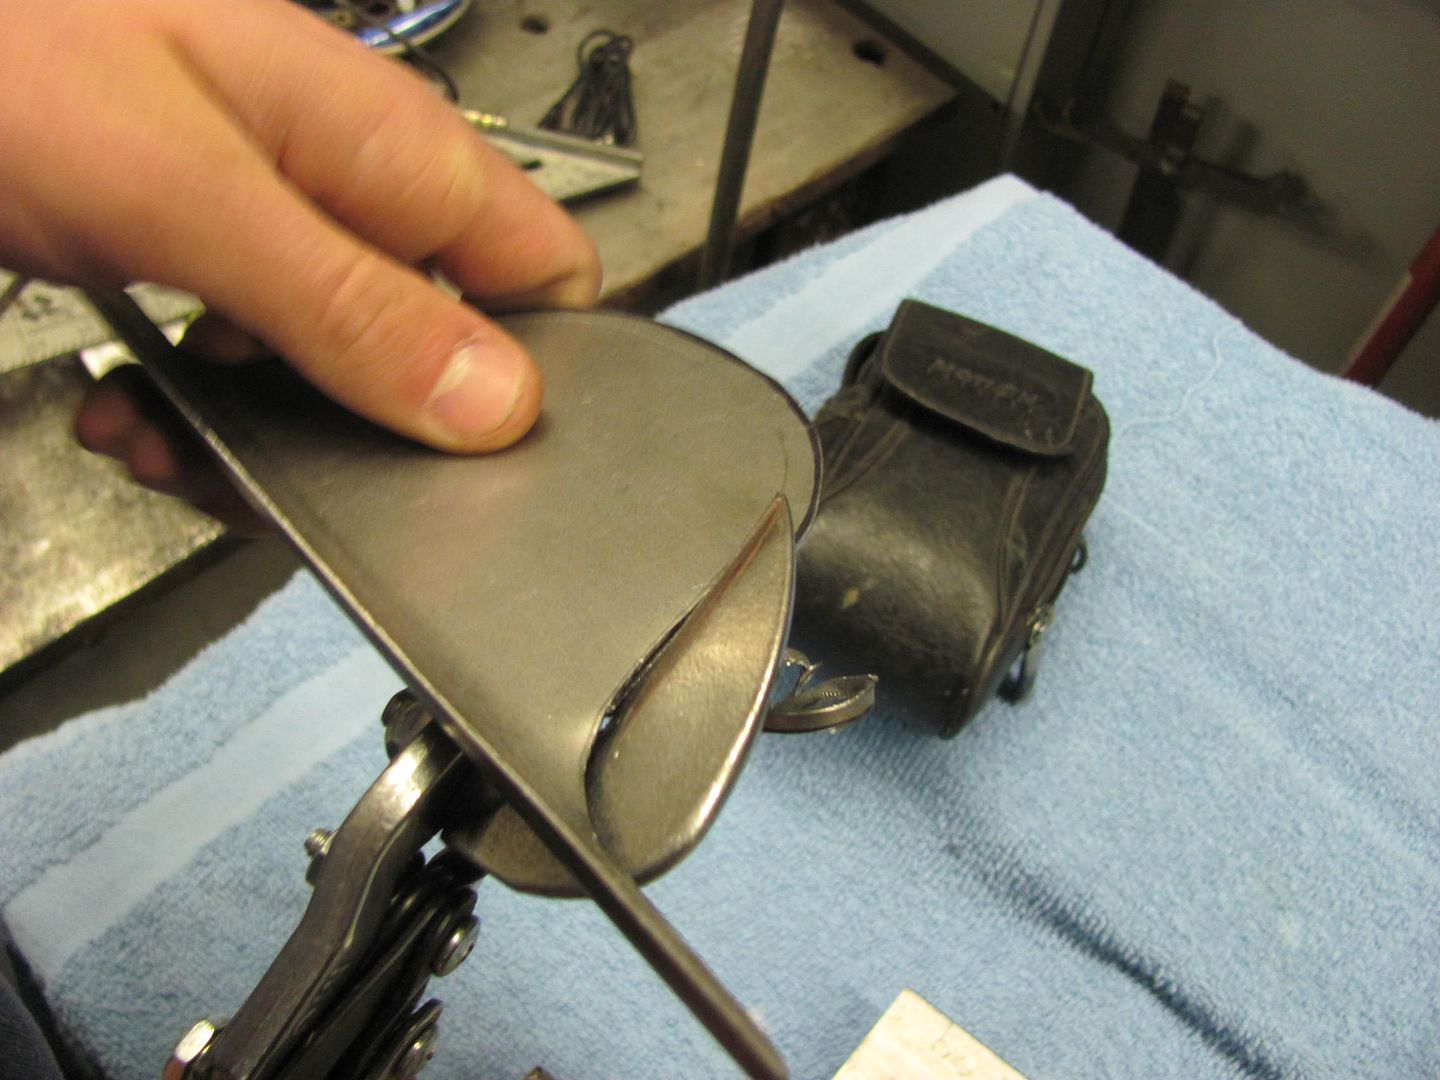
Trimming the other patch for the hood brace....
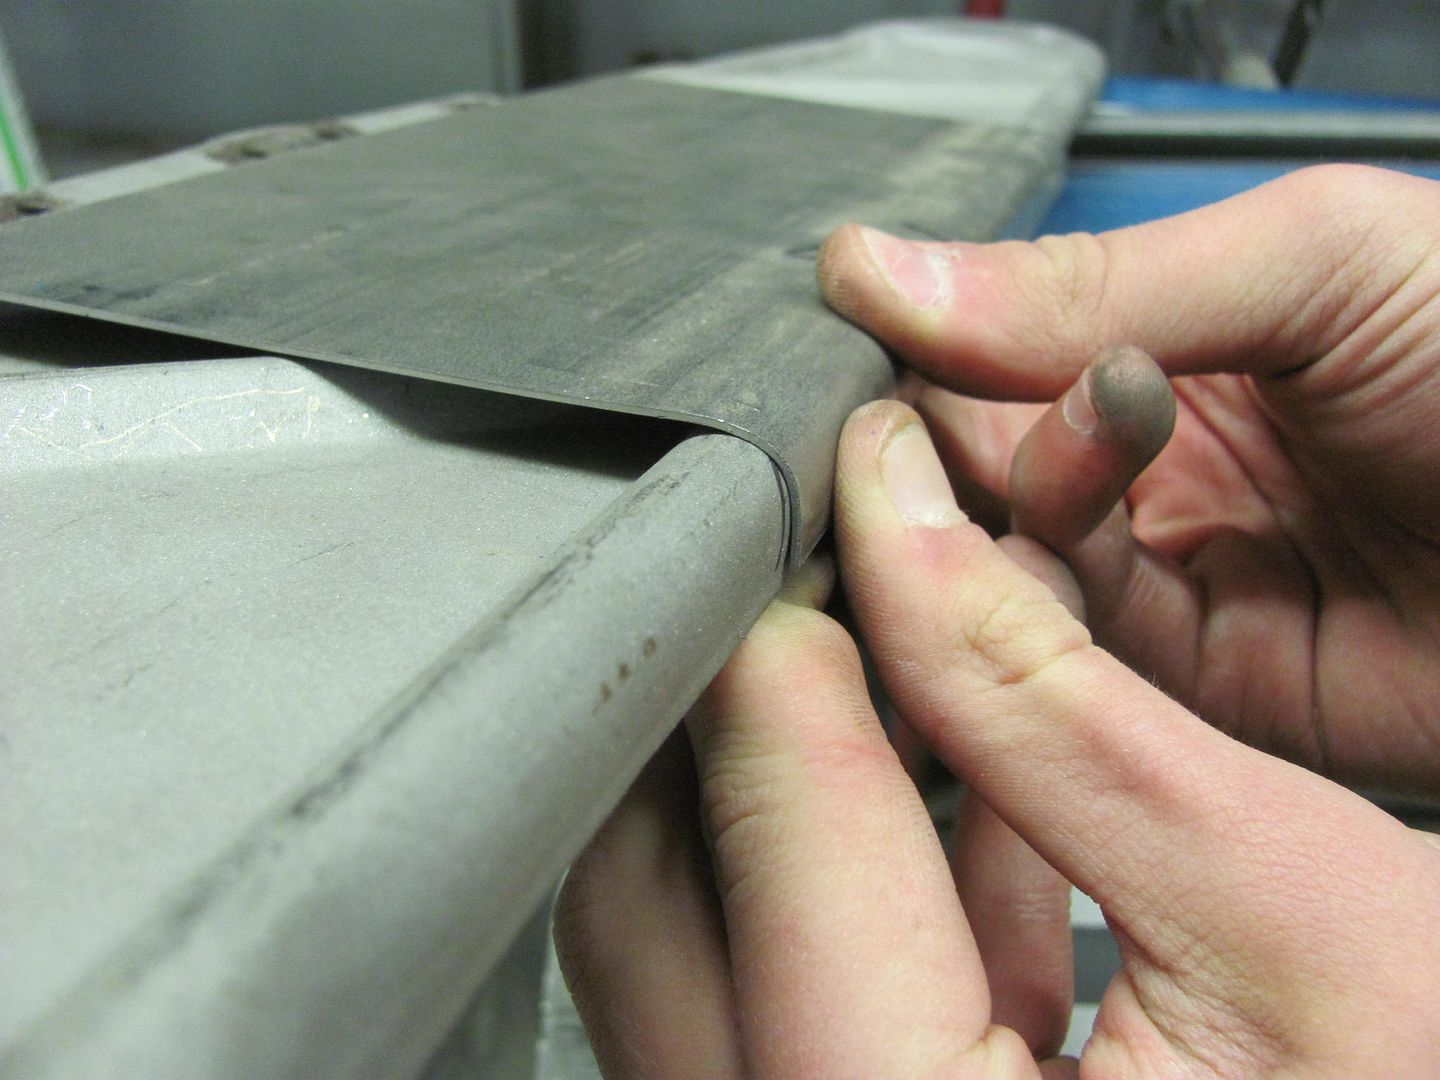
Kyle persuading the patch's crease over a bit. This uses a glancing blow to keep the crease's new location from sliding down on the anvil...
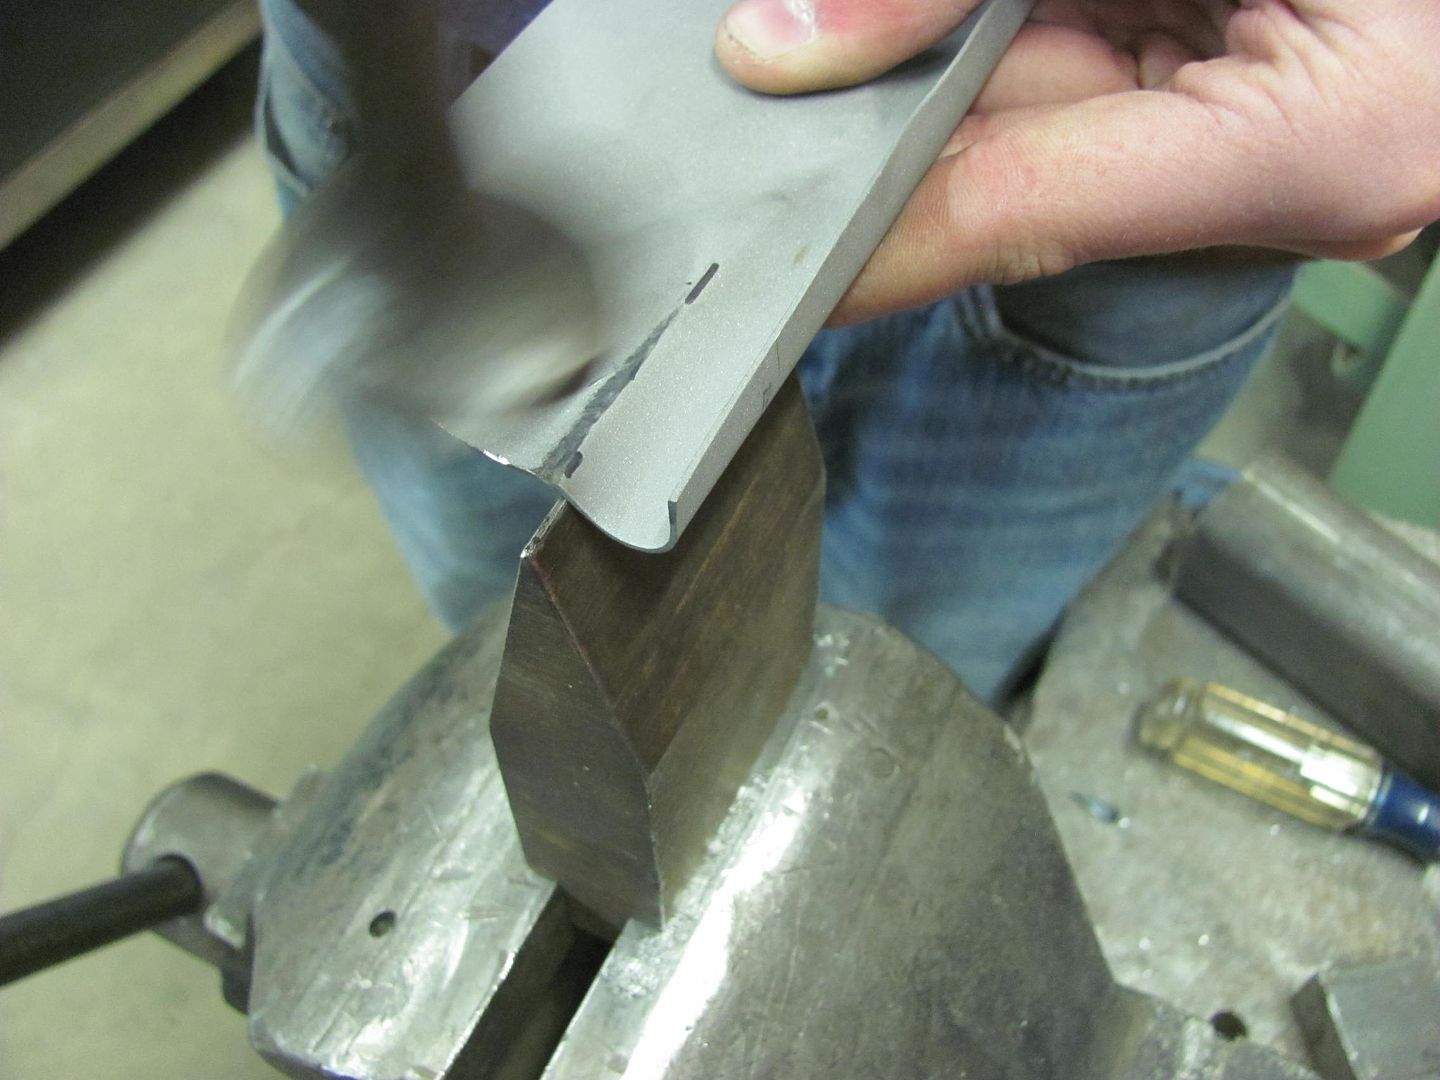
Both pieces clamped in place, we'll get some welding done on Saturday...

Last edited by MP&C; 02-05-2015 at 03:33 AM.
Robert
-
02-07-2015 05:09 PM #2
CHR Member
- Join Date
- Jun 2008
- Location
- Leonardtown
- Car Year, Make, Model: Walking
- Posts
- 1,228
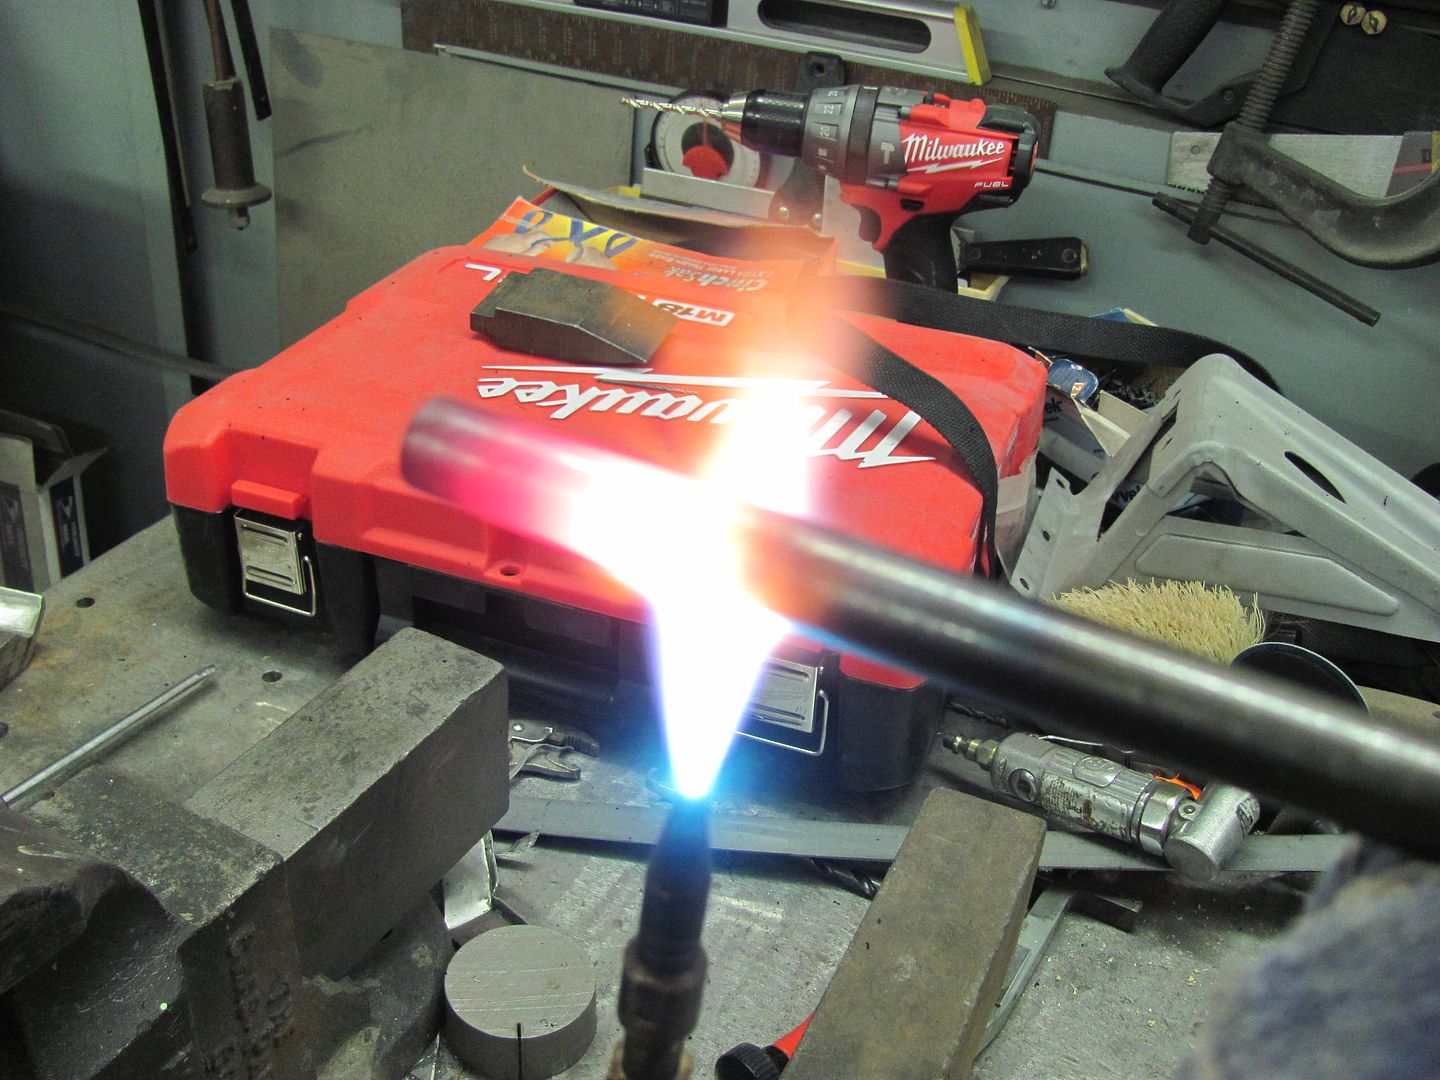
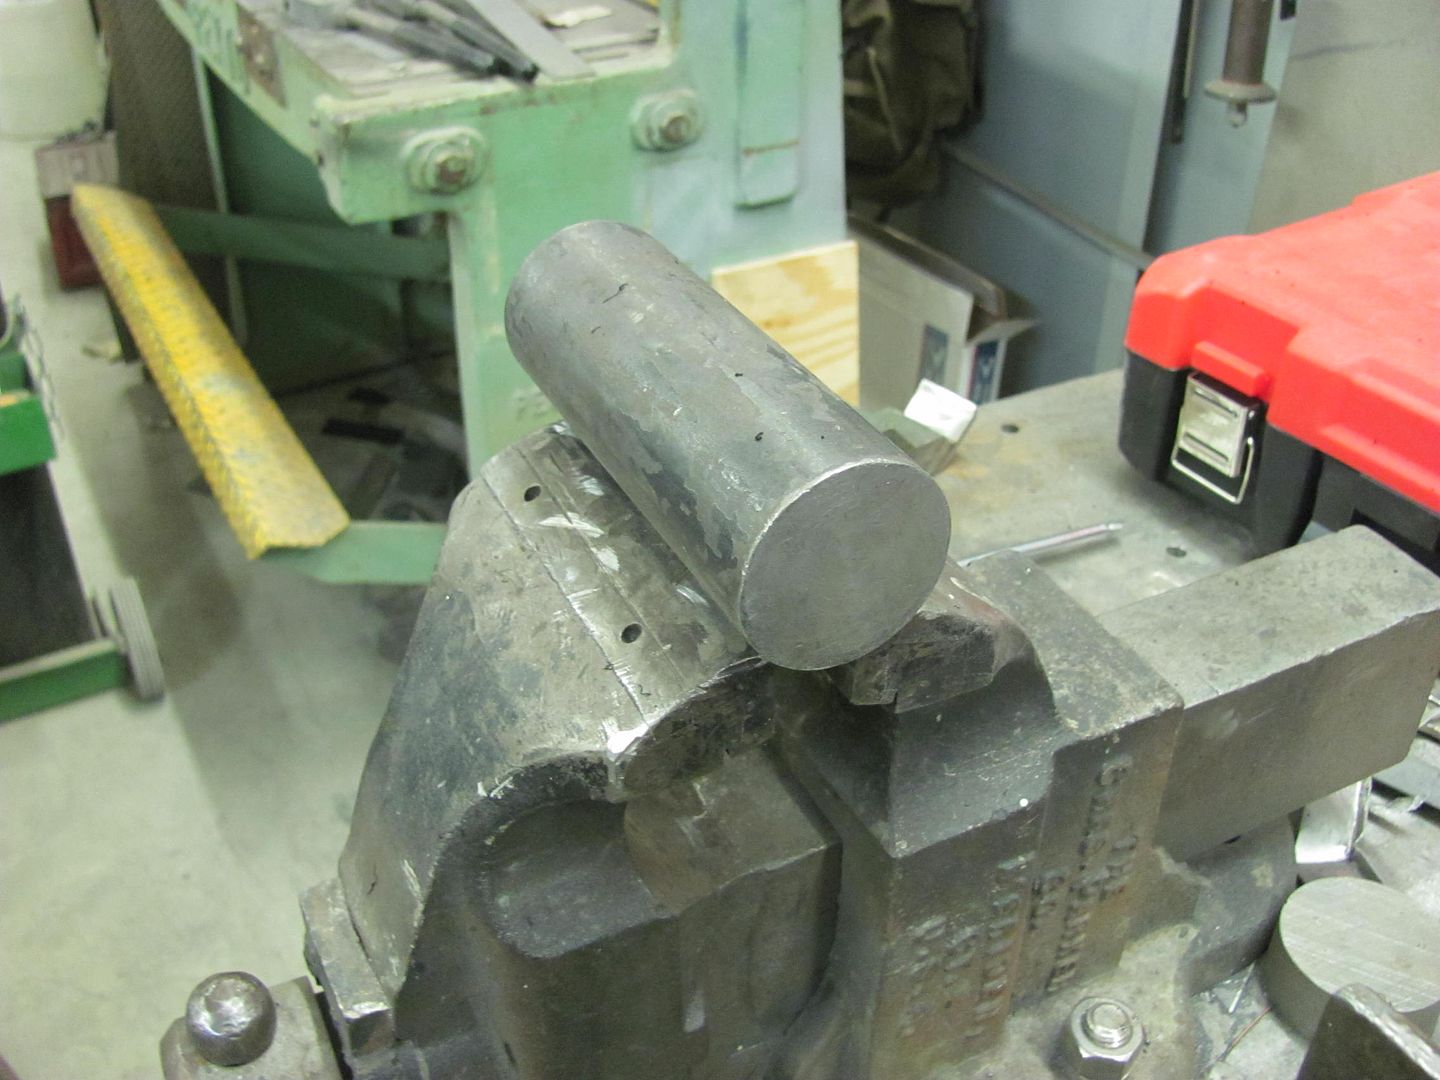
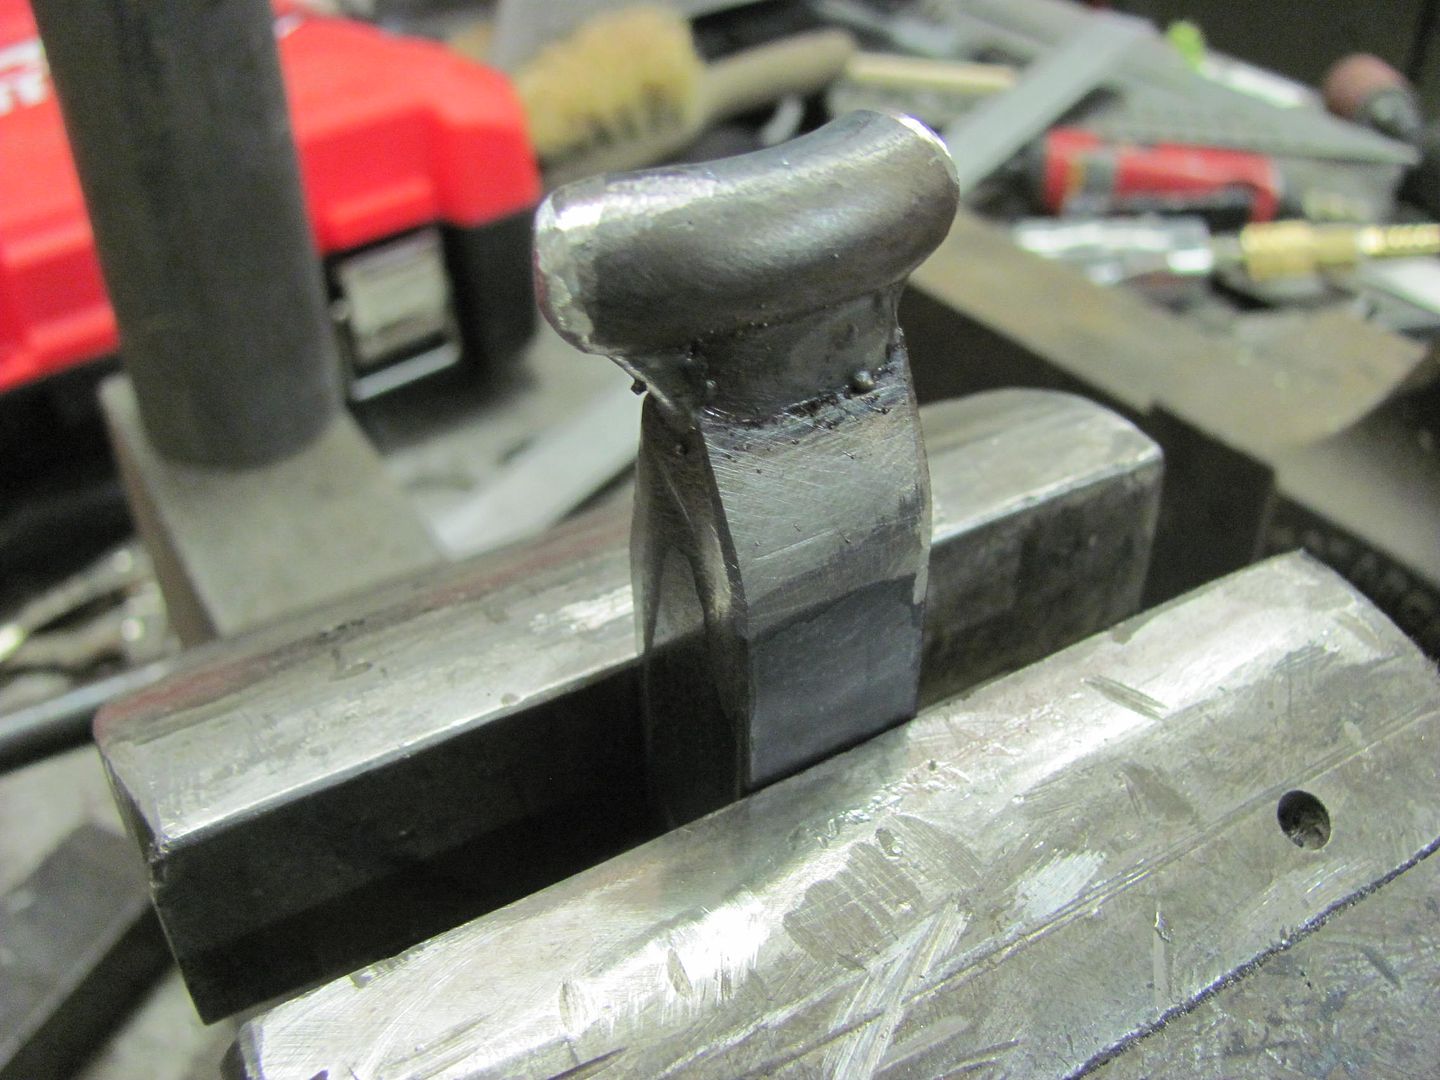
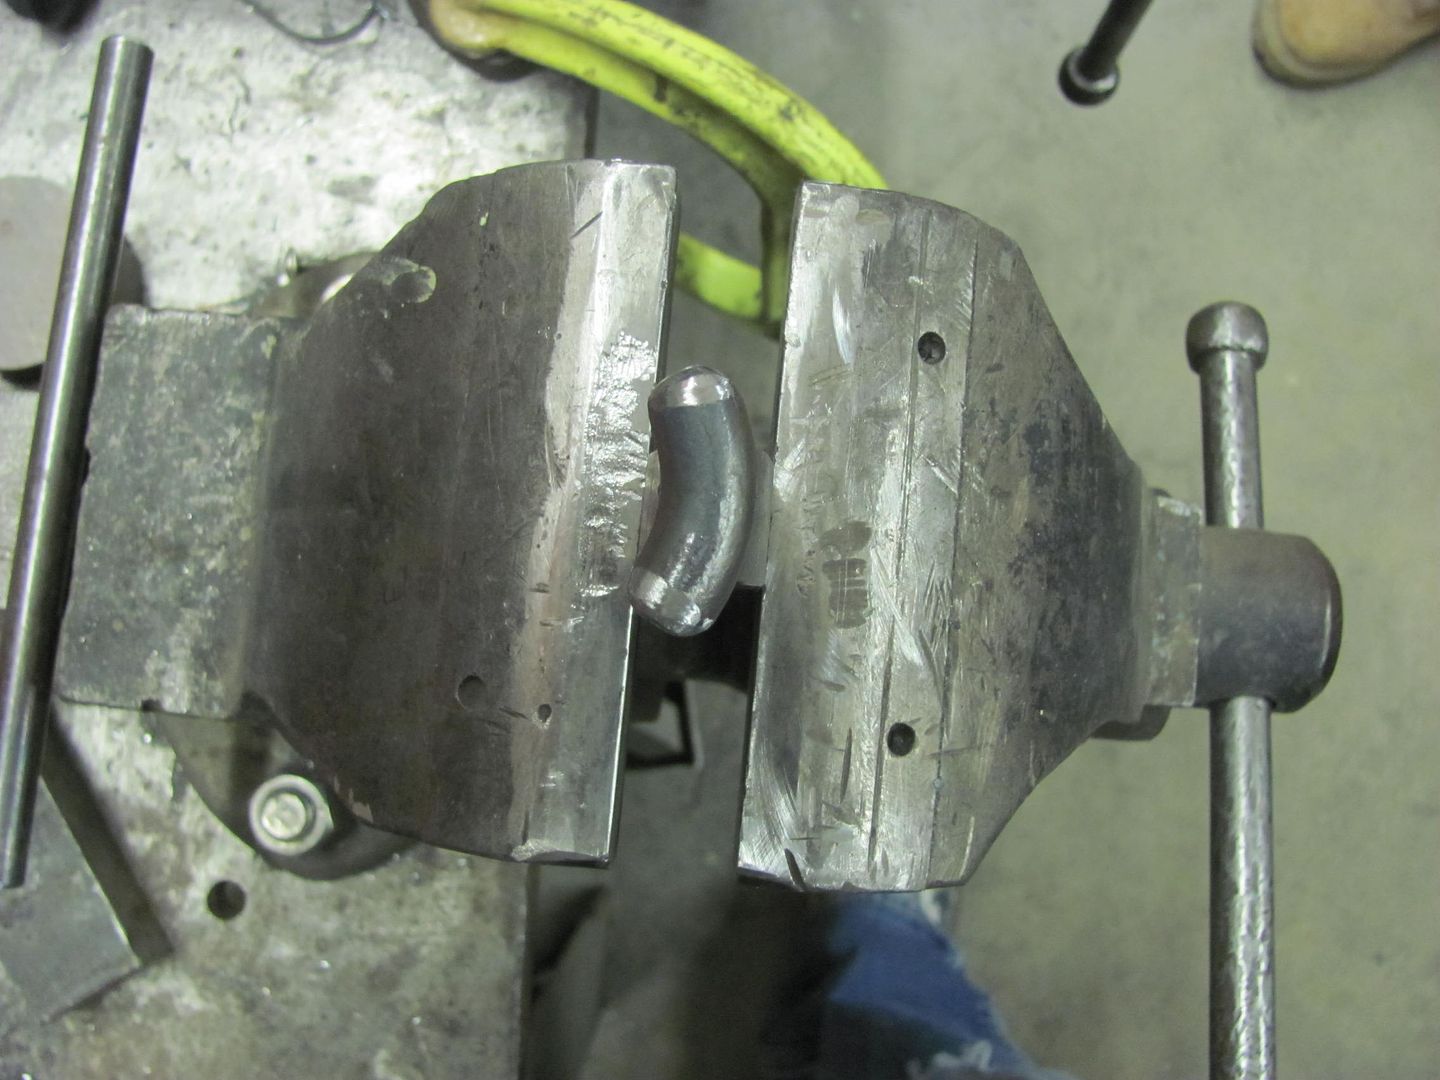
Today Kyle needed to start some welding on the hood brace, so while he was getting set up with the welder, I started making him an anvil that he could use to planish the weld dots inside the radius voids..
Heat applied...
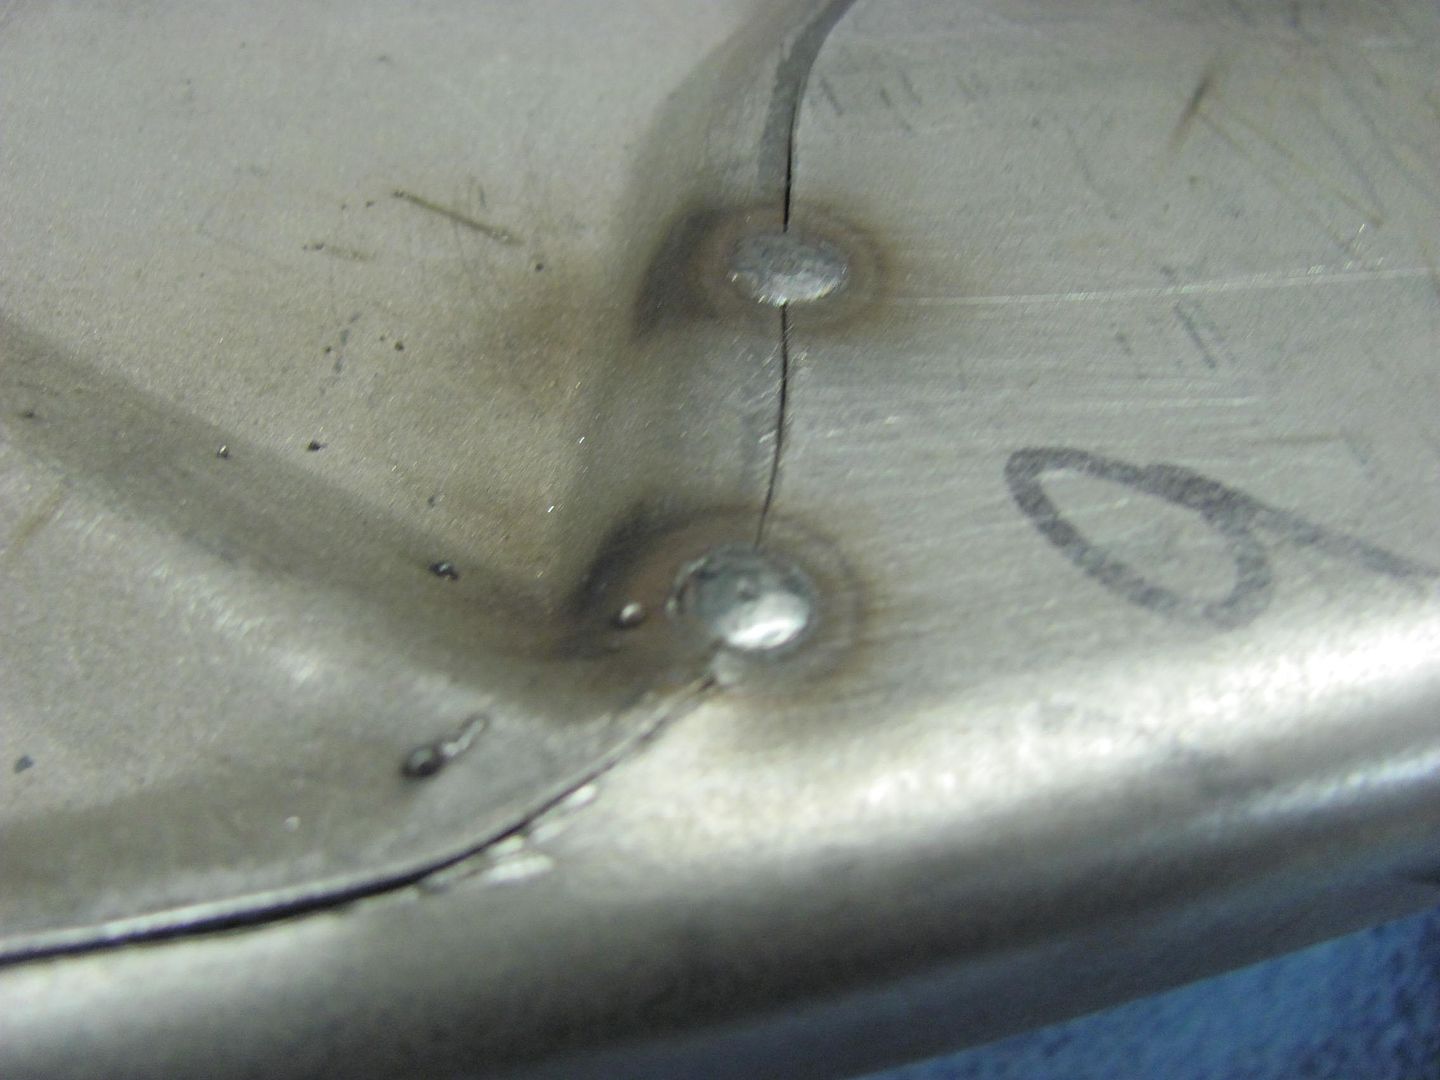
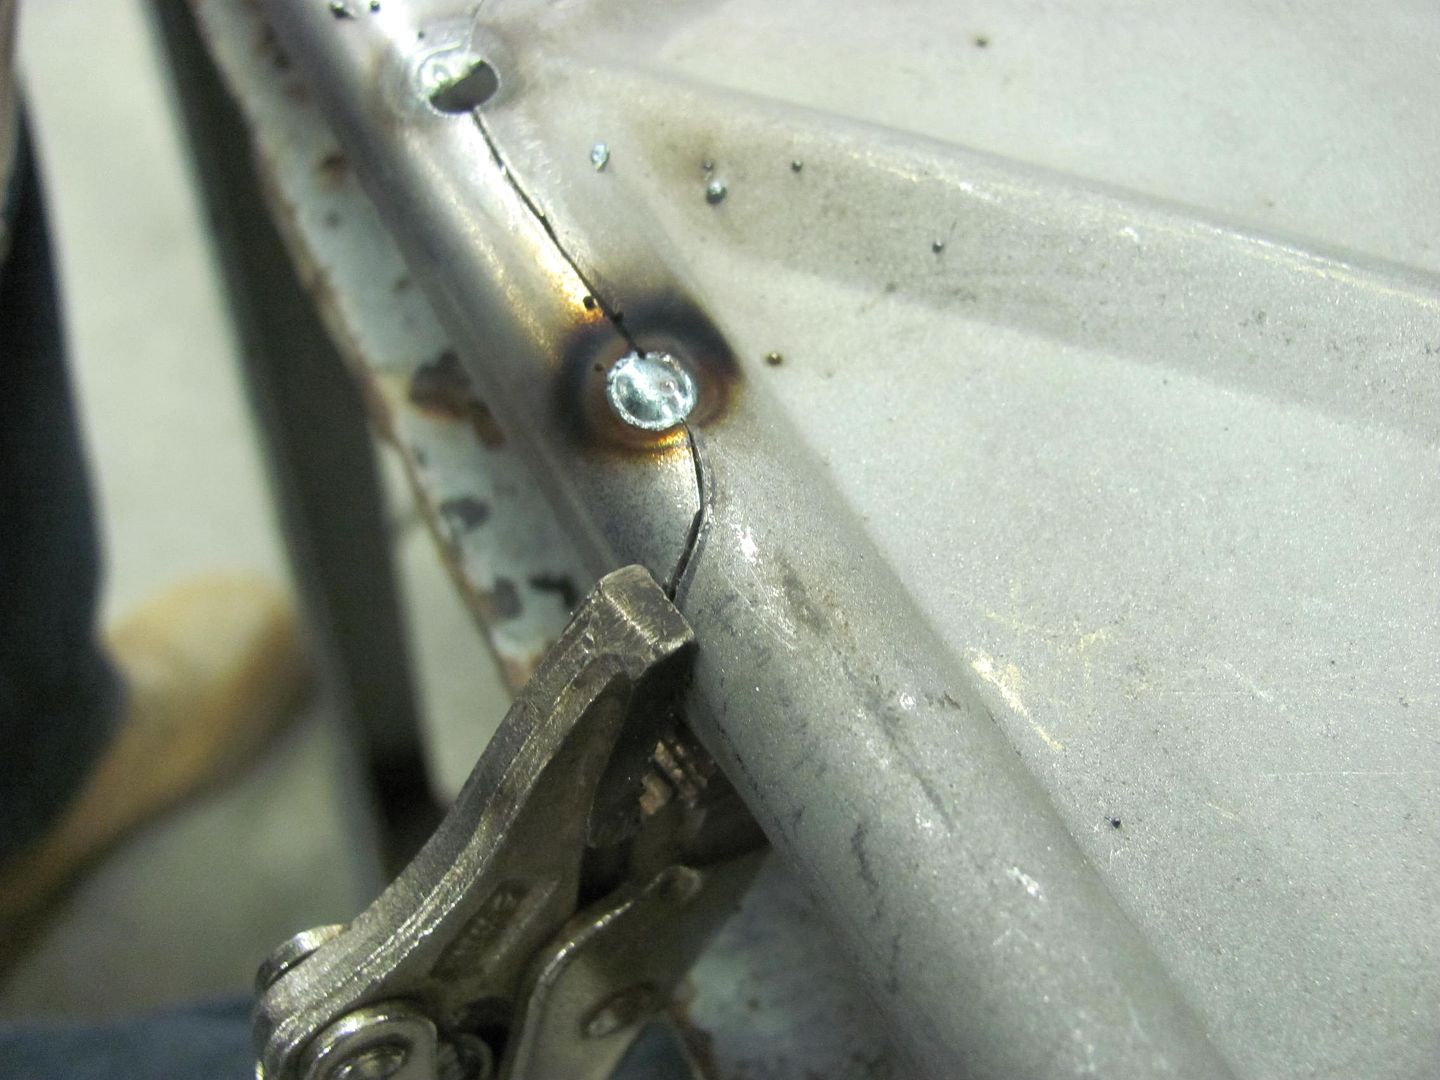
Kyle's first job at welding sheet metal, he's a quick learner. He did have a couple spots that didn't like the heat and blew a hole, but he did a real nice job in getting those fixed as well.
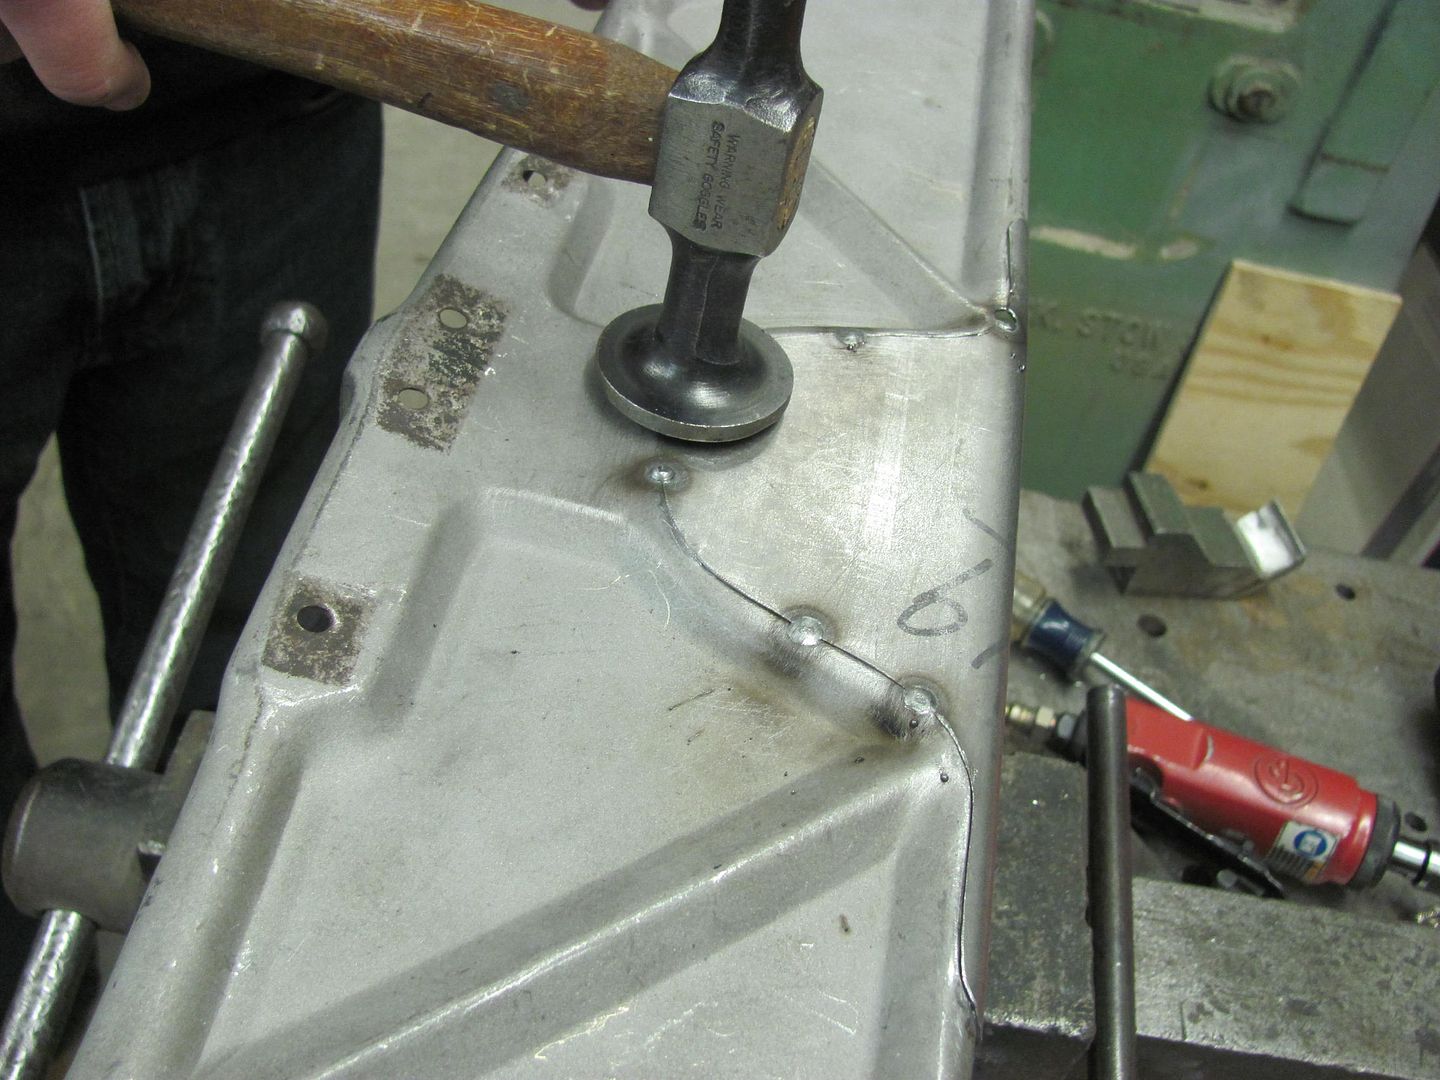
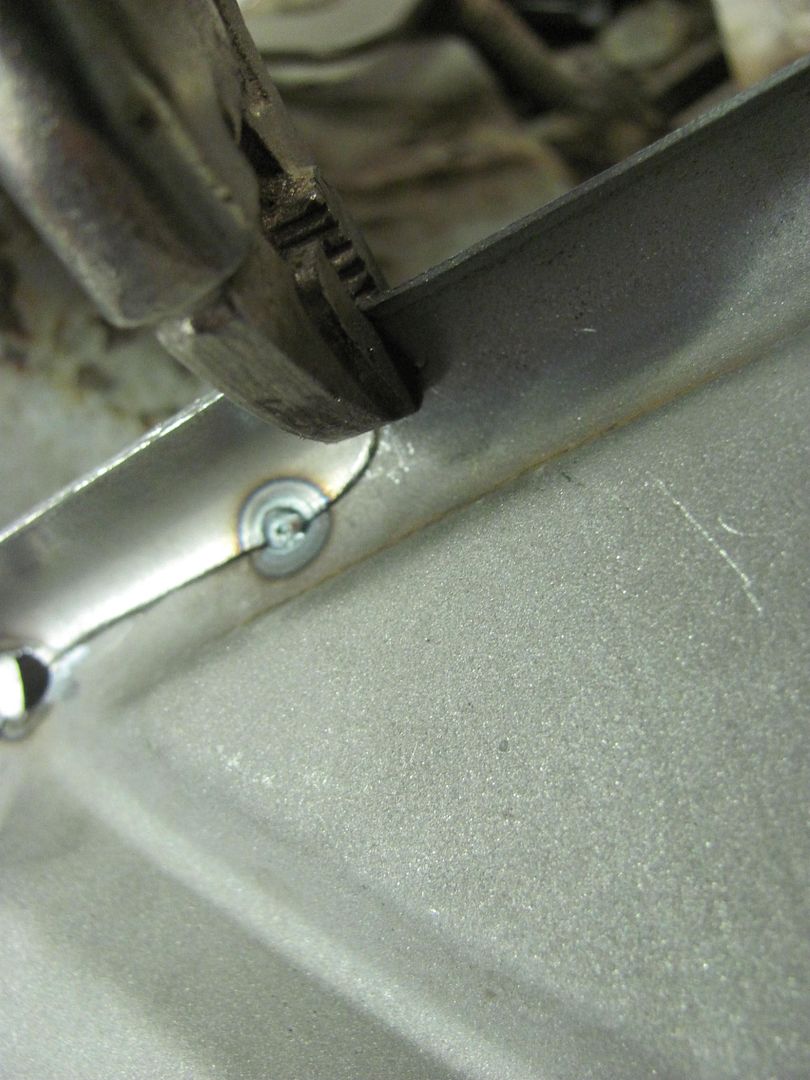
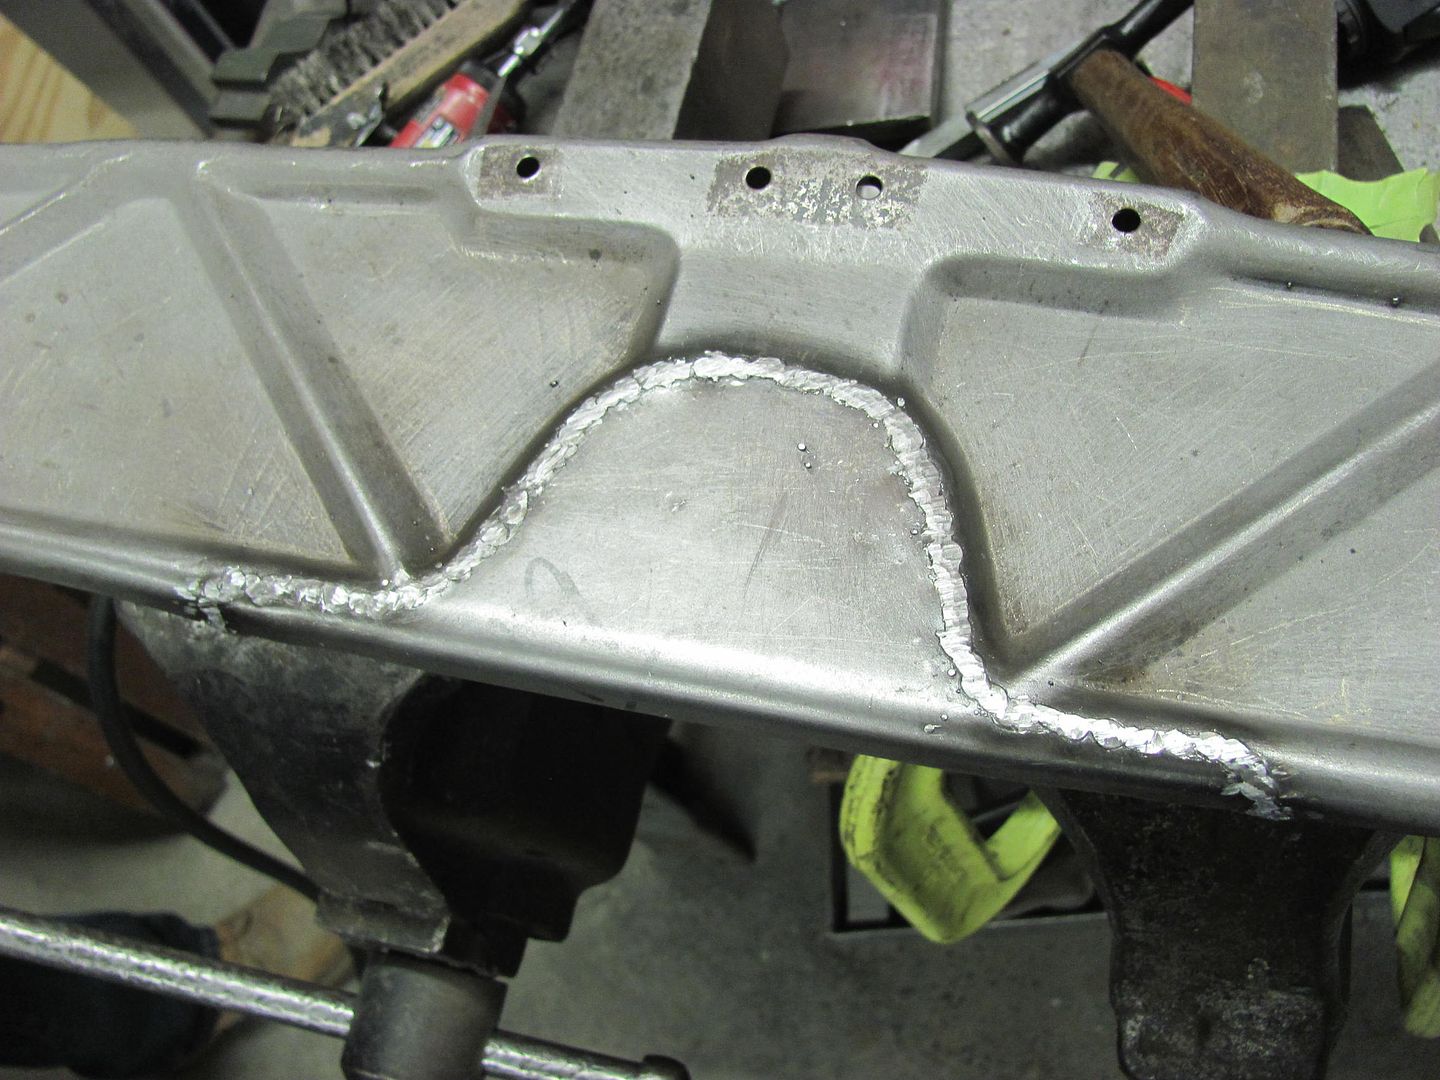
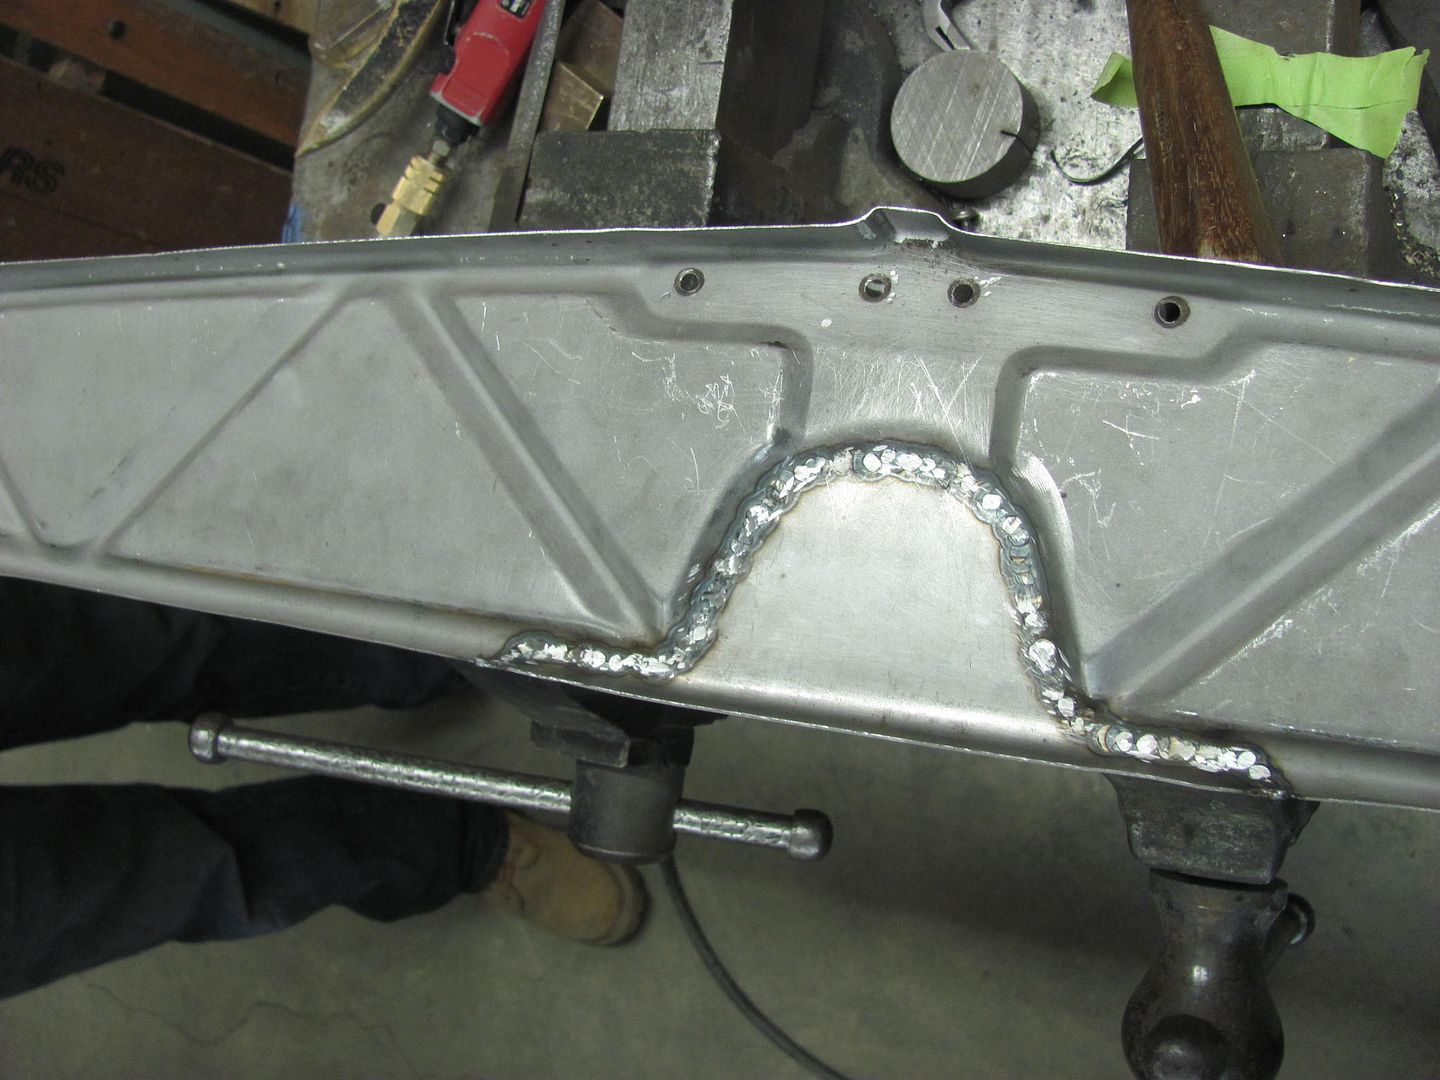
Planishing weld dots on the new "anvil"..
Full weld penetration...
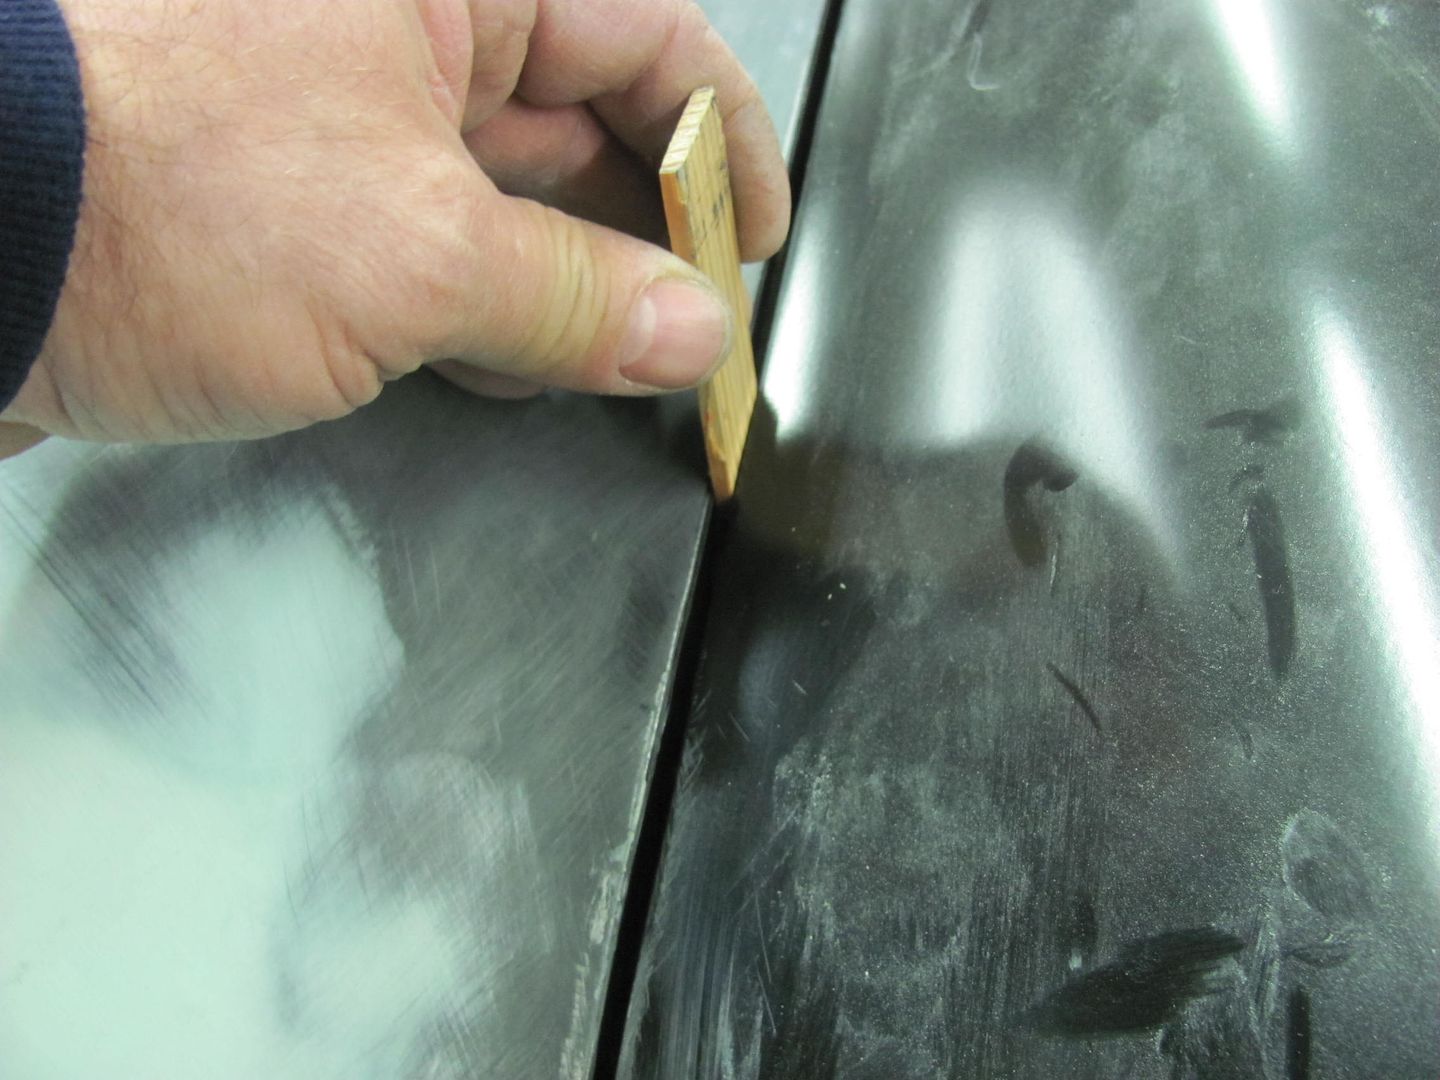
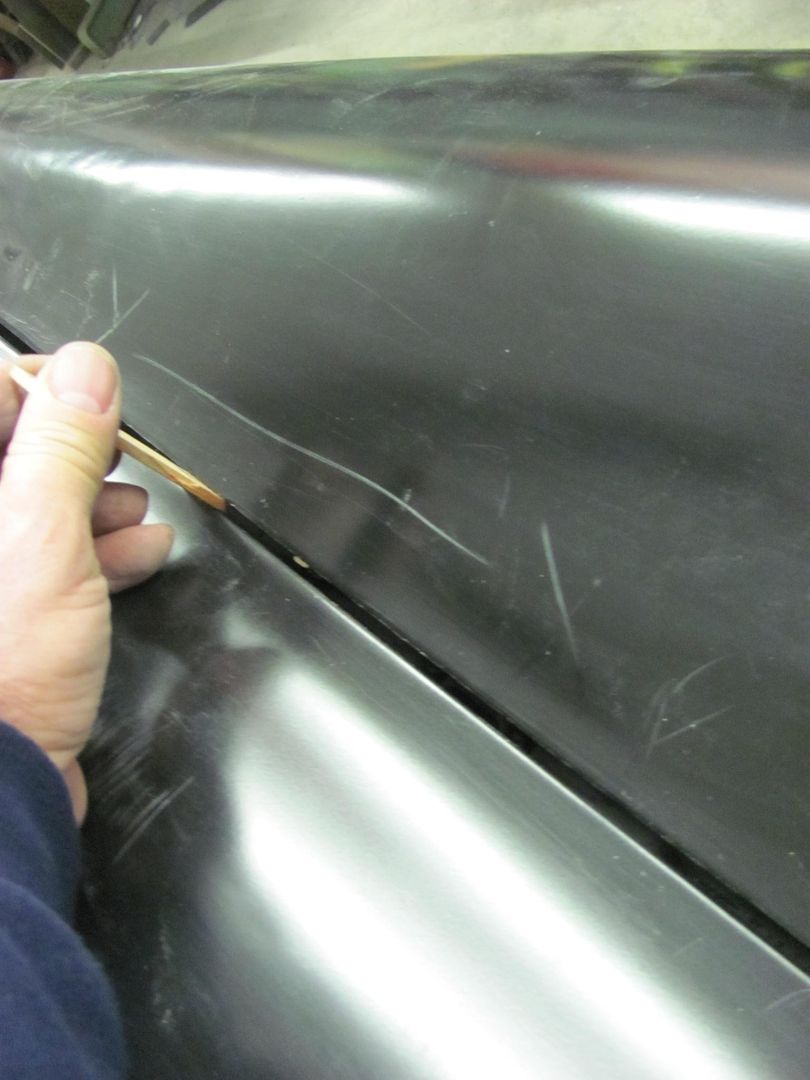
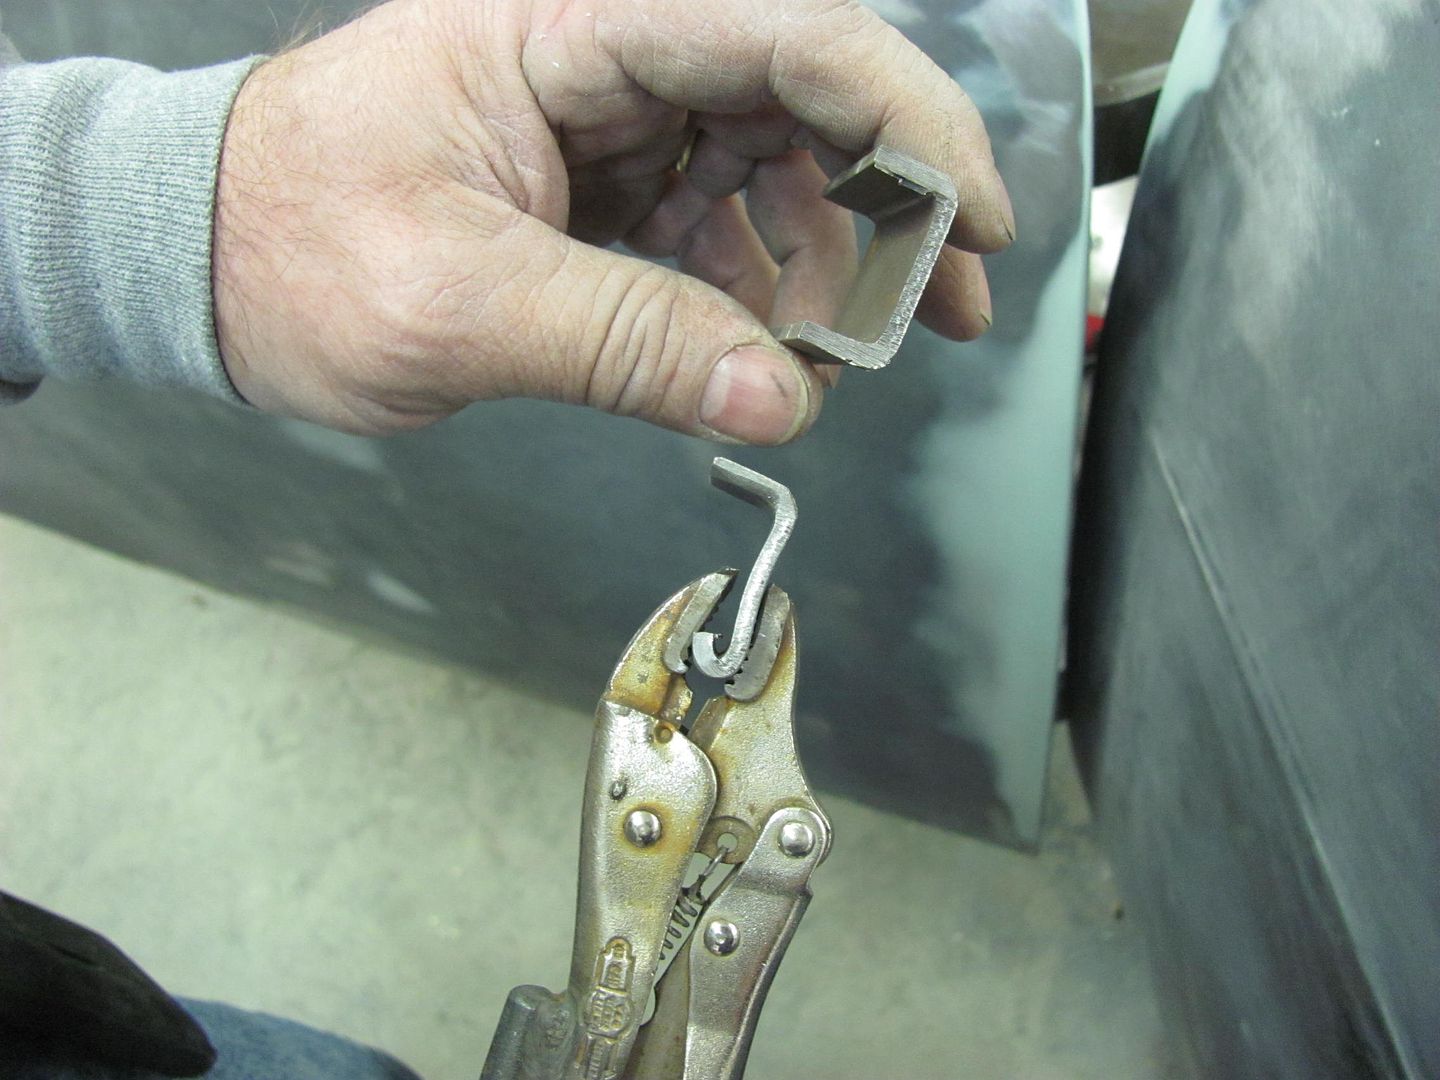
While he welded away, I turned my attention to the front end. The passenger door had a bit of a tight spot to the rear edge of the fender while opening.. Using a hack saw blade as a "feeler gauge", it was tight in one area. To help out the situation, time for another tool. I have a dent puller with a small pair of vise grips permanently attached, so we just need an adapter kit...
This was some leftover square tubing scraps...
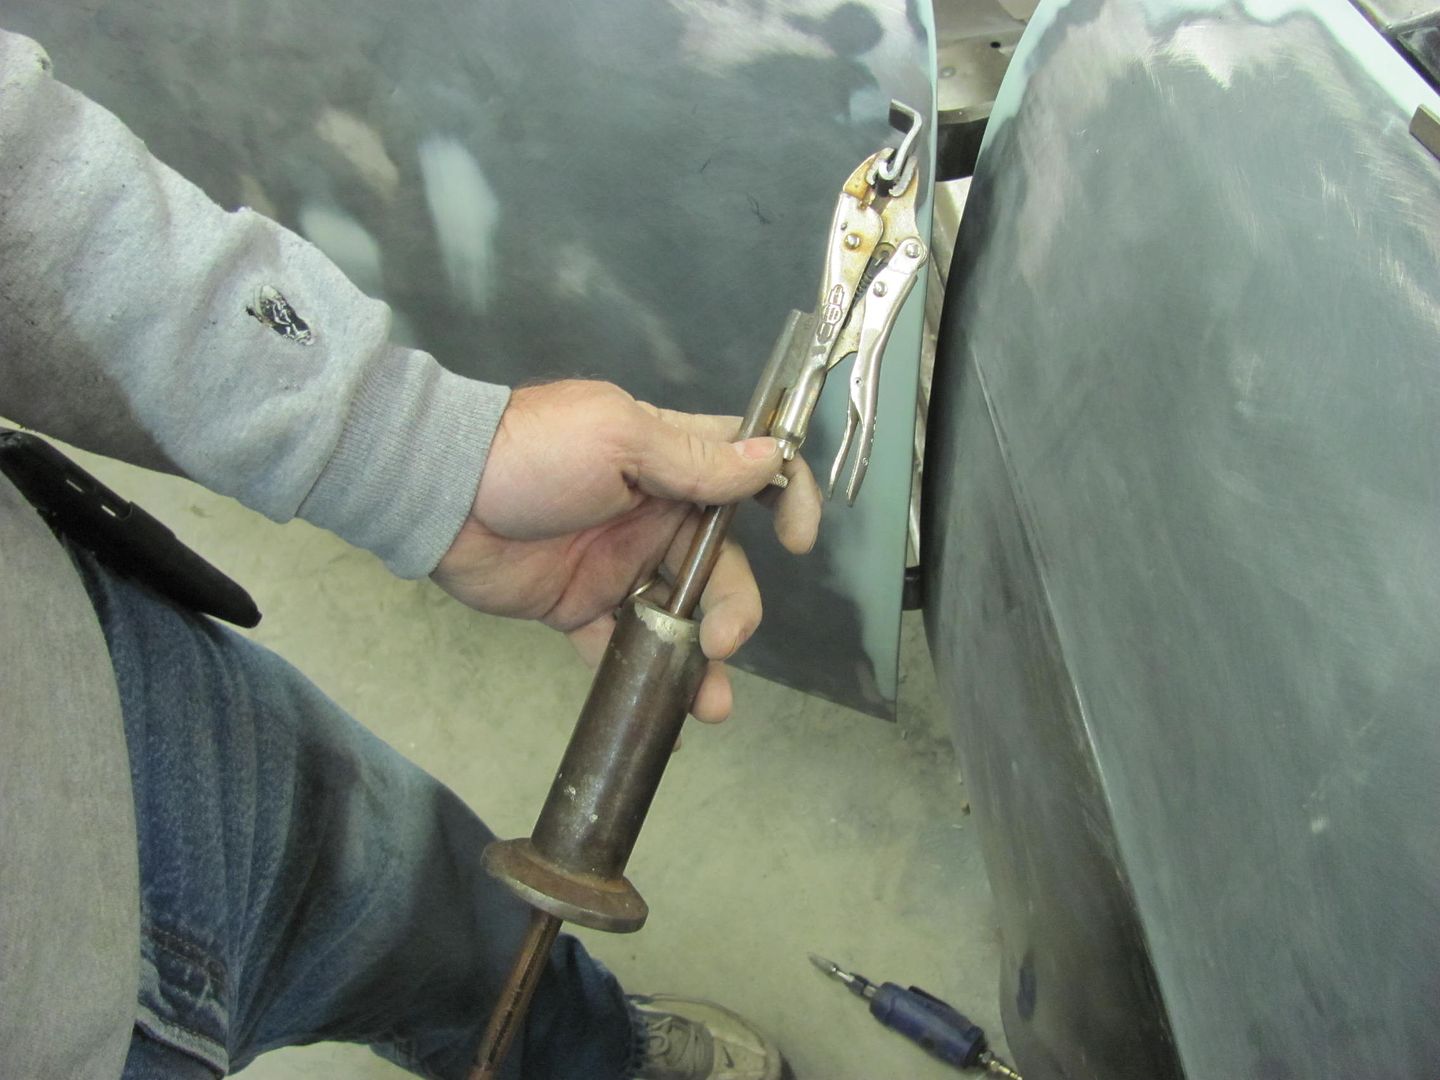
In use..
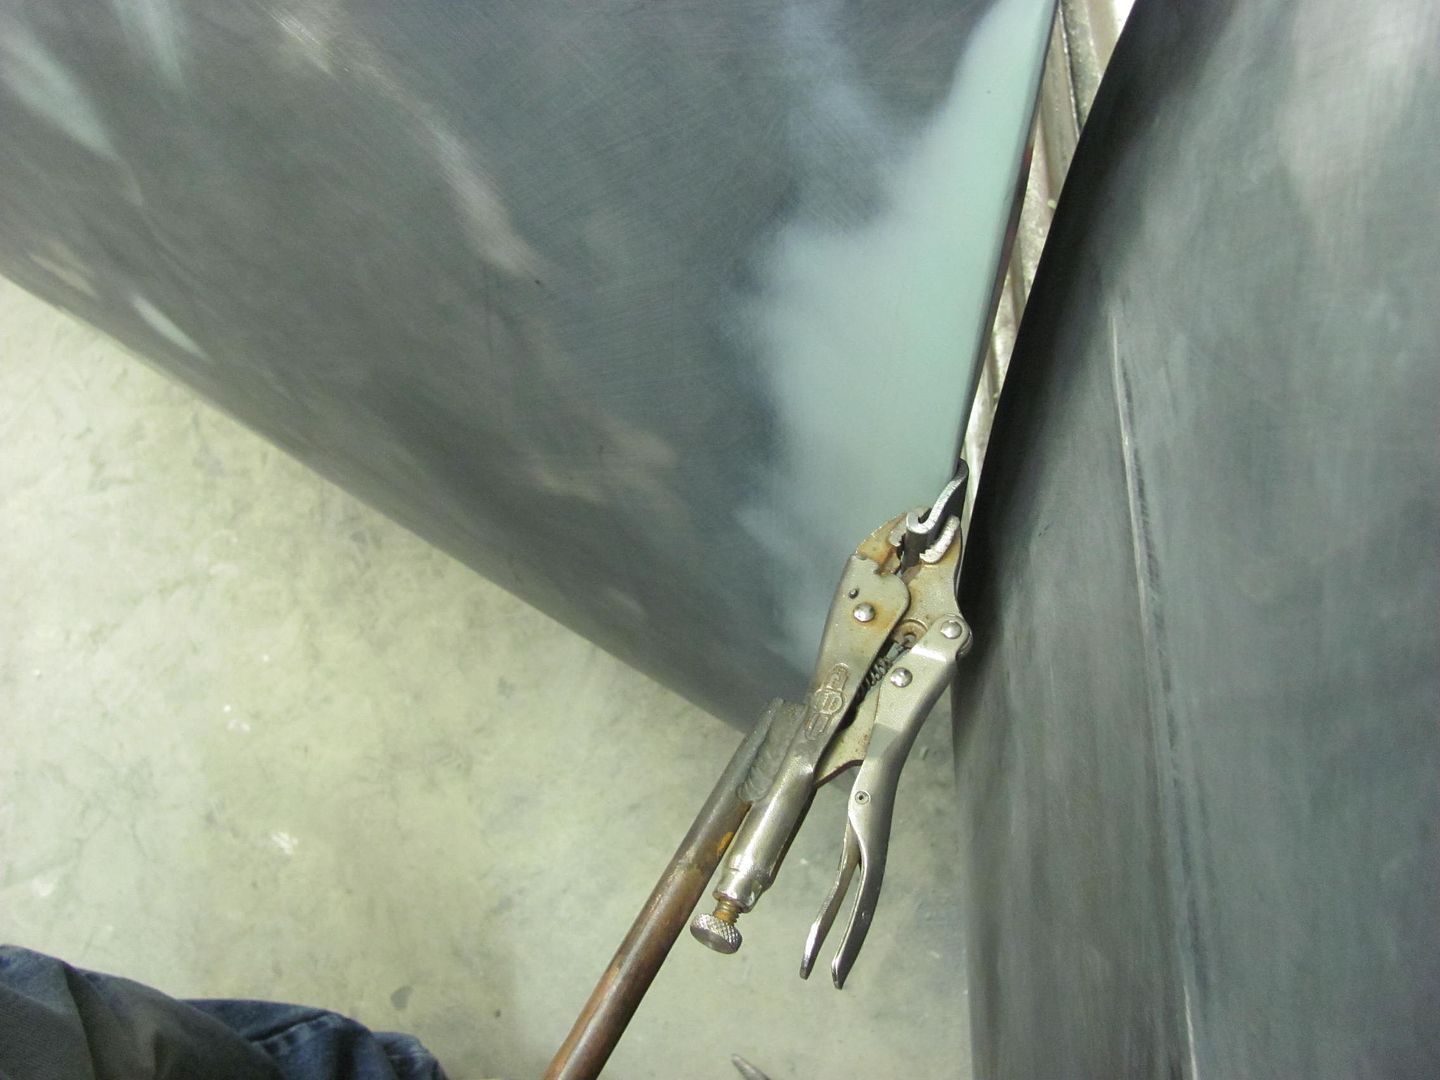
After the pulling effort, the tight gap was well over two HSB thicknesses.

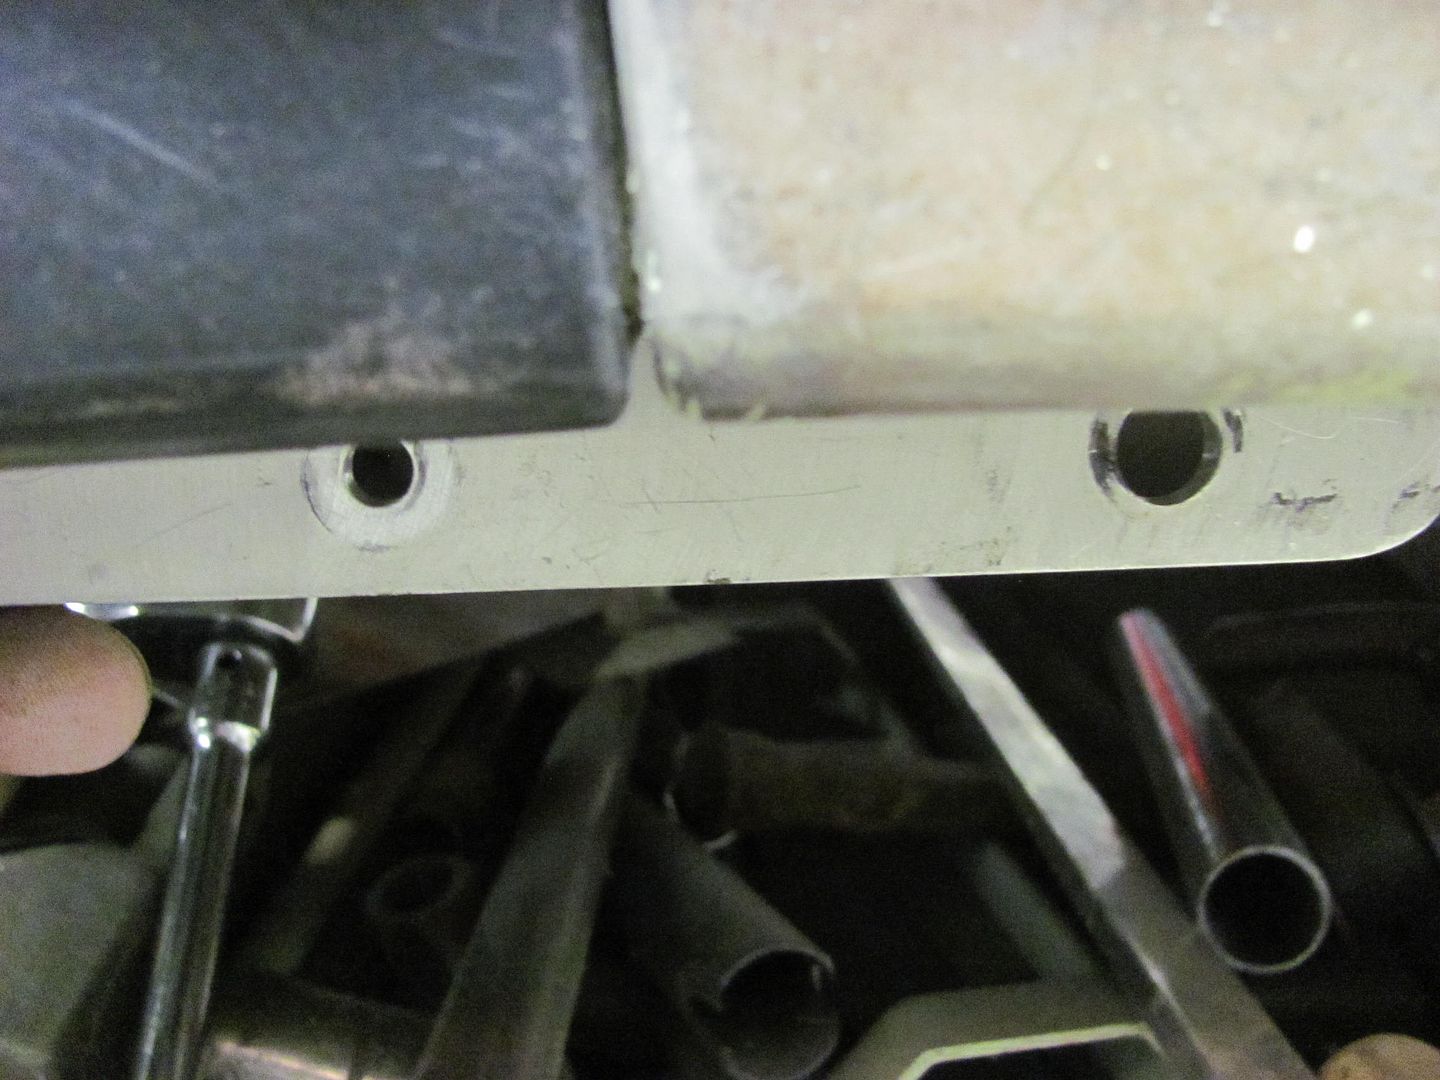
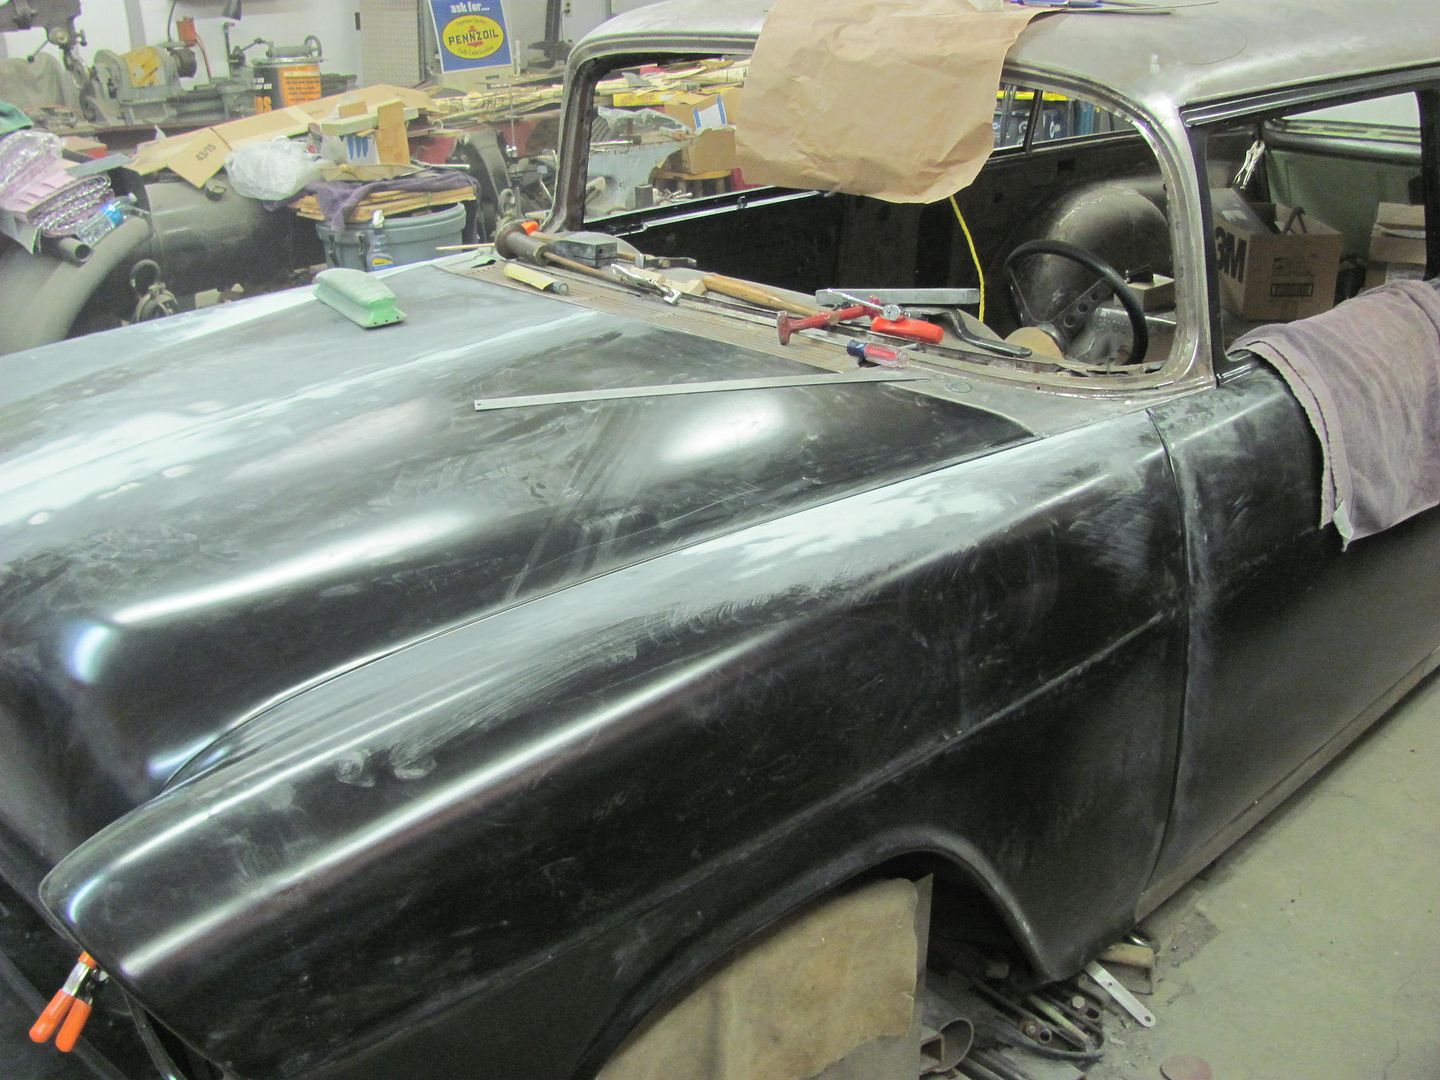
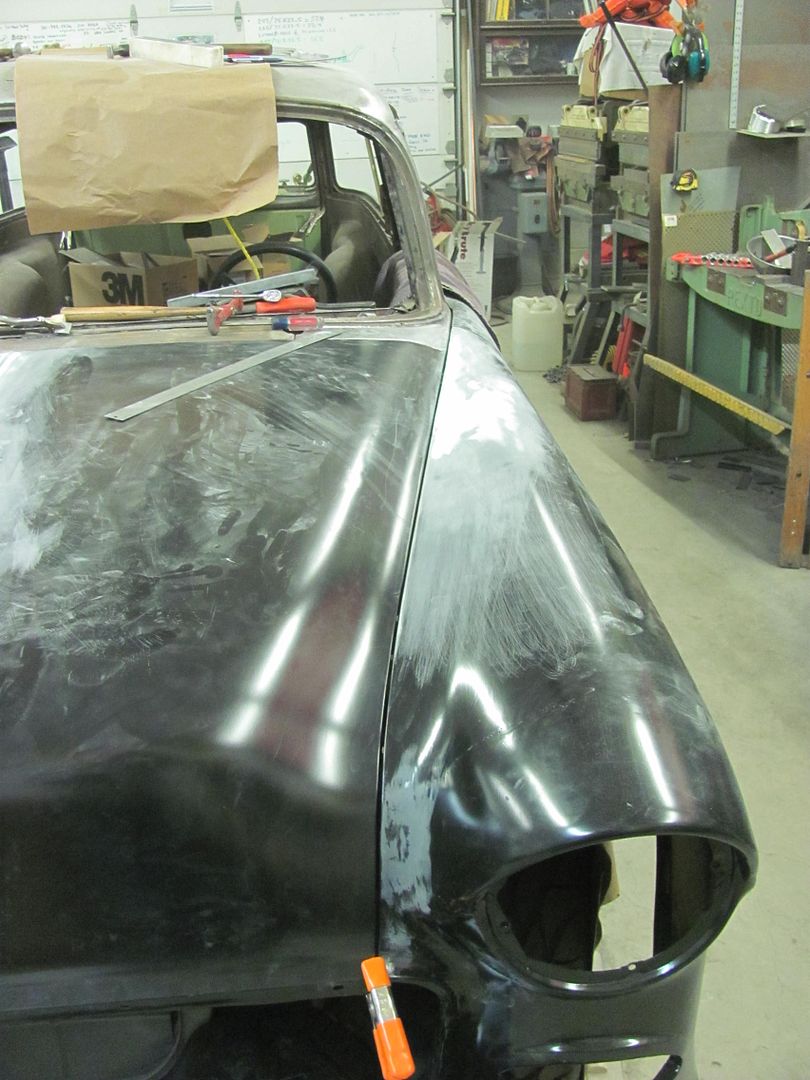
Moving on to other fender fitment, the bottom edge of the fender was higher than the adjacent rocker. Any adjustment was futile as the bolt was at the bottom of the adjustment hole. Time for some die grinder action to bring the hole downward and also flatten the bottom edge of the hole so any movement forward or backward doesn't push the bolt upward..... This was done on both fenders..
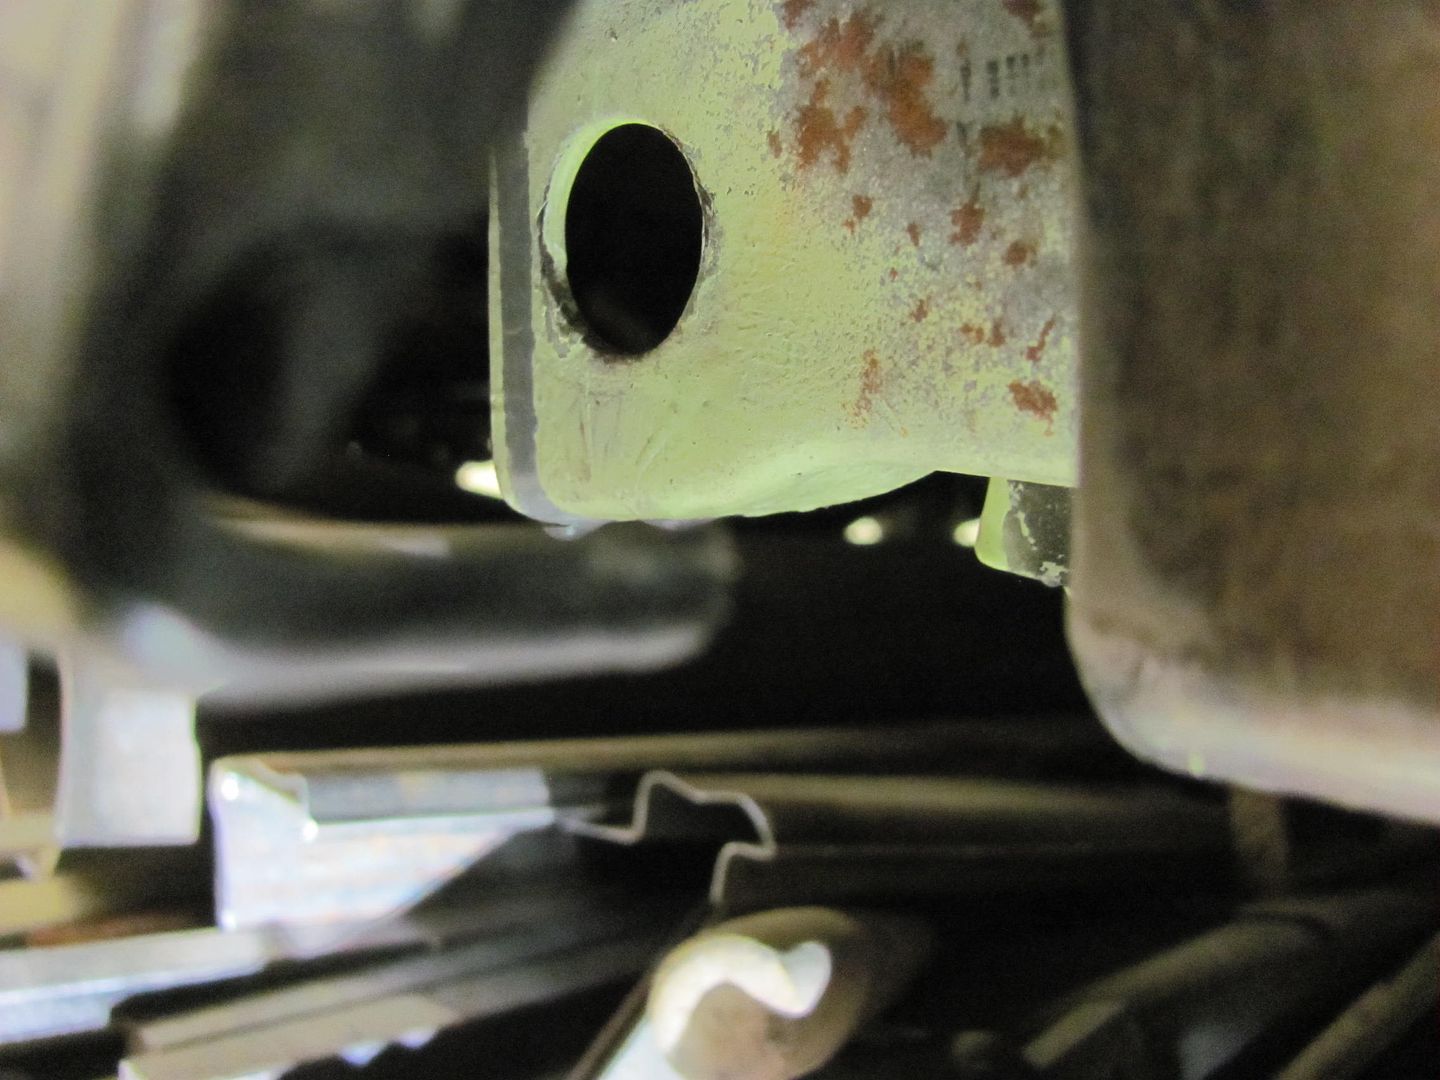

Test fit shows much better alignment.. This may be why the 57 went to a square hole..
Kyle done with his welding on the center patch, just needs to be dressed with the sanding disc. We'll save that for after the other patch gets welded in place..
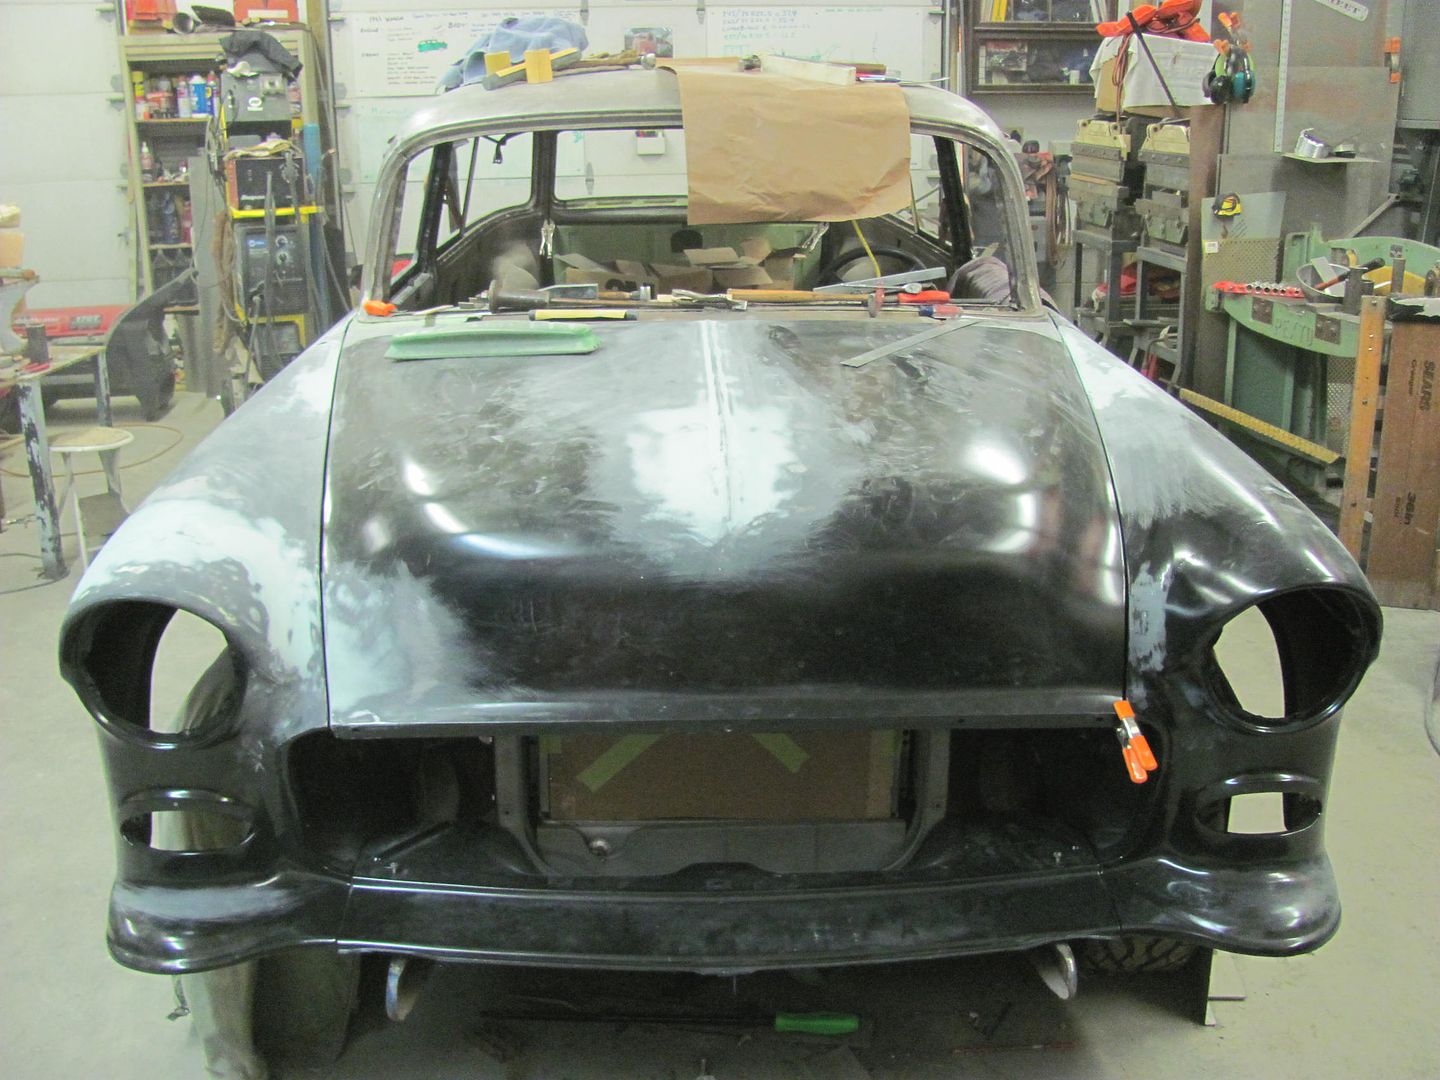
Front:
Rear:
And I was also busy making more dust... Can't wait for springtime and the leaf blower

Last edited by MP&C; 02-07-2015 at 05:12 PM.
Robert
 Reply With Quote

Posting Permissions
- You may not post new threads
- You may not post replies
- You may not post attachments
- You may not edit your posts

And then a newer model....
Montana Mail Runner