


 3390Likes
Thread: 55 Wagon Progress
Results 1 to 15 of 1865
 LinkBack URL
 About LinkBacks
Threaded View
-
04-29-2015 04:24 AM #11
 CHR Member

- Join Date
- Jun 2008
- Location
- Leonardtown
- Car Year, Make, Model: Walking
- Posts
- 1,228
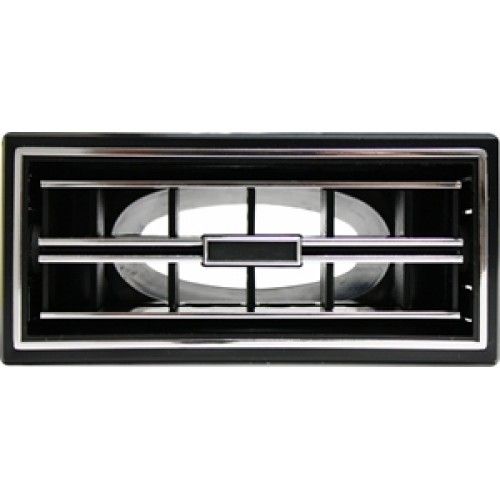
First, thanks to all for their input on dash vents. I'll have to agree that these shoebox cars lend themselves more to curves, but given the long, flat, rectangular mounting surface in the center of the dash, it seemed that two round vents would not begin to fill the void. Thus we were leaning toward the rectangular vents to fill the space. Dana wanted to keep the outside vents round, and mount below in the factory location. So these are the ones decided on, Vintage Air pieces...
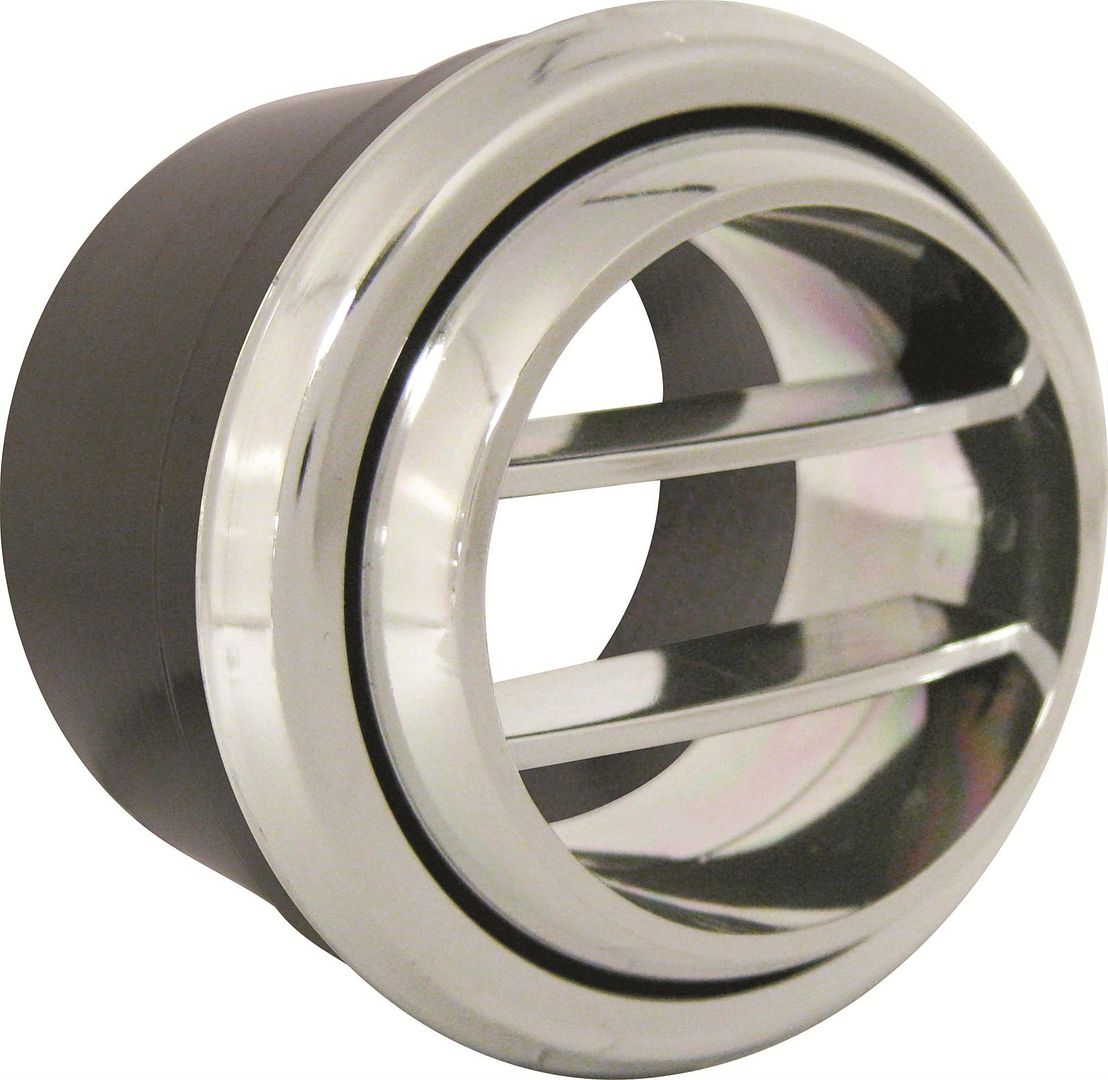
for the corner locations.....
for the center of the dash.......
Of course, something told me to keep looking, and as someone had suggested to do the Google image search on "dash vents", I skipped the catalogs this time and looked at installed vents. Then it hit me, how could I have not seen this before.....
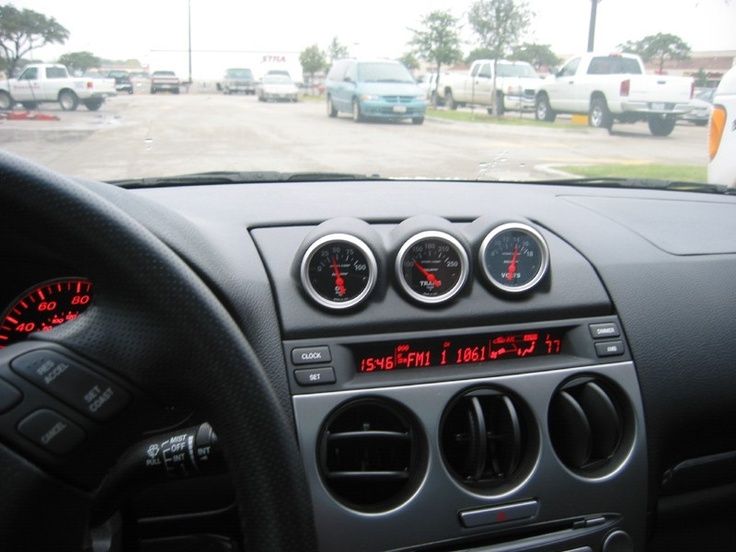
Three wide in the round vents vs. only two did a better job of filling out the dash and would give us matching vents all around. So, with only two round on order (and two rectangular that will likely go back), we plan to see how "tight" these 2-5/8 round bezels look on a 2-3/4 high flat area, and make the final decision from there.. The saga continues..
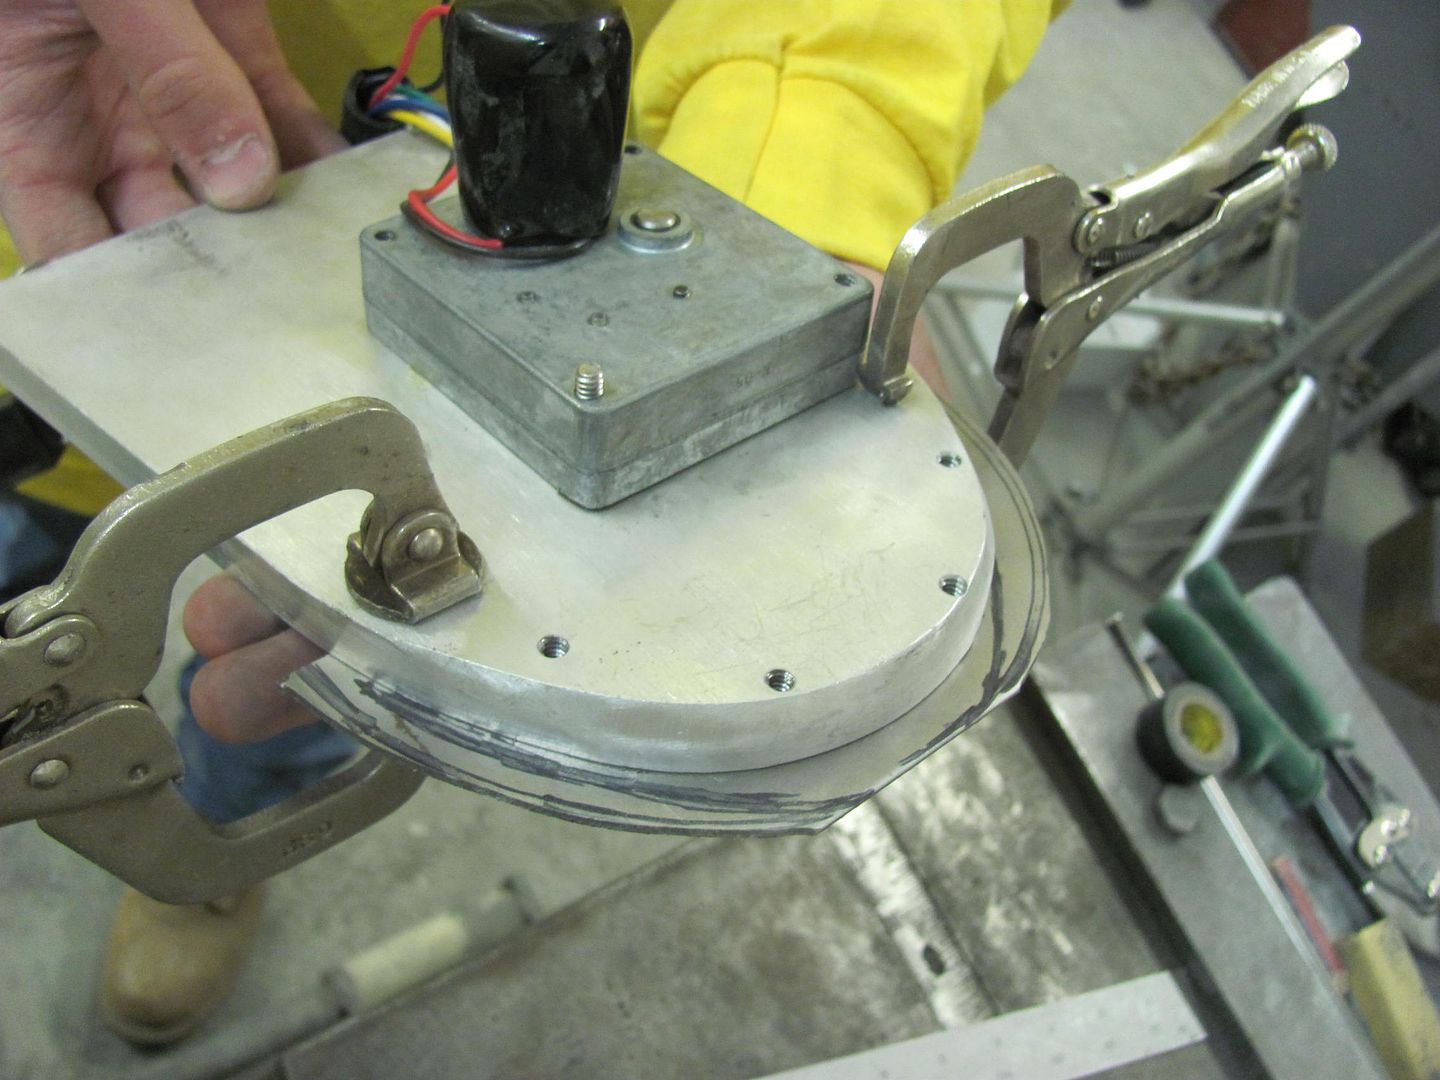
Now with the dash seams all welded and waiting for gauges to be delivered, the moment I've been dreading. Installing the Rocky Hinge fuel "door". First thing noticed was that some of the holes on the weld-in mounting plate were off by half a hole..
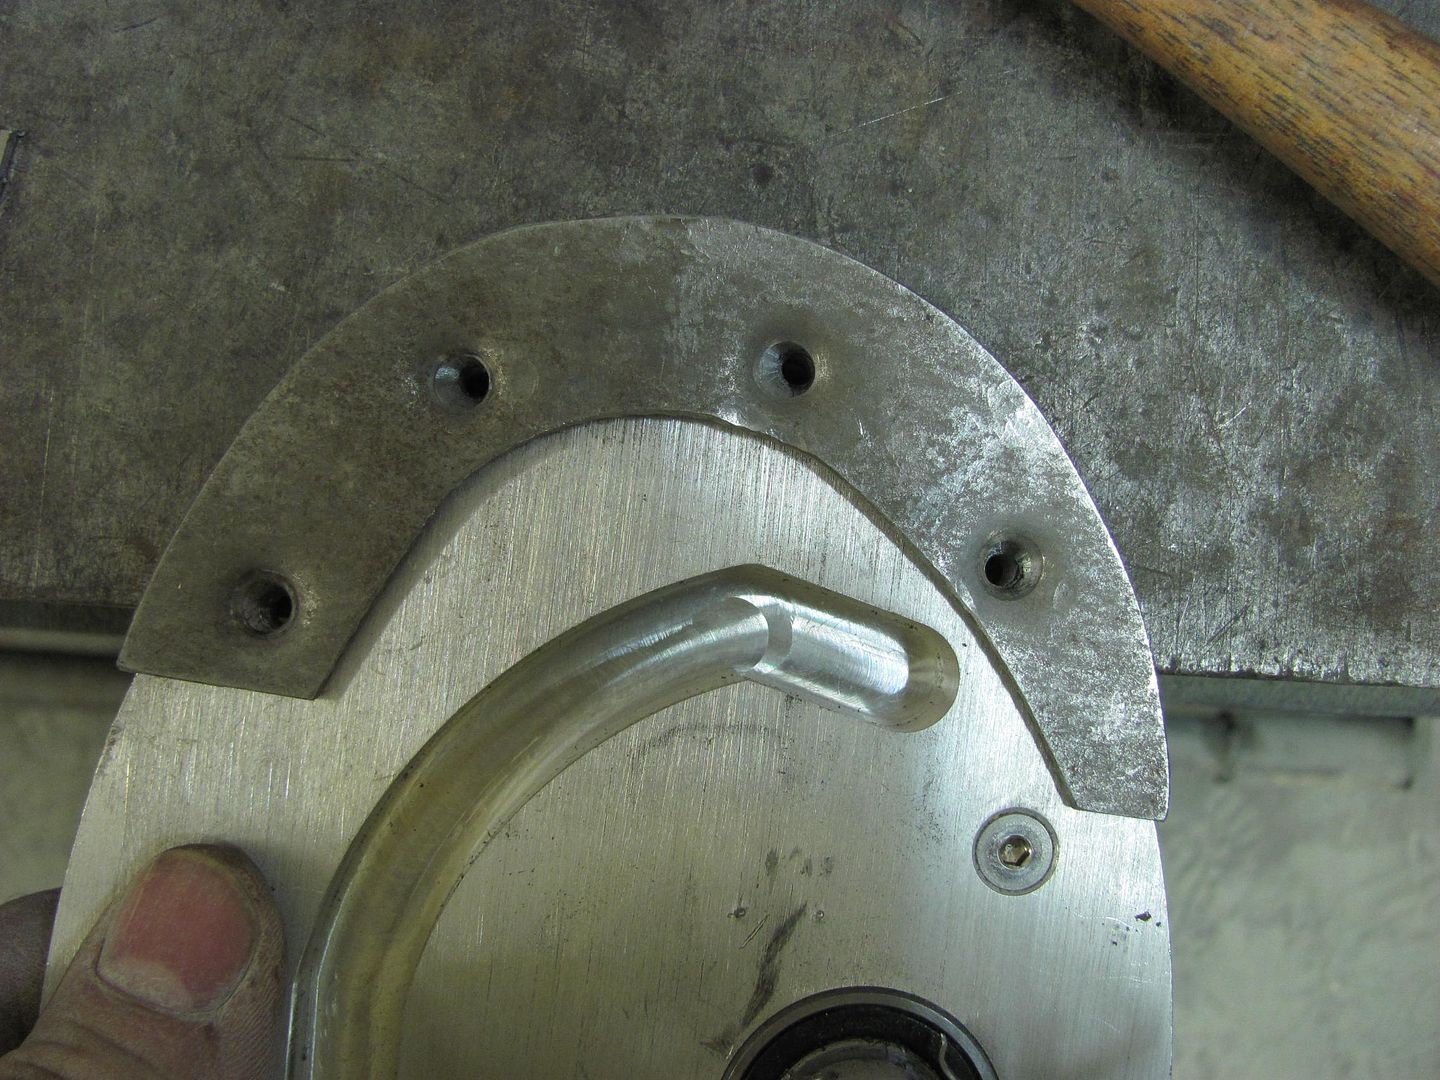
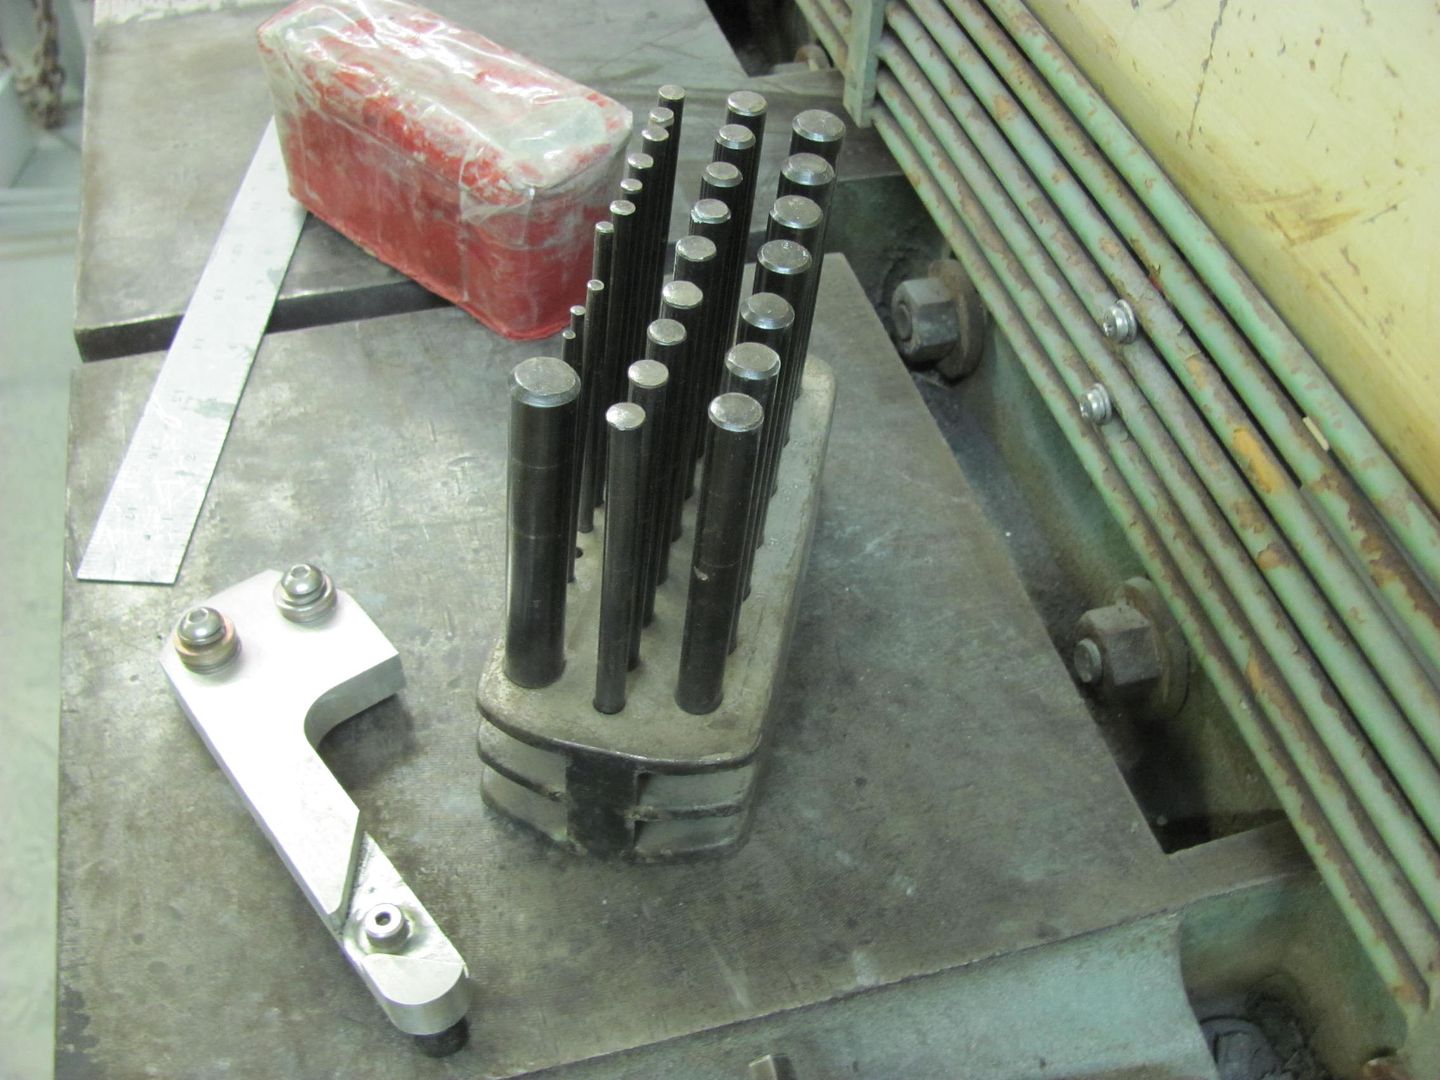
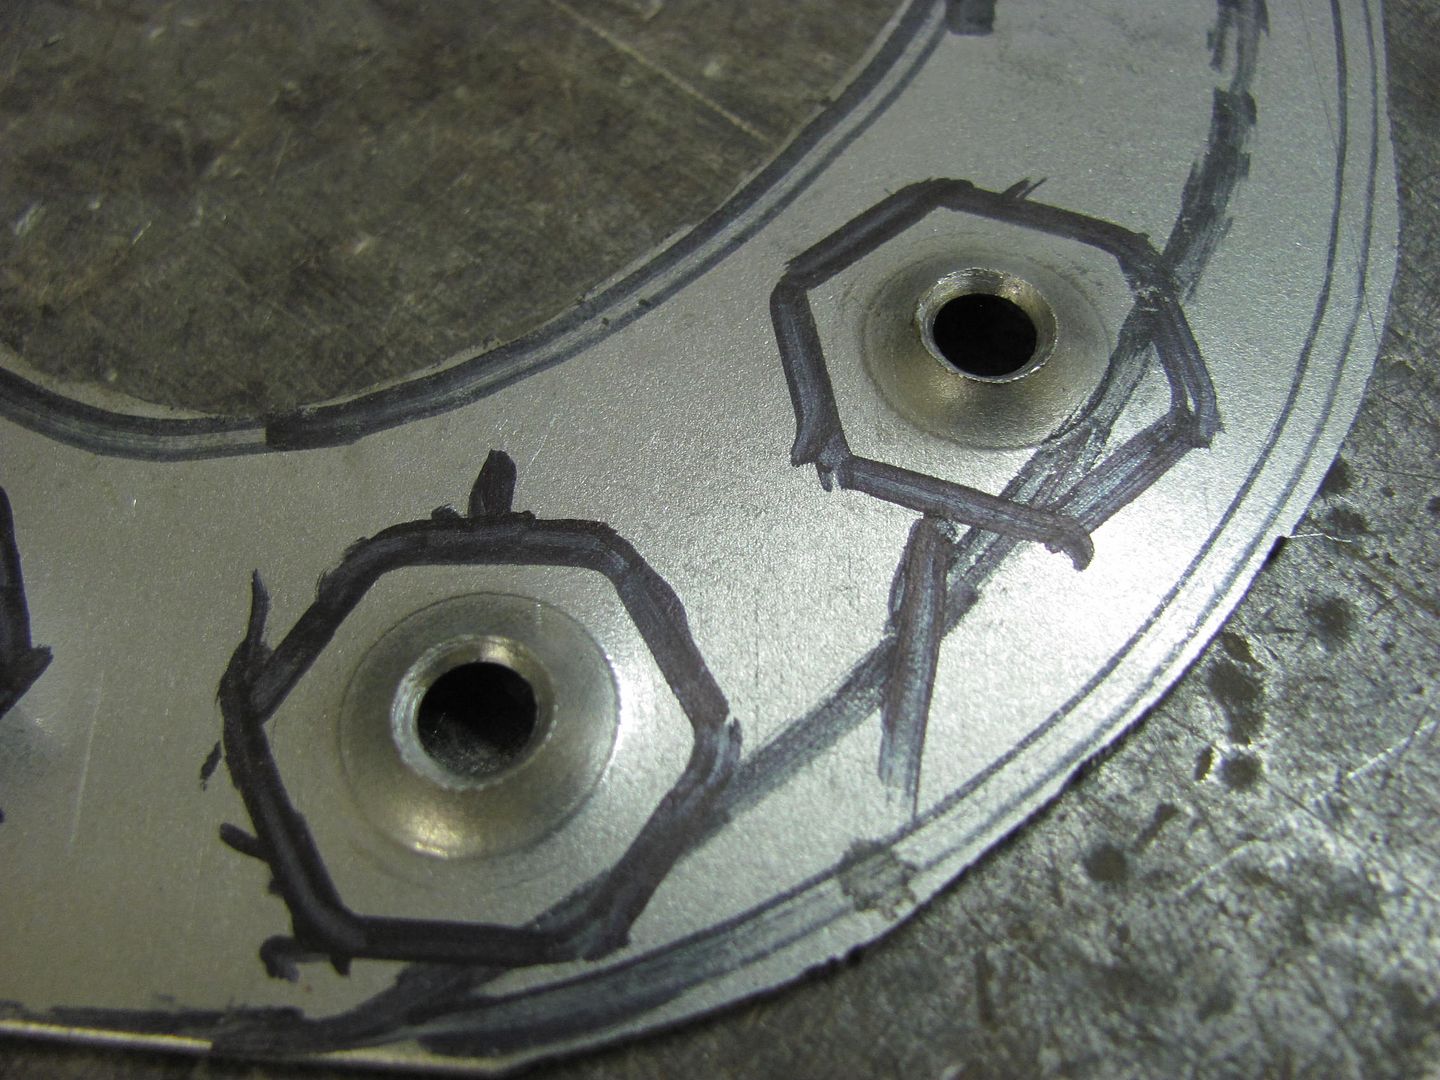
So Kyle cut out a fresh piece of 14 ga crs to make a new one, a bit oversized to trim later. Used some transfer punches to get the bolt holes lined up a bit better on our version of the weld-in plate..
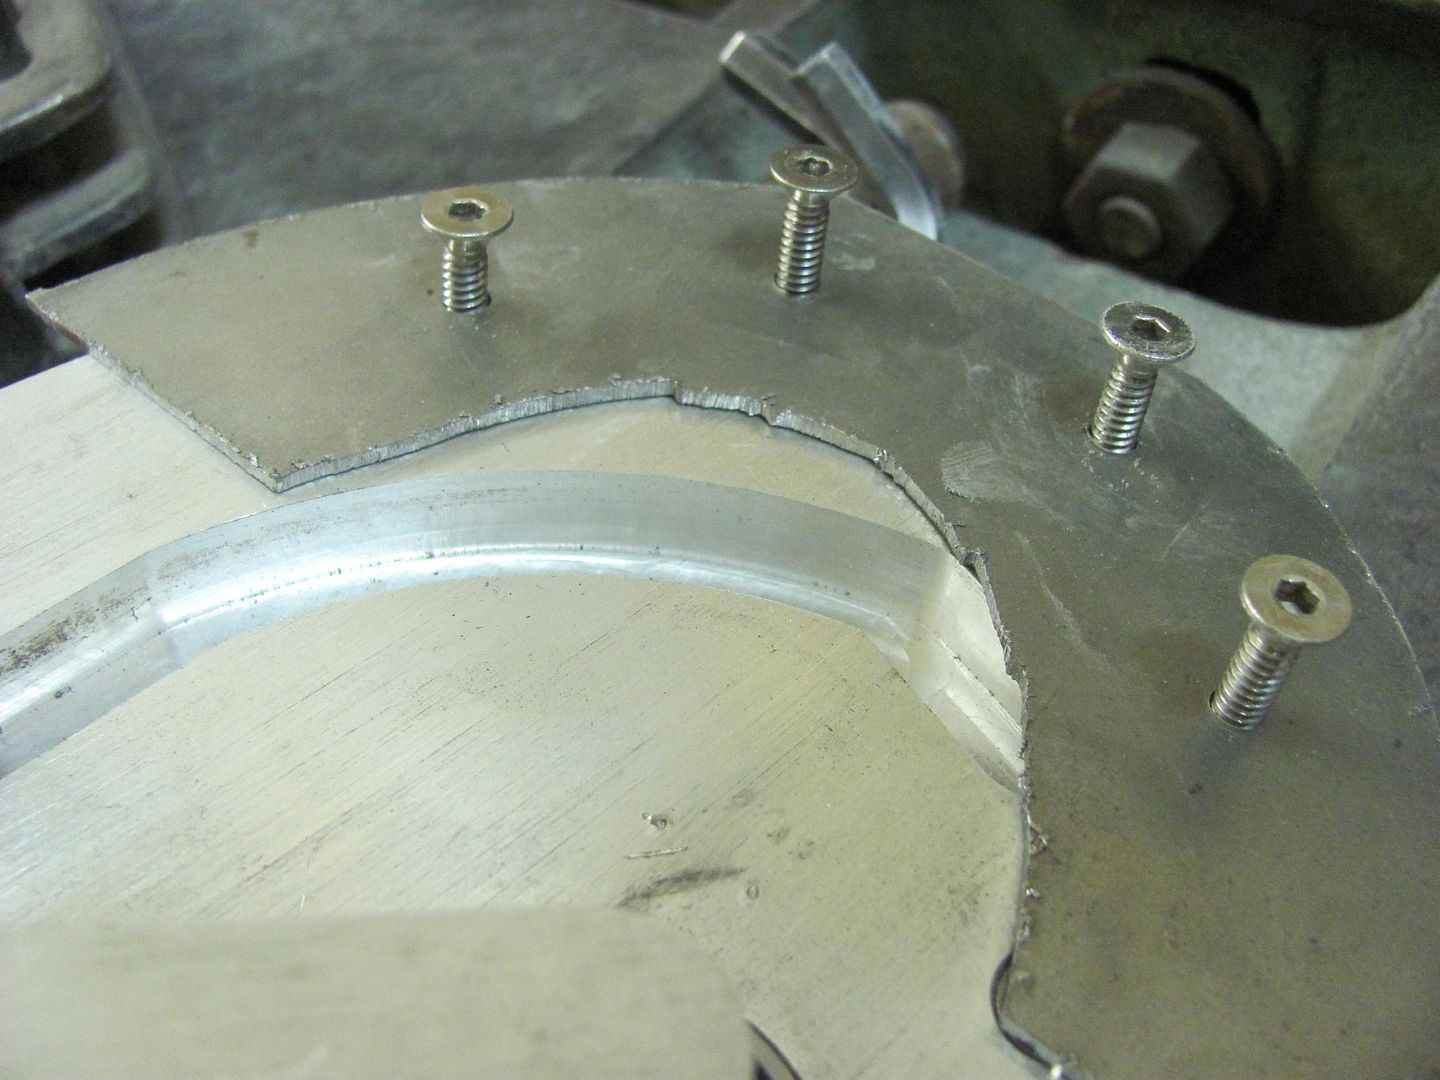
Attachment screws fitting better already....
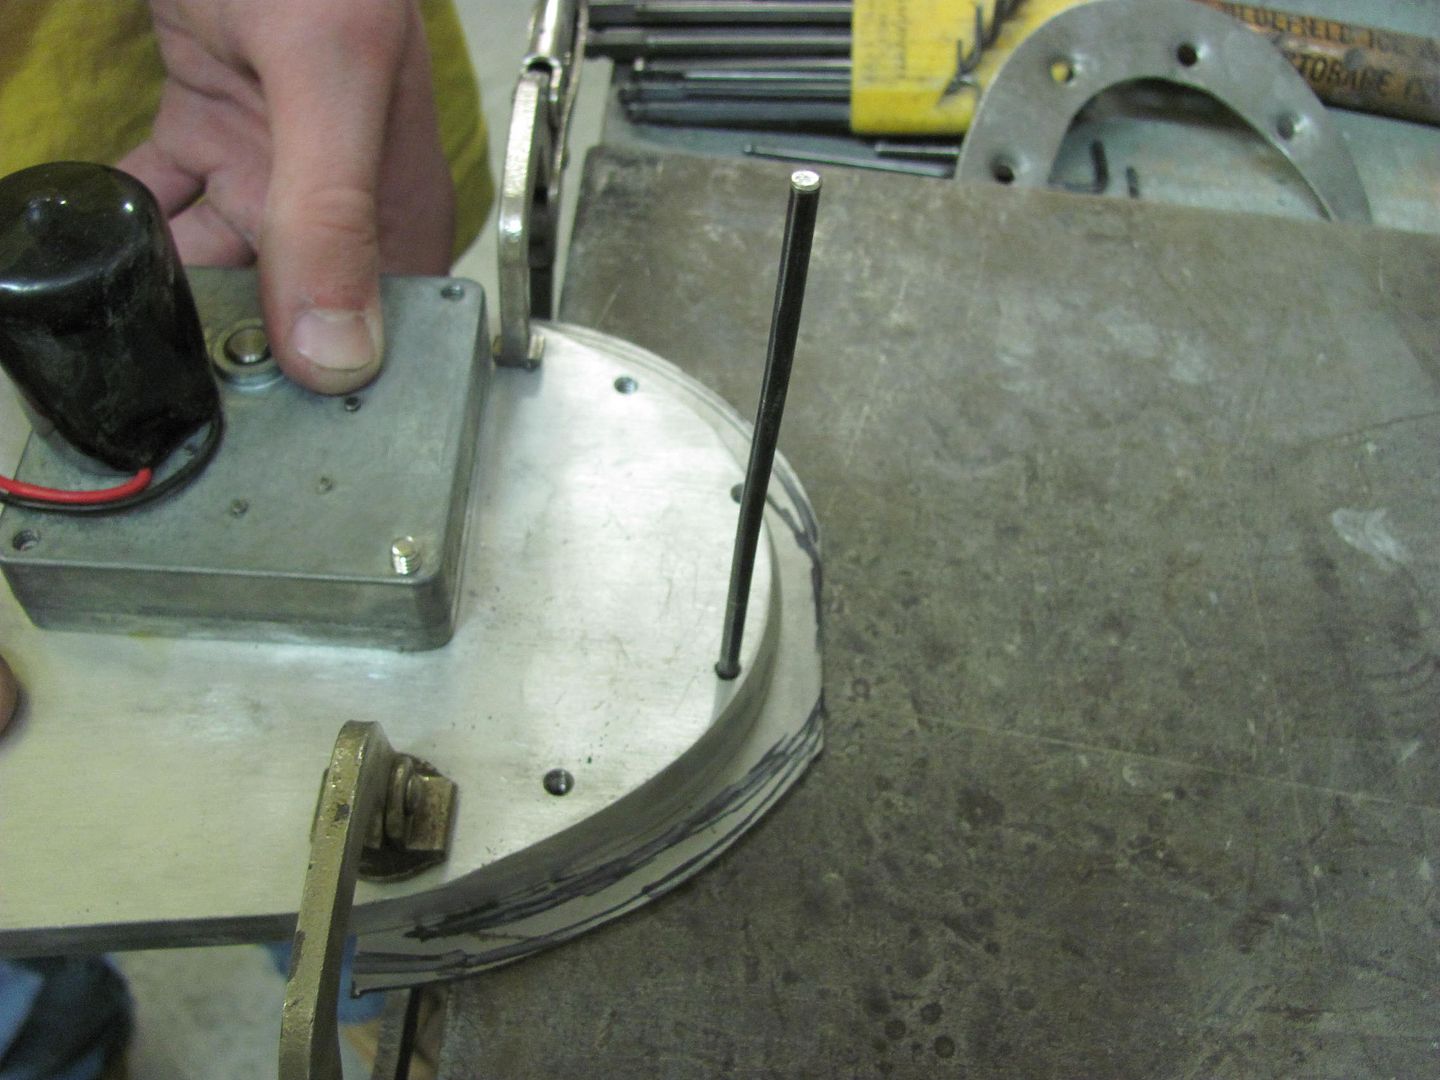
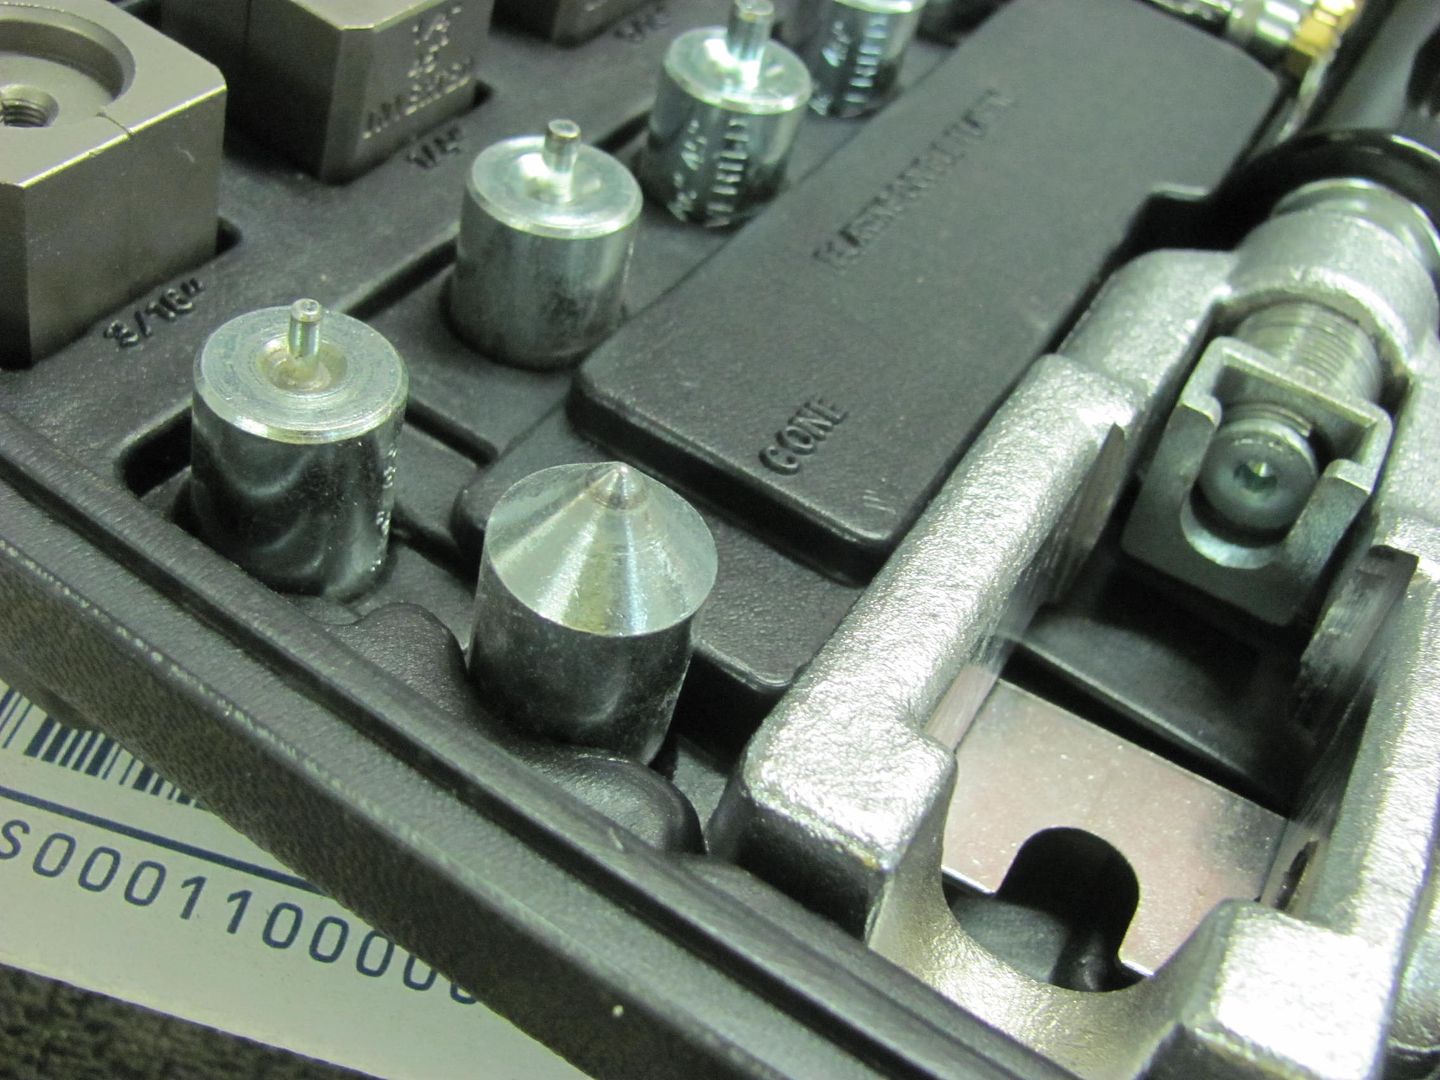
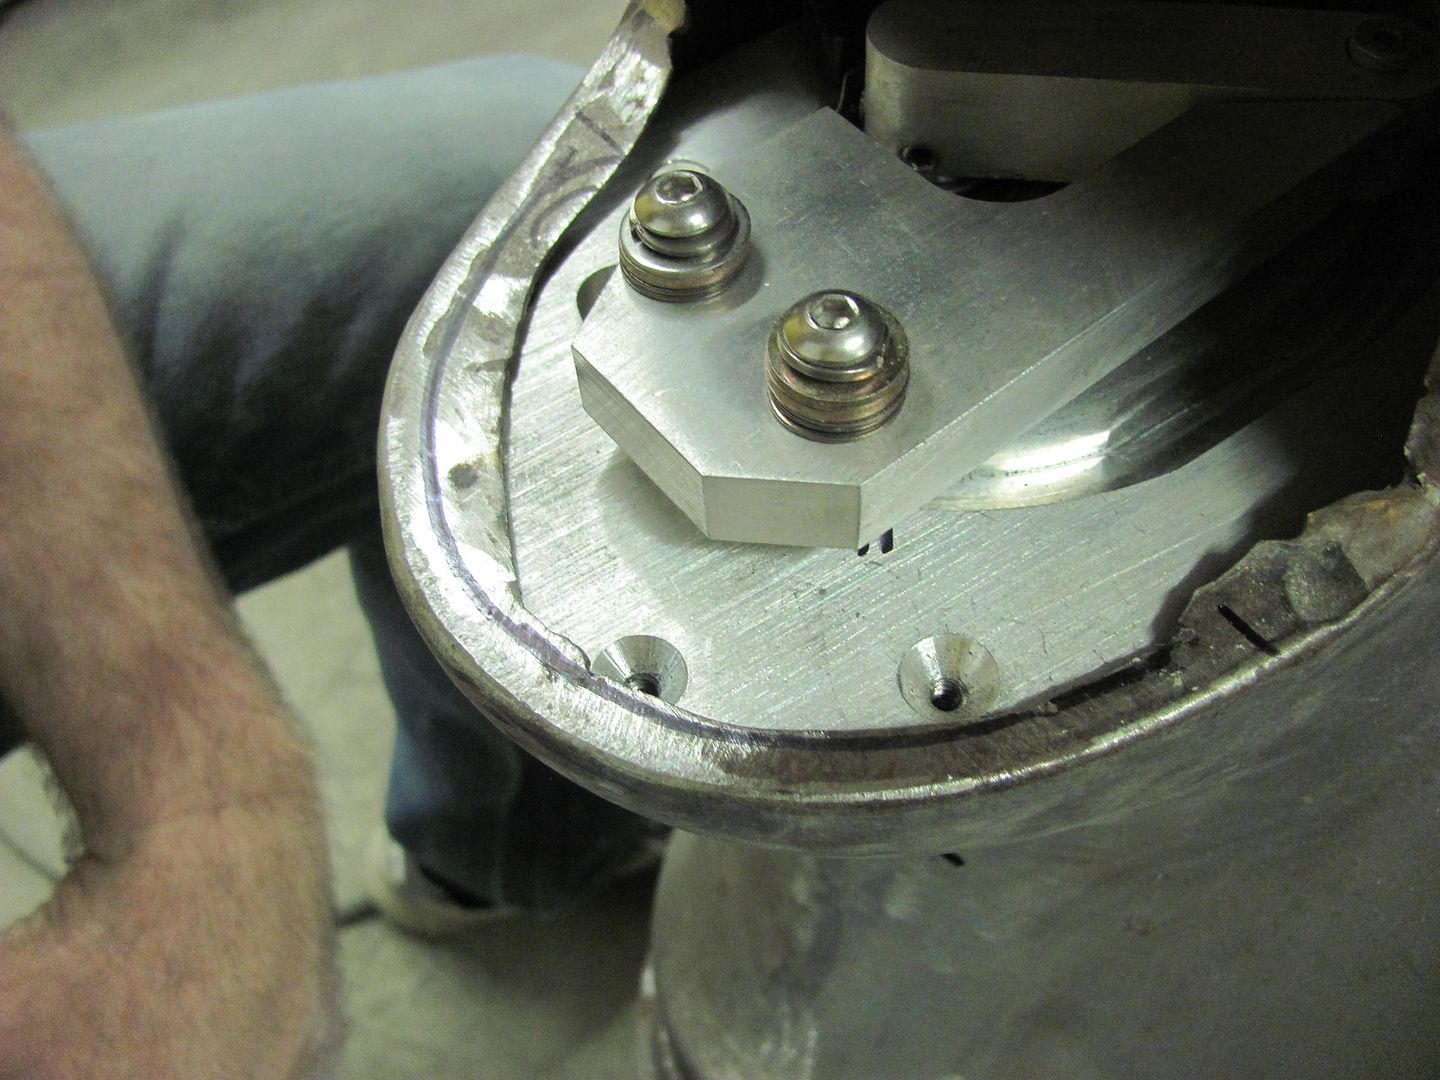
To provide the proper "pressed" countersink, we broke out the tubing flare kit...
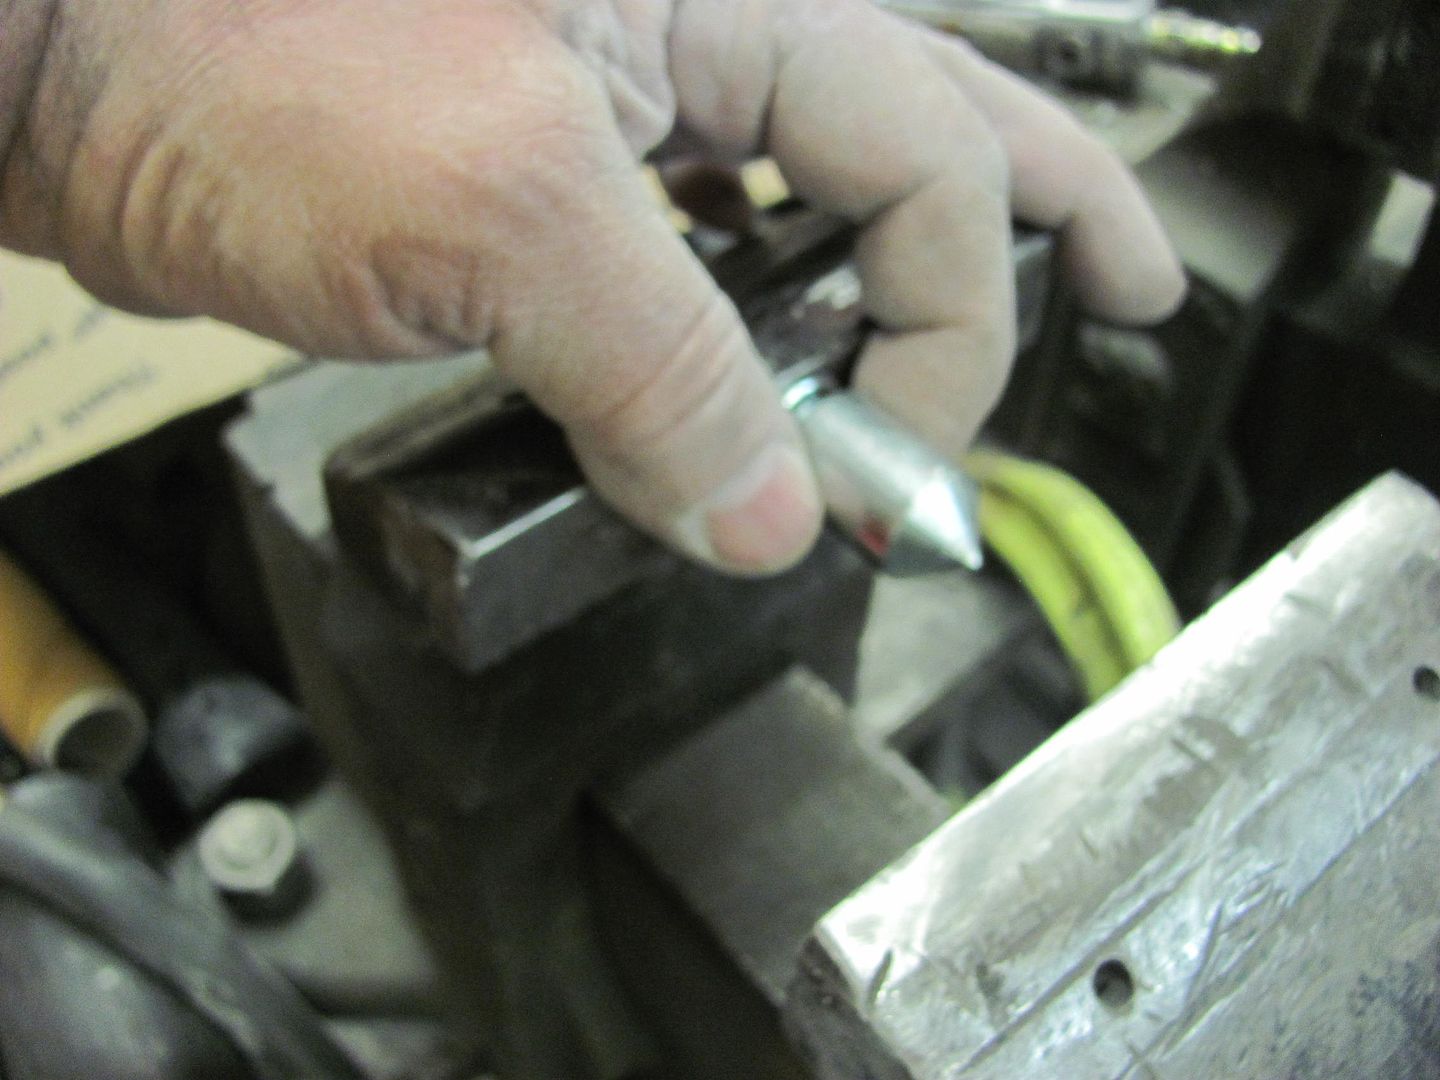
Redneck press...
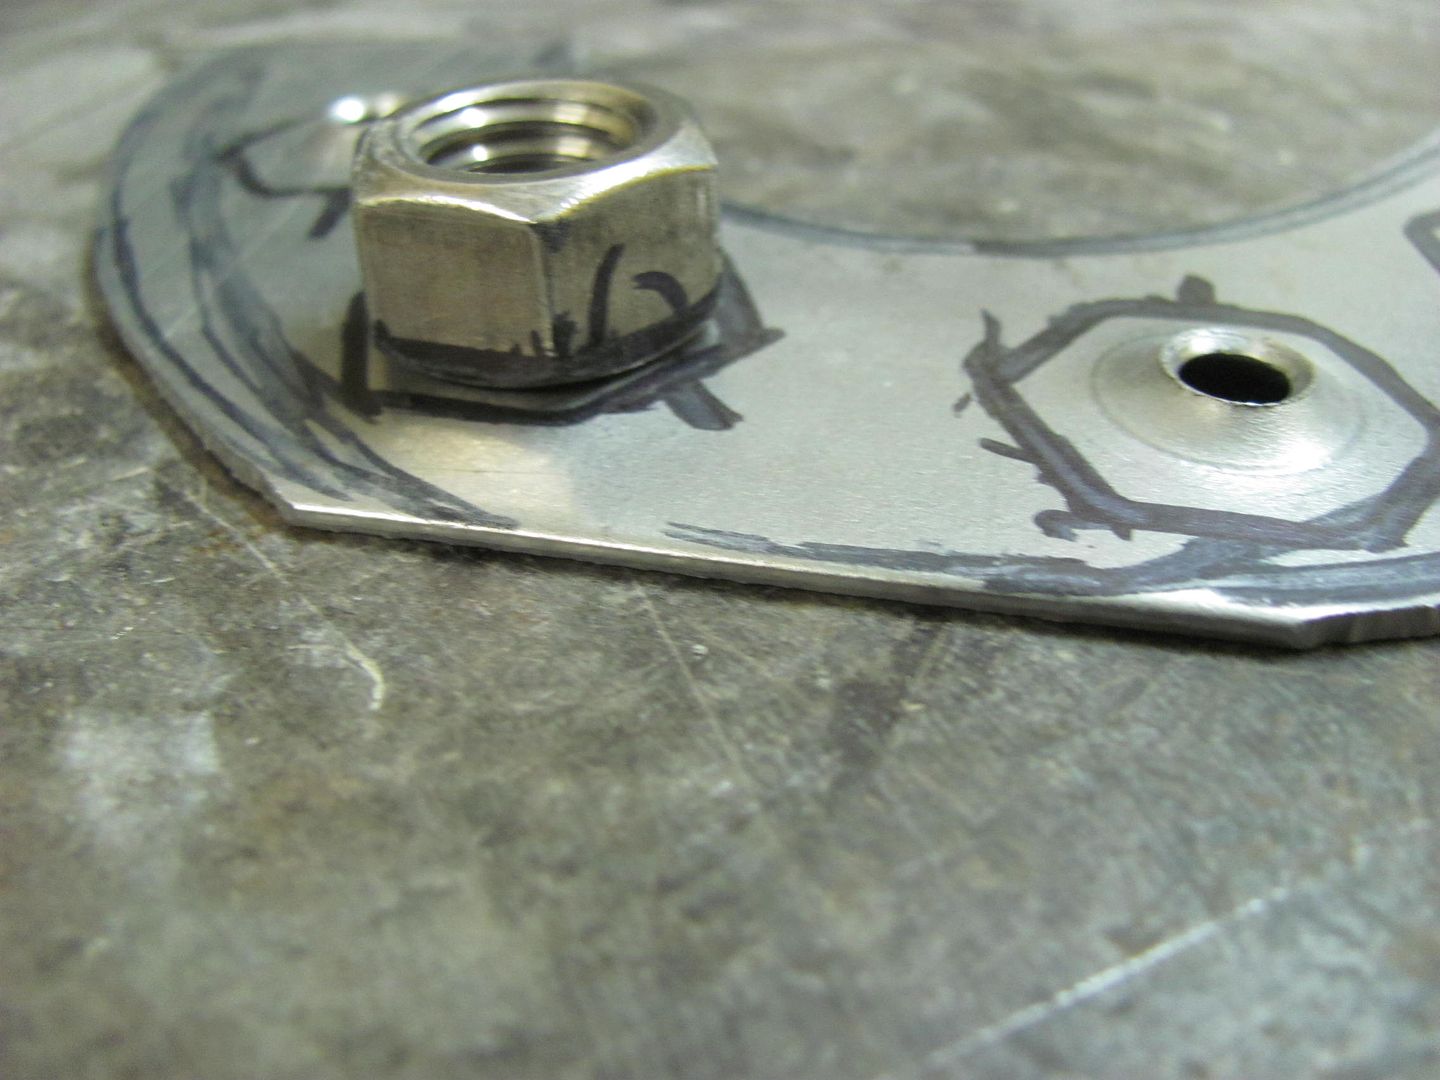
Our lower "die" was a 1/2-13 nut, centered over the hole, perimeter marked, and then taped in place before locating this into the press. Hey, it wasn't pretty, but it worked!
Some trimming of the hole to provide room for the weld-in mounting plate....
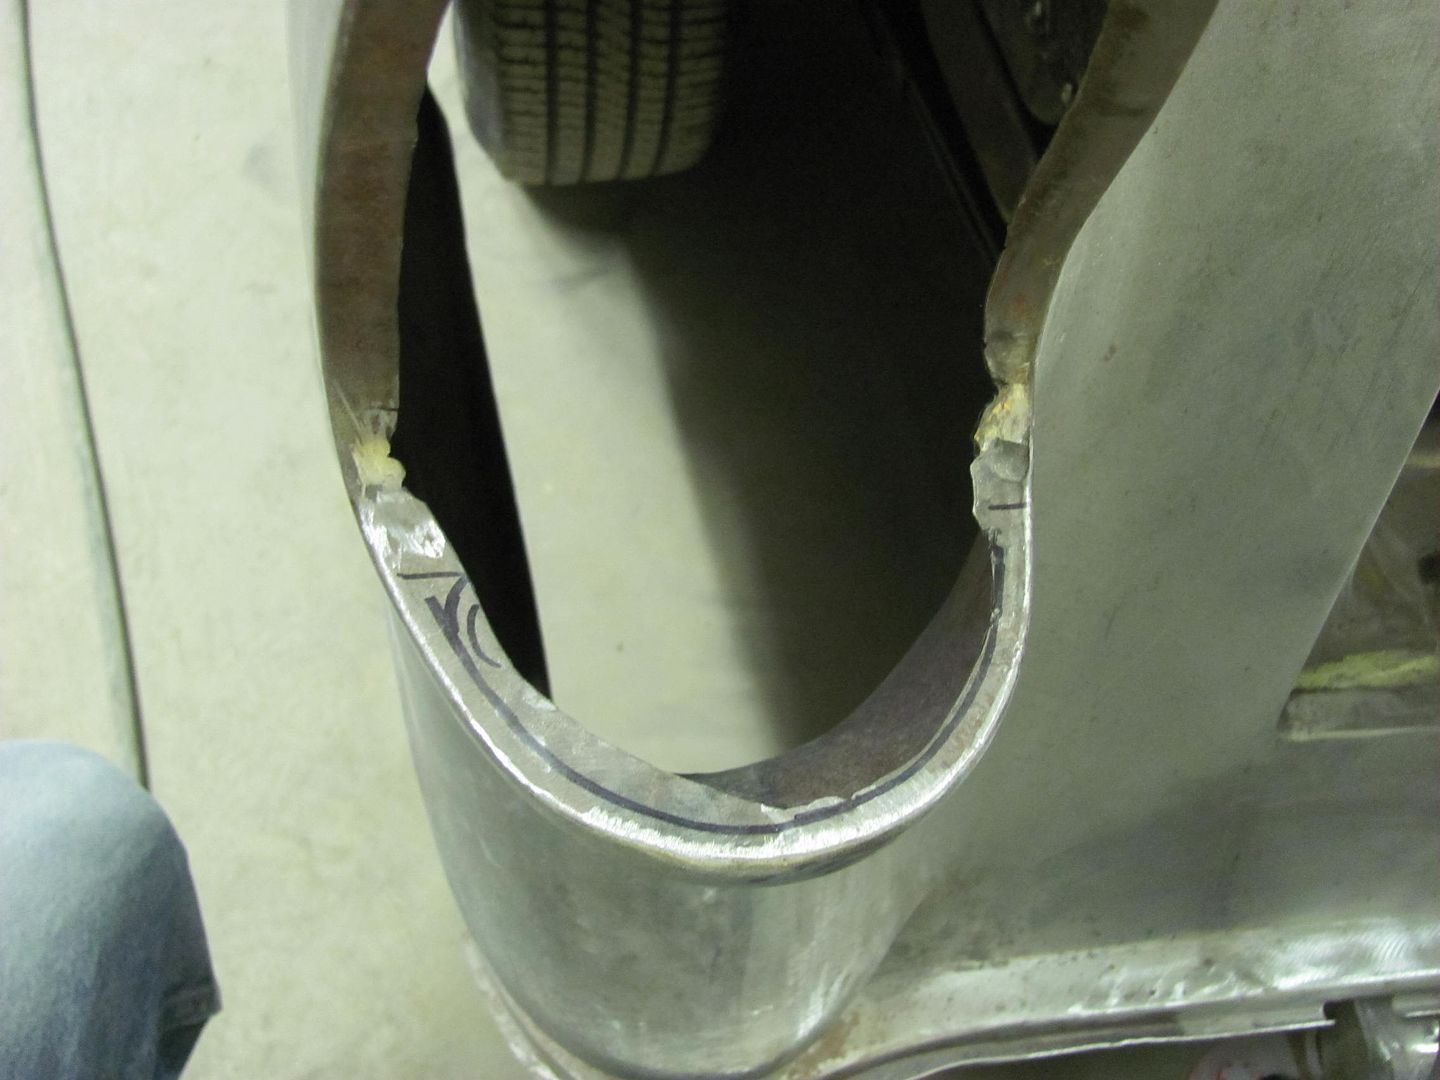
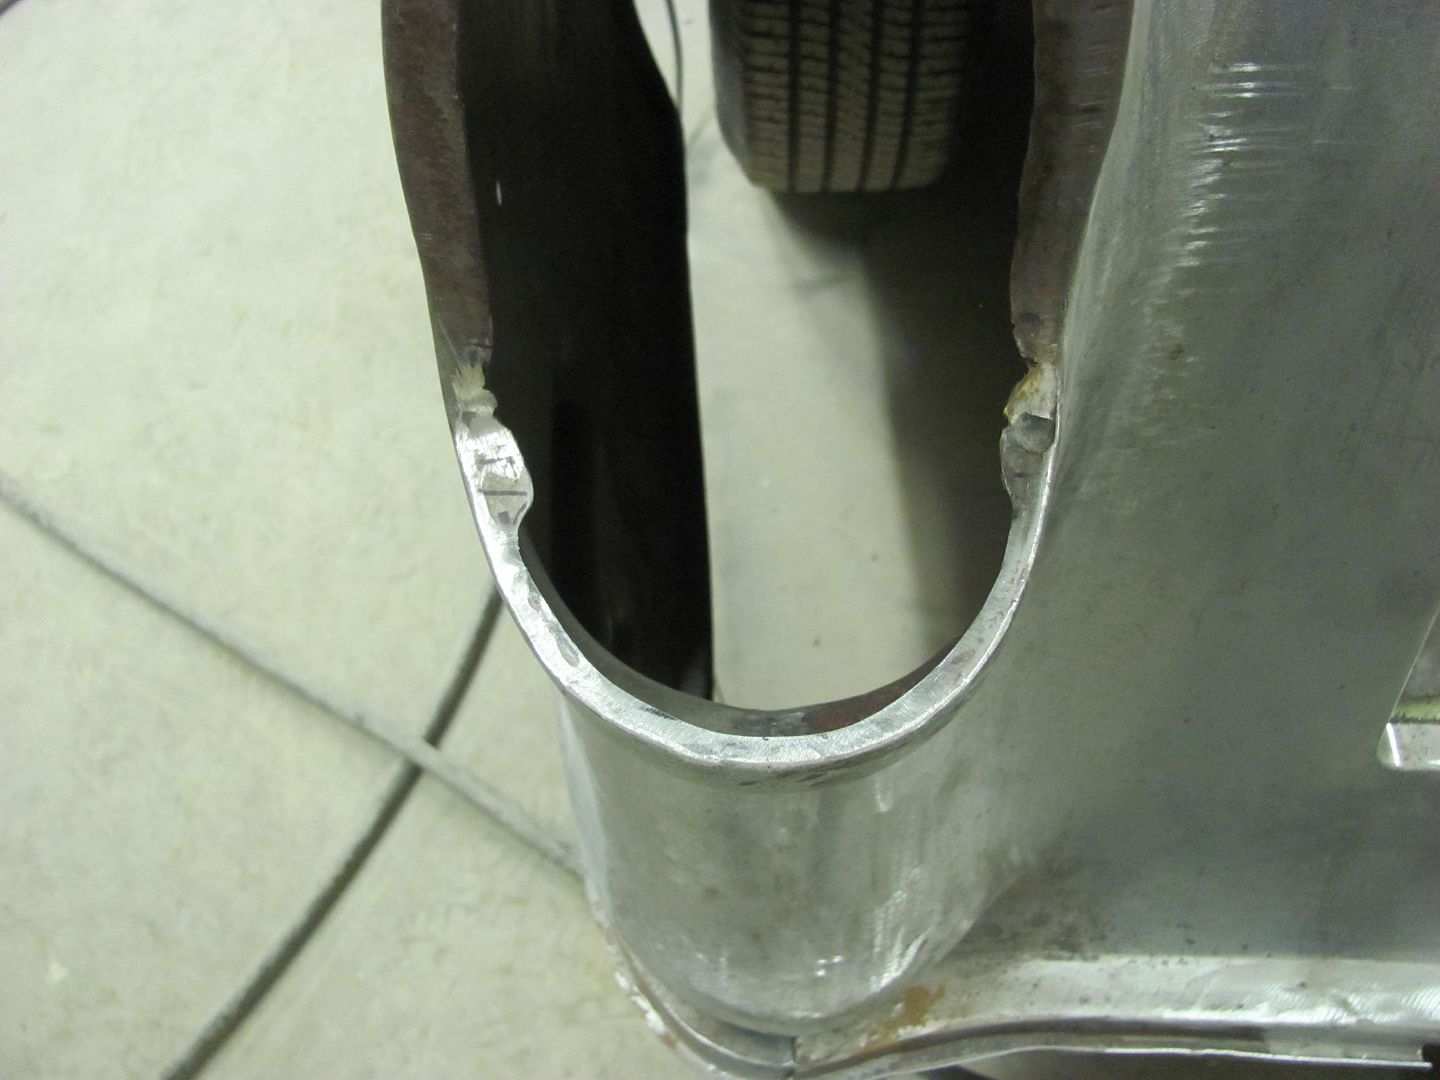
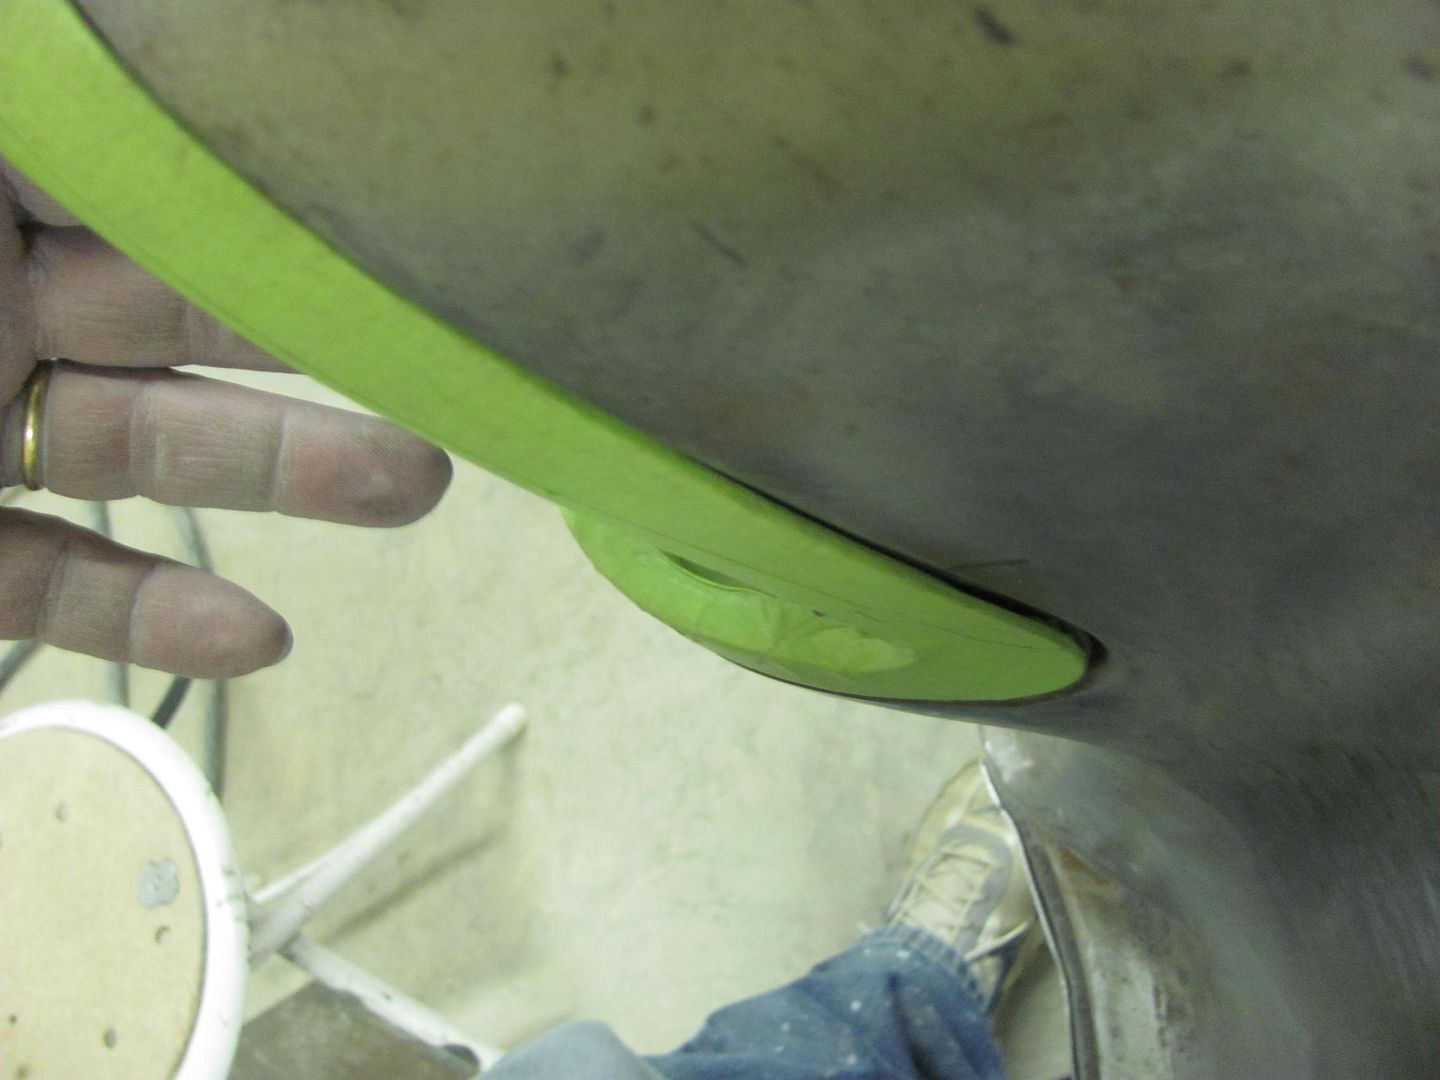
Test fit of the tail light housing showed the opening was a bit wide, especially to the inside towards the tailgate. So some glancing blows with too large a hammer provided a bit of stretch in this inner valley to persuade the panel over to the left, tightening up the opening....
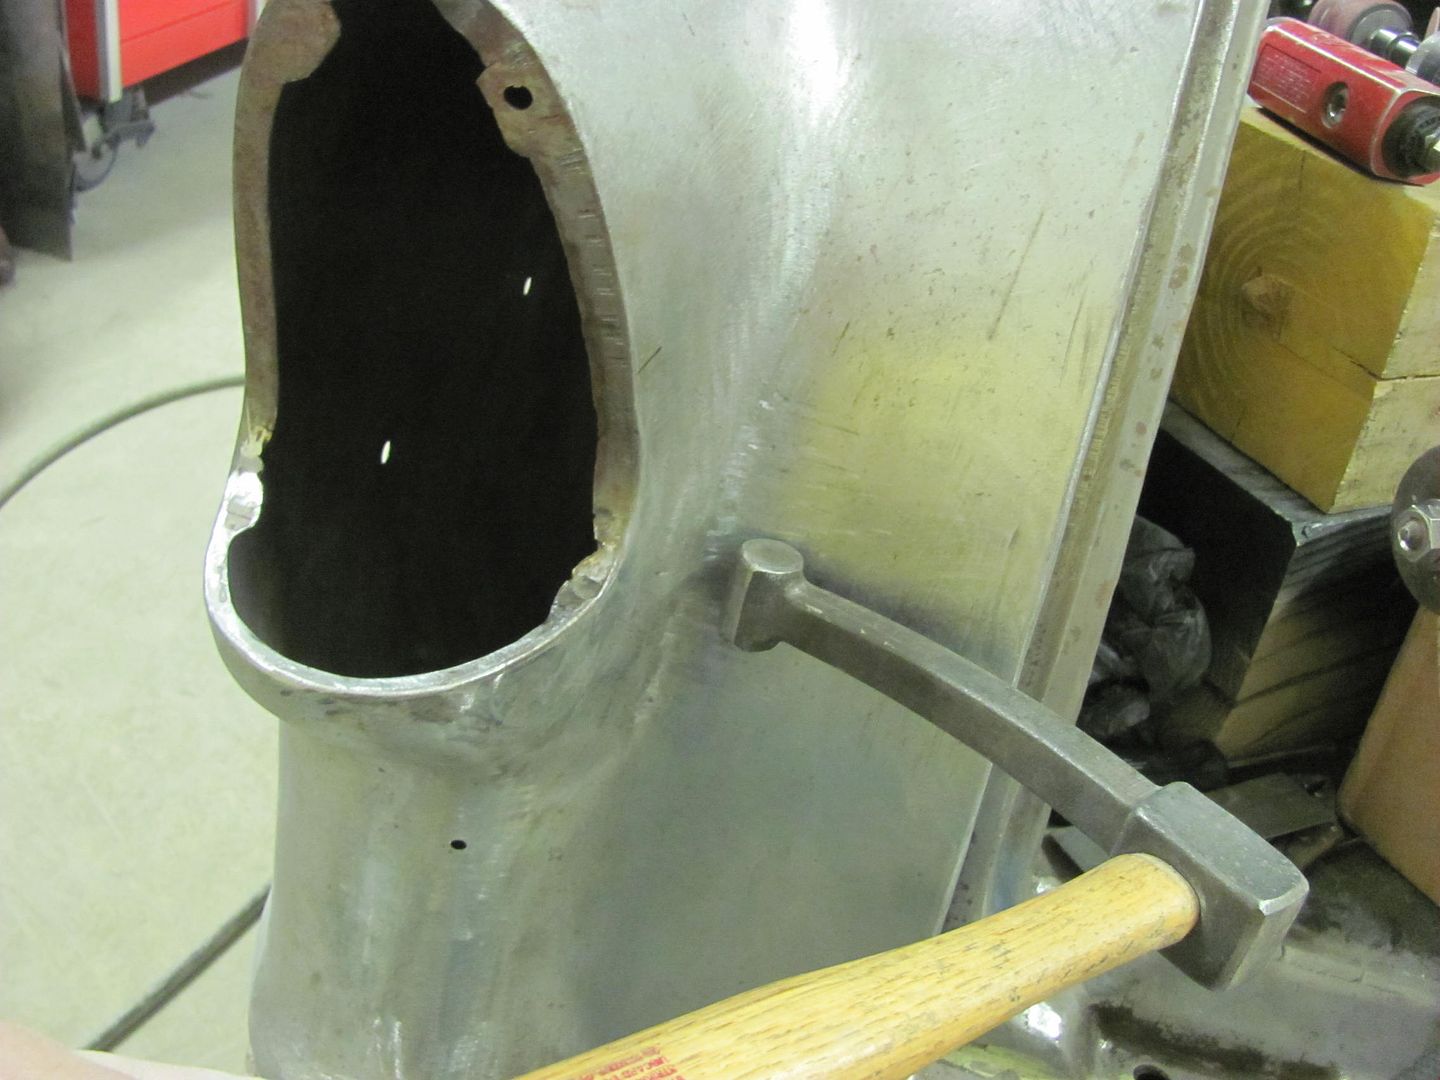
A bit better here, but more tweaking will be needed on the outside before the mounting plate gets welded in place..
Robert

 Reply With Quote
Posting Permissions
- You may not post new threads
- You may not post replies
- You may not post attachments
- You may not edit your posts

Looks Factory!!
1968 Plymouth Valiant 1st Gen HEMI