Thread: 55 Wagon Progress
Results 1 to 15 of 1865
Threaded View
-
03-11-2017 07:01 PM #11
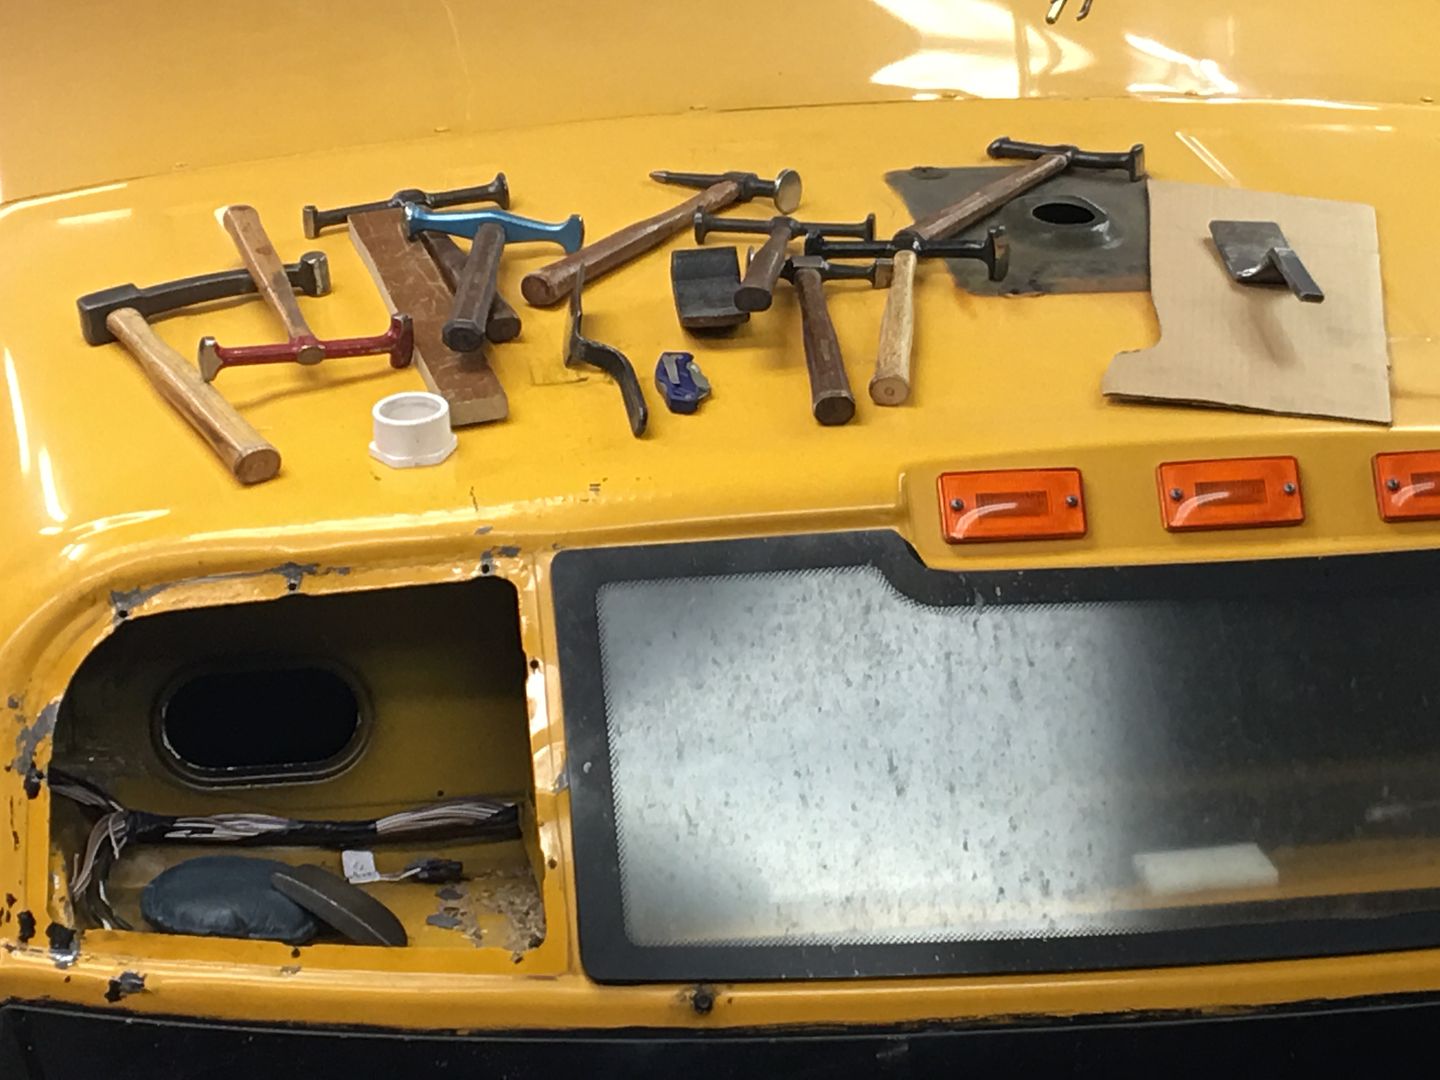
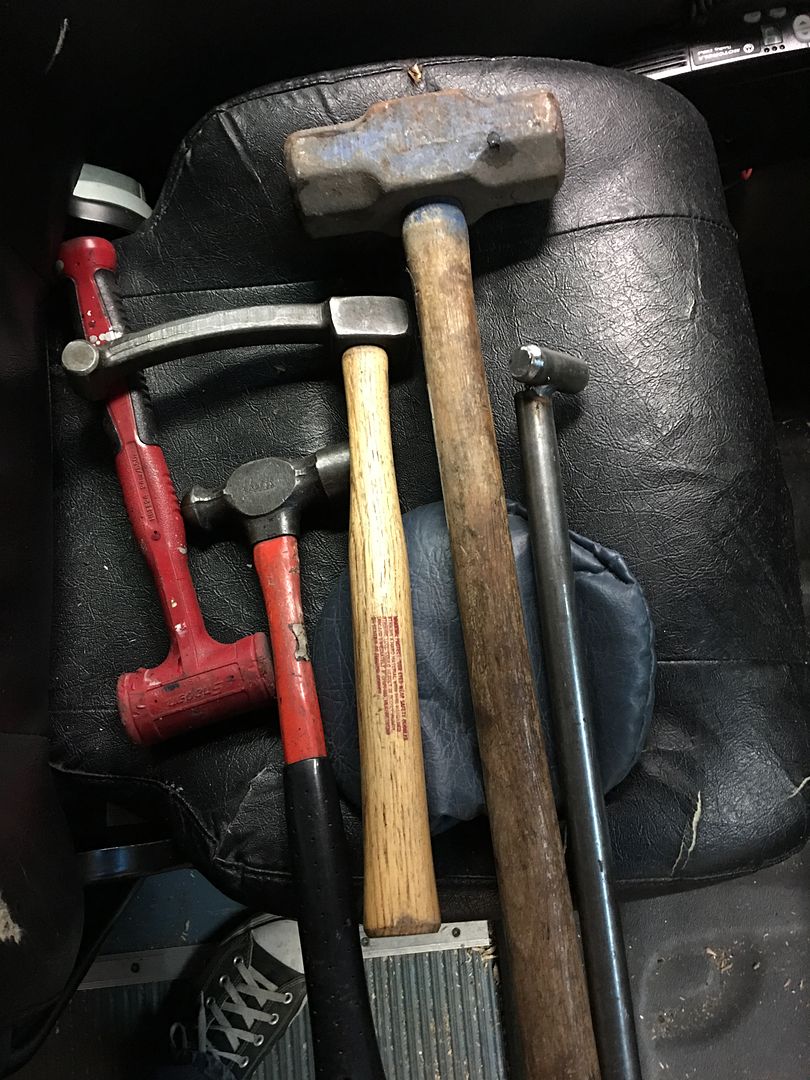
Spent a few more hours getting the light opening to match the new, unbroken light, welded up some of the screw holes that had torn, and given some of the structural members in the way of the roof, we had to settle for no oil canning and a slight low that needed filler.. Here's some of our implements of correction, yes, some force is required in areas...

A few more sanding sessions and we'll get some epoxy primer on....
Getting some seat brackets welded in so we can finish off the bottom of the floor...
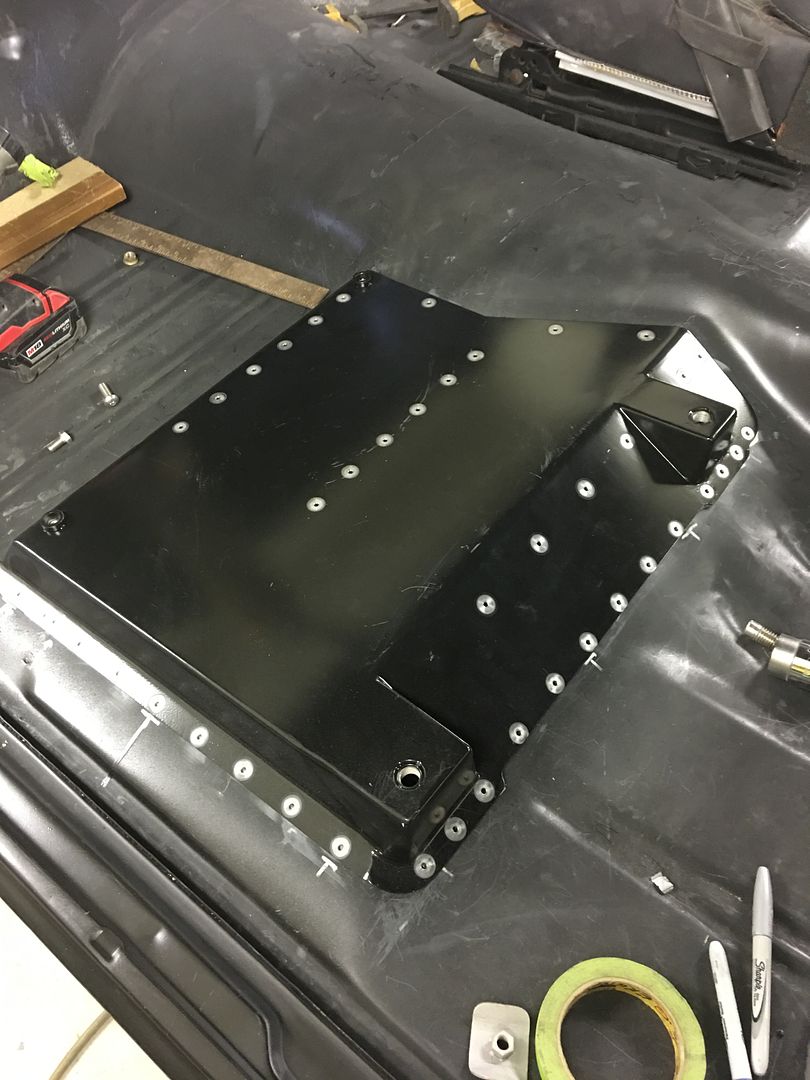
Plug welding...
https://www.youtube.com/watch?v=VofyZCliZRg

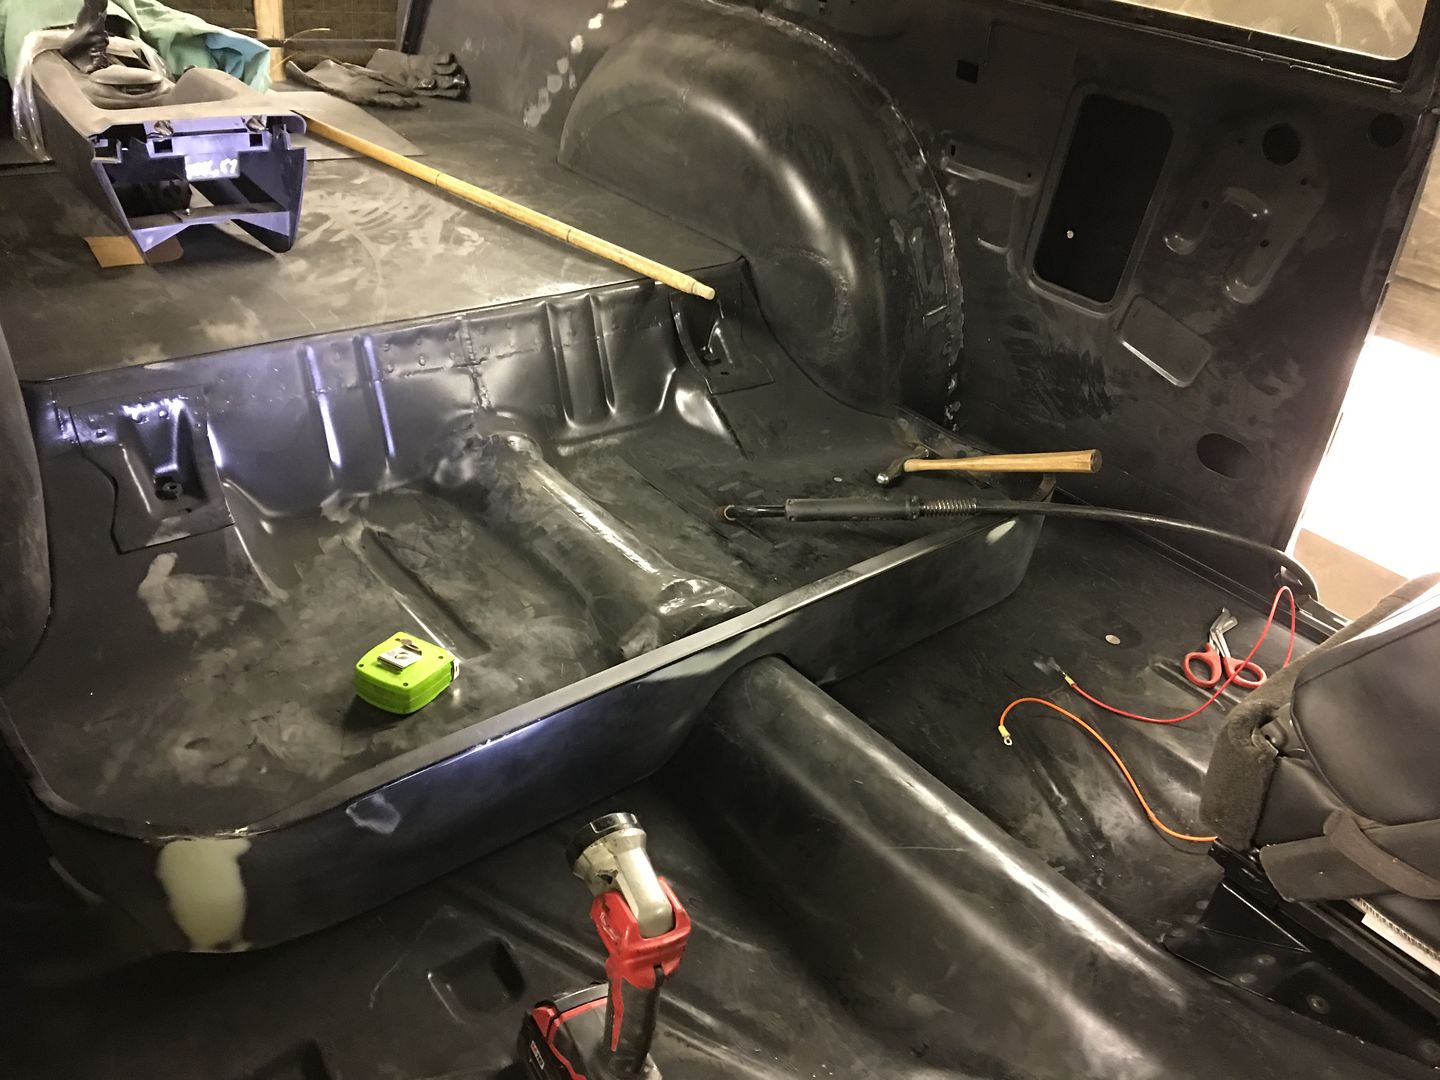
But before we get all the front seats in and make it harder to access the back, lets get the seat riser plug welded in for the back seat...
Next, our rear seat that came with the buckets was slightly oversize for our widened wheel wells. Some quick measurements showed we need to lose about 2" in width..


Then the rear corners needed relieving for the wheel tubs.....

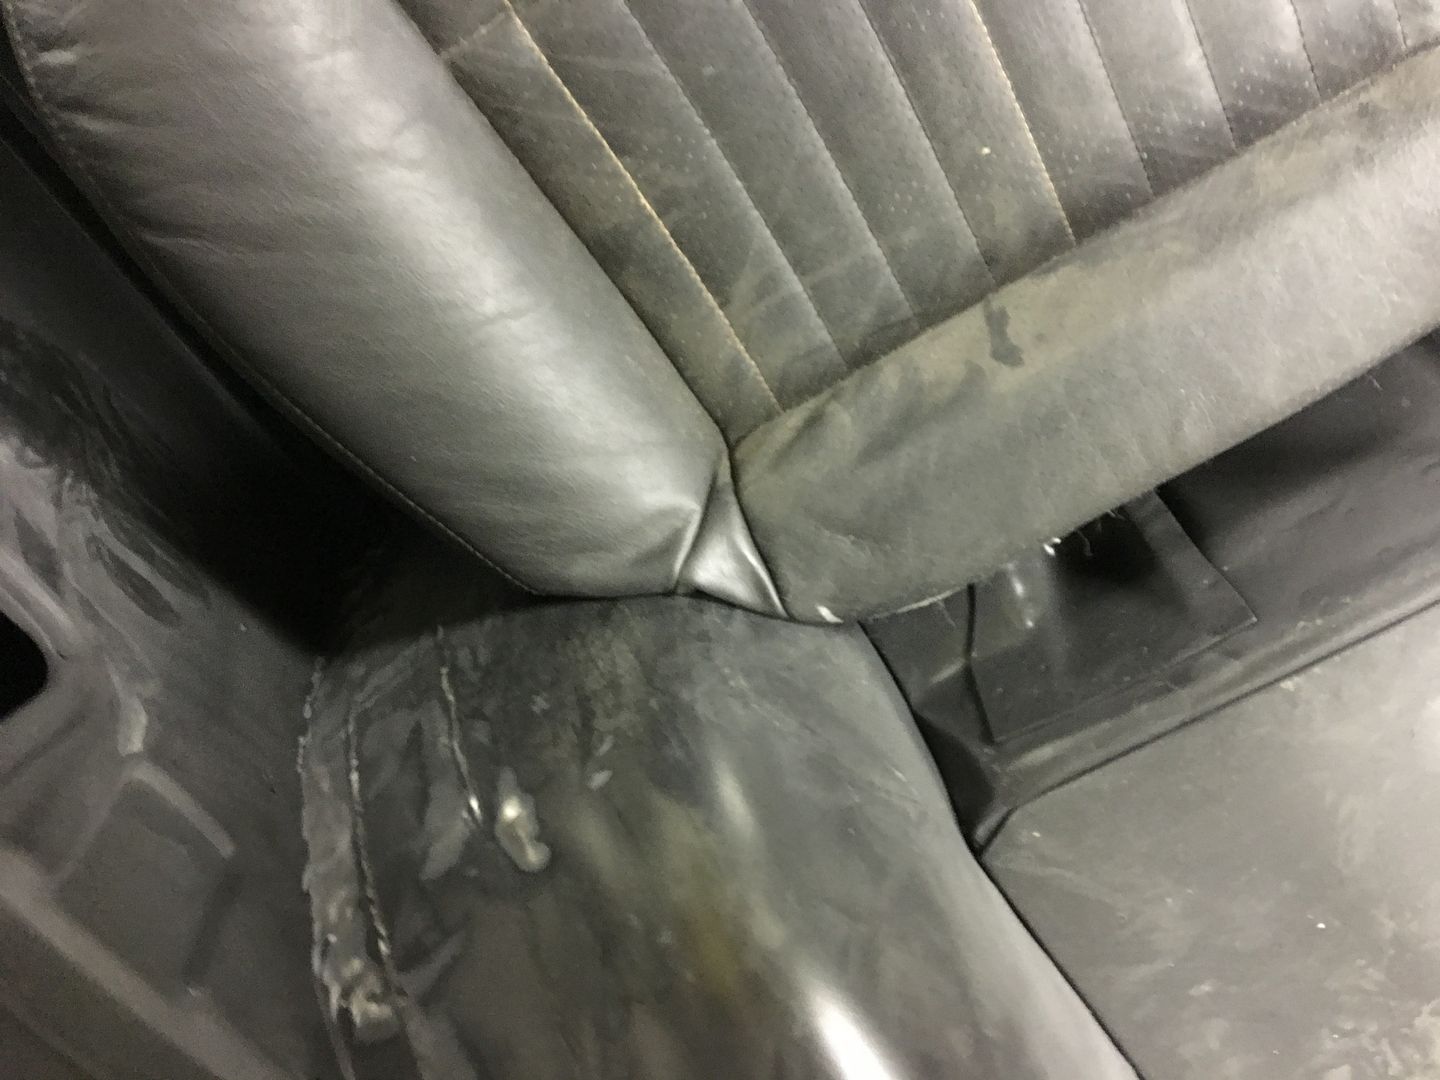

Some 3/16 diameter stainless rod was used to reconnect the pieces in the new rear corners

Some fire prevention for the foam..
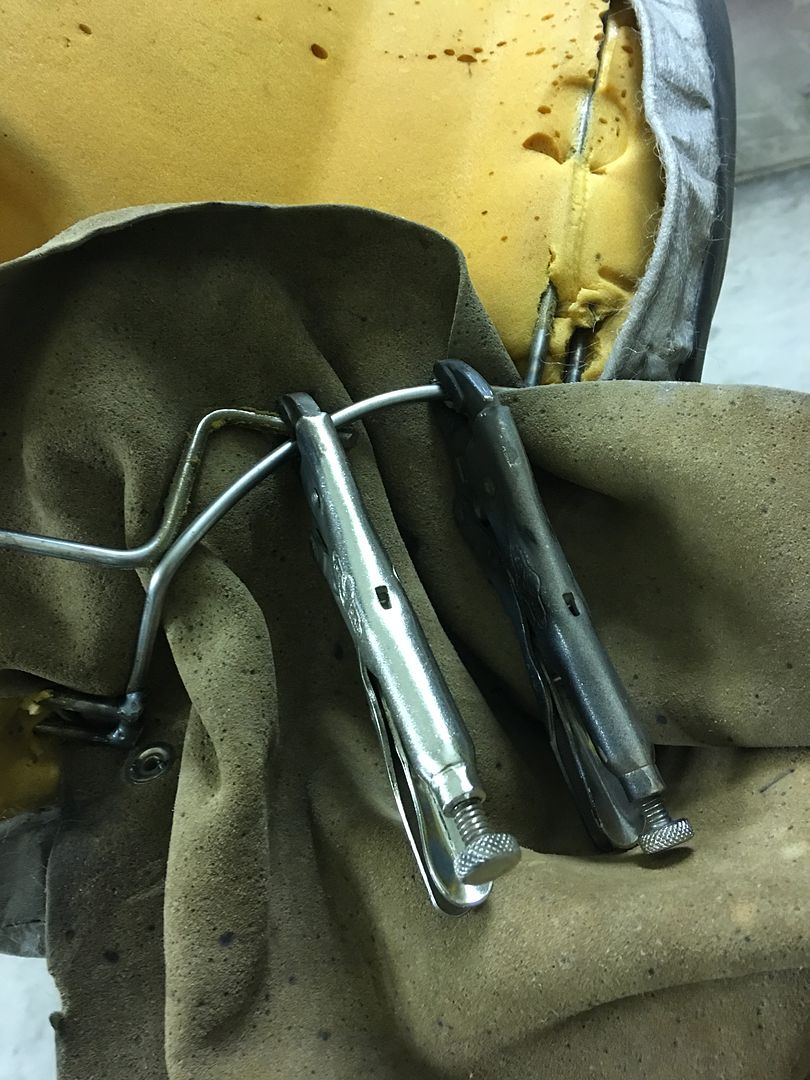

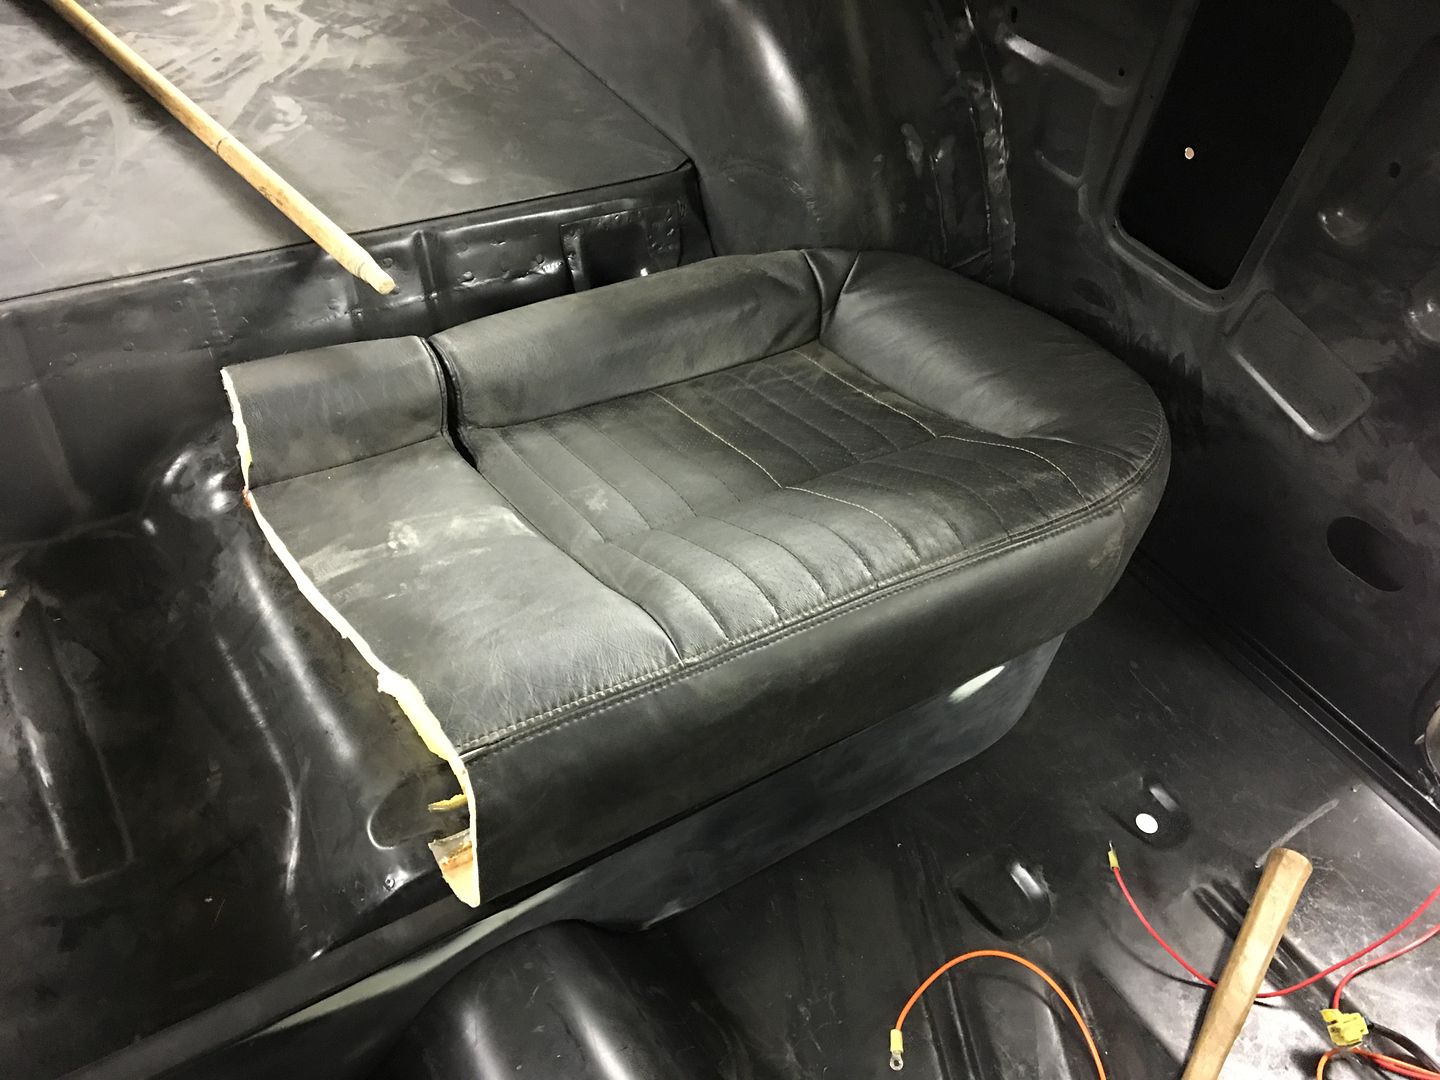
With both sides fitting individually, time to join our sides back together...

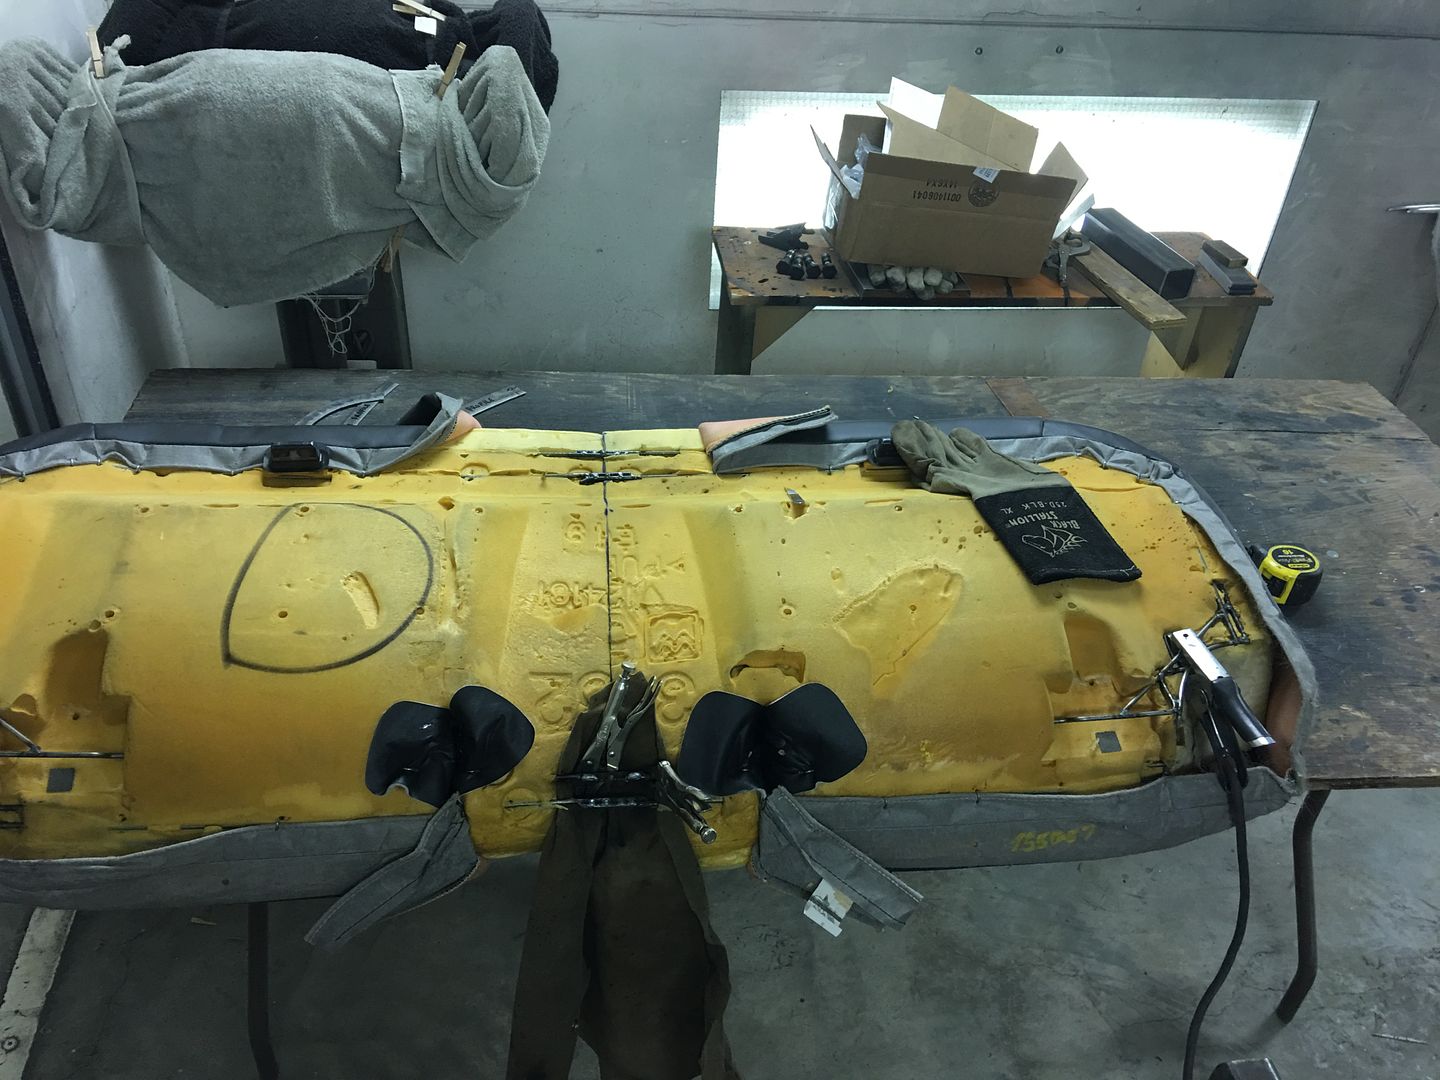
Video of the surgery results....
https://www.youtube.com/watch?v=0ingFICYYws
With the overlap of material trimmed, this part is looking pretty good!

Robert


 3390Likes
 LinkBack URL
 About LinkBacks
 Reply With Quote

Several years ago we did quite a good trip of USA, and on our trip we got to meet Mike and Christine Frade. We didn't stay long with them, but in that relatively short time we both gained a great...
We Lost a Good One