Thread: 55 Wagon Progress
Results 1 to 15 of 1865
Threaded View
-
06-17-2017 07:34 PM #11
With the Biederman fenders out of the building, its time to work on the 55's rear seat bolsters. Time to assemble the parts for the passenger side..
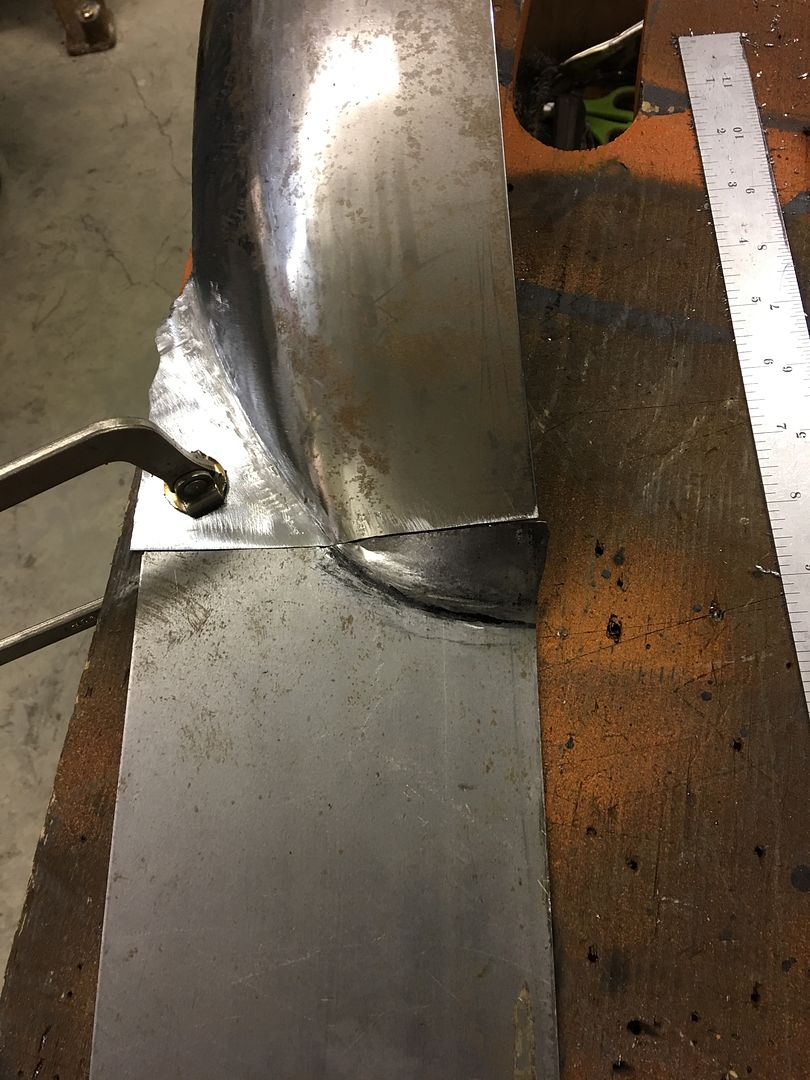

TIG welded together...
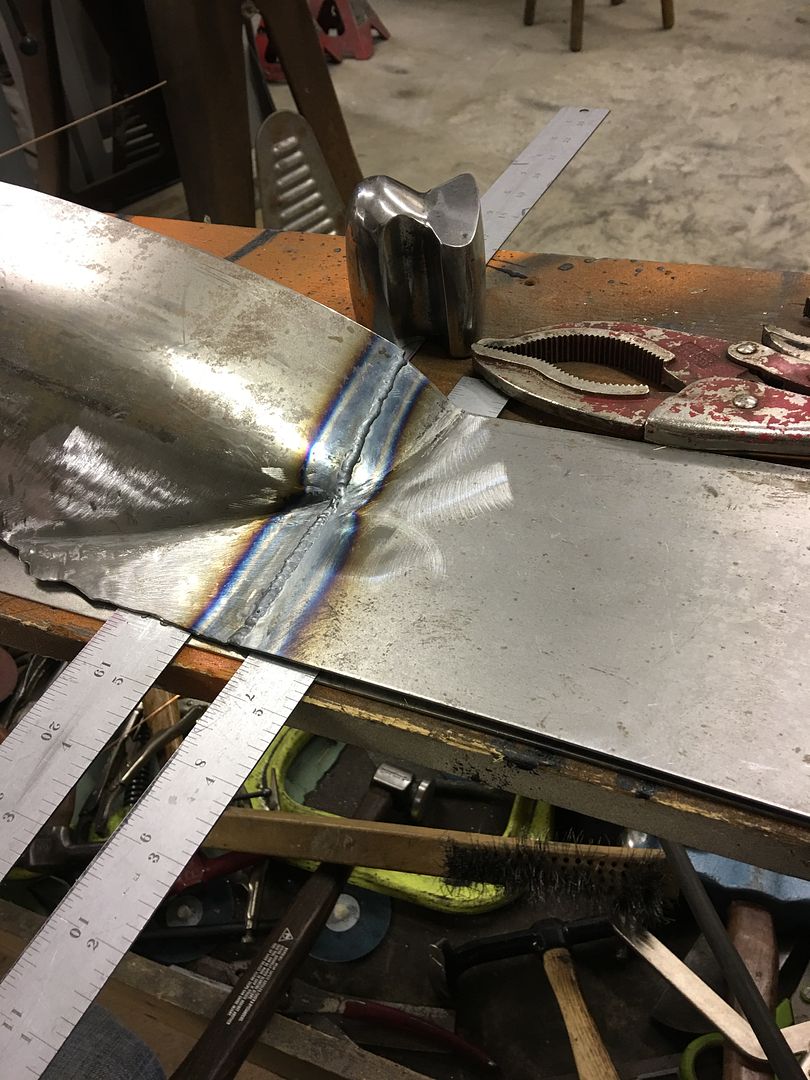
....and cleaned up....
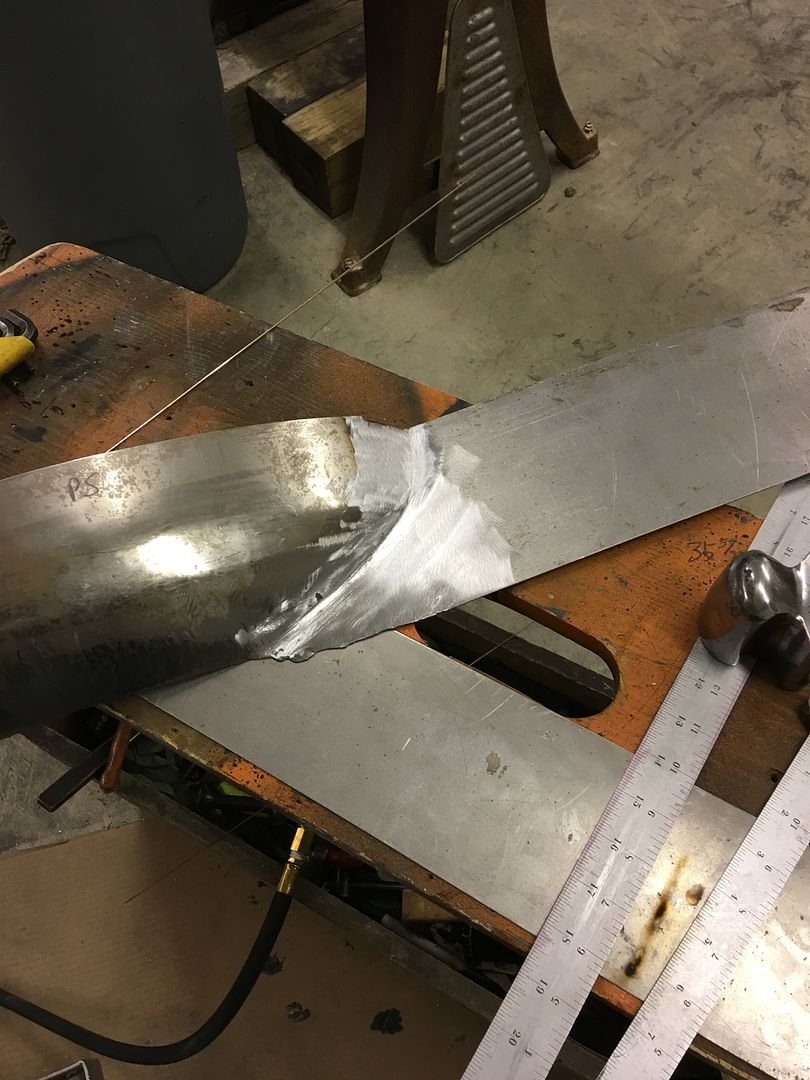
Back to the drivers side, all the edges will be tipped forward to eliminate the possibility of sharp edges cutting through the upholstery..
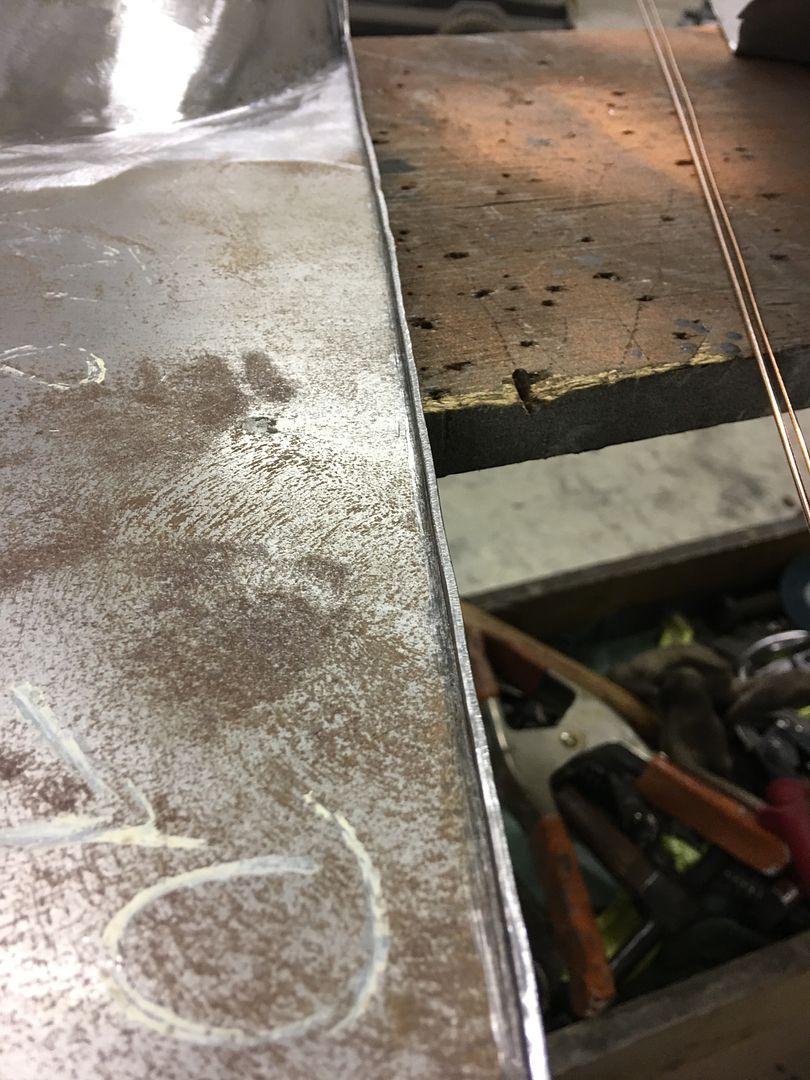
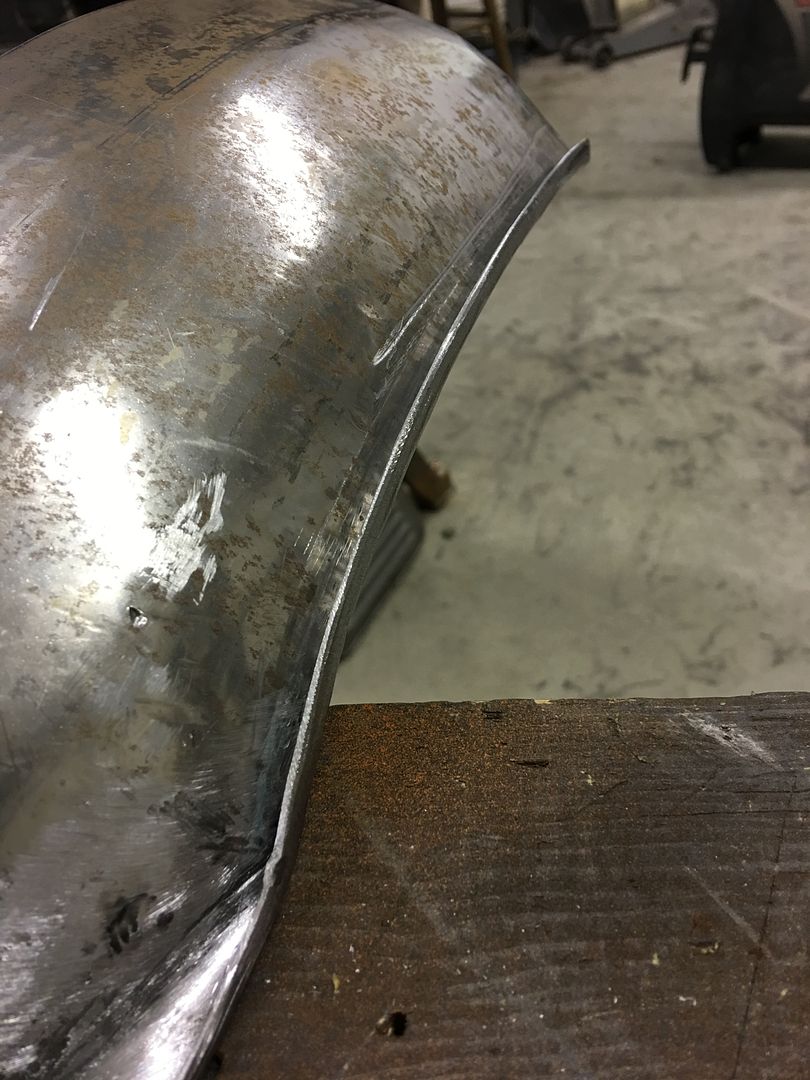
This is the edge adjacent to the center fold down seat, so we wanted it nice and straight..
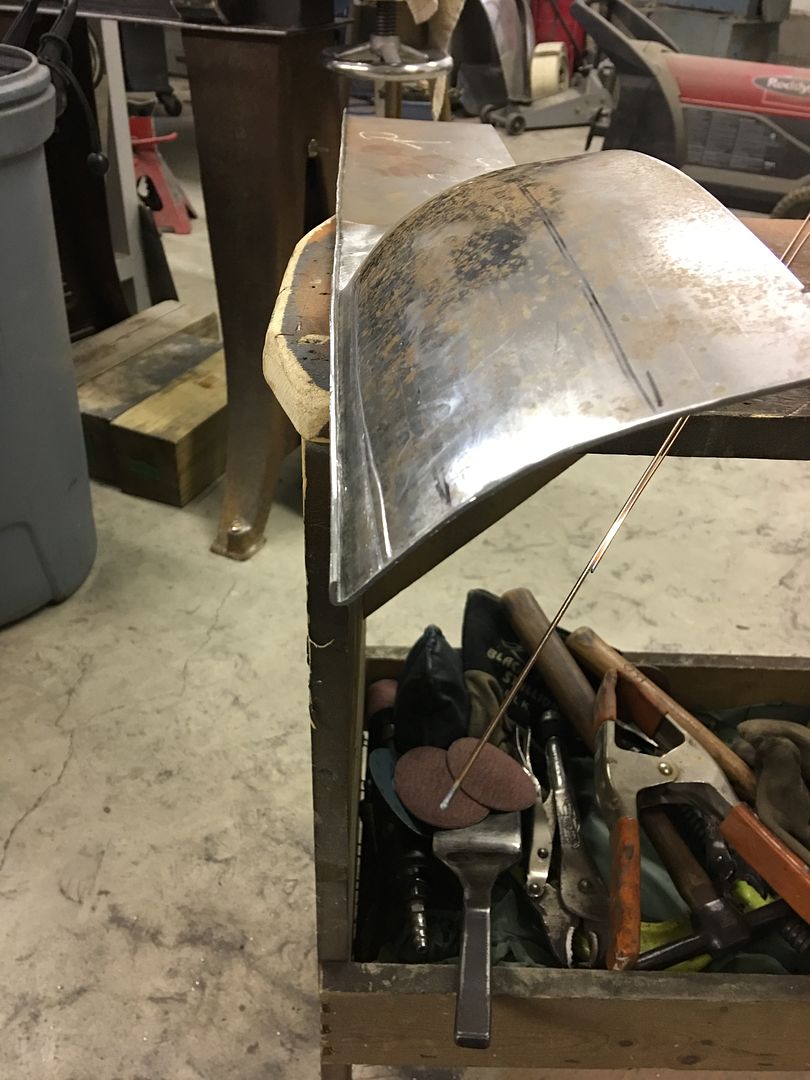
To better check that we were straight across the uneven surfaces, we used the laser again...
https://www.youtube.com/watch?v=s3TwP6NaCKU
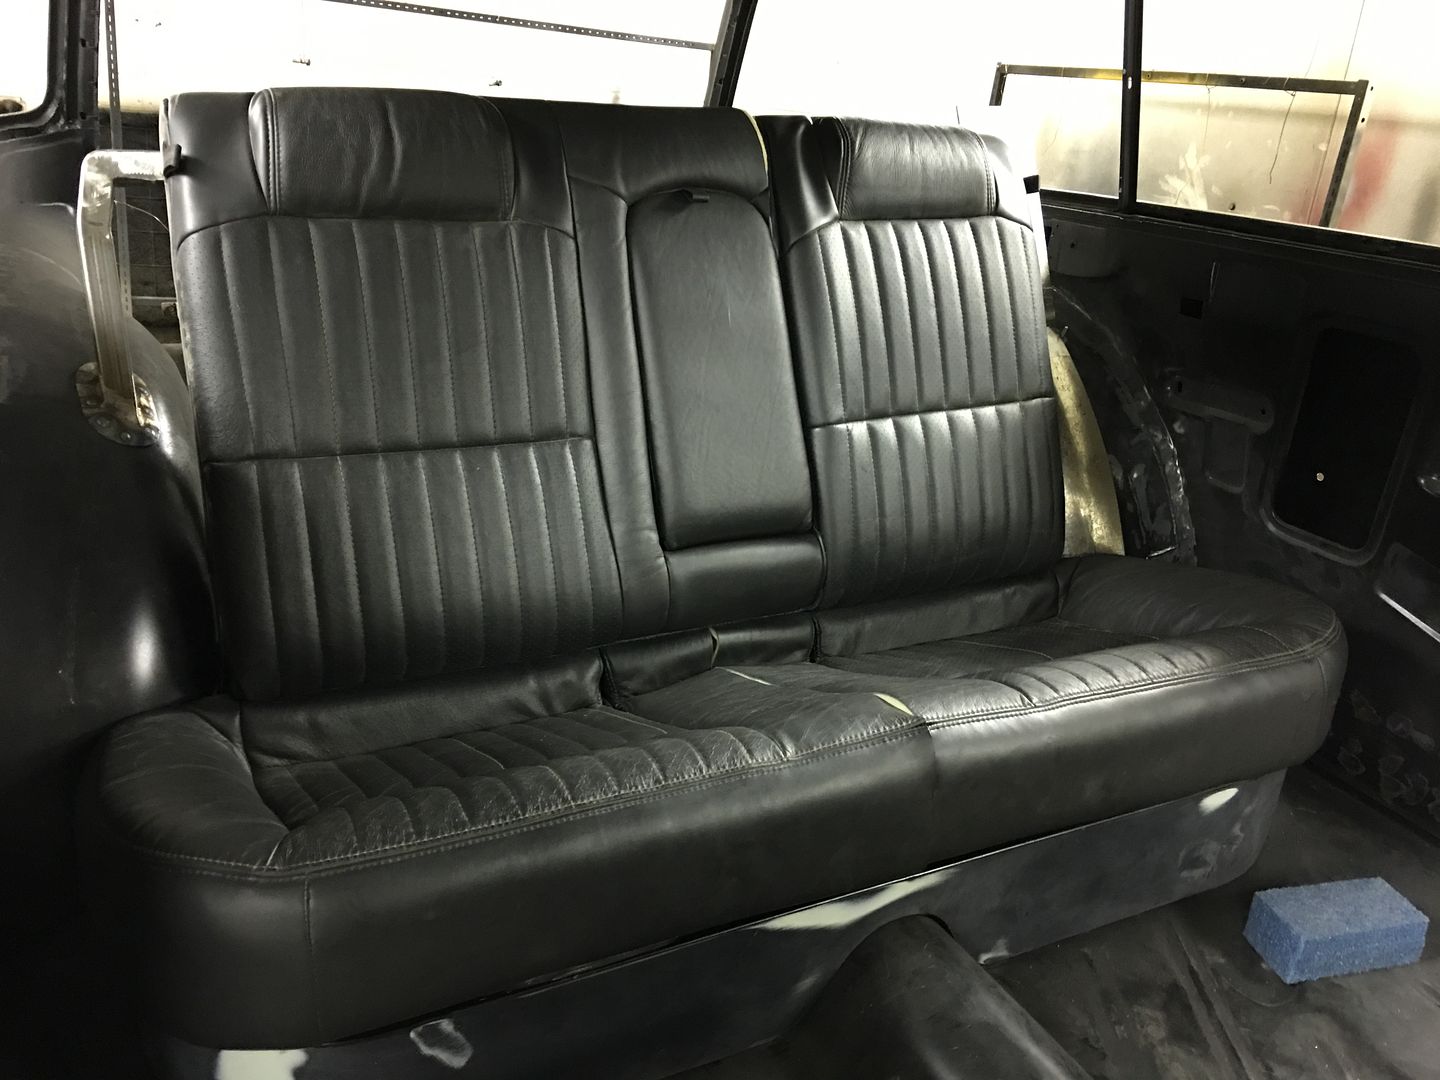
Seats mocked up again.....
.....and laser used to get a straight edge on the outside..
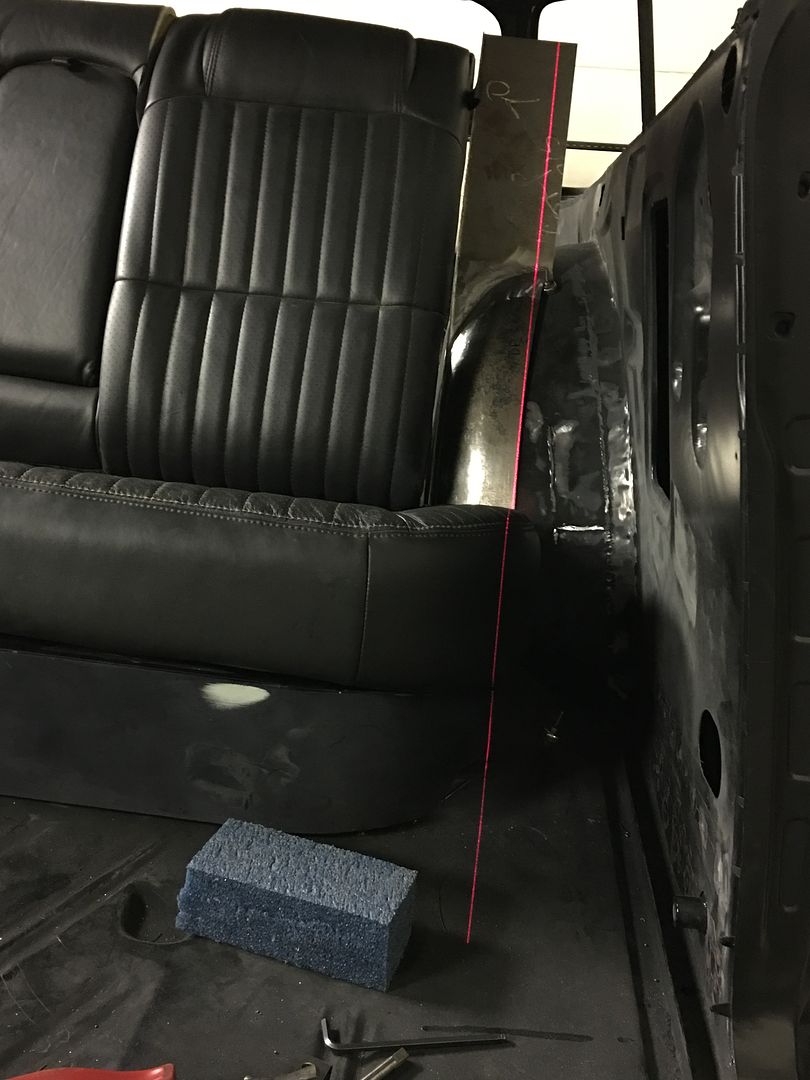
for more edge tipping....
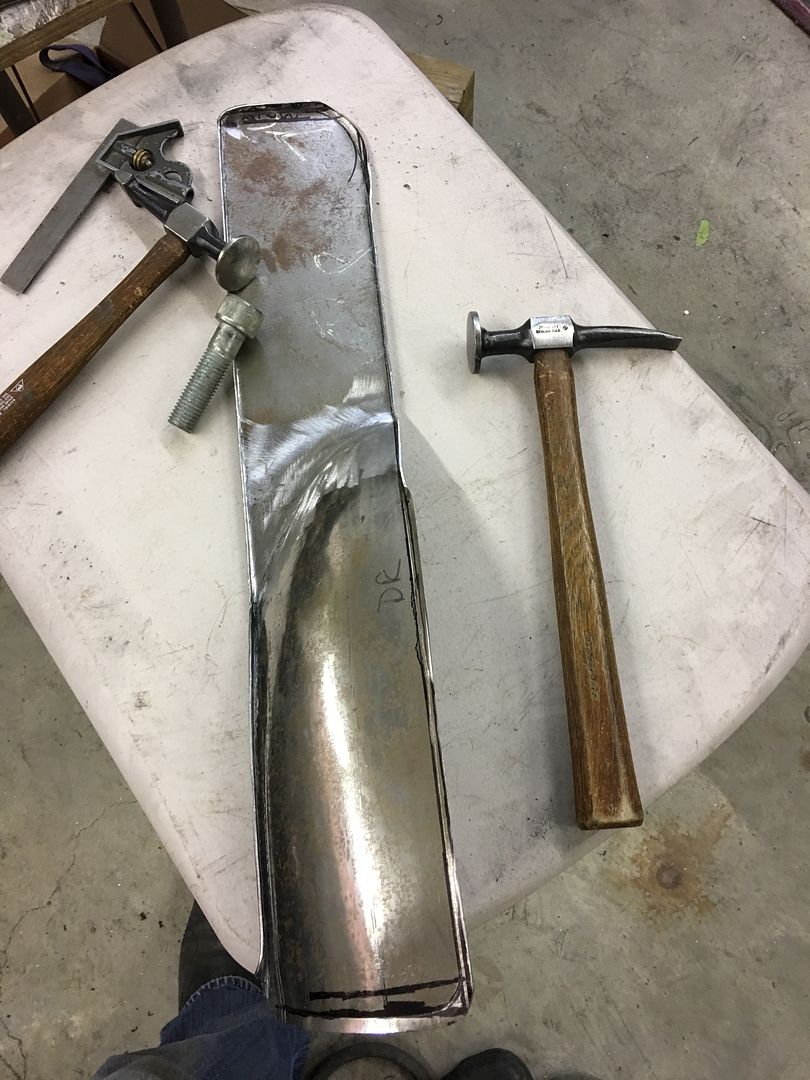
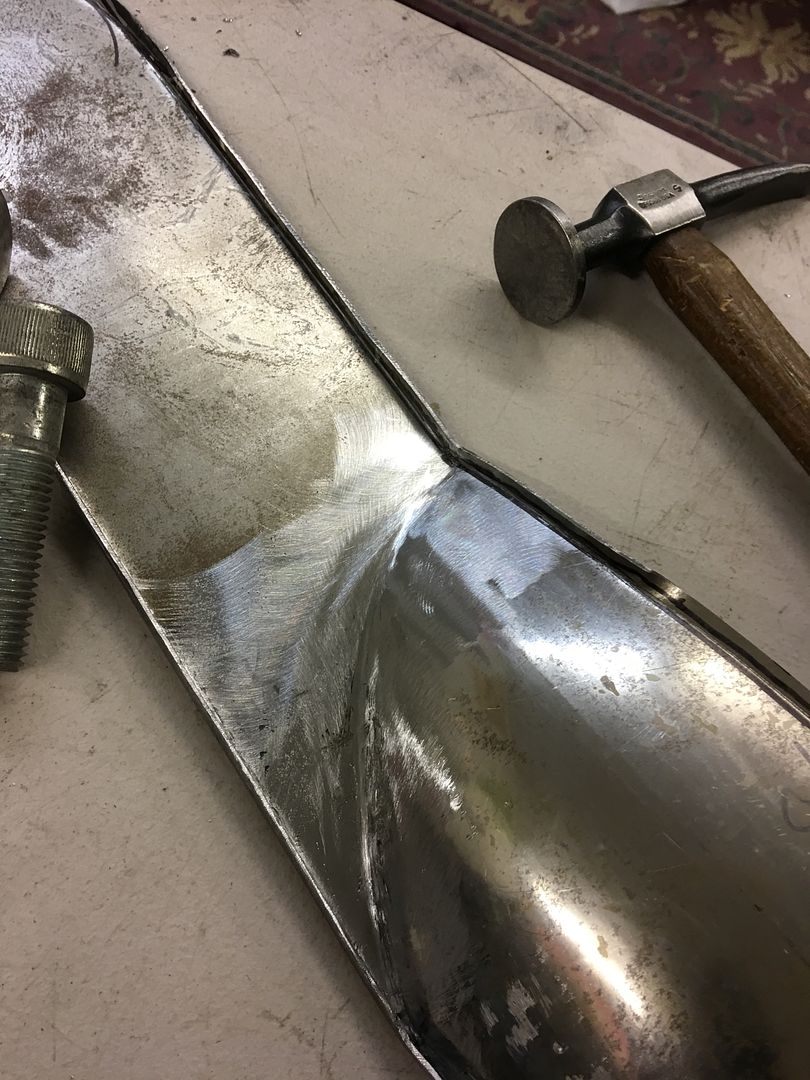
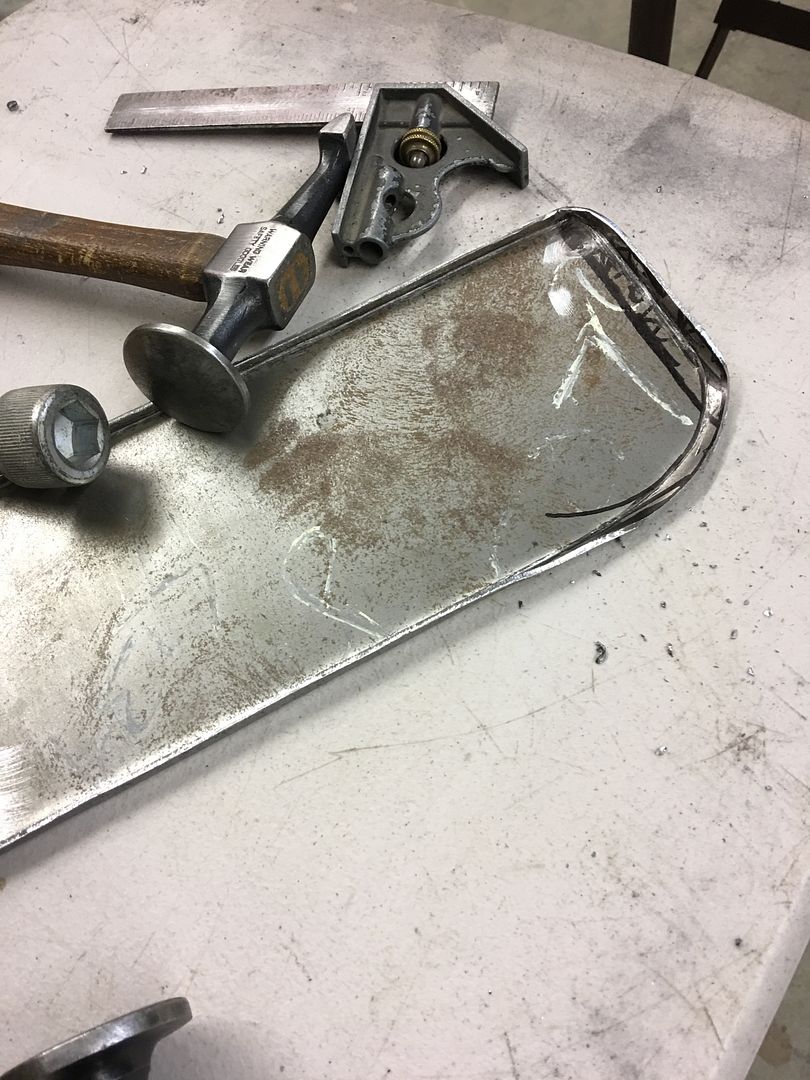
Hopefully we can finish this up in the morning and start cutting out the foam pad..
Here's the panel with all the edges tipped forward, clamped in place..
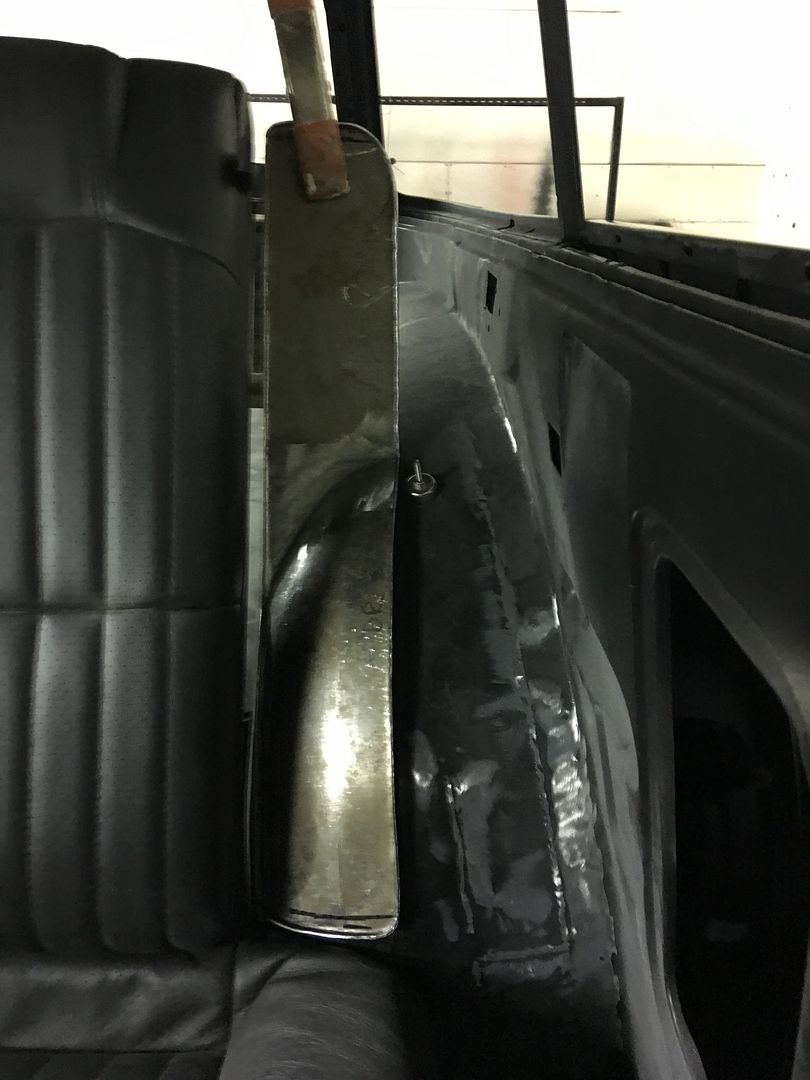
Some poster board templates were traced from the steel part, then trimmed out and transferred to the foam.

Used the electric bread knife from the kitchen (if anyone asks you haven't seen it...) to trim out the foam, makes short work of it...
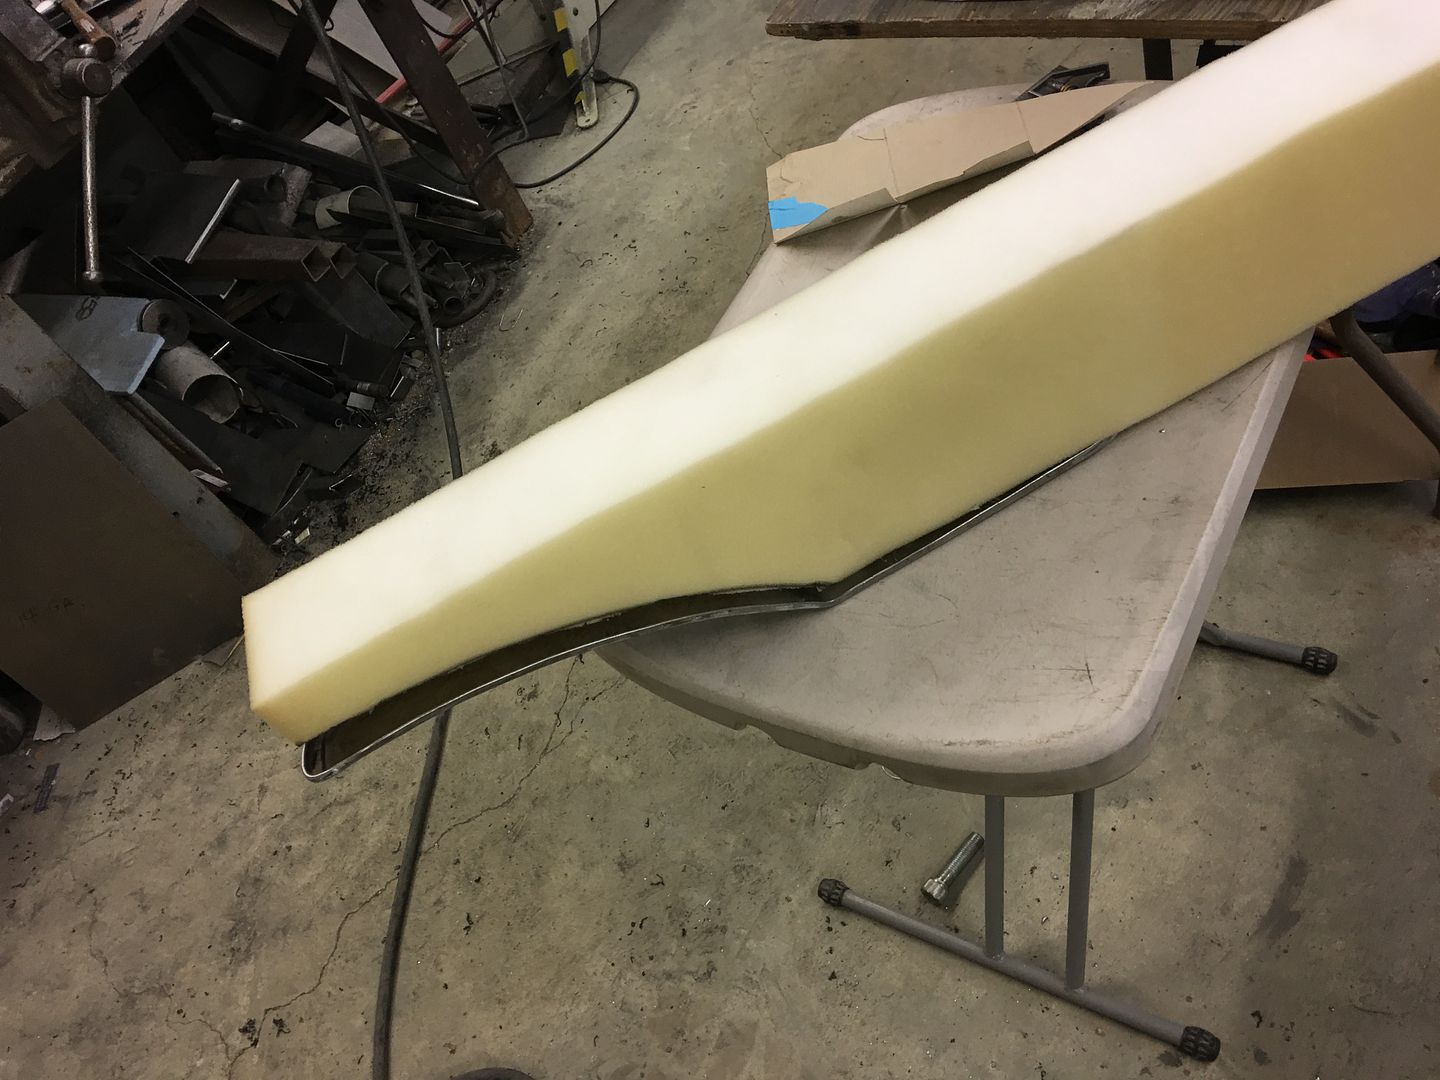
roughed out...
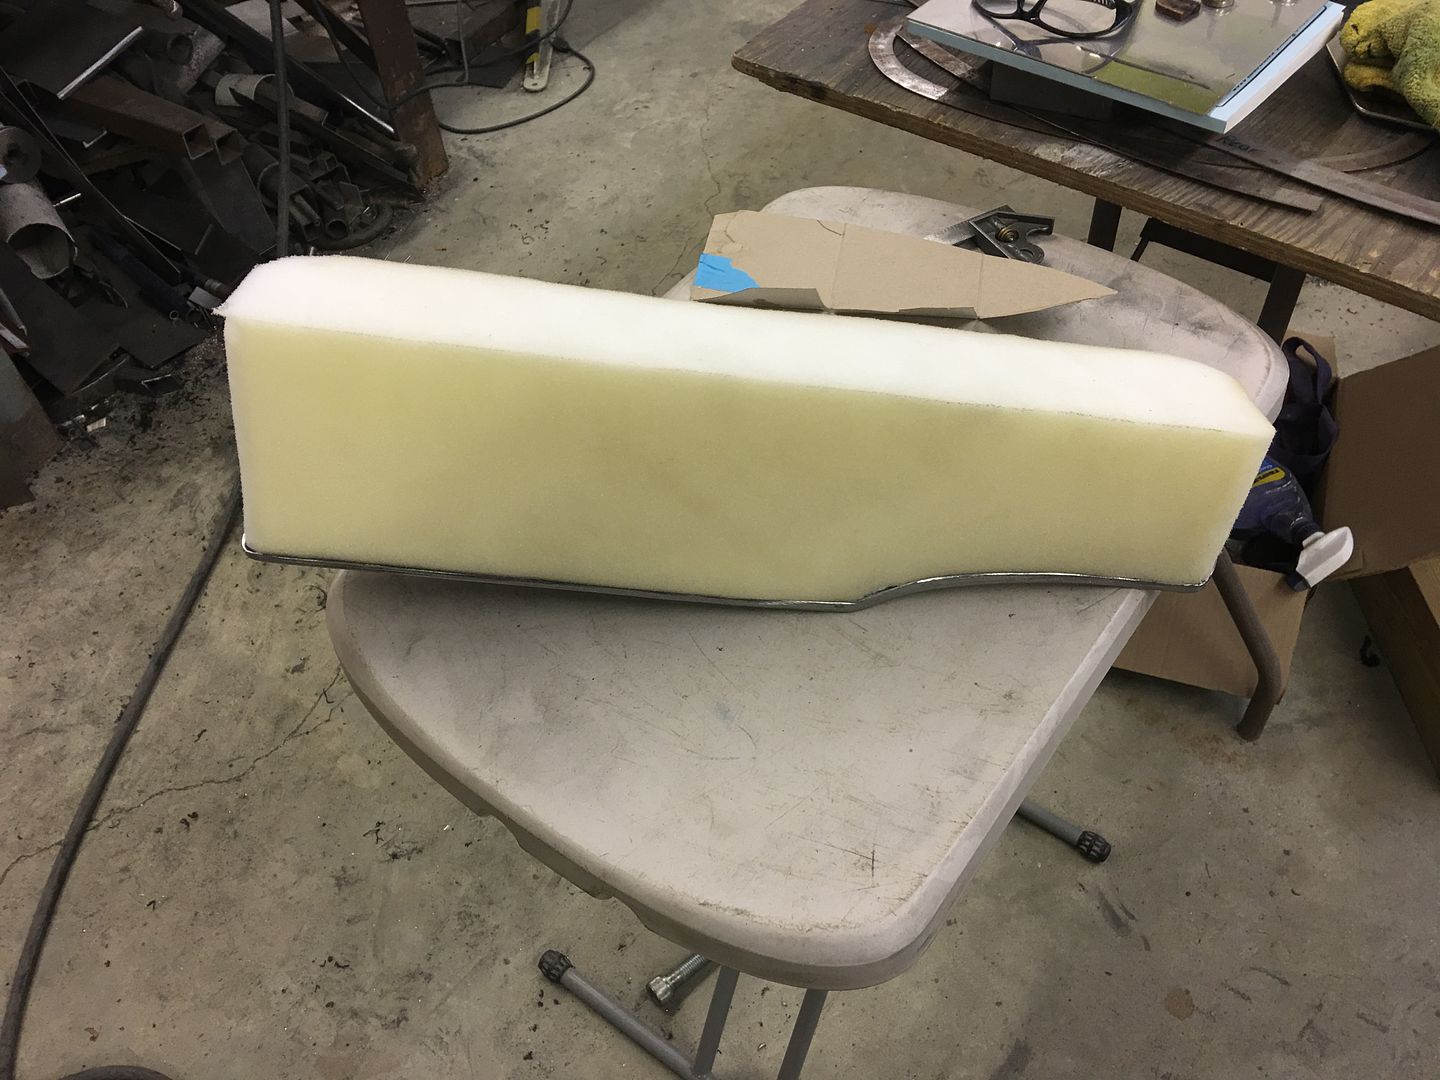
Test fit for marking the profile...
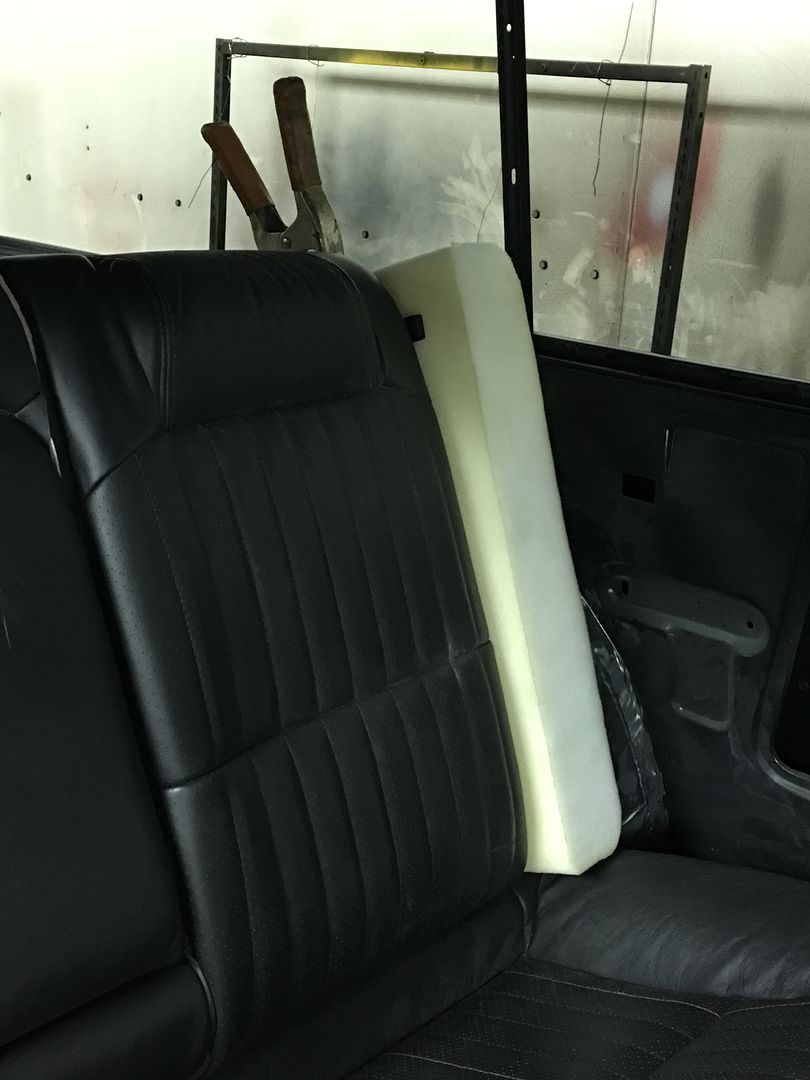
trimmed /sculpted to size with the bread knife and 3" roloc. Use a worn disc on the sander, the fresh ones tend to grab..
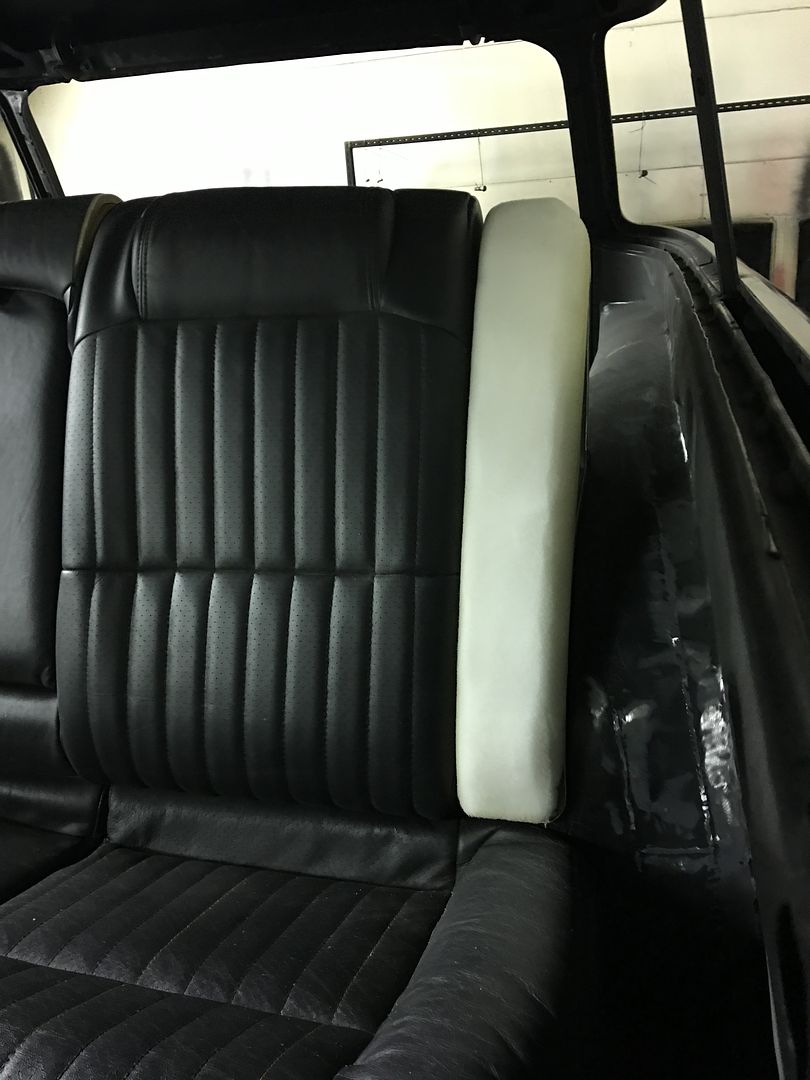

This fills out the seat pretty nicely and hides that wheel tub that protrudes into the back side of the seat.


Last edited by MP&C; 07-18-2017 at 05:19 AM.
Robert


 3390Likes
 LinkBack URL
 About LinkBacks
 Reply With Quote

RIP Mike....prayers to those you left behind. .
We Lost a Good One