


 3390Likes
Thread: 55 Wagon Progress
Results 1 to 15 of 1865
 LinkBack URL
 About LinkBacks
Threaded View
-
06-03-2022 07:22 PM #11
 CHR Member

- Join Date
- Jun 2008
- Location
- Leonardtown
- Car Year, Make, Model: Walking
- Posts
- 1,228
OK, long overdue for an update..
Playing some more with our dash insert, this should look good..
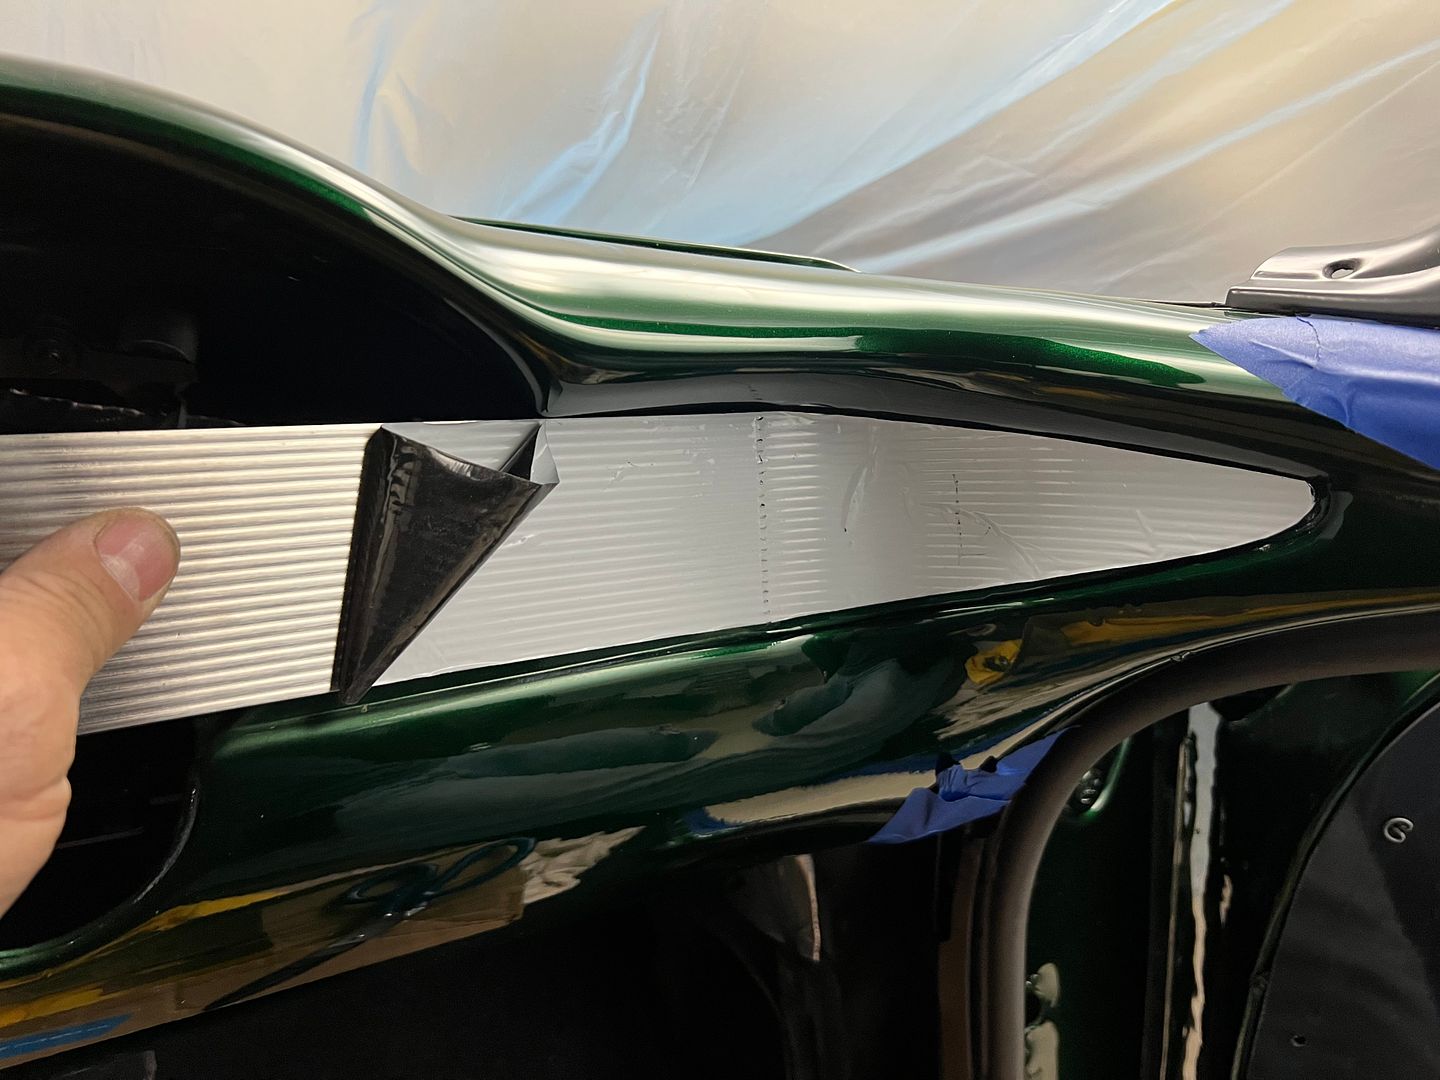
We attempted different processes for folding the hemmed edge trim, but alas none gave a good consistent finish.
So some stainless strips were dropped off at Triton metals, a local machine shop we have used before... They will get much better results, still waiting on completion.
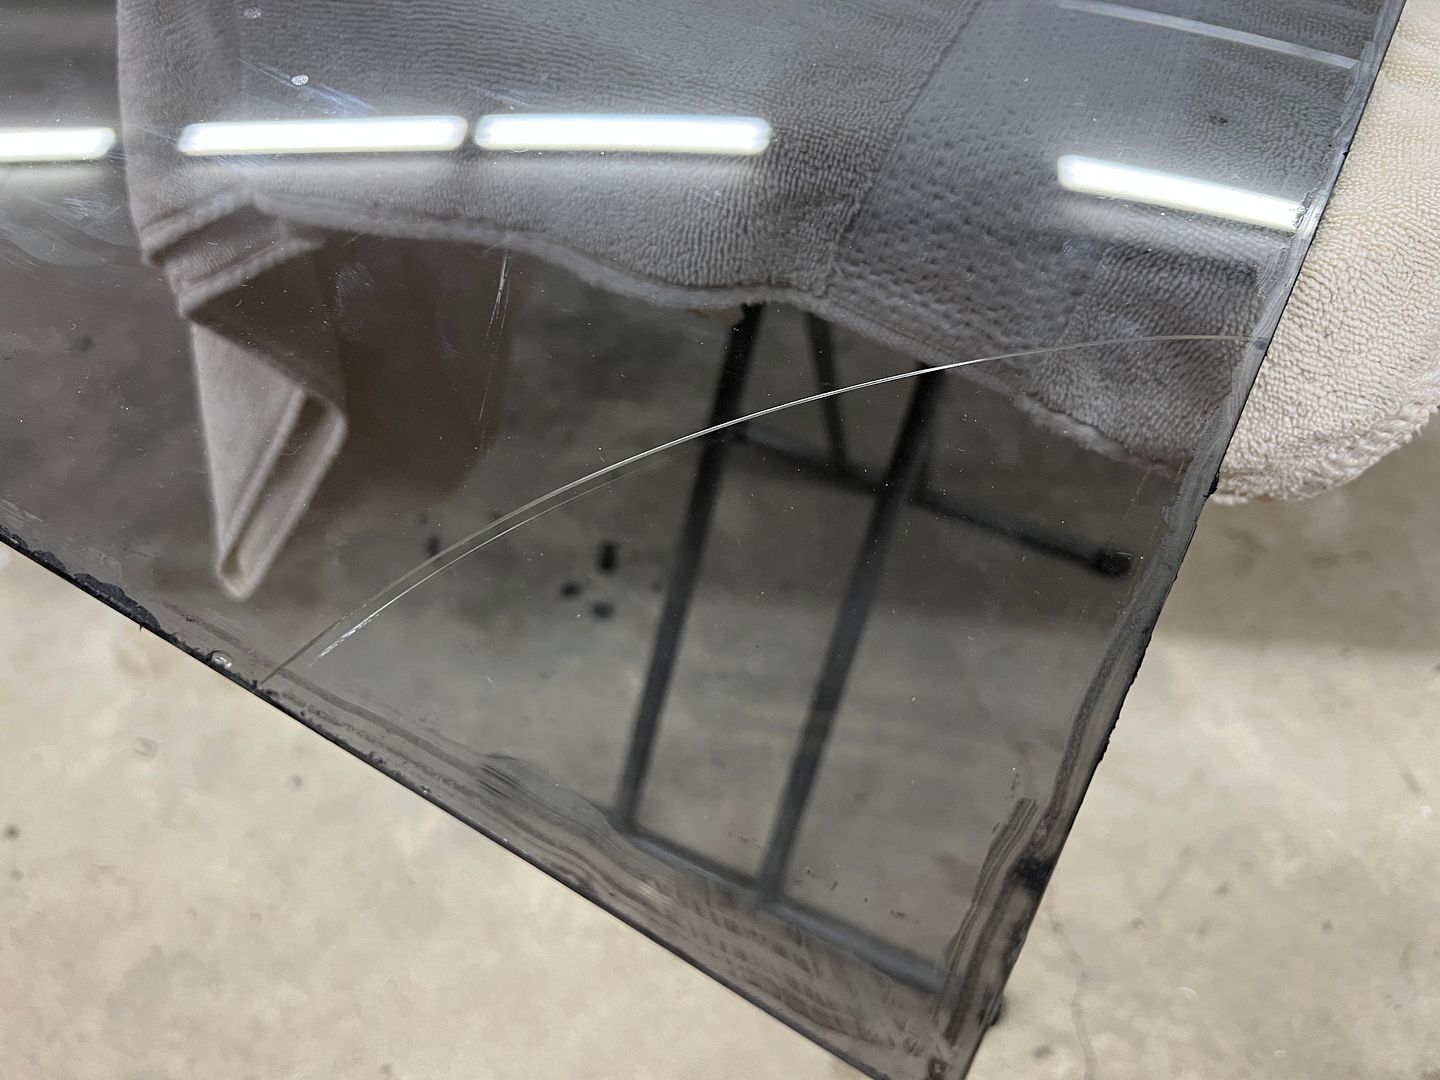
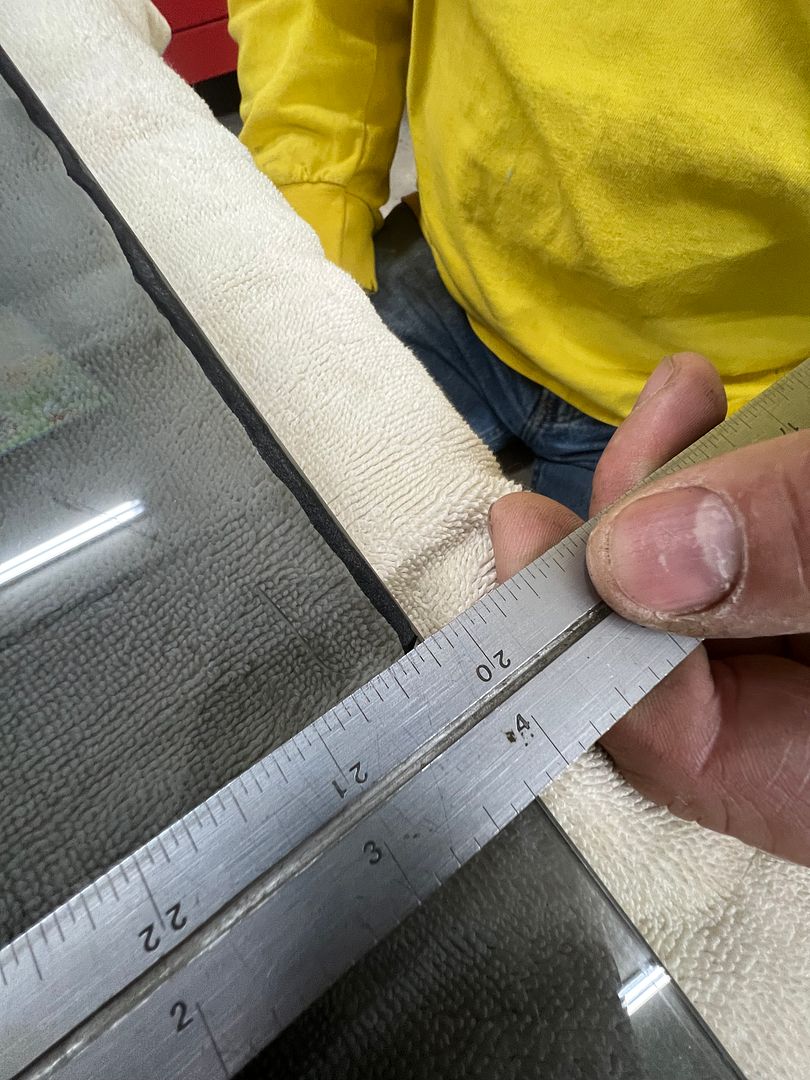
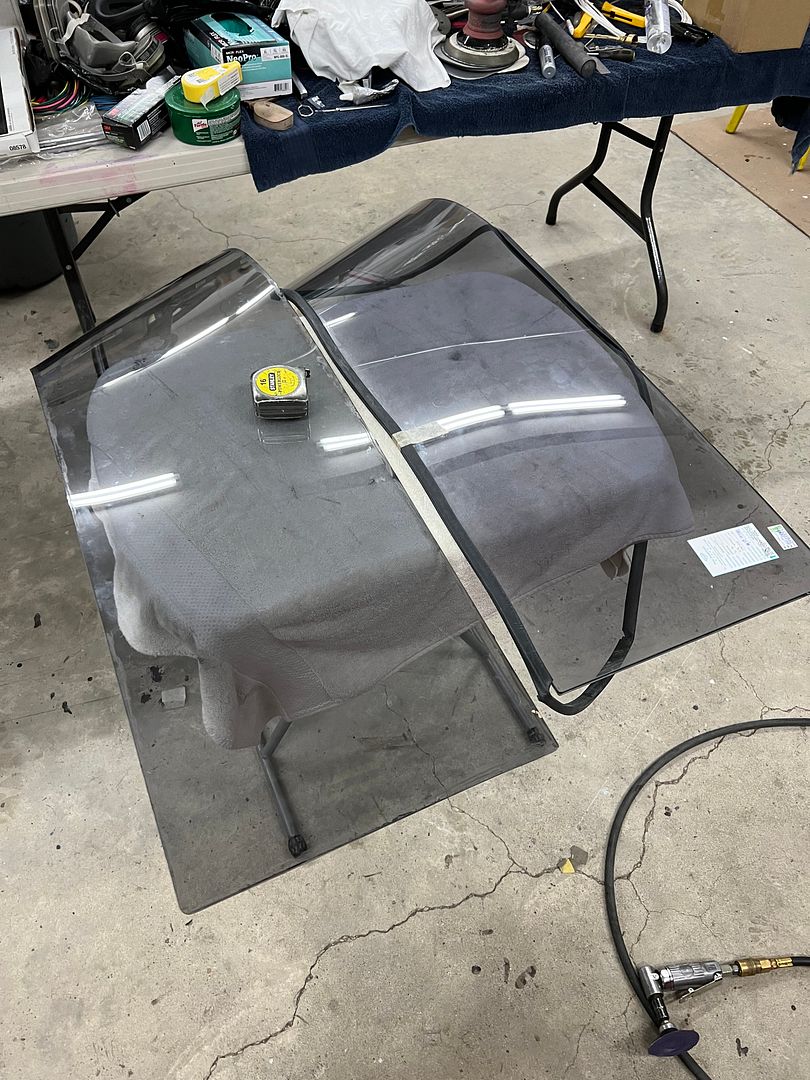
Back to our problem child of a window, this crack occurred as I slightly pried rearward with a metal rule. Exactly where I pried.
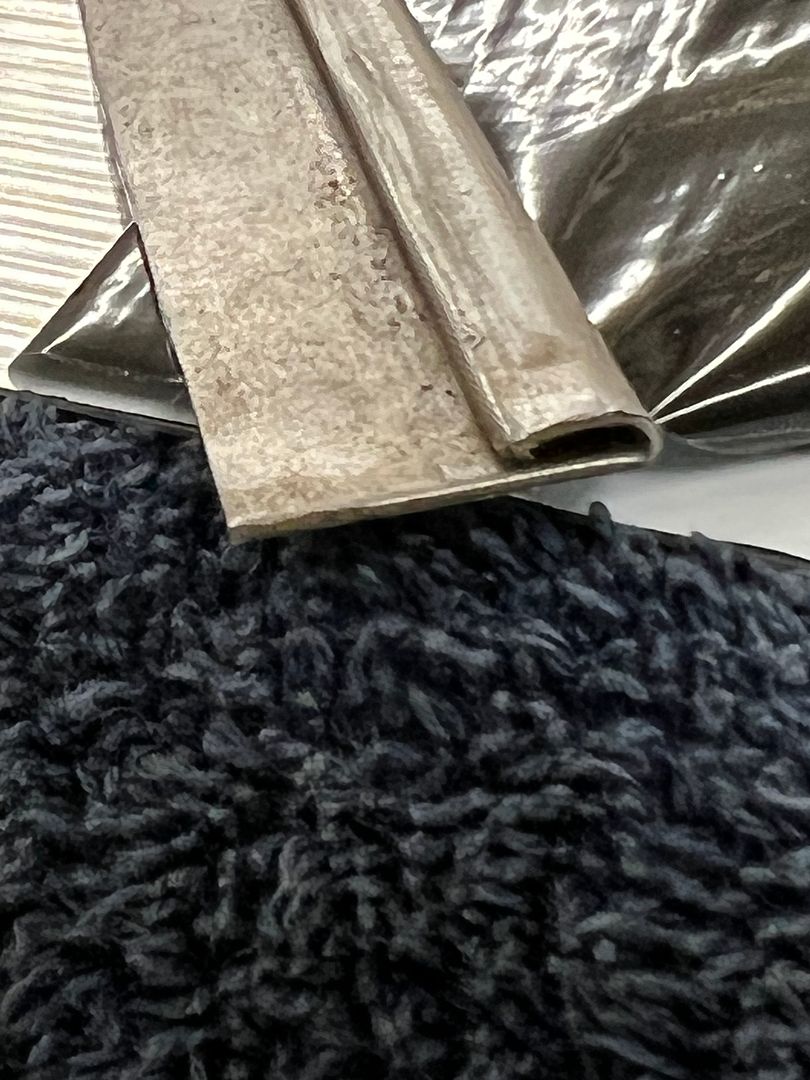
To limit the excess squeezed out of the seals on our next glass, we took the 3M strip-calk in its original form and sliced right down the middle..
Here's a video showing installation of the strip-calk, and another with installation of the seal over the strip-calk.
Installing window #2, we had a slight tight area and I asked Jared to push outward and that's when we had a repeat of Groundhog Day..
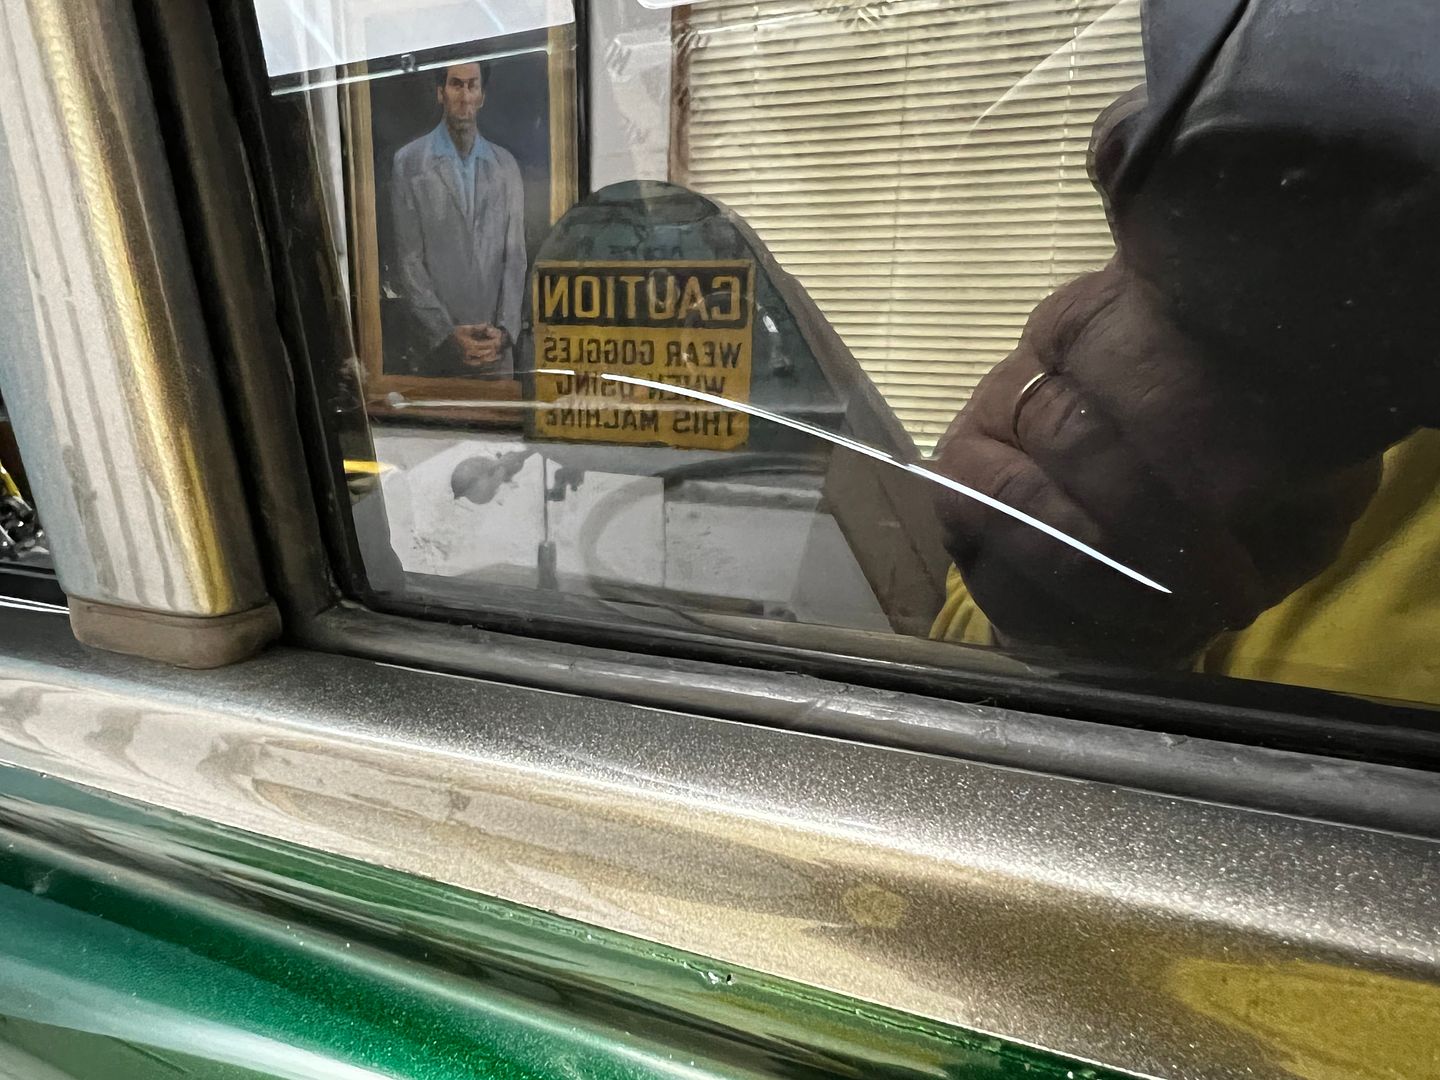
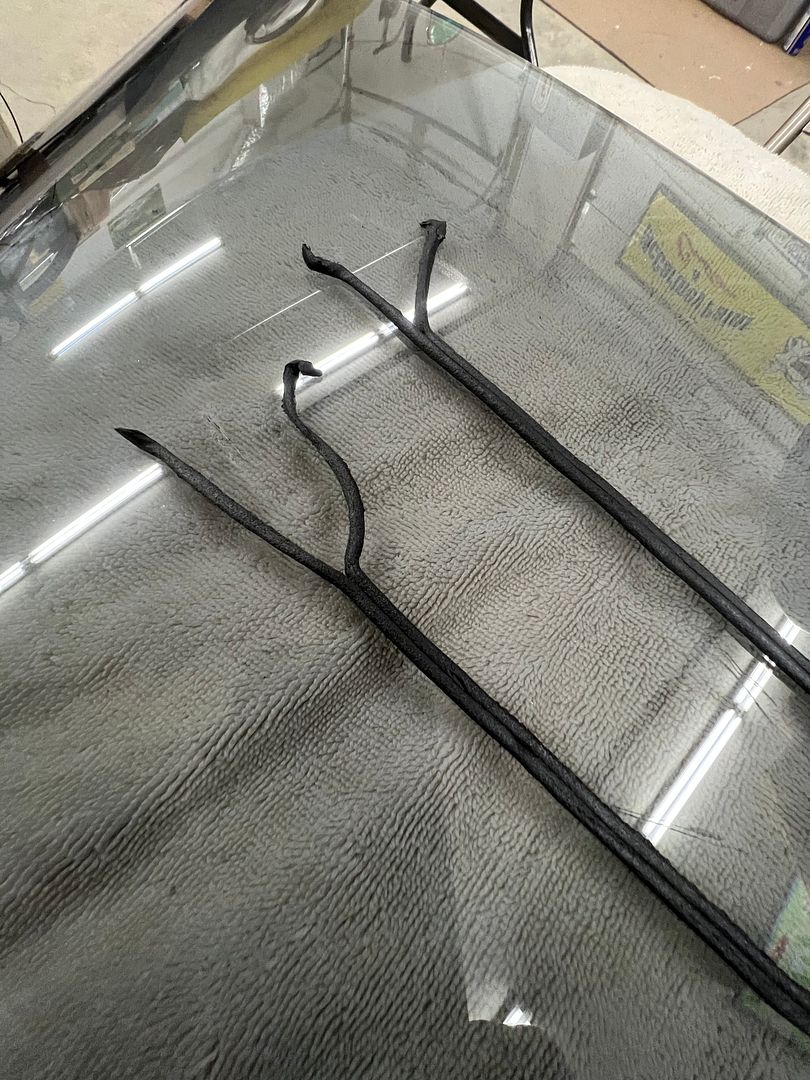
So, maybe the pry the first time was not the only issue. Fast forward so we can look back, last night we did a dry fit of the garnish moldings around these windows and found that the tack strips holding the headliner were far too thick and pushed the moldings down so far that the back side would be visible through the glass. In addition, this was also pushing downward on the window and seal while we were attempting the installation. When we had installed the quarter panel previously, we used plug welds inside this window opening and some had a slight proud. Nothing that I was concerned with at the time and considering had the tack strip been the correct thickness it likely wouldn't have been an issue now. But with the headliner pushing downward, the seal was hanging up on one of the plug welds as Jared was pushing outward on the corner, which made a perfect fulcrum effect for crack #2. Since we aren't pulling a headliner out, we went ahead and cleaned up the plug welds. This meant taping off all the nice pretty paint on the outside and the interior as well..
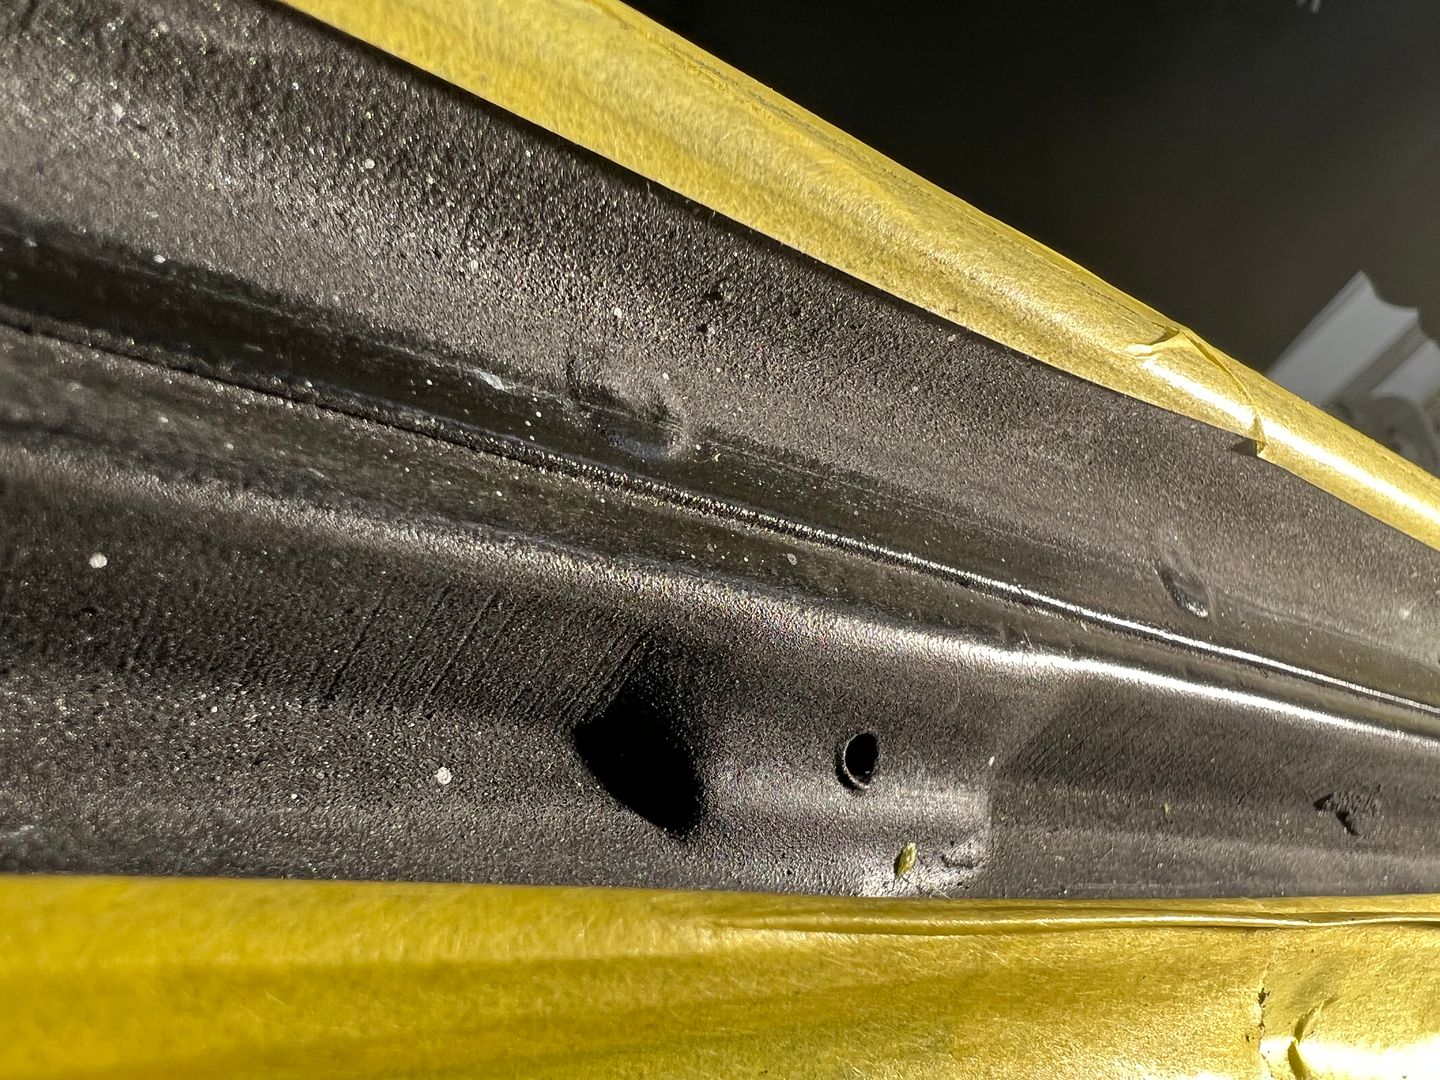
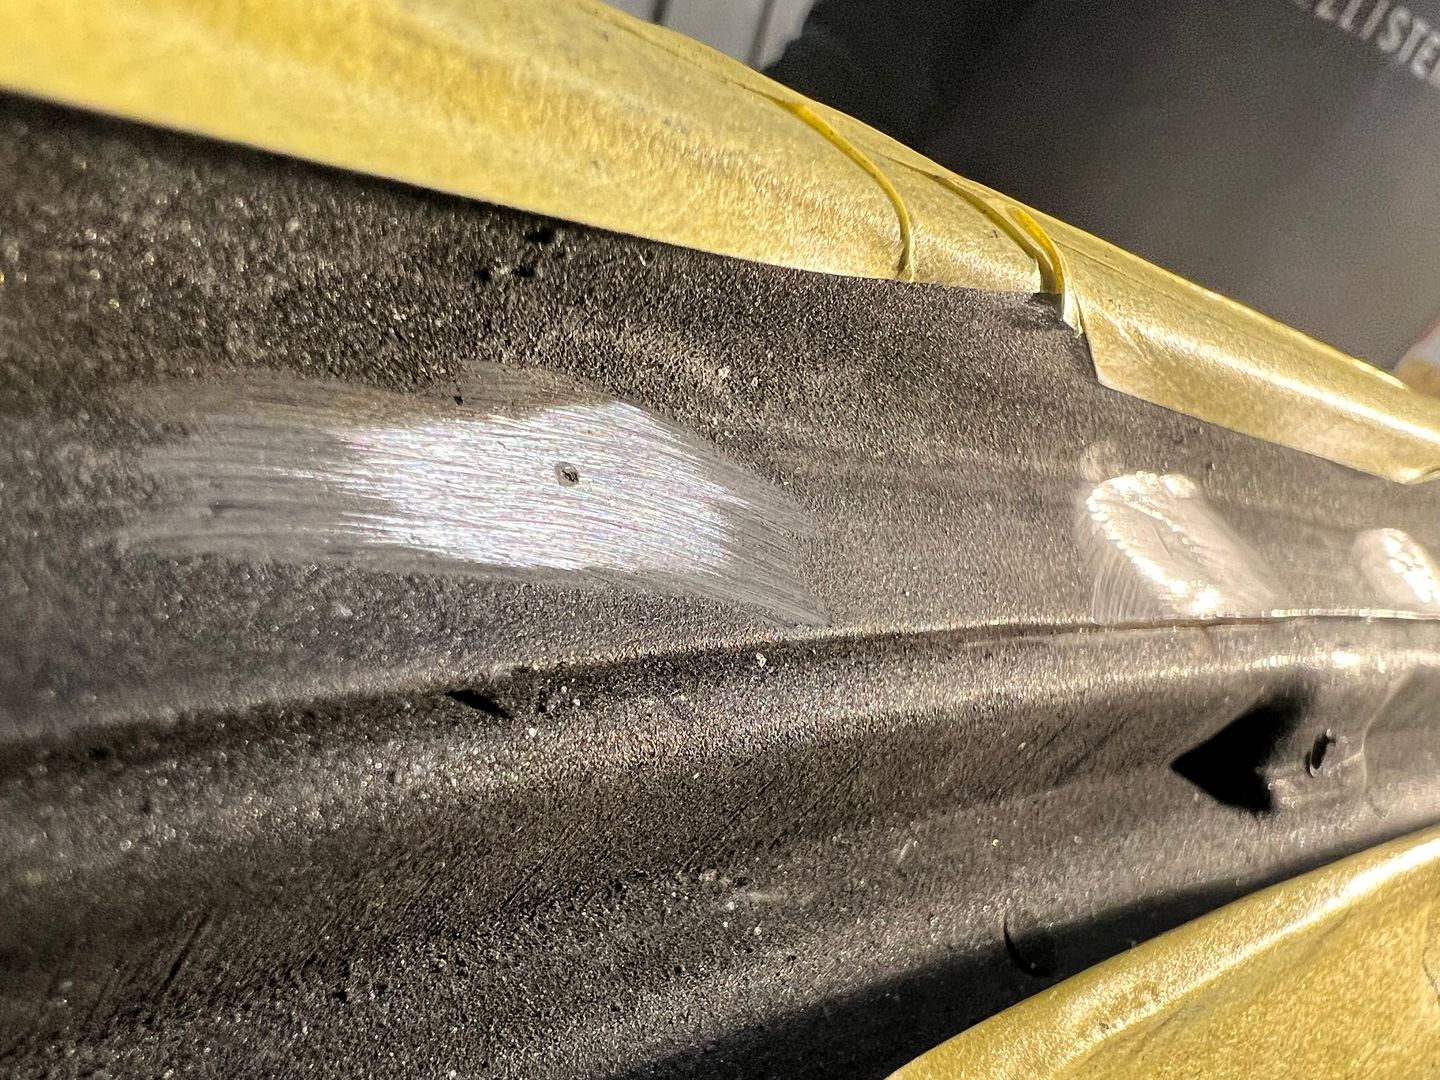
All of the welds cleaned up, we mixed up some SPI epoxy and used a small brush to add three coats on the bare areas. And to counter the effect of the garnish molding hanging too low, we will now need to make some one-off upper clips that are half height of the ones we just ordered (and have been waiting 4 months to arrive), in order to get the molding up and out of sight when looking through the glass. Story of my life..
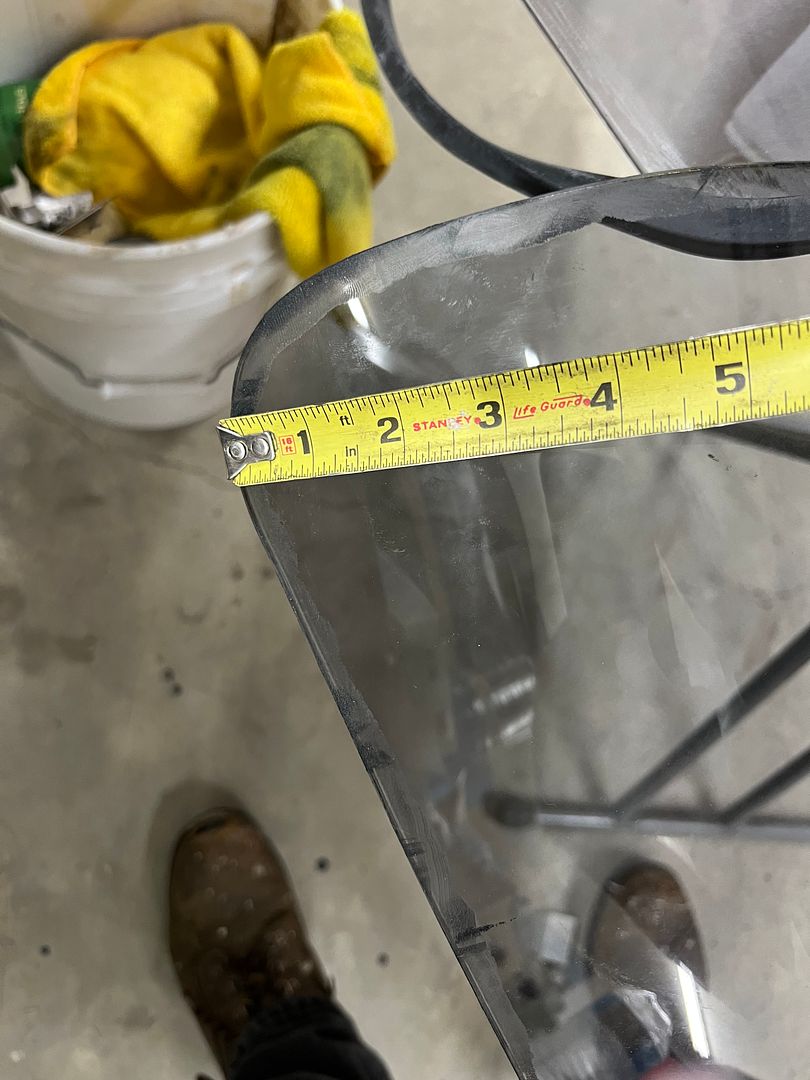
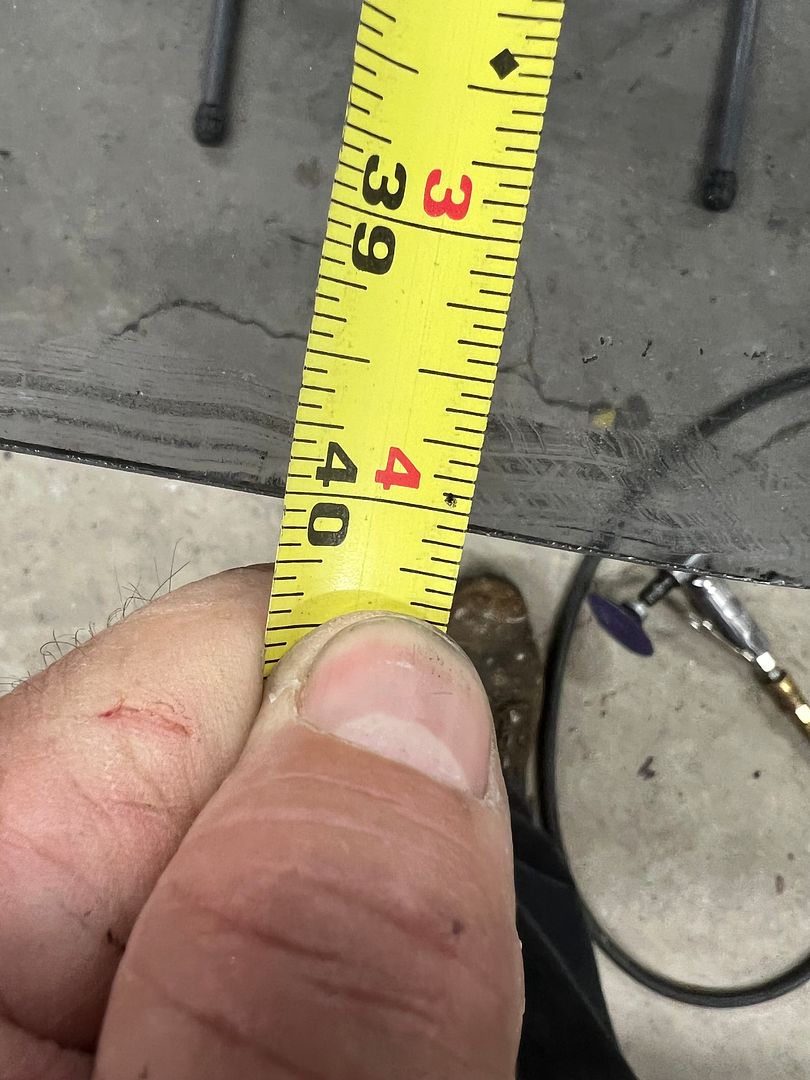
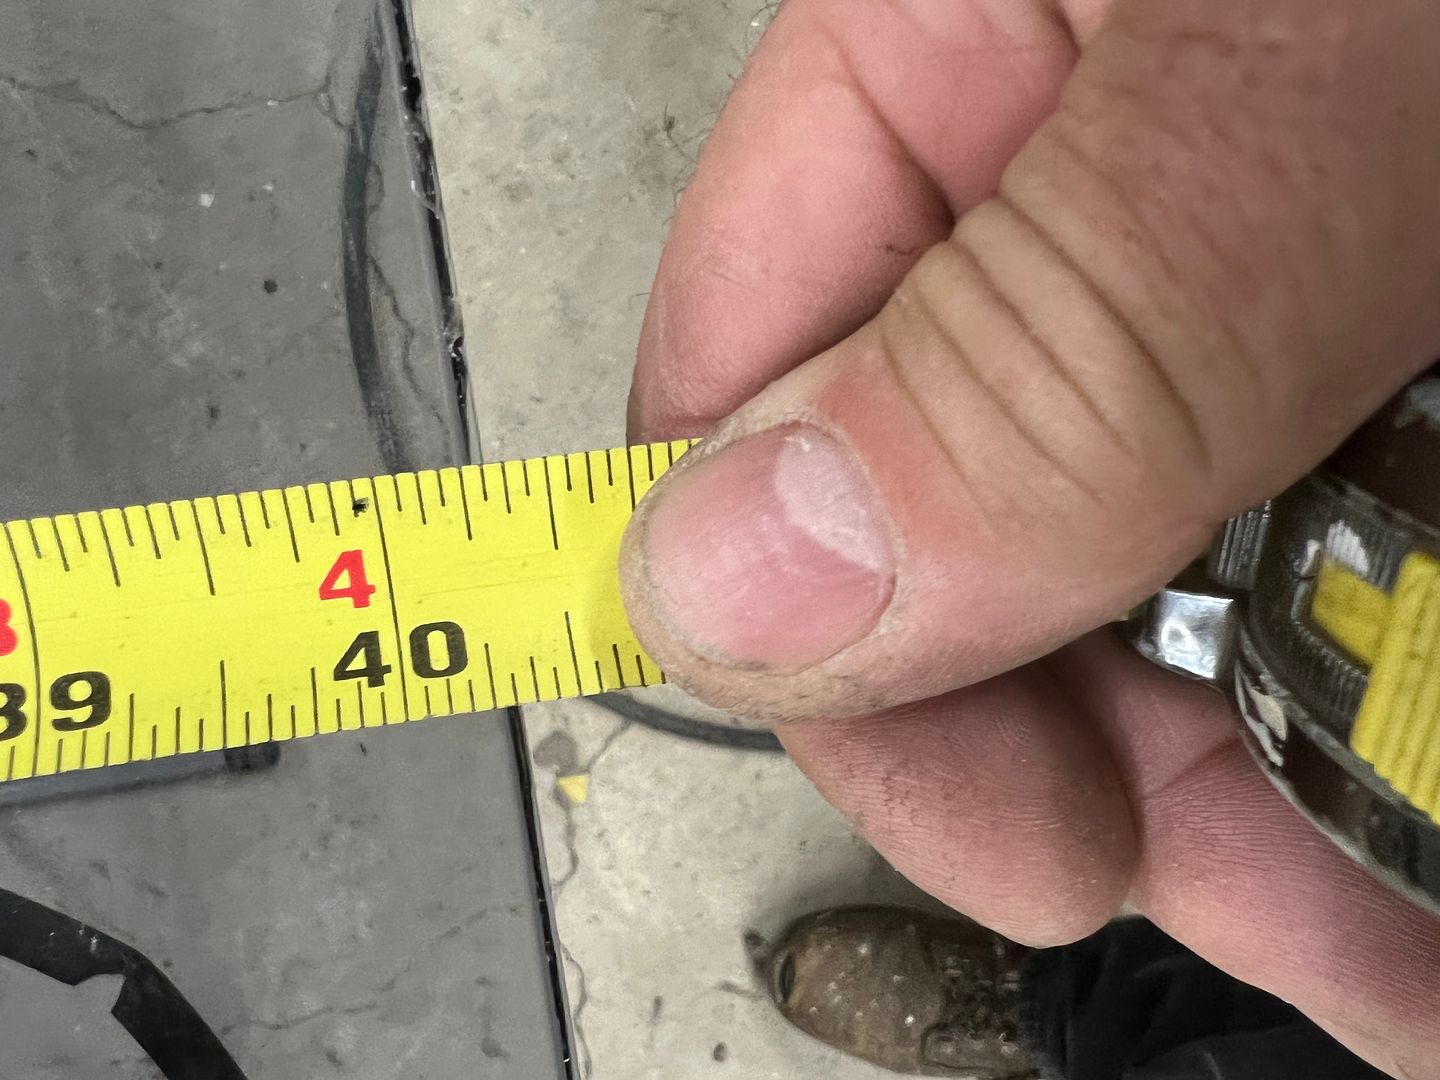
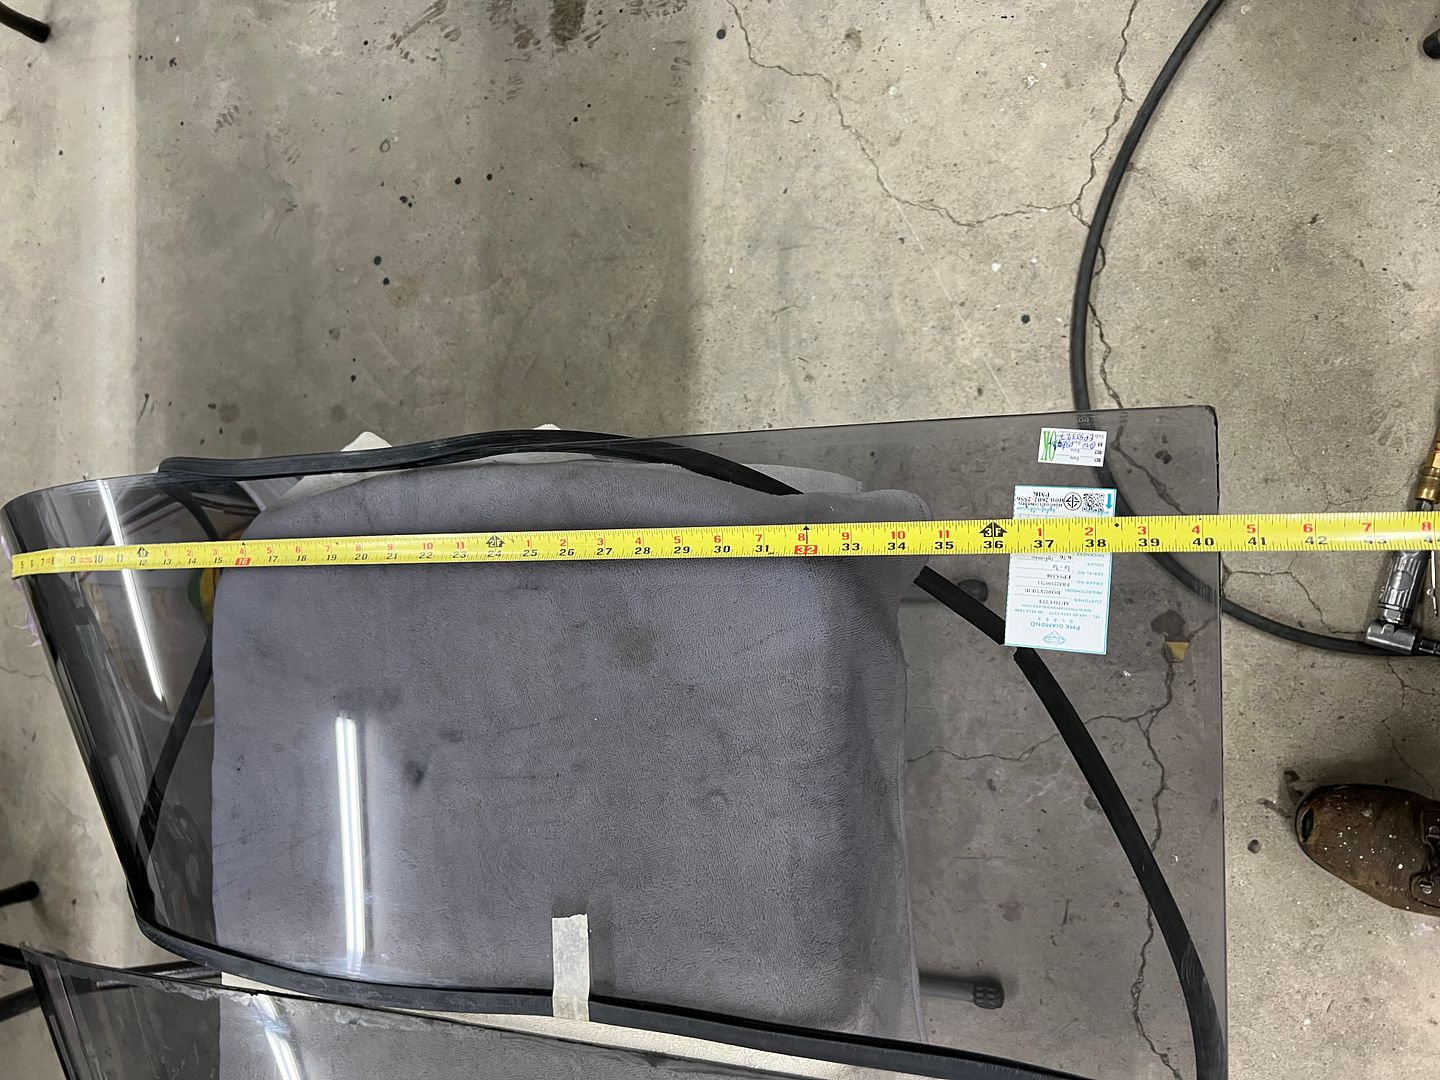
Window #3!! We had length issues from the last replacement, let's check this one as well. Hooking our tape measure on the apex of the pointy end, the original ordered with the rest of the glass set shows to be 40-1/16 in length. The new replacement, like the last one (#2), was 40-5/16. So we have a 1/4" to remove.
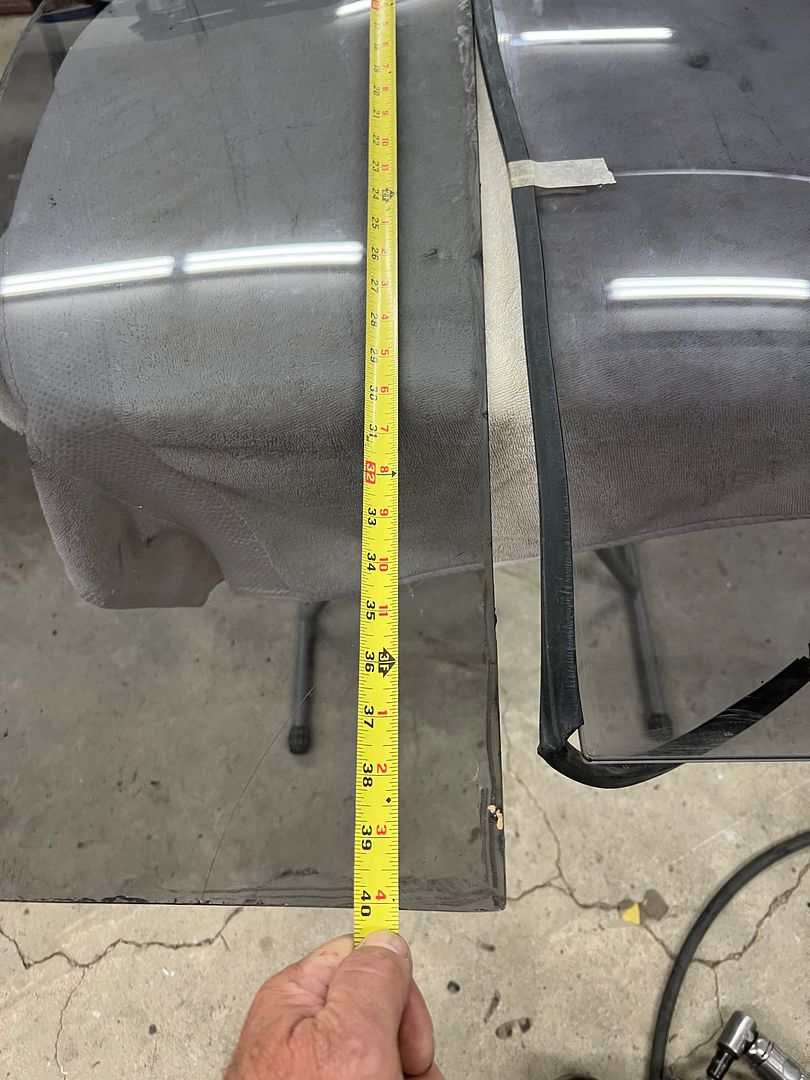
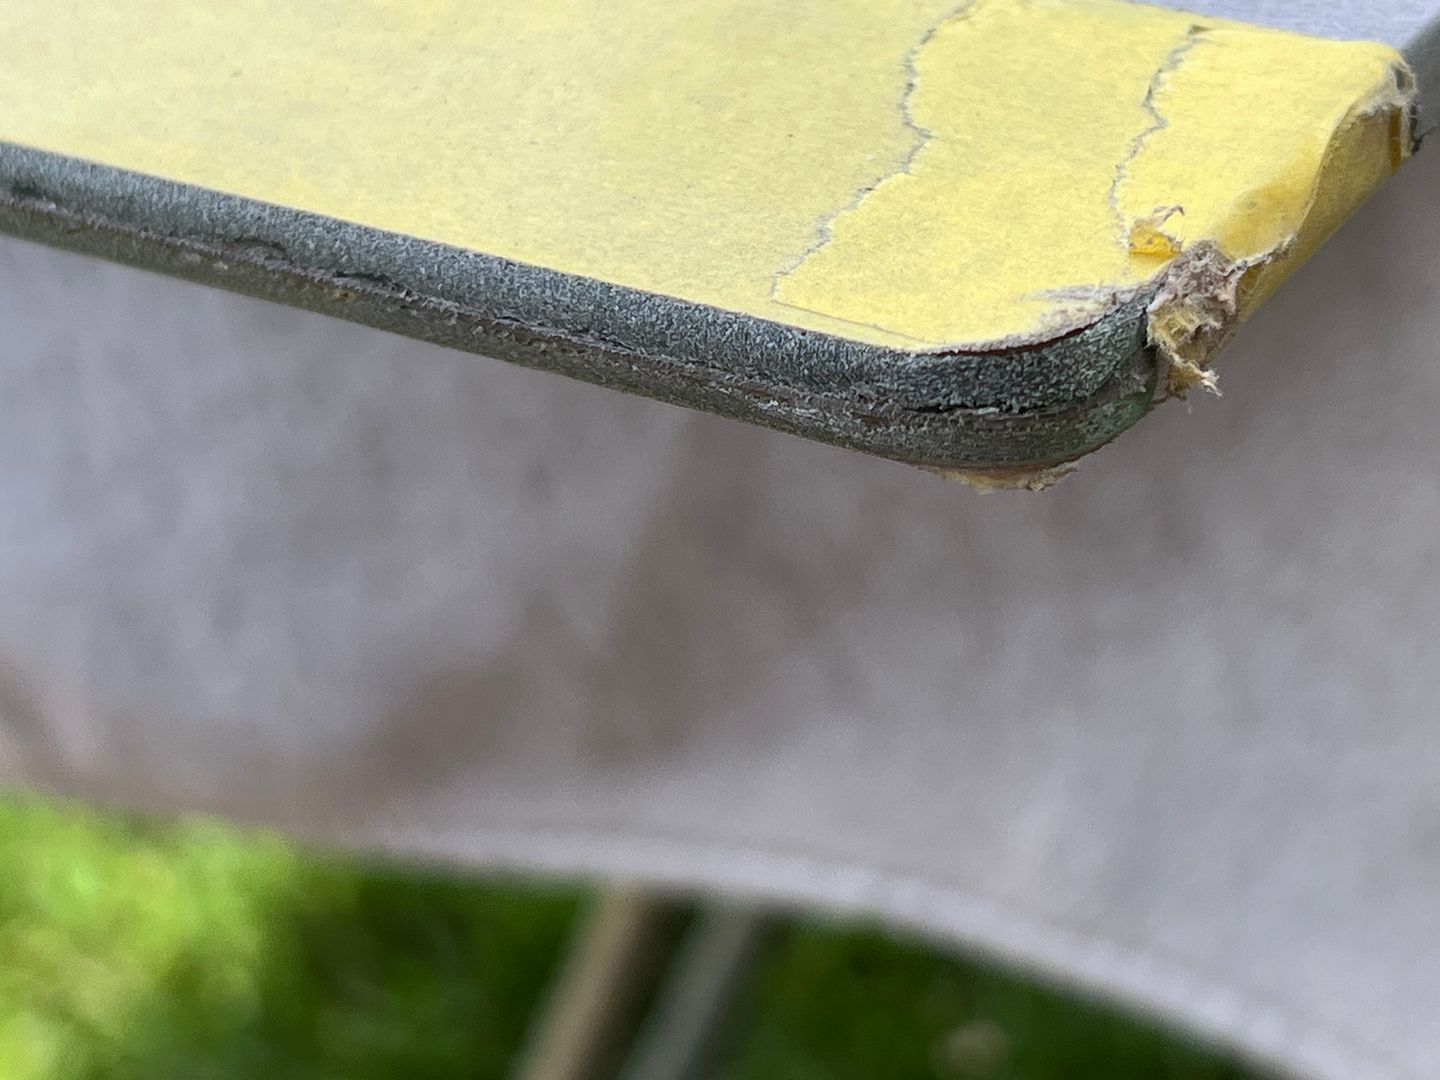
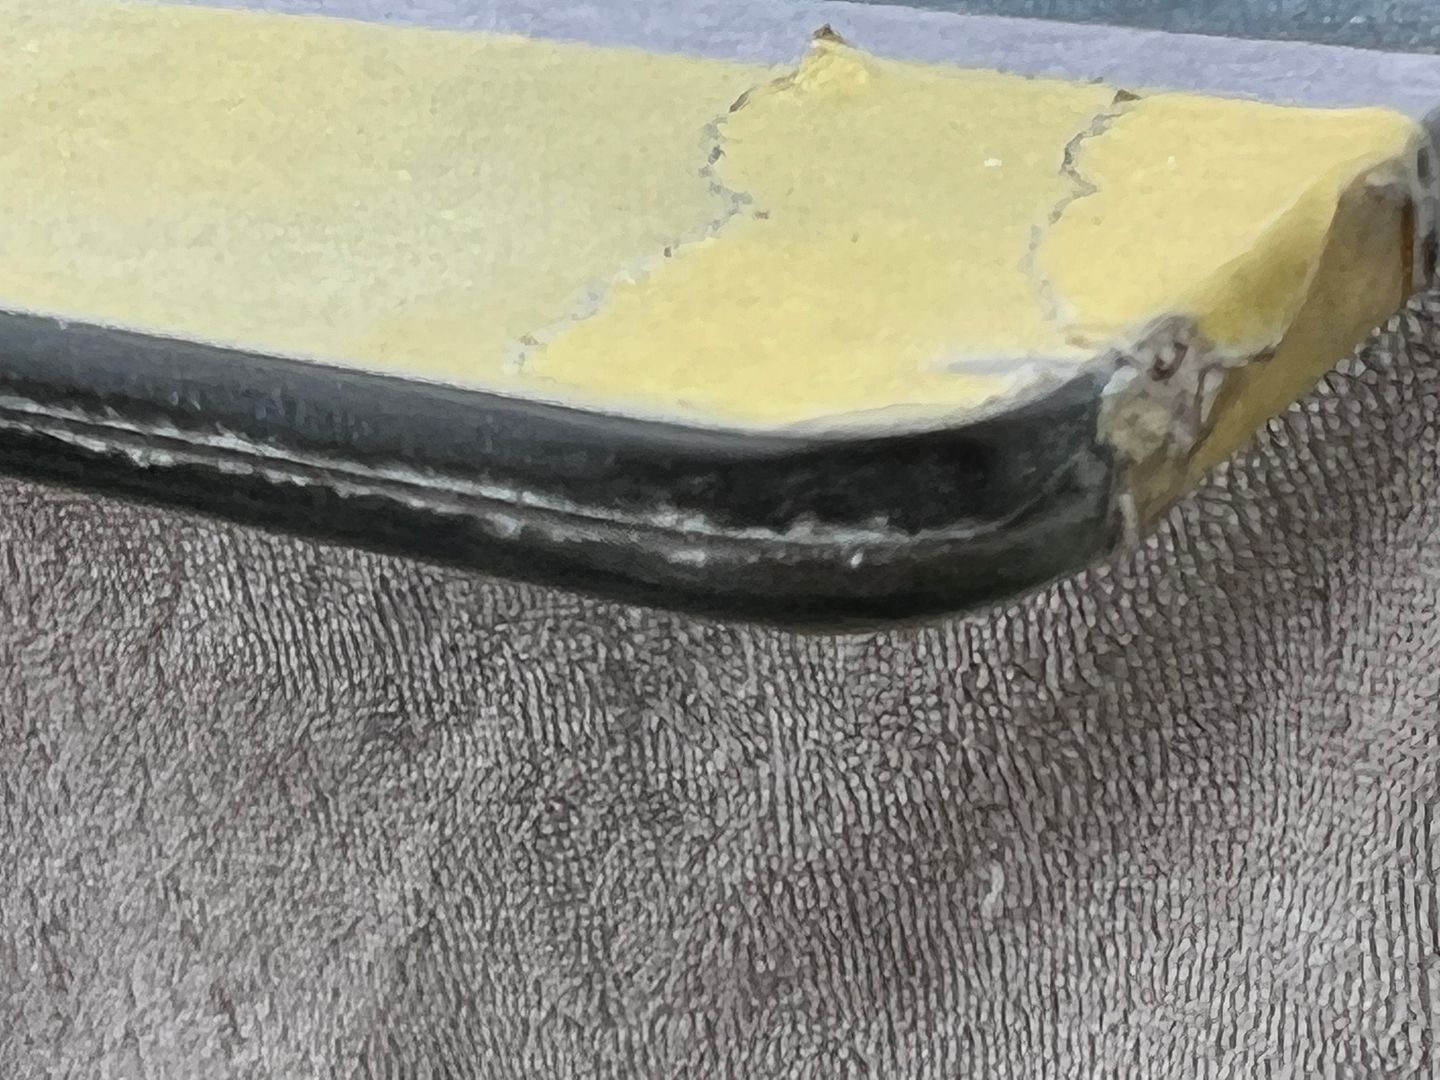
So we consulted my glass expert John Glenn the last time we did this, and got the rundown of the various methods we could possibly use. Since I'm more of a go slow and sneak up on the end goal, I opted for using abrasives. We used Cubitron belts on our Dynabride sander. It did a better job of taking down corners so we followed the process discussed in the next video. Then when we had reached the size needed (three hours later), a 320 grit disc on the DA gave a more polished appearance.
Our installation last night went in relatively painless and crack free. Now to make some upper clips..
Last edited by MP&C; 06-04-2022 at 07:39 AM.
Robert

 Reply With Quote
Posting Permissions
- You may not post new threads
- You may not post replies
- You may not post attachments
- You may not edit your posts

And then a newer model....
Montana Mail Runner