


 815Likes
Thread: 1940 Ford Pickup


Results 1 to 15 of 1085
 LinkBack URL
 About LinkBacks
Hybrid View
-
04-18-2013 06:36 PM #1
 CHR Member

- Join Date
- Feb 2007
- Location
- Santa Monica
- Car Year, Make, Model: 37 Ford tudor humpback
- Posts
- 1,988
That's basically the same idea as what I did to my '37 except I bought a bolt-in kit instead of making my own. I'm not sure about the exact distance between the spring and the frame without measuring but I don't think it's more than an inch.
My kit had the shackle sleeve and 2 mounting bolt sleeves welded to an angled piece that is bolted both horizontally and also vertically through the bottom of the frame rail. I had to drill a 1.25" hole it the frame rail for the shackle sleeve. The kit uses rubber bushings. What you're planning looks like it will work just as well and probably better!
What may look a little weird in the pics is the foot or so of 3/16 angle iron welded to the tail end of my frame rails..... My dad & I first built this car back when I was in college. He thought the end of the frame looked a little thin to be holding up springs so he beefed it up!
 It looks kinda like crap but it's been there for many years......in a perfect world, I would just buy a beautiful new frame but that's not in the cards at this juncture....
")
"It is not much good thinking of a thing unless you think it out." - H.G. Wells
-
04-26-2013 07:30 PM #2
CHR Member
- Join Date
- Mar 2013
- Location
- Seguin
- Car Year, Make, Model: 1940 Ford p/u 1937 Caddy Coupe
- Posts
- 780
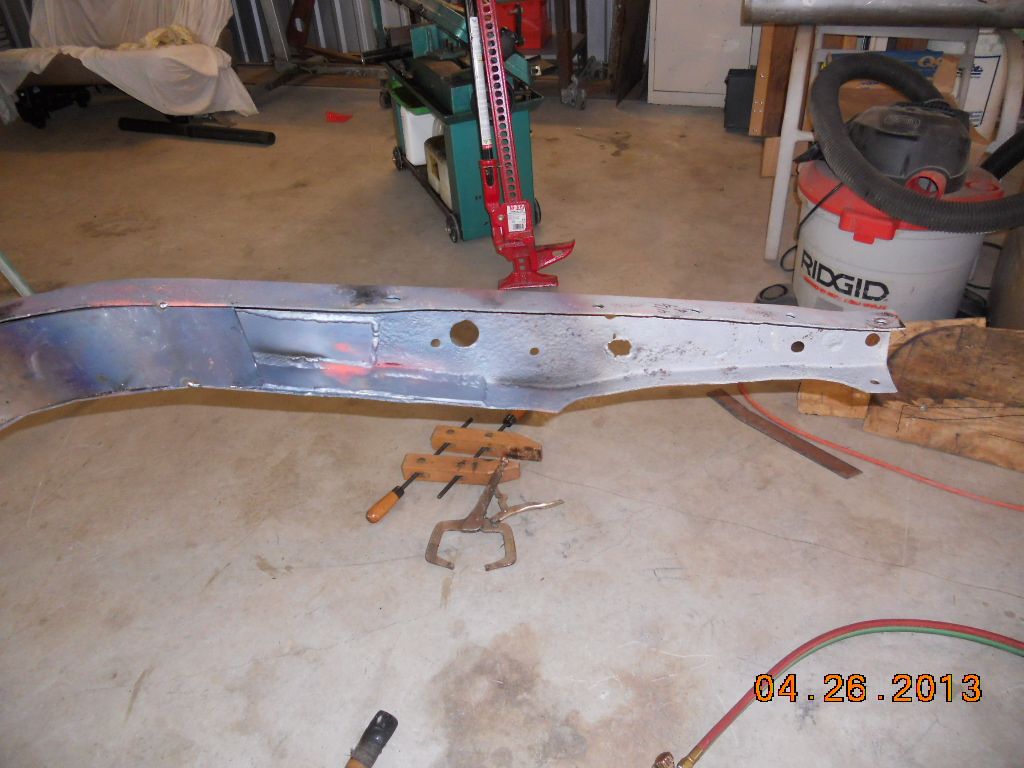
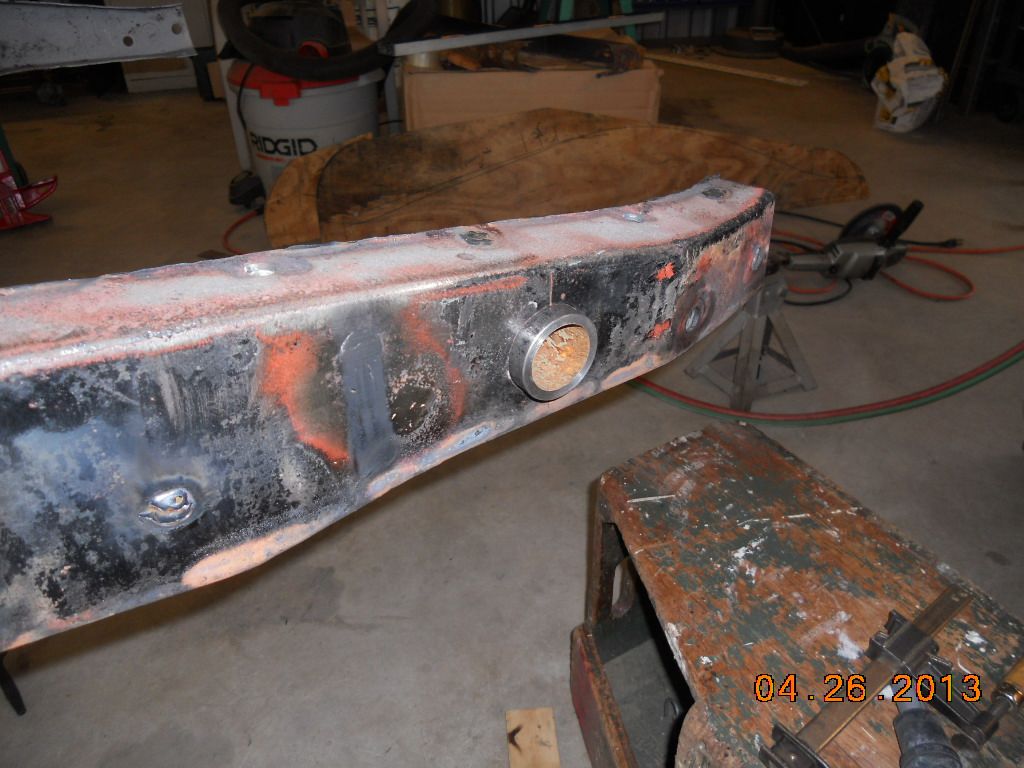
Well here's what I did this week to the 40. I started measuring things and using a level and found out that the back 25 inches of the rails didn't line up height wise. The right side low lower by and inch than the left. Which ones right ? There really was noway to tell for sure. I put the boxing plate that I got from Welder Series in the right side and tacked it in place. Than heated the rail just past the plate and bent the rail up 1/2 inch , did the same on the other and bend it down 1/2 inch. Before I did the bending I traced a pattern off the left rail and compared it to the right and found that only the last 25 inches were out. When it was all cooled off everything measured up good. Sometimes I get lucky and it seems that today was one of them or at least till someone chimes in and tells me that I screwed up. Still have to weld the bushing to the frame for the shackle .


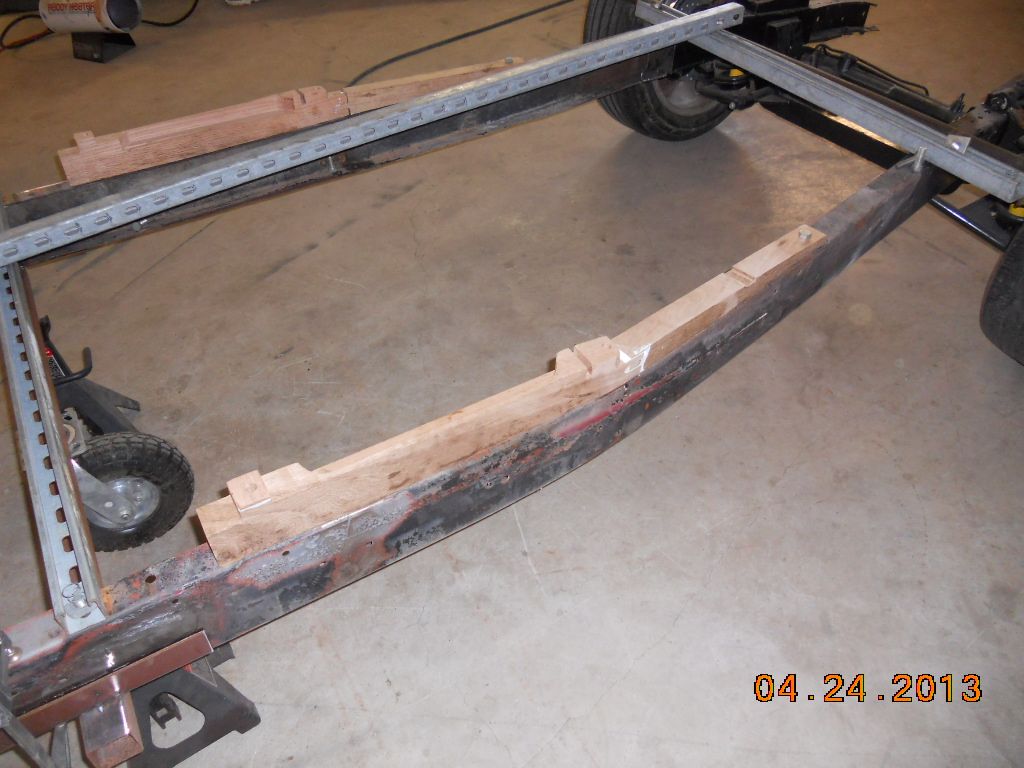
Also finished my cab mounting blocks
Last edited by Navy7797; 04-26-2013 at 07:38 PM.
-
04-26-2013 11:20 PM #3
CHR Member
- Join Date
- Feb 2007
- Location
- Santa Monica
- Car Year, Make, Model: 37 Ford tudor humpback
- Posts
- 1,988
The shackle bushings are looking good, Navy!! Just curious if you measured your frame before or after you took out that last cross brace at the end of the frame...It doesn't appear that you welded any cross bracing on the rails so just wondering if the frame sprung a little when you broke that loose.......I'm just kinda thinking out loud here and you probably know this already, but most crossmember installation kits recommend tacking a crossbar to the rails before removing any crossmembers. Originally Posted by Navy7797

At any rate, sounds like you have it tweaked back into shape."It is not much good thinking of a thing unless you think it out." - H.G. Wells
-
04-27-2013 06:19 PM #4
CHR Member
- Join Date
- Mar 2013
- Location
- Seguin
- Car Year, Make, Model: 1940 Ford p/u 1937 Caddy Coupe
- Posts
- 780
Took lots of measurements before I removed the crossmembers. Originally Posted by randyr
 Reply With Quote


Posting Permissions
- You may not post new threads
- You may not post replies
- You may not post attachments
- You may not edit your posts

Hated to see that news, he was a good online friend.
We Lost a Good One