Thread: Project Sebring GT Spyder
-
06-21-2015 02:20 PM #31
When I last posted about actual work on the car, I had stripped the body off the frame and was tearing down the chassis. All of that was pretty straightforward. I did spend a long time measuring and recording those dimensions. I made a few interesting "discoveries" along the way.
The frame is 1/4" wider at the front than at the rear. The driver side frame rail is the offending culprit. It took a lot of careful measuring and head scratching to figure that out, but everything seems to be square to the passenger side rail. Correcting this would be a major pain and I can work around it so it will stay that way. It's not affecting any of the critical parts.

I located the Classic Roadsters frame number under some paint on the driver side rail. It's CR 654. I don't know if that's the 654th car CR built or the 654th Sebring. It would be interesting to know the year the frame was built at CR.
I already knew that the rear of the car had taken a small hit at some time because part of one of the rear bumper mounts was broken off. Both remaining angle iron mounts were slightly bent. These will be straightened and rewelded. Actually, the weld on the broken mount did not appear to be burnt in good. At any rate, the frame seems to have survived otherwise intact and square.
The front bumper mounts are offset to driver side and this was done when the frame built. I had wondered why the front fenders were not centered over the tires and this explains it. The aluminum tubes that support the bumper also serve to locate the front body section. There is vertical, but no horizontal adjustment. I will be looking to correct that.

In this shot you can see the horns still attached to the front crossmember. The actual bracket that was riveted to the horn was welded to the frame! Who does stuff like this???!!!
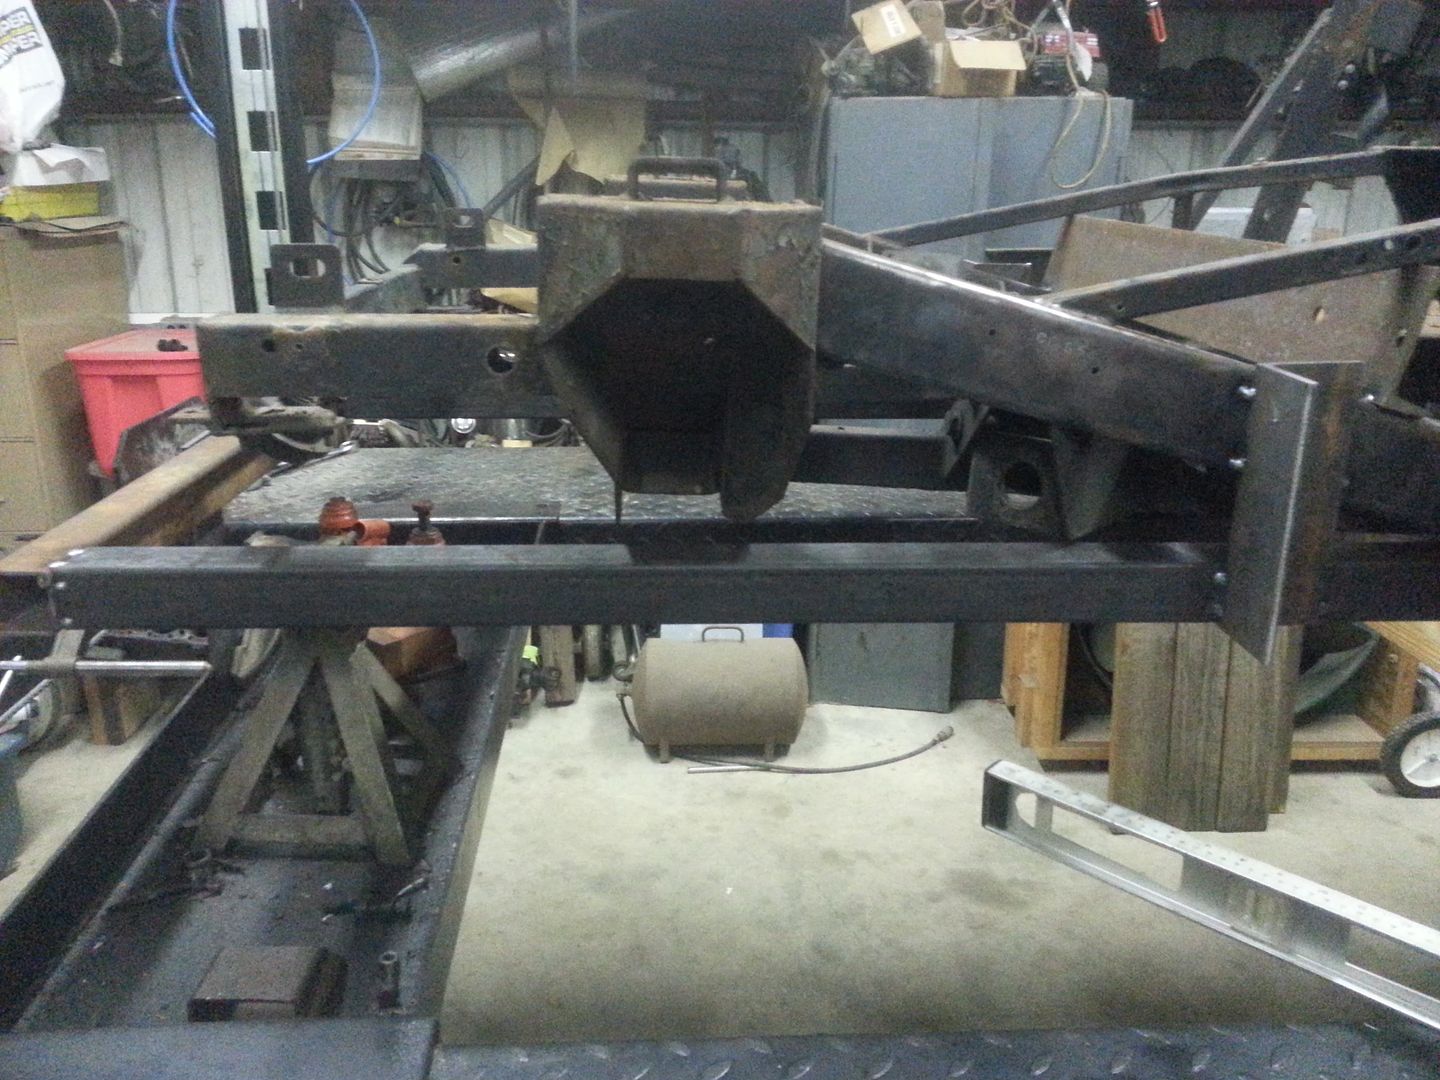
I also tacked on a temporary frame under the existing frame rails. This was done because I thought I would be cutting the front crossmember out and wanted a base line to measure from. I don't have a proper frame jig, so I this was the best I could do. I strapped and leveled the frame to my 4 post car lift. I hated to tie my lift up this way, but it's nice to be able to get the chassis up in the air at a comfortable working height. My oversize gut and bad knees don't like crawling around on the floor anymore!
-
Advertising

- Google Adsense
- REGISTERED USERS DO NOT SEE THIS AD
-
06-21-2015 05:08 PM #32
Heck Mike, you are not alone with the stomach and knee issues. You would laugh at my home made wooden axle stands I made to get the T Roadster up to a better height so that when I sit on my stool it is a excellent height for working on the doors, floor and seat arrangement. I have decided that I will have to go on a extreme weight lose diet to be able to get in and out of the T and still be comfortable to drive it far any distance.
That frame was a bit of a mess but I'm sure you will haveit better then new when you are finished.
I maybe a little crazy but it stops me going insane.
Isaiah 48: 17,18.
Mark.
-
06-21-2015 06:50 PM #33
Whiplash, my T seems to be getting smaller, too! I've also got a nice leather motorcycle jacket that seems to have shrunk. Funny, I didn't know that leather would shrink.
-
06-21-2015 11:13 PM #34
And the cause of that expansion is...Knowledge!
As we age we learn more and more Knowledge that requires storage space.
But the area between our ears is finite; and that Knowledge requires more space than is available in our heads.
So...gravity kicks in; and pulls that Knowledge downwards...there's no room in the chest area; that's already full with heart and lungs and things, so Knowledge progresses further down and finds room around the waist.
And that's where it accumulates.
So now you know...that's where your Knowledge is and why your waist expands.
It's an indication of how Knowledgeable you are.
Well that's my theory anyway; and I'm sticking with it!Last edited by johnboy; 06-21-2015 at 11:17 PM.
johnboy
Mountain man. (Retired.)
Some mistakes are too much fun to be made only once.
I don't know everything about anything, and I don't know anything about lots of things.
'47 Ford sedan. 350 -- 350, Jaguar irs + ifs.
'49 Morris Minor. Datsun 1500cc, 5sp manual, Marina front axle, Nissan rear axle.
'51 Ford school bus. Chev 400 ci Vortec 5 sp manual + Gearvendors 2sp, 2000 Chev lwb dually chassis and axles.
'64 A.C. Cobra replica. Ford 429, C6 auto, Torana ifs, Jaguar irs.
-
06-22-2015 05:05 AM #35
Well thanks for that piece of scientific analysis of the human body Johnboy and that has certainly made my night to know that my expanding waste line isn't due to my seafood fetish..... see food and eat it.I maybe a little crazy but it stops me going insane.
Isaiah 48: 17,18.
Mark.
-
06-22-2015 05:19 PM #36
You know JB.?.?.? You are full of it!
knowledge that is!


-
06-23-2015 08:36 AM #37
-
06-24-2015 07:00 PM #38
I could have built my own narrow control arms, but I had wasted a lot of time to build the ones I didn't use and there are lots of choices available in the aftermarket. I figured there was no reason to "reinvent the wheel" and started weeding through the ones I could find. The problem is that a lot of them are built in China and use thin .120 wall tubing. That might be OK for the upper arms as they aren't highly loaded, but the lower arms need to be heavier in my opinion because they support the weight of the car. Throw in some shock loading from the crappy roads we have around here and you could get into issues with the thinner parts. The arms I bought are from Full Tilt Street Rods. They use 3/16" thick tubing on the lower arms and have a large plate welded between the lower tubes for added strength and bracing. They also use the typical Chrysler screw in ball joints and the bushings are polyurethane. They are supposed to be built in the USA. I'm also eliminating the strut rods with A type lower arms.
One problem that I ran into during the installation was the construction of the MII crossmember Classic Roadsters had installed when the frame was built. It was made from formed and welded 11 gage steel. That's about 1/8" thick and is actually similar to the original part made by Ford. When you go to strutless lower arms, you have to weld in support tubes for the shaft that passes through the arms. The MII suspension has been in use under countless street rods and kit cars for something like 30 years (maybe more) and during that time the aftermarket has learned that the steel needs to be thicker if you eliminate the struts. Most crossmembers today are 3/16" - 5/16" thick to give plenty of support for the added load on the lower arm.


I didn't like the 2 piece lower tube setup that came with the arms. This might be fine with the heavier steel in newer crossmembers since it's pretty much standard practice for retrofitted arms in the street rod industry, but I felt I could make it better with a little work.
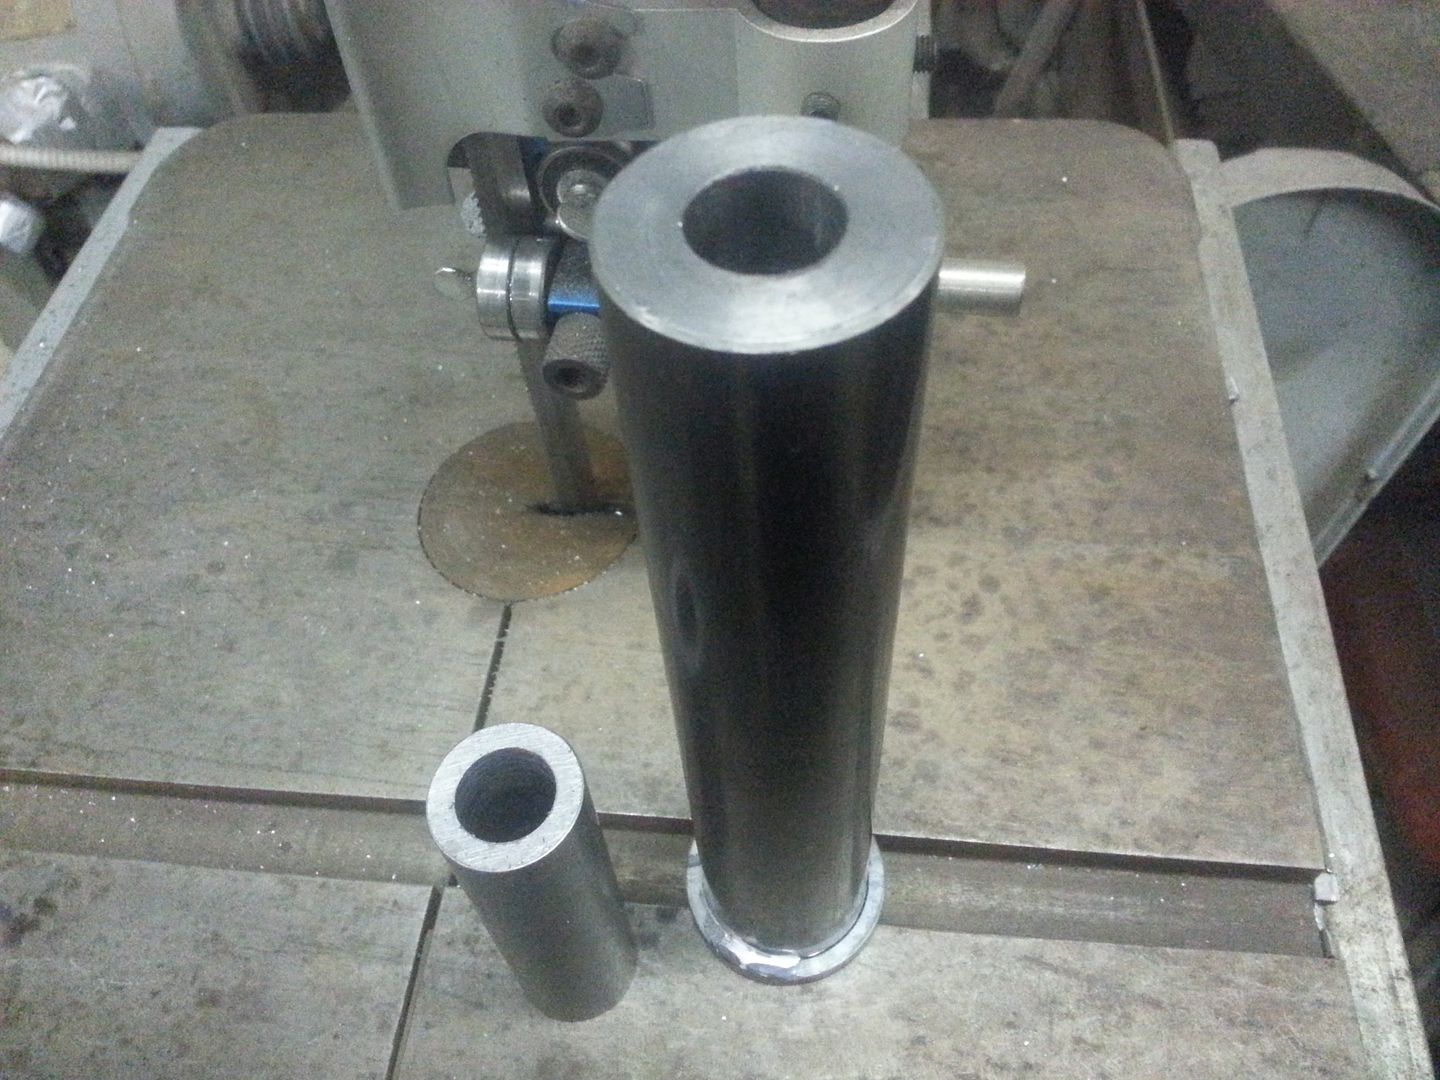
I went with 1 piece tubes that are 1 3/8" OD x 5/8" ID. These are much heavier than the supplied two piece parts and I added 11 gage doubling plates to the inside of the crossmember.
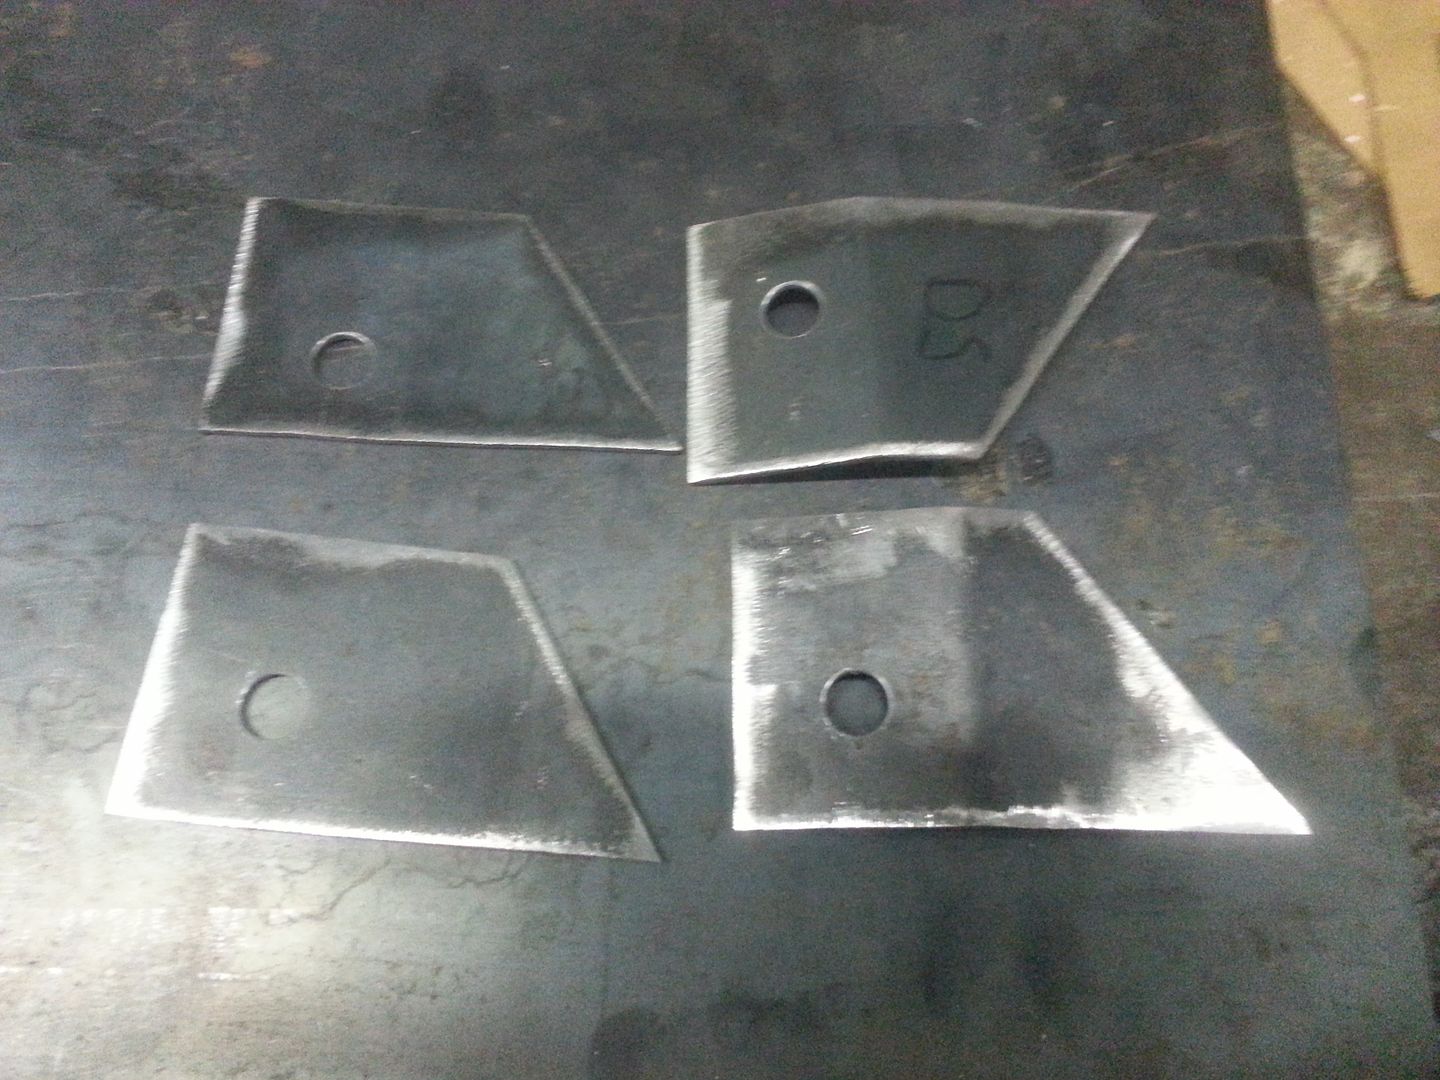
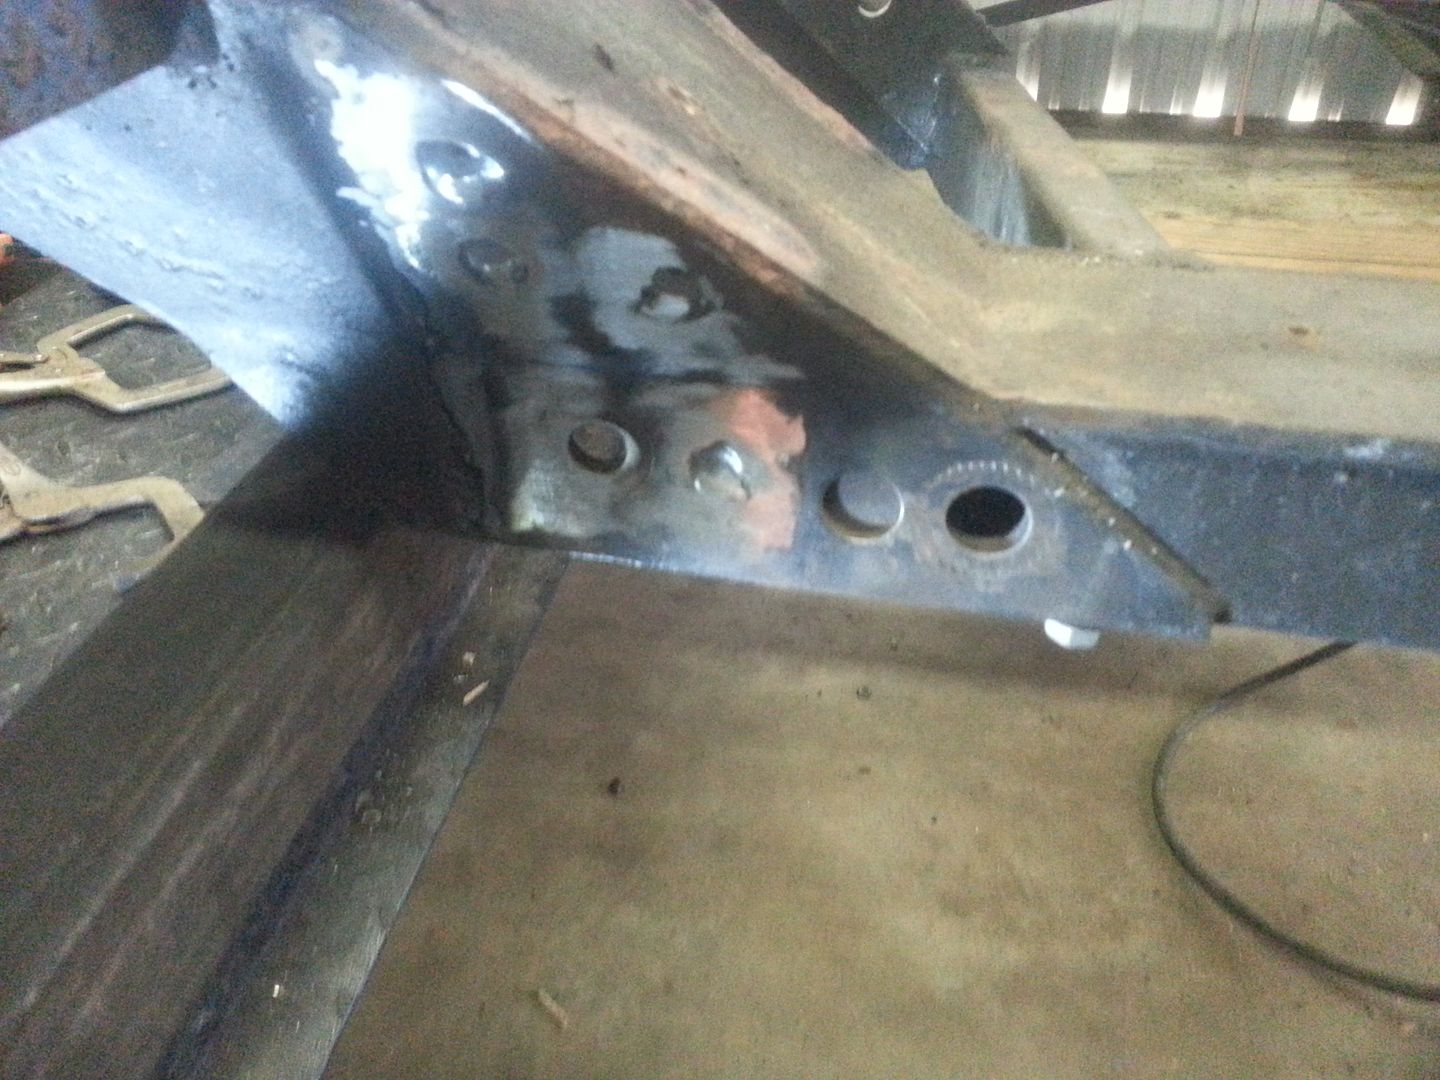
These plates were welded around their perimeter and plug welded in several places.
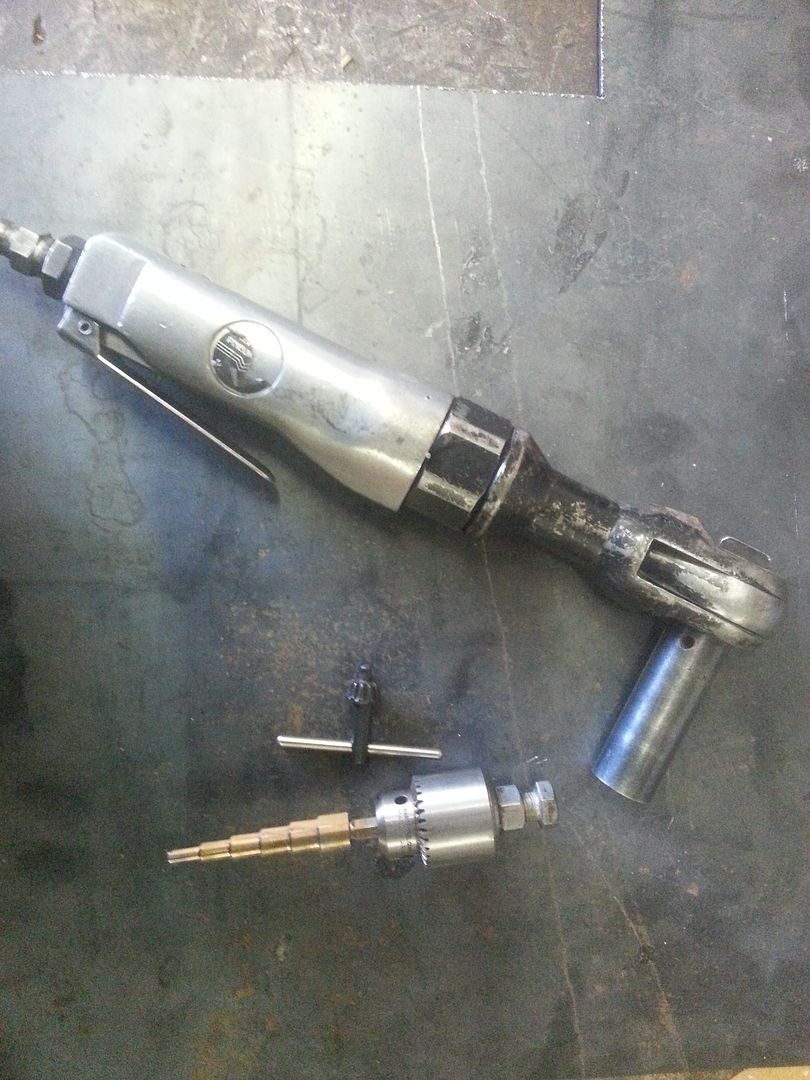
The holes for the plug welds were a pain because the rear of the crossmember couldn't be accessed with my drill. No one locally had a right angle drill to borrow or buy so I rigged up a small chuck for my air ratchet and used that. It worked , but it wasn't all that much fun! I will also be boxing the end of the crossmember when all the work is done.
-
06-24-2015 07:08 PM #39
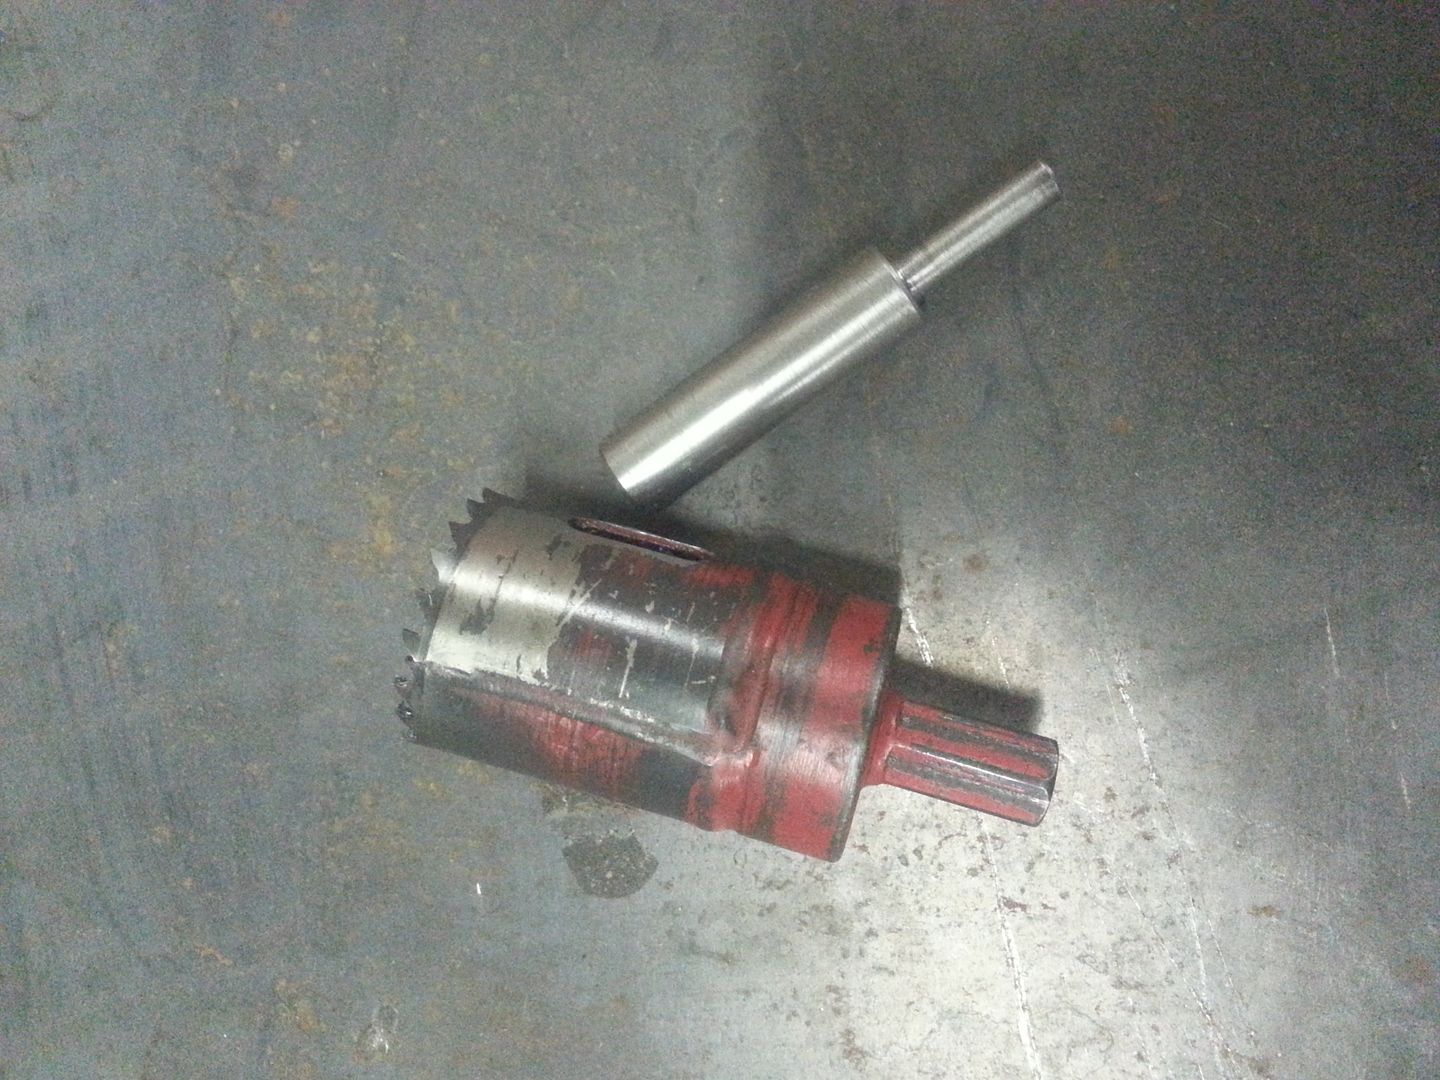
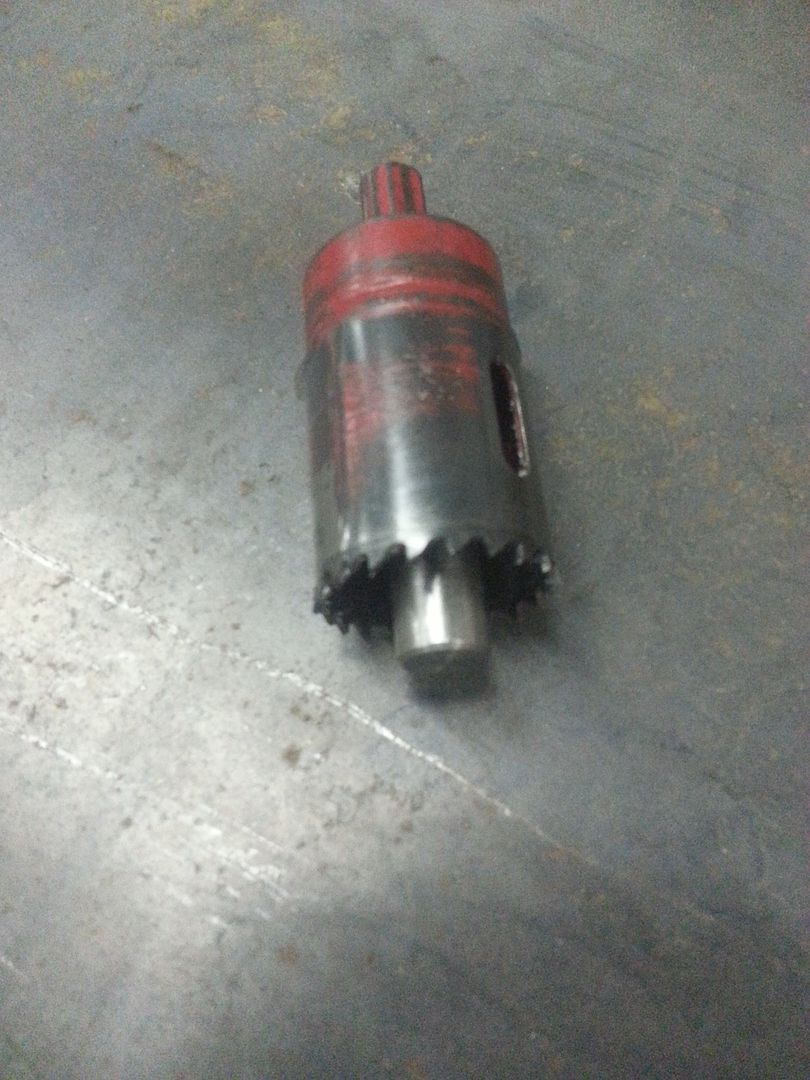
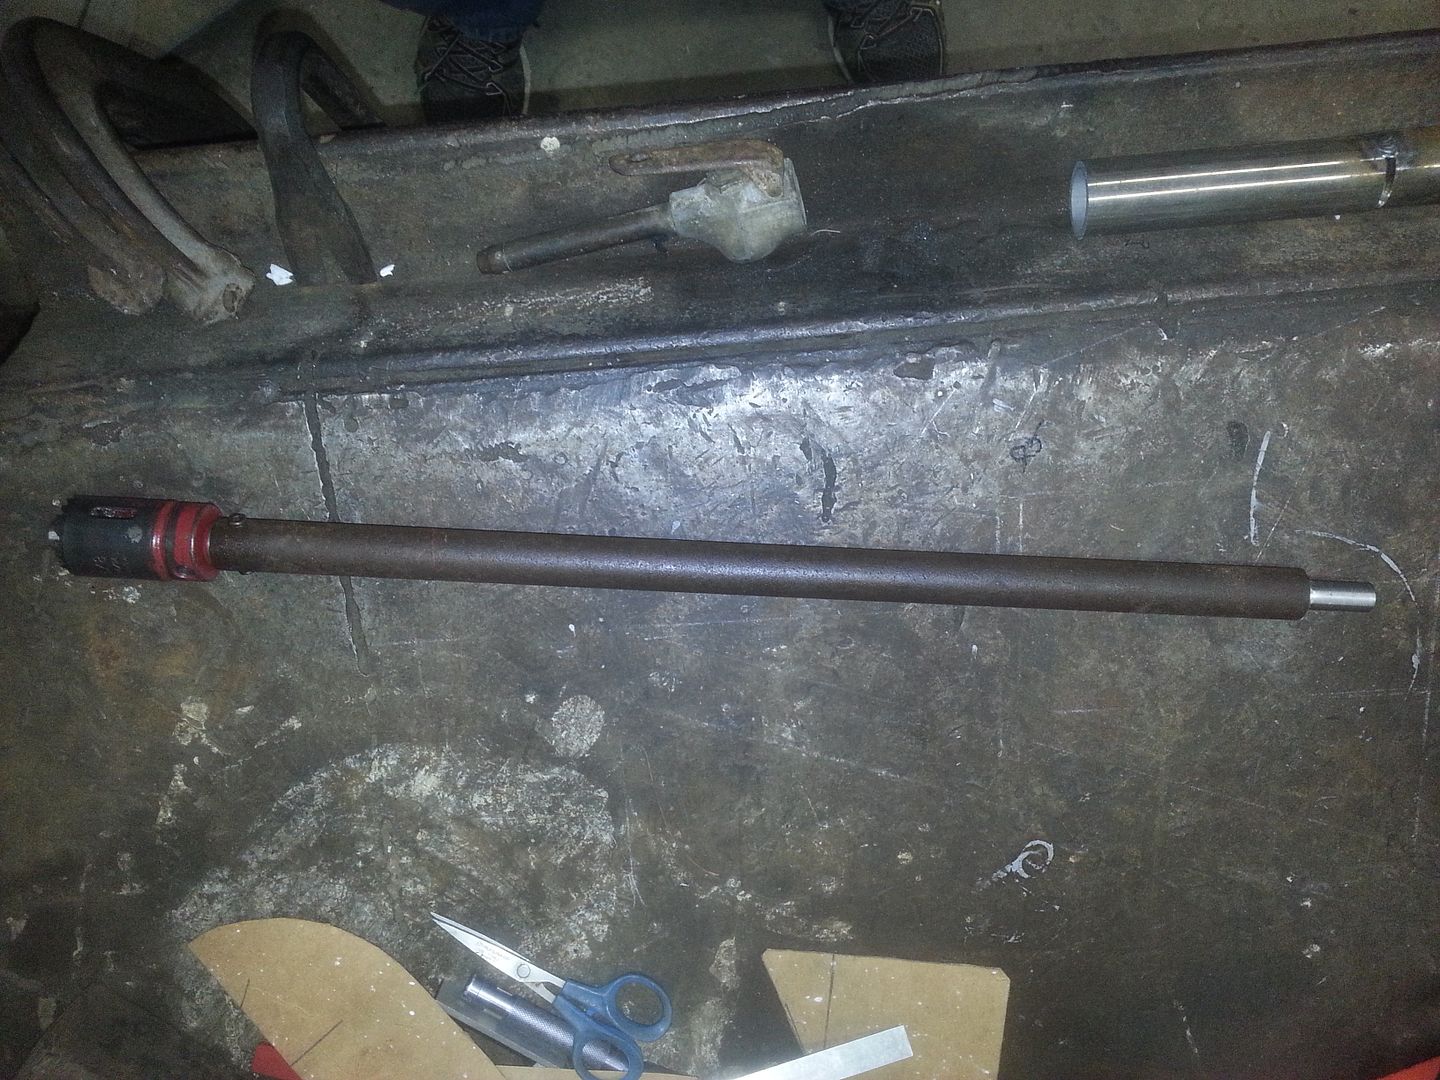
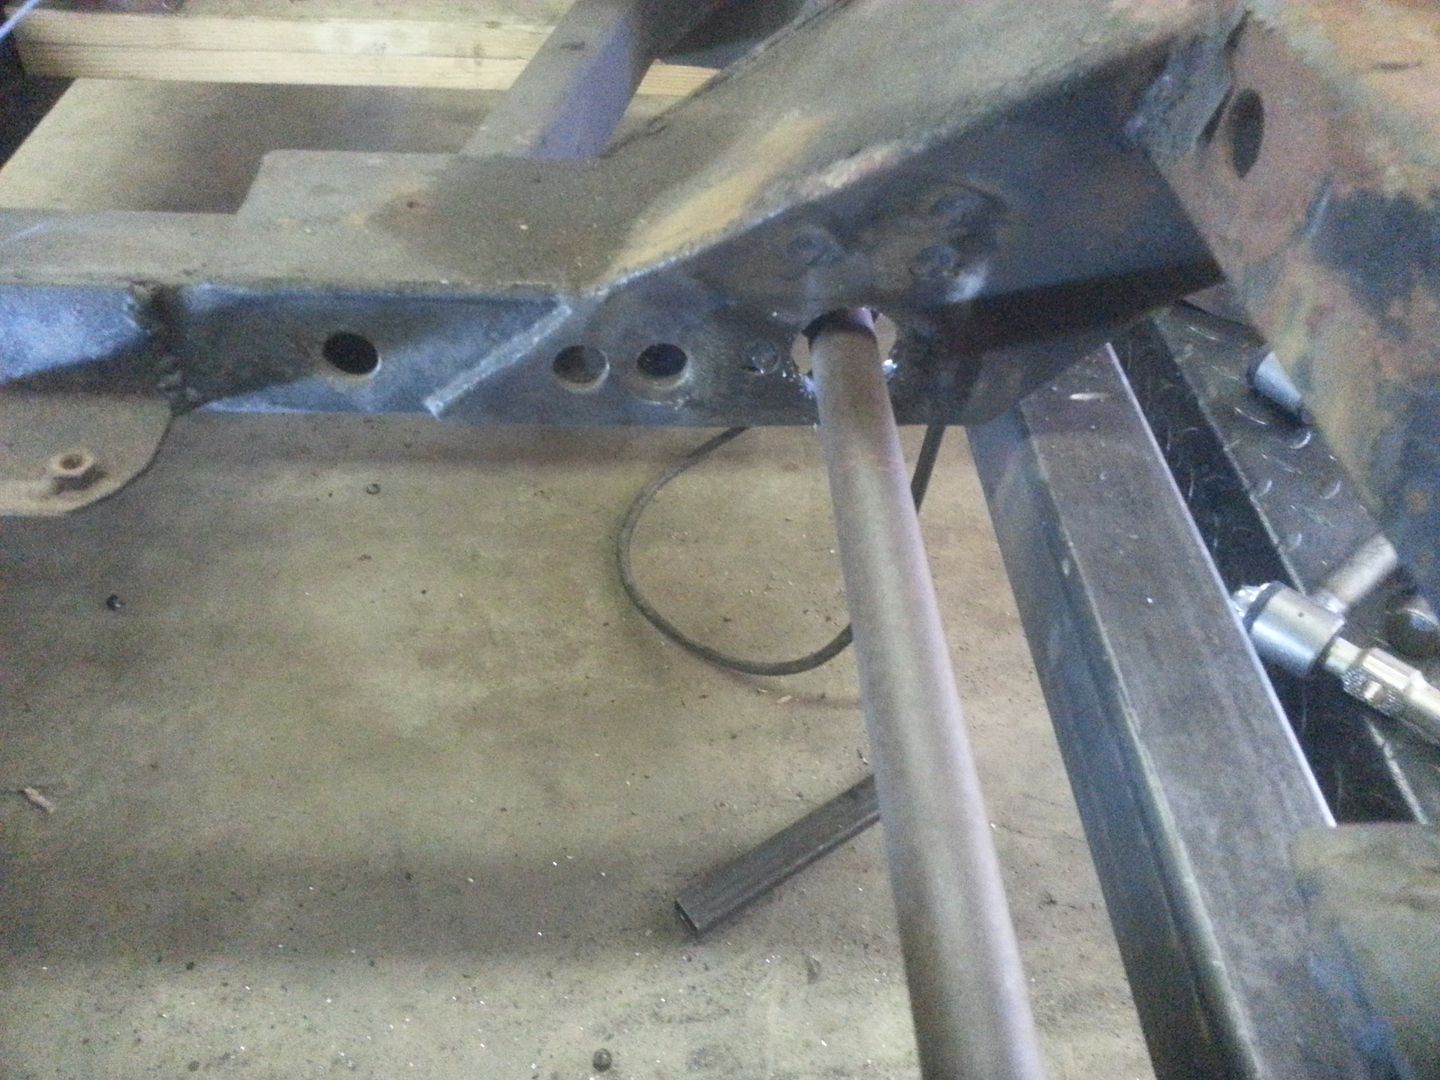
I made a guide for an 1 3/8" hole saw that would follow the existing 1/2" lower control arm hole. I also had to make an extension for the hole saw so that I could get some working room for my drill. My cordless drill didn't have enough grunt for this job, so I had to break out my ancient 1/2" corded drill. It's got plenty of power, but it'll also twist your wrist up pretty good if it hangs up and you're not quick on(off!) the trigger.
-
06-24-2015 07:15 PM #40
The tubes were very solid now and I'm sure they would have OK, but I wasn't through. I added a pair of brackets that brace the end of the tube and put the rear control arm bushing in double shear. This should make the rear of the arm nearly as strong as the strut it replaces and has the advantage of not being as stiff as the twisting rubber bushings of the old setup. The rubber parts on the old control arms and struts were actually stiff enough to allow jacking the bare chassis up with no springs in place! The last piece of the puzzle was a plate to tie the two braces together. There is another smaller plate on the outside of the frame that forms a partial box section out of the braces.
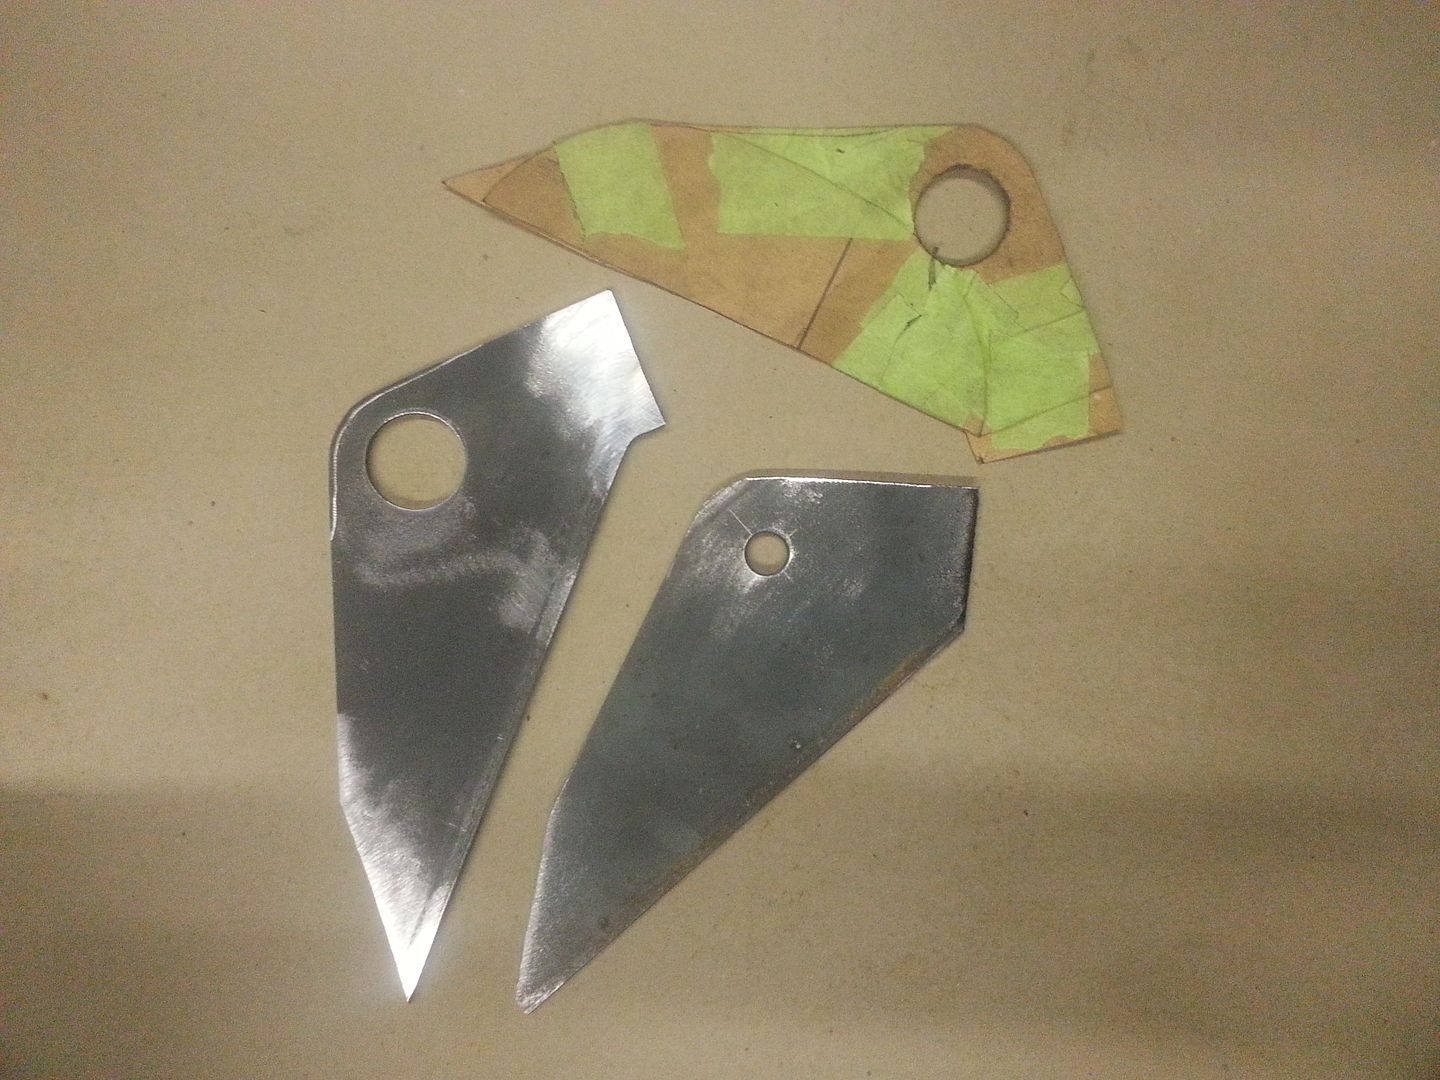


My TIG torch was acting up when I did these welds and I'm not satisfied with them. I had to replace the torch completely. I'm going to grind some of these welds out and redo them later.
Once I'm through with all the bracing, welding and fab work, I'll cut the old strut mounts off.Last edited by Hotrod46; 06-24-2015 at 07:20 PM.
-
06-25-2015 04:25 PM #41
That should be hell for stout! Nice piece of work right there, And thanks for taking the time to share with us all.
-
06-25-2015 06:50 PM #42
Thanks and your welcome! Back when I made a living doing machine and fab work, we built a lot of stuff for the oil patch. Everything had to be way overbuilt and I guess old habits die hard. As bad as some of the roads are around here, it's probably not a bad idea!
-
09-07-2015 07:52 AM #43
Man! I can't believe it's been over 2 months since I last posted anything on this thread. I've been busy and got a lot of stuff done, just not as much on the car as I wanted. That always seems to be the case though. So I'll be "binge" posting until I get caught up.
There have been a few more changes to the plan. This car seems to be evolving more than any other project I've done. It's slowing progress down and costing more, but I think I will have a better car in the end. I hope so anyhow.
I had originally planned to go with Mustang II coilovers. These are the ones that have the barrel shaped spring that fits the MII coil pocket on top and taper down to about 2 1/2" at the bottom. The problem with these is that the special springs are only available in 4 spring rates in the short MII application and only 2 of those would be anywhere near correct for the weight of this car. I decided that I would be better off modifying the upper spring pocket to take a regular coilover.
Of course, I had this little epiphany after I had already made some modifications to the upper control arm mounts. I had altered them so that the front end had some anti-dive built in and to make the caster/camber adjustments with shims. The original setup on this car had no anti-dive. It also used the original MII method of adjusting the alignment by sliding the upper arm in slots.
While I was at it, I made the upper arm mount adjustable for height. This allows the roll center of the front end to be altered as well as the camber gain. By adding or removing shims from under the upper control arm mounts, you can alter the spacing on the control arm pivot points. This isn't normally something that can be changed on most cars.
My current ball joints are Moog parts, but QA1 has some racing ball joints that will fit my control arms and are available with different length studs. This effectively alters the length of the spindle and changes the angle of the upper control arm. All these things will change the camber gain and the roll center height of the front end. Will I ever use all this adjustment? I don't know, but it will allow me to experiment and see just how altering the front end geometry will affect the handling. Who knows, I might decide to auto cross this thing one of these days. The QA1 ball joints are also very low friction and rebuildable.
I built the upper control arm mounts with the ball joint centerlines off set for about 4 1/2* of positive caster. This saves stacking a lot of shims on one end to get the caster that you want in the first place.
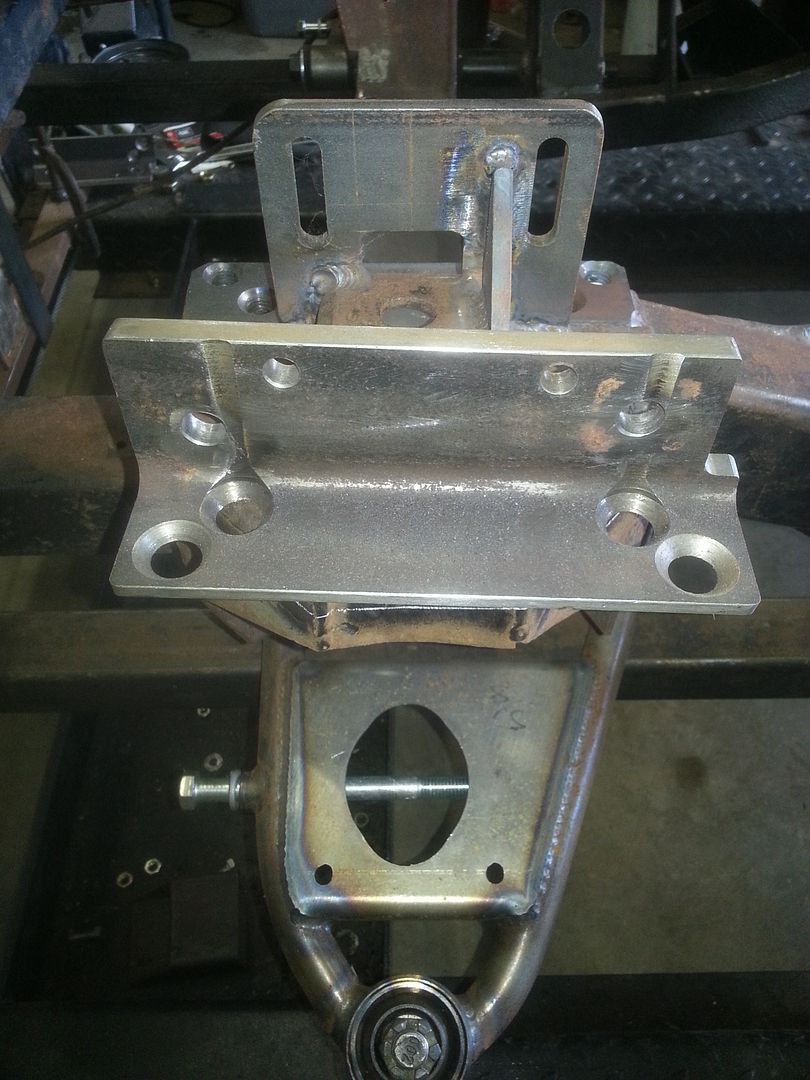
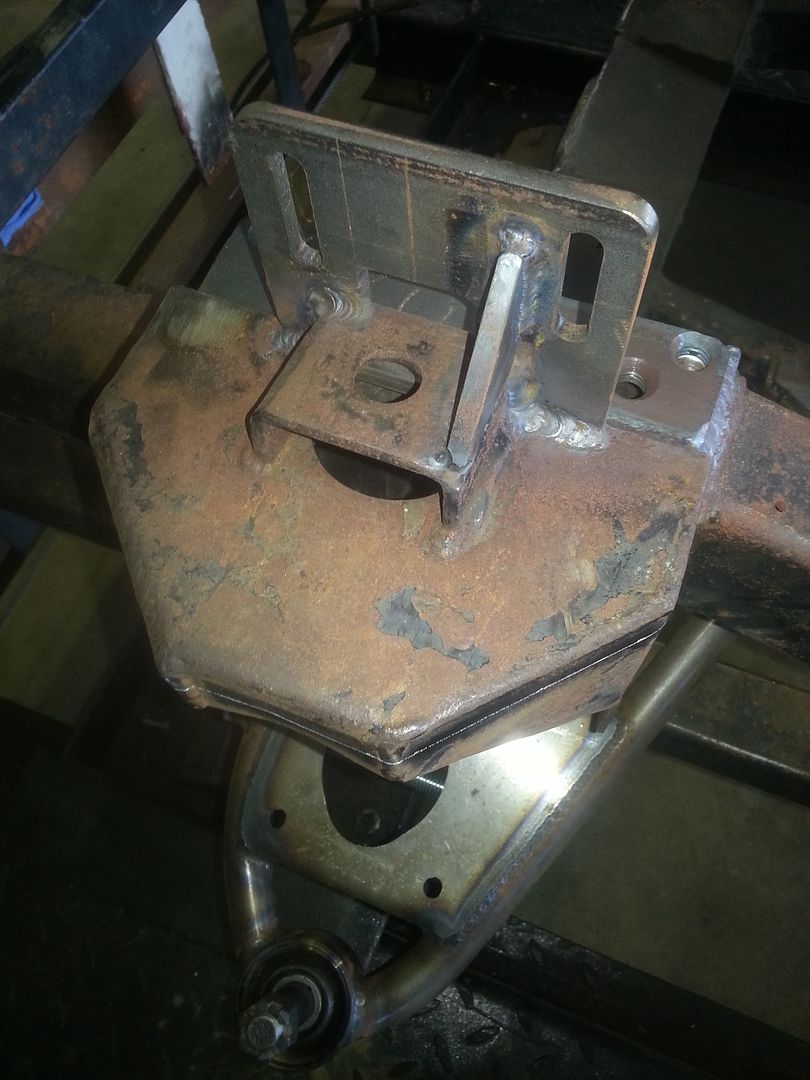
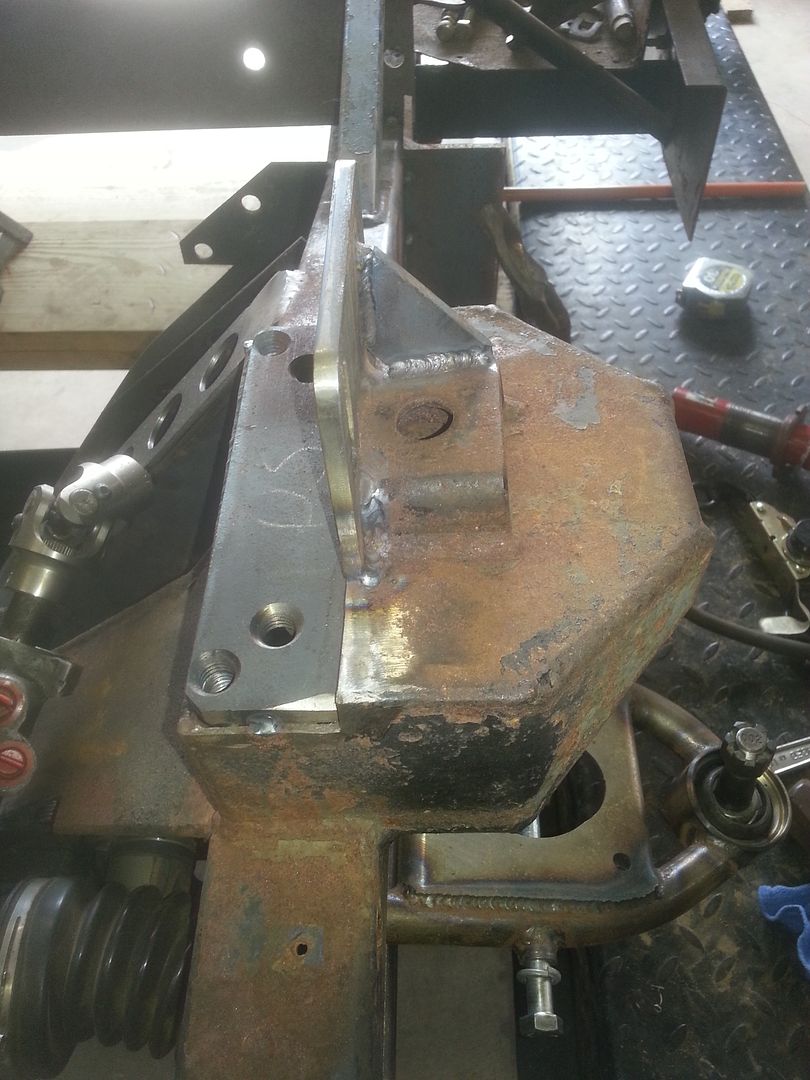
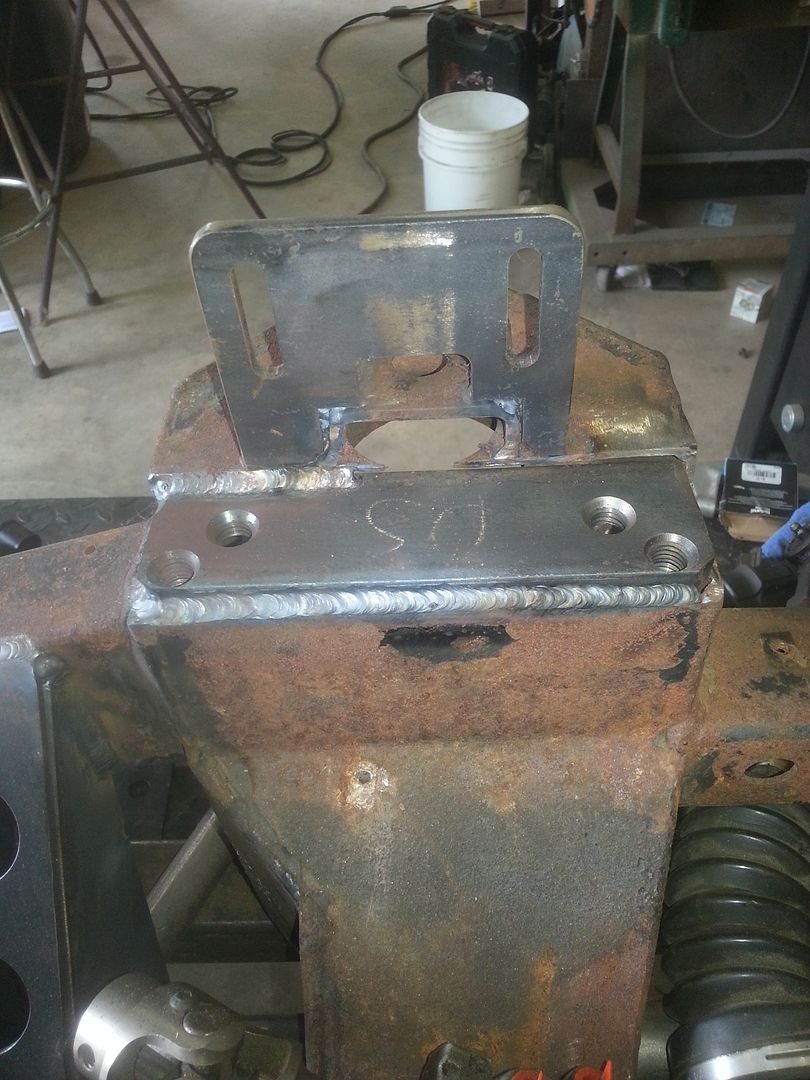
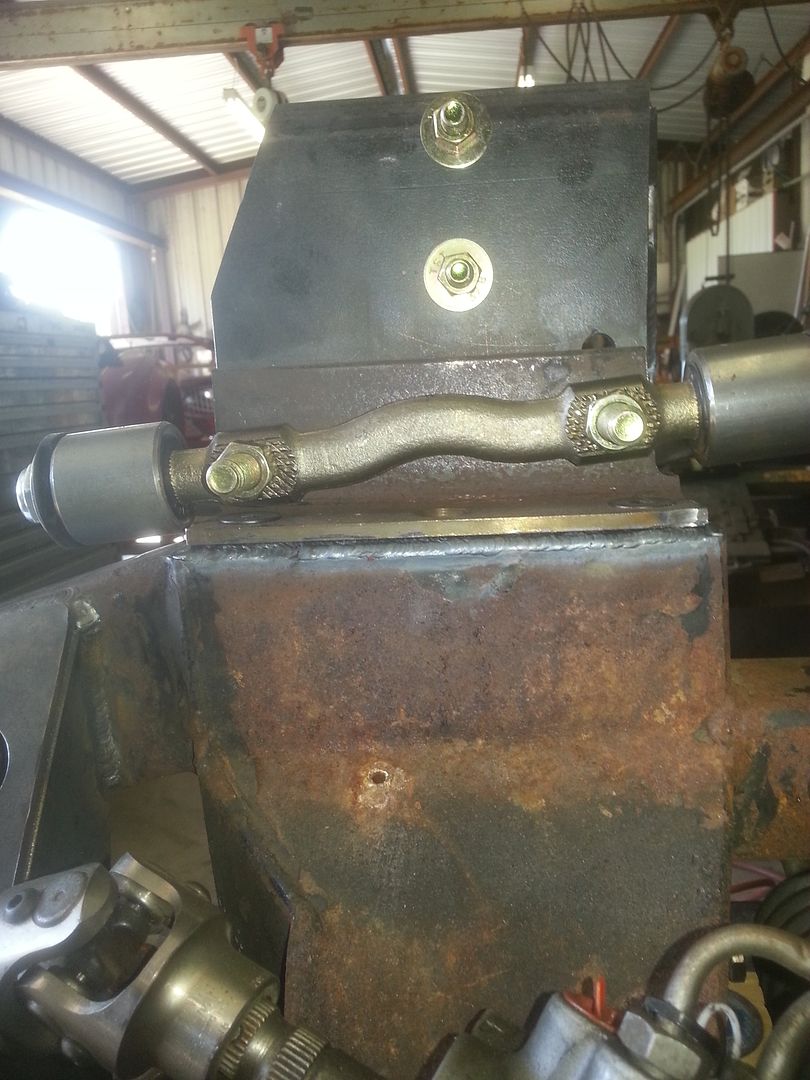
Some of the welding is unfinished in these shots, but you can get the idea of where I was headed. The bracket in the first pic bolts to the top and is braced by the vertical plate. The upper control arm attaches to this bracket. By putting shims under the bracket, the spacing of the control arms can be altered.
-
09-07-2015 08:00 AM #44
I cut out all the mounts I had built and rebuilt them to accept true coil over shocks. All the original adjustment modifications I made are still there, but I think they turned out better the second time around. Regular coilovers have a much wider selection of springs available than the MII coilovers, including some that are variable rate. I was also able to get the upper control arm mount lower by not having to maintain the MII upper spring perch. This just gives me more adjustment,but I doubt it will need to be that low. I'll be building a cross brace between the shock mounts later on.
The coilovers in the pics are not the ones I'll be using. They're an old set I had, but they do give a starting point. I'm leaning toward Viking double adjustable pieces. They are made in the USA and are adjustable for both compression and rebound.
Luckily, all these changes so far have only cost a little material, labor and time.
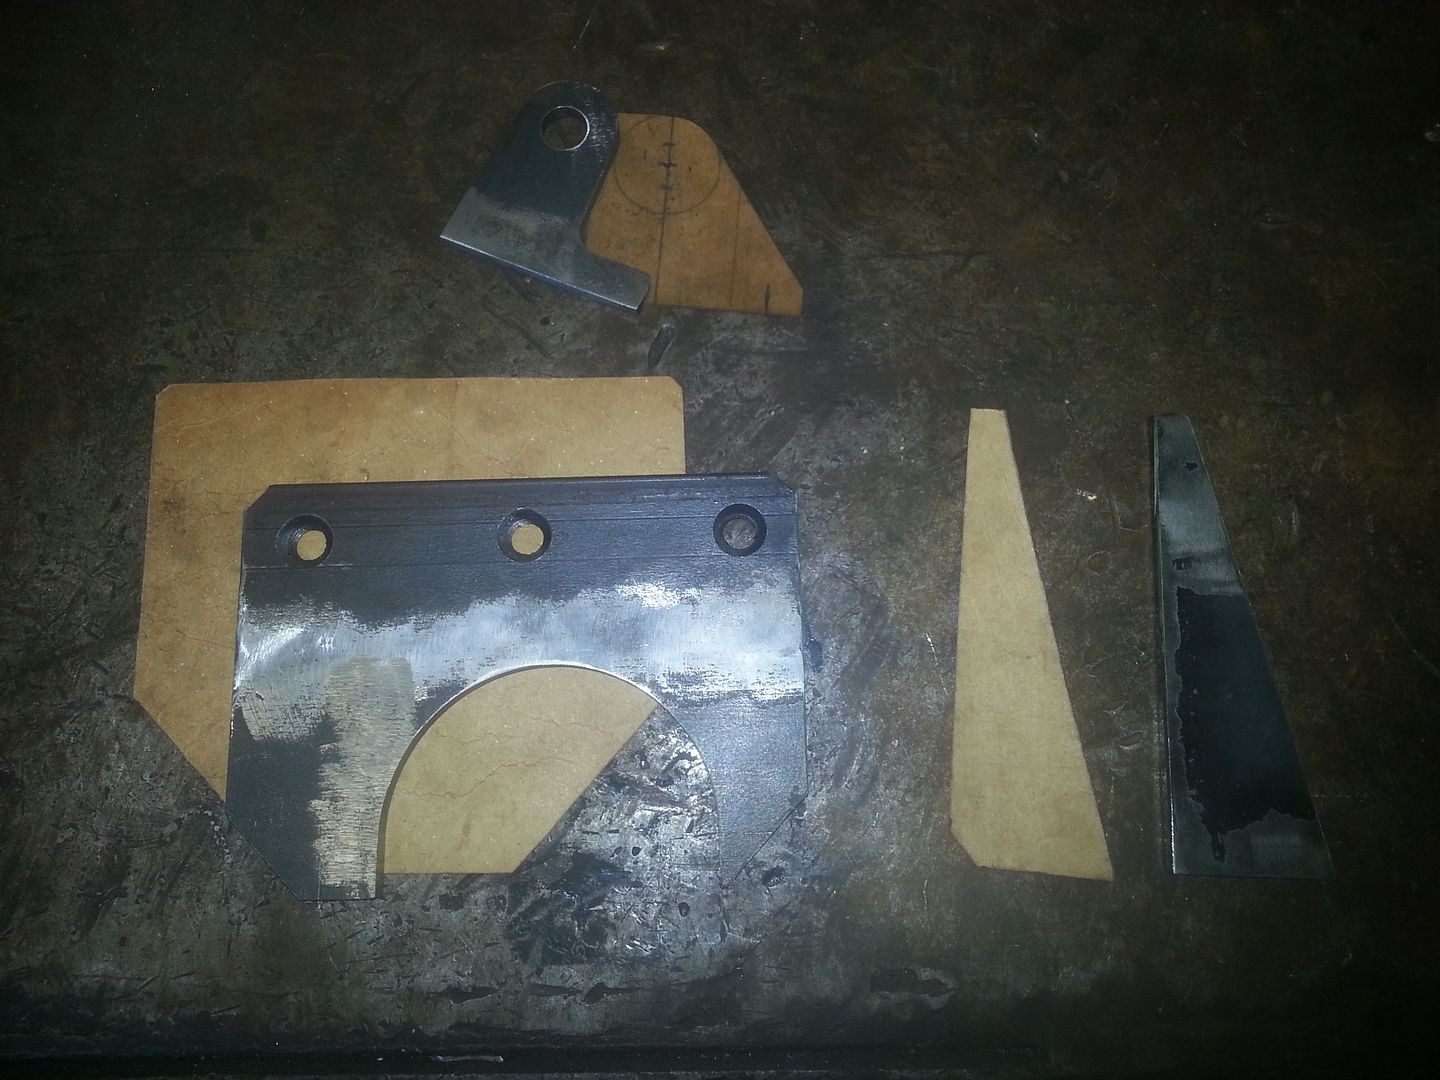
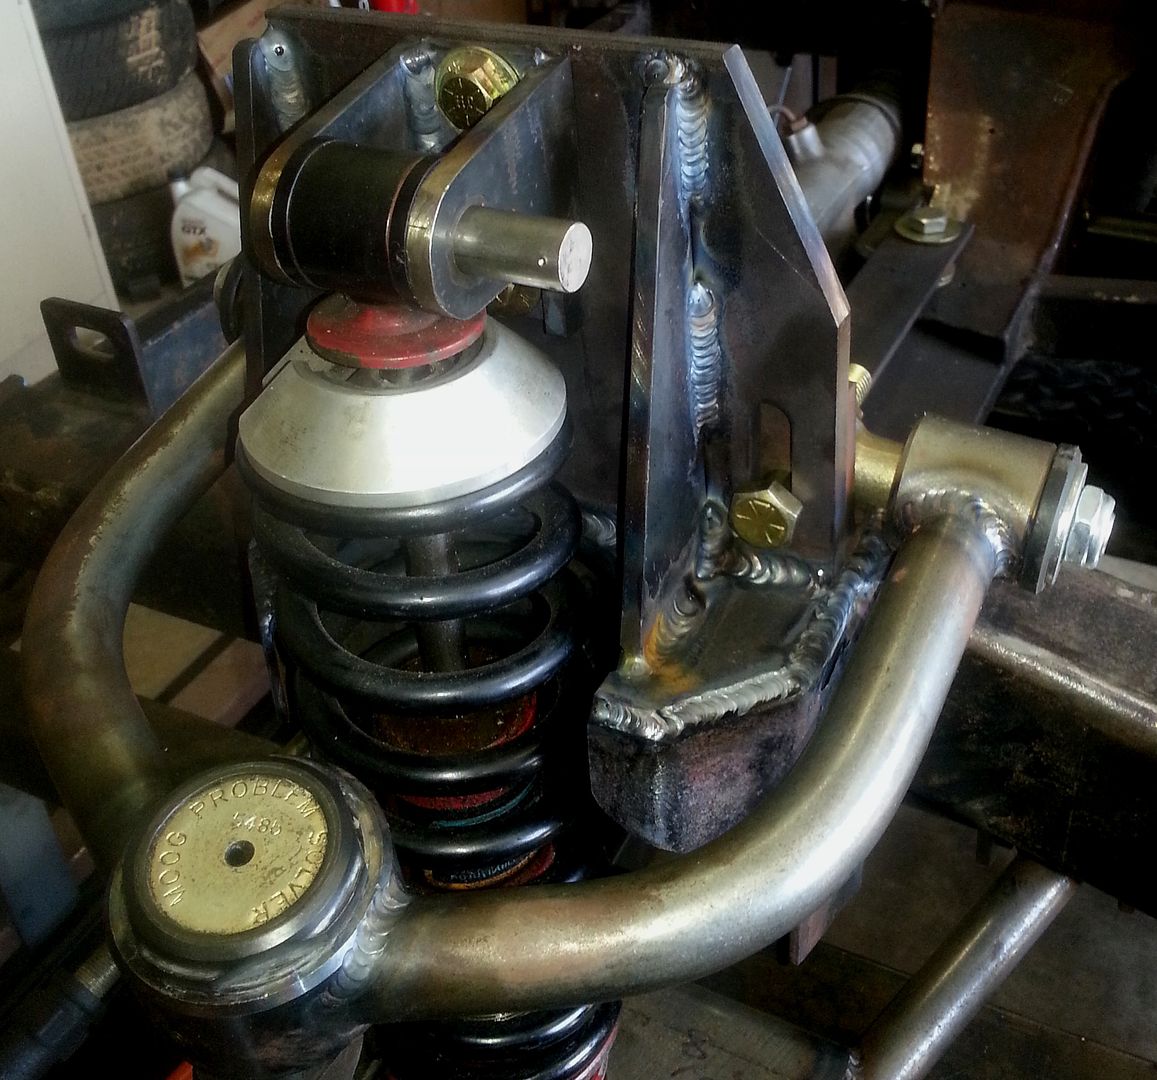
-
09-07-2015 08:12 AM #45
Here's a little bonus video. I needed to thin one side of the control arm bracket a little, so I used my antique shaper. These are fascinating old tools to run and can do an amazing amount of different jobs. They are slow by modern standards and considered obsolete. They are great in a home shop if you have the room. In this case I was able to use a cheap and simple hand ground tool to remove this metal instead of an expensive mill cutter.
This really has nothing to do with car building,but I thought some might enjoy seeing the old tool at work.
I'll be posting more updates ASAP.
MikeLast edited by Hotrod46; 09-07-2015 at 08:16 AM.


 1584Likes

 LinkBack URL
 About LinkBacks
 Reply With Quote


This website will not be worth anything until if becones SECURE!
Not Secure