Thread: 1931 Model A Coupe
-
01-26-2015 06:20 PM #31
-
Advertising

- Google Adsense
- REGISTERED USERS DO NOT SEE THIS AD
-
01-26-2015 06:24 PM #32
-
01-26-2015 06:31 PM #33
-
01-26-2015 07:01 PM #34
[IMG] [/IMG]
This starts the seat belt installation. The 1 1/2" x 1 1/2" x 3/16" tube are the
uprights for the 3 point belts. The 3/4" pieces get welded inside the tubing
which is than drilled, and tapped for the bolts holding the belts. I wanted
plenty of purchase area for the threads. The long pieces of 1/4" plate will be
welded to the sub rails, they run from the door jamb to the rear of the car.
[IMG]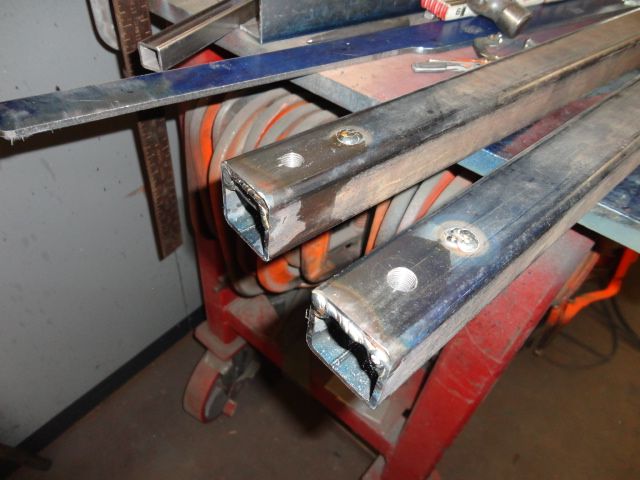 [/IMG]
Welded, tapped, ready to install.
Rich
-
01-26-2015 07:11 PM #35
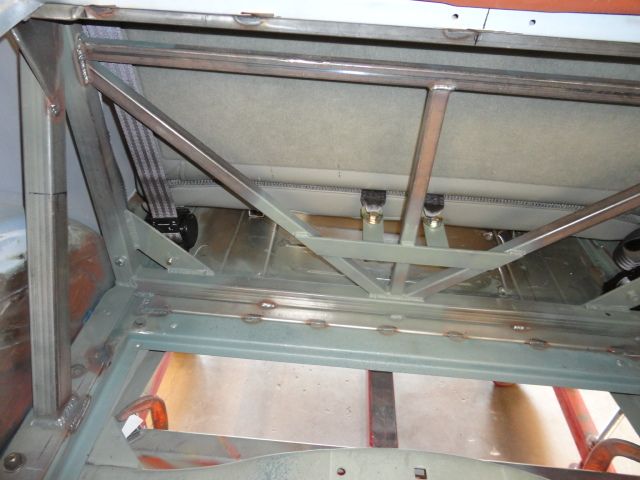
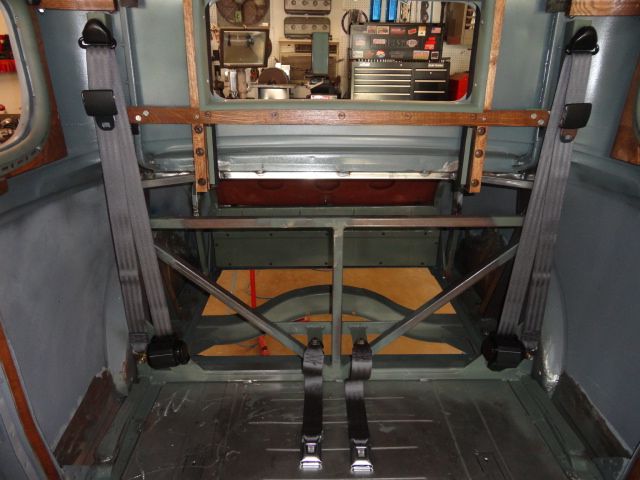
[IMG]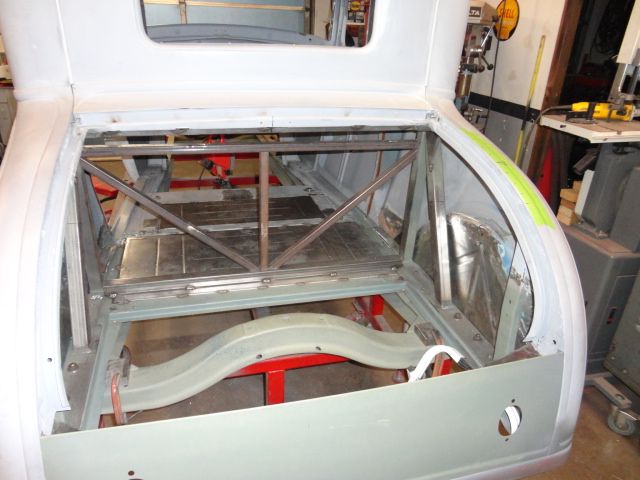 [/IMG]
Here most of the pieces have been installed. The body bolts go through the plates
welded to the sub rails. I had already shimmed body. The tubing is also stitch
welded to the body shell below the rear window.
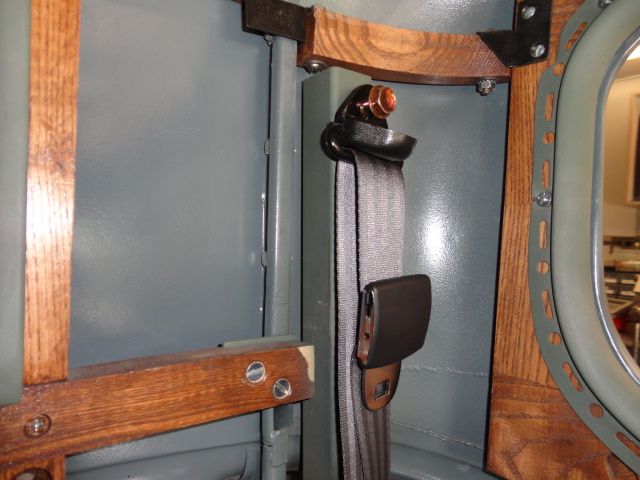
I know there is a lot of opinions on seat belt install, this is my method. I'll
follow up later with belt pics when I install the seat.
Rich
-
01-26-2015 07:23 PM #36
-
01-26-2015 08:18 PM #37
Rich, in that last picture is your lower mount tied to the frame?Roger
Enjoy the little things in life, and you may look back one day and realize that they were really the BIG things.
-
01-26-2015 08:37 PM #38
Roger, all the frame work I installed is welded to the body. The belts, and seat are bolted to that frame work.
If the body was seperated from the frame in a crash the belts, and seat would still be attached to the body.
RichLast edited by RichB; 01-27-2015 at 10:02 AM.
-
01-27-2015 07:07 PM #39
Nice work !!!
-
01-27-2015 09:01 PM #40
Great work Rich, its never overkill. Its just not done until you feel its right!
-
01-28-2015 08:24 AM #41
Thanks for the kind words Navy7797, Modela31 !
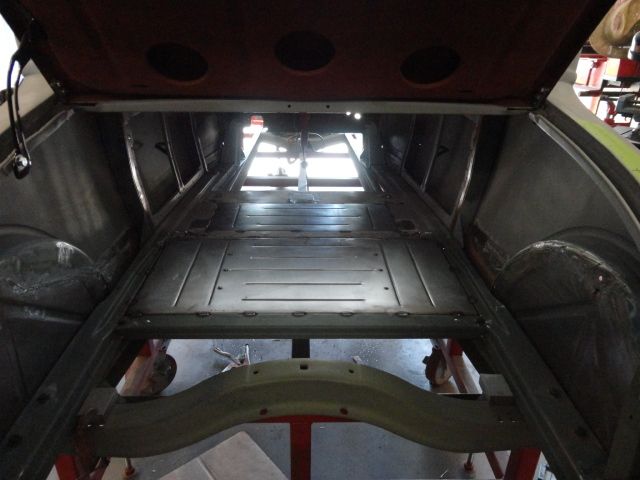
[IMG]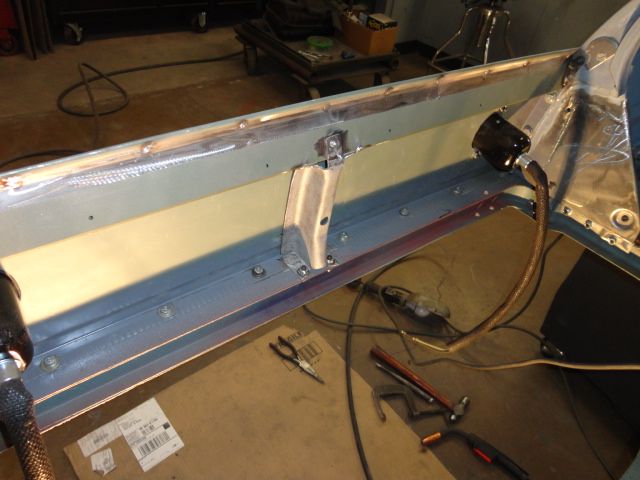 [/IMG]
I tacked the rear panel support after shaping it to fit the the correct curvature.
I sand blasted the original center support, and welded it in .
[IMG] [/IMG]
This rear area was in bad shape, I replaced most of the supports. Everyone seems
to treat this area differently, and so will I. I extended the drain rails down, and
formed a box section that will hide the tail lite buckets. The bottom will be open for
drainage.
Rich
-
01-28-2015 08:34 AM #42
[IMG]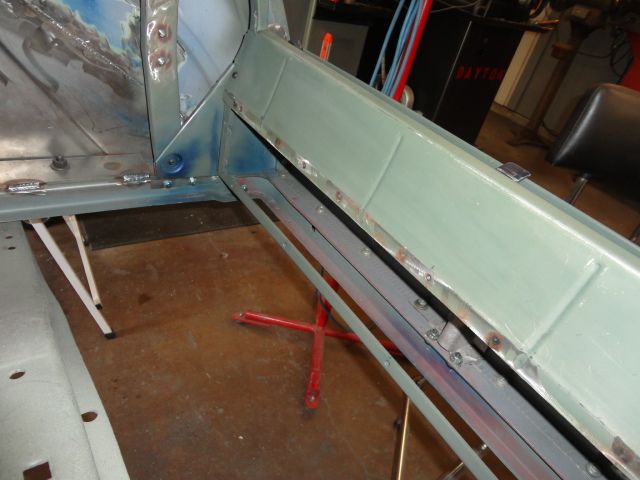 [/IMG]
This was an original rumble seat panel that curved in to the trunk area. I cut off
half of it, formed a flange on it with 1/4" 20 nuts welded behind the attatchment
holes I drilled for the next panel.
[IMG] [/IMG]
Heres the matching panel I fabbed to finish the box. The open bottom is above the
gas tank.
[IMG]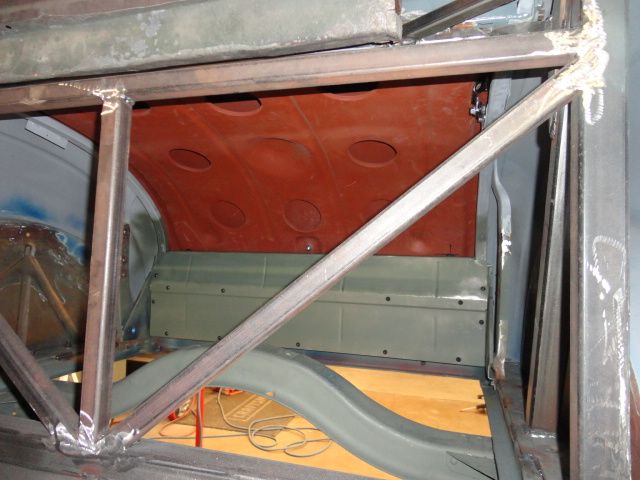 [/IMG]
Another view.
Rich
-
01-28-2015 08:41 AM #43
-
01-28-2015 08:47 AM #44
-
01-28-2015 08:53 AM #45
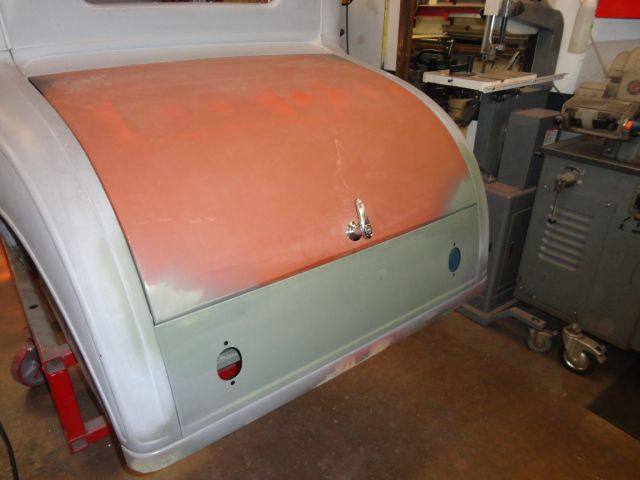
I meant to add in the last post that I relocated the off center latch hole, reshaped the inner trunk panel to accept the latch.
I fabbed my own adjustable catch for the latch on the tail lite panel.
Rich


 516Likes

 LinkBack URL
 About LinkBacks
 Reply With Quote
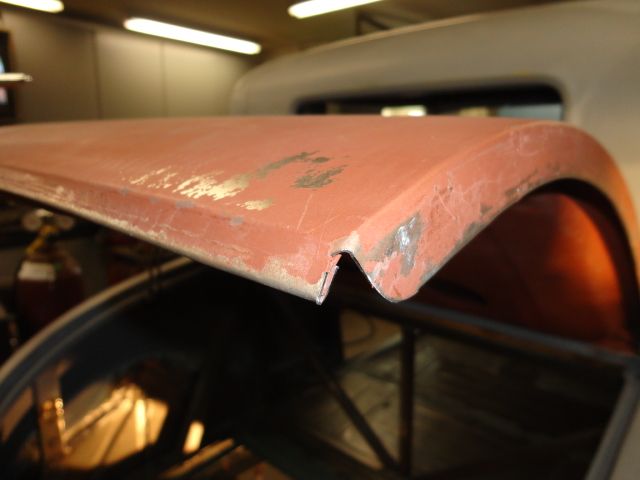


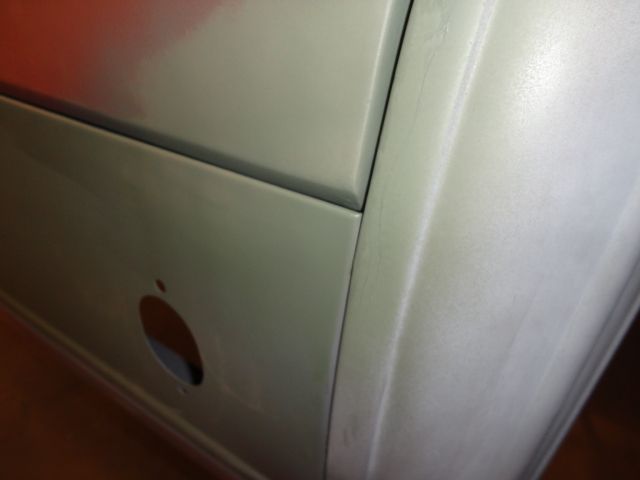
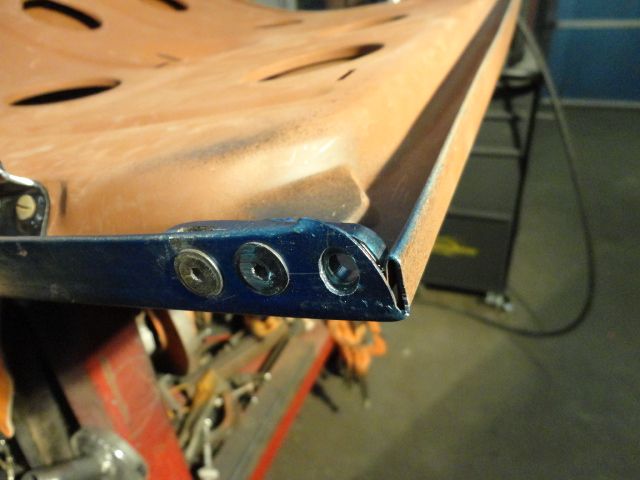



Thanks guys! It's been a long road. Fun doing finishing work for sure. Getting the dash ready for paint and some interior trim. Have to do some finish work on the aluminum headliner before...
Stude M5 build