Thread: 1931 Model A Coupe
-
01-30-2015 04:48 AM #61
This is fascinating for the newbie. I never knew the bodies came apart like that.
-
Advertising

- Google Adsense
- REGISTERED USERS DO NOT SEE THIS AD
-
01-31-2015 06:20 AM #62
Al, I was determined to remove all rust!
I'm going to post a little demo on how I press form shapes. I'm just an amateur, and
I'm sure others have better methods. That firewall was the largest pressing I
have done, but the principle is the same.
[IMG]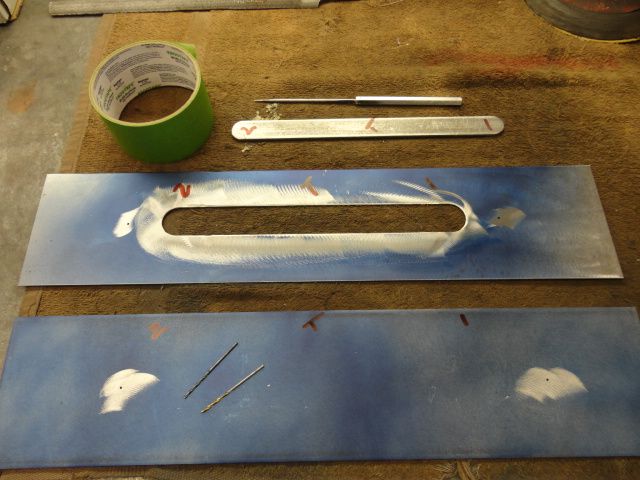 [/IMG]
This is 16 gauge here, I give the pieces a gap of one and a half to one. These measured
.057, with gap of .085 . It doesn't have to be this exact, I use drill bits to measure the gaps.
[IMG]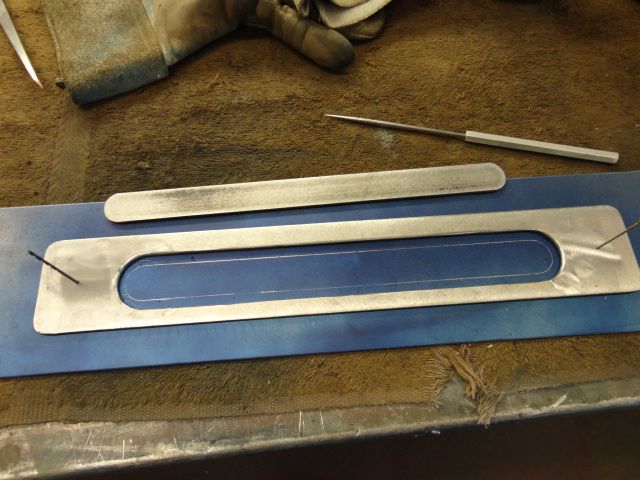 [/IMG]
Drill bits align blank with female die. I have scribed the outline of the male die for
positioning.
Rich
-
01-31-2015 06:29 AM #63
-
01-31-2015 06:42 AM #64
[IMG]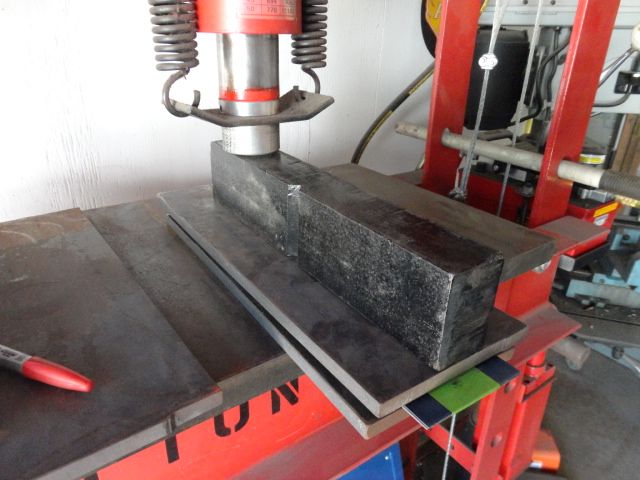 [/IMG]
I sandwich the piece between a couple pieces of 1/2" plate. I start in the middle
pressing just enough to lock it in place. Pressing in 3 spots till complete. I found
less distortion by doing it gradually. I have converted my 50 ton press to air over
which makes repeated pressings easy. A 10 ton press would work.
[IMG]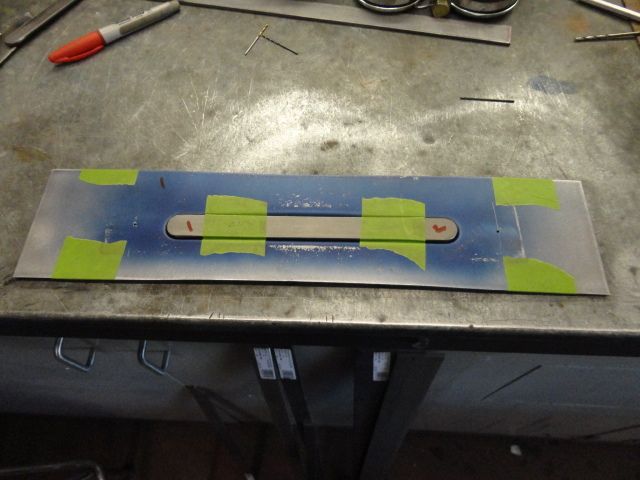 [/IMG]
Ready to pull dies.
[IMG] [/IMG]
Heres the finished piece which I had primed to get an idea of the finished look.
Tighter clearances will result in better definition, but you risk shearing the
finished piece.
Rich
-
01-31-2015 07:04 AM #65
-
01-31-2015 07:16 AM #66
-
01-31-2015 07:23 AM #67
[IMG] [/IMG]
The main design ready to press. You want to press it into the form stretching the
metal, not pull it in distorting the whole piece. There is always some distortion
though since we don't have a press that holds the piece while pressing the design.
[IMG]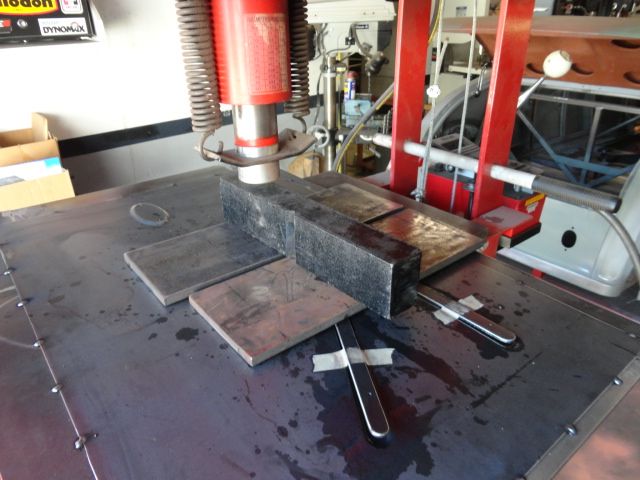 [/IMG]
Don't forget the oil!
Rich
-
01-31-2015 08:47 AM #68
[IMG]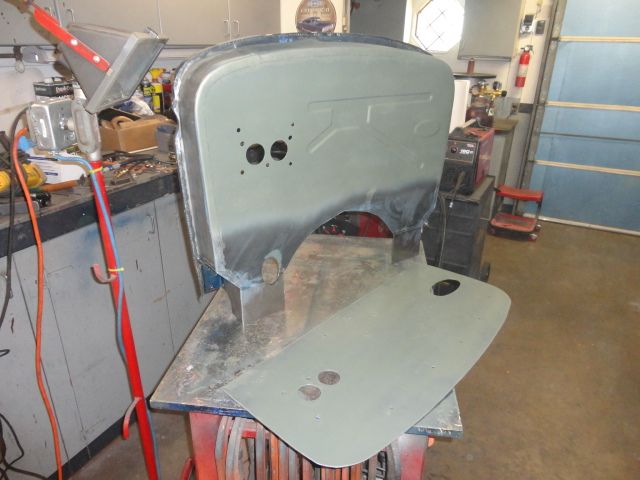 [/IMG]
I had always planned to beef up the back since I'm using a firewall mounted brake, and
clutch. This is 1/8" plate that will be edge, and plug welded to the back side.
[IMG]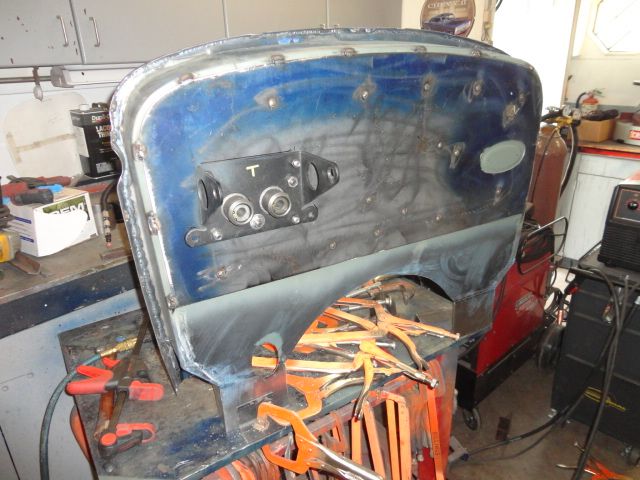 [/IMG]
All welded up.
[IMG]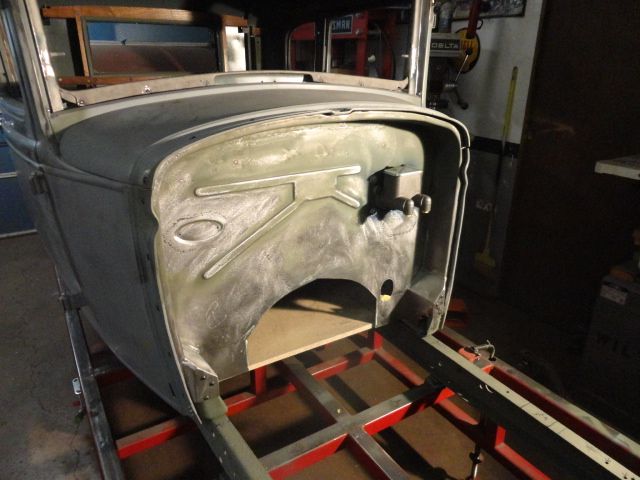 [/IMG]
At the last minute I found the brake lines would be in the way of the vin tag, so I
cut it out, and moved it.
Rich
-
02-01-2015 06:52 AM #69
-
02-01-2015 06:57 AM #70
-
02-01-2015 07:01 AM #71
-
02-01-2015 07:06 AM #72
-
02-01-2015 07:15 AM #73
[IMG]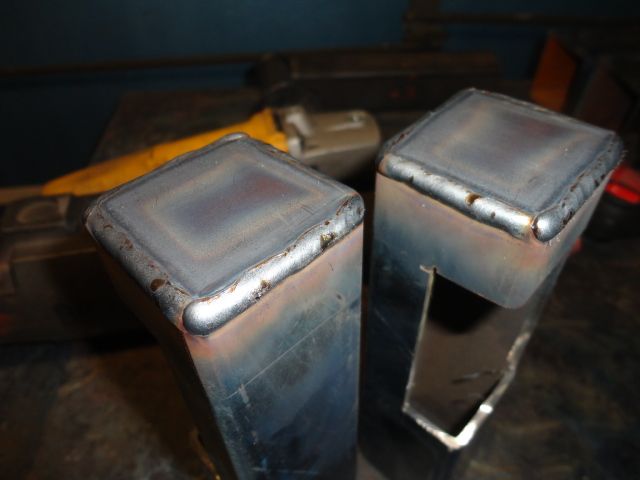 [/IMG]
I coped these pieces to tie into the rear cross member.
[IMG]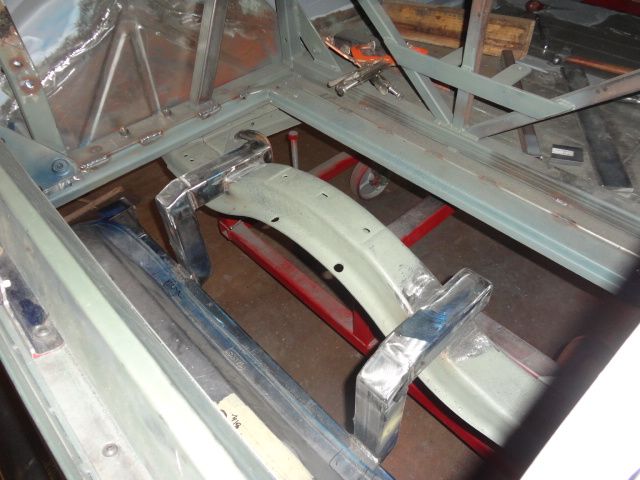 [/IMG]
Finished installation. I had to box the rear 32 rails, add a cross memeber, and
a lot of fussing around to make the tank fit.
It would seem that tieing into the sides of the frame would be more logical, but
trying to clear all obstacles is difficult.
Rich
-
02-01-2015 07:18 AM #74
-
02-01-2015 11:39 AM #75
Wow Rich just read the whole thread. Full of great ideas methods, and enginuity which I will apply to my seat when the time comes!"  "No matter where you go, there you are!" Steve.


 516Likes

 LinkBack URL
 About LinkBacks
 Reply With Quote







And then a newer model....
Montana Mail Runner