


 33Likes

Results 1 to 15 of 32
 LinkBack URL
 About LinkBacks
Hybrid View
-
09-07-2016 07:52 PM #1
 CHR Member

- Join Date
- Apr 2011
- Location
- Prairie City
- Car Year, Make, Model: 40 Ford Deluxe, 68 Corvette, 72&76 K30
- Posts
- 7,299
- Blog Entries
- 1
Great work on that door!Ryan
1940 Ford Deluxe Tudor 354 Hemi 46RH Electric Blue w/multi-color flames, Ford 9" Residing in multiple pieces
1968 Corvette Coupe 5.9 Cummins Drag Car 11.43@130mph No stall leaving the line with 1250 rpm's and poor 2.2 60'
1972 Chevy K30 Longhorn P-pumped 24v Compound Turbos 47RH Just another money pit
1971 Camaro RS 5.3 BTR Stage 3 cam, SuperT10
Tire Sizes
-
09-11-2016 10:46 AM #2
CHR Member
- Join Date
- May 2015
- Location
- South East
- Posts
- 318
Thanks! It only took most of the day and 3/4 of a gallon of body filler....most of which wound up on the floor after hours of sanding. Good learning experience I suppose! Originally Posted by 40FordDeluxe

Rust repairs on both doors are complete. Re-installed them this morning
[IMG]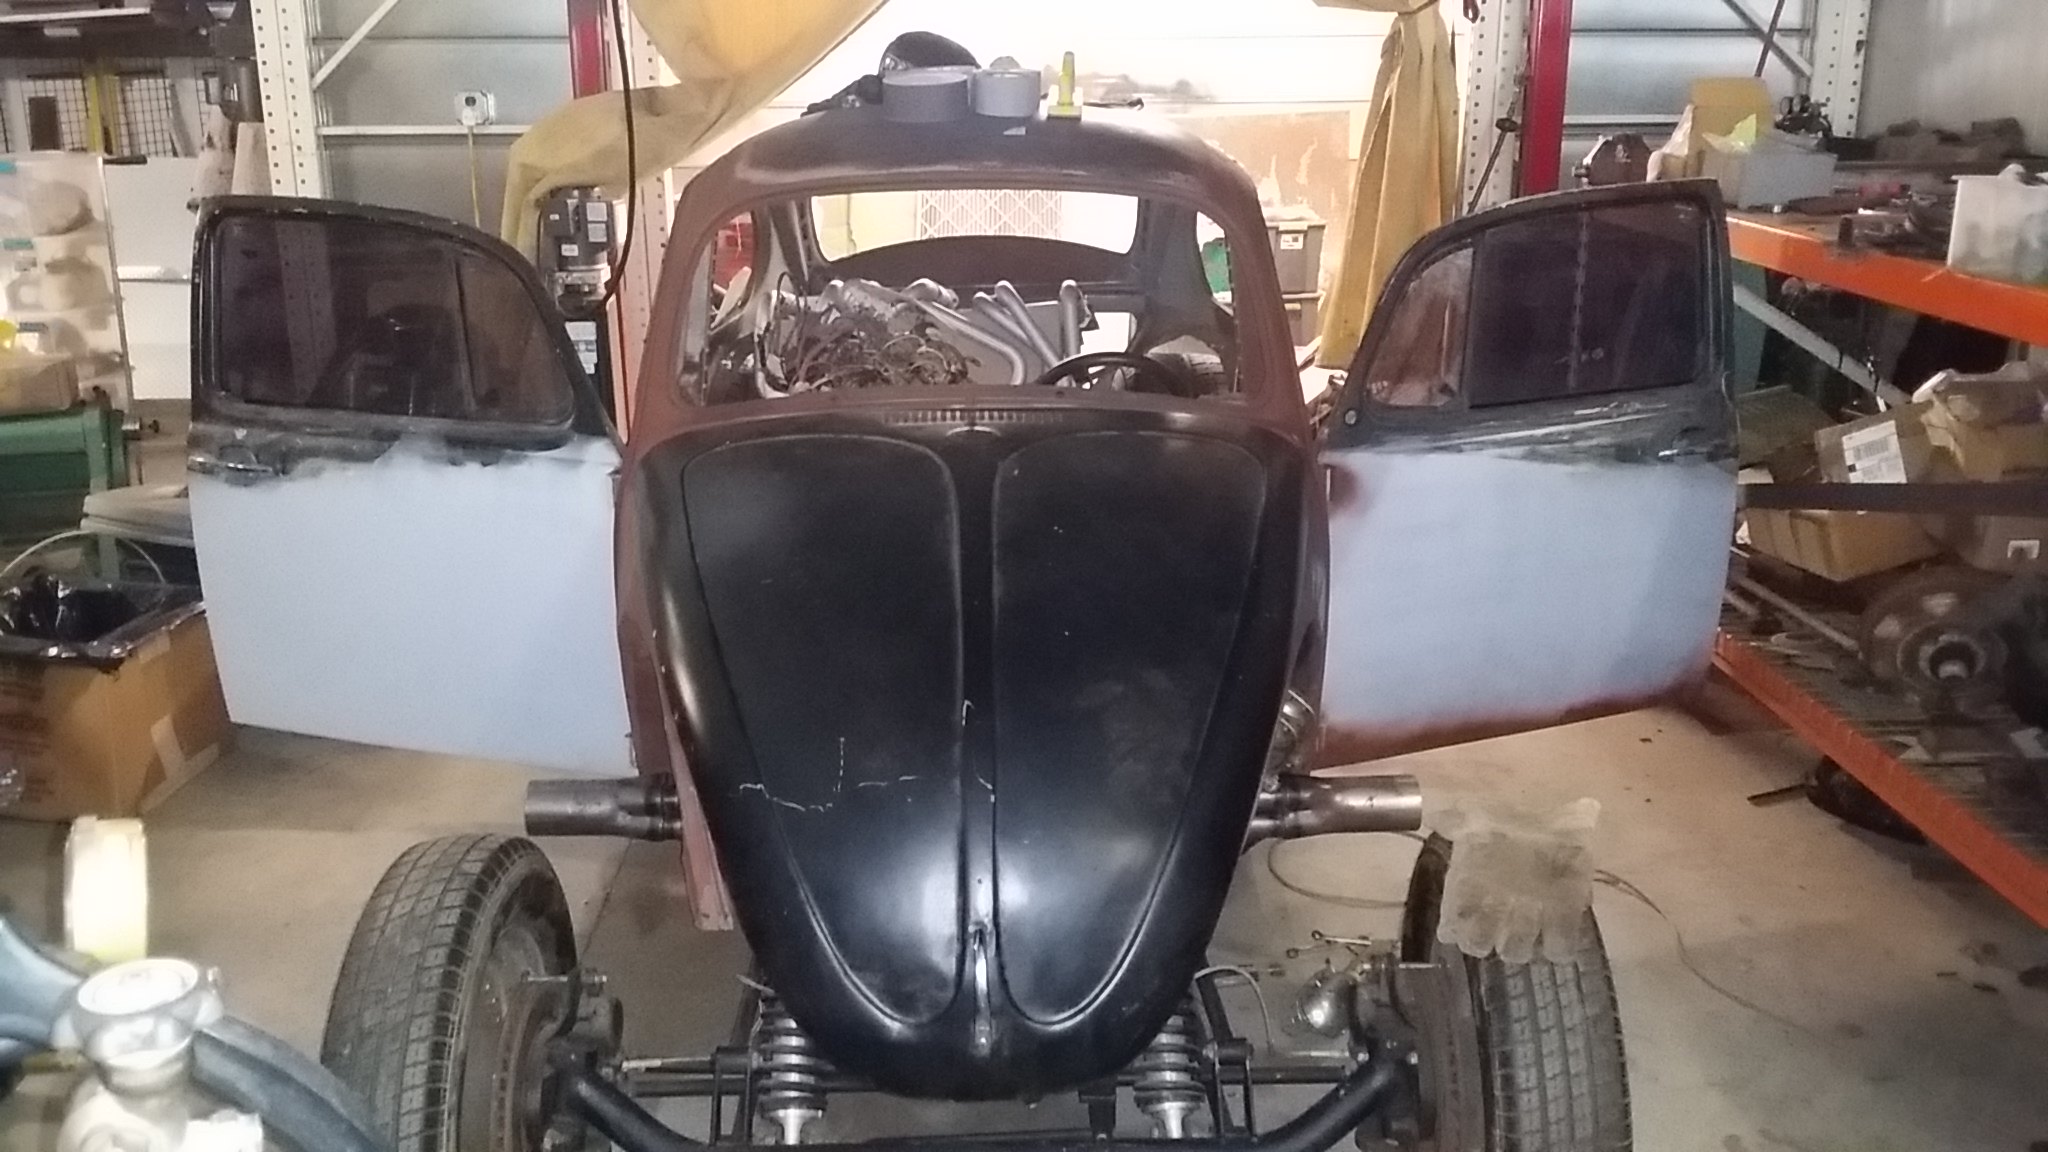 20160911_100332 by Ben Modified, on Flickr[/IMG]
Prior to removing the doors, I drilled a small hole thru the hinges, the body and the backing plates to make re-assembly and alignment easier. It worked very well, I was able to re-install the doors by myself with the help of a floor jack and a couple of drill bits. I tightened them down and they shut properly on the first try!
[IMG]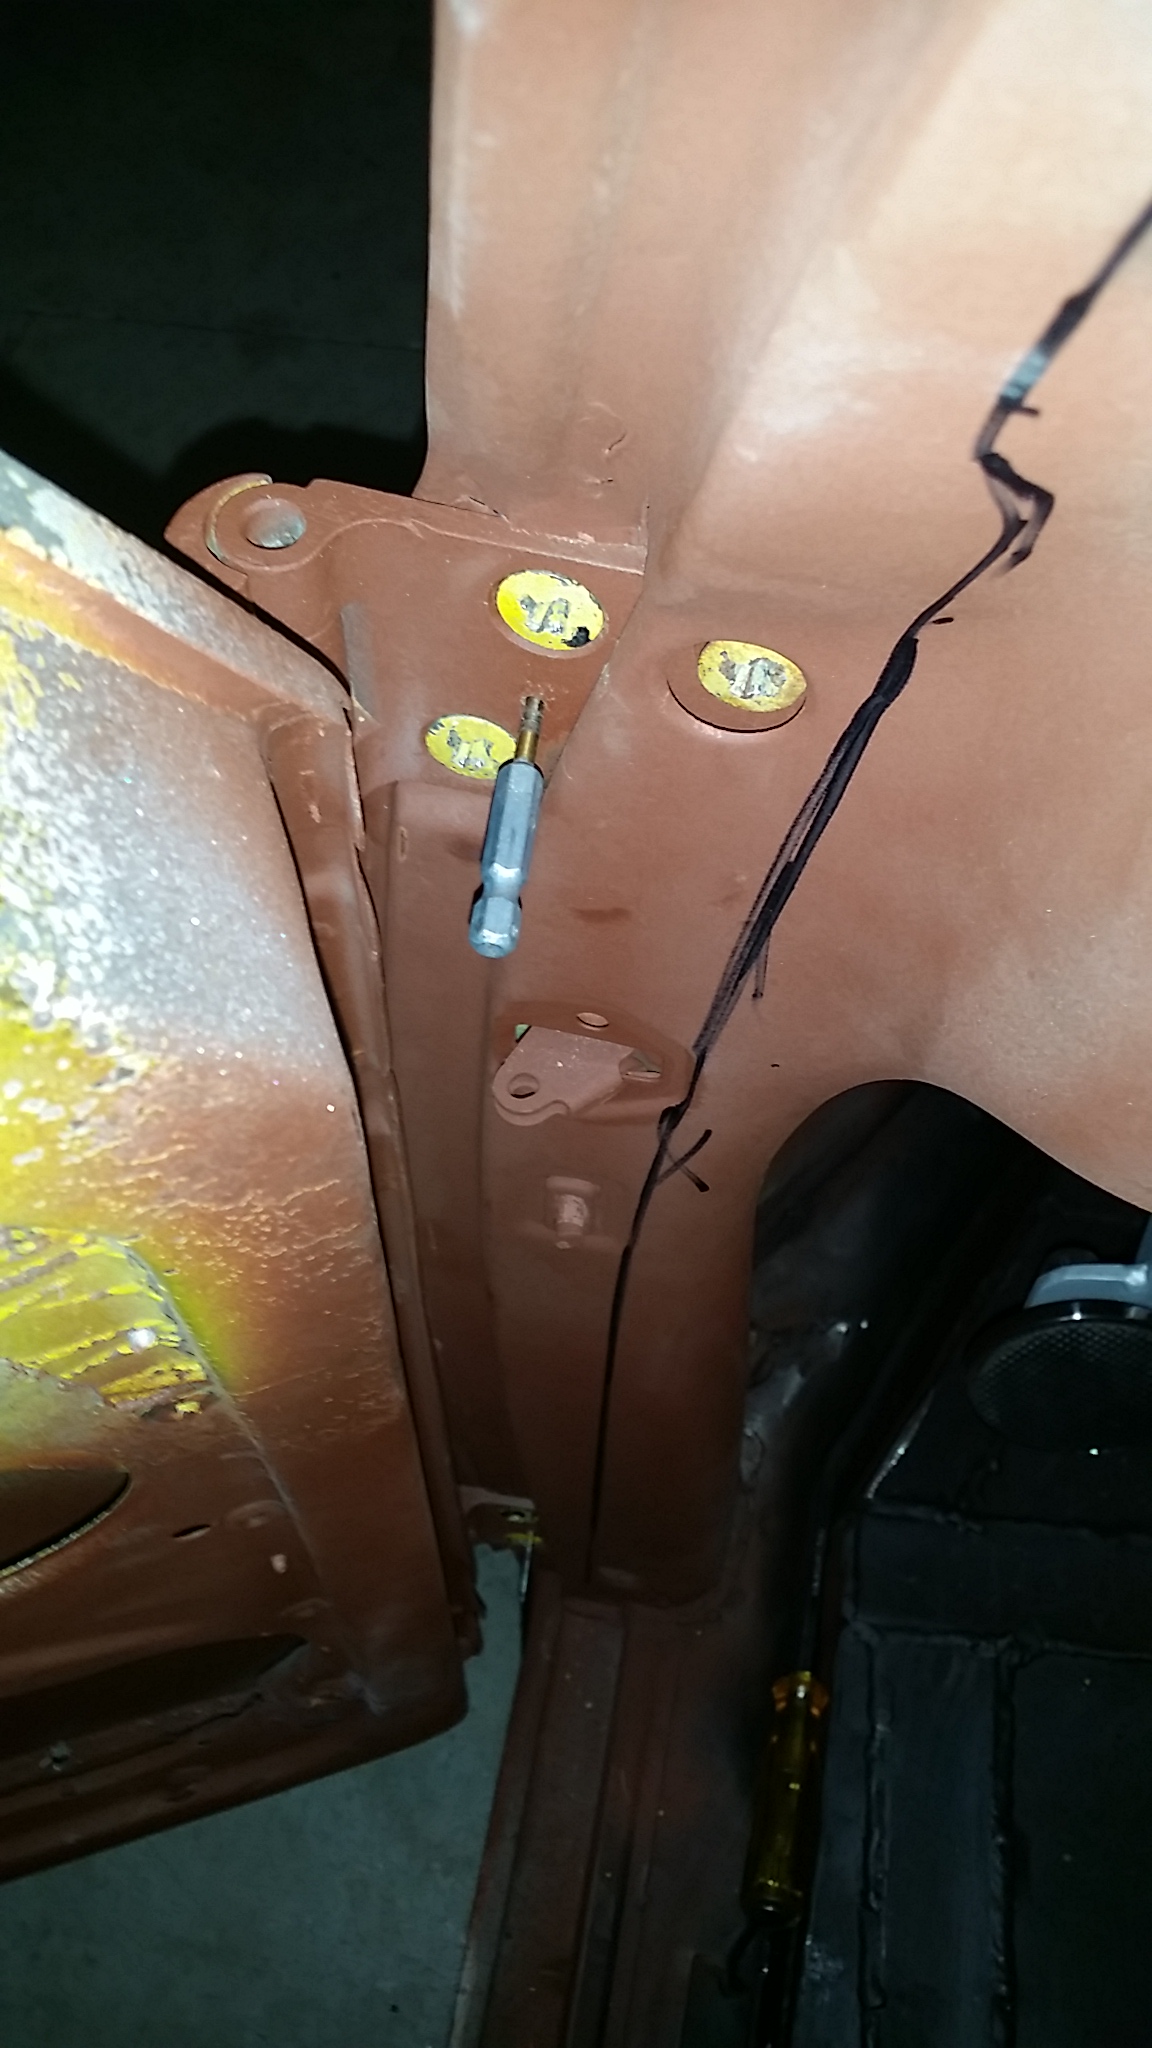 20160911_091623 by Ben Modified, on Flickr[/IMG]
[IMG]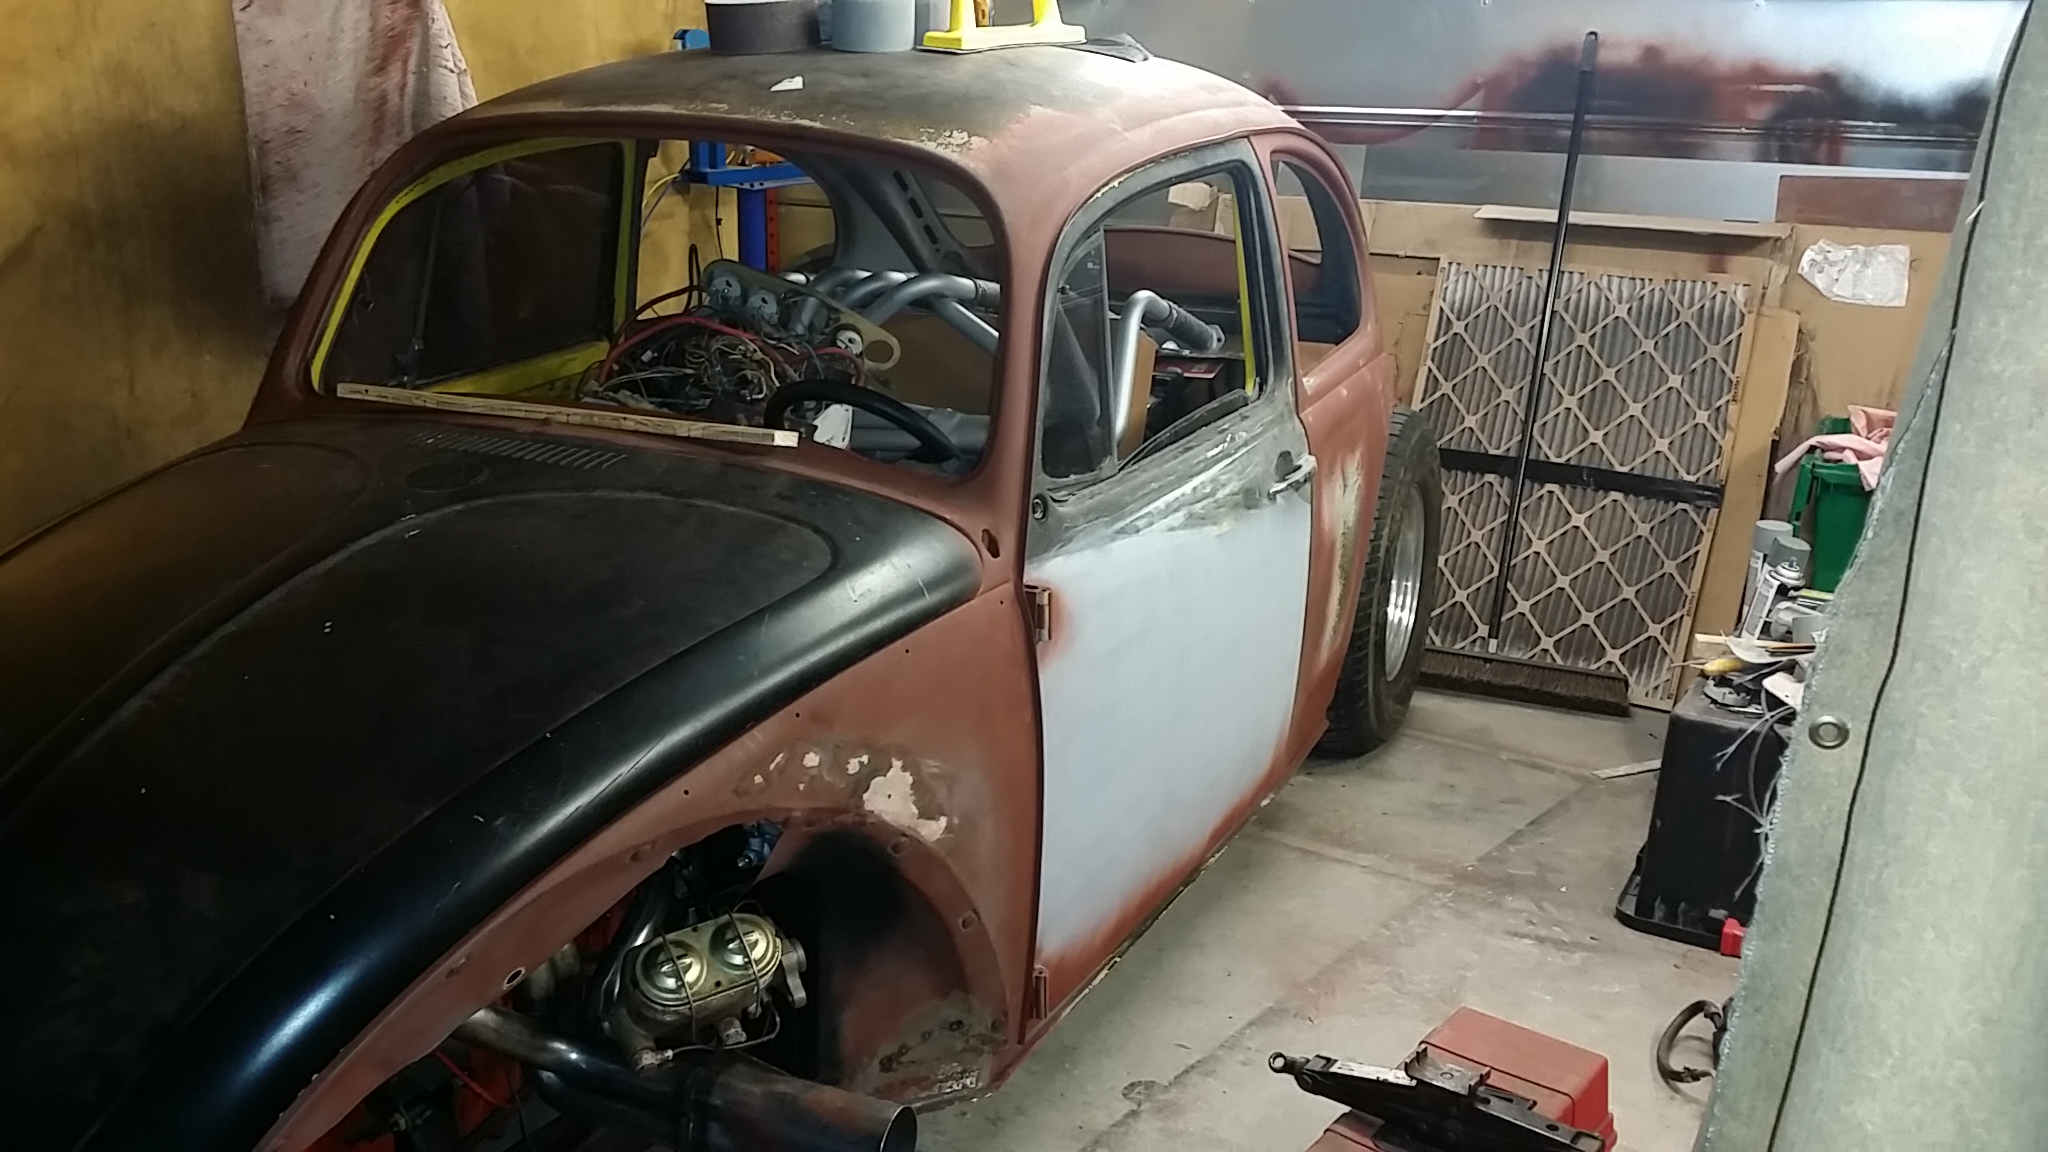 20160911_120029 by Ben Modified, on Flickr[/IMG]
http://www.BenModified.com
Last edited by Ben Modified; 09-11-2016 at 10:57 AM.
-
09-11-2016 07:57 PM #3
CHR Member
- Join Date
- Sep 2005
- Location
- Hamilton
- Car Year, Make, Model: 69 nomad, 73 charger, 74 vega
- Posts
- 3,900
Body filler is tricky.
Put it on wider than you think it needs. Don't try to get it"flat" at first. Stop with the 80 grit when it looks close. Shoot it with some rattle can primer then switch to finer grade paper. The grey primer will help you see where it's low. Don't be lazy.. Put down the D.A. and grab the soft block.
The hardest part of filler isn't putting it on... It's NOT taking too much off..
Education is expensive. Keep that in mind, and you'll never be terribly upset when a project goes awry.
EG
-
11-17-2016 04:37 AM #4
CHR Member
- Join Date
- May 2015
- Location
- South East
- Posts
- 318
Currently replacing all of the brake lines and the master cylinder
[IMG]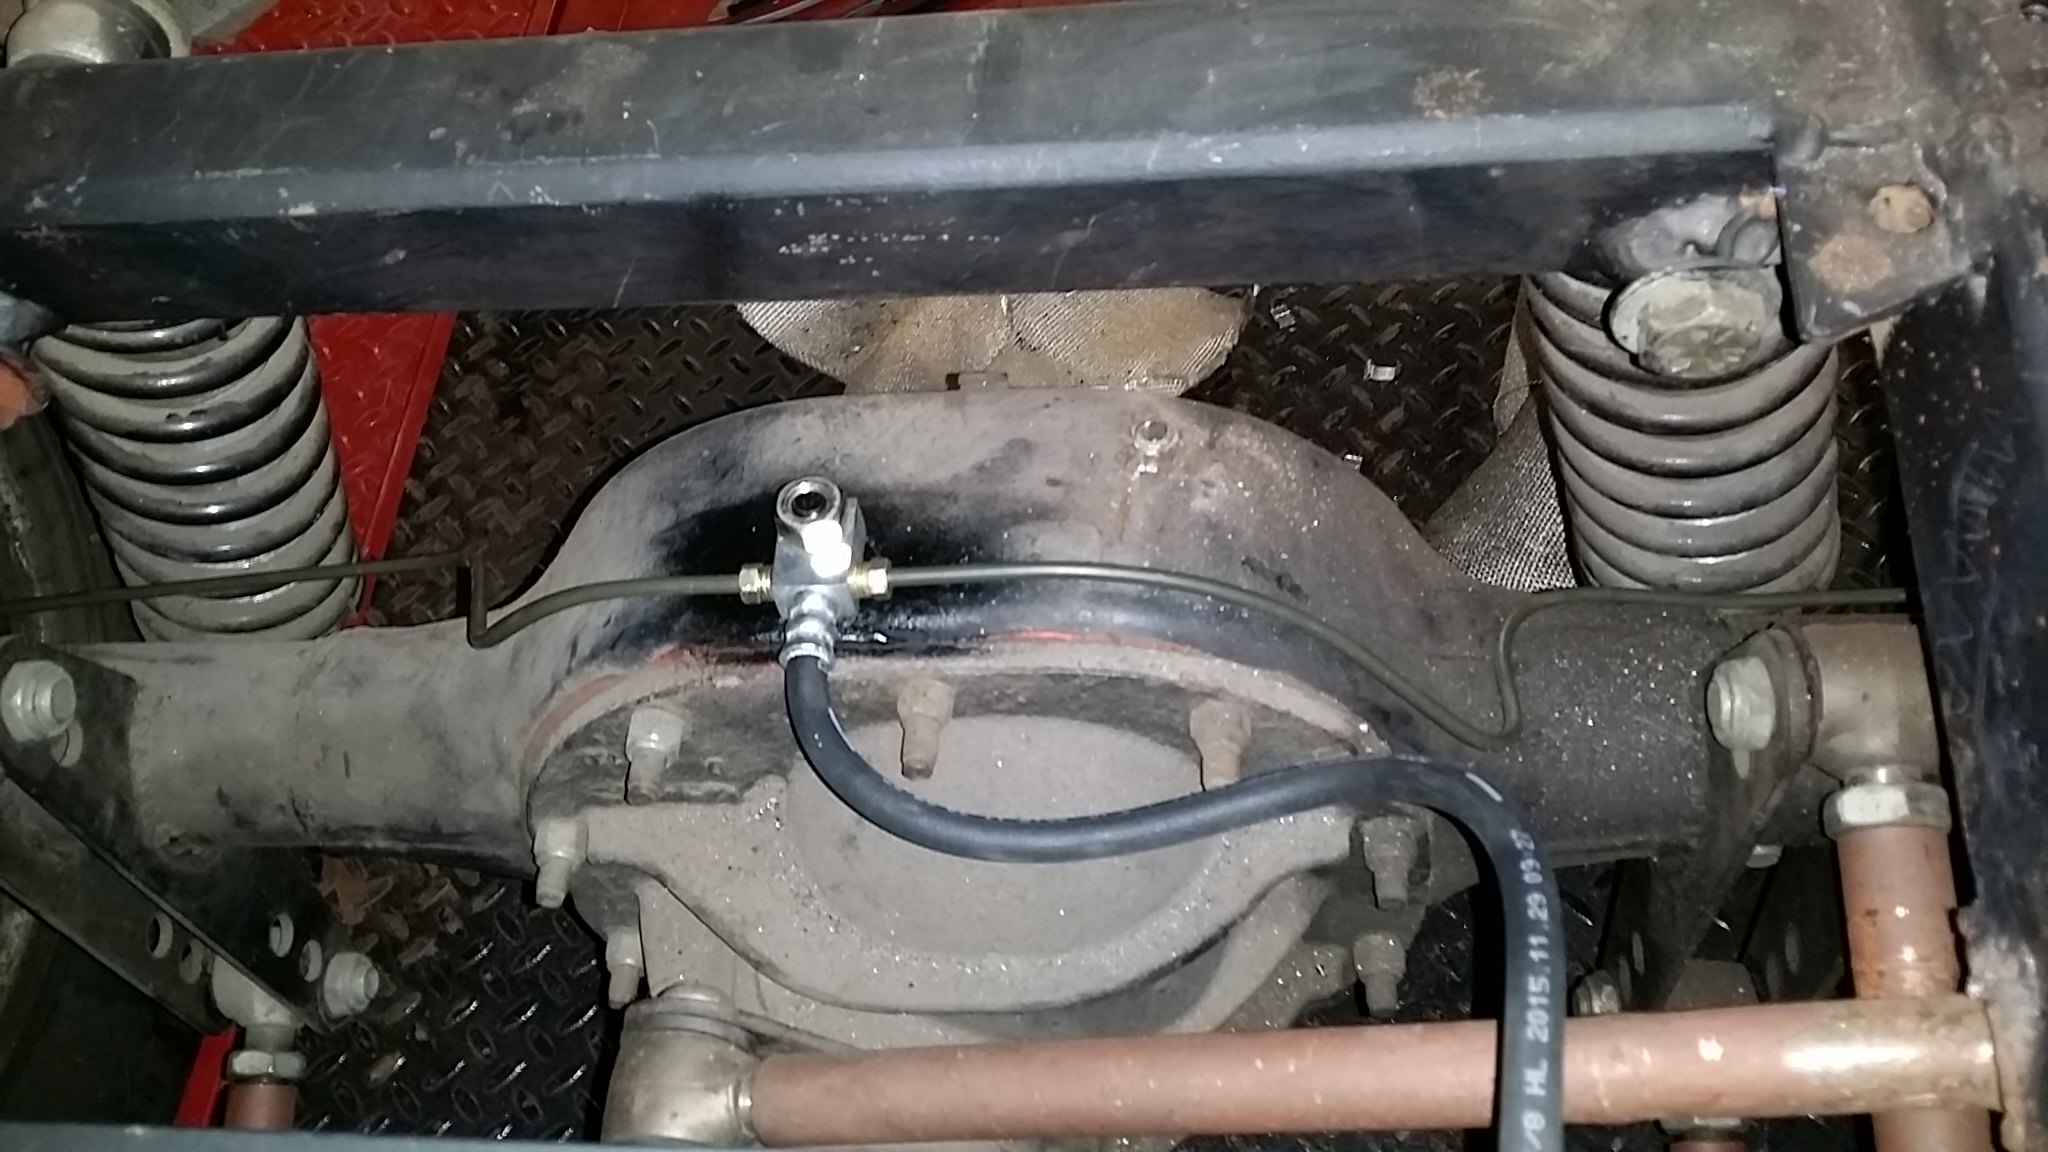 20161116_154847 by Ben Modified, on Flickr[/IMG]
[IMG]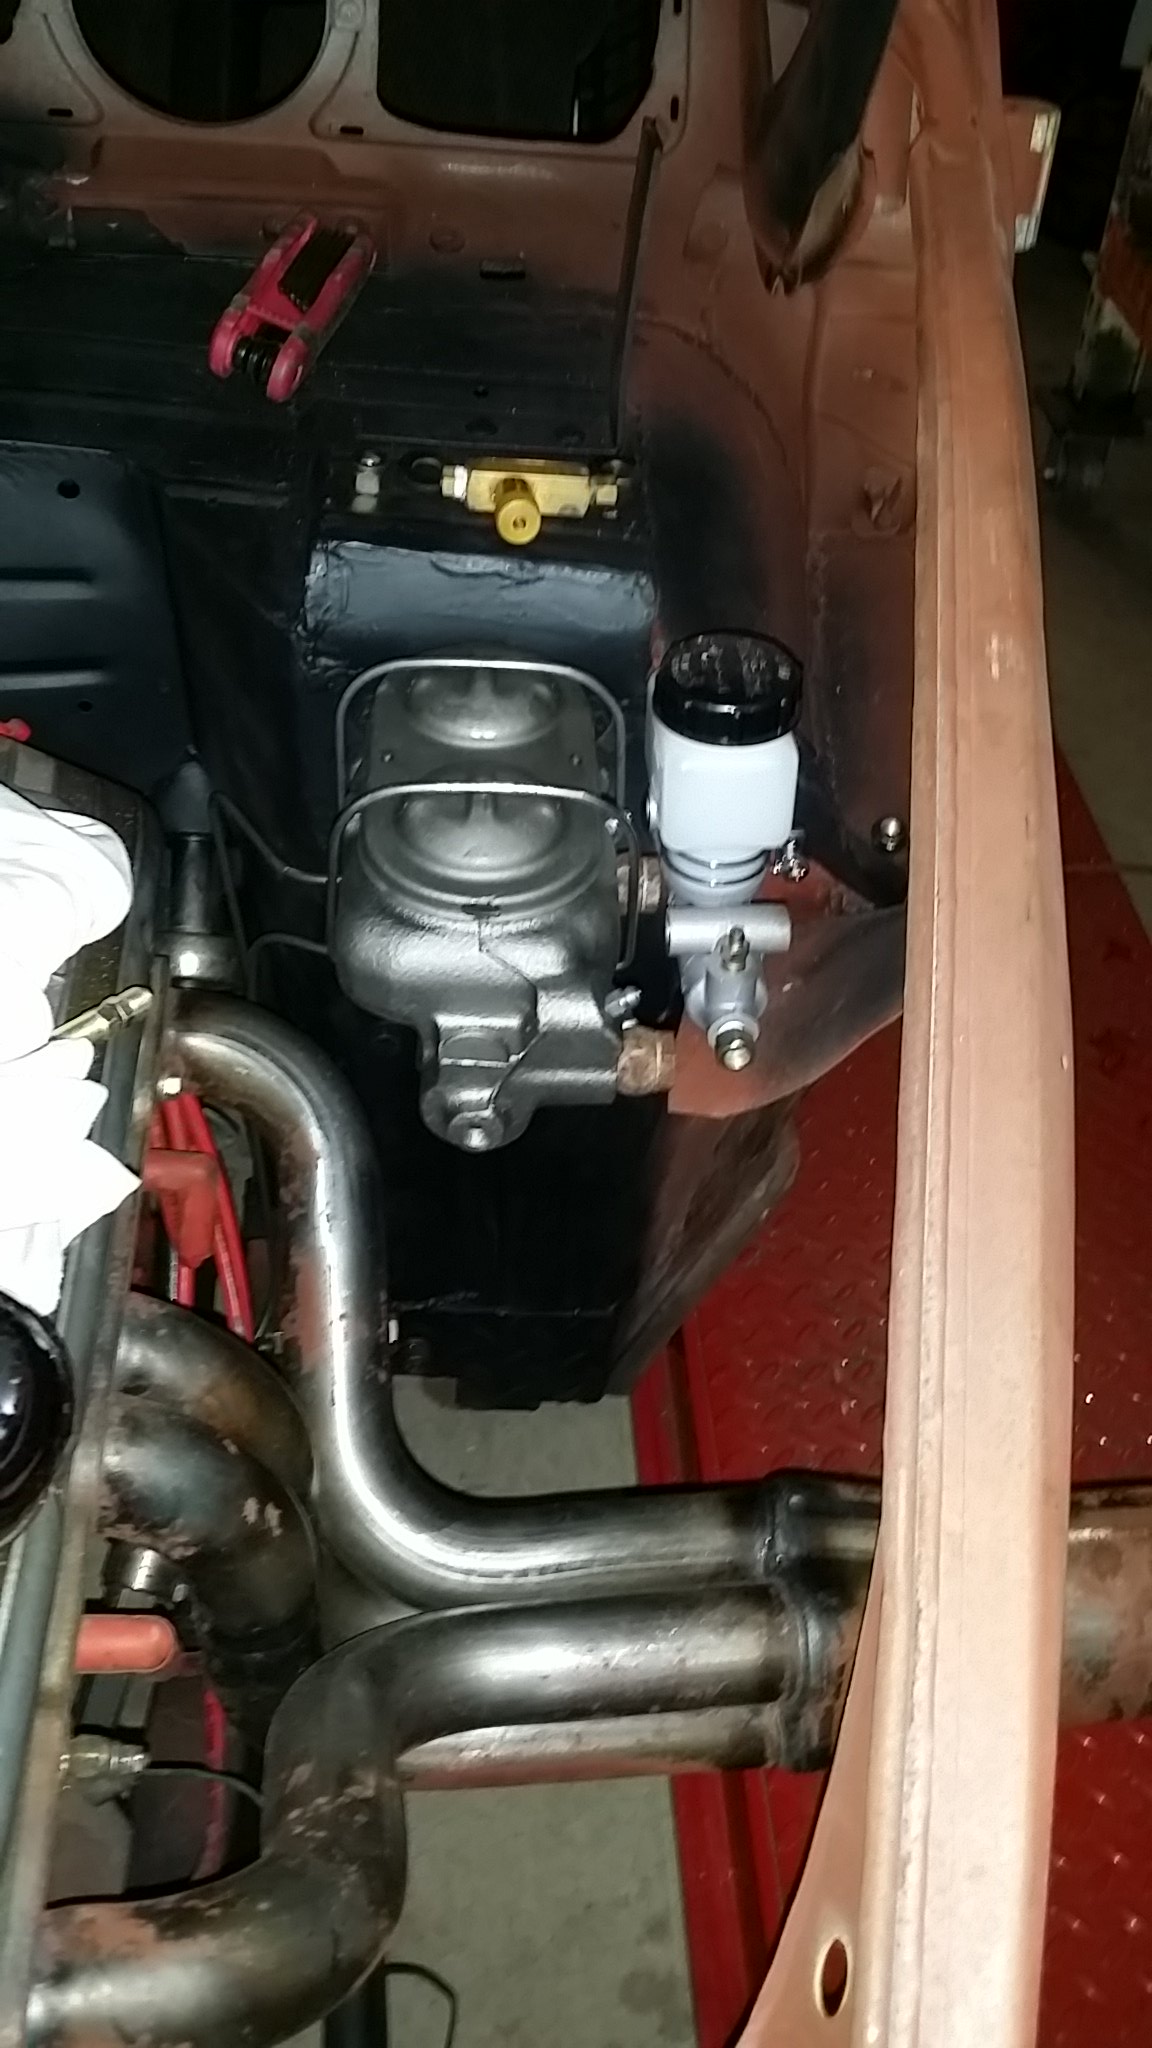 20161116_154905 by Ben Modified, on Flickr[/IMG]
http://www.BenModified.com
-
11-17-2016 09:55 AM #5
CHR Member
- Join Date
- Mar 2007
- Location
- festus
- Car Year, Make, Model: 48 Plymouth, 48,54 Heap
- Posts
- 3,407
Very cool; this thing should be a blast to drive!1 Corinthians 1:27
-
11-17-2016 04:08 PM #6
CHR Member
- Join Date
- May 2015
- Location
- South East
- Posts
- 318
Thanks! I am looking forward to it! Originally Posted by falconvan
Made up and installed an additional crossmember today
[IMG] 20161117_115715 by Ben Modified, on Flickr[/IMG]
[IMG]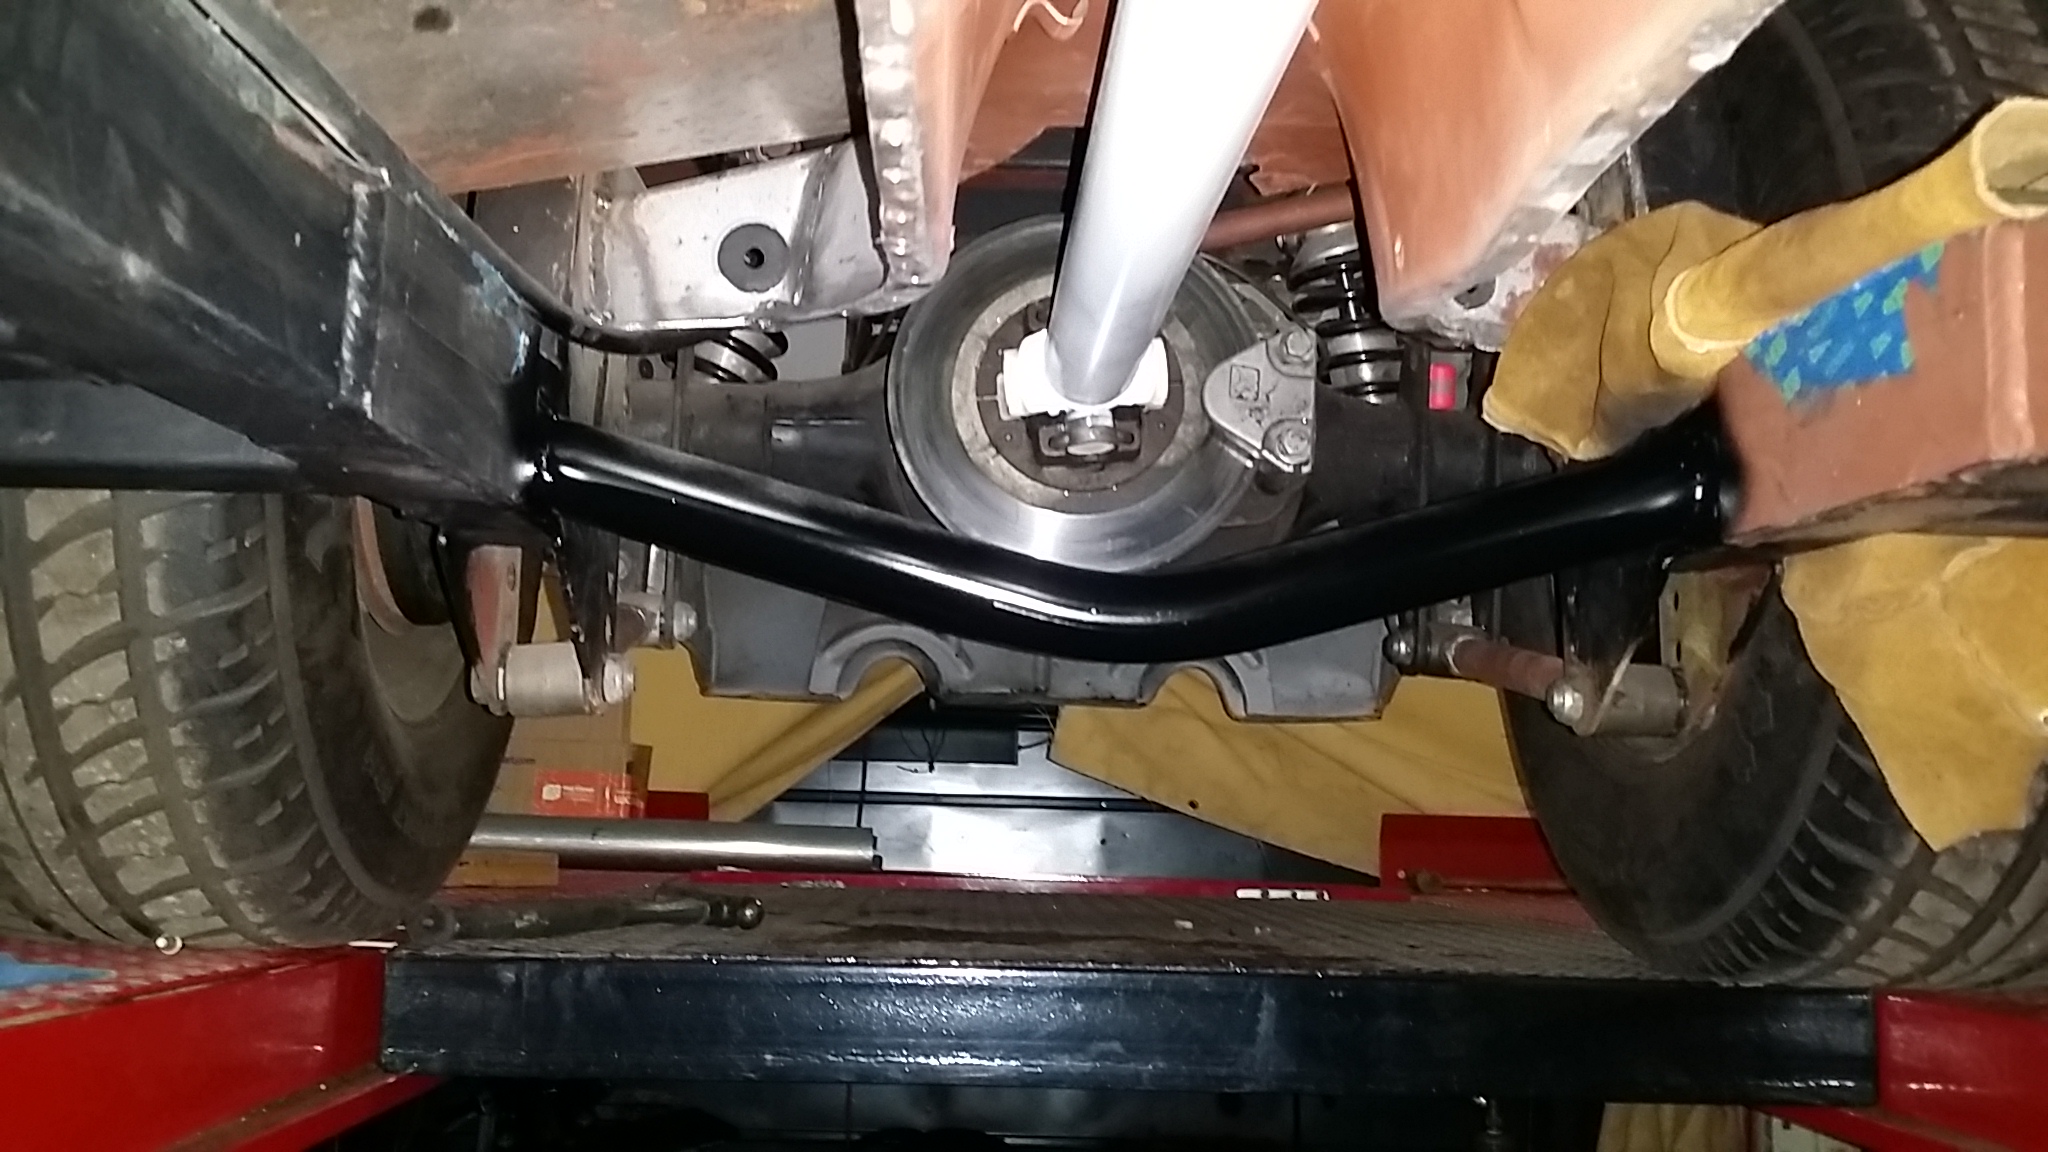 20161117_164610 by Ben Modified, on Flickr[/IMG]
Also made a two hour round trip to my nearest Harbor Freight to save $200 in shipping costs on 444 lbs of Tool Boxes. Two 5 ft tall rollaways in a Scion xB
[IMG] 20161117_164547 by Ben Modified, on Flickr[/IMG]
[IMG] 20161117_164557 by Ben Modified, on Flickr[/IMG]
http://www.BenModified.com
 Reply With Quote

Posting Permissions
- You may not post new threads
- You may not post replies
- You may not post attachments
- You may not edit your posts

Just in case......Happy Birthday Richard. .
Happy Birthday techinspector1