-
04-26-2017 07:31 PM #91
Thanks. Yes, restore the body and paint
Progress on the seat brackets and install
[IMG]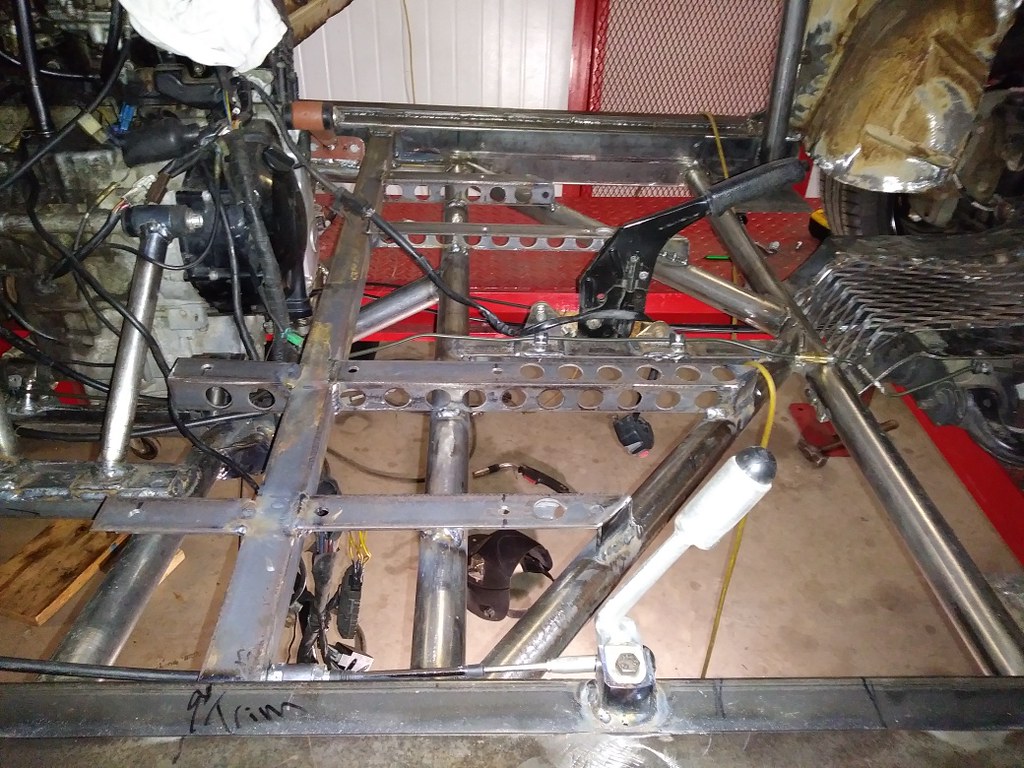 20170426_111724_resized by Ben Modified, on Flickr[/IMG]
[IMG]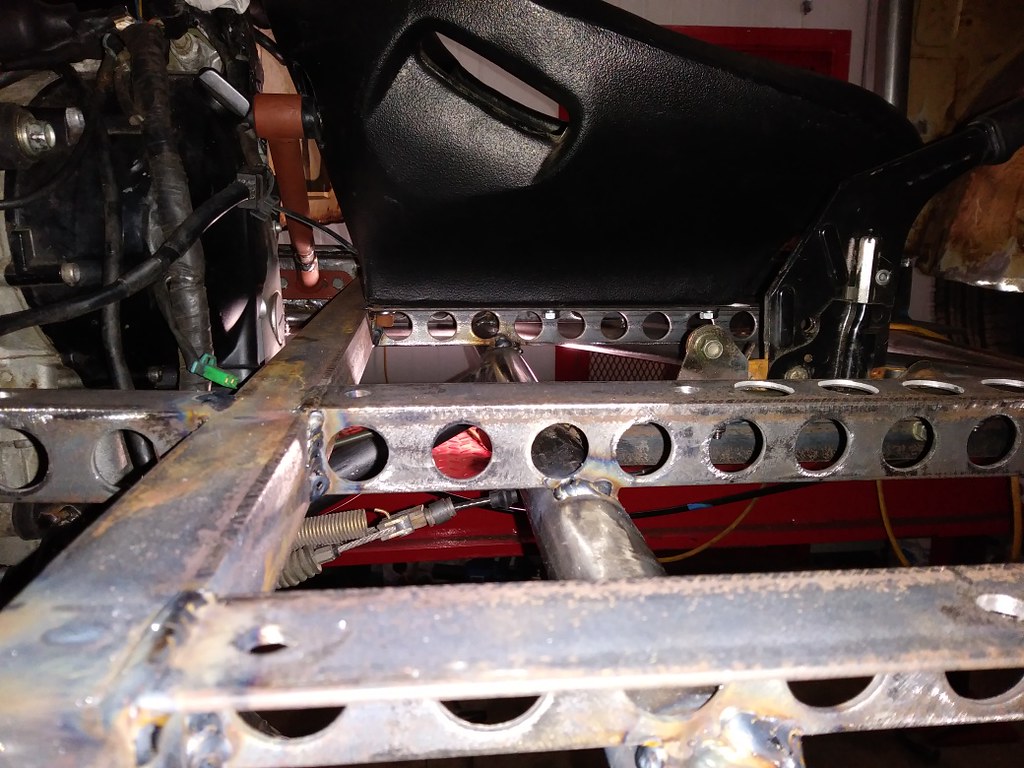 20170426_112439_resized by Ben Modified, on Flickr[/IMG]
[IMG]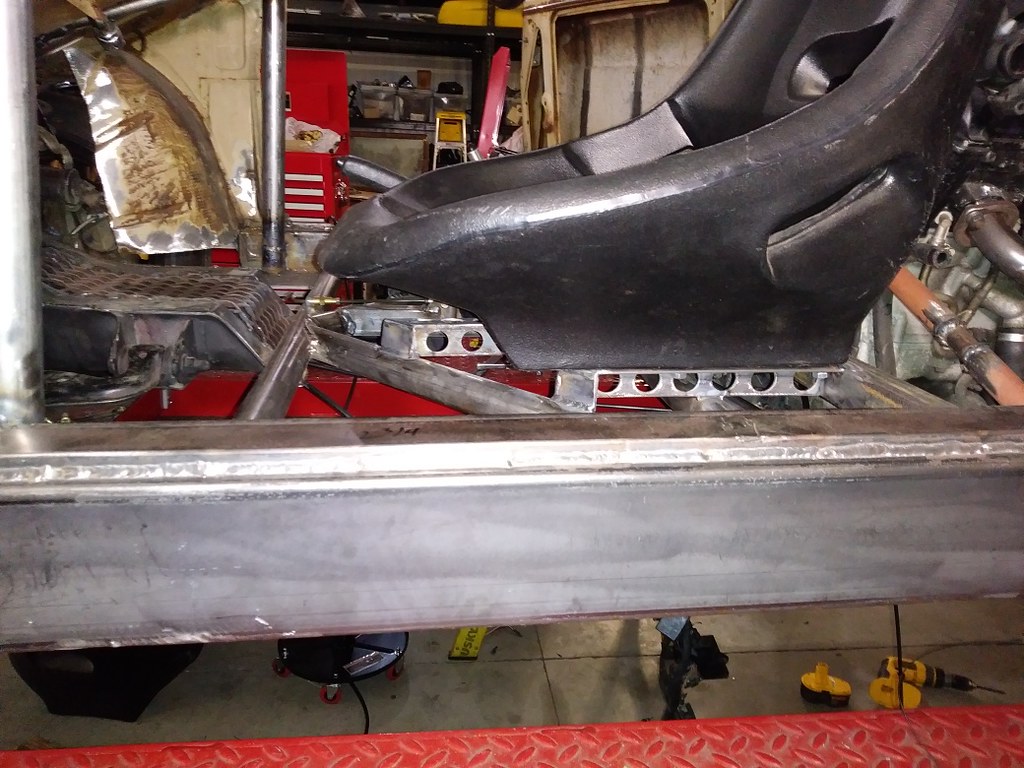 20170426_112730_resized by Ben Modified, on Flickr[/IMG]
[IMG]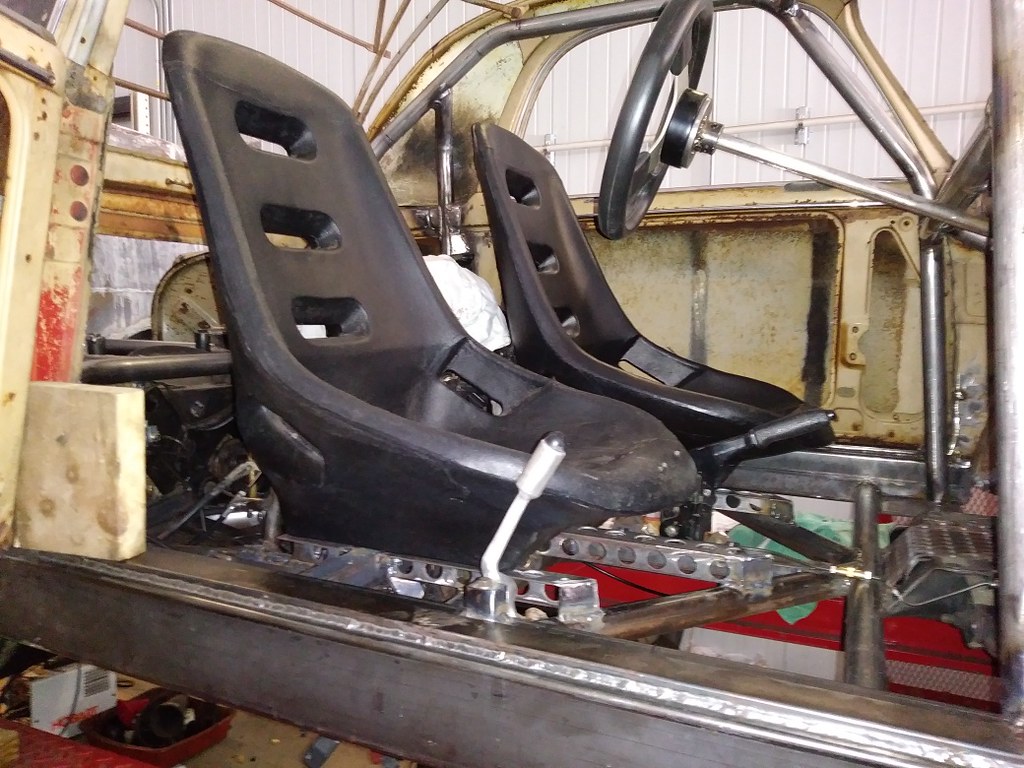 20170426_122114_resized by Ben Modified, on Flickr[/IMG]
[IMG]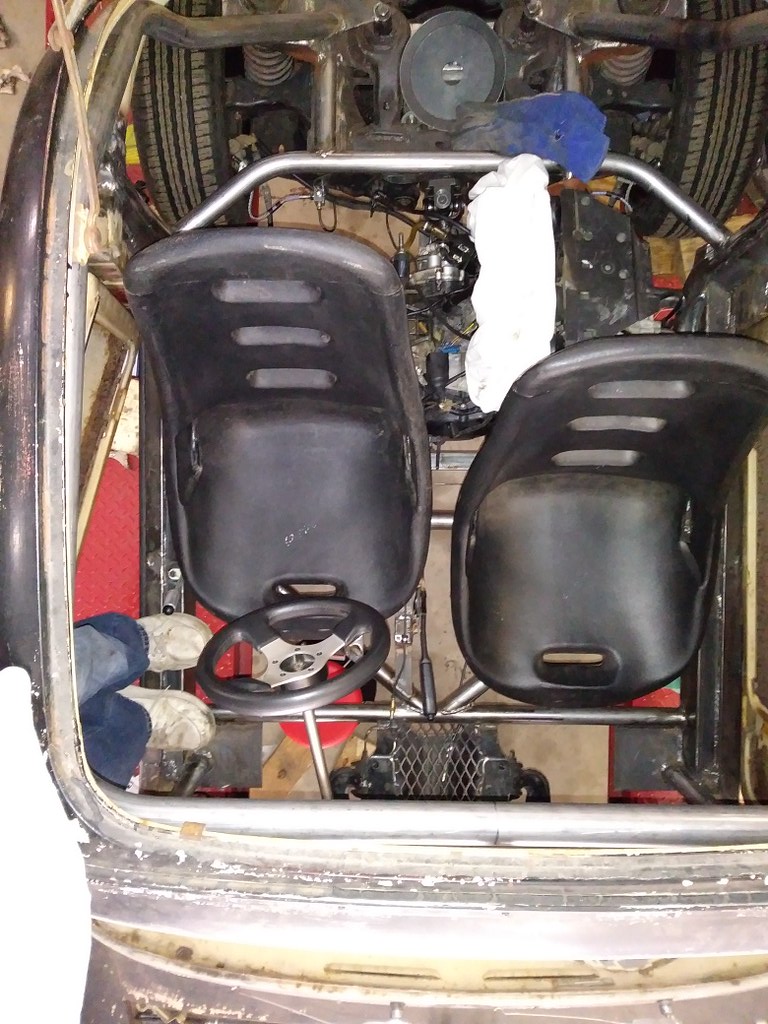 20170426_122410_resized by Ben Modified, on Flickr[/IMG]
http://www.BenModified.com
-
Advertising

- Google Adsense
- REGISTERED USERS DO NOT SEE THIS AD
-
04-27-2017 12:09 PM #92
Part 8 of the build is here:
https://www.youtube.com/watch?v=uYu3uOHTLbI&t=25s
-
04-29-2017 11:58 AM #93
nice video as usual. Cool tip on cable soldering."  "No matter where you go, there you are!" Steve.
-
05-02-2017 04:10 PM #94
Todays progress:
Extended the original Yamaha wiring harness and mounted the dash pod
[IMG]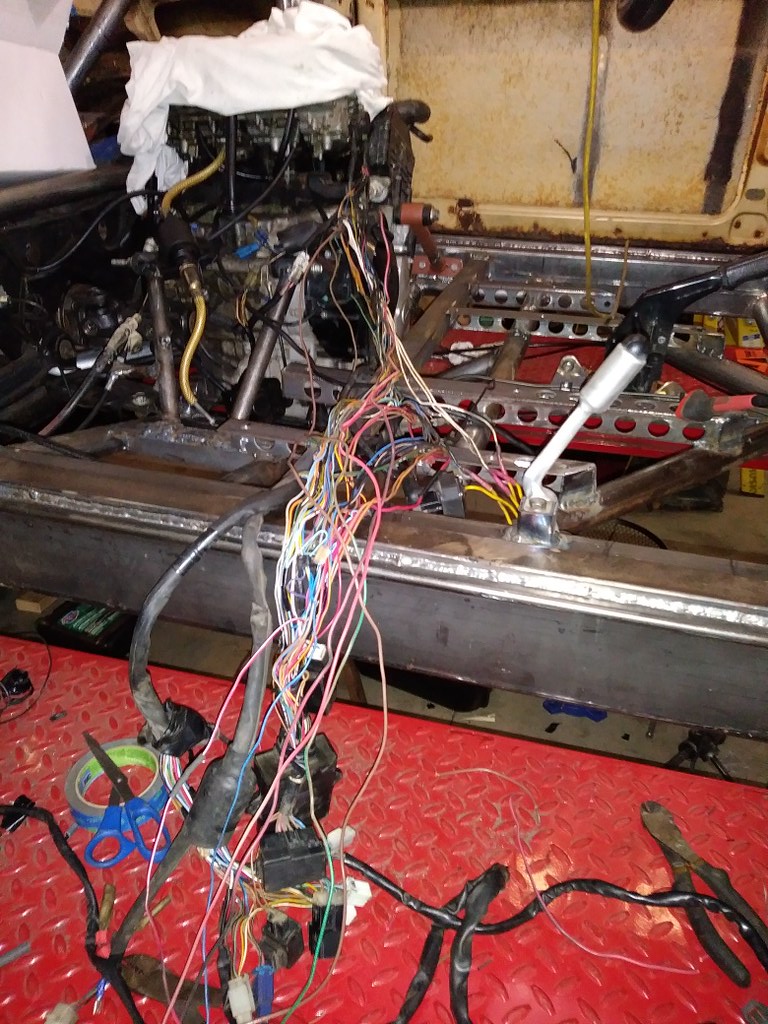 20170501_172656_resized by Ben Modified, on Flickr[/IMG]
[IMG]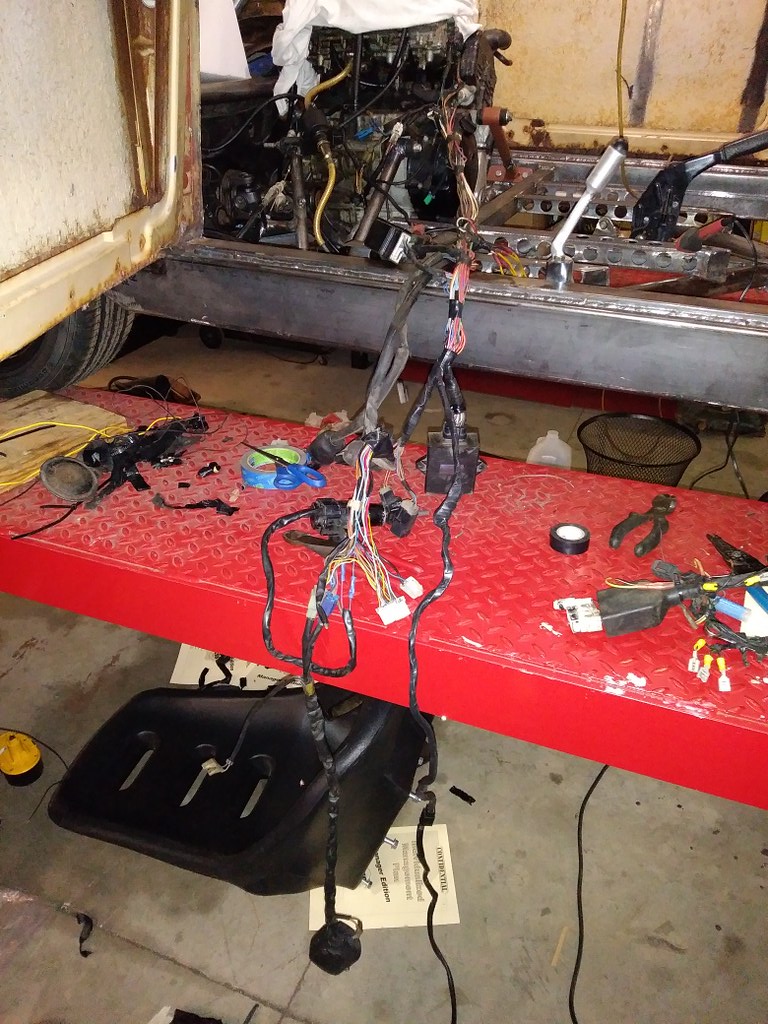 20170501_173902_resized by Ben Modified, on Flickr[/IMG]
[IMG] 20170502_172158_resized by Ben Modified, on Flickr[/IMG]
[IMG]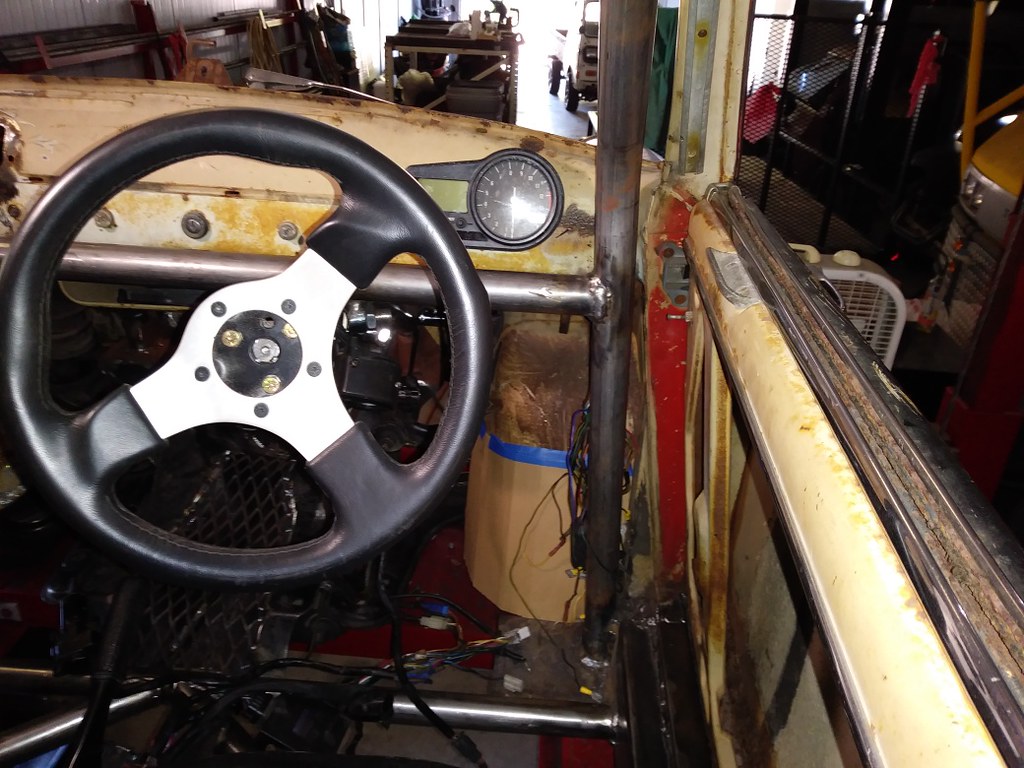 20170502_103251_resized by Ben Modified, on Flickr[/IMG]
http://www.BenModified.com
-
05-02-2017 04:25 PM #95
- Join Date
- Apr 2011
- Location
- Prairie City
- Car Year, Make, Model: 40 Ford Deluxe, 68 Corvette, 72&76 K30
- Posts
- 7,299
- Blog Entries
- 1
It looks like it is getting very close! Nice work.Ryan
1940 Ford Deluxe Tudor 354 Hemi 46RH Electric Blue w/multi-color flames, Ford 9" Residing in multiple pieces
1968 Corvette Coupe 5.9 Cummins Drag Car 11.43@130mph No stall leaving the line with 1250 rpm's and poor 2.2 60'
1972 Chevy K30 Longhorn P-pumped 24v Compound Turbos 47RH Just another money pit
1971 Camaro RS 5.3 BTR Stage 3 cam, SuperT10
Tire Sizes
-
05-04-2017 08:14 PM #96
I seen your wiring pics and curled up in the fetal position and had to talk to my therapist. Not quite over wiring my 53 I getting very anxious to see this this move.
Seth
God cannot give us a happiness and peace apart from Himself, because it is not there. There is no such thing. C.S.Lewis
-
05-05-2017 01:51 AM #97
Thanks! Yes, I am anxious to take it around the block with or without a floor!
Mounted the electrical components under the drivers seat and fabricated all of the seat belt mounts
[IMG]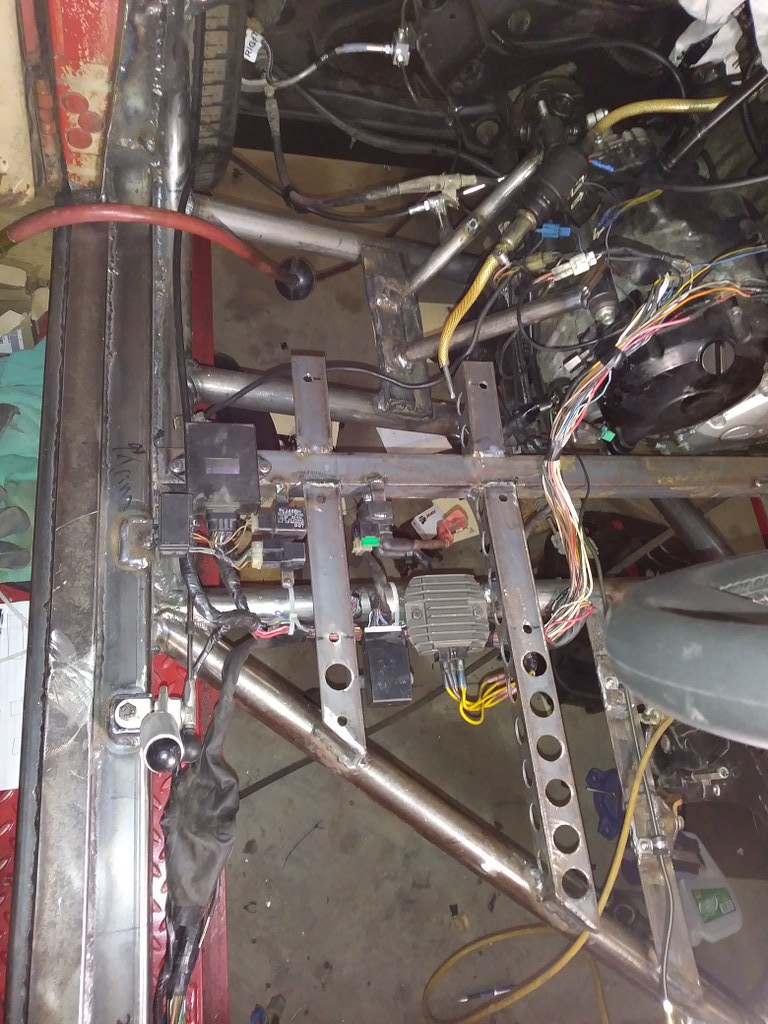 20170503_160254_resized by Ben Modified, on Flickr[/IMG]
[IMG]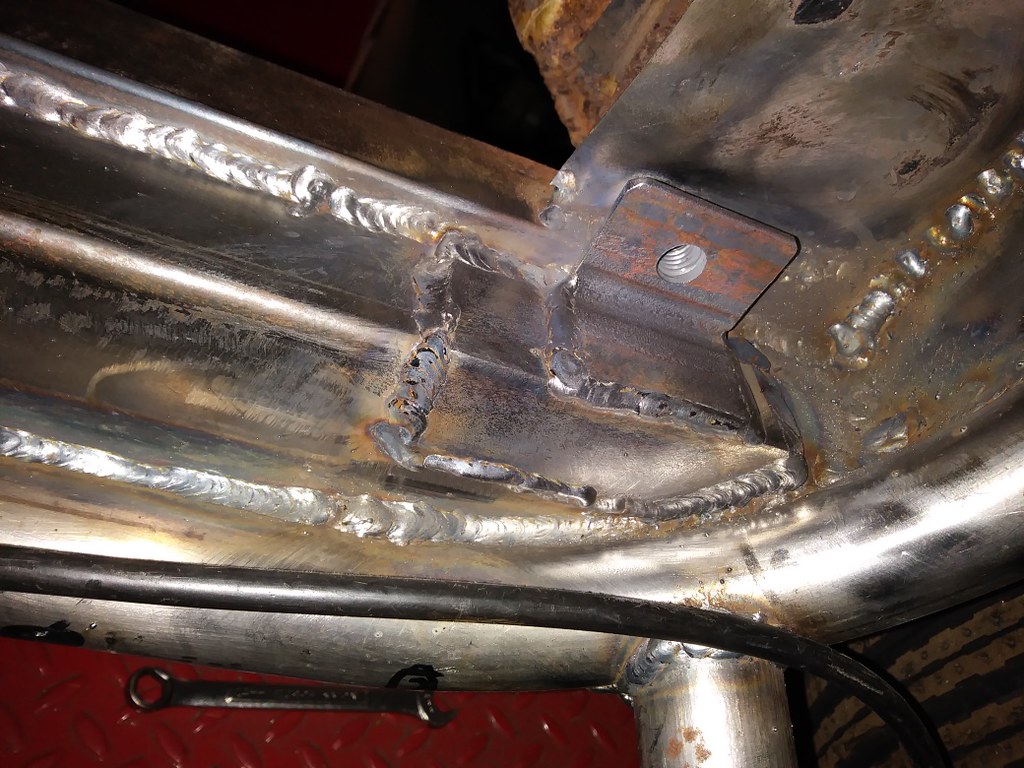 20170504_122517_resized by Ben Modified, on Flickr[/IMG]
[IMG]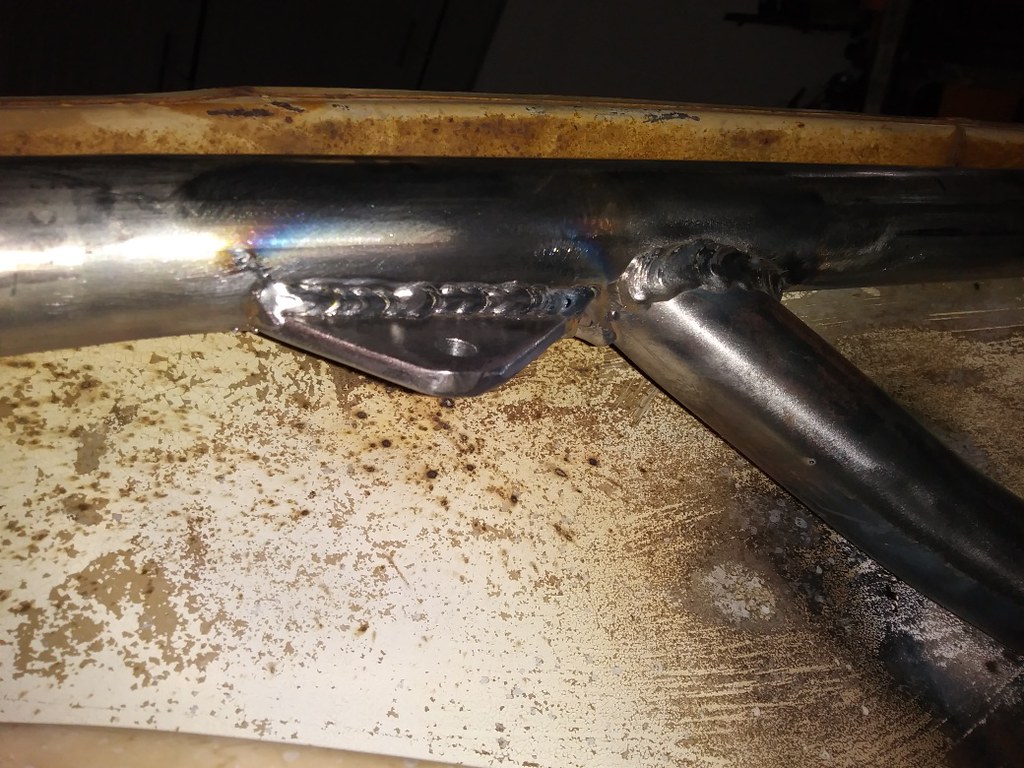 20170504_122505_resized by Ben Modified, on Flickr[/IMG]
[IMG]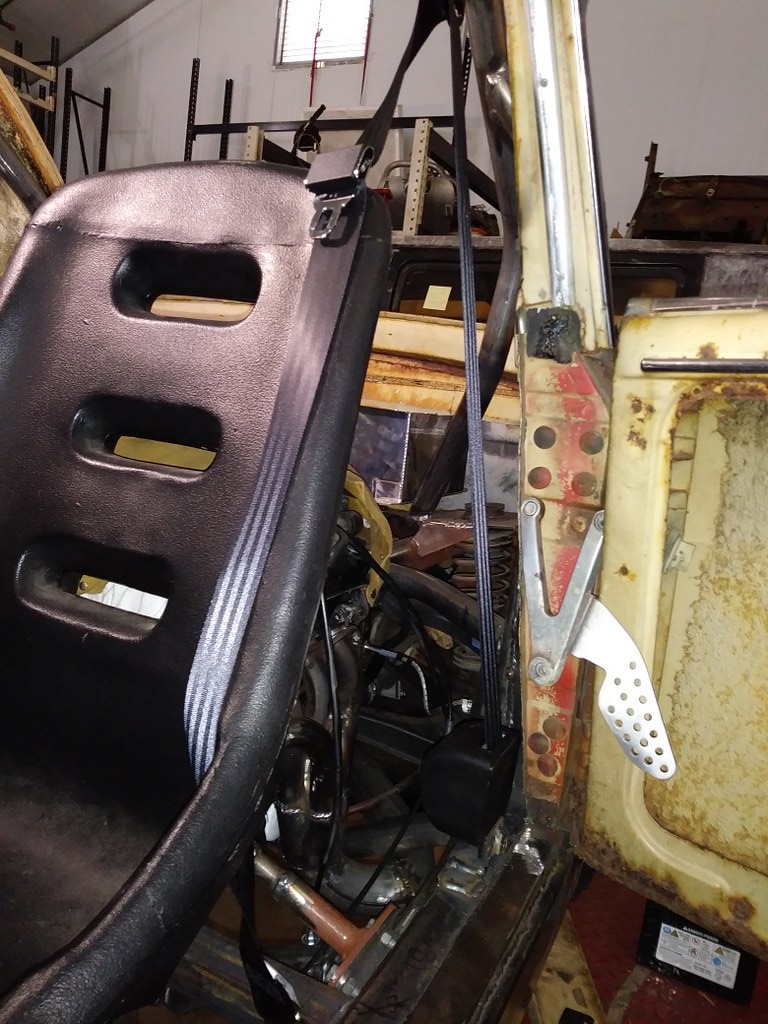 20170504_121043_resized by Ben Modified, on Flickr[/IMG]
http://www.BenModified.com
-
05-09-2017 04:18 PM #98
I am going to use the original R1 motorcycle gas tank and mount it in the truck of the Autobianchi. I made the rear mount today along with more roll cage to body connections...complete with lightening holes.
[IMG]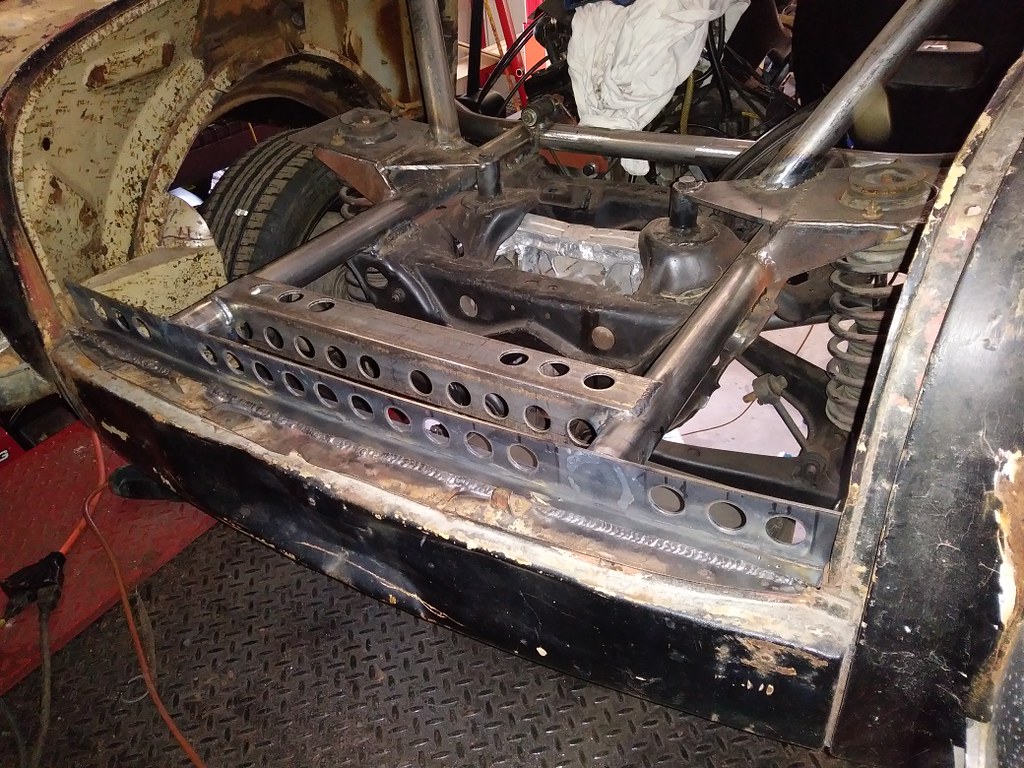 20170509_160942_resized by Ben Modified, on Flickr[/IMG]
[IMG]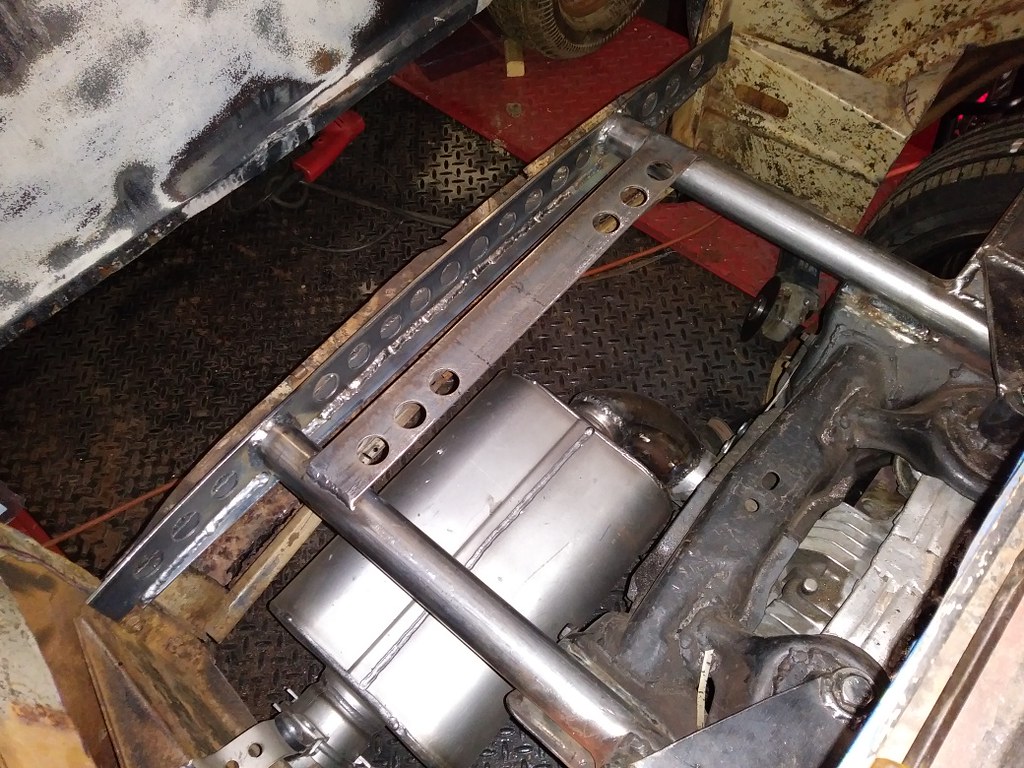 20170509_161002_resized by Ben Modified, on Flickr[/IMG]
Also used some exhaust tubing to start fabricating the floor. The tubing surround the rear section of the upper control arm. It is slotted to allow movement. The caps are for access to the control arm nut.
[IMG]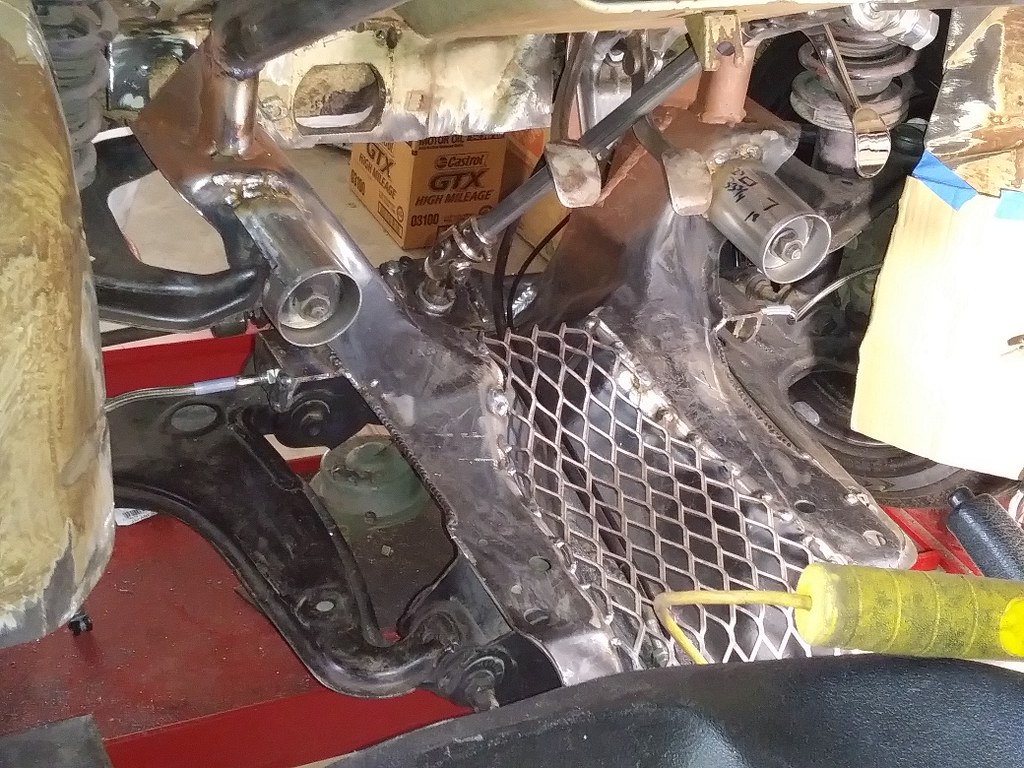 20170509_161116_resized by Ben Modified, on Flickr[/IMG]
These are just plumbing caps which I have machined down to fit.
[IMG]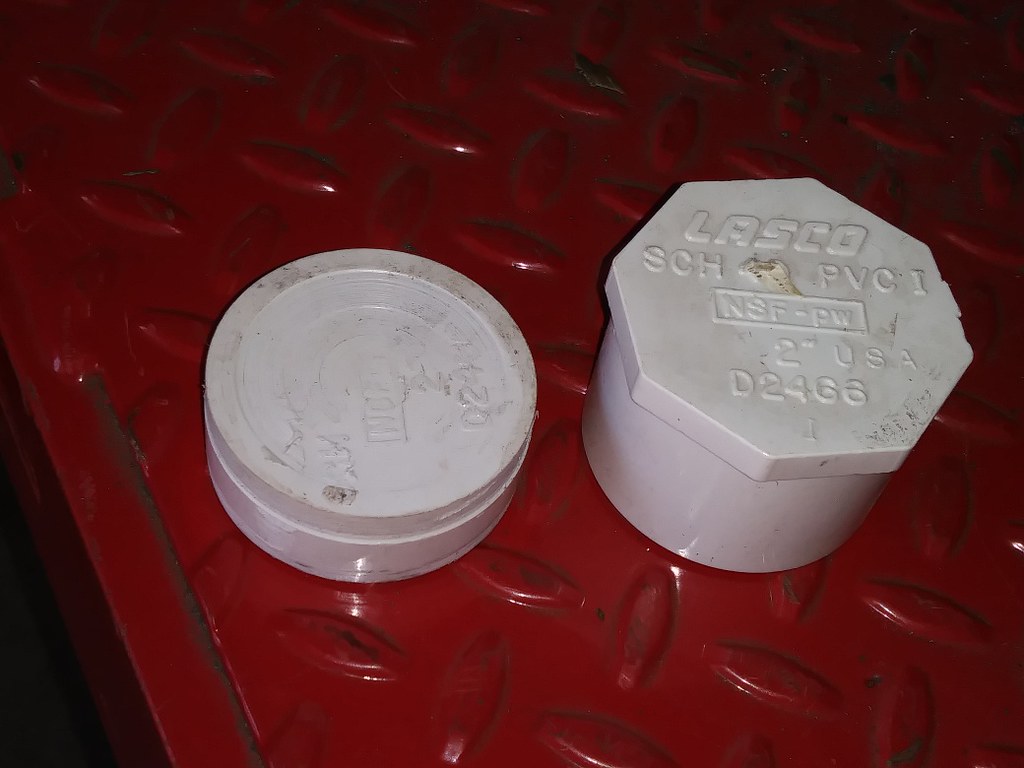 20170509_161547_resized by Ben Modified, on Flickr[/IMG]
[IMG]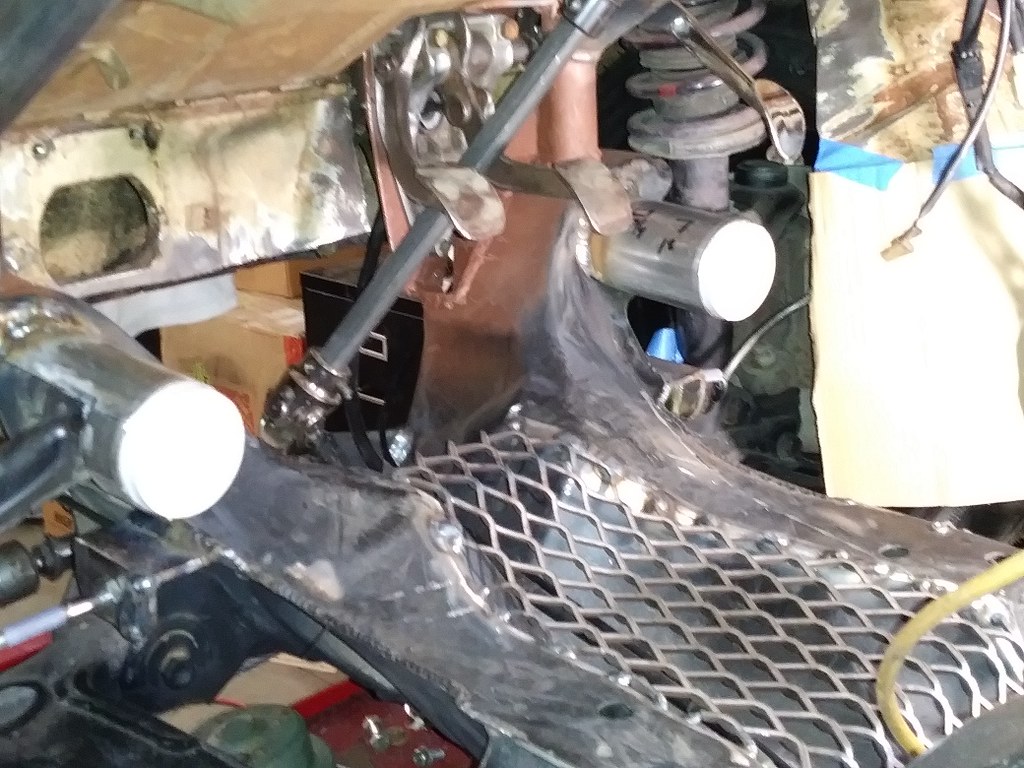 20170509_162200_resized by Ben Modified, on Flickr[/IMG]
http://www.BenModified.com
-
05-10-2017 02:39 PM #99
Bike gas tank is going in to the car
[IMG]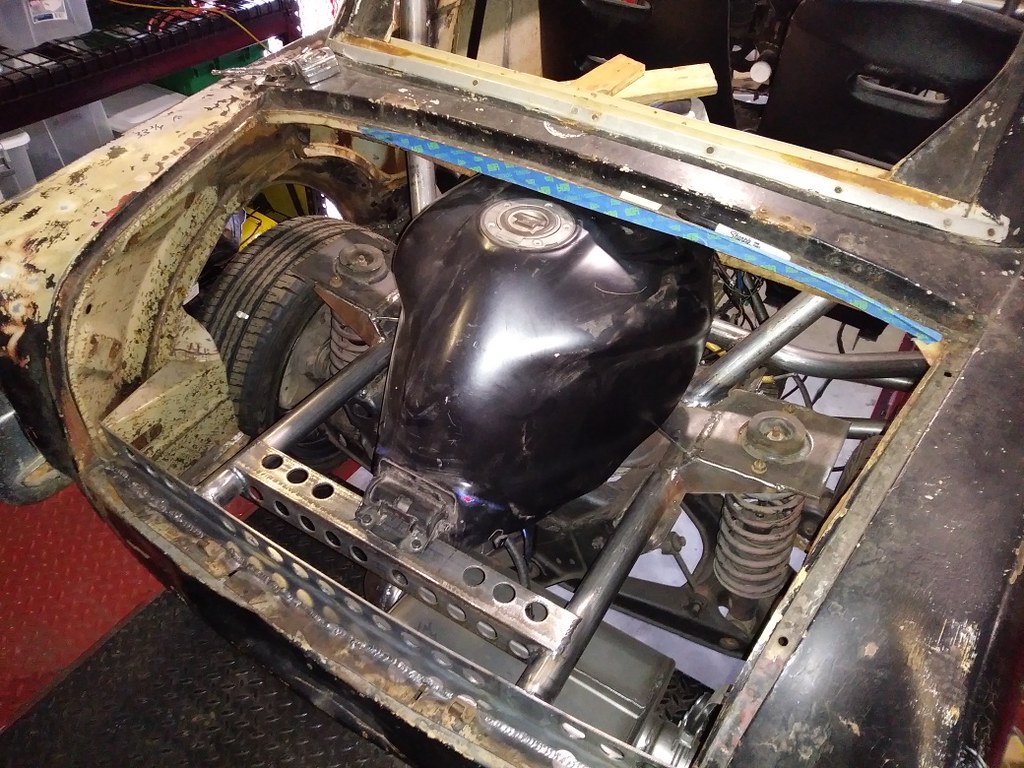 20170510_103719_resized by Ben Modified, on Flickr[/IMG]
[IMG]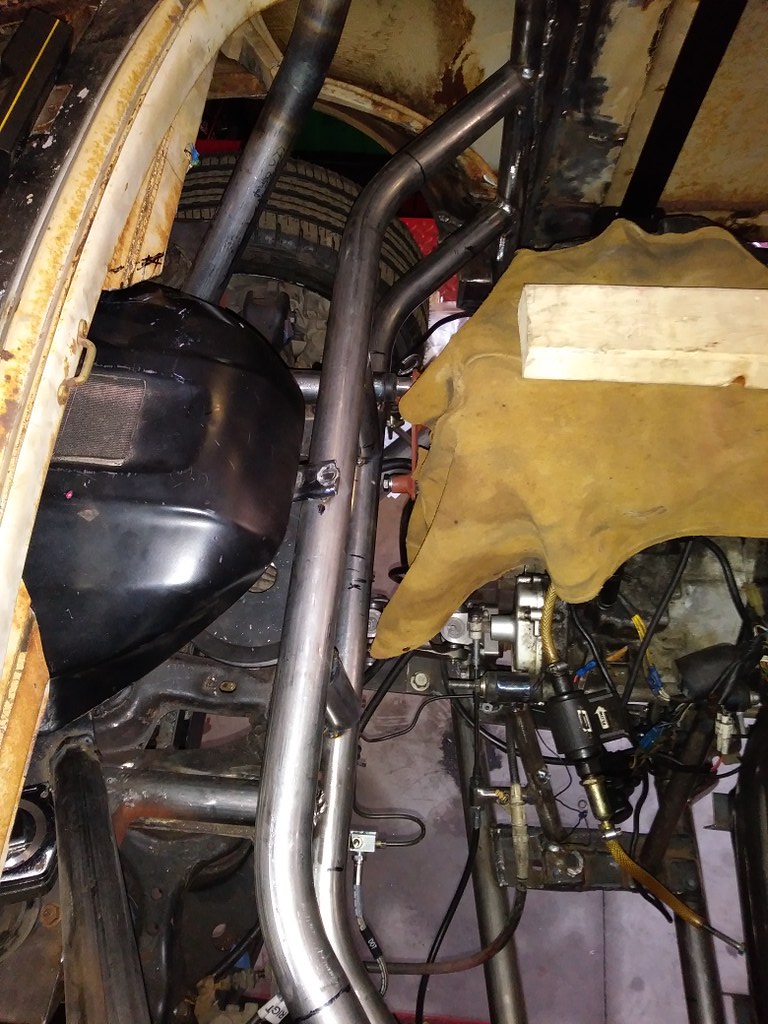 20170510_144128_resized by Ben Modified, on Flickr[/IMG]
http://www.BenModified.com
-
05-10-2017 06:35 PM #100
That might be a first!

"  "No matter where you go, there you are!" Steve.
-
05-10-2017 08:06 PM #101
Part 9 is on YouTube
https://www.youtube.com/watch?v=HiYIRXMrSDw&t=25s
-
05-11-2017 06:52 AM #102
Nice; very stout and well crafted.1 Corinthians 1:27
-
06-08-2017 01:43 PM #103
Thanks!
Progress
Getting started on the radiator install. I am using copper tubing to route the coolant from the engine to the radiator which will be mounted up front. If all goes as planned, I should be able to mount the radiator with sufficient air flow and also mount a spare tire under the hood. I purchased two 10' lengths of 3/4" copper tubing and a variety of fittings. The R1 engine uses 1" diameter coolant hoses which will fit nicely over the copper tubing. The OD of the tubing fitting is very close to 1".
[IMG]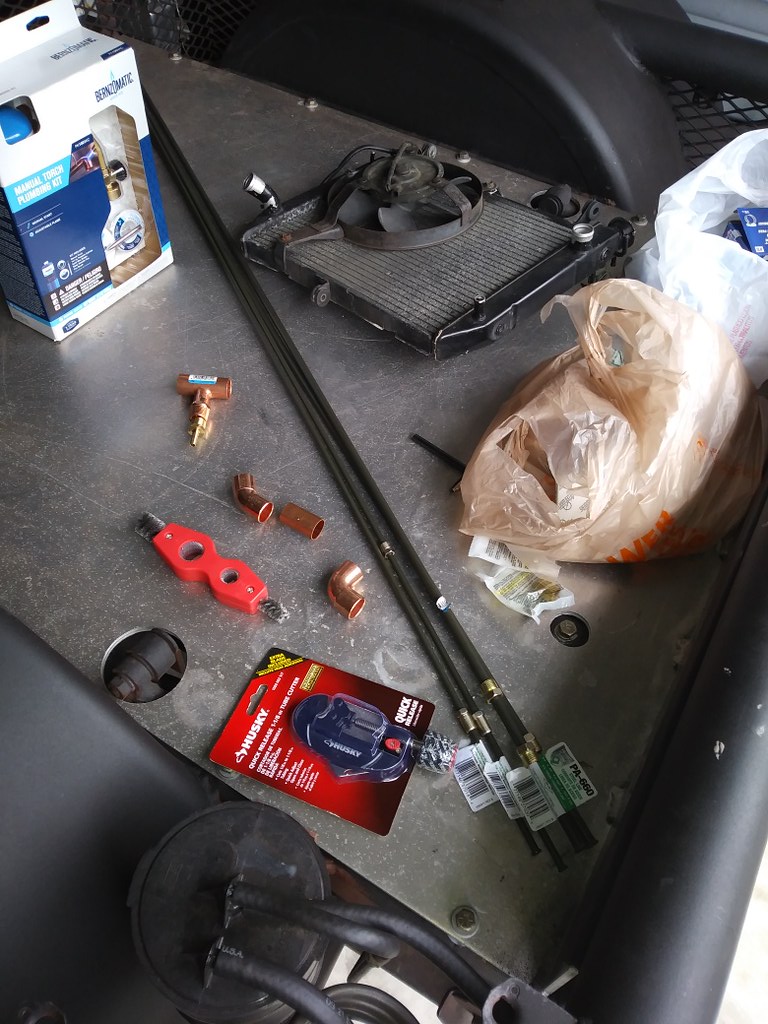 20170608_124322_resized by Ben Modified, on Flickr[/IMG]
The tubing comes in a couple of different wall thicknesses, I went with the thickest, the "L" variety.
[IMG]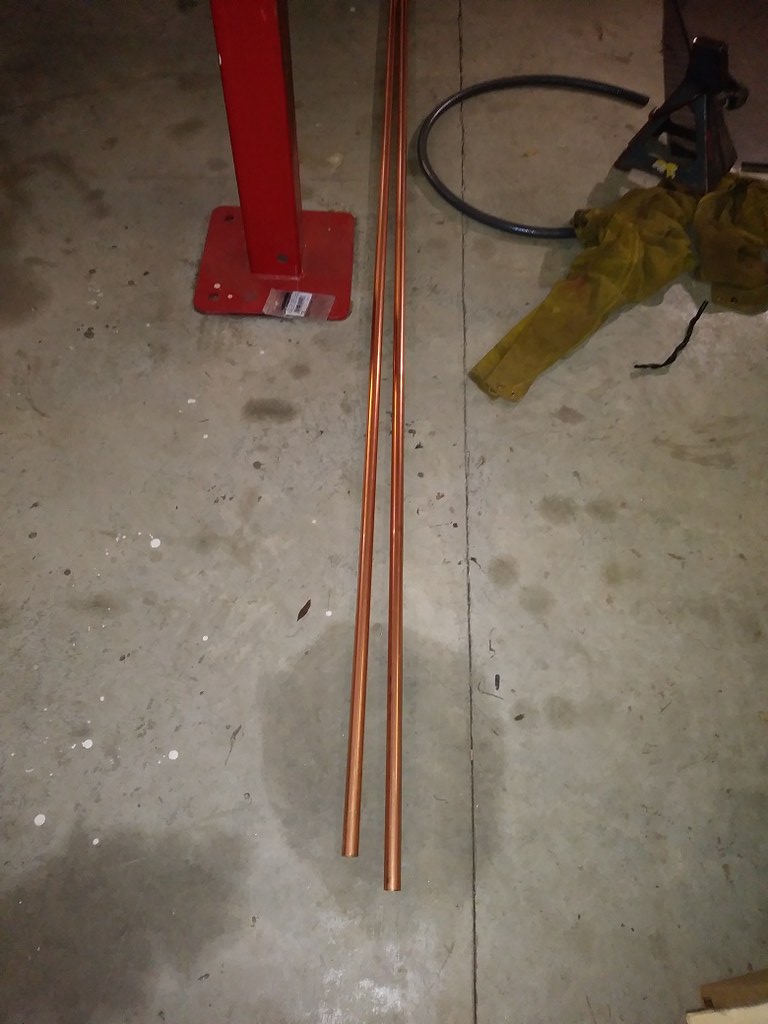 20170608_124345_resized by Ben Modified, on Flickr[/IMG]
I have seen this tubing used on some street rods in the past and feel confident that it will work here as well. This will be my first attempt at sweating copper joints, so we'll see how it goes. Also picked up a propane torch and other tools necessary for the job. The tubing is very affordable but the fitting add up quickly. I hope to return several after the job is completed.
Besides 45 and 90 degree fittings, I also purchased some with wide threaded ends. I machined off a portion so as to duplicate the dimensions of the radiator inlet and outlet flanges. The fittings will be sweated on to each end of the tubing to give the rubber radiator hoses a proper attachment point.
[IMG]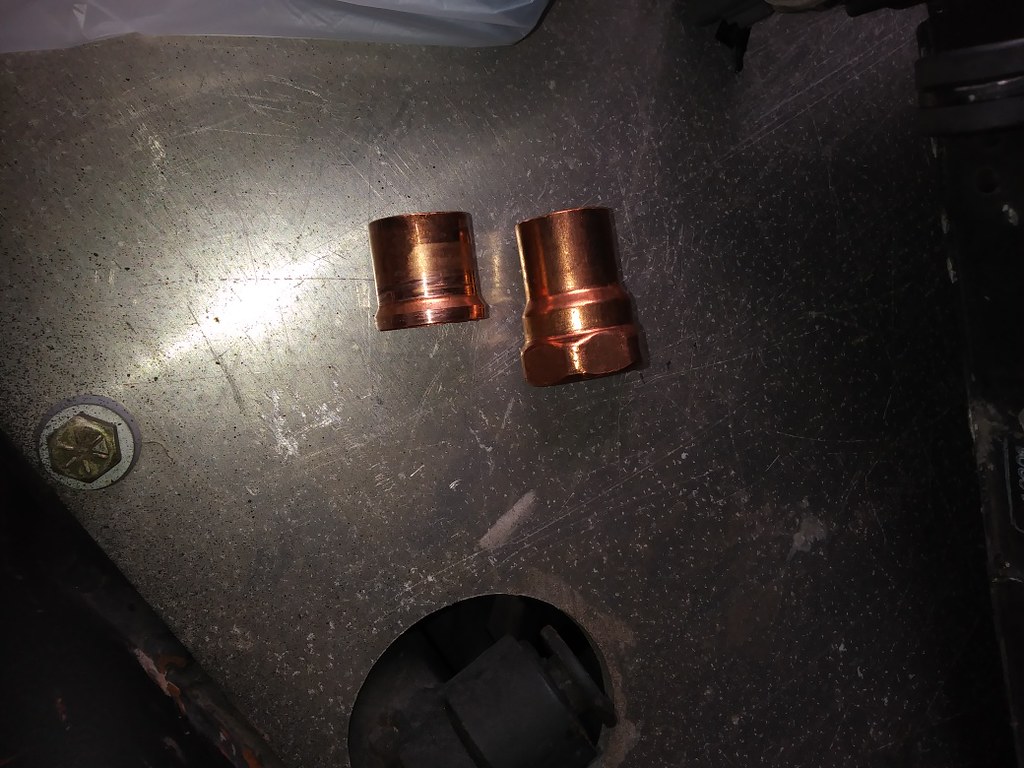 20170608_124429_resized by Ben Modified, on Flickr[/IMG]
The machined piece is resting on the radiator to show the mirror image. The radiator in the photos is a used and abused one. I have a new one on hand when the time comes to install it for good.
[IMG]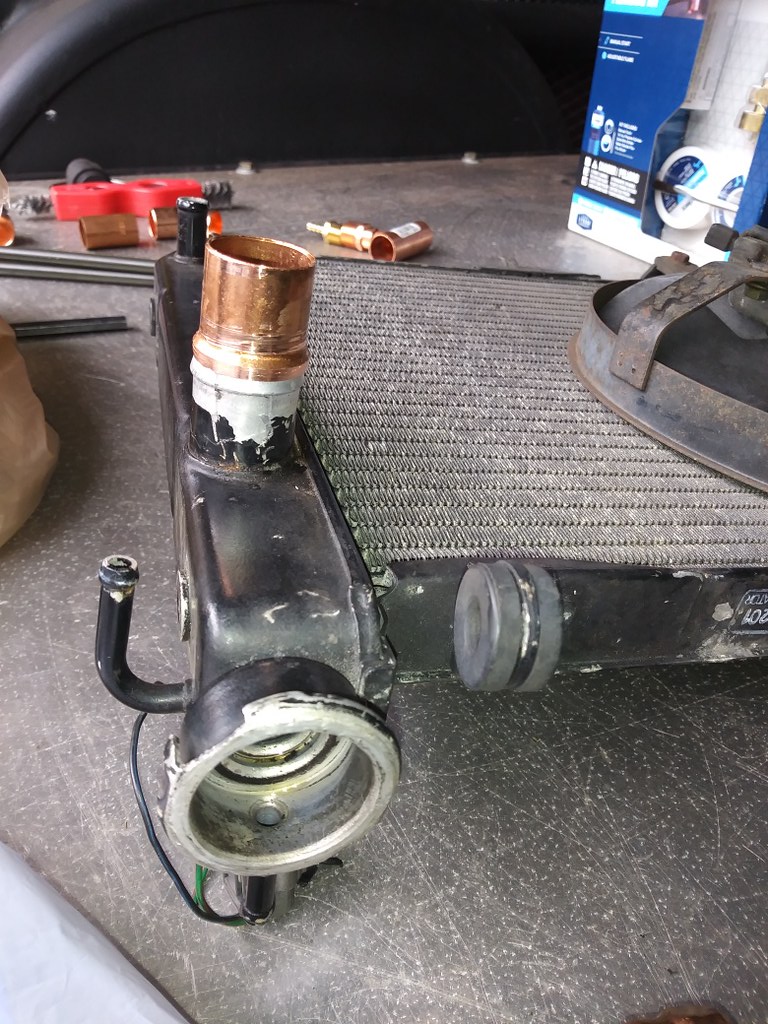 20170608_124439_resized by Ben Modified, on Flickr[/IMG]
http://www.BenModified.com
-
06-08-2017 02:51 PM #104
Can't wait for you to bust this one off. The epitome of sleeper. LOL..
-
06-10-2017 11:18 AM #105
That makes two of us!
Progress on the radiator plumbing
[IMG]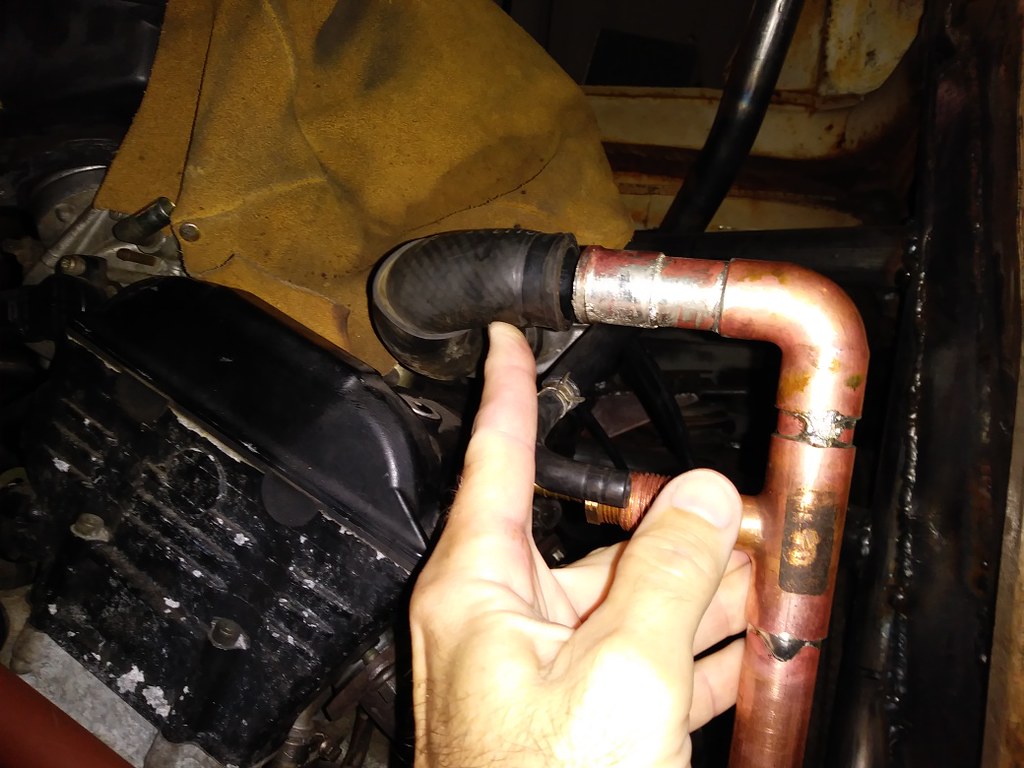 20170610_090853_resized by Ben Modified, on Flickr[/IMG]
[IMG]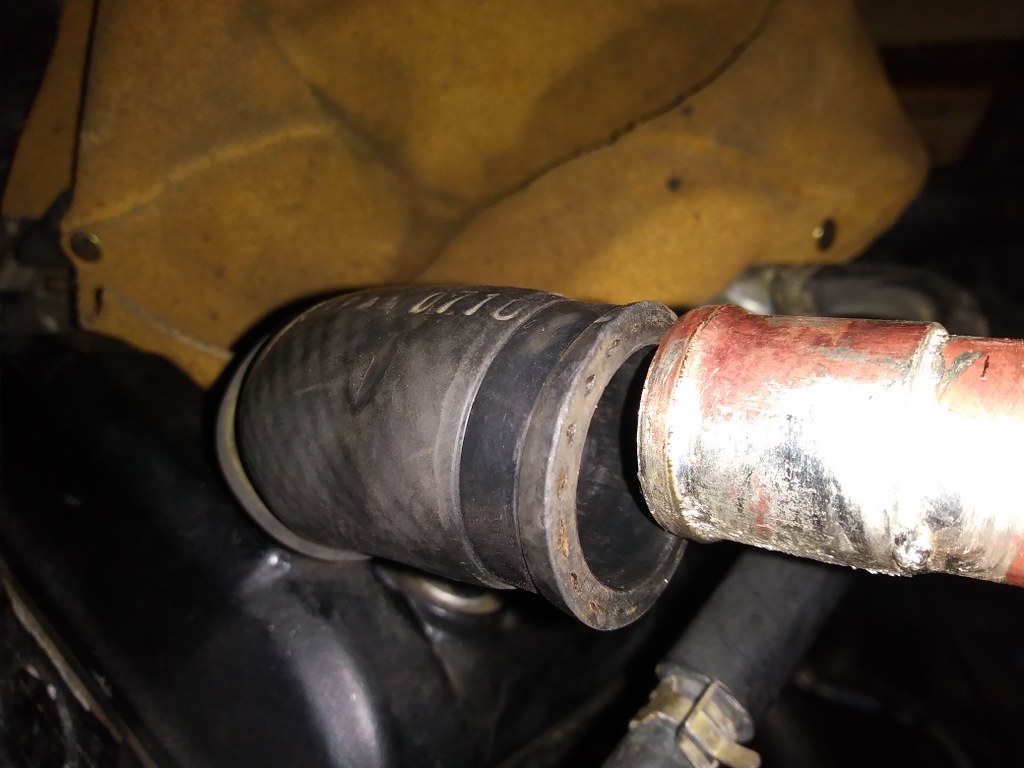 20170610_090922_resized by Ben Modified, on Flickr[/IMG]
[IMG]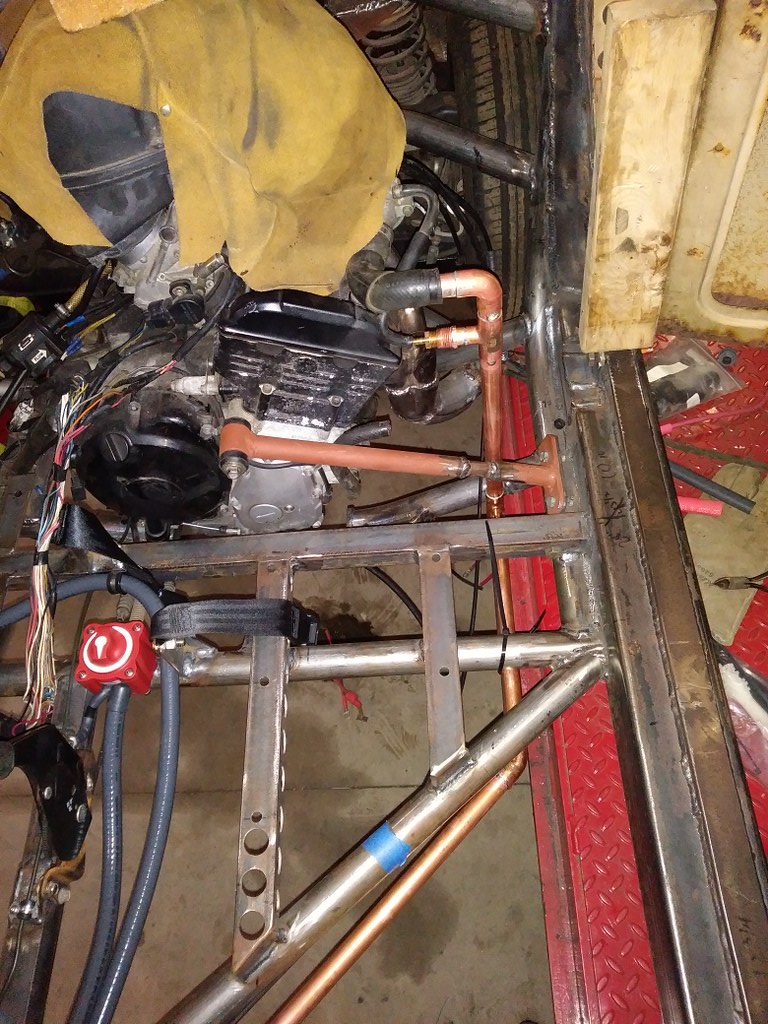 20170610_085450_resized by Ben Modified, on Flickr[/IMG]
Temporarily zip tied in place
[IMG]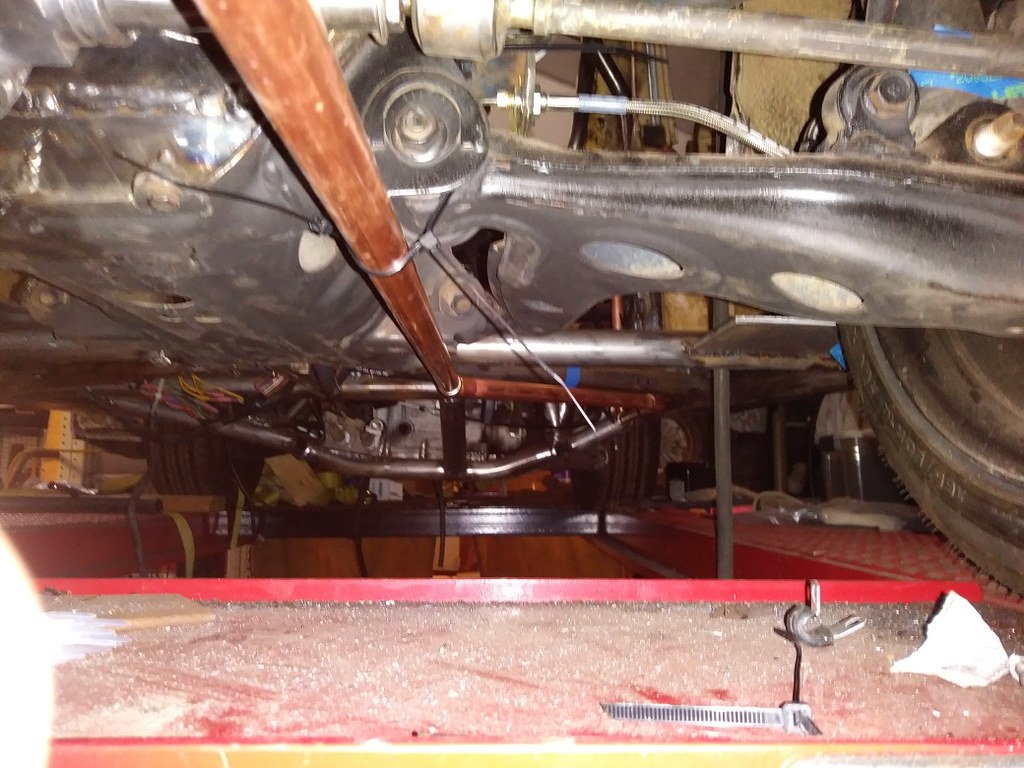 20170610_085509_resized by Ben Modified, on Flickr[/IMG]
http://www.BenModified.com
Welcome to Club Hot Rod! The premier site for
everything to do with Hot Rod, Customs, Low Riders, Rat Rods, and more.
- » Members from all over the US and the world!
- » Help from all over the world for your questions
- » Build logs for you and all members
- » Blogs
- » Image Gallery
- » Many thousands of members and hundreds of thousands of posts!
YES! I want to register an account for free right now! p.s.: For registered members this ad will NOT show


 126Likes

 LinkBack URL
 About LinkBacks
 Reply With Quote

I didn't know him but followed his posts. True hotrodder, he will be missed. RIP 34_40 MIKE. Condolence to the Mrs. Nolan
We Lost a Good One