Thread: '37 Dodge sedan
-
04-22-2018 07:46 PM #136
Yeah, I had to crank the welder up to get it to actually weld into the rod. It would weld perfectly well to the roof, but it wouldn't penetrate into the round stock until I turned up the heat, it just built a little nugget of weld on top that would snap free with very little torque applied. I'll go back later and fill the few pin holes with the welder turned down. It sucks, but it had to be done.
That face is her "Seriously, you're taking a picture of this?" Lol. Light of my life, for sure, but also a serious test of my patience.
-
Advertising

- Google Adsense
- REGISTERED USERS DO NOT SEE THIS AD
-
04-22-2018 07:52 PM #137
I've often thought of a tig welder for these things, but I haven't pulled the trigger on one yet. Still not sure if it's worth it to me.Seth
God cannot give us a happiness and peace apart from Himself, because it is not there. There is no such thing. C.S.Lewis
-
04-22-2018 08:00 PM #138
-
04-28-2018 09:48 AM #139
Well, it's been a busy week at work, but I finally managed to get off at a reasonable hour yesterday and was able to get some time in the shop last night. Was actually able to be fairly productive, too.
Had to replace the wire roll in my welder first, but once that was done I was able to get the passenger side drip rail fully welded and ground down. I found that I don't get the pin holes, even with the welder cranked up, if I keep the ground clamp within about 6" of the area I'm welding, so that was a welcome discovery. I'm really diggin the look, should clean up well with very little filler.
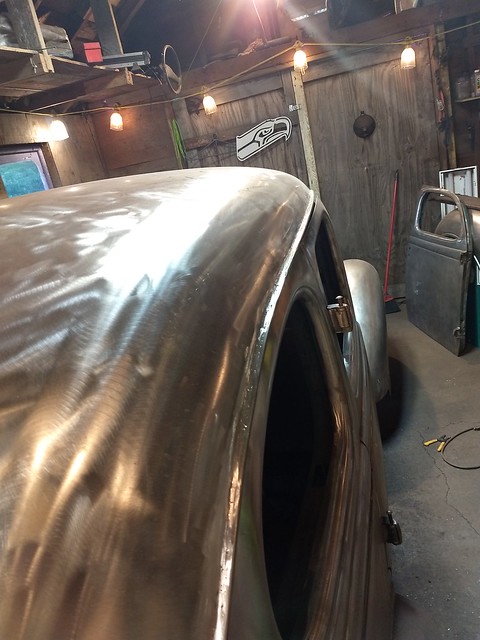 IMG_20180427_192452453 by Ryan Mazingo, on Flickr
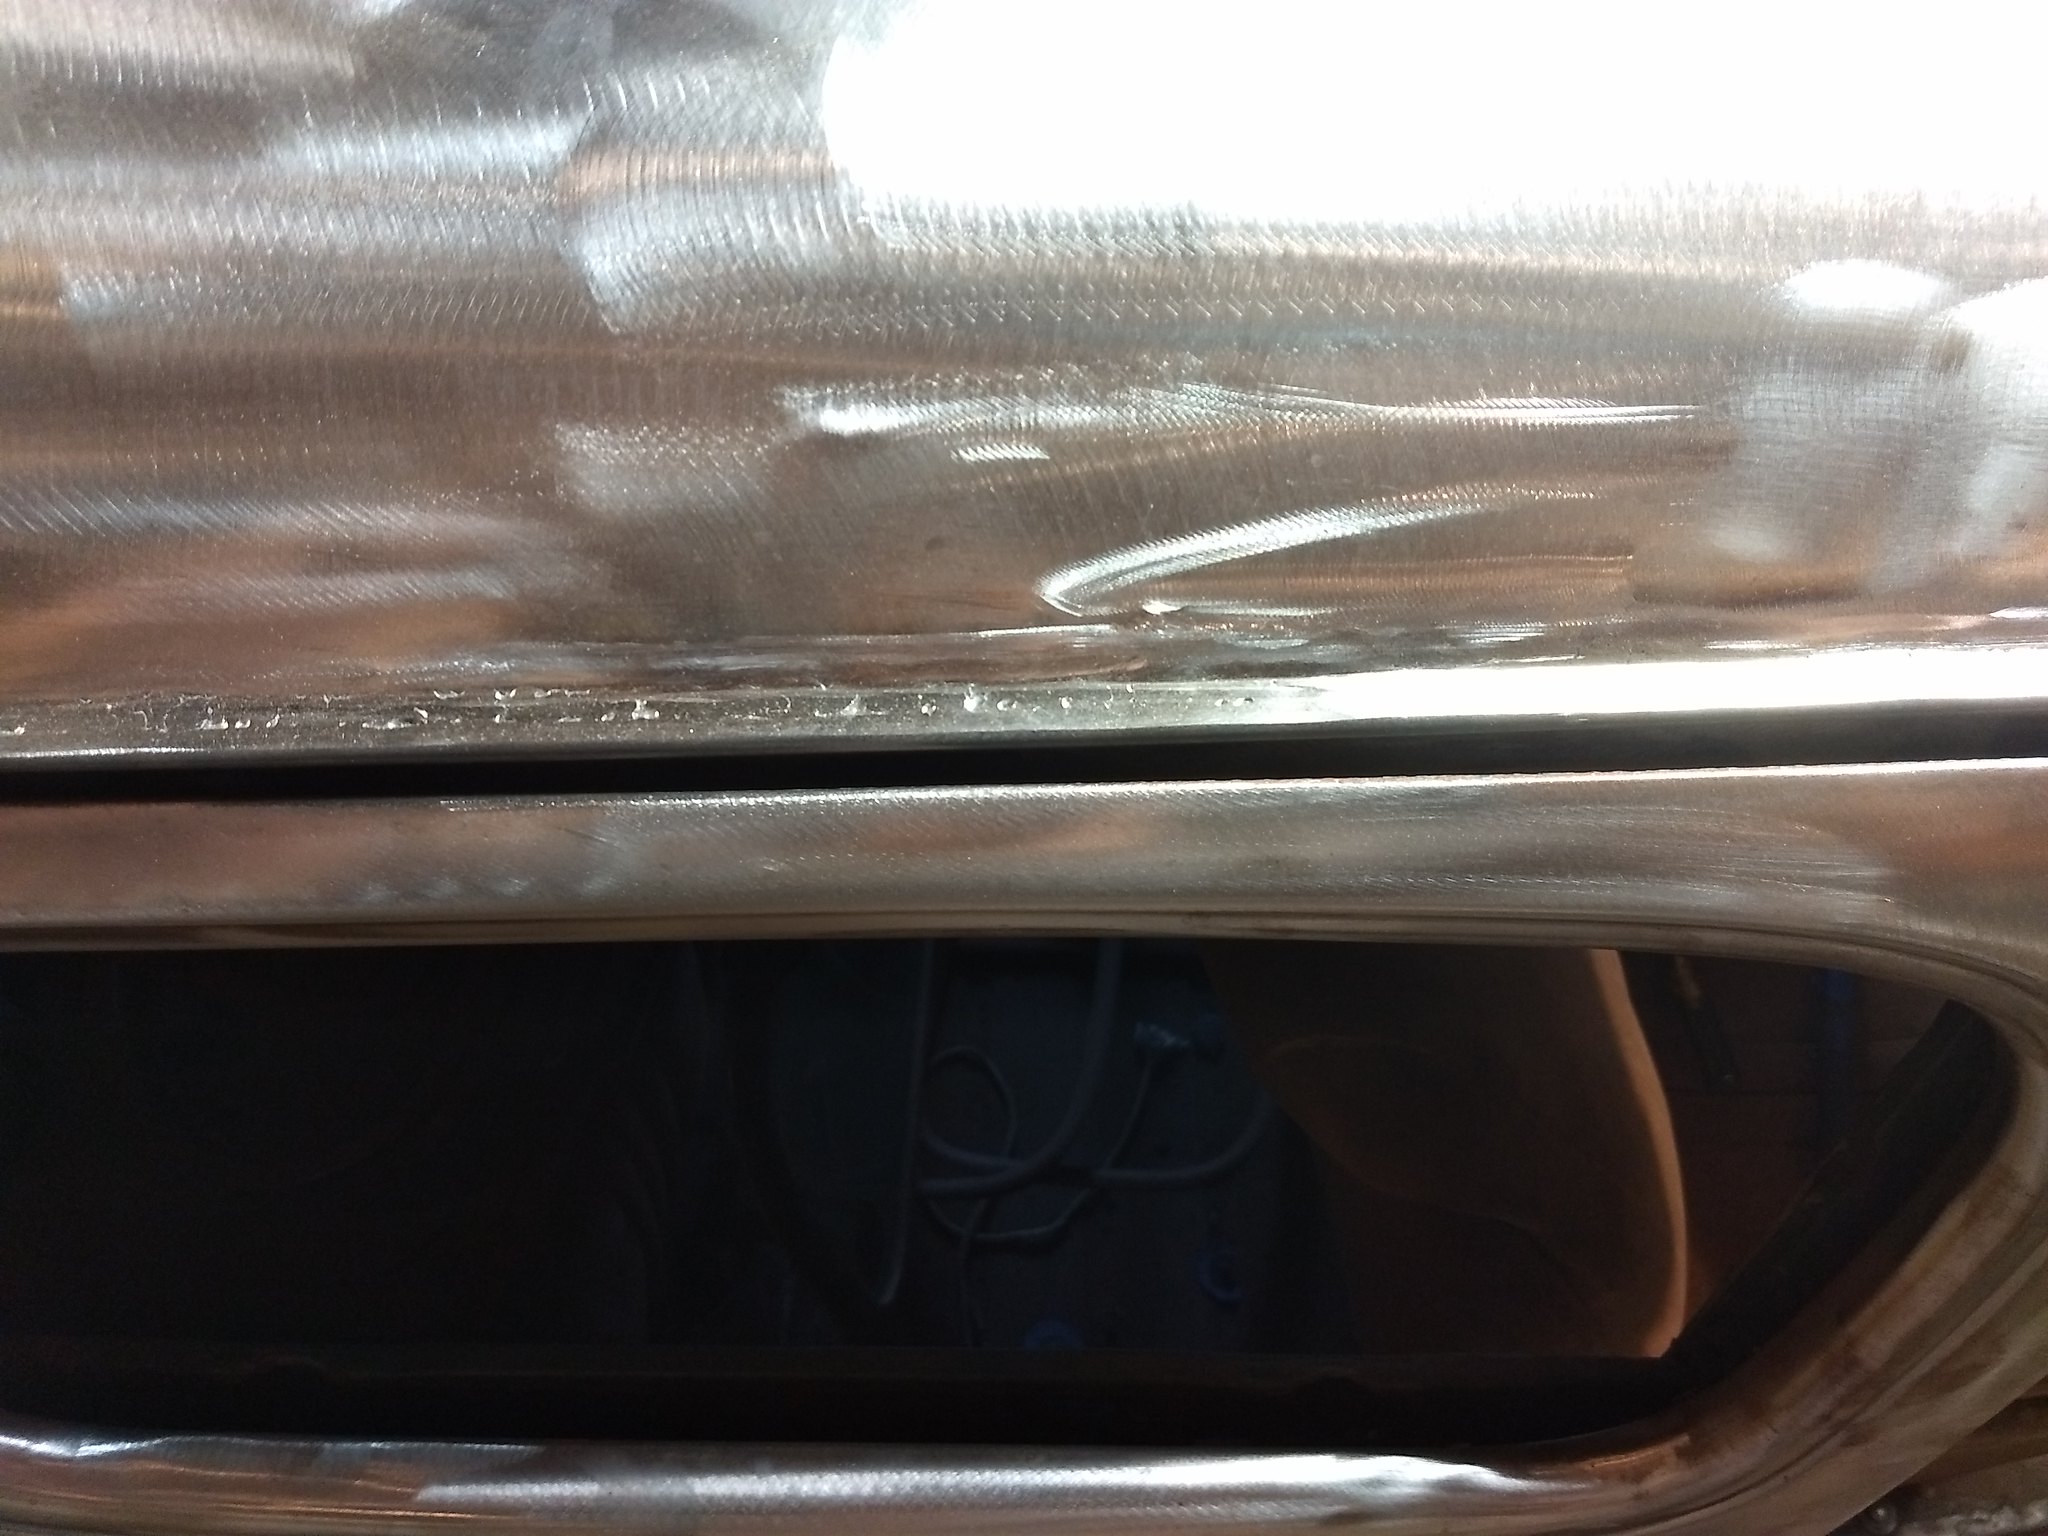 IMG_20180427_192458731_BURST001 by Ryan Mazingo, on Flickr
I decided I like the passenger side so much that I may as well do the driver's side too.
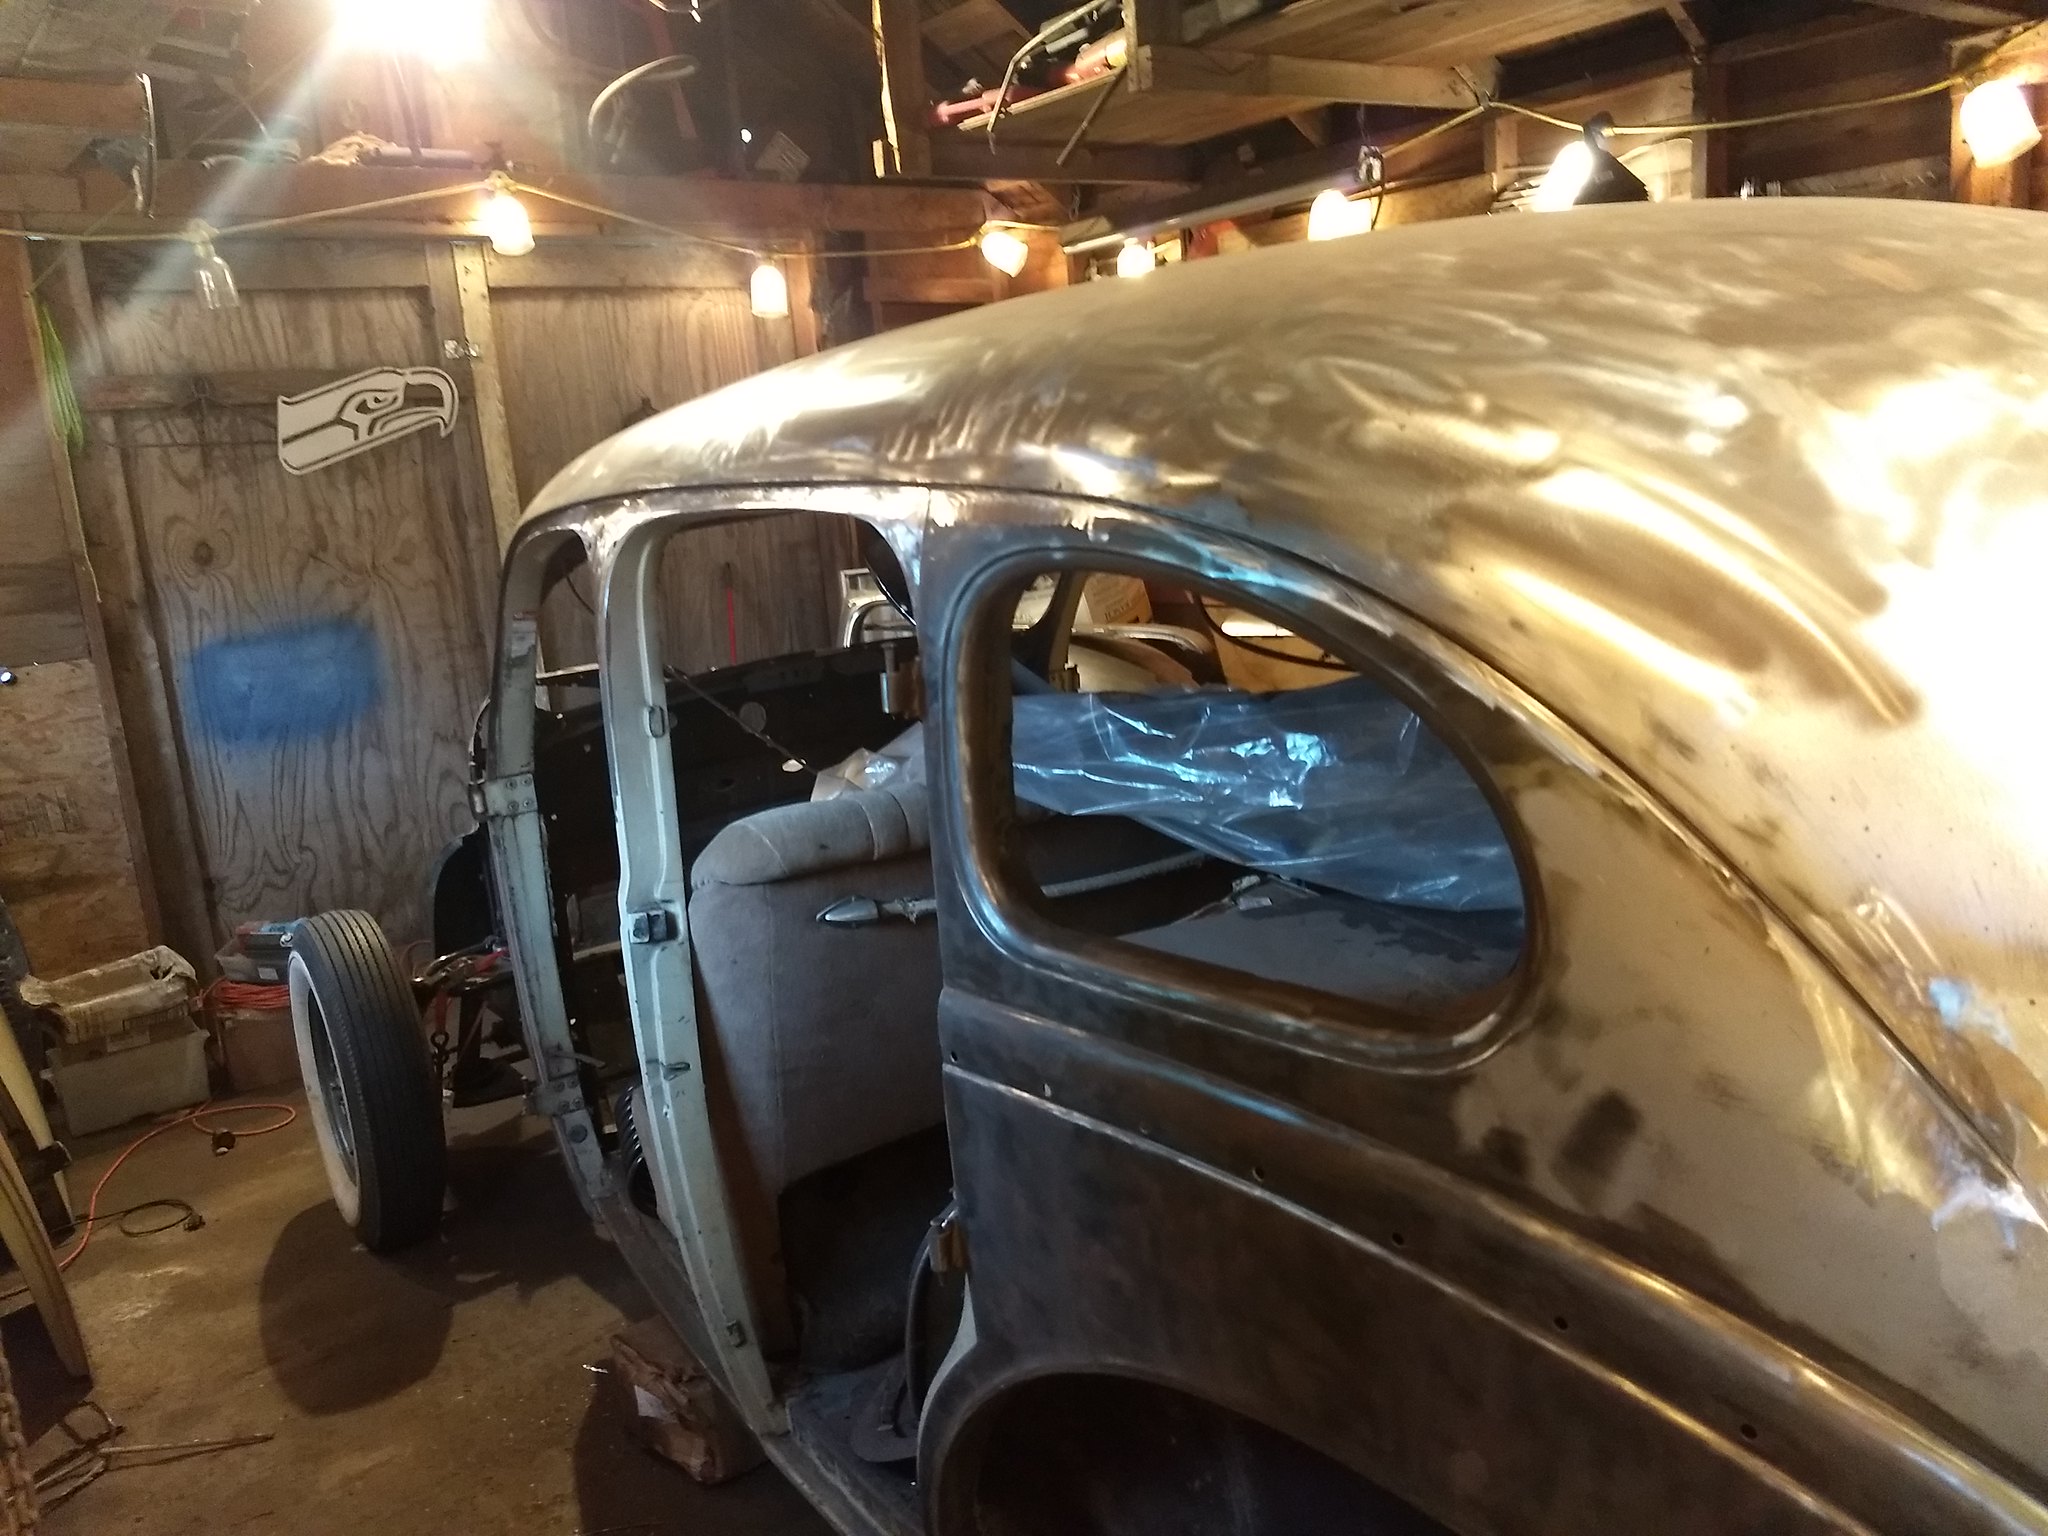 IMG_20180427_192709524 by Ryan Mazingo, on Flickr
I also got one of the driver's side doors stripped, too, but that picture doesn't want to load for some reason.Last edited by PNW Rodder; 04-28-2018 at 08:36 PM.
-
04-28-2018 06:58 PM #140
The new drip rails left a bit of a gap at the tops of the doors, which wasn't very pleasing to the eye. So, I decided to cut off the door tops and put some extra material in there to fill out the door frames better.
The gap in question
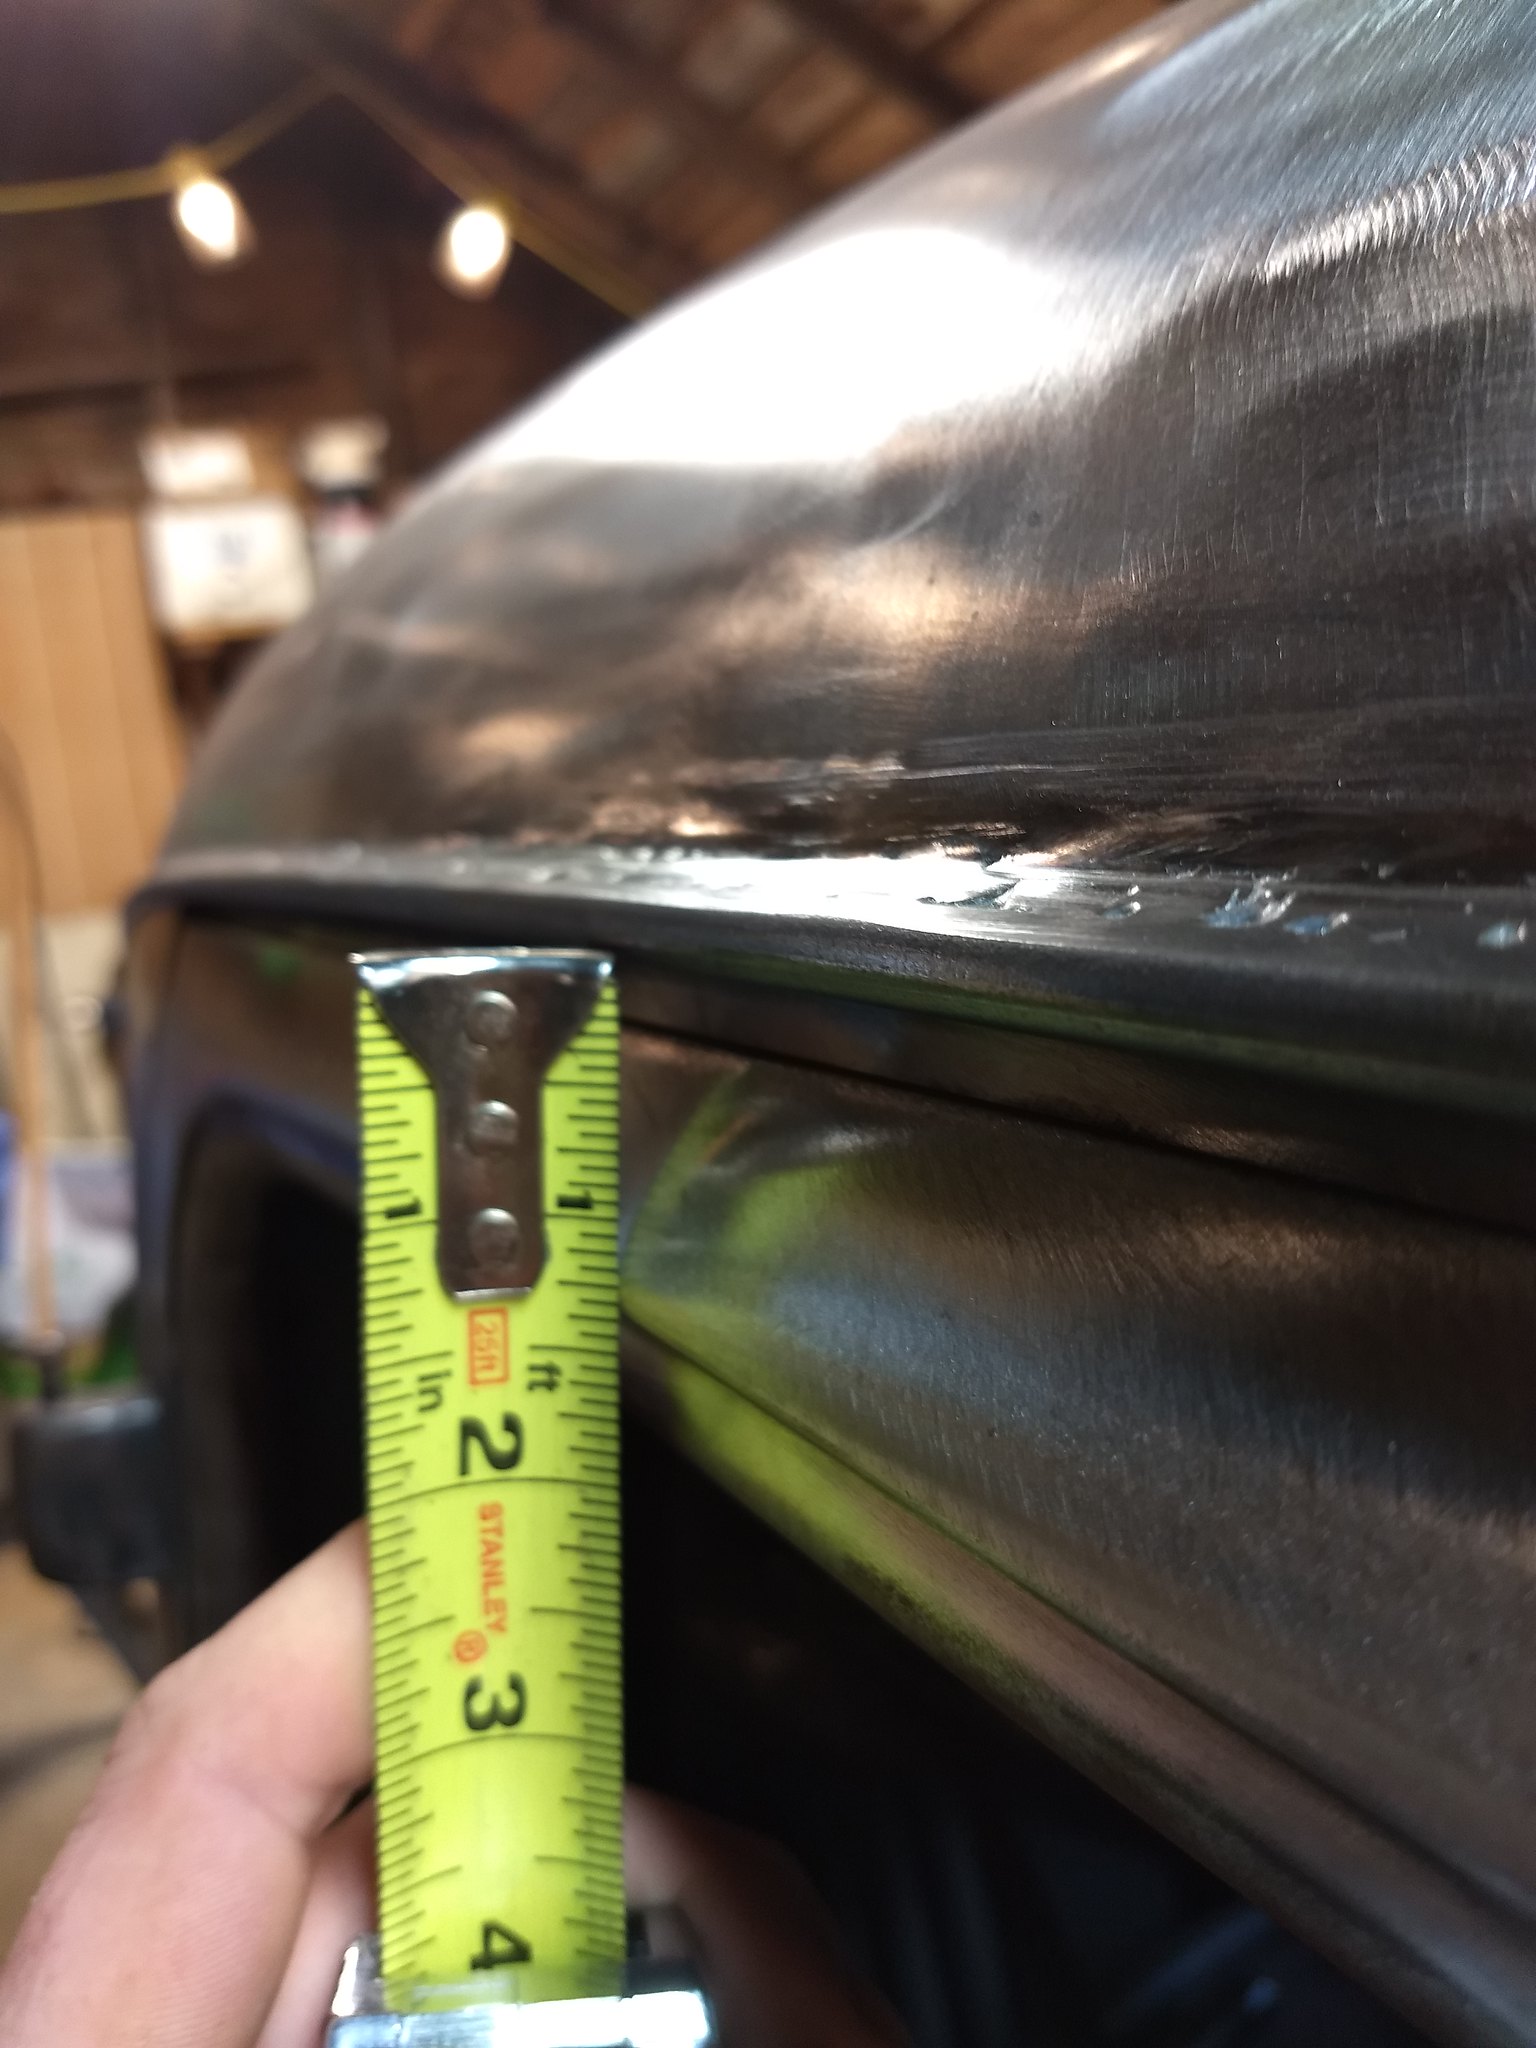 IMG_20180428_124754835 by Ryan Mazingo, on Flickr
Scribe a line to follow when cutting (don't use sharpie, the line will disappear from the heat of cutting)
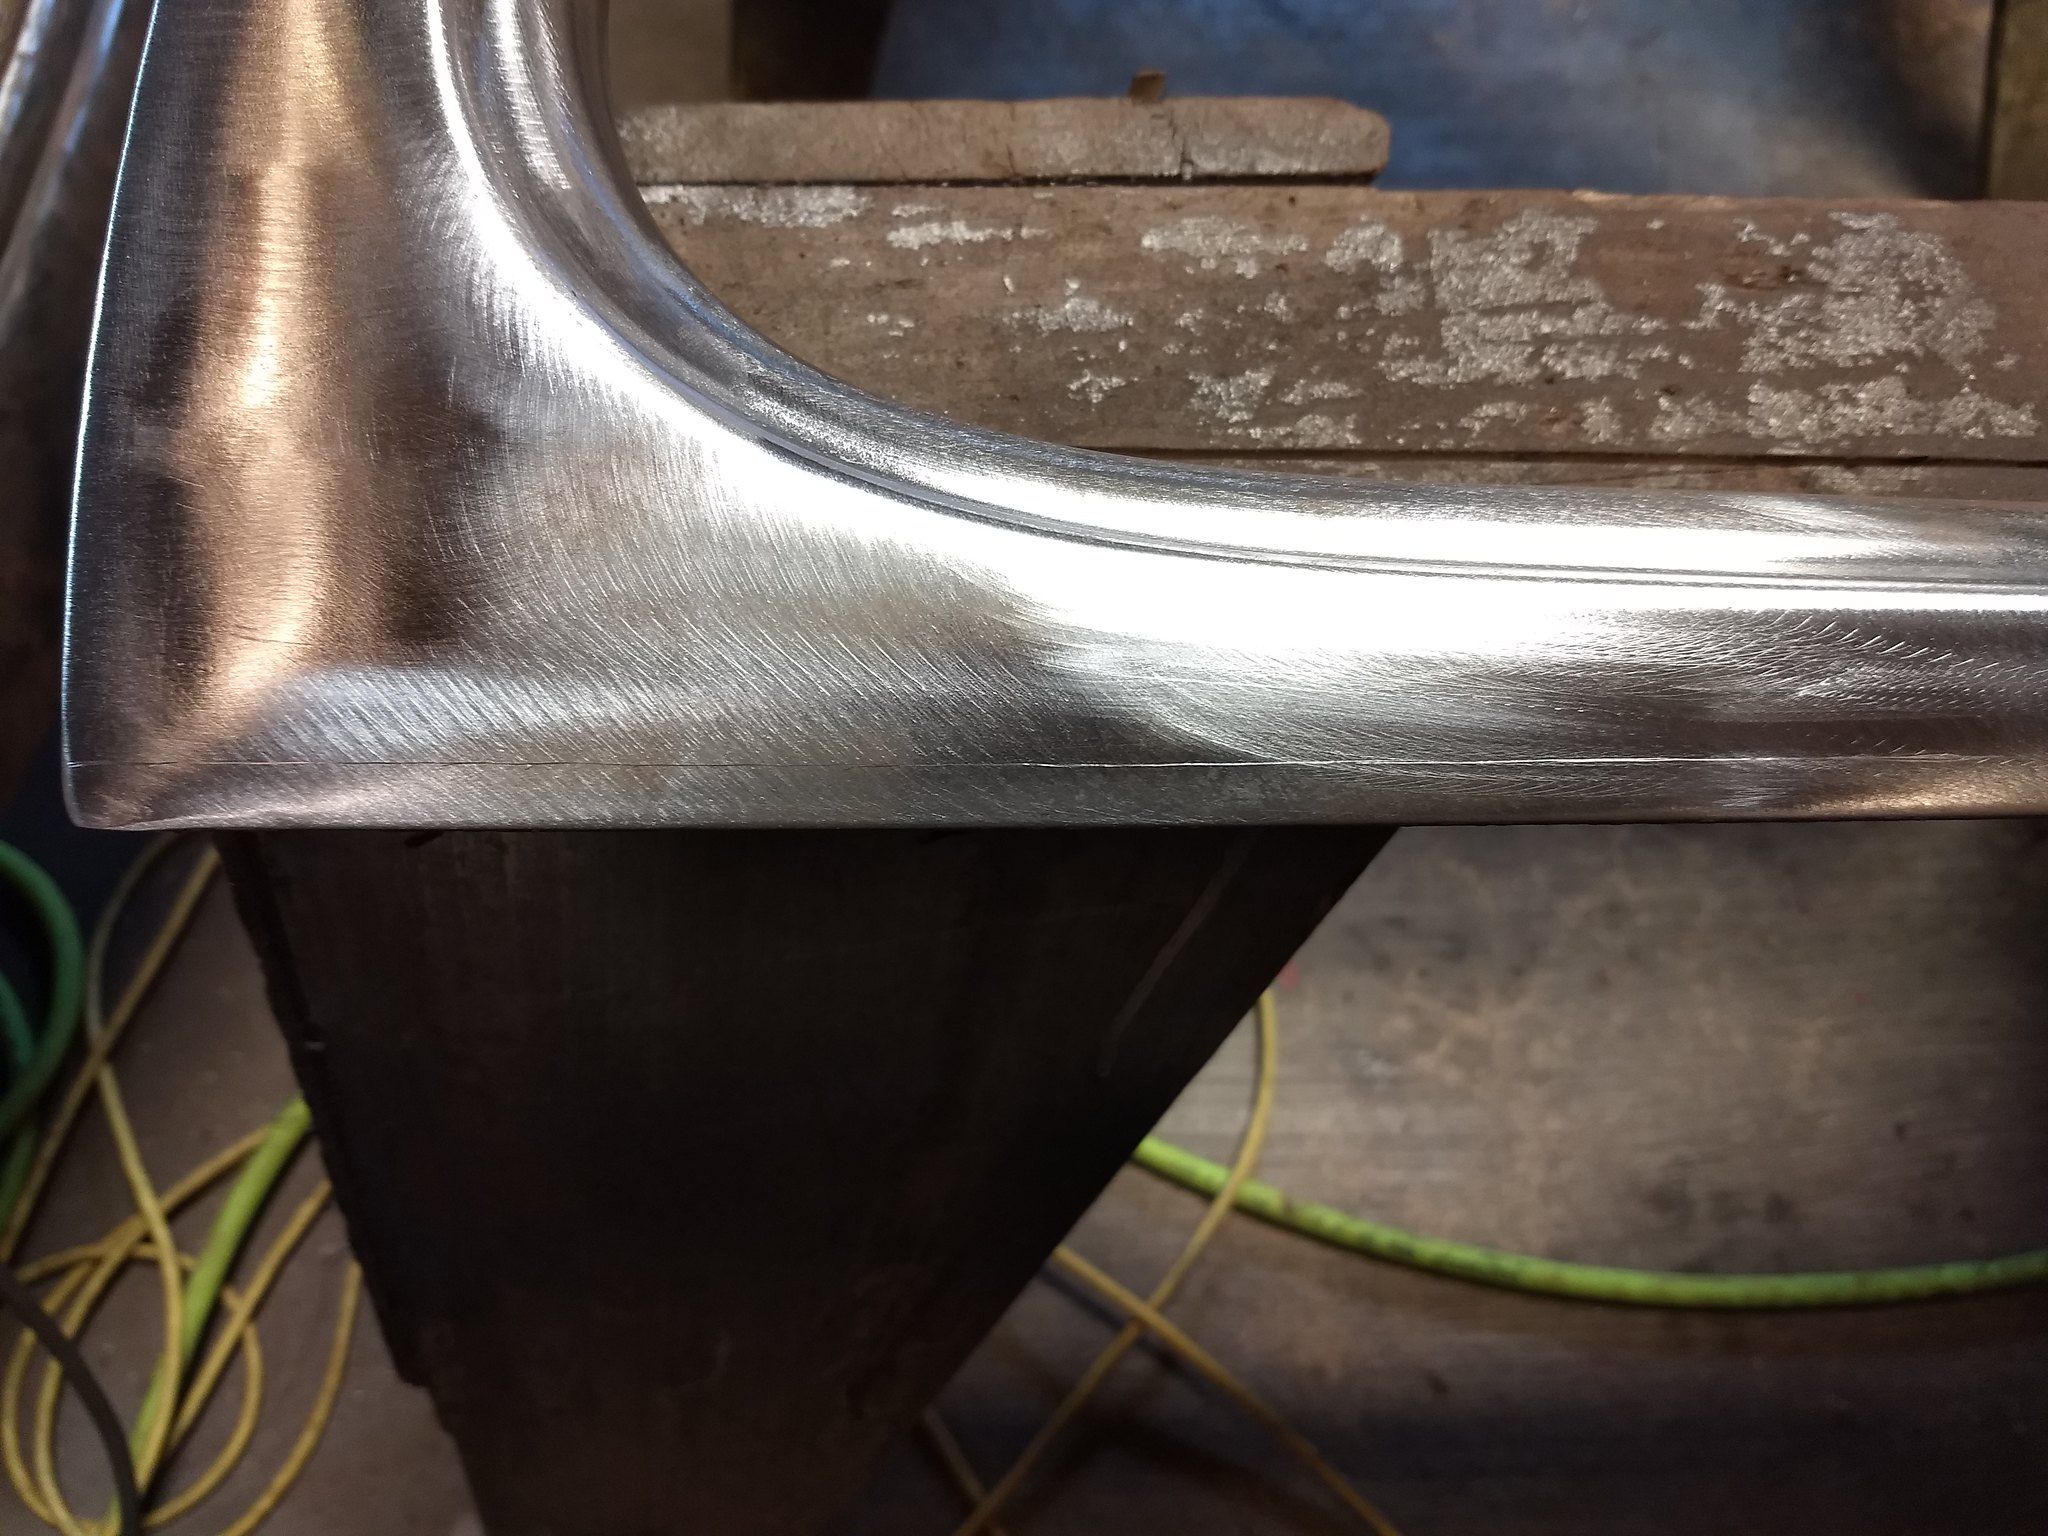 IMG_20180428_130201333 by Ryan Mazingo, on Flickr
Just a little off the top, file the edges smooth and clean all soon to be welded surfaces.
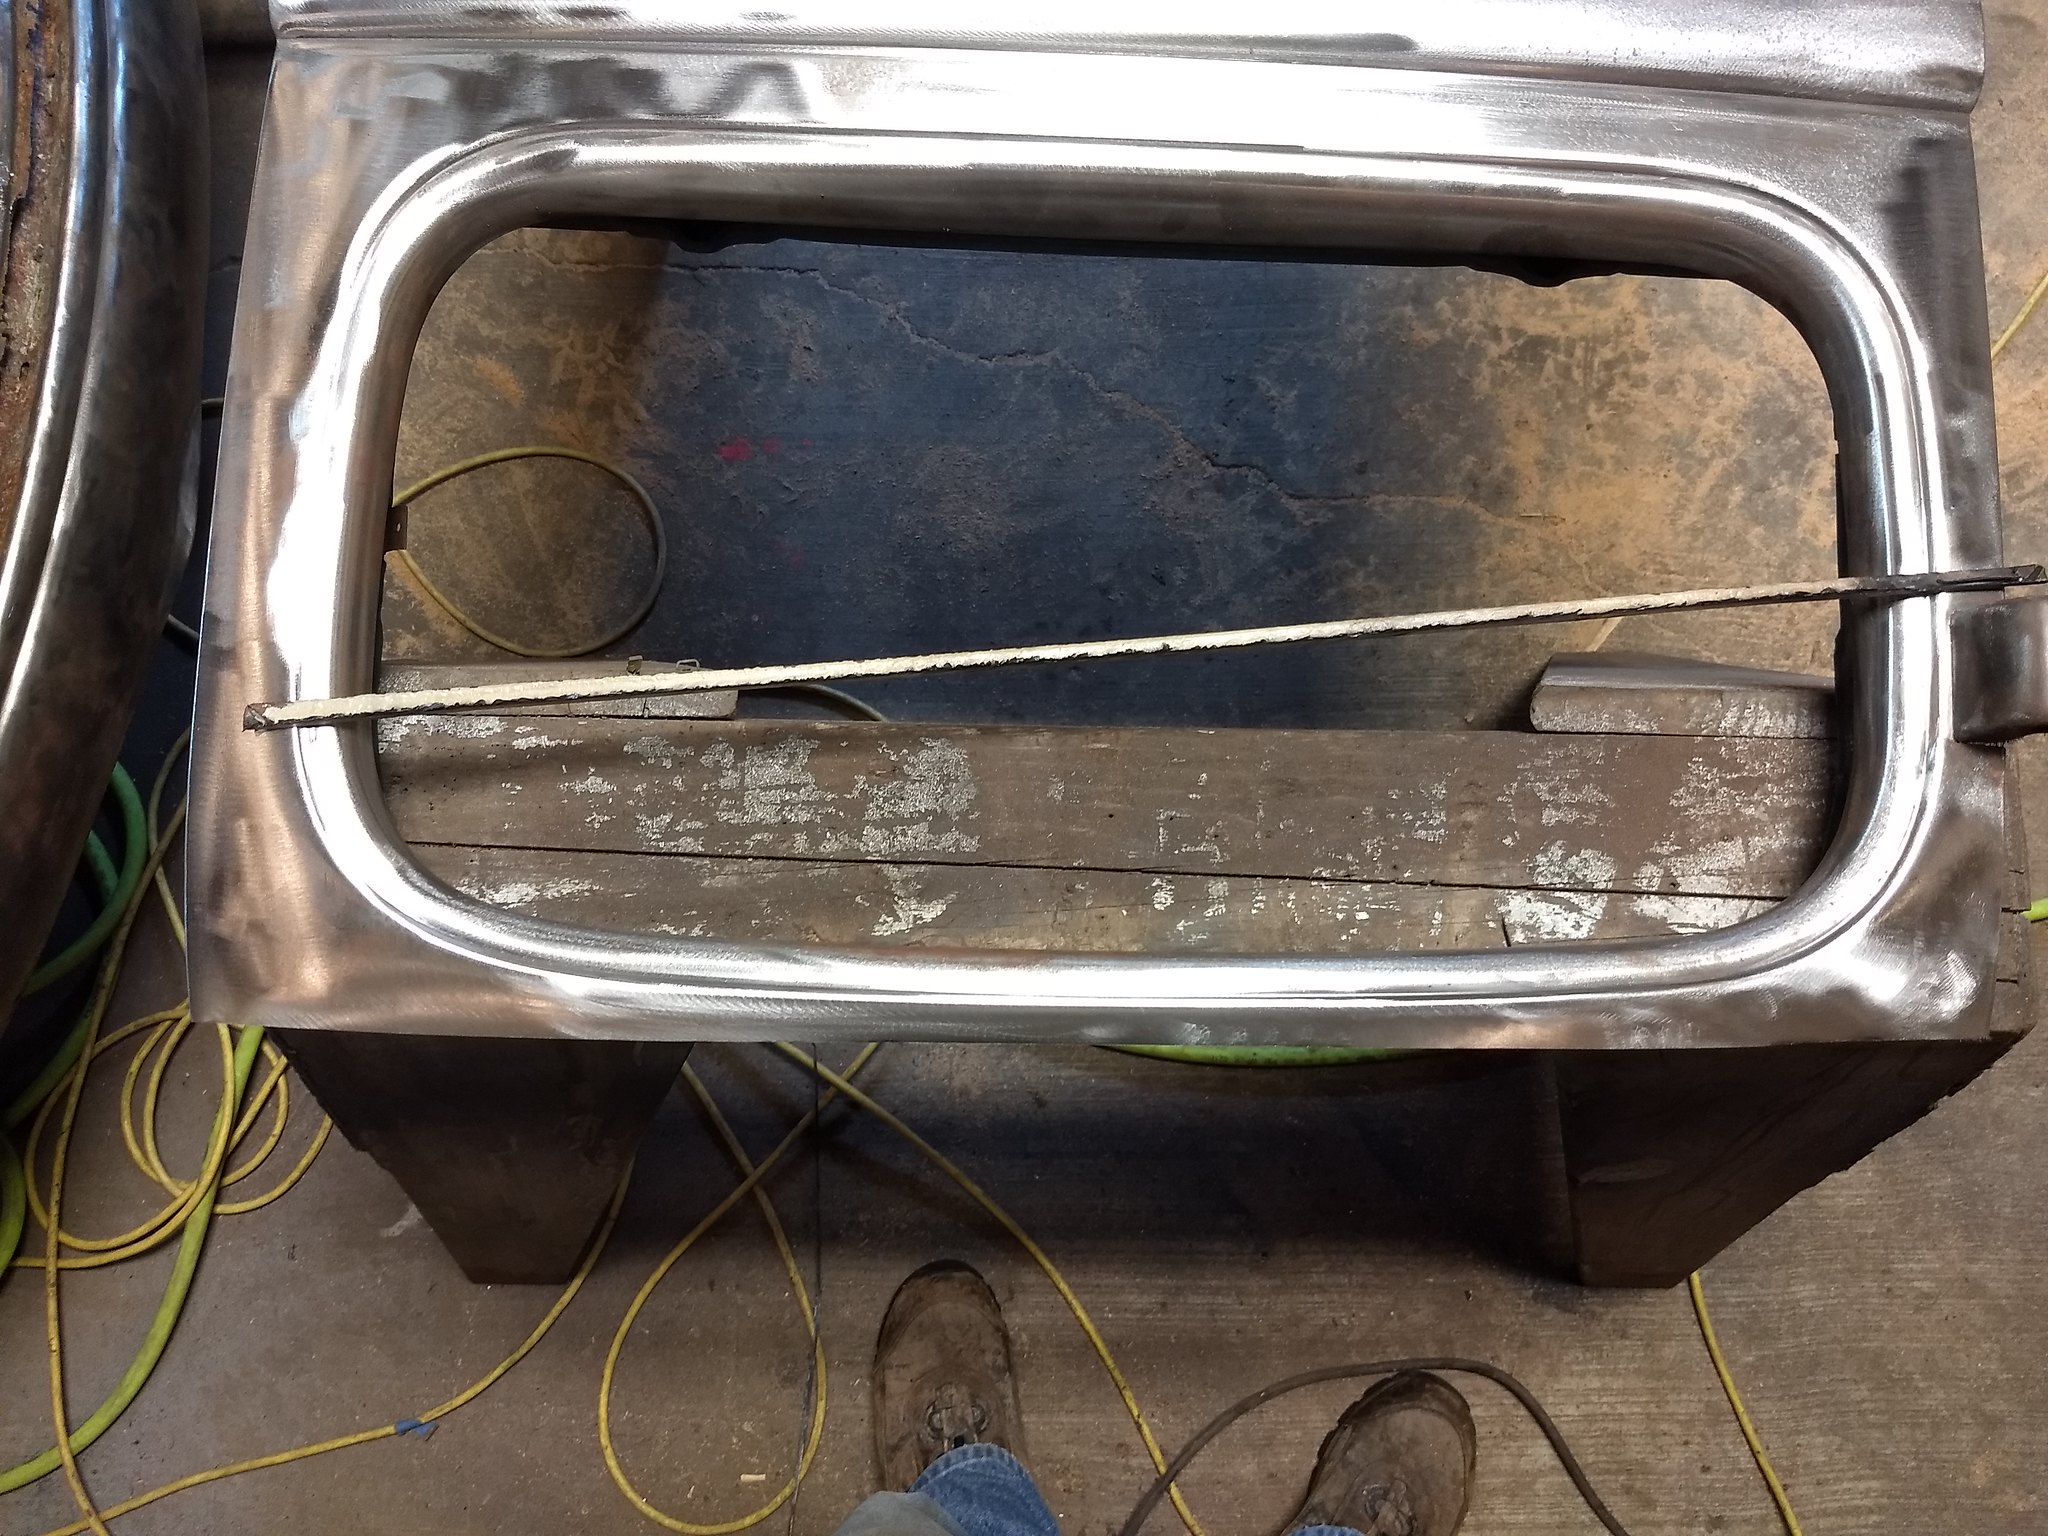 IMG_20180428_130738743 by Ryan Mazingo, on Flickr
I tacked some straps in place on the back of the door to use for alignment purposes, they'll be removed later.
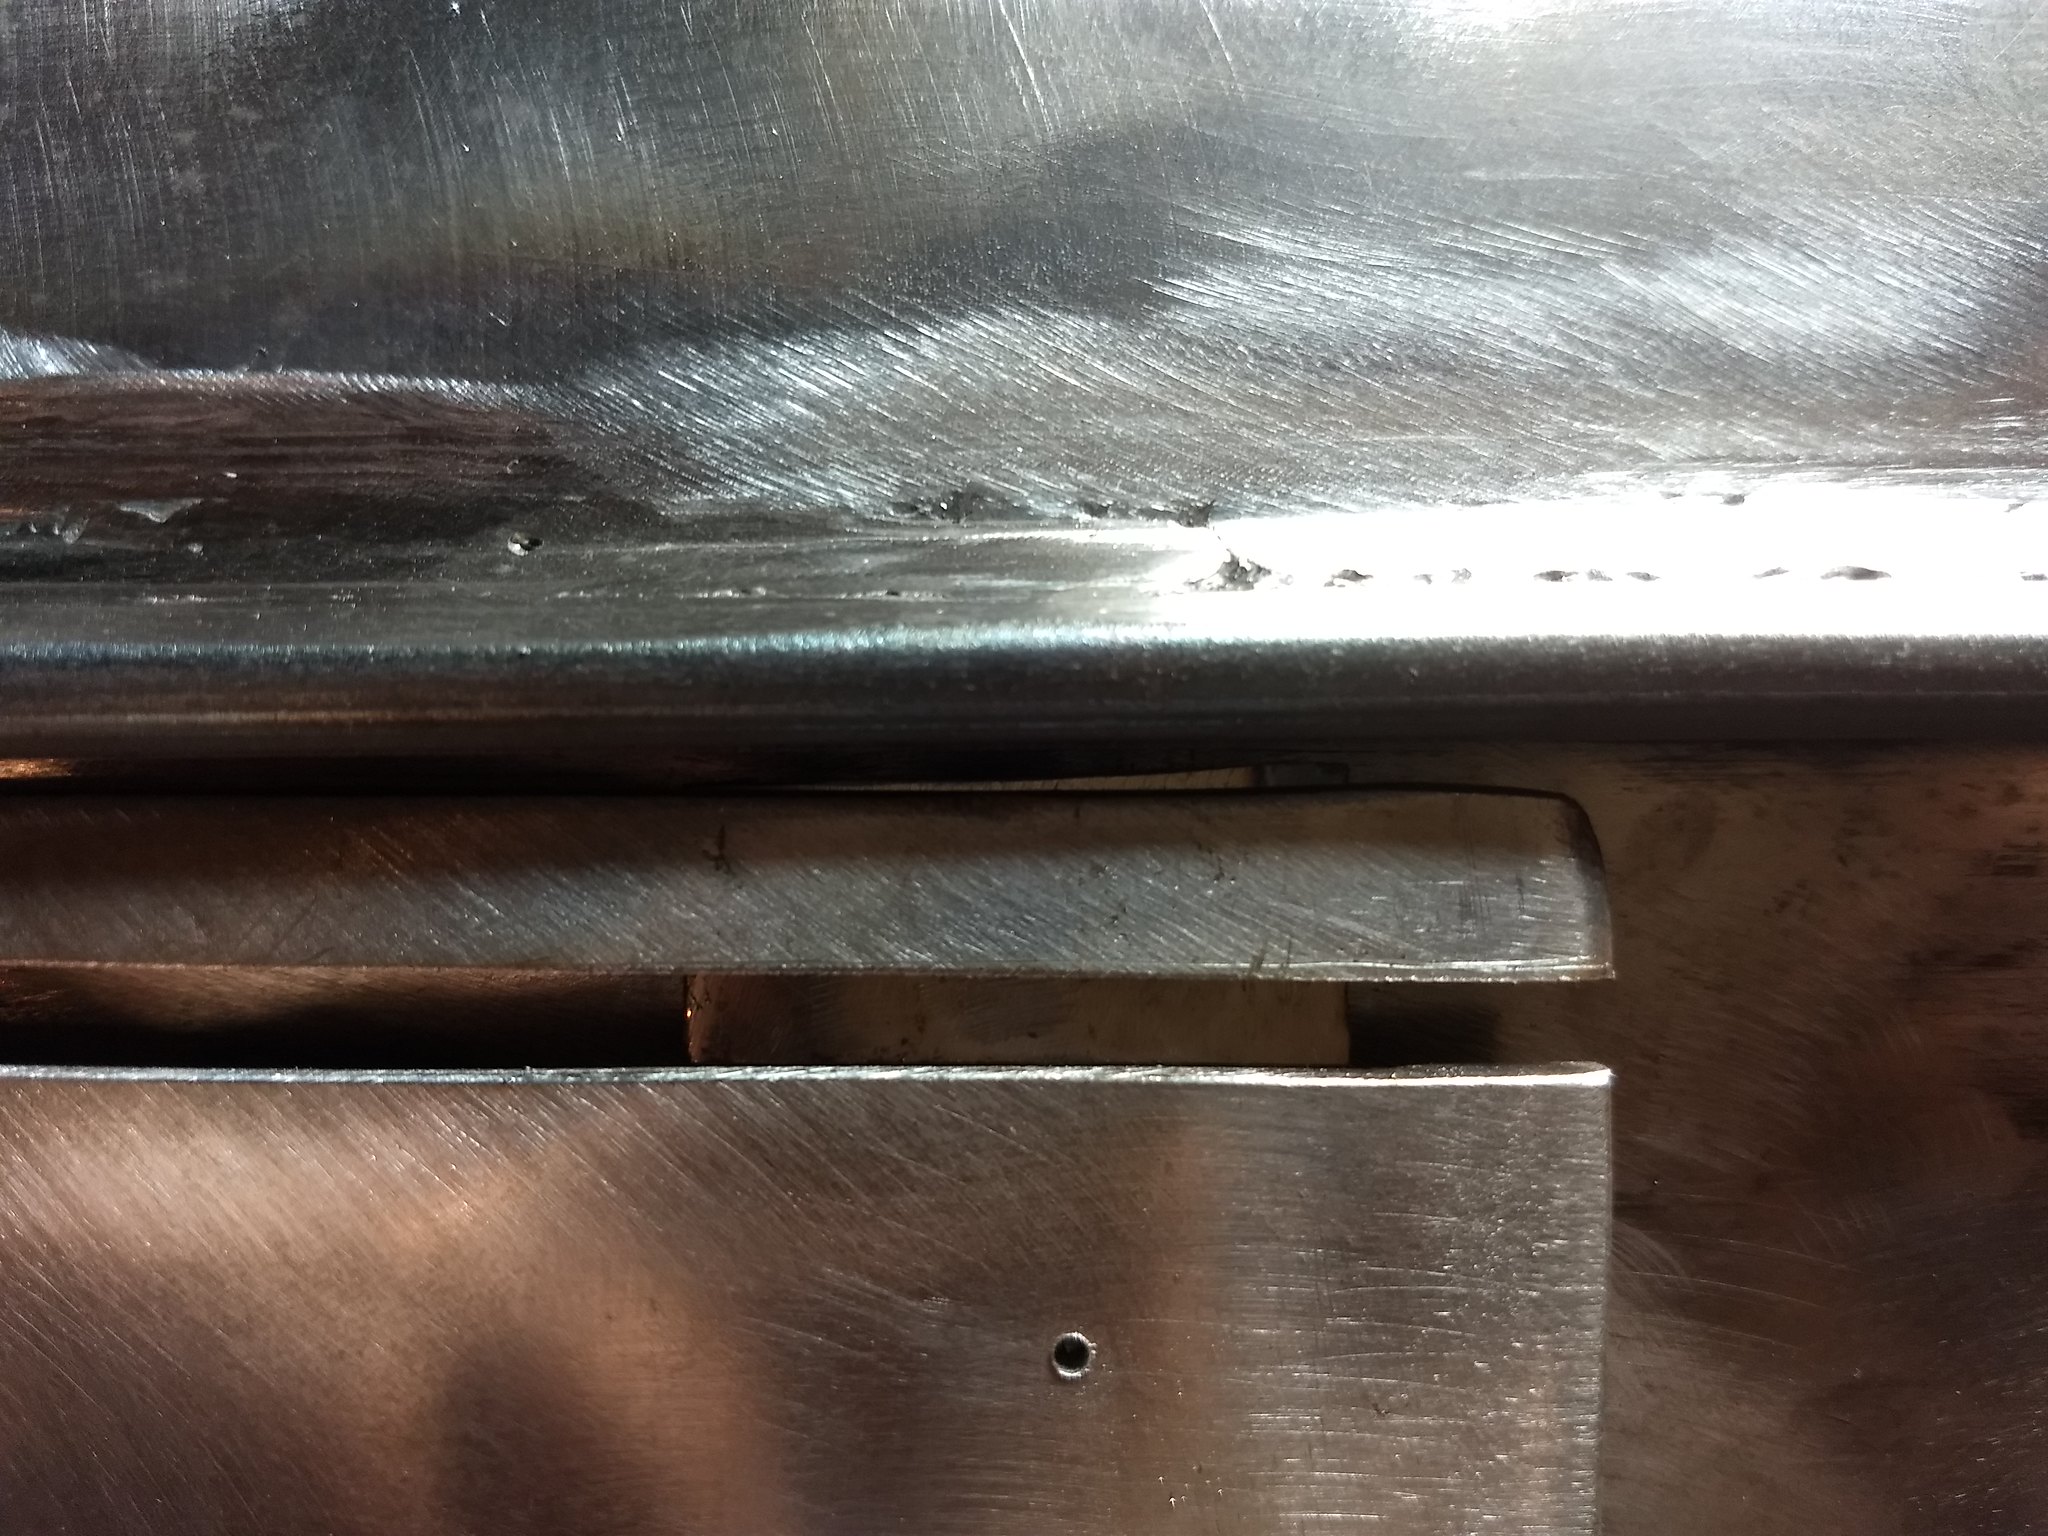 IMG_20180428_141033733 by Ryan Mazingo, on Flickr
Fuzzy picture, but it gives a good idea of how much cleaner this area will look when I'm done.
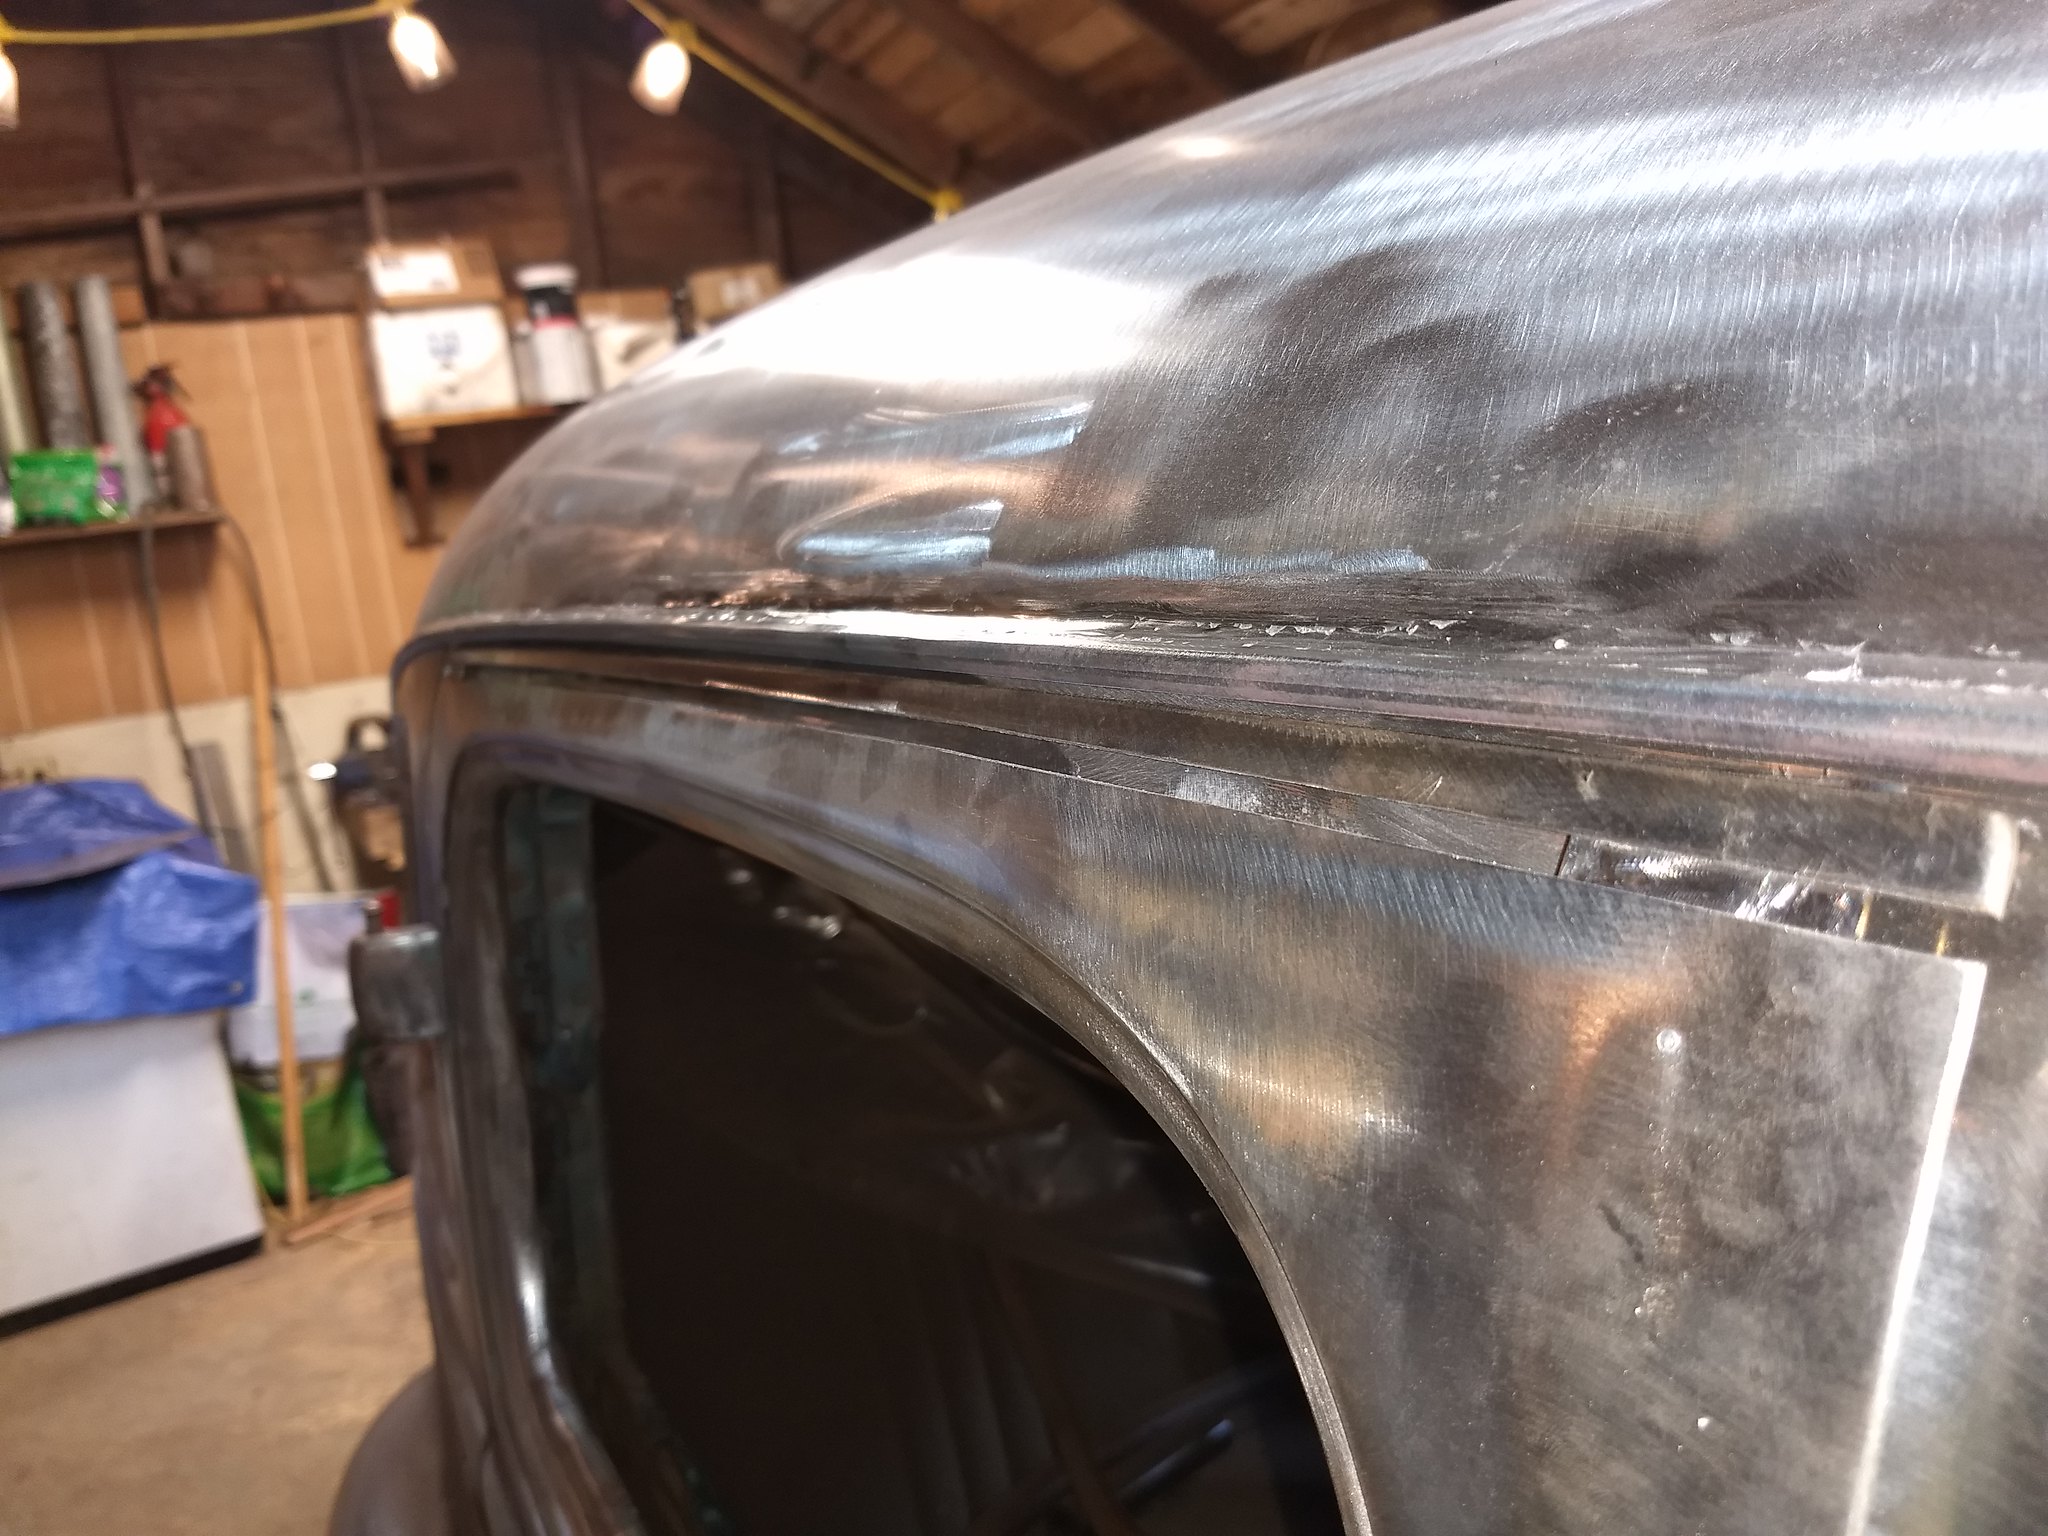 IMG_20180428_140943757 by Ryan Mazingo, on Flickr
Last edited by PNW Rodder; 04-28-2018 at 07:19 PM.
-
04-28-2018 09:08 PM #141
It's all these little details that your paying attention that makes a big difference in the end build. I can't wait to see this thing finished.Seth
God cannot give us a happiness and peace apart from Himself, because it is not there. There is no such thing. C.S.Lewis
-
04-28-2018 09:50 PM #142
That drip rail is looking great! I'd love to do something like that to the drip rail on my 37 Ford...of course, doing ANYTHING to my 37 Ford would be a step in the right direction!!
 Shut up, Mike(34_40)!!!


Last edited by randyr; 04-28-2018 at 09:57 PM.
"It is not much good thinking of a thing unless you think it out." - H.G. Wells
-
04-28-2018 11:11 PM #143
There's a big difference in doing too little and doing too much: I'm hoping to find the balance. I try to fix all the simple things that annoy me and alter others just enough to not have the same car as everyone else. Hopefully it turns out like the picture in my head. Wait till you see what I have in mind for the grill!
-
04-28-2018 11:22 PM #144
It's not going to finish itself. That's what I'm constantly telling myself. There's a million excuses to not be working on it, and I've used them all. I find that building a car is a lot like a marriage: you're either willing to work on it, or you've already given up and just haven't had the heart to say it out loud yet. Lol.
-
07-28-2018 11:32 PM #145
Haven't been on in a while. With summer time here, and my daughter finally being old enough to somewhat re-establish the lives we had before she joined us, the family and I have been doing a lot of camping, hiking and fishing. That, and its just been too dang hot in my shop to get anything accomplished. I mustered up some motivation and decided to get up early this morning and get something done on the sedan, before the sun made it past the evergreens onto the shop.
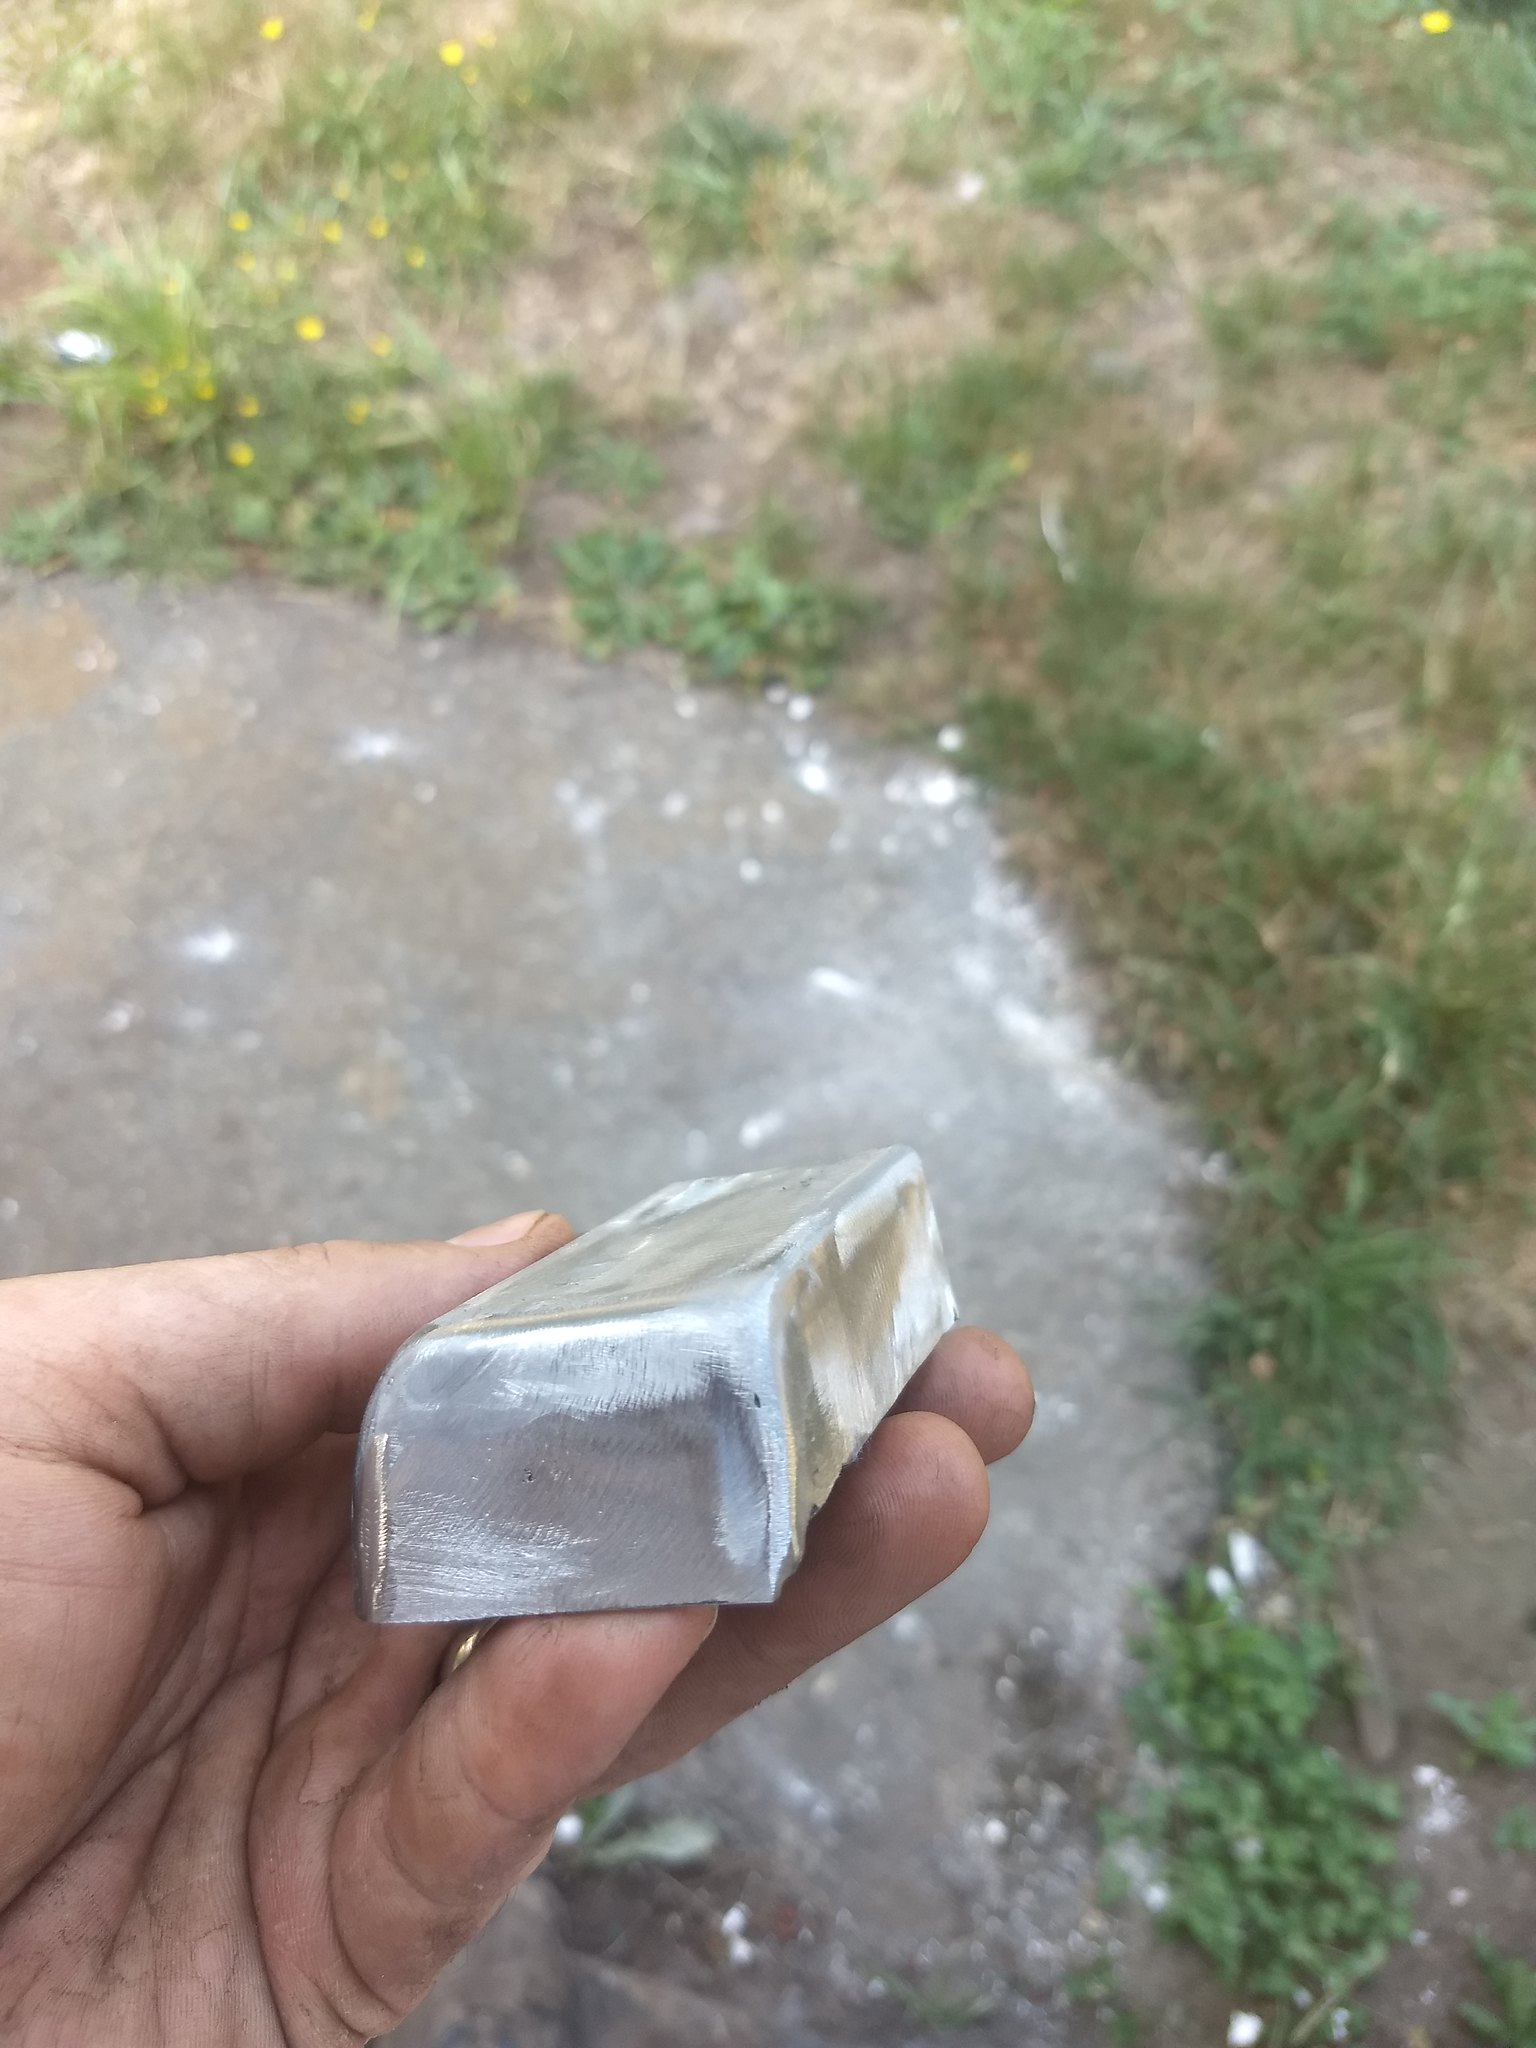
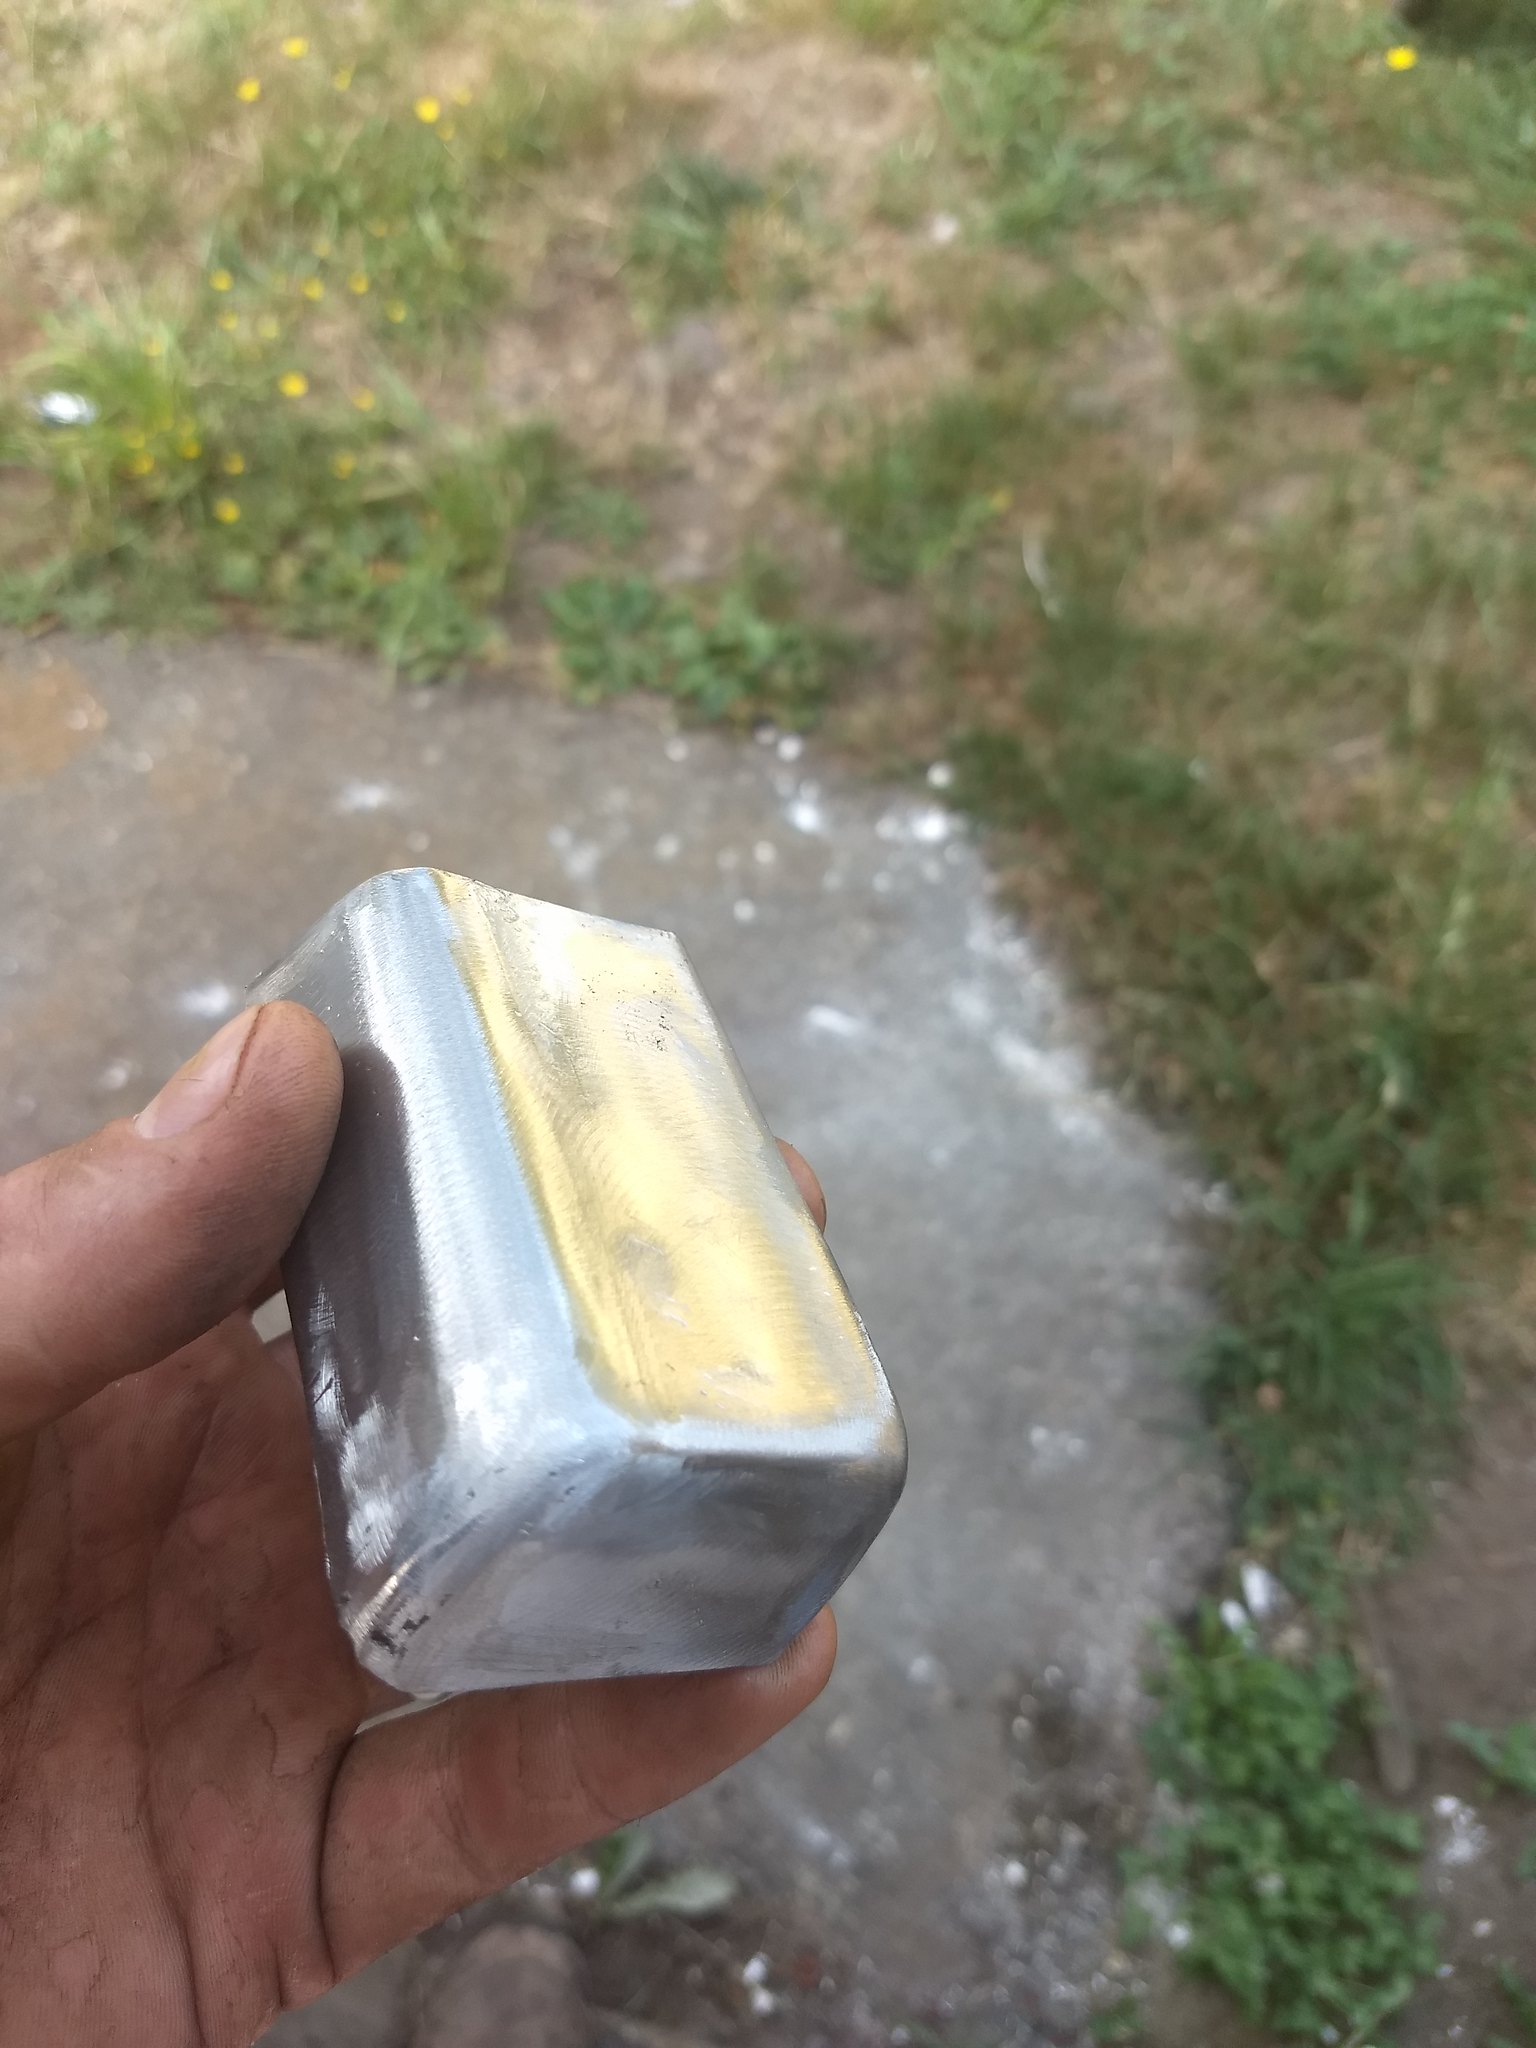
Decided it was time to tie up the loose ends and finished the passenger side rocker and rear wheel well arch. I started by making the bottom cap. Took some figuring, and I was a bit rusty, but I got it worked out.
 IMG_20180728_105705317 by Ryan Mazingo, on Flickr
 IMG_20180728_105700275 by Ryan Mazingo, on Flickr
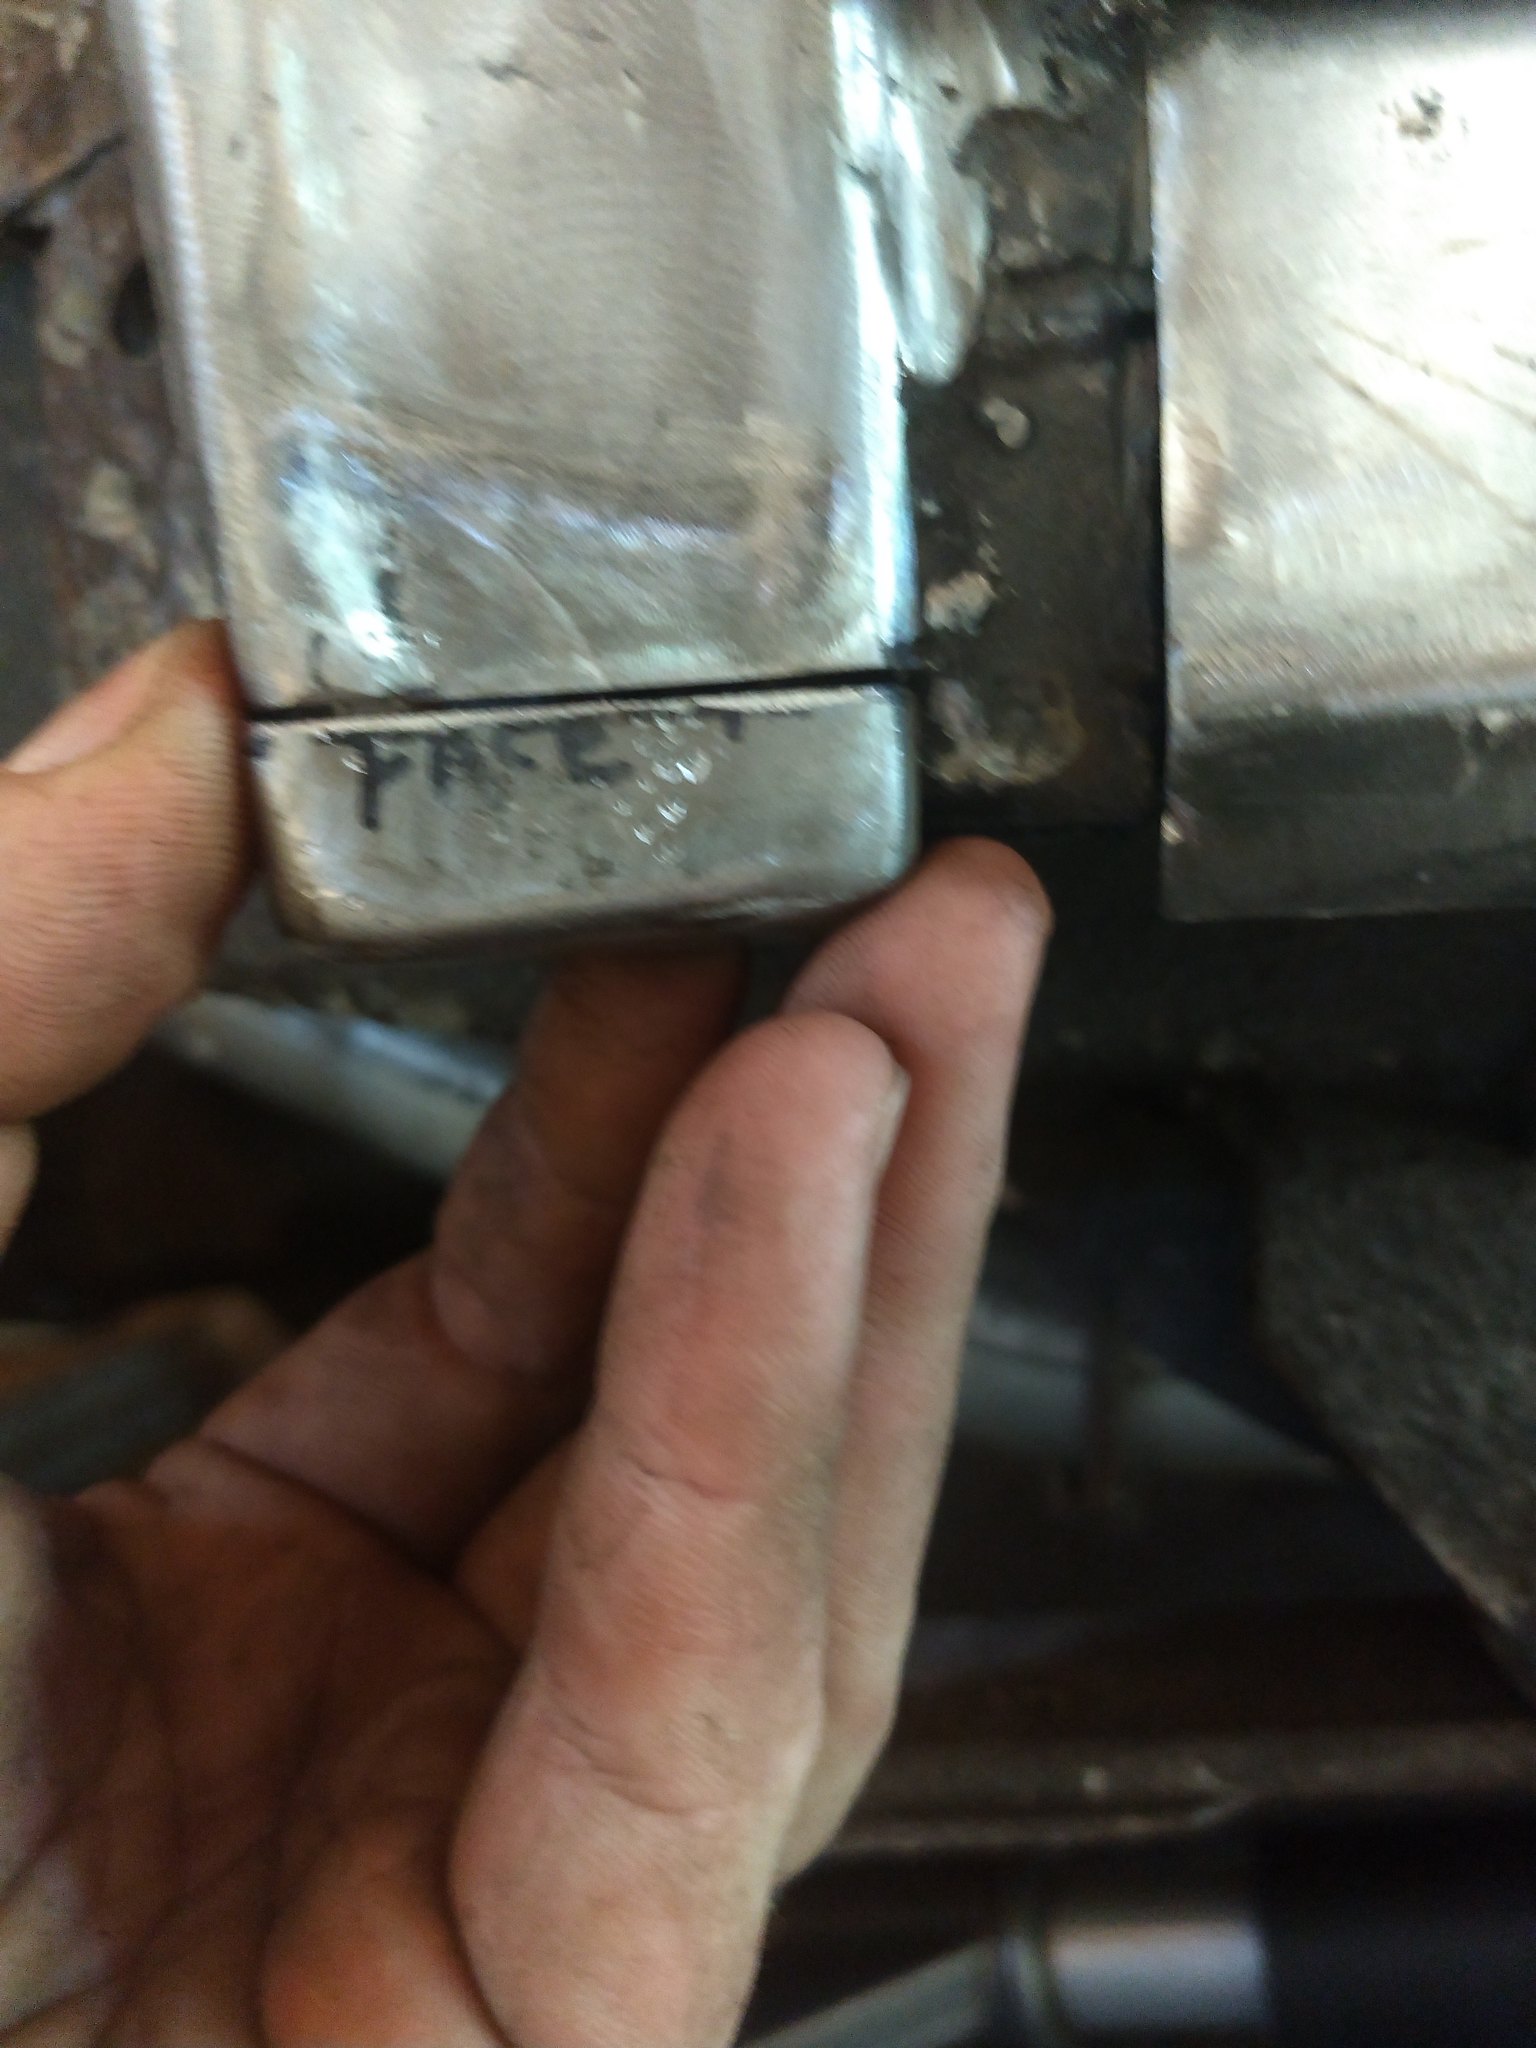
Didn't end up using much of it, but I made it not knowing how much I wanted to replace. Some of my previous work I had been questioning, but I decided it was better than I had remembered and left it.
 IMG_20180728_115517289_LL by Ryan Mazingo, on Flickr
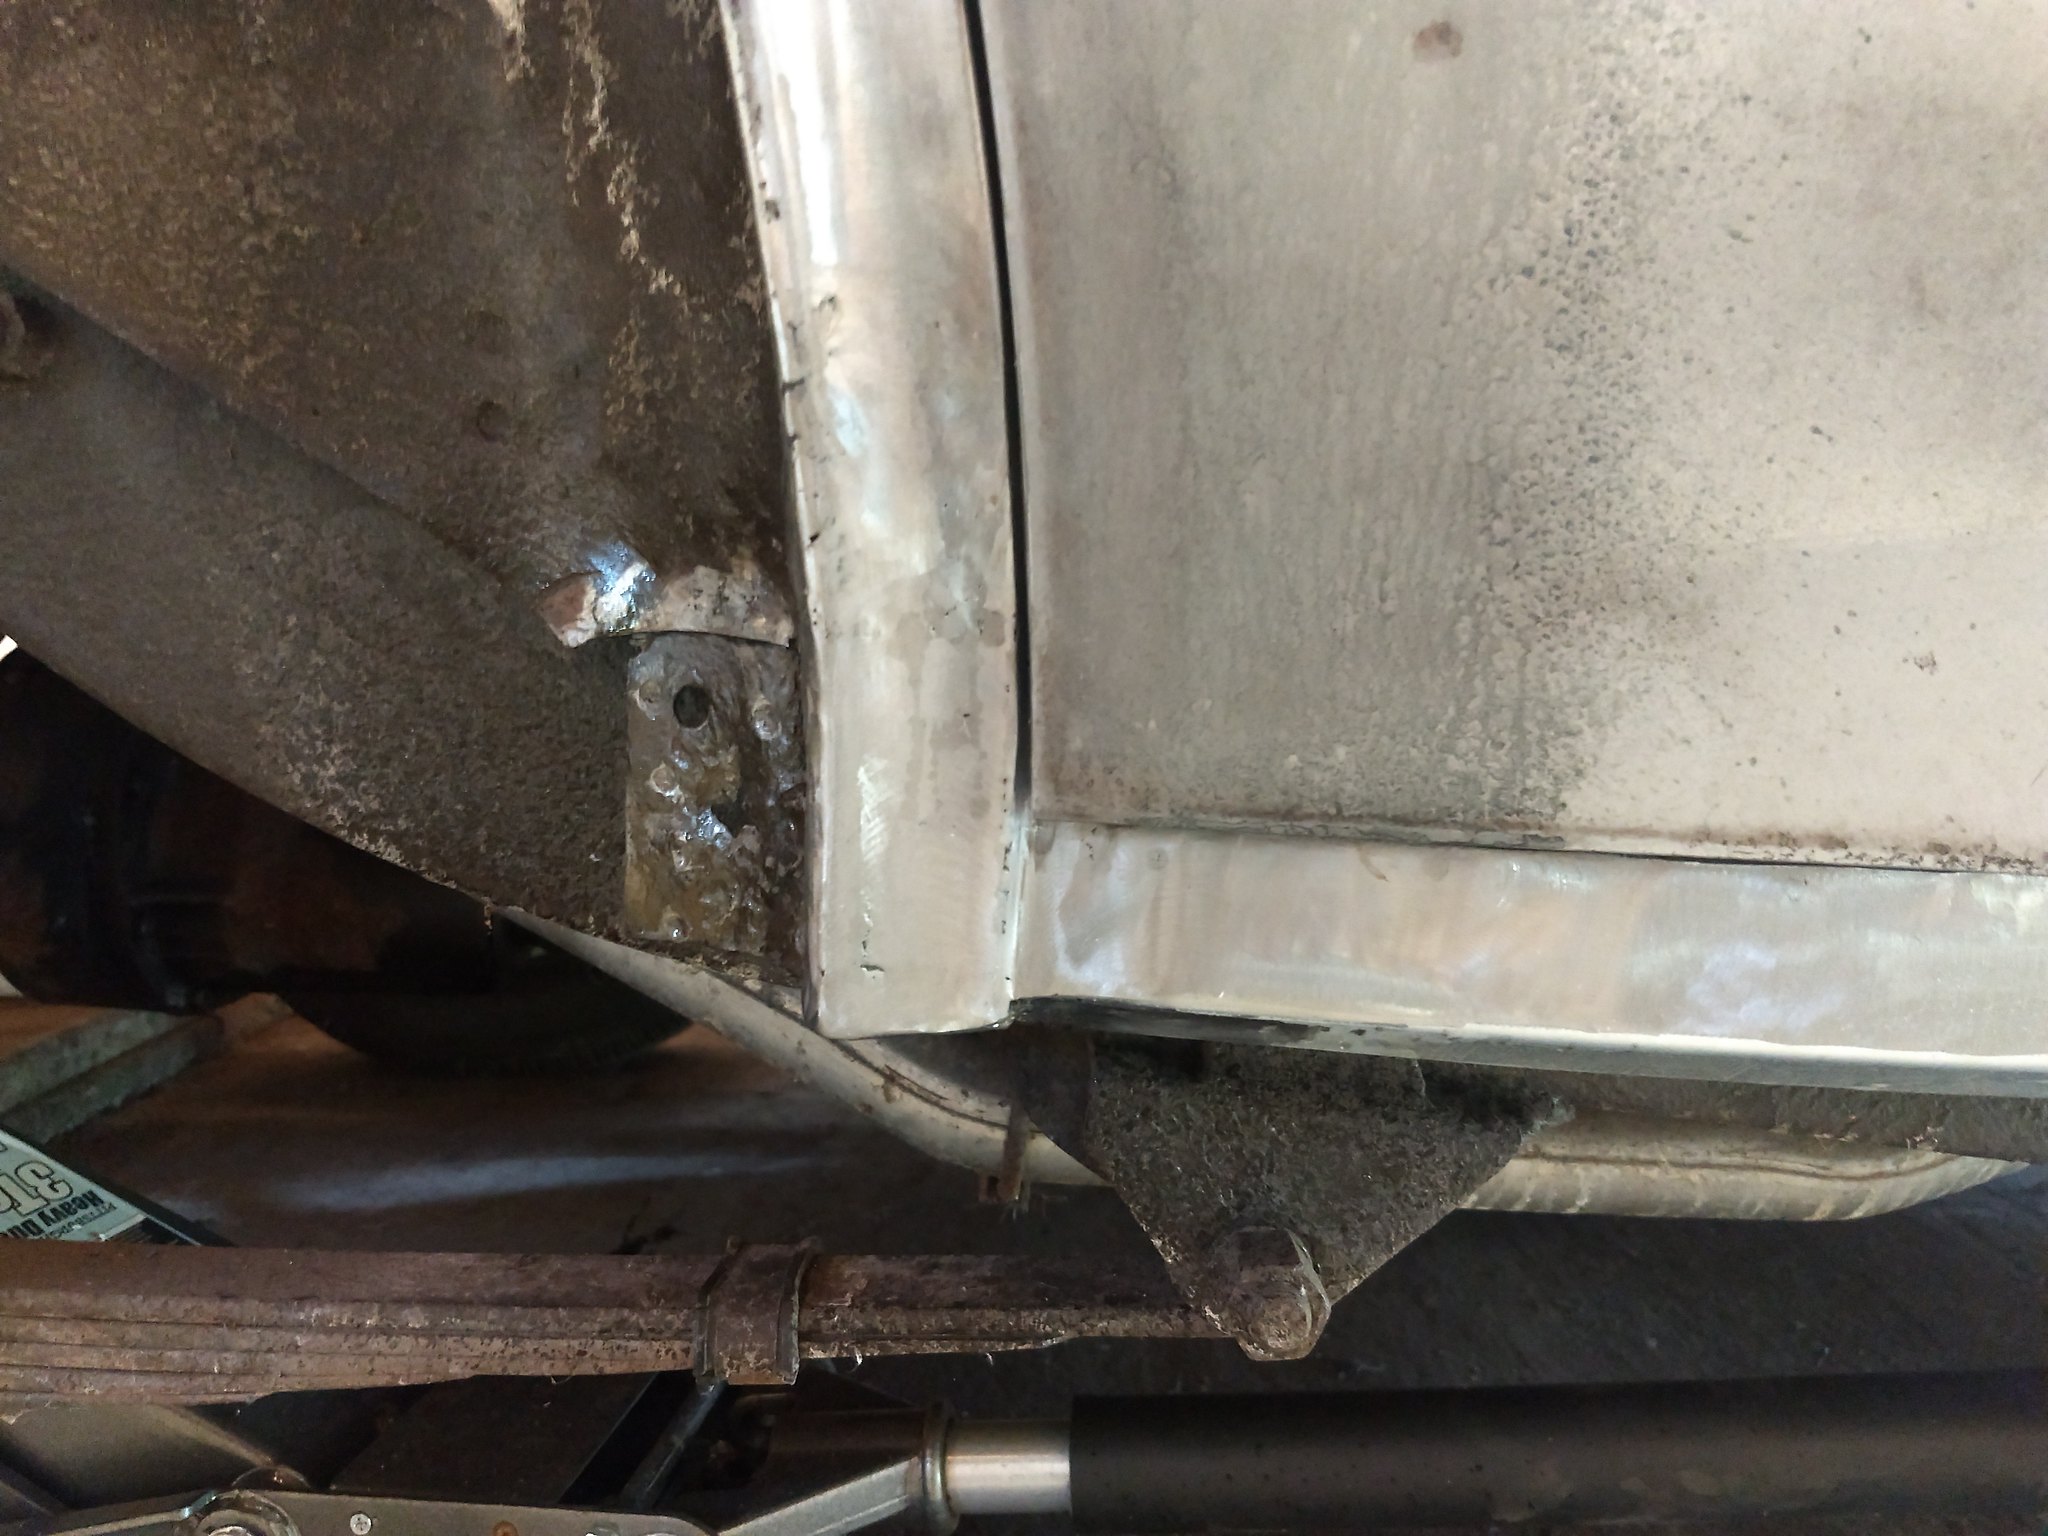
Got her all welded in and finished out the rocker once it was in. I didn't bother filling the inner wheel well, since I know already I'm going to have to do some operating in there after I narrow the rear frame rails; that's a whole other basket of worms I'll be covering later.
 IMG_20180728_131757966_LL by Ryan Mazingo, on Flickr
-
07-29-2018 04:57 AM #146
-
07-29-2018 05:08 AM #147
Nice to hear you've been getting some family time, good for you!
My S.i.L. is over here from Oregon for a couple weeks telling us of how hot and dry it is there. And I'm watching the news right now showing all the fires across the country. What a mess. Scary.
Good to see you post tho'. and with pictures too!! LOL.. Thanks for sharing them, maybe R2 will find some inspiration in them? As well as myself!! LOL..
-
07-29-2018 10:51 AM #148
Another build thrad I missed. Great work and project!"  "No matter where you go, there you are!" Steve.
-
07-30-2018 12:27 PM #149
- Join Date
- Apr 2011
- Location
- Prairie City
- Car Year, Make, Model: 40 Ford Deluxe, 68 Corvette, 72&76 K30
- Posts
- 7,301
- Blog Entries
- 1
Very nice work there! Narrowing the rails eh? I thought about doing that on my 40 but I didn't want to lose anymore interior/trunk room.Ryan
1940 Ford Deluxe Tudor 354 Hemi 46RH Electric Blue w/multi-color flames, Ford 9" Residing in multiple pieces
1968 Corvette Coupe 5.9 Cummins Drag Car 11.43@130mph No stall leaving the line with 1250 rpm's and poor 2.2 60'
1972 Chevy K30 Longhorn P-pumped 24v Compound Turbos 47RH Just another money pit
1971 Camaro RS 5.3 BTR Stage 3 cam, SuperT10
Tire Sizes
-
07-30-2018 01:29 PM #150
Unfortunately, it looks like I won't have a choice, unless I run the original axle (no chance) or get something so wide that the tires are going to hang out of the fenders like it's 1973.
I haven't measured, but there only seems to be about 8 inches from the frame rail to the outside edge of the wheel arch in the rear fender. I don't really like the idea of loosing trunk space, but with the humpback there's a little more room to play with, without giving up all my storage.


 322Likes

 LinkBack URL
 About LinkBacks
 Reply With Quote

A belated Happy 78th Birthday Roger Spears
Belated Happy Birthday