Thread: '37 Dodge sedan
Hybrid View
-
02-22-2018 11:31 PM #1
Alright, I'm back. Been absent a while, for a couple of reasons. Momma wanted a new kitchen, so I spent the last couple weekends adding trim to cabinet doors, painting all the cabinets and installing new countertops. I didn't mind the old stuff, but I figured she lets me escape to the shop more often then she asks for my help with literally anything, so I don't mind putting my projects on hold to make her happy. Also been "working" longer hours during the week. My place of employment offered to put me through an electronics troubleshooting course at the local community college, so I took them up on the offer, but it left very little time to spend with my family, so once again I decided it best to let the car wait. No regrets about that, it's not going anywhere, and my little girl is only getting bigger and more independent.
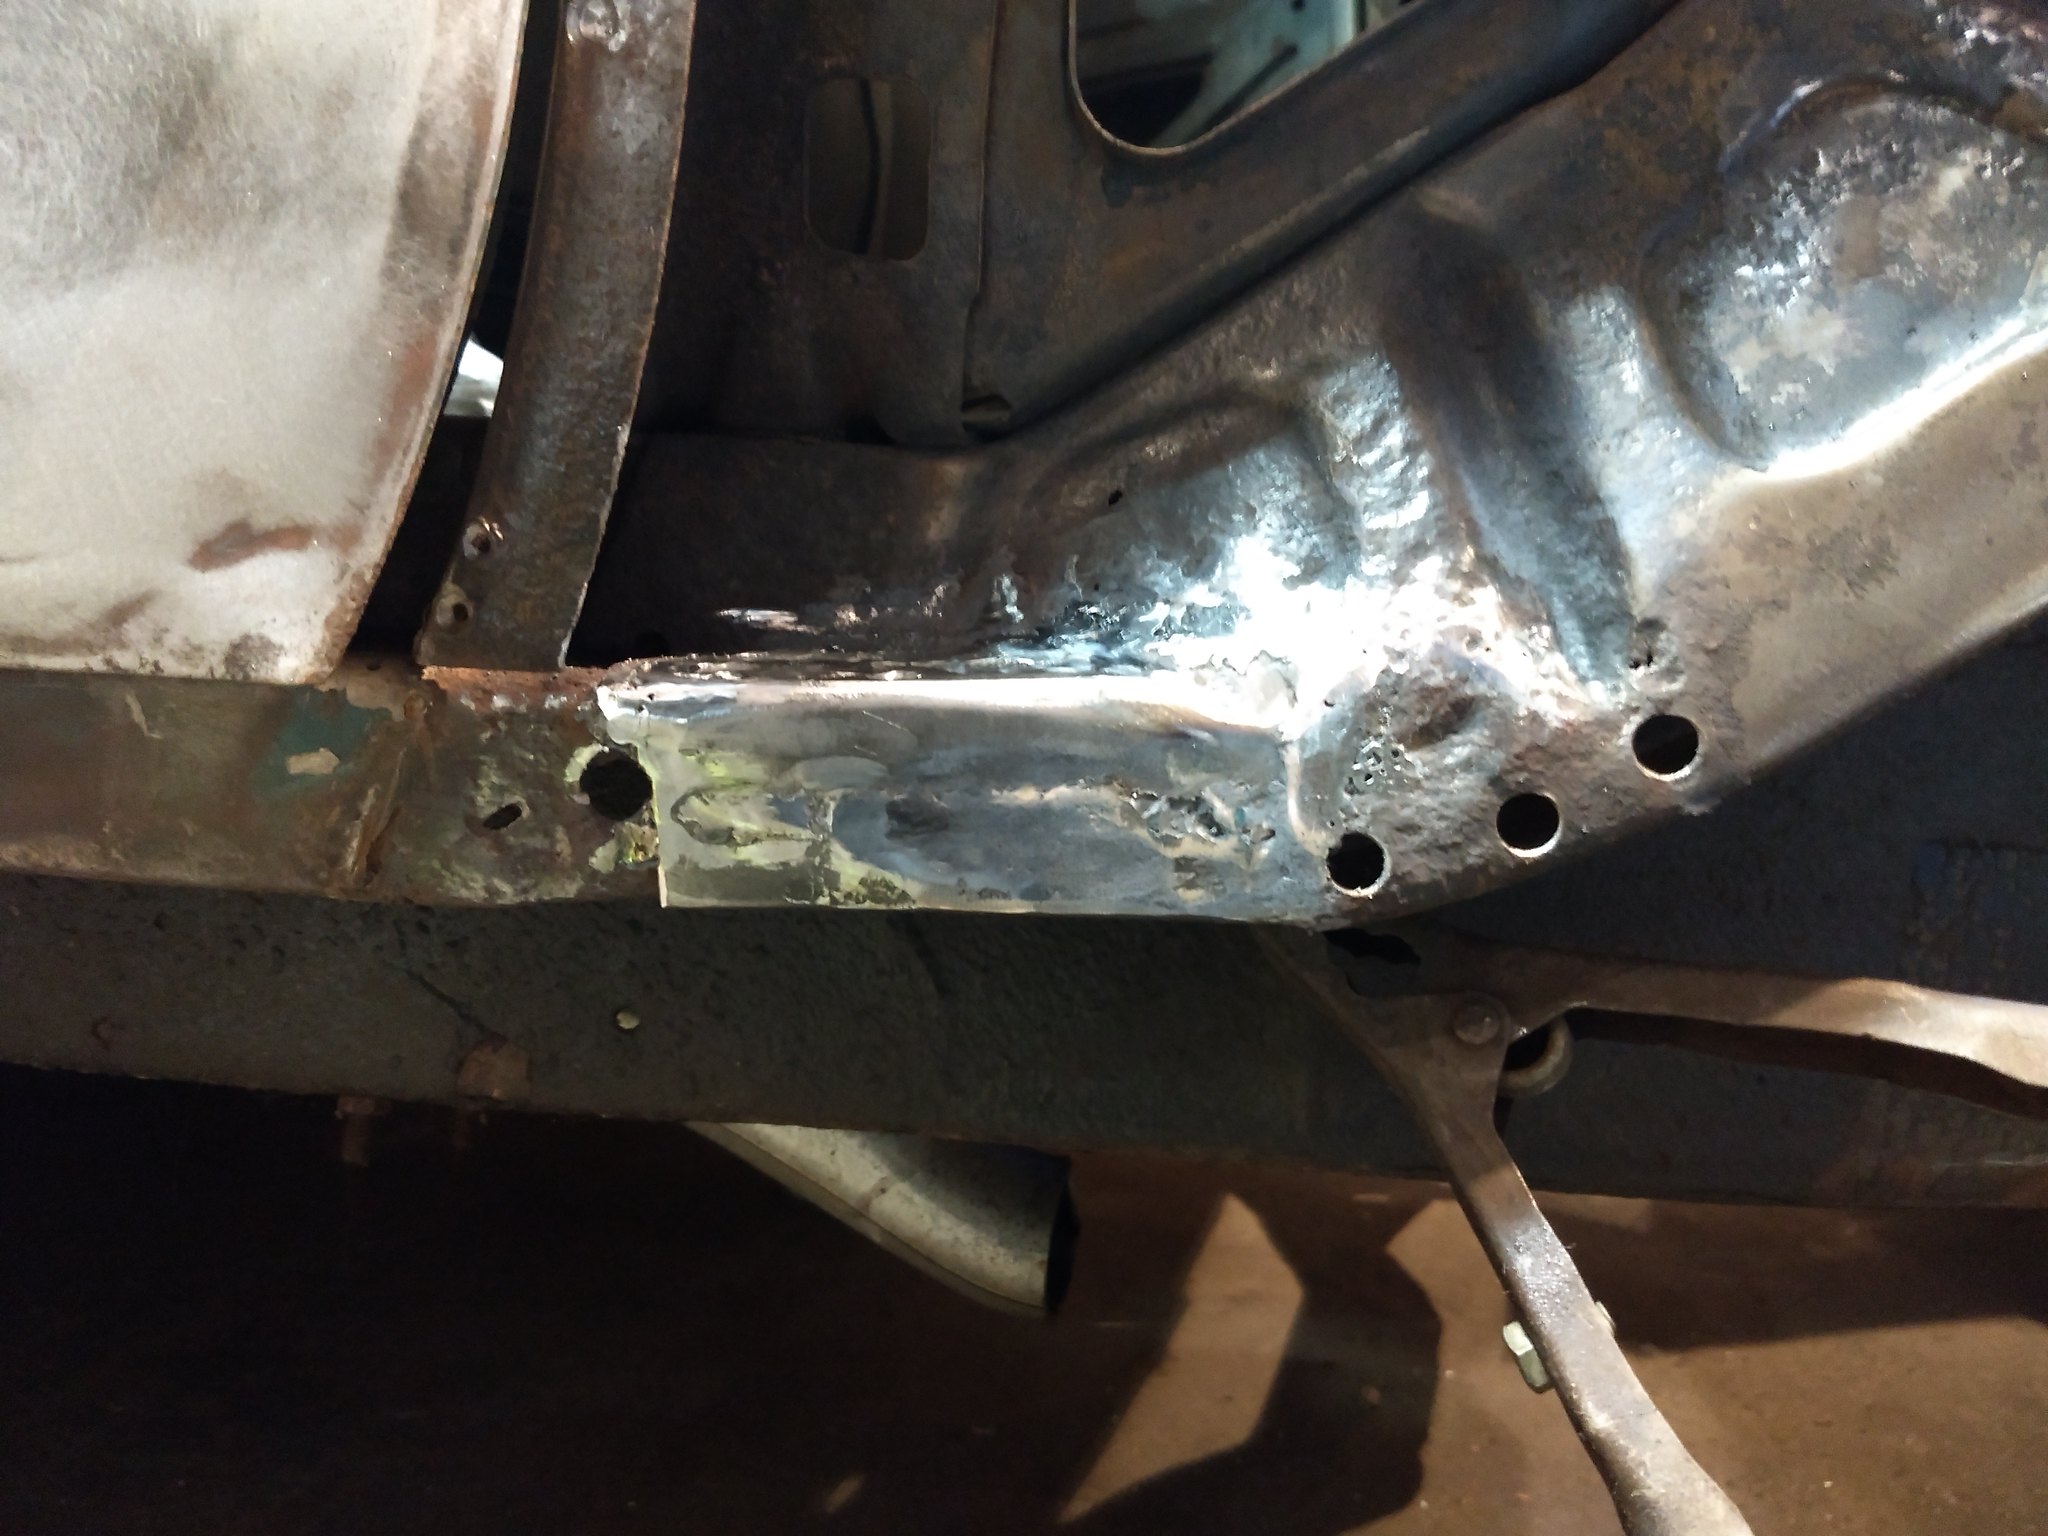
I finally got back at it this afternoon, though. Fixed some of that Swiss cheese structure inside the cowl today. I didn't focus too much on making it look pretty, because it can't be seen once it's all back together. Used 16g to make the patch and burned it in with the MIG.
 IMG_20180222_154303121 by Ryan Mazingo, on Flickr
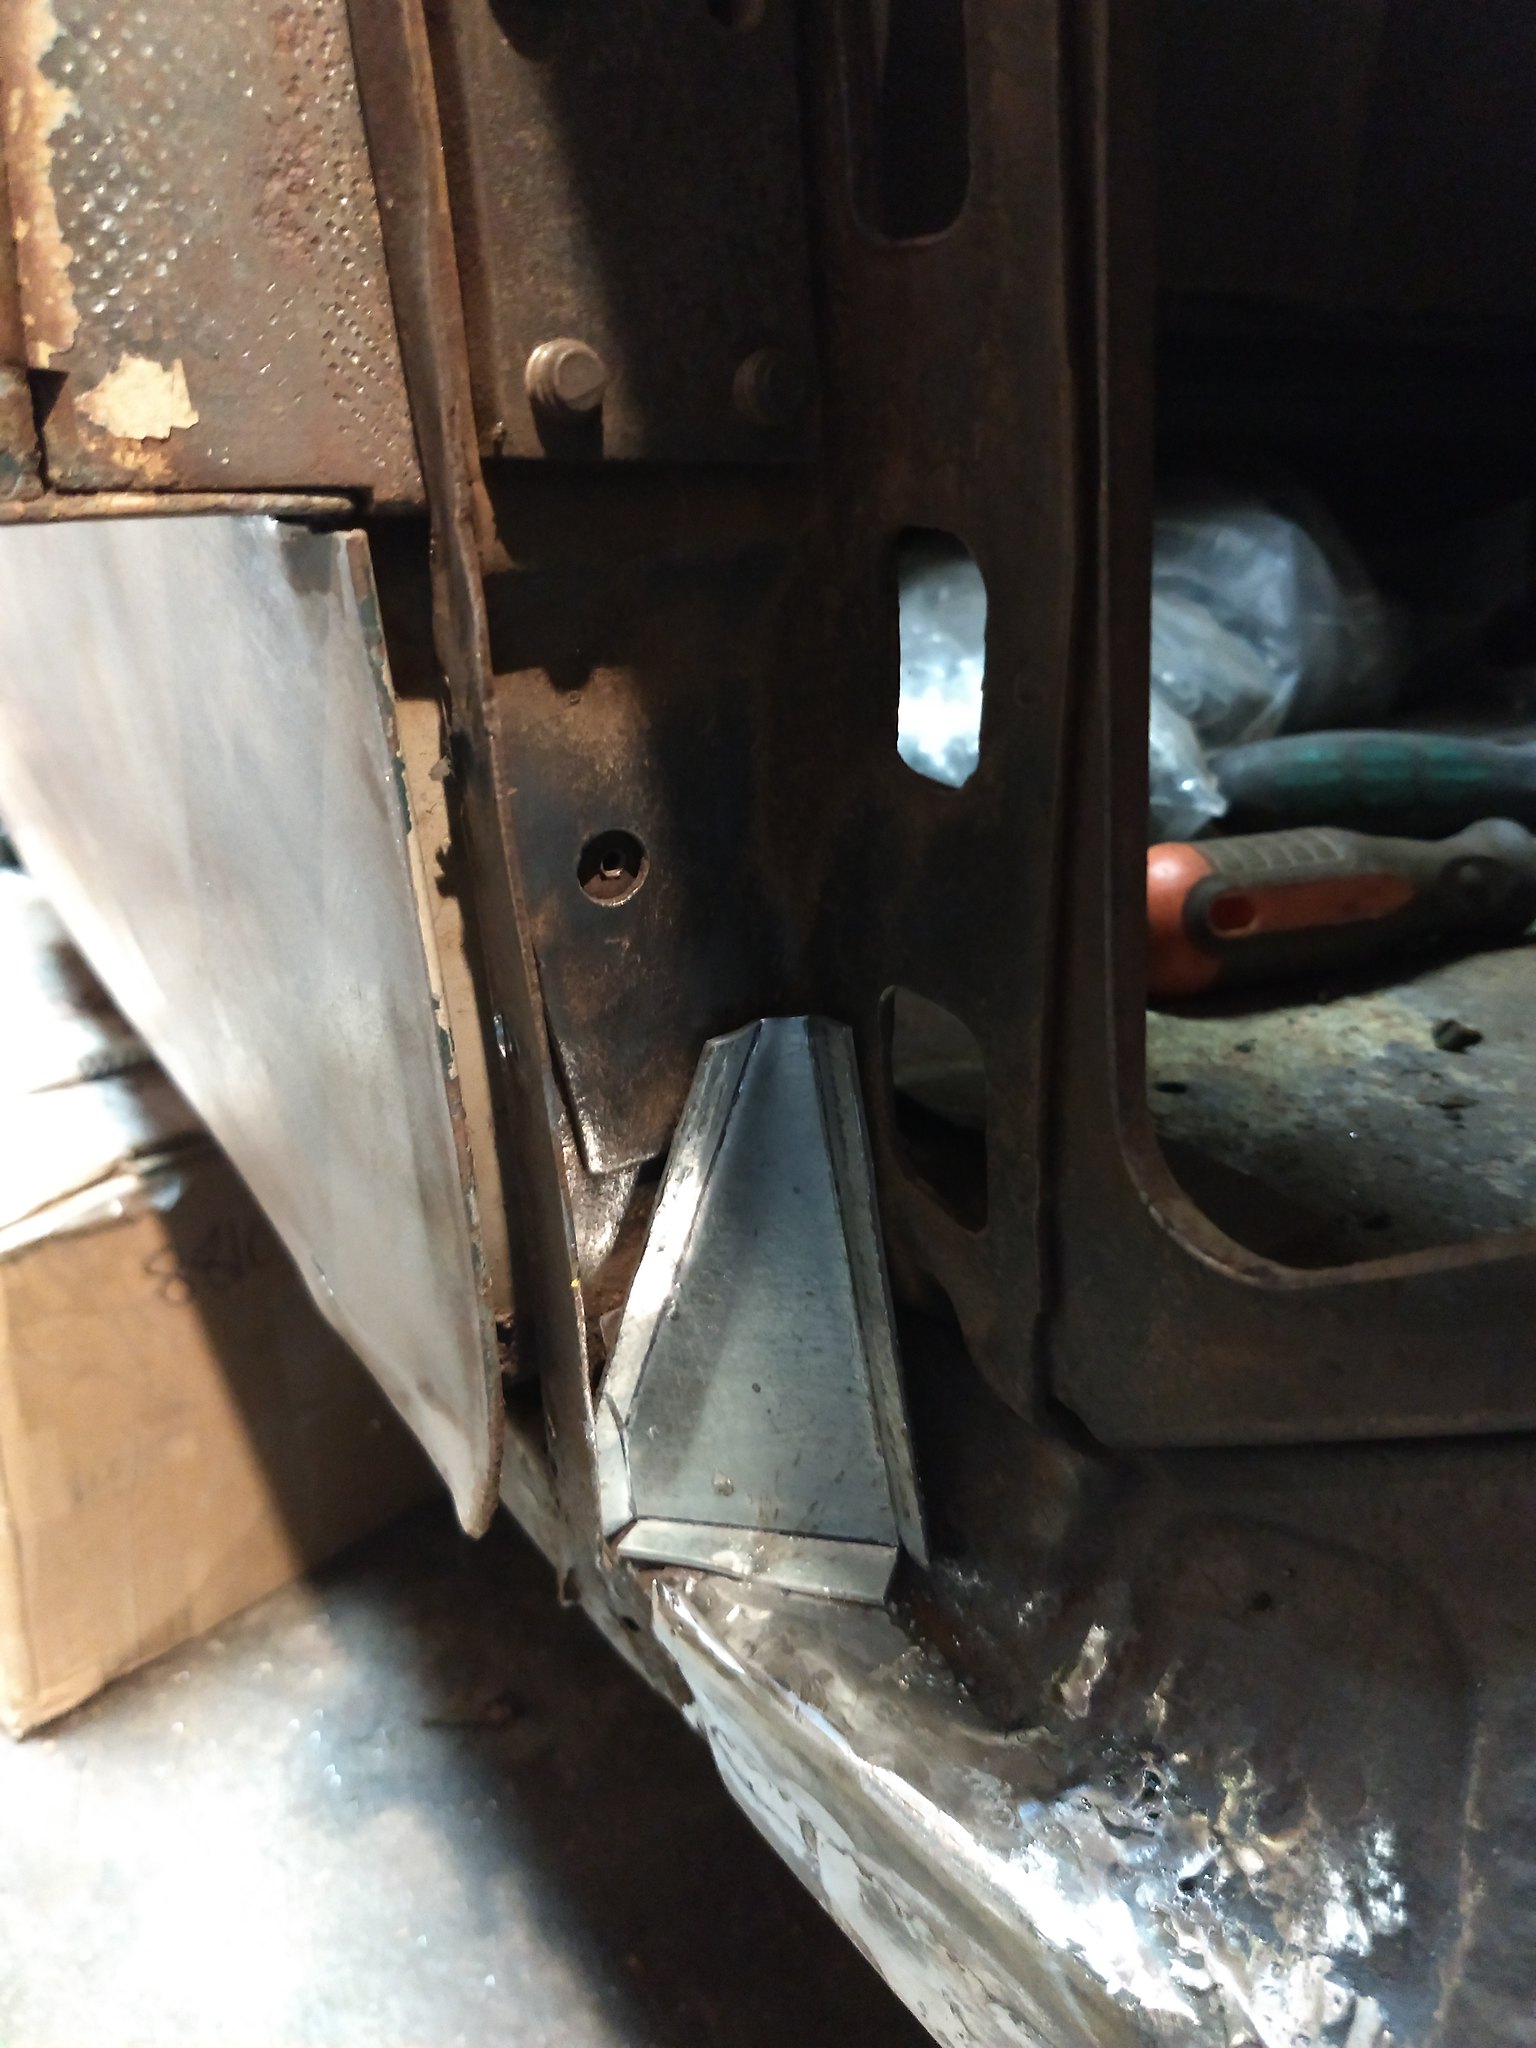
Also used some 16g scrap to make a couple small brackets to brace the lower door frame, now that its been beaten back into the correct location. The brackets fit into the bottom of the A-pillar and stretch diagonally across to the lower cowl structure and up to the inner toe board support. I think they'll do just fine for what I had in mind.
 IMG_20180222_160056454 by Ryan Mazingo, on Flickr
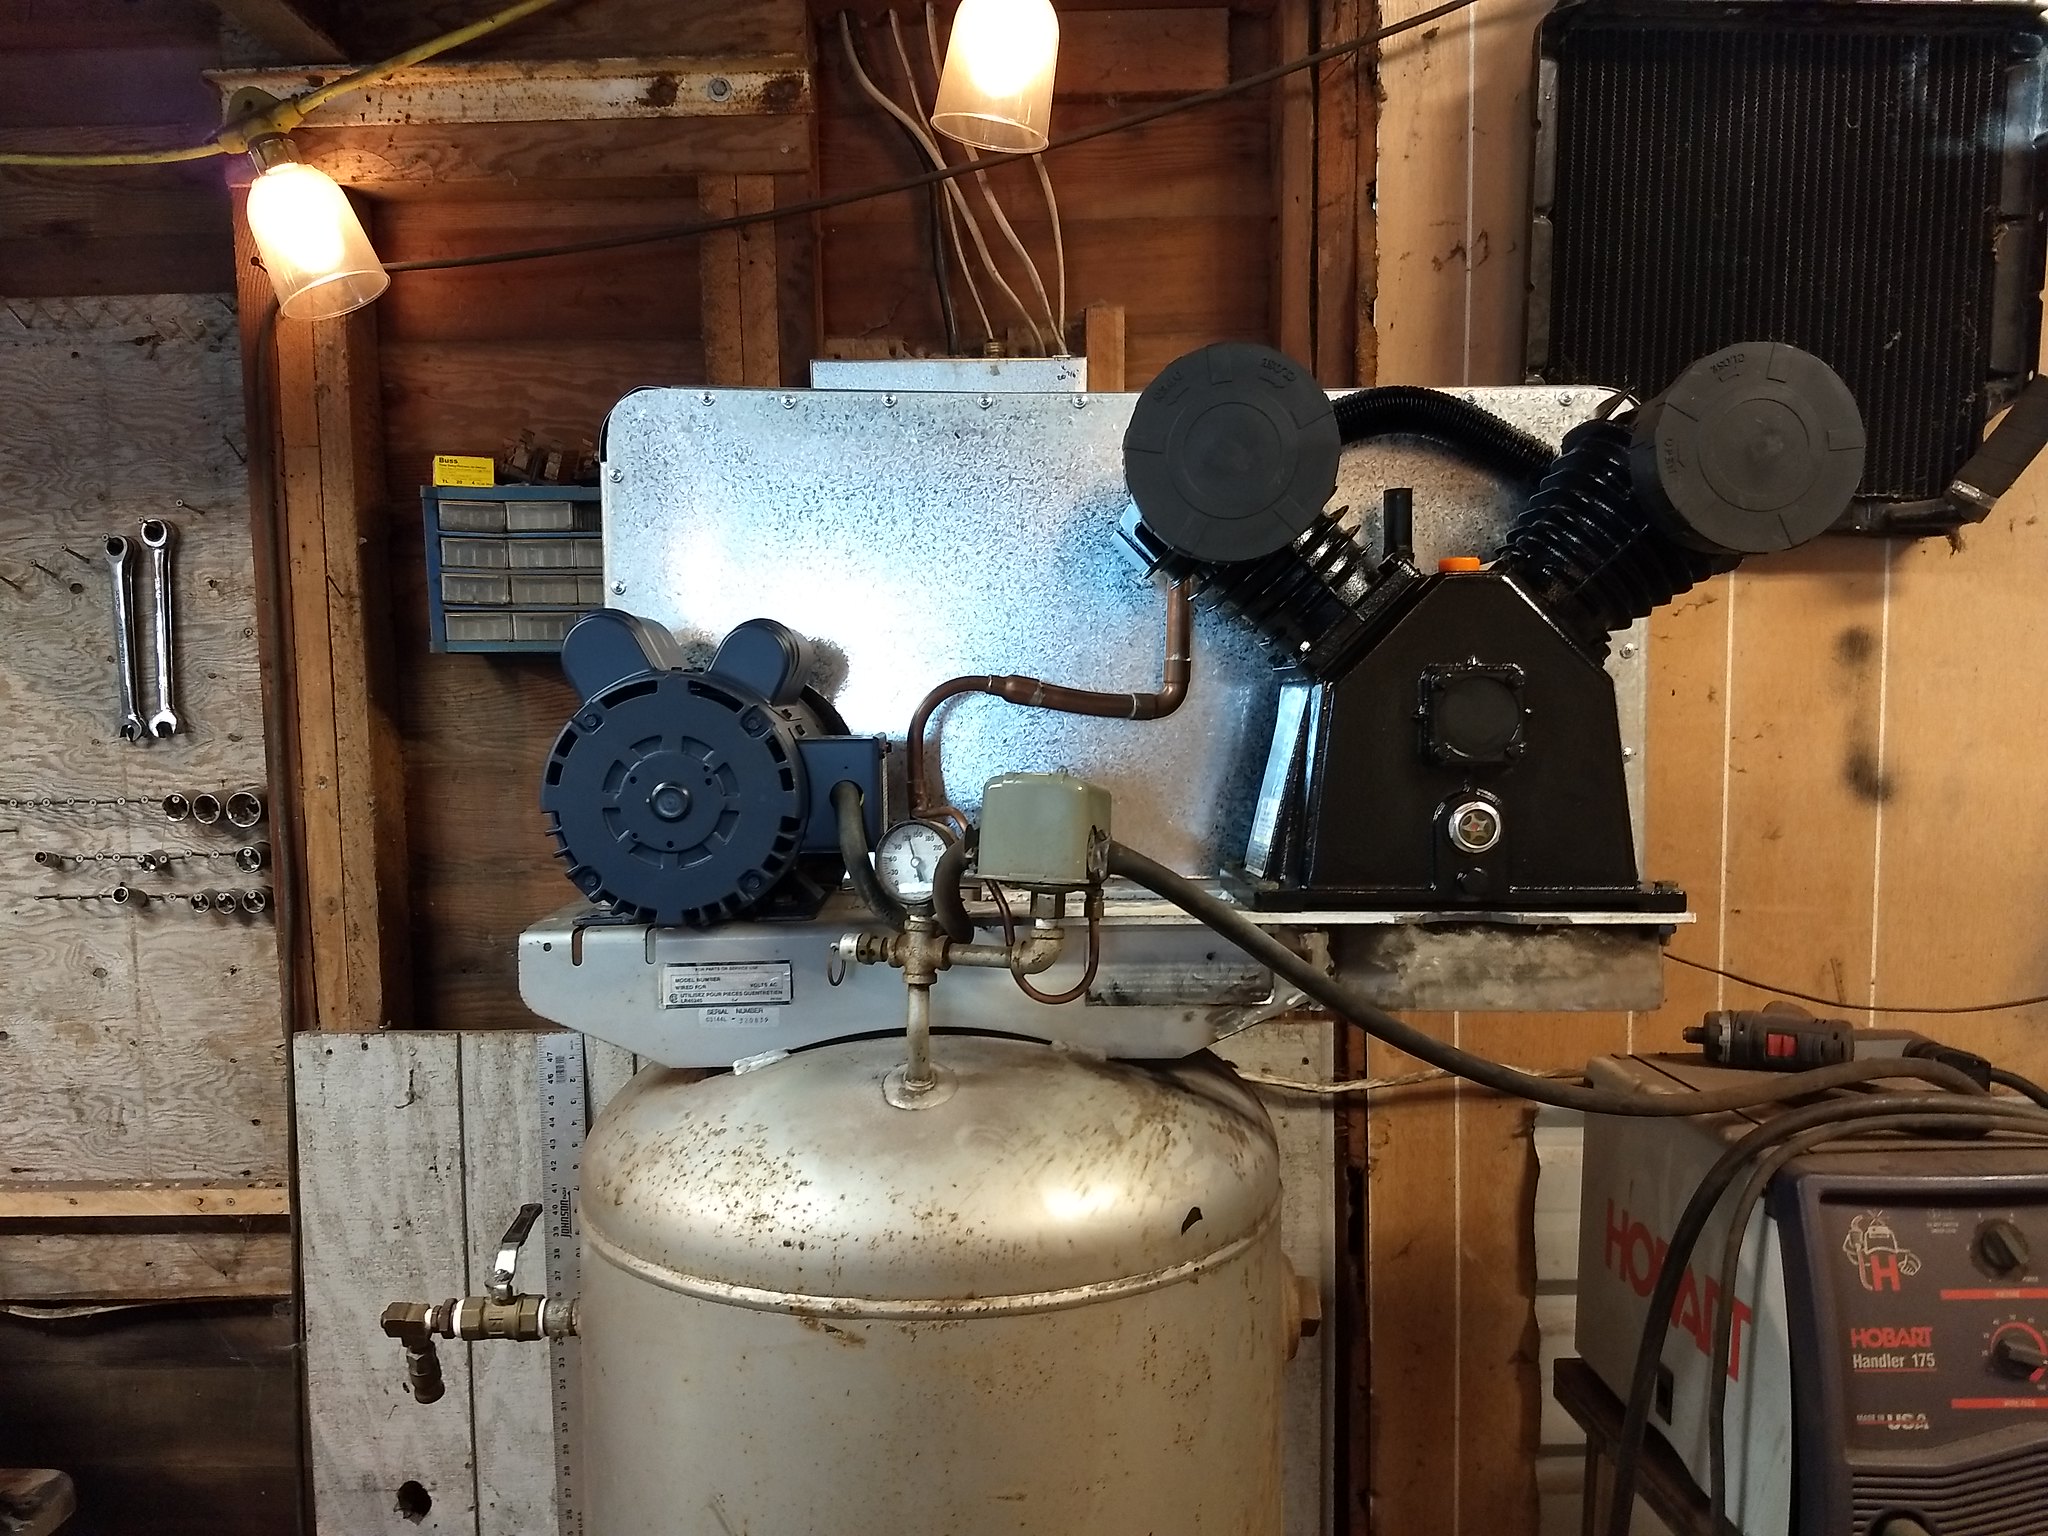
Also, final update on the compressor (hopefully). I went ahead and replaced the pump. Couldn't have the question lingering in the back of my mind, what with having just dropped a bunch of money on the new motor and all. I still need to drill some cooling holes in the belt cover I made for it, but it's not a big concern right now with the temperature as low as it's been. I also replaced the in-tank check valve, now it holds 125psi for 2 days without a noticable drop (testing only, I drain it every night when in use). Glad to finally have my big compressor back, the 110v Craftsman wasn't up to the task as a permanent solution.
 IMG_20180211_125308170 by Ryan Mazingo, on Flickr
-
02-23-2018 05:54 AM #2
Just curious, why do you drain the tank every night? You're venting off air that's already dropped out moisture (heat of compression, cooled to ambient in the tank, moisture condenses and collects in the bottom of the tank). If you just pop your drain valve open to blow off collected condensate as you leave the shop I'd think you're good unless you have concerns about your tank. Another option would be to turn off power to the compressor, so it doesn't run at night if it does happen to leak down. Again, just curious, no big deal.Roger
Enjoy the little things in life, and you may look back one day and realize that they were really the BIG things.
-
02-23-2018 06:10 AM #3
[QUOTE=rspears;575405]Just curious, why do you drain the tank every night?
Up here in the Pacific Northwest, there is no such thing as moisture free air. Ideally, in a perfect world, your theory is correct: but that has not been my experience. I haven't tried it in a few years, but my old compressor would flood the hose with vaporized water if I left it pressurized. Not as bad in the summer time, but it's so damn wet here 90% of the year that the warm months don't even cross your mind.
It also helps to prevent air leaks due to leaky seals and avoids unnecessary stress on the cylinder reeds. Ideally, the in-tank check valve should be keeping pressure off of the pump heads, once the unloader valve has relieved the pressure in the discharge line after it shuts down. But if the check valve leaks by, and you unplug your compressor when it's not in use (that'd be me) the solenoid doesn't have power to keep the unloader valve open: at least not on mine.
Basically, I've been doing it this way so long that I couldn't break the habit anyhow. Lol
-
02-23-2018 06:21 AM #4
Thanks for the explanation, and if it ain't broke, don't fix it! I can't disagree with anything you've said, it just made me wonder, so I asked.Roger
Enjoy the little things in life, and you may look back one day and realize that they were really the BIG things.
-
02-23-2018 06:28 AM #5
My logic may be flawed at times - admittedly I'm not an expert - but it makes sense to me, so I run with it.
-
02-23-2018 01:01 PM #6
- Join Date
- Apr 2011
- Location
- Prairie City
- Car Year, Make, Model: 40 Ford Deluxe, 68 Corvette, 72&76 K30
- Posts
- 7,300
- Blog Entries
- 1
Nice work on the patches and it's cool you got some free courses through work too.Ryan
1940 Ford Deluxe Tudor 354 Hemi 46RH Electric Blue w/multi-color flames, Ford 9" Residing in multiple pieces
1968 Corvette Coupe 5.9 Cummins Drag Car 11.43@130mph No stall leaving the line with 1250 rpm's and poor 2.2 60'
1972 Chevy K30 Longhorn P-pumped 24v Compound Turbos 47RH Just another money pit
1971 Camaro RS 5.3 BTR Stage 3 cam, SuperT10
Tire Sizes
-
02-24-2018 09:21 PM #7
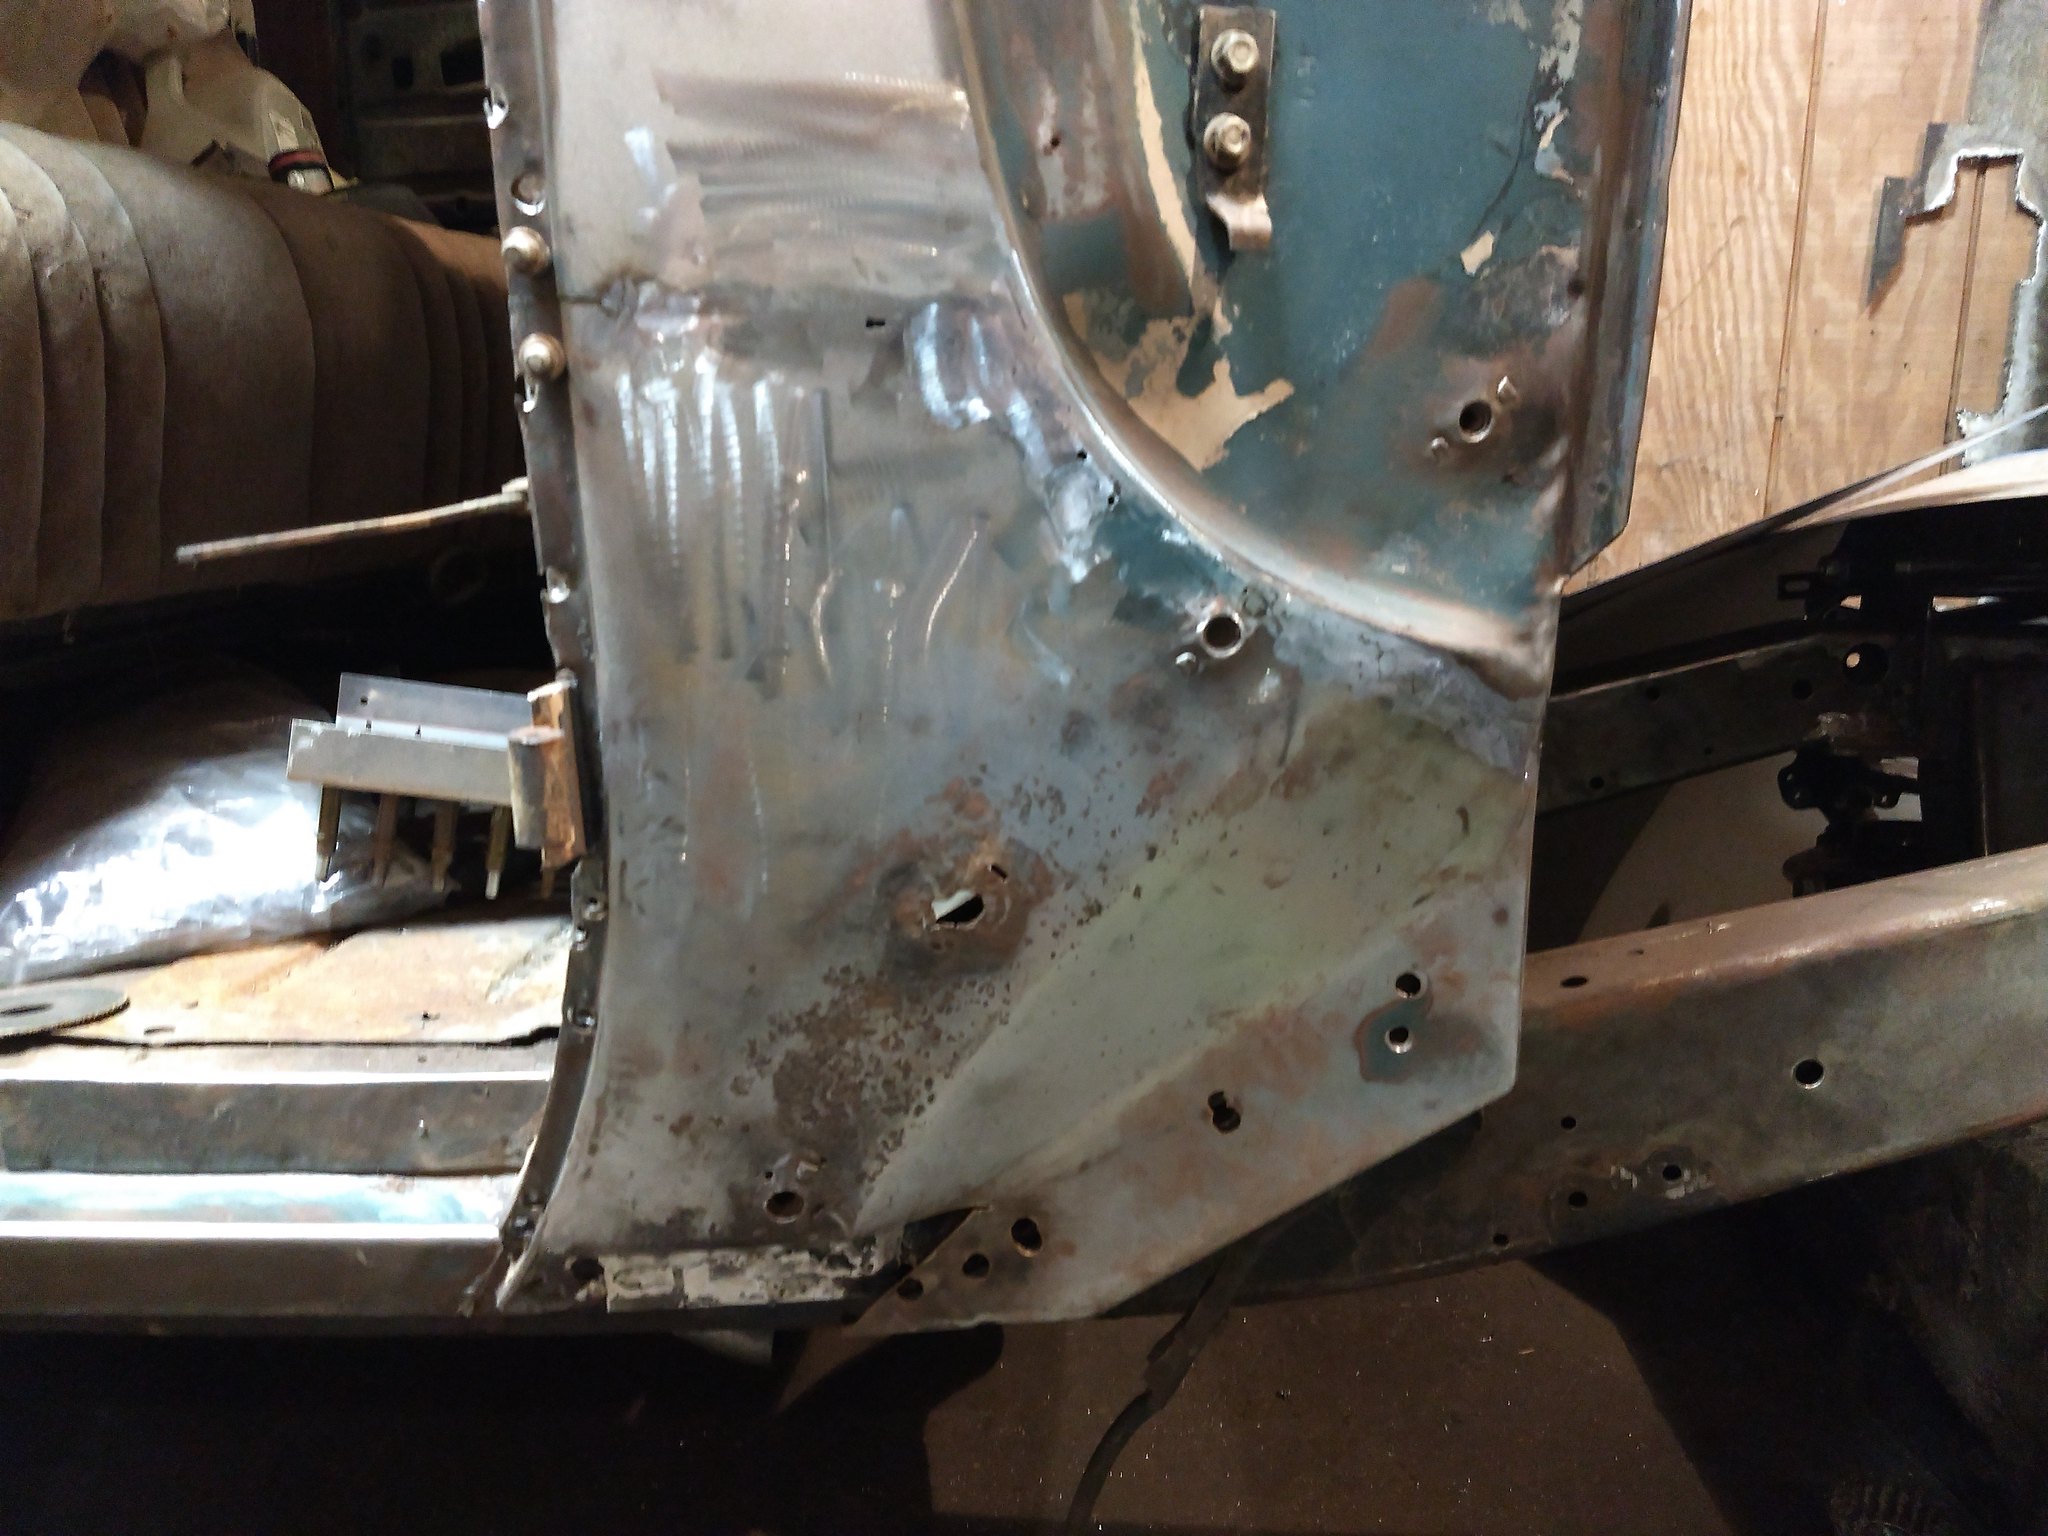
Welded in the new support bracket tonight and went ahead and closed up the lower cowl. Still have a few pin holes to take care of, but the cuts are closed up. I decided not to weld the door sill in place yet, because I need to rework the lower portion of the gap to make it follow the door better, so that will get a small pie cut and filler piece to make the door gap look as good as the rest already look.
 IMG_20180224_190818557 by Ryan Mazingo, on Flickr
Last edited by PNW Rodder; 02-24-2018 at 09:26 PM.
-
02-25-2018 06:11 PM #8
As I said before, the lower door gap needed some love. Cut here, weld there, check the fit with the door in place. You get the idea.
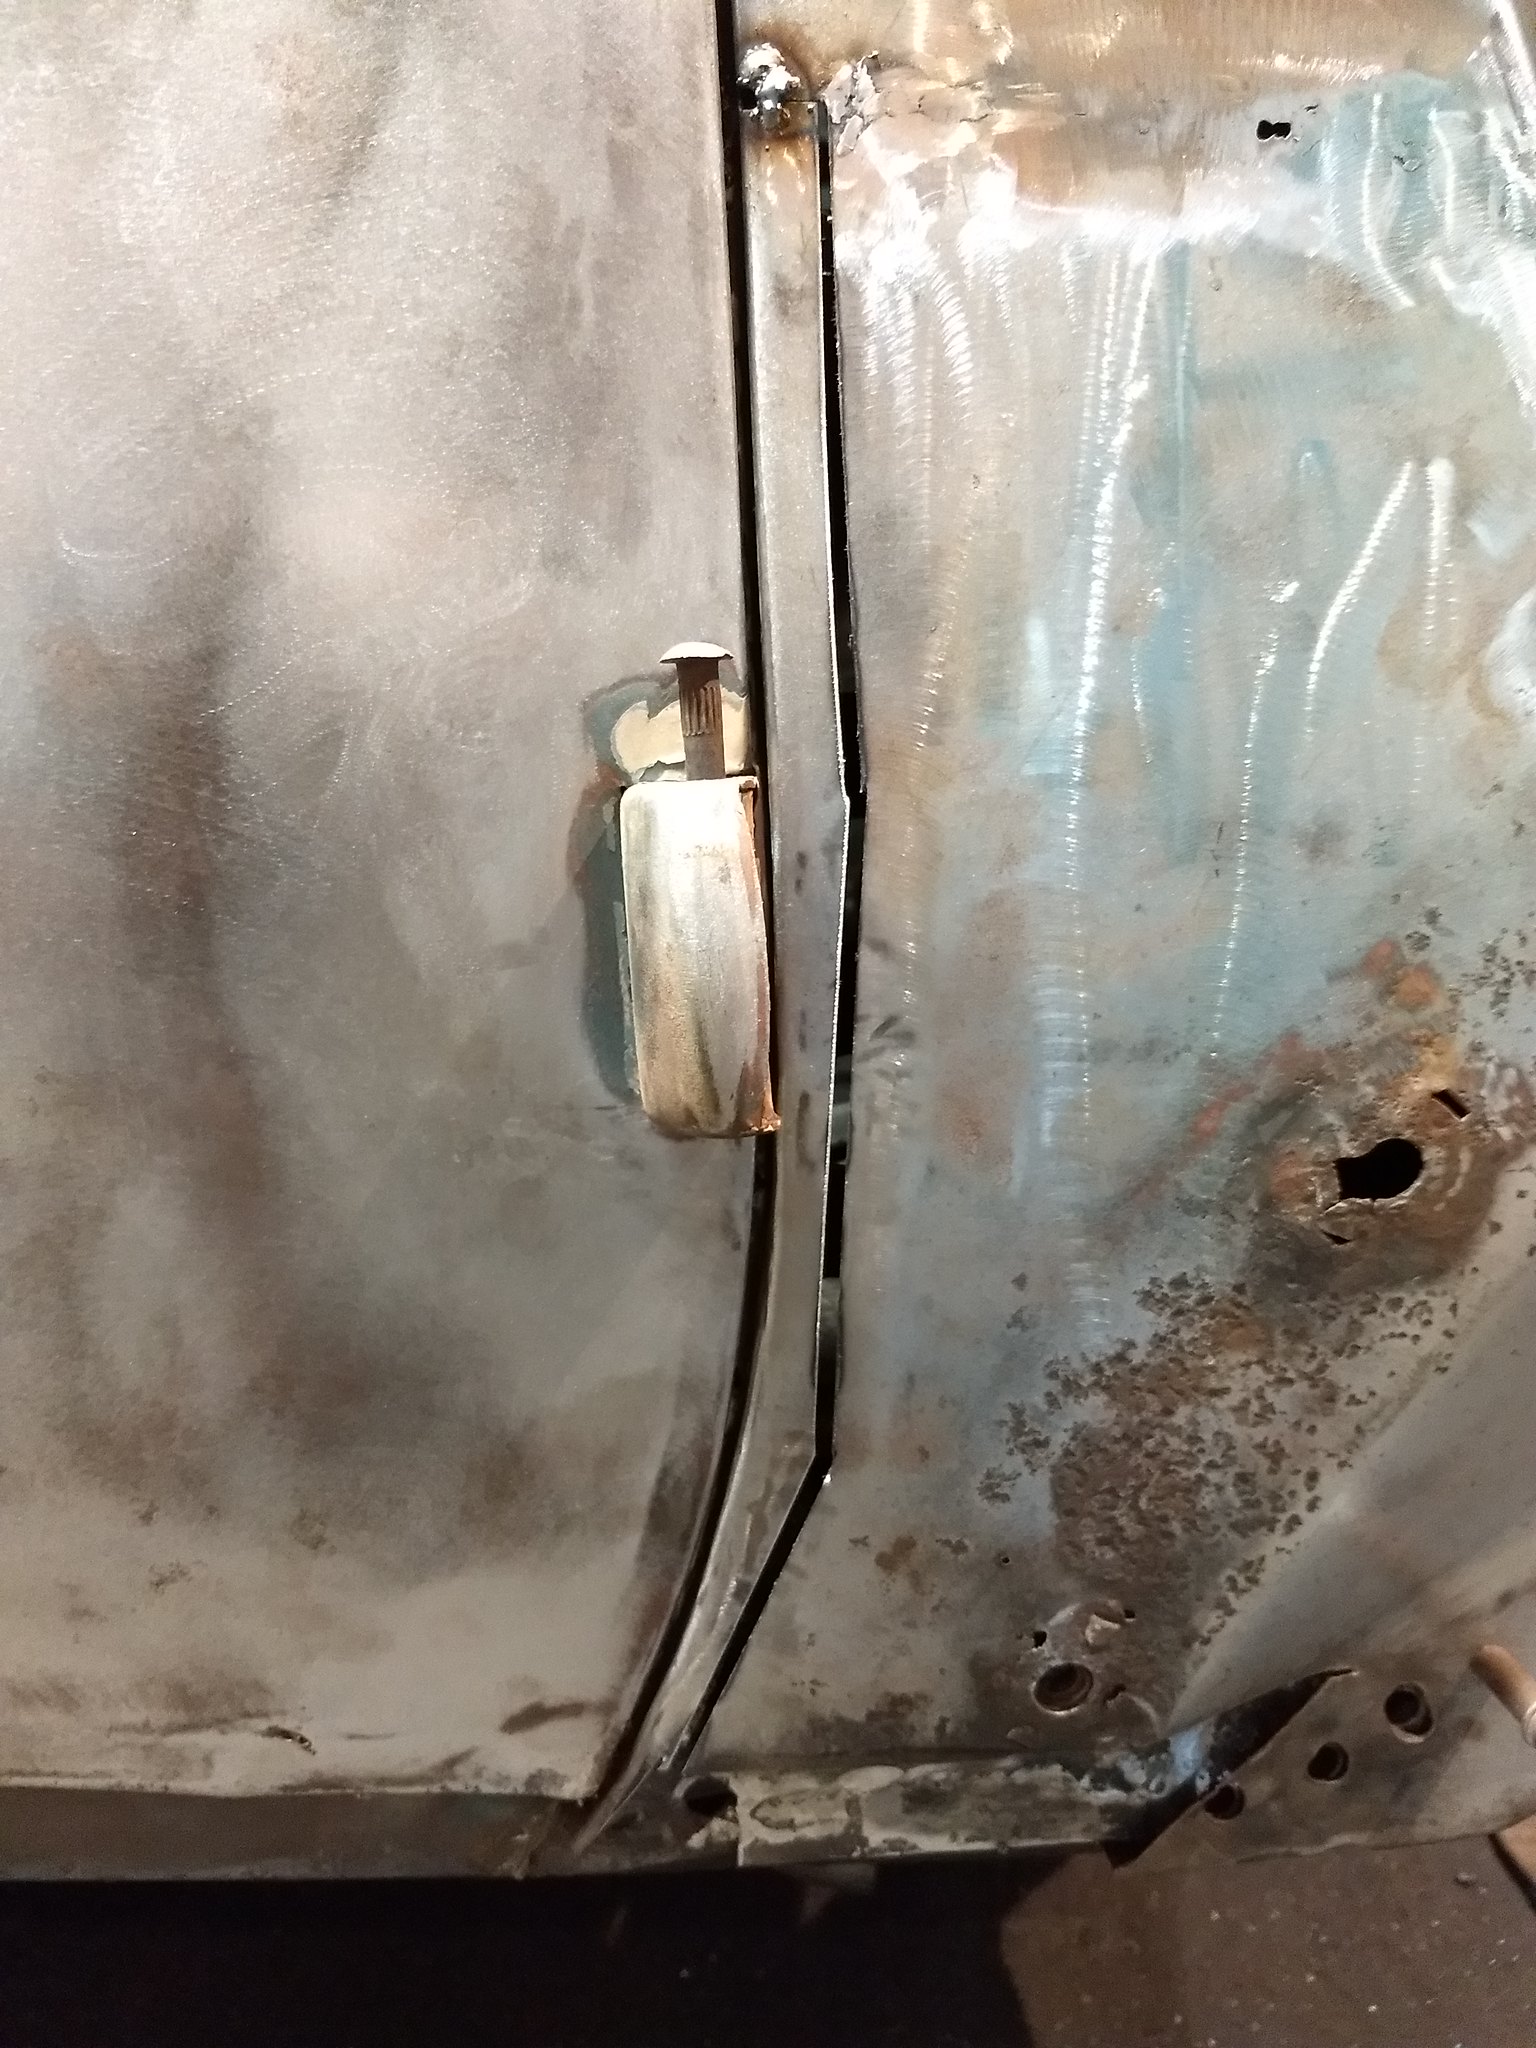 IMG_20180225_160644173 by Ryan Mazingo, on Flickr
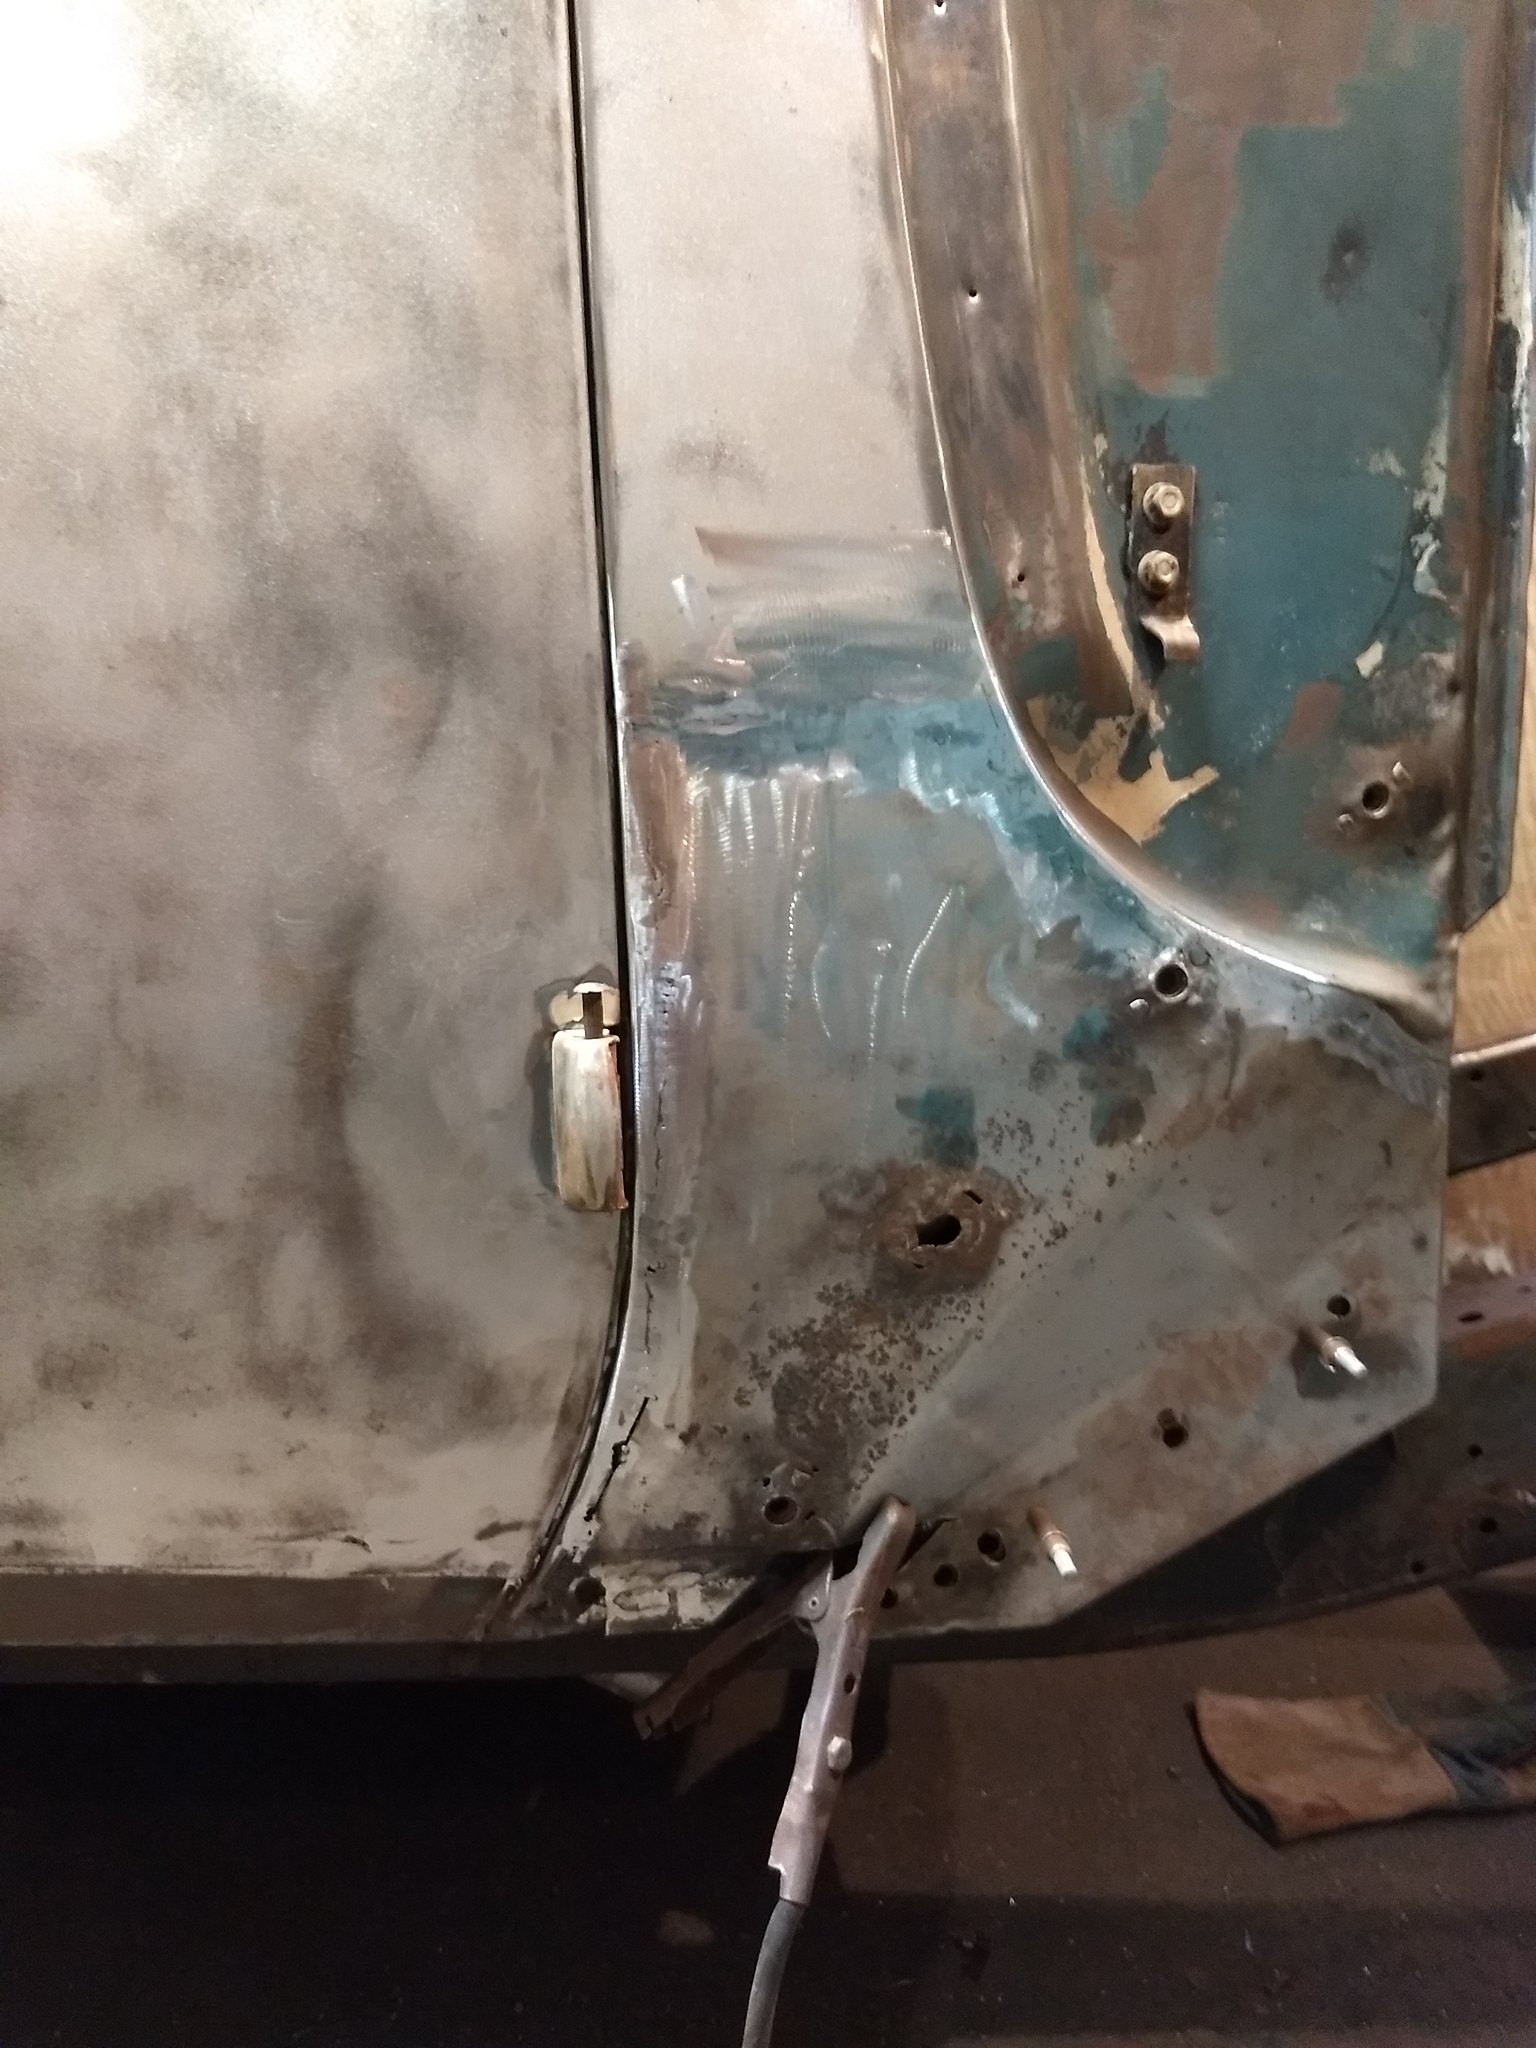 IMG_20180225_173804048 by Ryan Mazingo, on Flickr
-
02-26-2018 04:30 PM #9
Nice Patchwork and getting the gaps good. Is the door slid forward on the last pic to make sure that the lines are exactly the same? Just asking cuz it looks like they're touching.Seth
God cannot give us a happiness and peace apart from Himself, because it is not there. There is no such thing. C.S.Lewis
-
02-26-2018 05:01 PM #10
It's either an optical illusion, or the door wasn't fully closed when I took the pic. You can see the bottom corner of the door needs a little love in the 2nd picture of post #63, so if the door isn't fully closed the gap can appear tighter than it really is; it's actually pretty consistent from the top hinge down. I'm not putting a lot of effort into making all the door gaps perfect, even though they really are pretty nice already, but this one was a mess because of that pillar being pushed forward. Part of the character of any car, to me, is the imperfections. I'll repair the rust as necessary, and clean up some of the bumps and bruises she's earned over the years, but I don't want to take away her personality. Door gaps weren't perfect from the factory, and I'm not trying to win any trophies, so I'm not gonna stress about them too much.Last edited by PNW Rodder; 02-26-2018 at 11:26 PM.
-
02-26-2018 05:18 PM #11
We've had snow here for the last week, but it finally melted off yesterday. Woke up this morning to 3" of fresh powder and it was still coming down hard. I'm confident in my abilities to drive in just about any weather, but I live in a place where I'm constantly surrounded by the dumbest drivers on Earth, and I don't trust any of their abilities on dry ground, so I don't risk it with fresh snow. The wife and I both took the day off and I managed to squeeze in a little shop time.
So, are you sick of looking at the cowl yet? Too bad, cuz that's what you get to see. Throughout this whole series of updates the plan has been to get the cowl back together before fixing the issues in the center of the panel. I did it this way because I wanted the entire panel fixed in place before I started cutting out and replacing the damage so I don't end up ruining work I've already done. I could've fixed the panel on the bench, but I couldn't verify that the fender and door would line up with it off the car. The new metal you see was installed in 3 separate pieces: the main skin, the inside door sill and the lower piece to seal up the patch below the door's front corner. Same process as always: make and fit the patch, tack it in place, check the fit, weld and grind until pleased with the results.
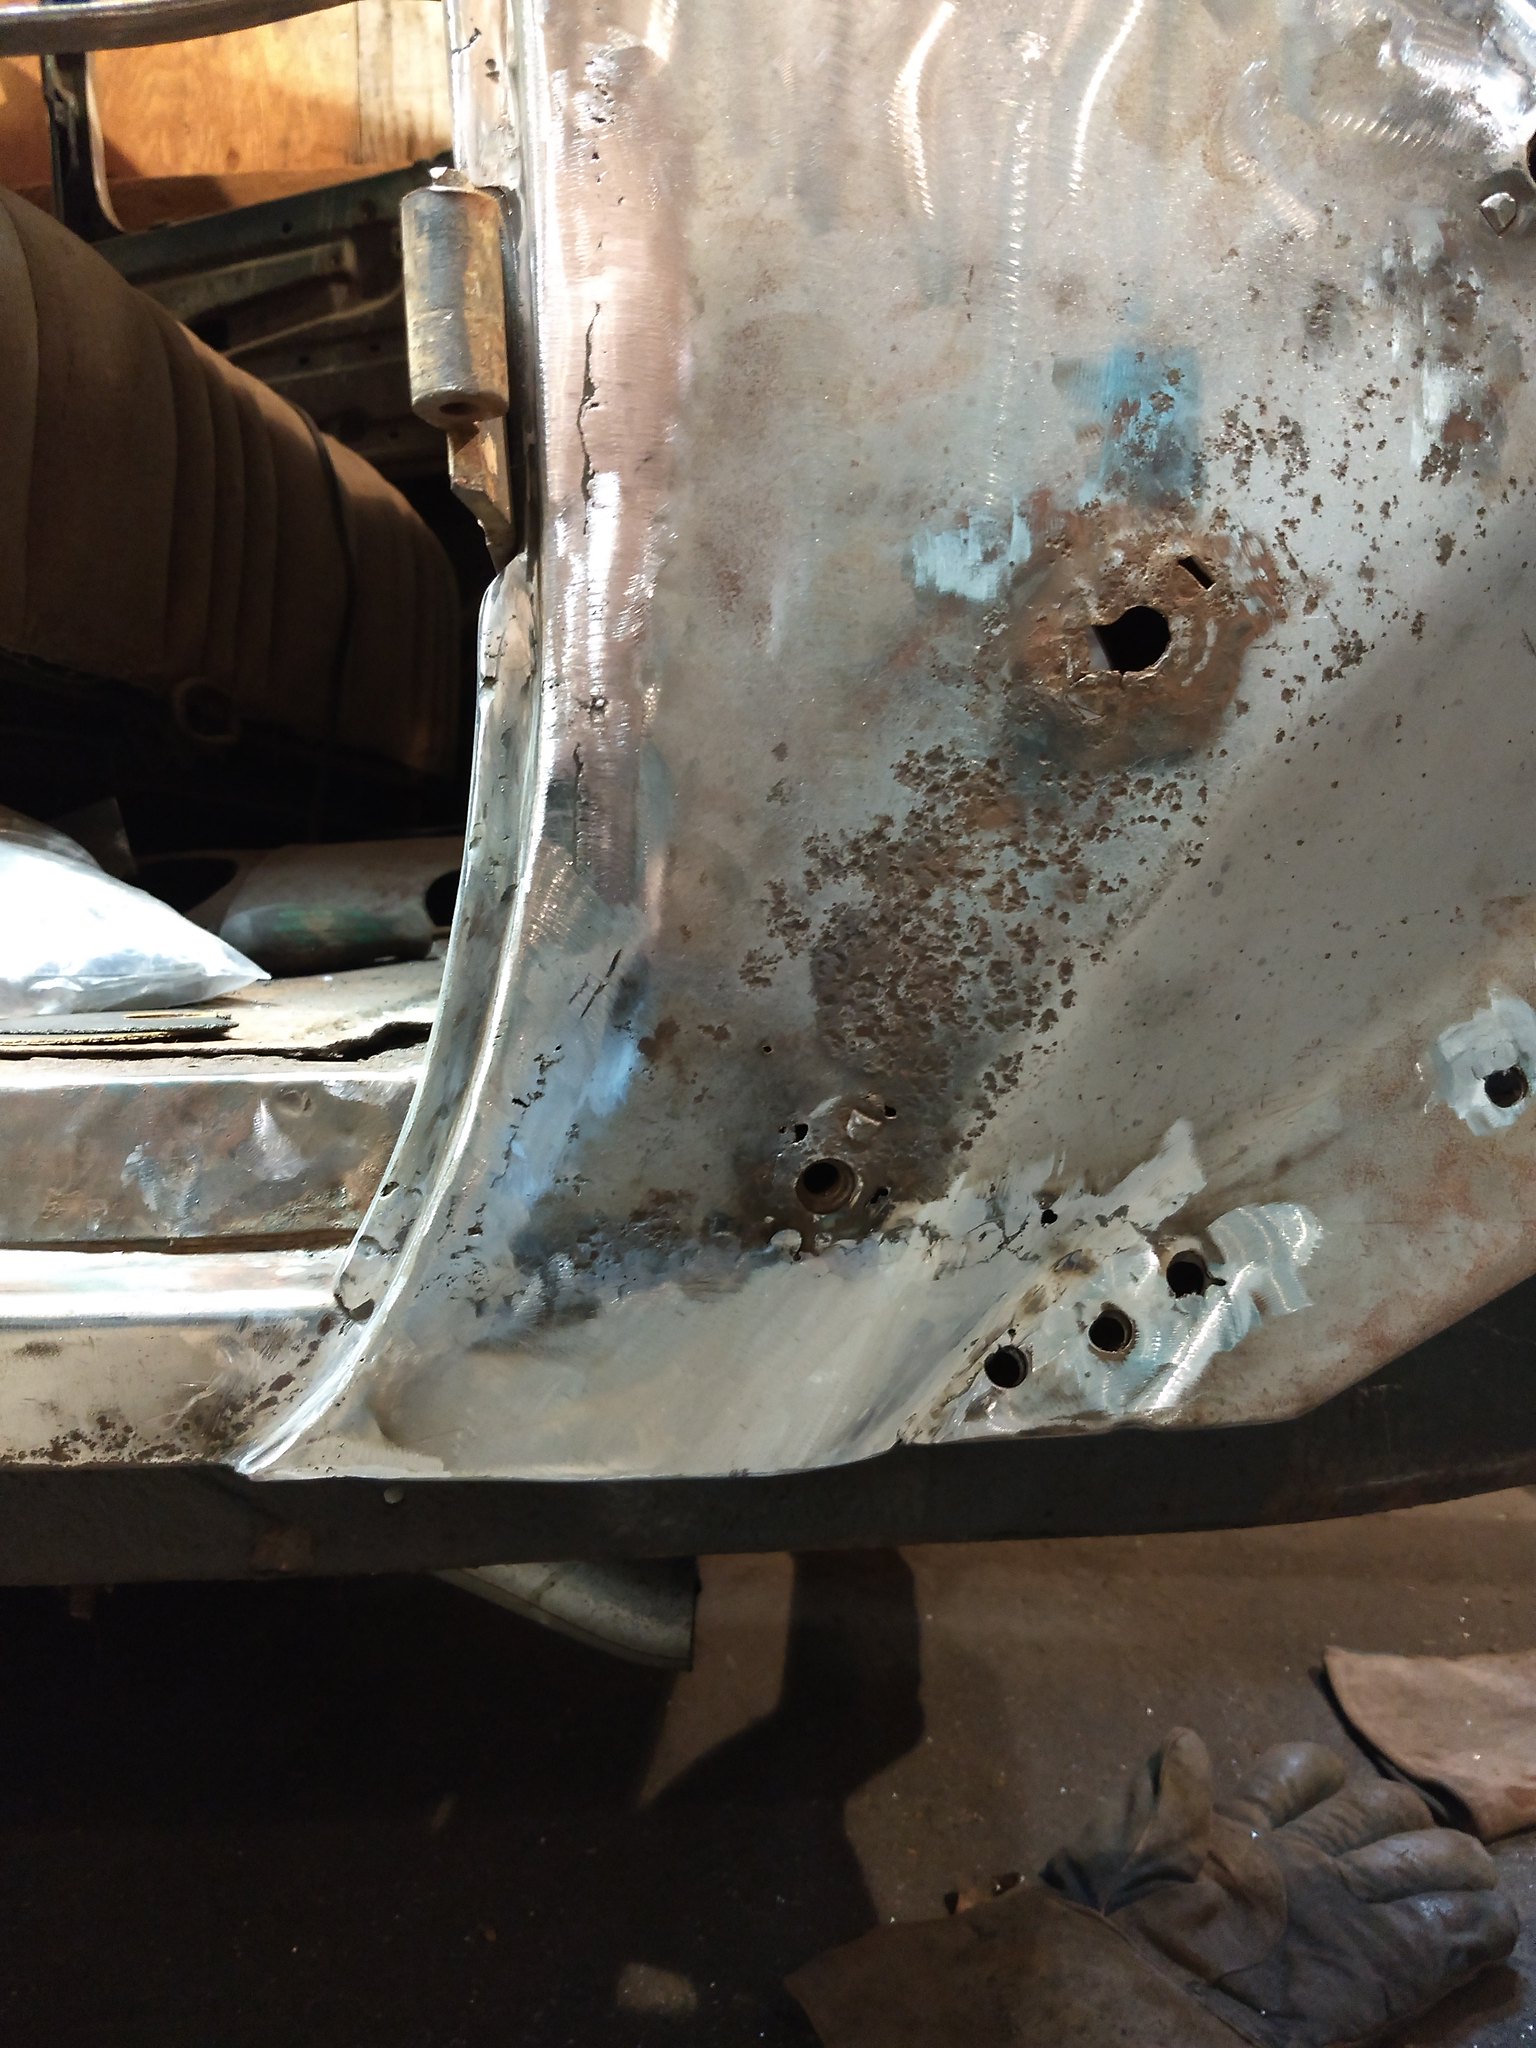 IMG_20180226_164033197 by Ryan Mazingo, on Flickr
Last edited by PNW Rodder; 02-26-2018 at 08:49 PM.
-
02-27-2018 04:00 PM #12
Pipe dreamin'..............
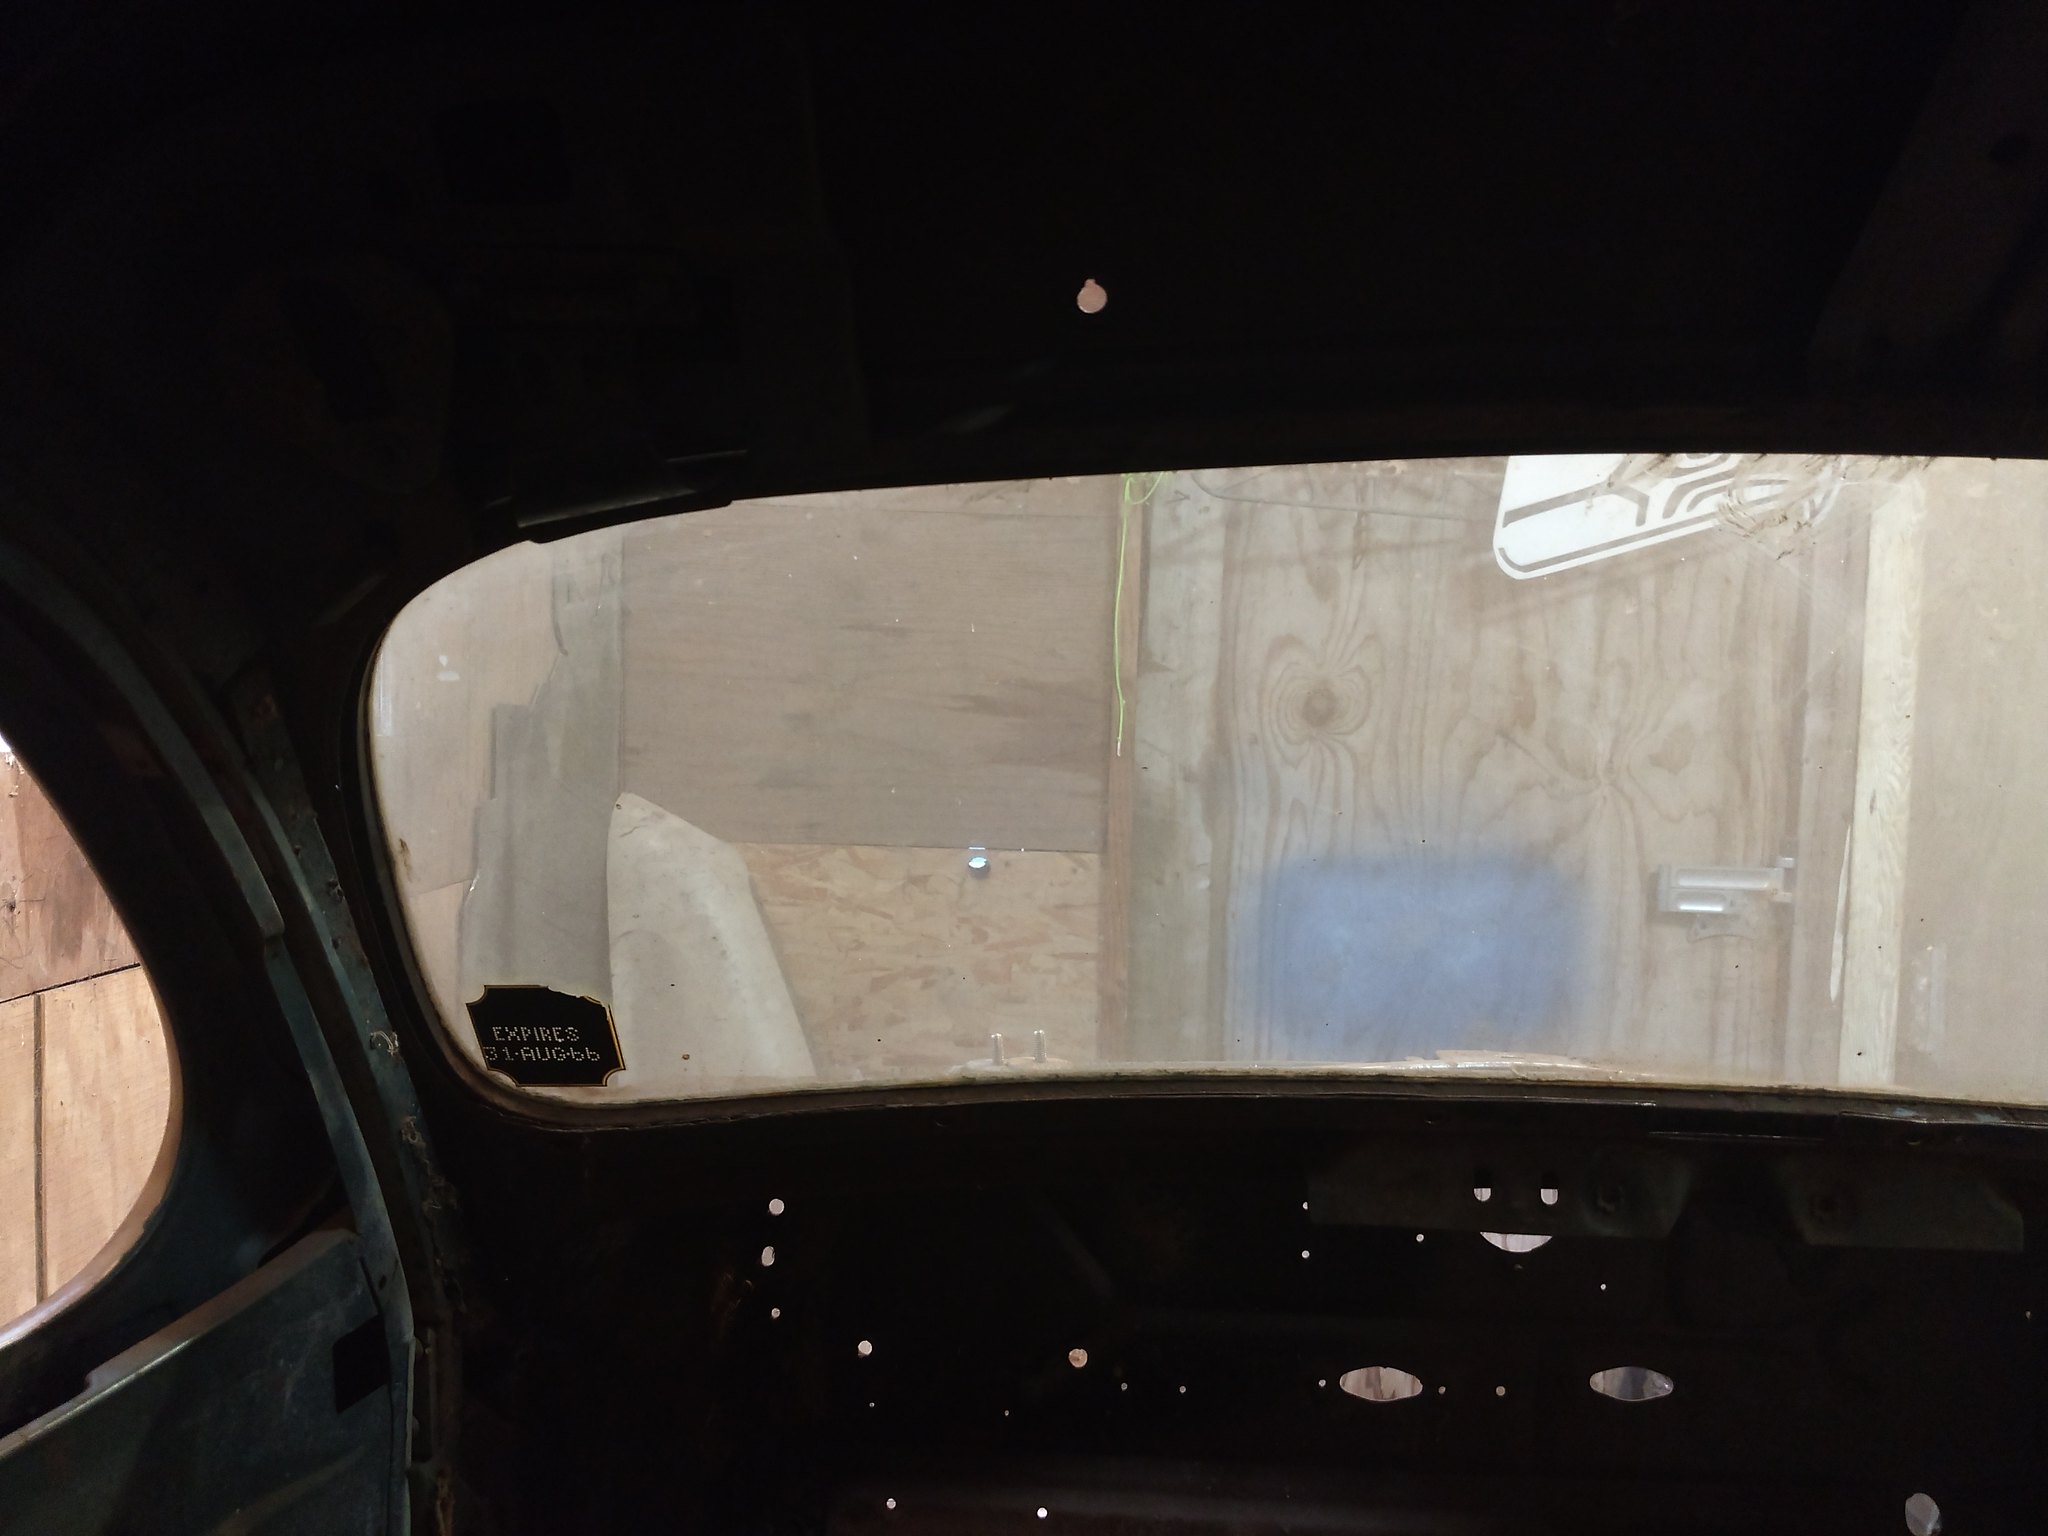 IMG_20180227_152718112 by Ryan Mazingo, on Flickr
-
02-27-2018 04:45 PM #13
Is that the drivers "perspective?... I noticed the center of the dash at the top has a smiley "face"...
-
02-27-2018 05:53 PM #14
-
02-28-2018 09:08 PM #15
Decided I needed a break from the cowl, so I moved to the rear quarter between the back door and fender. This was the only other place rot was apparent.
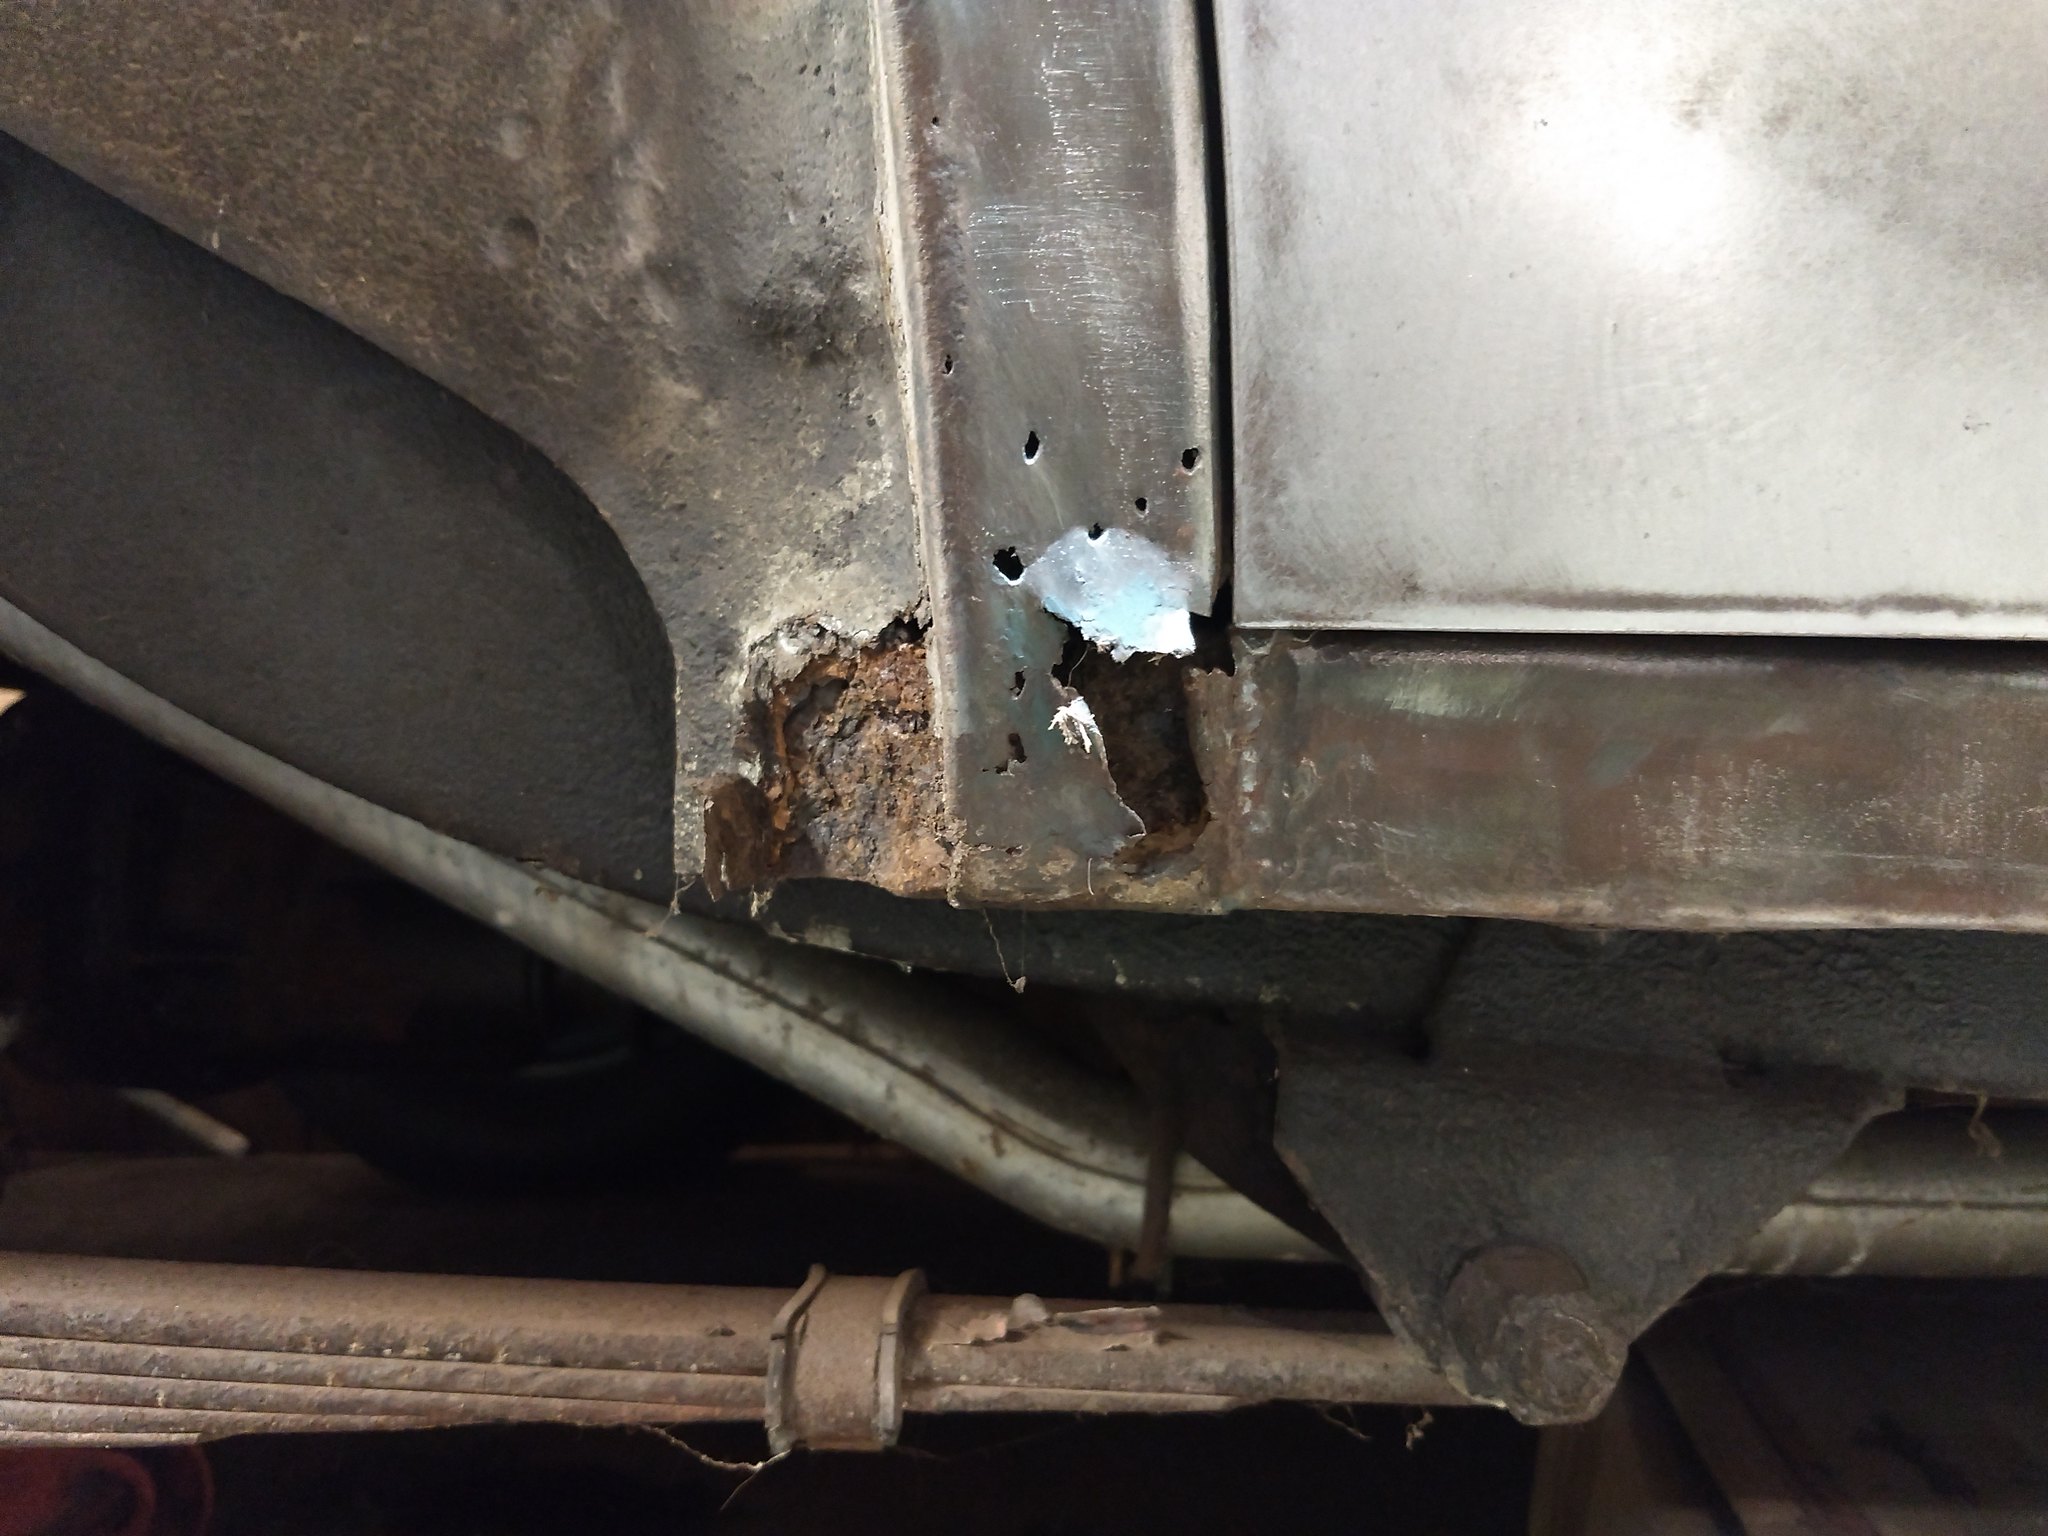 IMG_20180228_144225703 by Ryan Mazingo, on Flickr
After removing the offending metal, this is what I found behind it. A little disheartening, but in reality it saves me from making a big mistake. I've decided to replace the rockers. There's a lot of dirt and debris between the inner and outer rocker panels, and it's made the lower portion of the rockers very thin. Probably not completely necessary to replace them, but it'll prolong the life of the car and I just can't accept "good enough".
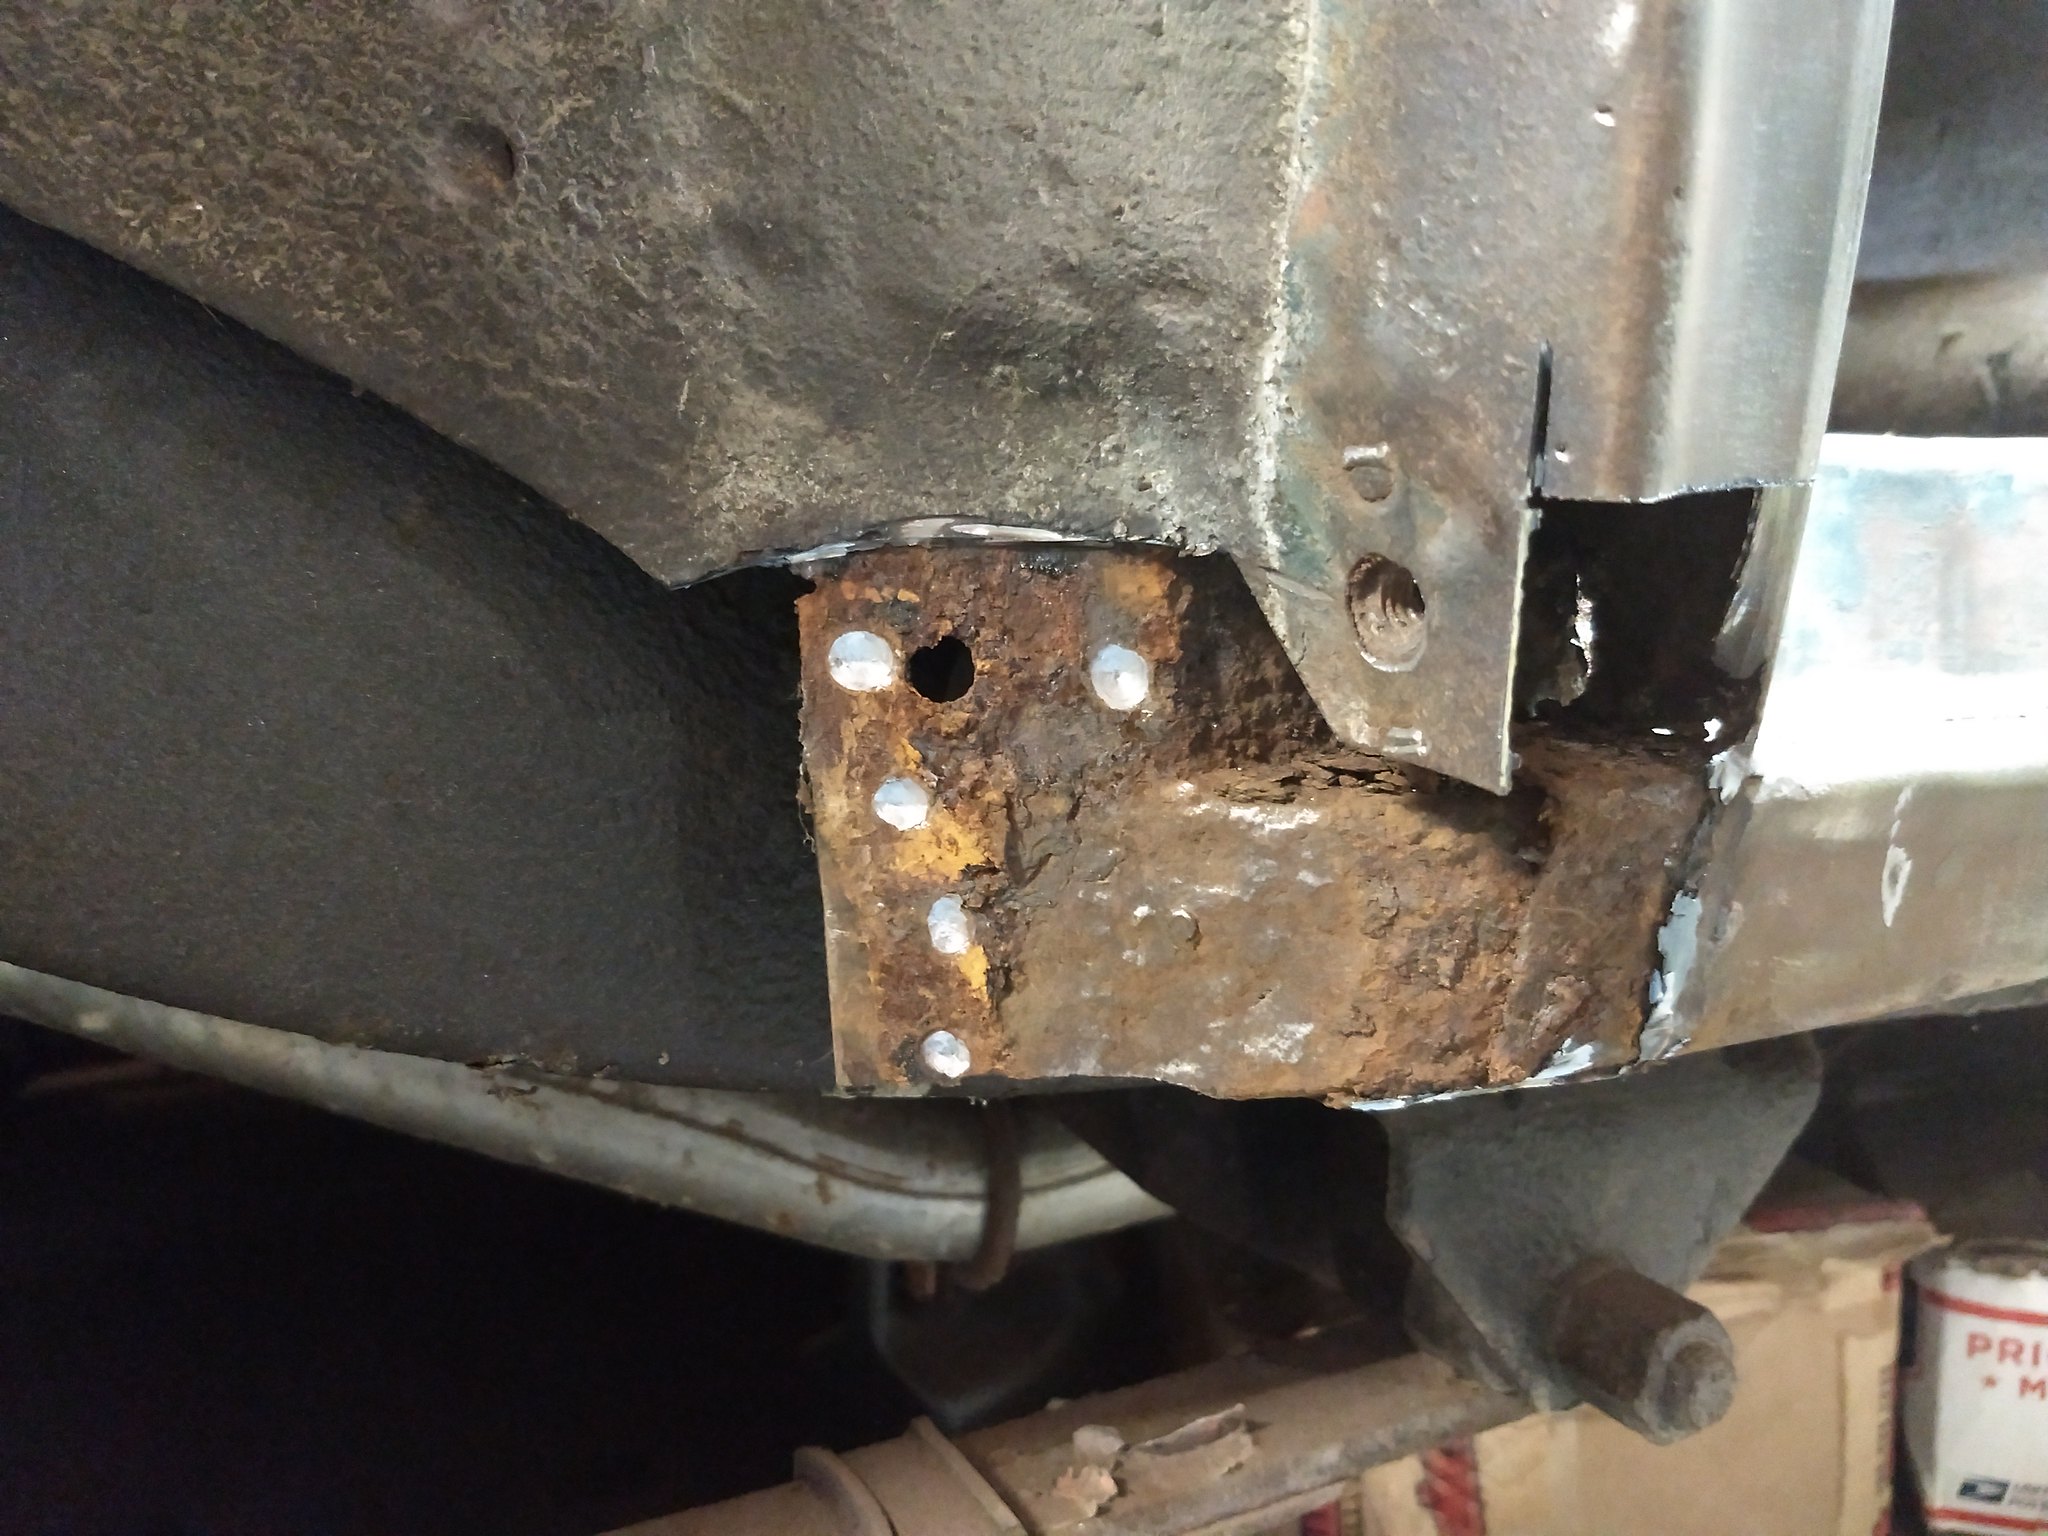 IMG_20180228_150036616 by Ryan Mazingo, on Flickr
Didn't stop me from making the patch panels I intended to be welding in tomorrow. Still needs a little more work, but it's a start. Took a combination of beating the bends into place in the vice and stretching the center in the English wheel to gain the correct radius. 20g would have been easier to work with, but the 16g gave me enough thickness to stretch it out properly through the middle, with room to correct any mistakes. The sense of accomplishment is great making my own patches. Most of the commercially available panels require rework anyhow, so I'm saving money and I'm forcing myself to learn a new skill.
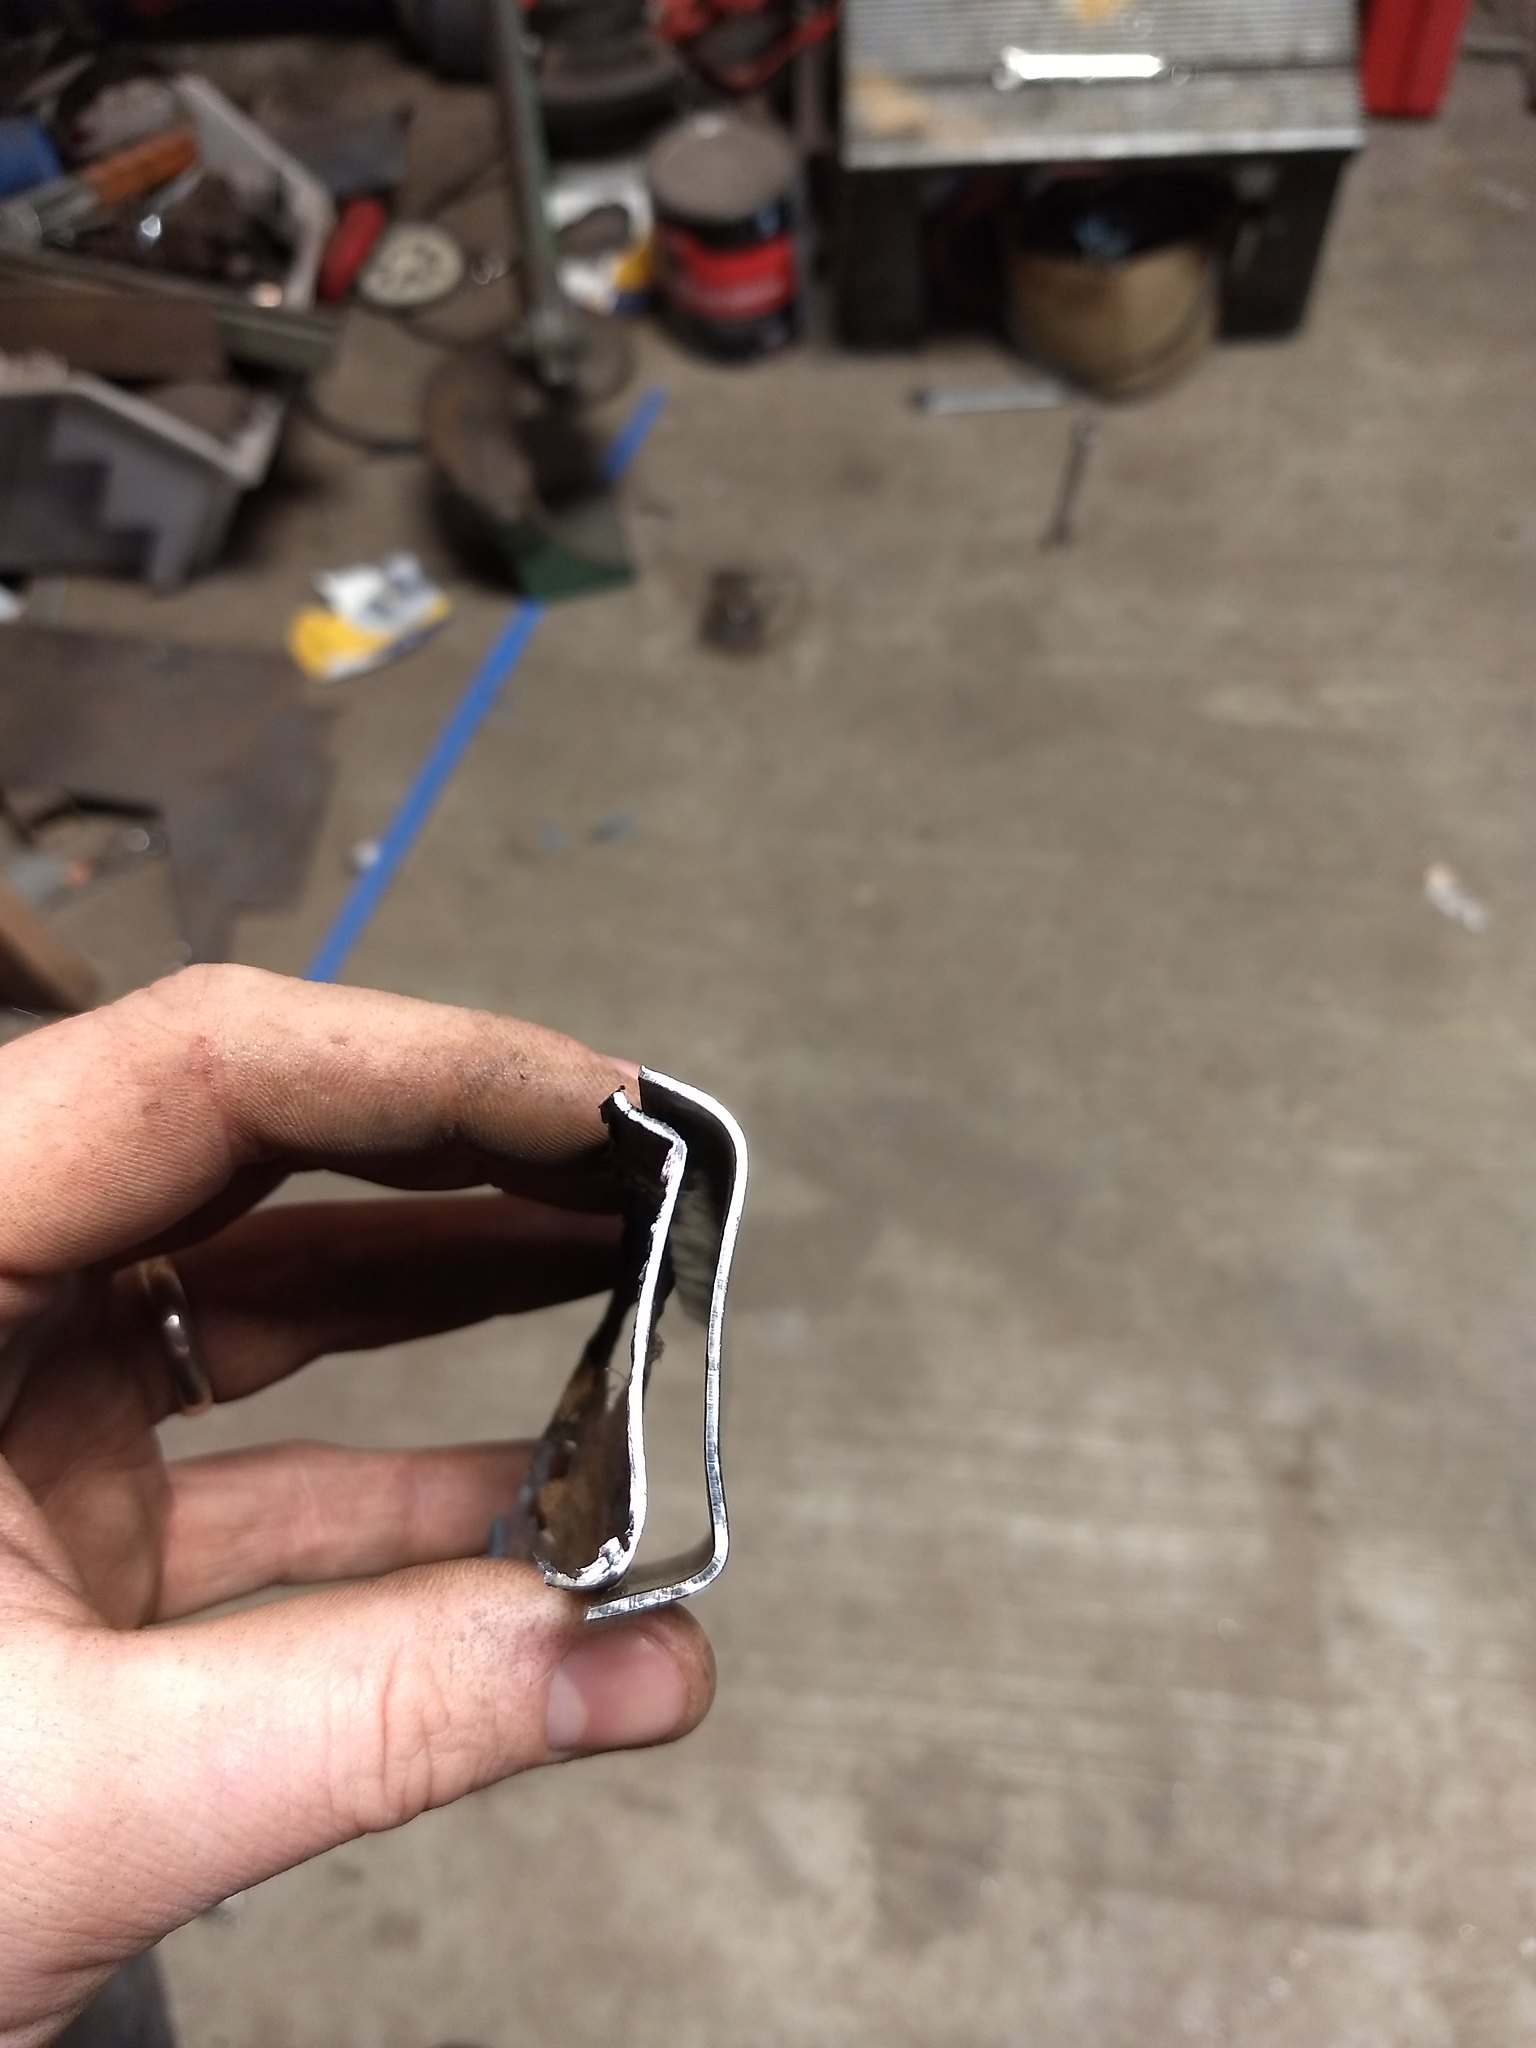 IMG_20180228_155618661 by Ryan Mazingo, on Flickr
Last edited by PNW Rodder; 02-28-2018 at 09:12 PM.


 322Likes

 LinkBack URL
 About LinkBacks
 Reply With Quote


Friday and Saturday (4/11 & 12/25) Chris (my wife) and I made the journey to Homestead-Miami Speedway so I could participate in the Florida Power & Light sponsored Electrathon event.:cool: It was...
Electrathon - A Different Kind of...