-
11-05-2008 06:19 PM #226
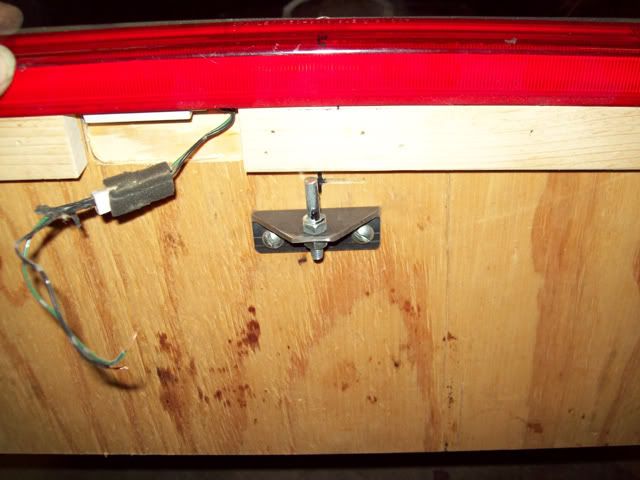
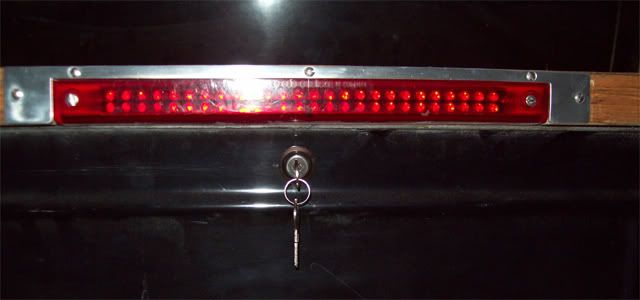
The bed cover needed a latch and after considering several ideas, I wound up using a simple lock from the hardware store. Works good and gives a little security for the fuel and electrical cutoffs. While I was working on the cover I decided the 3rd brake light looked a little plain, so I made a little trim piece out of aluminum to dress it up.
-
Advertising

- Google Adsense
- REGISTERED USERS DO NOT SEE THIS AD
-
11-06-2008 12:33 AM #227
Looking good Hotrod! Like the trim detail, and the turn signal changes.
"  "No matter where you go, there you are!" Steve.
-
11-06-2008 01:43 AM #228
Wow,
Just spent the last couple of Hours reading and learning. Looks Brillant
Thanks
DC
-
11-06-2008 03:44 PM #229
Yeah, I like the way you did the switches. I learned a long time ago not to put the ignition switch under the seat, otherwise you fumble for it every time you insert the key. Don did his under the seat because he wanted a totally clean dash, but has learned to put the key in BEFORE you get into the car, otherwise it is pretty hard to hit the hole right.
I wish I had put my switches on my T on the dash, especially the turnsignal switch. I too wanted a clean dash, but the signal switch is so hard to find that I usually just use hand signals. Eventually I am going to make a panel like you did and relocate it and also add some indicator lights so I can see if I forgot to turn the signal off. As it is now, I am the stereotypical old man from Florida, I ride along for 30 miles in the left lane with my left signal on.

Don
-
11-06-2008 04:44 PM #230
Don Originally Posted by Itoldyouso
I was going to put some turn idicators on the dash, but after sitting in it with headlights installed, I realized that I can actually see the turn signals on top of the headlights from the seat. Just didn't see the need after that.
Mike
-
11-06-2008 04:44 PM #231
Looking good, 46!!!! Getting the electrics to be functional and look decent is always a tough one, looks like you have it handled!!!!!!Yesterday is history, tomorrow is a mystery, Live for Today!
Carroll Shelby
Learning must be difficult for those who already know it all!!!!
-
11-06-2008 06:01 PM #232
Thanks guys.
Dave. I hope I can keep it looking professional.
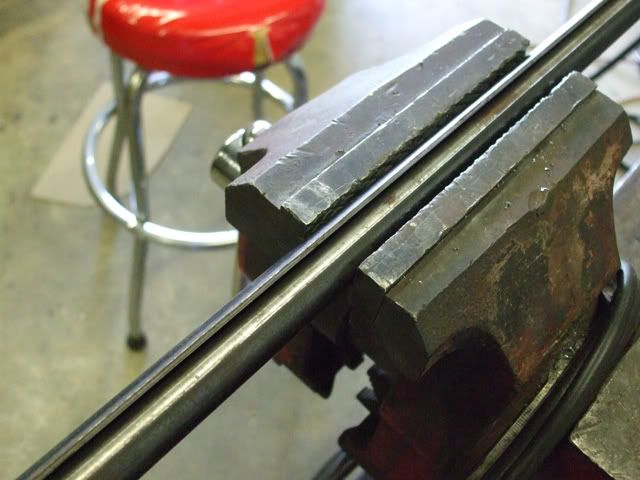
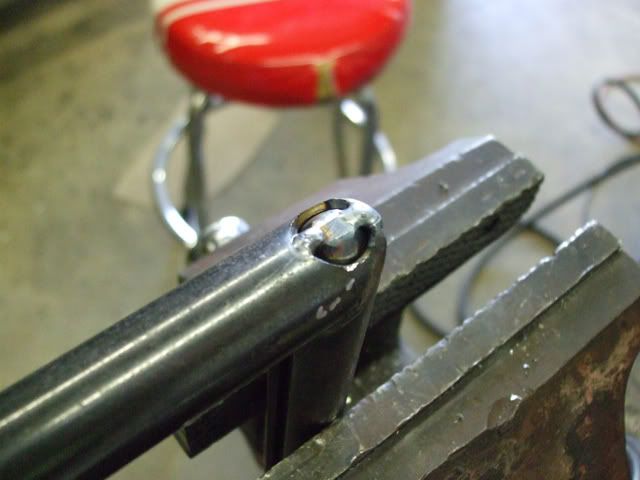
The windshield frame needed some attention too. After the slot was cut for the glass, the bottom section of tubing lost most of it's torsional stiffness. It twisted pretty bad and I knew that wasn't going to work. Without any support, the glass would eventually crack(probably sooner than later). I drilled the ends and welded a piece of 1/2" cold roll on the inside length of the frame. Problem solved! It's plenty stiff now. A local glass shop knocked out a windshield for me.
-
11-06-2008 06:04 PM #233
There is a coating place about 2 hours from my house that does a ceramic coating similar to Jethot's Sterling. Looks a lot like nickel or polished aluminum to me. I haven't seen too many cars that use this finish extensively instead of chrome, but the coating place said they are doing a lot of it strictly for decoration. I decided to try it on a few pieces to brighten things up a little and add a some contrast. The parts turned out great. I had most of the suspension either powder coated or ceramic coated. The rear nerf ,windshield frame and intake manifold got ceramic.
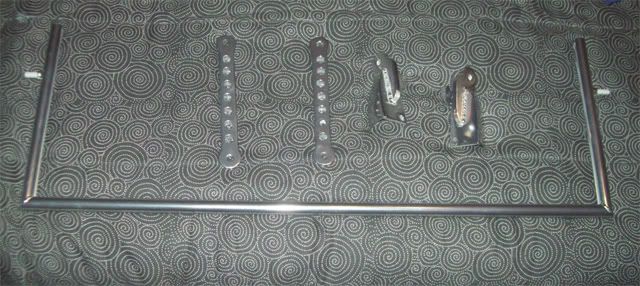
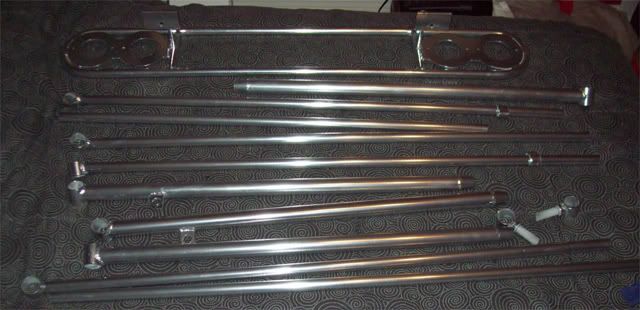
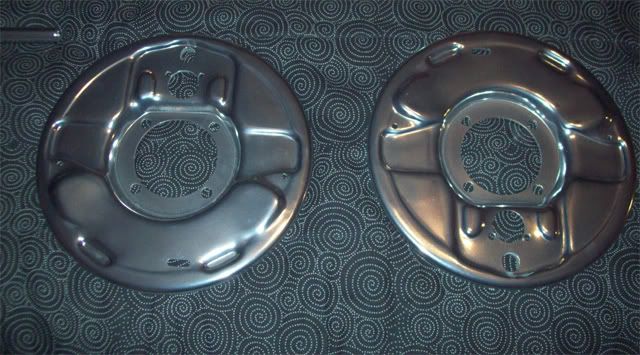

You can see in the last pic that I also drilled the axle. I guess sawed would be a better description since I used a 7/8" hole saw to do the job.
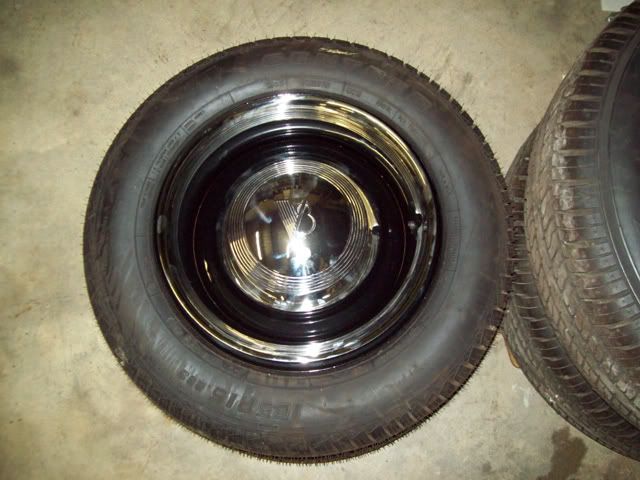
Here's a little teaser on the wheels.
-
11-06-2008 06:55 PM #234
Nice fix on the windshield frame!
That's some nice looking coatings on the parts!!! Looks like you found a really first rate shop!!!! Tough to do these days!Yesterday is history, tomorrow is a mystery, Live for Today!
Carroll Shelby
Learning must be difficult for those who already know it all!!!!
-
11-06-2008 07:28 PM #235
Dave
The owner of the coating place is a car guy(has a Superformance Cobra dealership). Seems to really care about his work. Hot rod stuff isn't his main business. They do a lot of oil field work for corrosion resistance offshore.
The name of the company is Streamline Coatings in Lafayette, LA.
Hope naming the company doesn't violate any board rules.
-
11-06-2008 08:02 PM #236
Sure don't know why it would.... Especially if he not only does good work but has decent prices, too!!!!!!!!


Yesterday is history, tomorrow is a mystery, Live for Today!
Carroll Shelby
Learning must be difficult for those who already know it all!!!!
-
11-06-2008 09:21 PM #237
Your parts look fantastic. I've never seen that shade of coating, but I like it a lot. It will contrast with the black parts very well.

Don
-
11-07-2008 12:32 AM #238
Those powder coated parts look great. This should really be a looker when complete. I like the wheels with the moons too!"  "No matter where you go, there you are!" Steve.
-
11-07-2008 05:14 AM #239
Mike, you do exceptionally nice work. You and Ken Thurm are both true innovators when it comes to finding fresh ways to solve common problems. If I had seen your turn signal switch before I modified and mounted my steering column, I would have stolen your idea...

I really like the powder coated parts. It looks like old chrome which is just what I'm looking for to use on my roadster's bumpers and nerfs. We have a couple of powder coating outfits around here; I'm going to check into it. Thanks for the idea.
Jim
Racing! - Because football, basketball, baseball, and golf require only ONE BALL!
-
11-13-2008 05:50 PM #240
Thanks guys!
JR - The chrome looking parts are ceramic coated. I don't know if anyone does powder coating in that color.
The engine is pretty much together now. When the chassis is complete, I plan to run the engine before bolting on the body to check for leaks or other problems. The brakes will be bled and functional, too.
The specs on the motor wound up a little different than I had originally planned. I never did come up with a usable pair of Vortec heads. Actually, I gave up because I got tired of driving 40 miles to the wrecking yard and then paying the machine shop to check them for cracks. I already had a set of "camel hump" heads that had a good bit of work on them. They have 7/16" screw in studs, big valve springs, one piece stainless valves(2.02 and 1.6) and the guides have been cut for better seals. In addition, they have had some port and bowl work done. These are the older style with no accessory holes, but that doesn't matter because I don't need them. They don't have the "fast burn" combustion chamber of the Vortecs, but they should do OK on this motor. If this was 1970, they would be a killer set of heads though!
The bottom end is stock Vortec. It's interesting that GM used a lot of "hot rod" tech in these late model small blocks. I had heard that the rotating assemblies are supposed to be lighter due to the "forged powdered metal" rods as well as lighter pistons. Out of curiosity, I wieghed an old style piston/rod assembly and one from the Vortec. The old stuff was 2.7 ounces heavier than the new. I was told the crank is about the same weight as an old style 305 unit. The rings are thinner than the old small blocks, too, which should reduce friction loses. It even has a small windage tray. I also went with a 6" light weight balancer instead of the 8" stock unit to eleminate clearance issues with the front crossmember. The lighter balancer should allow it to rev quicker, too. Since the stock Vortec heads and the ones I'm using both have 64cc chambers the CR should be unchanged at around 9.2 to 1. That's the only downside since I may have to run premium gas.
The cam is a GM "Ramjet 350" unit from their 350 HP EFI crate motor. It's a pretty tame cam by hot rod standards with 196/206 @ .050 duration, but it has decent lift at .450 intake and .487 exhaust with 1.6 rockers. Those duration figures are close to the old 300 HP 327 cam, but with it's much greater lift it should be a little more aggressive than the old 327 cam. It also has a tighter lobe seperation at 109 degrees. I went with 1.6 rockers because that is what GM uses in the Ramjet. I doubt I'll be getting 350 HP out of this engine with the old style heads, but my original goal was 300 and I'm pretty sure I'll be over that with room to spare. Low end and mid-range torque should be great and this cam should work well with the OD trans. Since my engine speed at 60 MPH should be in the 1800 RPM range, I'm expecting gas mileage to be excellent.
The intake setup is an Edelbrock 3X2 with Rochester 2 barrels. The carbs were redone by Hot Rod Carburetion with their linkage and fuel line. I modified the manifold for a semi-hidden PCV setup. I had a similar rig on my 46, but had to abandon it because it sucked oil. That old setup didn't have an oil baffel underneath. The new one does so it should work OK(I hope). The old style oil fill on the intake has a breather cap, but that may not be enough vent, if it's not I can add Moon style breathers to the valve covers. The Stellings and Helling(copies)"helmet" type air filters look good, but I may have to change them out as they appear to be pretty restrictive. The 4" filters are restrictive by themselves and the helmet cover fits very close to the filter element, probably choking it off even more. I may go with some finned aluminun open filters from Obrien Truckers or Vintage Speed.
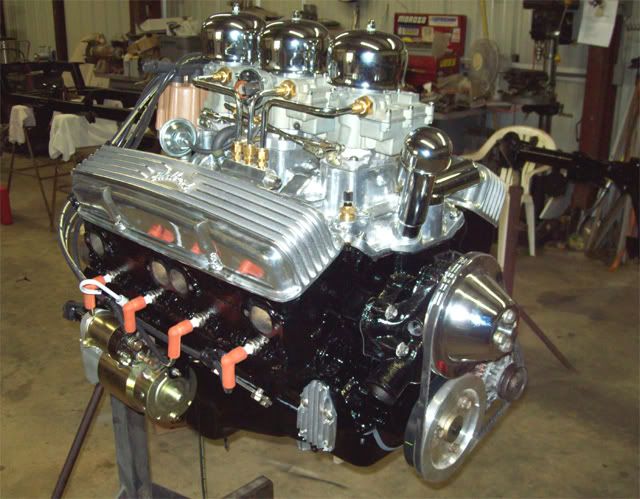
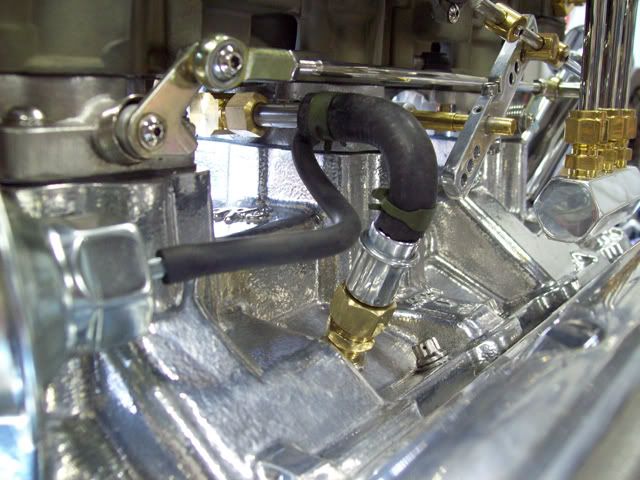
The ignition is MSD and I plan to trigger the box with a point type distributor. The 3X2 requires a small base distributor and I picked up an Accel Blueprint unit on Ebay, but I had to change the gear to a "melonized"(that's actually what they call it!) gear from GM. That's just a hardened steel gear that's compatible with the steel roller cams used by GM. By using points to fire the MSD unit, I have the option of swapping over to regular point ignition if the box fails. All I need is a resistor in the coil circuit and a quick "rewire" of the coil.
The plug wires are still unfinished. I want to run them under the headers, but they may interfere with the steering shaft. I hope not, since I really don't want to go over the top.
I must say that this engine build is a lot different than any other I've done. Since this one will be totaly uncovered, I have taken extra time to assemble and detail it. I can usually knock out an engine in a couple of days, but this time I tinkered around on little details off and on for several days till I was satisfied with the way it looked.
I tried to give the engine an old school look to go with the overall look of the car. I could probably pass it off as a 327 to most folks if I wanted to, but I won't since I don't have any problems with the "belly button 350" thing.

Welcome to Club Hot Rod! The premier site for
everything to do with Hot Rod, Customs, Low Riders, Rat Rods, and more.
- » Members from all over the US and the world!
- » Help from all over the world for your questions
- » Build logs for you and all members
- » Blogs
- » Image Gallery
- » Many thousands of members and hundreds of thousands of posts!
YES! I want to register an account for free right now! p.s.: For registered members this ad will NOT show


 4Likes

 LinkBack URL
 About LinkBacks
 Reply With Quote

Friday and Saturday (4/11 & 12/25) Chris (my wife) and I made the journey to Homestead-Miami Speedway so I could participate in the Florida Power & Light sponsored Electrathon event.:cool: It was...
Electrathon - A Different Kind of...