Thread: General Hemi Info part 3
Results 1 to 7 of 7
Threaded View
-
04-22-2016 08:24 PM #7
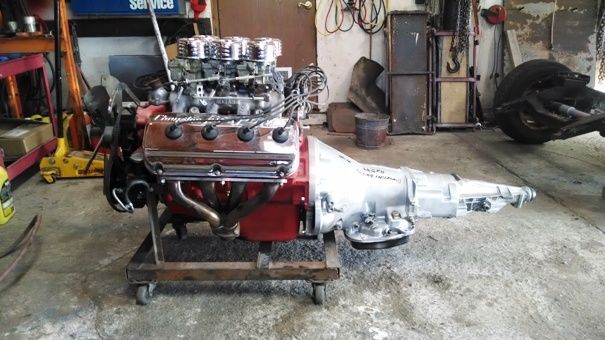
I’m using a Hot Heads 727/904/518 adapter to mate a 46RH to the Hemi going into the 37 Dodge pickup. The instructions that come with the adapter are pretty basic so I thought I’d expand on them a bit.
The kit comes with the engine to transmission spacer, flex plate, hub adapter/flex plate space and hardware.
The first thing to do is install the hub adapter. The bolt holes are indexed and will only line up in one position. It registers on the outside of the crankshaft flange. Even after the crankshaft flange is cleaned and sanded it is still a tight fit. Because it’s such a tight fit, I would recommend that after verifying all 8 holes line up, use 4 of the supplied flywheel bolts ad temporarily using 4 regular nuts (instead of the supplied self locking nuts) to evenly draw the hub on (the regular nuts give a better feel for this than the self locking ones.

The next step is to install the Flexplate. It is also indexed and the bolts will only line up in 1 position. Getting your hand with a self locking nut in there and getting it started can be aggravating, unless you have a pair of these in your tool box (and if you don’t have them you should).
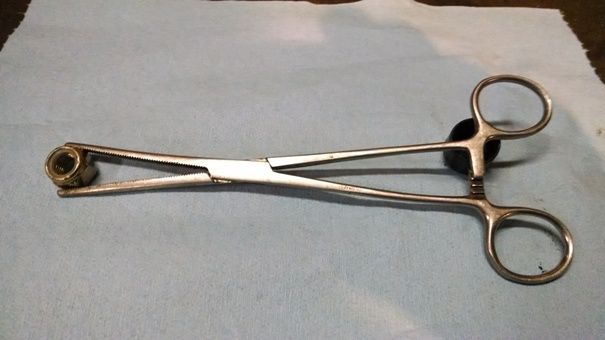
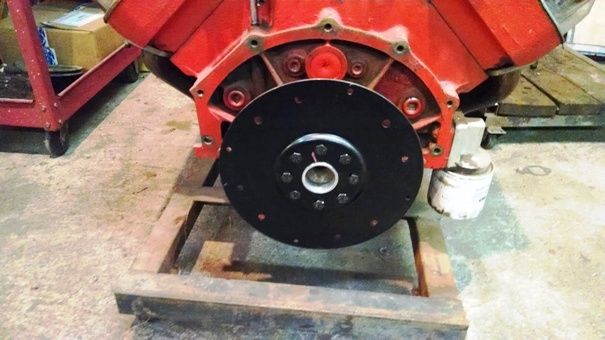
Fortunately the hole in the center of the transmission adapter is big enough to slip it past the flex plate …..you really don’t want to have to work around it when installing the hub spacer and flex plate.
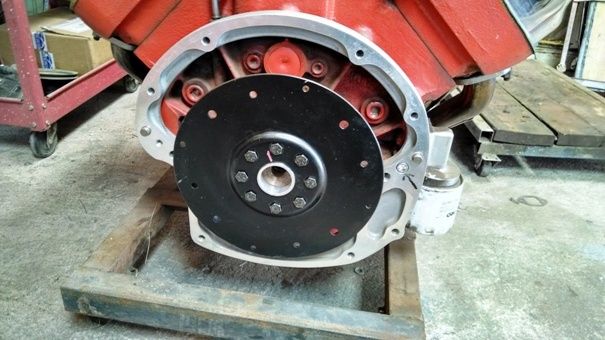
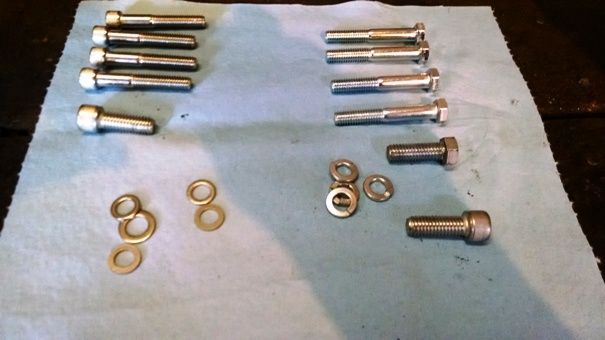
I mentioned the kit comes with hardware. Besides the flywheel bolts, it also includes the bolts for attaching the adapter and transmission.
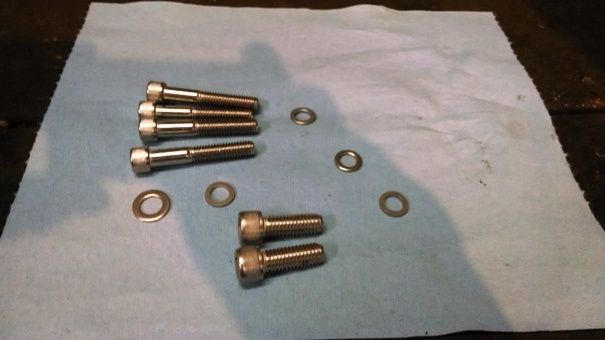
While it’s quality hardware, I don’t like using Allen head bolts to hold the transmission on. Generally you just can’t get an Allen wrench or socket up to them if you’re taking the transmission out in the vehicle. I replaced all but one of the Allen head bolts but one with cap screws.
The Allen head I did use retains the spacer plate to the engine block.
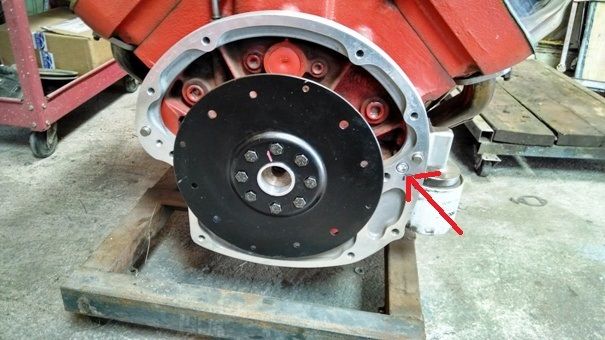
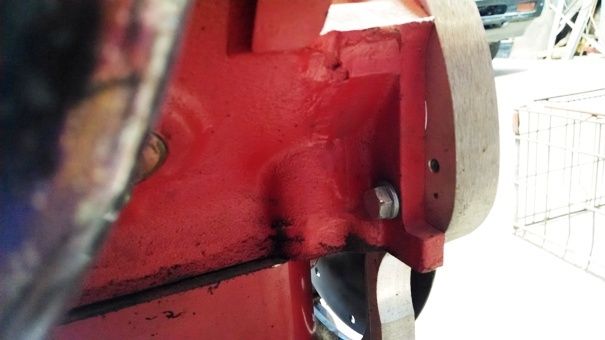
The other bolt that retains the spacer goes in from engine side and is located on the drivers side of the engine.
Before you stuff the convertor in the transmission I would suggest you do the following. Remove any paint from the end of the convertor that seats into the back of the aluminum spacer hub and test fit the convertor into the back of the spacer and make sure it doesn’t hang up ( as you will probably need to turn the convertor to line up the holes for the convertor and if it's sticking in the hub it can be pretty difficult).
There are 3 sets of convertor bolt holes in the flex plate. Verify which set of holes you are using (at least one of the sets is indexed and all 4 bolts will only go in one location). Once you have verified the holes , mark 1 hole in the flex plate and the corresponding lug on the convertor so you will know how to orient then when you bolt up the convertor to the flex plate after the transmission is attached.
The 46RH is a heavy transmission (hell all the torqueflights are heavy LOL), so I cheated when I installed mine. I supported the transmission on a chain hoist ( a cherry picker will also work), and used 2 long alignment dowels in the block to line everything up and slide the transmission into the engine.

Besides the 4 bolts at the top of the bellhousing you can also install 3 bolts from the spacer to the transmission at the bottom of the adapter (these bolts are not included in the kit. You will need 7/16 course thread bolts. One on the drivers side.
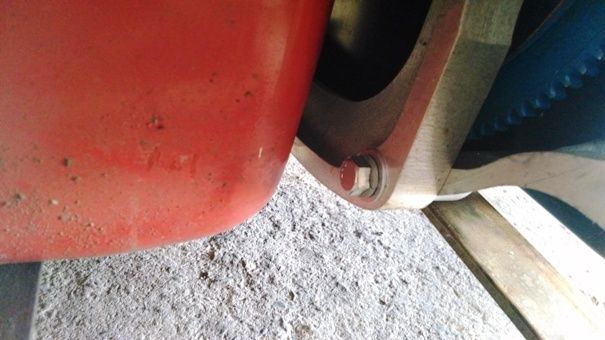
and 2 on the passenger side.
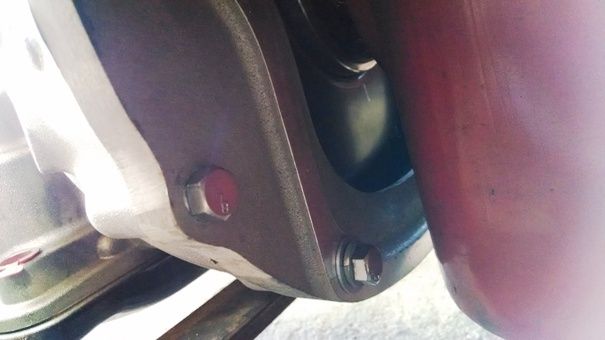
I had heard that getting the torque convertor bolts started was a real PIA, and they aren’t wrong. The best place to get access to them seems to be on the drivers side thru the bottom access hole. A box end wrench with a lot of offset helps.
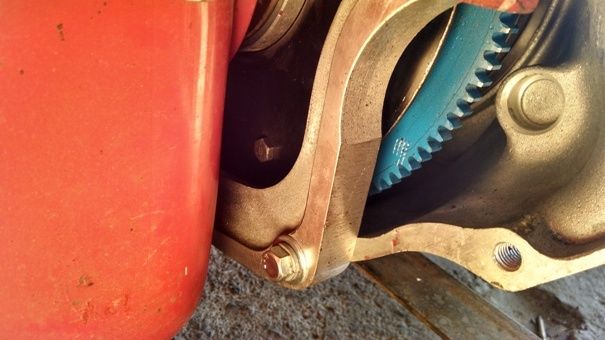
Just a hint on the convertor bolts. Only start them finger tight at first…….chances are you will need to wiggle the convertor a bit to get them all started. Once there all started tighten them (a little locktight when you install them is also a good idea).
And that’s pretty much it.
.Last edited by Mike P; 04-23-2016 at 07:53 PM.
I've NEVER seen a car come from the factory that couldn't be improved..... 


 5Likes
 LinkBack URL
 About LinkBacks
 Reply With Quote

In our neighborhood, 2 blocks down the hill was a gas station that (to me) all the cool car guys hung out there. 32 coupes, 33 & 34 Fords as well, a sweet 56 Ford Beach wagon that was setup gasser...
How did you get hooked on cars?