Thread: Project Special K
-
02-05-2010 05:29 PM #391
Got back out to the truck today. No rain, and honey do lists nearly complete, gardening taken care of, so I finaly mounted my stop cock inline prior to the new canister fuel filter. It's not the neatest job, but highly functional. Filled the tank, no leaks yet, and then fired the beast up. OMG ........I rev'd the engine a litlle and that 460 roared! This thing seems to have a few horses!
I think I'm going to have to get a new shifter due to tranny clearances. B&M has a truck auto shifter that operates off the same cable system as my current shifter. It is about 14 and a half inches tall and mounts to floor in the cab, which should work well with my current floor pan set up. The nice thing is it comes with a neutral start switch and a gear indicator light, as well as a reverse light switch, all of which are wiring options with my wiring harness so that makes life easier.Last edited by stovens; 02-05-2010 at 07:19 PM.
"  "No matter where you go, there you are!" Steve.
-
Advertising

- Google Adsense
- REGISTERED USERS DO NOT SEE THIS AD
-
02-05-2010 08:01 PM #392
Yesterday is history, tomorrow is a mystery, Live for Today!
Carroll Shelby
Learning must be difficult for those who already know it all!!!!
-
02-05-2010 08:37 PM #393
-
02-06-2010 06:09 AM #394
Don not trust the timing pointer or marks at this point. (no pun intended!) Remove #1 spark plug and bring the piston to TDC at the end of the compression stroke. Verify your marks now! If you need to, you can purchase "timing tape" to "re-calibrate" your damper. Or check the condition of your damper and verify you've installed the correct pointer. Ford did some funny things with dampers too. If the engine was to be inserted into a cube van it would use a different pointer and damper so you could verify timing from above and other stuff like that. I found it was easier to "re-calibrate" my damper with timing tape so I could time the engine on the opposite side away from the alternator. Hope that helps.
-
02-06-2010 08:40 AM #395
-
02-06-2010 04:34 PM #396
It's happened before. Also be sure to inspect the Harmonic Balancer. Sometimes the outer ring will move or has moved. Inspect the polymer material between the inner and outer rings for damage or signs of failure or just movement.
Hope it helps! Let us know how it works out.
-
02-06-2010 11:18 PM #397
Another good point since it's also a new balancer, not the original."  "No matter where you go, there you are!" Steve.
-
02-07-2010 11:38 AM #398
I'm off work tomorrow, so I'll crawl under the engine with the old balancer and see if the timing marks line up with the new balancer."  "No matter where you go, there you are!" Steve.
-
02-07-2010 04:46 PM #399
-
03-01-2010 10:41 AM #400
Pulled out the old B&M cable shifter yesterday, and went about fitting and installing the new B&M shifter. The old one has a curved bar that extends below the floor panel and now hits the top of the transmission. I could have built a box for it, but decided to go with the truck version they make to get some newer features like backup light switch, and gear indicator, as well as a functioning neutral start switch. This also required fabricating a box base, as this sucker is long and big! Ideally I would have used plywood that I could line and make a console of sorts, but I had some rusty old sheet metal lying around and figured what the heck! I started out using the box it came with as a template. I used a ruler with pen attached to it to trace the floor contour onto the side and front of the box. I then used the trusty utility knike to cut out and fine tune the box to where it was level both directions and now I had a great little mock up to put the new linkage on top.
I also had to mount my seat(which was just sitting in there). I decided to drill out the welded bolts in the floor, and put slightly bigger coarse thead grade 8's in instead. It's nice having the stock seat, because it fits! One problem though is the reuphoslter put too much padding in the back which kind of pushes you foward more than I'd like. but, I'll take it to a local guy to fix that when the time to actually drive comes around!
Anyway other than welding the right side to the "wrong" side and having to redo that, it came out pretty great. Man welding is a lot easier when your working with thicker sheet metal! I'll post some pics when the computer decides to recognize my camera again!"  "No matter where you go, there you are!" Steve.
-
03-01-2010 11:09 AM #401
It's sort of hard to tell from these pictures, but the shifter will be easy to reach at this height. When it comes time for redoing the interior this may all change, but for now it will be funtional for driving. Everything is just mocked up in the pic so, don't fret about the welds(just tacked) or rust or where everything sits as it isn't bolted in or near finished yet. Still it felt good to get this started and hopefully have a functional shifter to work with so I don't have to keep pushing the beast up over the bump into the garage!
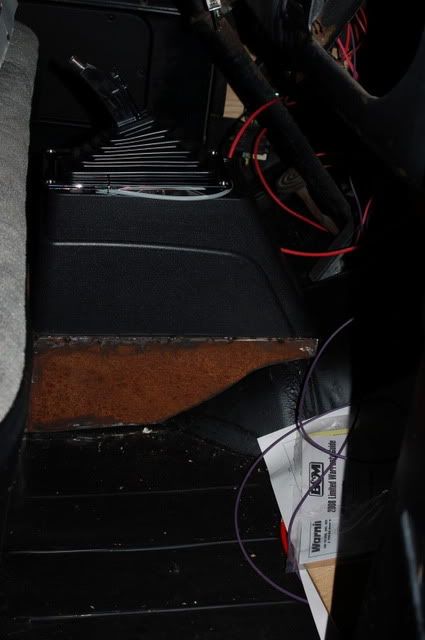
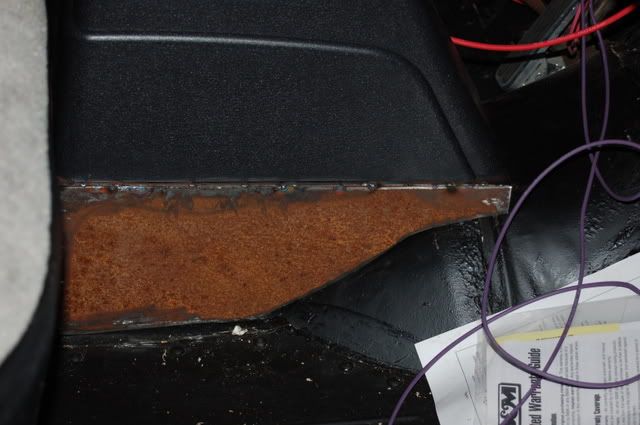
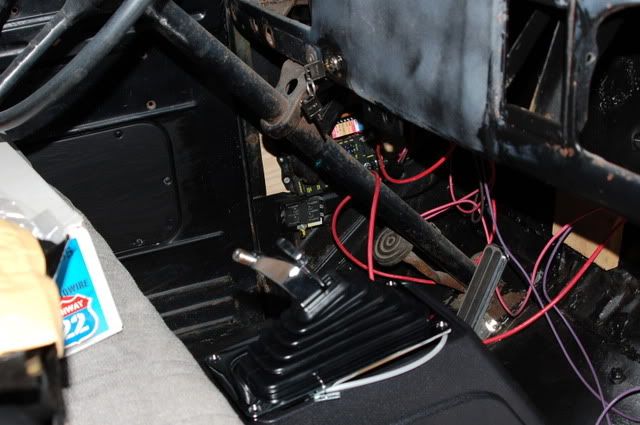
"  "No matter where you go, there you are!" Steve.
-
03-02-2010 10:33 AM #402
After looking at the photos I thought I might add the wires are also just temperary in their present state. Just for fireup! They all come out and get put in plastic conduit for the final, after the paint goes on!"  "No matter where you go, there you are!" Steve.
-
05-18-2010 06:49 PM #403
Today I put my fenders on the bed to see if I could hide the extra holes in the pickup bed, under the fenders with metal patches. Unfortunately all the holes show through above the top of the rear fenders. Now I have to contiplate the need to patch vs. replace. If there wasn't a custom roll pan already on there I'd pull the side walls to the bed and replace them, but then I'd have to work on a new pan, and buy new stake boxes, the list goes on! So I think I'll work with what I have and maybe use a thin guage metal to weld patches on the inside of the bed, then cover that whole area with a sheet metal panel which would fit in the indented area of the bed. See pics below. In the mean time I also needed to replace my running boards and my passenger side lower front fender. Bebops sells reasonable fiberglass pieces that I may buy for new rear fenders, and running boards. I thought I'd start with a fender panel and go from there. I also picked up a front bed panel from LMC truck as well as a bed cross member that is missing.
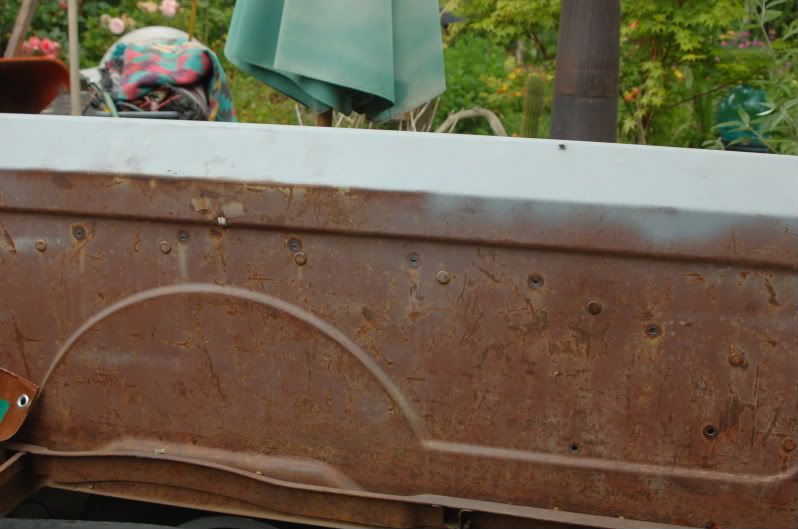
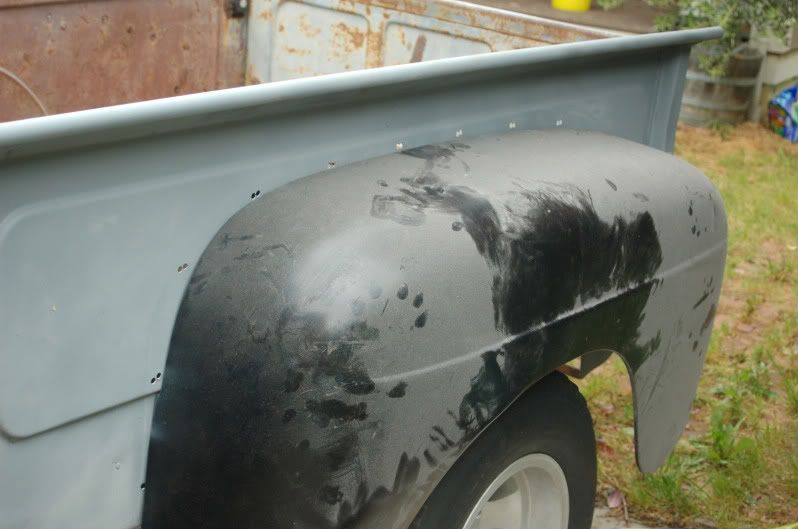
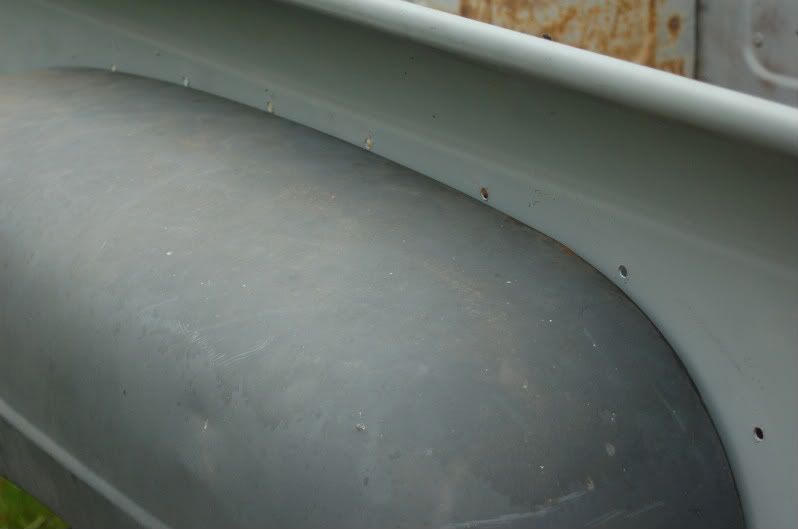
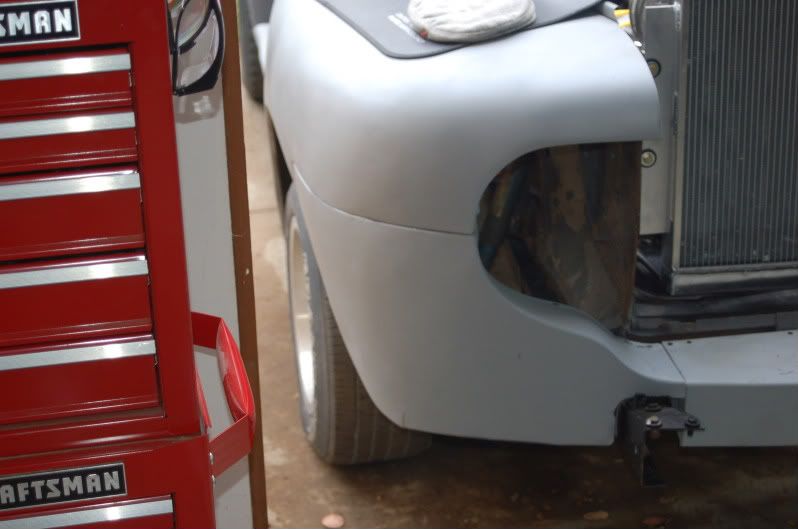
"  "No matter where you go, there you are!" Steve.
-
05-18-2010 06:51 PM #404
I guess I should of mentioned the front bed panel is dented and banged up beyond the 175 price tag for a new one! I figured I would never get it straight or cleaned up to look good enough for a nce paint job, and these old beds actually screw together on the panels!"  "No matter where you go, there you are!" Steve.
-
05-18-2010 07:25 PM #405
Hey Steve get a good solid piece of copper and just hold it behind the hole and plug weld it full. Then just grind them down with a small angle grinder with Roloc disc's .


 379Likes

 LinkBack URL
 About LinkBacks
 Reply With Quote


Friday and Saturday (4/11 & 12/25) Chris (my wife) and I made the journey to Homestead-Miami Speedway so I could participate in the Florida Power & Light sponsored Electrathon event.:cool: It was...
Electrathon - A Different Kind of...