Thread: Project Special K
-
06-05-2014 05:04 PM #766
Went down to our local steel yard today and came up with this for an idea. Mind you this is just a quick rough layout, everything will be tight in the finished product. Got out of there with about 40 bucks of 1/8" thick strips, and 3/8" angle iron. Enough to do several beds, but gives me extra material to play with. Here are a couple of quick mock ups.
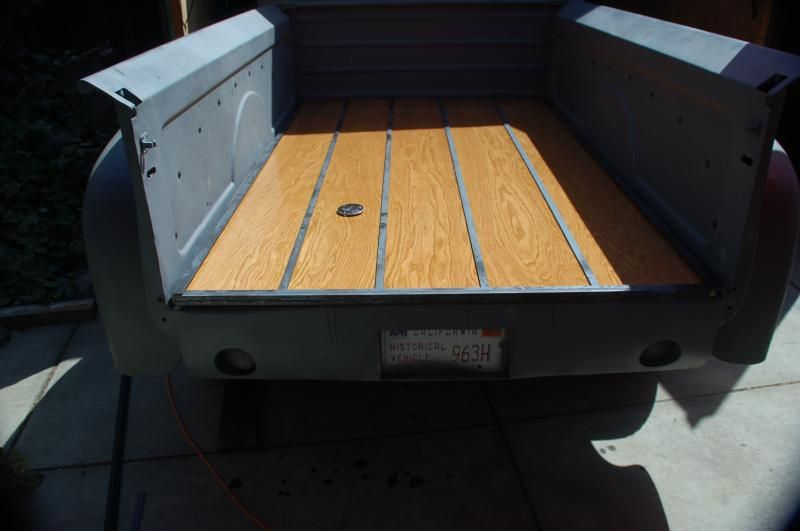
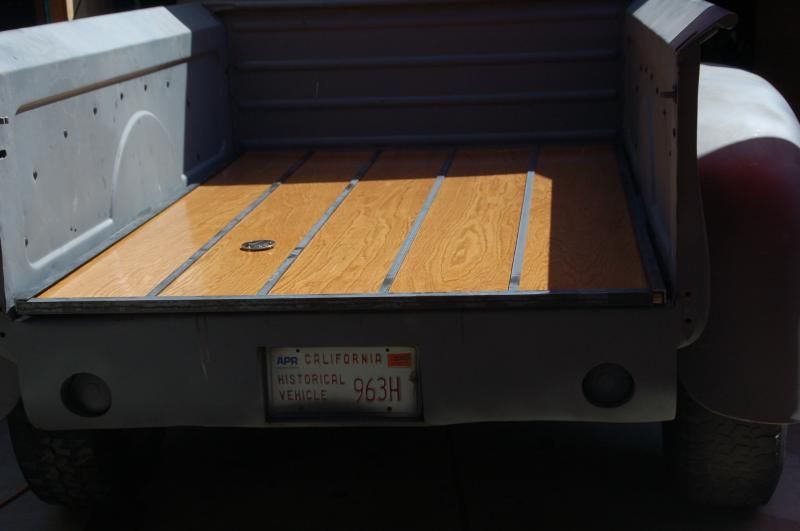
I like the cheap aspect of this, plus the simple solution to a complexed issue related to parts on hand vs. buying a new bed. I think tomorrow I might get it all installed with counter sunk holes for the screws that hold the wood to the frame and the strips to the wood. Then it's off to the shop for mufflers!"  "No matter where you go, there you are!" Steve.
-
Advertising

- Google Adsense
- REGISTERED USERS DO NOT SEE THIS AD
-
06-05-2014 05:26 PM #767
Looks good Stoven! Will you rabbet the edges so the metal "lays in"?
-
06-05-2014 05:56 PM #768
Most definately! Thanks. Like I said I just laid out some pieces really quick to see how it would look. I also plan to polish the steel strips and end pieces to get a shine on them, and then clean coat the steel with poly or a clear coat for metal. I also will cut a piece of angle iron to go up against the bed back wall, and rabbit that as well. It was just cool to pick up stuff that gives it a classic look without too much trouble. The truck will live in the garage so that should keep the bed fairly protected.Last edited by stovens; 06-05-2014 at 05:59 PM.
"  "No matter where you go, there you are!" Steve.
-
06-05-2014 06:12 PM #769
What type of "steel"? Is it stainless, which can be polished, depending on which grade you got? If it's cold rolled or hot rolled mild steel then polishing isn't going to provide much, right?Roger
Enjoy the little things in life, and you may look back one day and realize that they were really the BIG things.
-
06-05-2014 06:15 PM #770
Yep it's just regular steel, hoping to get some blueing when I polish off the slag, they didn't have any stainless stock in the demensions I could use, but I think this will turn out o.k. esp. in contrast to the midnight blue paint!"  "No matter where you go, there you are!" Steve.
-
06-06-2014 01:35 PM #771
I did the angle at the front and back of my uncles F-1, we let the boards float and they are trapped in the angled steel and bedsides.
You could also use the gunsmith practice of bluing the steel.?.?.? It would provide protection to the metal and it would be something very few have done!
-
06-06-2014 04:36 PM #772
Might blue it or use paint from body"  "No matter where you go, there you are!" Steve.
-
06-10-2014 05:29 PM #773
Worked some more on the truck today. Moved the radiator mount forward to the straight six engine spot. Discovered the support is bolted in with springs for flex and a rubber gasket/pad under it. So I guess all my initial worries about the radiator being to stiffly mounted were unwarrented! It moves everything forward by about 2 1/2 inches so I can now use shorter spacers and bolts to keep the radiator close to the fan.
I also looked under the bed and realized the wood is floating on the high point of the frame under it, but not flat front to back. I figure I can use some of the excess angle Iron to provide an inner box wood support. This will fix a number of issues. I may weld it directly to the sides and end of bed or bolt it depending on where the bolts can be hidden. I can also make some middle and front and back supports to keep the floor wood supported. I think some one or 1 and 1/2 " square tubing will work for this and weld easily to the existing sub frame."  "No matter where you go, there you are!" Steve.
-
06-10-2014 07:31 PM #774
I was able to run down to our steel store and get a 20 foot length of 1x1 square tubing Did a quick mock up with a couple of pieces before calling it quits today. One of the cross ribs needs to be cut off where the previous owner put a chunk of angle iron under it for support, but it is jacking the bed up at a slight angle on that side.
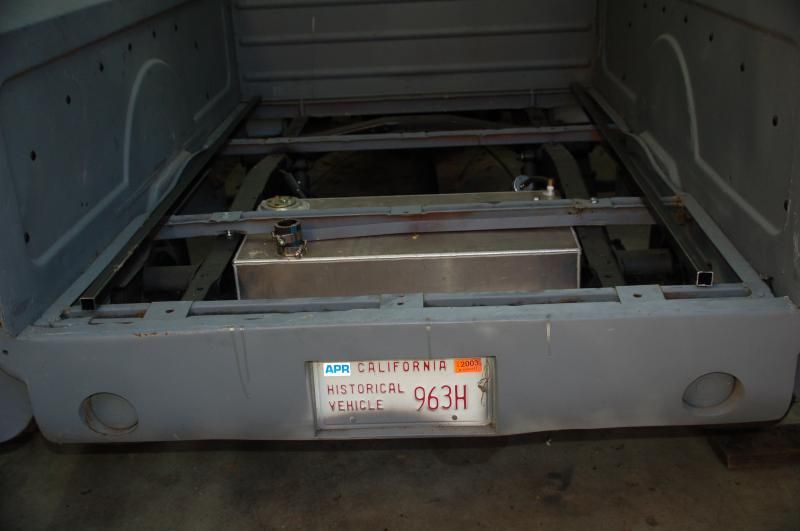
"  "No matter where you go, there you are!" Steve.
-
06-20-2014 06:53 PM #775
Got some more 1"x1" square tubing and made a subframe for the plywood with 15 inch spaced supports. Pulled bed off frame to cut off the welded on angle iron. Bed now sits flat to the frame. withe the sub frame welded up, I then flipped my cabinet grade oak plywood and polyurethane it on the sides and bottom face. the bottom will get coated with some undercoat paint, before install. The subframe I made for the plywood, will get a coat of rustoleum primer, followed by their flat black paint before I screw it down to the bed frame, and then attach the plywood to it. Things are progressing well now."  "No matter where you go, there you are!" Steve.
-
06-23-2014 06:53 PM #776
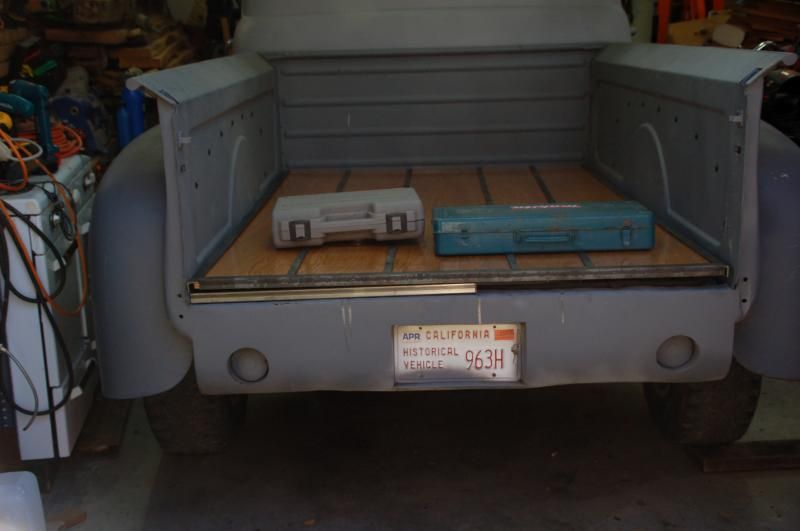
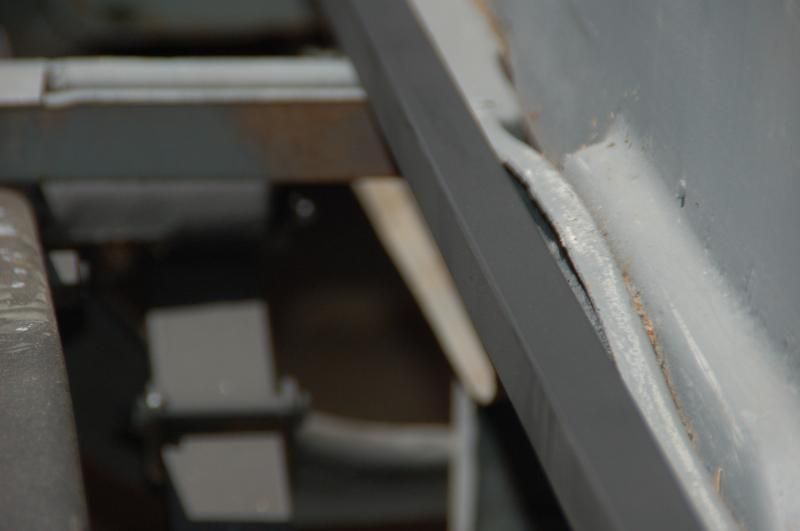
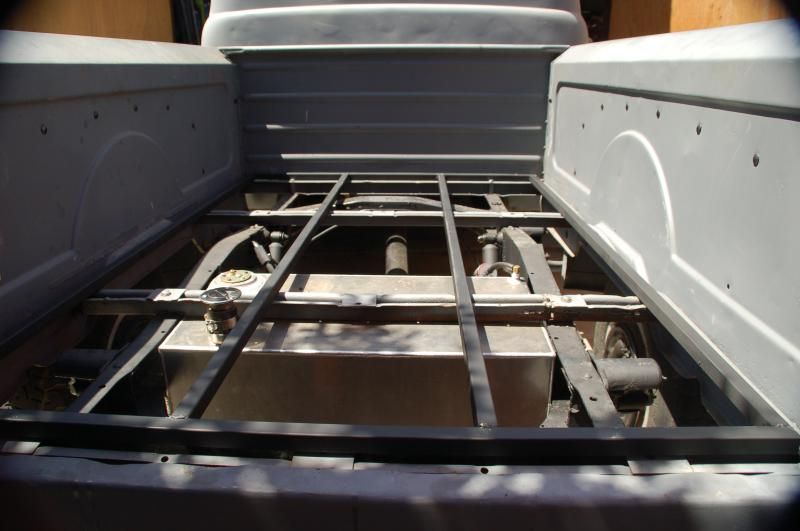
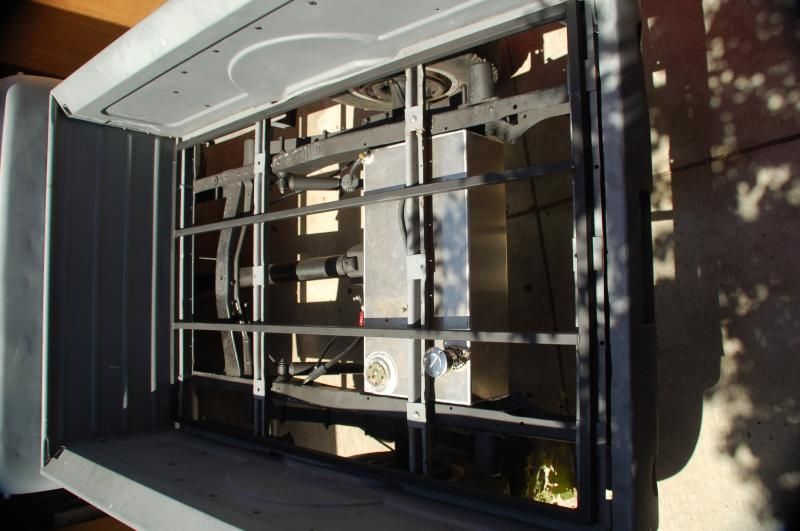
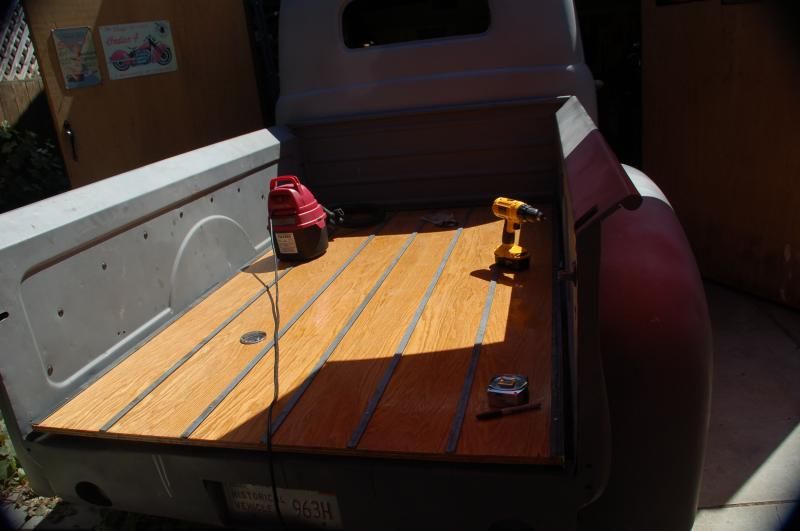
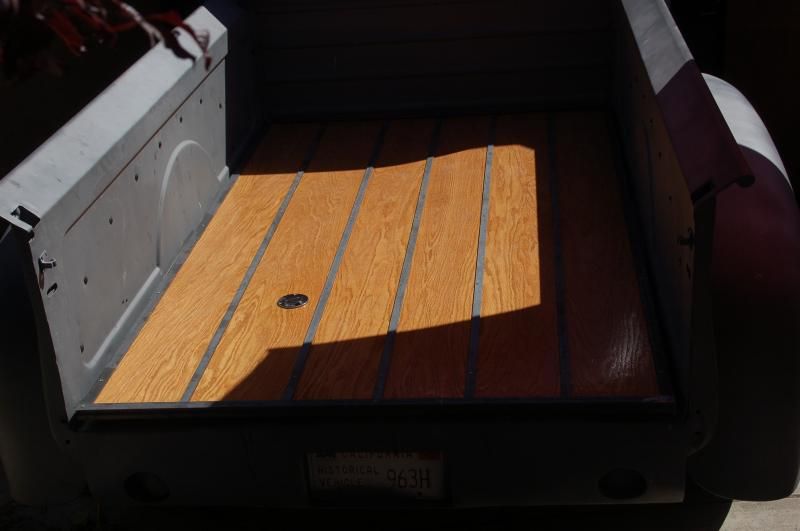
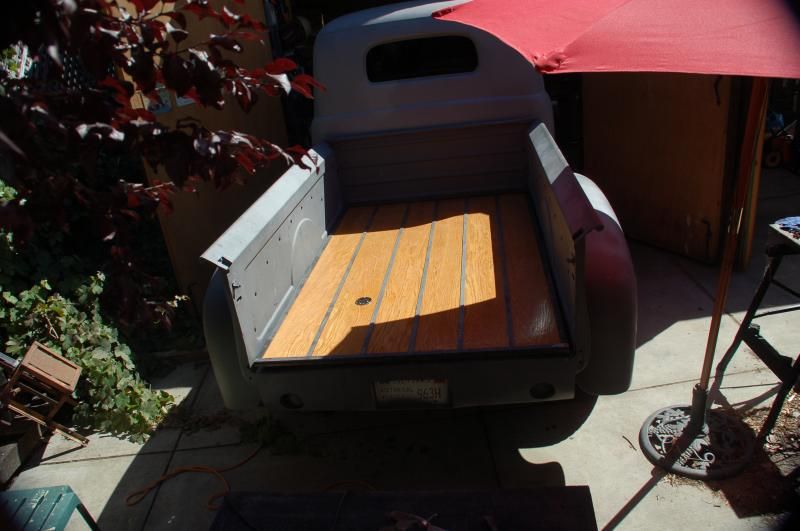
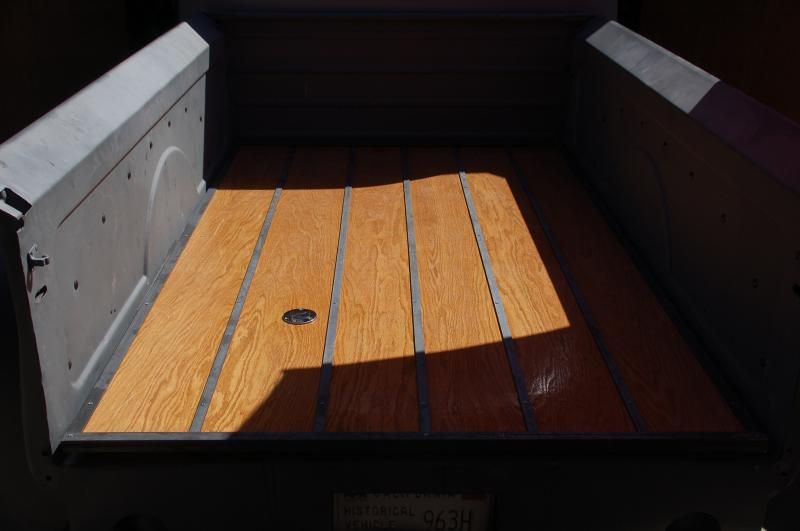
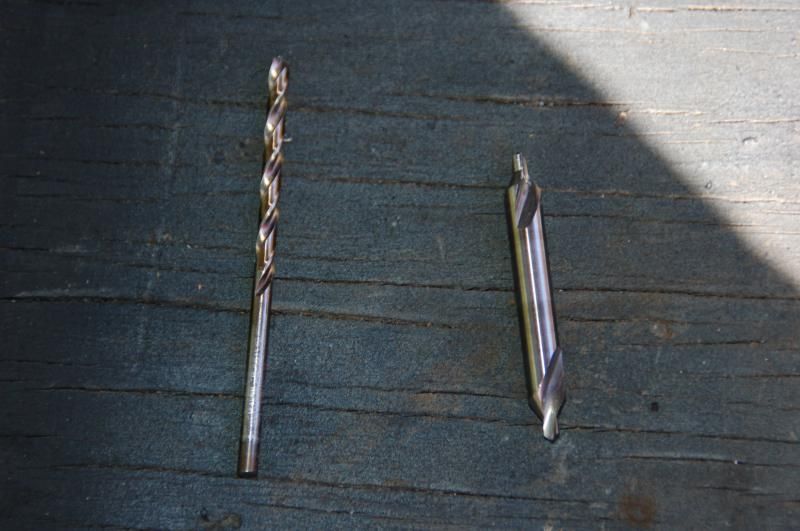
Made my sub-frame out of 1" square tubing, and the coated it with primer and flat black enamel. Mounted it to steel frame of bed. In the pictures you can see how this enables the wood to clear the wheel bed sides of the frame and to lie flat. Once in I bolted the metal strips and side angle iron on. I am grateful to my neighbor who gave me a counter sink drill bit made for cutting stainless steel, as the steel bed strips are particularly tough to cut through, I'm guessing some grade of hardened steel?
Anyway bed it in now, will eventually polish and coat the steel strips and sides and re-coated the poly on the plywood. All in all less than 120 bucks in materials compared with about a thousand dollars for a wood bed kit.
"  "No matter where you go, there you are!" Steve.
-
06-24-2014 04:35 PM #777
WOW, that look nice Steve! I tried a marine shellac on my uncles bed wood and it didn't last but a year. I need to disassemble it and re-do with poly-urethane I guess.
-
06-24-2014 07:19 PM #778
Thanks 34-40! I'm pretty happy with it. It wiil o.k. and not break the bank. I am going out on a knee surgery next month, so it'll be fun to get some small stuff done, once the exhaust guy is done with it."  "No matter where you go, there you are!" Steve.
-
06-25-2014 05:09 PM #779
- Join Date
- Apr 2011
- Location
- Prairie City
- Car Year, Make, Model: 40 Ford Deluxe, 68 Corvette, 72&76 K30
- Posts
- 7,298
- Blog Entries
- 1
That looks great, nice work!Ryan
1940 Ford Deluxe Tudor 354 Hemi 46RH Electric Blue w/multi-color flames, Ford 9" Residing in multiple pieces
1968 Corvette Coupe 5.9 Cummins Drag Car 11.43@130mph No stall leaving the line with 1250 rpm's and poor 2.2 60'
1972 Chevy K30 Longhorn P-pumped 24v Compound Turbos 47RH Just another money pit
1971 Camaro RS 5.3 BTR Stage 3 cam, SuperT10
Tire Sizes
-
06-26-2014 11:39 AM #780
The finish was a semi gloss polyurethane from Minwax, called Helmsman Spar Urethane. It says,"Exceptional protection from sunlight, rain and temperature changes. I'm wondering if I can get some more in a flat finish to give it more of a rustic appearance."  "No matter where you go, there you are!" Steve.


 379Likes

 LinkBack URL
 About LinkBacks
 Reply With Quote

Hope you enjoy your day, Mike, and celebrate YOU!
Happy Birthday Mike Patterson