Thread: Aoto Body explained..
-
02-12-2012 07:45 AM #31
Well I could never afford something like that. Only thing I can think of right off is to cut as much out of the back side, as long as it doesn't interfer with the window mech. Would heating up the center of the crease to a red hot and then doing some off dolly work then quench it with a spray of water start to level it out?? I did have studs welded to the center, but that slide bar wouldn't hold, and they kept breaking off, so I just gave up on it.
-
Advertising

- Google Adsense
- REGISTERED USERS DO NOT SEE THIS AD
-
02-12-2012 08:14 AM #32
Cutting out the inner panel should be temporary, weld it back in when done with the repairs. About the thinnest cutting wheel would be the .035 thick 3" cutoff wheel, for the least gap to contend with when welding back in. Unless there's an overlap where you can remove spot welds...
You have a stud welder? If so, there should be a heating tip available for it. I would not recommend the torch heating as like I said before, you're heating so much at once that it will be more difficult to gauge where/when to stop, unless torch shrinking is something you have considerable experience with. It would take longer with the heating tip, but IMO a slower, more controlled approach will be easier to read changes in the panel and give you better results in the long run.
-
02-12-2012 09:01 AM #33
Just to show the effectiveness of the shrinking tip, here is a sandblasting damage experiment I did a couple months ago. The inside was sandblasted where the peening action of the media caused the panel to stretch inward.
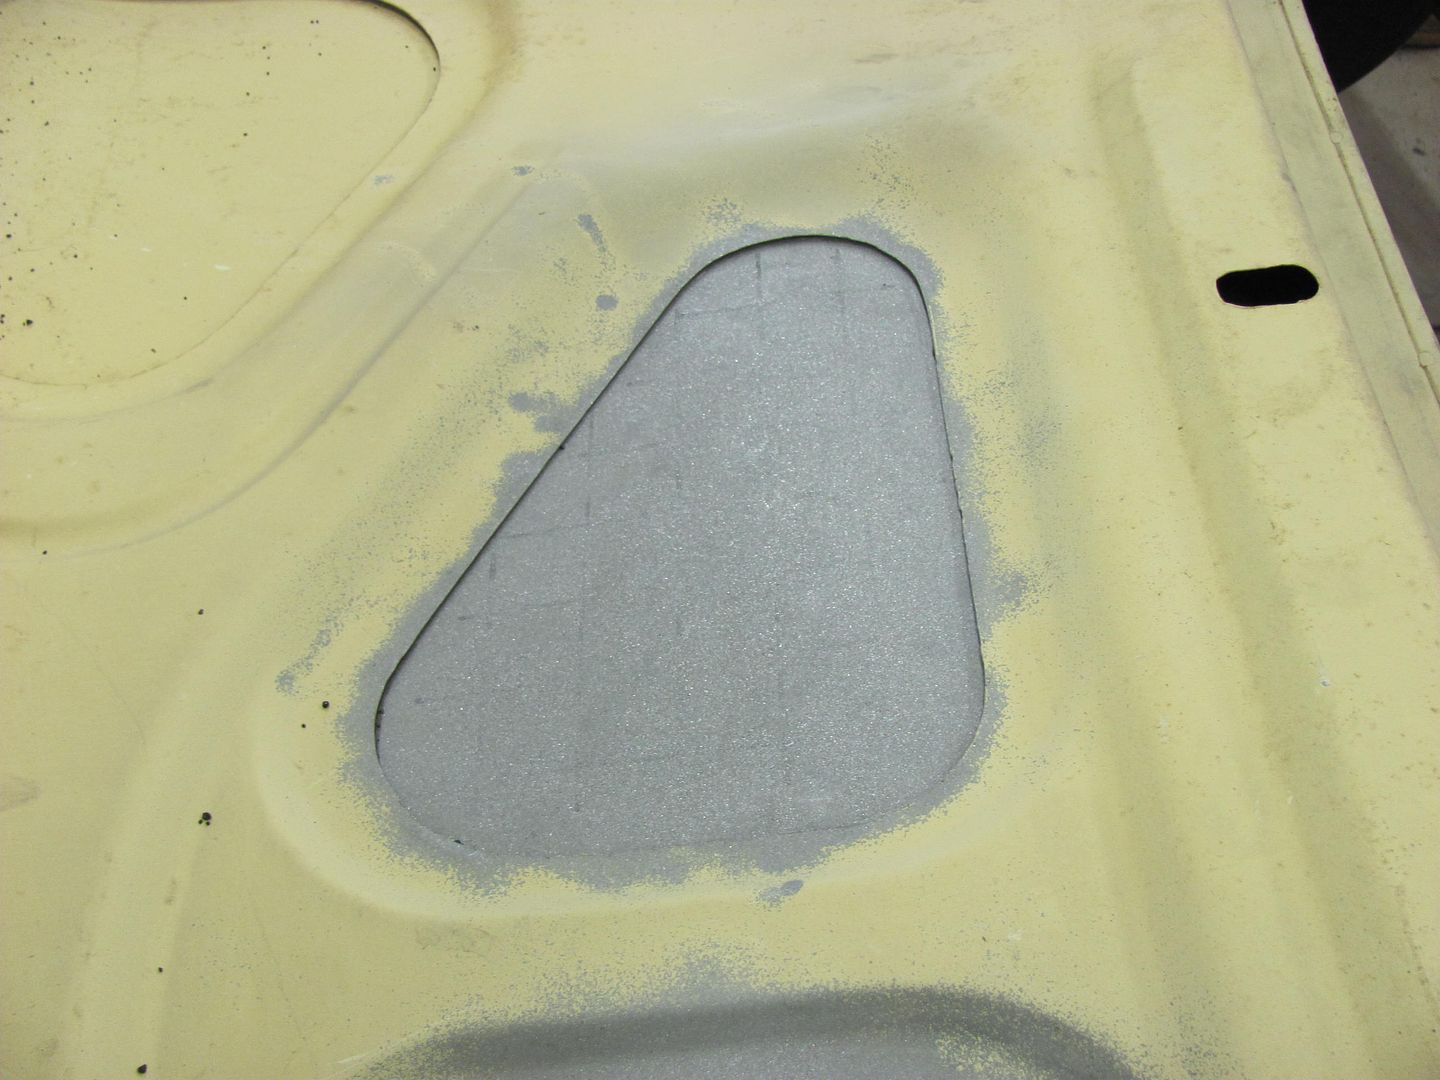
Damage as shown from the outside:
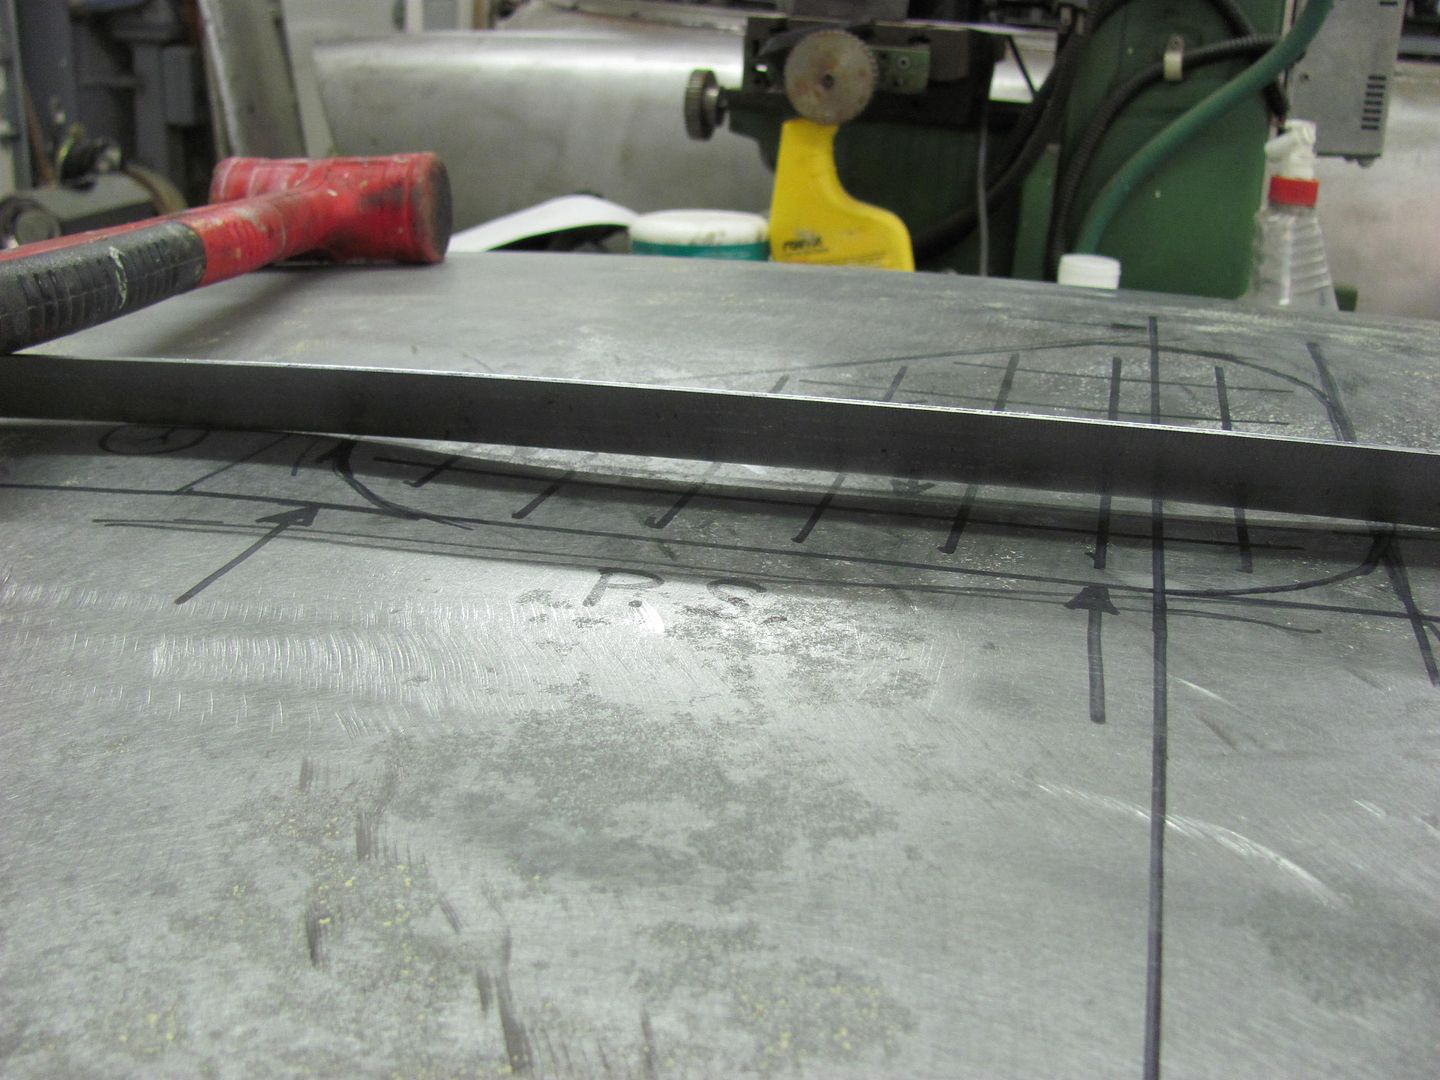
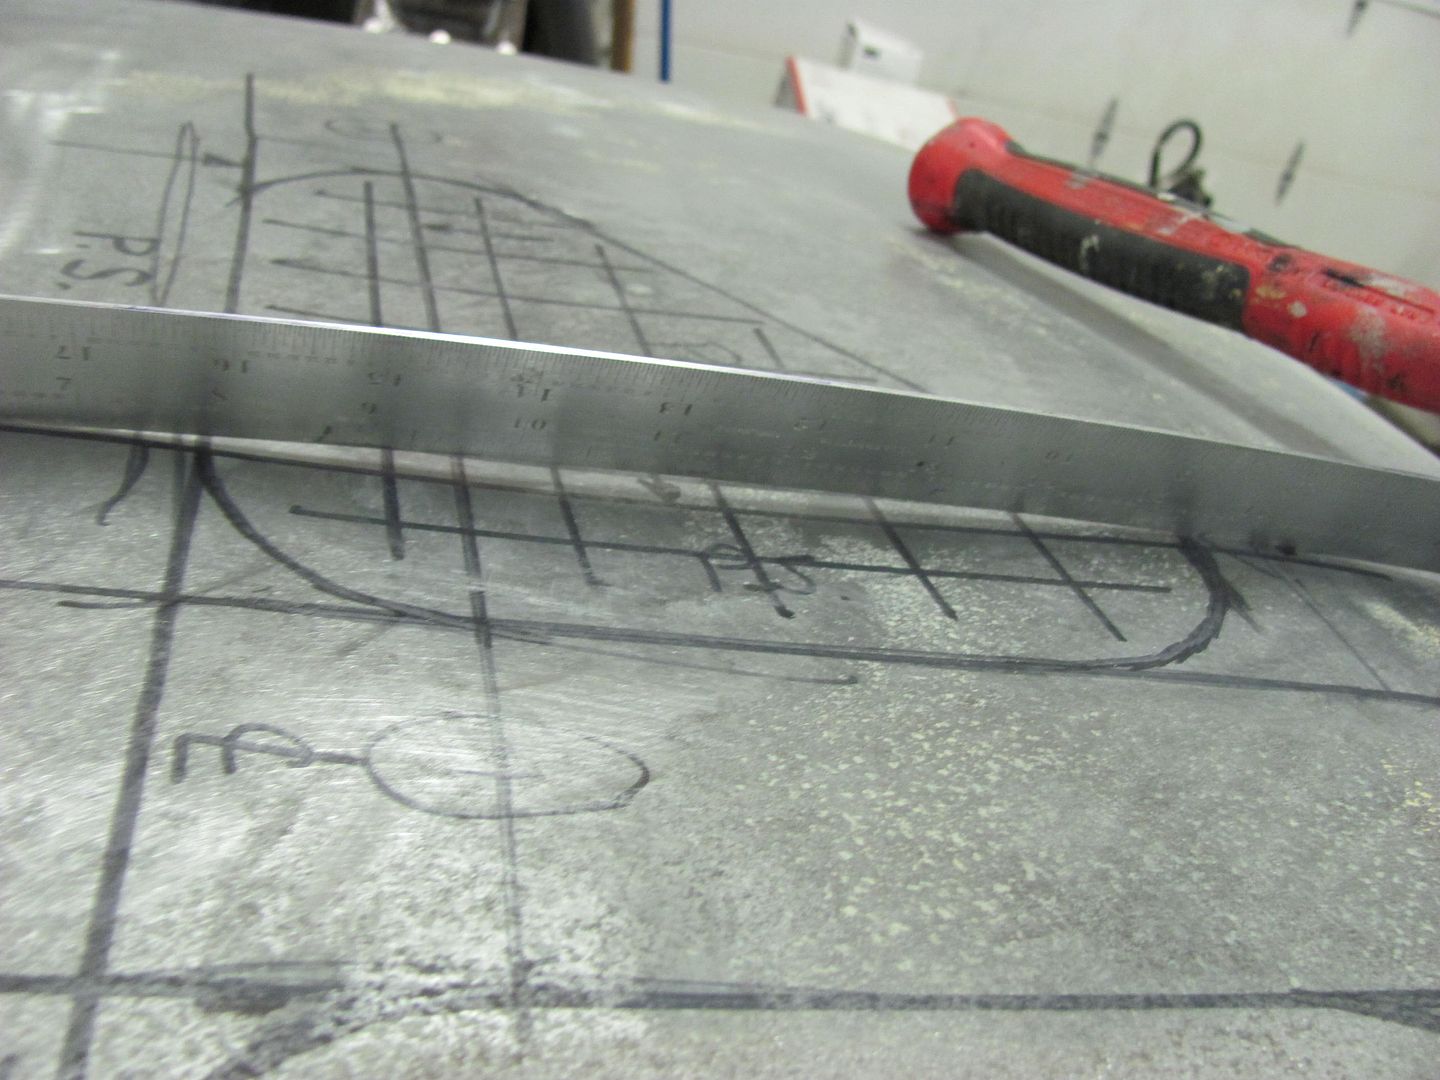
To repair, we used heat in the form of the heating tip on the dent puller.
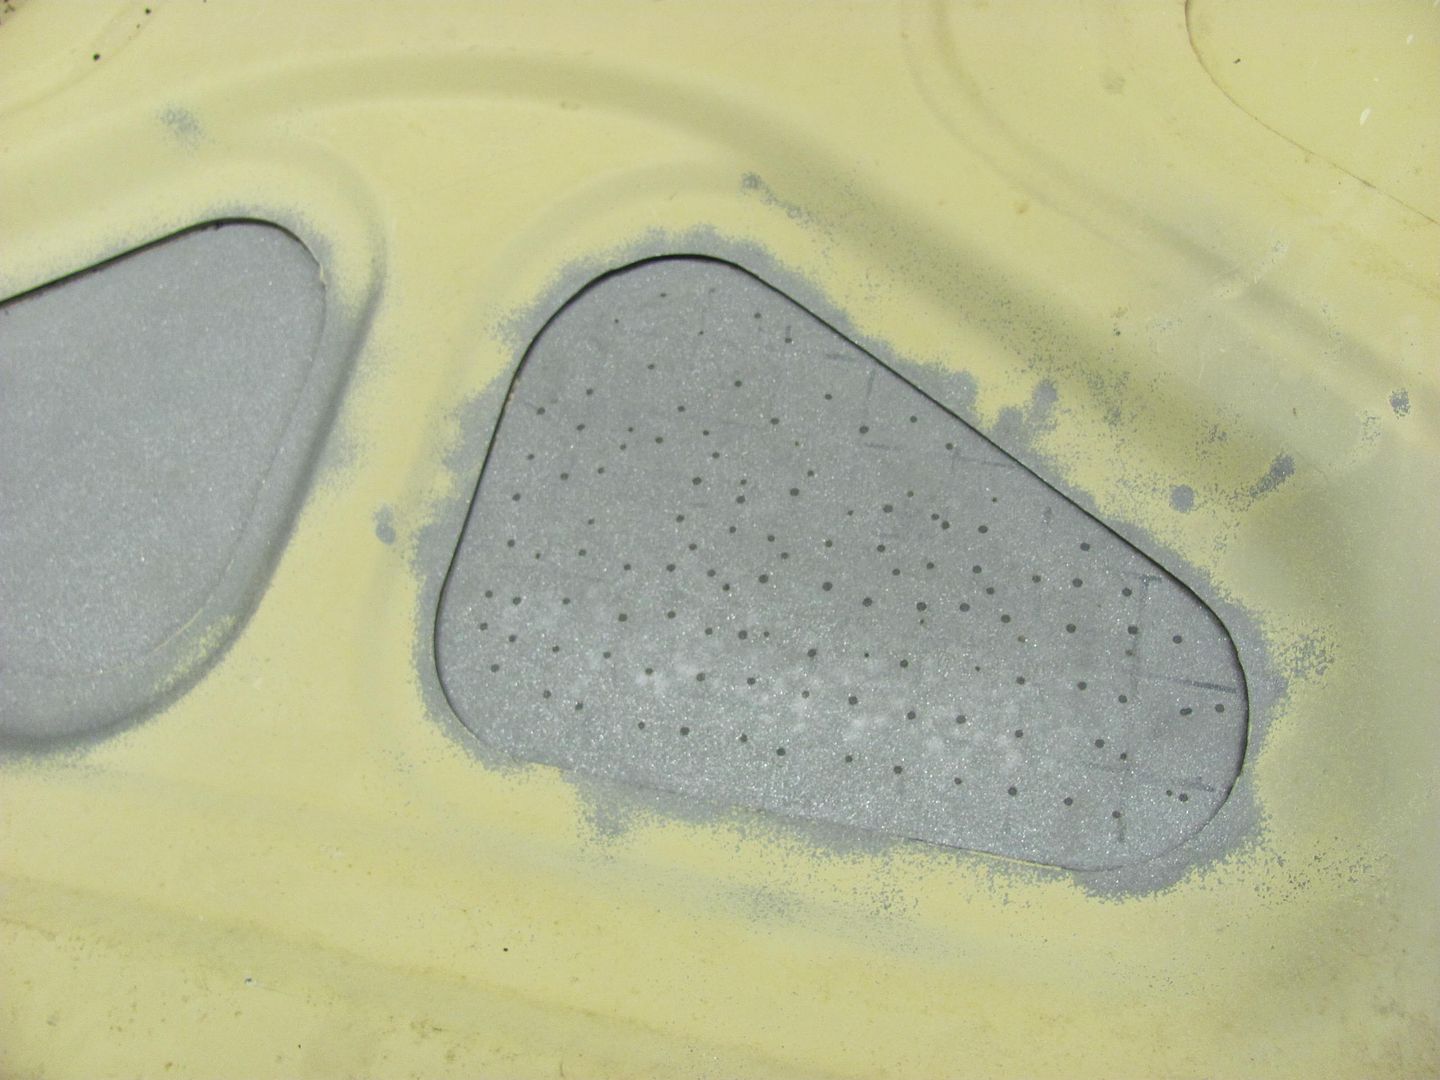
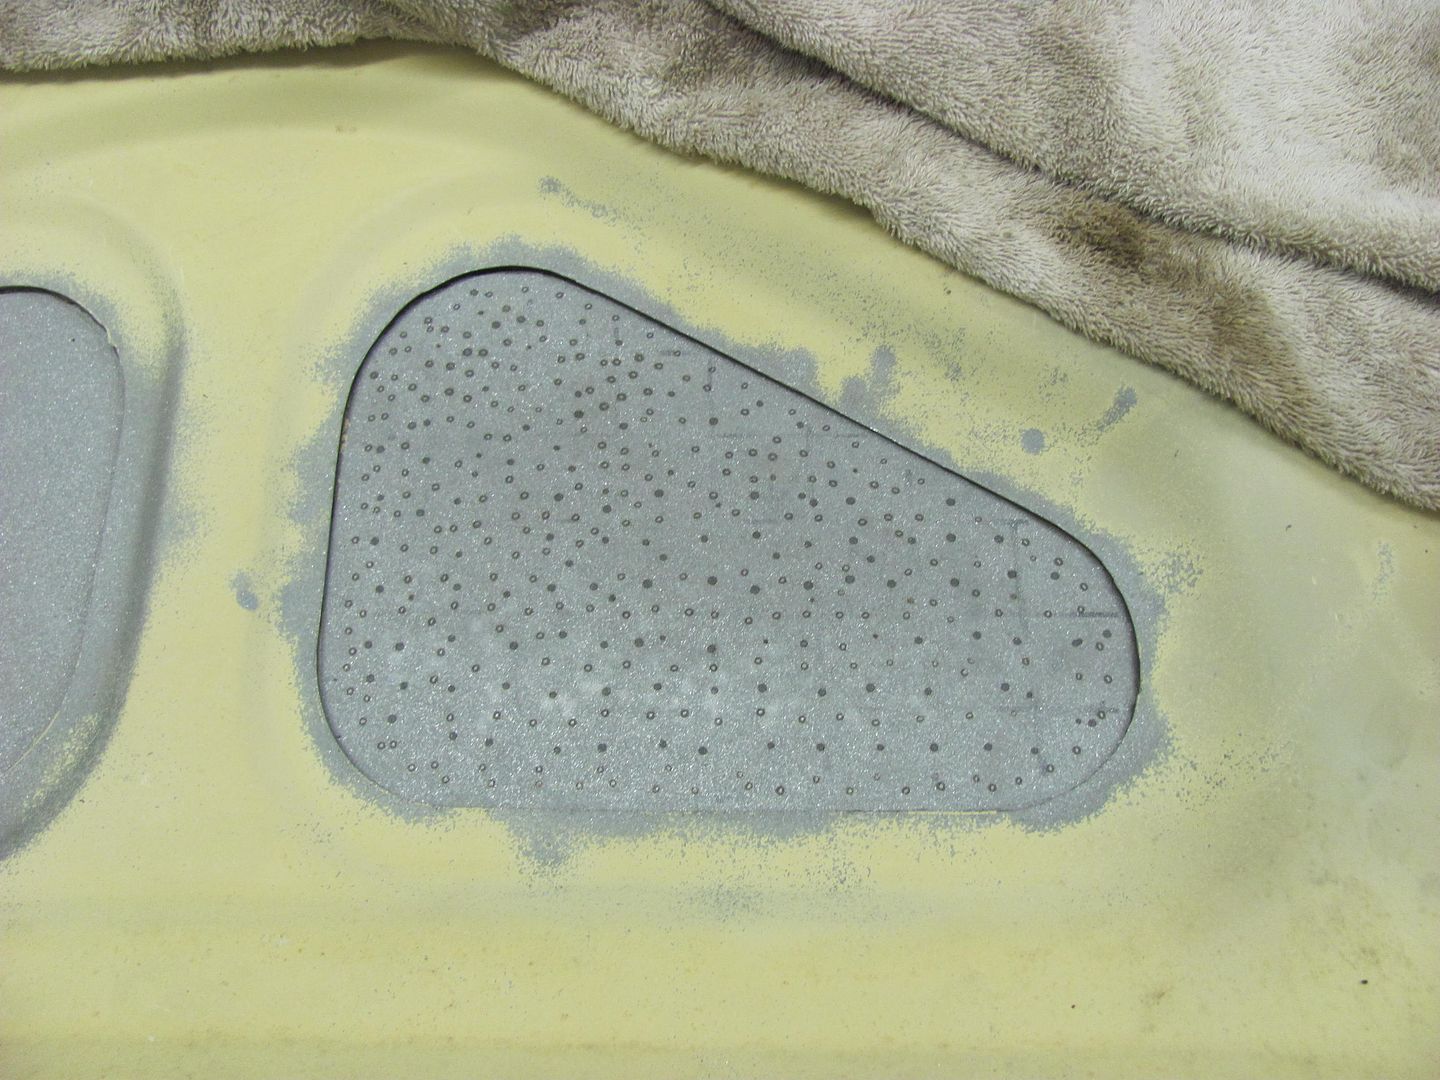
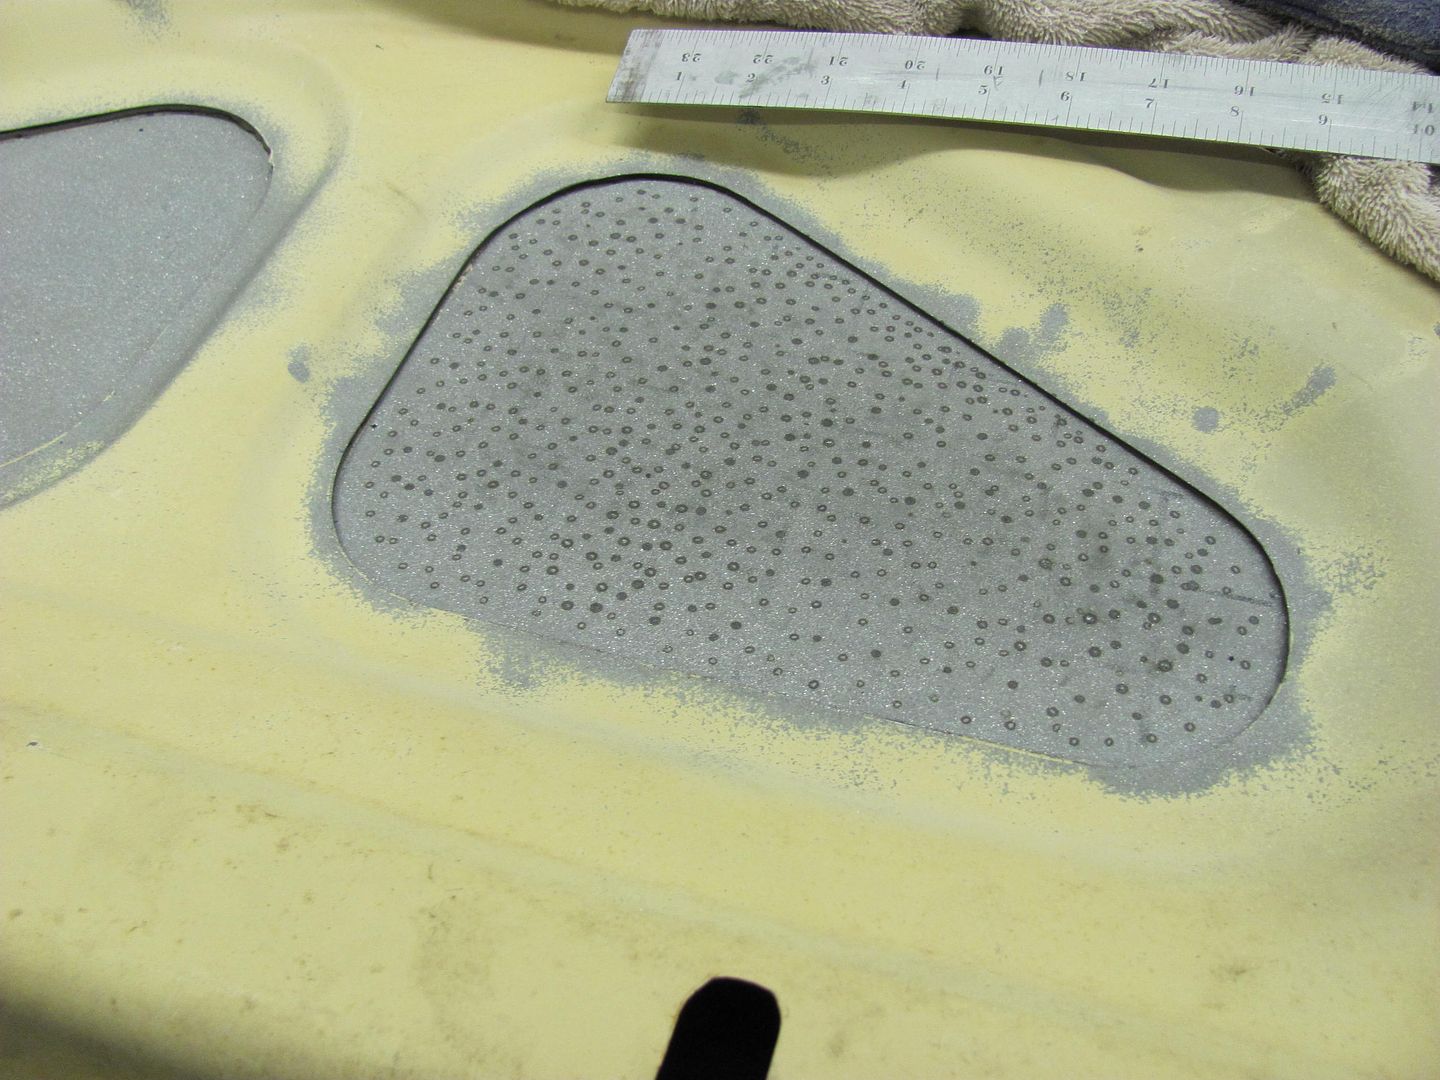
This heat was moving the panel outward as it was shrinking. Kept going until the panel seemed to stop responding to the heat shrinks, and as it still hadn't returned fully to its original crown, then thought we'd bump up the little bit that was needed using this small shot bag as the dolly on the outside....
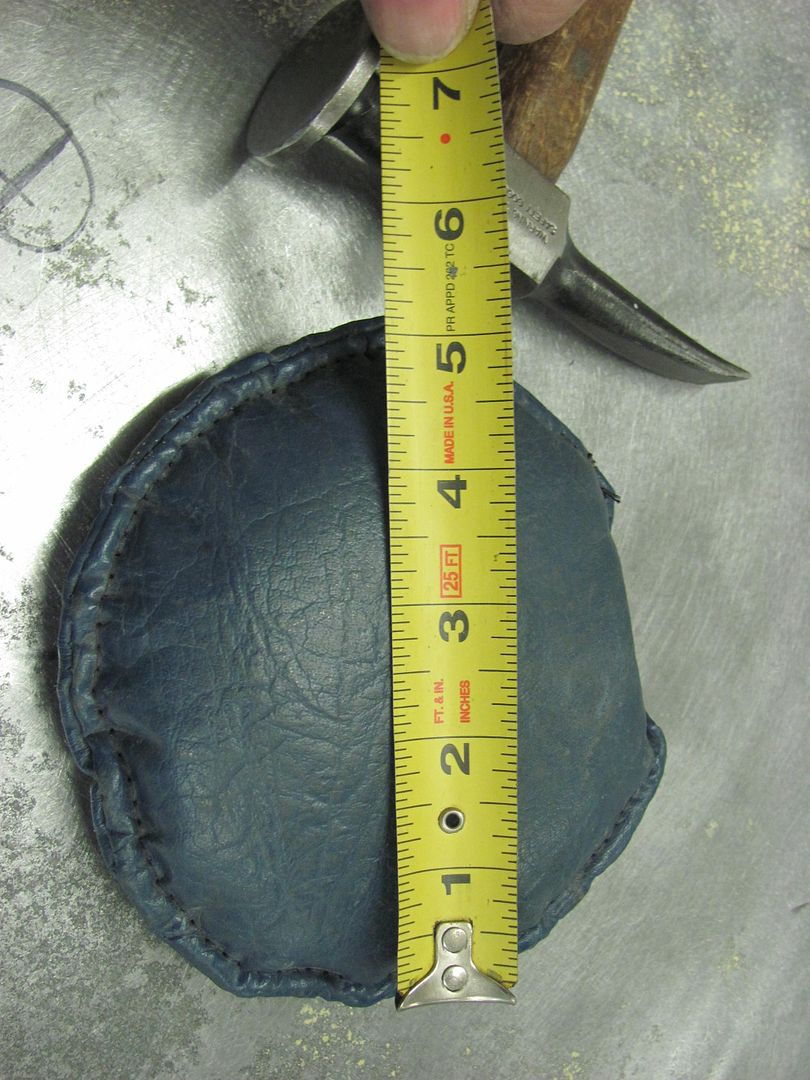
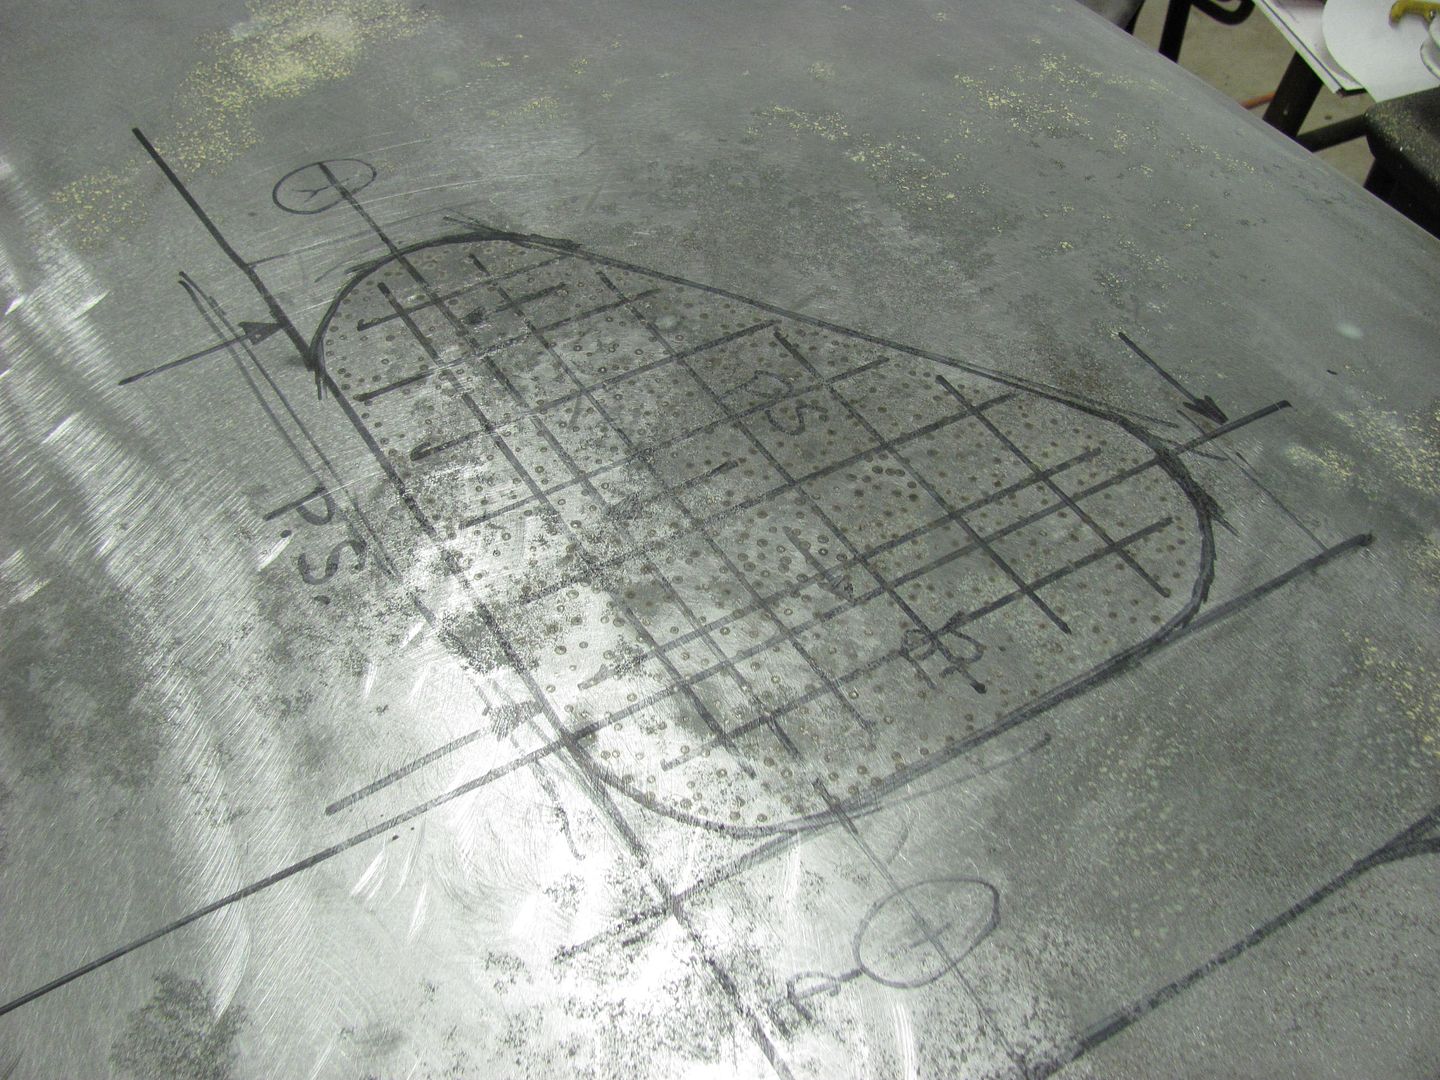
The panel responded well to the tool selection, moving the panel the direction we needed.
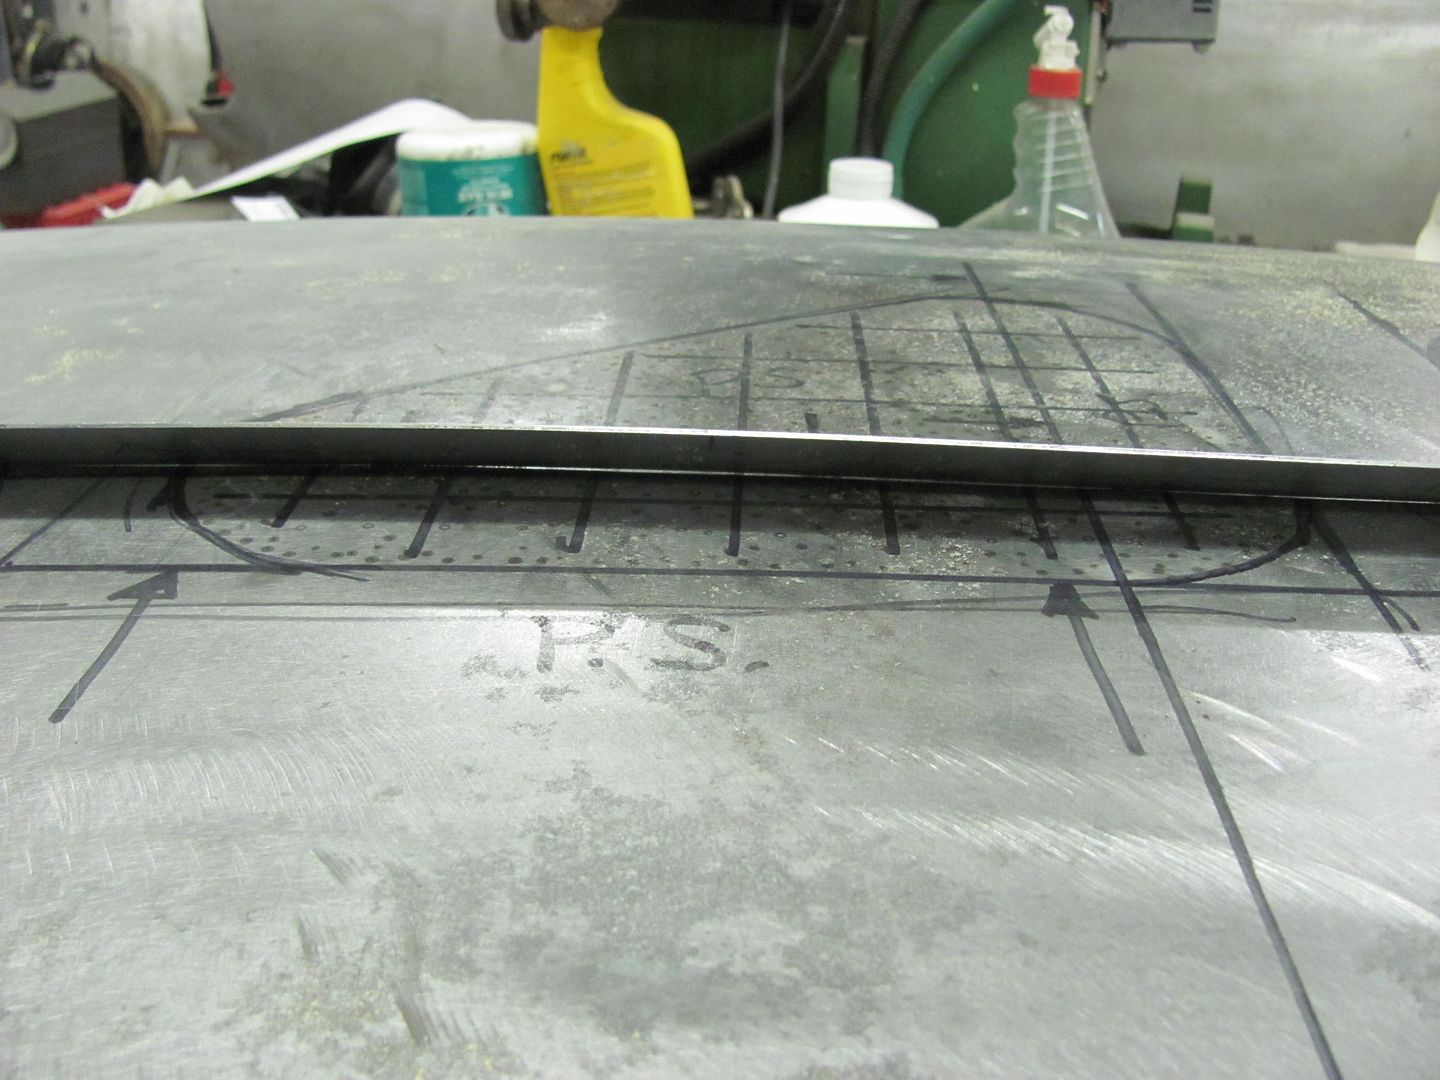
Not perfect, but looks like we're doing the right thing. A bit more work and it would be to a high build primer fix state.
Where sandblast damage is more of a uniform stretch, the repair shown above is rather uniform in the placement of the shrinks. Your's will likely have more stretch localized in the center of the dent, so any shrinks applied should be concentrated around the stretching....Last edited by MP&C; 02-12-2012 at 09:09 AM.
-
02-12-2012 09:06 AM #34
Had a stud welder from harbor freight. Sold it after it kept burning holes, or the studs wouldn't stick. Now I have a bunch of studs and no gun.. I could always tack those studs in place and pull them with either a better slide bar, or use a vice grips.
-
02-12-2012 09:39 AM #35
Again this goes back to a controlled environment thing. A good working stud welder/dent puller will provide you with consistent results in shrinking, tacking something onto the panel, not as much so. My recommendation is to keep your eyes out on Craigslist or local ads for used stud welders or dent pullers. That's how I got mine. Best part of that type source, you can take a piece of sheet metal with you and try out the device before purchase, as most are 120V.
-
02-12-2012 09:54 AM #36
Just looked on CL for "dent puller", there is a dent puller like mine in Alex MN for 750, I think I paid 600 for mine, but if you could pick it up for 500-600 I think it would be a steal.. A bit of a drive for you, and yes, quite an expense, but I think that machine would be something to better hold it's value that you could recoup your money once your project is complete.
Searching for stud welder, there are a couple listed, in Mankato and East Bethal.... Quite a bit cheaper and definitely something to test out before purchase to insure you don't end up with another defective HF like you had. In any of them, I'd check to see if the ones for sale included the shrink heating tip, or insure one is available for that particular machine, and take a scrap piece of sheet metal with you...
-
02-12-2012 10:06 AM #37
Thanks. I will keep you posted as to what I find. Al
-
02-12-2012 10:40 AM #38
Al, what kind of torch do you have, and how small of a tip?
-
02-12-2012 12:42 PM #39
All I have is a propane torch, and a wire feed welder.
-
02-12-2012 01:46 PM #40
OK, just checking to see what you had to work with. I'd look into the CL ads mentioned above to see what's available. I may be saying something other than what you may see on some of the youtube videos on the subject, but IMO the torch shrink "spots" should be smaller than a dime, and I'd prefer 1/4" or less. To me the propane is not precise enough to manage that kind of small area, and thus would be less effective at consistency and control, as you would get with the heating tip on the dent puller/stud welder. If you had a torch that was more precise on flame control, I might go into other options, but I feel the propane torch would likely make more work for you in the long run.. Perhaps some others on here that have a bit of experience in the use of torch shrinking could add their thoughts........Last edited by MP&C; 02-12-2012 at 01:48 PM.
-
02-12-2012 02:11 PM #41
There are those little torches that are used in making jewellery making. They run both propane, and butane. I think the tip is less than 1/16".
-
02-12-2012 02:18 PM #42
Got Pictures?
-
02-12-2012 03:31 PM #43
Butane Pencil Torch This is one kind. There are kinds with dual tanks for longer life.
-
02-12-2012 04:35 PM #44
I don't normally make recommendations for torch shrinking because of all the variables and how inconsistant the results can be. I would have never thought when you said propane torch you were referring to one of the pencil torchs. Heck, I would never have thought of using one of them for body work... That should be able to provide a small heat spot, but referring to your earlier comment, I don't think you need to heat to a cherry red. I'd suggest when the spot turns a light brown/bronze color it is likely hot enough. This is best done in a more dimly lit area as otherwise it will be harder to see until it does get red hot. You do seem to have a couple extra fenders, so I would use one of those as a test sample, rather than use the car's quarter as a guinea pig for this process. Find a low crowned area similar to the quarter, create a dent/damage, and see what it takes to fix it. If you intend to do this entirely from the outside, then approach the test subject the same way to see how successful or not it would be, or what changes may make the process easier/more effective. I will say that the shrinking tip on the dent puller test samples I did above was only used to heat the area and let it cool naturally. IMO you can use water to speed up the process, but that is the only thing you will be doing, speeding up the process. It should not be viewed as shrinking more or anything to that effect, but the benefit of forced cooling is that you can see more quickly how the panel has reacted to the shrink so you know better where to move next. Natural cooling just takes longer to be able to monitor the panel reaction to the shrink. Next, I think for the slow, controlled process you should be looking for, I would heat and let it cool (forced or naturally) without any planishing of the bulged area. I think you'll have more consistant results by just using heating and cooling, and see what results.Last edited by MP&C; 02-12-2012 at 04:39 PM.
-
02-12-2012 05:00 PM #45
Ok. I will give it a go Thanks.. Oh, and those pictures of a fender are pictures of the same fender. That was when I first pulled it out of the car. it is sitting right now in the basement. I was going to take some of the dents out of that as well. Maybe I'll try out the torch on it to see what happens.. Al


 1Likes

 LinkBack URL
 About LinkBacks
 Reply With Quote


Well to be as brief as I can the first shoot of color looked good but when I started spraying the clear I discovered all these paint flakes on the hood and back of cab. The 3m plastic sheeting I was...
Stude M5 build