-
05-06-2012 07:41 PM #1
Studebaker Dash Panel Fabrications
One of the local Studebaker owners needed some panels made for the dash of his truck (1947 M5), he's revamping the dash gauge/radio arrangement and needed some fresh metal to work with. Here's the existing:
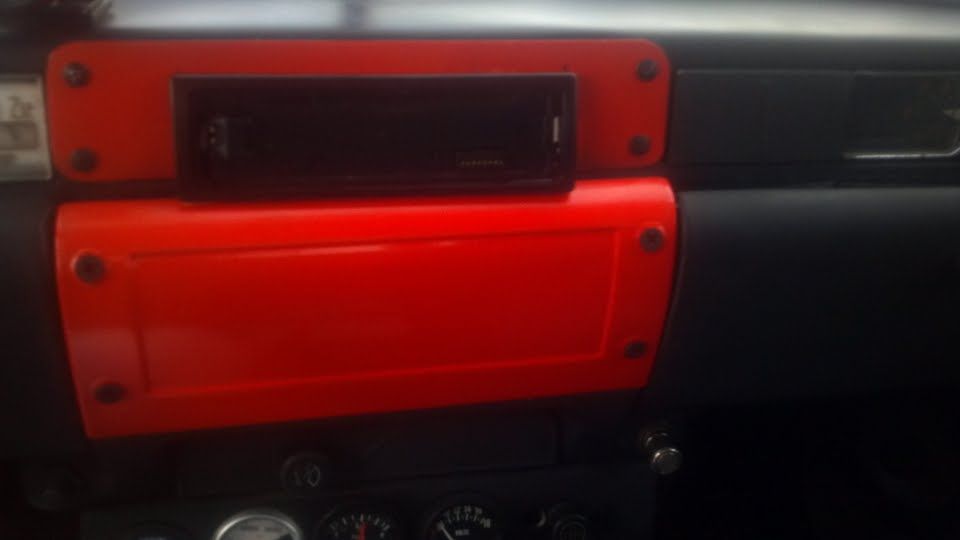
Where the factory panel has a recess, and since he has plans for installing a couple gauges in that panel, the new will be made without the recess. The flat panel above for the DIN radio will be replaced as well, with the sides tipped for uniformity.
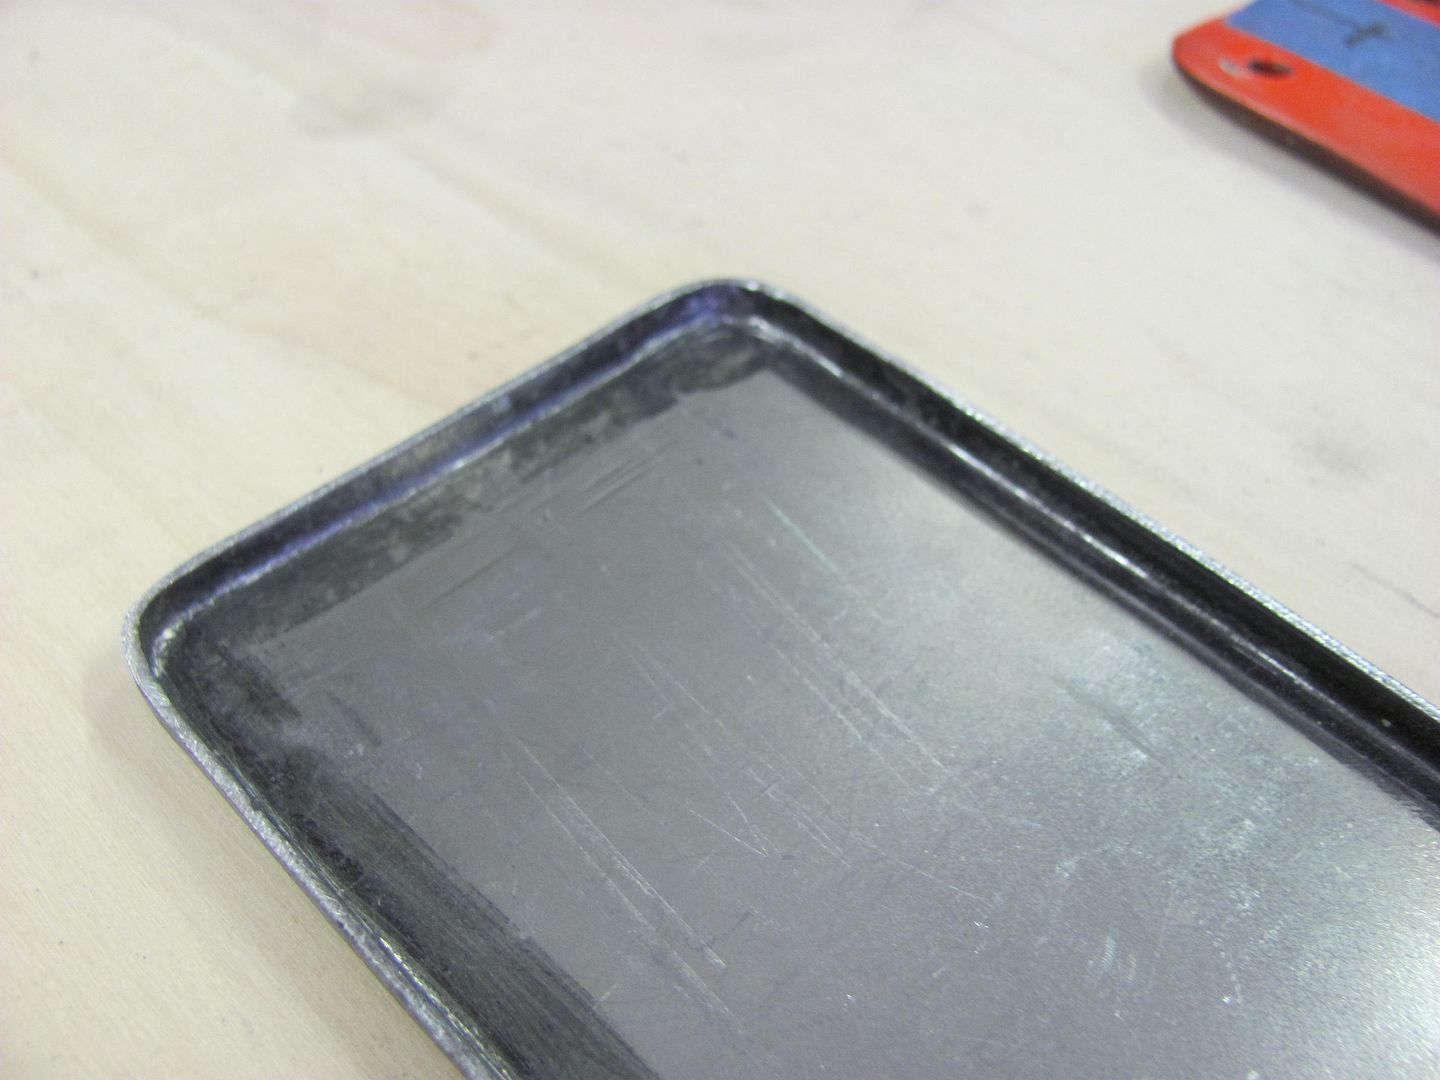
The old panel has seen some previous holes, for whatever reason.


Where the rubber tire on top of the e-wheel does a nice job of forming a radius across a panel, the upper portion of the panel was a bit tighter than the 3" radius anvil will provide.
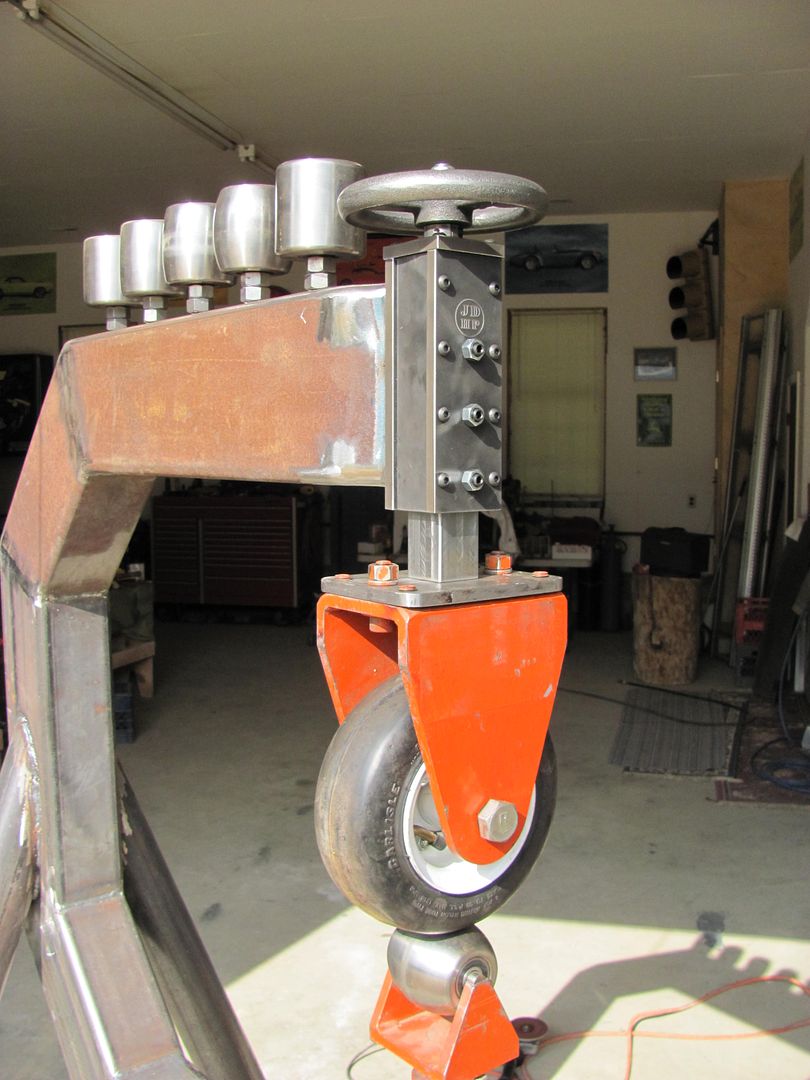
Having just set up my bead roller with the skateboard wheel for tipping, I thought to use this with a beading die to form the tighter radius.

Here's the results of "rolling" the panel


The panel has about an 1/8" lip around the perimeter, so the radius die was changed out to one for tipping.

With only just over 1/8 of extra to tip the flange, this process was not that effective. Hindsight, about 1/4 left over and trimmed afterwards would have been more effective. But since the panel matched so well, lets try other persuasive devices.


The tipping wheel did do an adequate job of marking the crease location....


And the "vice anvil" and a slapper was used to fold the straight lip over to a 90....

A different anvil was chosen for the radiused edges...


And a punch used to form the 4 corner radiuses...

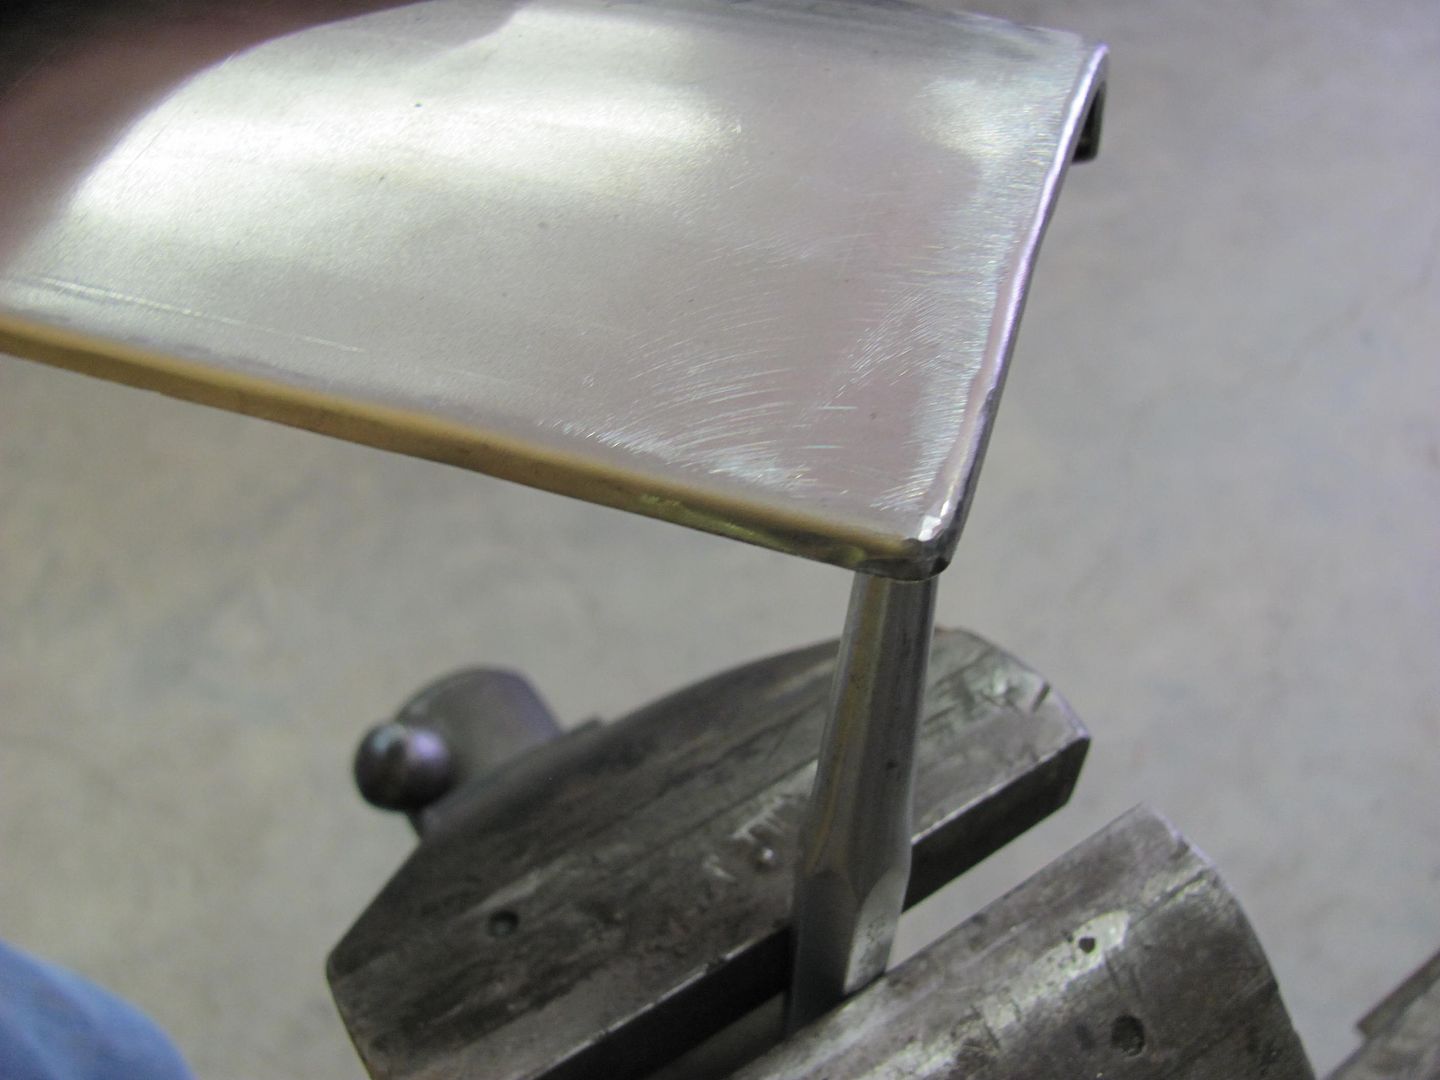
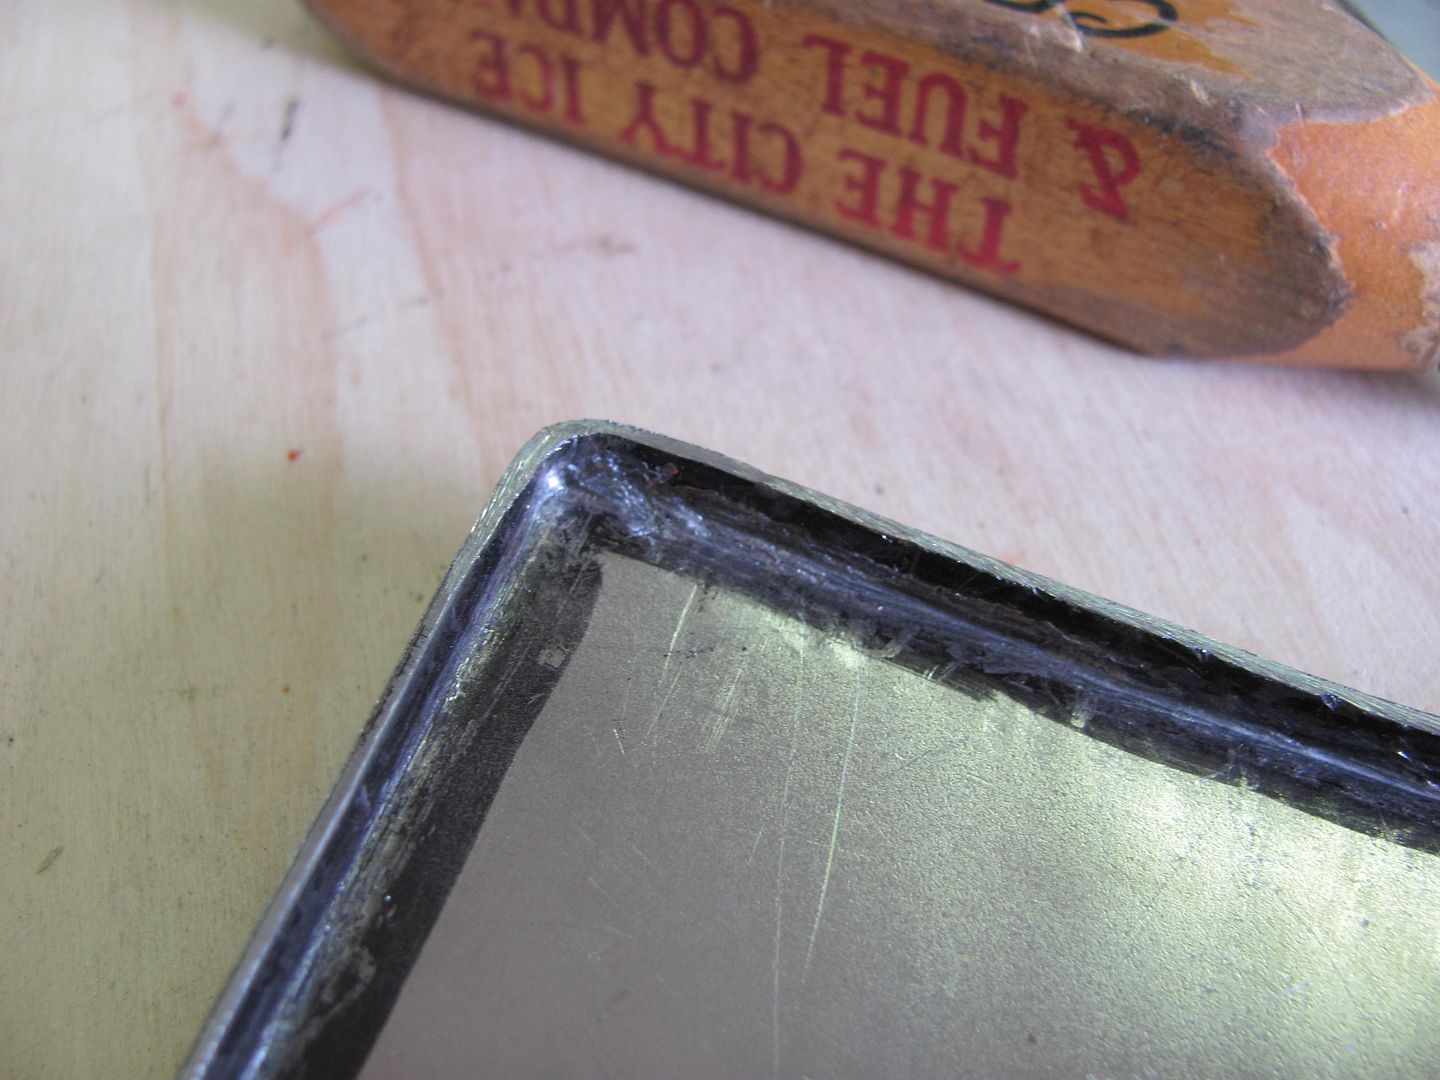
And once complete, the comparison.........
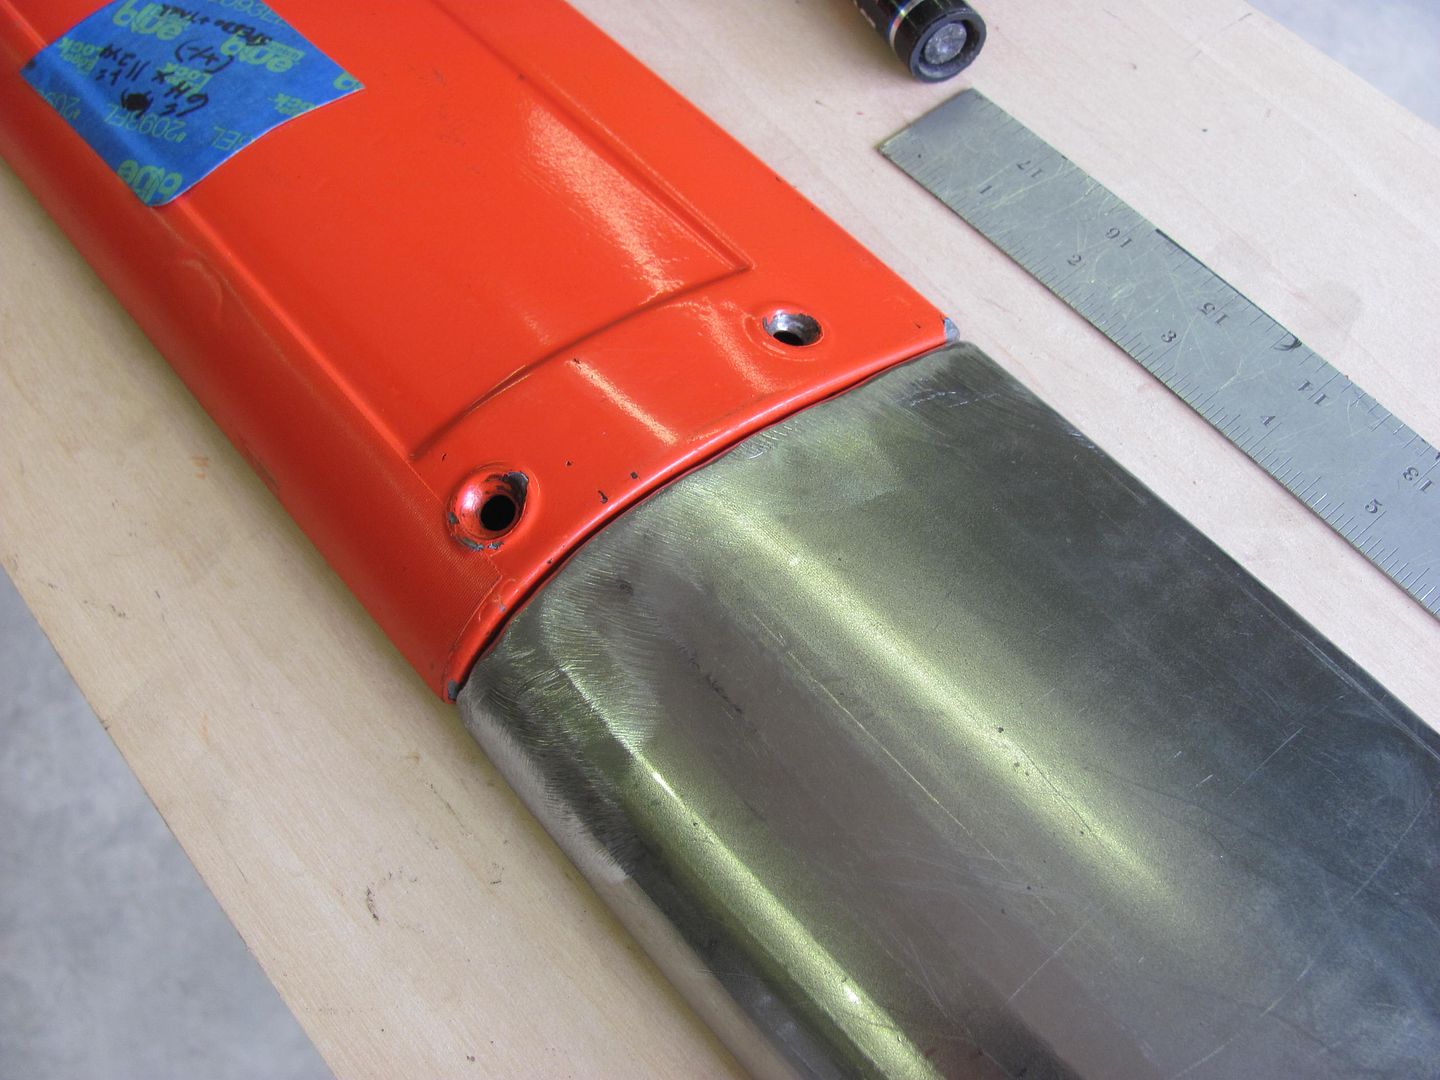
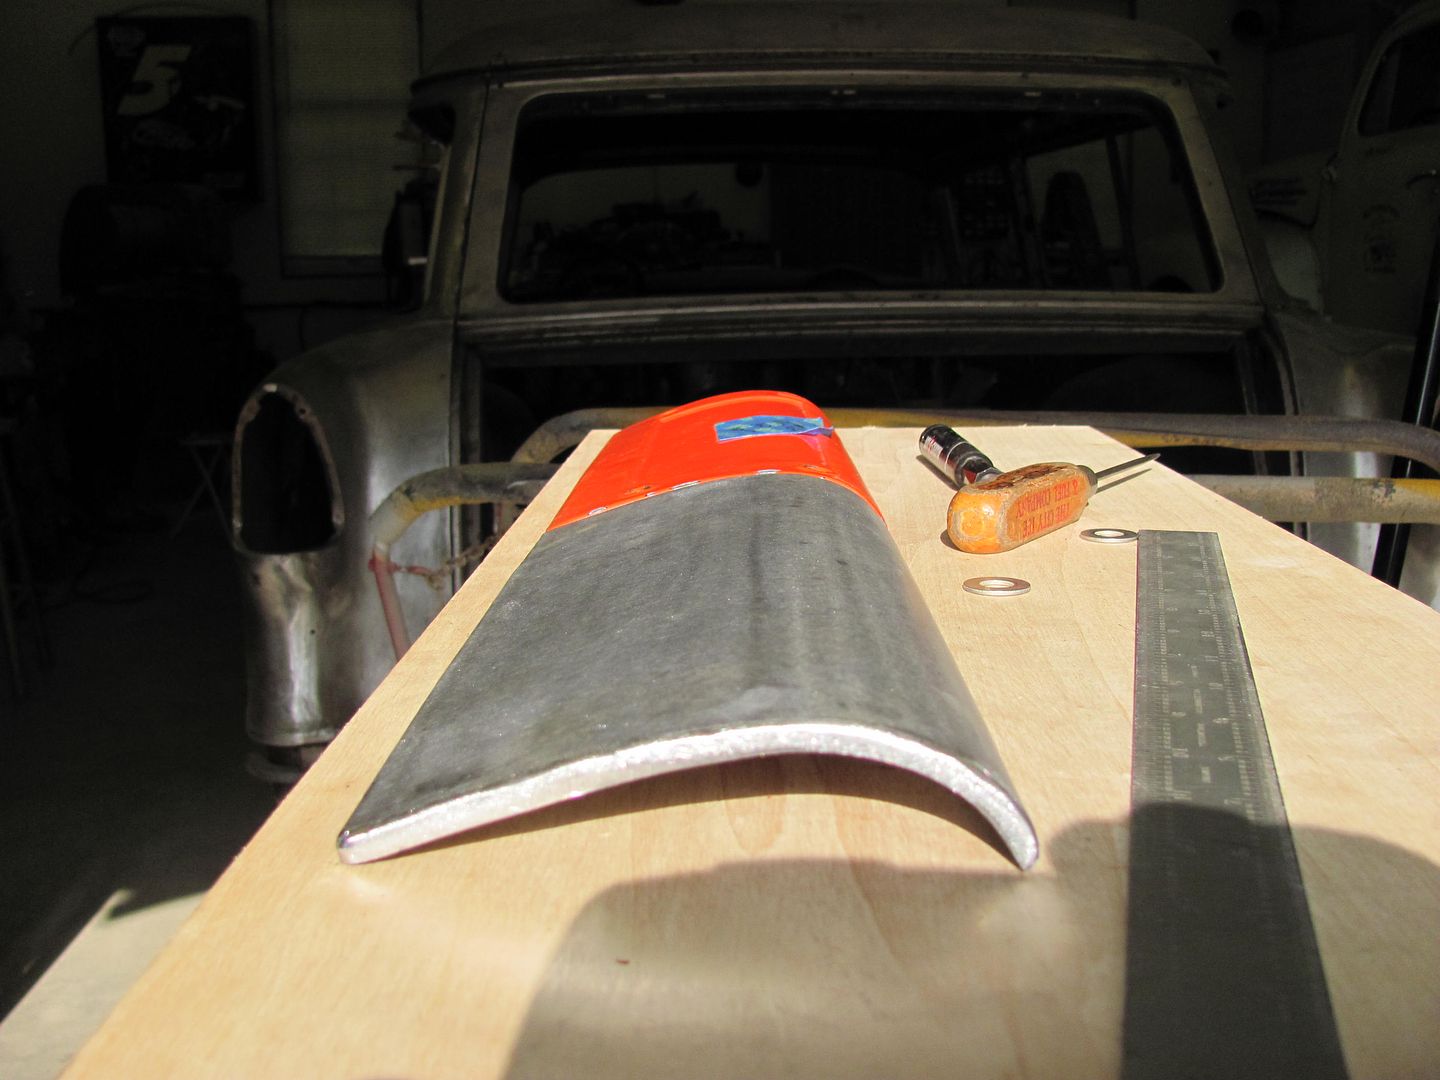
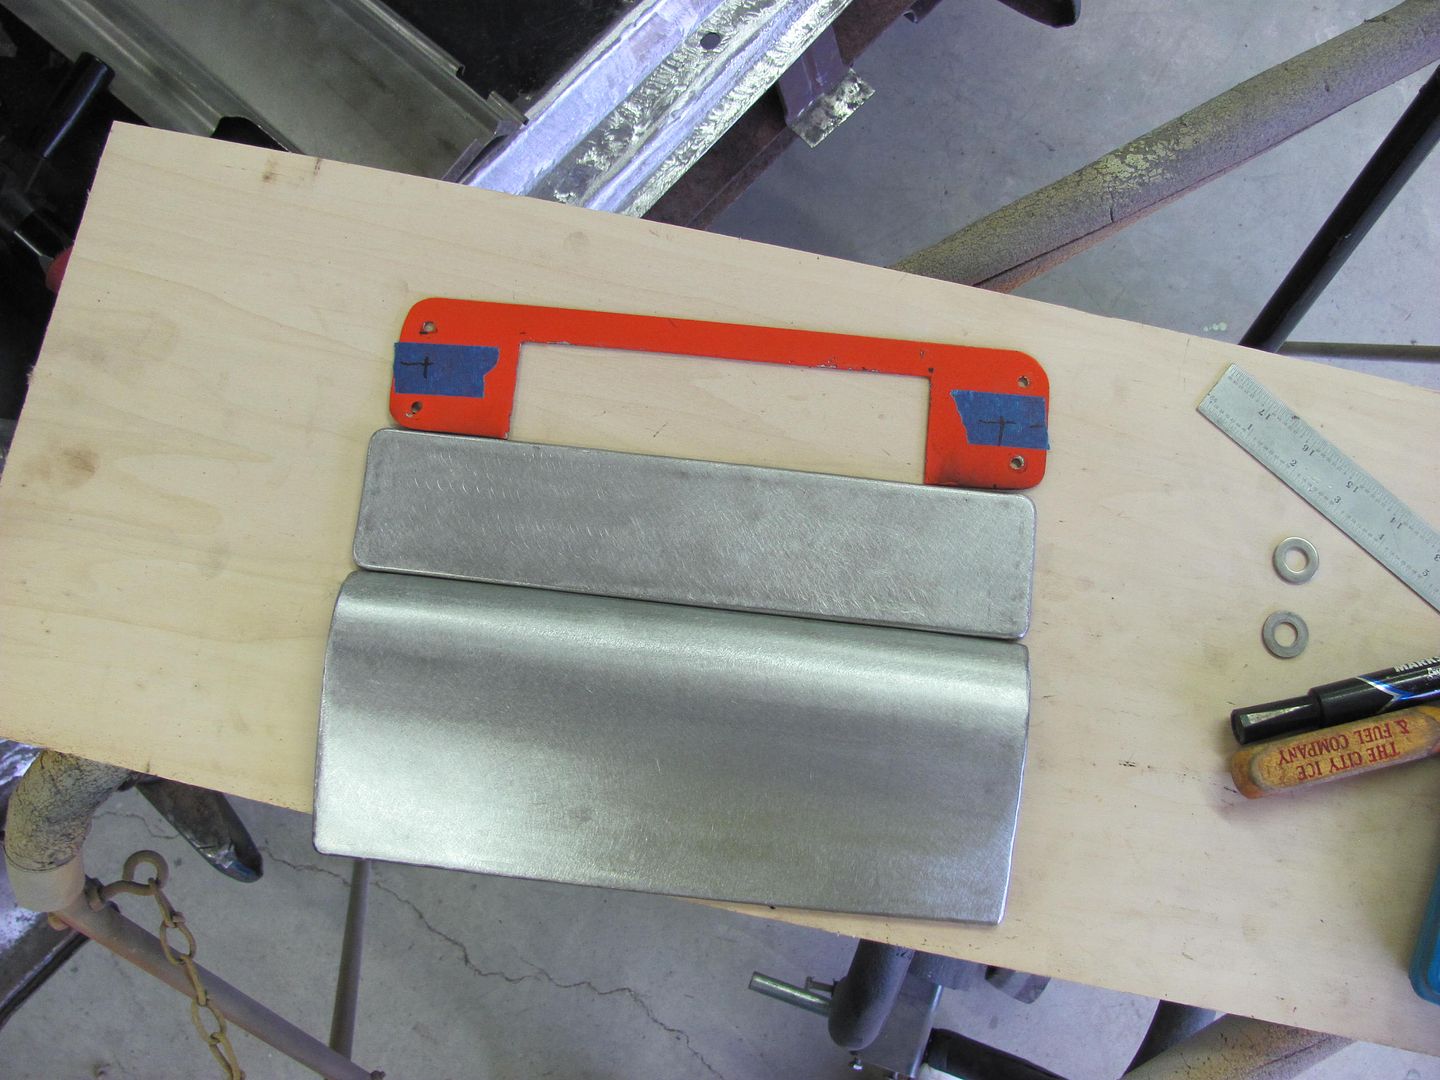
Then the same process was used for the upper plate. The folded edges on this will make it match the lower panel a bit better and make it look more as an original piece...
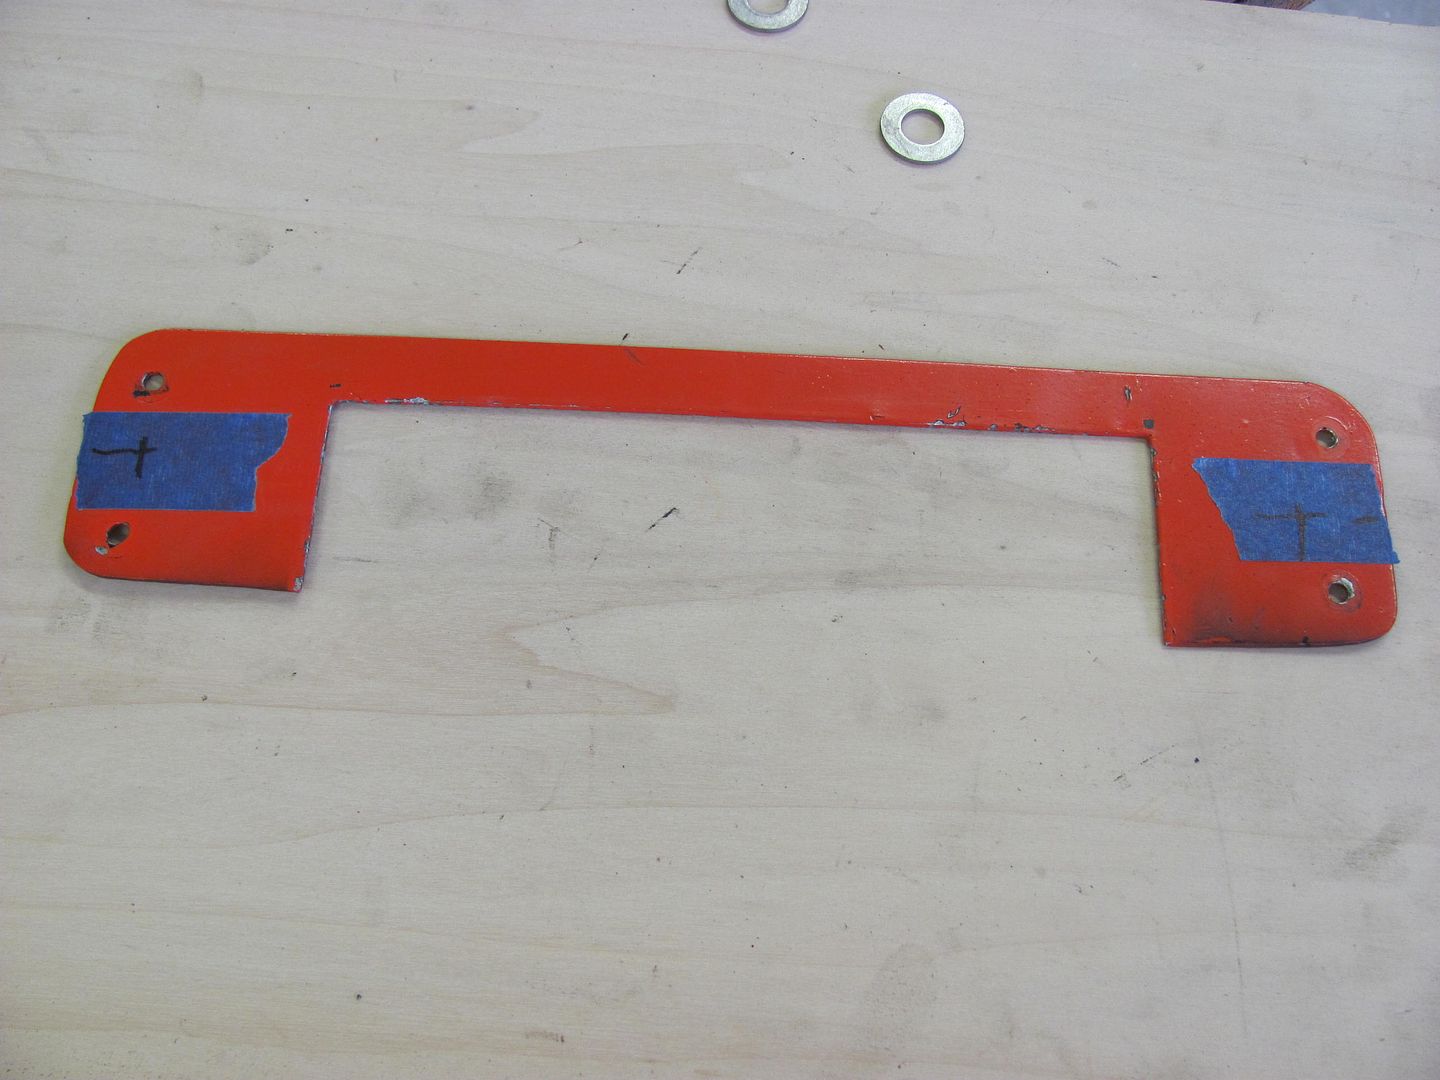
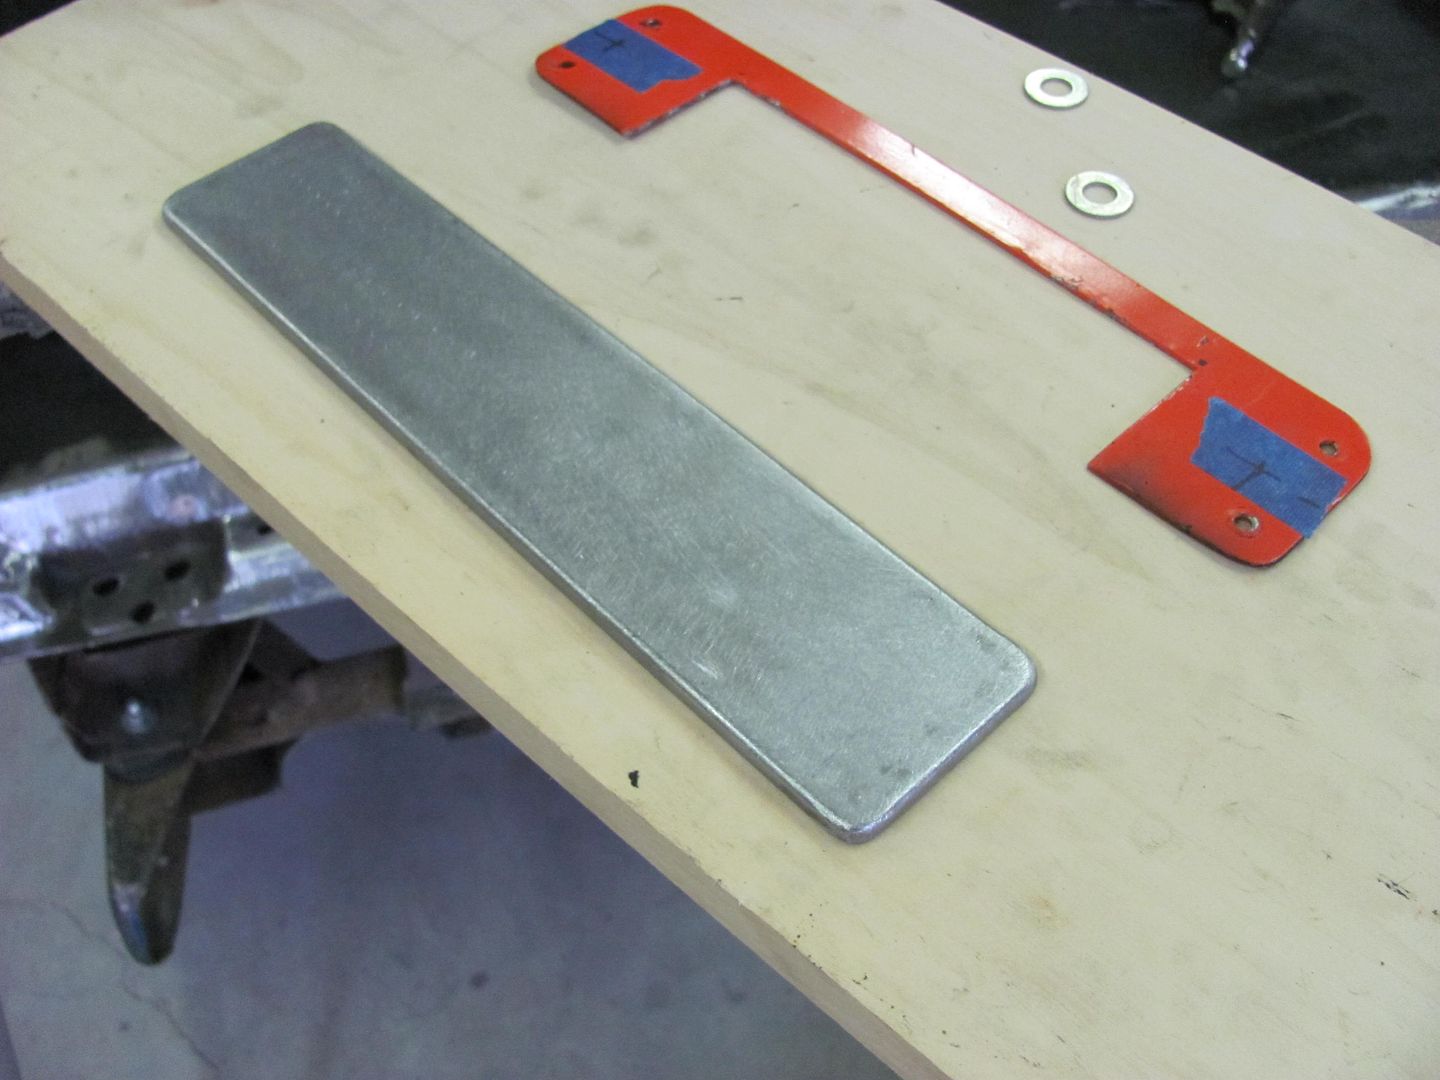
And the two together...
For now, we are leaving the mounting holes out. It may even get some studs welded on the back side, for a clean look. But we'll cross that bridge when we get there.Robert
-
Advertising

- Google Adsense
- REGISTERED USERS DO NOT SEE THIS AD
-
05-07-2012 05:34 AM #2
Always appreciate your well thought out tutorials, thanksYour Uncle Bob, Senior Geezer Curmudgeon
It's much easier to promise someone a "free" ride on the wagon than to urge them to pull it.
Luck occurs when preparation and opportunity converge.
-
05-07-2012 05:43 AM #3
-
05-07-2012 09:36 AM #4
Thanks guys. This was a referral from a local body shop. I do more rust repair and panel fabrications like this than painting, and always have someone looking for me to paint their 5 year old plastic car, so typically we send each other work.Robert
-
05-07-2012 10:10 AM #5
Very nicely done and educational. Thanks for sharing!
PatOf course, that's just my opinion, I could be wrong!
-
05-08-2012 07:09 AM #6
Nice fabricating, Robert. It makes me wish I had a shop with access to those tools and your expertise.
Lynn
'32 3W
There's no 12 step program for stupid!
http://photo.net/photos/Lynn%20Johanson
-
03-02-2013 07:31 PM #7
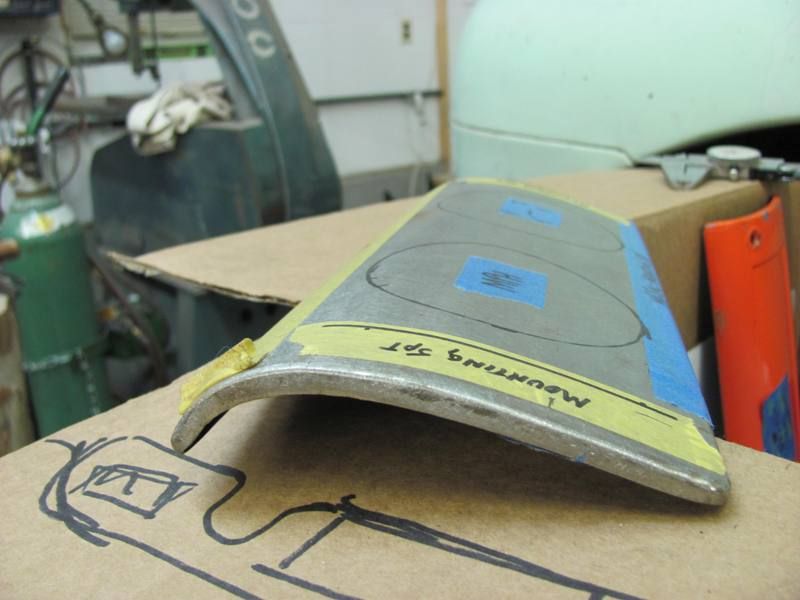
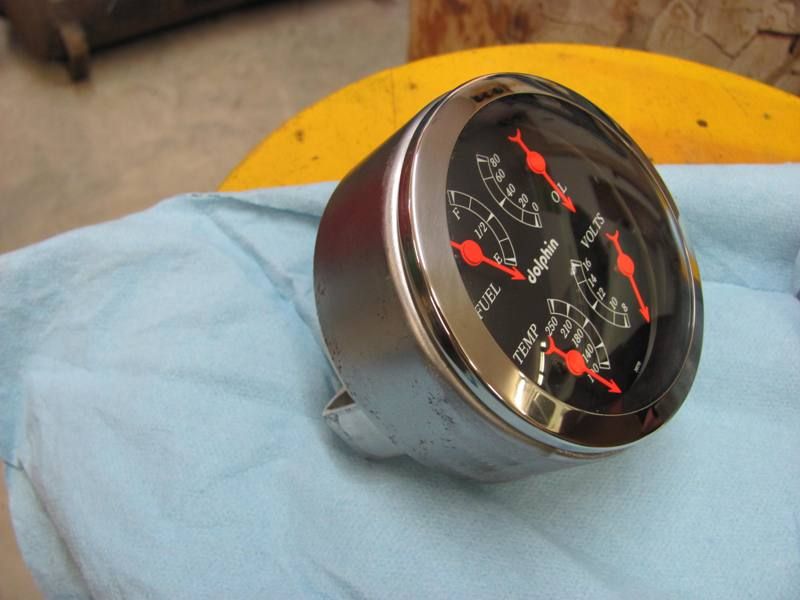
Well the Studebaker owner stopped by recently with the dash pieces I made last summer. He had made up his mind for the dash layout, and received all the gauges. As the panel for the center of the dash has a crown, we will need some adapter rings...
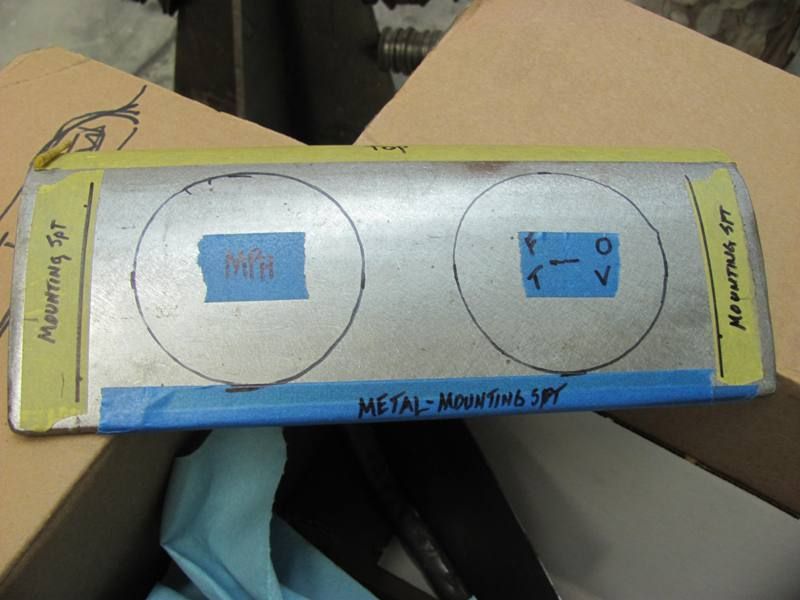
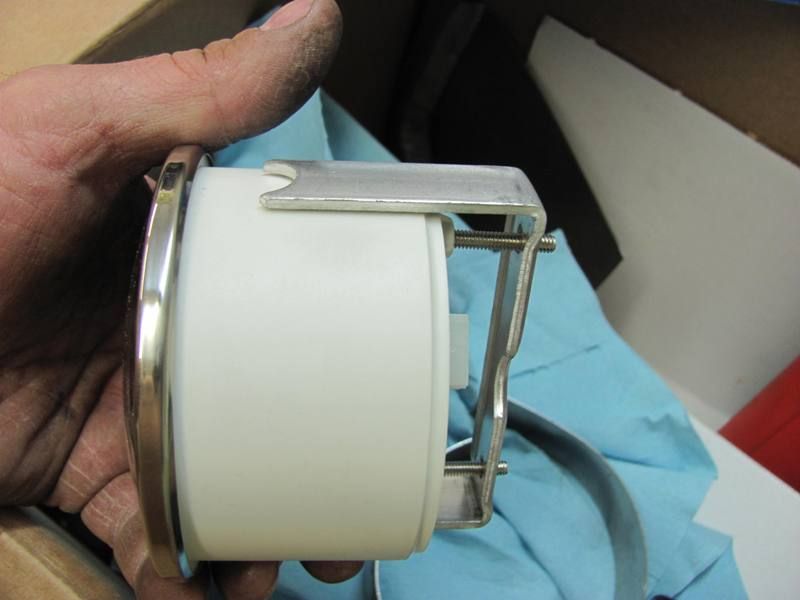
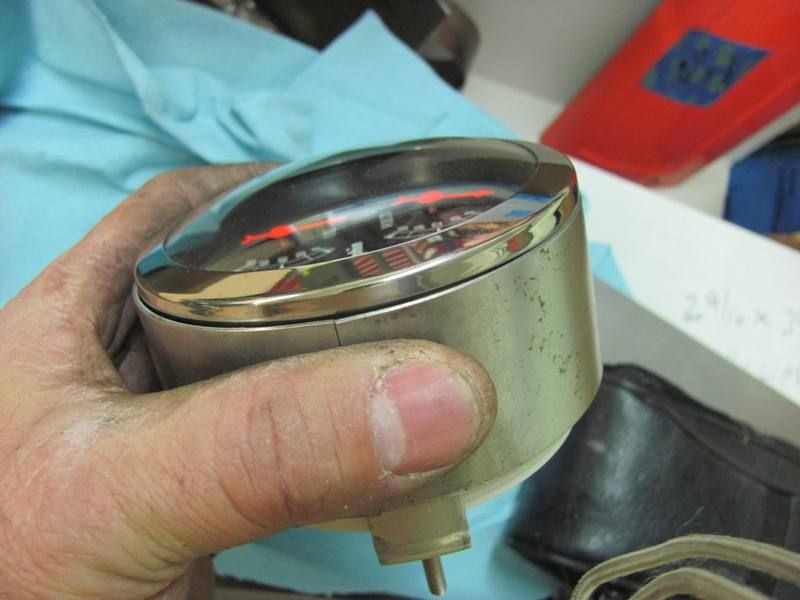
Here's the new gauge with the clamping bracket....
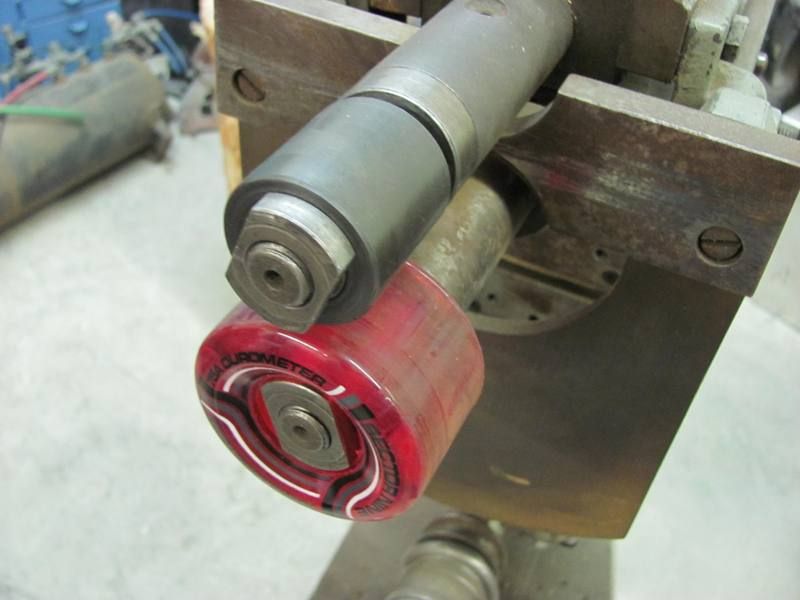
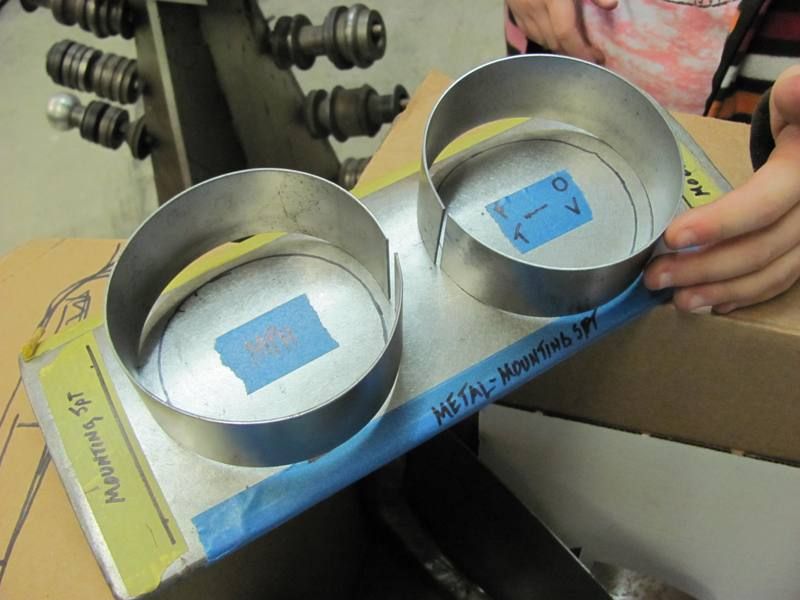
Not having a slip roll, I decided to try these in the bead roller:
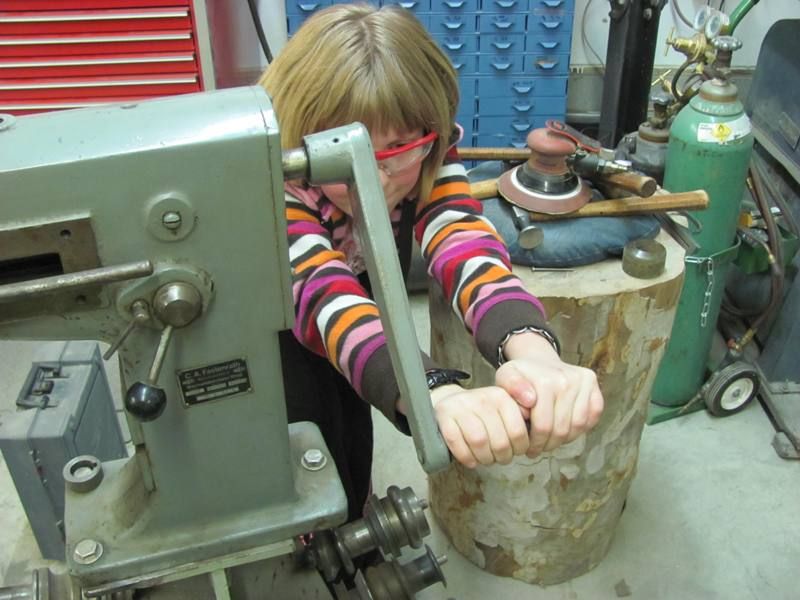
I had some help in the shop this evening, so in addition to having the powered option on the bead roller this evening, given the diameter of the gauge bezel, I was able to show her real world application of Pi X D....
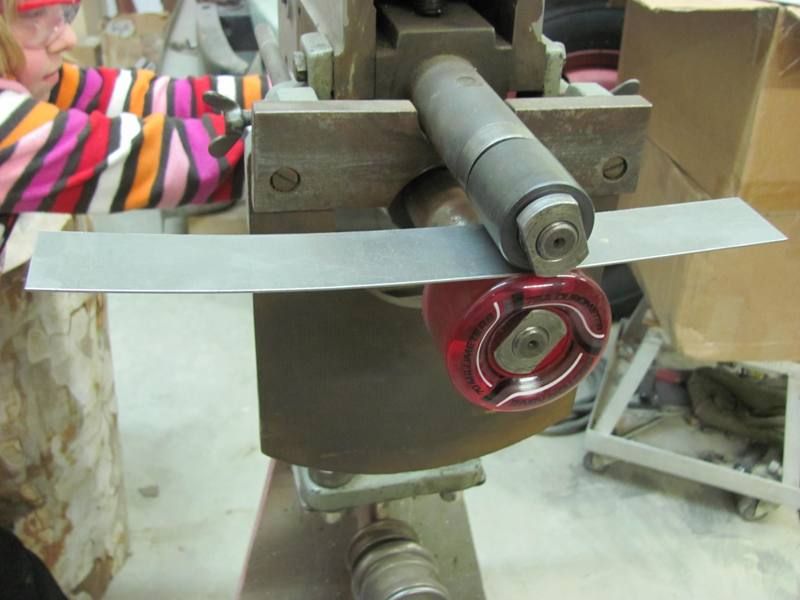
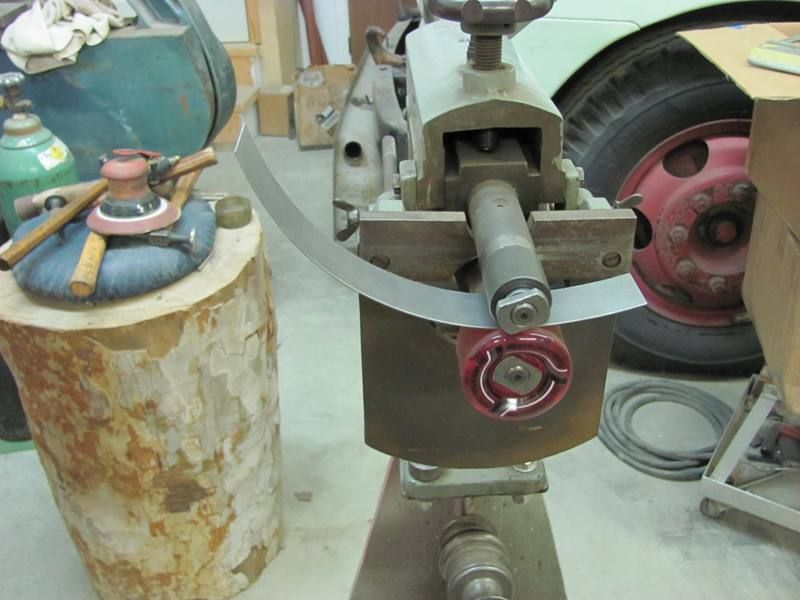
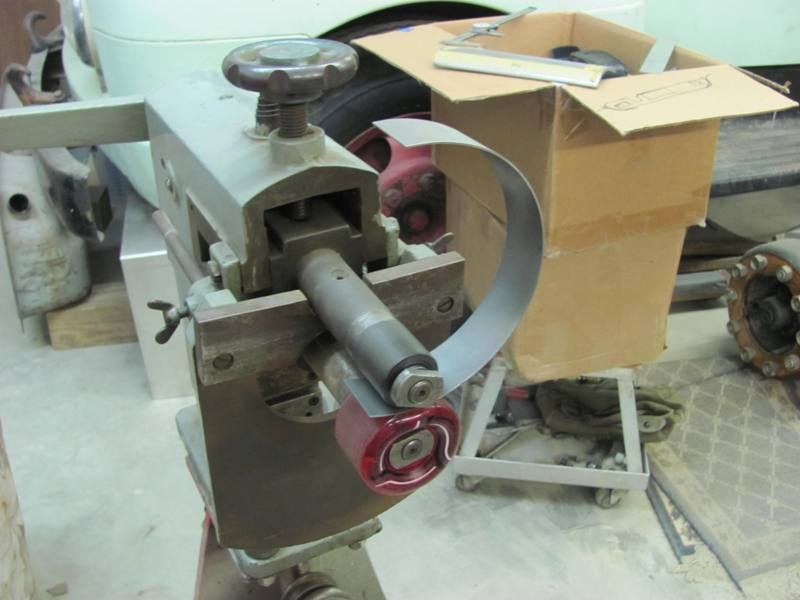
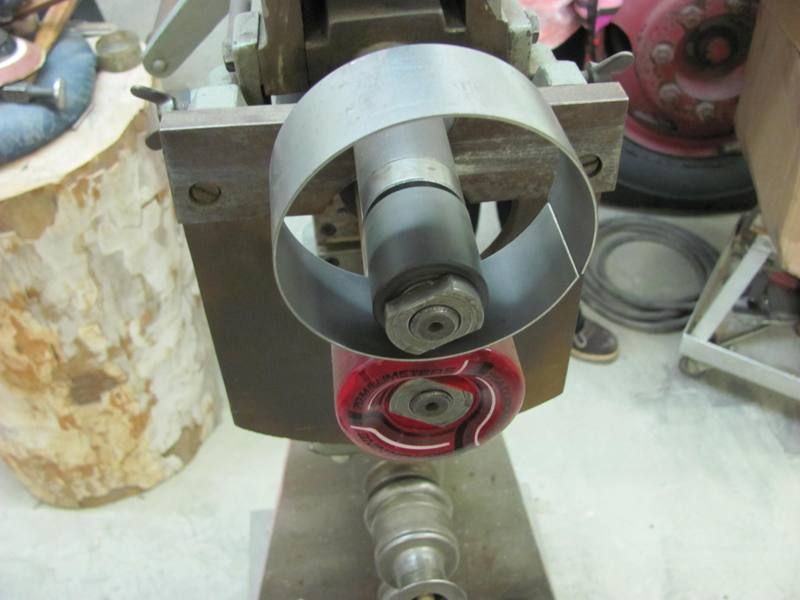
Just to test fit, here's the gauge with bracket, and the ring placed over both....
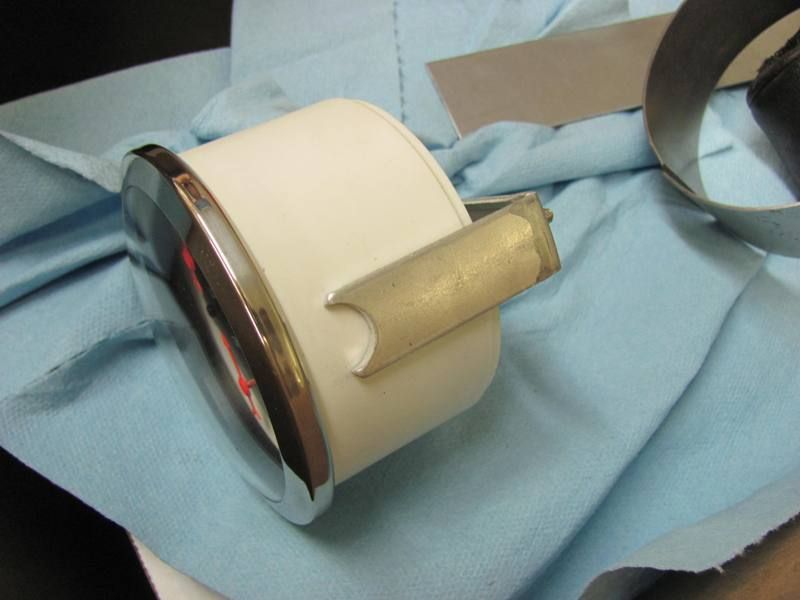
Both rings formed, tomorrow we'll get them welded up and tip some flanges for the bracket to push against...
Robert
-
03-03-2013 02:59 AM #8
Just goes to show ya..............there are true craftsmen still out there and they do quality work.
Wish i had your expertise.........and also all the needed tools...........great job!!
-
03-03-2013 10:23 AM #9
Micah 6:8
If we aren't supposed to have midnight snacks,,,WHY is there a light in the refrigerator???
Robin.
-
03-03-2013 01:09 PM #10
Thanks for the comments!
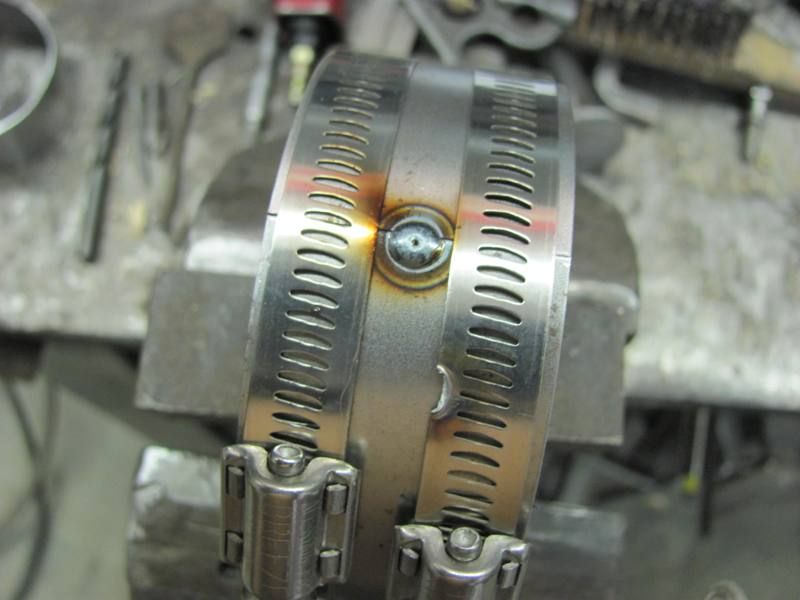
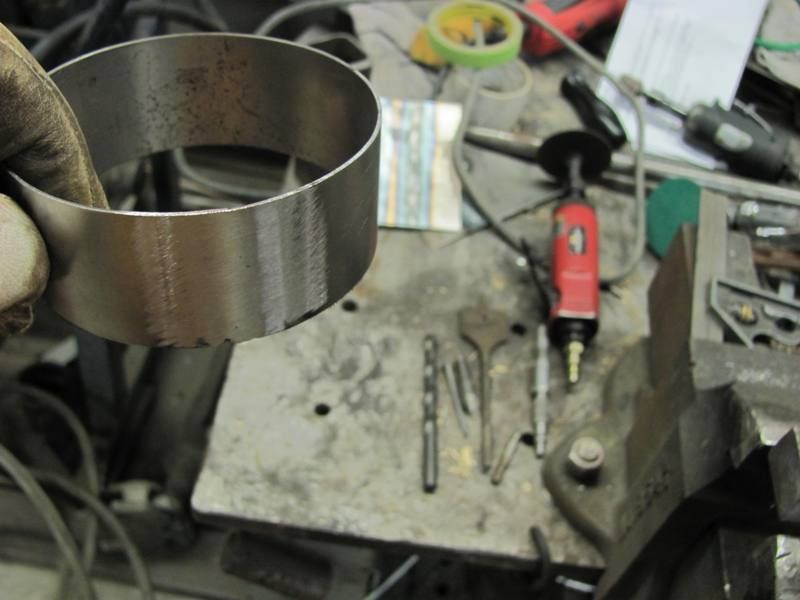
Worked on the gauge panel again today, got the rings welded up...
Then to tip a flange to hold the gauge in place, used these in the bead roller....
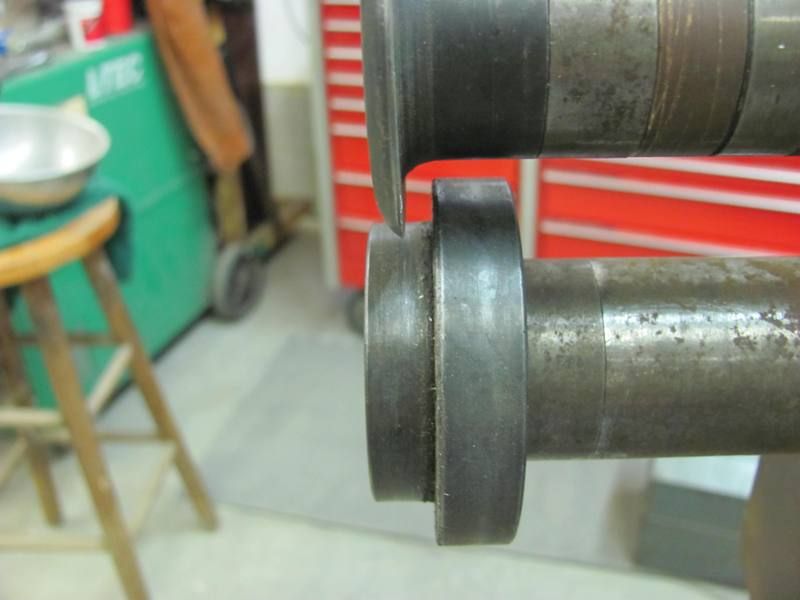
Applied a bit of pressure and started tipping the ring gradually as we went....
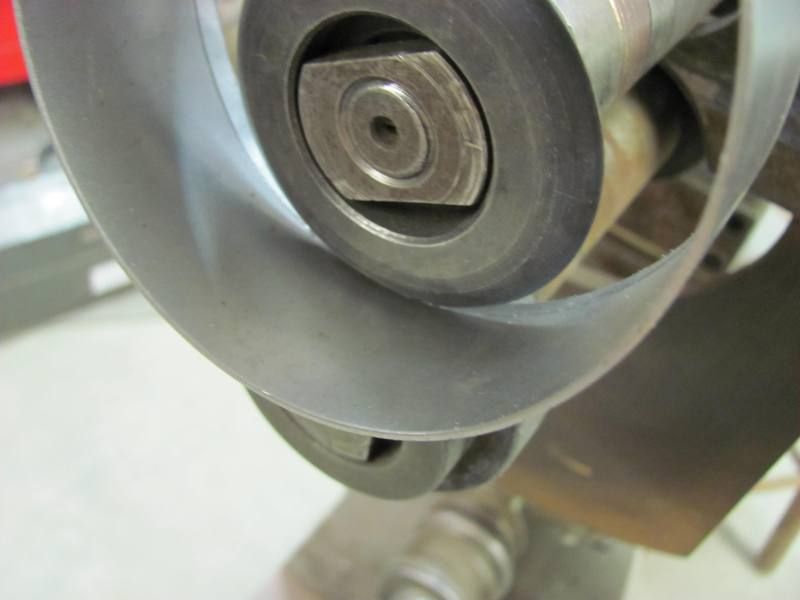
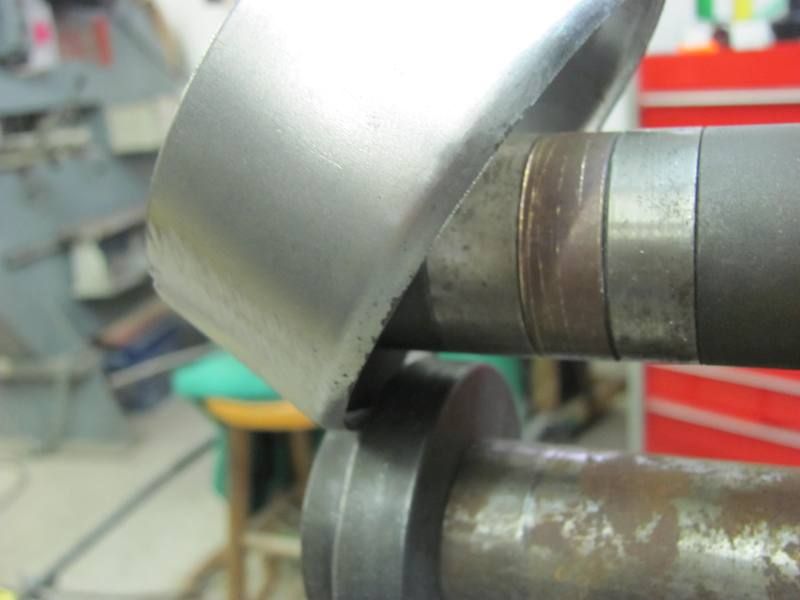
After getting the initial flange tipped to almost 45 degrees, the body hammer was used to get the flange to 90.
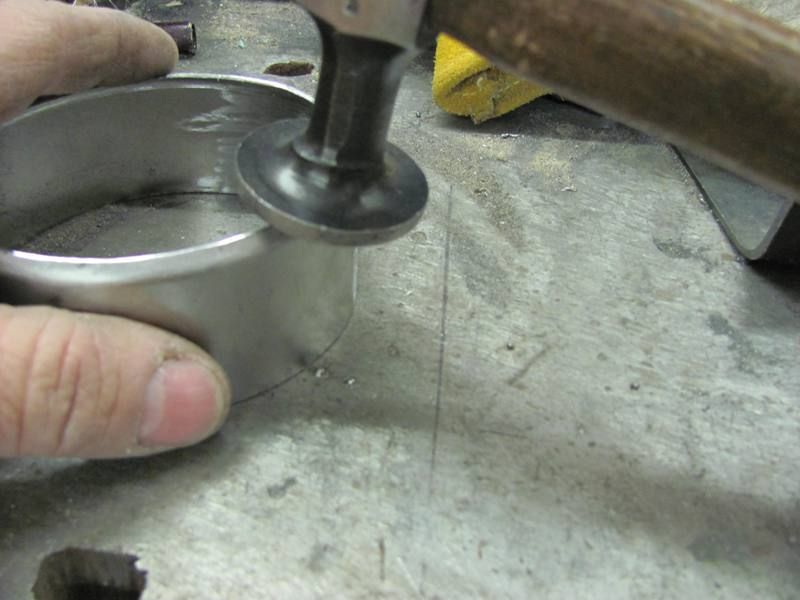
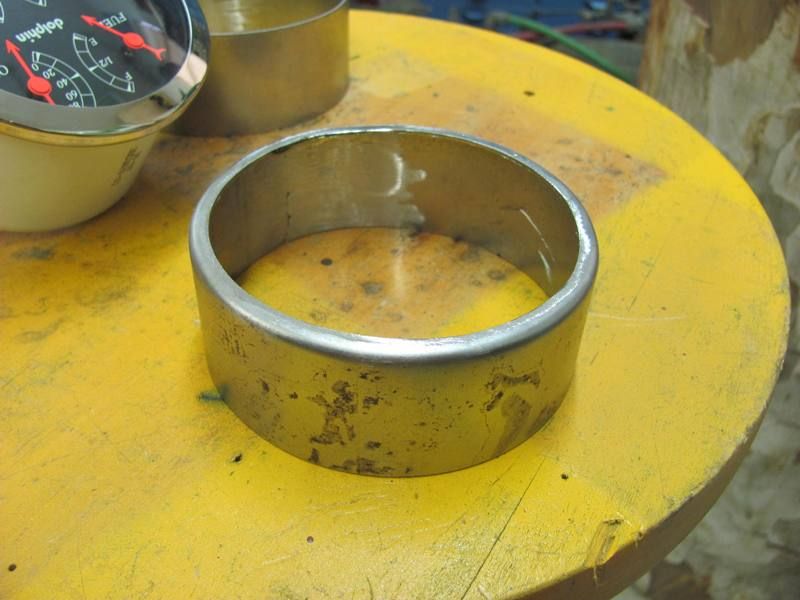
Fitted, and shown with the gauge's mouting bracket in place.....
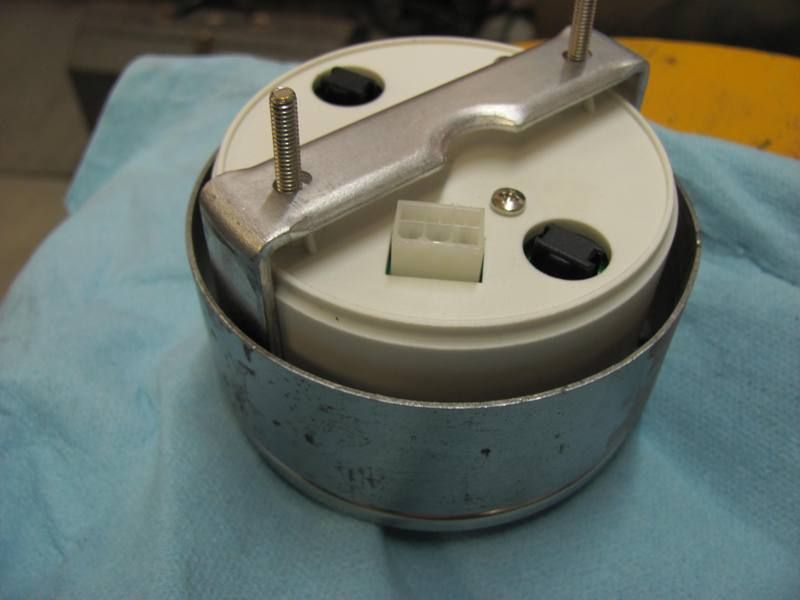
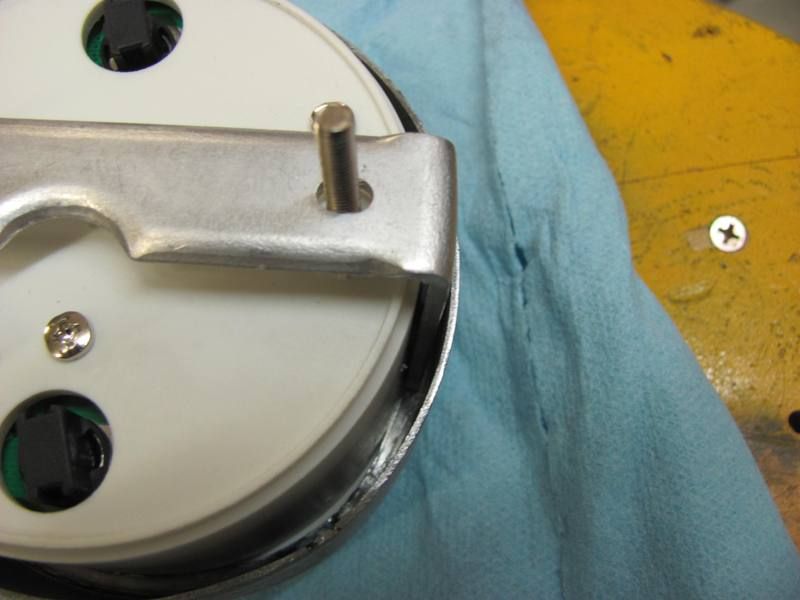
Now to fit the rings to the panel....
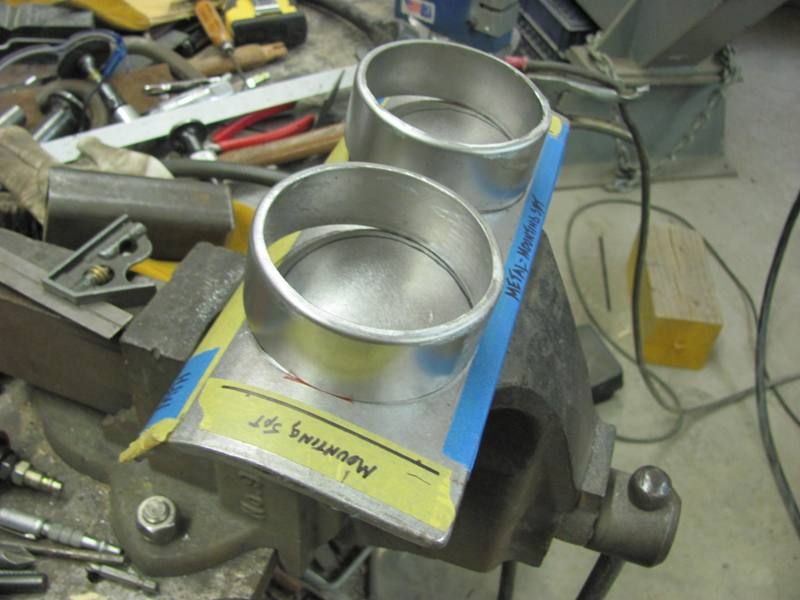
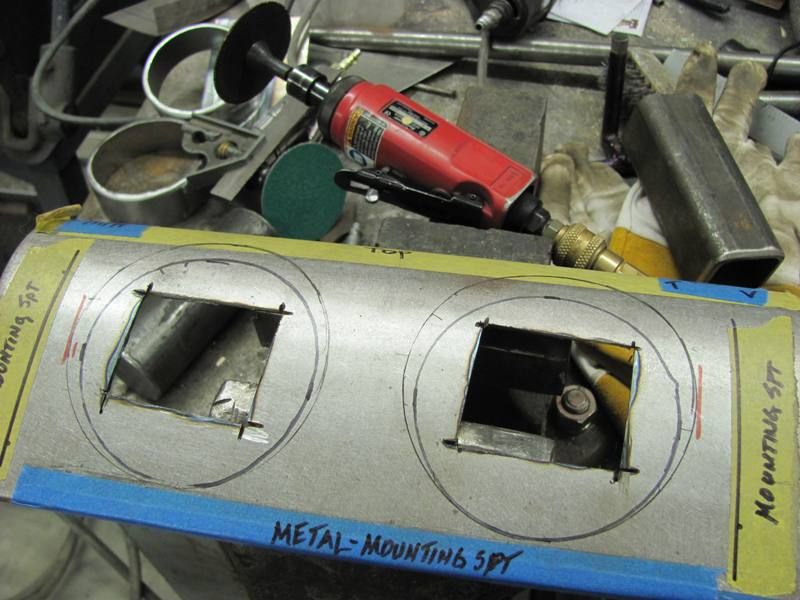
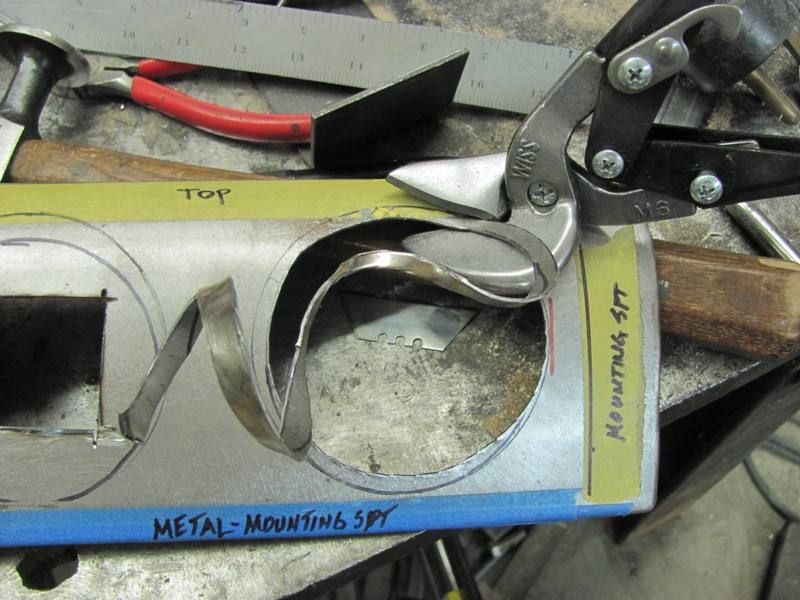
....and fine tuned with a drum sander.. A view in the panel....
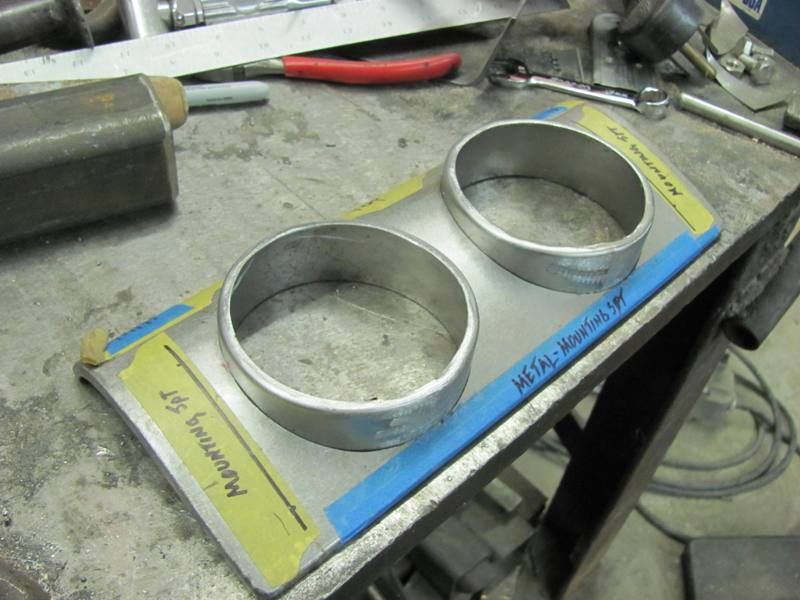
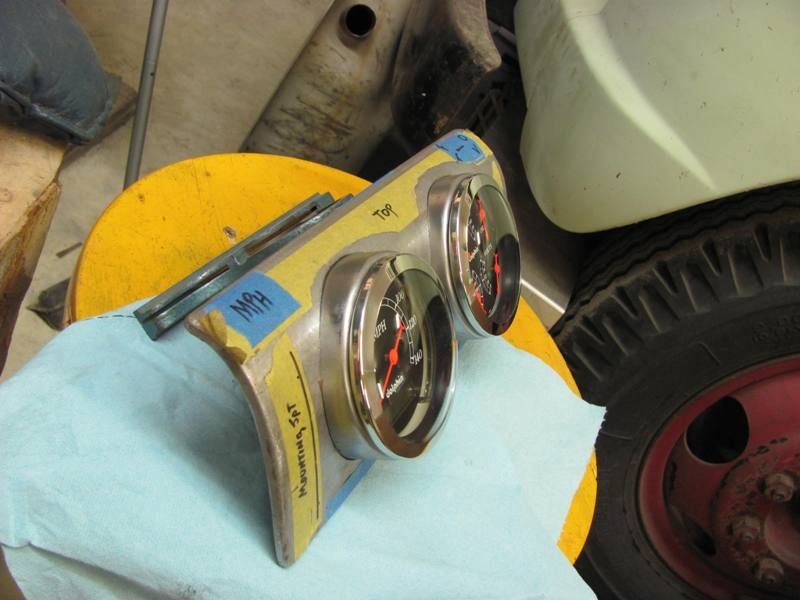
Rather than weld around the perimeter of the hole, which will surely warp things up nicely, I'll tip a flange on the underside of the rings and spot weld to the panel.Robert
-
03-03-2013 03:03 PM #11
I like it, was a pleasure seeing all the steps of this scratch build.Last edited by pepi; 03-03-2013 at 03:05 PM.
I have two brains, one is lost and the other is out looking for it
-
03-03-2013 05:10 PM #12
Thanks! Here's the tipping process for the rear ring flange. Before marking anything, the panel and both rings were pushed flat to the "table" surface. Then alignment marks added to keep us in the right location....
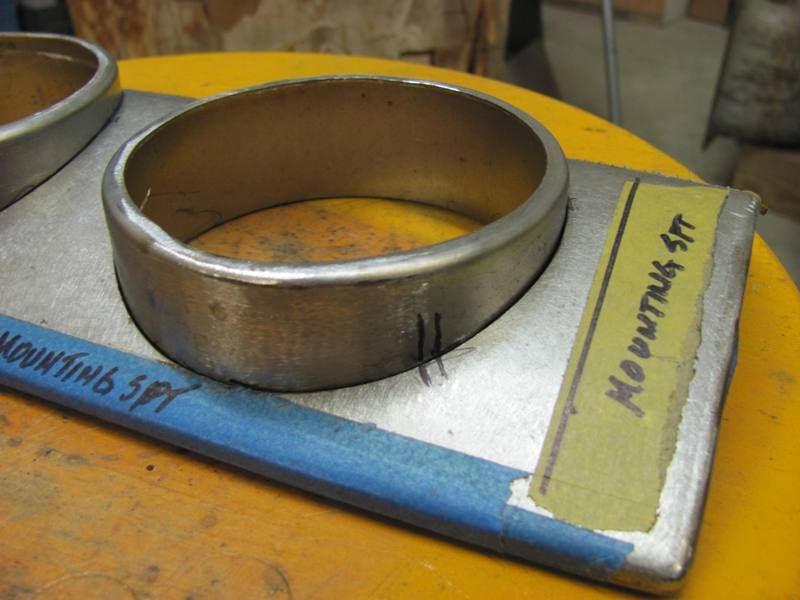
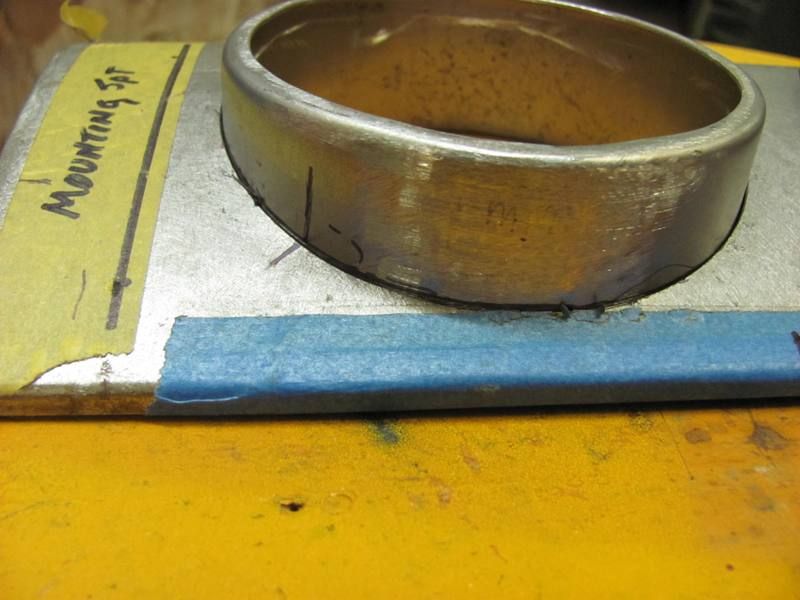
Marked along the surface of the panel against both rings..
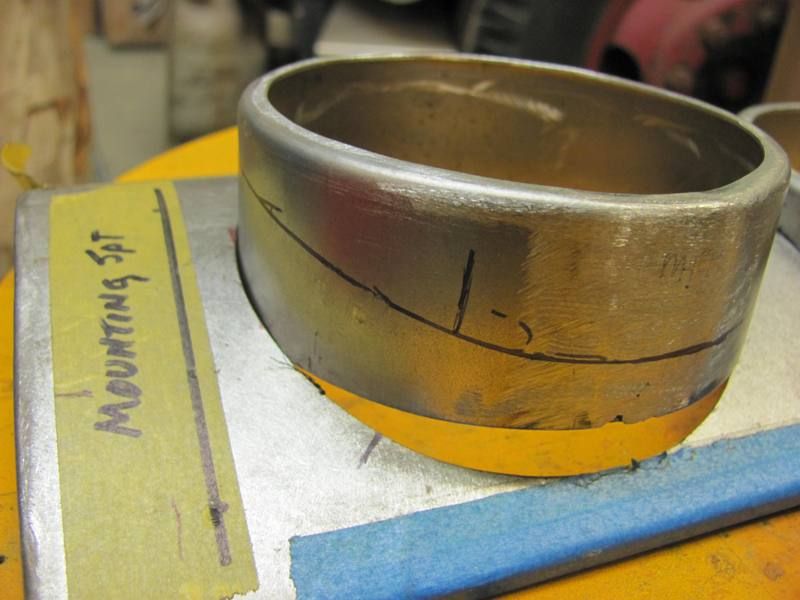
Did an offset line 3/8" away and trimmed. This looked too wide to tip, so I went back and marked again at 3/16".
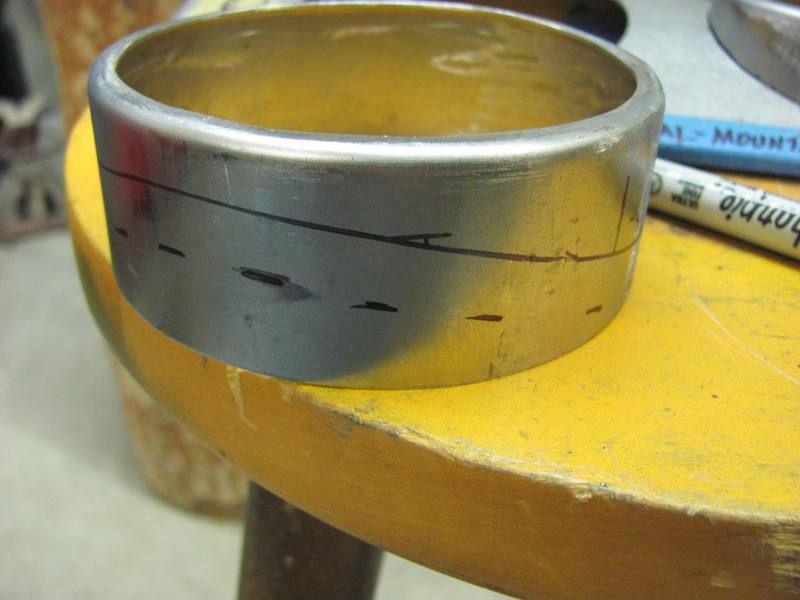
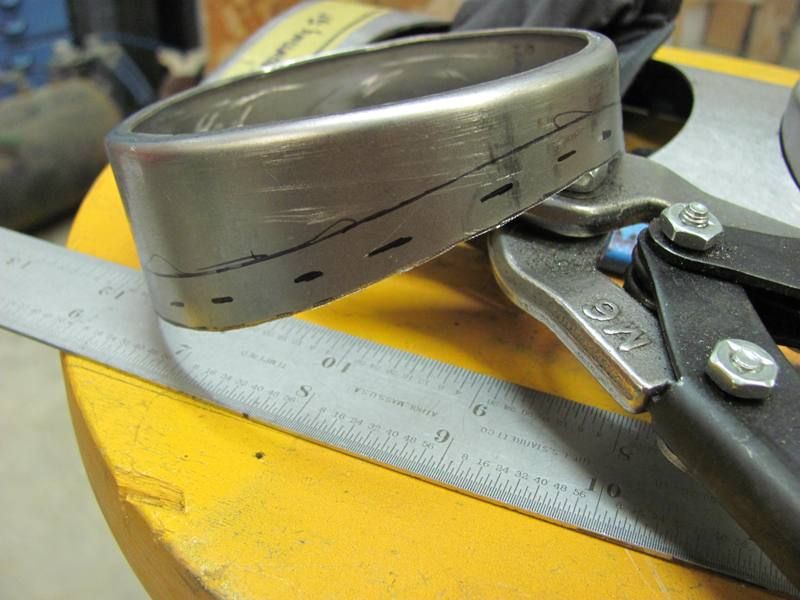
.....and trimmed again to the 3/16 mark. Changed to a different lower die for tipping this time.... made a complete revolution to "mark" the bend line and then started tipping...
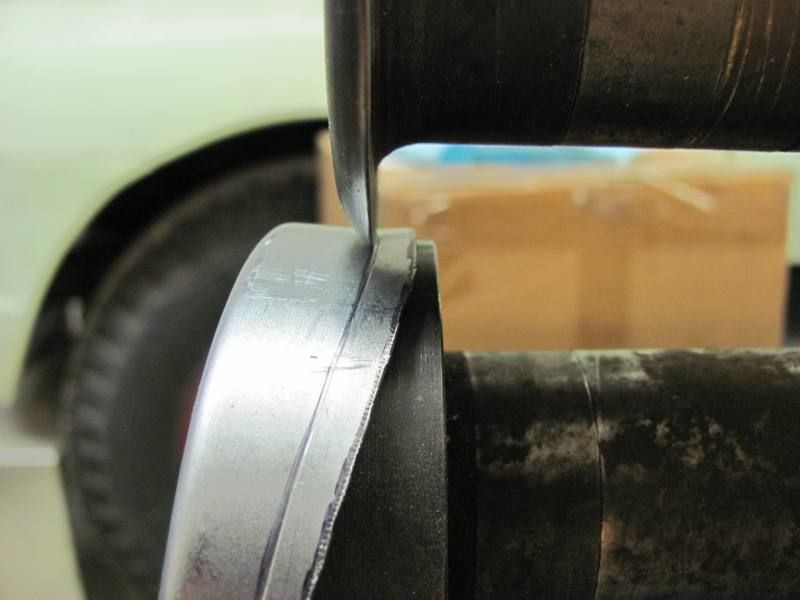
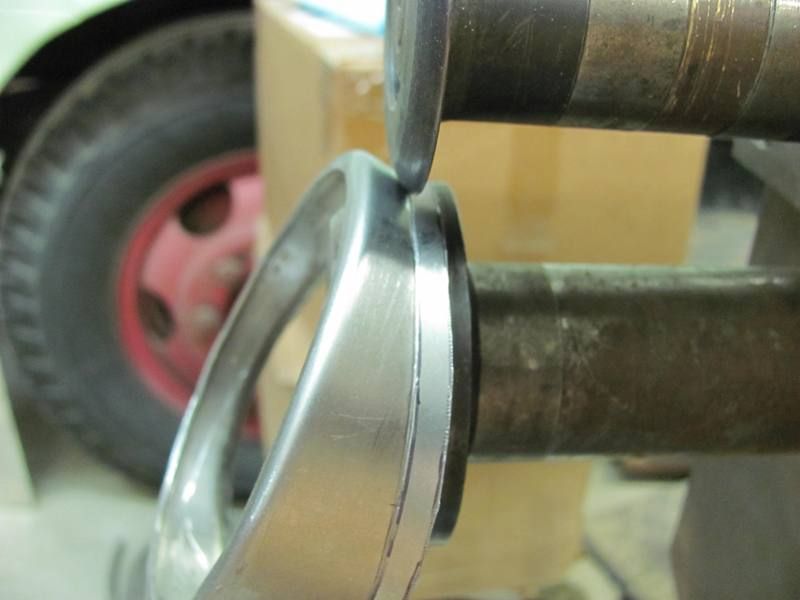
Again went to about a 45 degree tip, placed the ring in the panel to see what needed more tipping....
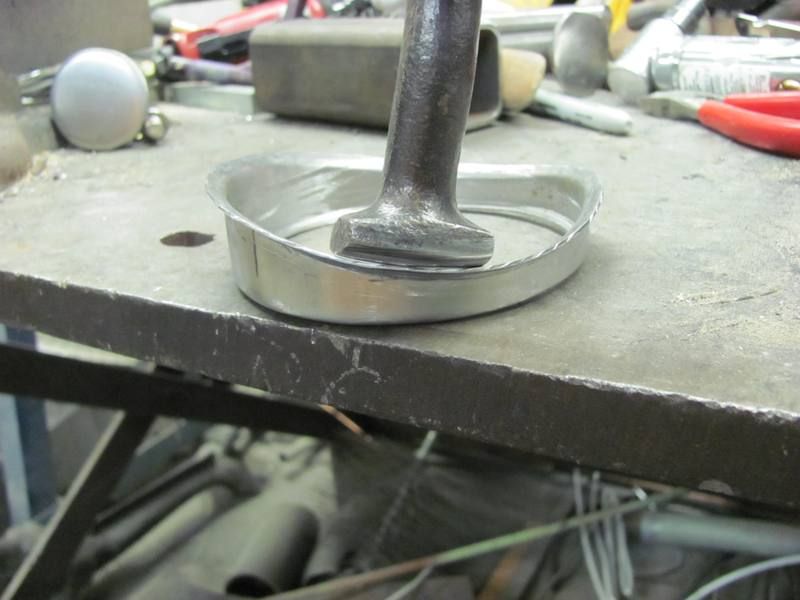
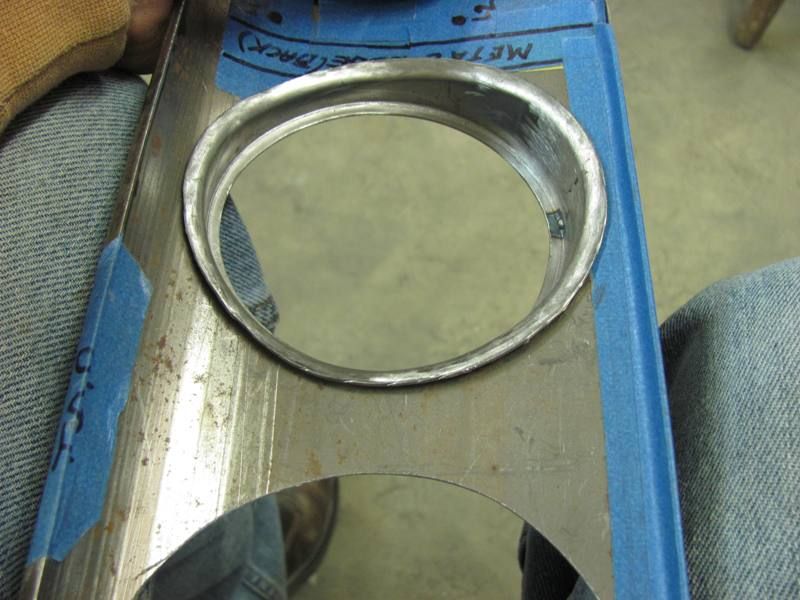
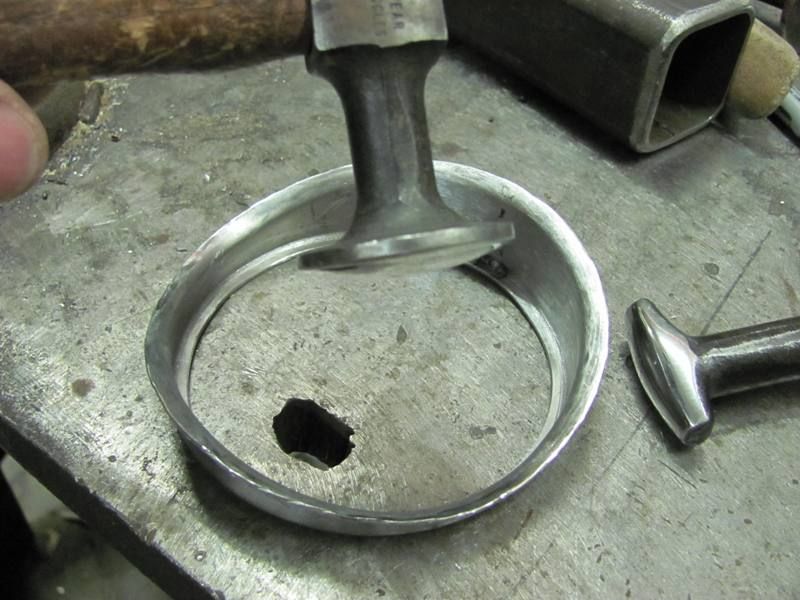
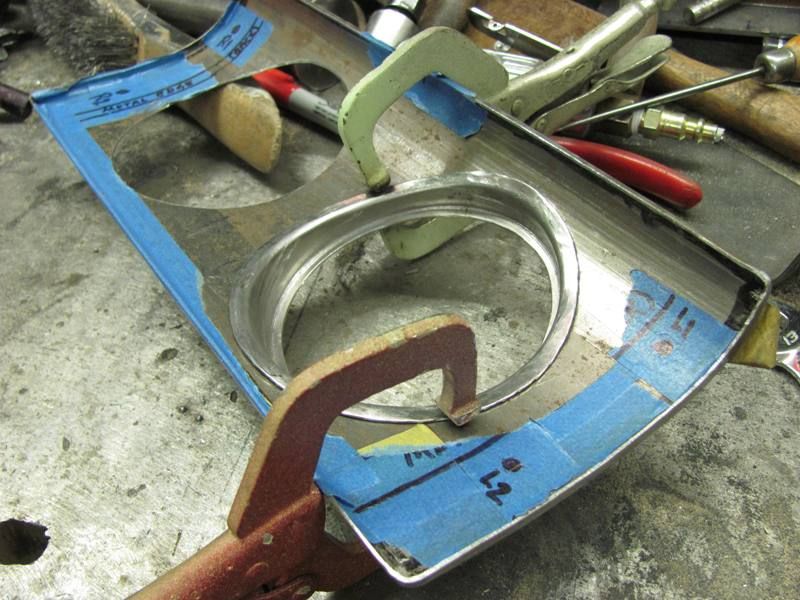
Tipping along a wavy line does pose some "pulling" issues, so I did have some planishing/stretching to do in some areas. It's real close, but I have some tweaking left to do, and then I'll tackle the second one.Robert
-
03-03-2013 07:17 PM #13
Robert
What I like about your work is the approach and execution, when completed looks factory. Actually better then factory cause it is hand made. Really cool to see the way it develops well done!
GregI have two brains, one is lost and the other is out looking for it
-
03-04-2013 11:50 AM #14
I am really enjoying and appreciating this. Thanks so much for taking time to share it.
PatOf course, that's just my opinion, I could be wrong!
-
03-04-2013 05:31 PM #15
Thanks for the comments guys. Greg, that has been my goal, especially on the 55 wagon, that all the mods are subtle and look somewhat like they belong. If you walk around about the vehicle about a dozen times, scratching your head because you know something is different, and only find about half of the changes, then I've been successful!
Robert
Welcome to Club Hot Rod! The premier site for
everything to do with Hot Rod, Customs, Low Riders, Rat Rods, and more.
- » Members from all over the US and the world!
- » Help from all over the world for your questions
- » Build logs for you and all members
- » Blogs
- » Image Gallery
- » Many thousands of members and hundreds of thousands of posts!
YES! I want to register an account for free right now! p.s.: For registered members this ad will NOT show


 23Likes

 LinkBack URL
 About LinkBacks
 Reply With Quote
 I have folders,and an old,small E wheel,,which I play with,,but I do mostly fiberglass now,,and dont get too many chances at the moment to practice my metalwork''skills''


You're welcome Mike, glad it worked out for you. Roger, it's taken a few years but my inventory of excess parts has shrunk a fair bit from 1 1/2 garage stalls to about an eight by eight space. ...
1968 Plymouth Valiant 1st Gen HEMI