Thread: Valve cover dings and dents
Hybrid View
-
01-17-2013 04:11 PM #1
Awesome, nothing beats ability and knowing how to use the proper tools..
" I'm drinking from my saucer, 'cause my cup is overflowed ! "
-
01-29-2013 06:16 PM #2
Thanks for the comments guys. OJ, I think I would stick with manual implements, it didn't take too much to straighten it out. I think I'm going to try the laser dot trick next time also, for a bit better accuracy.
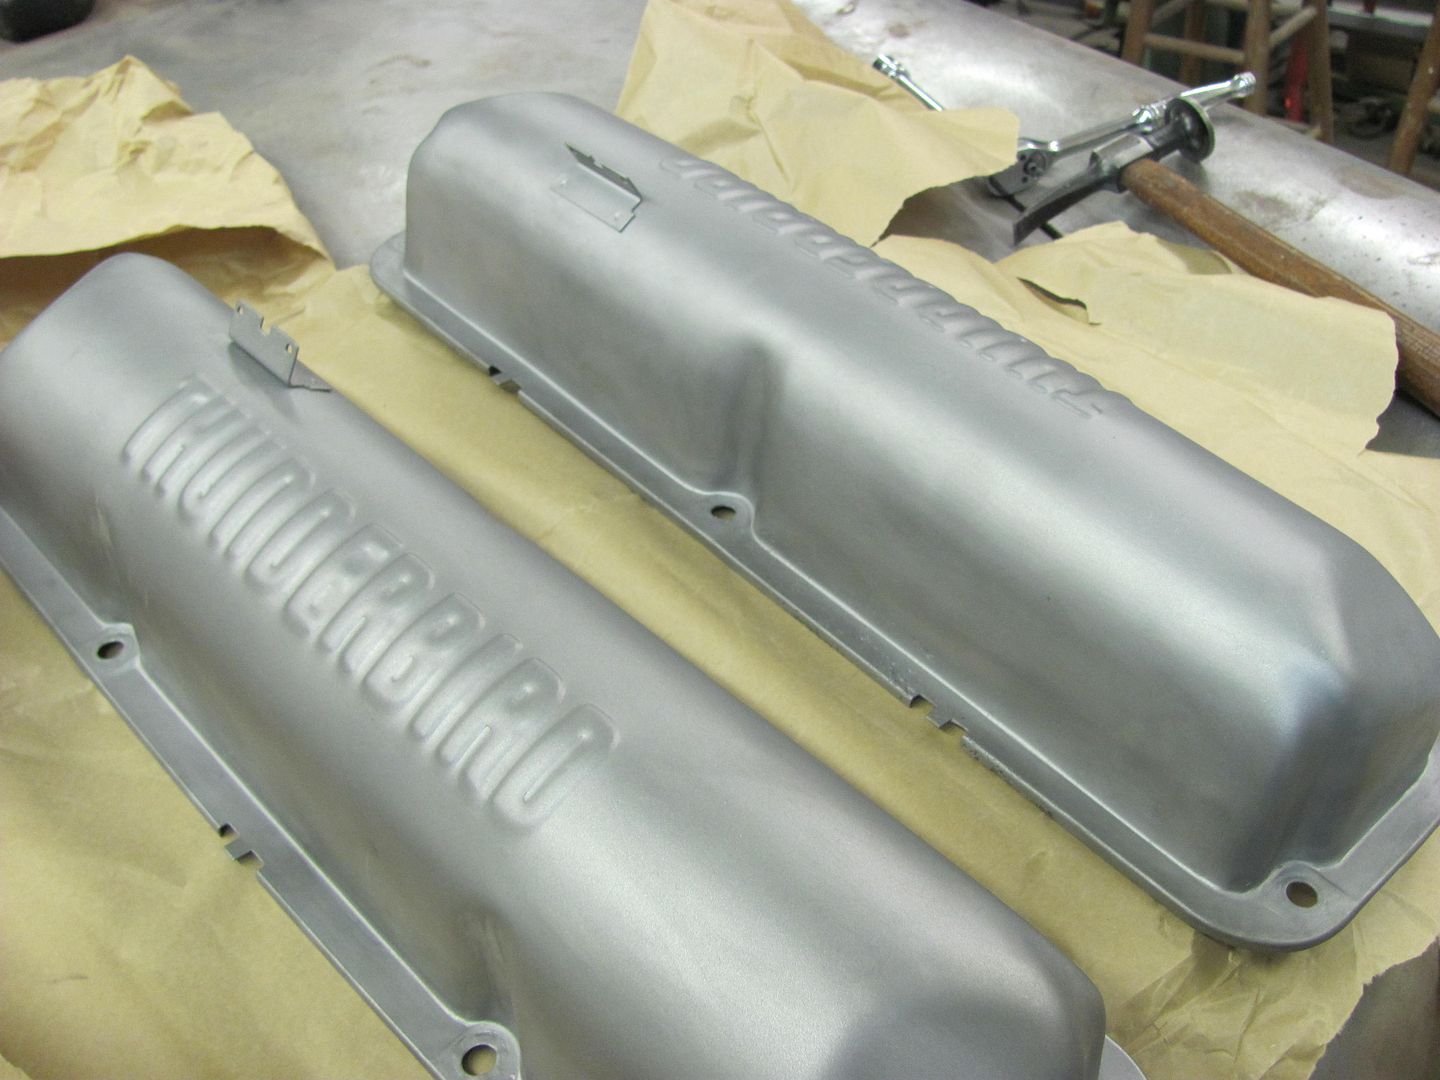
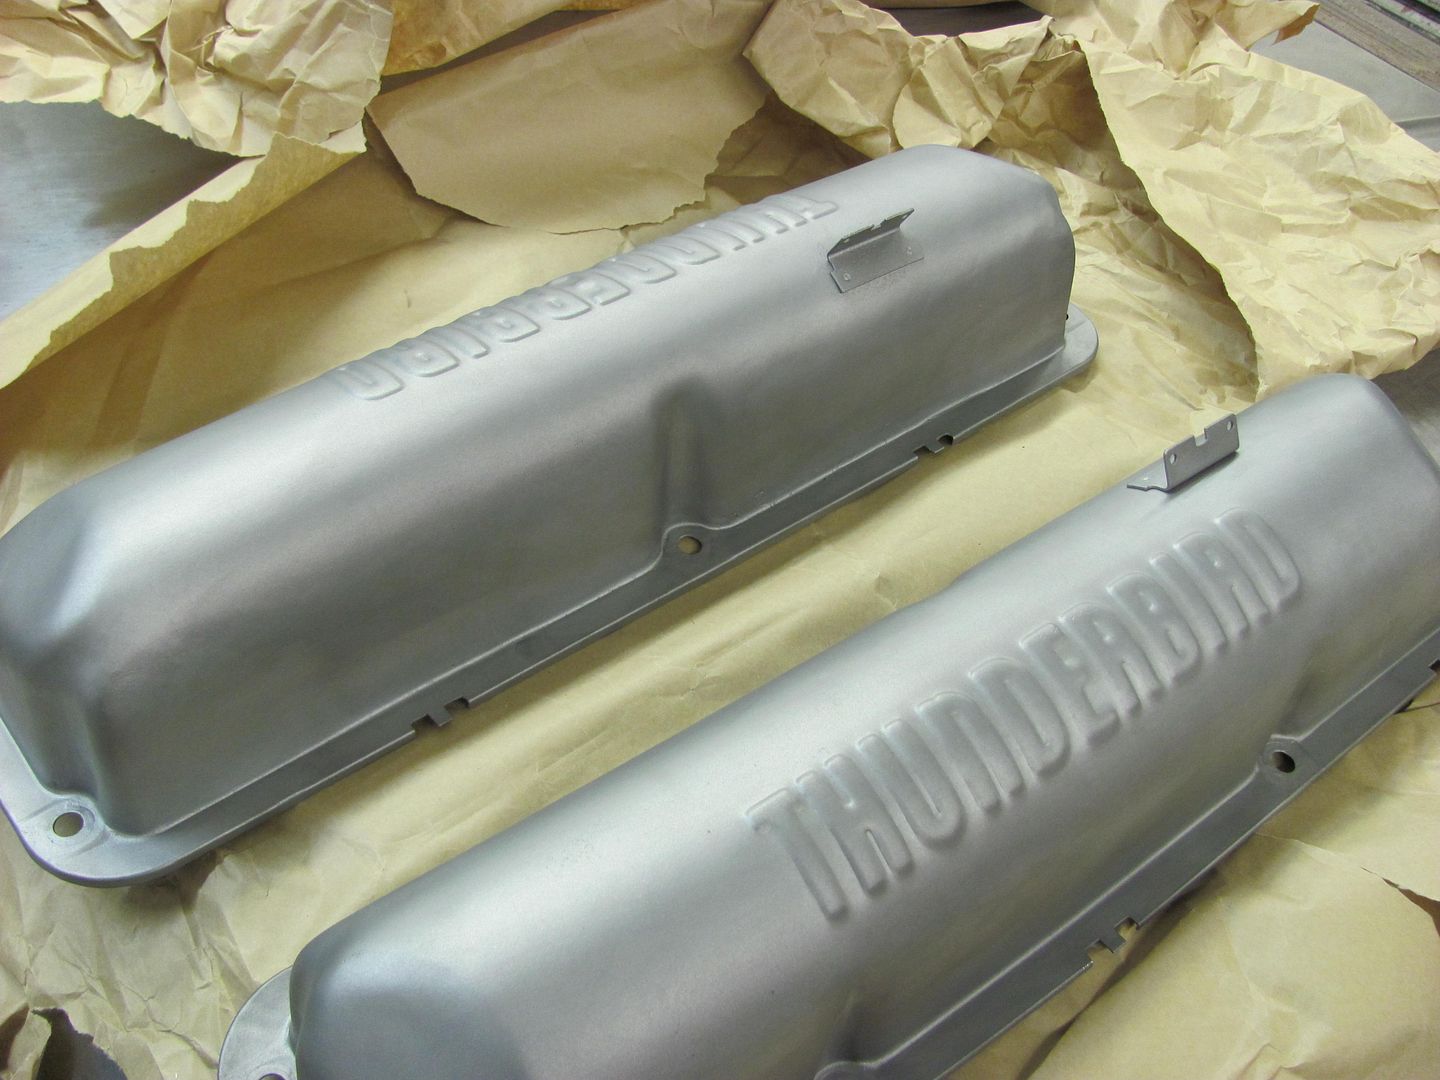
As tomorrow is supposed to warm up a bit, I'm going to try and spray some epoxy primer to get them ready for the gold paint. Here they are all sandblasted, hot tanked, and ready to go....
Last edited by MP&C; 01-29-2013 at 06:20 PM.
Robert
-
01-30-2013 12:52 PM #3
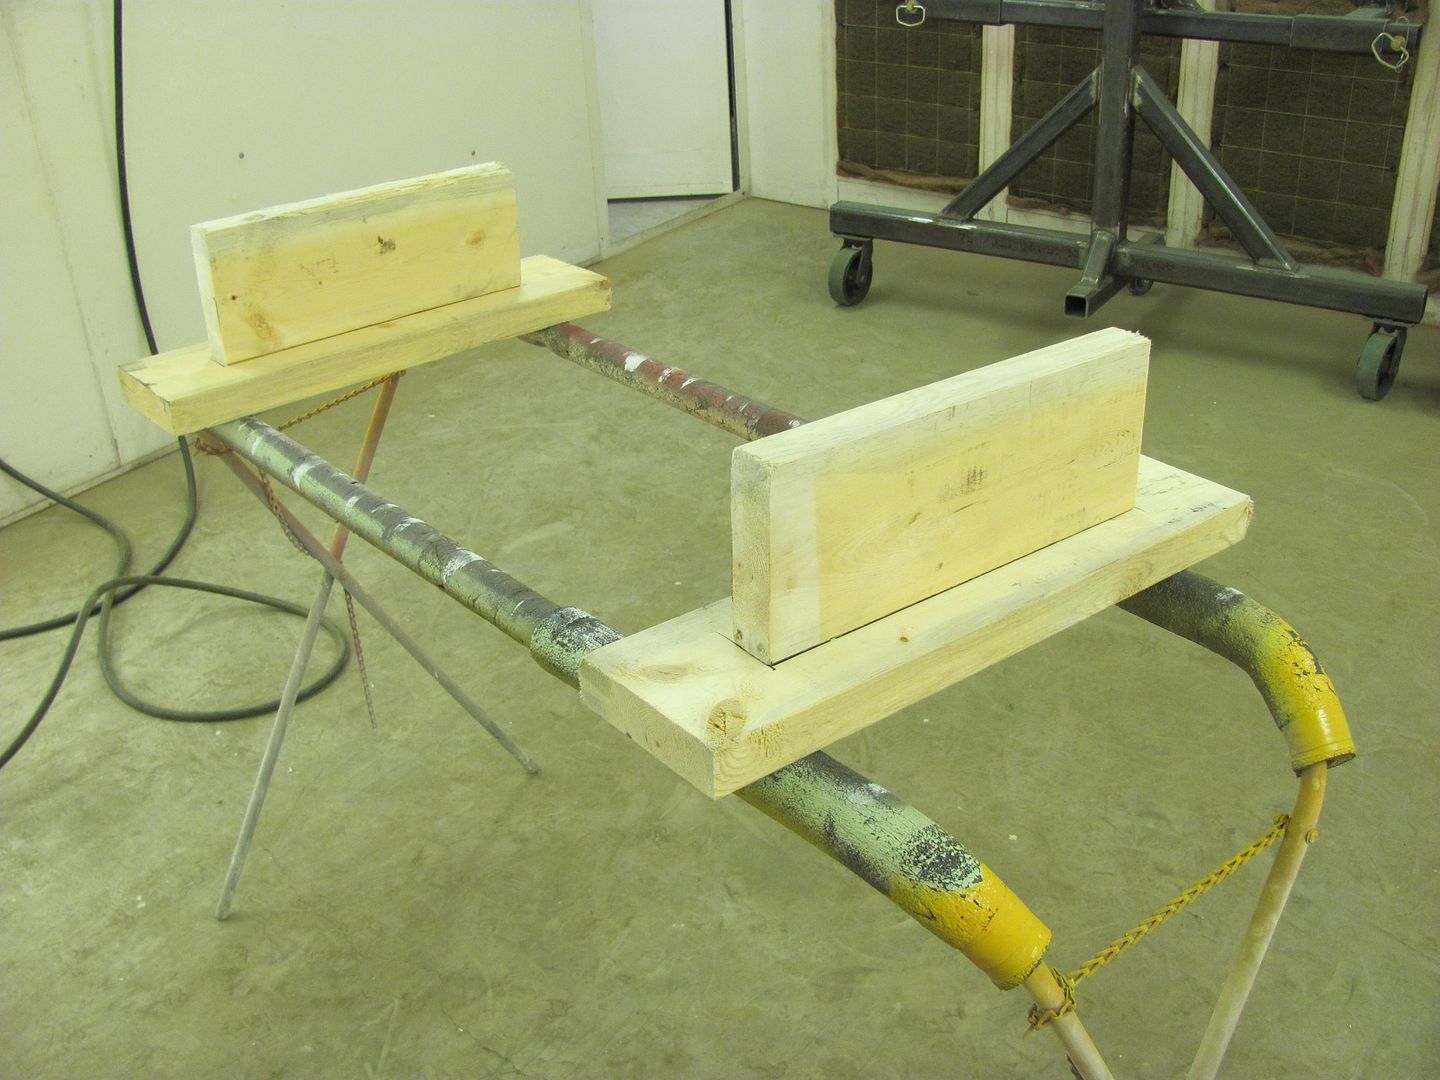
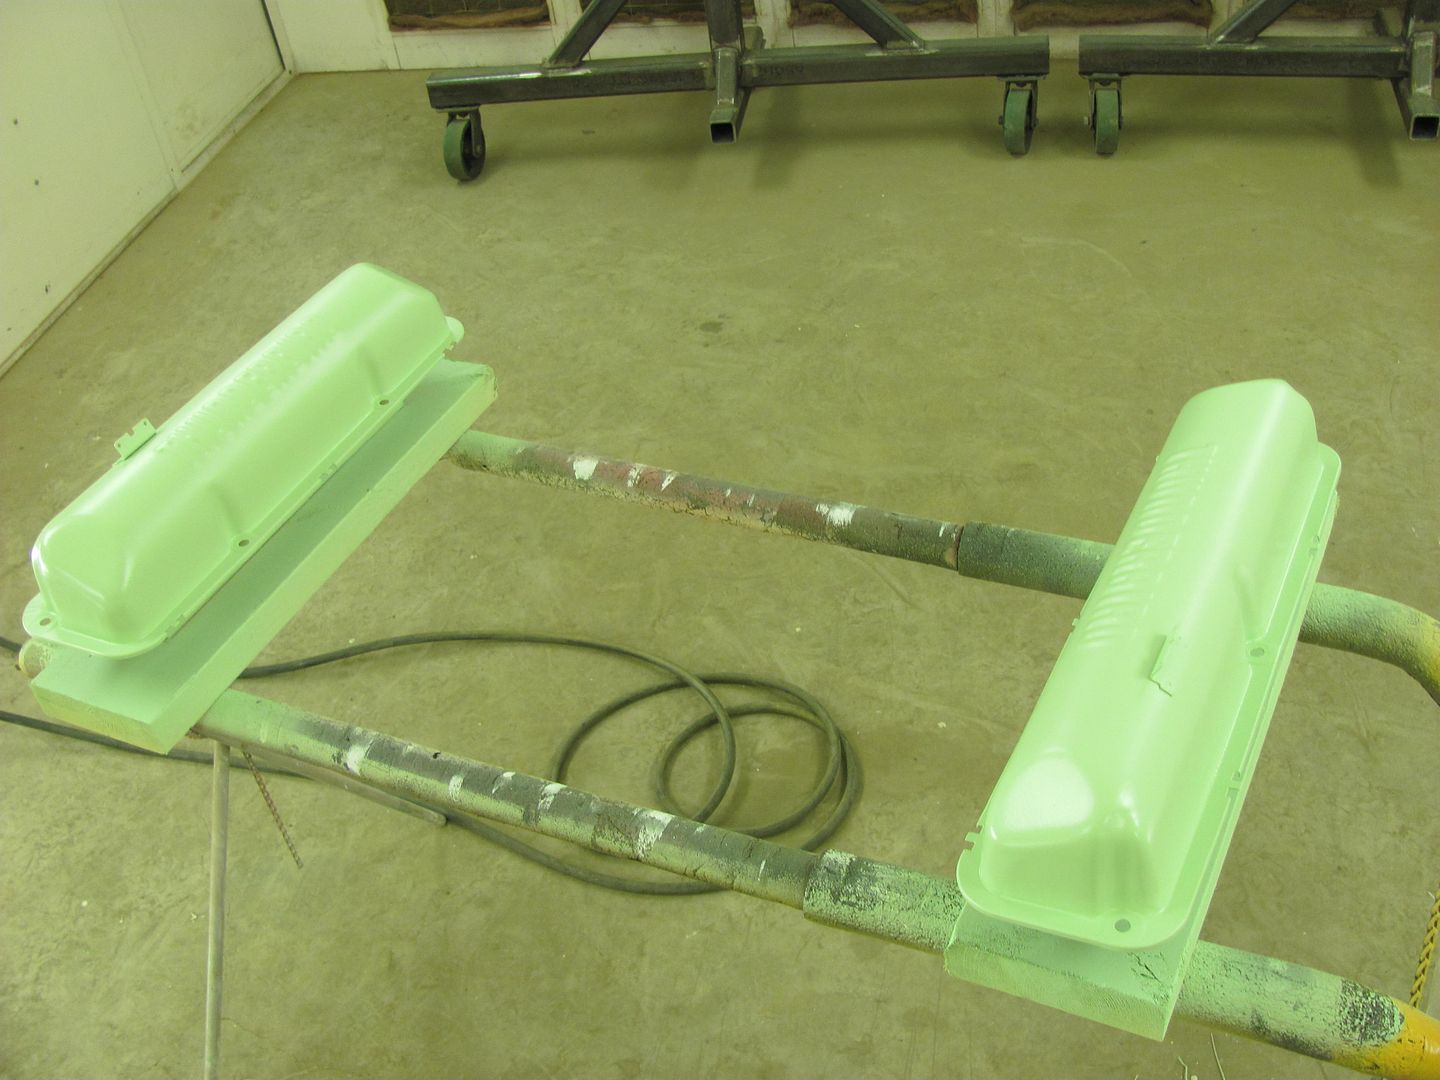
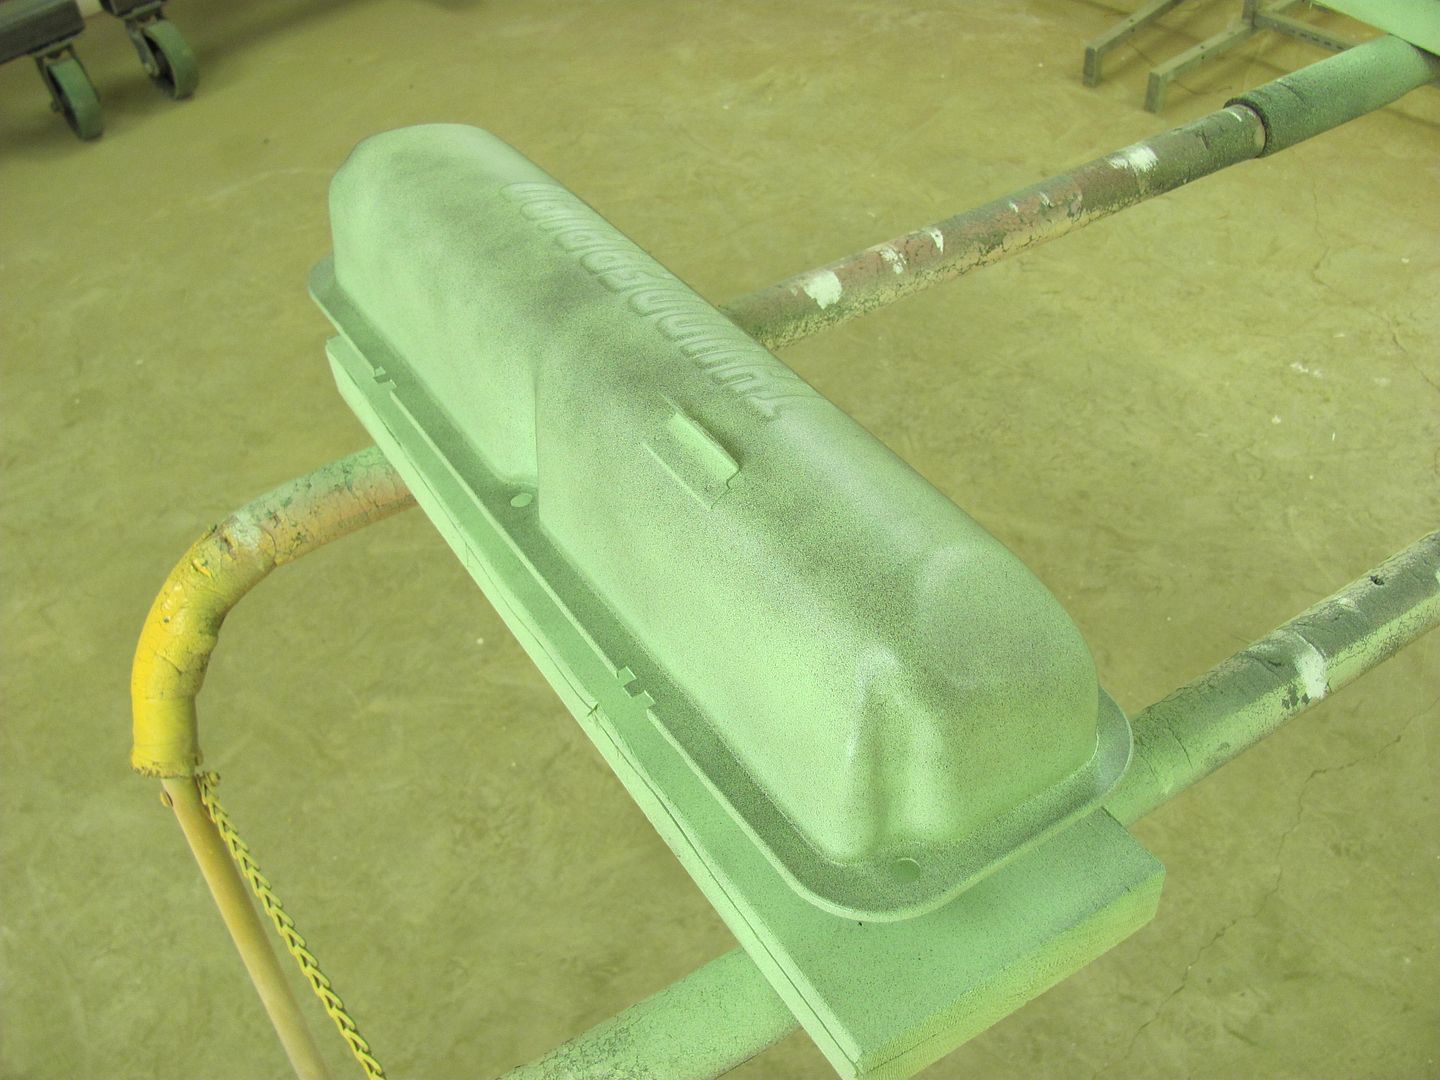
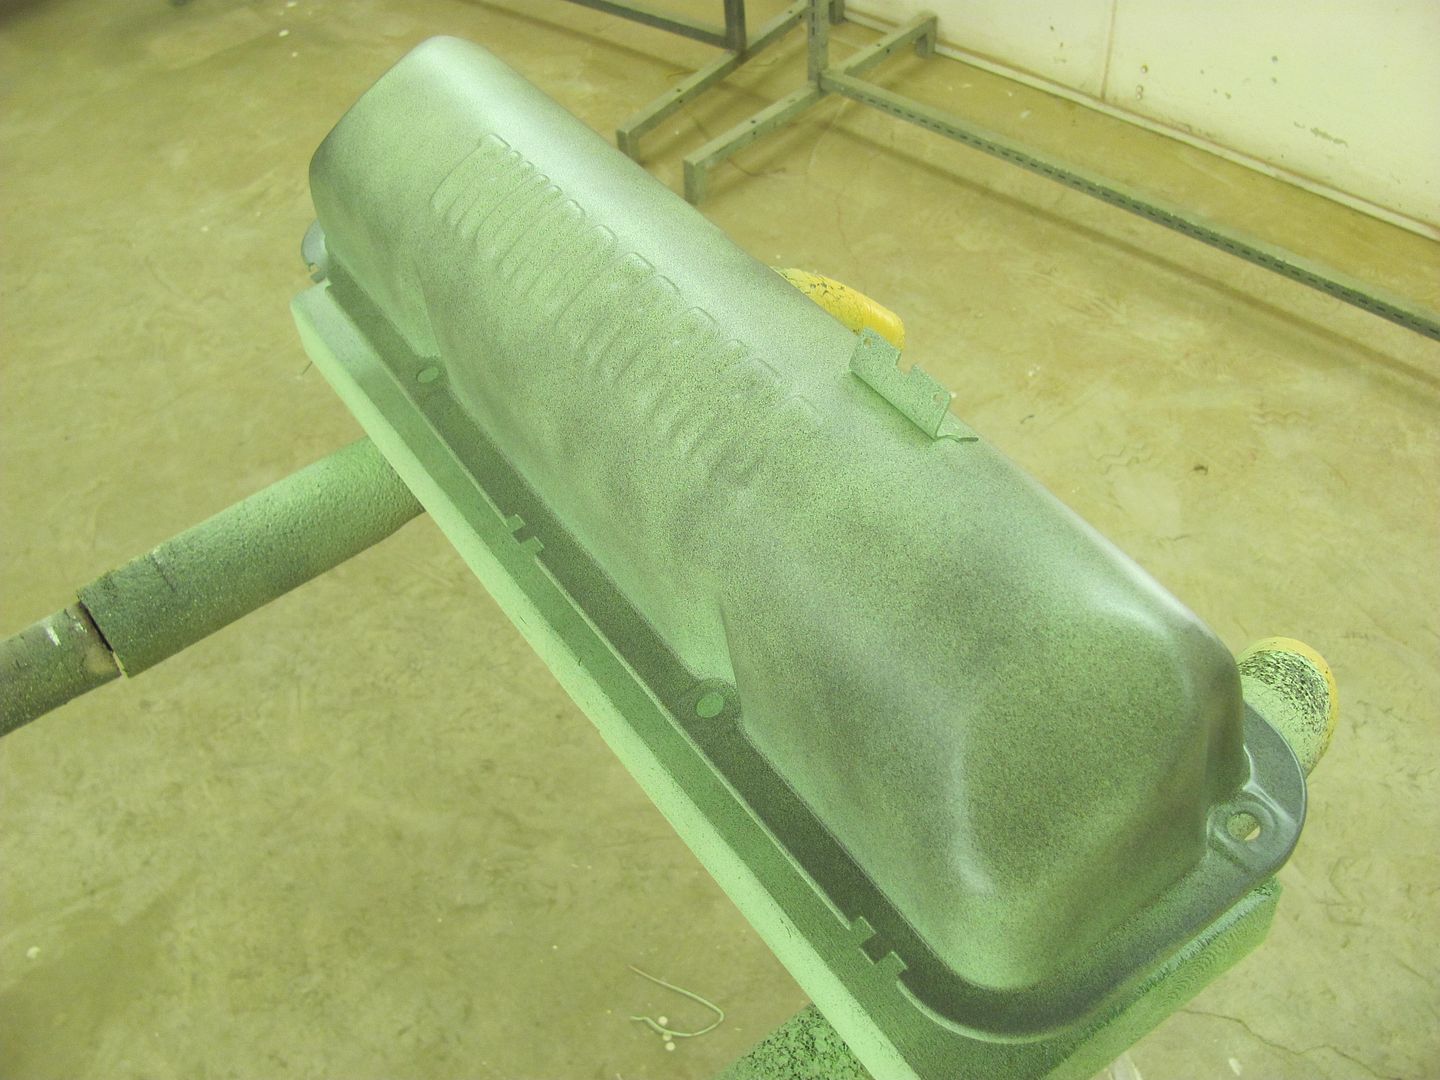
Here's the official 2 x 8 valve cover paint fixtures...
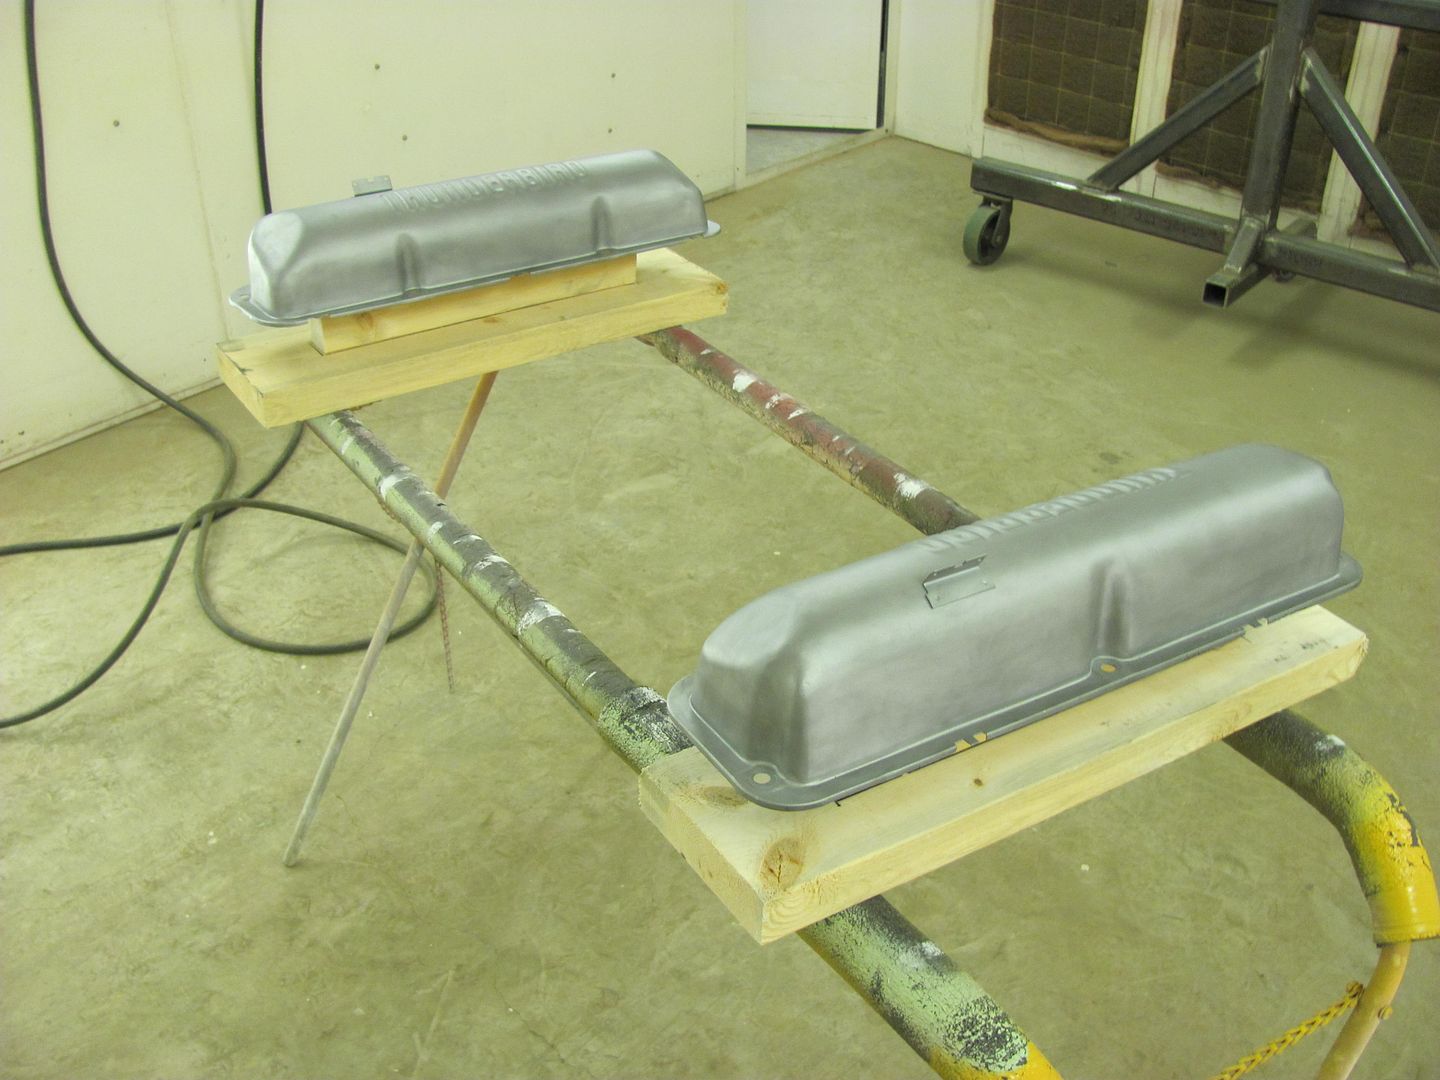
A couple coats of H/K epoxy and a guide coat and we'll let it sit a couple days....
Robert
-
02-15-2013 06:04 PM #4
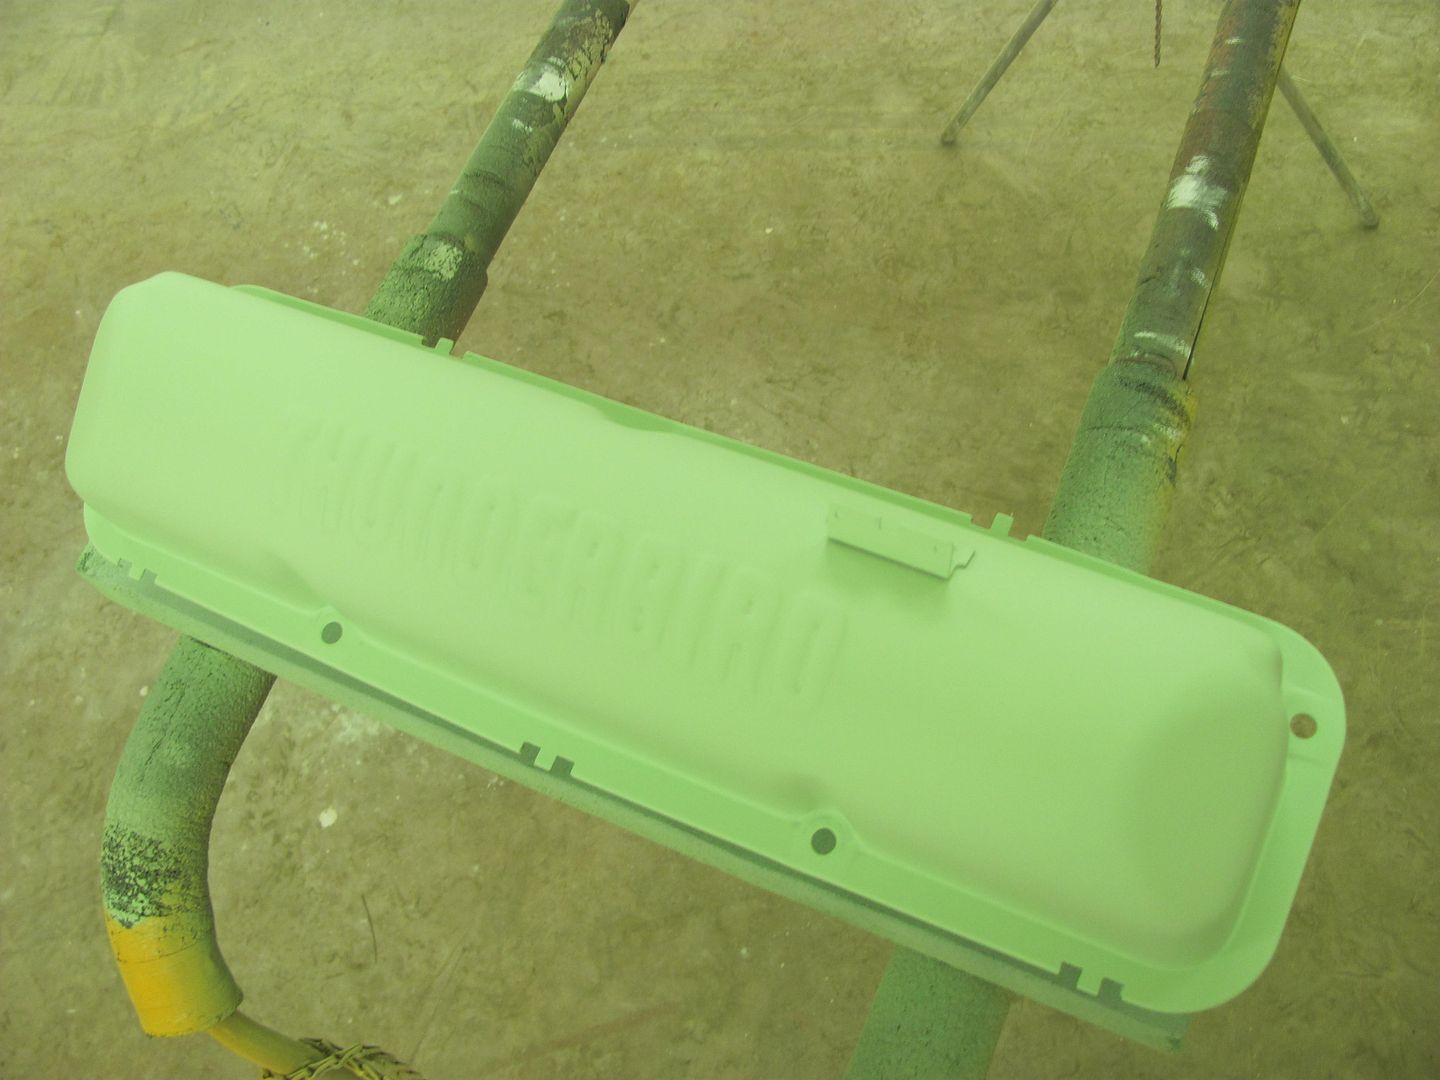
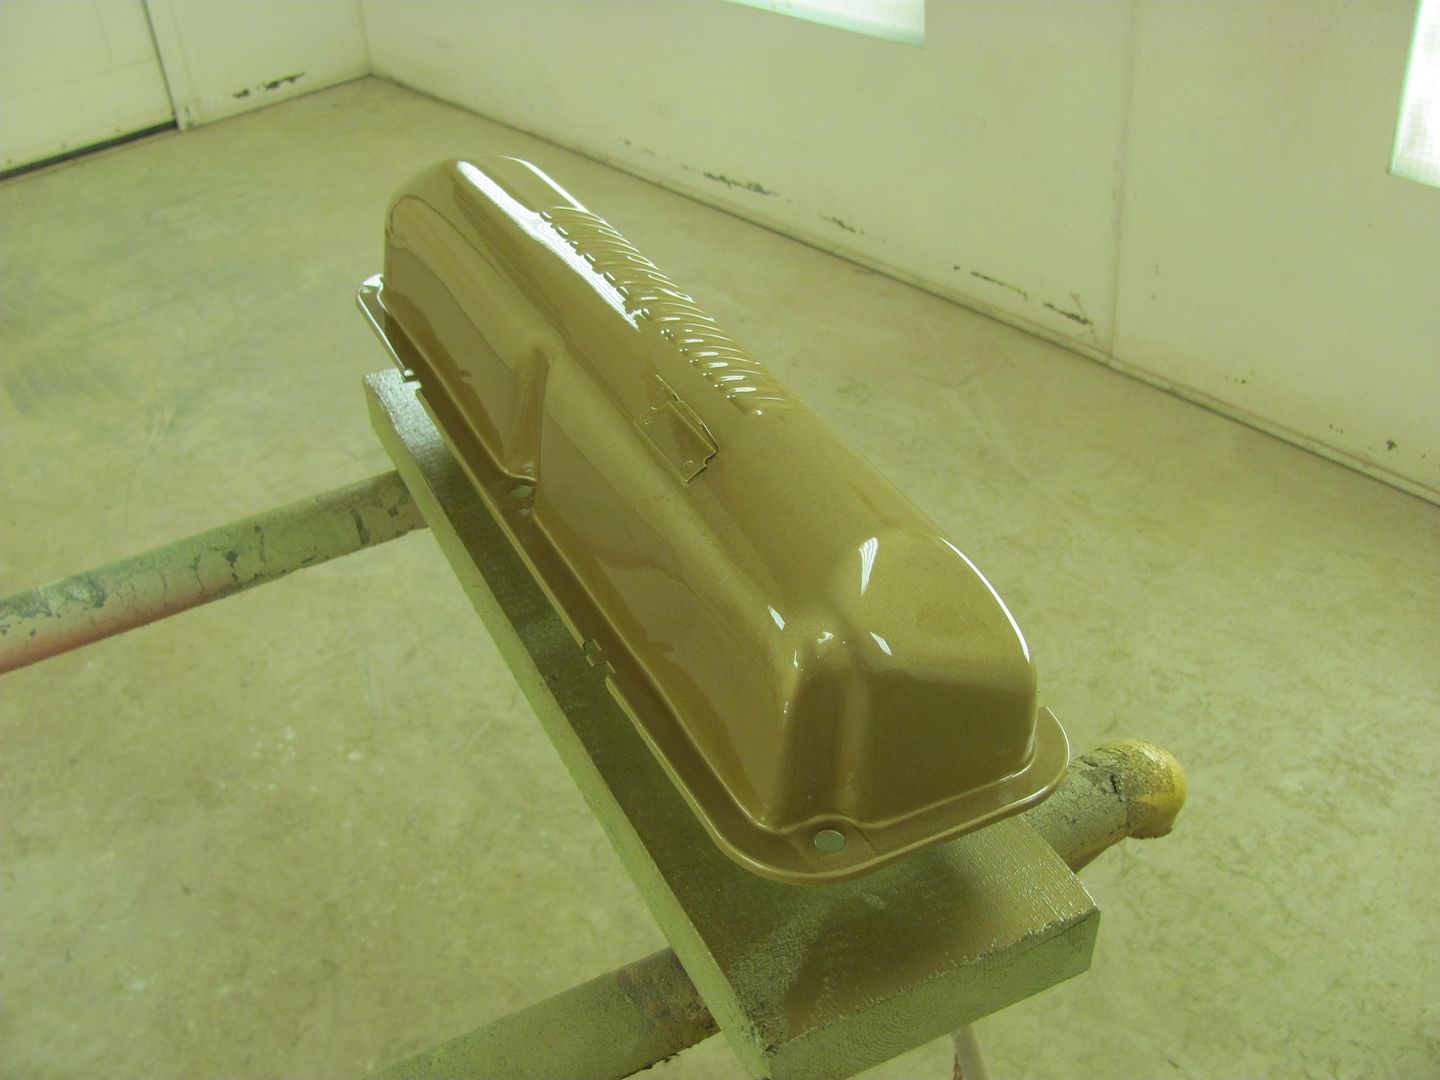
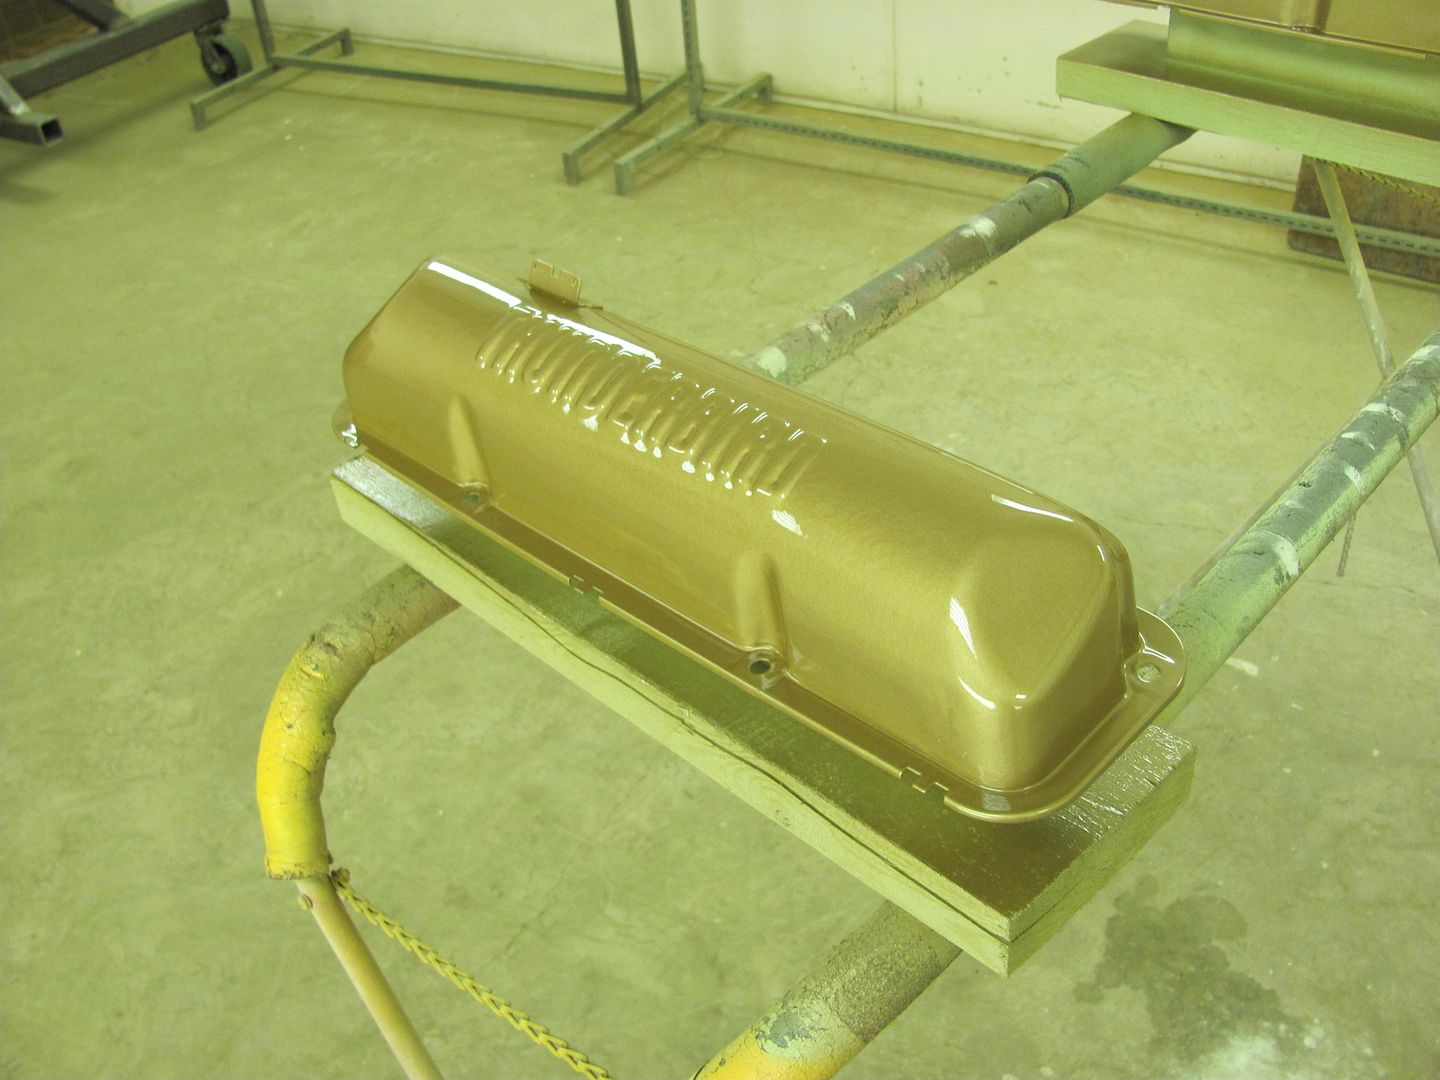
We had a couple sand-throughs on the valve covers, so some epoxy was mixed and reduced 10% to use as a sealer....
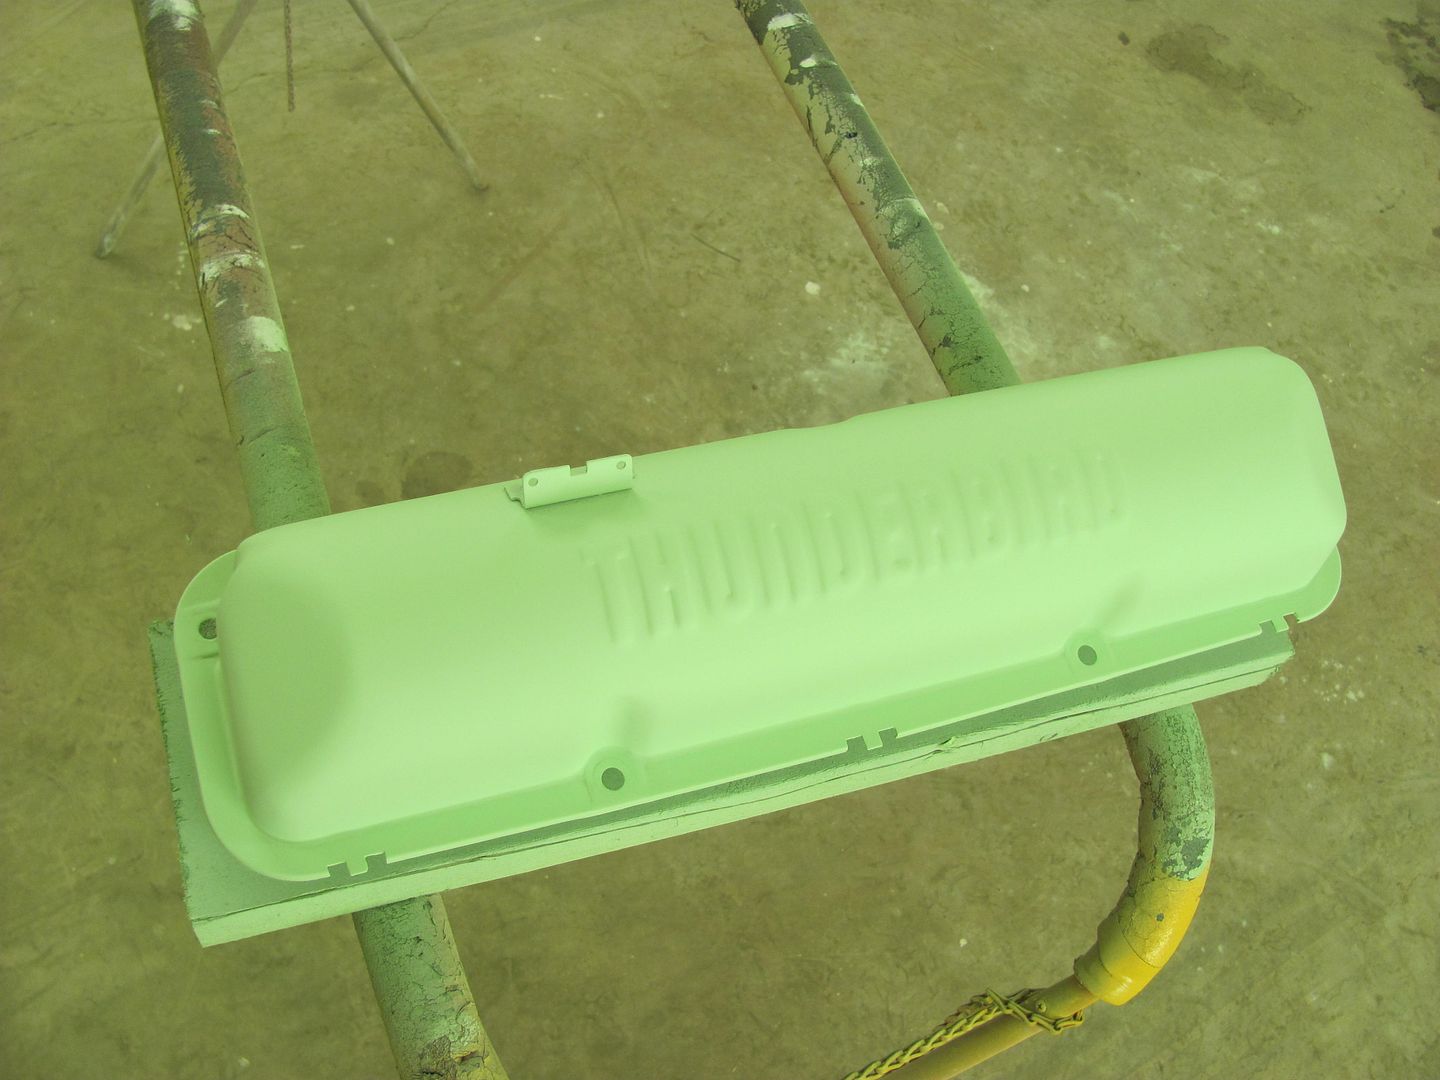
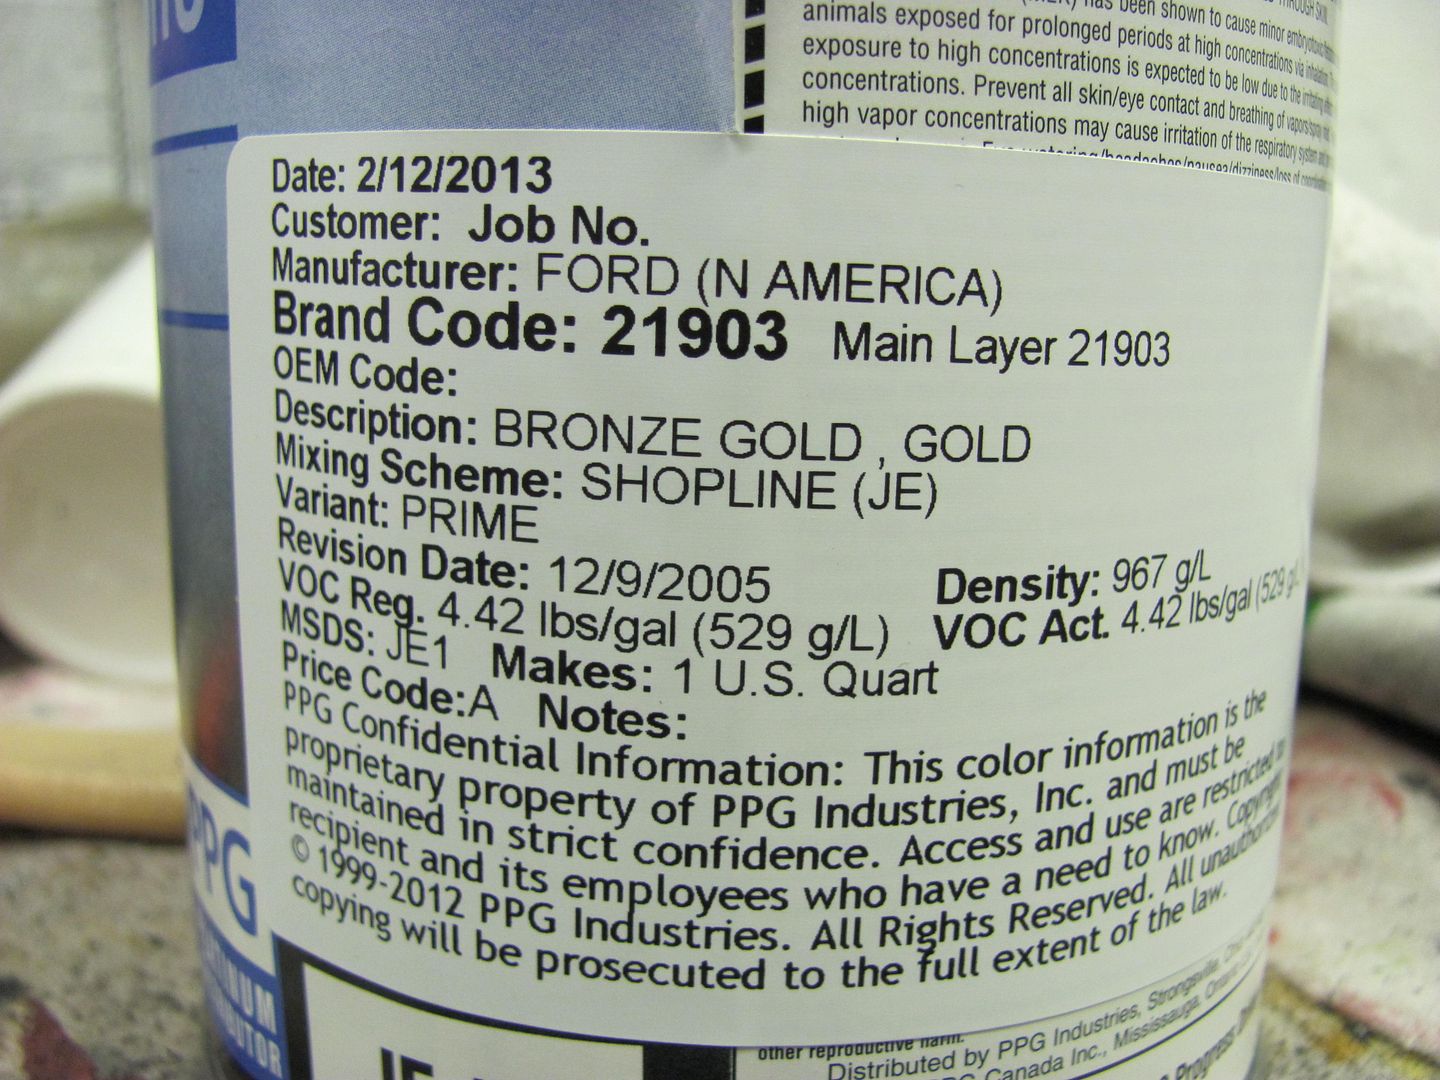
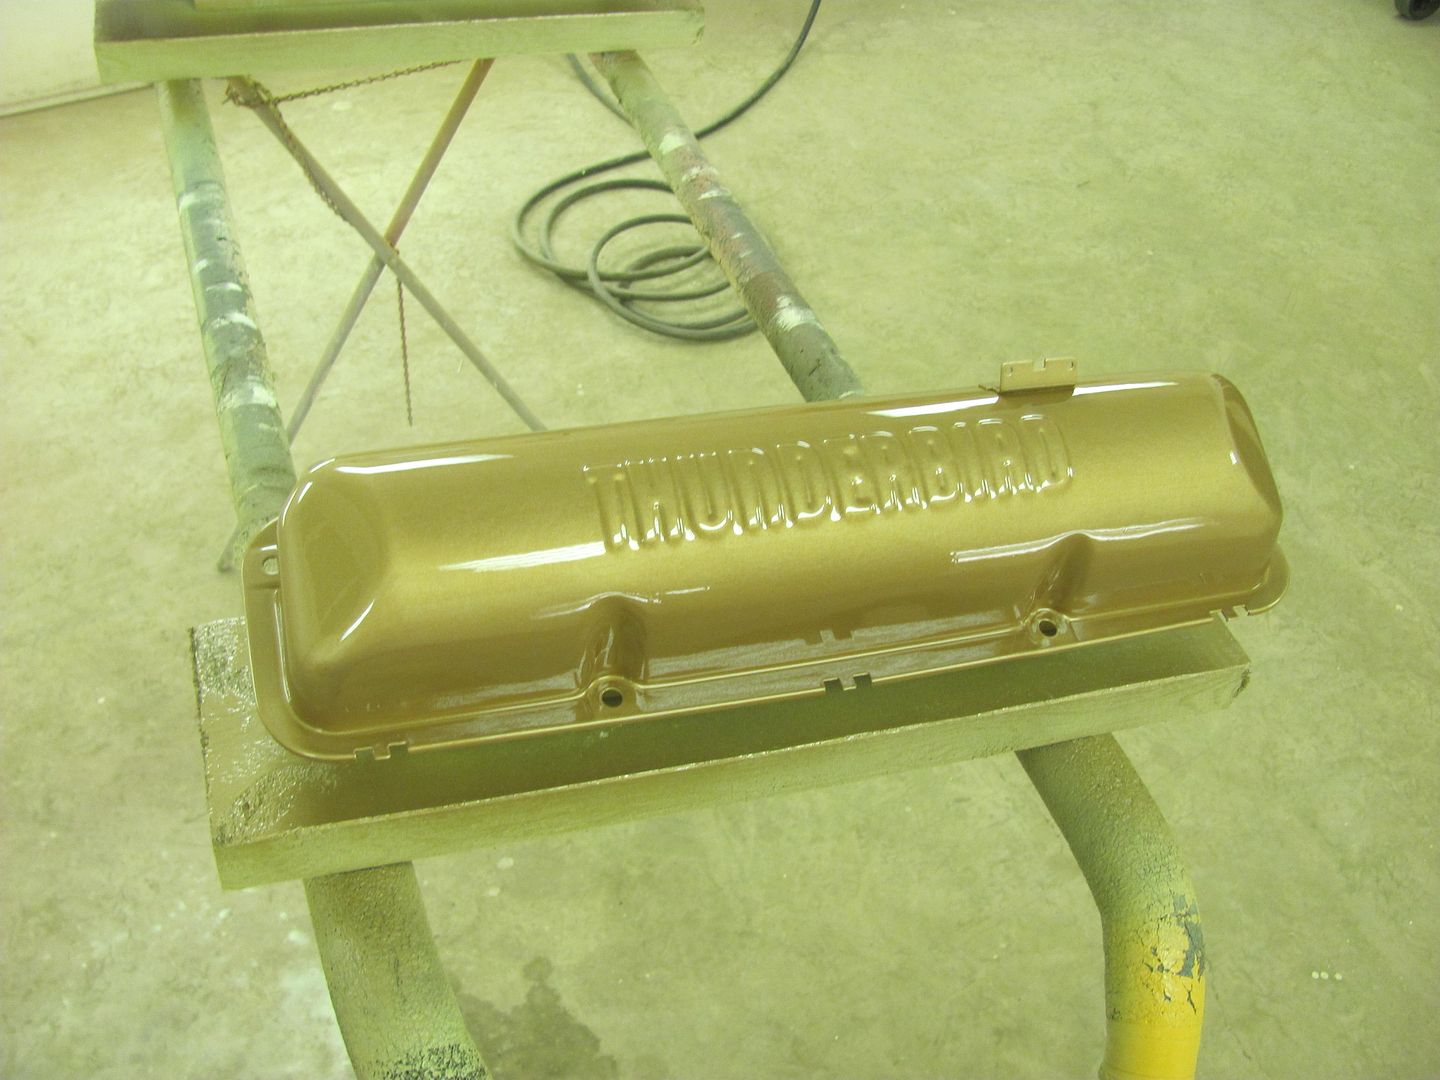
Here's the paint code for the early 60's Hi-po 390... Used acrylic enamel.
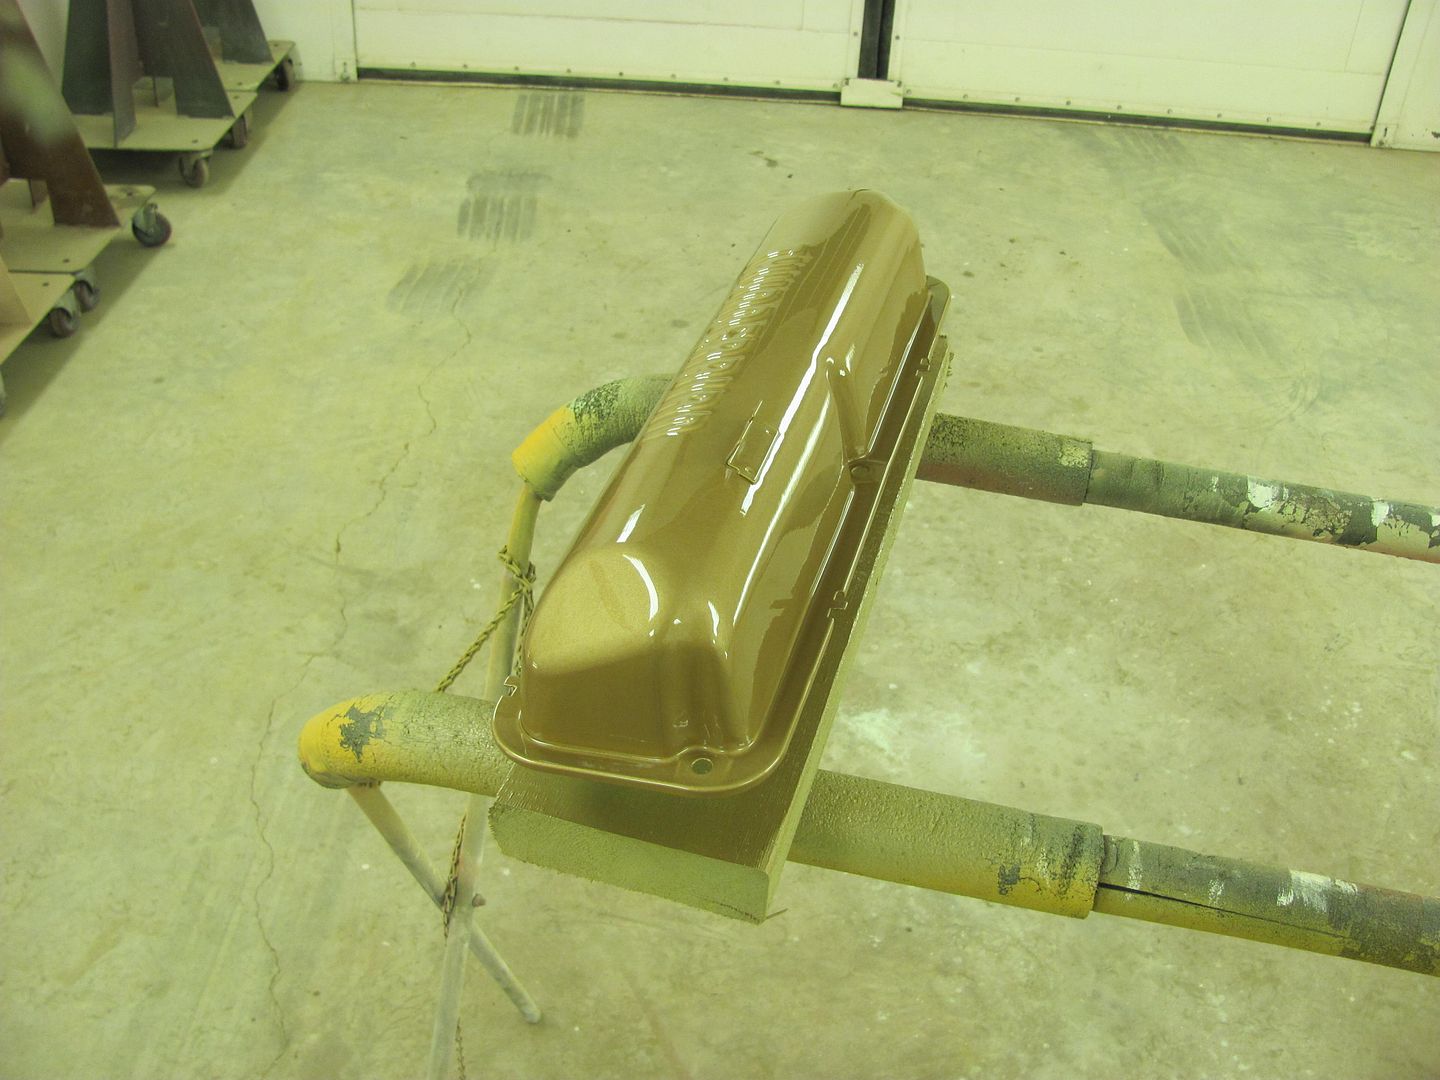
Finished up, looks quite a bit smoother than before....
Robert


 1Likes


 LinkBack URL
 About LinkBacks
 Reply With Quote

The first model car I built was a 32 Ford roadster by Revell in the mid 50's.
How did you get hooked on cars?