Thread: Valve cover dings and dents
-
01-15-2013 04:20 AM #1
Valve cover dings and dents
About a month and a half ago a buddy of mine came over with a bumper filler panel off a 61 Starliner he's putting together as a 70th b-day present for his dad. He was using my media blast cabinet to clean off the paint and was planning on spraying some Krylon and reinstalling. Well, I had him strip the paint, I smoothed out some dings with the hammer and dolly, and here's how I finished it, using some of my Imron rather than his Krylon...
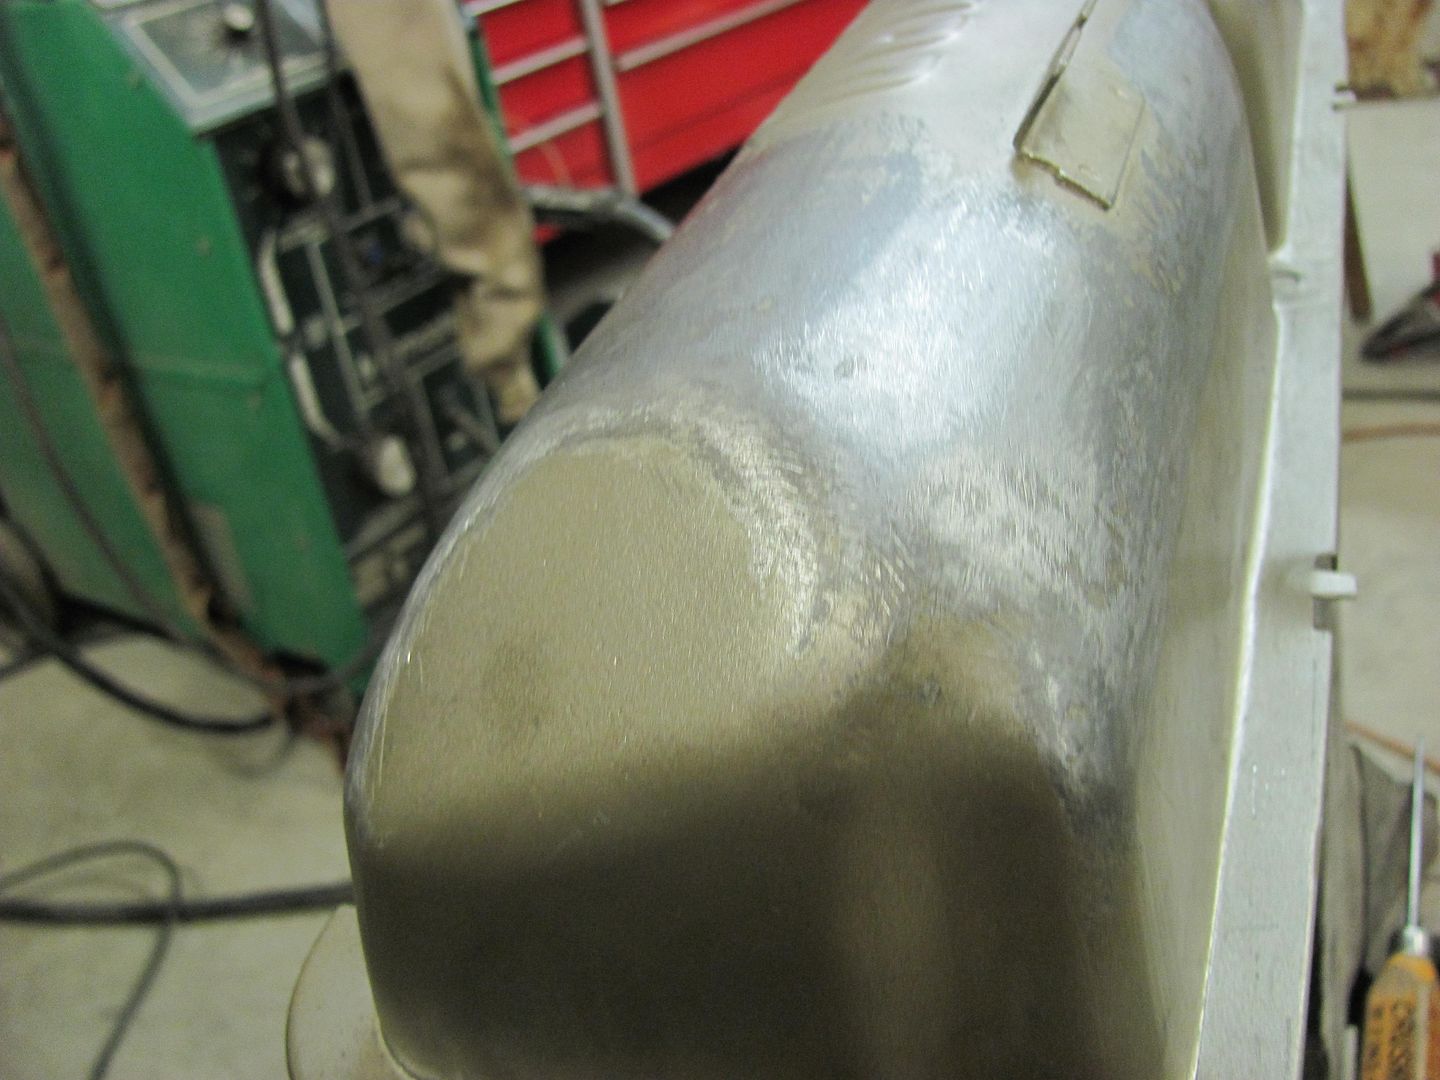
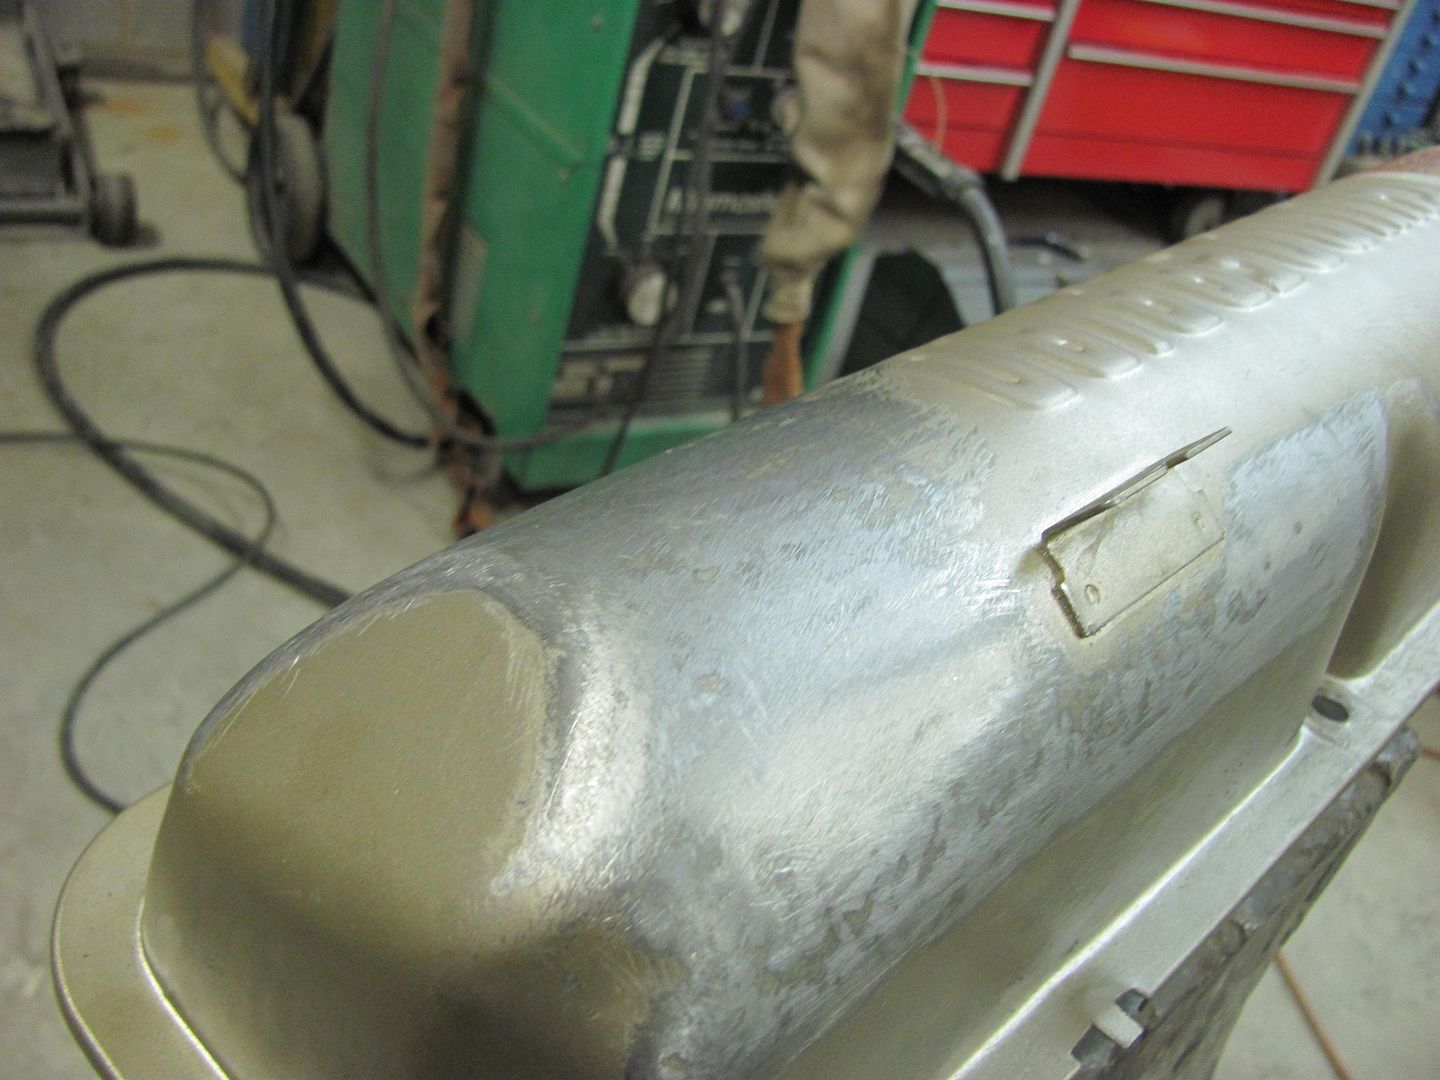
Well I stopped by to check it out after he installed it, and noticed the valve covers looked like someone had changed out the intake and dropped it a few times on the valve covers. So he dropped them off for some dent repair this evening...
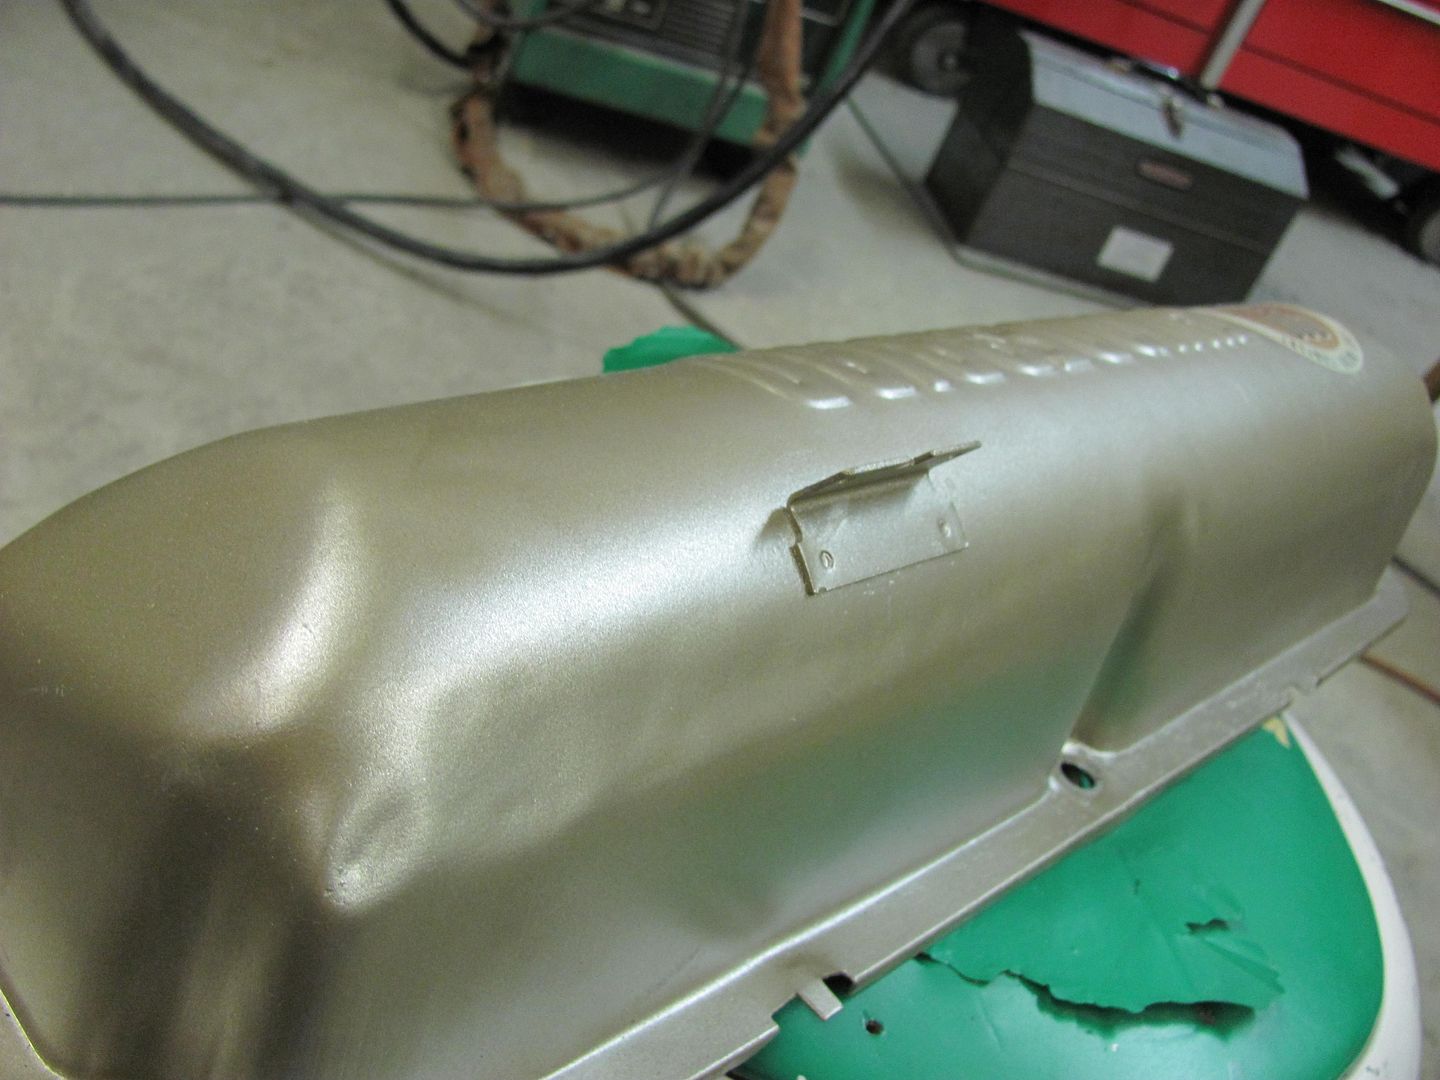
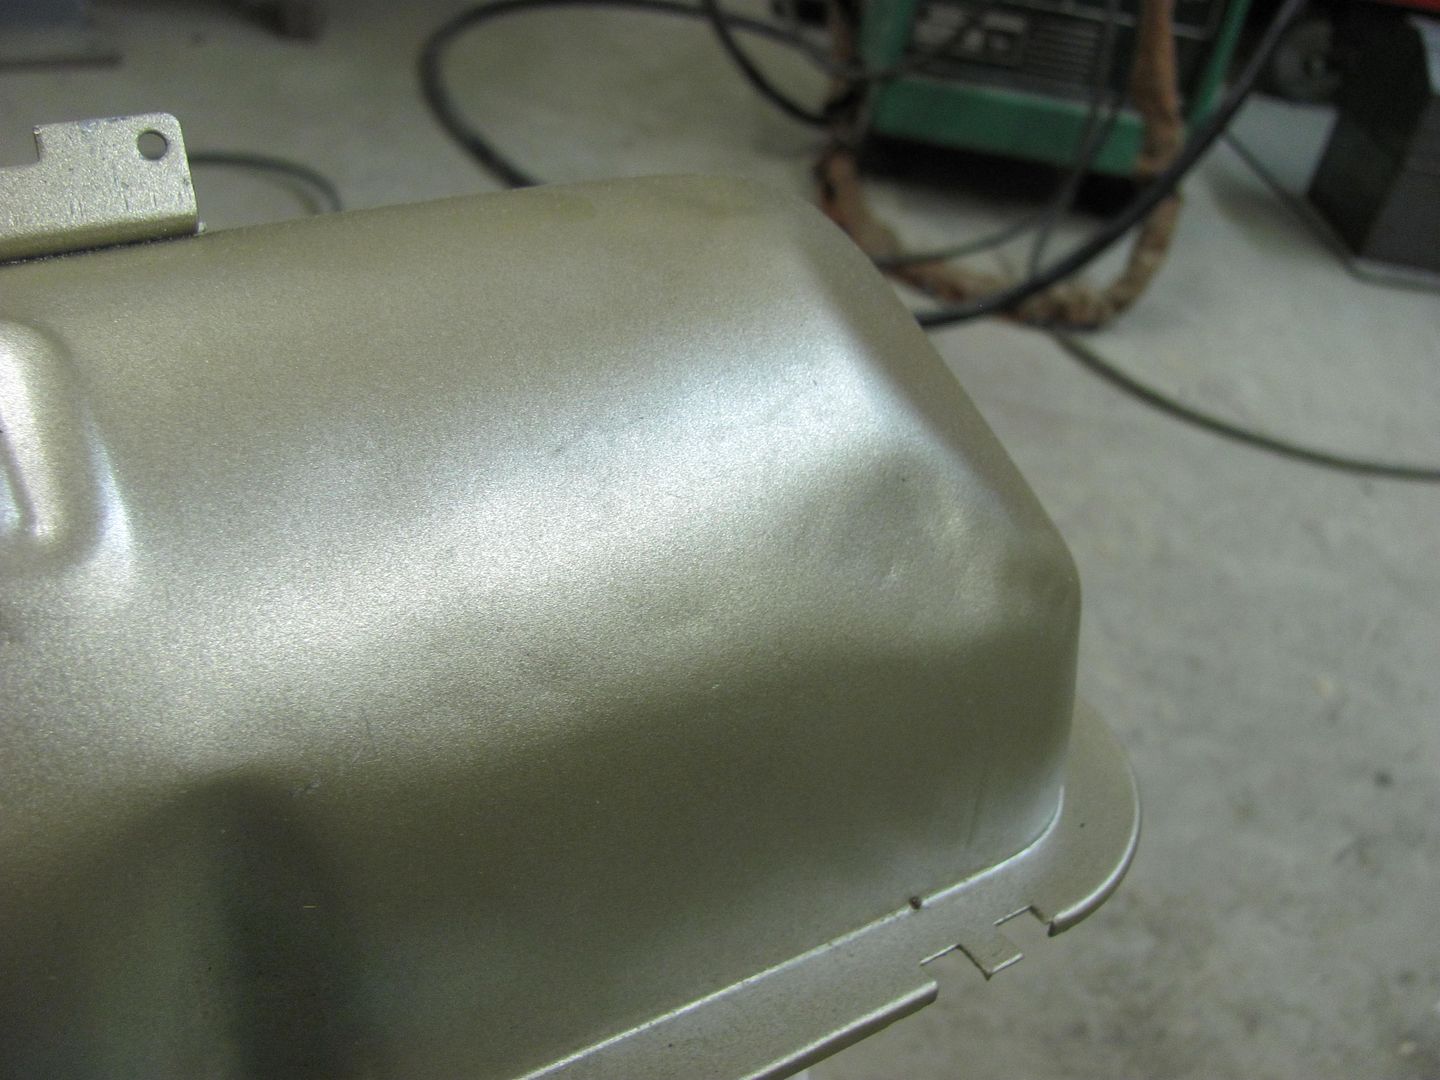
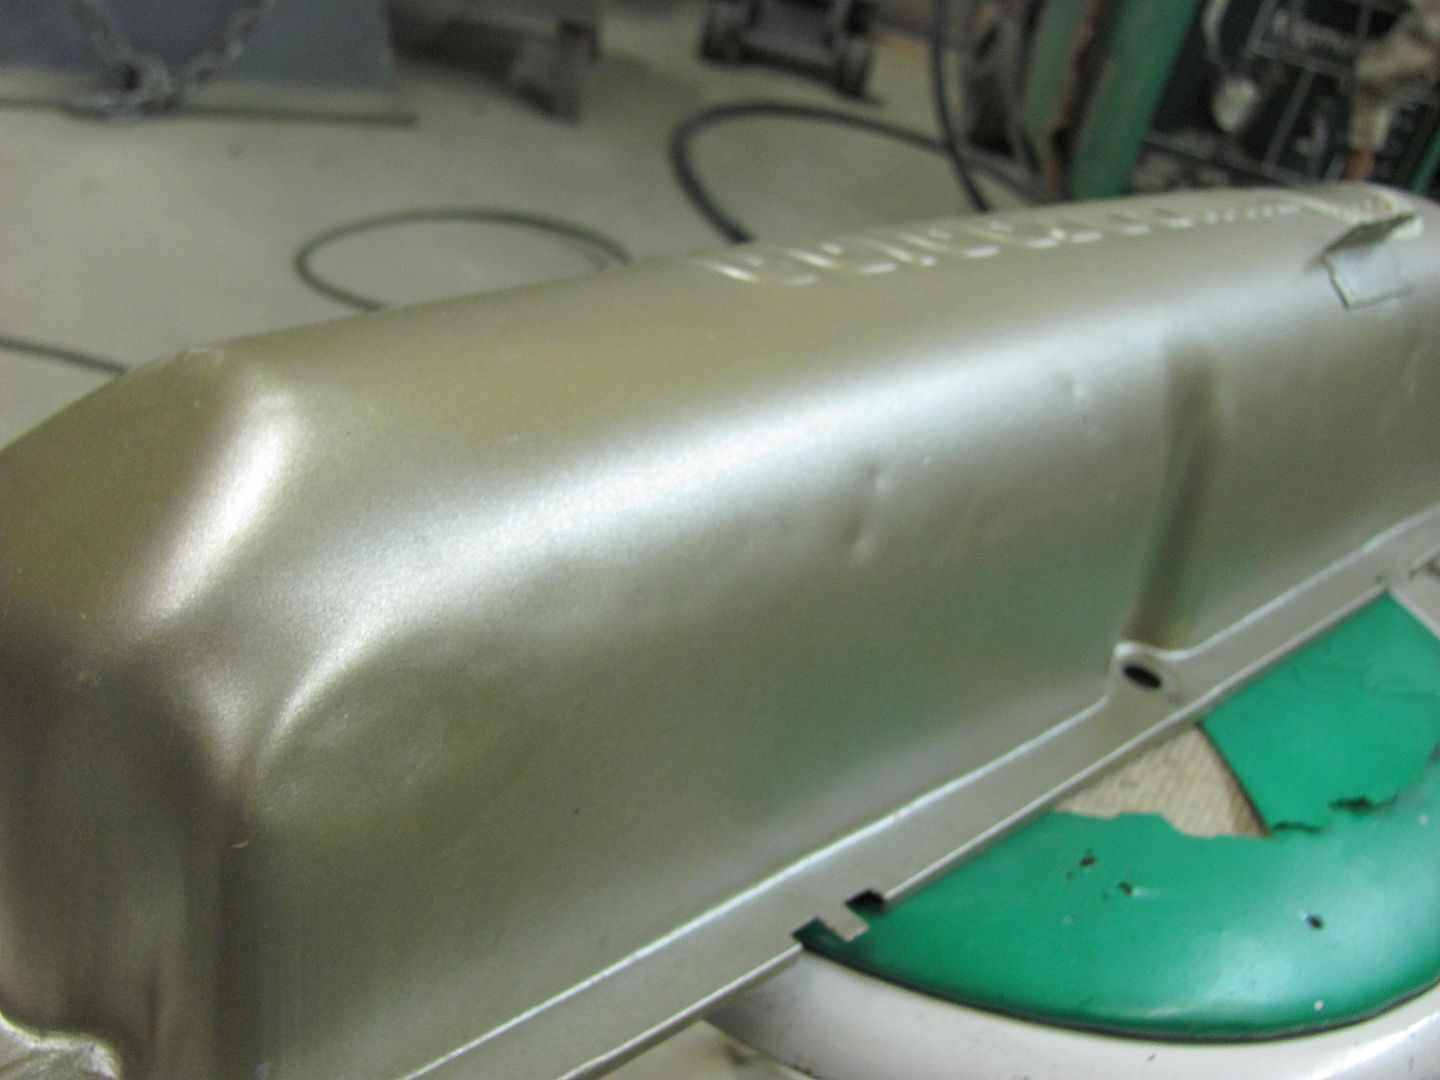
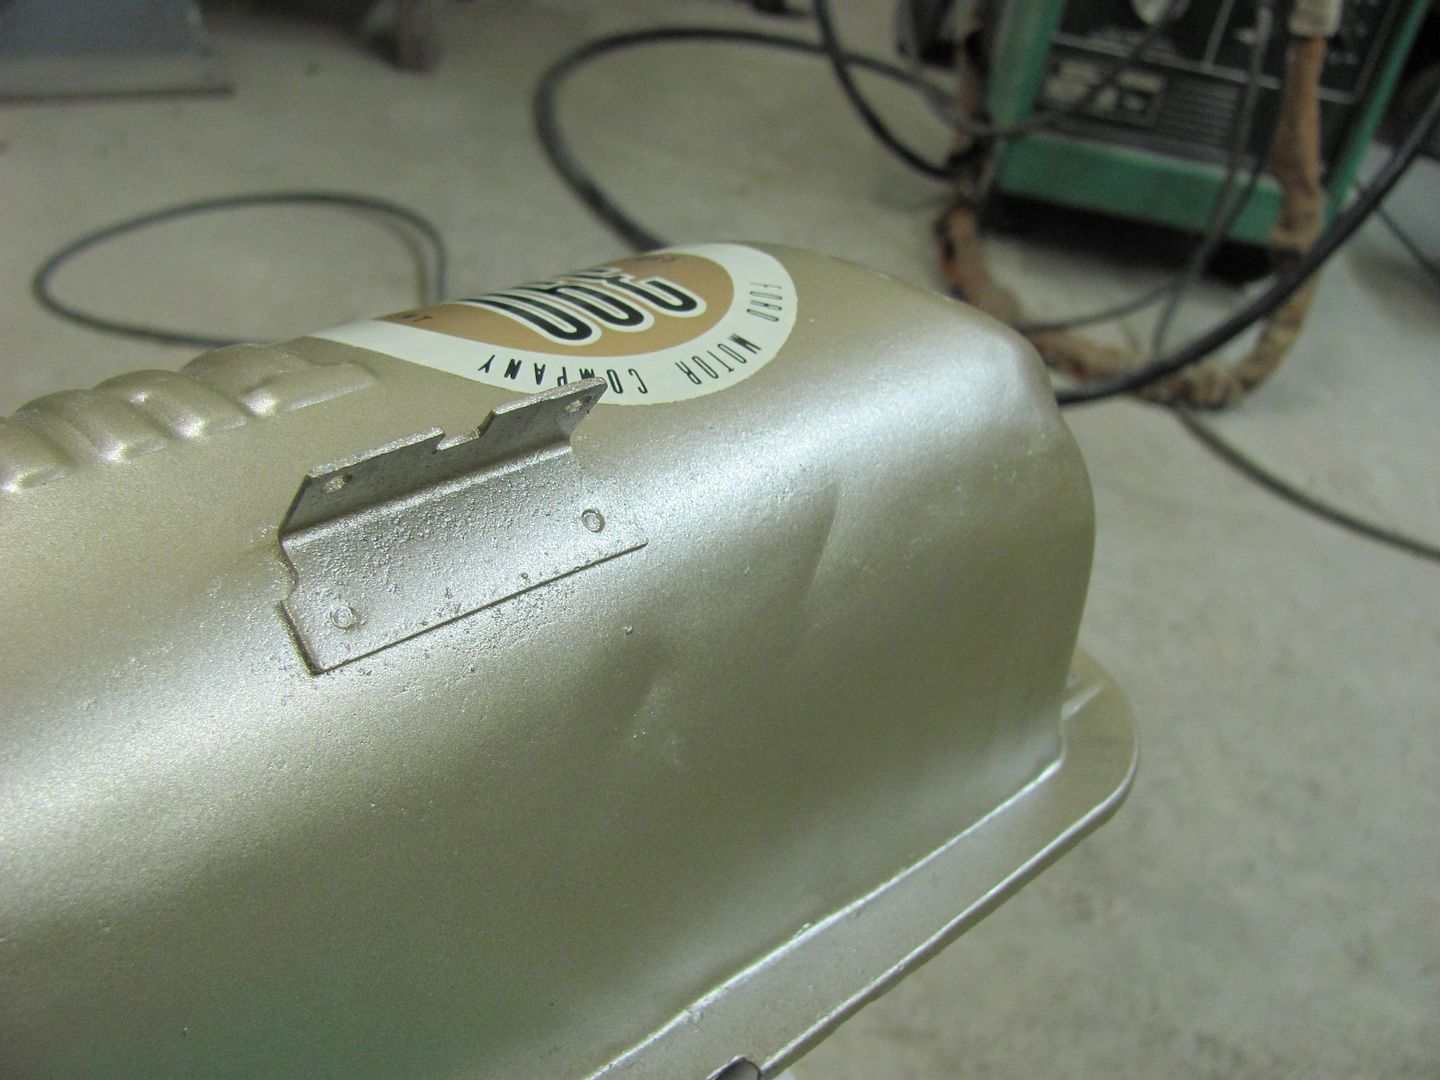
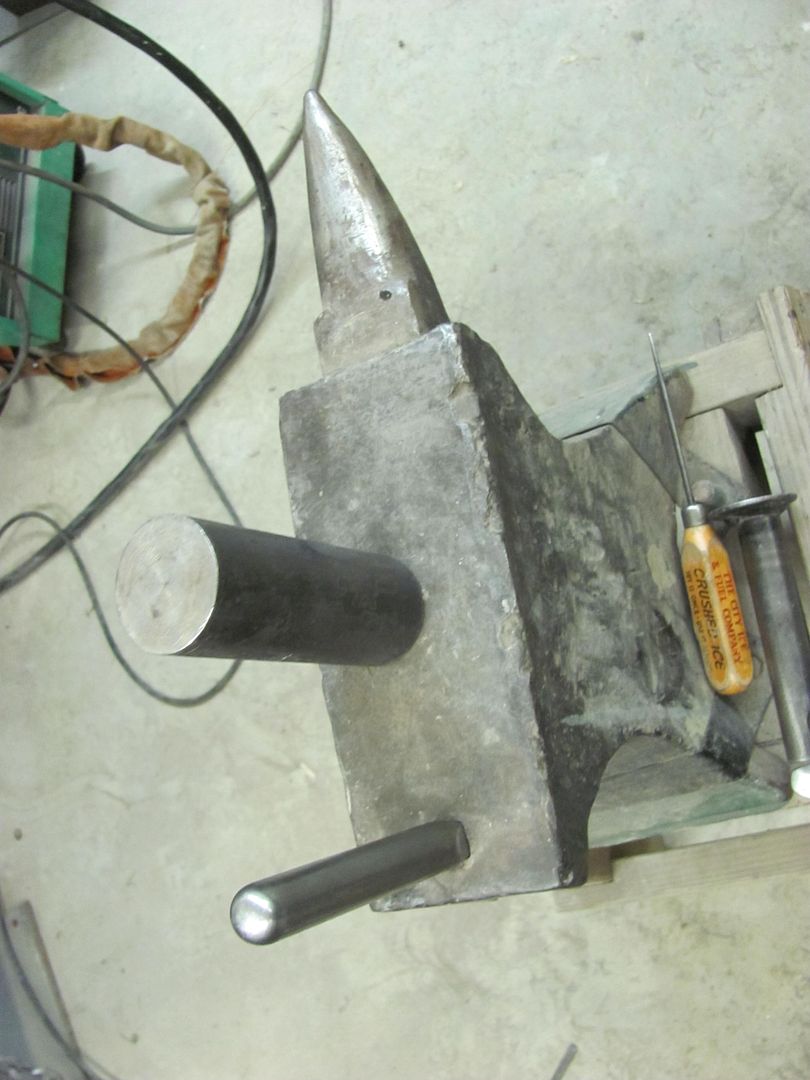
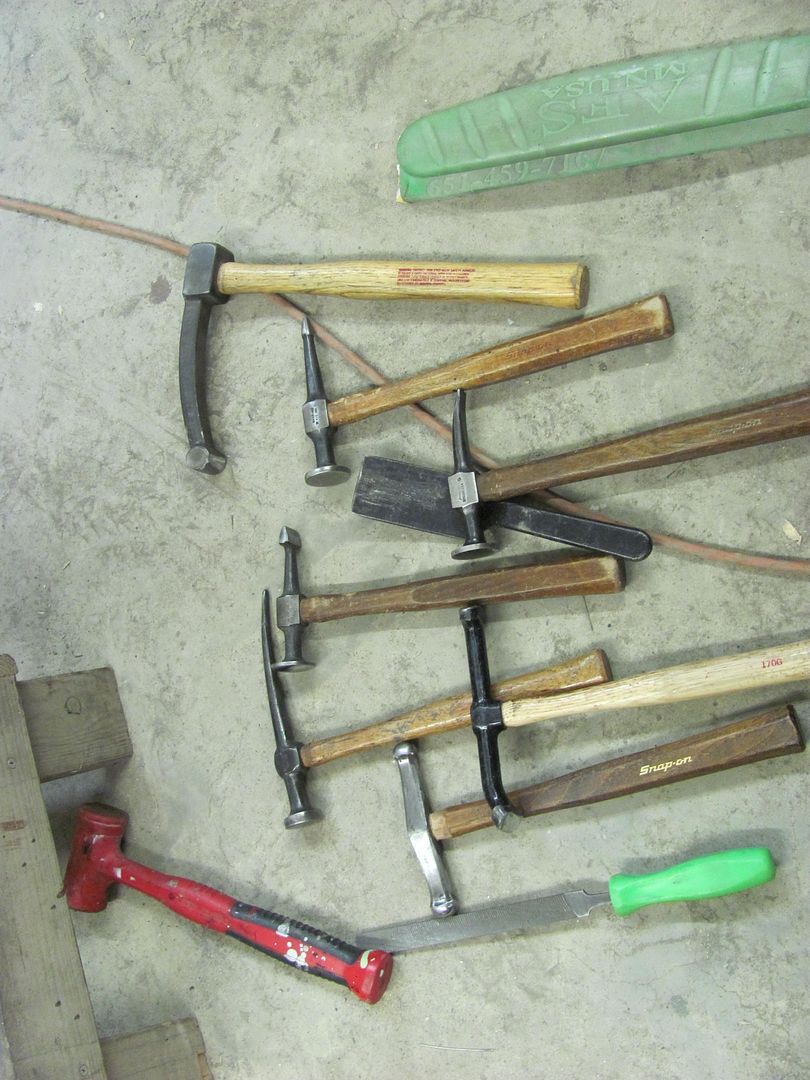
All of these tools were used this evening at one point or another...
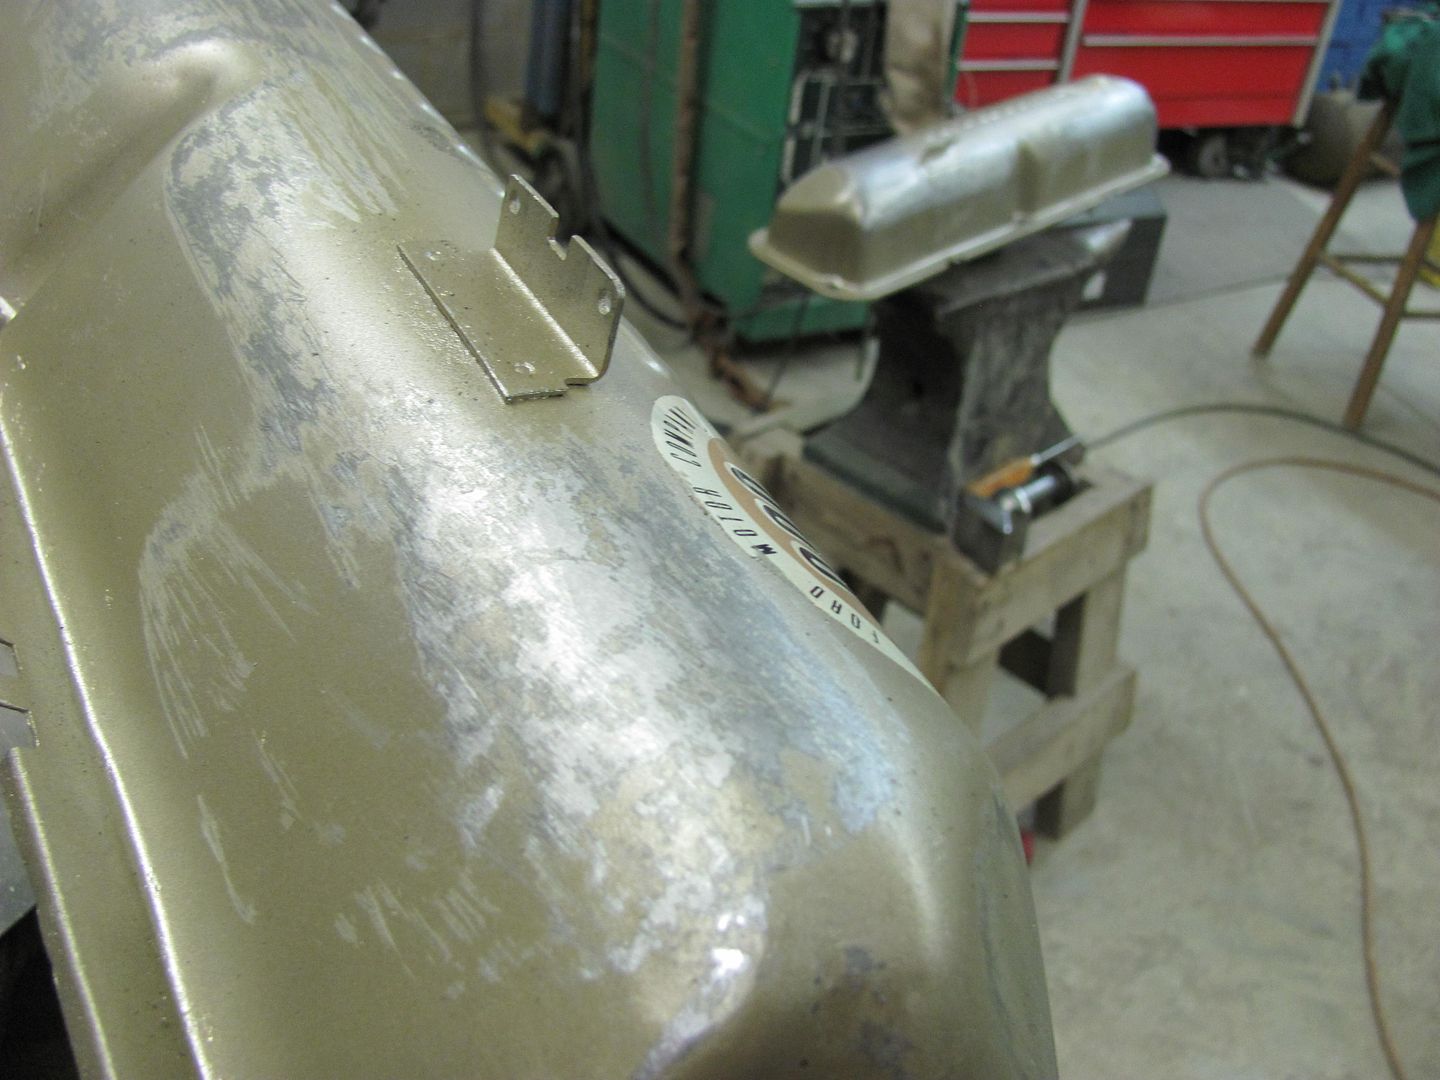
Dents were worked with various implements of destruction, filed to find the high spots, and low spots bumped up, then repeat.
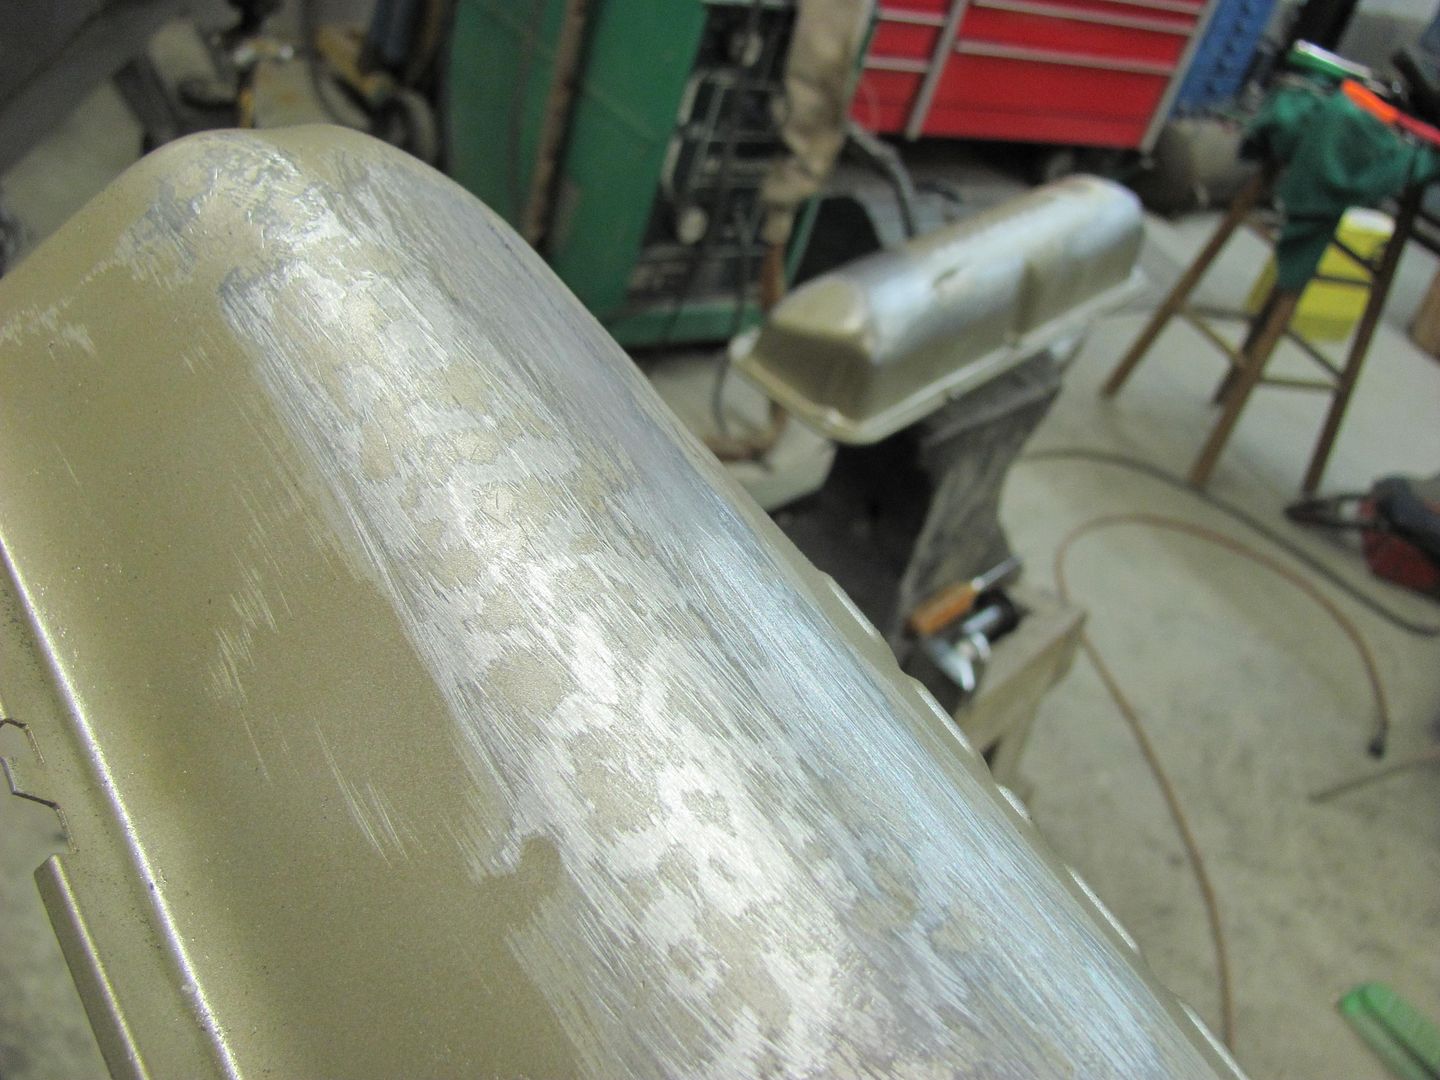
As they will be painted, we'll leave off with the following.... Sandblasting and some H/K epoxy primer will take care of any remaining defects...
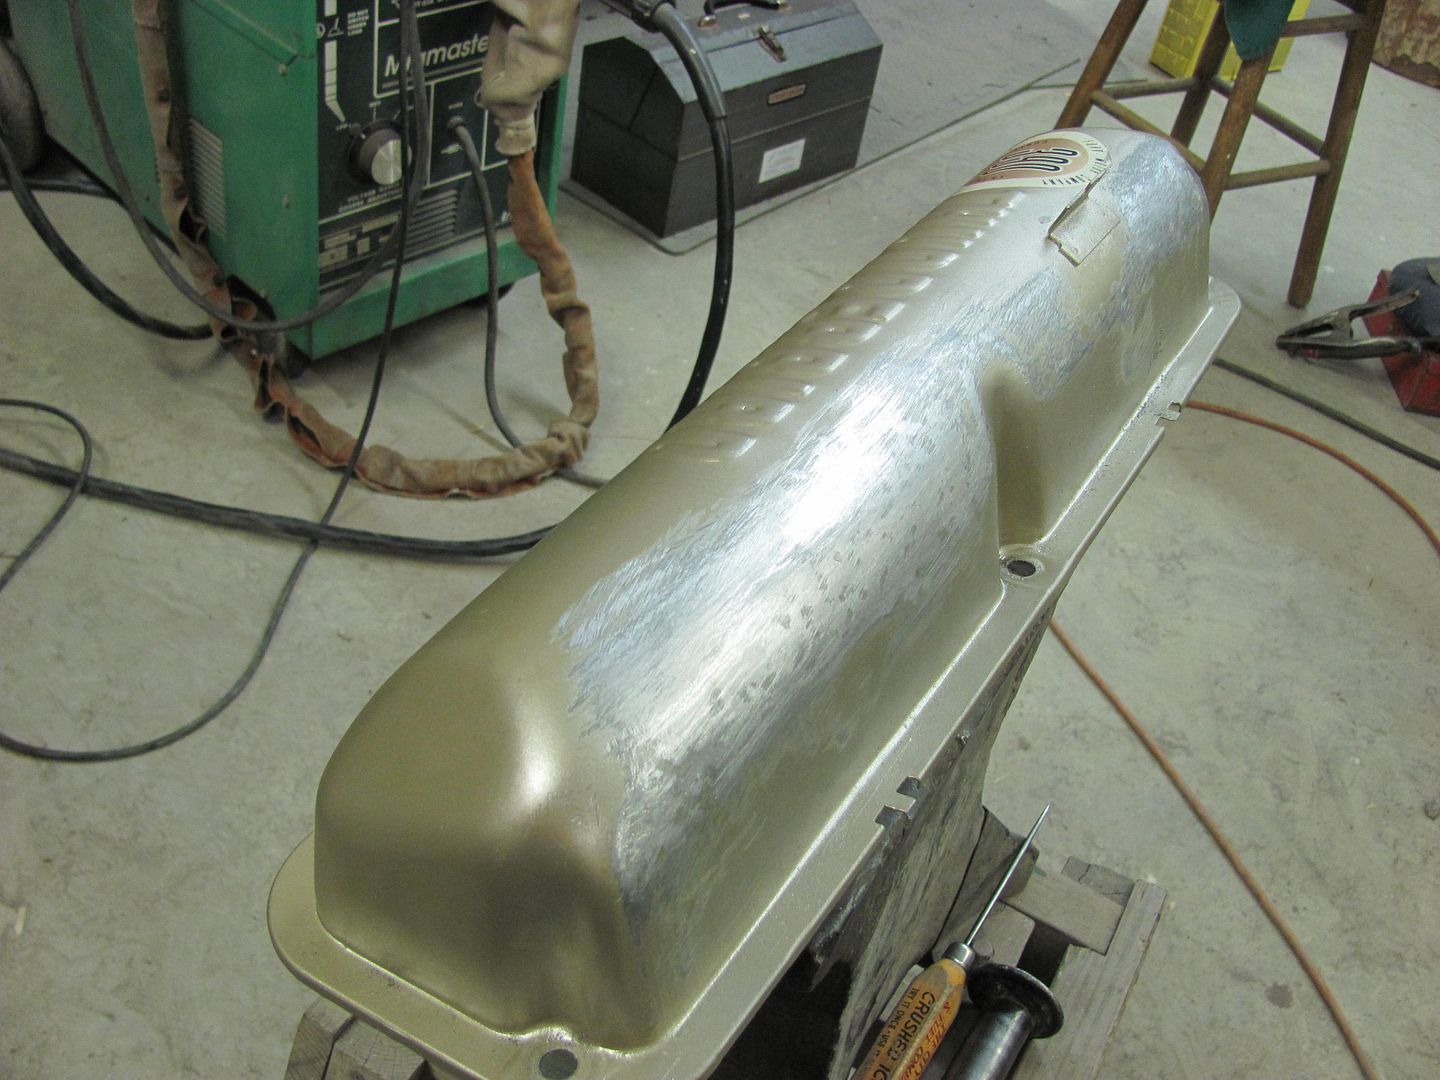
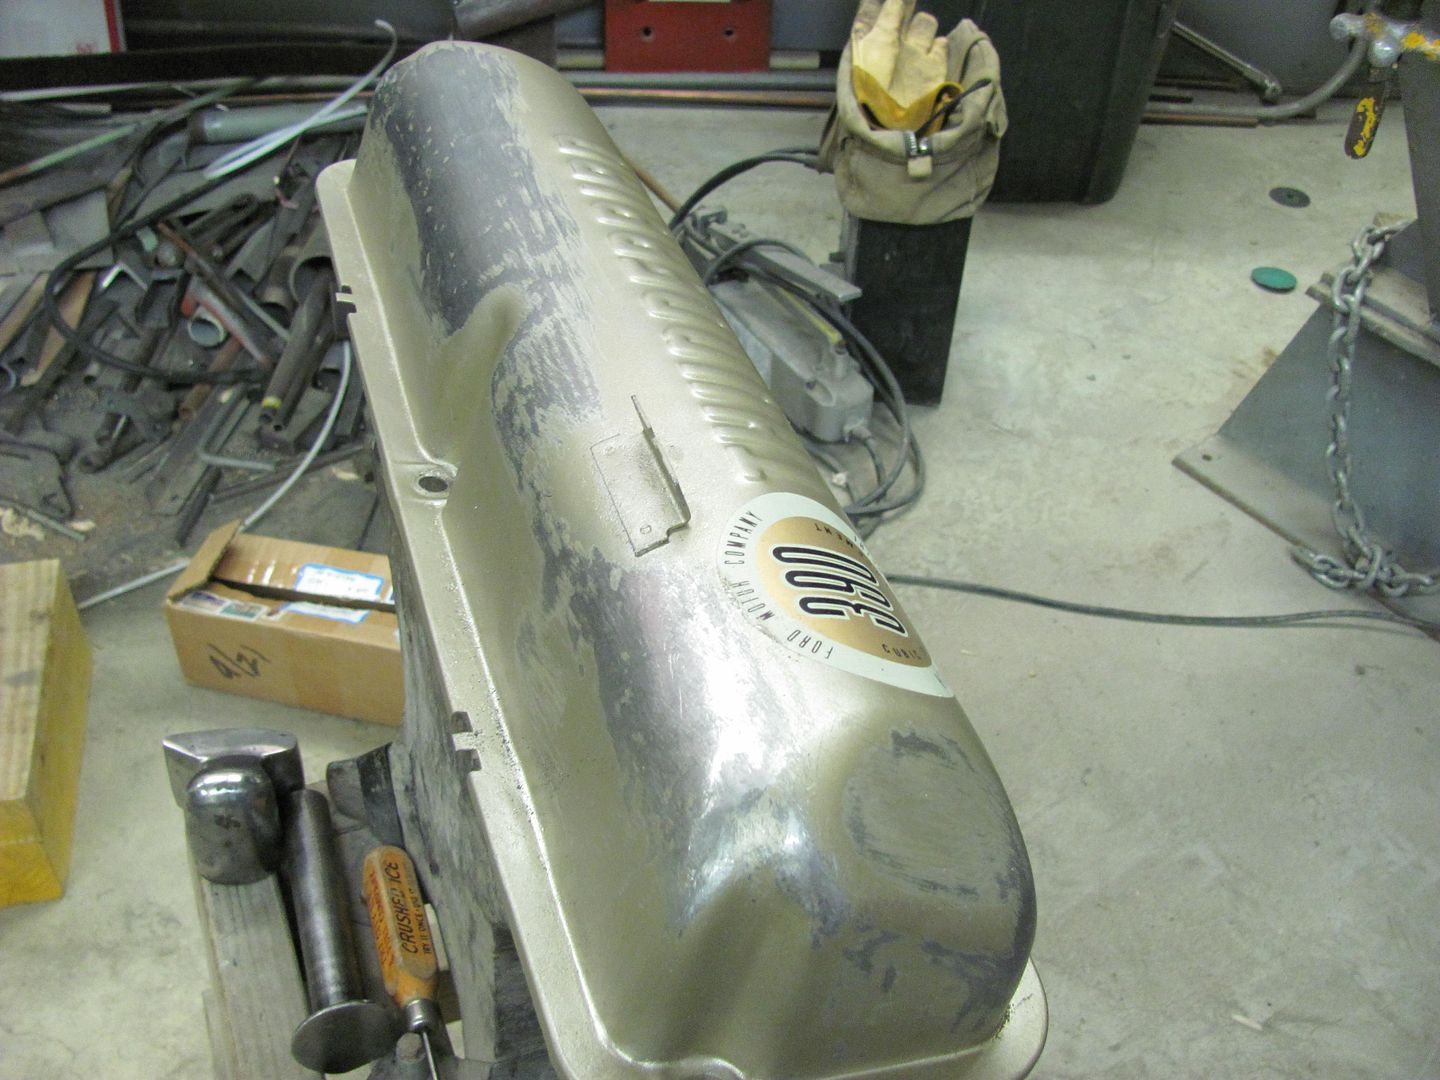
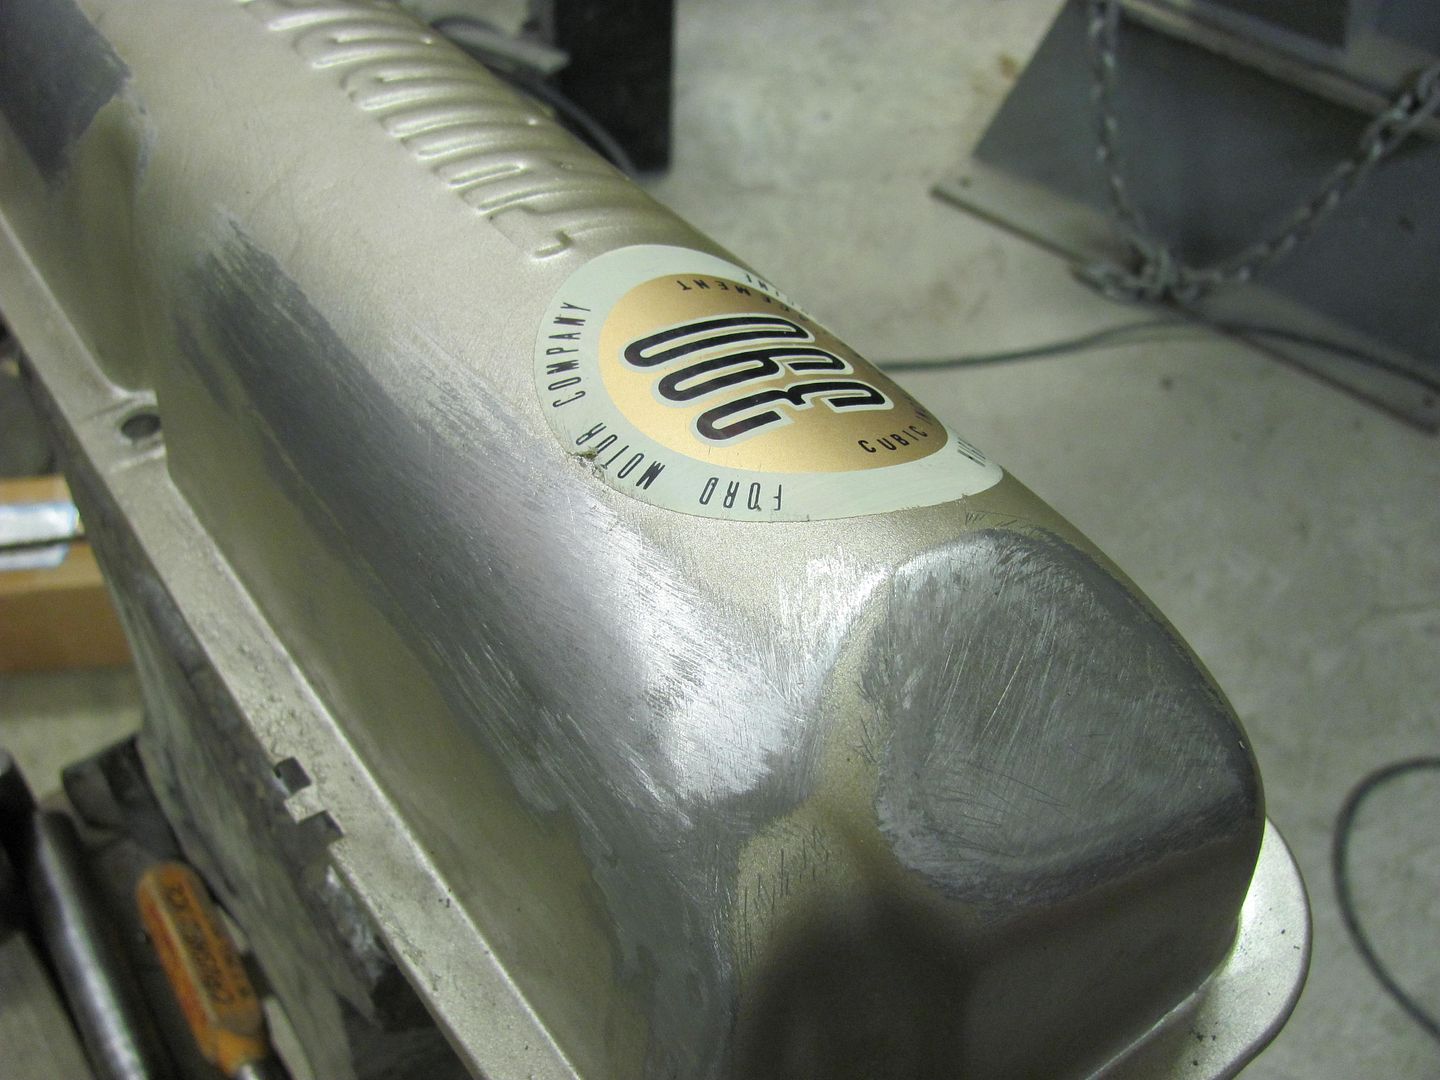
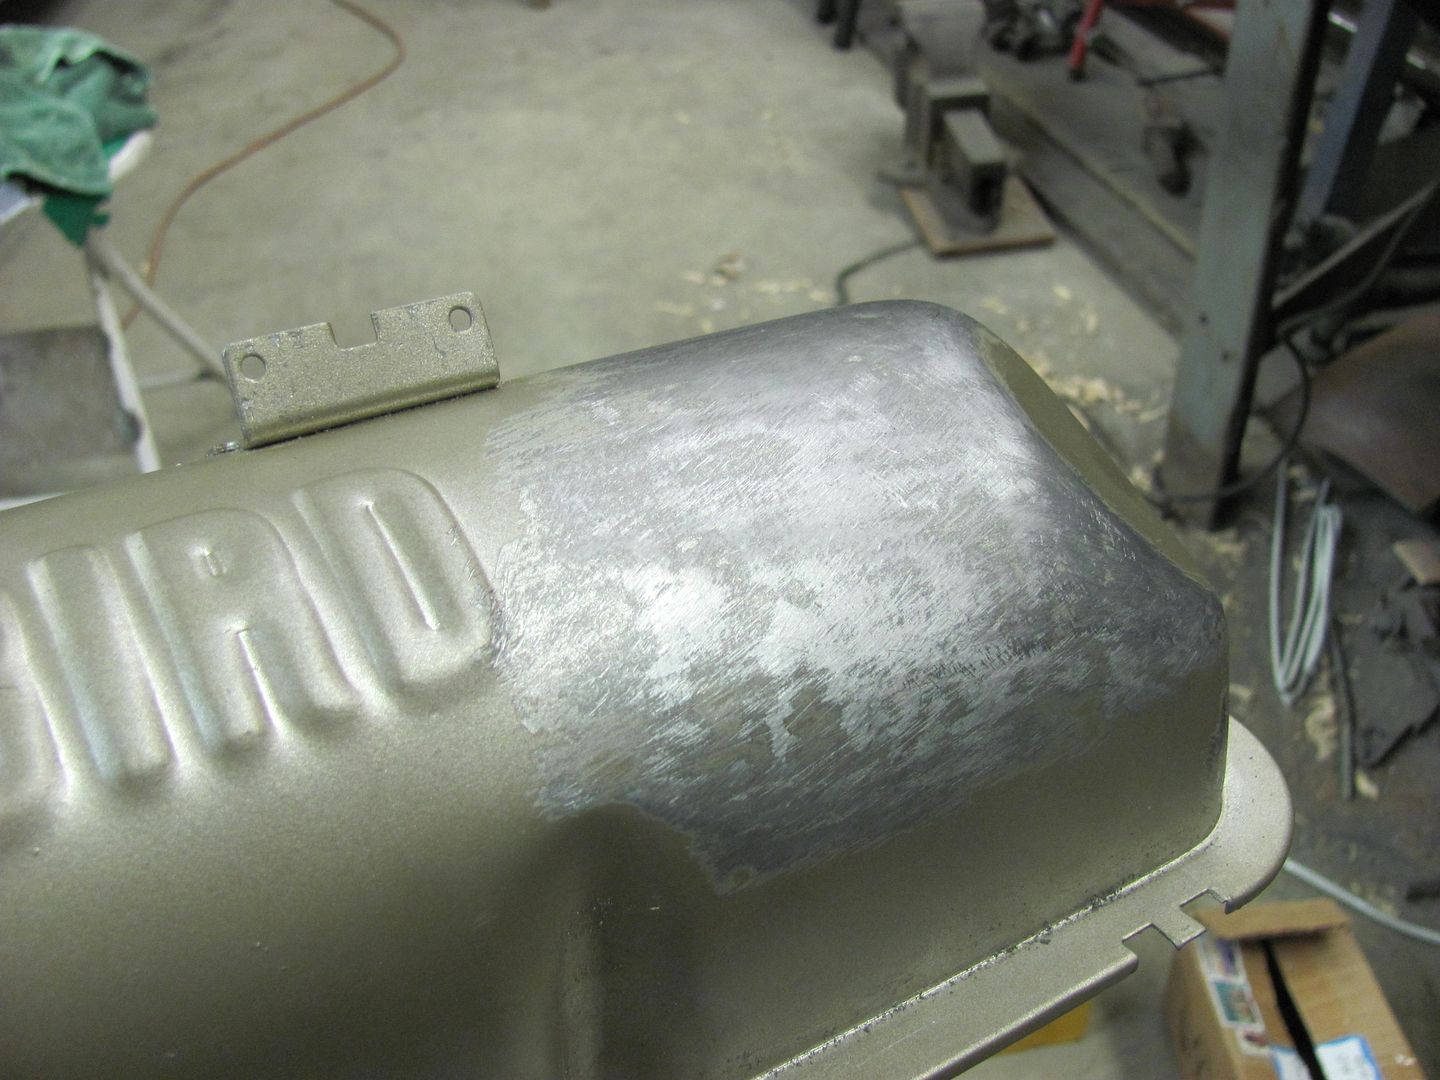
Robert
-
Advertising

- Google Adsense
- REGISTERED USERS DO NOT SEE THIS AD
-
01-15-2013 06:27 AM #2
It's all in the details................Your Uncle Bob, Senior Geezer Curmudgeon
It's much easier to promise someone a "free" ride on the wagon than to urge them to pull it.
Luck occurs when preparation and opportunity converge.
-
01-15-2013 10:21 AM #3
Nice work!
Lynn
'32 3W
There's no 12 step program for stupid!
http://photo.net/photos/Lynn%20Johanson
-
01-16-2013 06:23 PM #4
I should send you the next set of dented valve covers I get as they look great,I got lazy and just filled the dents on a pair I just got.
-
01-17-2013 10:59 AM #5
Dude..... Ya got some skills for sure !
-
01-17-2013 02:43 PM #6
Nice work Robert, i got a 6cyl valve cover to do myself and thought about using a plannishing hammmer - is that ok to do? or should i stick with hand tools?
thanks, oj
-
01-17-2013 04:11 PM #7
Awesome, nothing beats ability and knowing how to use the proper tools..
" I'm drinking from my saucer, 'cause my cup is overflowed ! "
-
01-29-2013 06:16 PM #8
Thanks for the comments guys. OJ, I think I would stick with manual implements, it didn't take too much to straighten it out. I think I'm going to try the laser dot trick next time also, for a bit better accuracy.
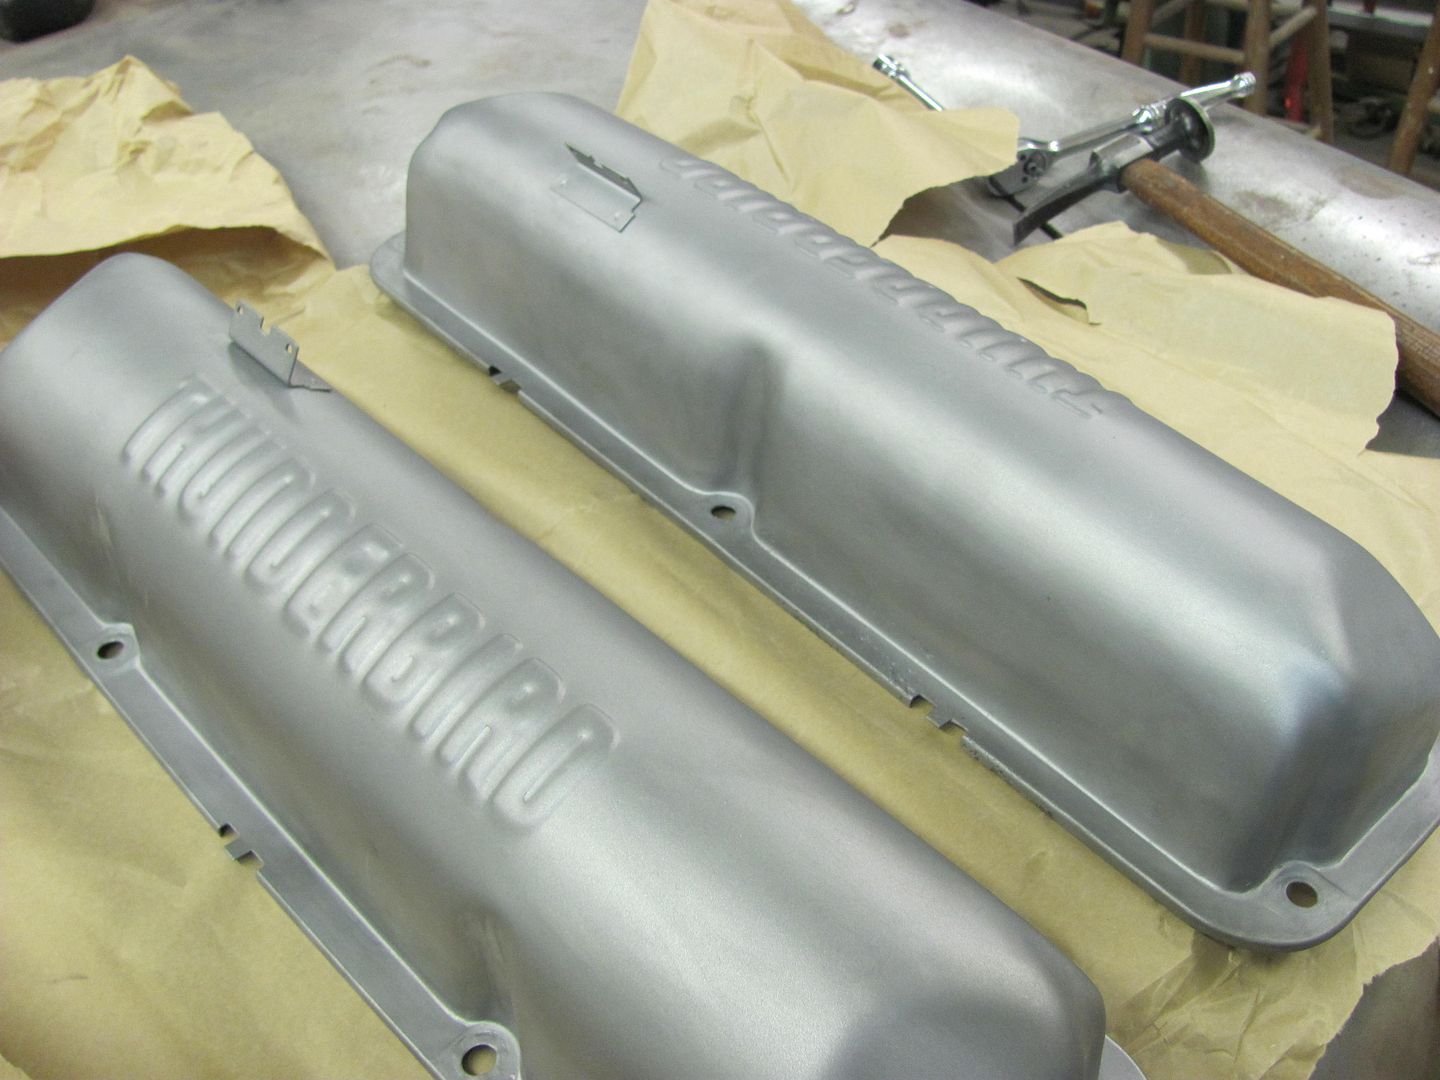
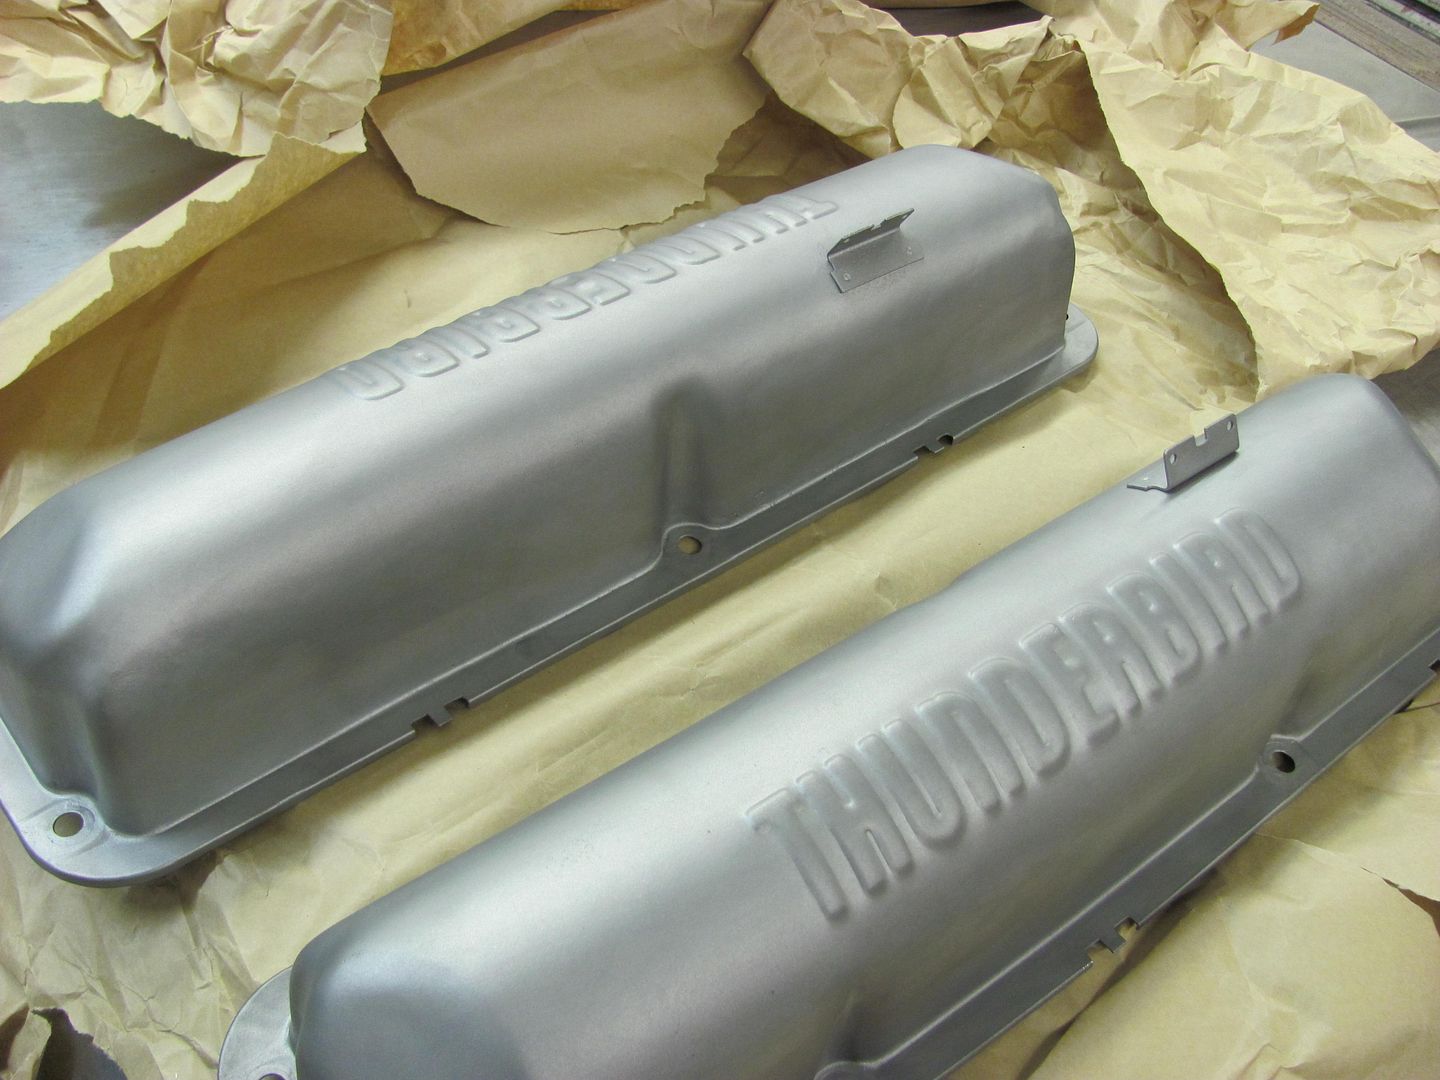
As tomorrow is supposed to warm up a bit, I'm going to try and spray some epoxy primer to get them ready for the gold paint. Here they are all sandblasted, hot tanked, and ready to go....
Last edited by MP&C; 01-29-2013 at 06:20 PM.
Robert
-
01-30-2013 12:52 PM #9
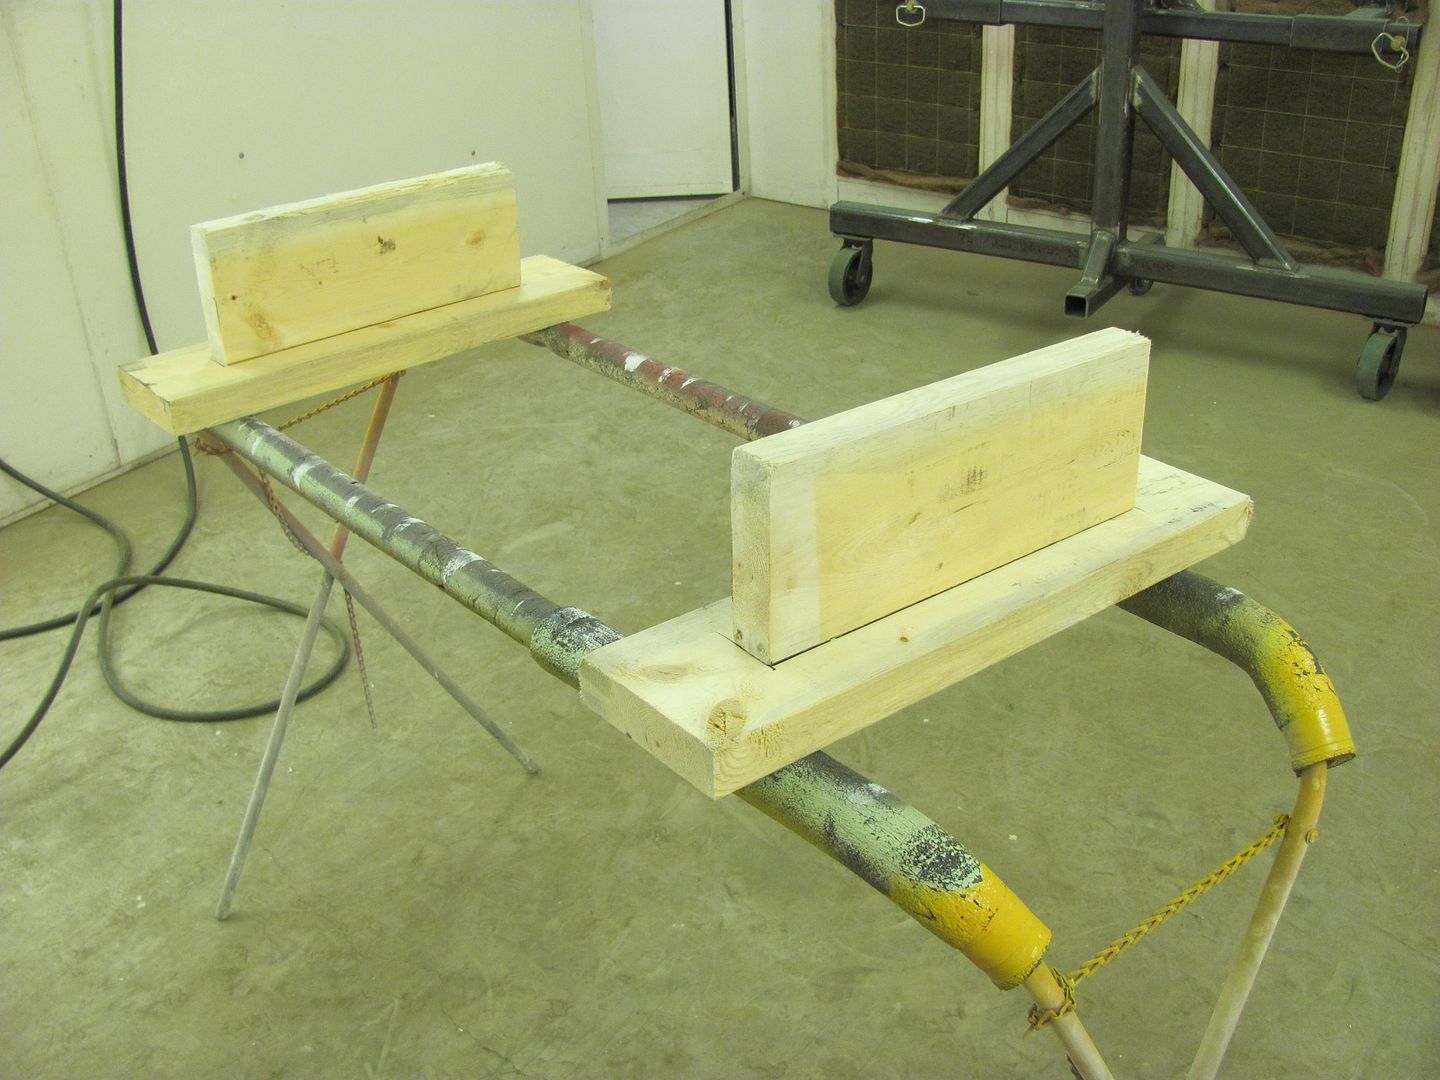
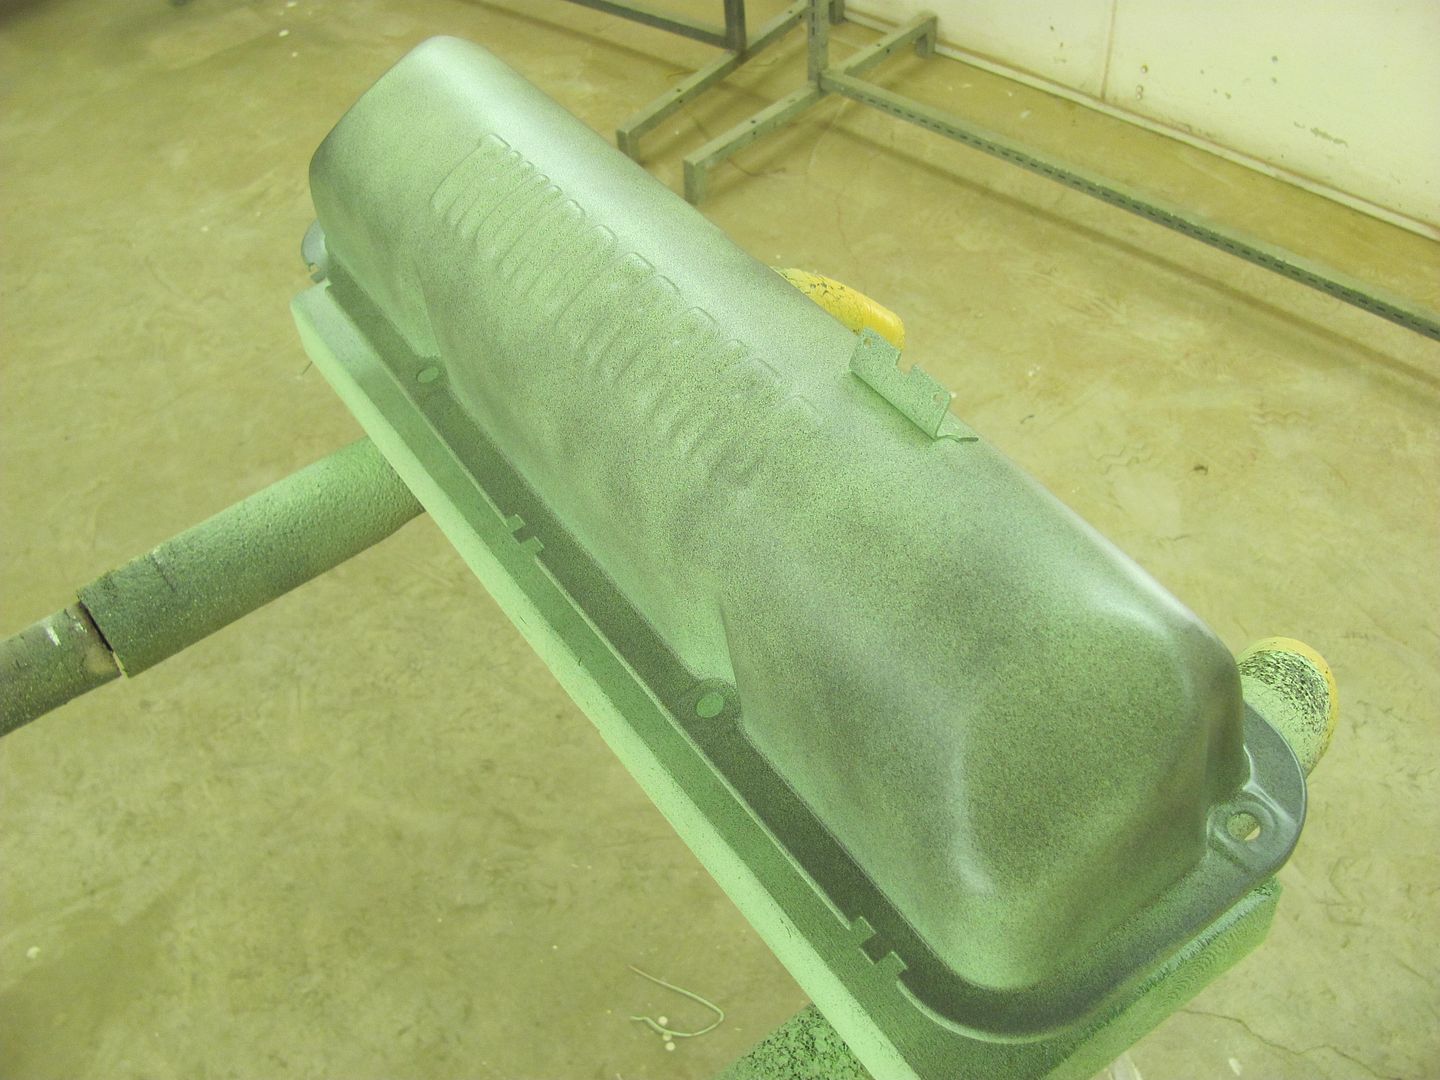
Here's the official 2 x 8 valve cover paint fixtures...
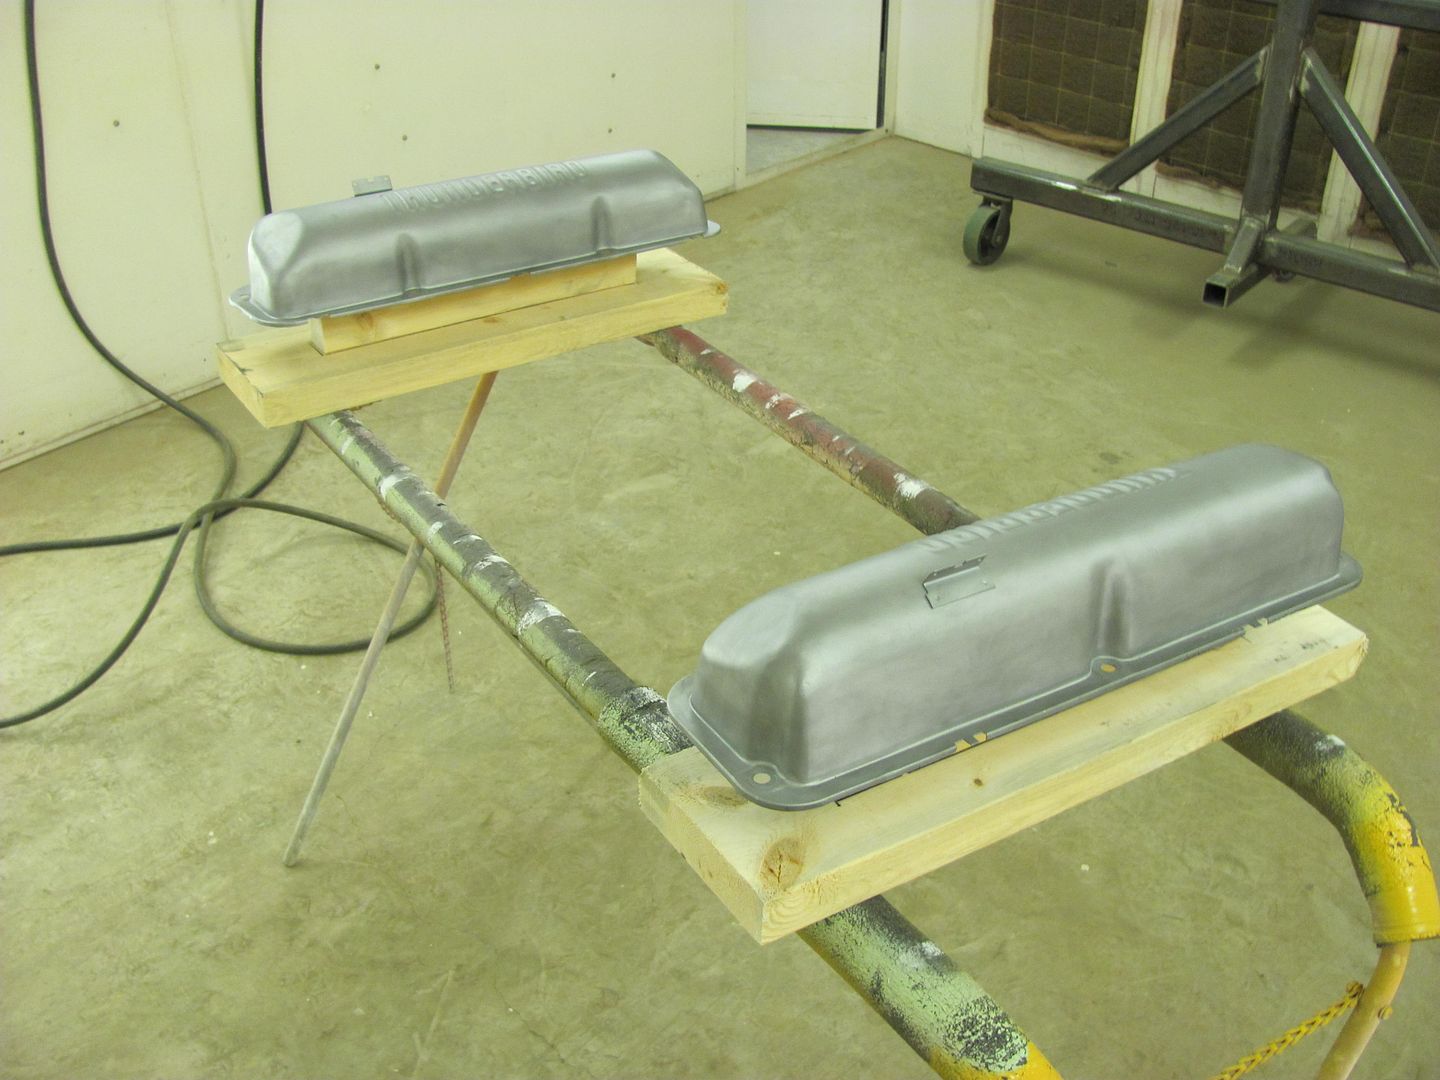
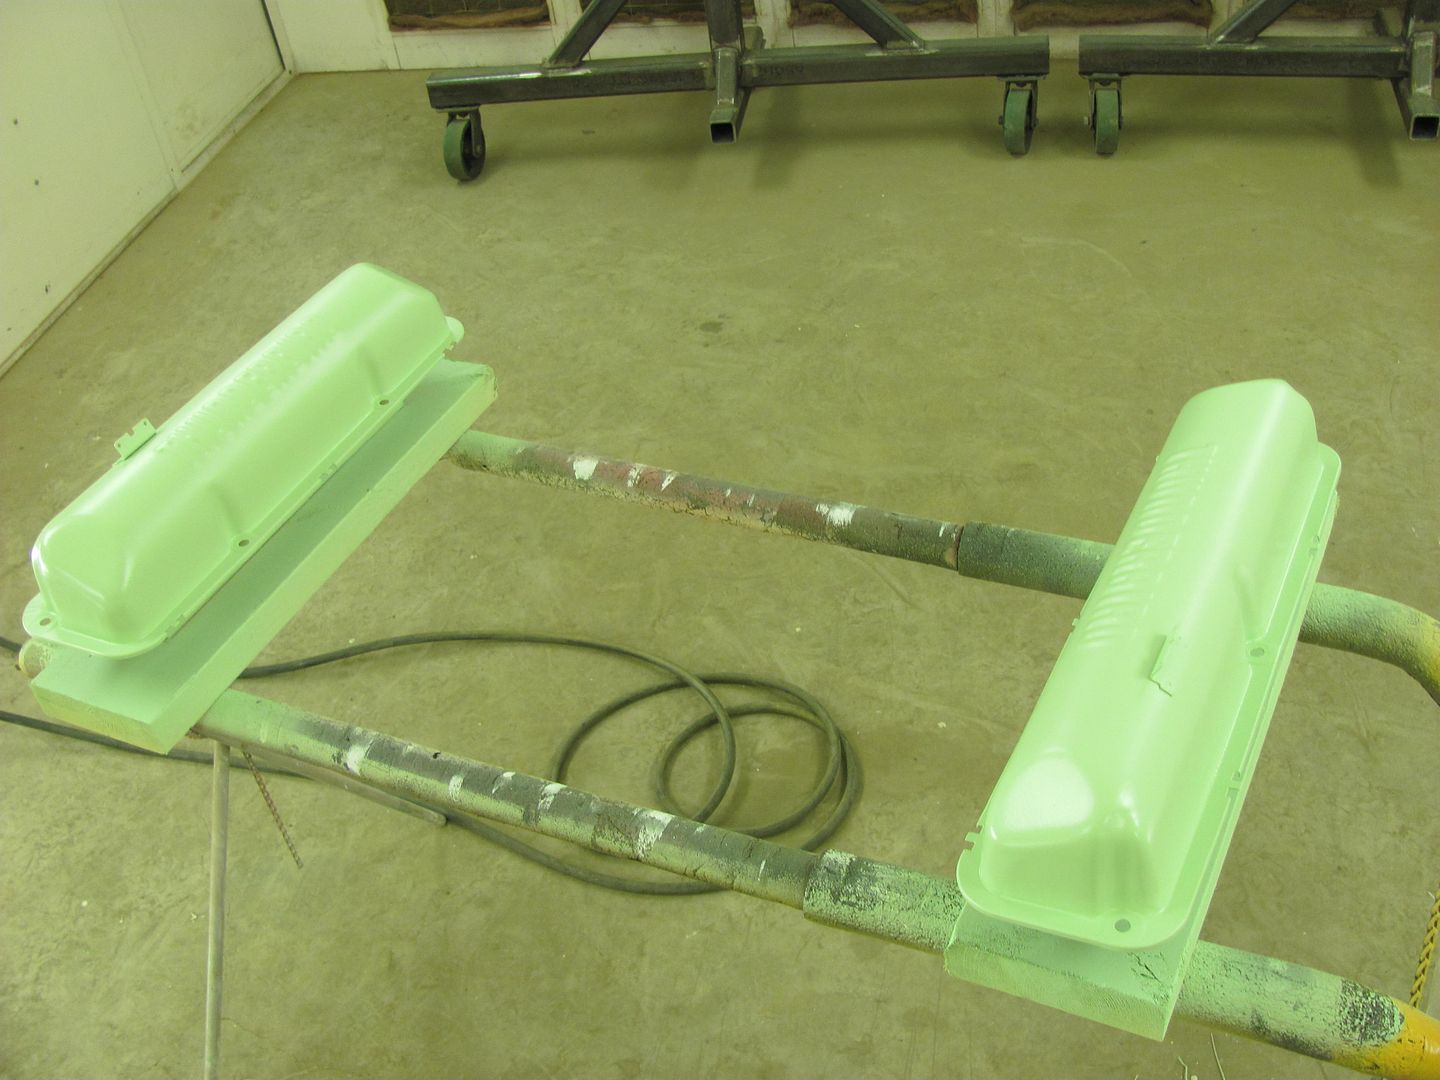
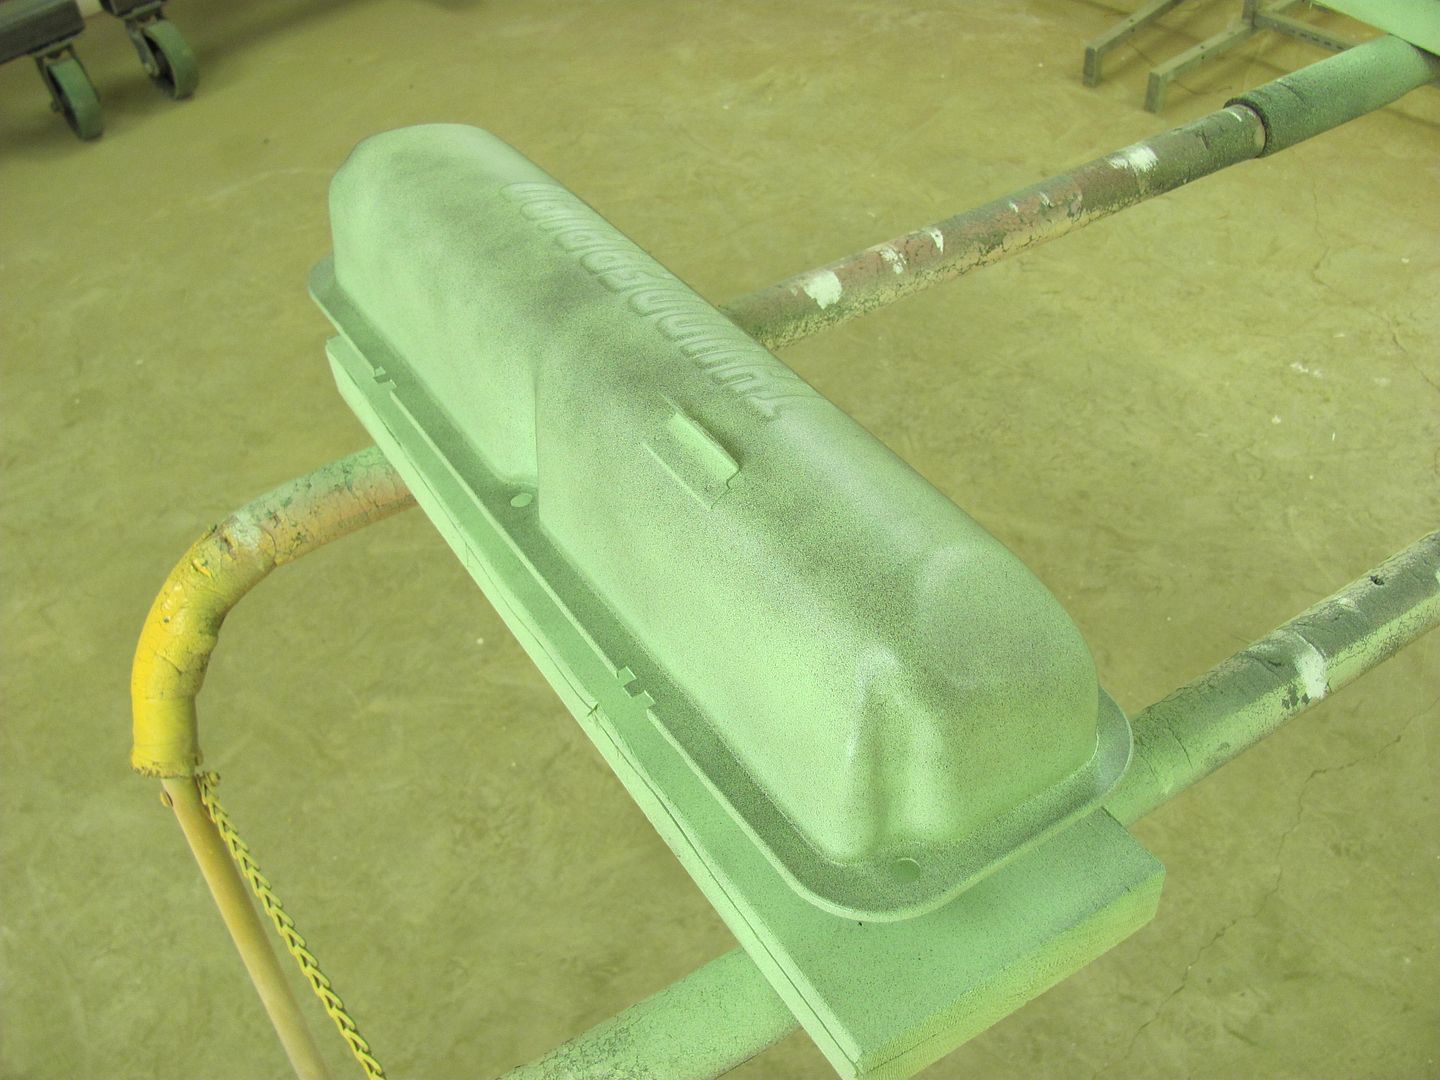
A couple coats of H/K epoxy and a guide coat and we'll let it sit a couple days....
Robert
-
02-15-2013 06:04 PM #10
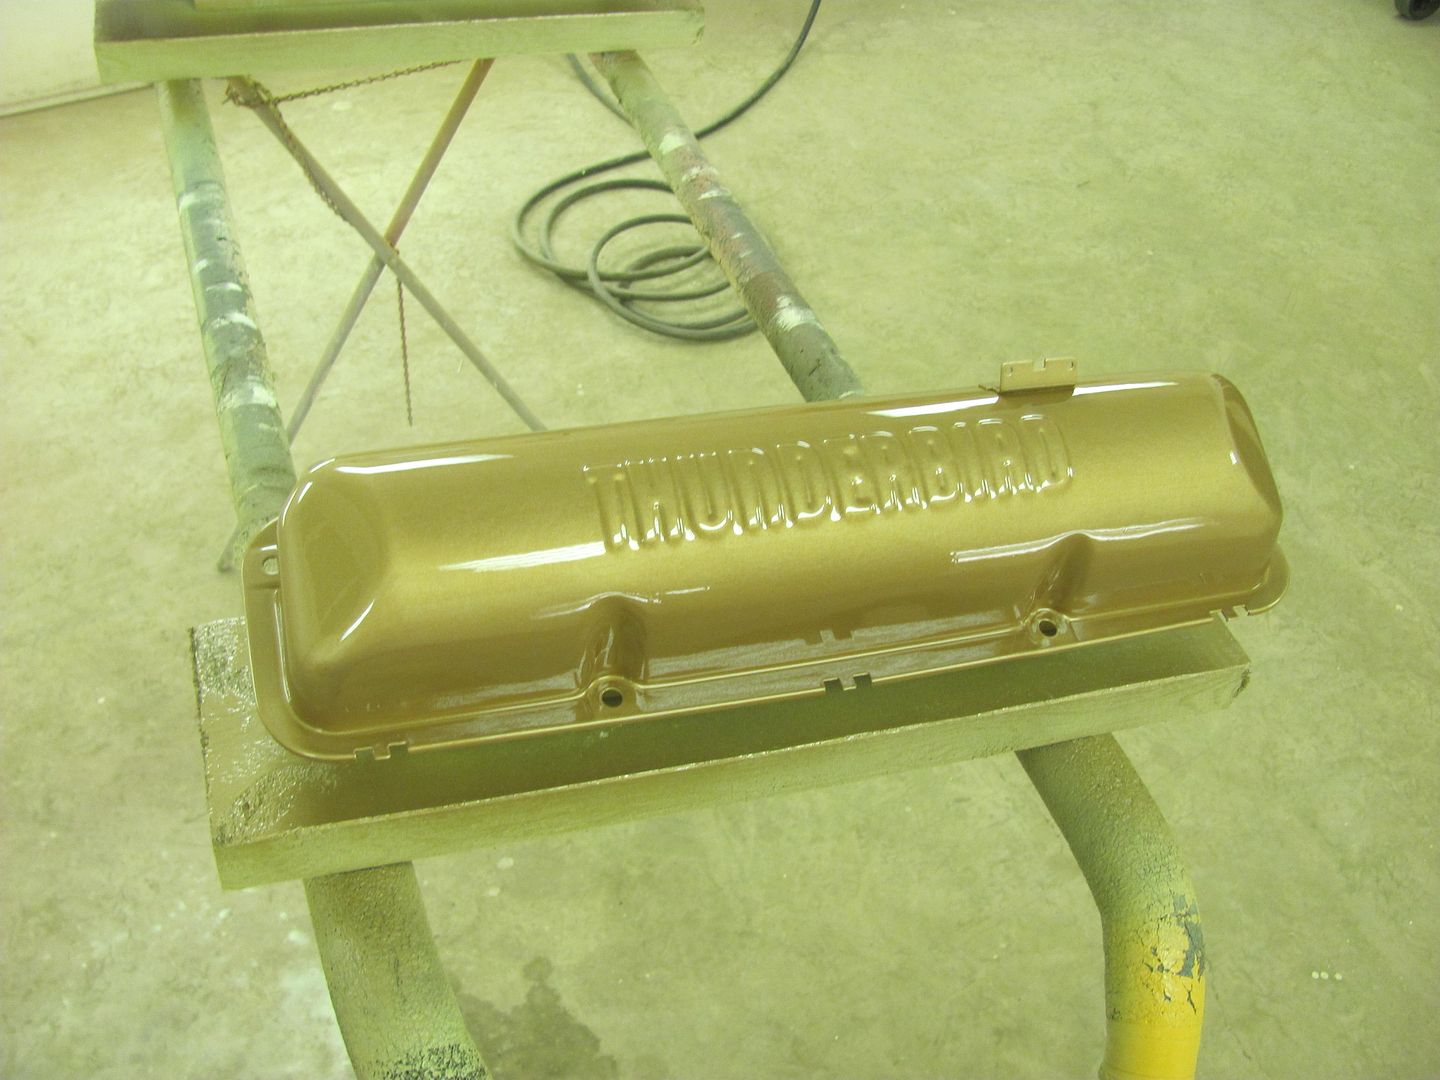
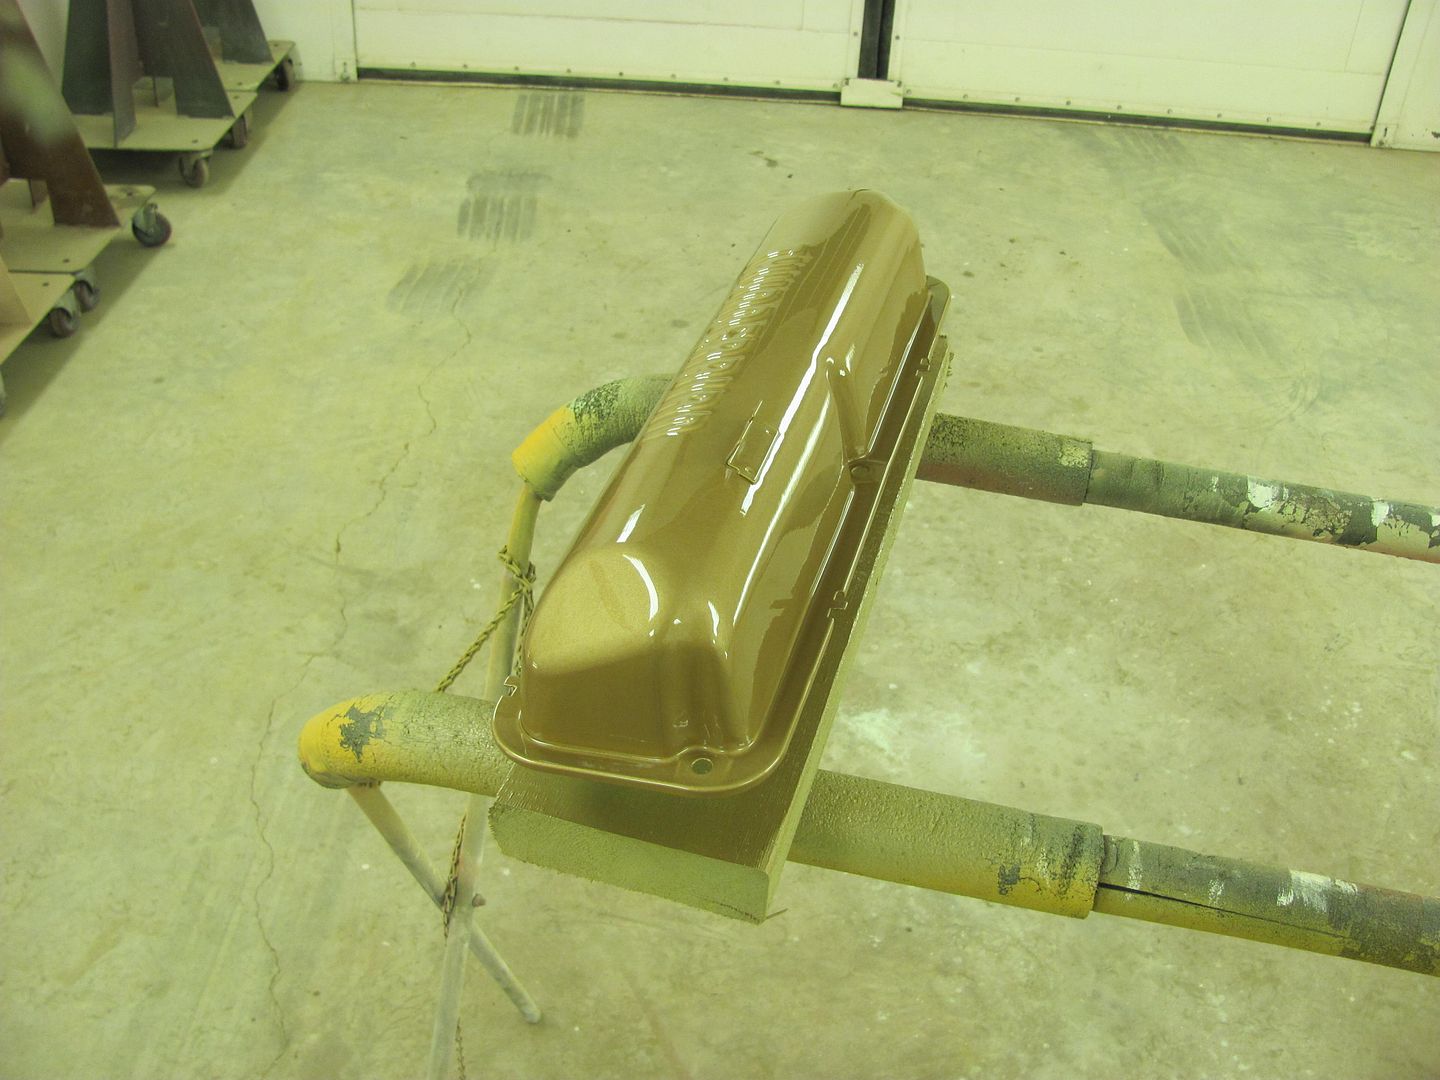
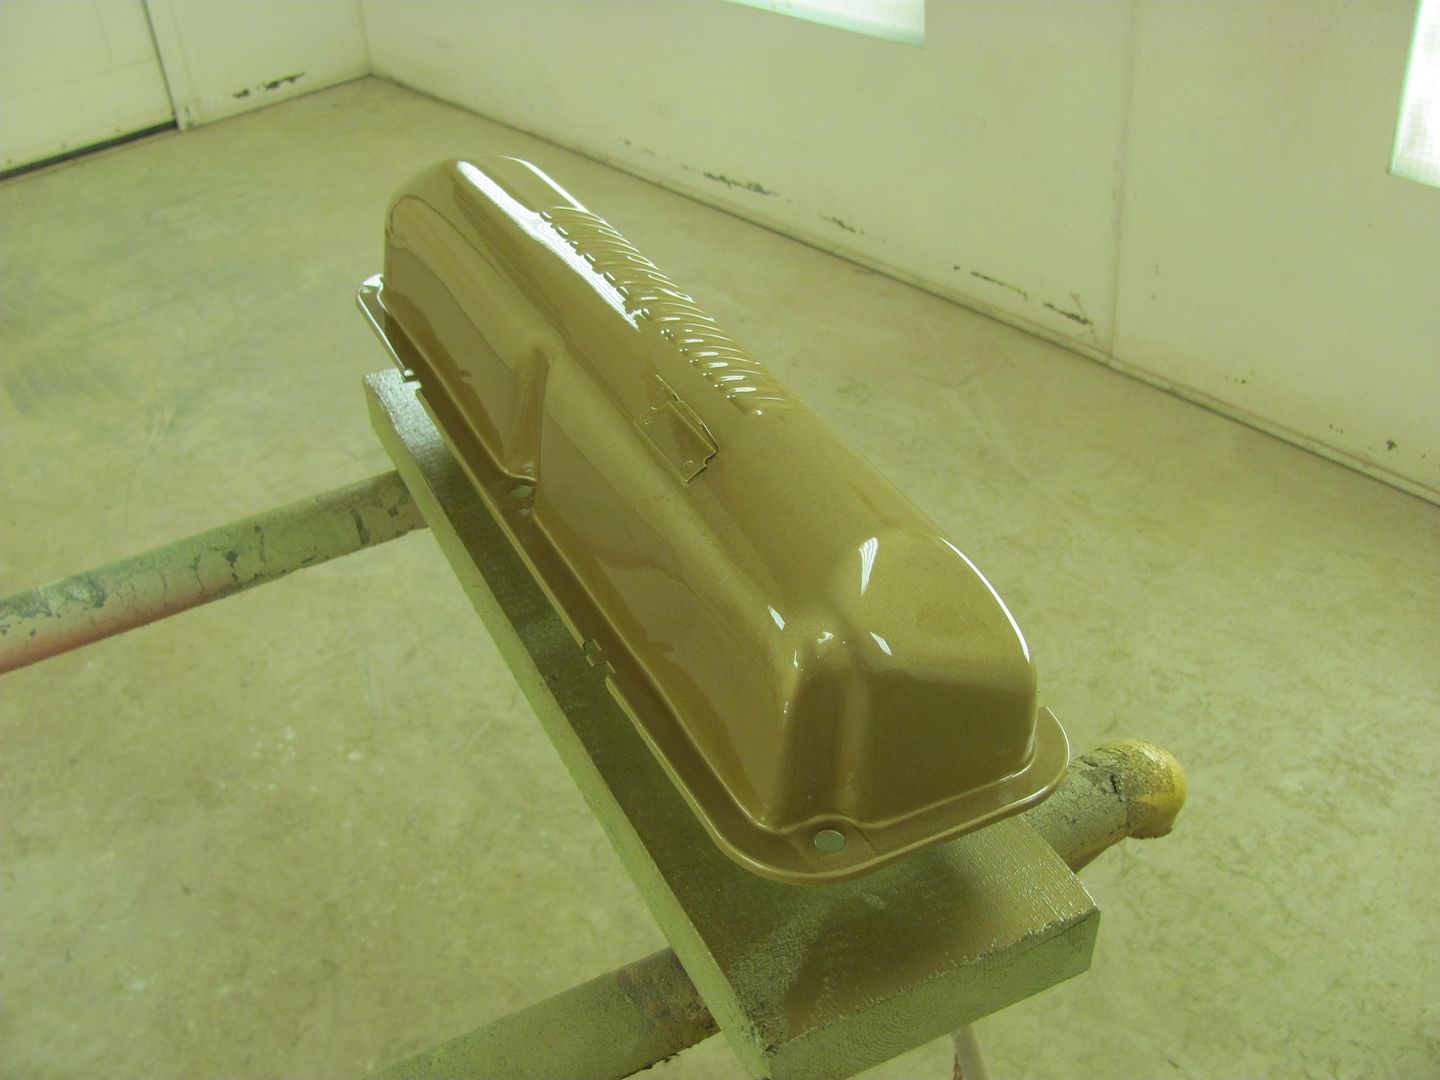
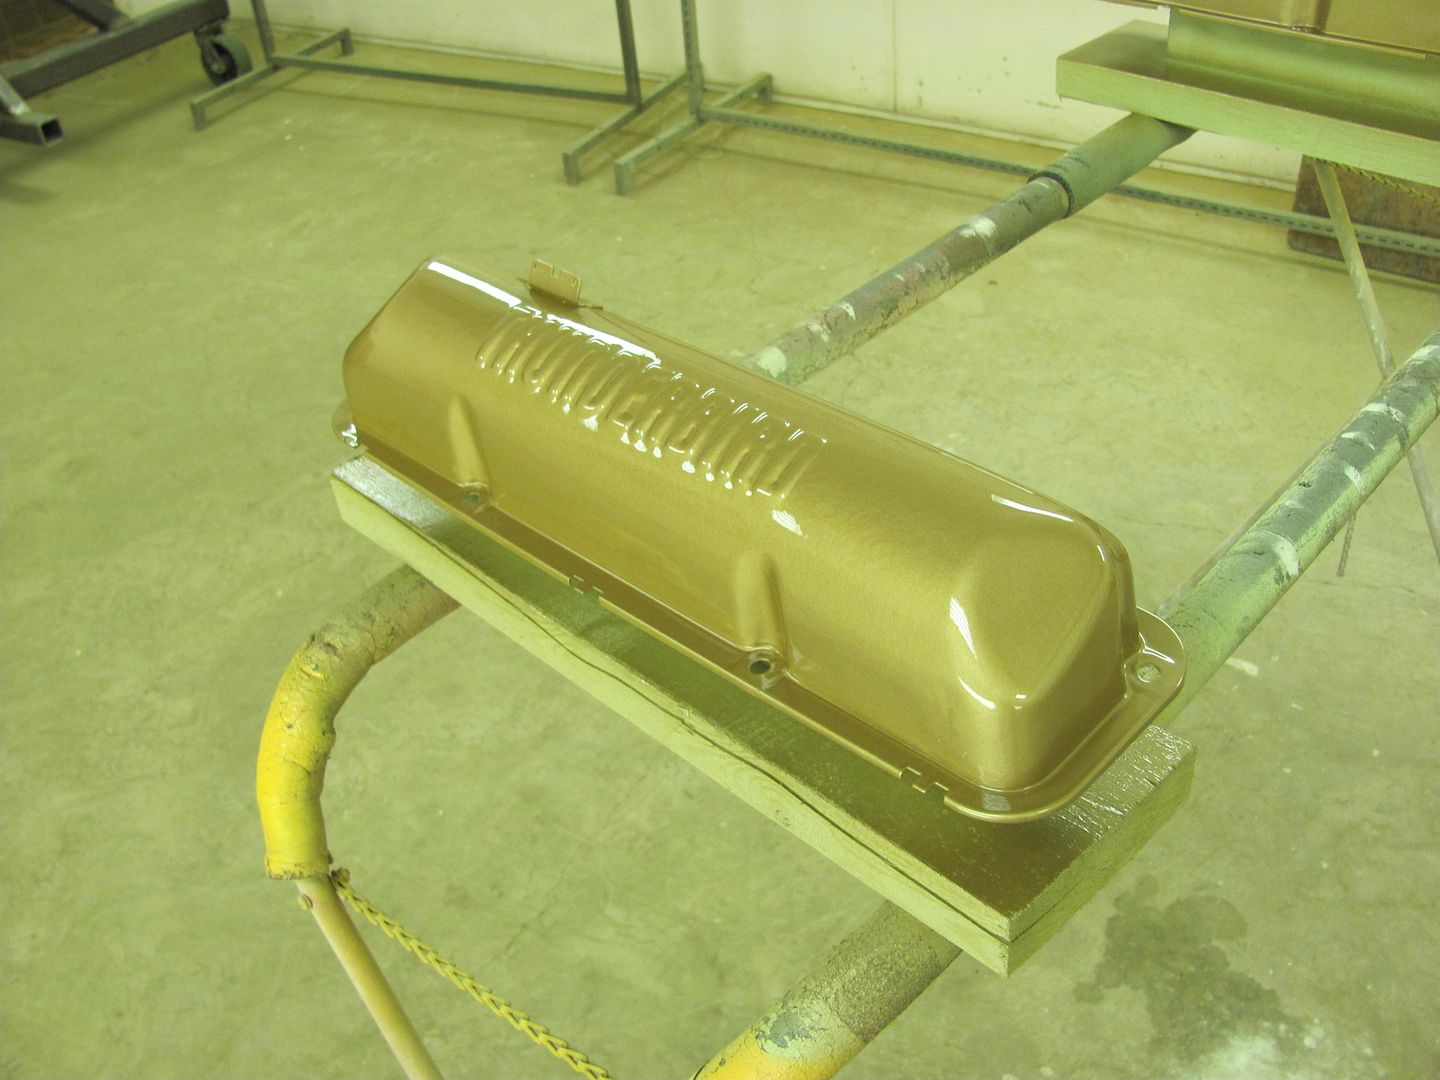
We had a couple sand-throughs on the valve covers, so some epoxy was mixed and reduced 10% to use as a sealer....
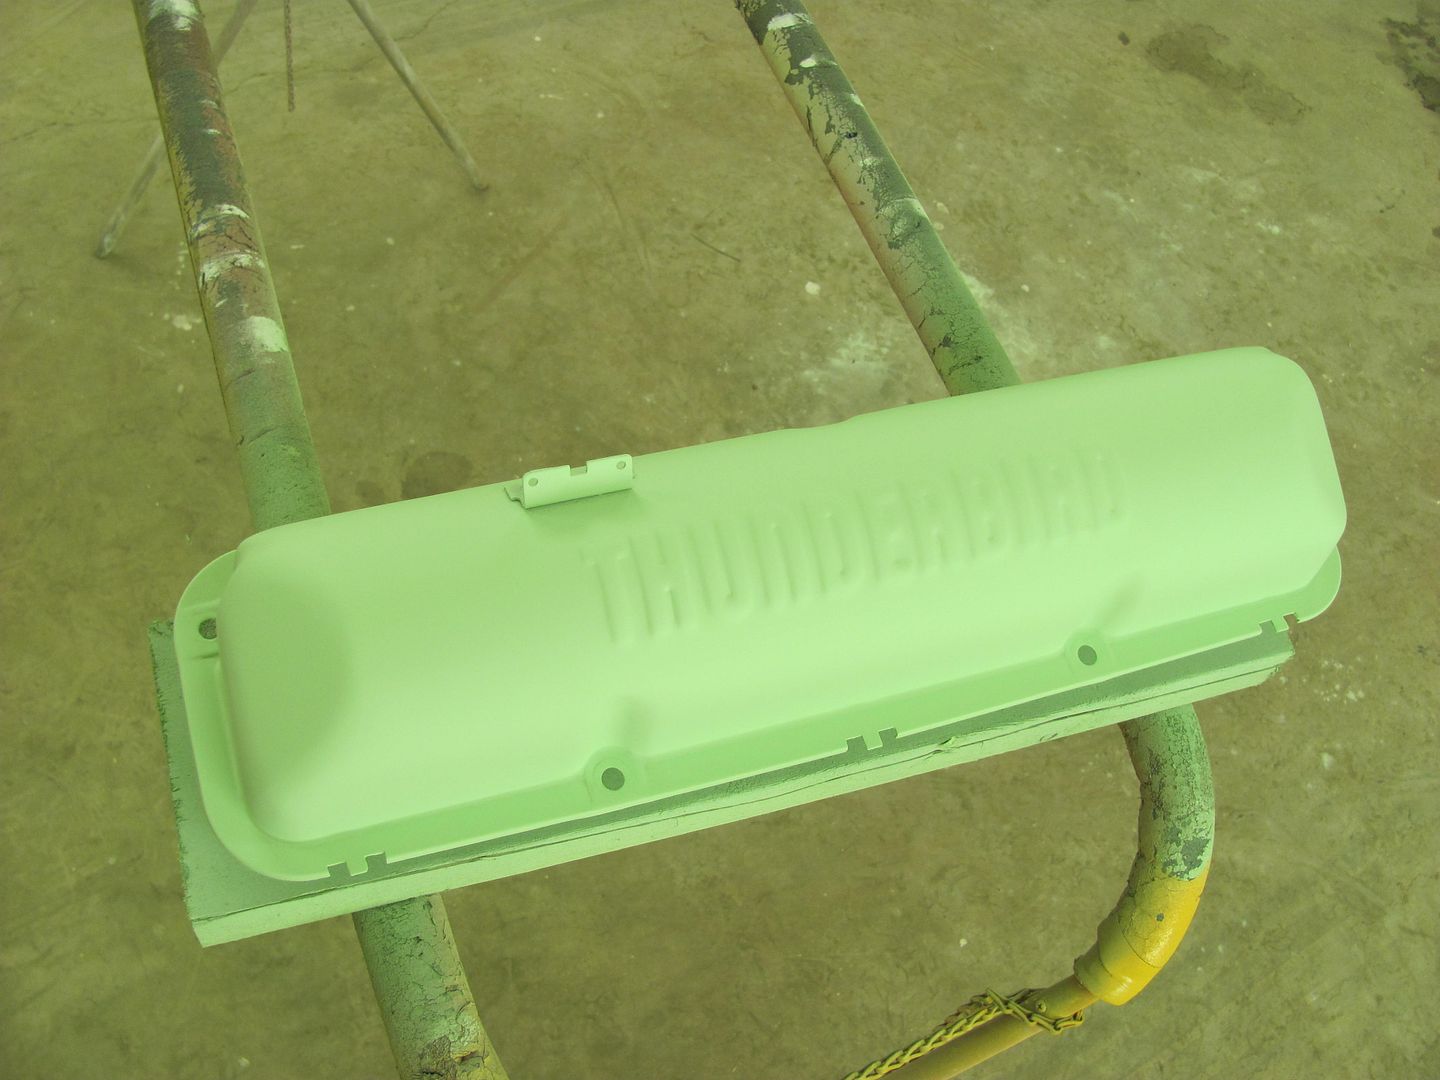
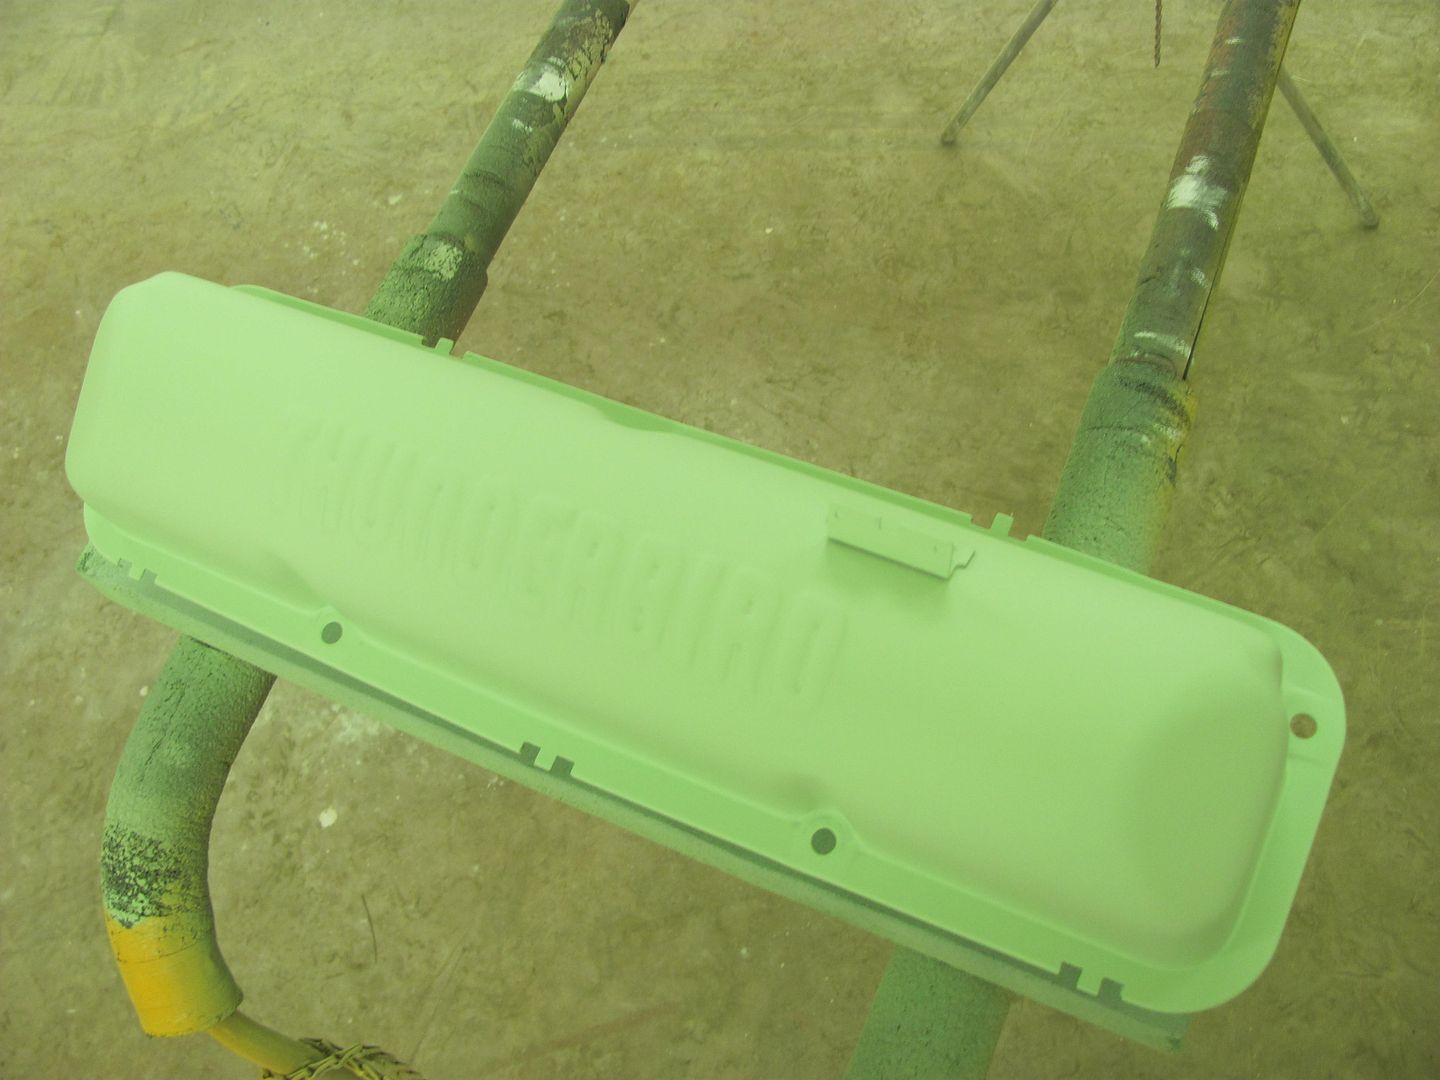
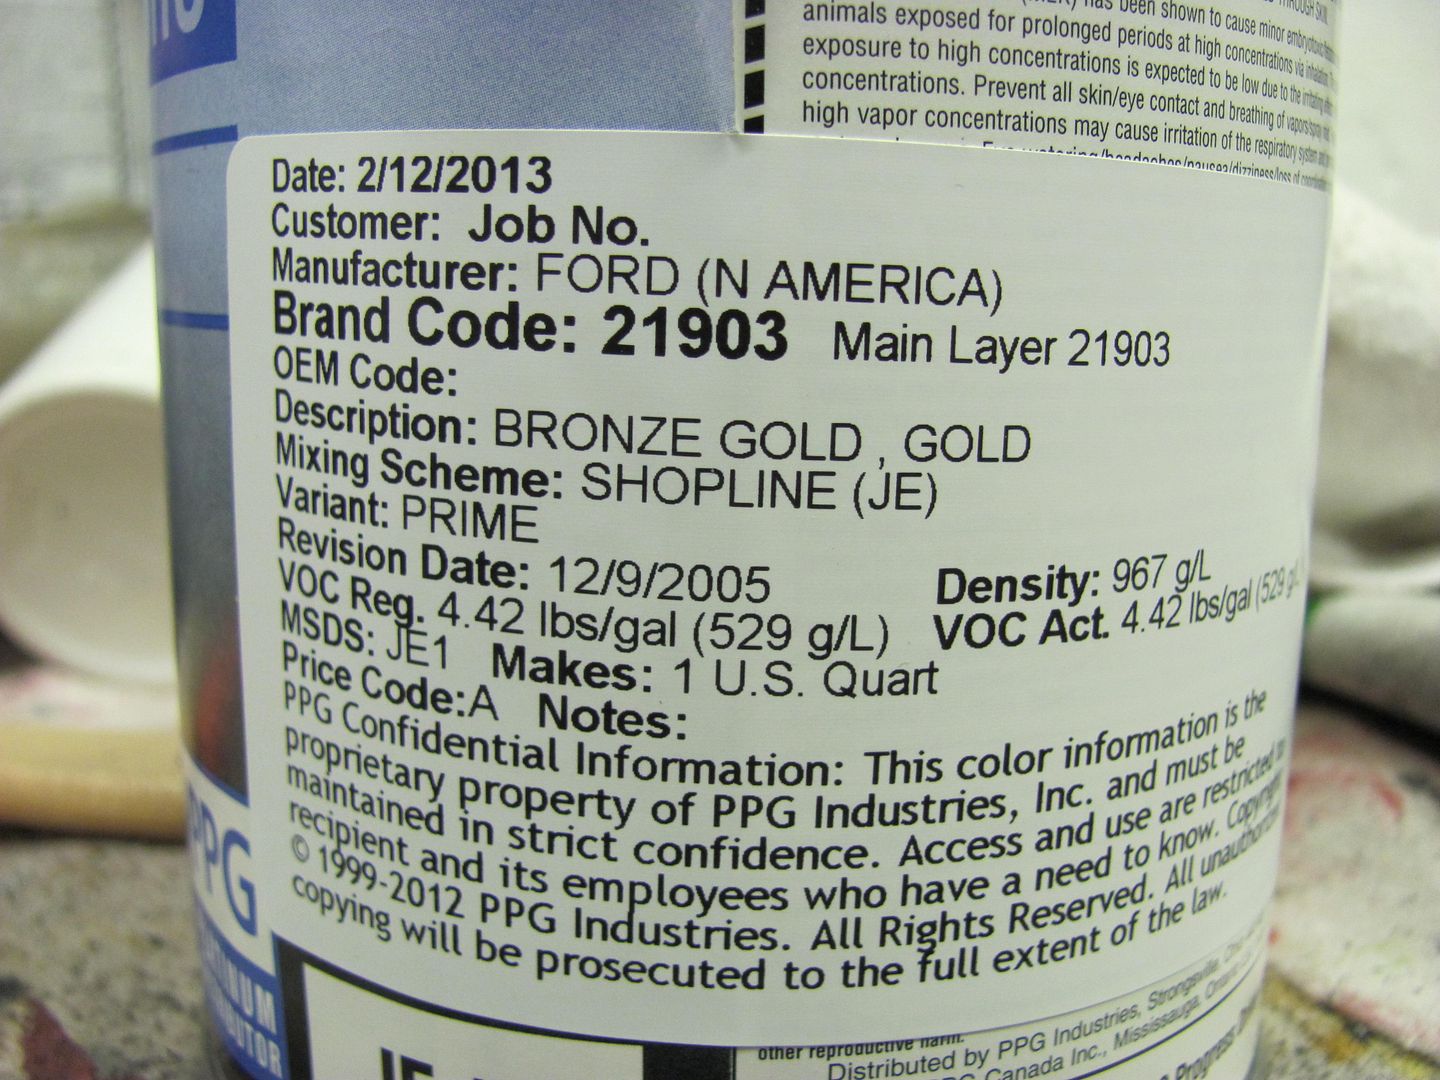
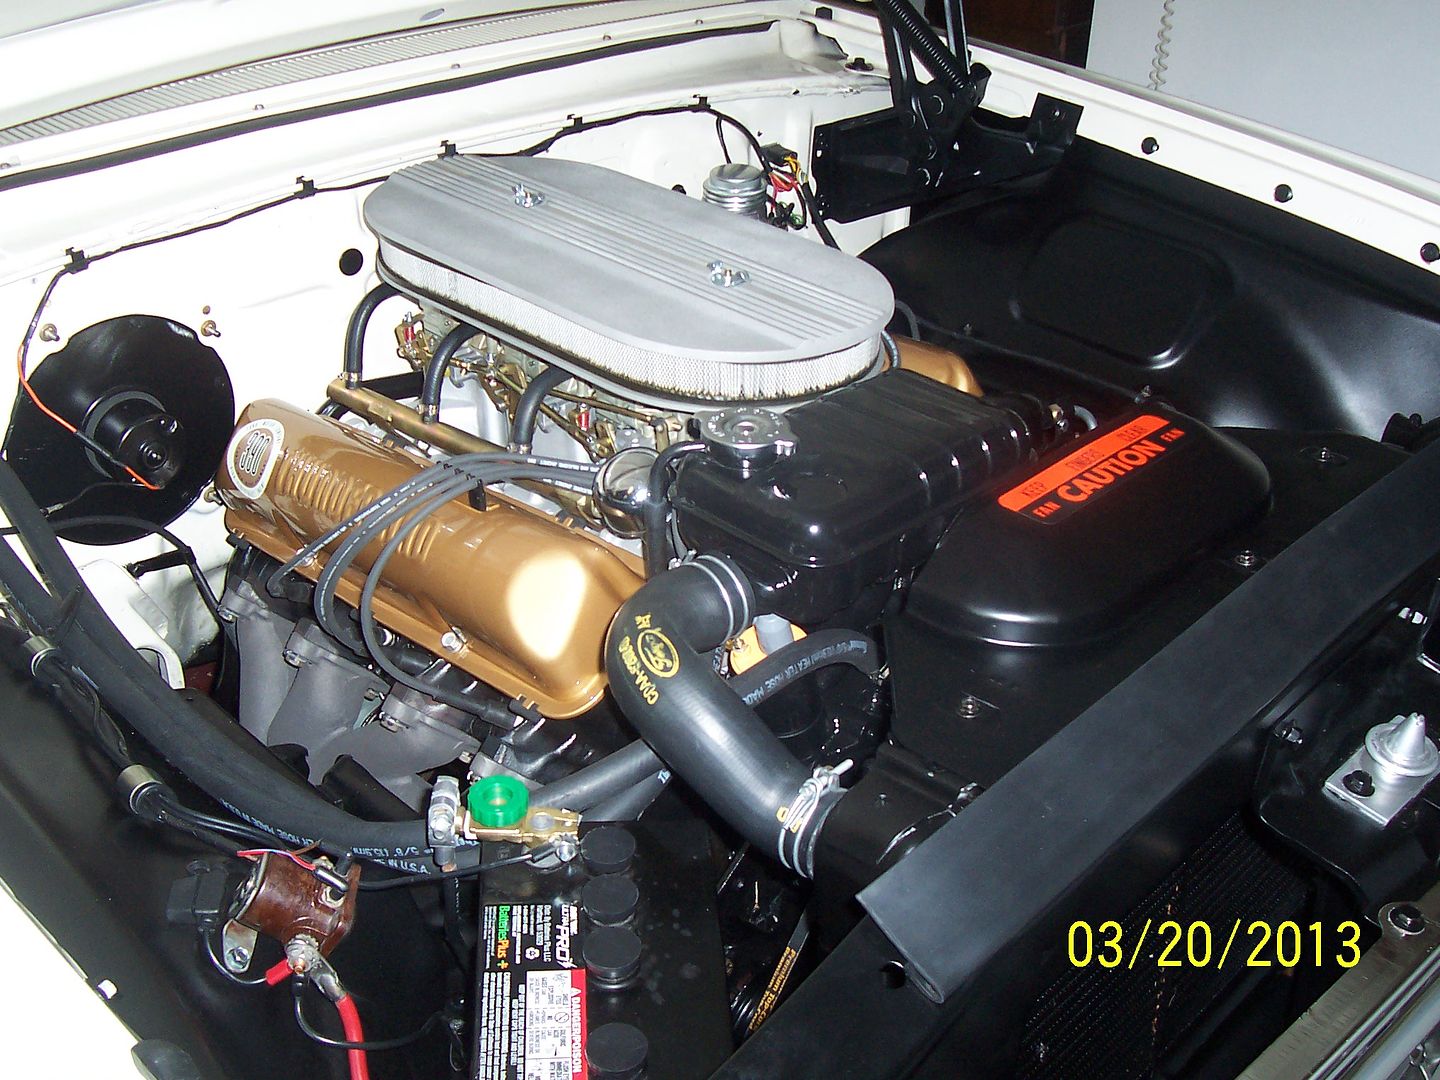
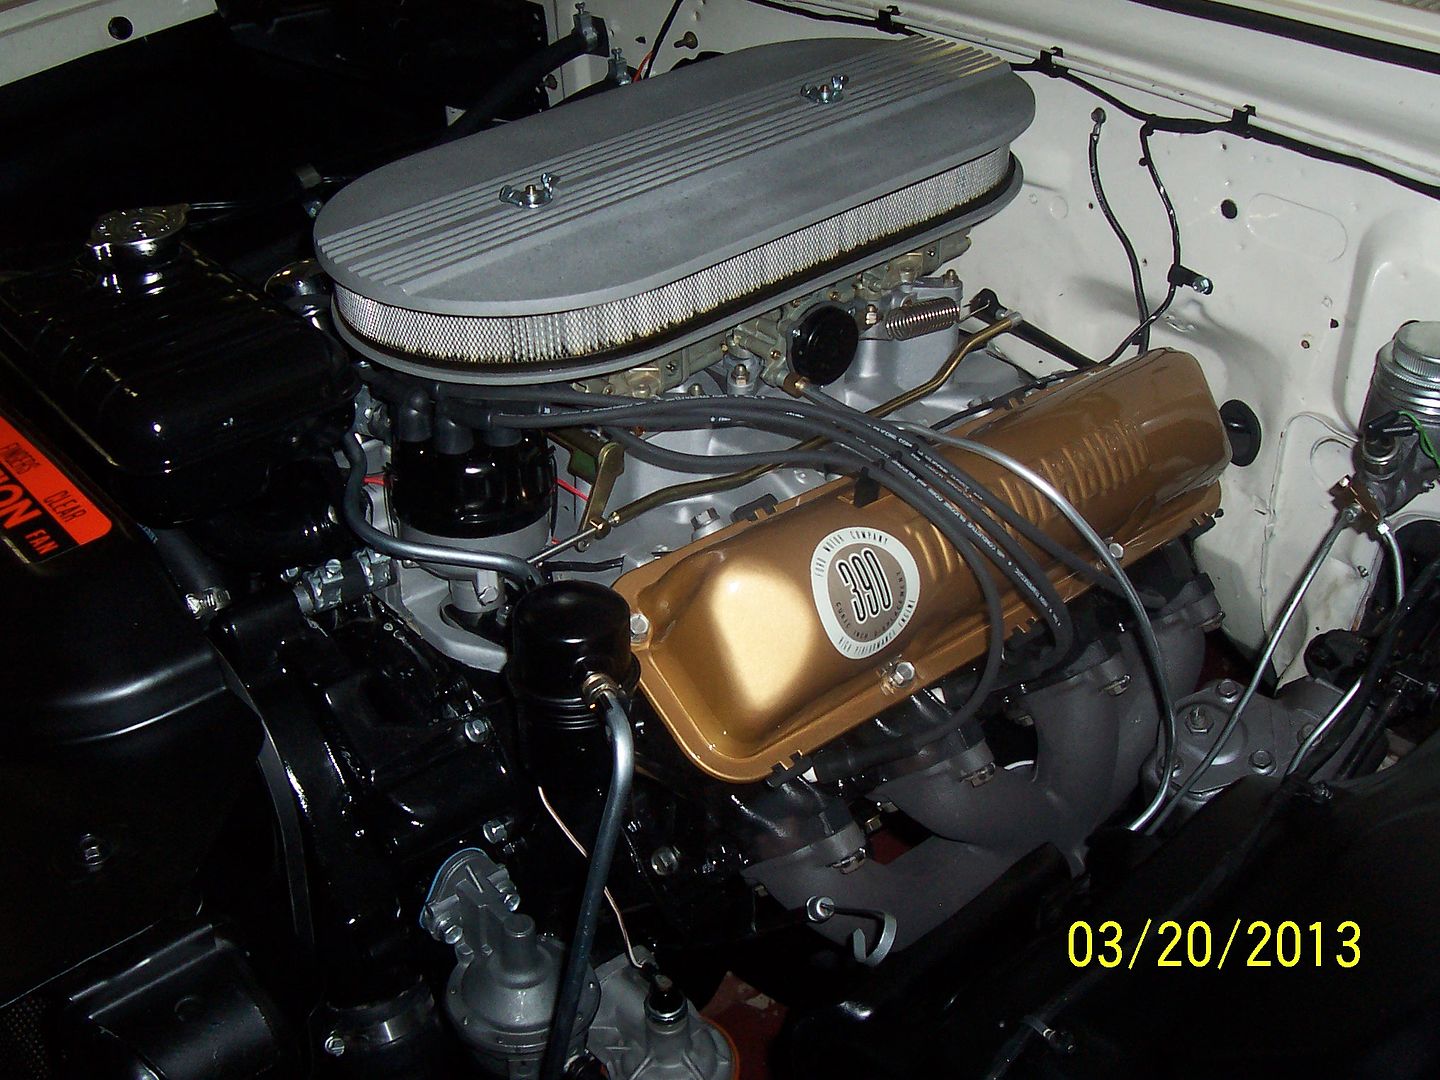
Here's the paint code for the early 60's Hi-po 390... Used acrylic enamel.
Finished up, looks quite a bit smoother than before....
Robert
-
02-18-2013 05:52 AM #11
I am looking forward to seeing them on the engine. Nice work!
Lynn
'32 3W
There's no 12 step program for stupid!
http://photo.net/photos/Lynn%20Johanson
-
03-21-2013 06:28 AM #12
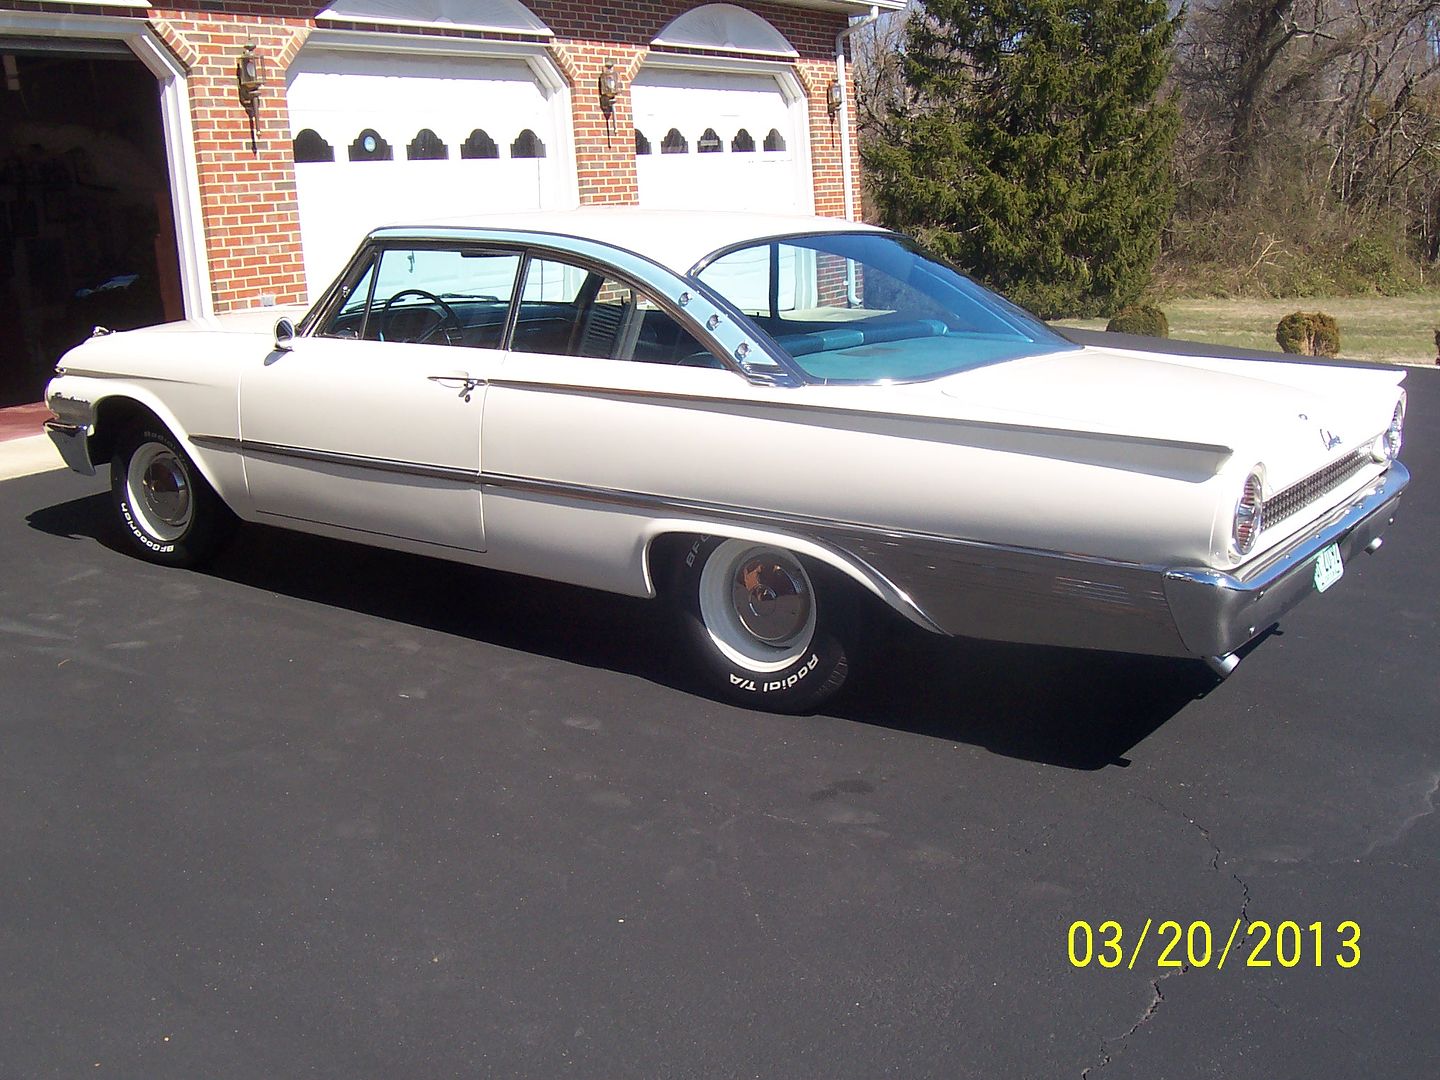
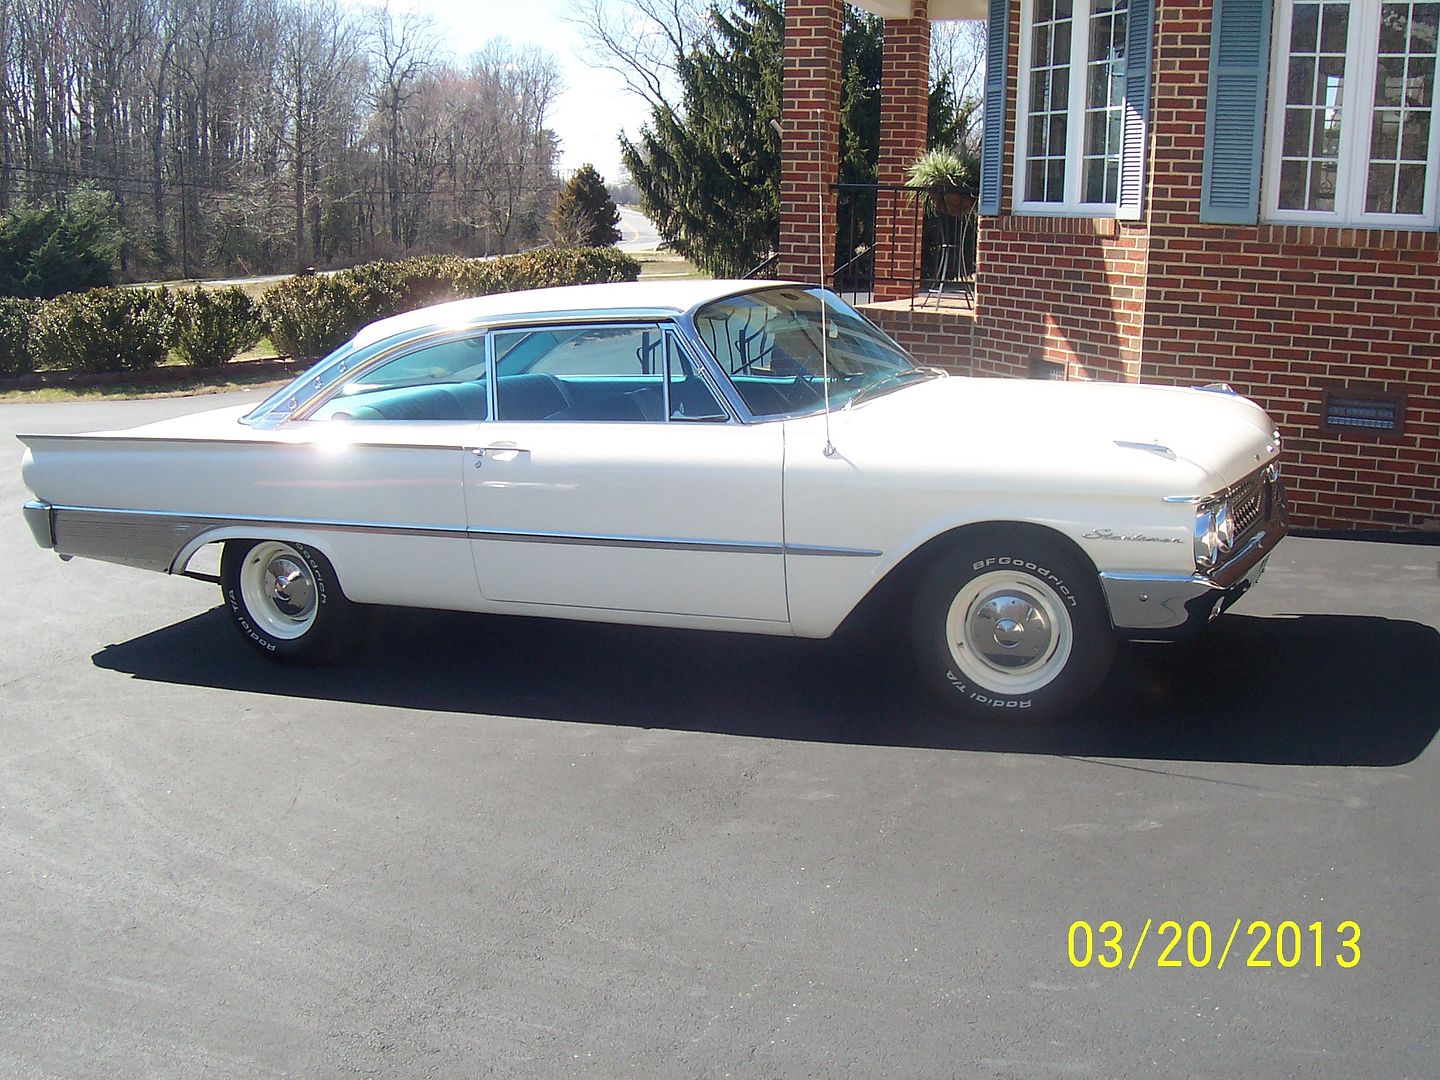
As a follow up to the valve cover repairs, the owner has the car just about ready, just needs some tune up work...
Robert
-
03-21-2013 07:03 AM #13
That's a nice looking '61! Love that roof line, especially in the rear quarter view, and that engine looks perfect in there!Roger
Enjoy the little things in life, and you may look back one day and realize that they were really the BIG things.


 1Likes

 LinkBack URL
 About LinkBacks
 Reply With Quote

Visited a family member at Dockery Ford from the time I was 1 year old through their ownership and then ownership change to Morristown Ford. Dockery was a major player in the Hi Performance...
How did you get hooked on cars?