Welcome to Club Hot Rod!  The premier site for everything to do with Hot Rod, Customs, Low Riders, Rat Rods, and more. 

  •  » Members from all over the US and the world!
  •  » Help from all over the world for your questions
  •  » Build logs for you and all members
  •  » Blogs
  •  » Image Gallery
  •  » Many thousands of members and hundreds of thousands of posts! 

YES! I want to register an account for free right now!  p.s.: For registered members this ad will NOT show

 
Like Tree1Likes
  • 1 Post By MP&C

Thread: Using a bead roller to fix a D5 dozer


Reply To Thread
Results 1 to 5 of 5
  1. #1
    MP&C's Avatar
    MP&C is offline CHR Member Visit my Photo Gallery
    Join Date
    Jun 2008
    Location
    Leonardtown
    Car Year, Make, Model: Walking
    Posts
    1,214

    Using a bead roller to fix a D5 dozer


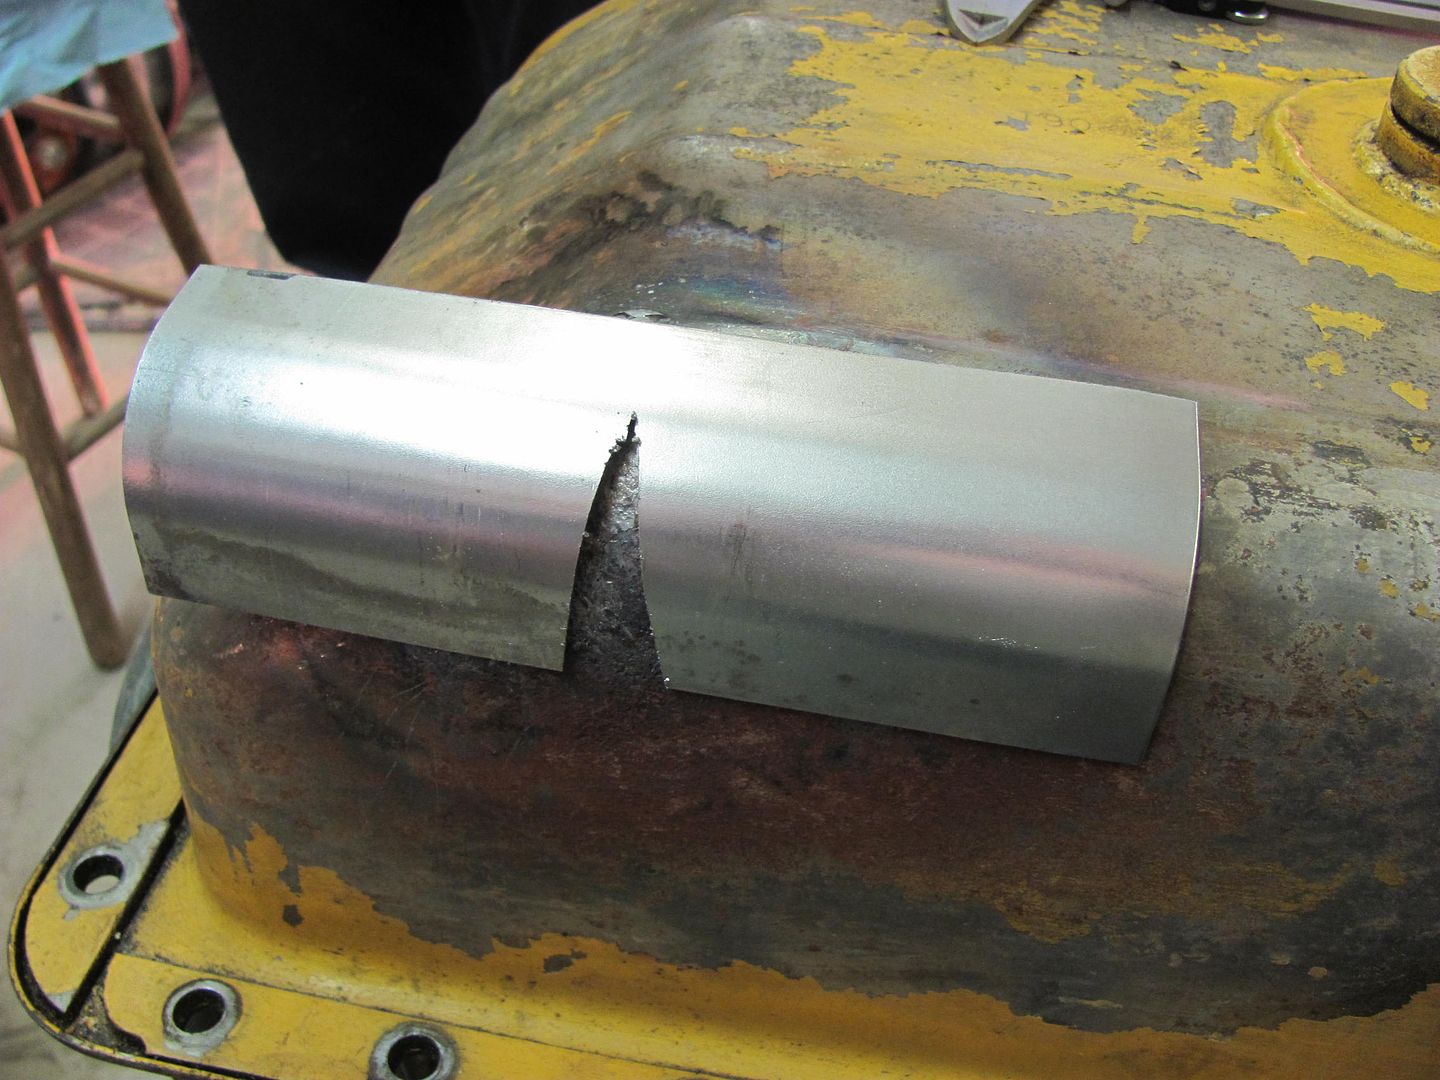
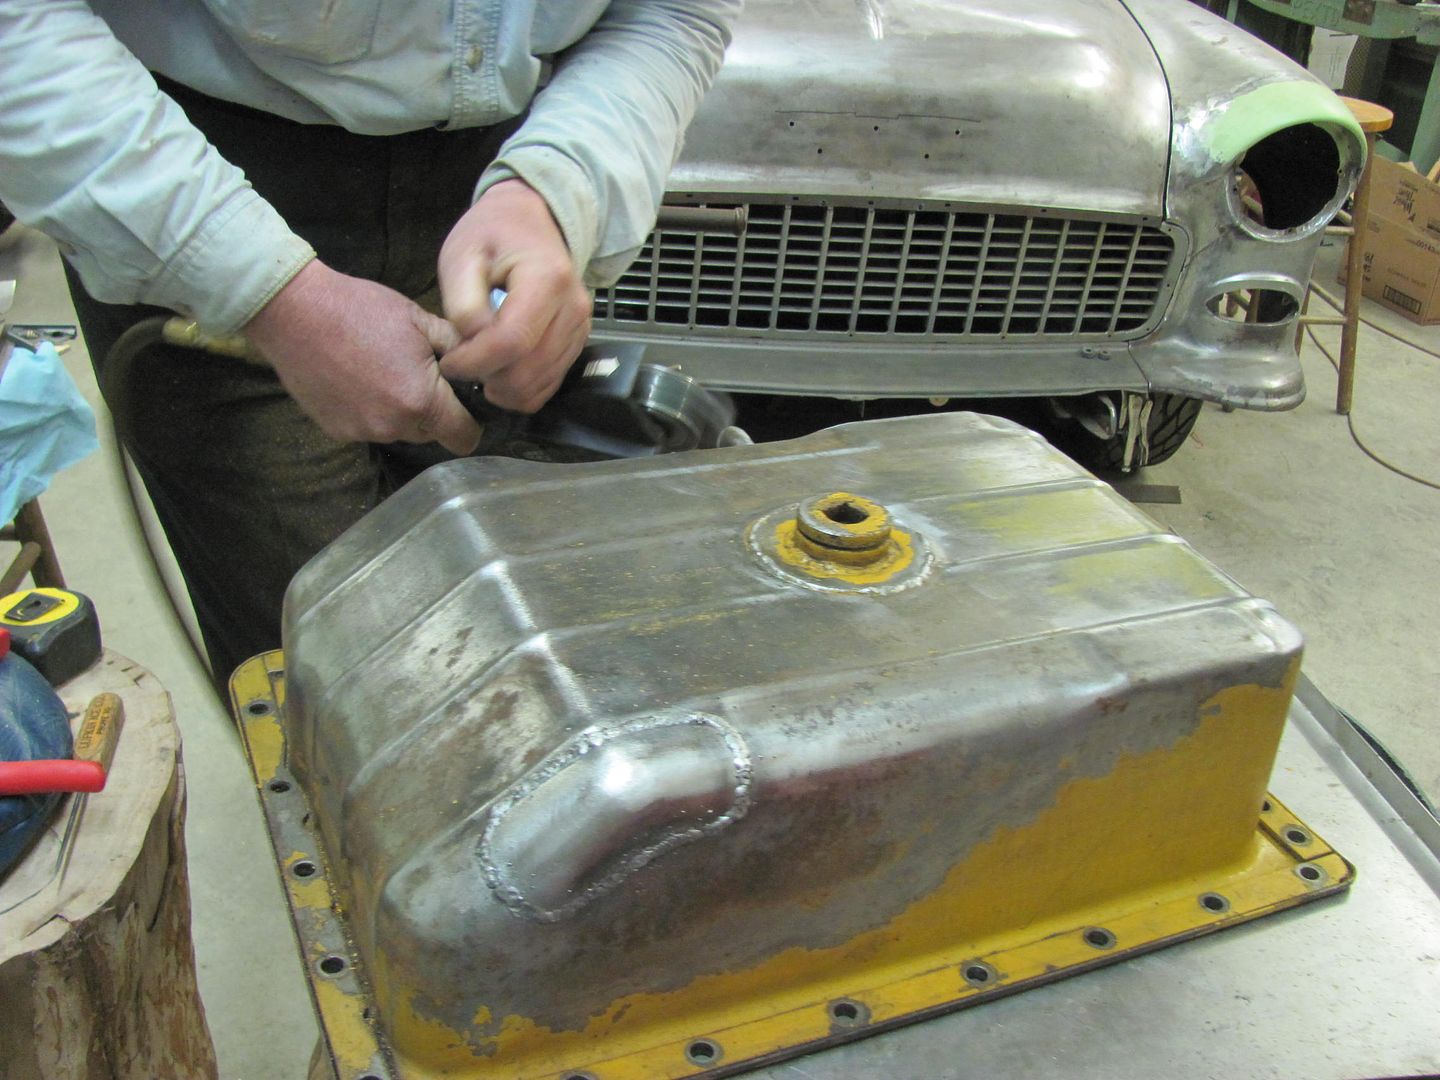
    So yesterday I got a phone call, and long story short, needed to do some metalshaping for a Caterpillar D5 dozer. No, really! The last time this same mishap occurred was over ten years ago in my back yard when we were building. It seems dirt/mud gets packed between the stump pan and the oil pan, until a hole rusts through the oil pan. Last time Paul bought a new oil pan, but it sounded like he needed to use the dozer this week, so he brought it over for repair..


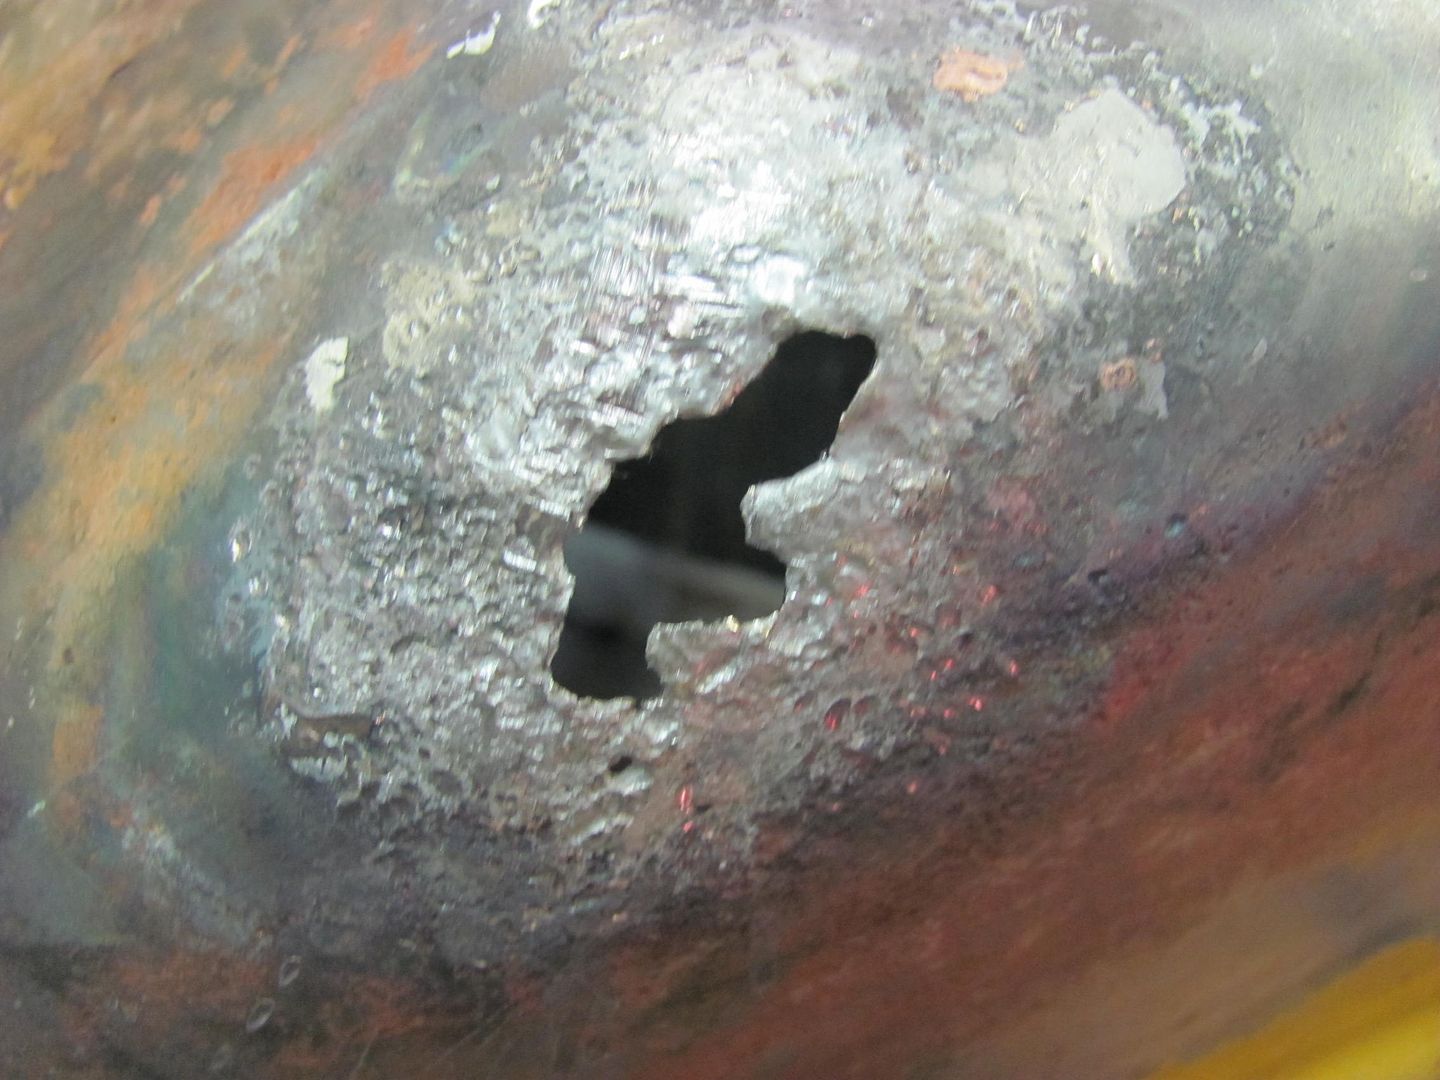
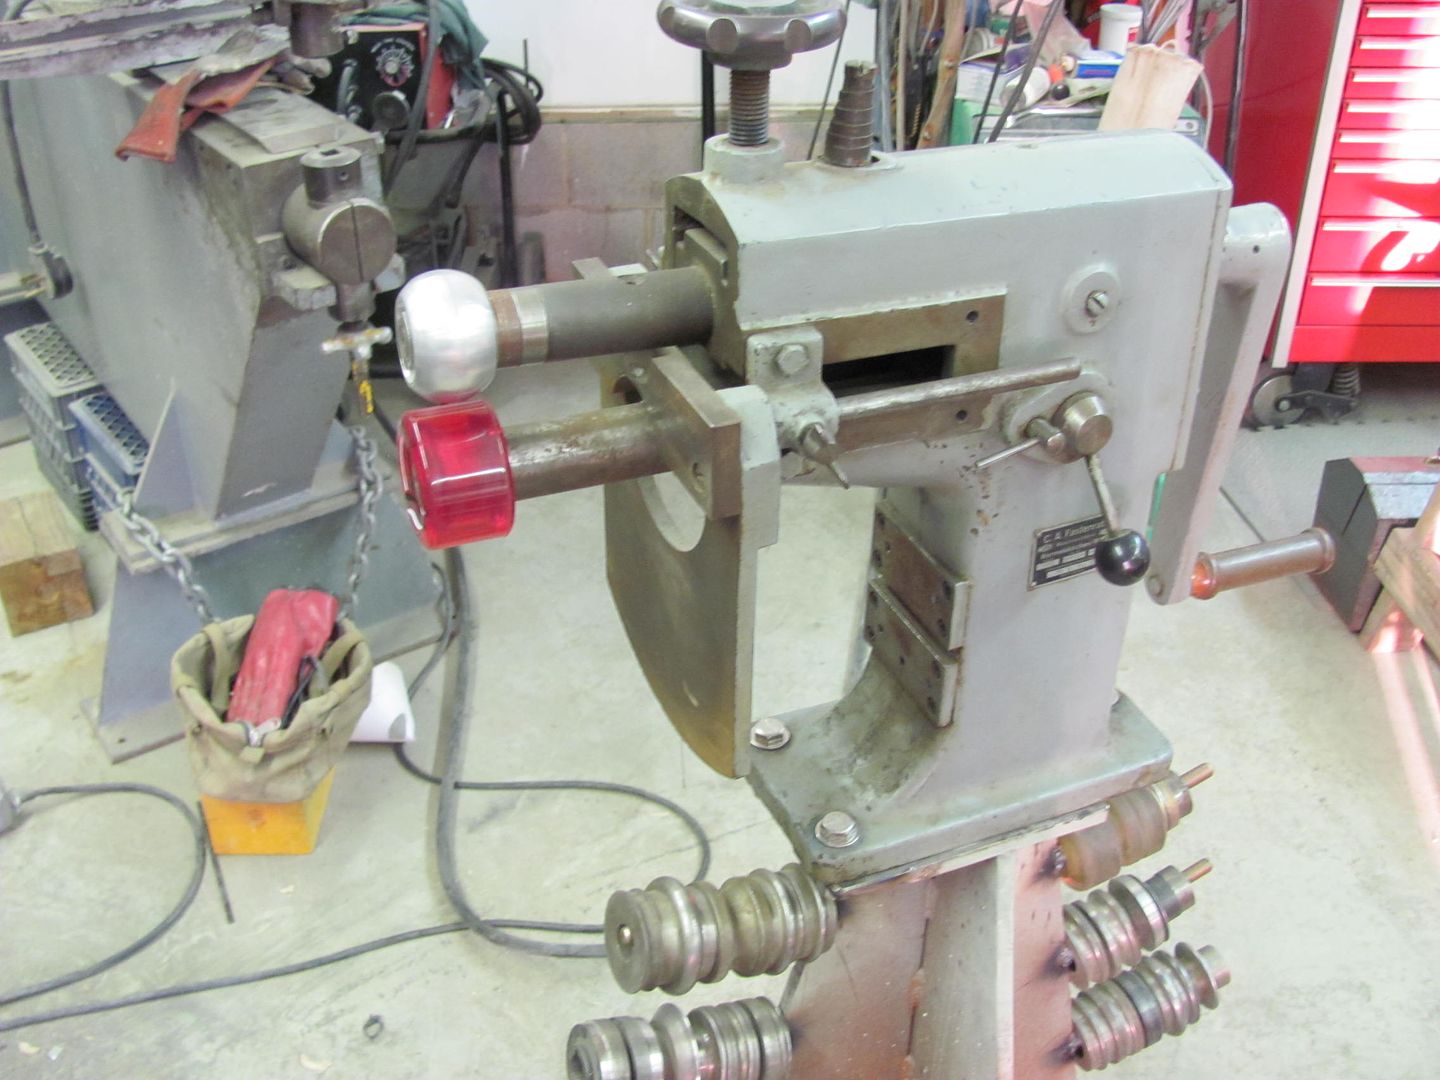
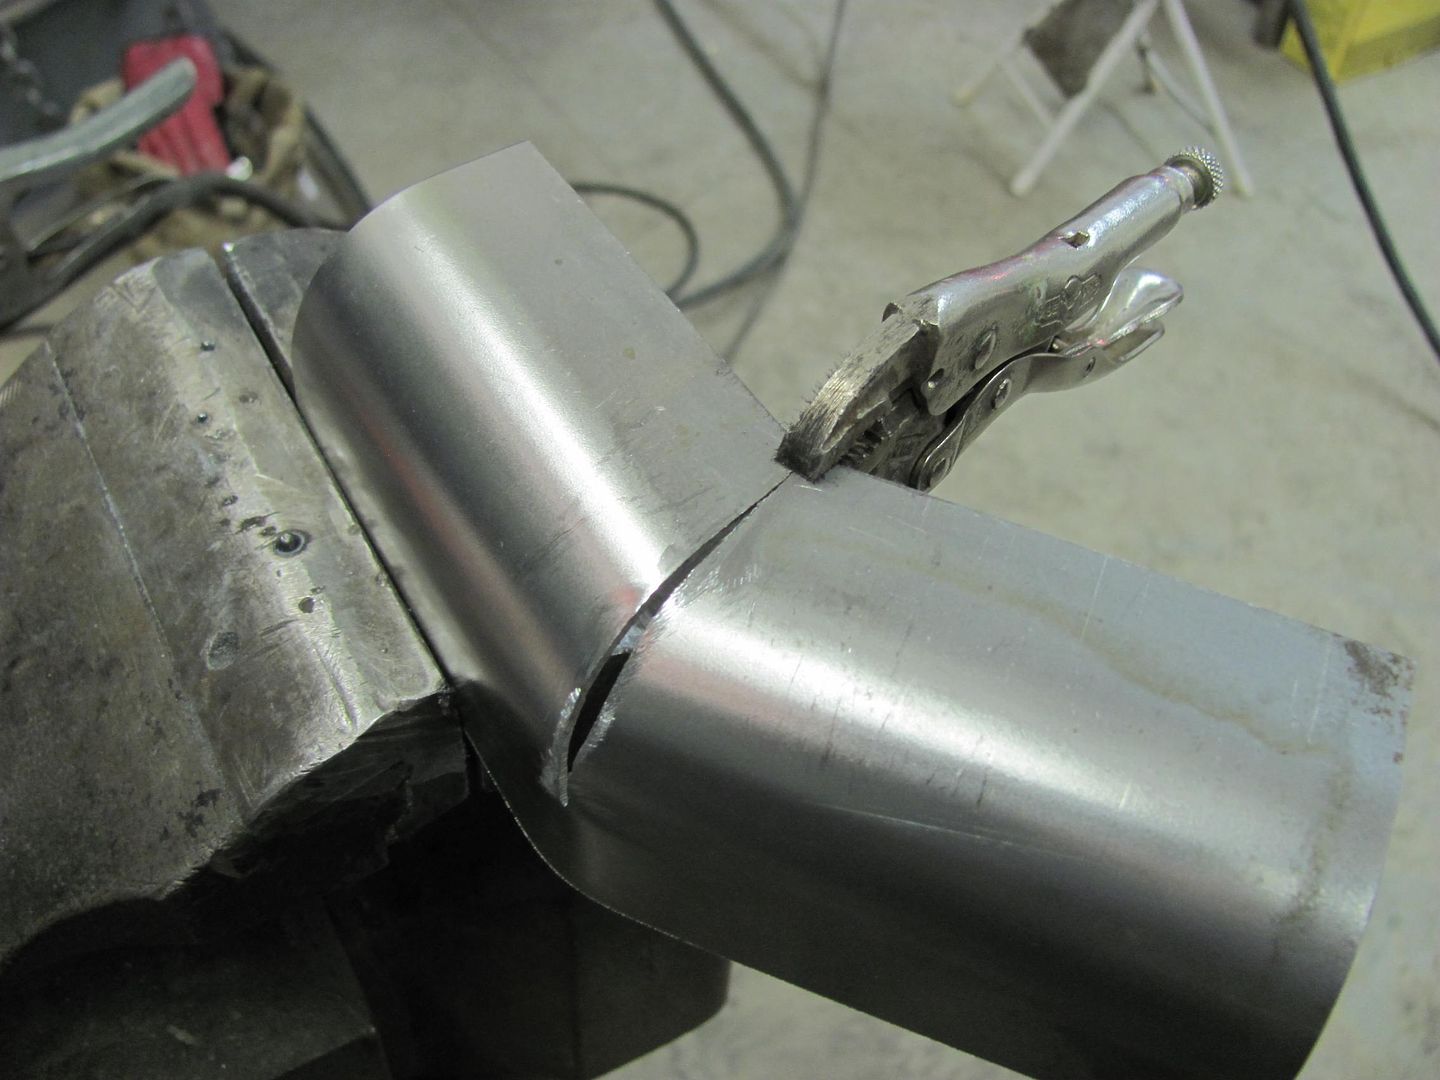
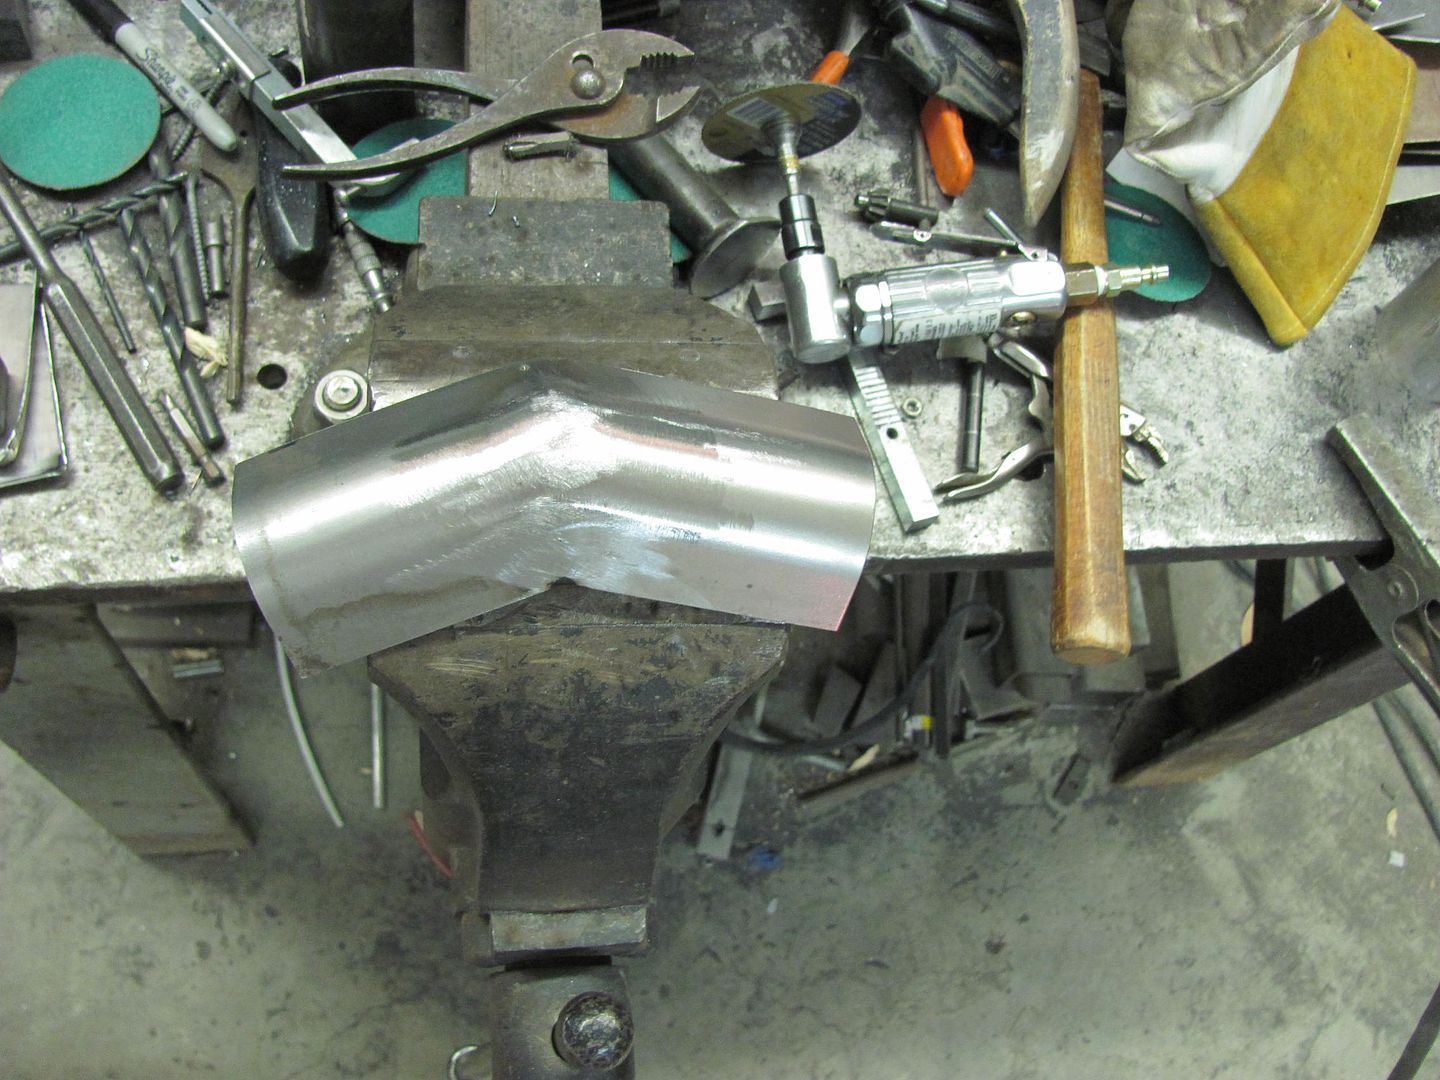
    The heat marking is where he was attempting to braze it closed, with little success. Calipers showed the pan to be 14 ga, and I just happened to have some in stock. I've used the bead roller before to form a radius, but never on metal this thick before. This will be a good test of the fancy 75A durometer skateboard wheel to see how well it works.


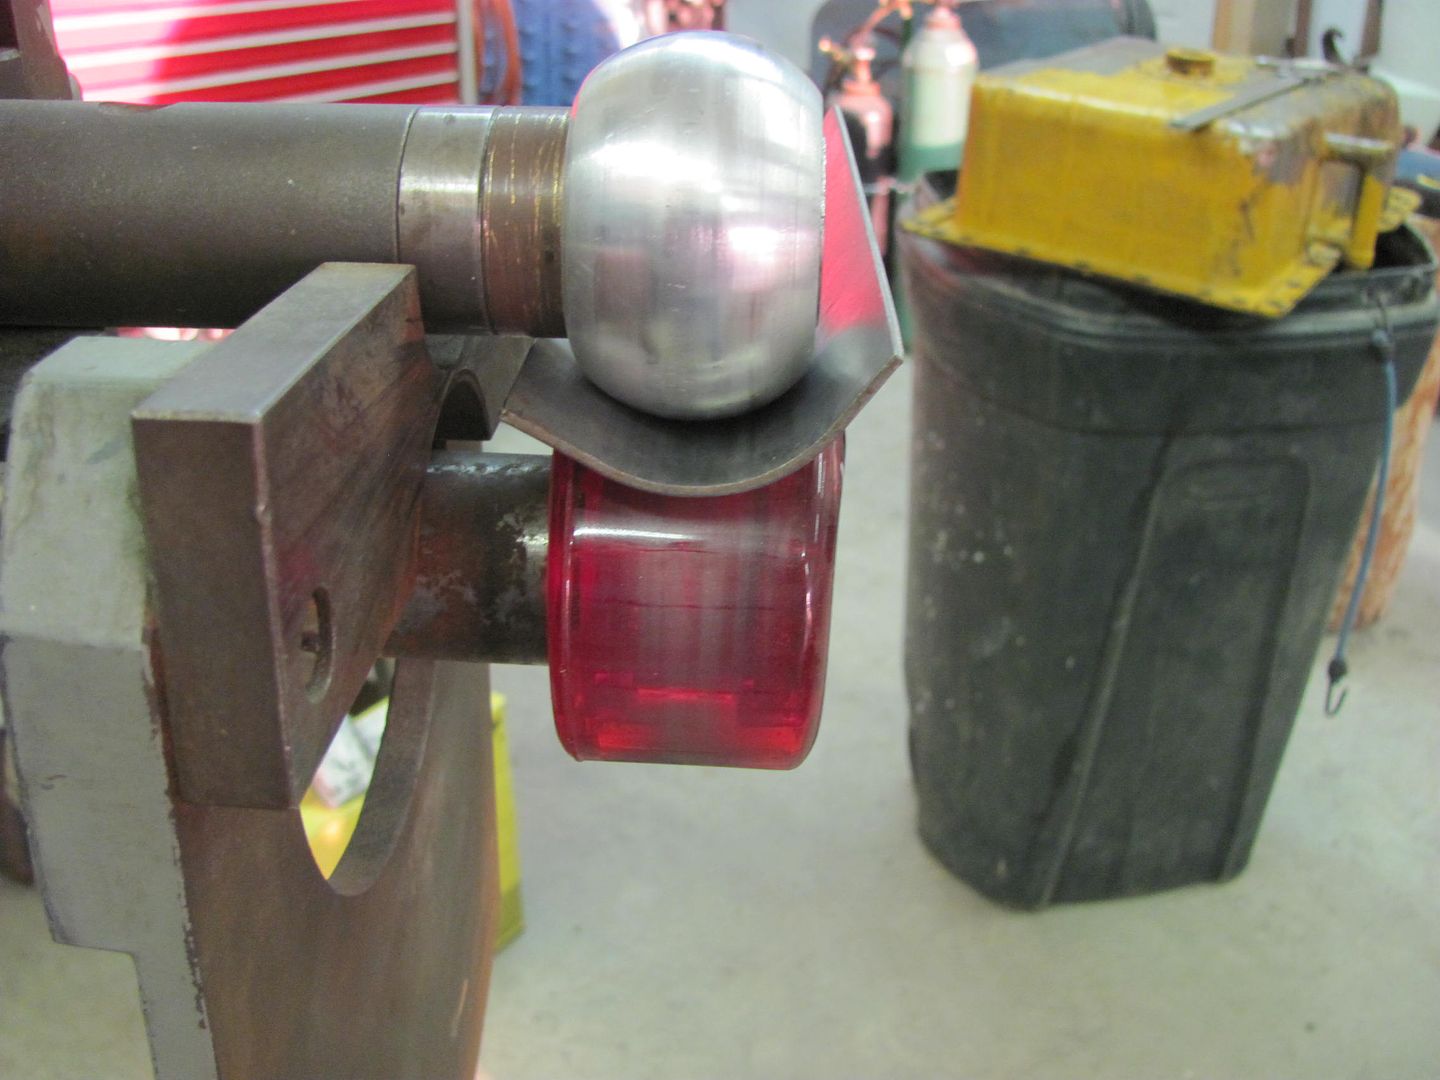
    Took a few passes, but worked real nice. Now for a relief cut and a weld...


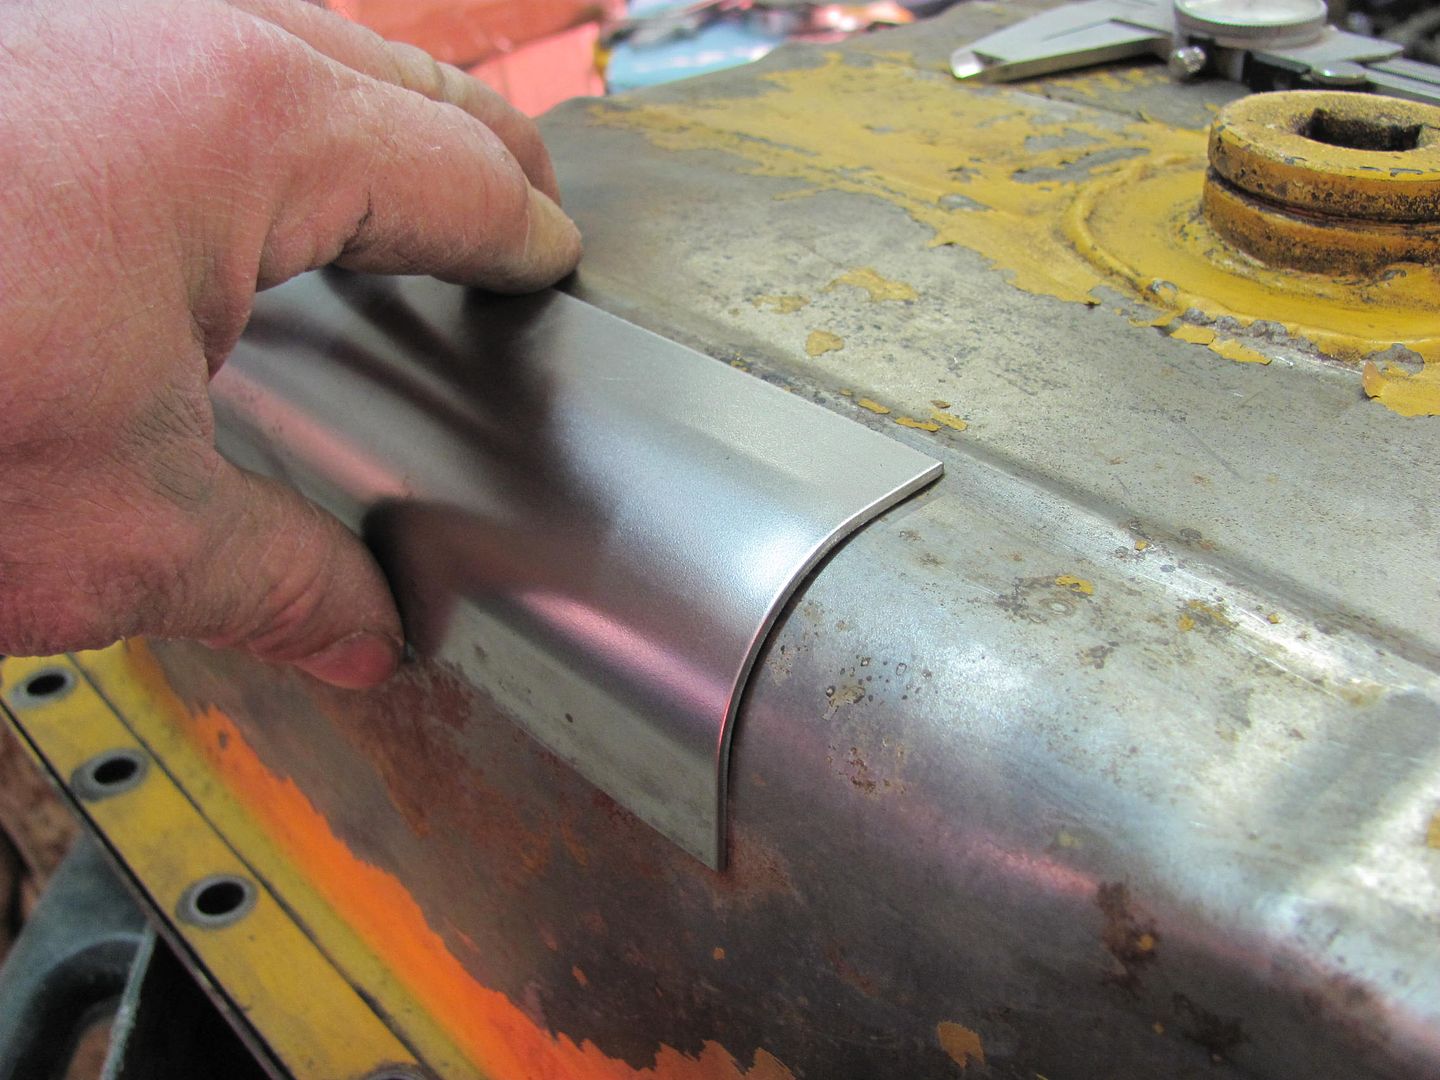
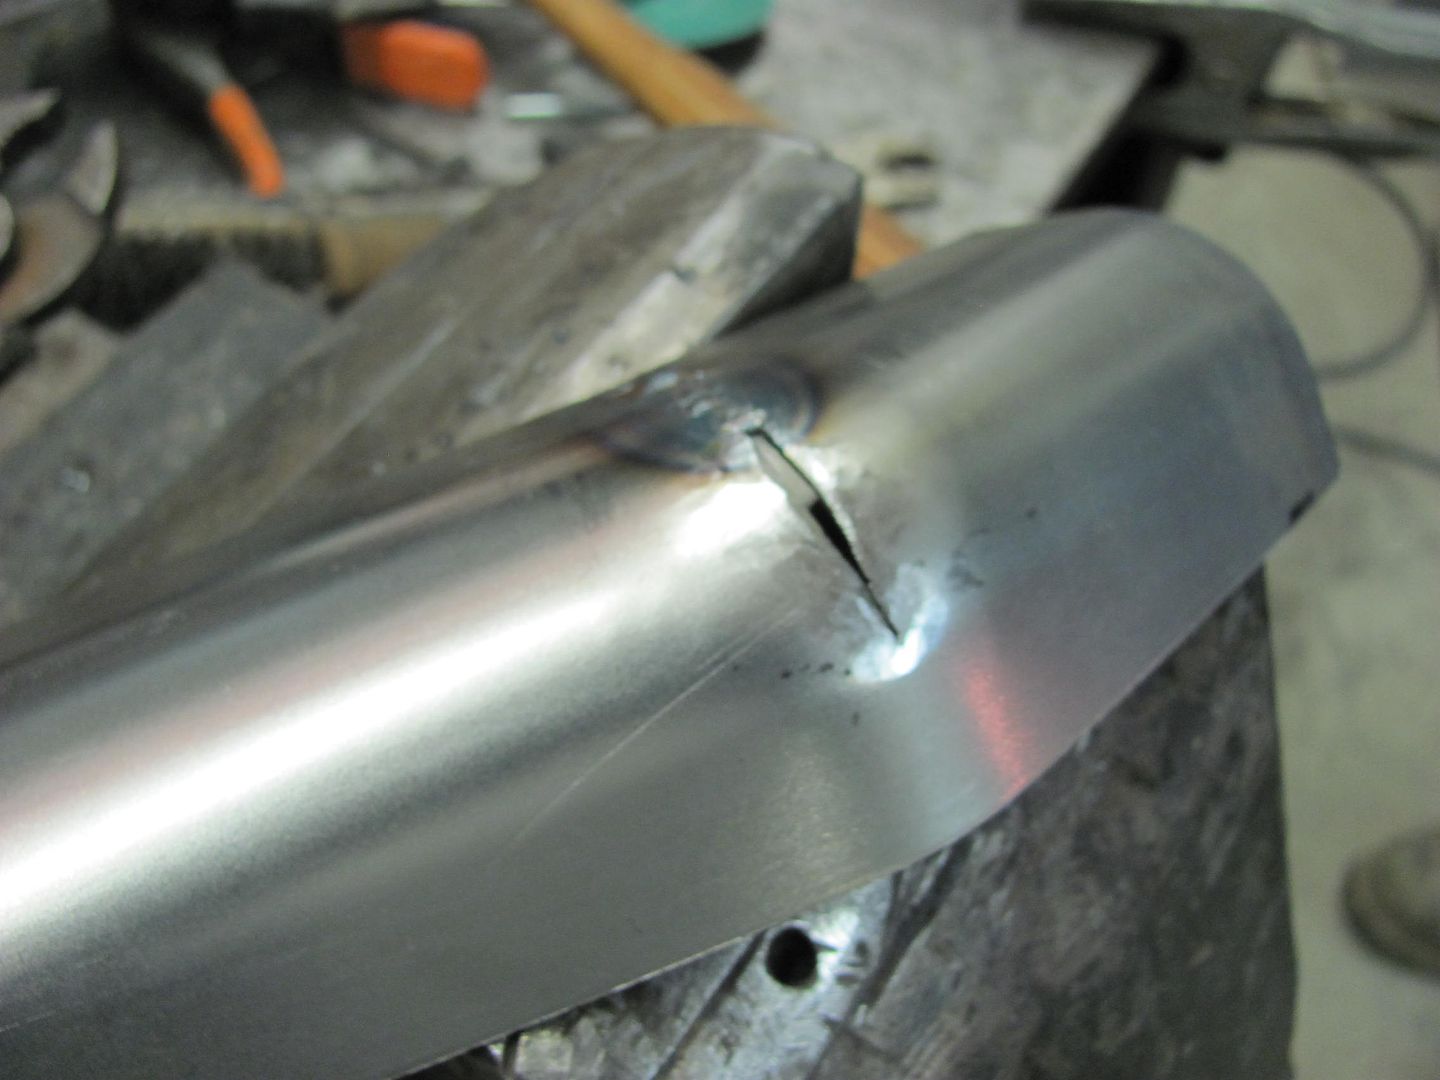
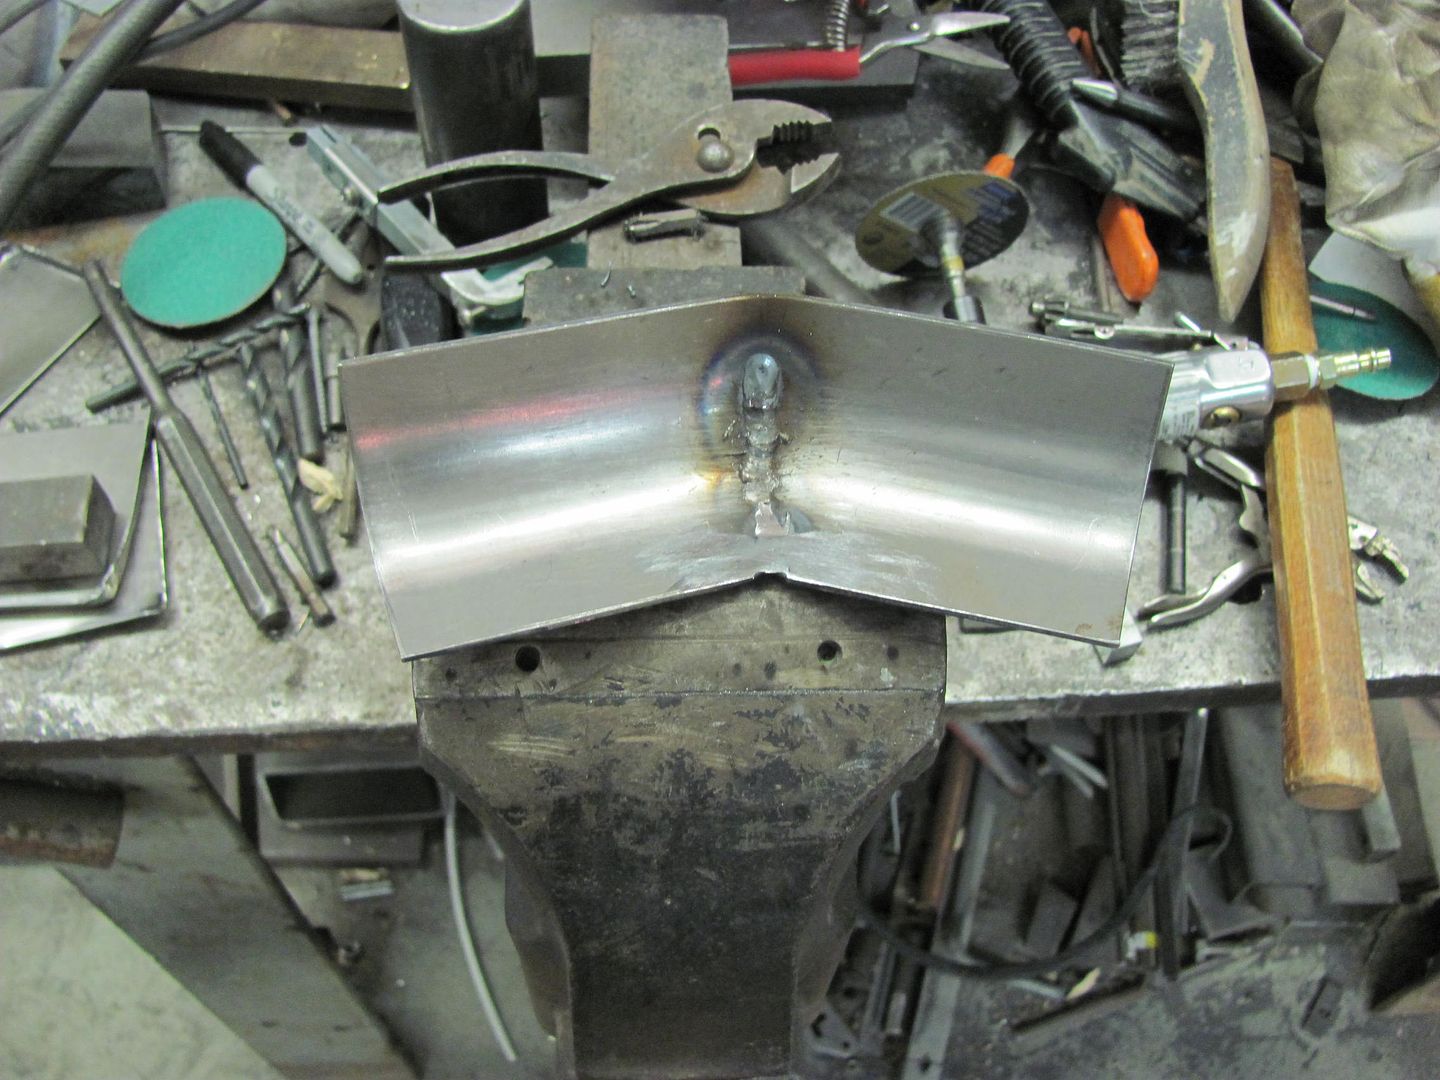
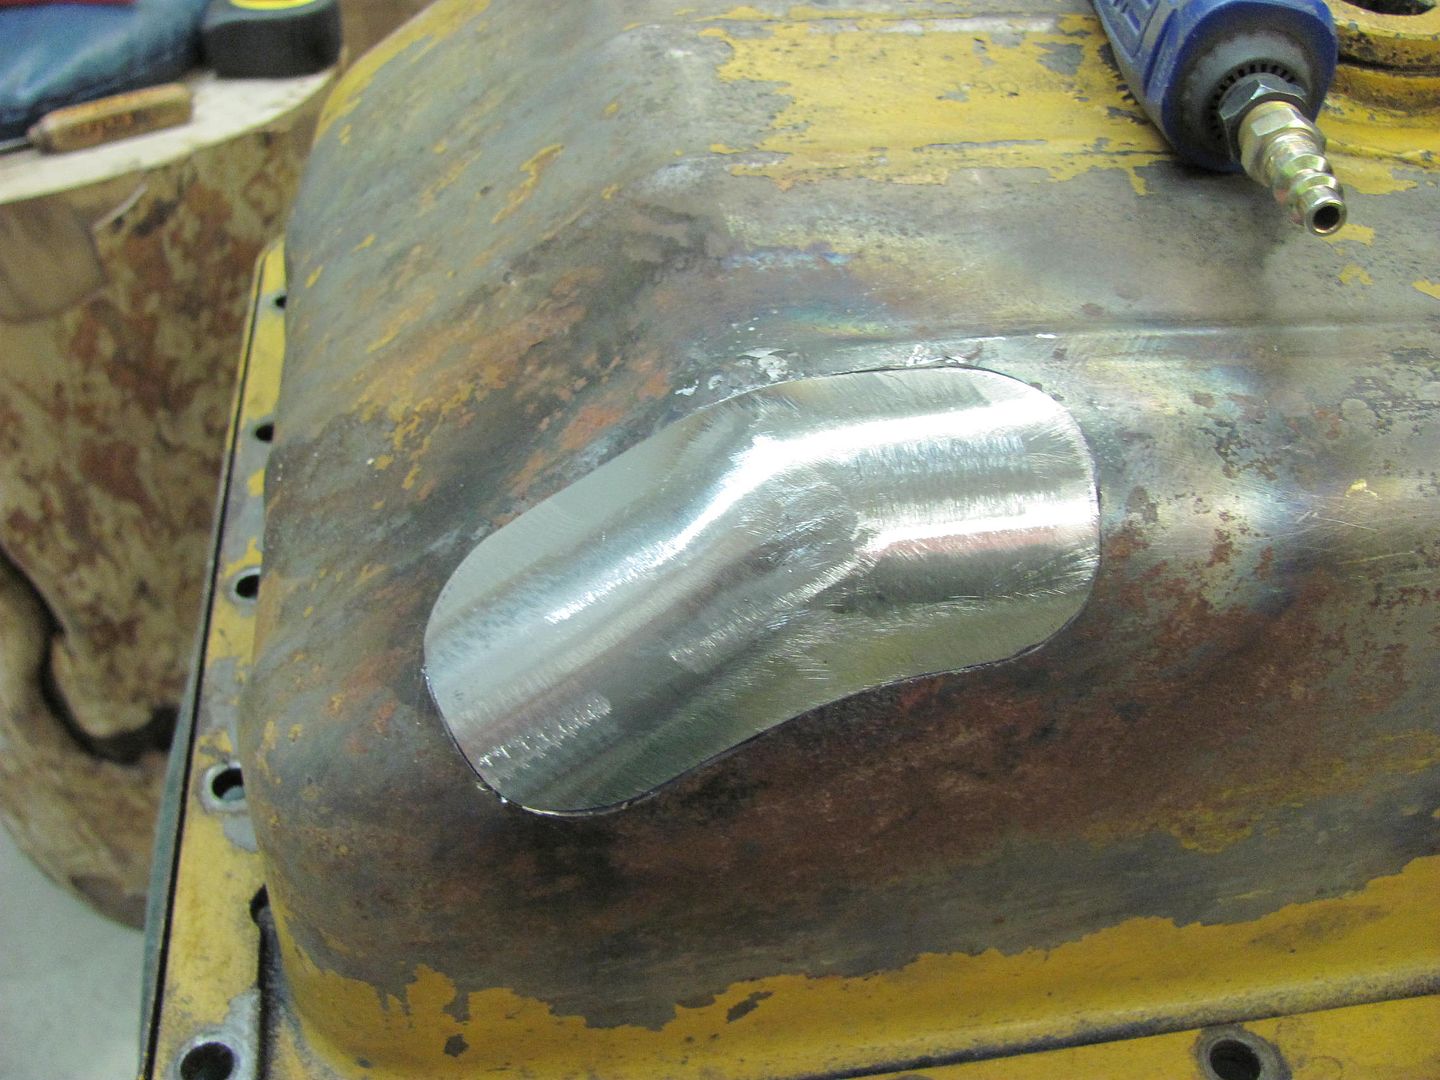
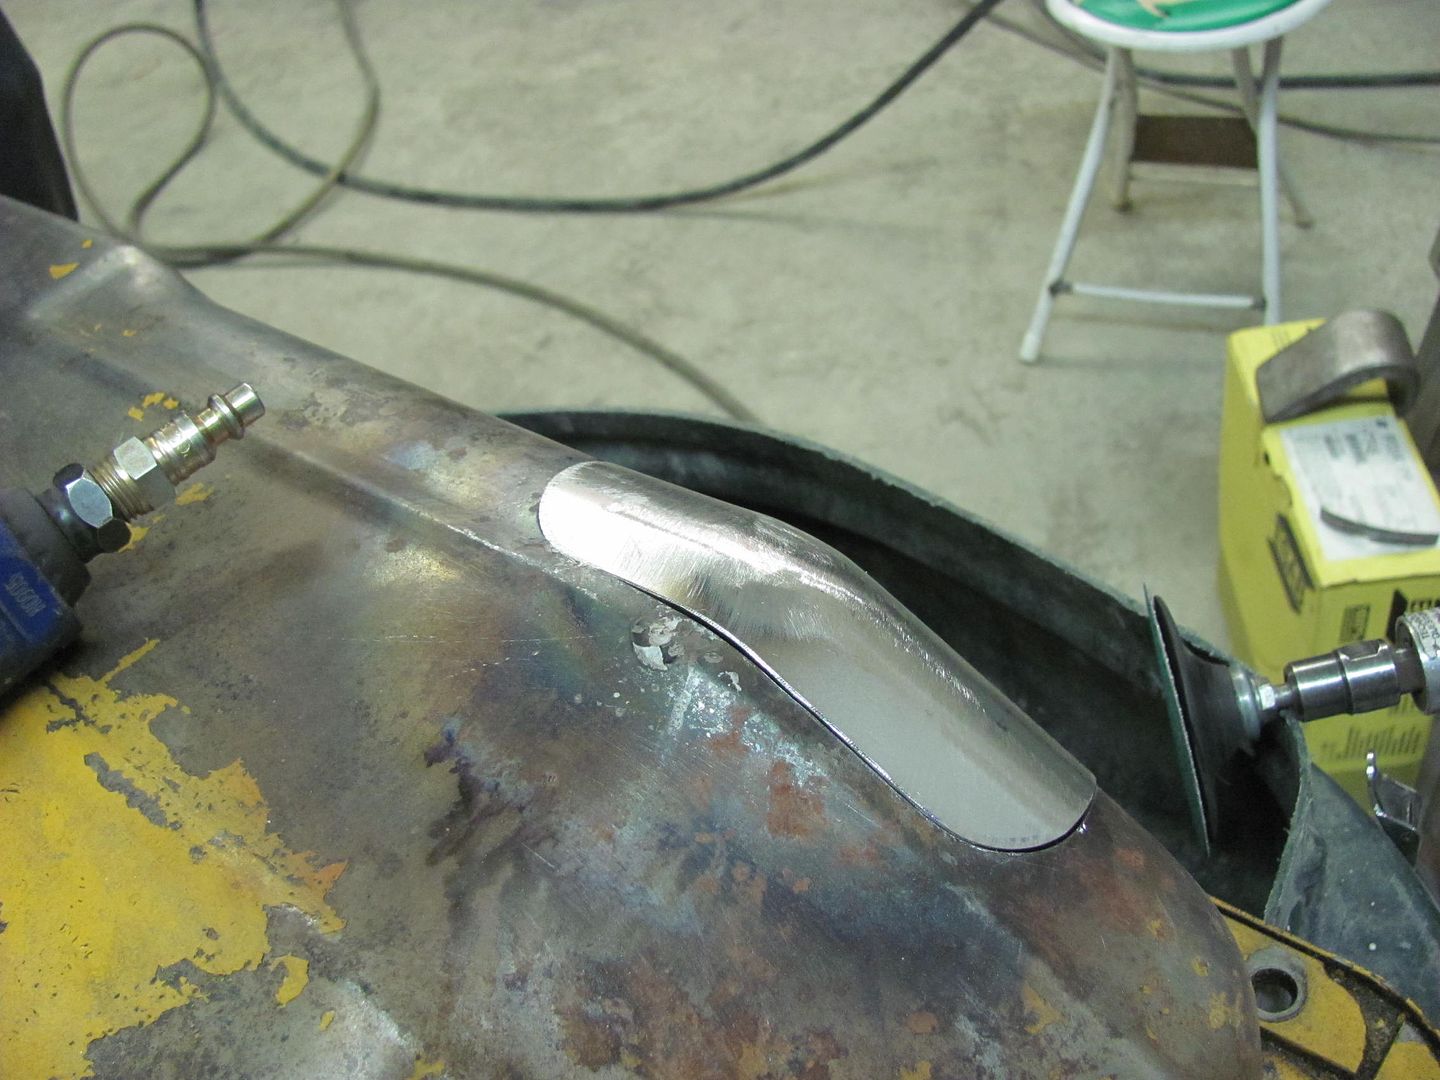
    Rust hole removed, patch trimmed and fitted, then welded in place..


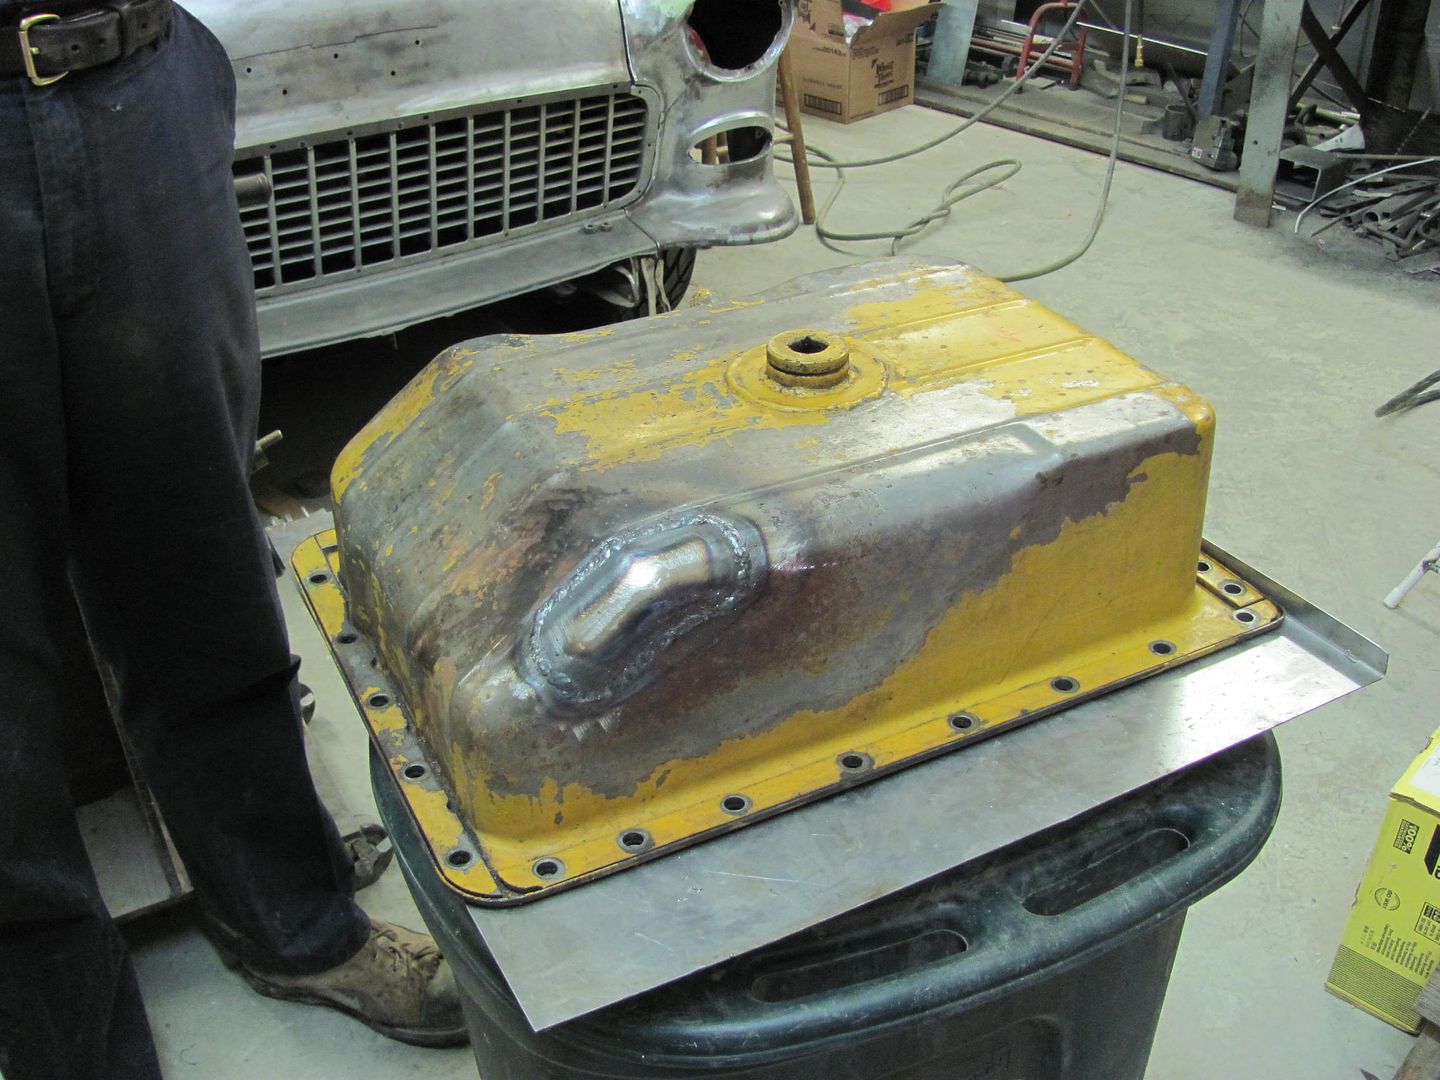
    .....and Paul cleans it up for paint..


    You never know what you see over here in the shop...
    johnboy likes this.
    Robert

  2. #2
    rspears's Avatar
    rspears is offline CHR Member/Contributor Visit my Photo Gallery
    Join Date
    Sep 2007
    Location
    Gardner, KS
    Car Year, Make, Model: '33 HiBoy Coupe, '32 HiBoy Roadster
    Posts
    11,062

    Cool!! Looks like it'll go for another 1,000,000 yds of dirt!!
    Roger
    Enjoy the little things in life, and you may look back one day and realize that they were really the BIG things.

  3. #3
    firebird77clone's Avatar
    firebird77clone is offline CHR Member Visit my Photo Gallery
    Join Date
    Sep 2005
    Location
    Hamilton
    Car Year, Make, Model: 69 nomad, 73 charger, 74 vega
    Posts
    3,900

    Too bad you didn't have some stainless sitting about.

    Nice job forming that thick stock.
    .
    Education is expensive. Keep that in mind, and you'll never be terribly upset when a project goes awry.
    EG

  4. #4
    Hot Rod Nick's Avatar
    Hot Rod Nick is offline CHR Member Visit my Photo Gallery
    Join Date
    Oct 2012
    Location
    Narberth
    Car Year, Make, Model: 32 Brookville Hi Boy; 95 Toyota Supra
    Posts
    1,029

    Your repair looks great. Now that's probably the strongest part of the pan.
    Nick
    Brookville '32 hi-boy roadster
    TriStar Pro Star 427 CID

  5. #5
    shine's Avatar
    shine is offline CHR Member Visit my Photo Gallery
    Join Date
    Nov 2003
    Location
    bluff dale texas
    Car Year, Make, Model: 47 inderweed
    Posts
    2,119

    5 good coats of epoxy would put a stop to that the 450 case we use around here is missing the side panels so it gets full of crap . we have to drop the belly pan pretty regular .

Reply To Thread

Posting Permissions

  • You may not post new threads
  • You may not post replies
  • You may not post attachments
  • You may not edit your posts
Links monetized by VigLink