Thread: Windshield opening repair basics
Hybrid View
-
09-18-2014 06:38 AM #1
Windshield opening repair basics
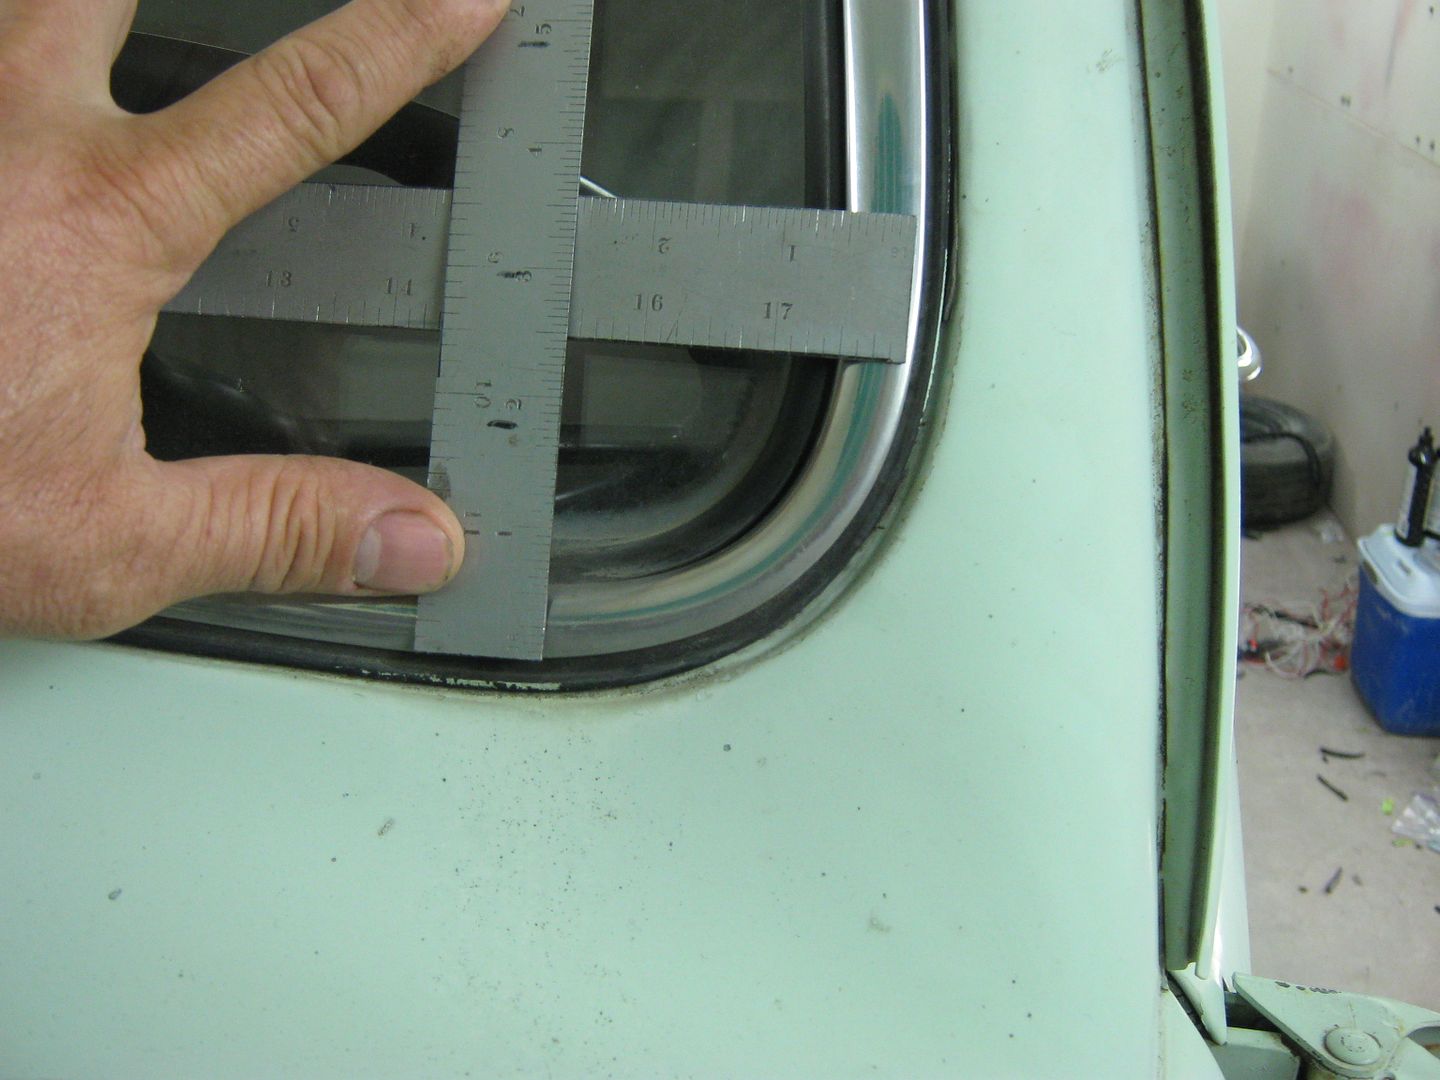
Very likely my "sample" windshield will be different from yours, but this is to show the basics of forming a flange mounted windshield opening with minimal tools. Adjust as needed to your application. My windshield is in a 52 F7, and with my w/s is still intact, I'm guessing at about a radius of 2.5"
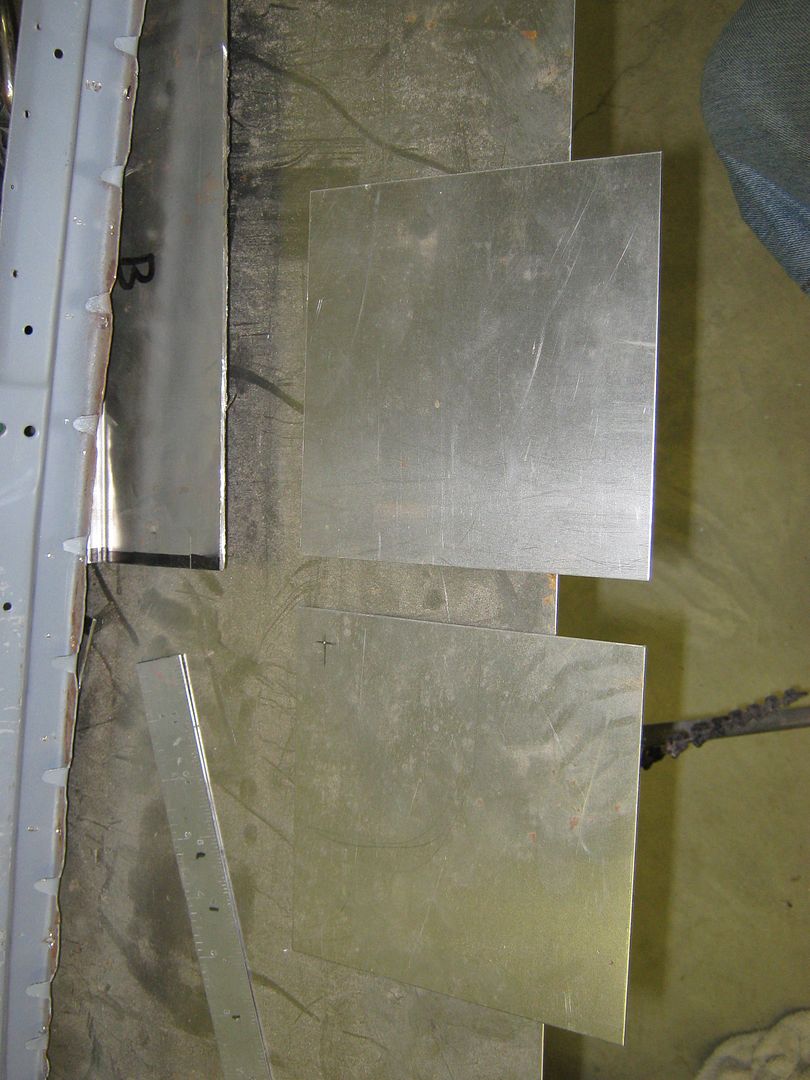
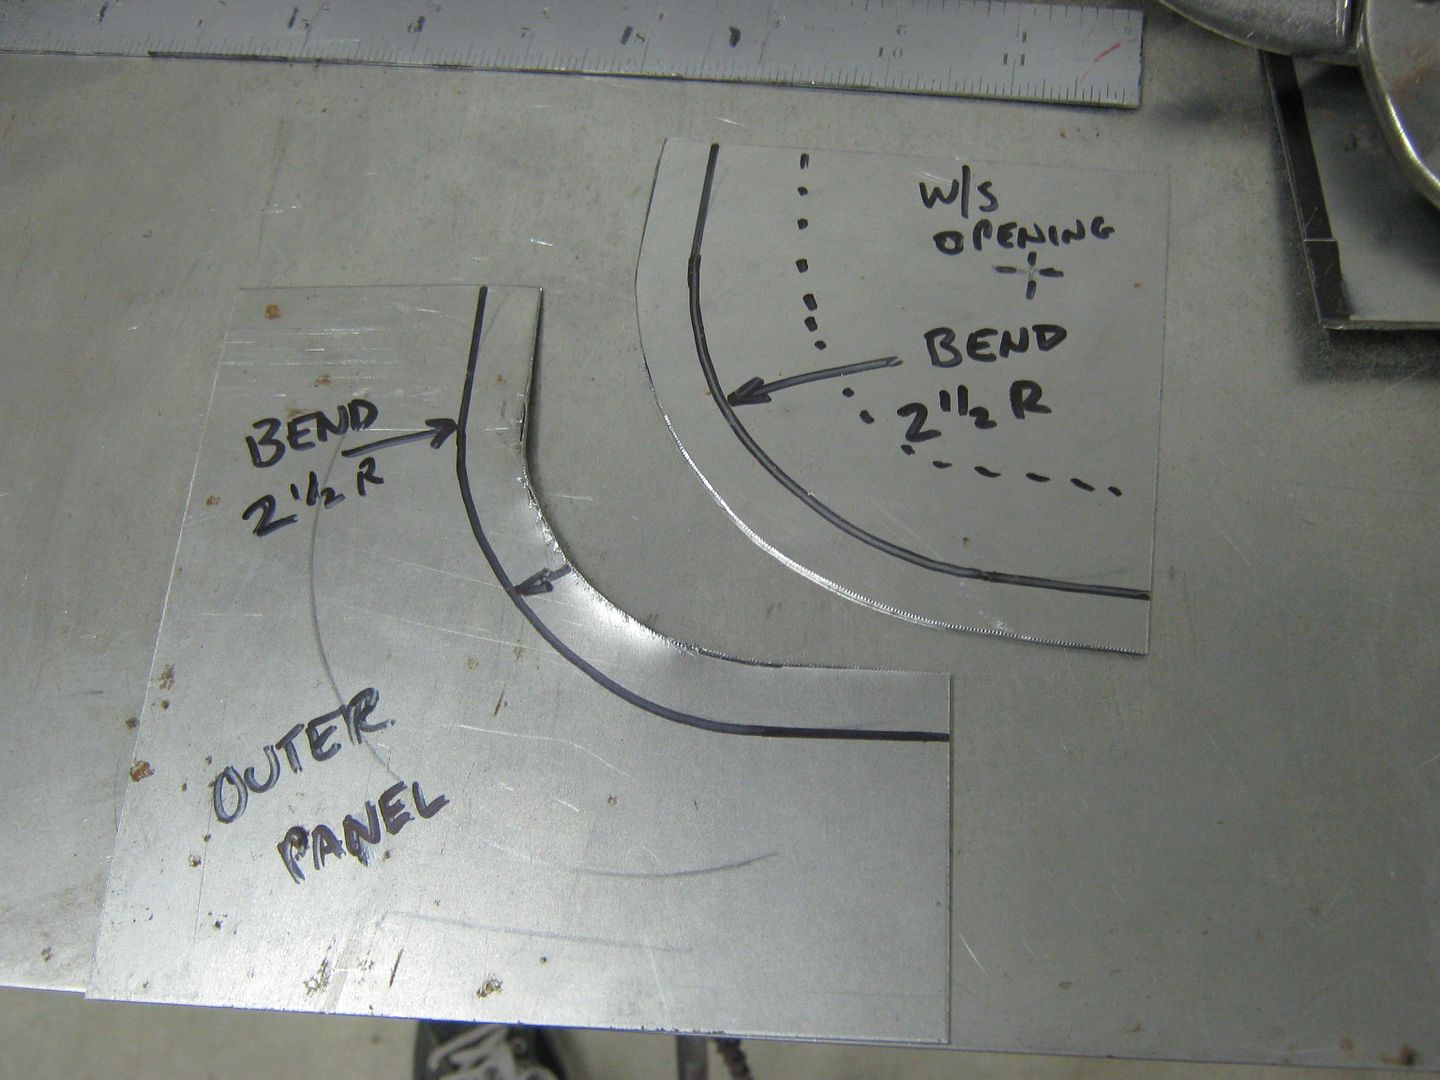
I'll use some 5-1/2" square pieces to make the inner and outer corners. This is 18 ga CRS. A center punch is used to keep the compass point from slipping.
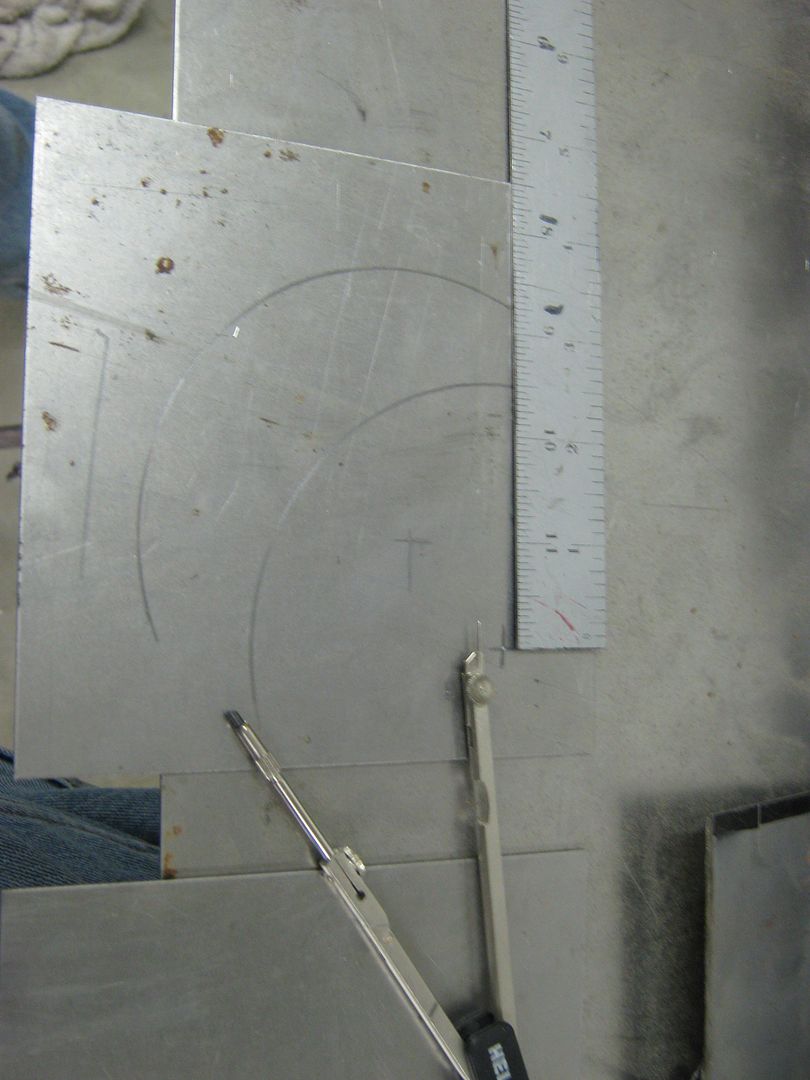
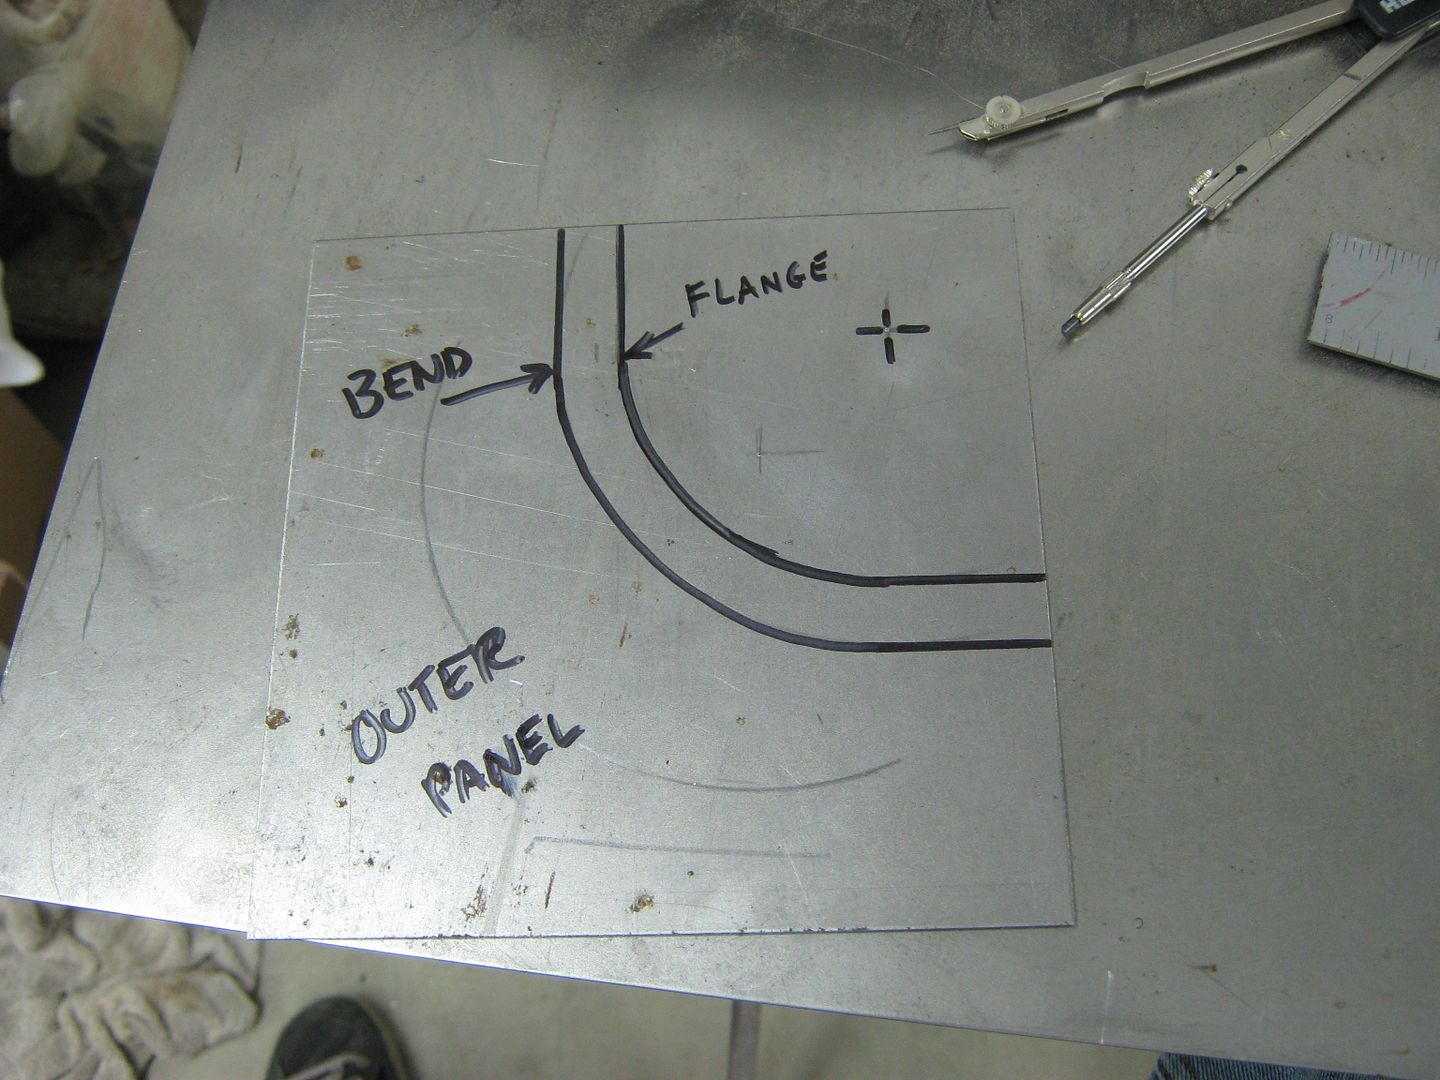
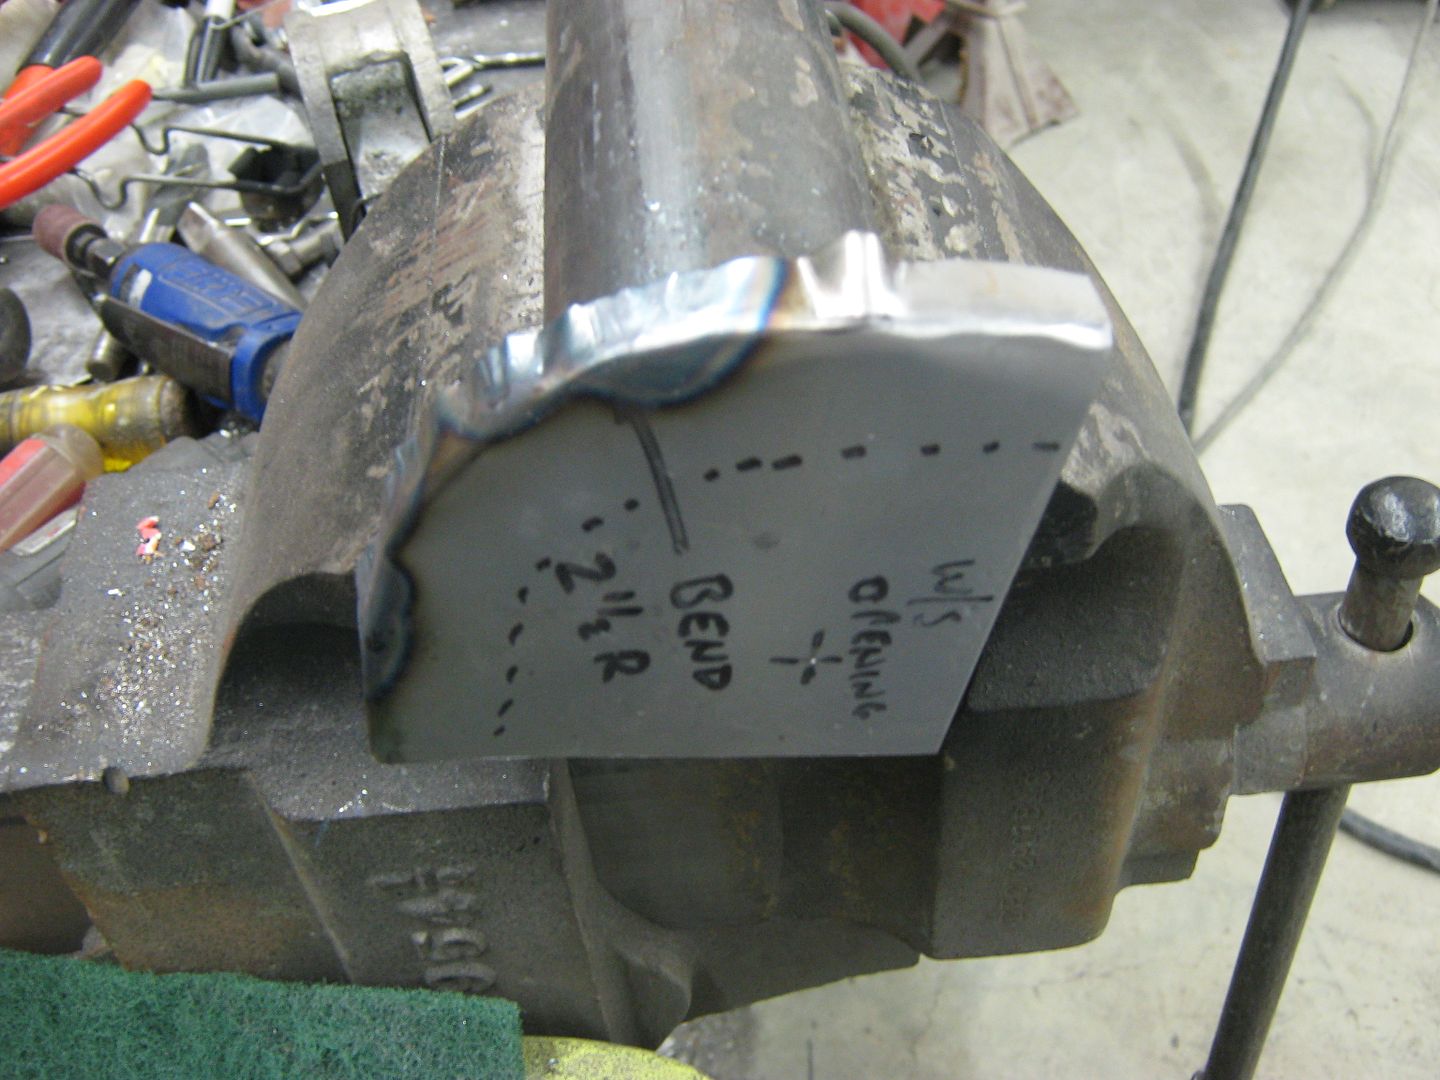
Now mark this out with a sharpie, we'll want to be able to see the bend line amongst all the hammer marks
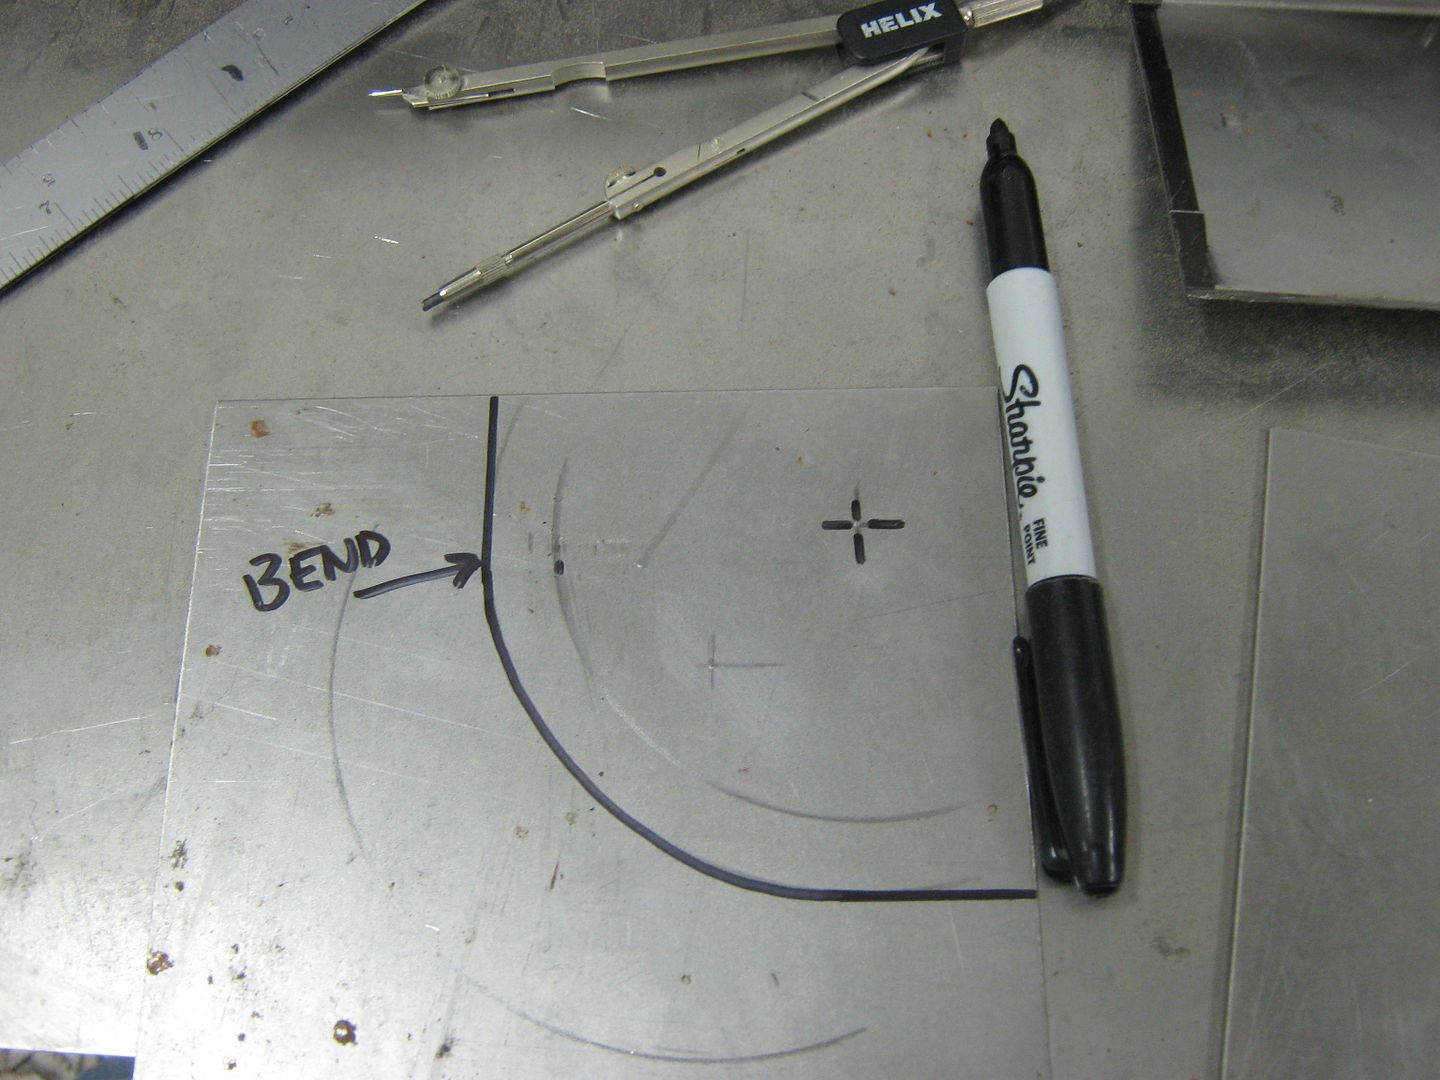
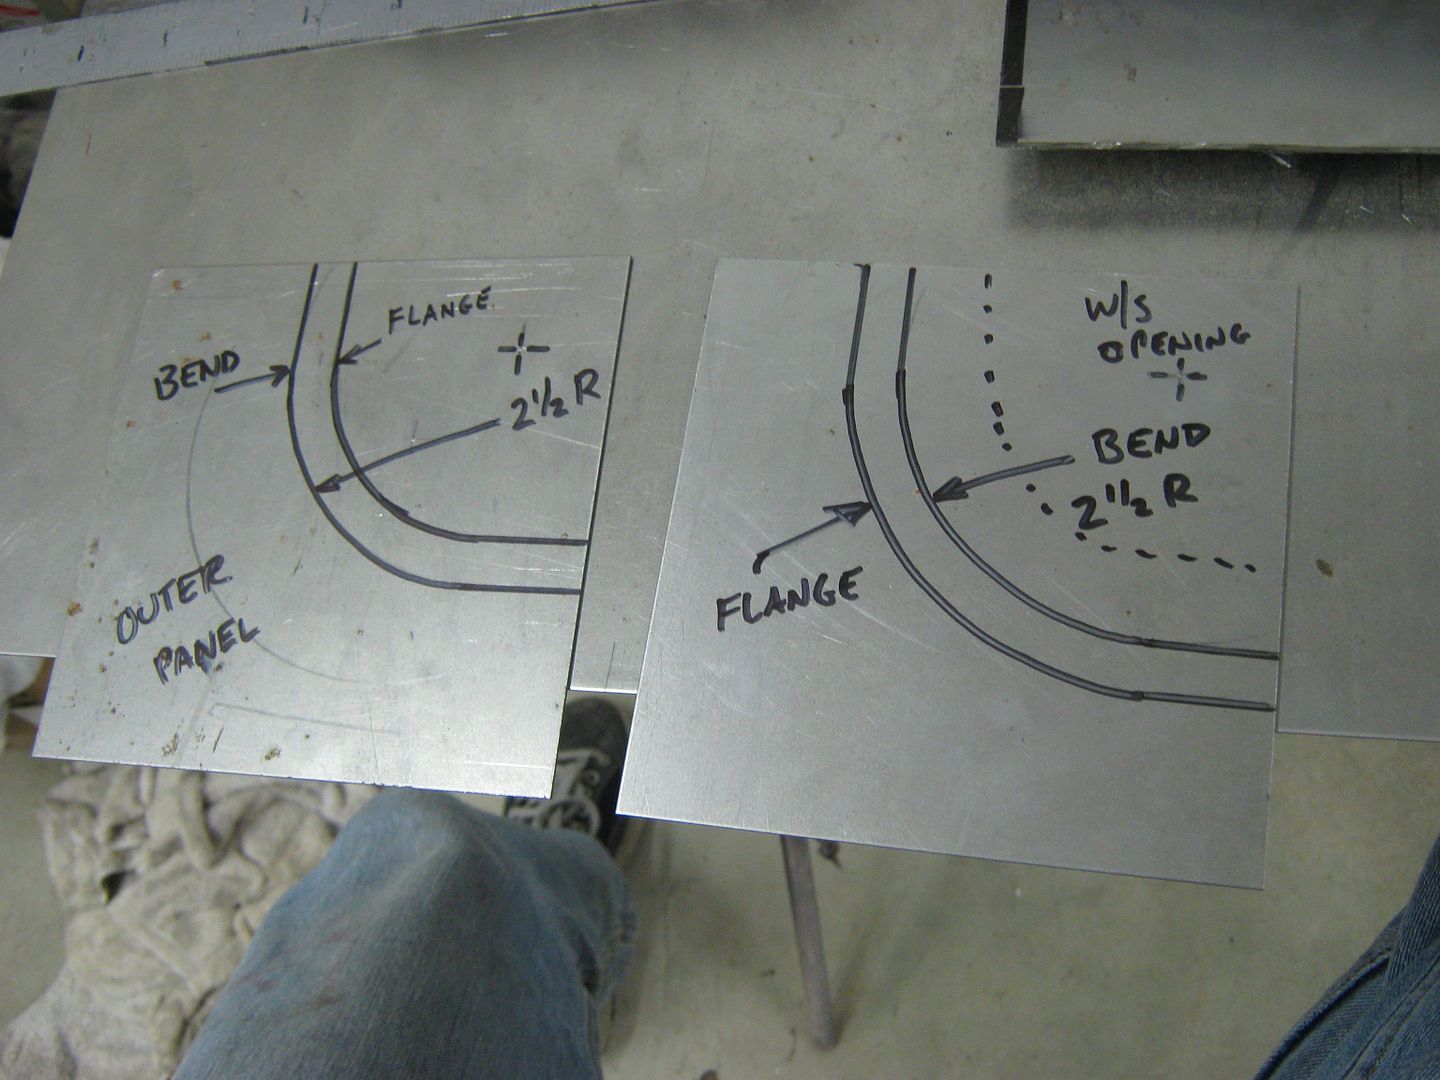
Now take the measurement of the depth of the windshield mounting flange. If it sets back from the outer edge say, 3/4", I'd make the flanges on each of these corner repairs 1/2" to allow some extra for trimming. Too much extra will make for extra work, so keep it within reason
Now repeat for the other piece.
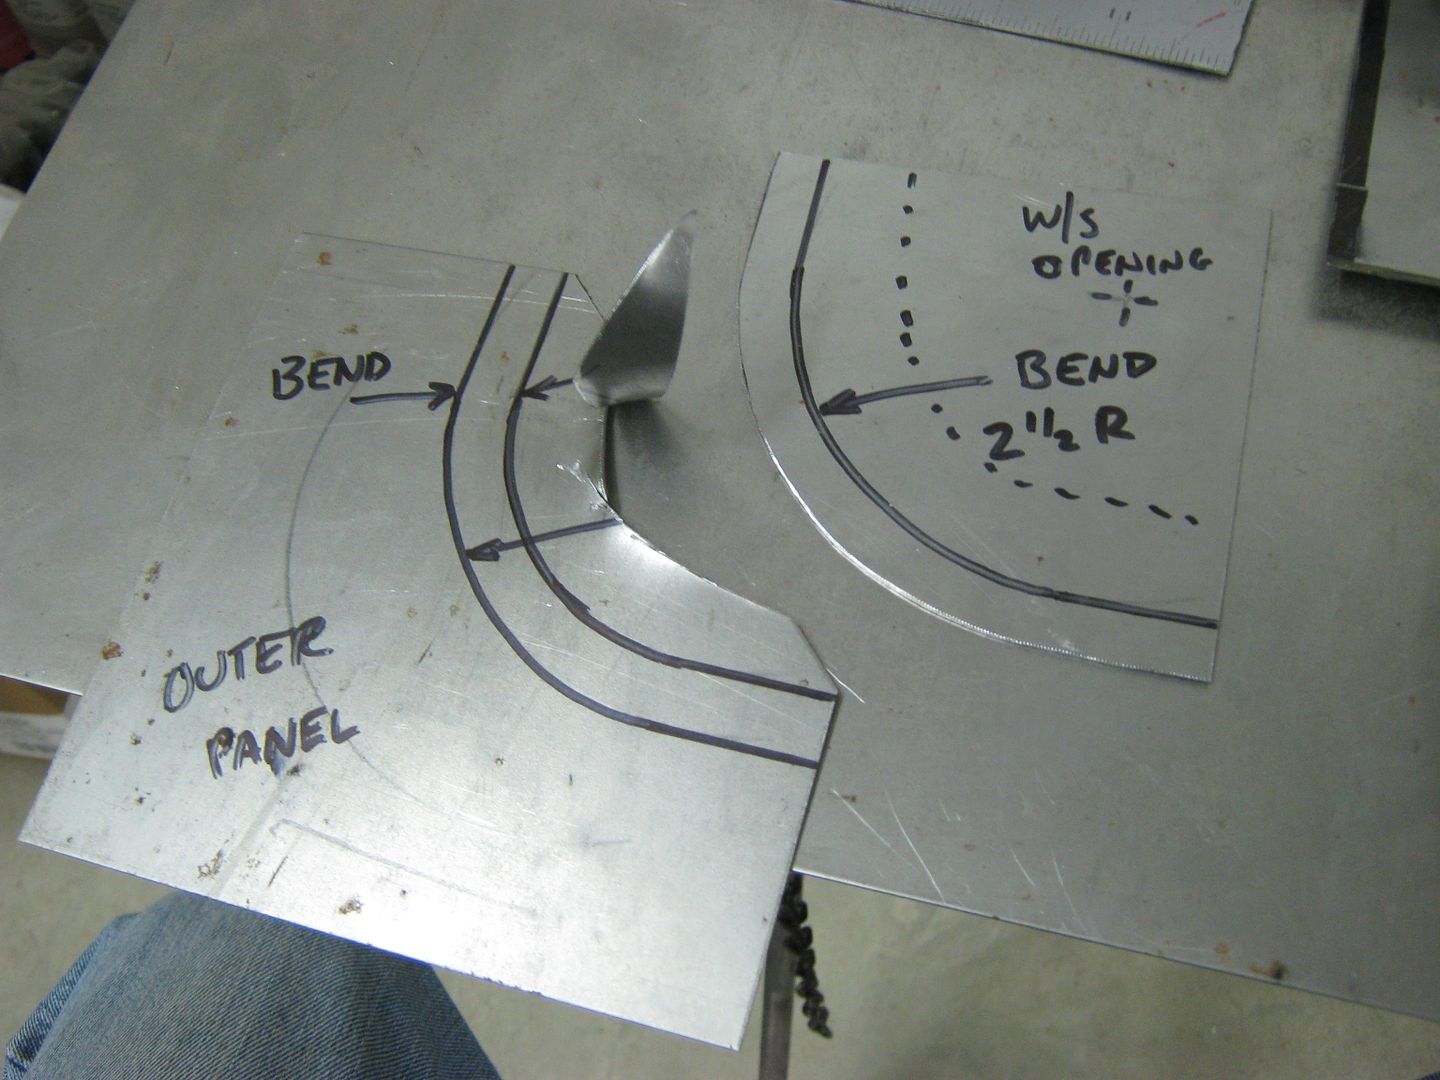
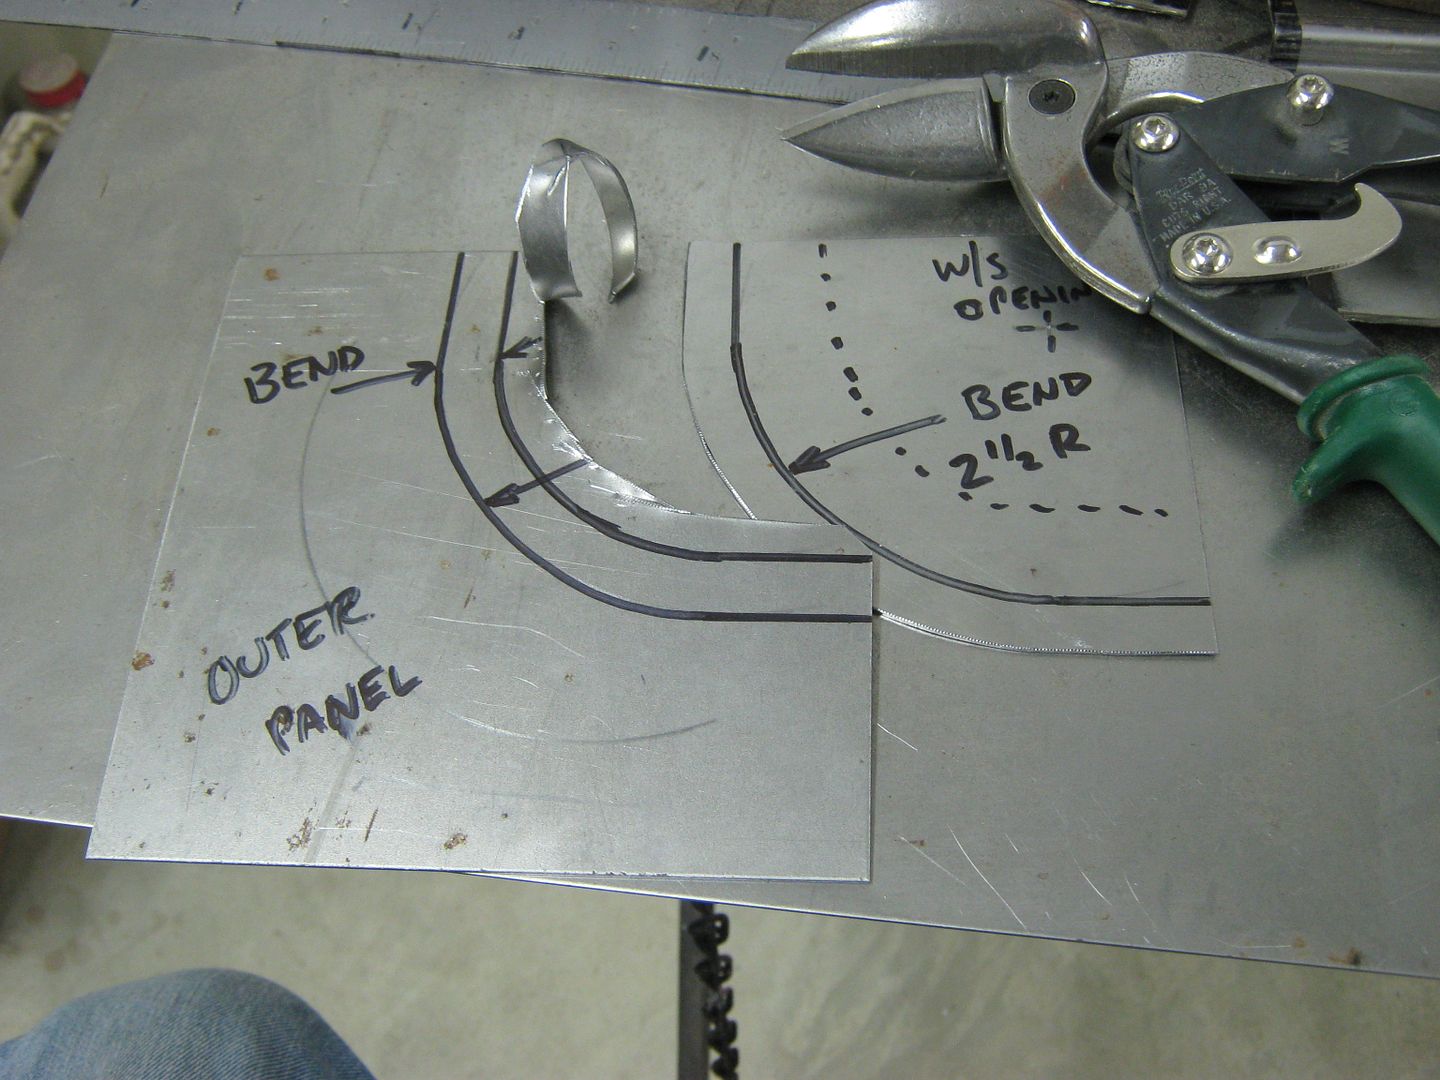
When trimming the excess of an inside corner with tin snips, you'll find multiple cuts will help you to get rid of the bulk so the final cut is pretty accurate. Their capacity rating is for a 1/4" wide cut only, so try to limit each pass to 1/4" wide for best results.
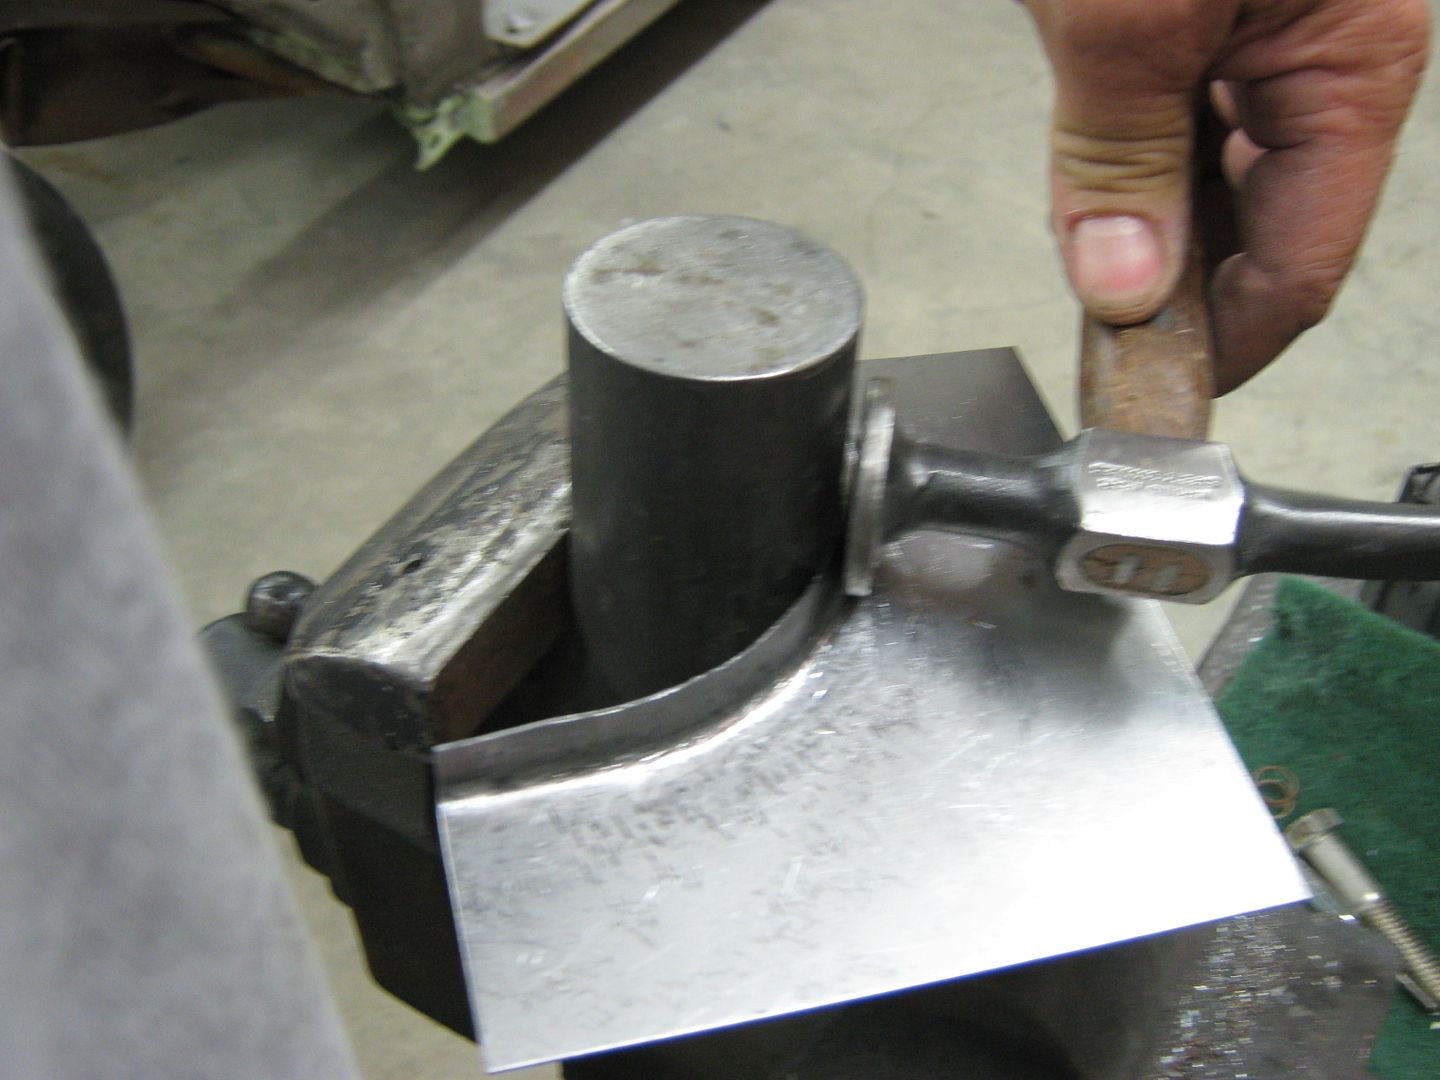
Here's my 2" dia hammerform/anvil. As technical as this stuff is you can use whatever is handy and works.
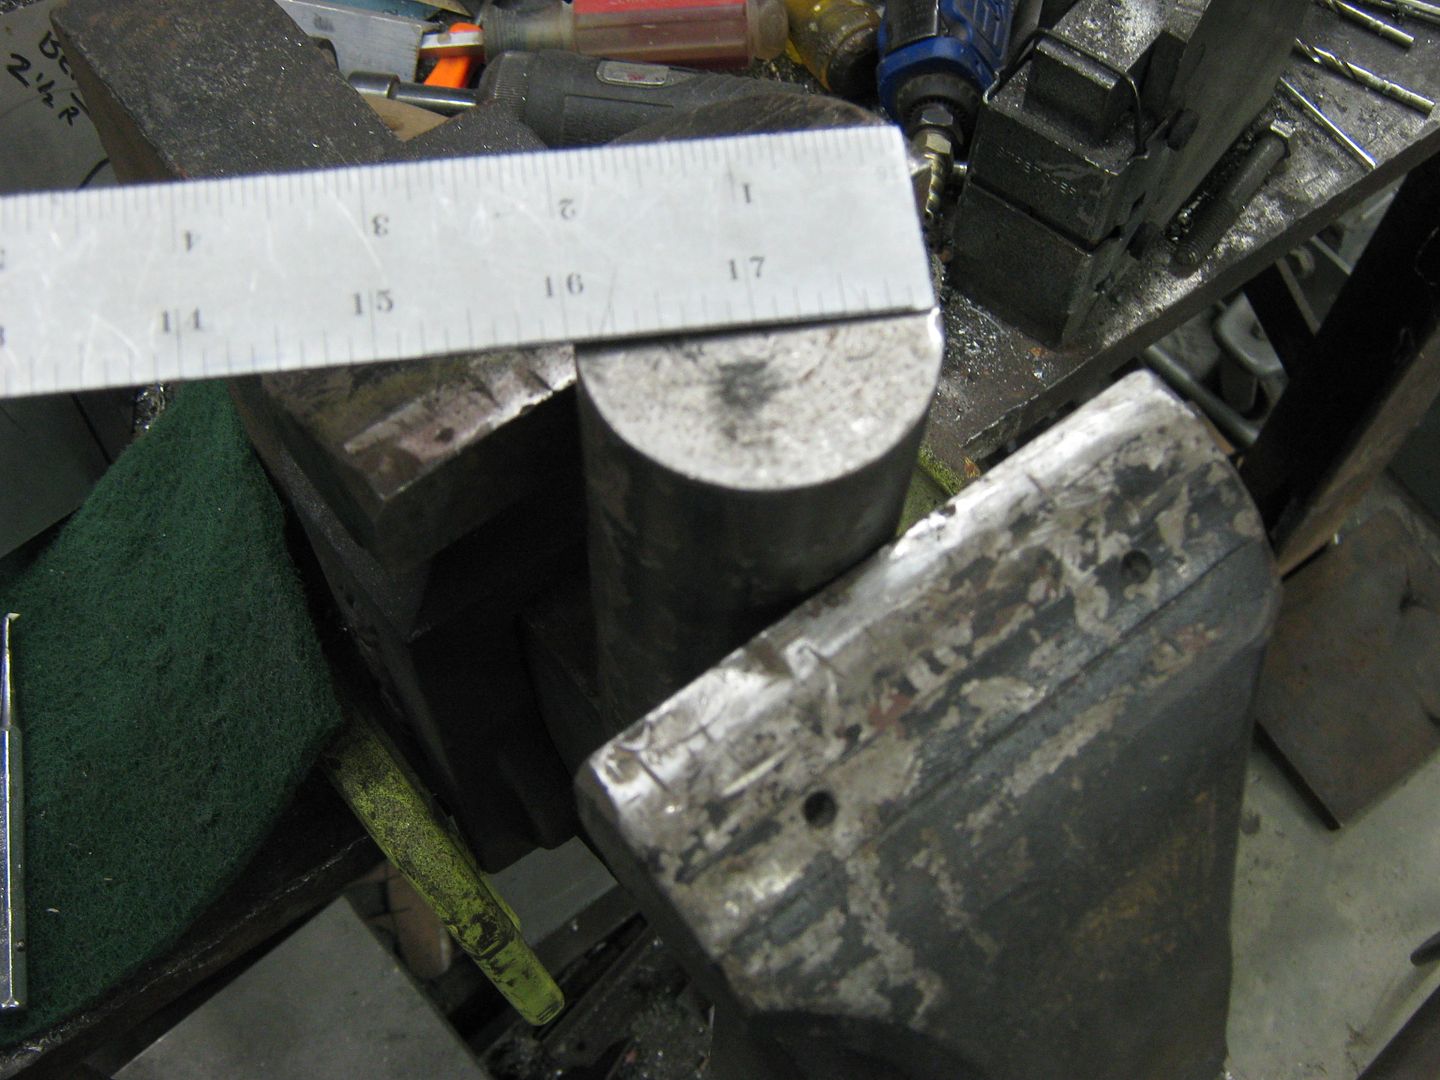
I keep the line up top where I can see what's going on. The first tap with the hammer will show if you are off from your bend line, as you can see. This will show where you are so you can readjust your placement with the next tap.
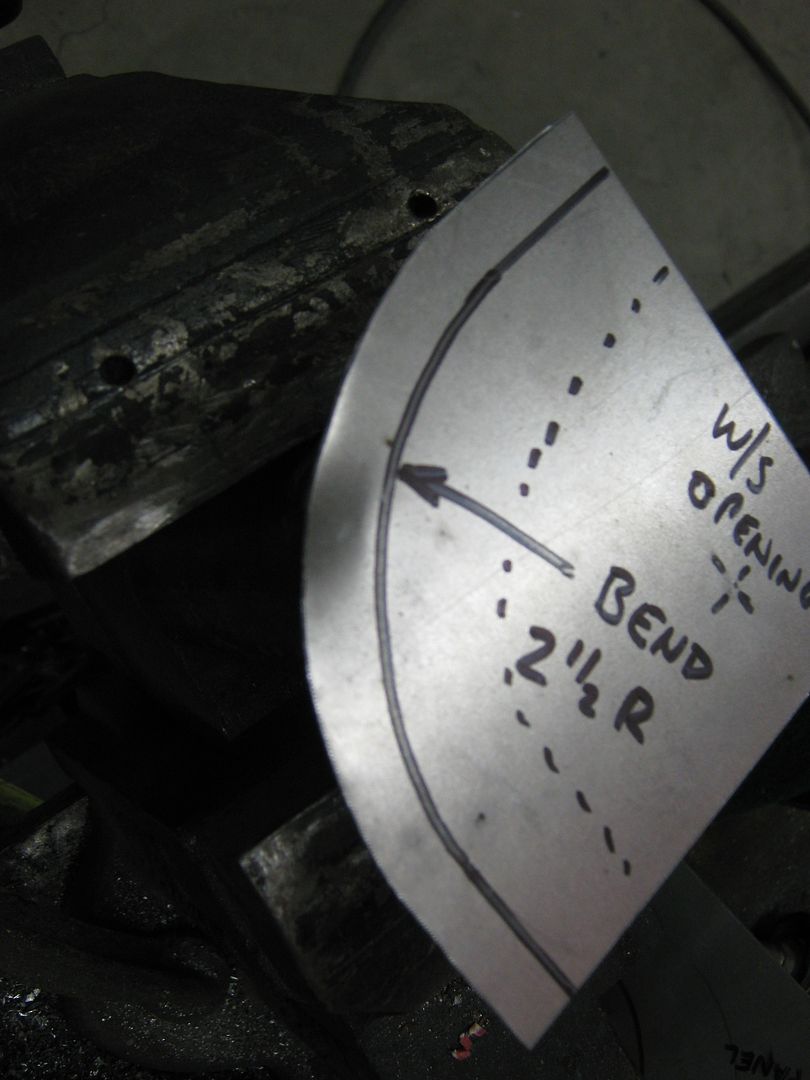
Looking at the above picture, you can see that the length of our bend line is shorter than the outer perimeter of the flange it is going to form. In essence, once you try to make a 90 degree bend, this excess metal will have a tendency to push the outer corners up.
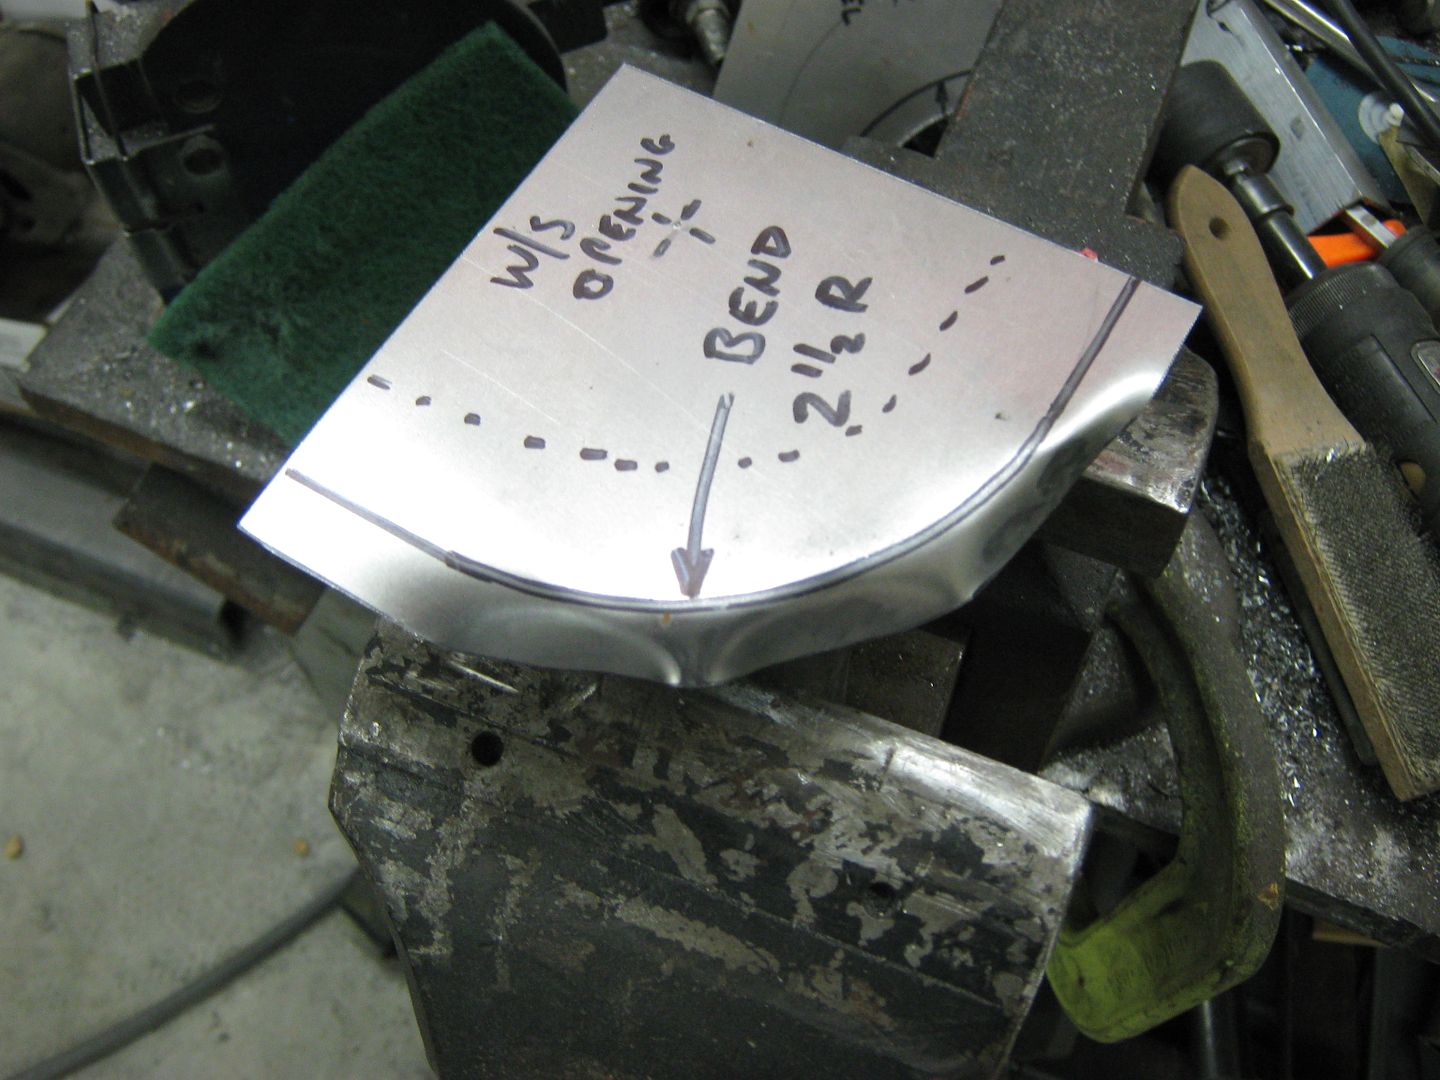
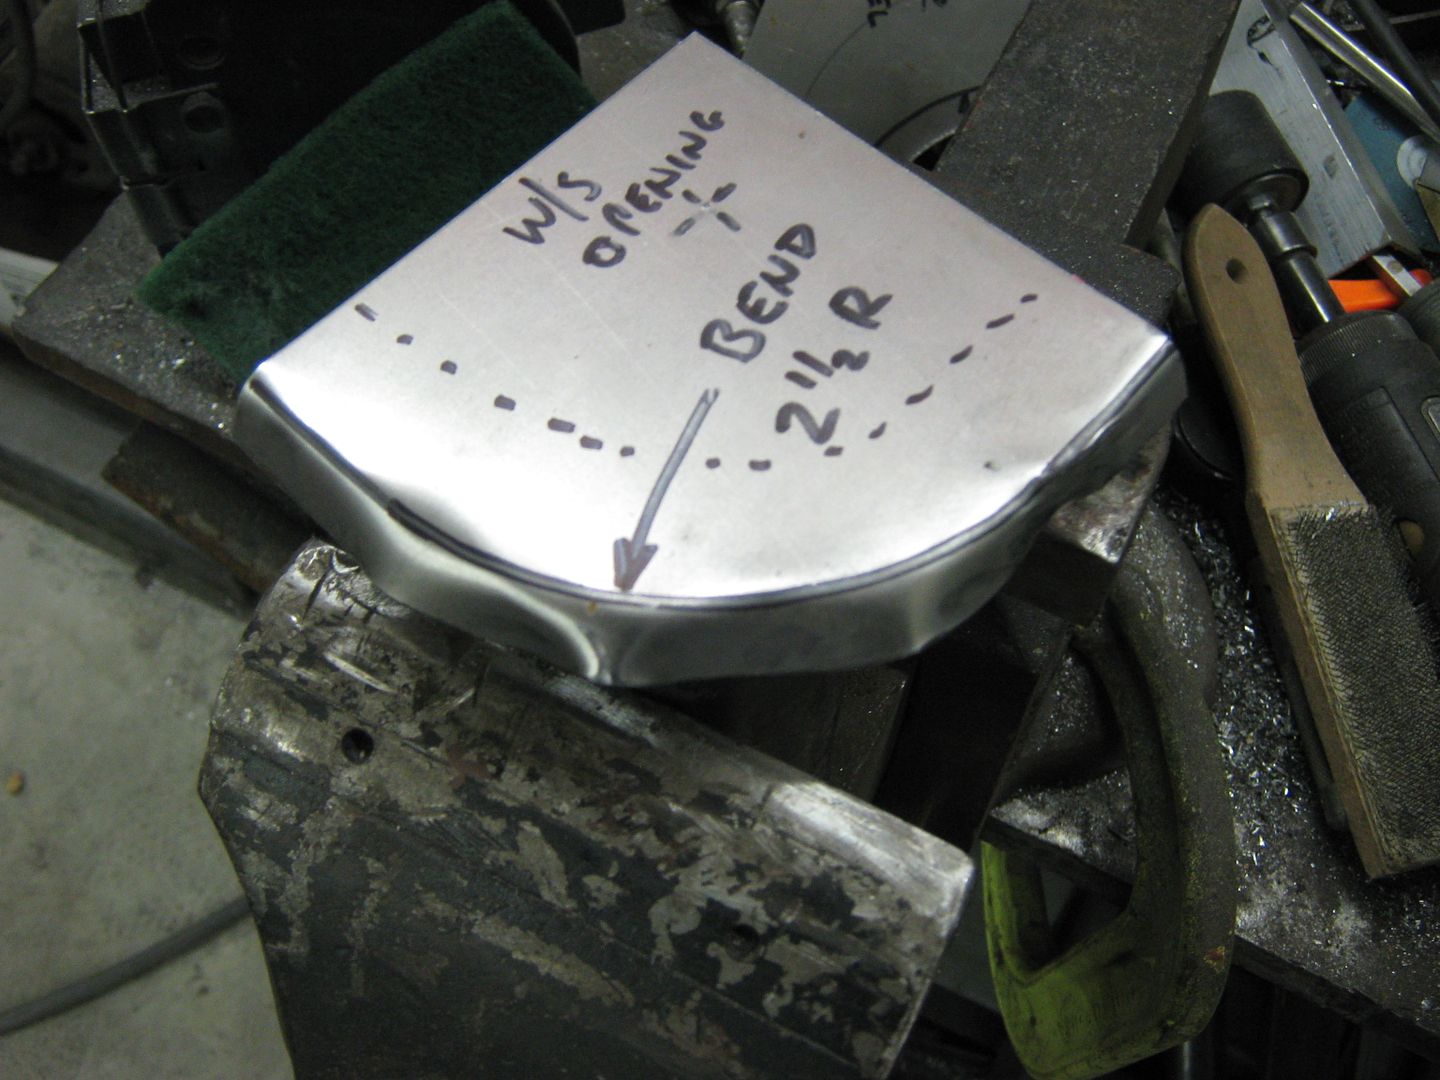
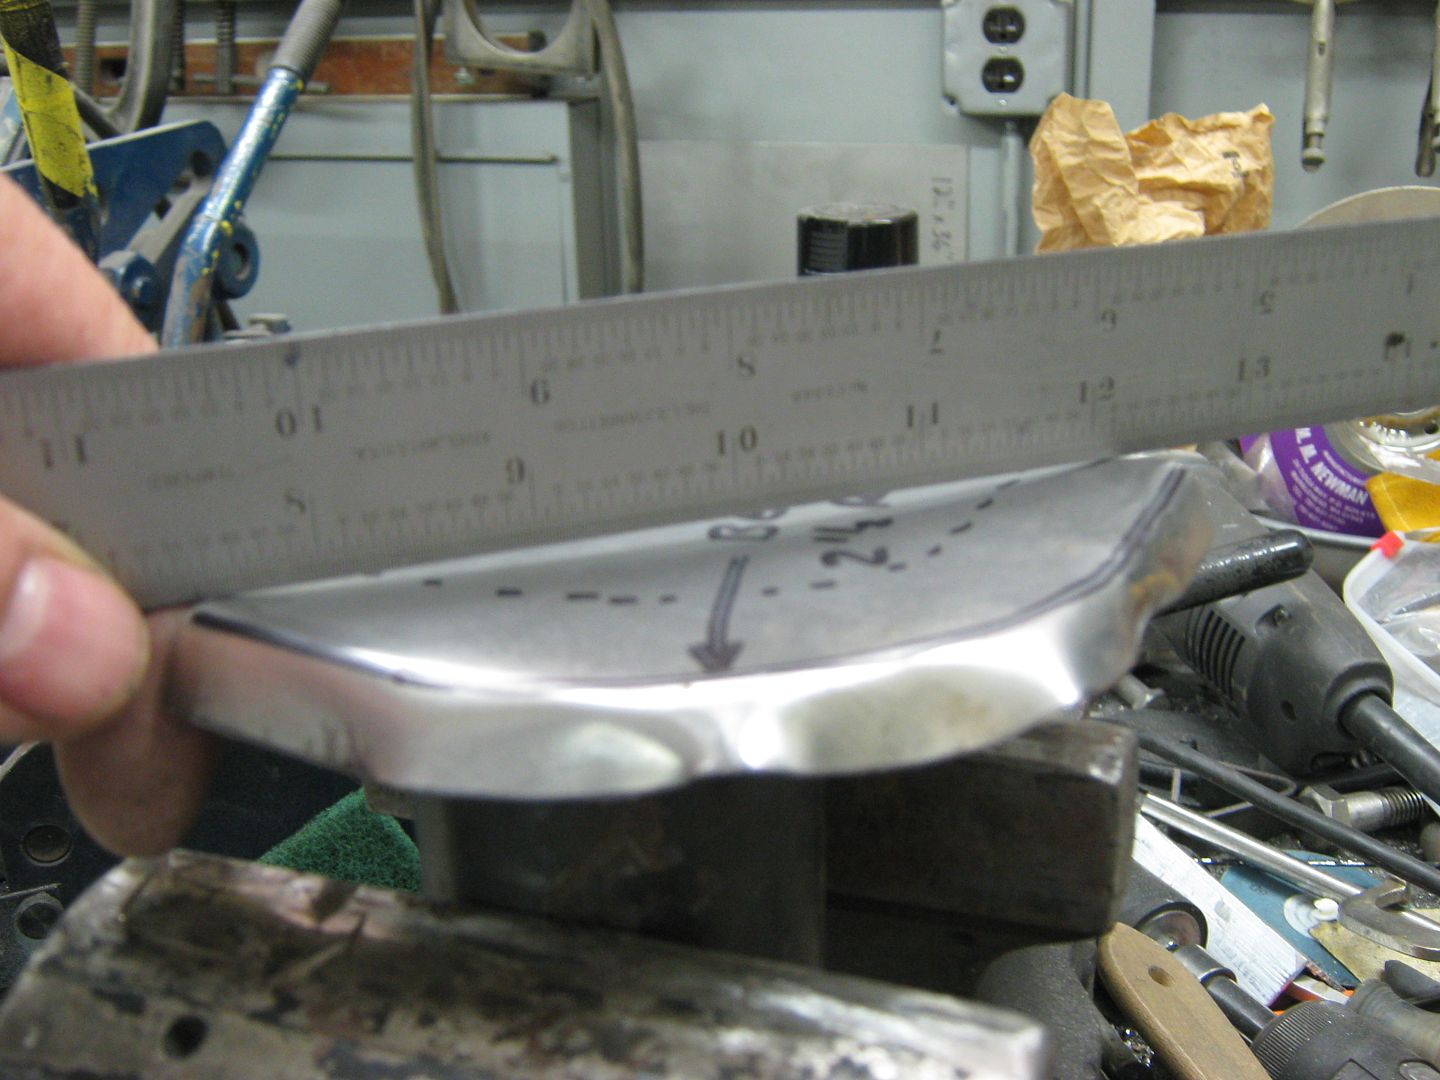
....so we'll need some shrinking of the flange edge to bring things flat again. We'll use what's called a "tucking tool", as those shrinker-stretcher machines don't play well with a tight radius. Here I have made a tucking tool out of a large pair of needle nose I never used for anything else. Please note that all sharp edges of the pliers have been rounded off to prevent cutting into the metal.
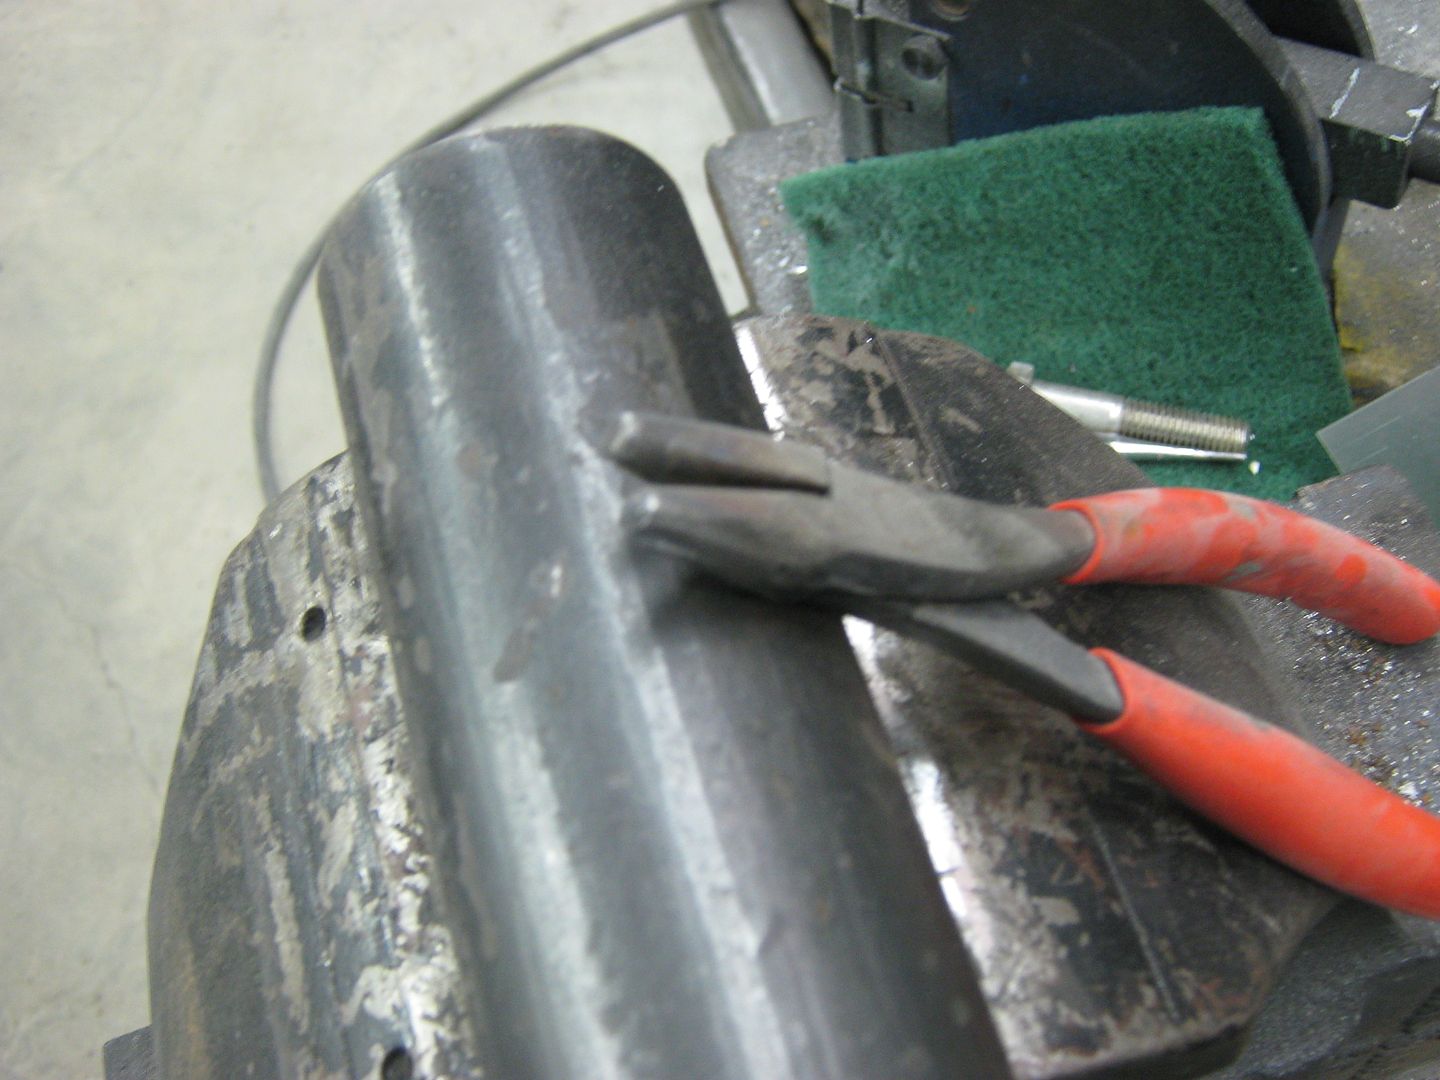
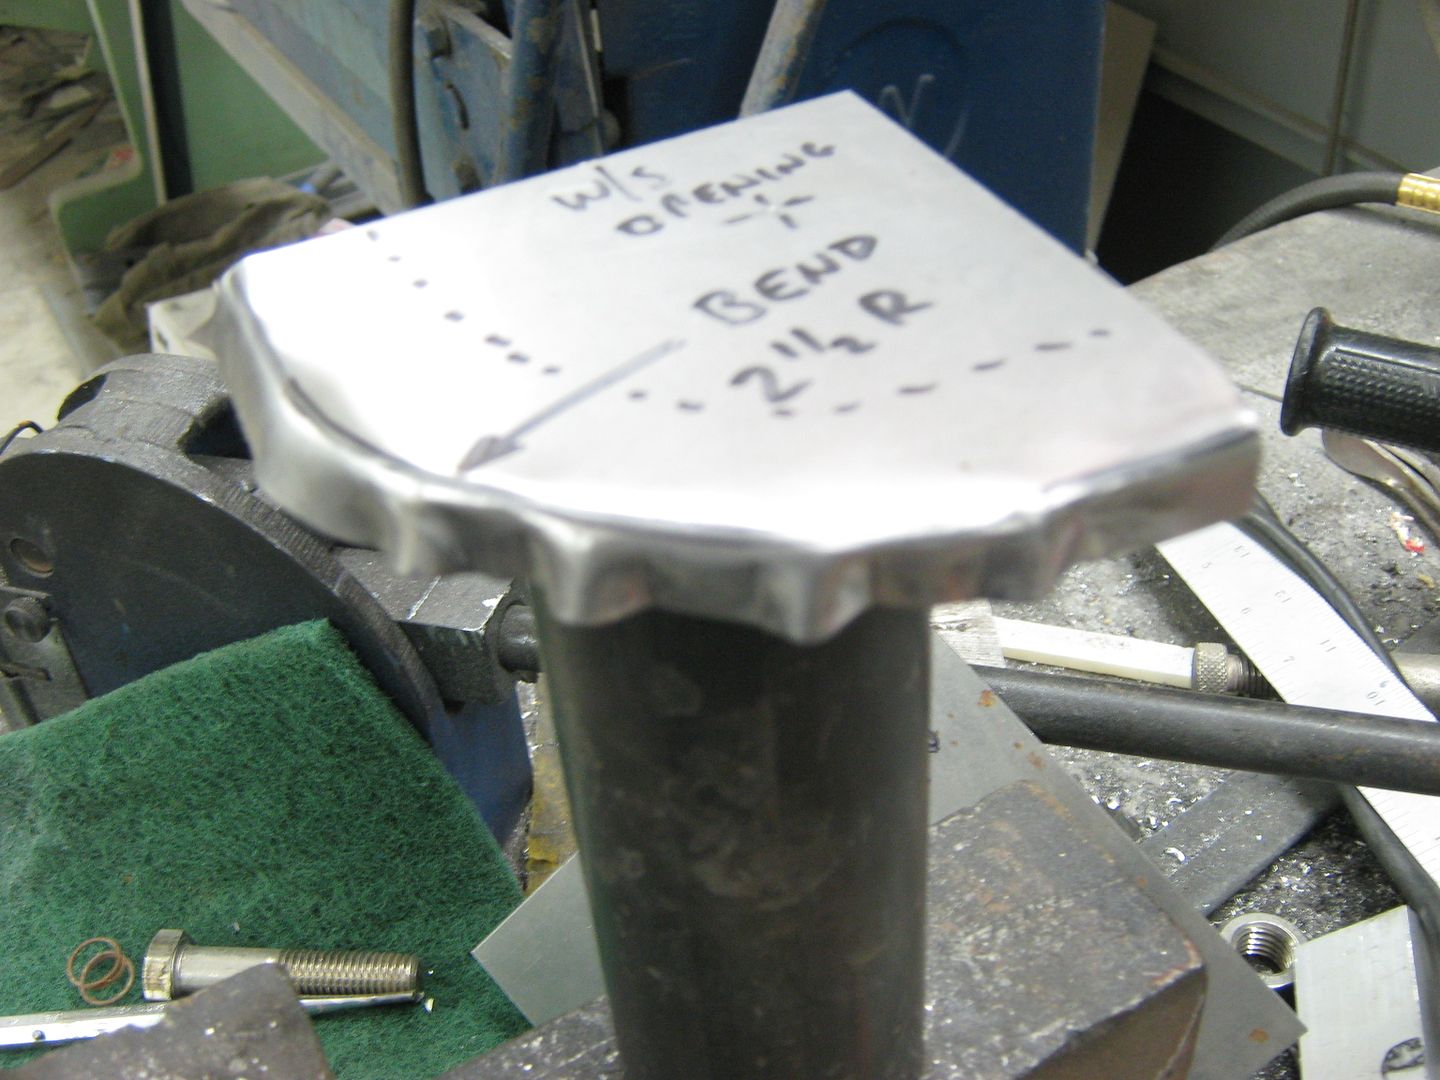
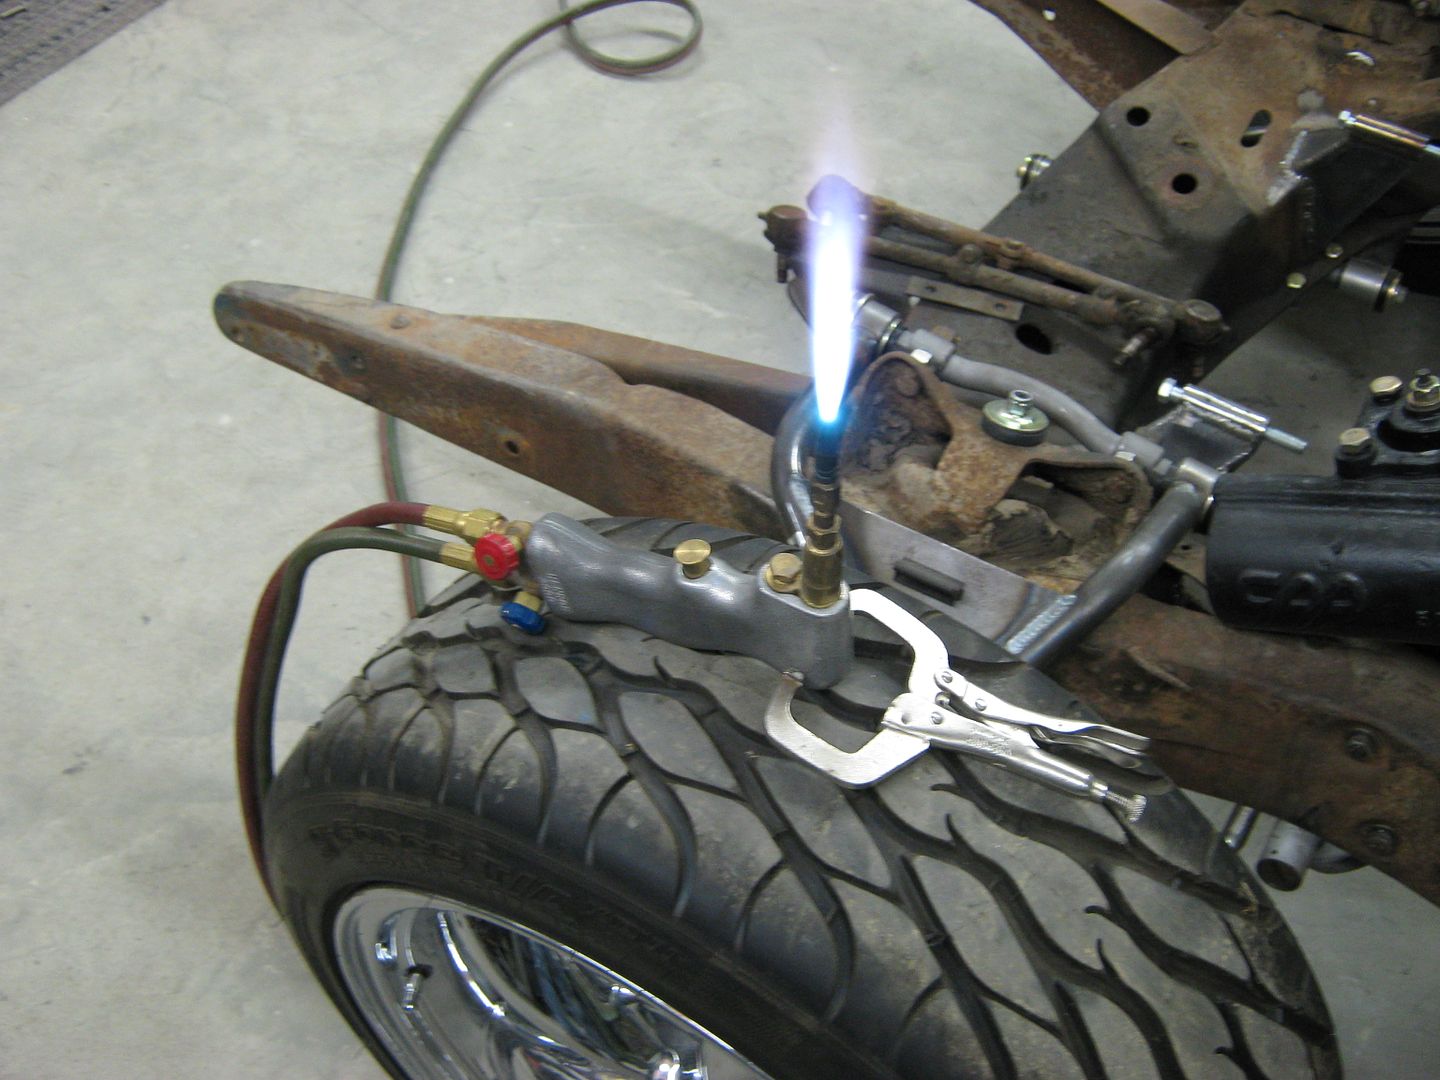
After using the tool to make some "tucks", or gathering up the excess, the object is to heat up the high spot on one of the tucks, place the two lower edges of the tuck so they are resting against your rounded "anvil", and using a flat hammer, tap the high spot back into itself (flatten it out). Repeat as necessary on all the tucks and add as many tucks as needed until the panel flange is bent to the degree you want, and the panel is flat across.
If you're working by yourself, be sure to have a good, secure means to hold your heating device, like a BFG tire.
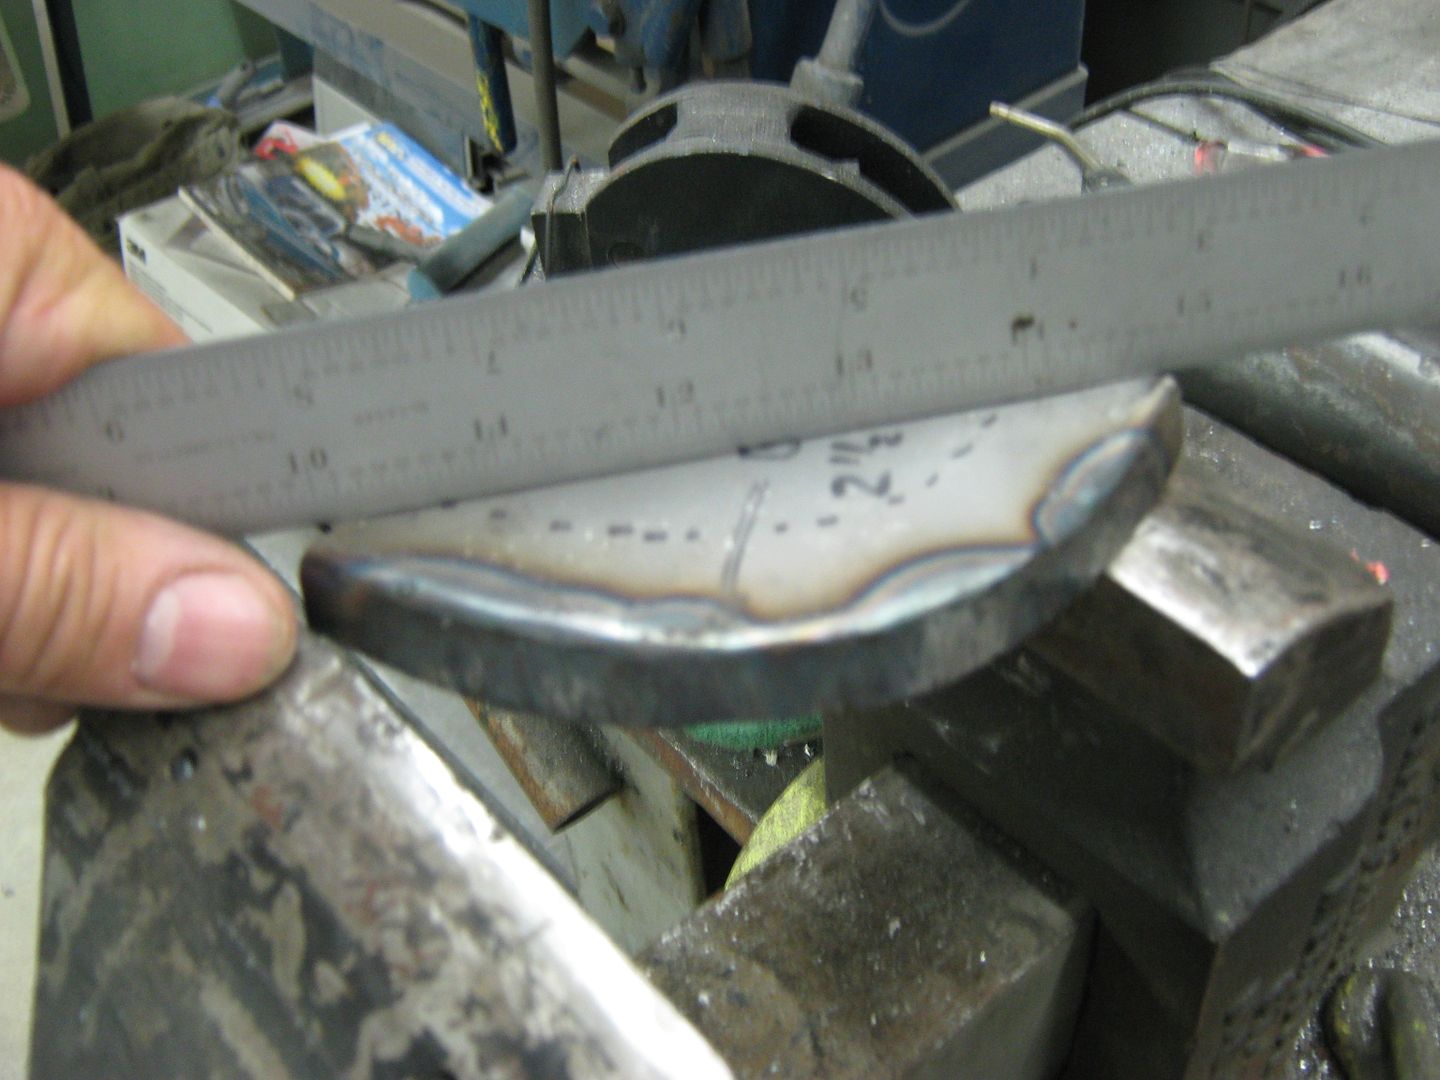
Much better than before, now for the outer piece. This has a slight radius, so I'll do some more grinding on the welding table to provide one:
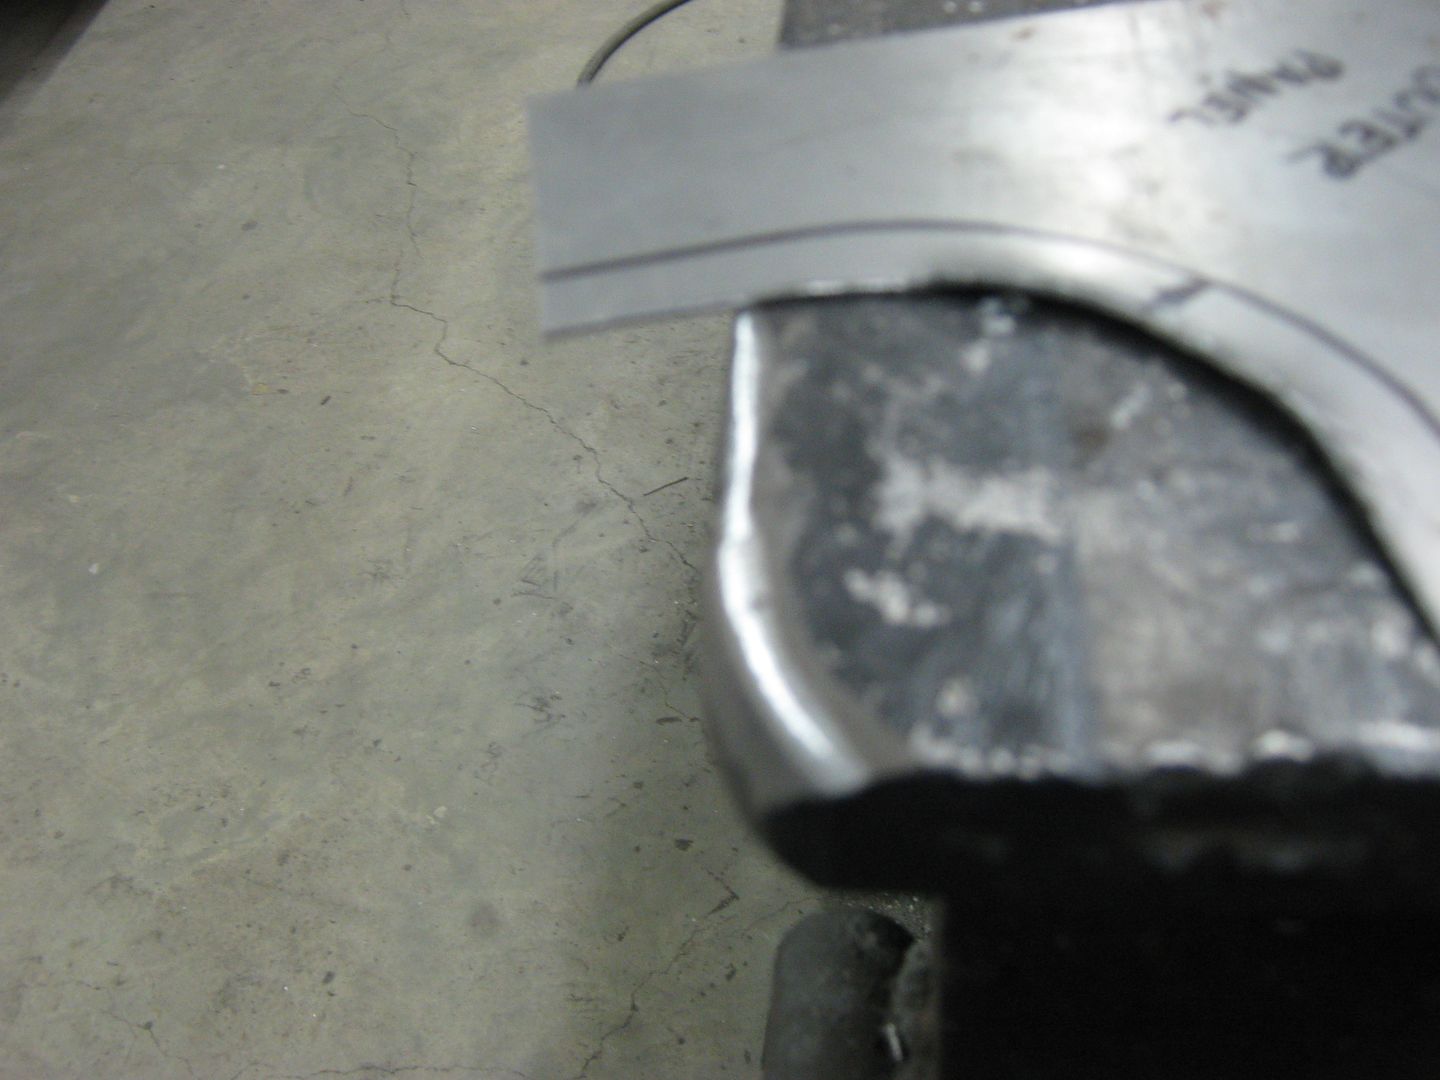
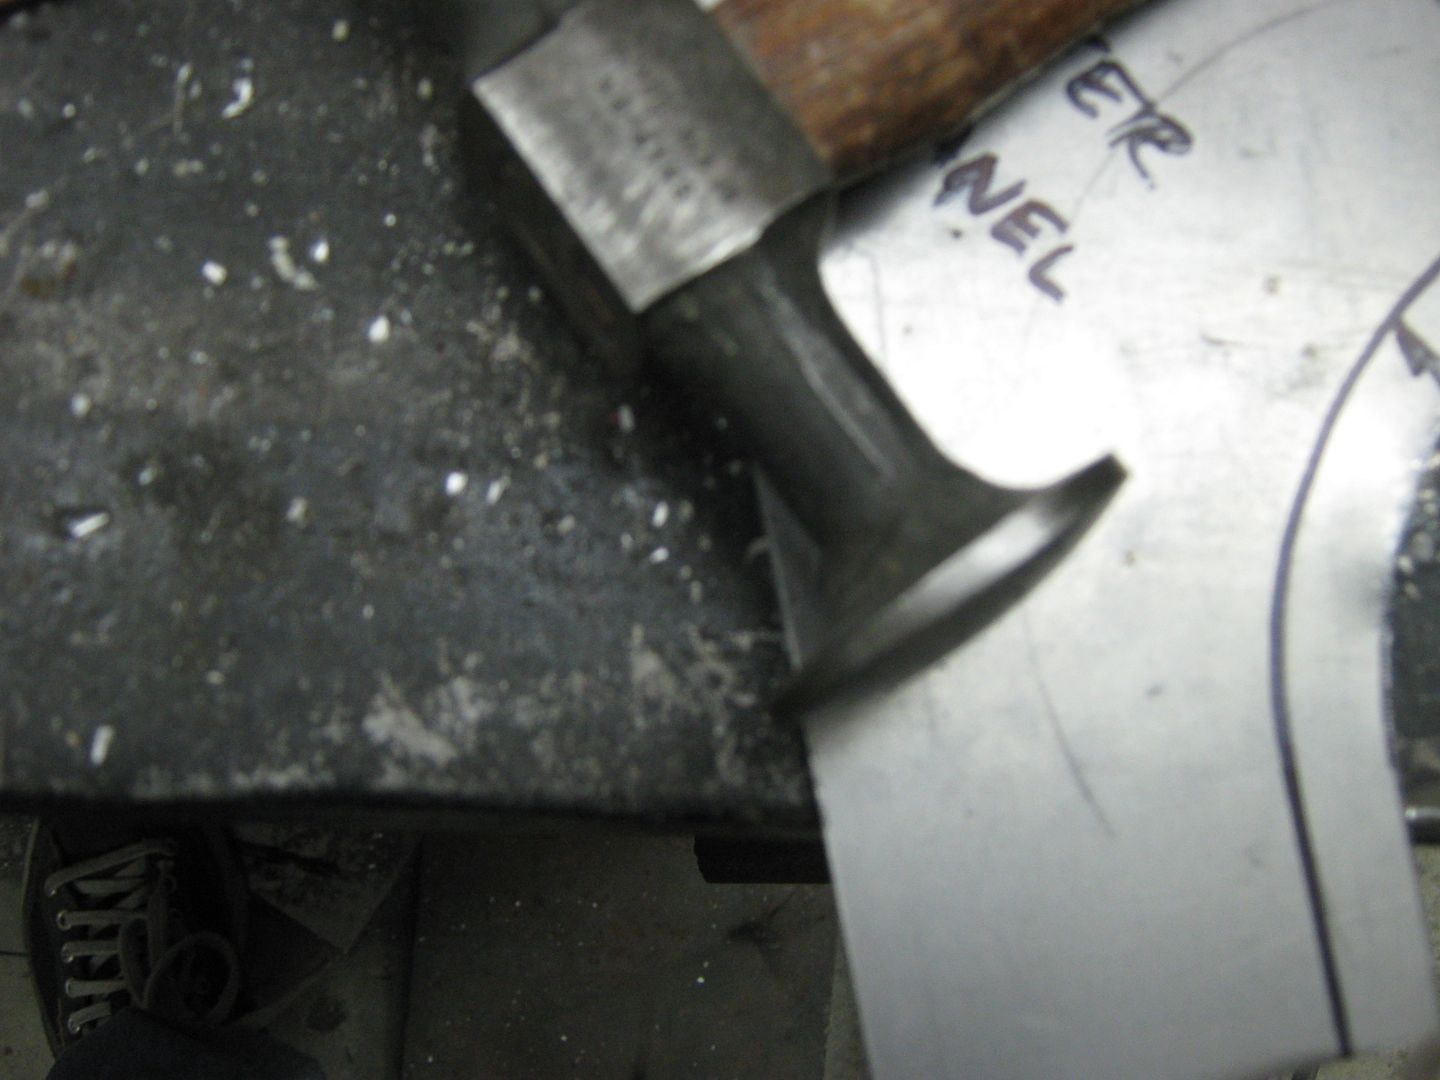
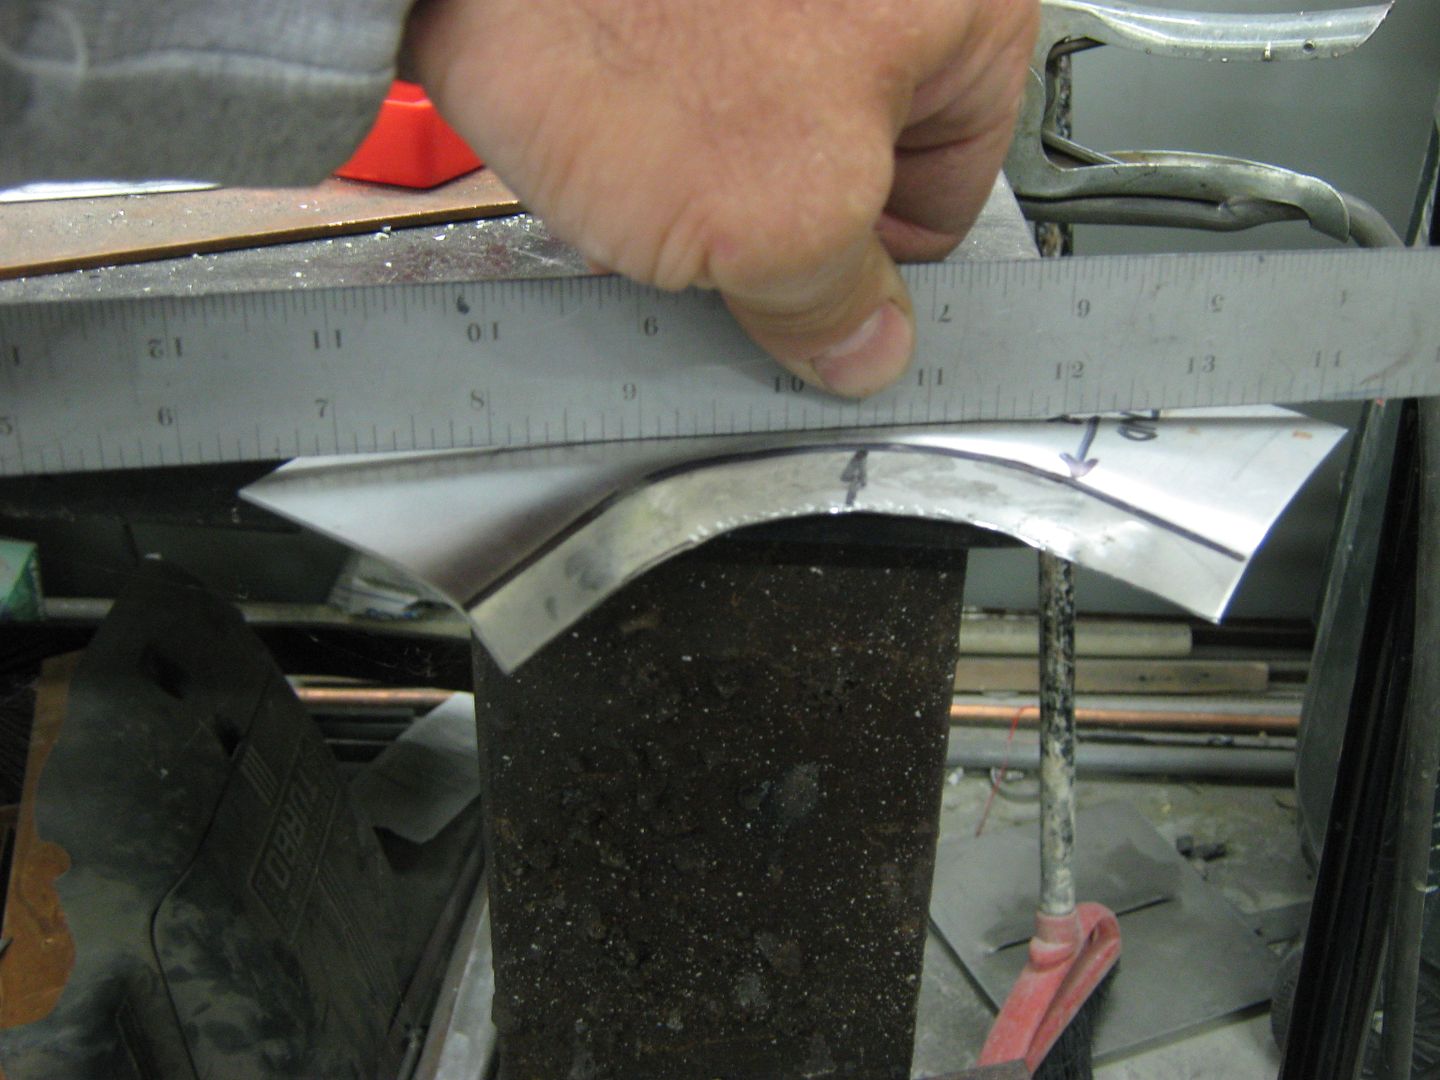
As before, the bend line is of different length than the outer flange perimeter. Here the outer dimension is shorter, so it will have a tendency to pull the panel downward as the bend occurs. To get rid of this issue, we will need to stretch the metal towards the edge of the flange, and a slightly crowned hammer will help out.
Place the flange on a flat surface and using the hammer, work the area, especially the outer perimeter where it is shorter, this needs more stretching. <br />
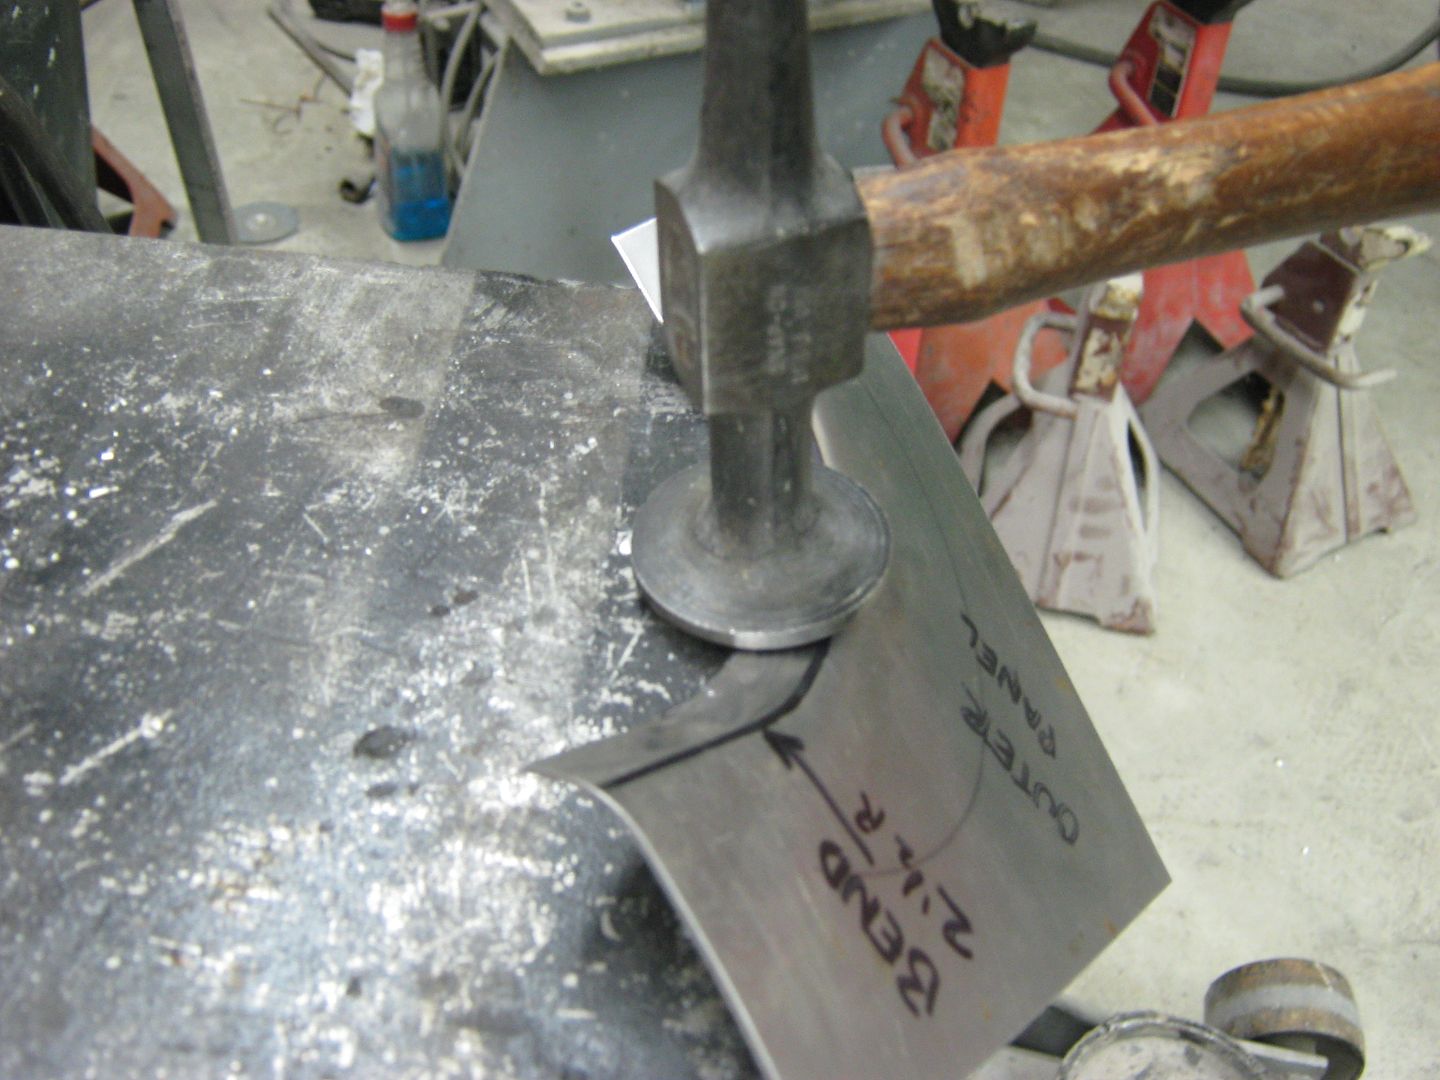
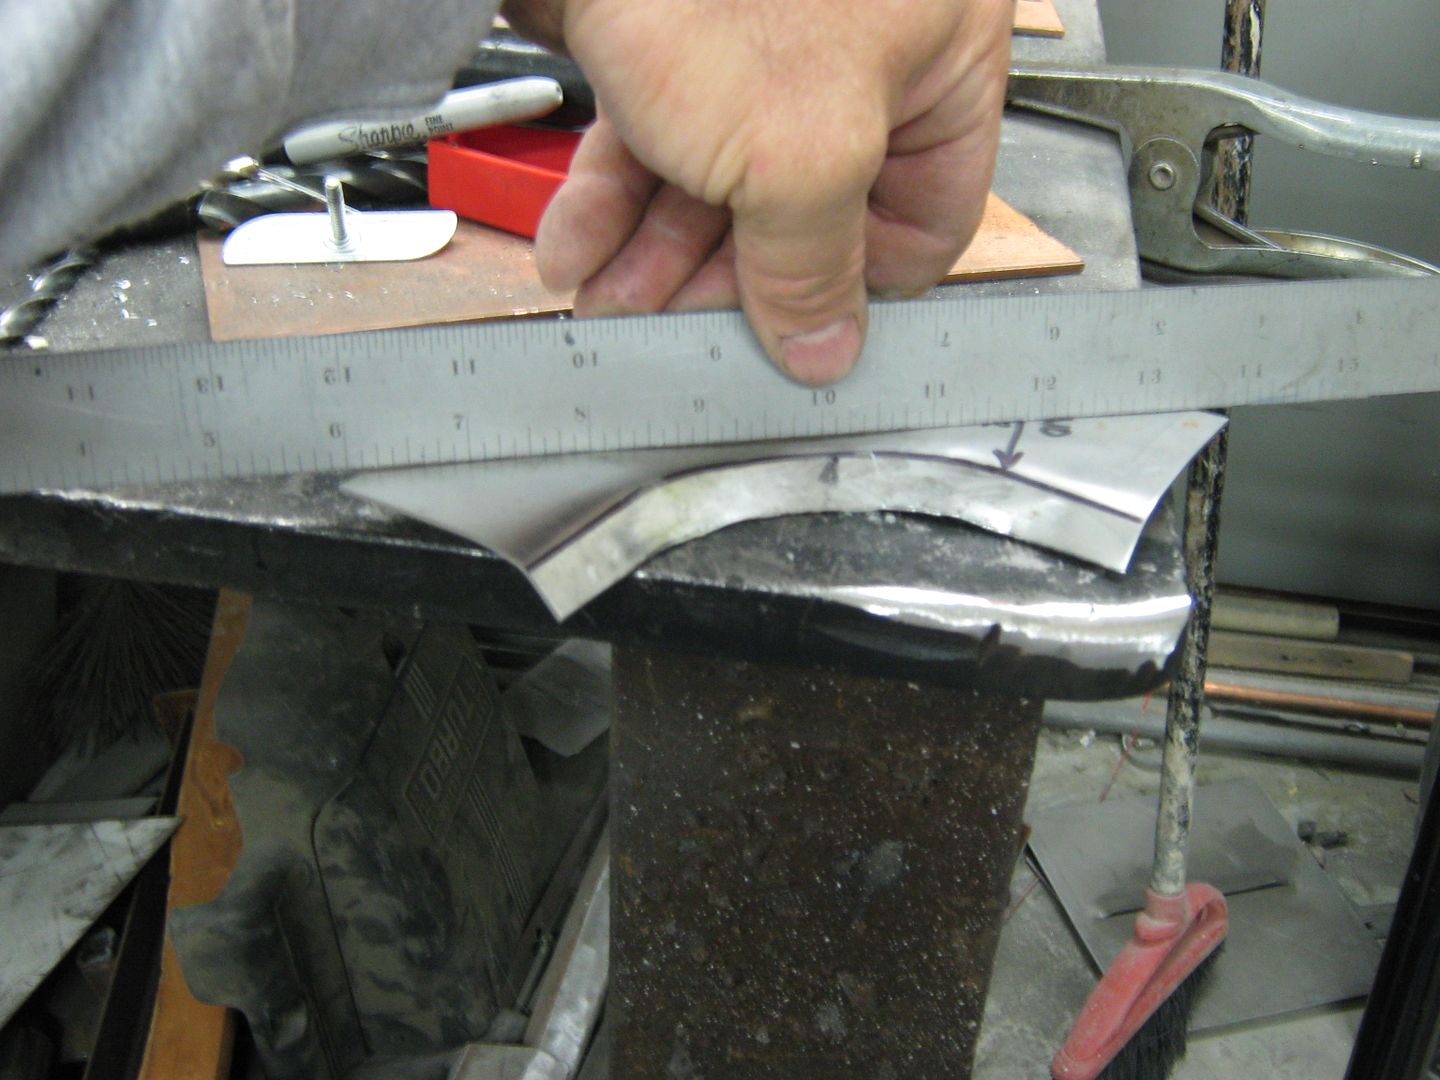
It doesn't take long to notice an improvement. Keep working as needed until you have the correct bend you're looking for, and the section is straight across, if that's what you need..
Here I'll normally trim one flange to a nice straight cut, position the other so you have your correct offset, and scribe and trim the other. Weld together, Dress (grind) the welds, and install.
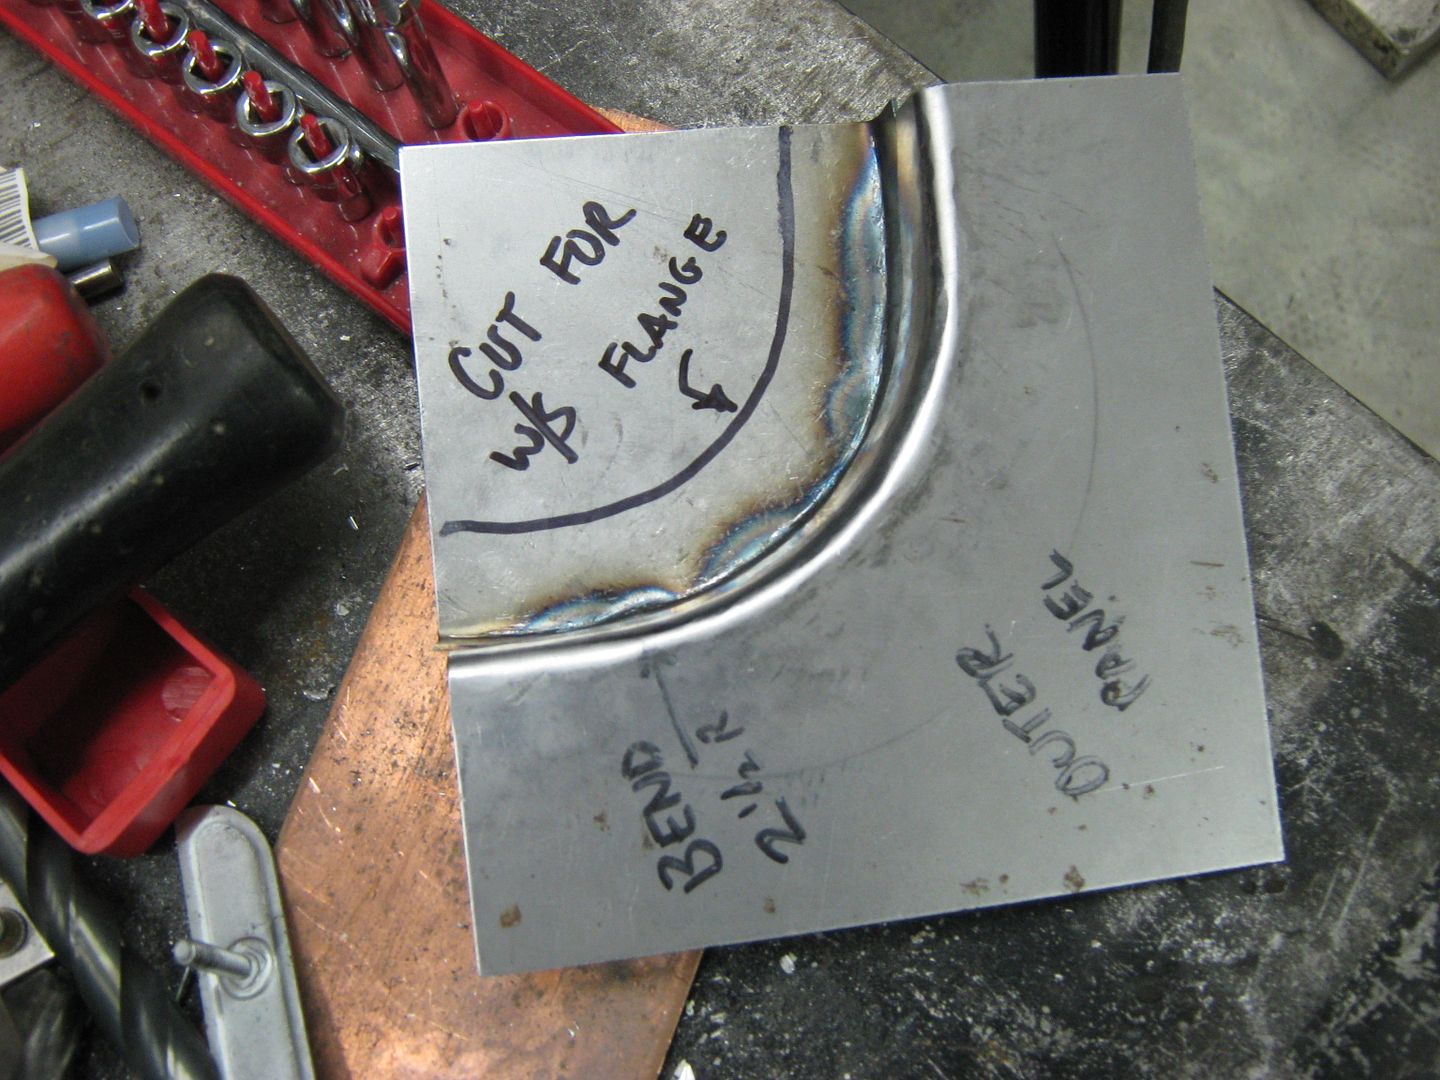
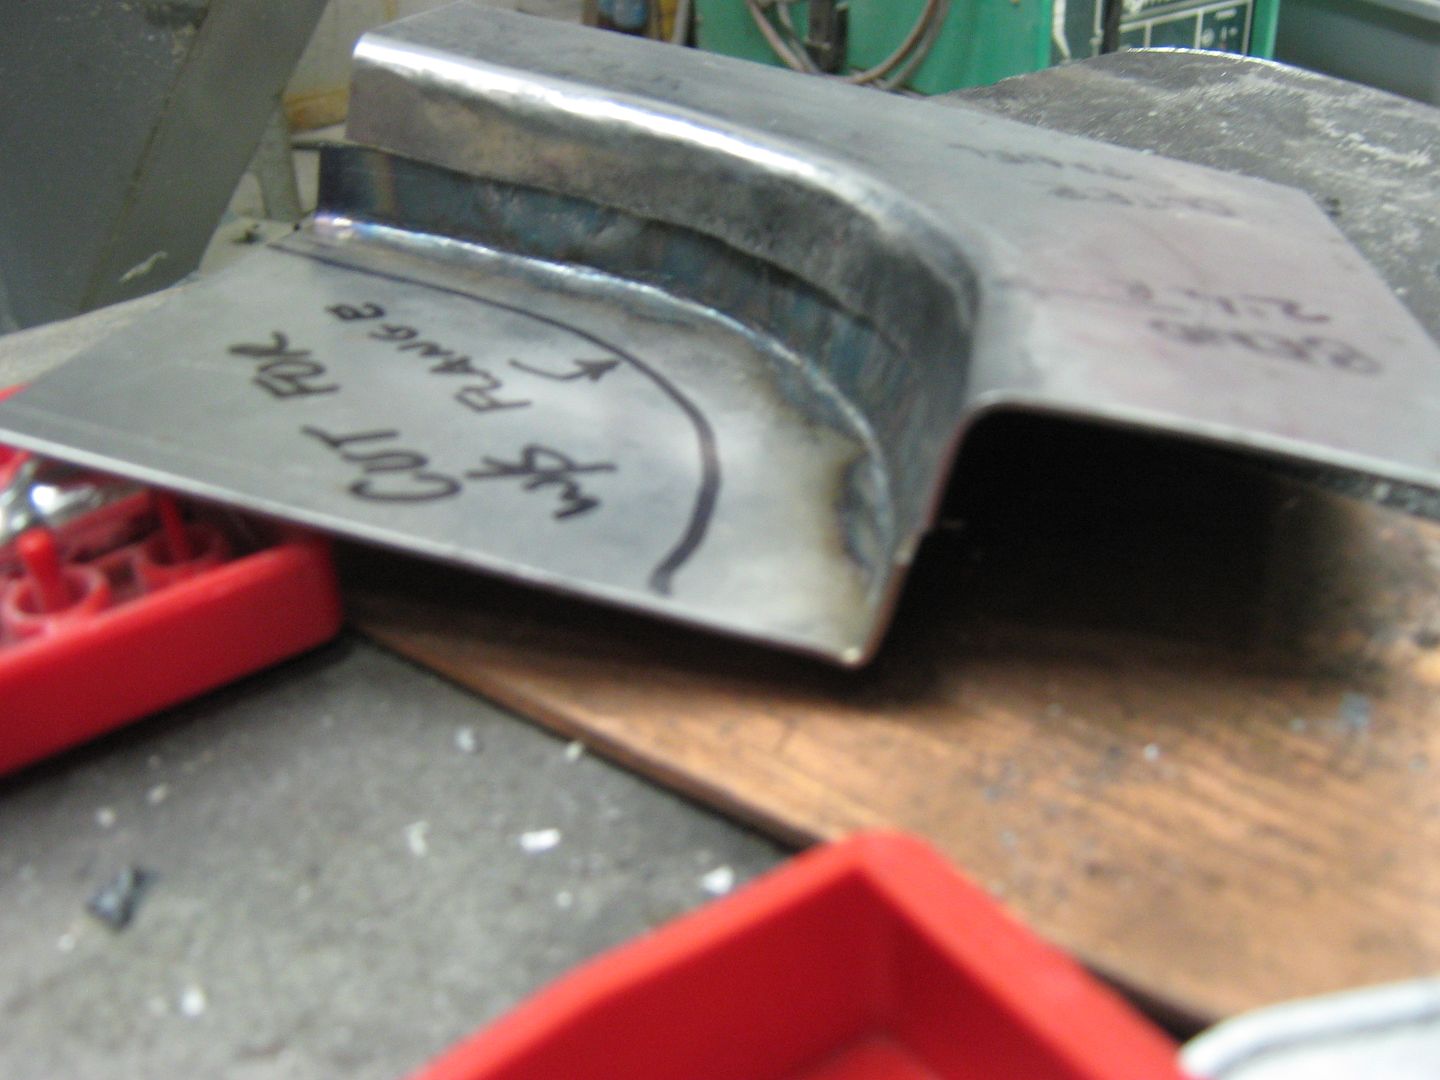
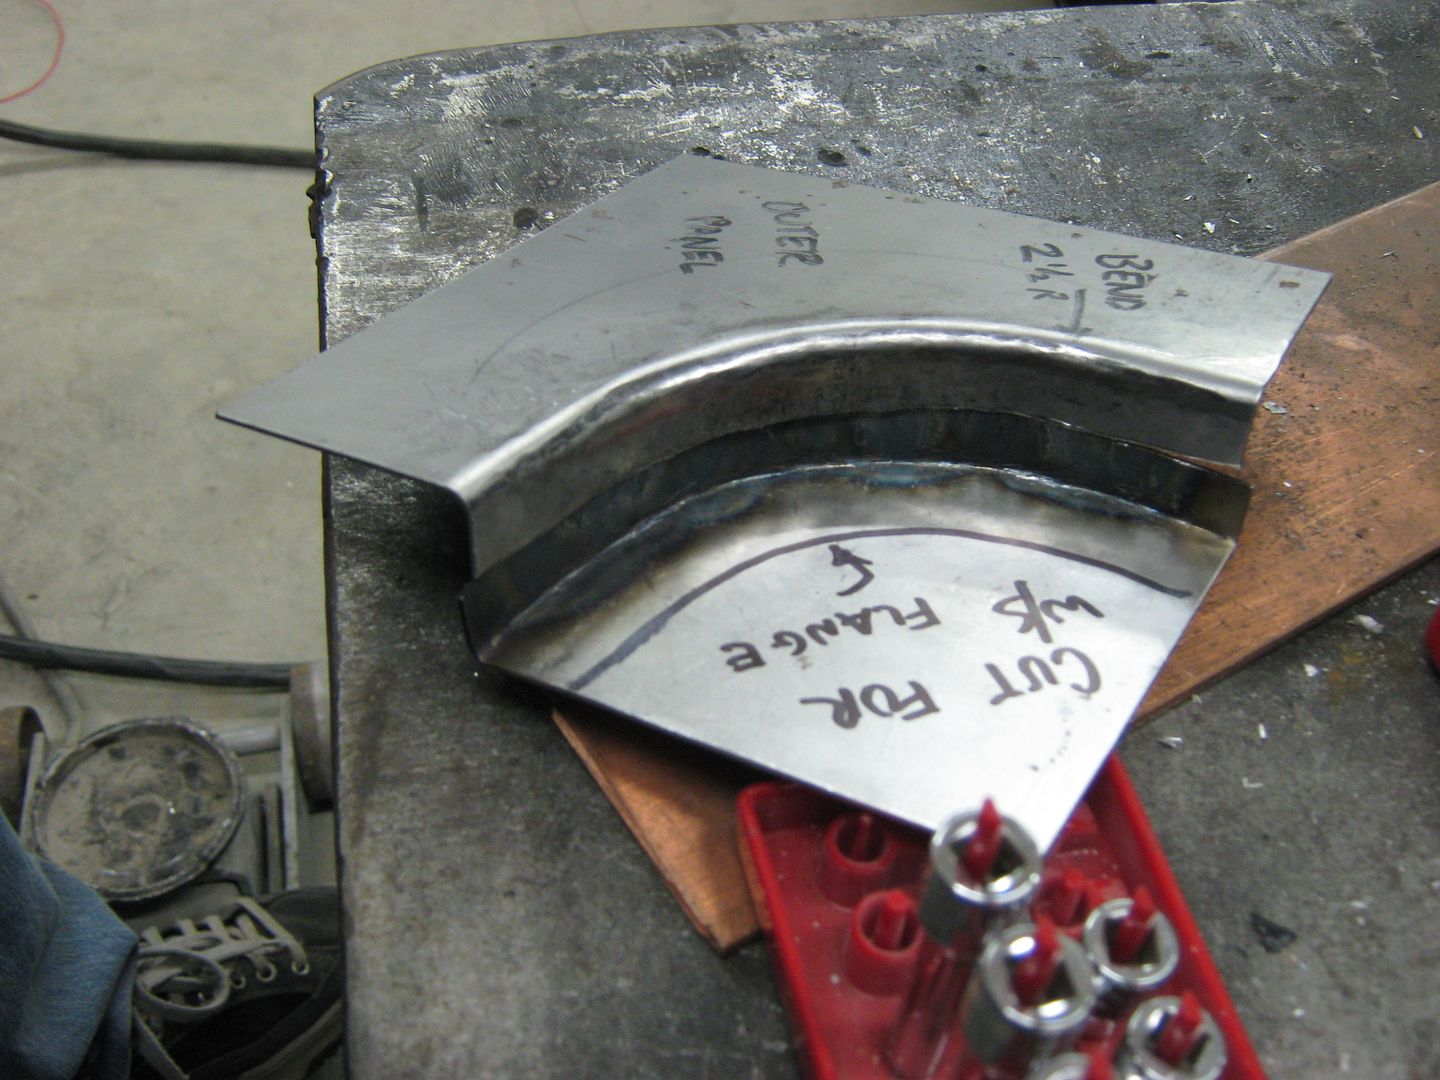
Robert
-
09-18-2014 06:39 AM #2
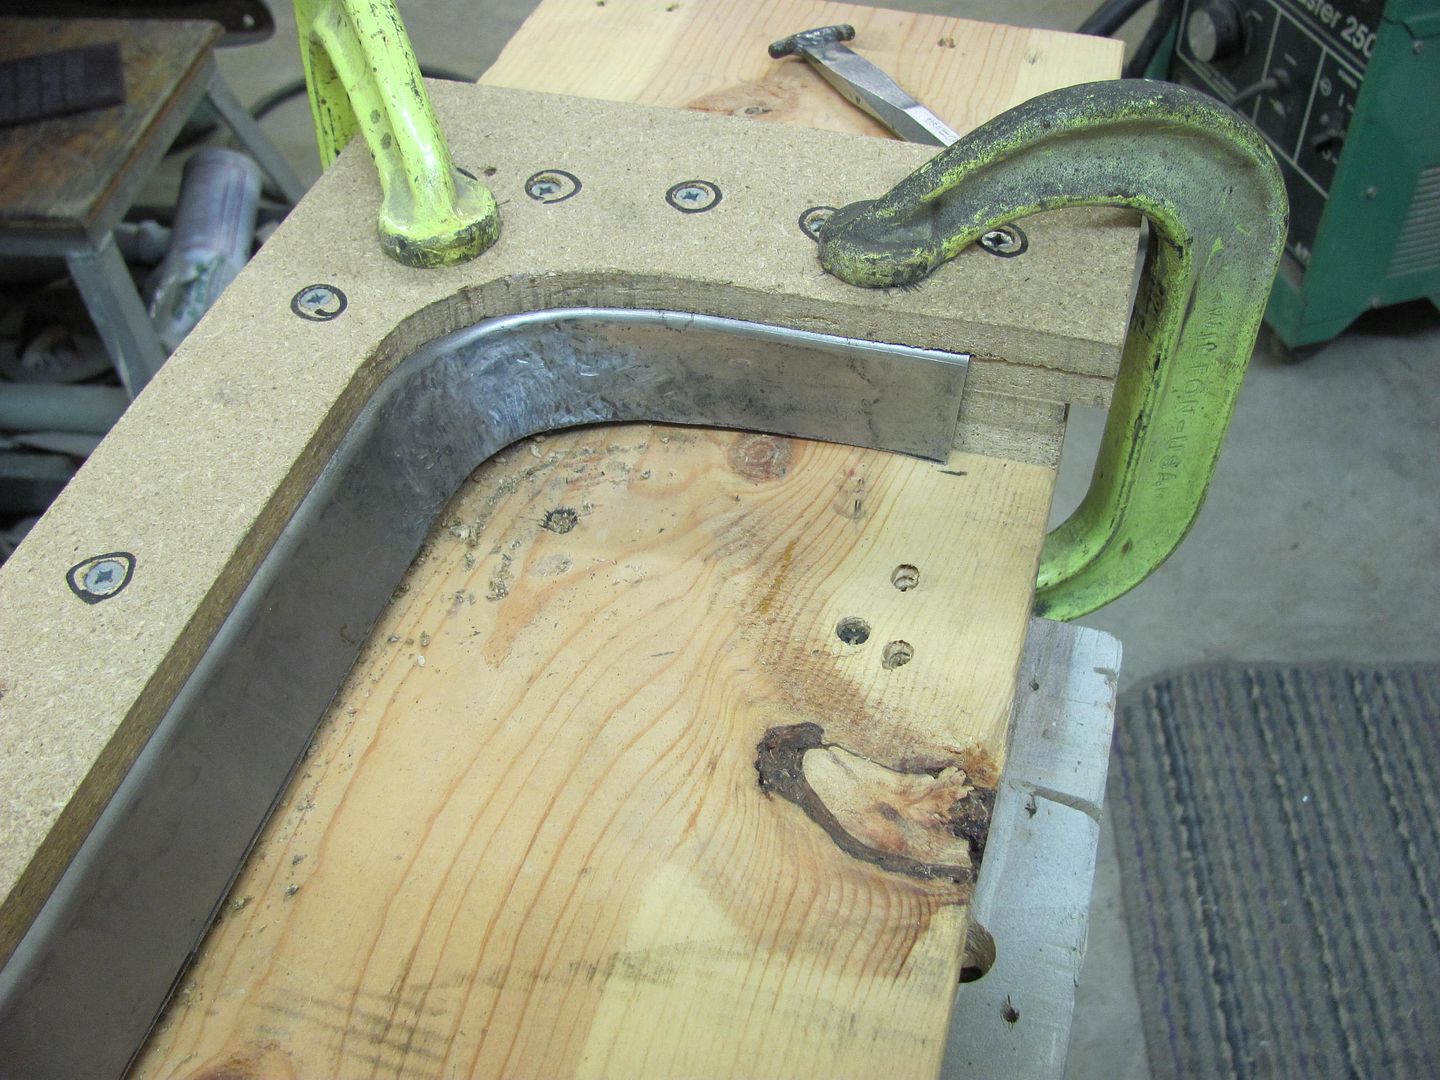
Now that we've covered the basics, the same bends in the first post can also be done using an MDF hammerform. Here the MDF is stacked to allow the flange to be folded downward.
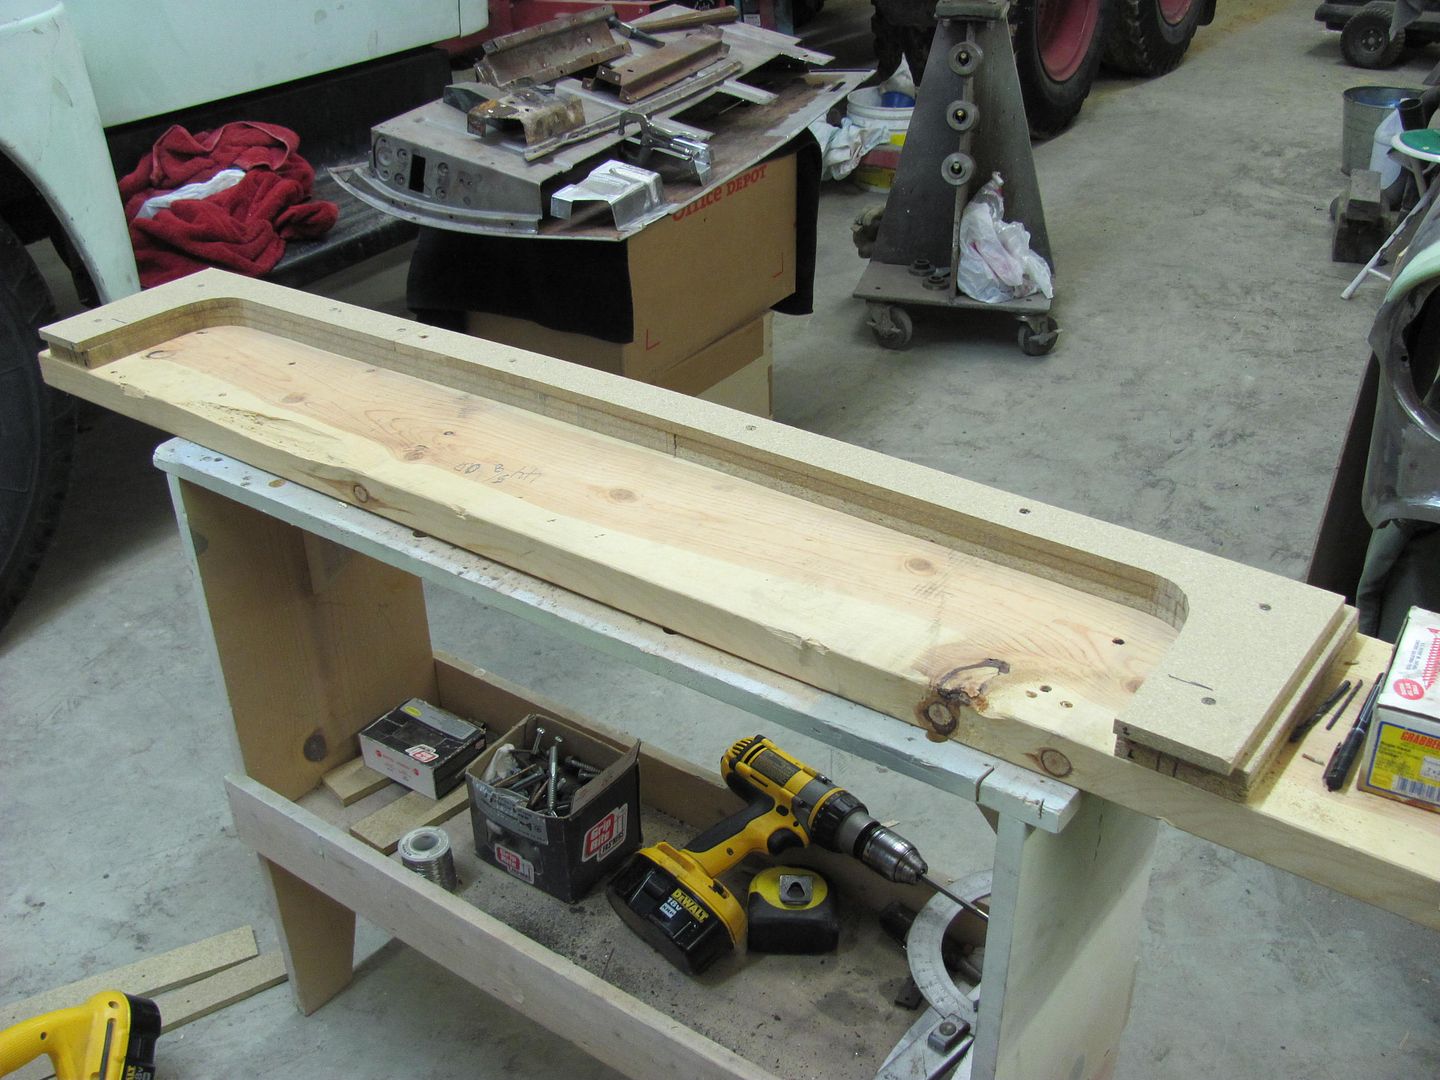
The first three layers are aligned and screwed down, then the 18 ga CRS and "locking" layer of MDF is screwed down, through the entire pile using 4" long screws.
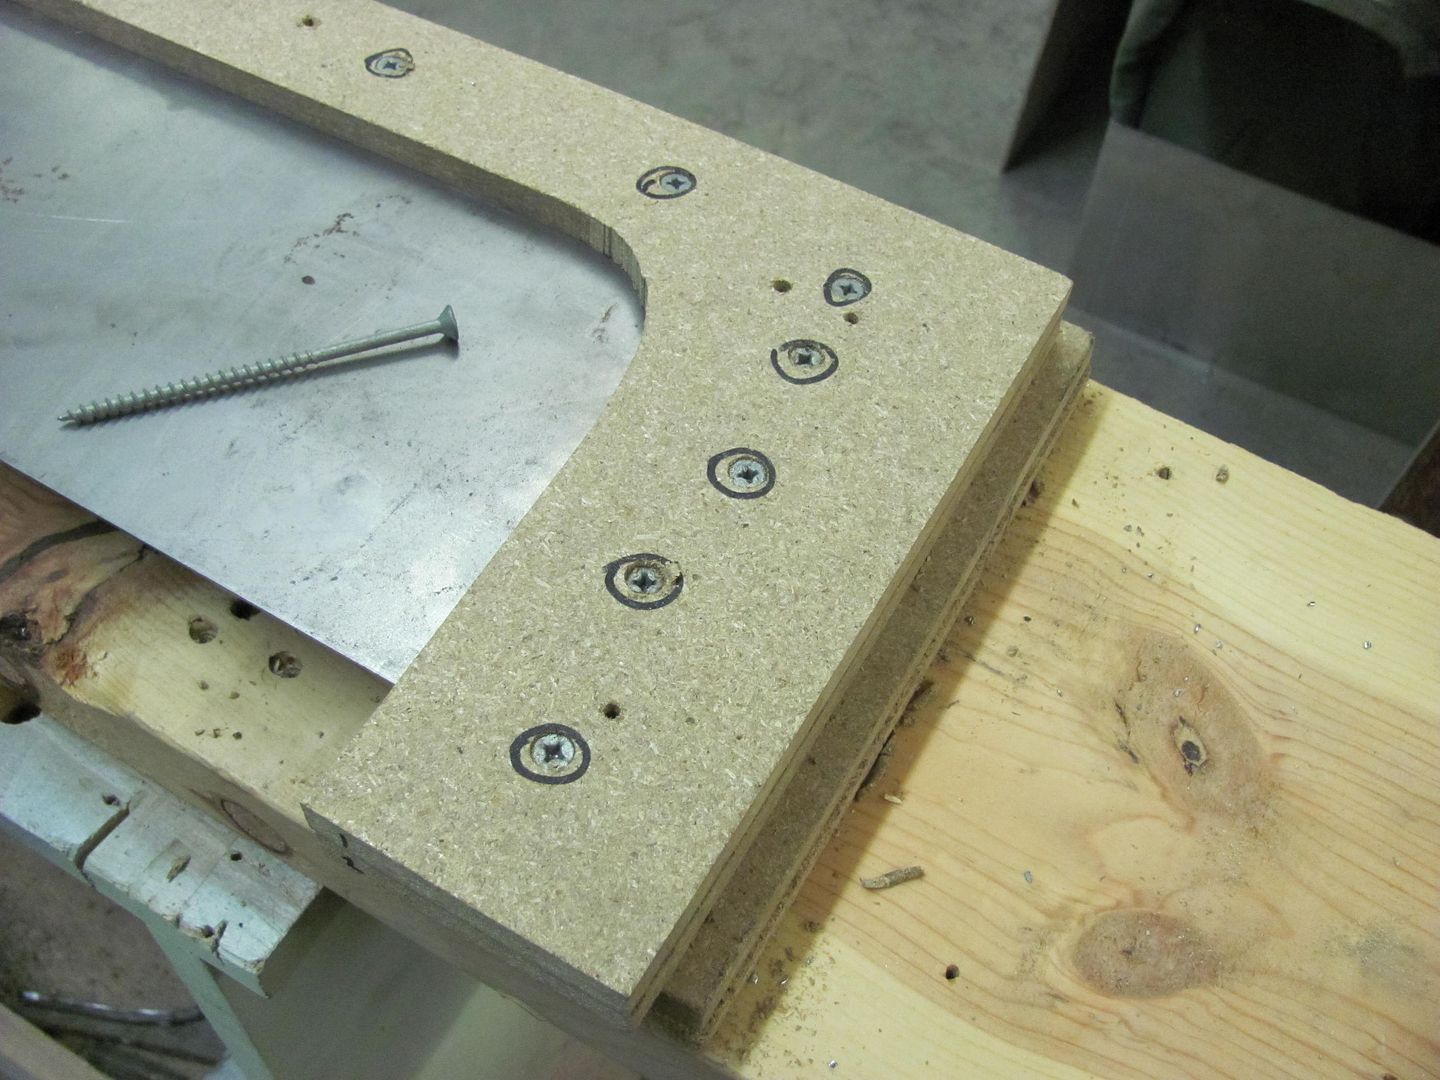
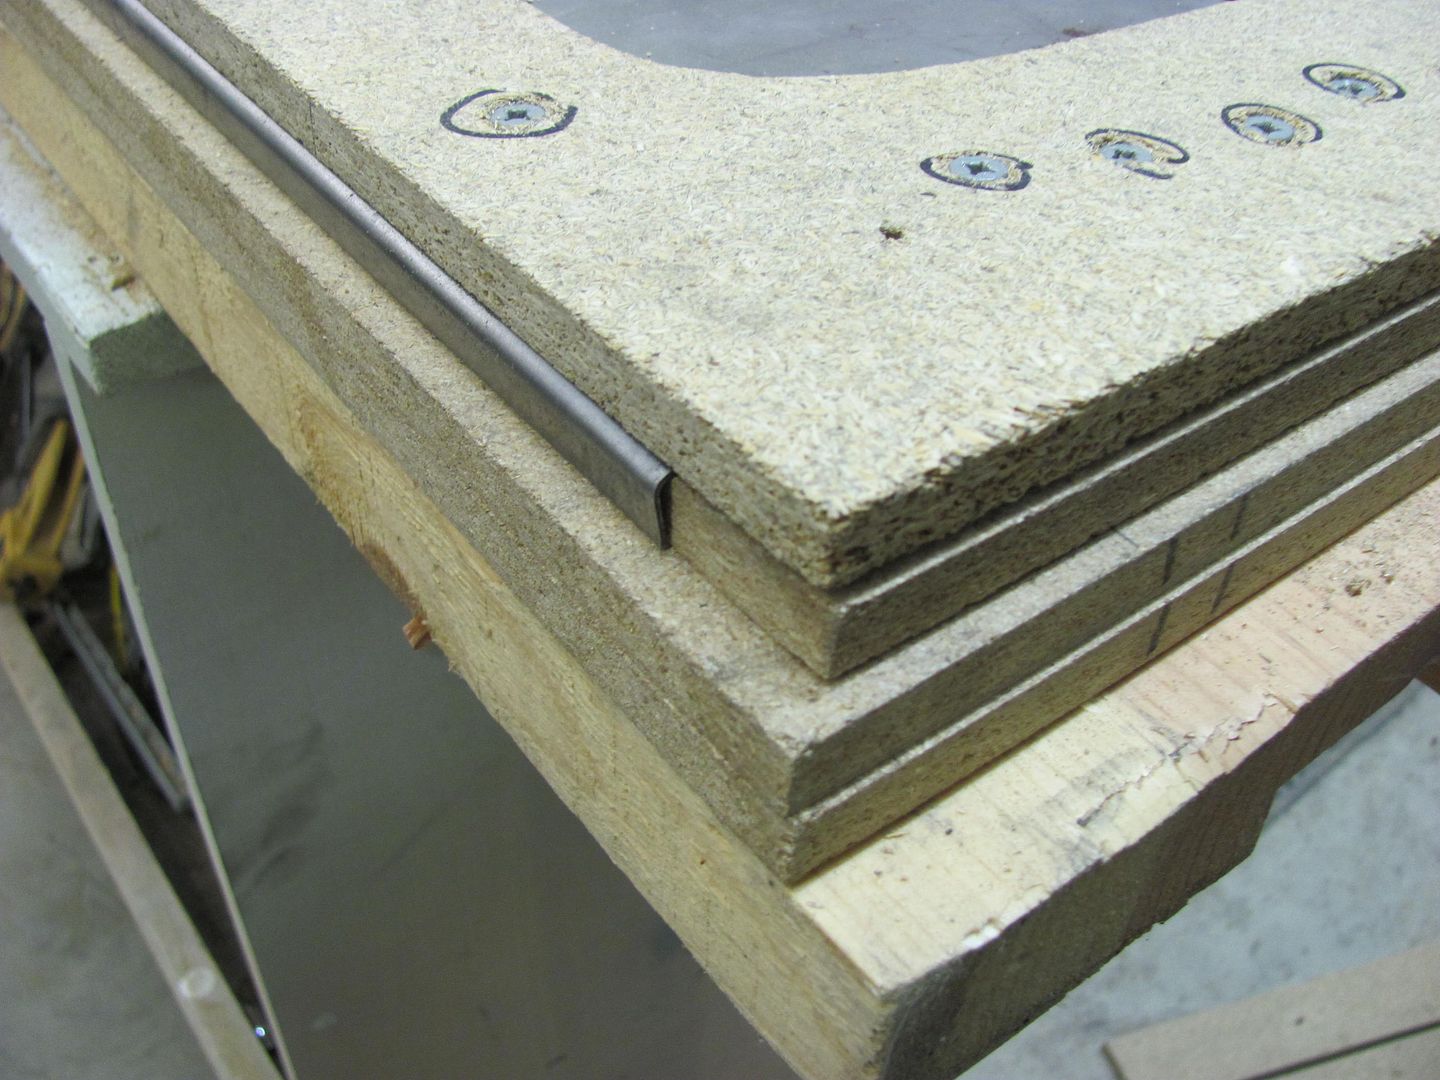
Flange width marked and trimmed. The corners are cleaned of any burrs that may promote cracks to form by using a 3/4" dia drum sander.
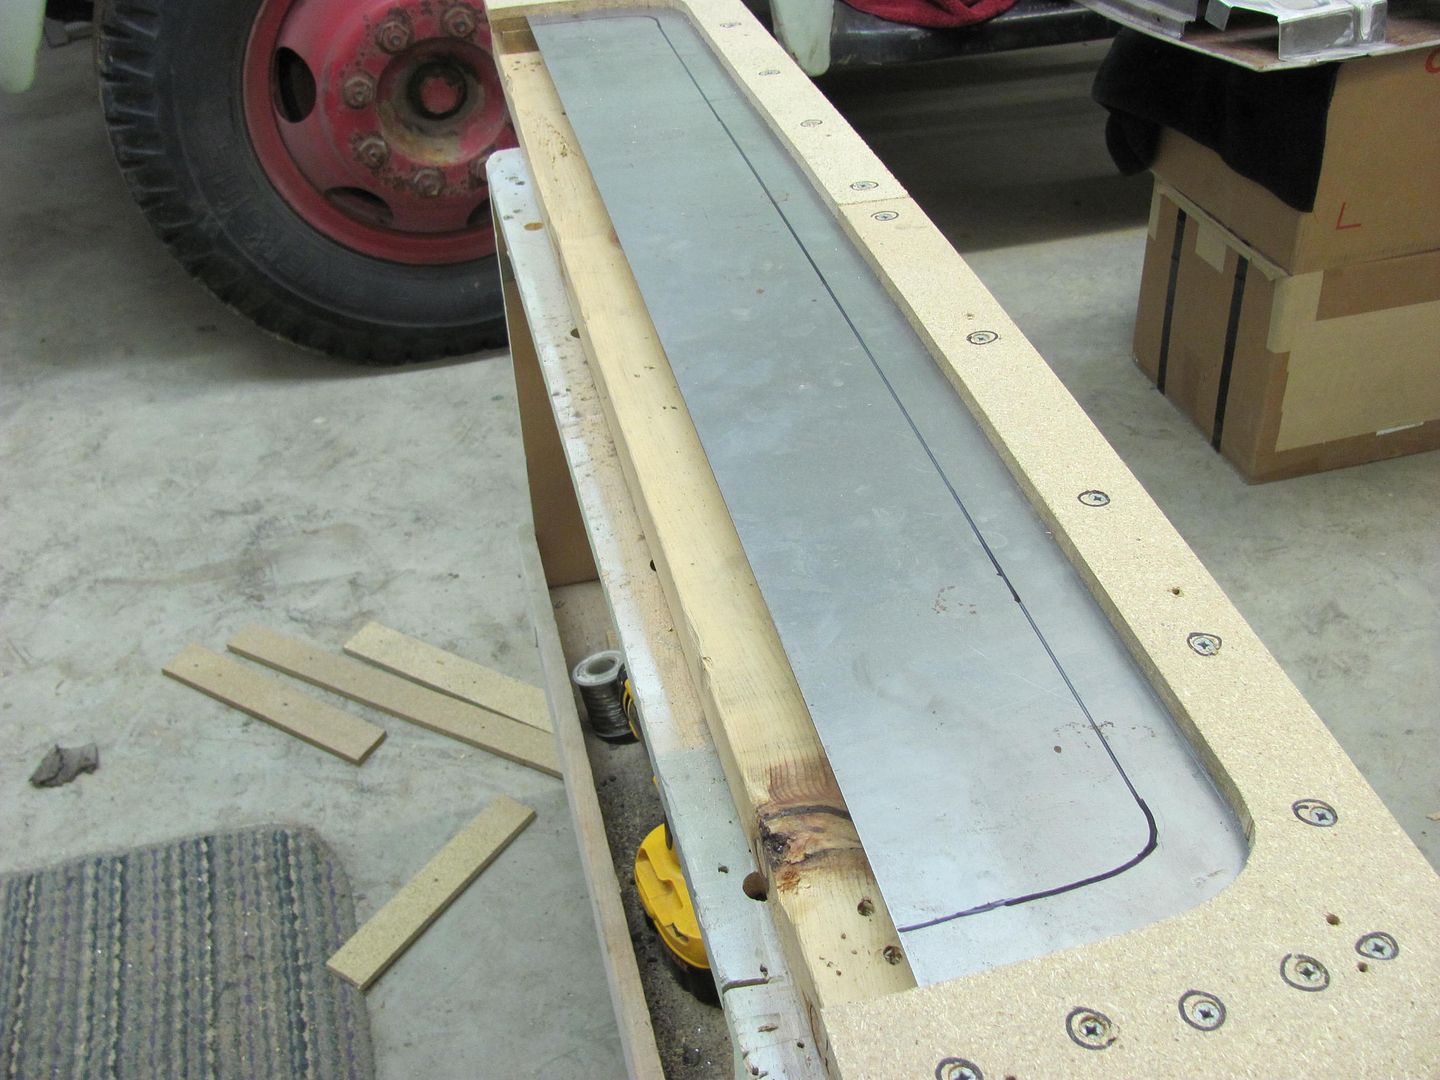
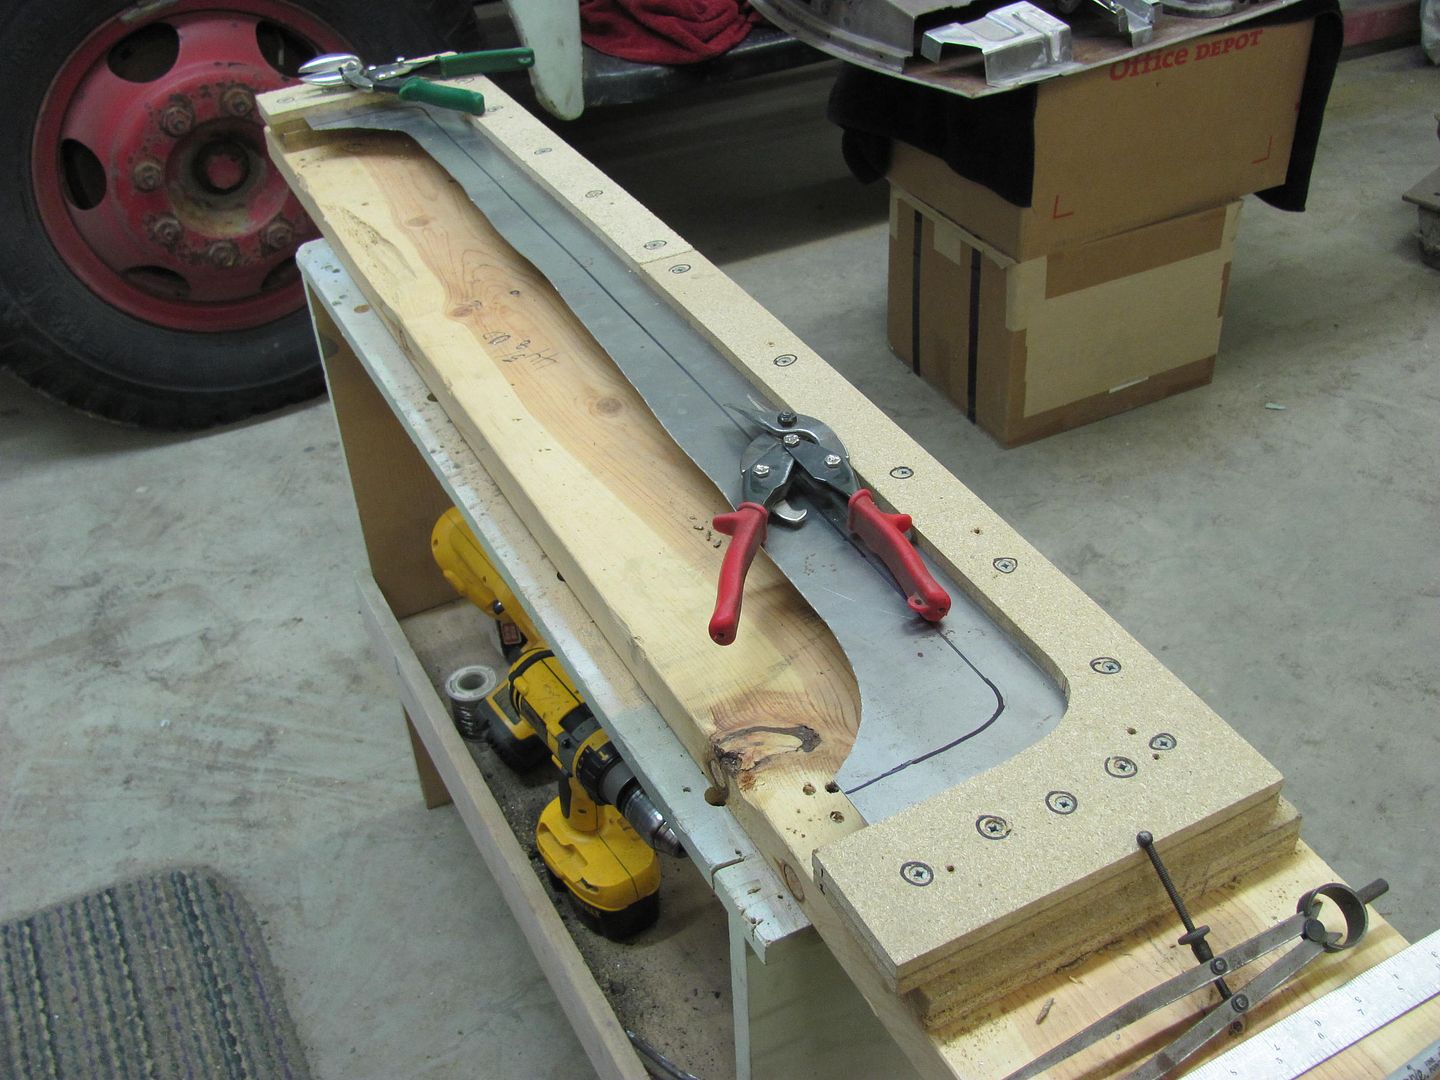
Straight bends are worked with a low crown hammer to start the profile........
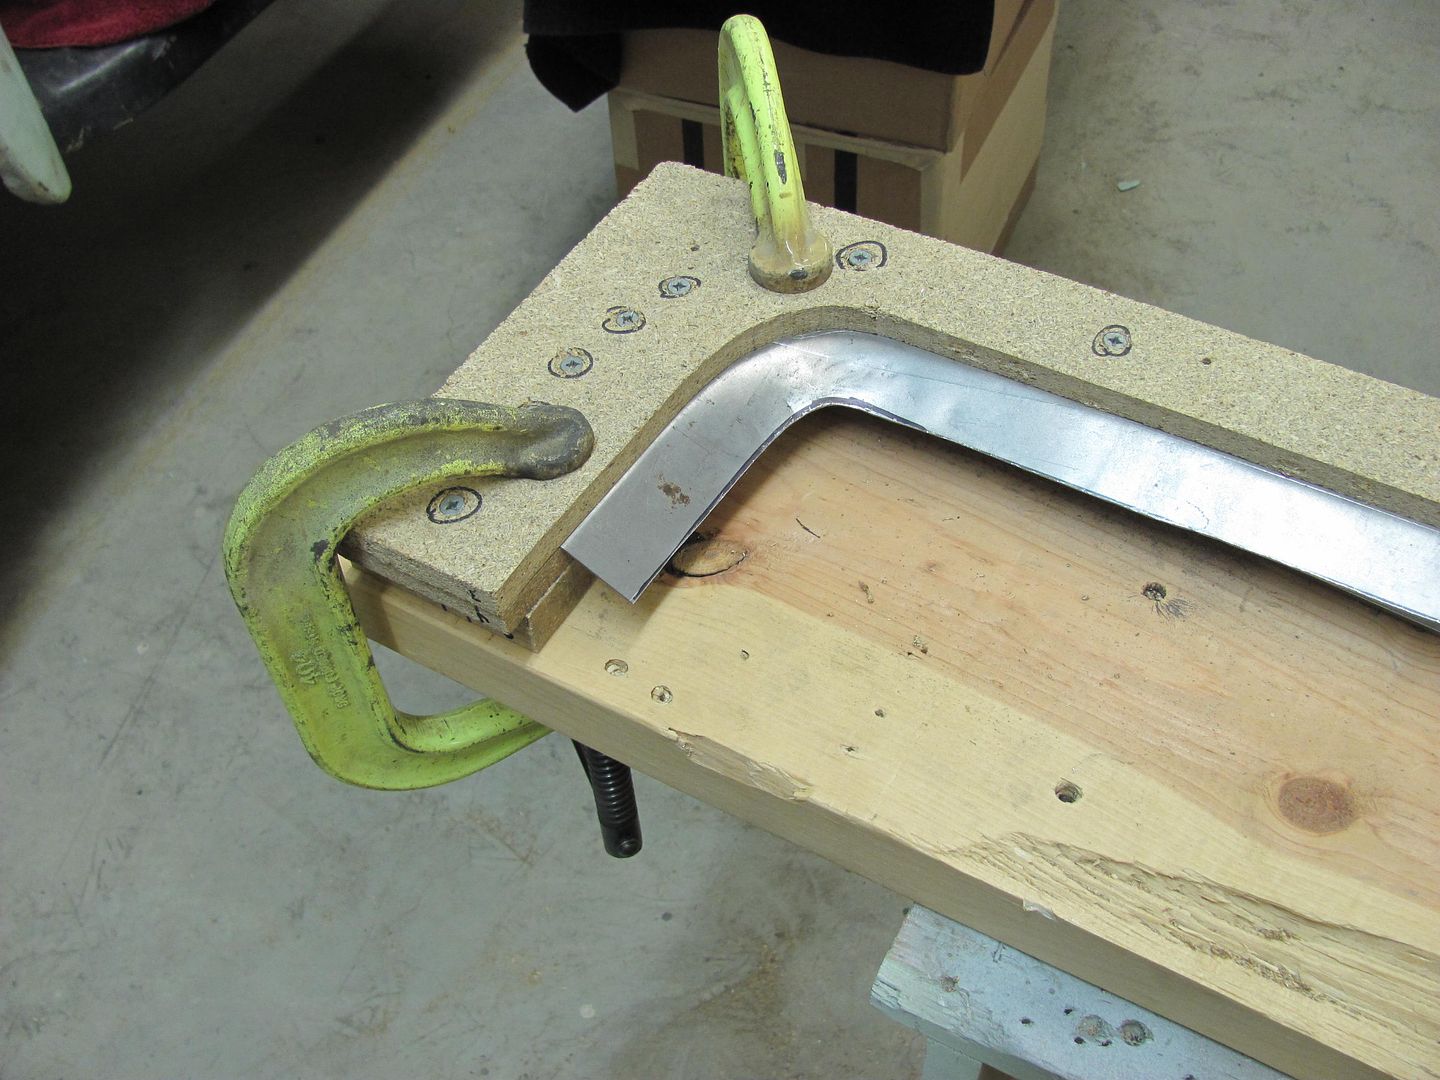
........and as the corners tighten, this was the most effective stretching device. Repeated overlapping rows made short work of the stretching..
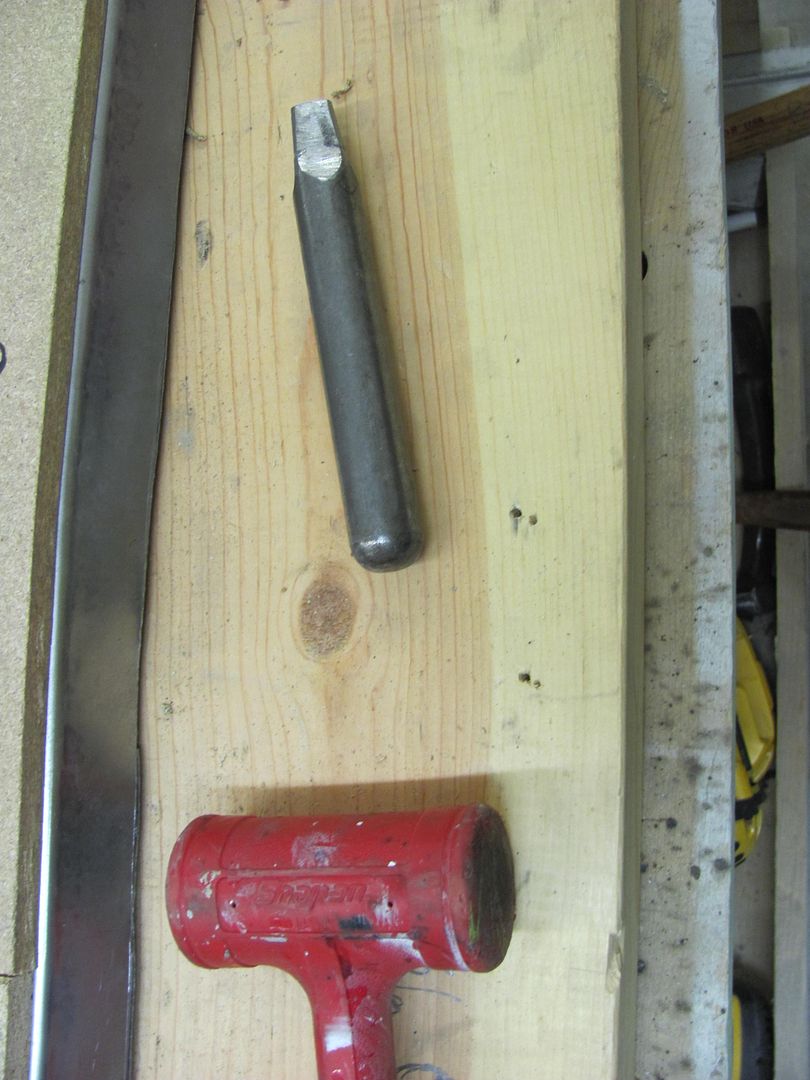
....and the door skin hammer was used around the perimeter to "sharpen" the bends...
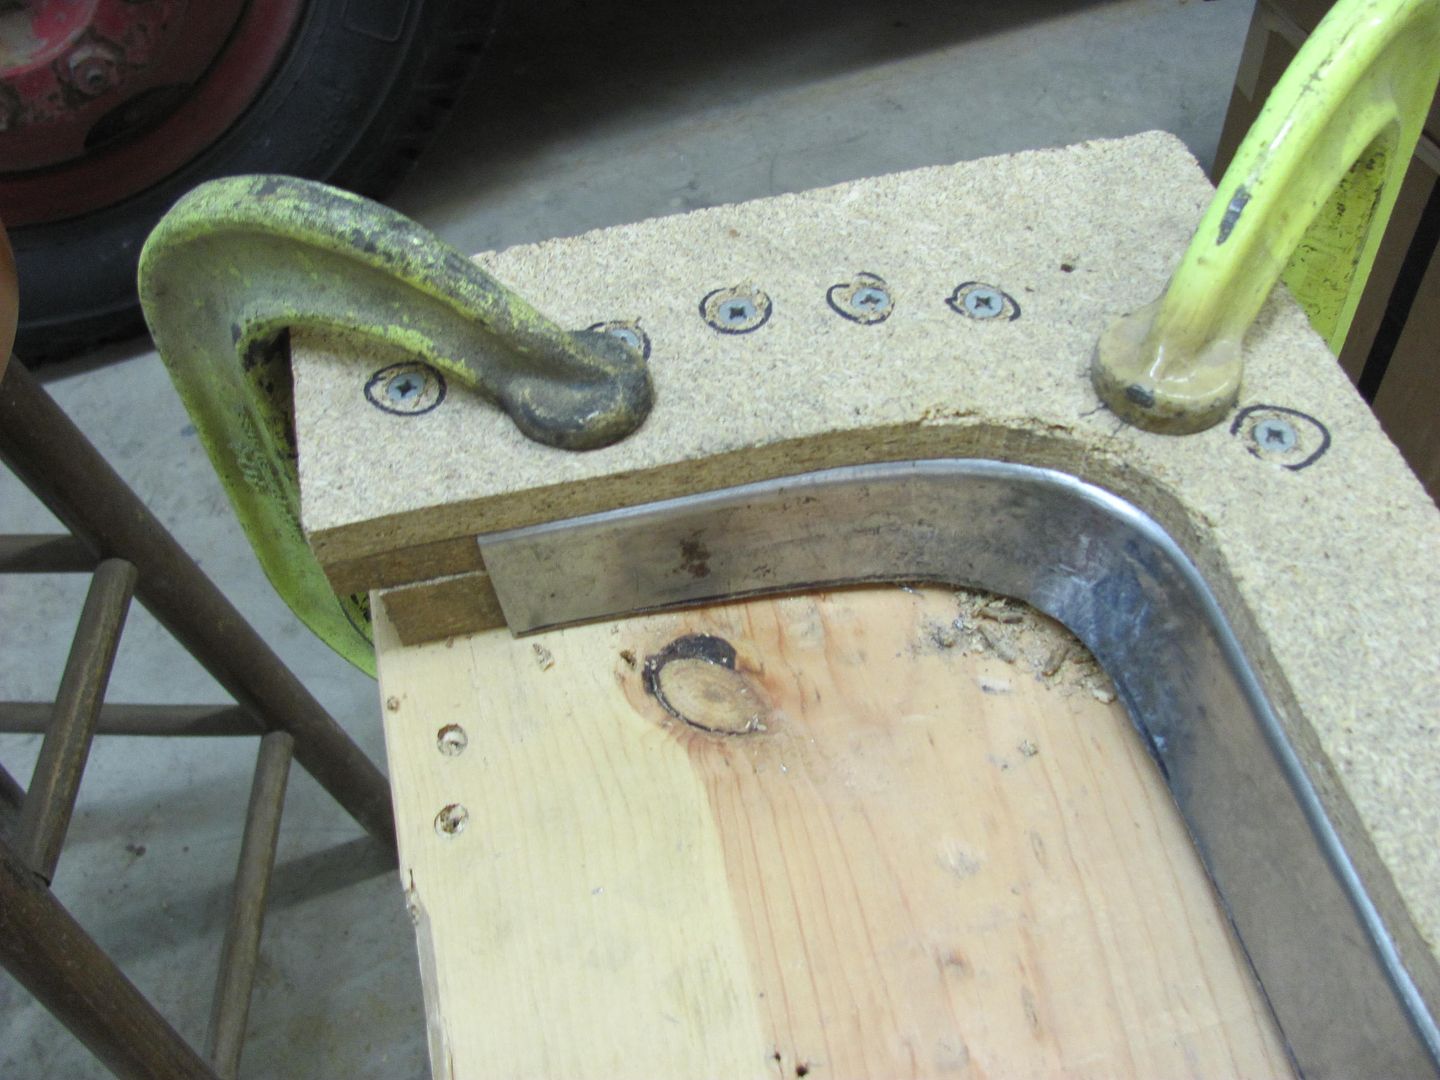
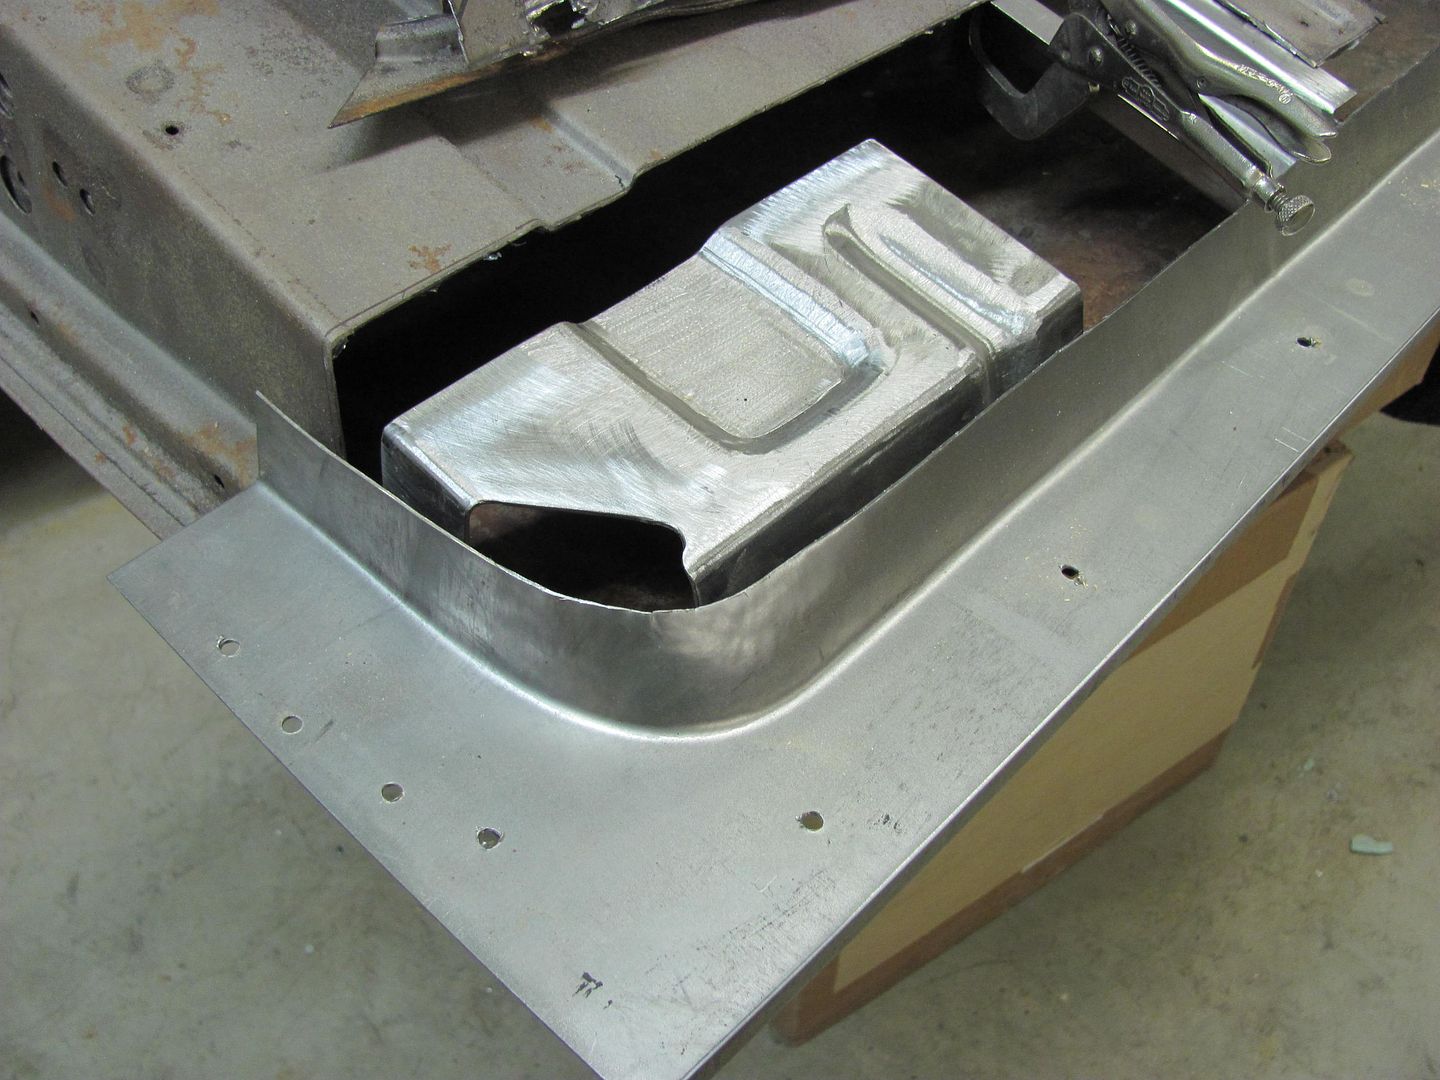
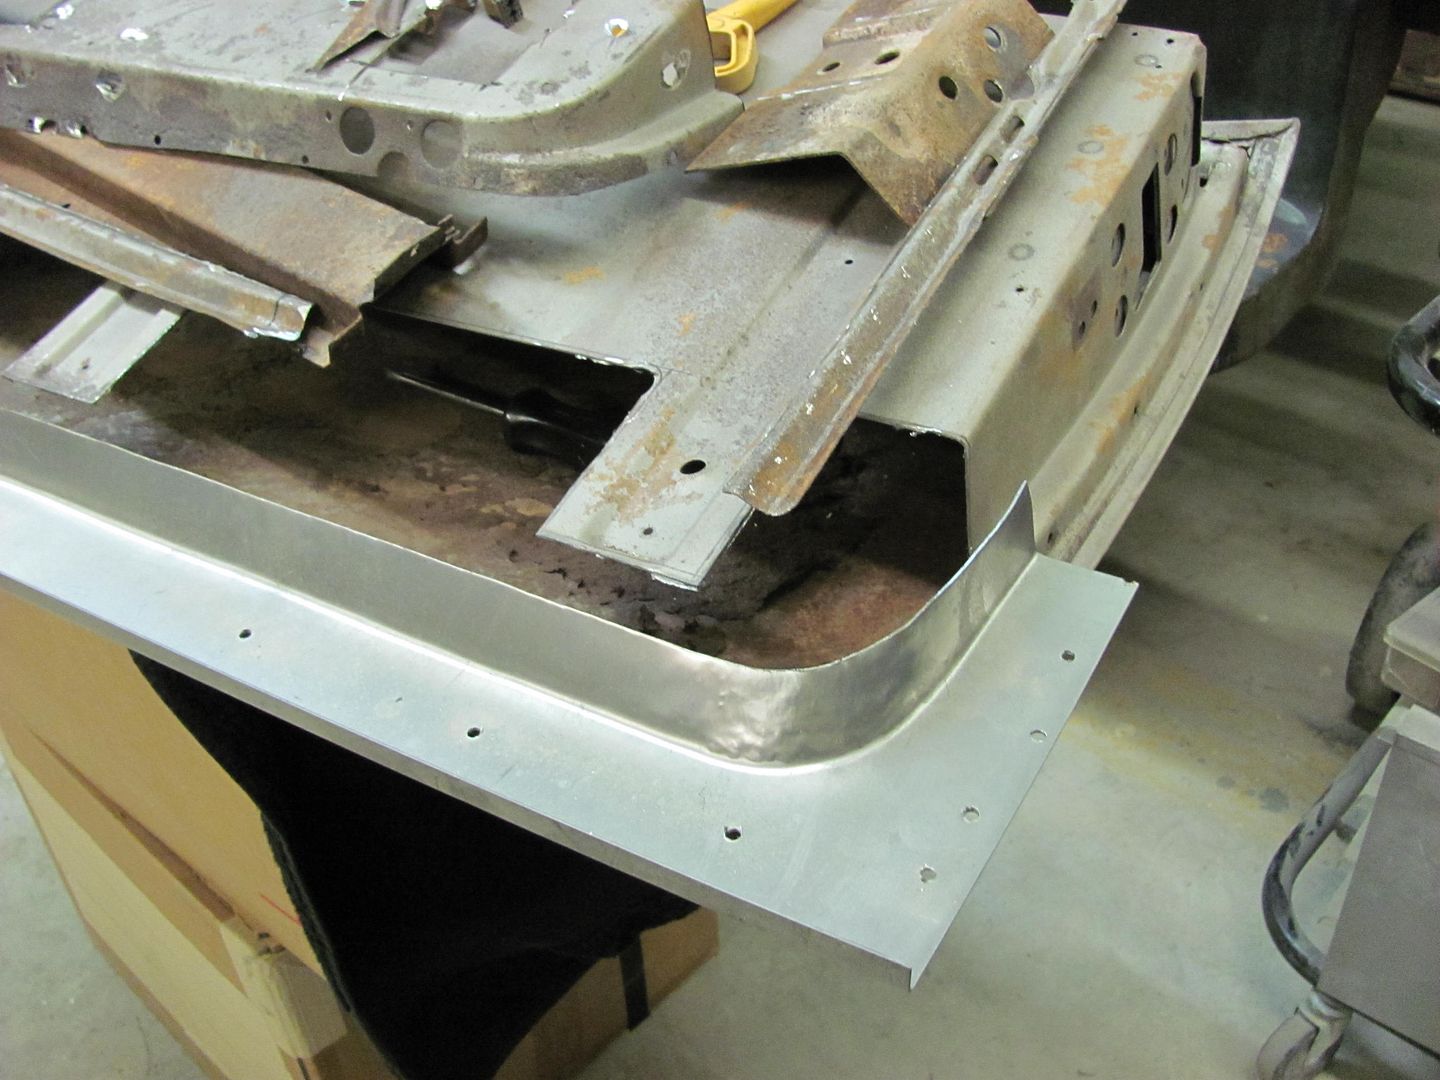
This same process, through use of various router bits to shape the opening, can be used to add bead details around the opening (stainless trim relief), or a radius rather than a sharp bend, etc. The possibilities are only limited by your imagination.Robert
-
09-18-2014 11:18 AM #3
- Join Date
- Apr 2011
- Location
- Prairie City
- Car Year, Make, Model: 40 Ford Deluxe, 68 Corvette, 72&76 K30
- Posts
- 7,299
- Blog Entries
- 1
Robert, thanks for taking the time to take these pictures and document this. I have been thinking in my head how i'm going to make the lower cowl panel on my COE where the hood corner meets the cowl, and you just gave me great ideas. I can even find some round stock like you used to work my piece. I've repaired a few windshield frames and it would have been a lot faster to make these new pieces and weld it in. Thanks again!Ryan
1940 Ford Deluxe Tudor 354 Hemi 46RH Electric Blue w/multi-color flames, Ford 9" Residing in multiple pieces
1968 Corvette Coupe 5.9 Cummins Drag Car 11.43@130mph No stall leaving the line with 1250 rpm's and poor 2.2 60'
1972 Chevy K30 Longhorn P-pumped 24v Compound Turbos 47RH Just another money pit
1971 Camaro RS 5.3 BTR Stage 3 cam, SuperT10
Tire Sizes
-
09-19-2014 01:49 PM #4
Thank you for the post!The truth is incontrovertible. Malice may attack it, ignorance may deride it, but in the end, there it is.
Winston Churchill


 10Likes

 LinkBack URL
 About LinkBacks
 Reply With Quote

Sorry for your loss of friend Mike McGee, Shine. Great trans men are few and far between, it seems. Sadly, Mike Frade was only 66 and had been talking about retirement for ten years that I know...
We Lost a Good One