-
07-04-2016 10:37 PM #16
Thanks for that; that's certainly a tip worth noting.
In fact; thanks for taking the time with your threads to show us dull crayons just how these various jobs are done professionally.
Your posts are a 'must read' on here, and are appreciated.
Thank-you.johnboy
Mountain man. (Retired.)
Some mistakes are too much fun to be made only once.
I don't know everything about anything, and I don't know anything about lots of things.
'47 Ford sedan. 350 -- 350, Jaguar irs + ifs.
'49 Morris Minor. Datsun 1500cc, 5sp manual, Marina front axle, Nissan rear axle.
'51 Ford school bus. Chev 400 ci Vortec 5 sp manual + Gearvendors 2sp, 2000 Chev lwb dually chassis and axles.
'64 A.C. Cobra replica. Ford 429, C6 auto, Torana ifs, Jaguar irs.
-
Advertising

- Google Adsense
- REGISTERED USERS DO NOT SEE THIS AD
-
07-05-2016 12:41 PM #17
- Join Date
- Apr 2011
- Location
- Prairie City
- Car Year, Make, Model: 40 Ford Deluxe, 68 Corvette, 72&76 K30
- Posts
- 7,298
- Blog Entries
- 1
Man, you even cut super straight with a jig saw. I'm really jealous. I for one appreciate all your time you dedicate to explaining your work on the internet. I have learned a lot from you and I really like the way you show how you make certain tools to get the job done and modifying ones you already have to stay working on it. I've used a lot of your tips and noticed my work is looking better in the finished stages because of it. Thank you!Ryan
1940 Ford Deluxe Tudor 354 Hemi 46RH Electric Blue w/multi-color flames, Ford 9" Residing in multiple pieces
1968 Corvette Coupe 5.9 Cummins Drag Car 11.43@130mph No stall leaving the line with 1250 rpm's and poor 2.2 60'
1972 Chevy K30 Longhorn P-pumped 24v Compound Turbos 47RH Just another money pit
1971 Camaro RS 5.3 BTR Stage 3 cam, SuperT10
Tire Sizes
-
08-21-2016 01:56 PM #18
I never heard of that brand of truck,must have been a low production company.
-
08-25-2016 10:02 AM #19
(repost of lost thread)
Needed about one more day of curing on the wagon's epoxy primer, so today let's work on one of the Biederman fenders.. With Kyle on vacation I was shorthanded in the shop so John (the owner) came by and lent a hand.
First step was to remove the inner fender to see what we had to work with, added some 1/8 holes to use later for clecos in putting things back together..
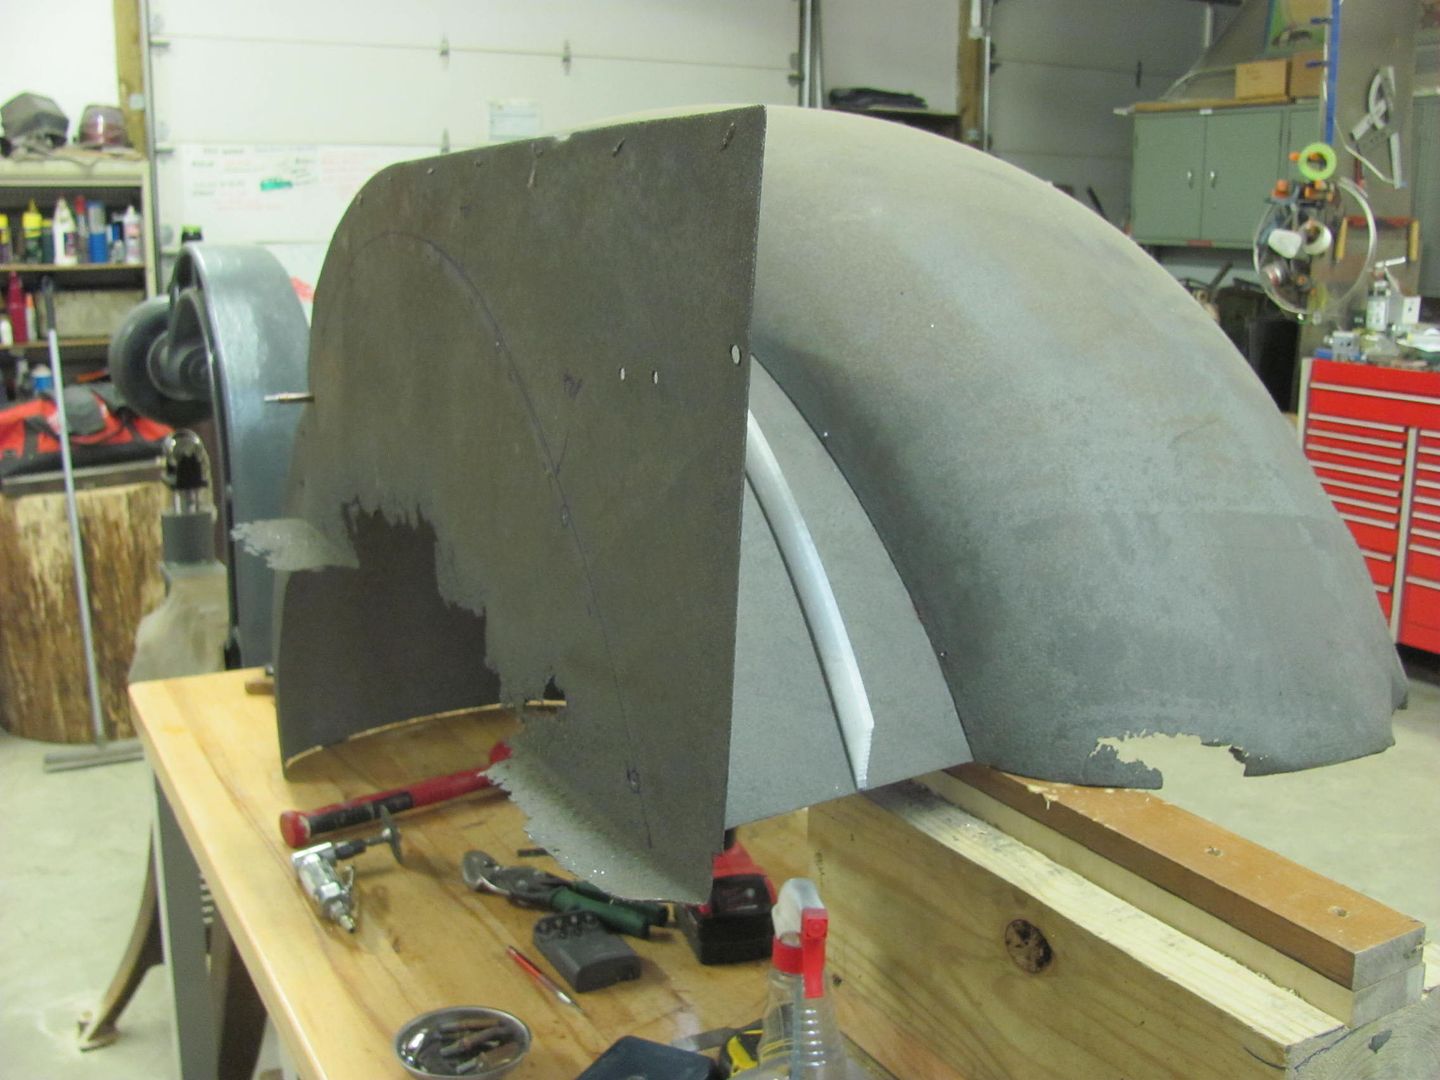
The front of the fender bolts to the bumper filler panel, and the rear bolts to the running board. These have a difference in height of 13-3/4, so some blocks were screwed together to hold the fender in correct placement while we worked.
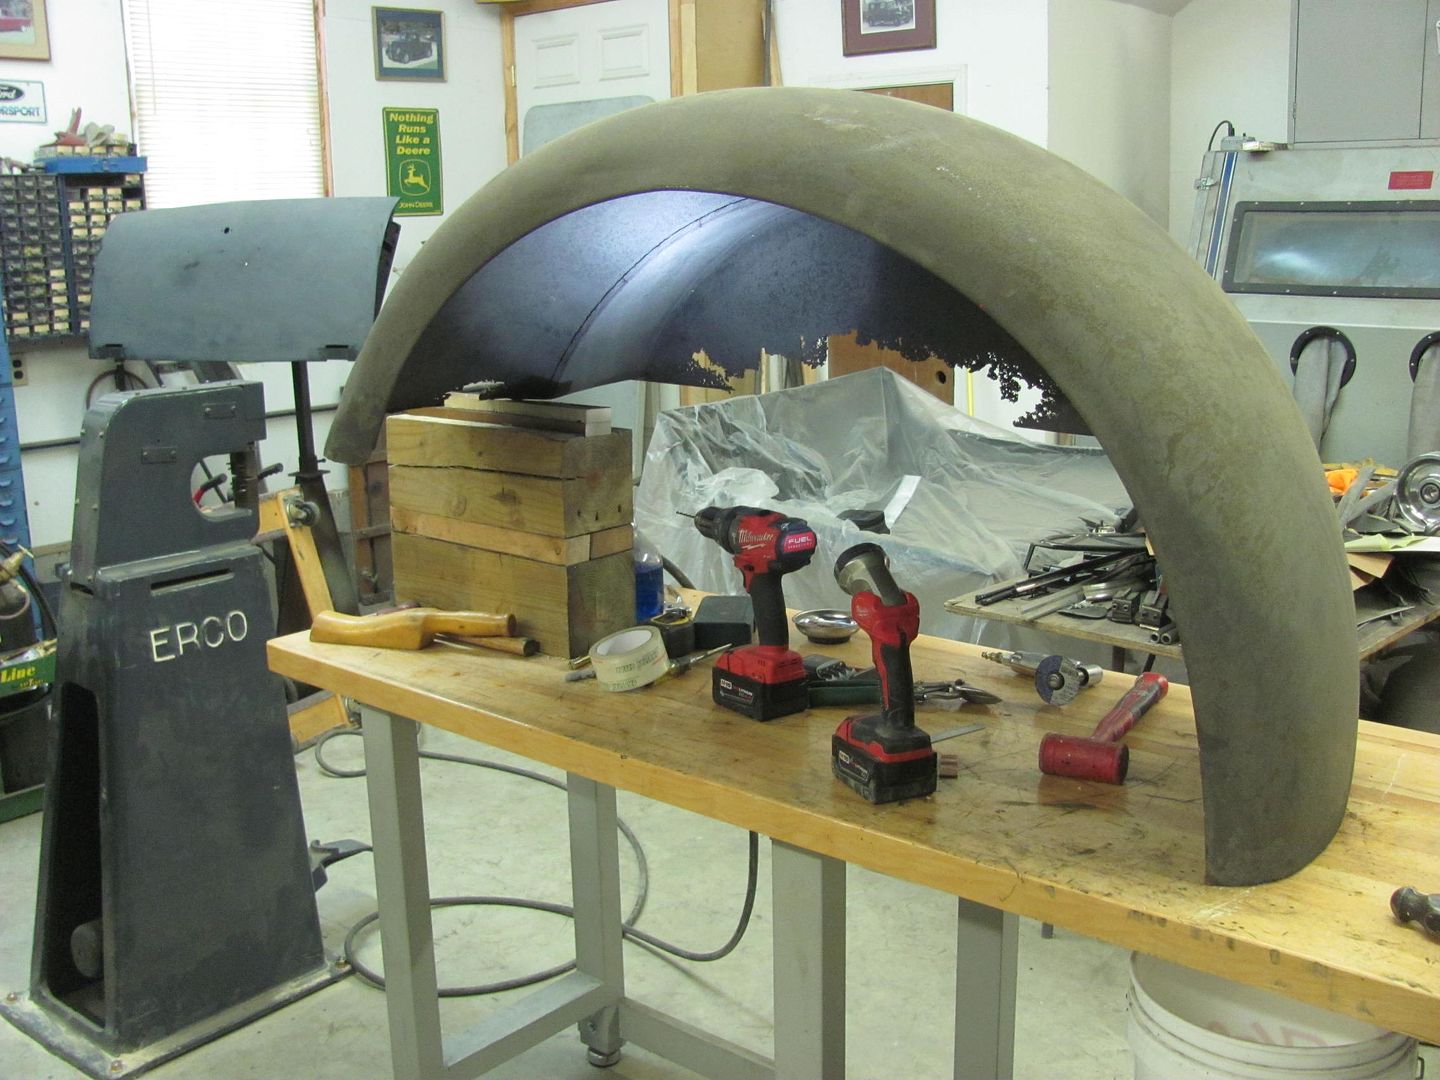
The inner is getting replaced so the spot welds were ground out for removal.
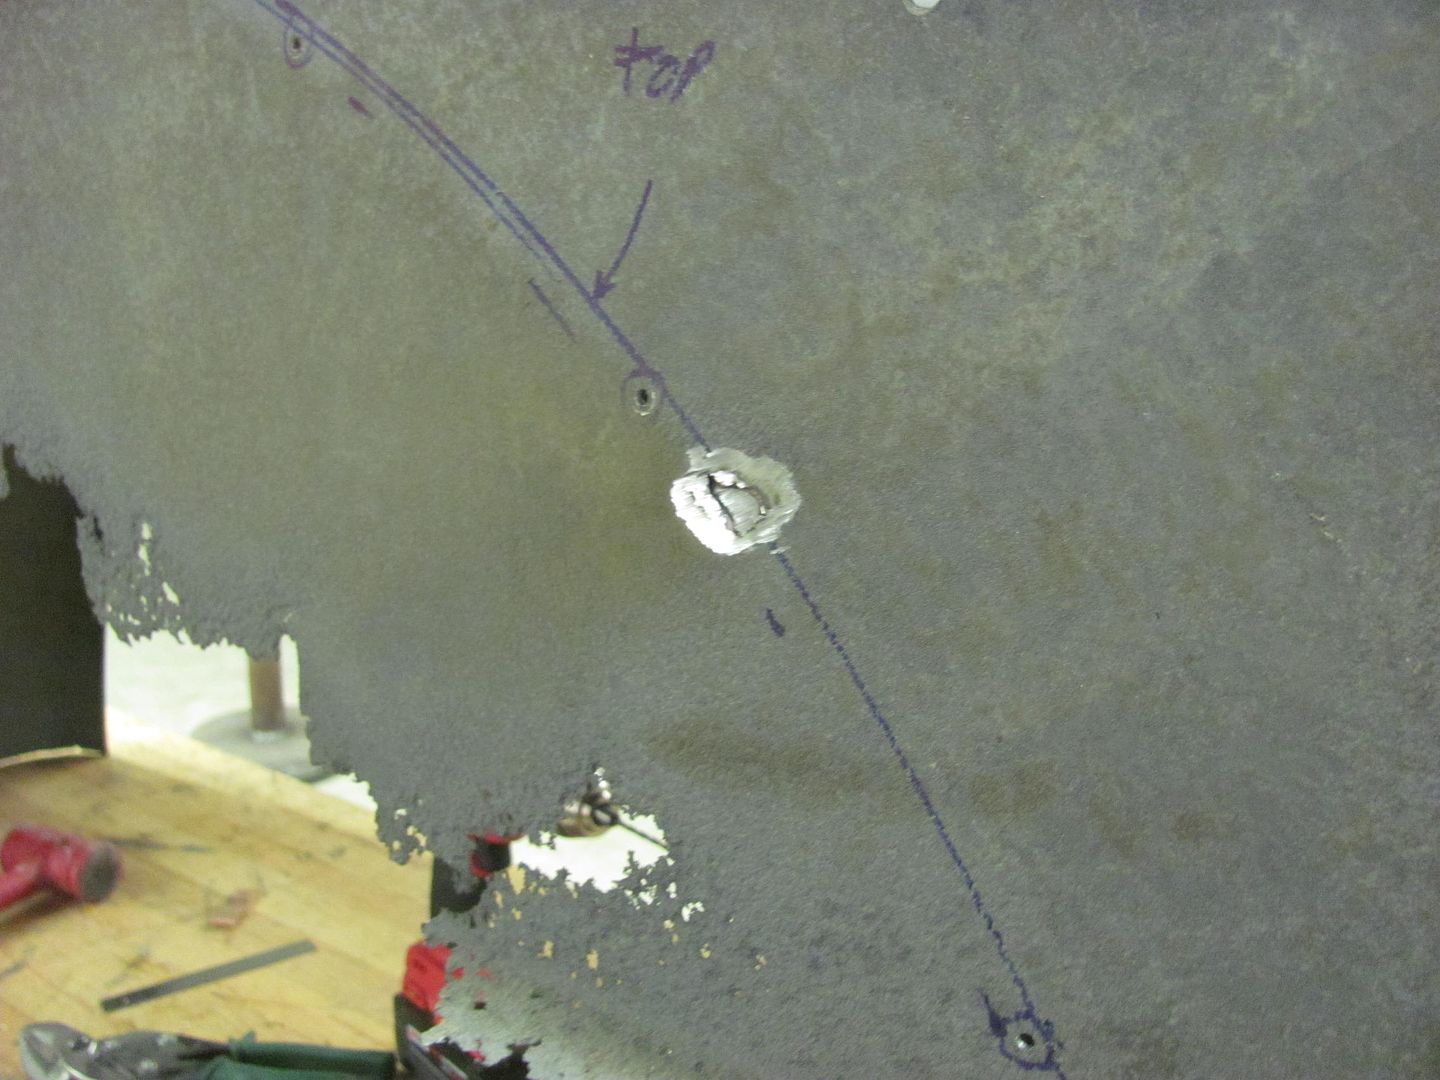
Once removed, we found more pitting and damage than we originally thought was there, so now lets make this new as well..
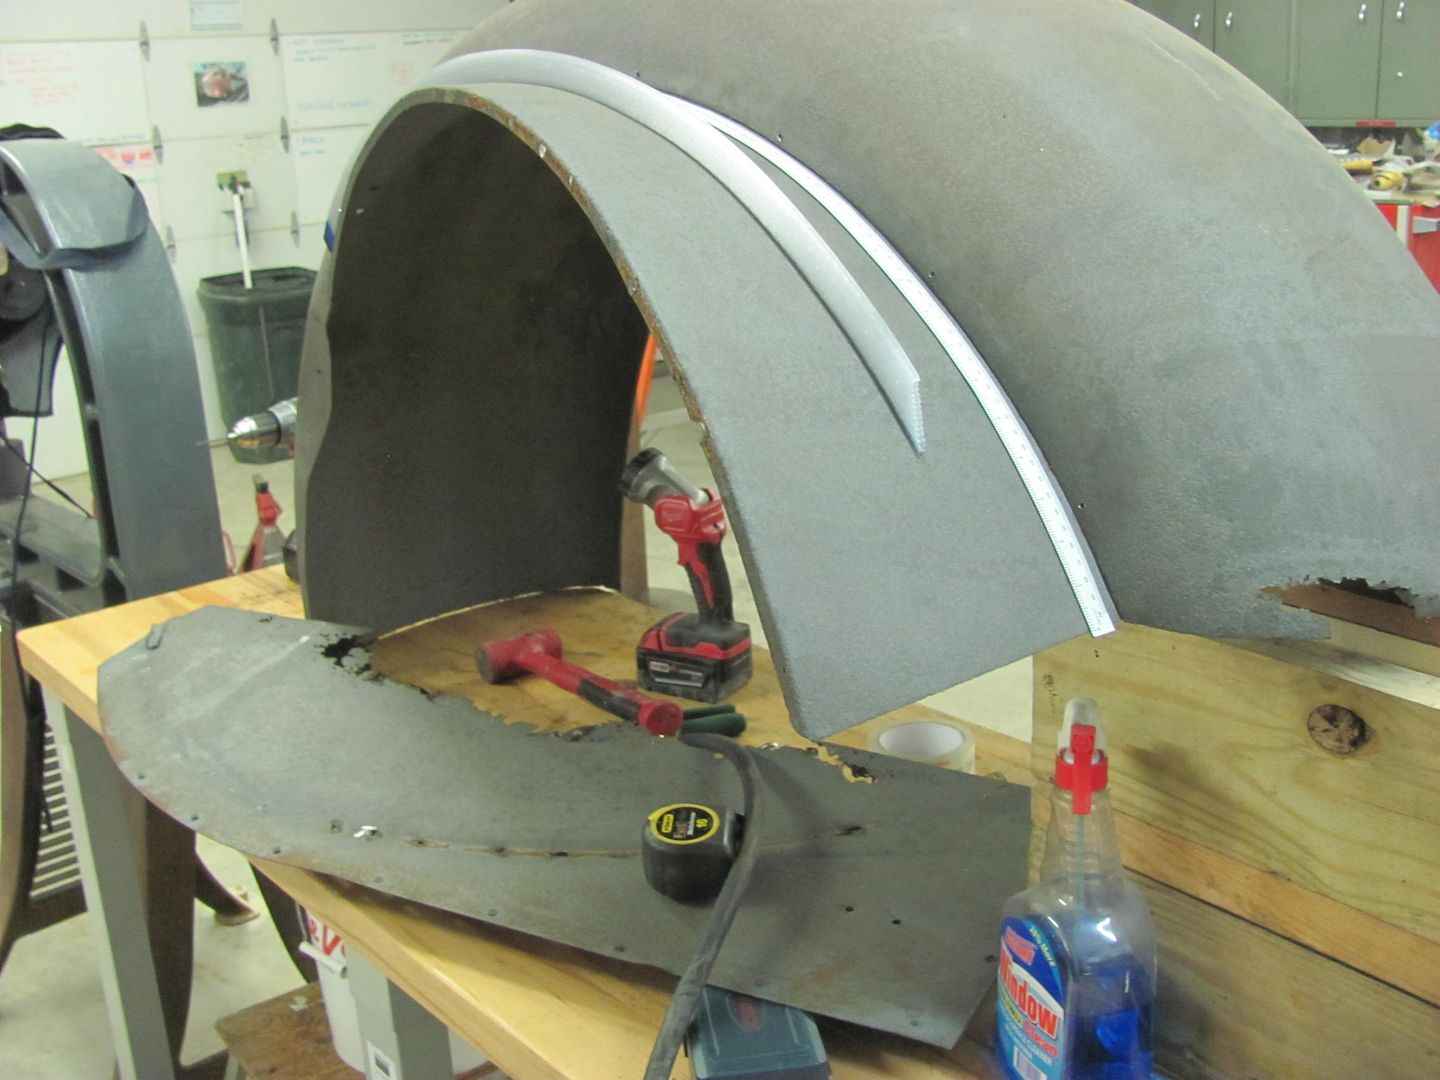
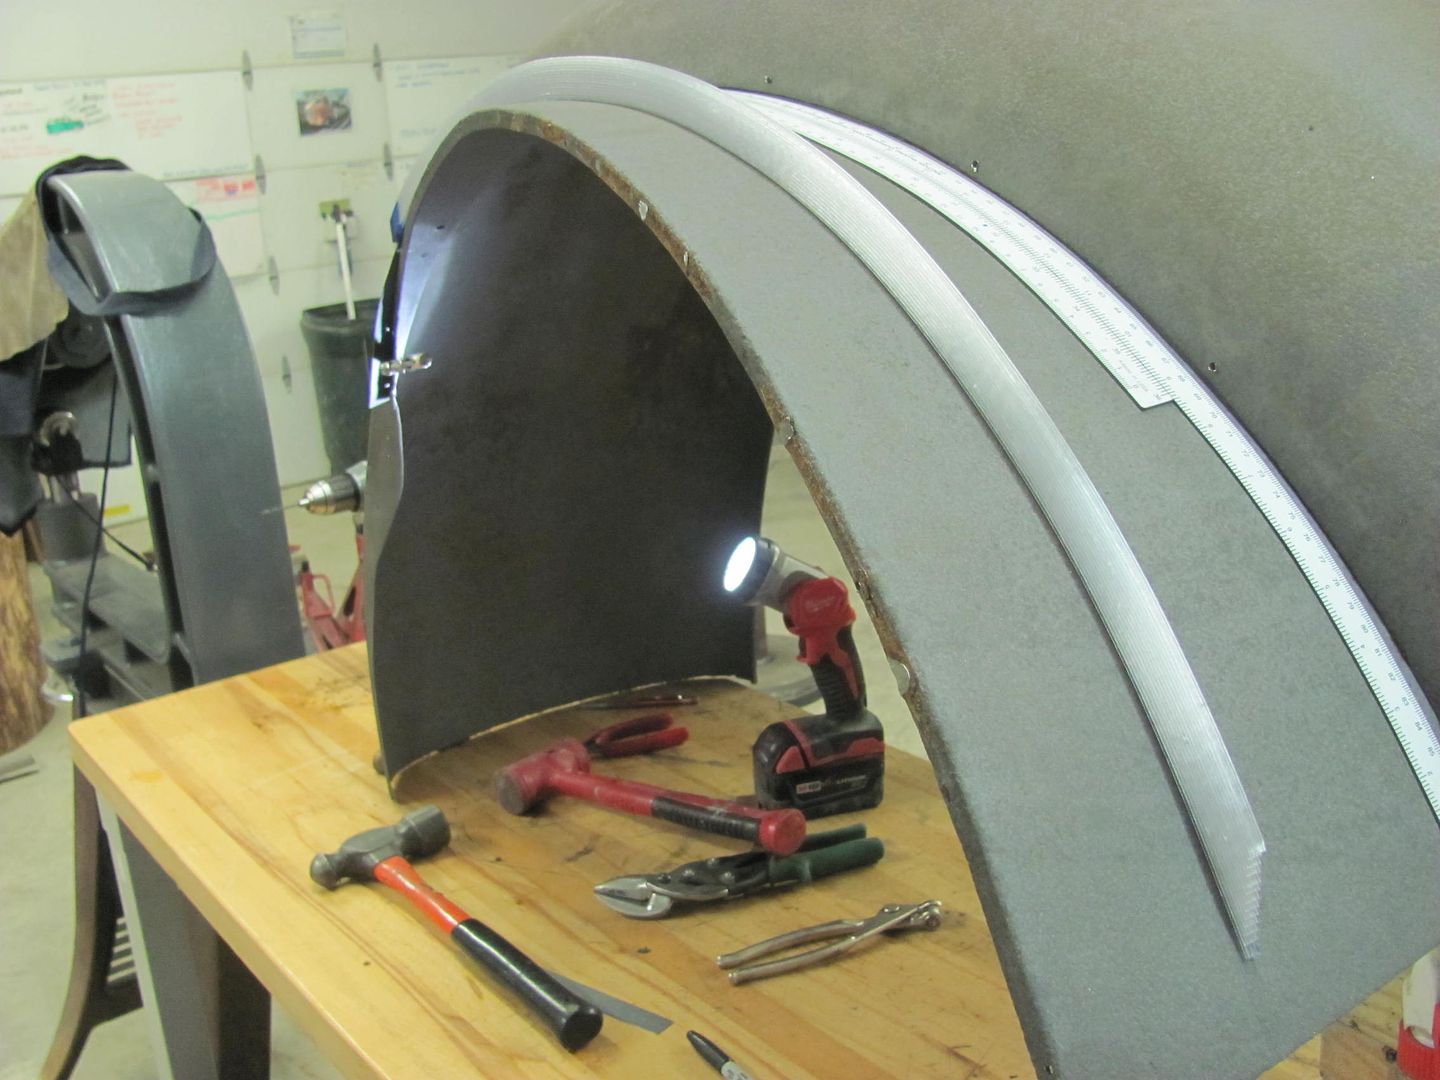
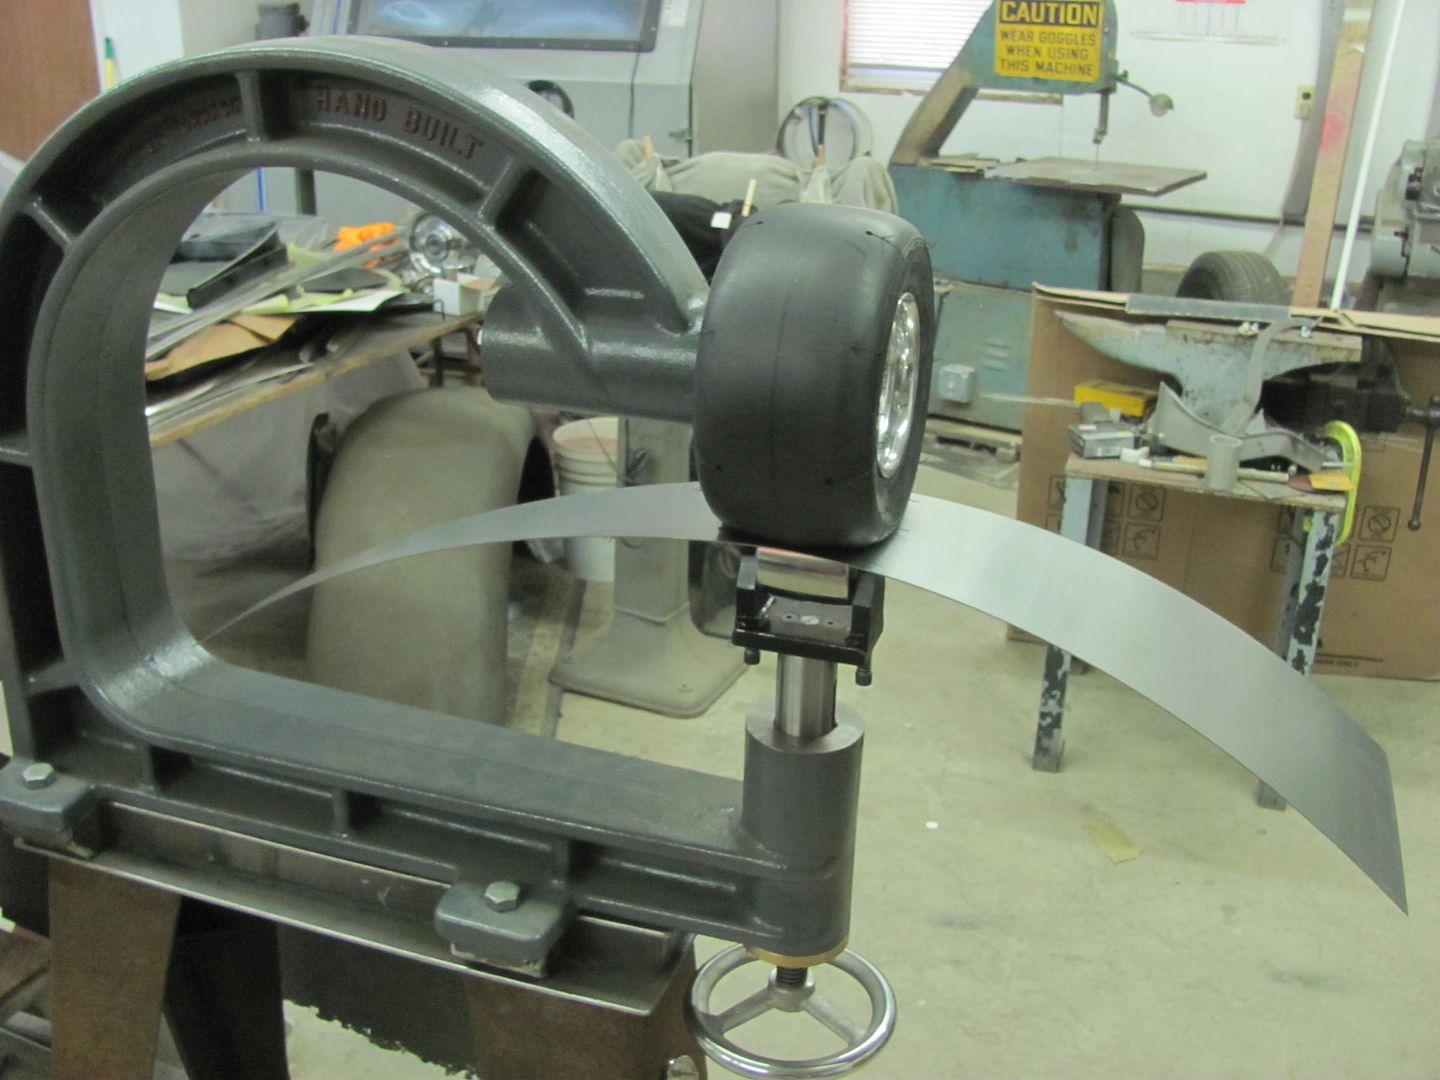
New piece is cut out and the Wheeling machine with the go kart slick is used to add the correct radius..
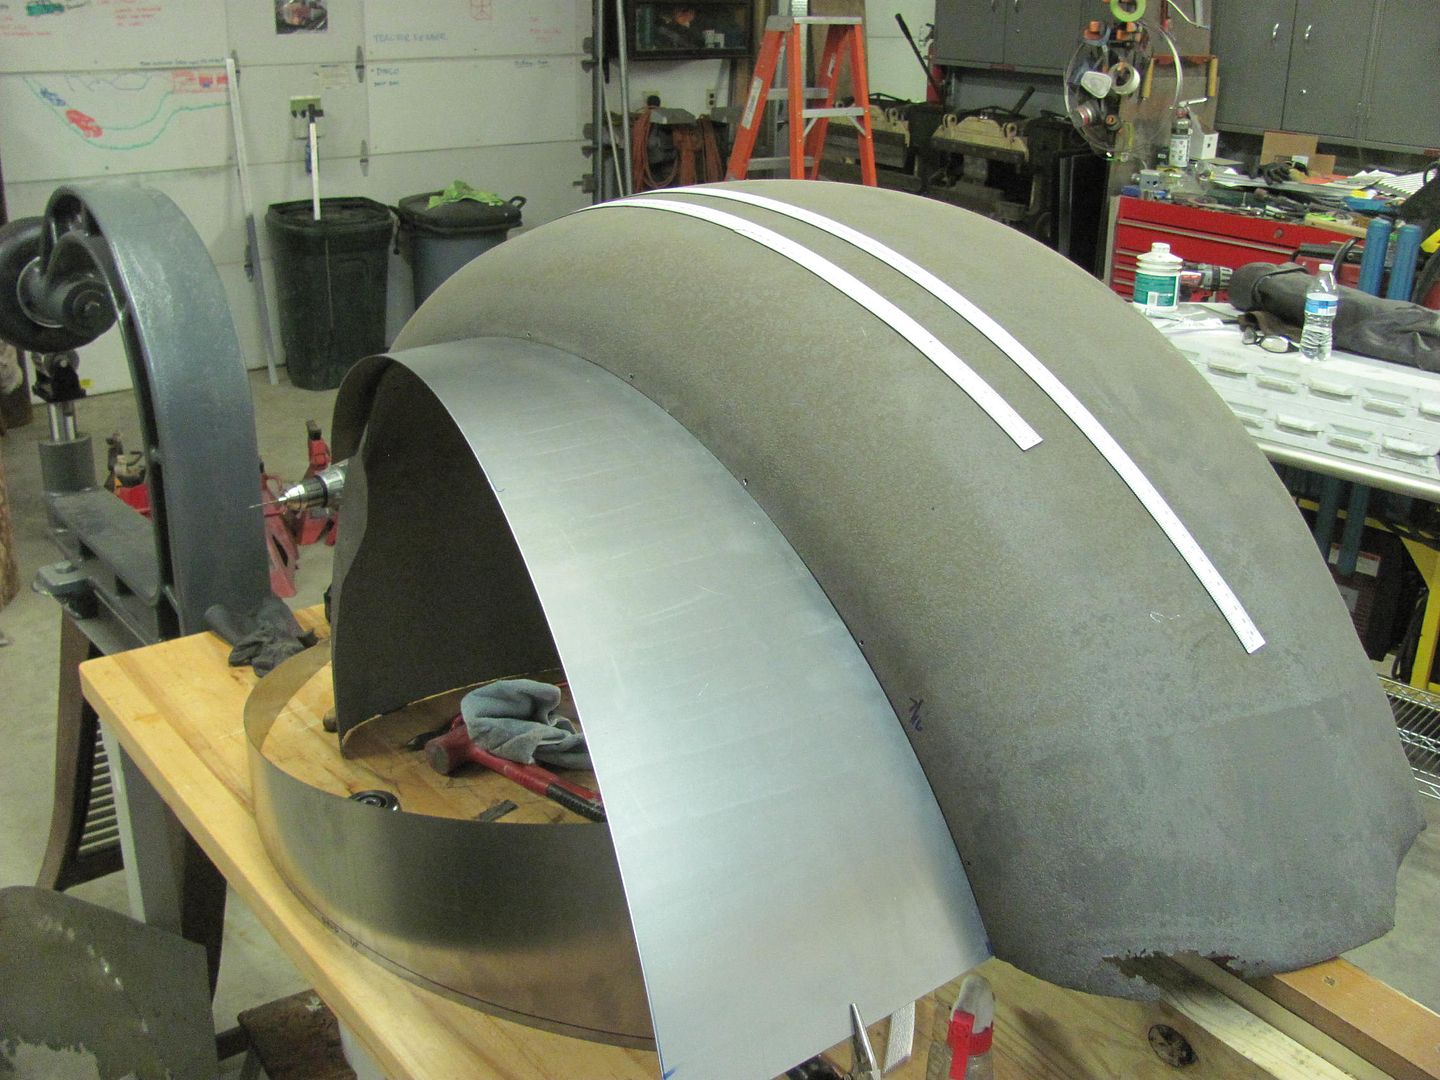
Then the flange bend line is marked/thinned using a tipping die in the Lennox like we did for the inner panels we made..
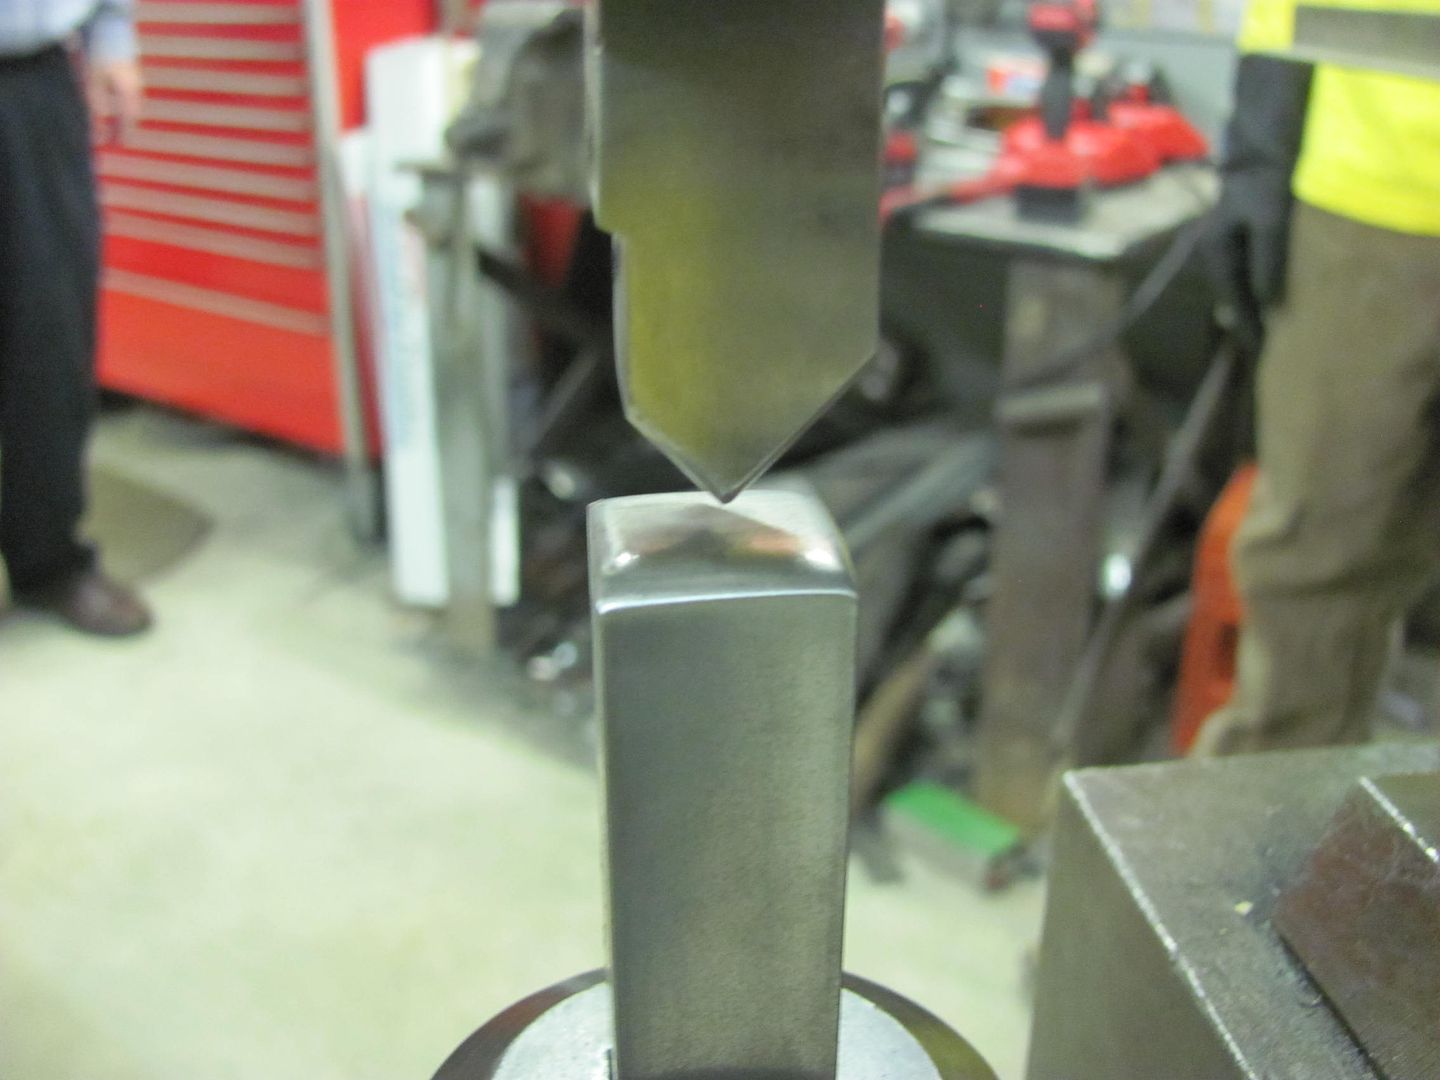
Then a tipping die and Skateboard wheel in the bead roller is used to make the initial fold on the marked line
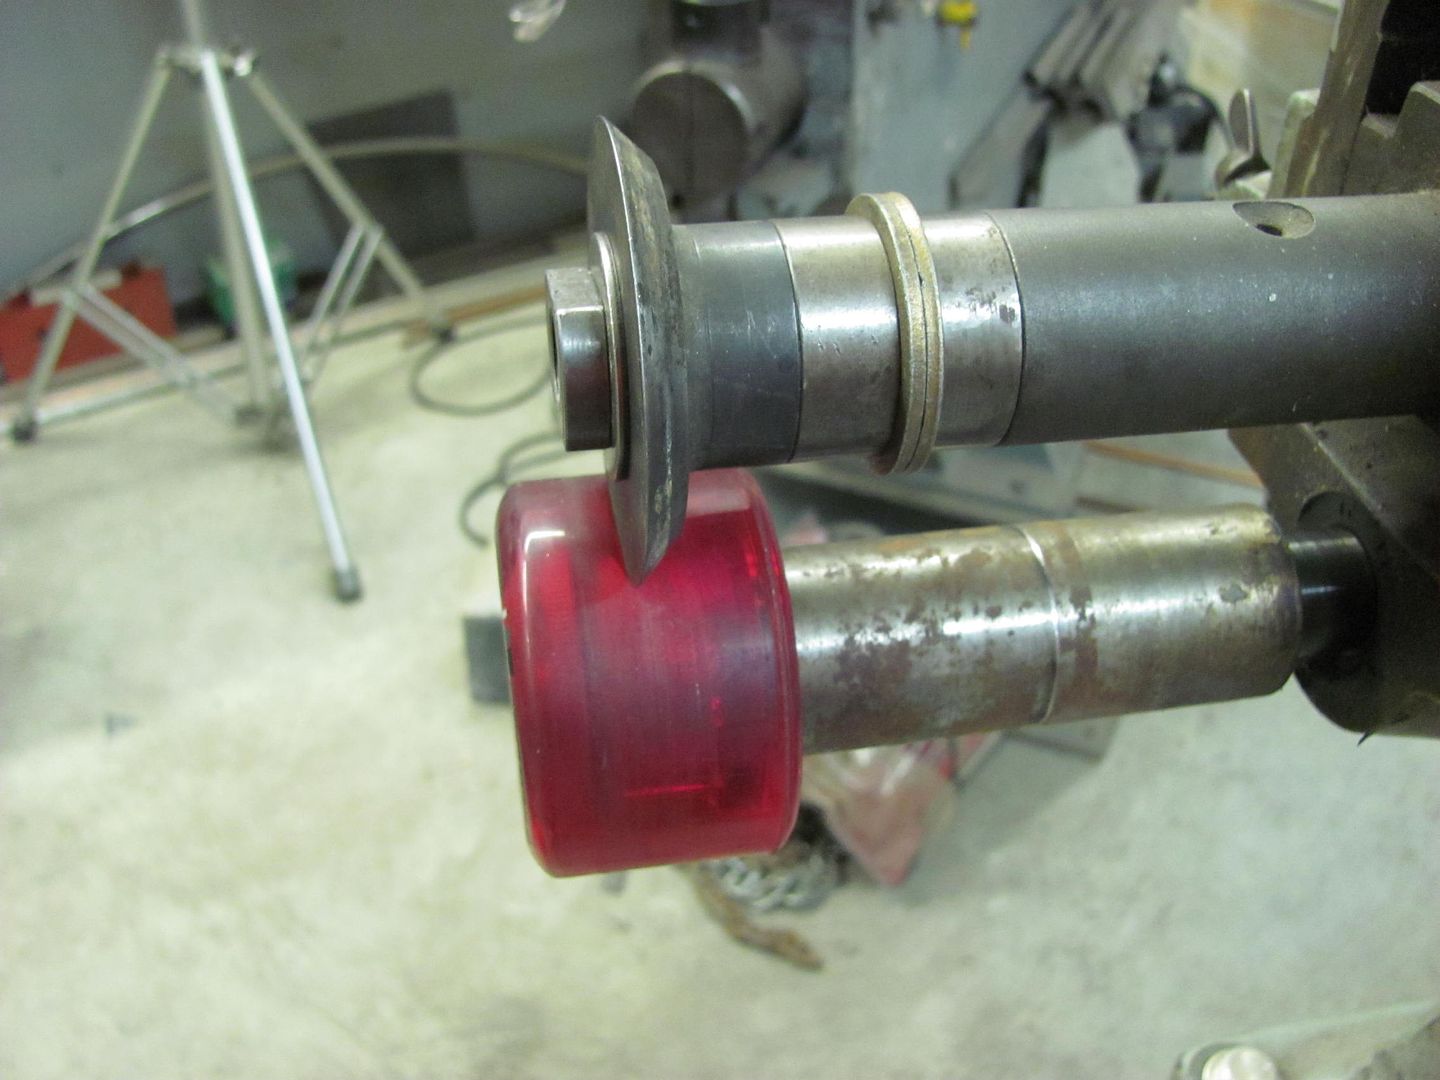
and finished up with a Step die so we could use it as a backstop
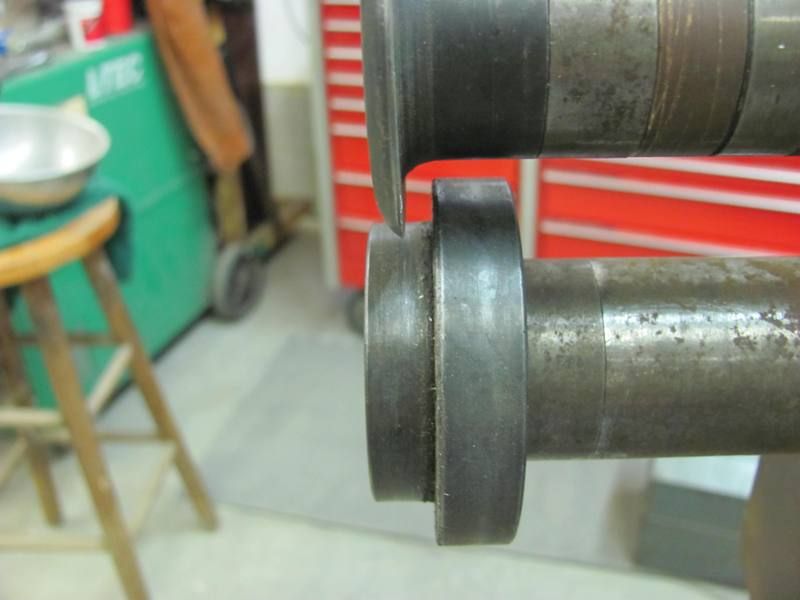
The Erco 1447 with stretcher dies was used to stretch the flange in between tipping sessions. All done, matches the fender contour, we'll get the other side folded down next time..
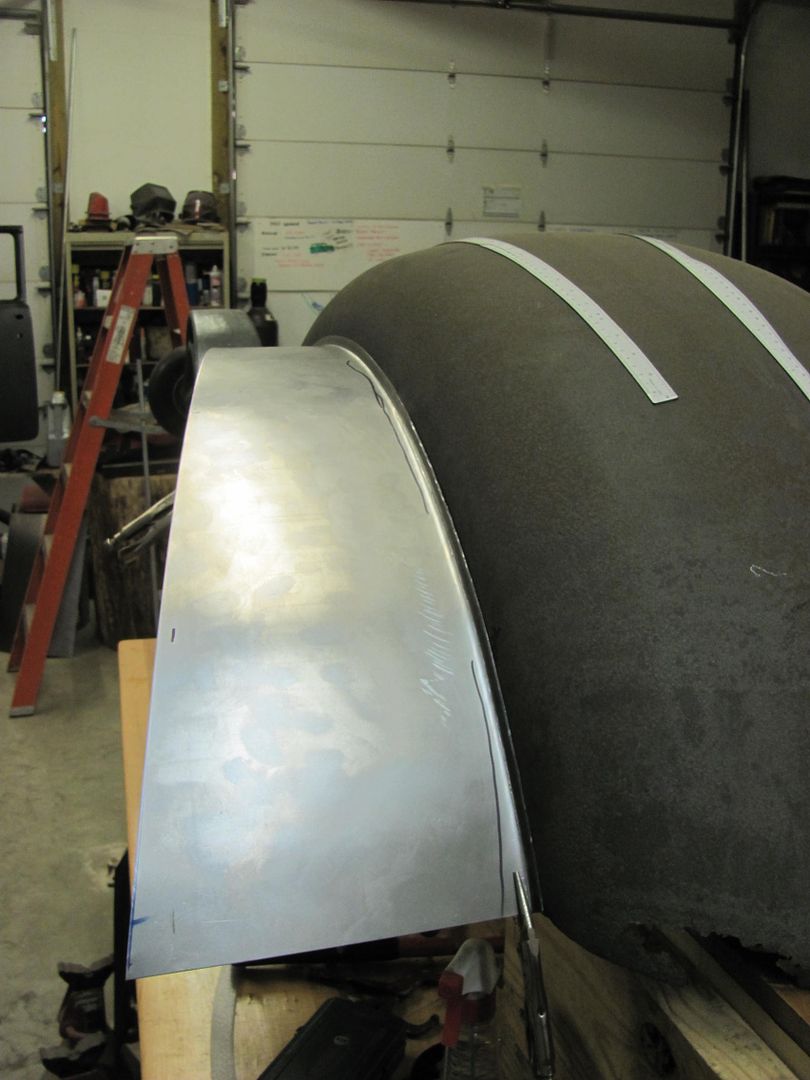
Robert
-
08-25-2016 09:19 PM #20
Here's a quick video to show how the radius for the filler panel was done..
https://www.youtube.com/watch?v=ZnCTqLZg9lg
With the flanges turned both directions....
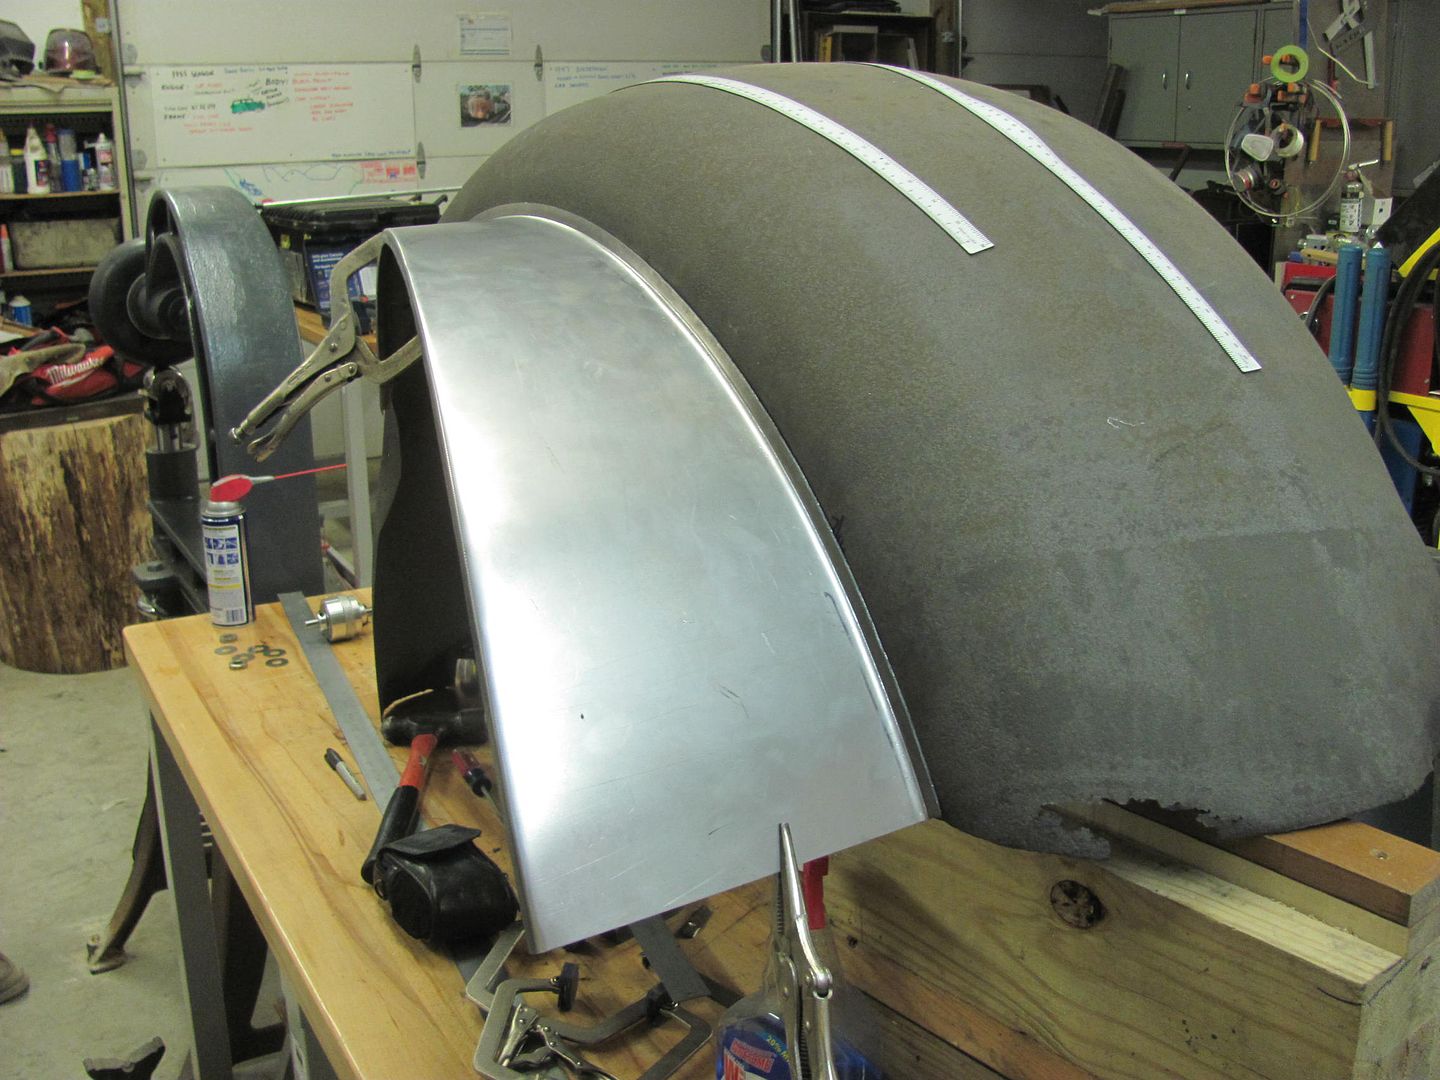
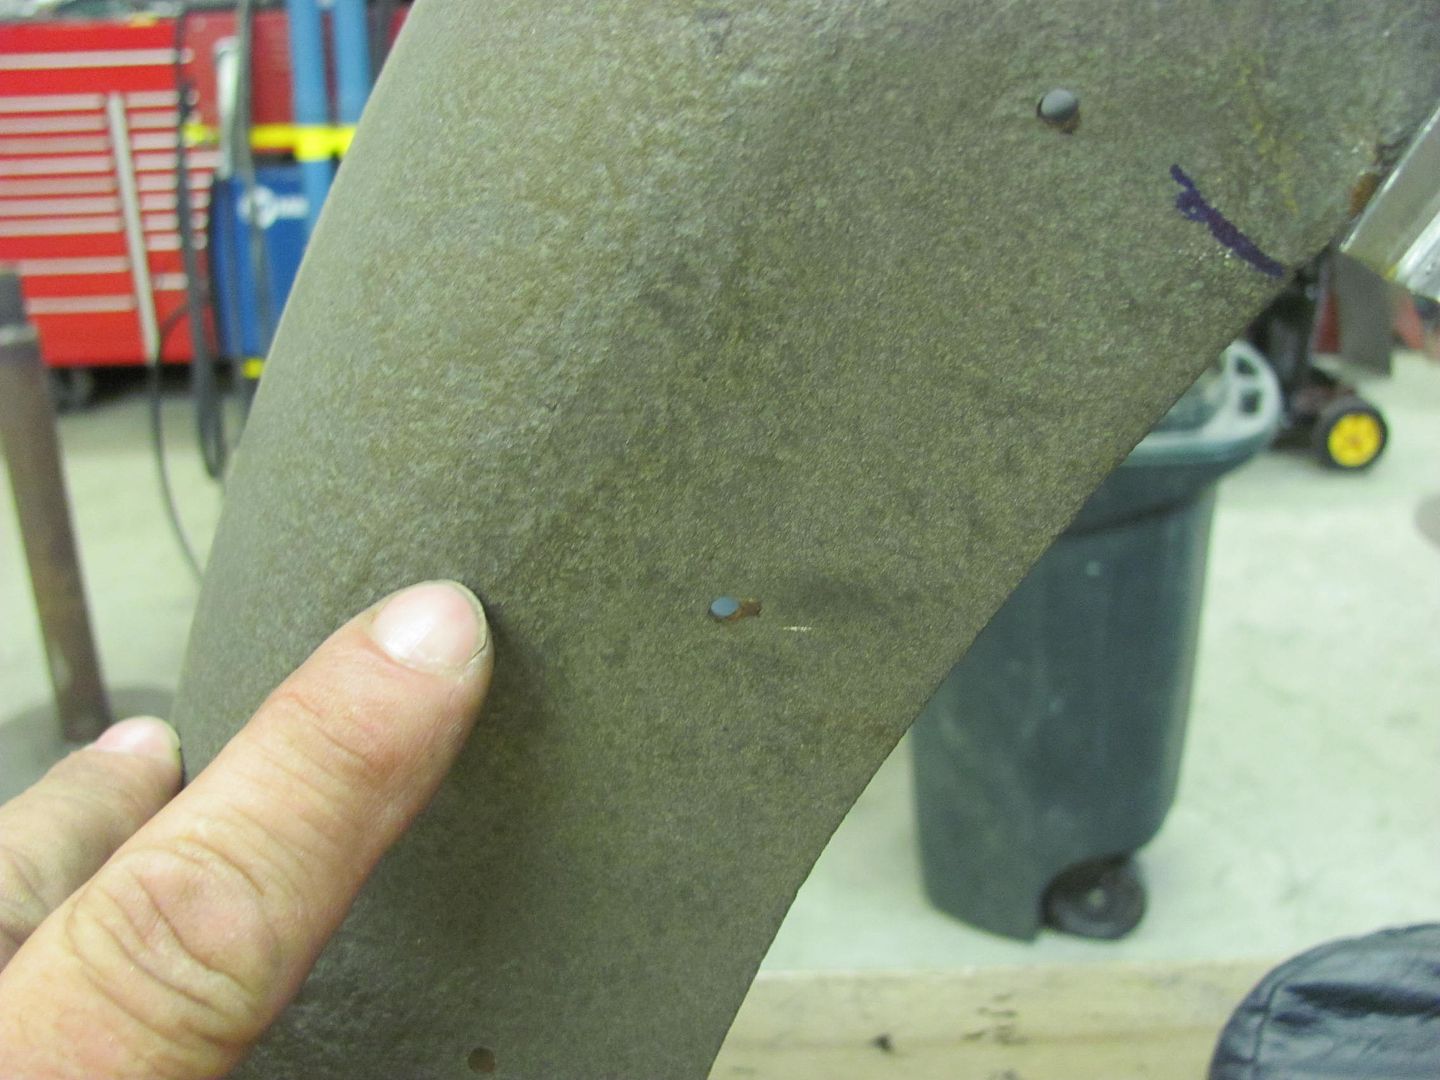
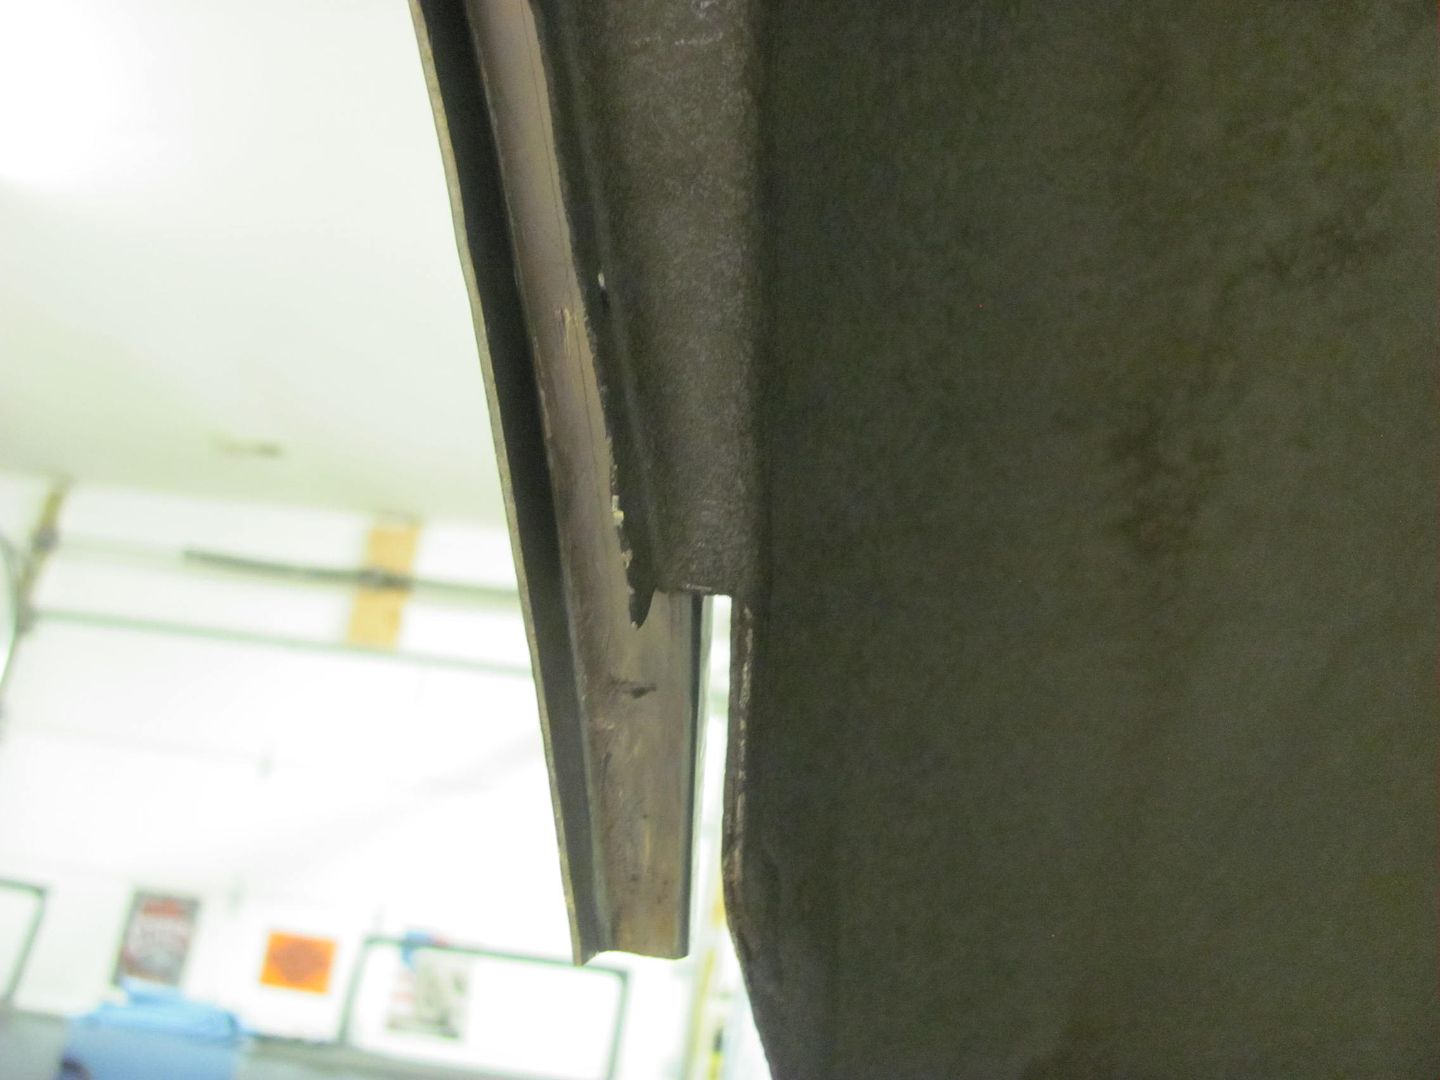
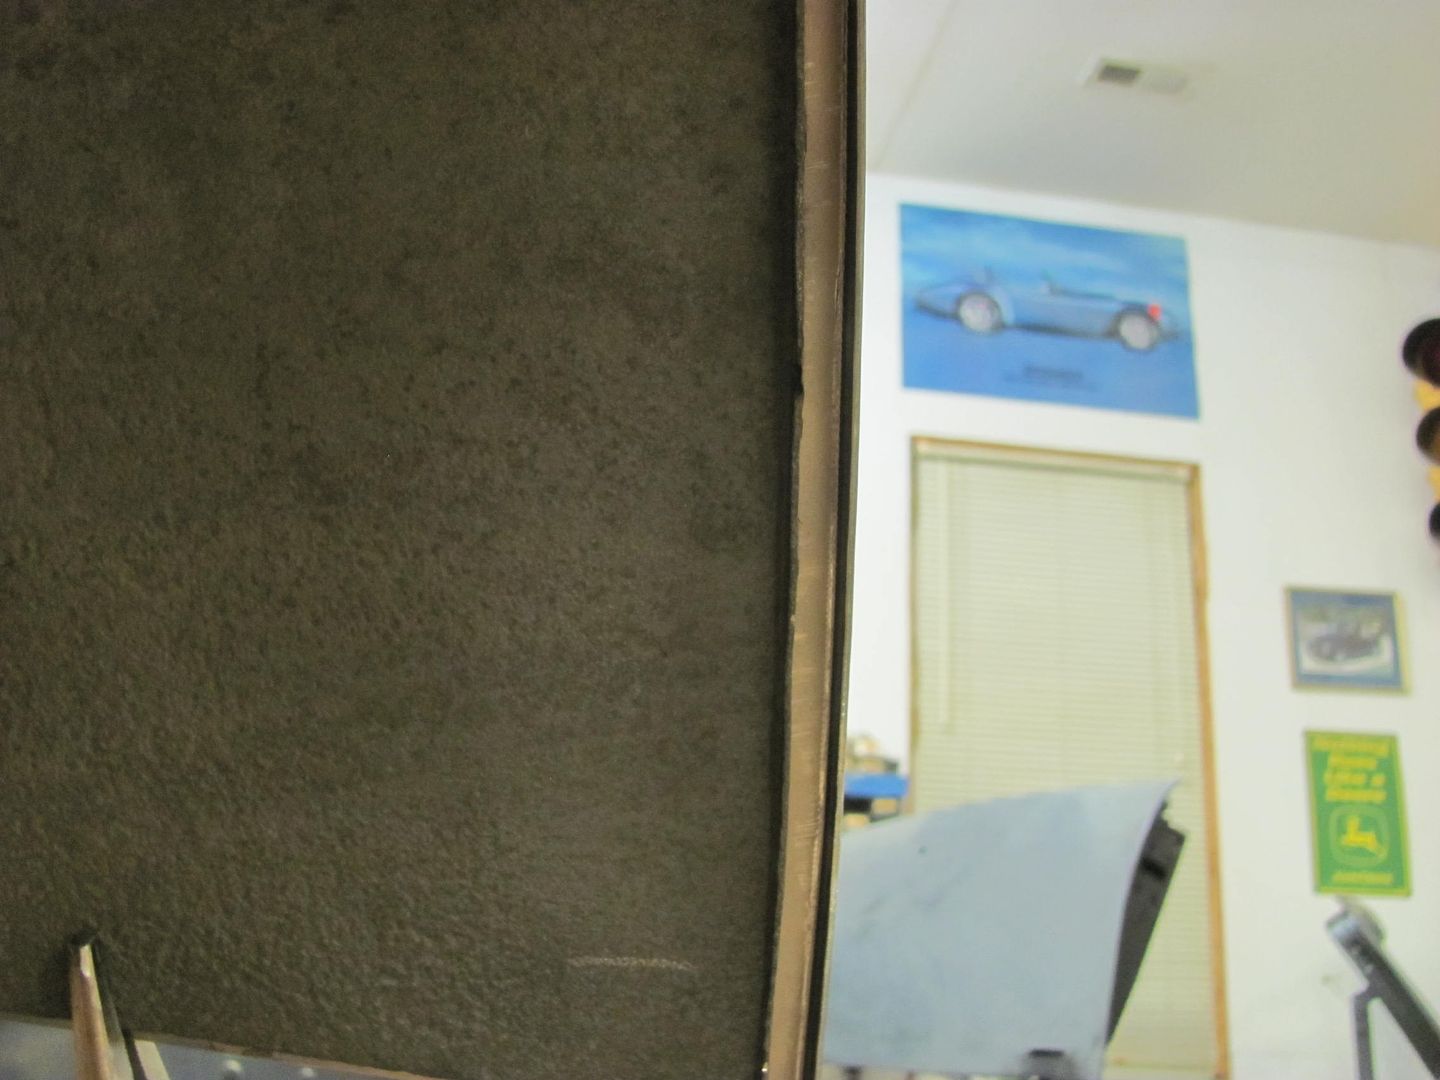
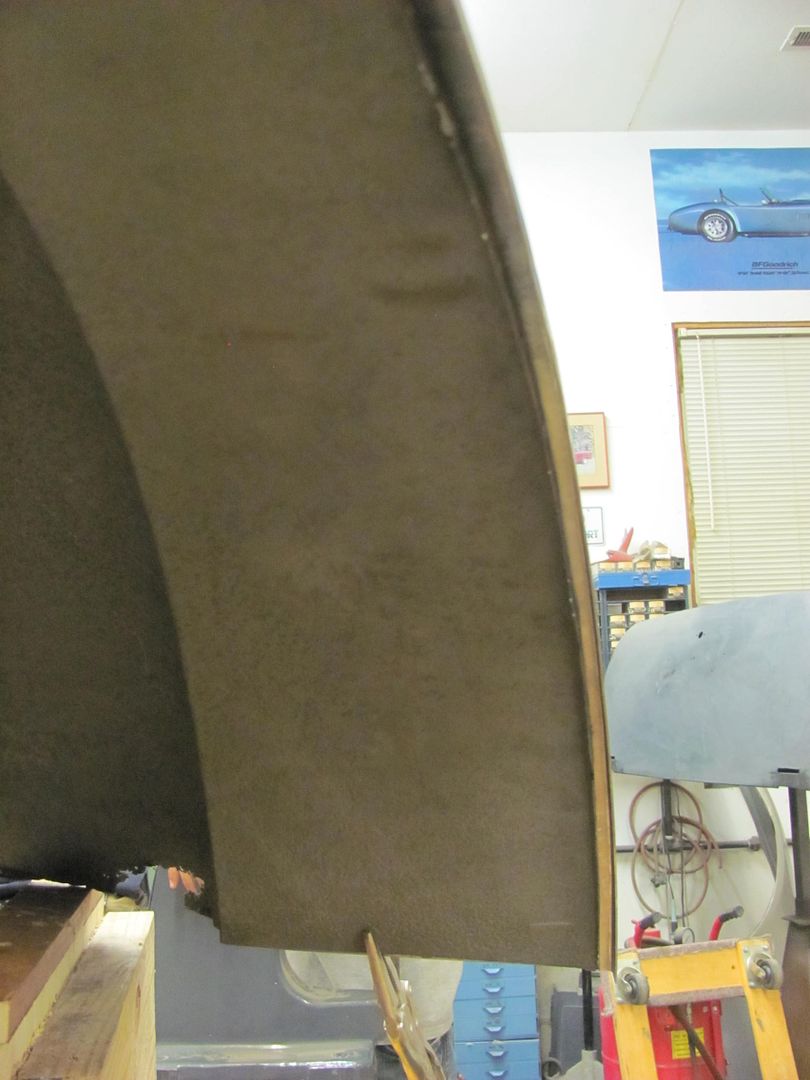
Looking at the rear of the fender that was adjacent to the cab, we found flat areas that seem to indicate some rubbing was occurring. So while we were fabricating the filler panel, we added about 1/8" to shove the fender outward away from the cab.
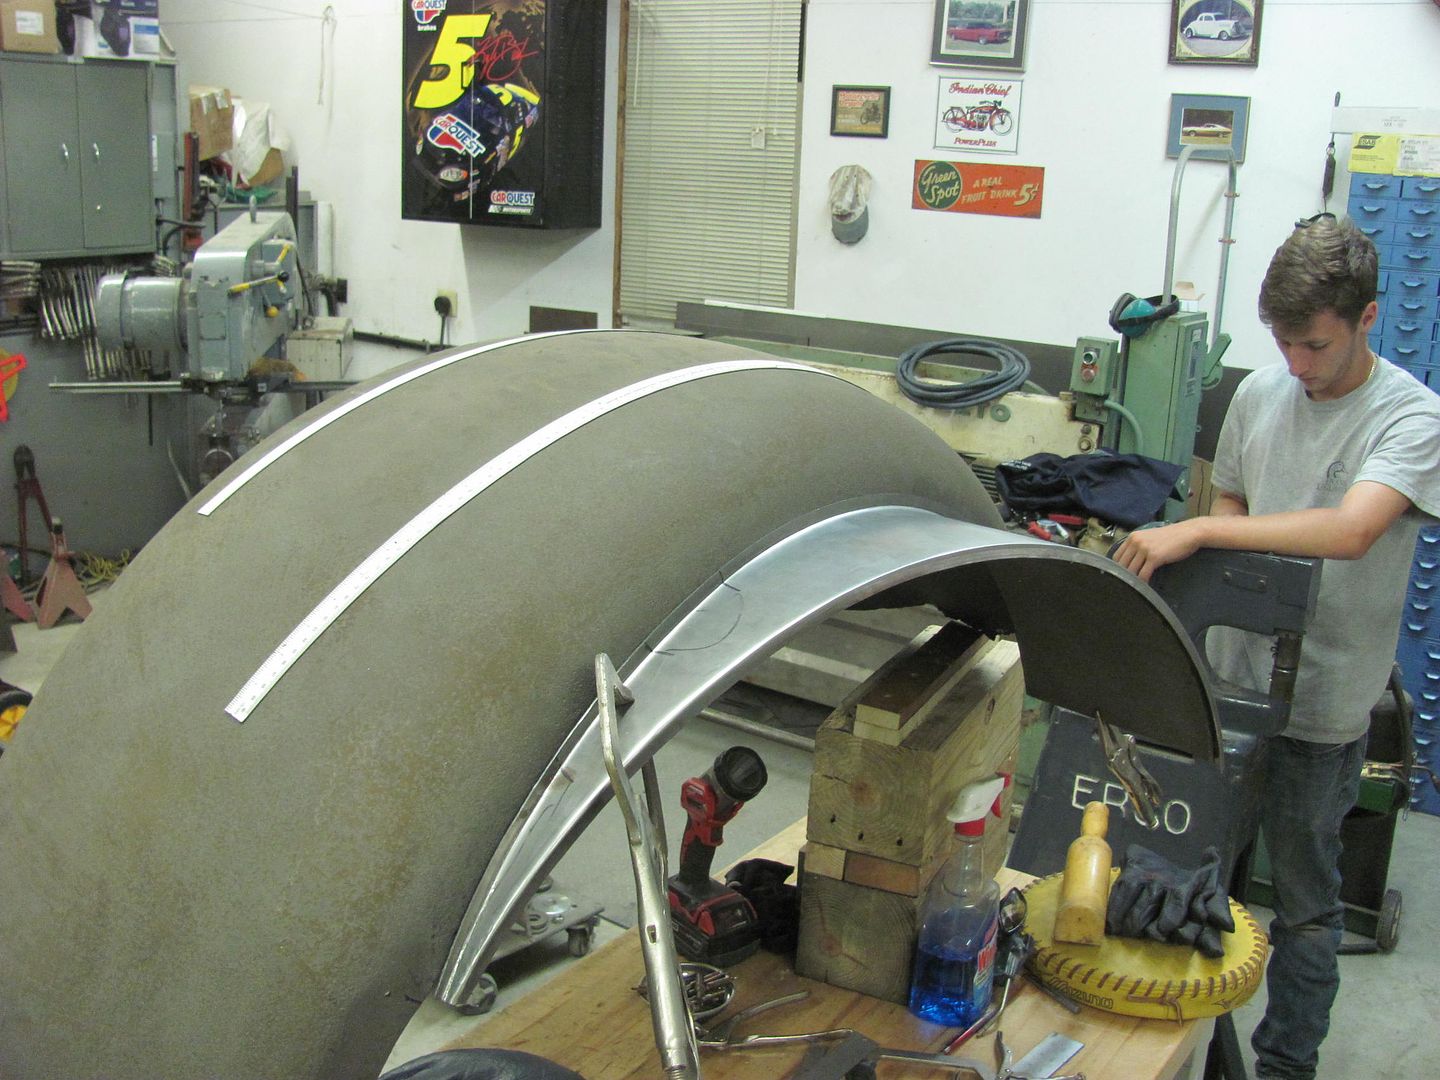
https://www.youtube.com/watch?v=4mZTMi3VMr4Robert
-
09-04-2016 07:54 PM #21
Some more work on the Biederman fenders..
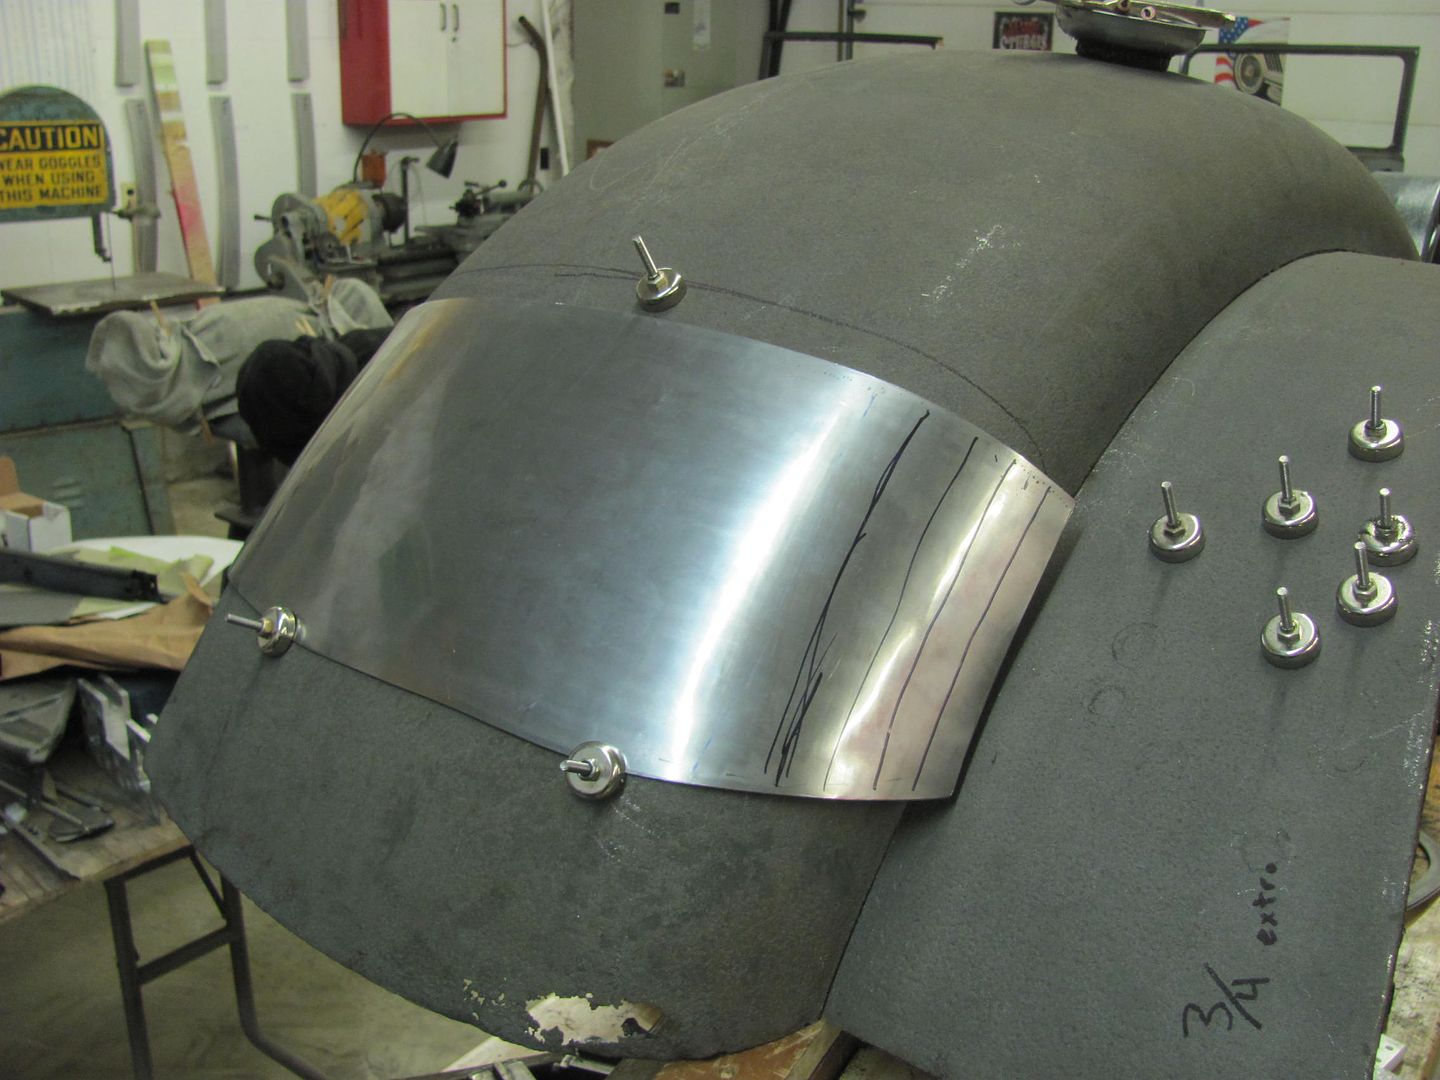
A paper pattern was taken from the front of the fender to use as a guide to cut out the new piece from 16 ga cold rolled steel.
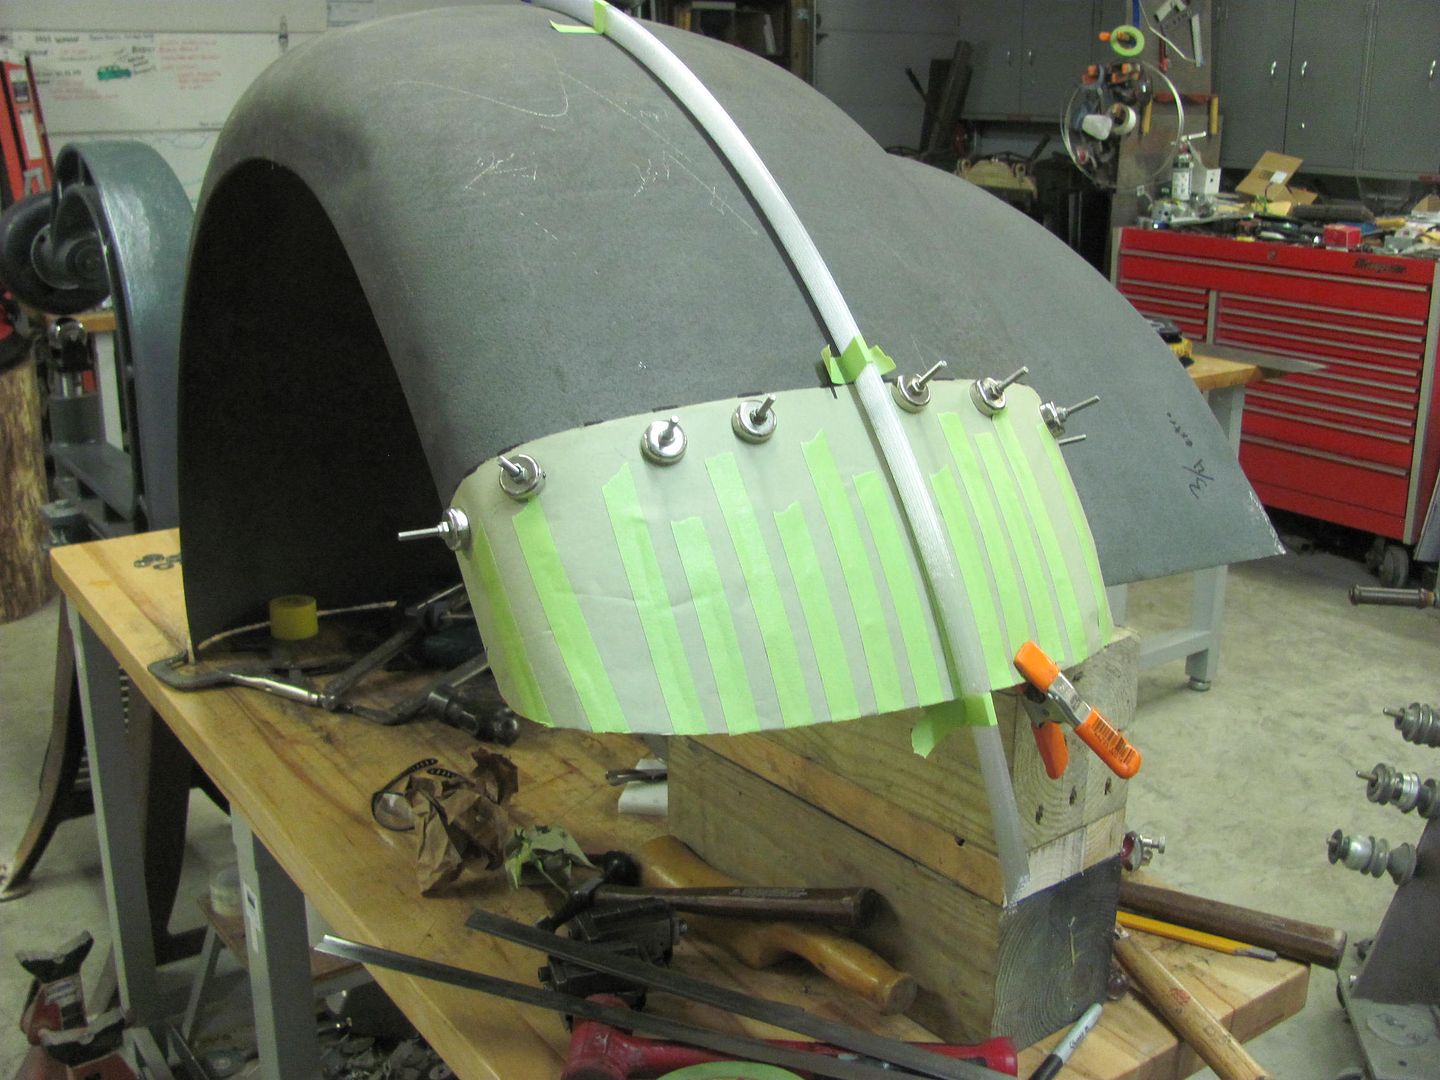
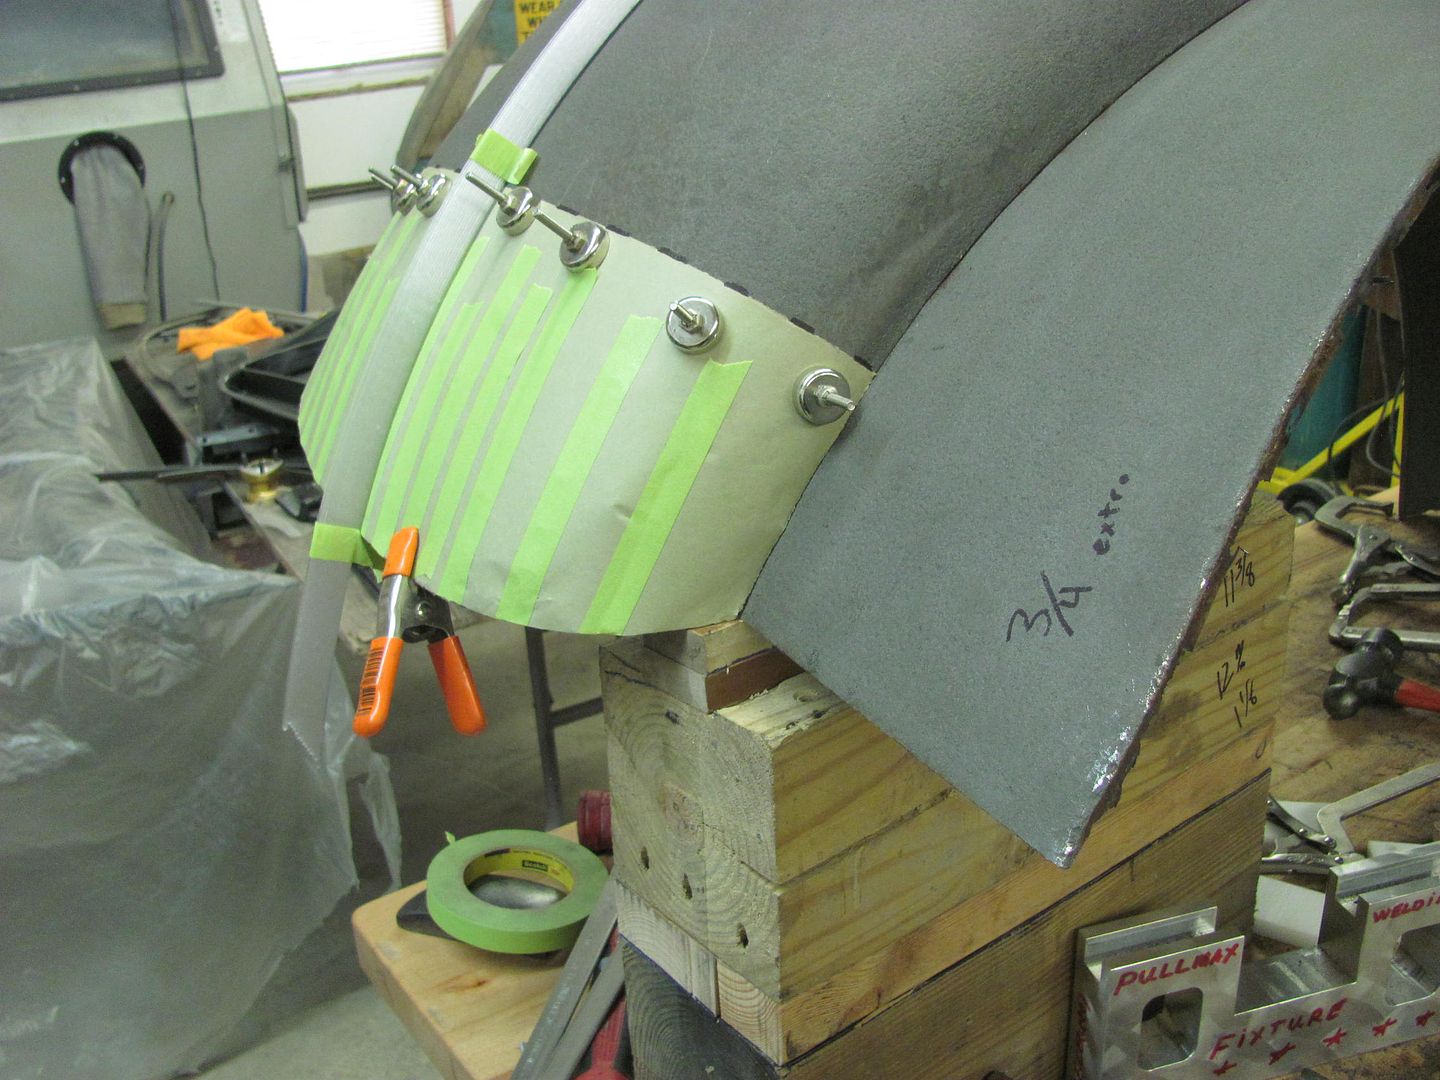
Some 19 gauge was hemmed flat and the Erco kick shrinker used to make profile templates for the horizontal and vertical directions..
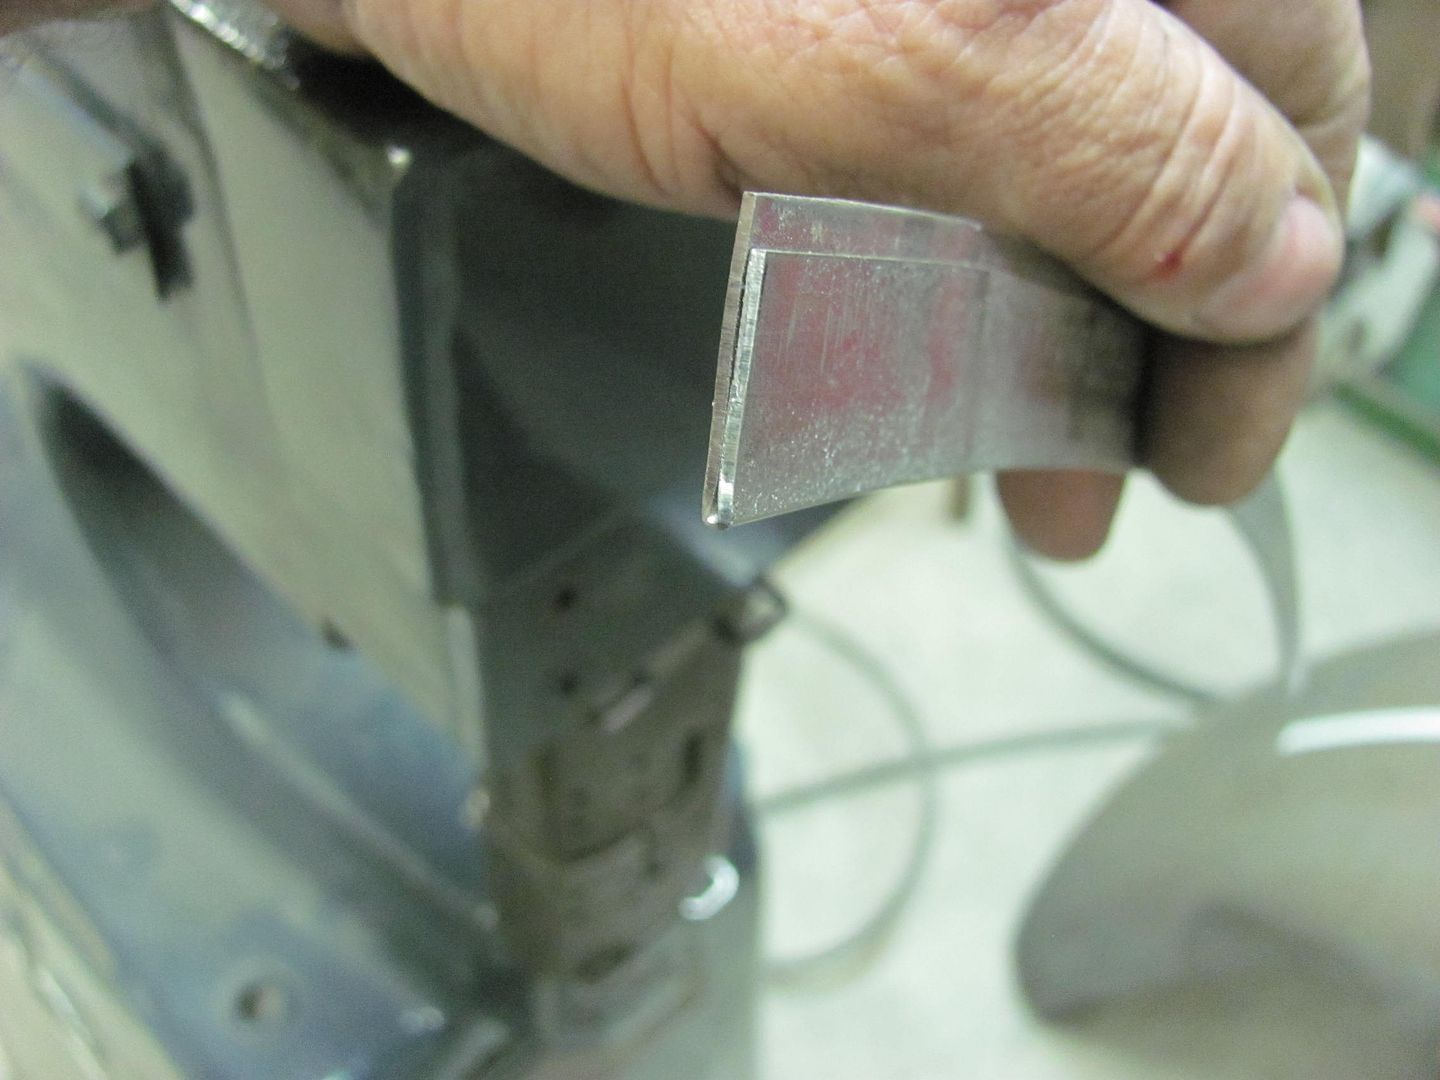
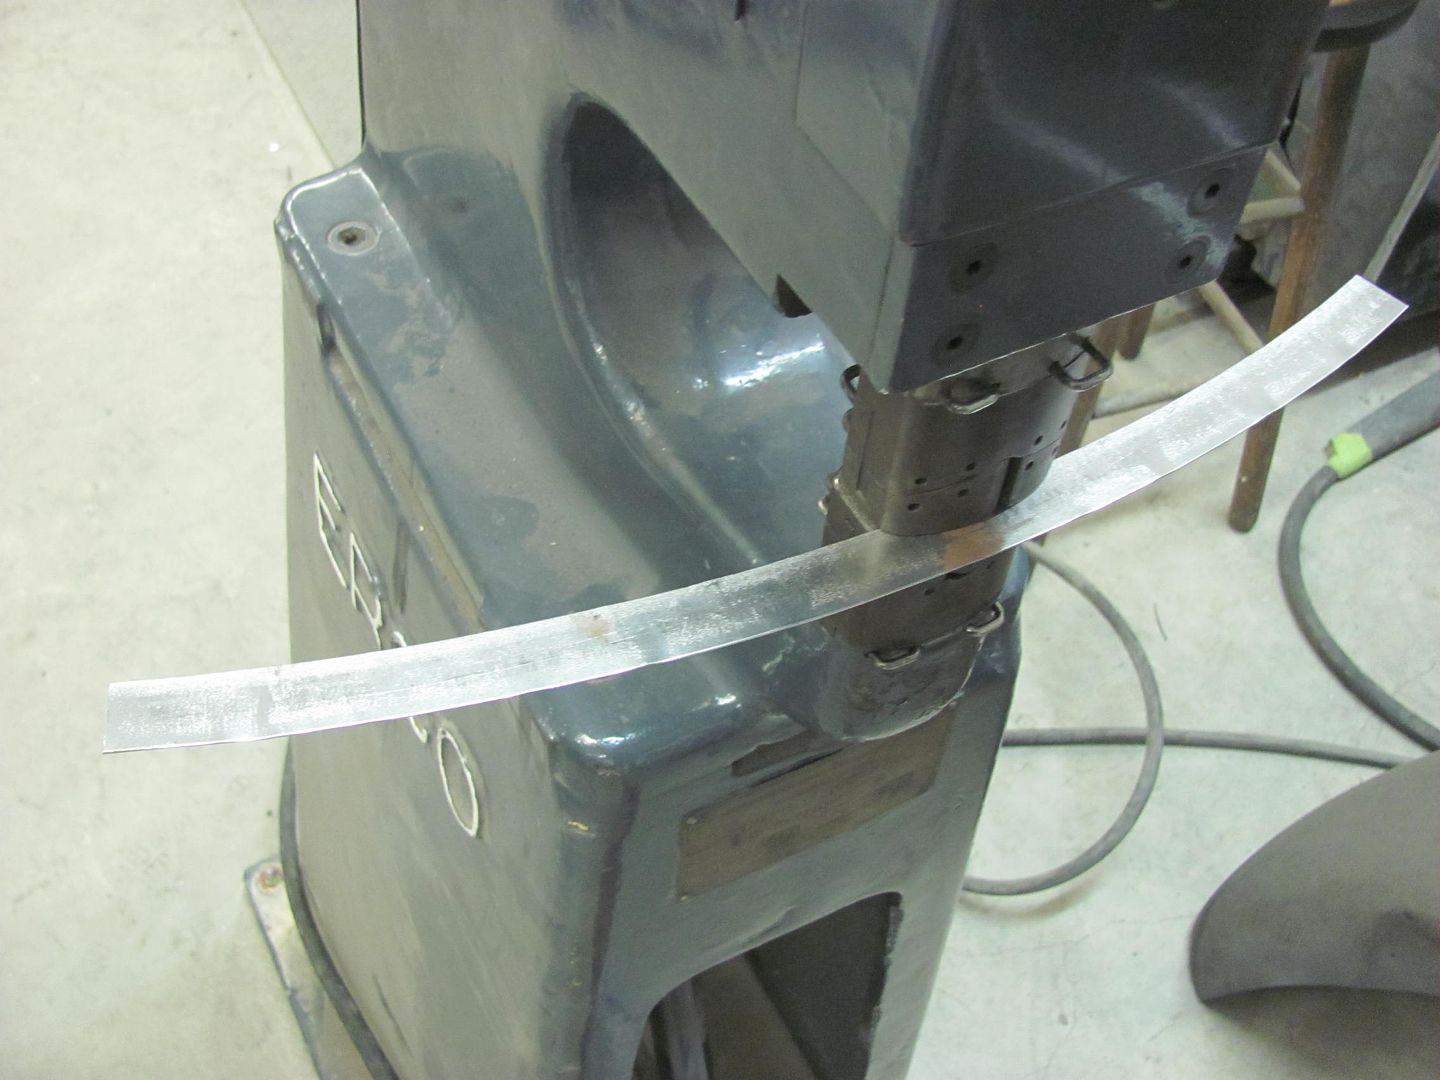
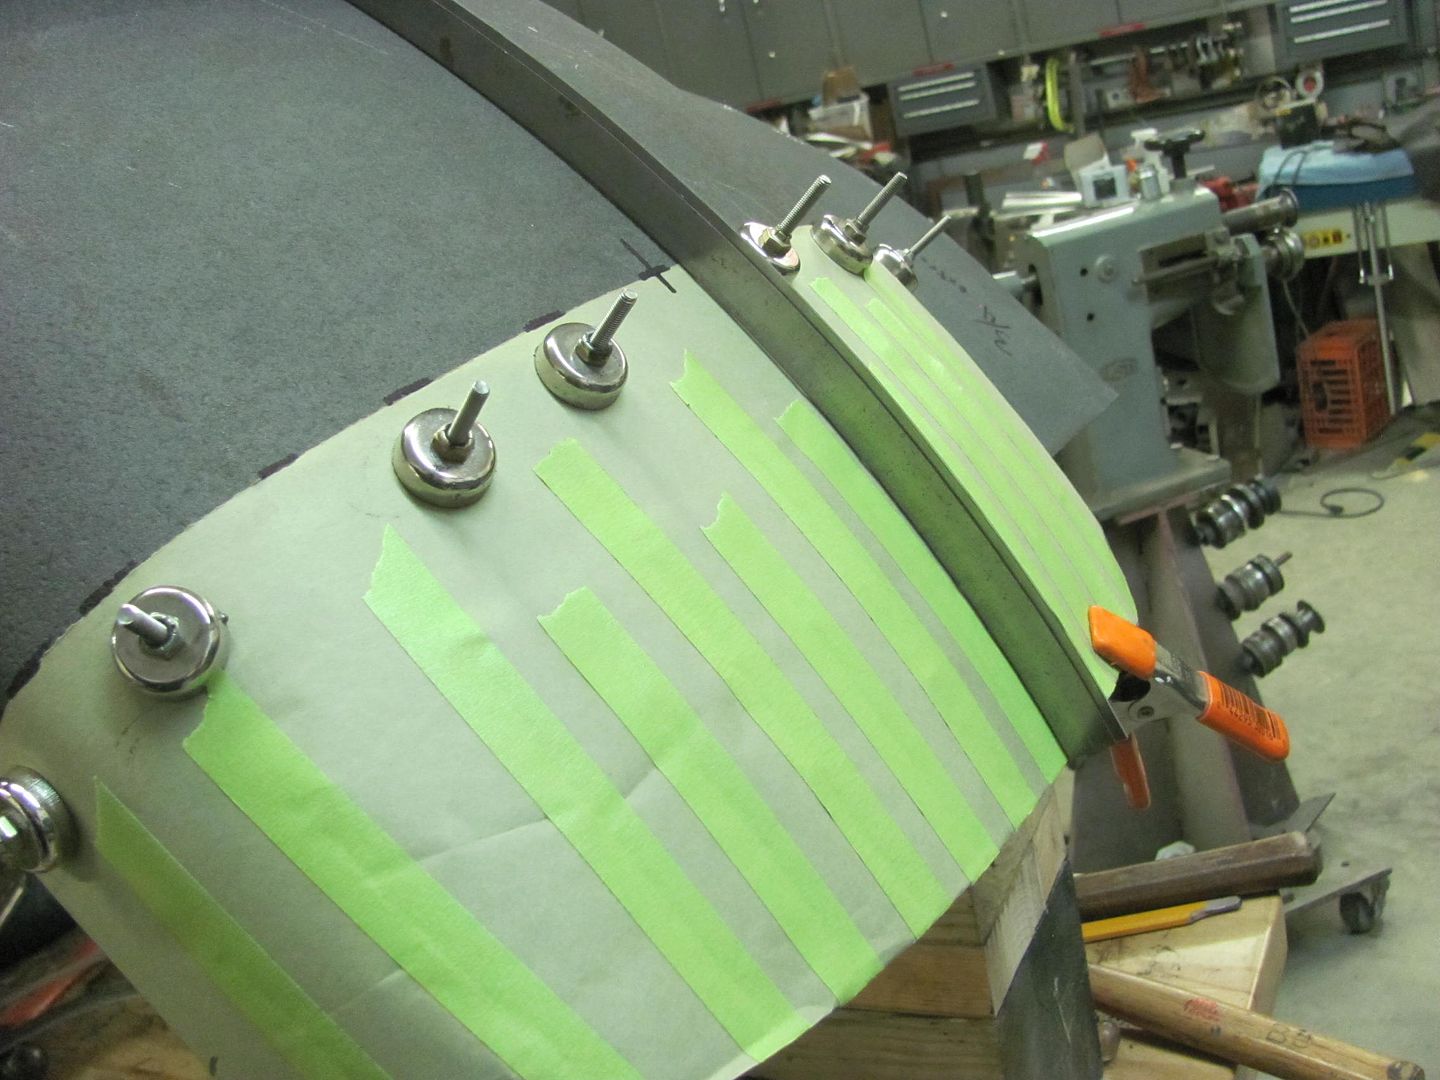
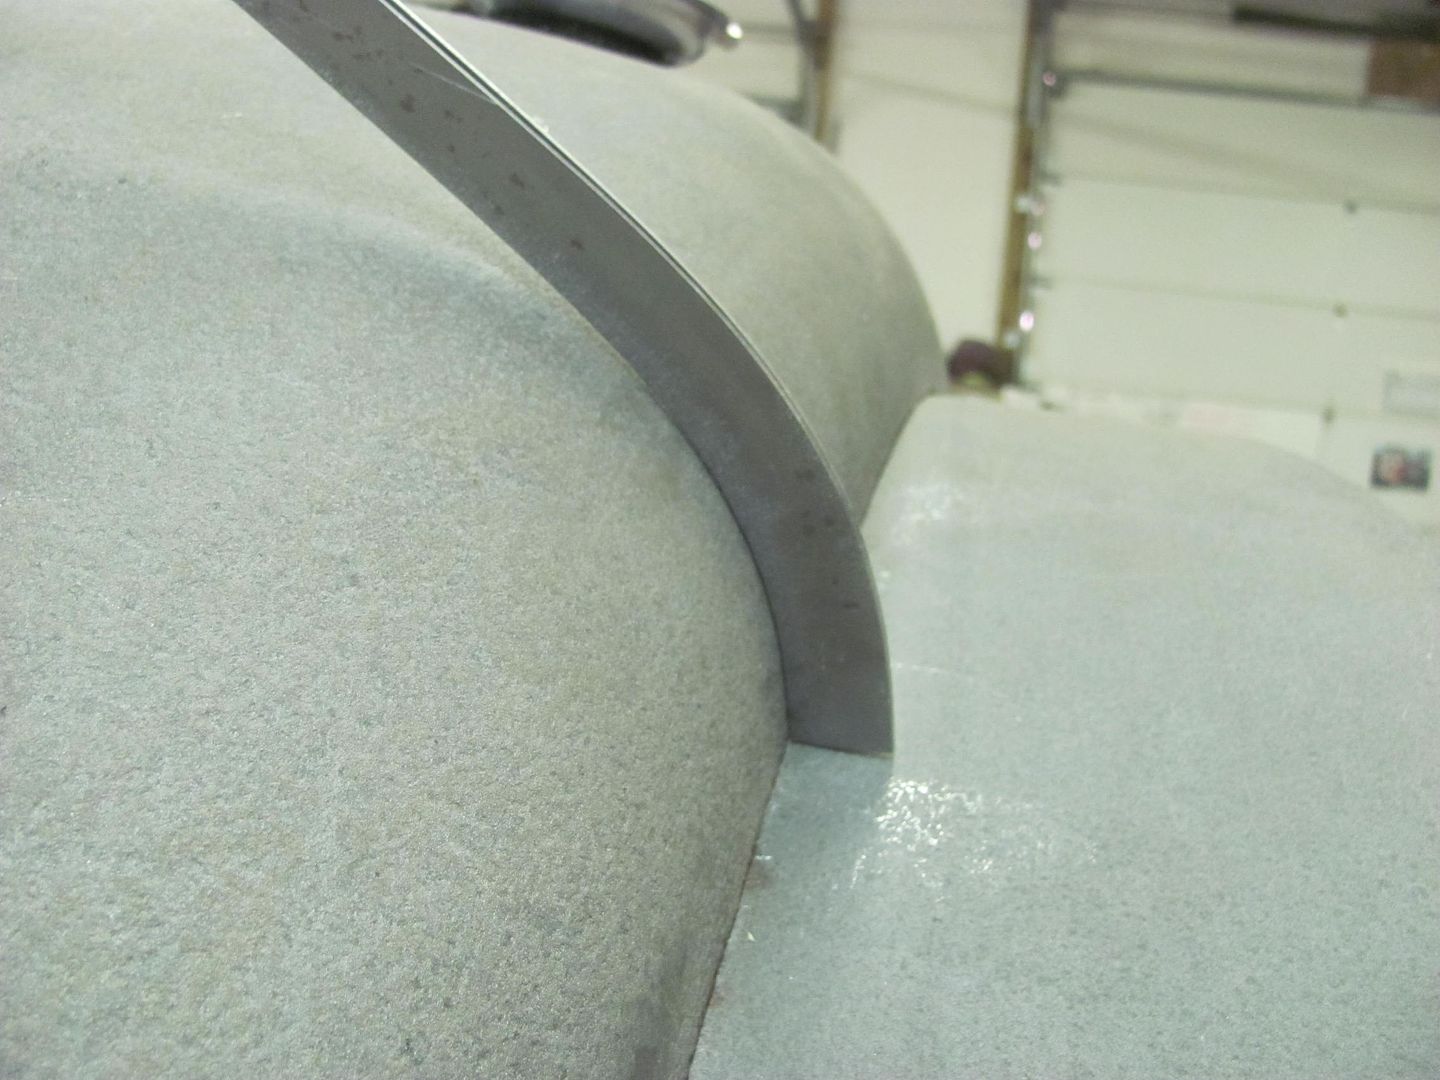
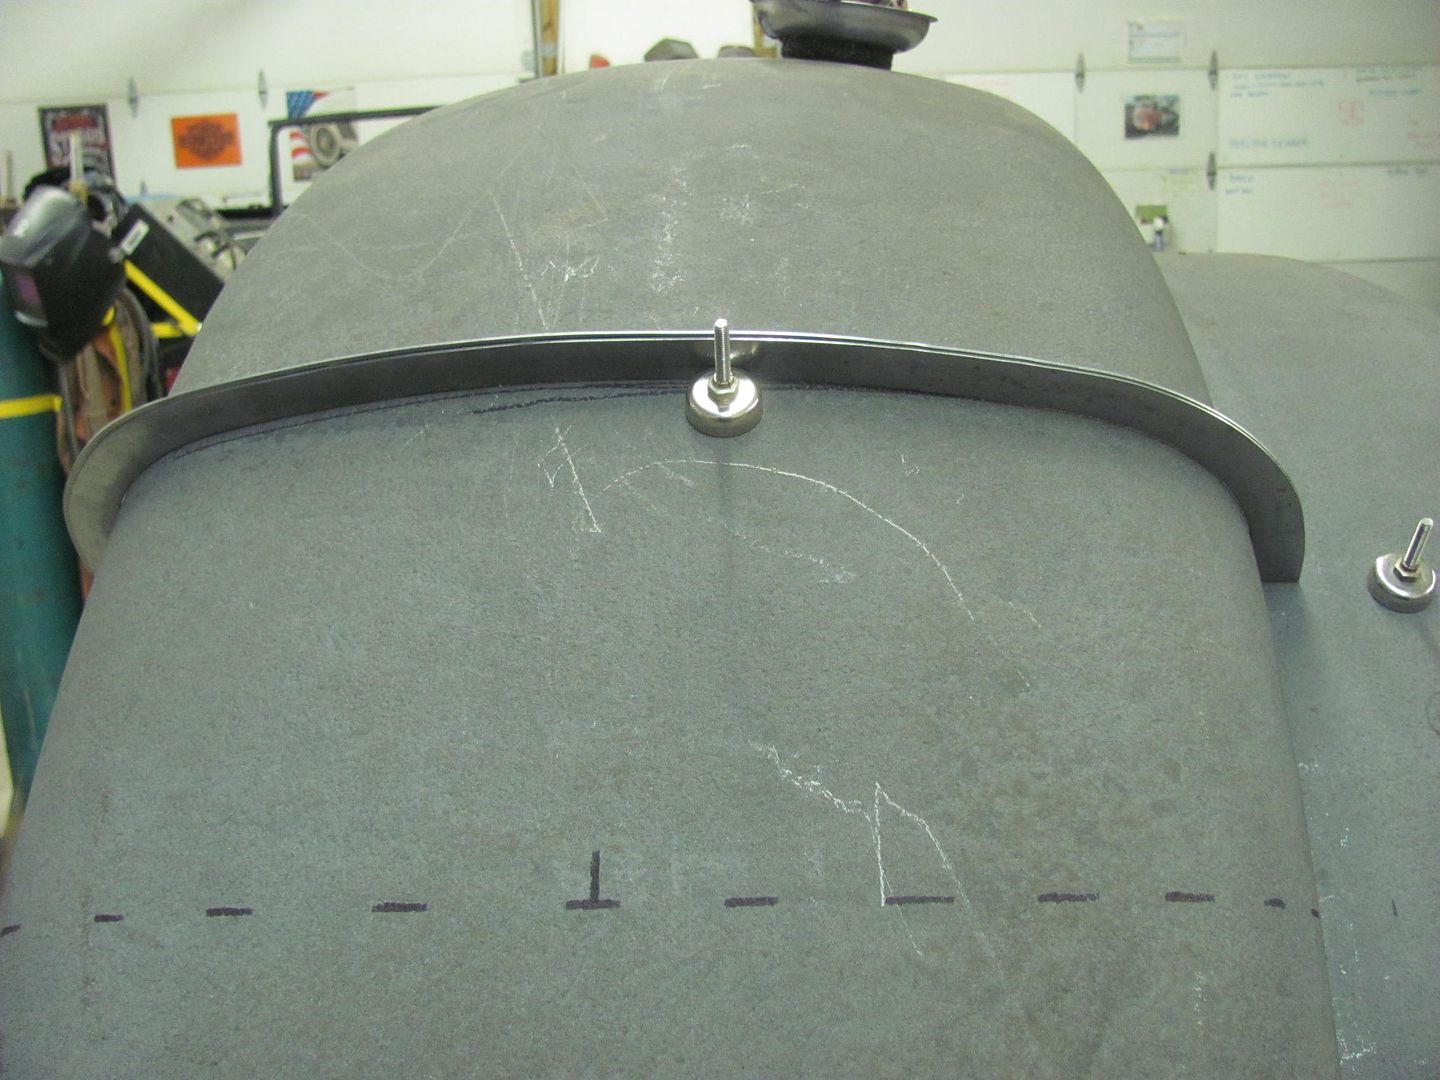
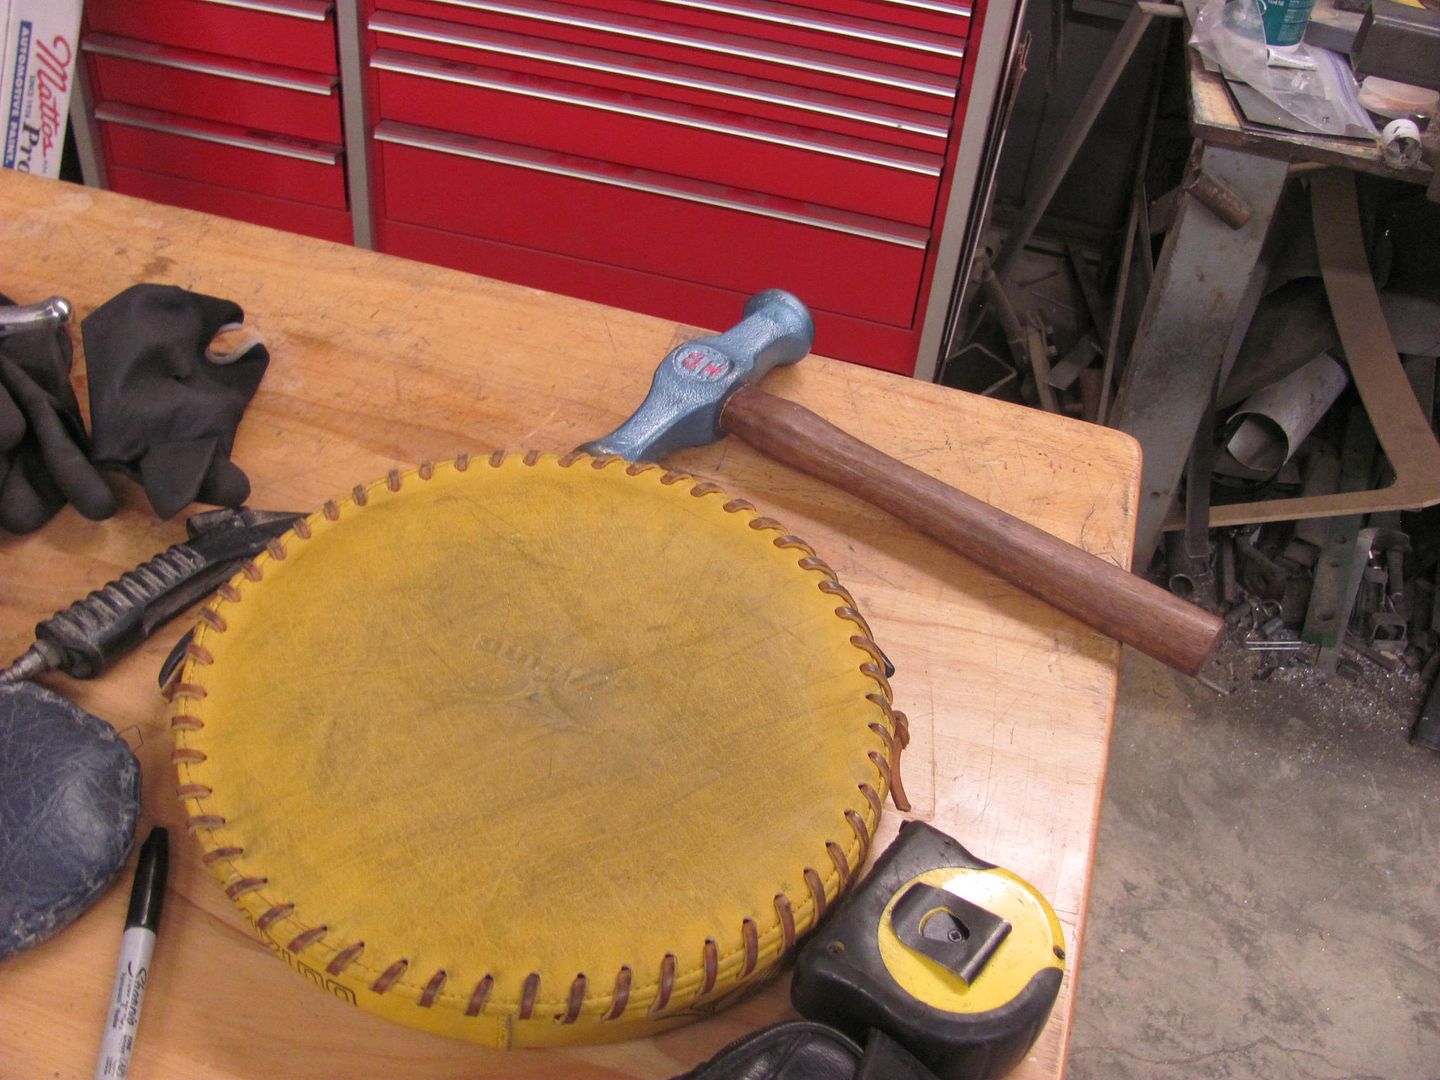
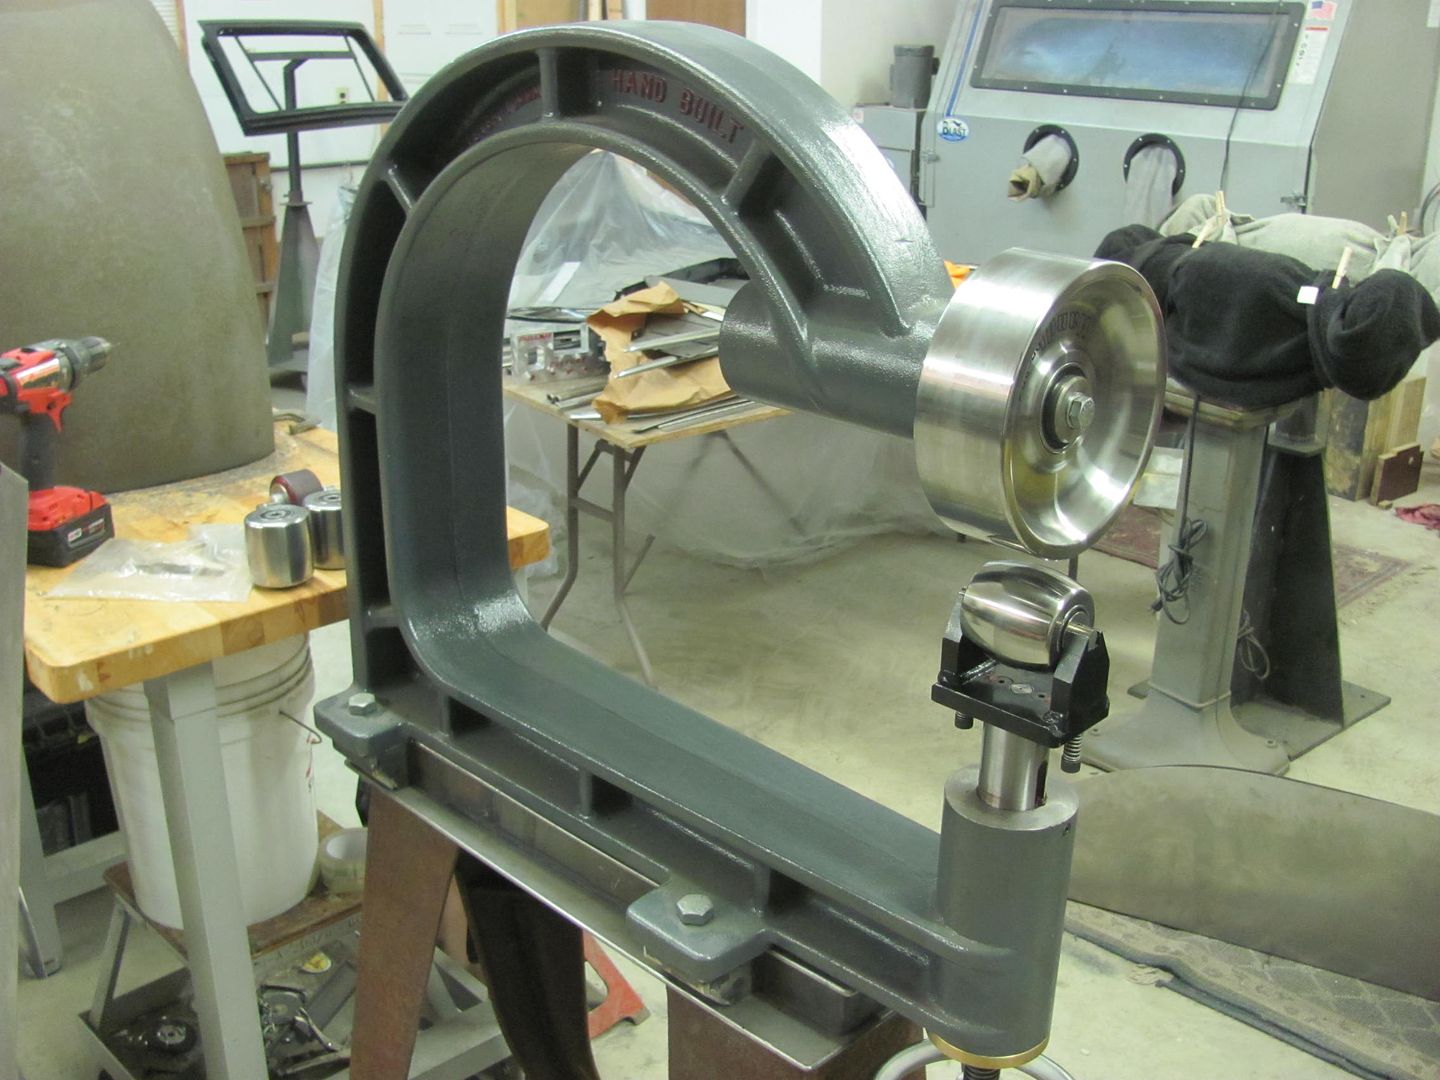
The initial shape was added with a blocking hammer and shot bag, and finished on the Wheeling Machine..
Getting close....
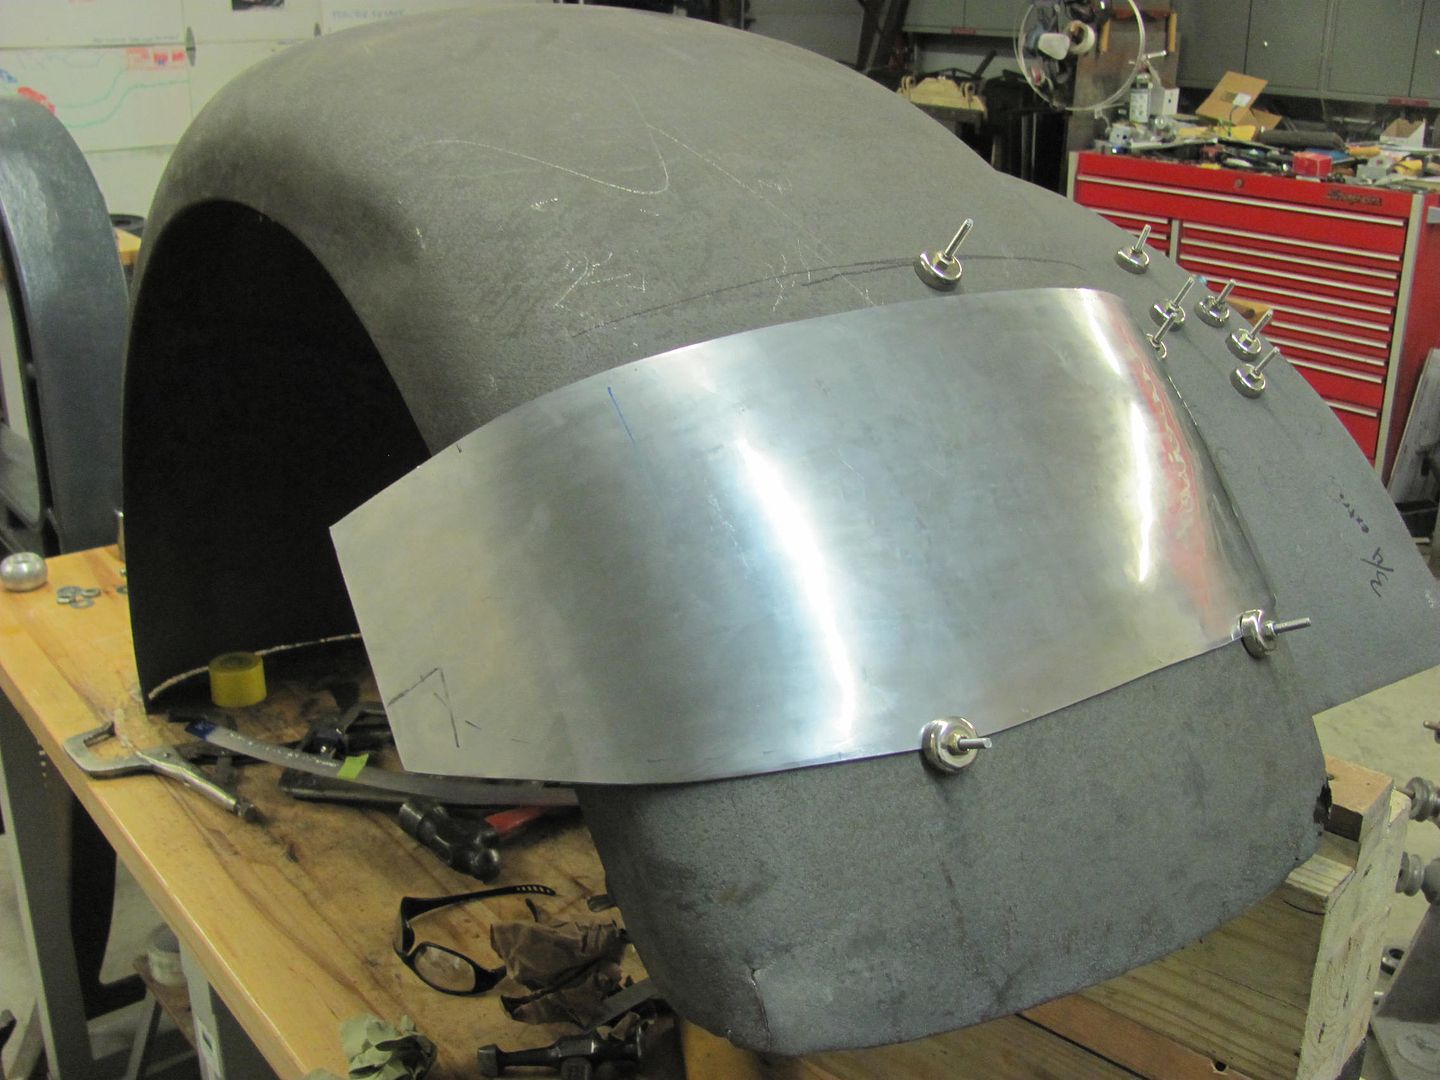
This video shows the progress so far, as well as the rust on the leading edge we're repairing..
https://youtu.be/zc4hdatz-hERobert
-
09-06-2016 08:39 PM #22
Fender filler panel no. 2 complete..
https://www.youtube.com/watch?v=7uvnvZTTEbs
Fender patch is getting closer...

Last edited by MP&C; 09-07-2016 at 09:07 PM.
Robert
-
09-08-2016 08:02 PM #23
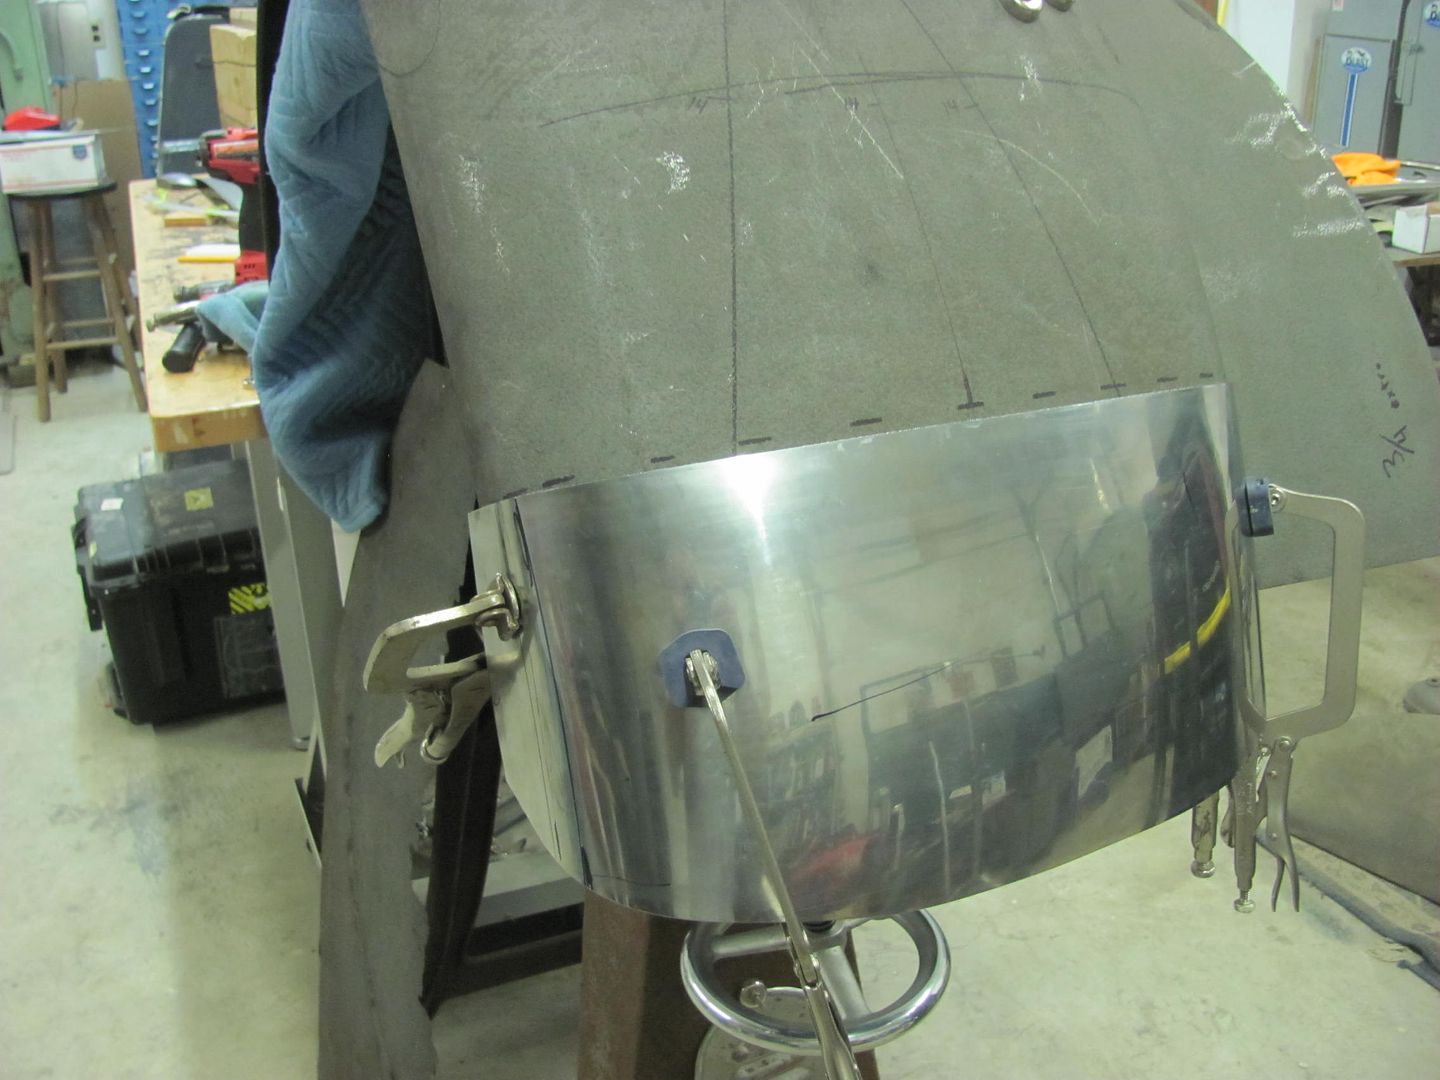
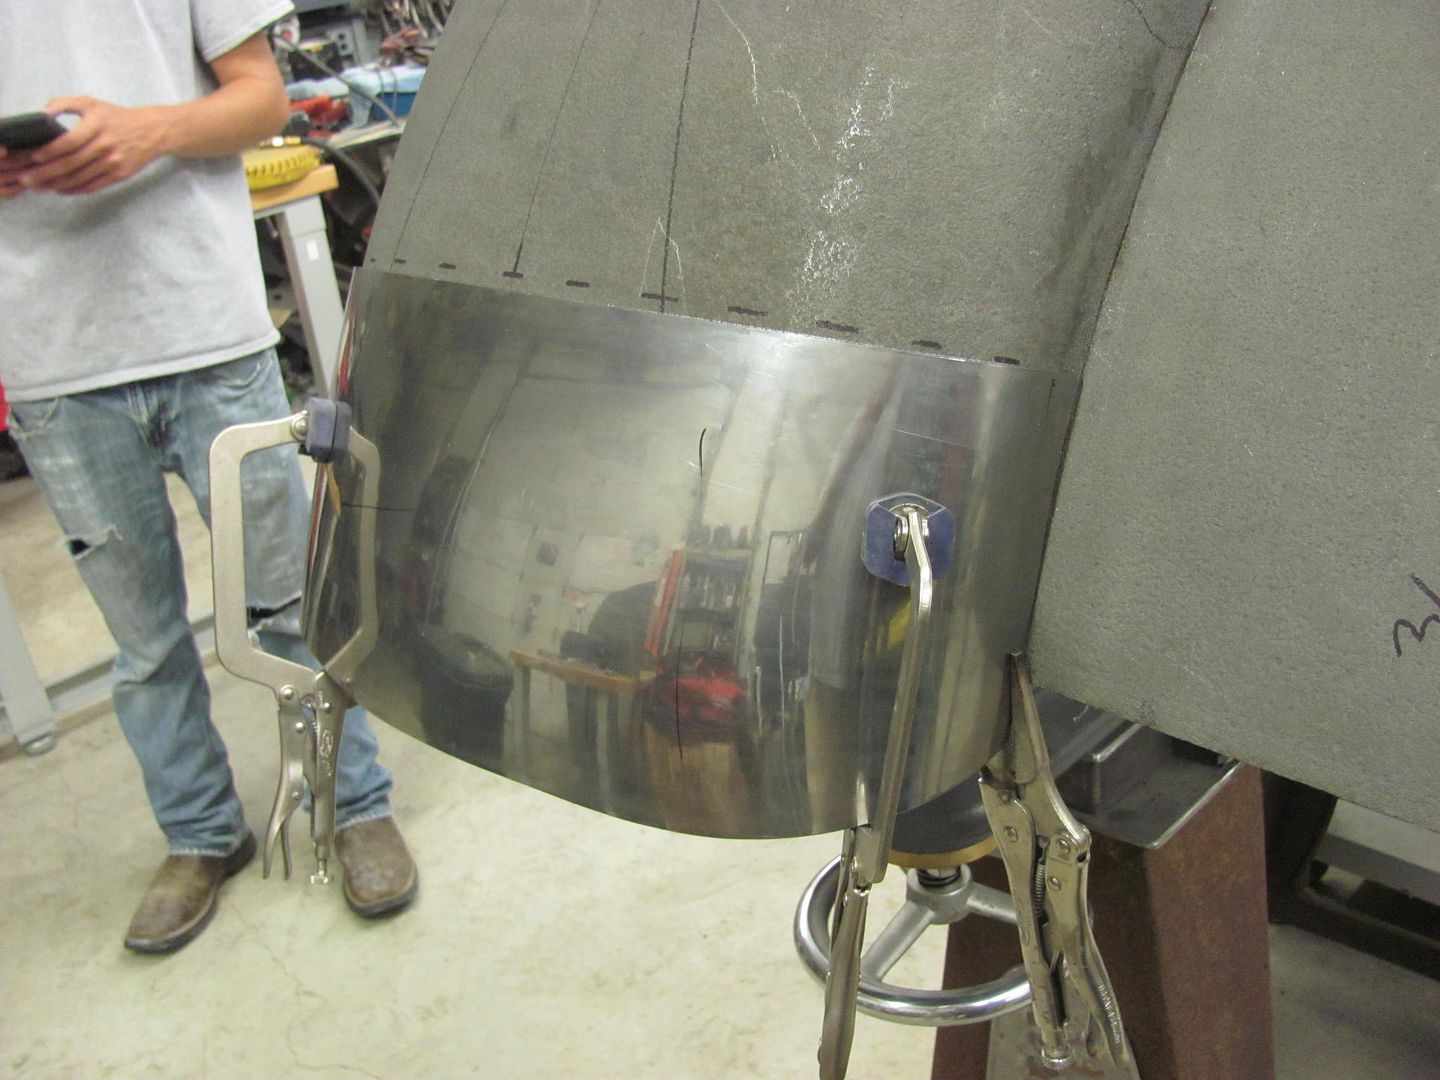
Final tweaks ..... clamped and marked with a scribe..
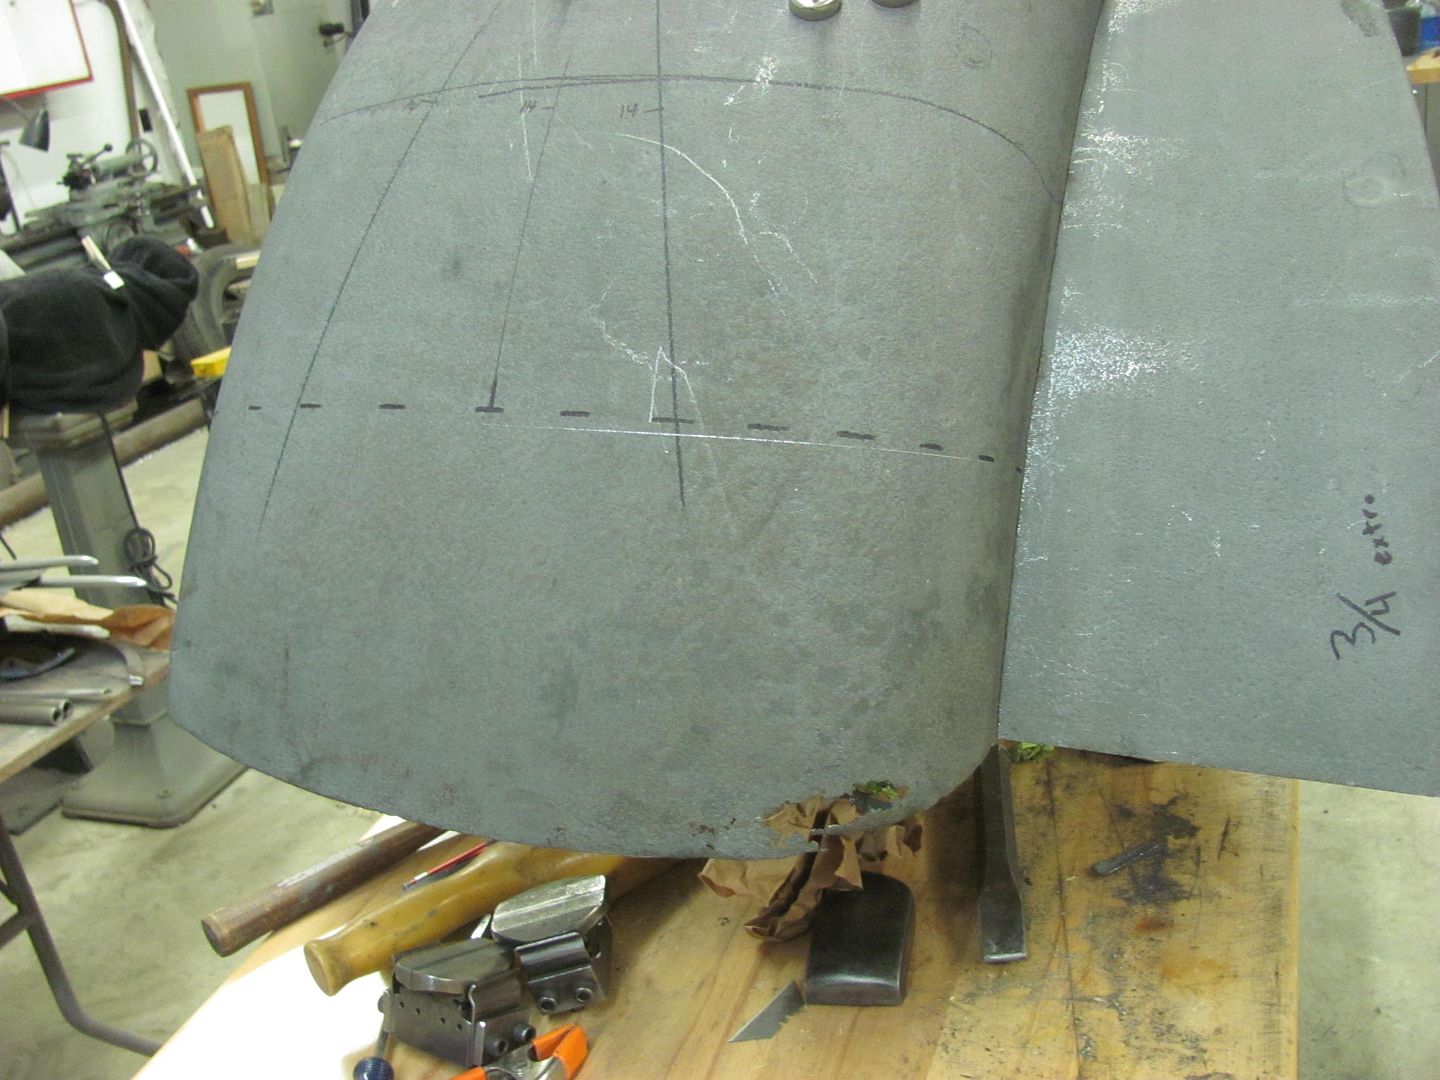
Trimming out the rust...
14 ga rated Milwaukee shear walks right through...
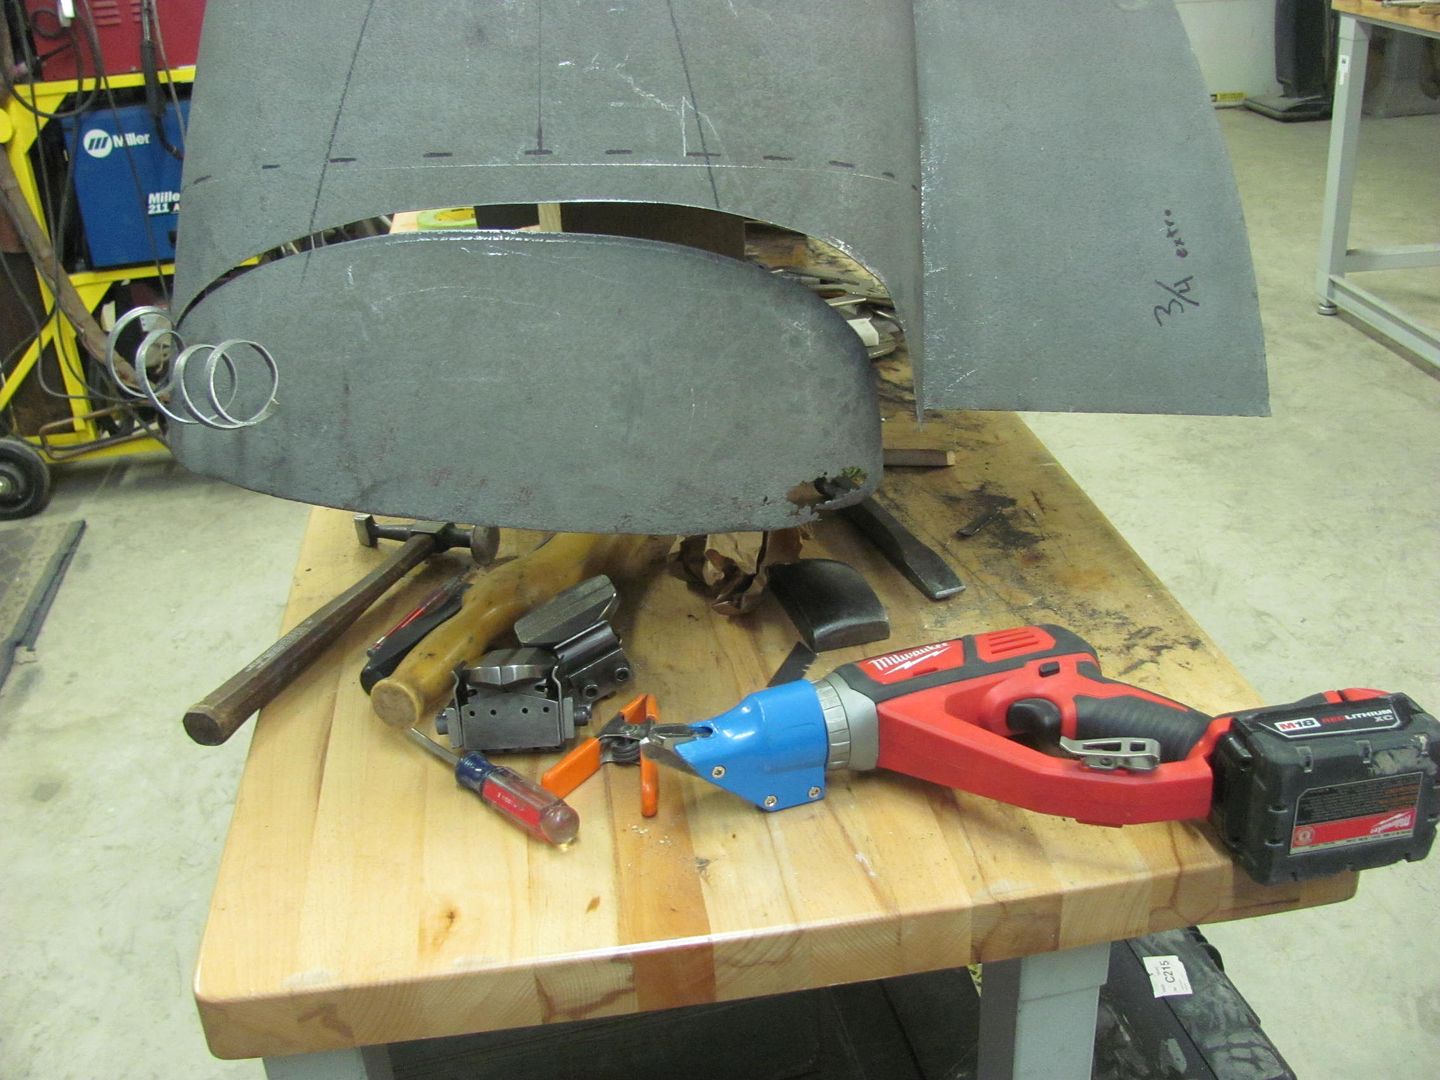
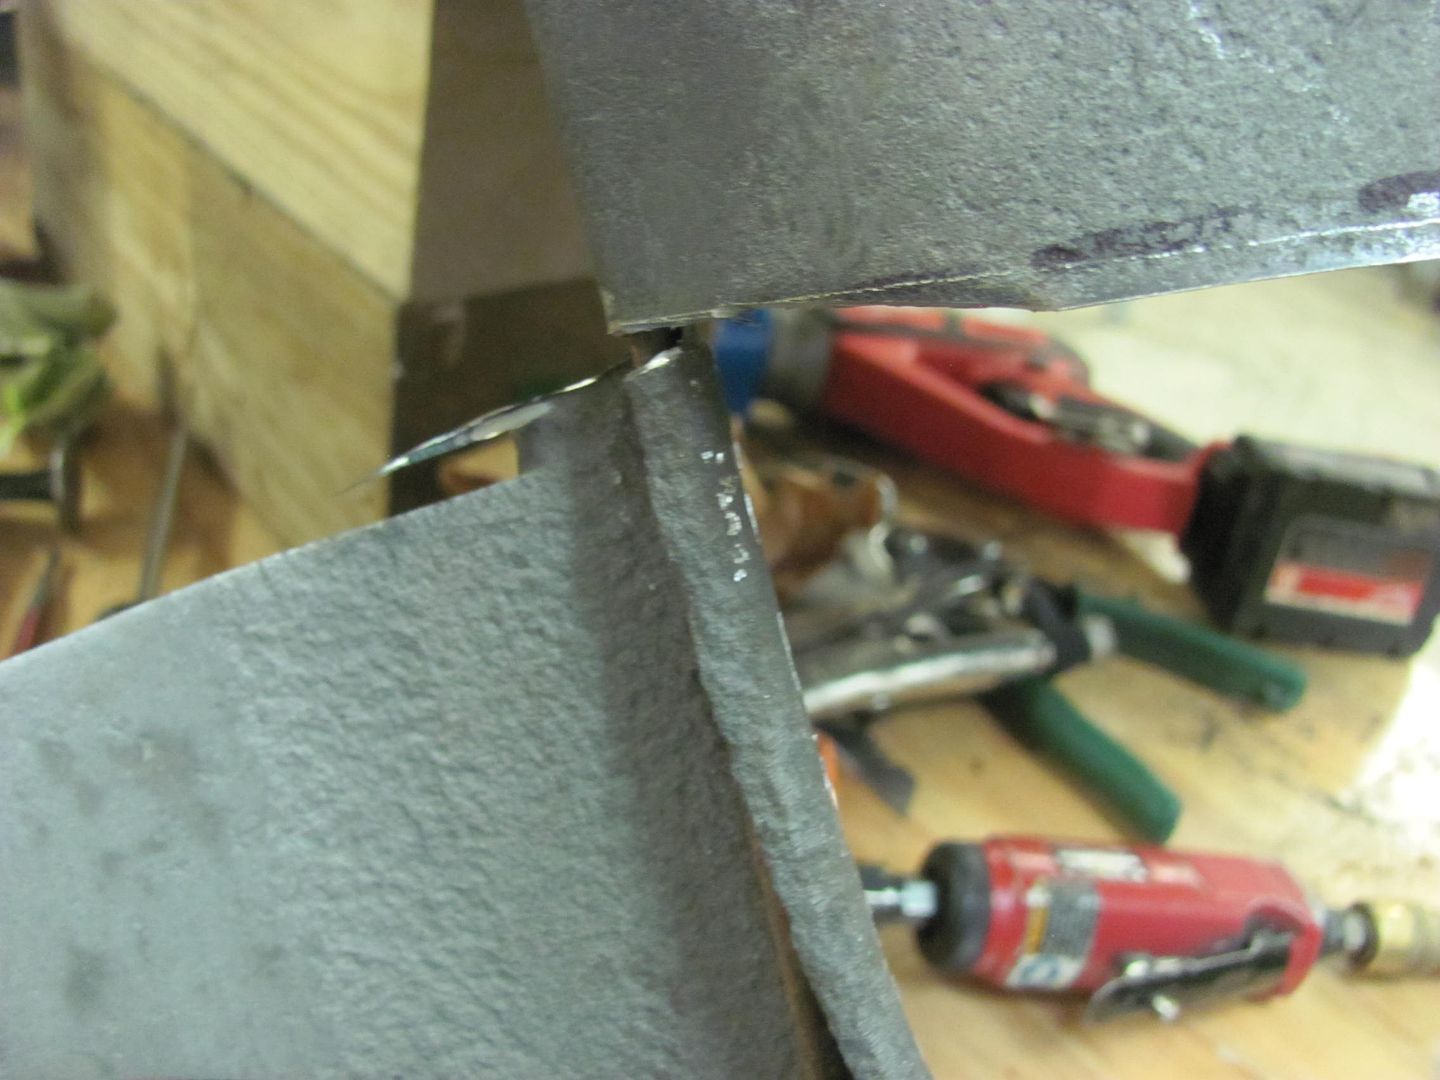
Trimming around the wired edging, careful not to nick it. The wrapped sheet metal is opened slightly using the door skin pliers..
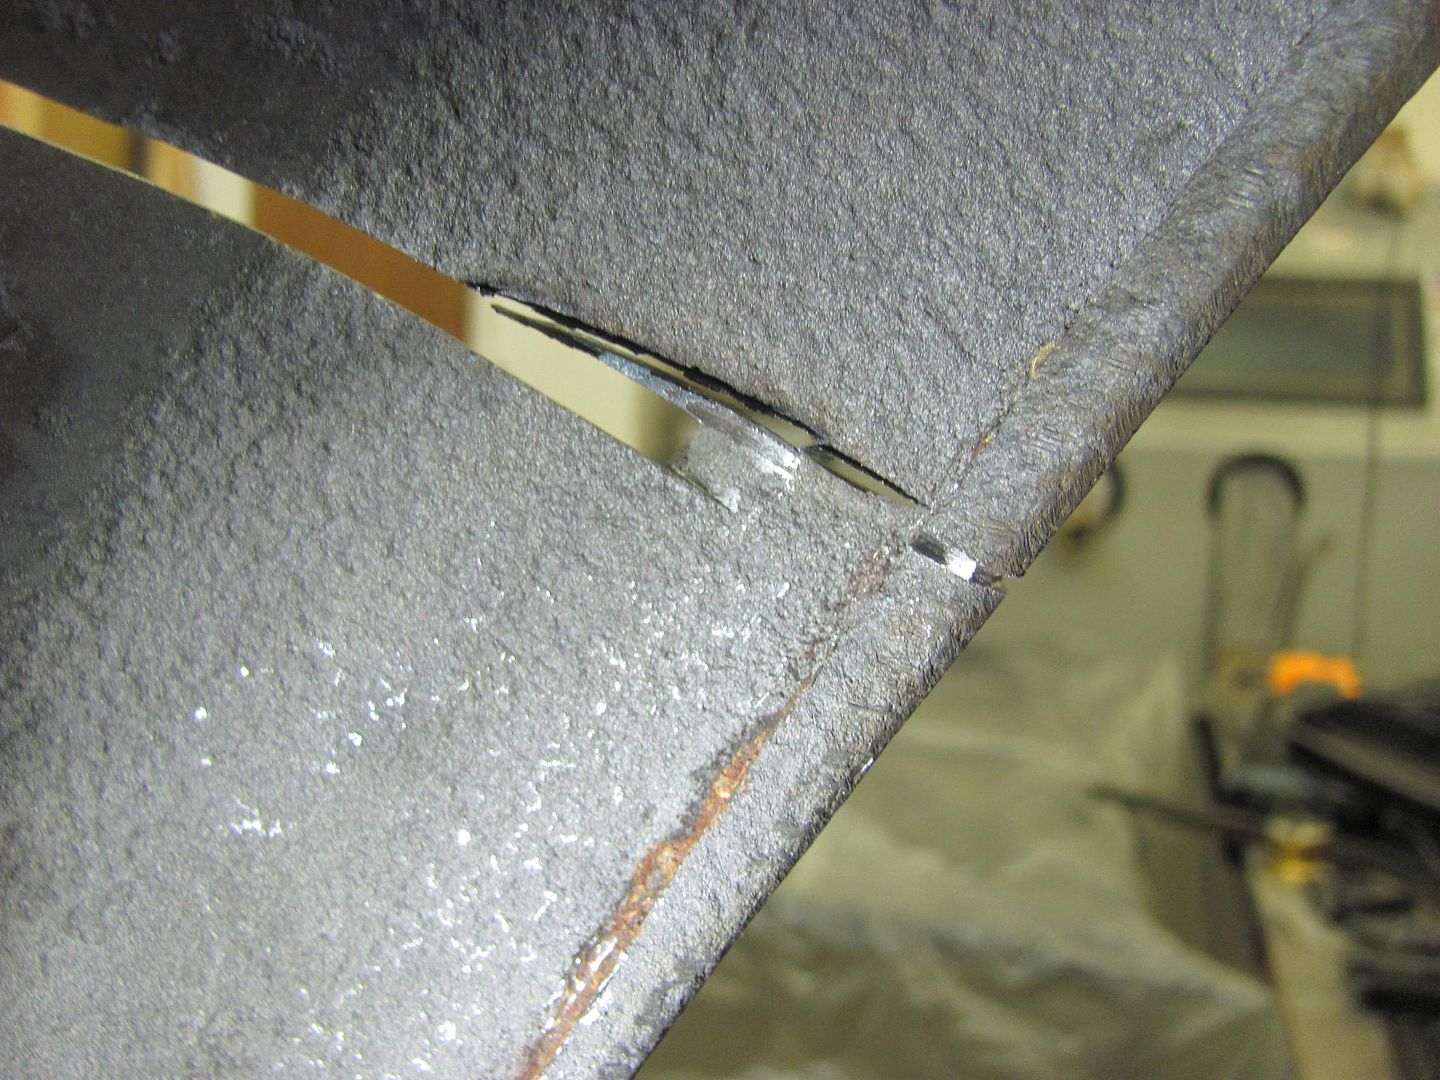
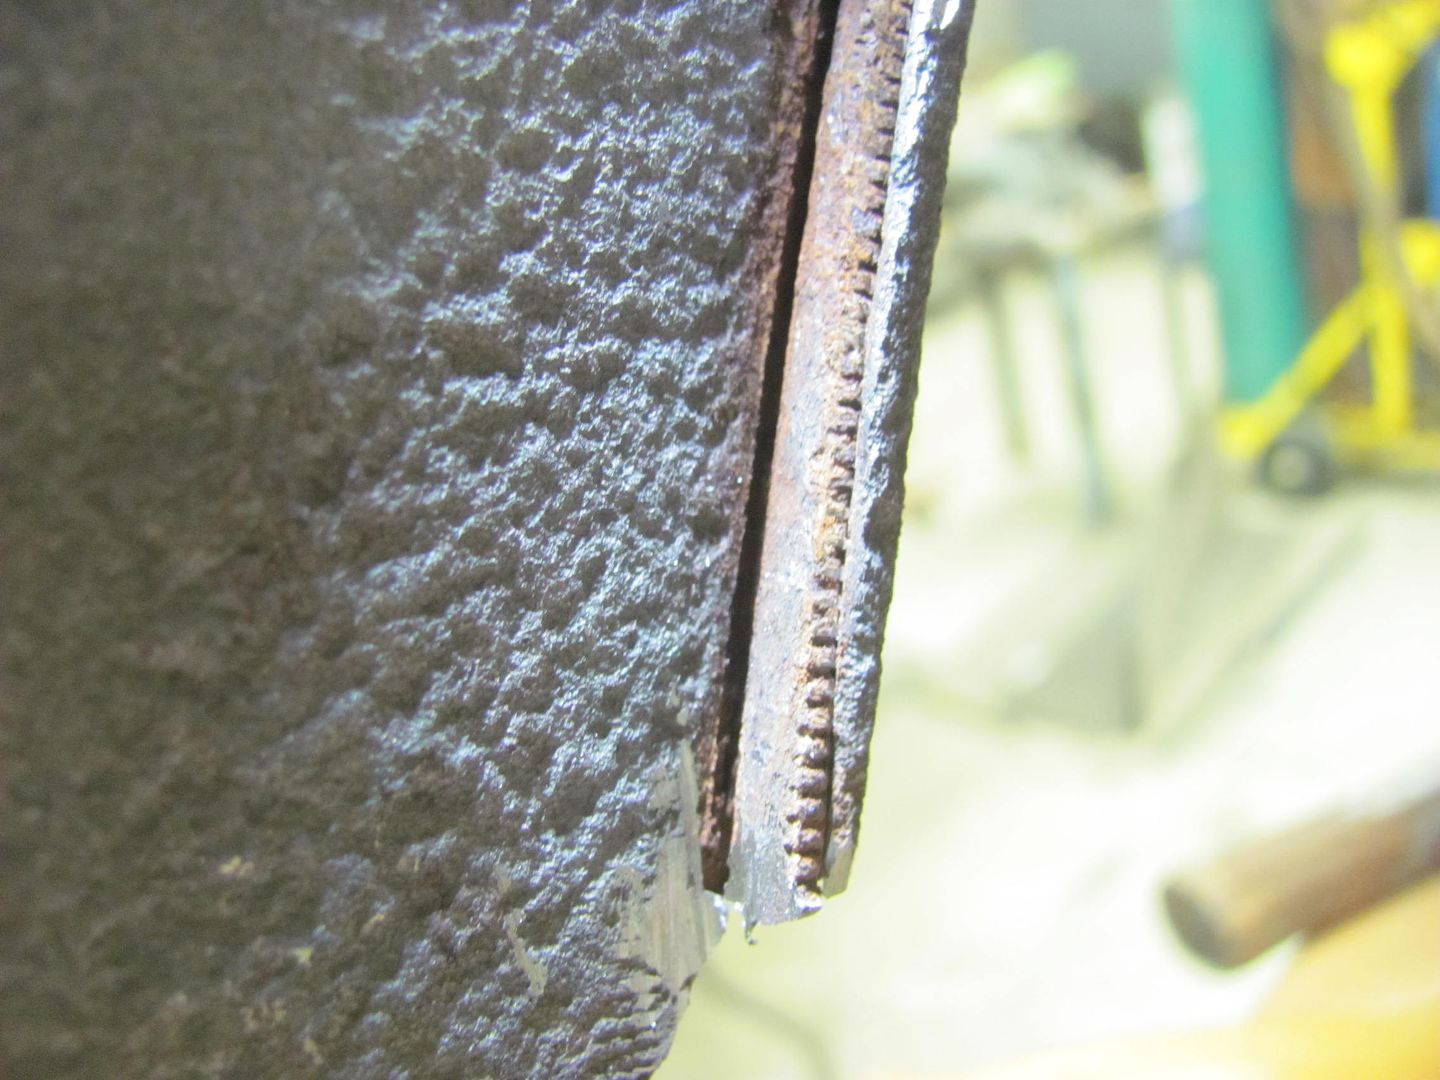
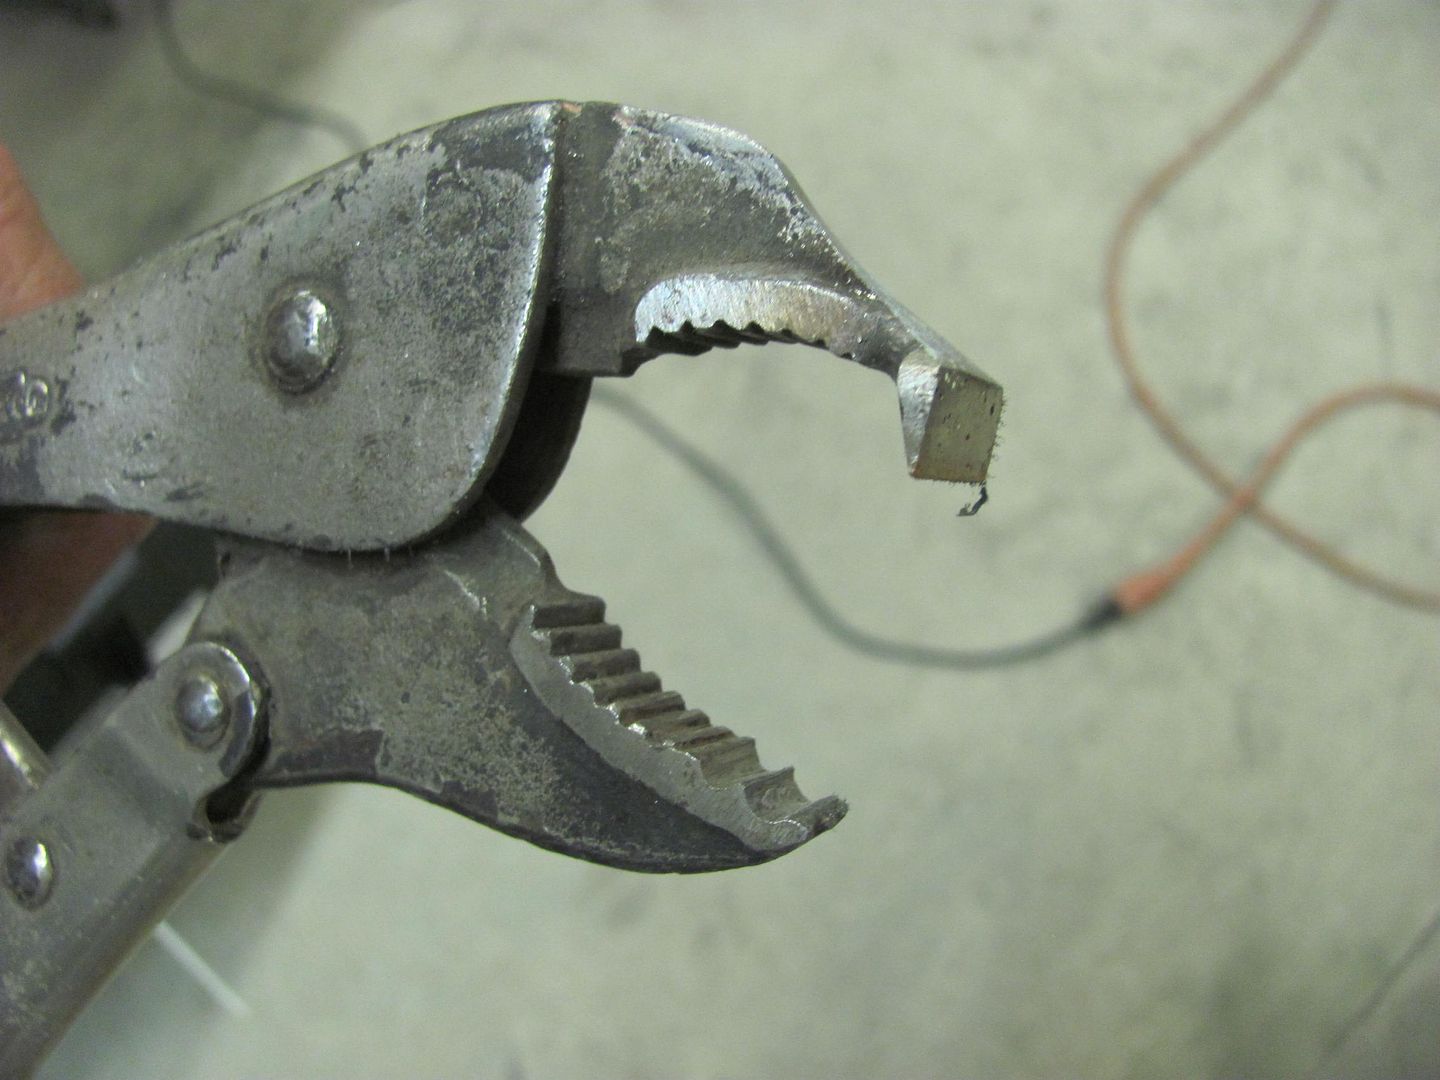
With the sheet metal loosened from the wire, a slight twist will break the sheet metal at the score even not having cut through to the wire.
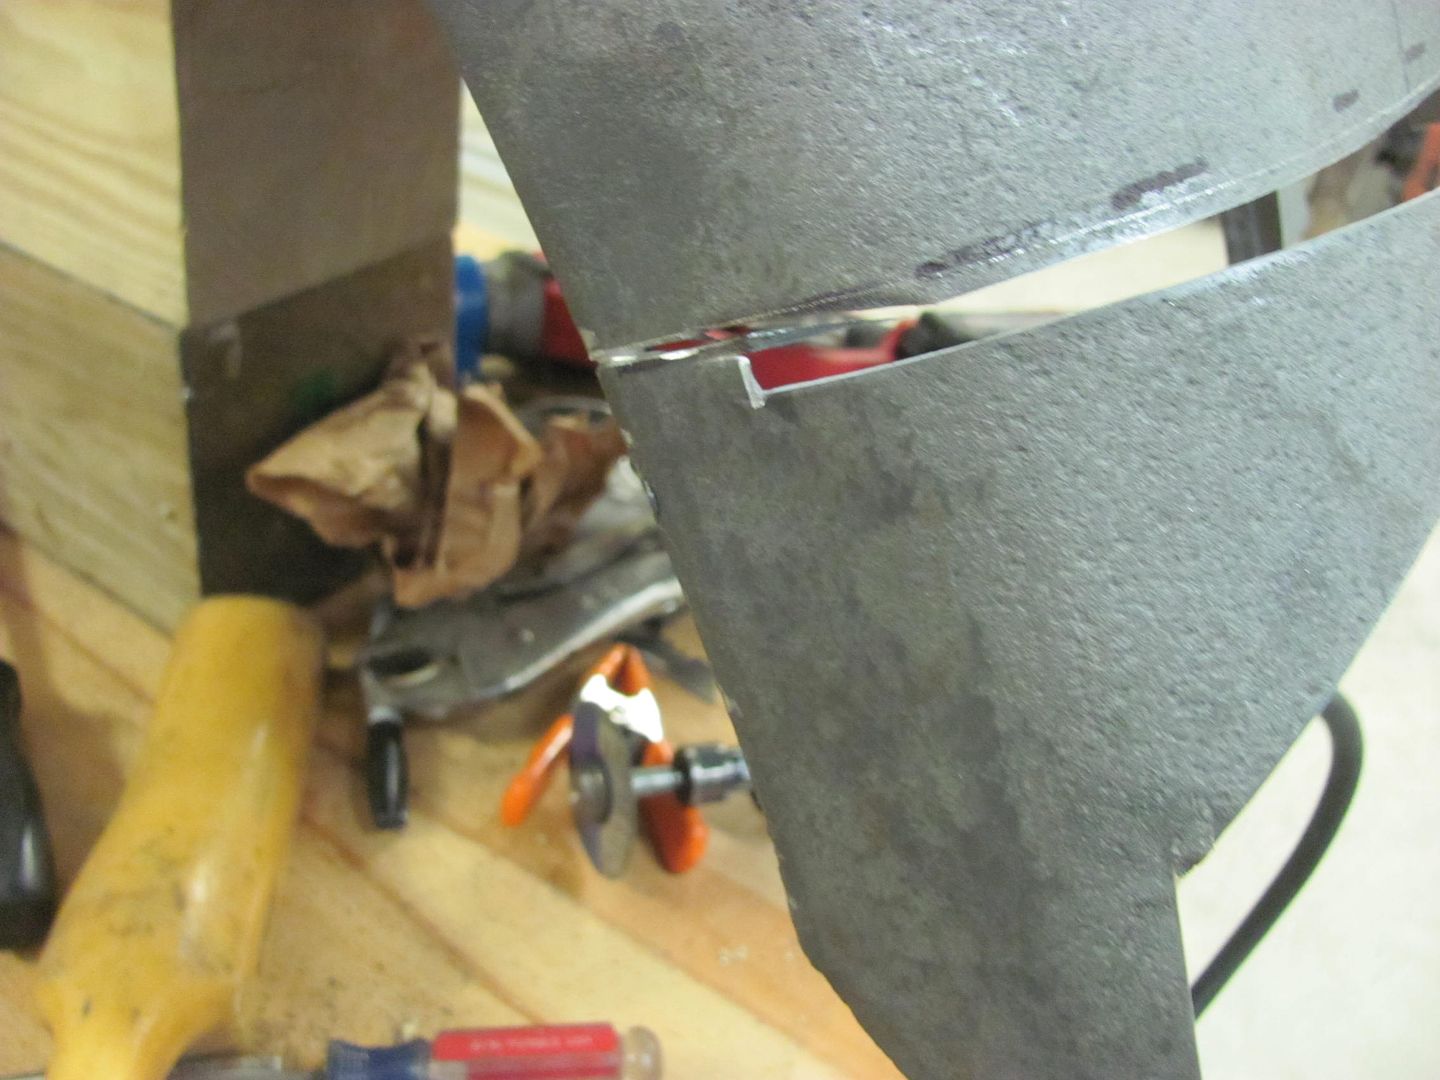
This outer section will become a template for the radius on the new patch.
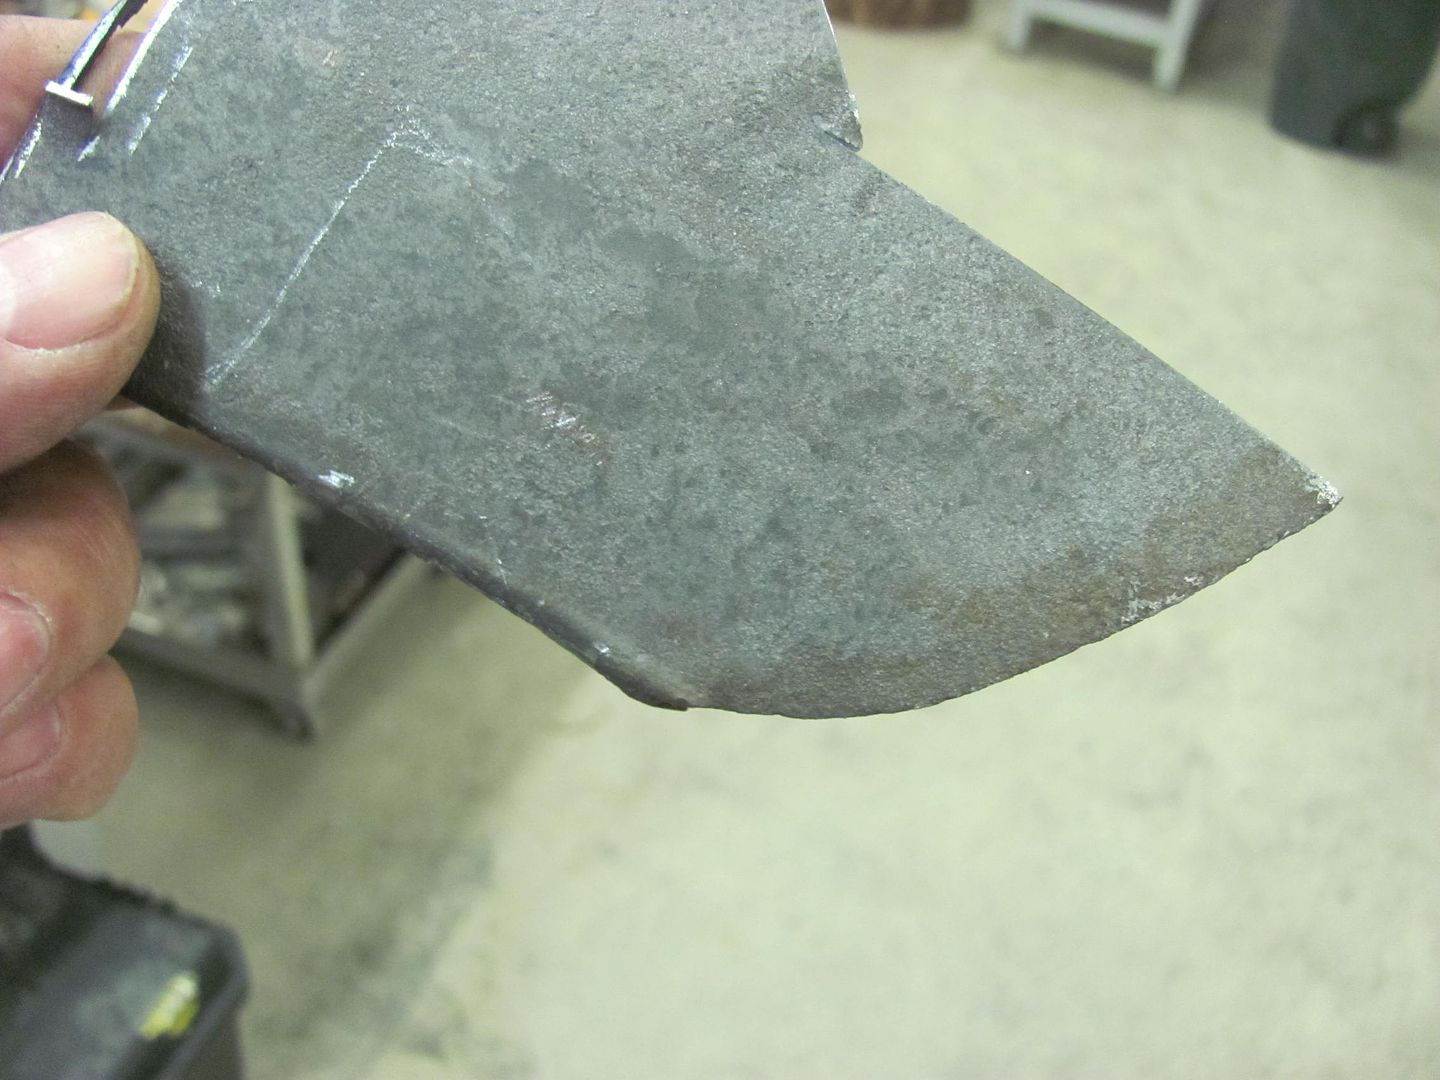
Trimmed....
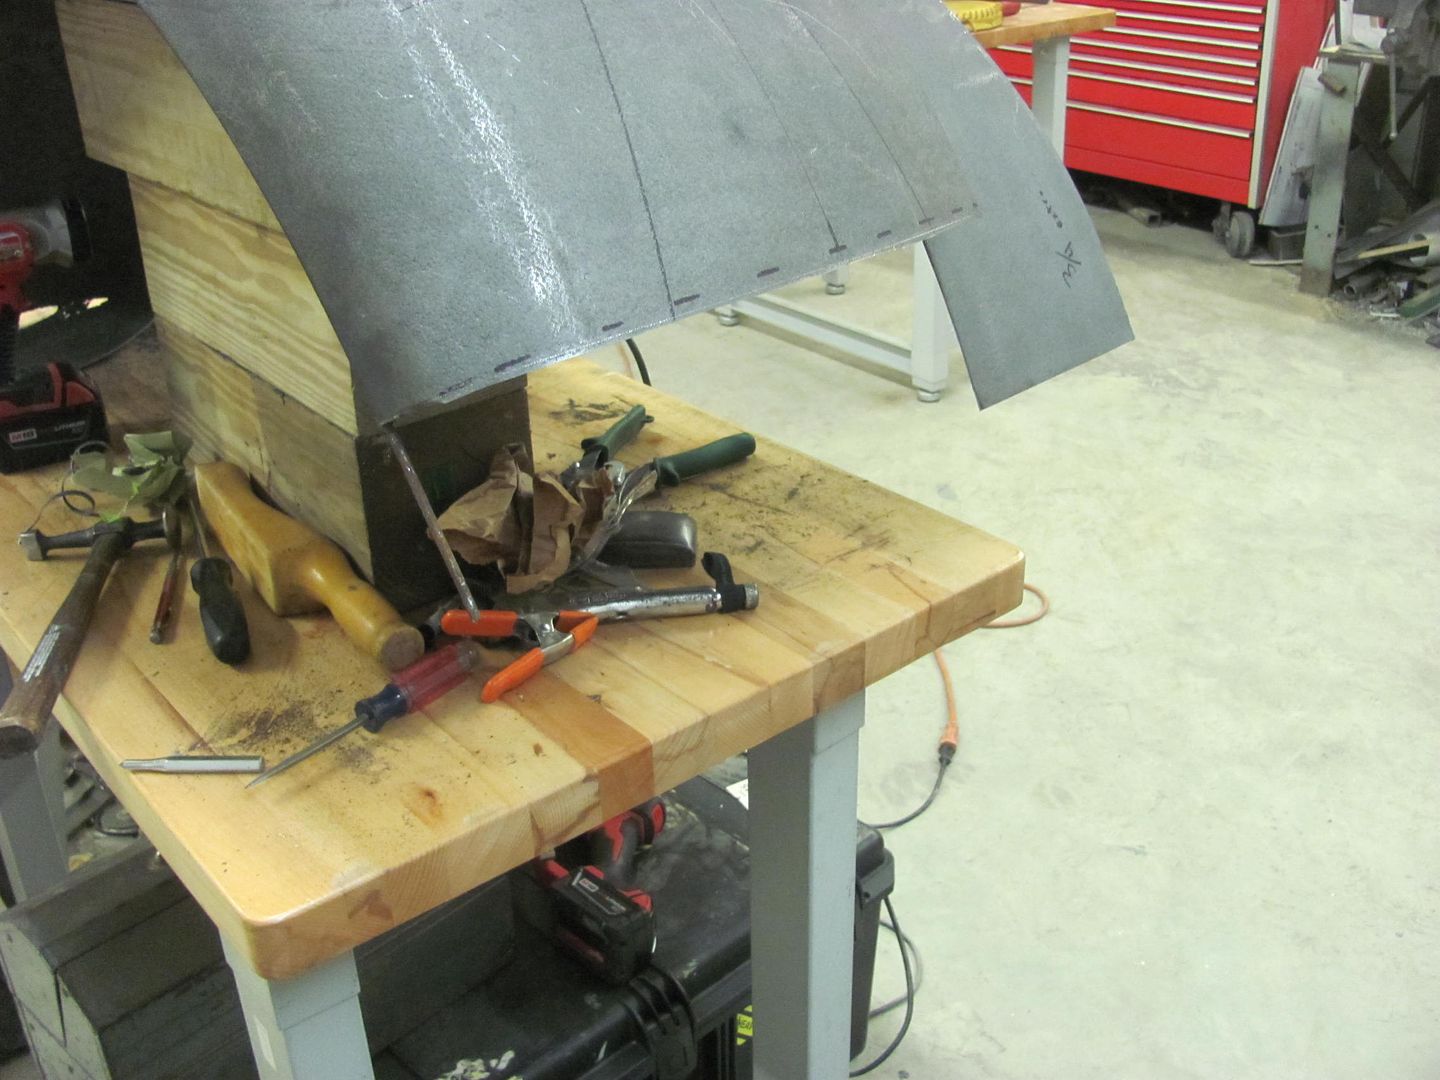
Fitted....
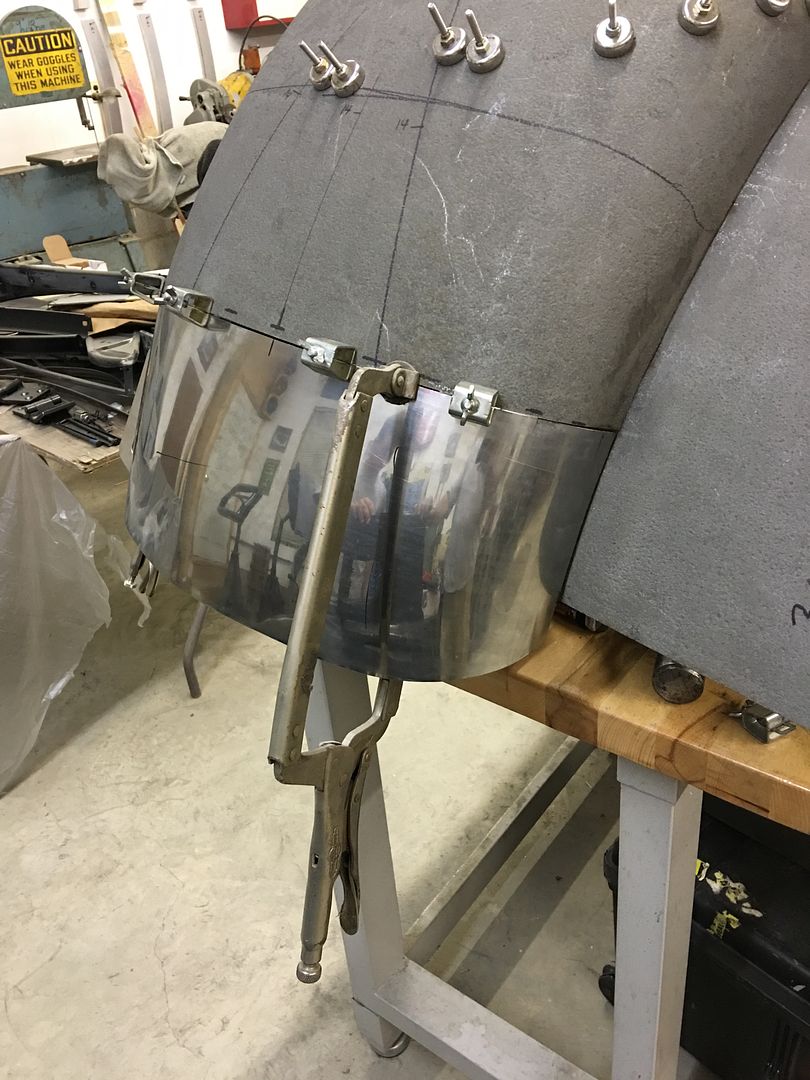
Saturday Kyle will get the old metal media blasted next to the weld seam so we can fire up the TIG welder..Robert
-
09-08-2016 08:41 PM #24
- Join Date
- Apr 2011
- Location
- Prairie City
- Car Year, Make, Model: 40 Ford Deluxe, 68 Corvette, 72&76 K30
- Posts
- 7,298
- Blog Entries
- 1
Man, beautiful work, That patch looks like ss. Very nice work!Ryan
1940 Ford Deluxe Tudor 354 Hemi 46RH Electric Blue w/multi-color flames, Ford 9" Residing in multiple pieces
1968 Corvette Coupe 5.9 Cummins Drag Car 11.43@130mph No stall leaving the line with 1250 rpm's and poor 2.2 60'
1972 Chevy K30 Longhorn P-pumped 24v Compound Turbos 47RH Just another money pit
1971 Camaro RS 5.3 BTR Stage 3 cam, SuperT10
Tire Sizes
-
09-08-2016 08:58 PM #25
Thanks, that's from those polished wheels on the wheeling machine. It's actually 16 gauge cold rolled steel.Last edited by MP&C; 09-08-2016 at 09:00 PM.
Robert
-
09-09-2016 08:22 AM #26
I agree beautiful work, neat way to save the wire edge!
Richhttp://www.clubhotrod.com/hot-rod-bu...del-coupe.html
-
09-09-2016 08:25 AM #27
Times 2! Wonderful piece of work, just amazing to me how it all comes together.
-
09-14-2016 08:44 PM #28
Thanks!
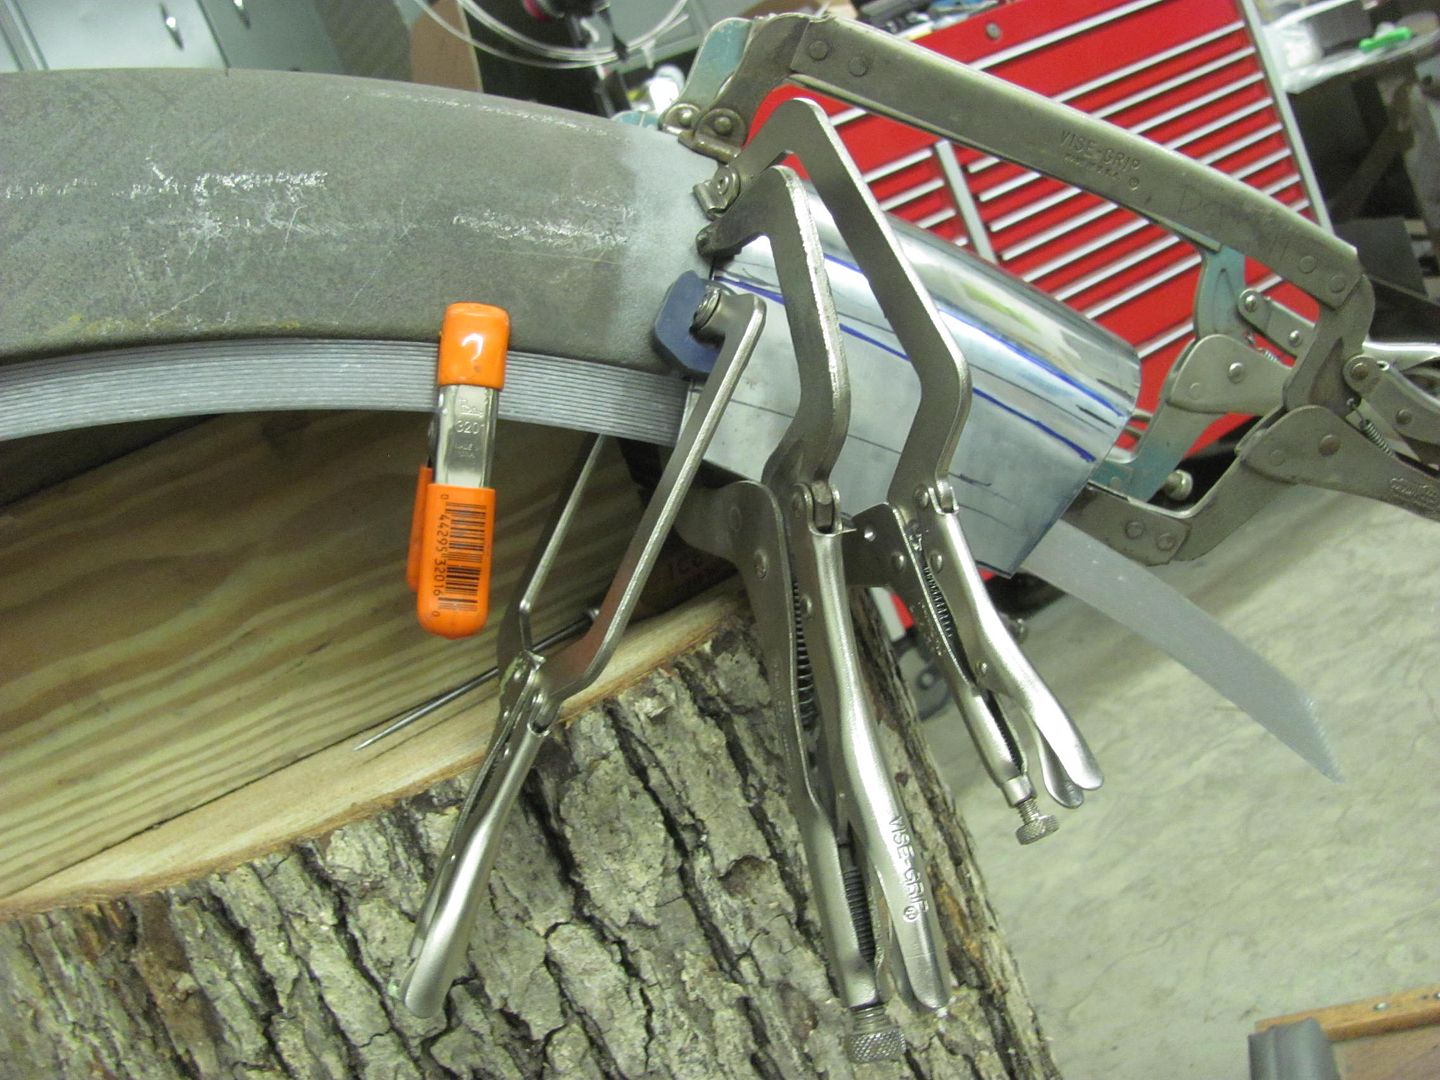
Time to break out the TIG welder. The new stumps for the upcoming metalshaping class work well as a welding table. The patch is securely clamped from inside to outside to get an accurate marking for tipping the fold around the wire.
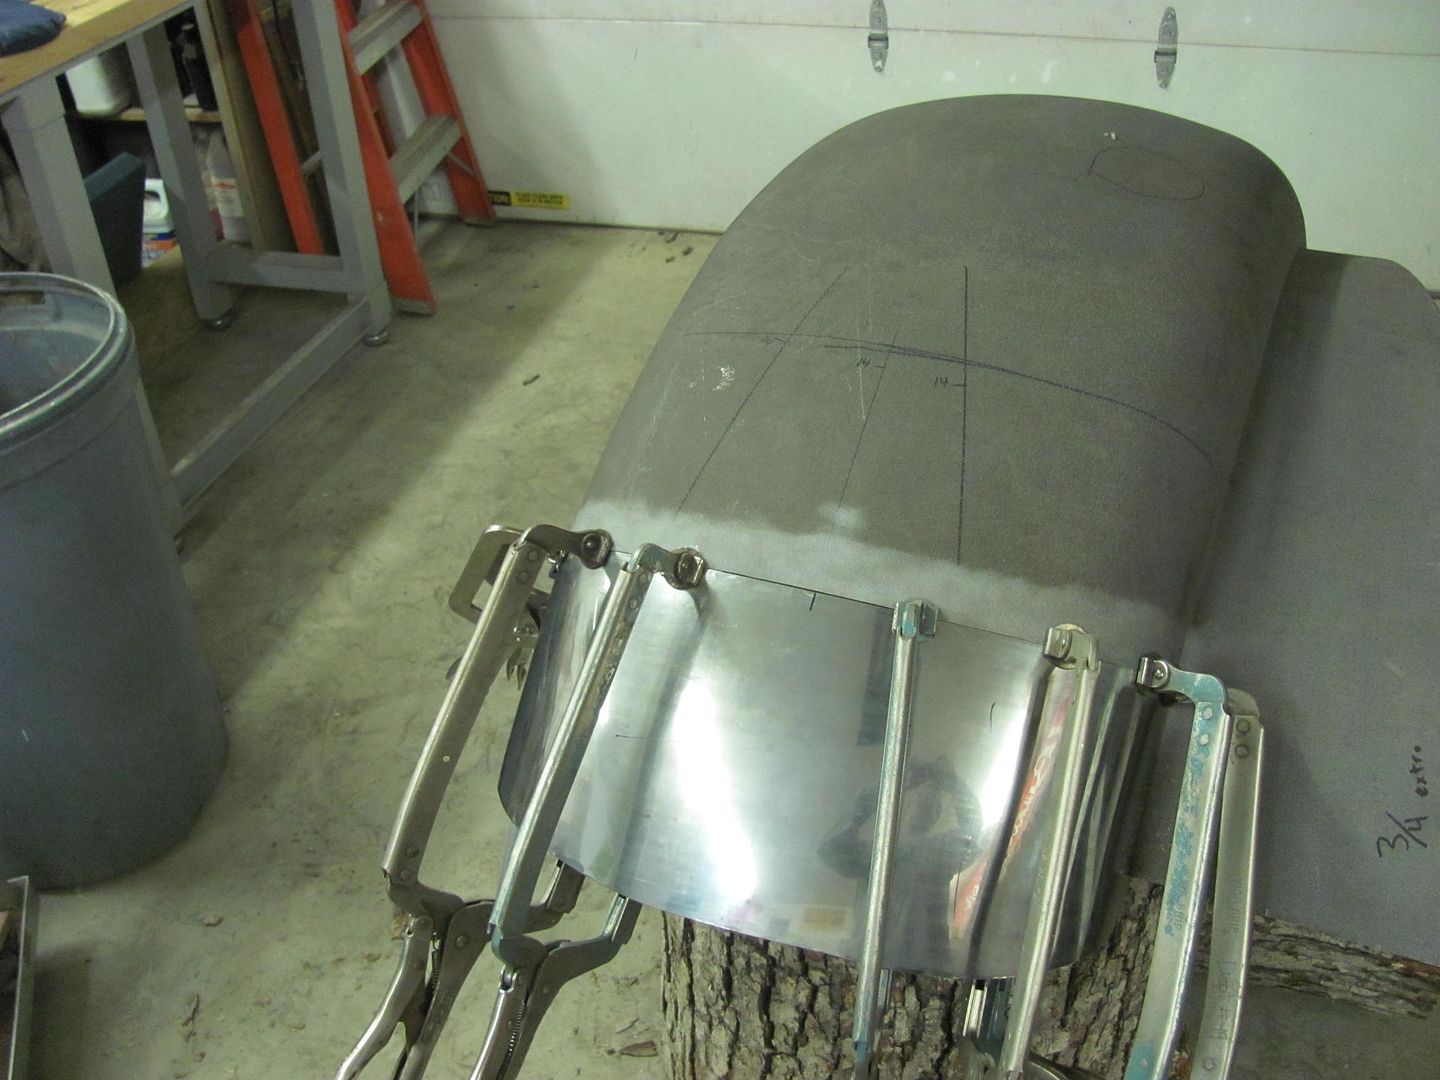
Flexible Spline is used to carry the opening mark down the patch...
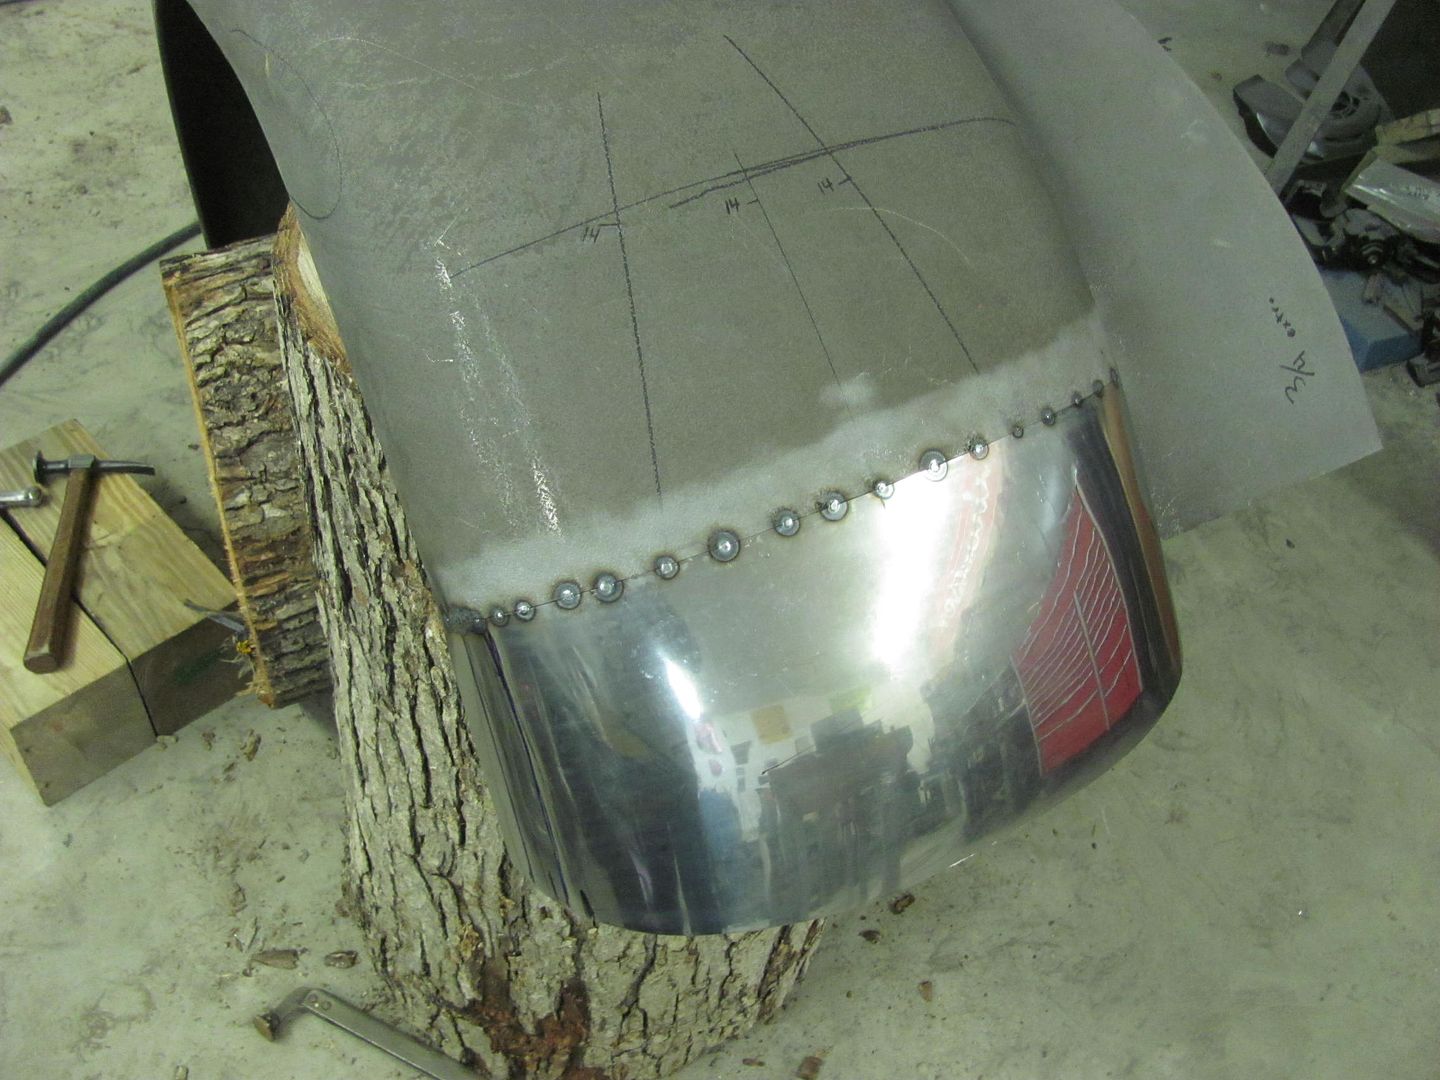
Tacked in with the TIG
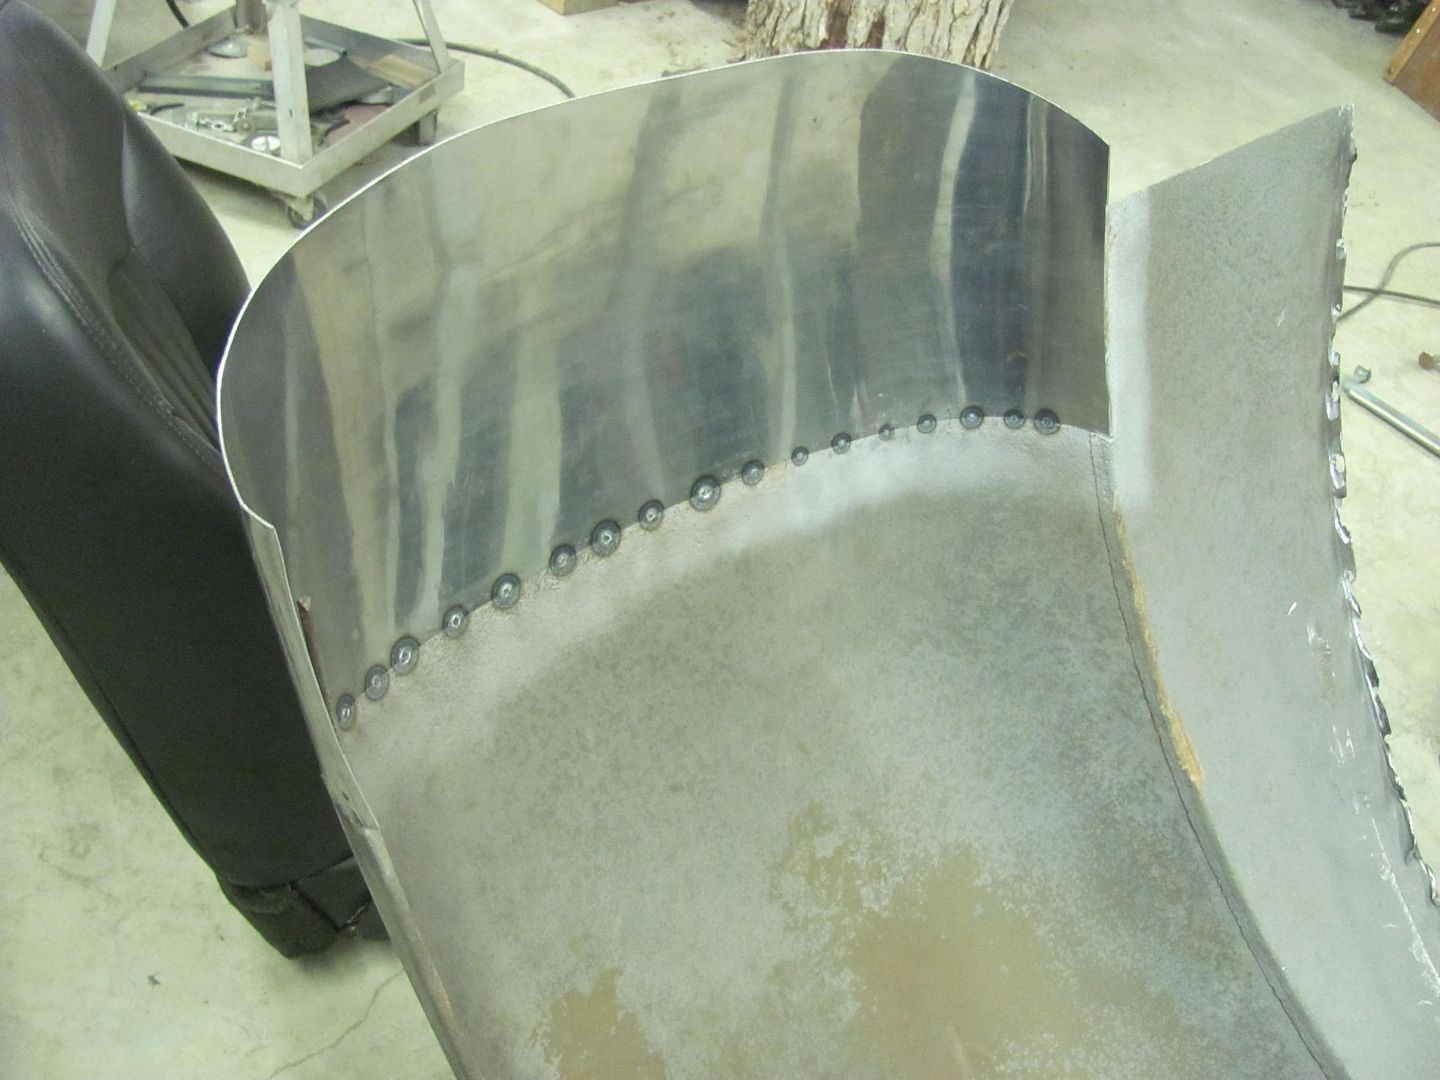
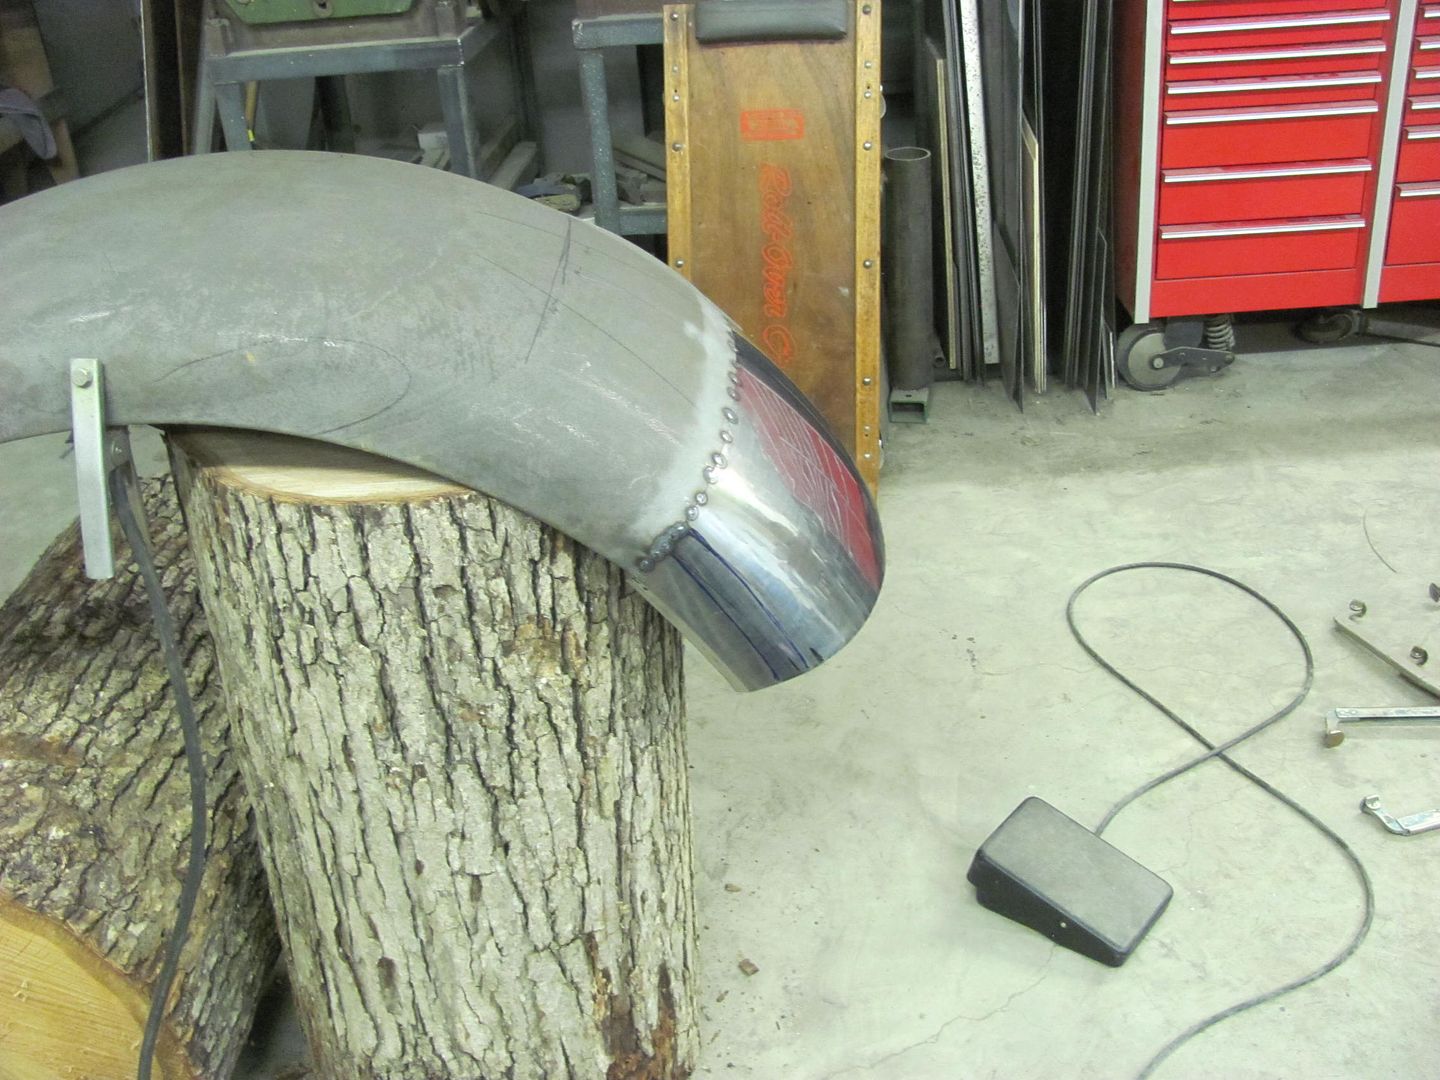
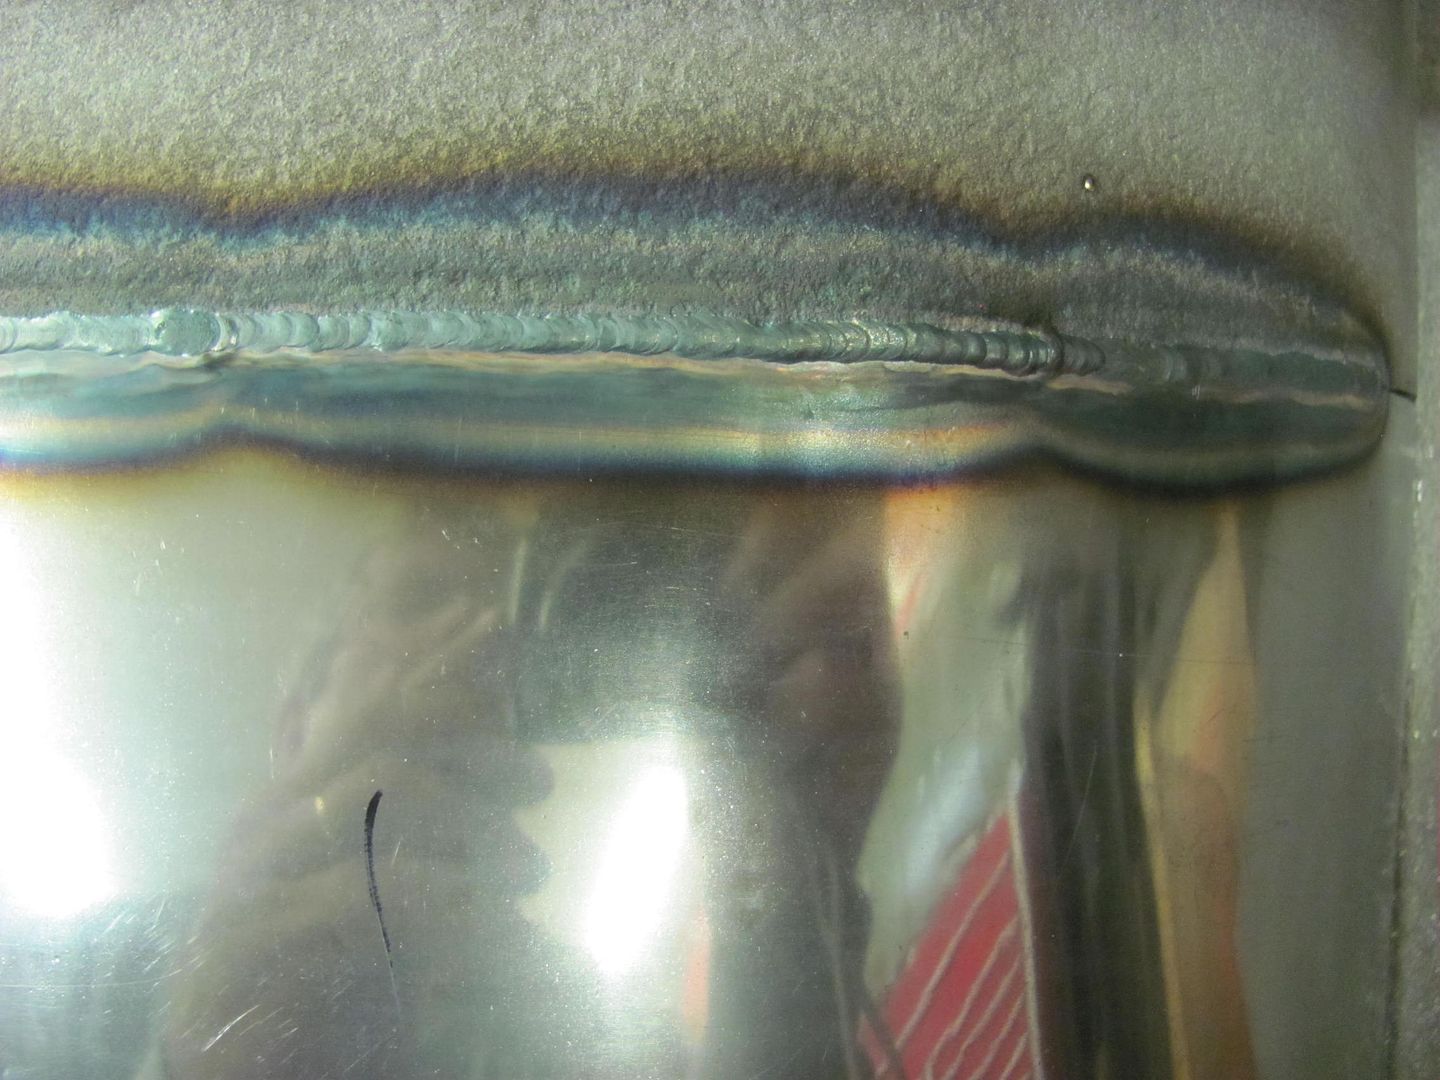
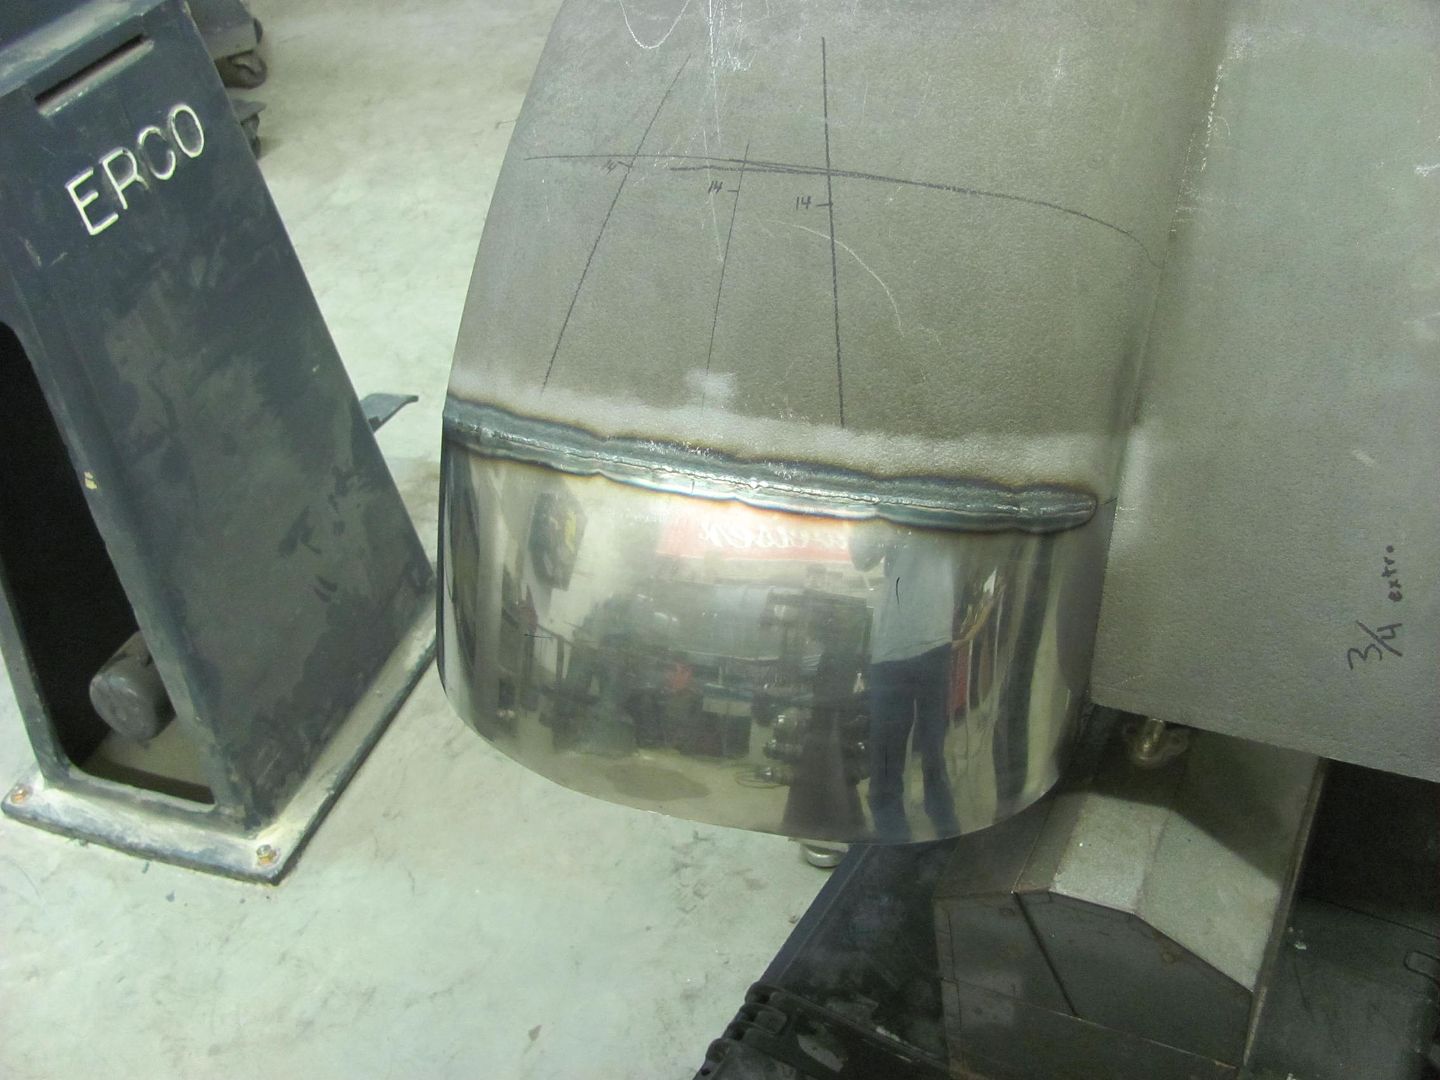
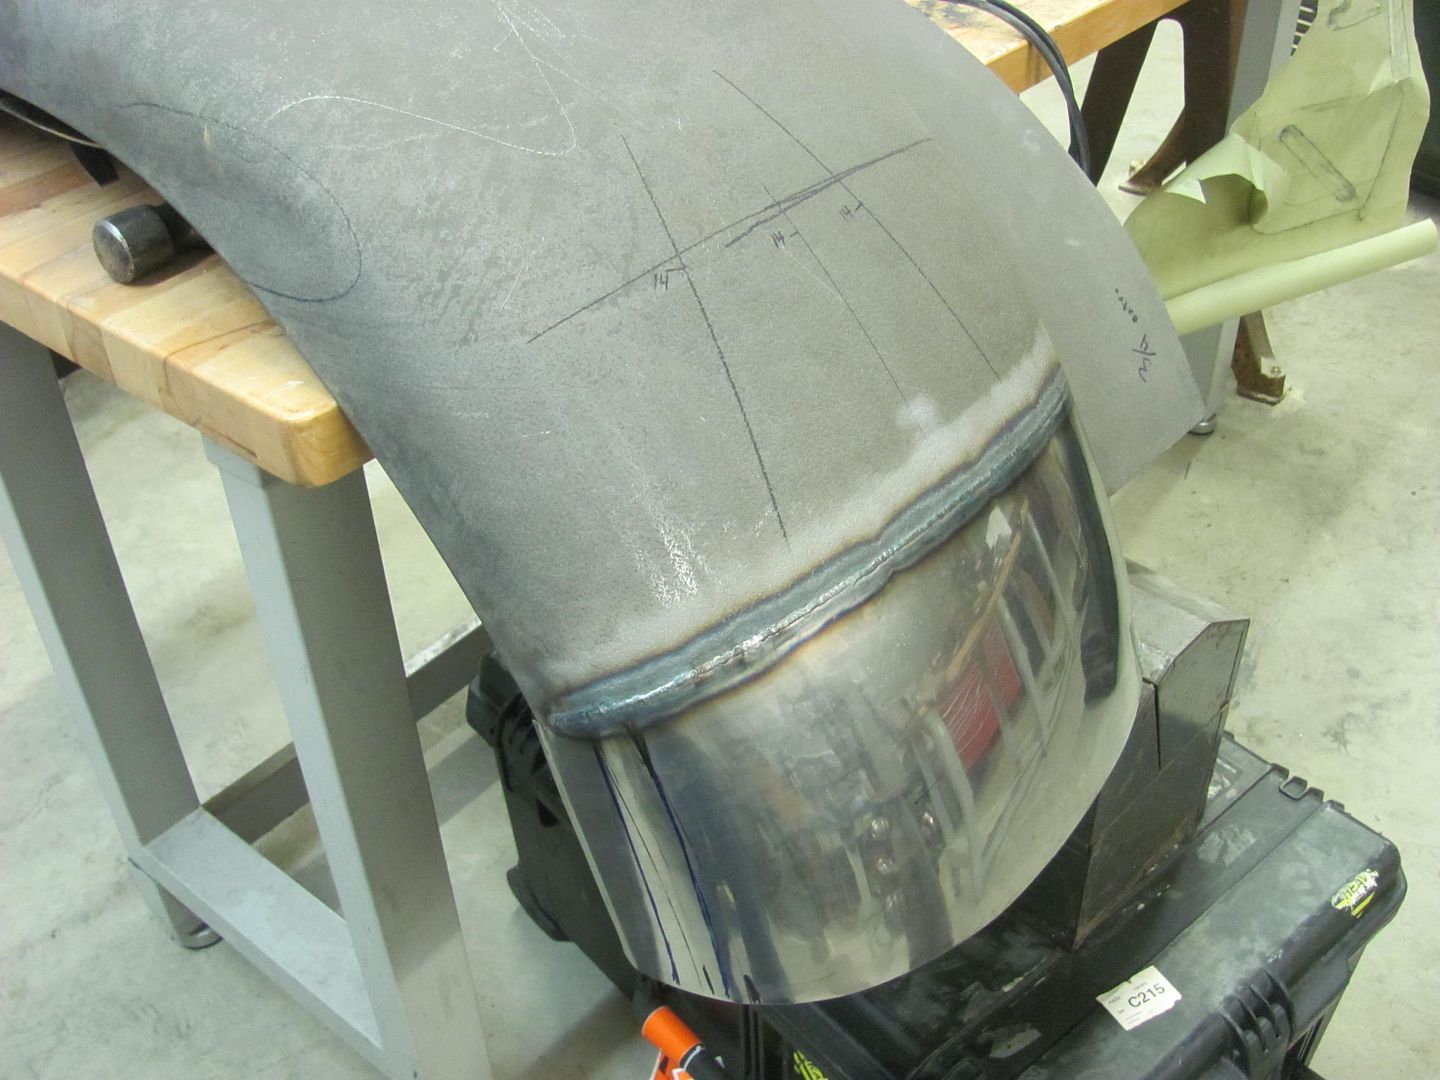
Next we'll wrap the wire and trim the front edge to size.Robert
-
09-15-2016 08:58 PM #29
Great looking weld! What diameter filler rod are
You using?
Richhttp://www.clubhotrod.com/hot-rod-bu...del-coupe.html
-
09-15-2016 09:15 PM #30
Rich, 1/16 diameter electrode, .045 diameter filler rodRobert
Welcome to Club Hot Rod! The premier site for
everything to do with Hot Rod, Customs, Low Riders, Rat Rods, and more.
- » Members from all over the US and the world!
- » Help from all over the world for your questions
- » Build logs for you and all members
- » Blogs
- » Image Gallery
- » Many thousands of members and hundreds of thousands of posts!
YES! I want to register an account for free right now! p.s.: For registered members this ad will NOT show


 260Likes

 LinkBack URL
 About LinkBacks
 Reply With Quote

Hope you enjoy your day, Mike, and celebrate YOU!
Happy Birthday Mike Patterson