-
03-19-2020 12:50 PM #121
Very nice work! Thanks a lot for the step by step illustration.
-
Advertising

- Google Adsense
- REGISTERED USERS DO NOT SEE THIS AD
-
03-19-2020 03:37 PM #122
Quote
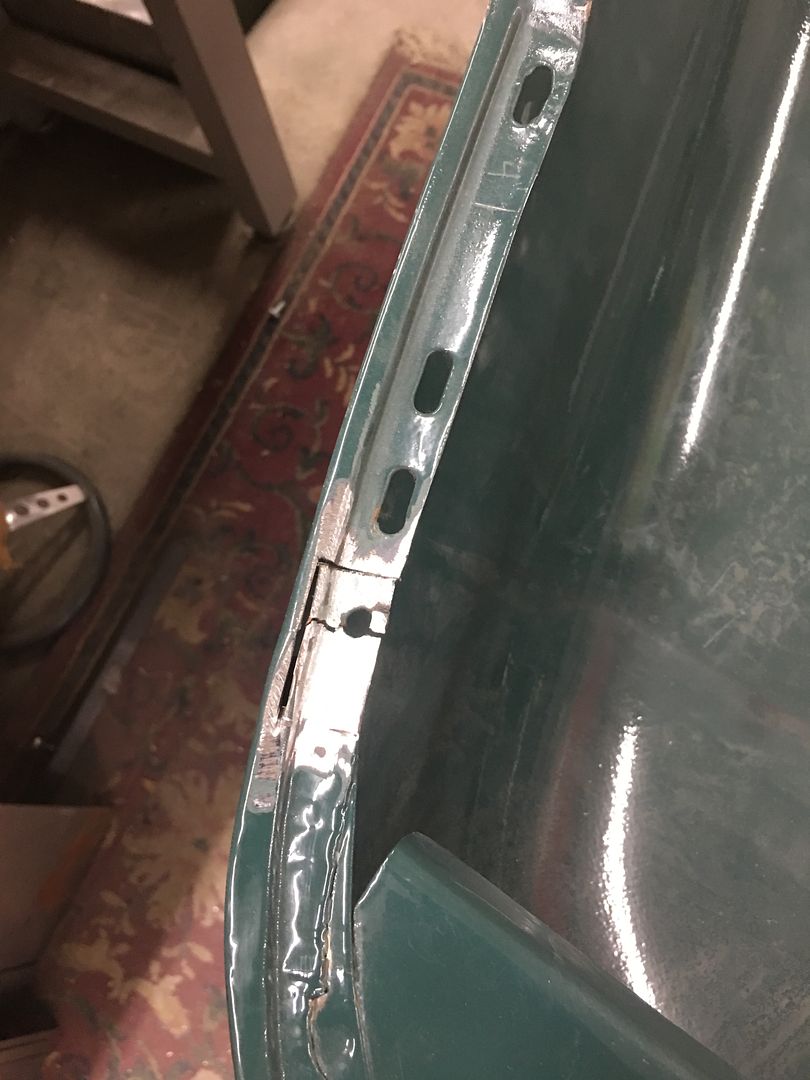
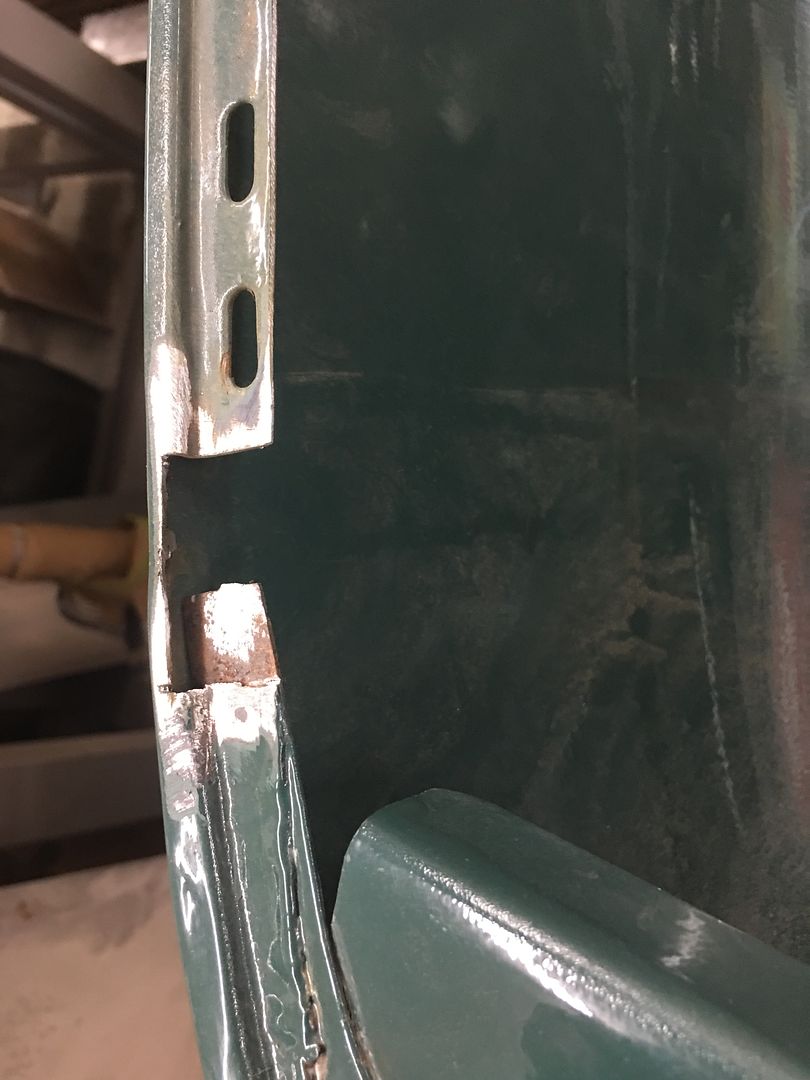
This revealed more defects that the last shop saw as fixes, but they won't leave my shop like that....
Rather than butt weld in the proper thickness metal, a piece of about 16 gauge is slipped behind the rust hole area (from dirt accumulating between brace and hood skin) and MIG welded around the perimeter. I think we can improve on that..
And we wouldn't expect anything less! As always, thanks for taking us all along for the ride. A learning experience to be sure.
( Oh, Cosmo says he's cold on the floor!
 )
)
-
03-22-2020 09:36 AM #123
Had to include Cosmo..
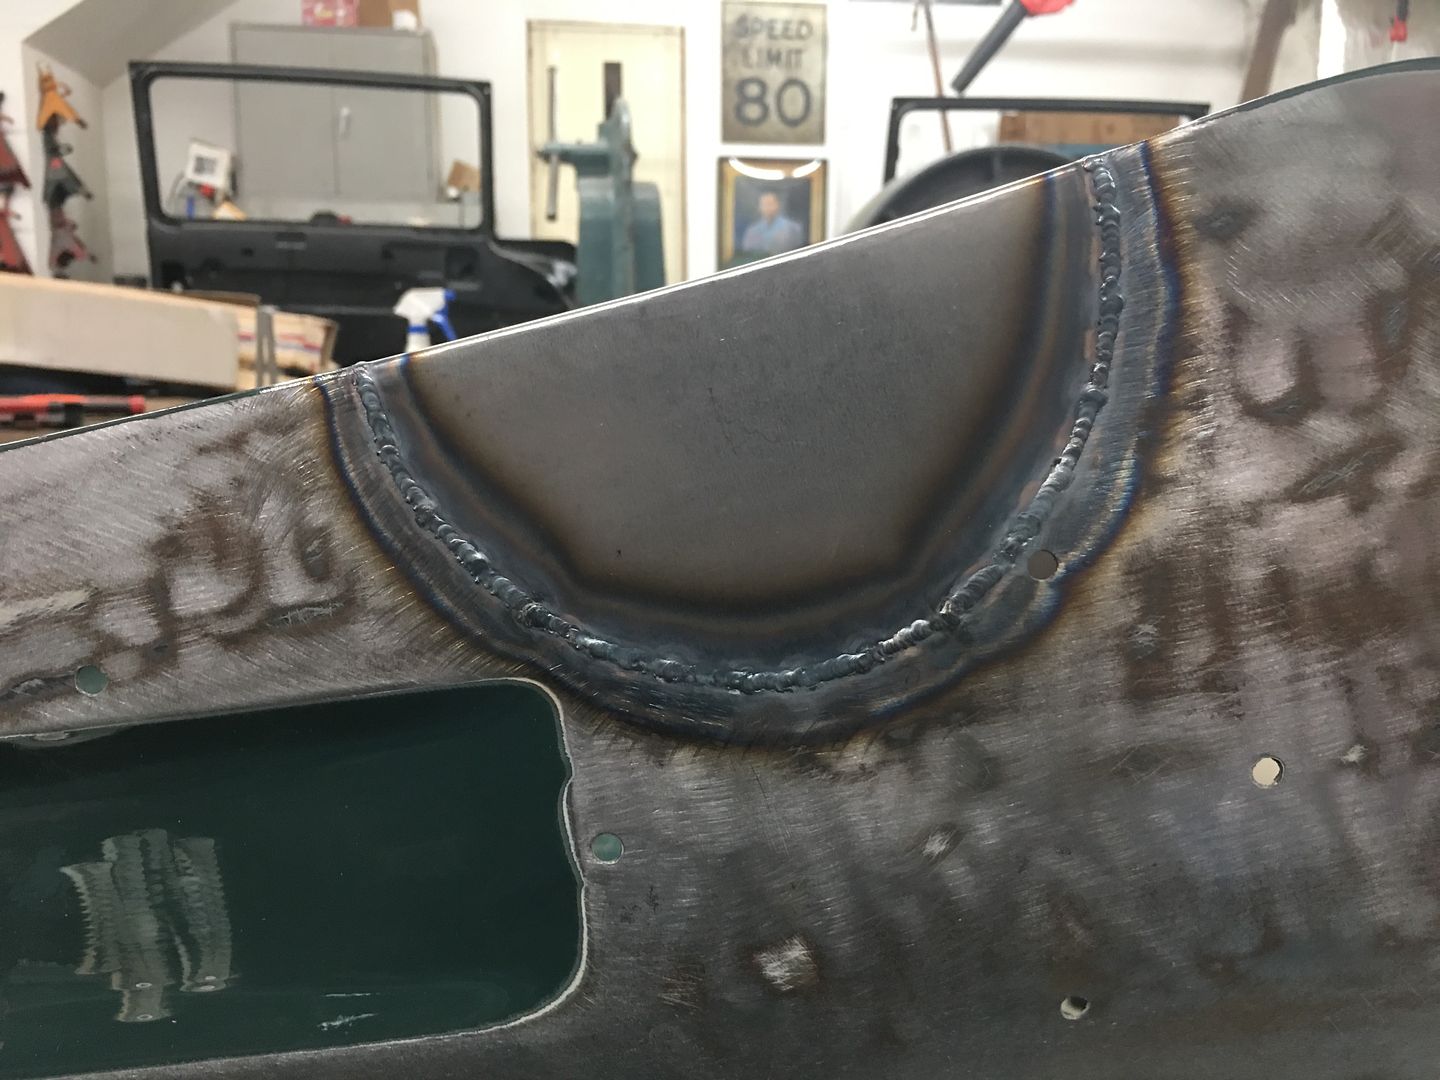
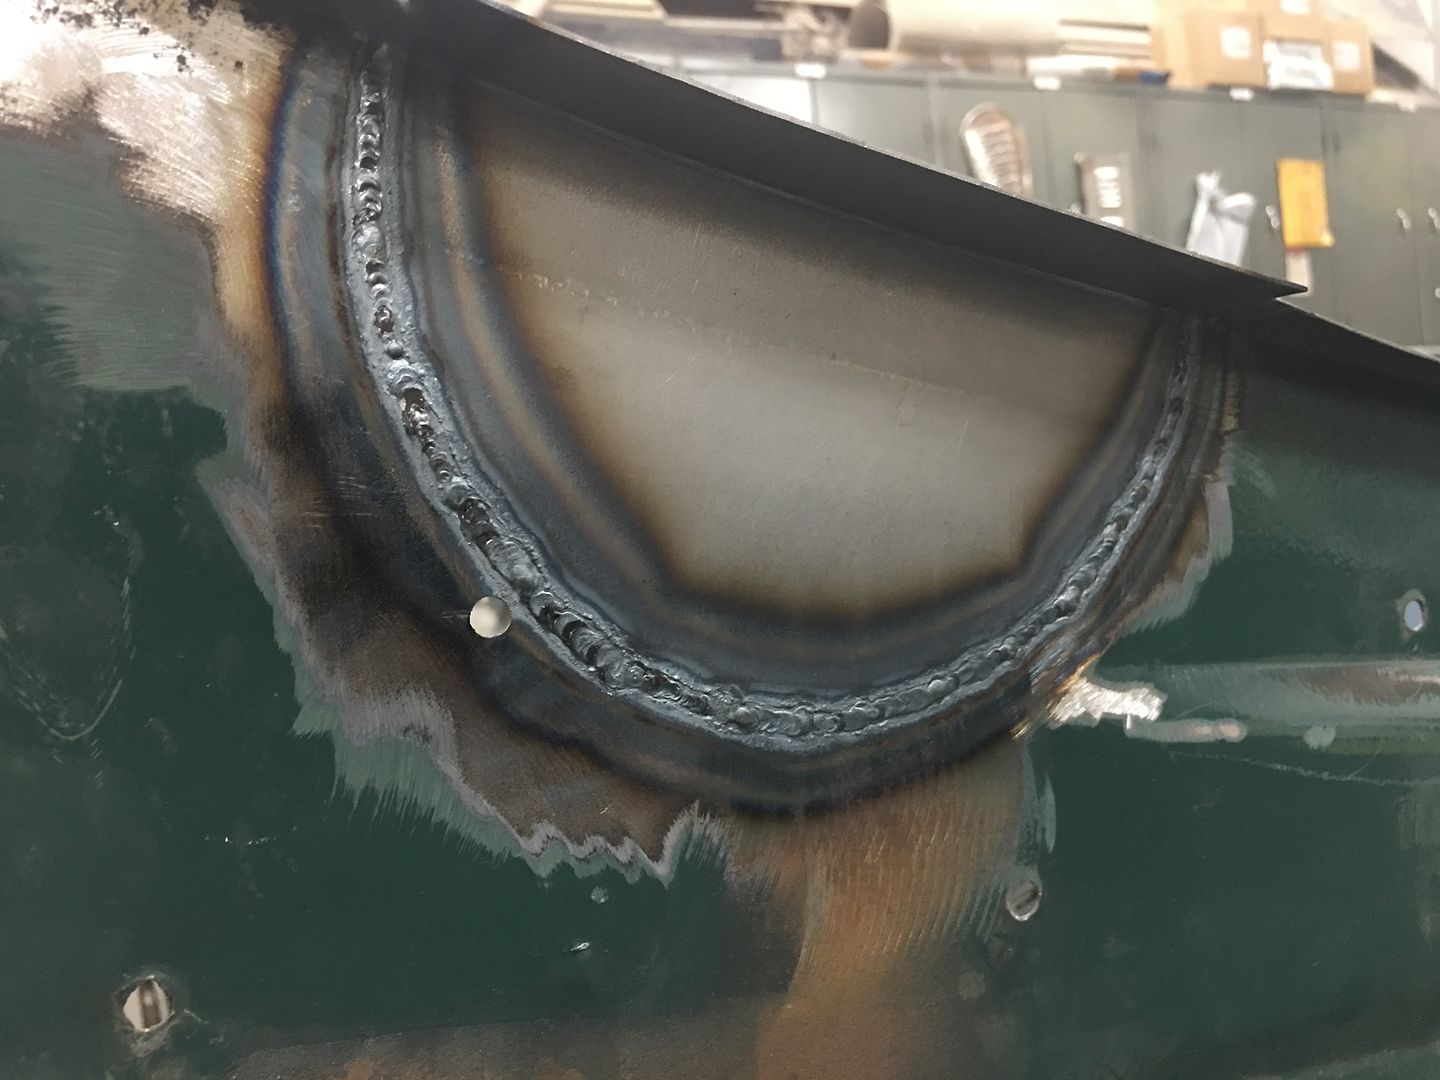
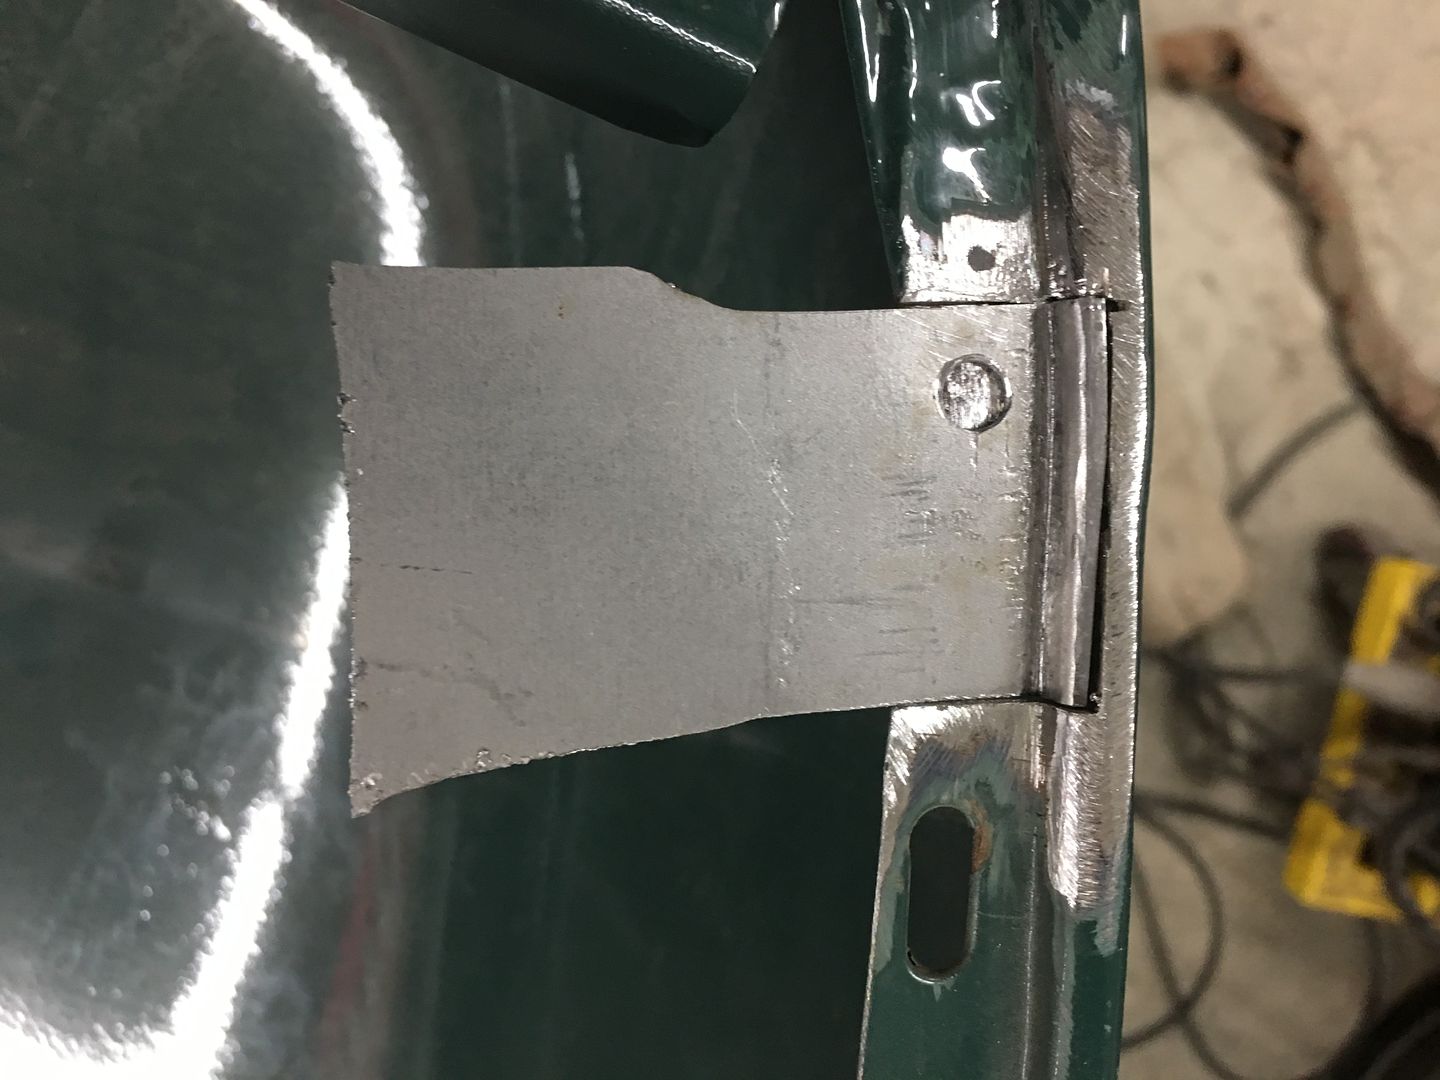
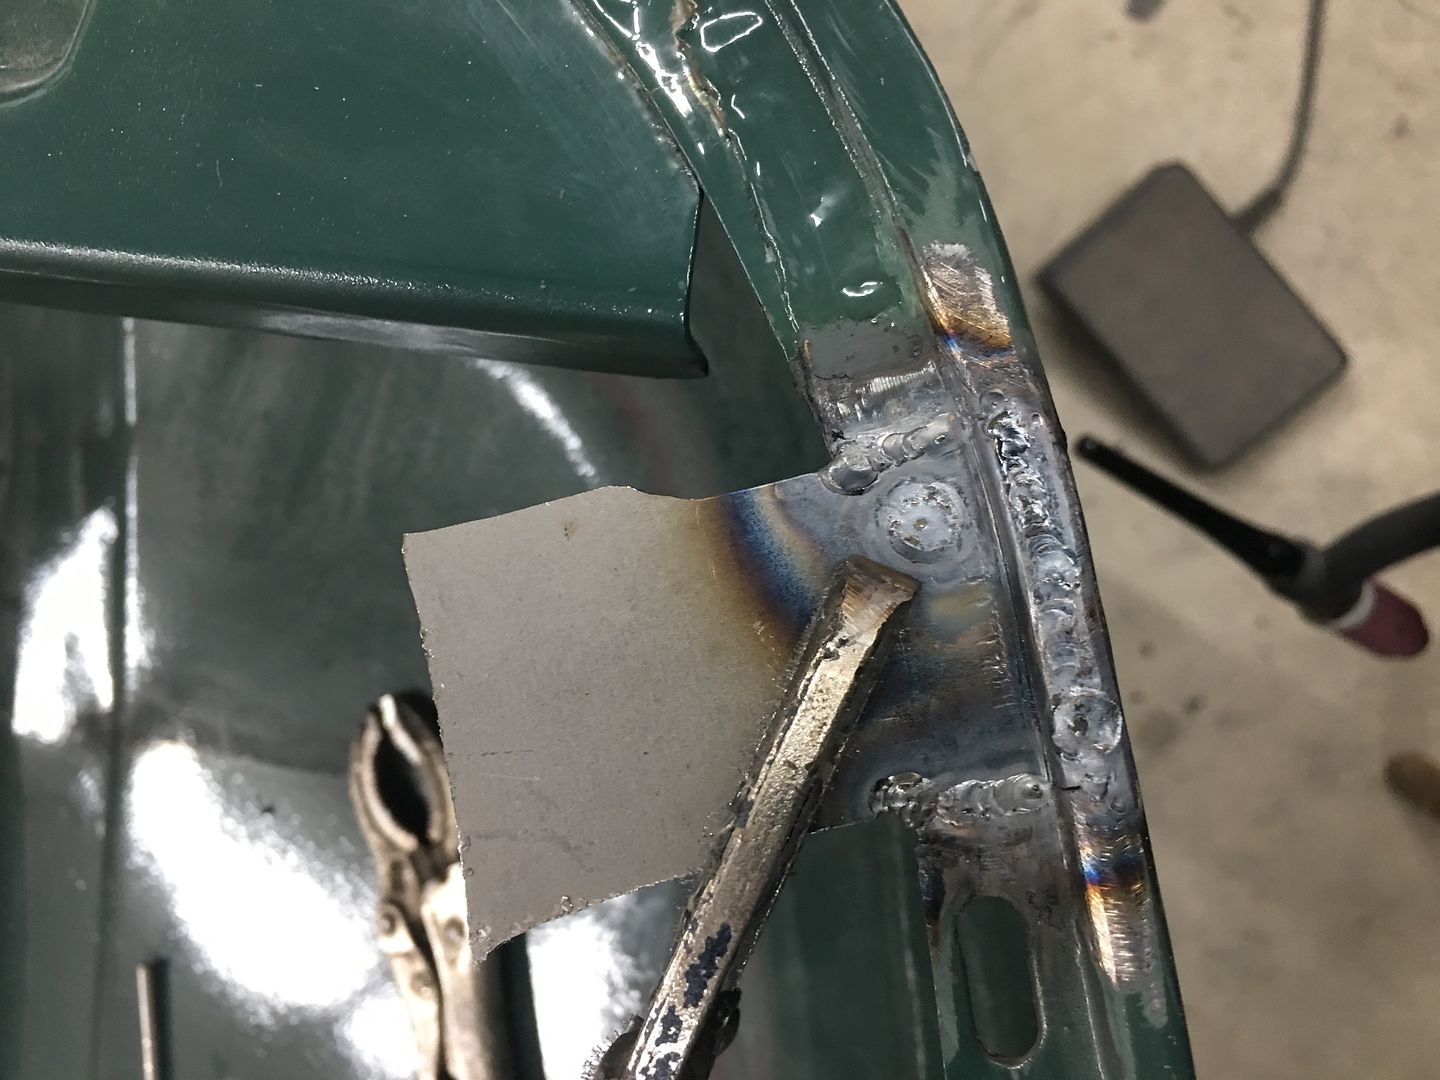
The TIG is used to fully weld the patches in place...
Front side:
Back side, full penetration on the weld..
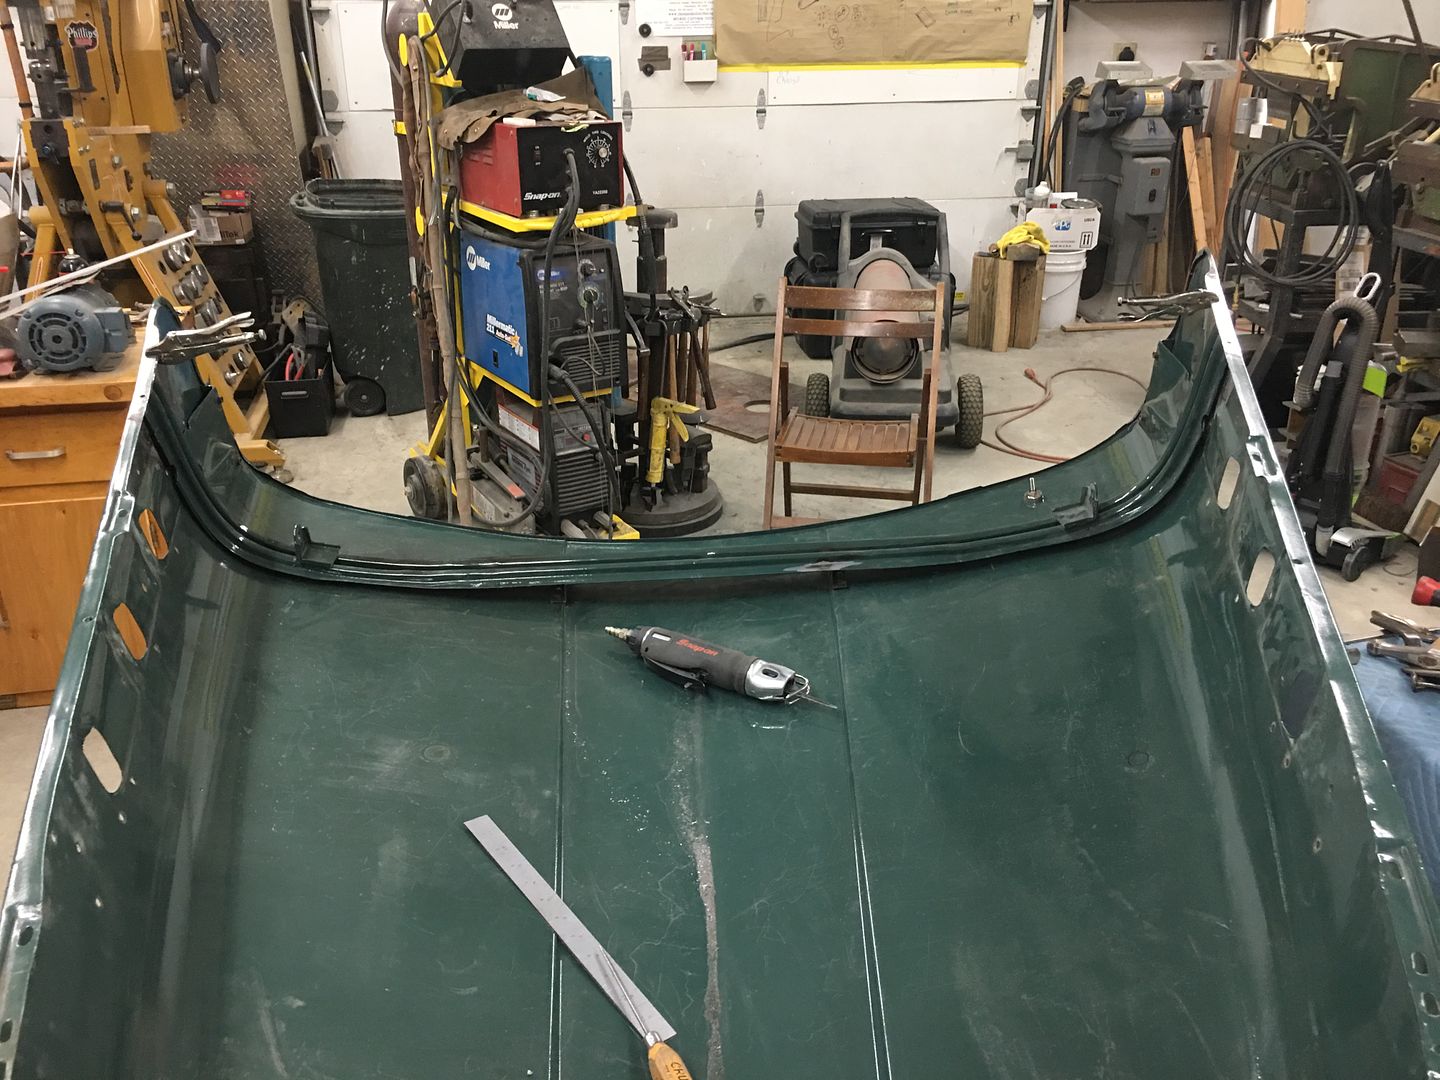
The weld seams are then planished and dressed. Next, the front of the hood had a stress crack adjacent to one of the rubber bumpers. To stabilize the hood prior to cutting out this area, the brace is clamped back in place..
The damaged area is cut out, a "doubler" had been used toward the front to add strength to the area, so care is used to not cut that off..
A replacement patch is cut out, bends added, and tacked in place. A plug weld ties this in with the doubler..
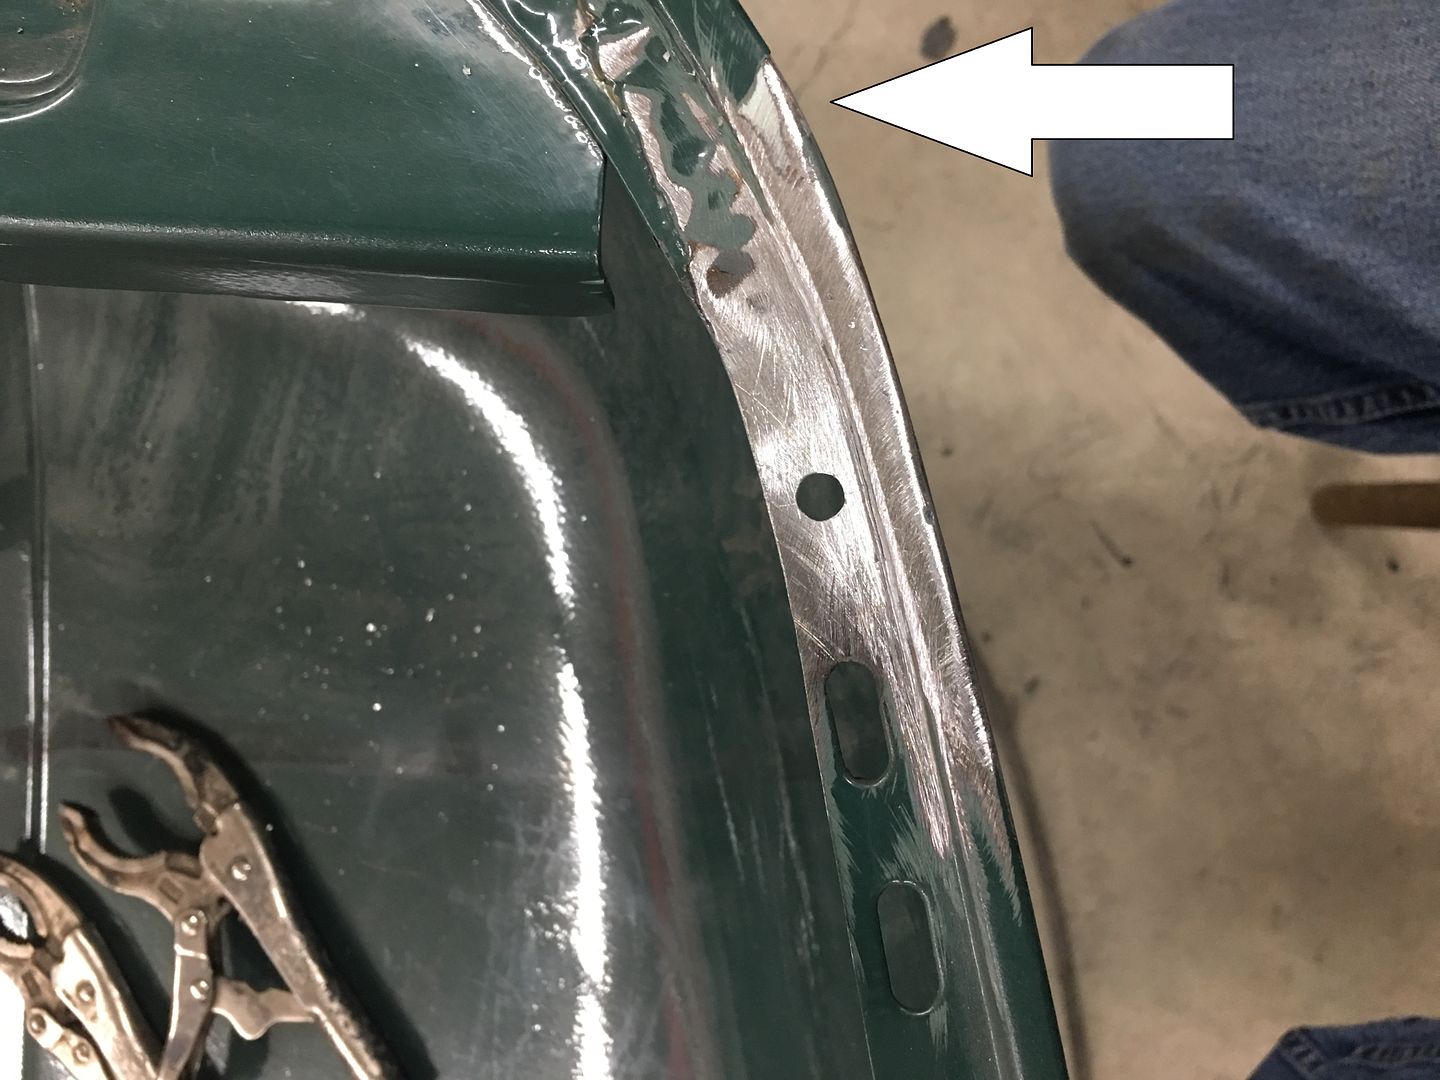
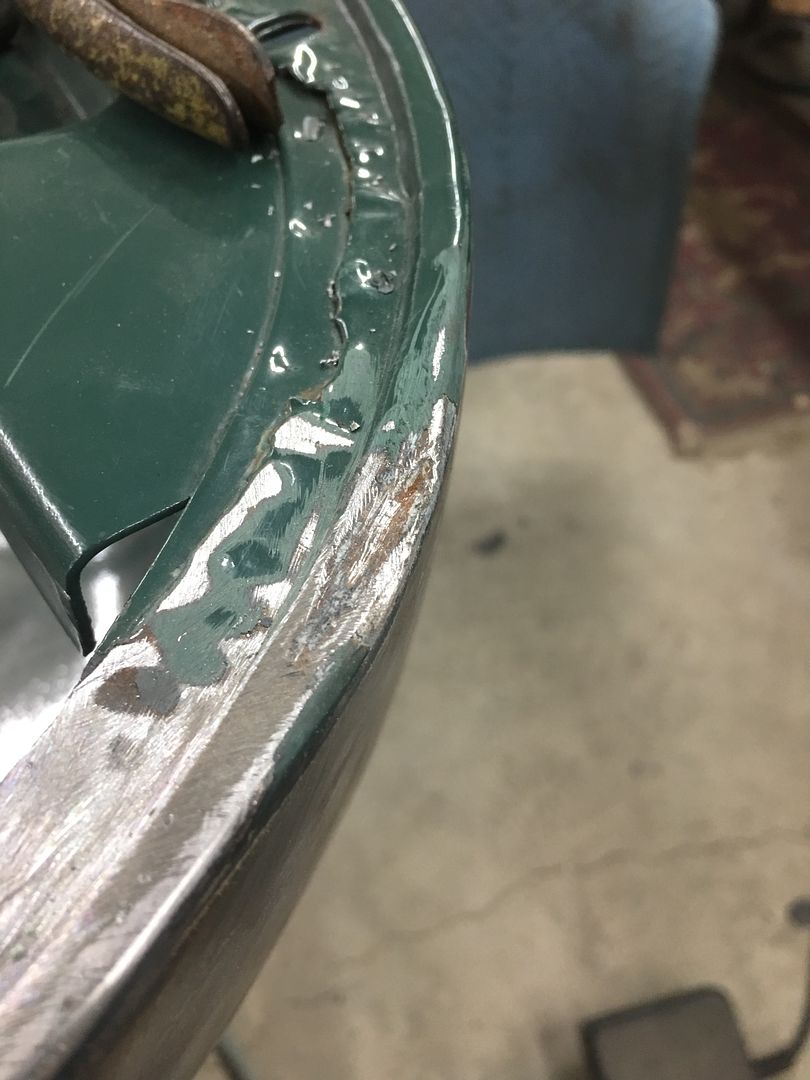
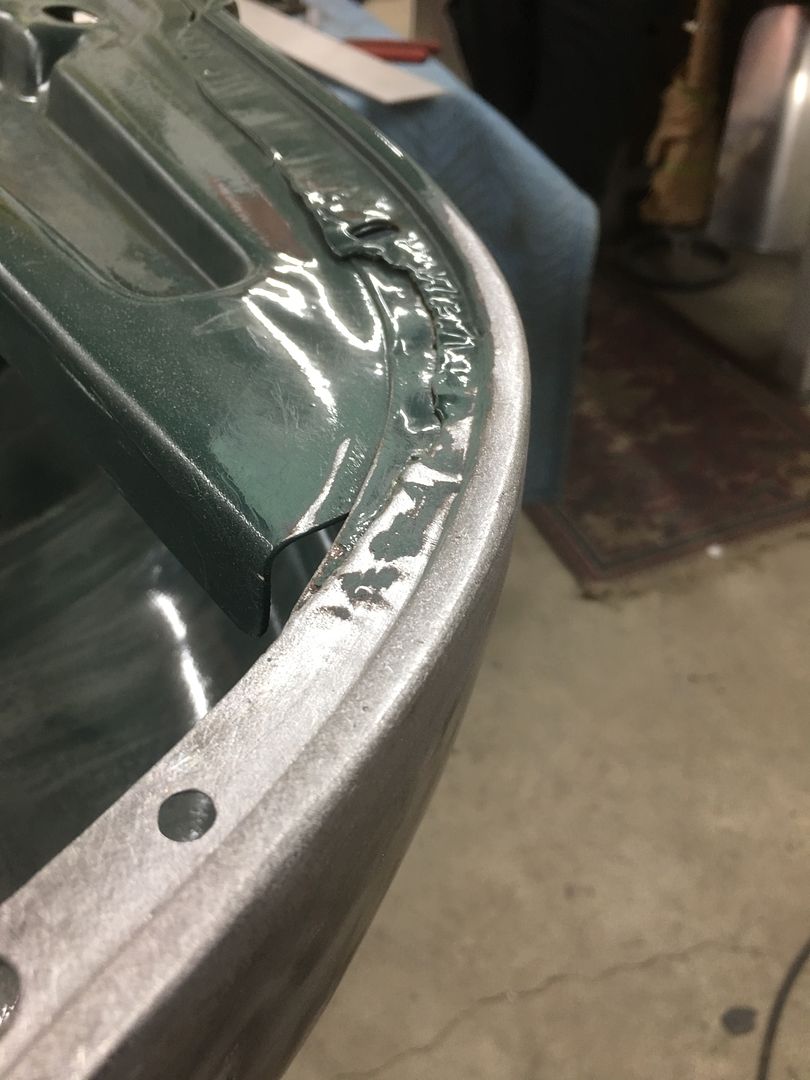
All trimmed and welds dressed, the hood bumper hole is re-drilled in the new patch. Then we notice a bit of filler closer to the nose of the hood (arrow). Let's remove that while we're here to see what carnage lies in wait.
Gotta love this game of dominos..
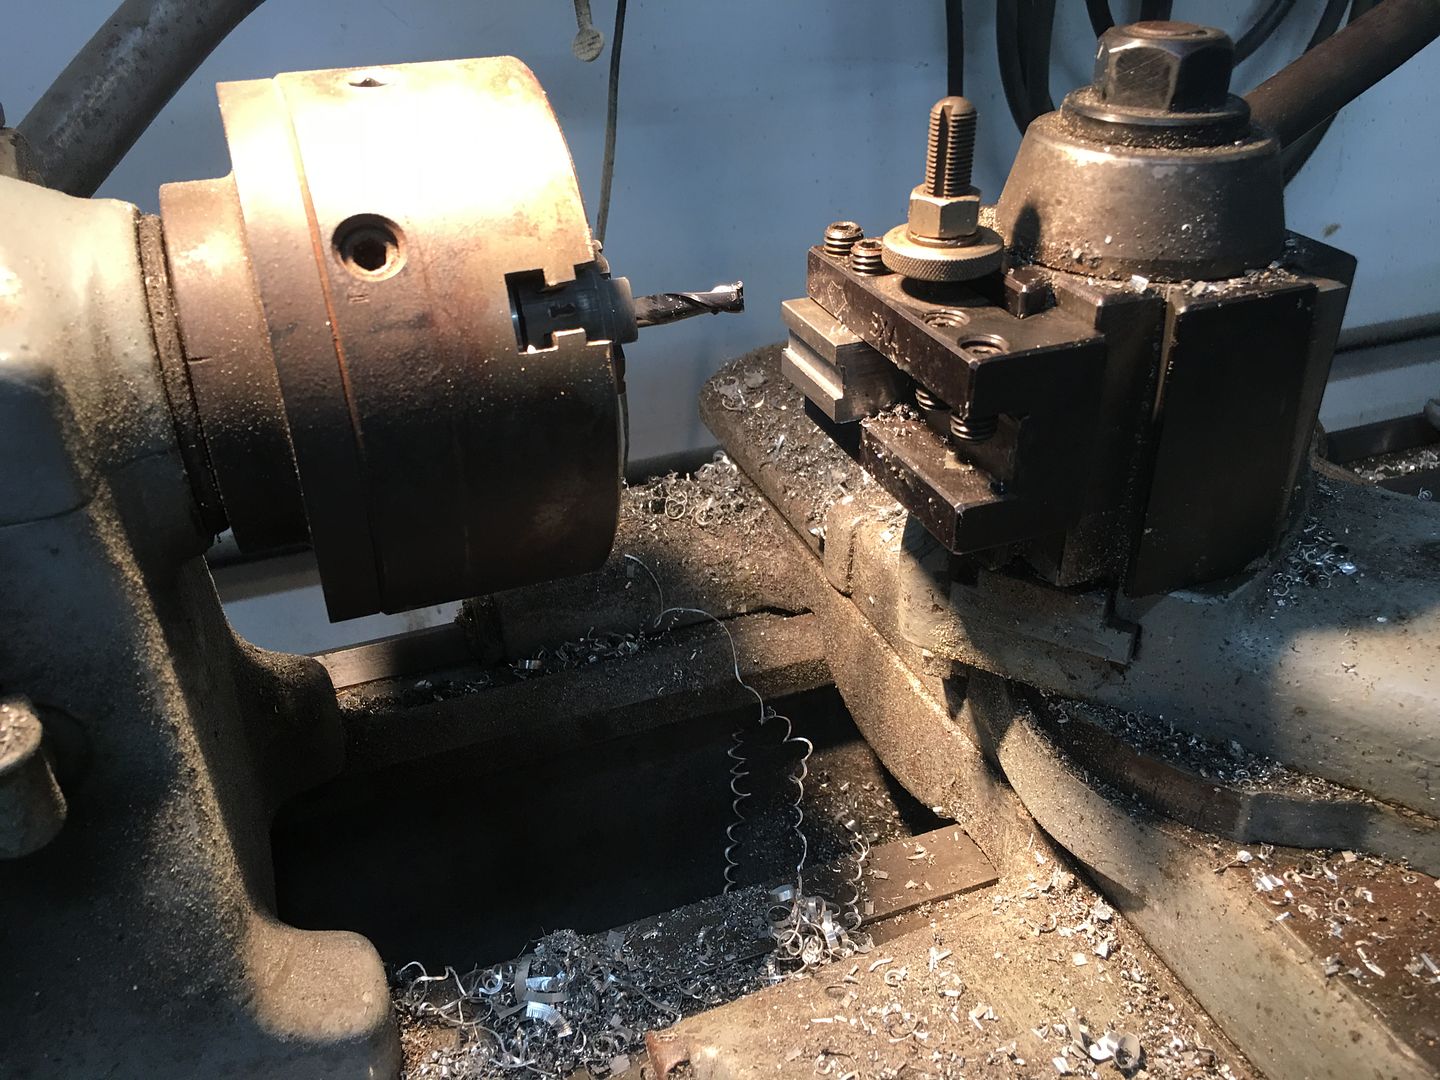
The low area needs to be bumped up, and with little room for swinging hammers, a new tool is in order. Using the South Bend "milling machine" a die is made for the outer portion..
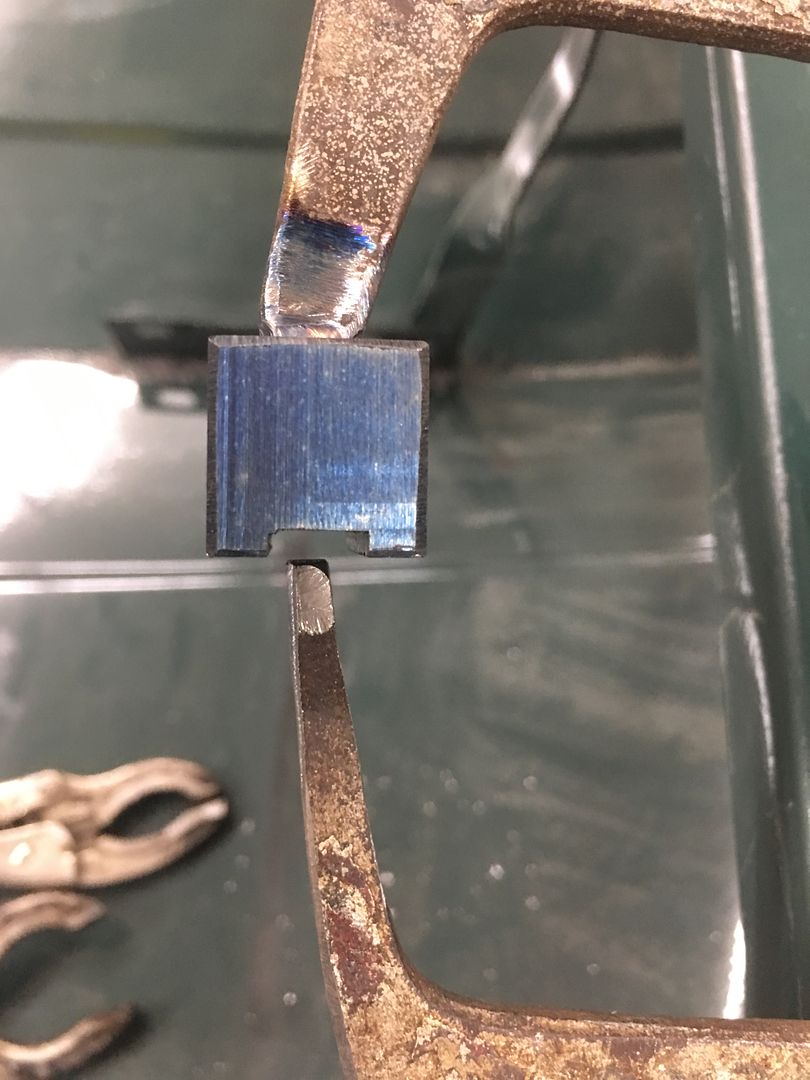
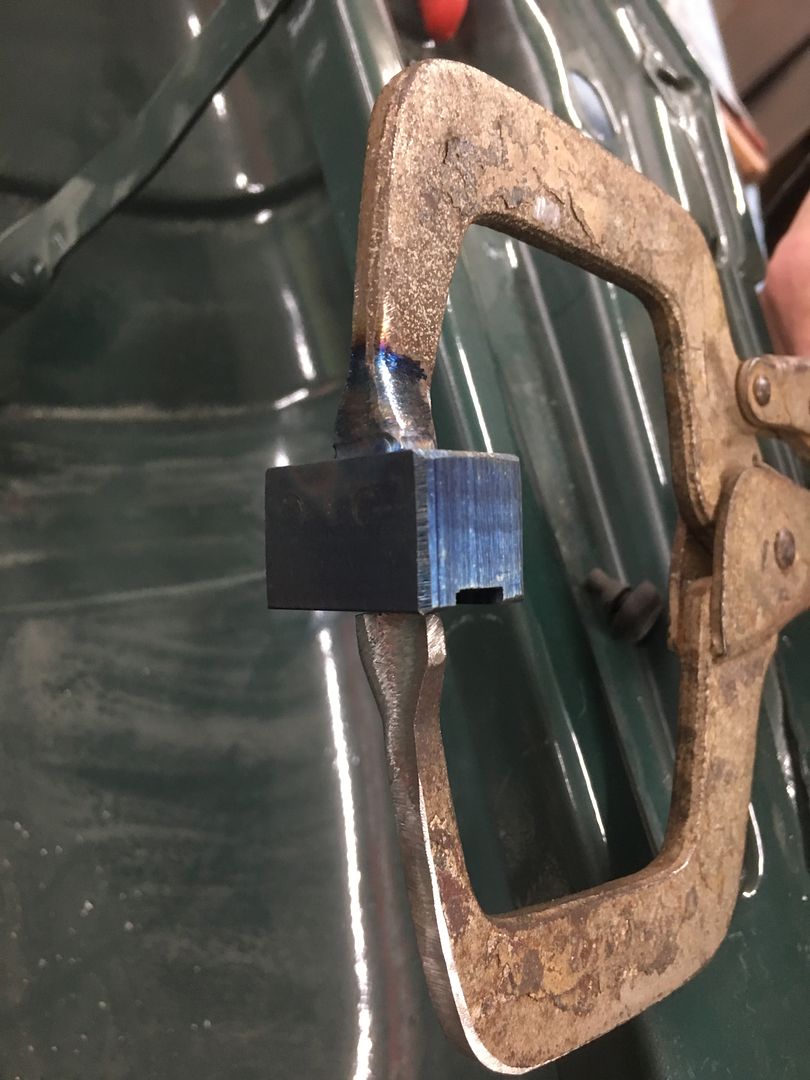
Using a pair of C-clamp vise grips (there goes another pair) the die we made will be welded to one side, the opposite is giving a bit of a trim to better fit in the confines of the slight gap available on the inside..
I missed the action shots, but the clamping of the vise grip is used to raise the low areas. Then dressed out for a much better "filler free" lower edge for the hood.
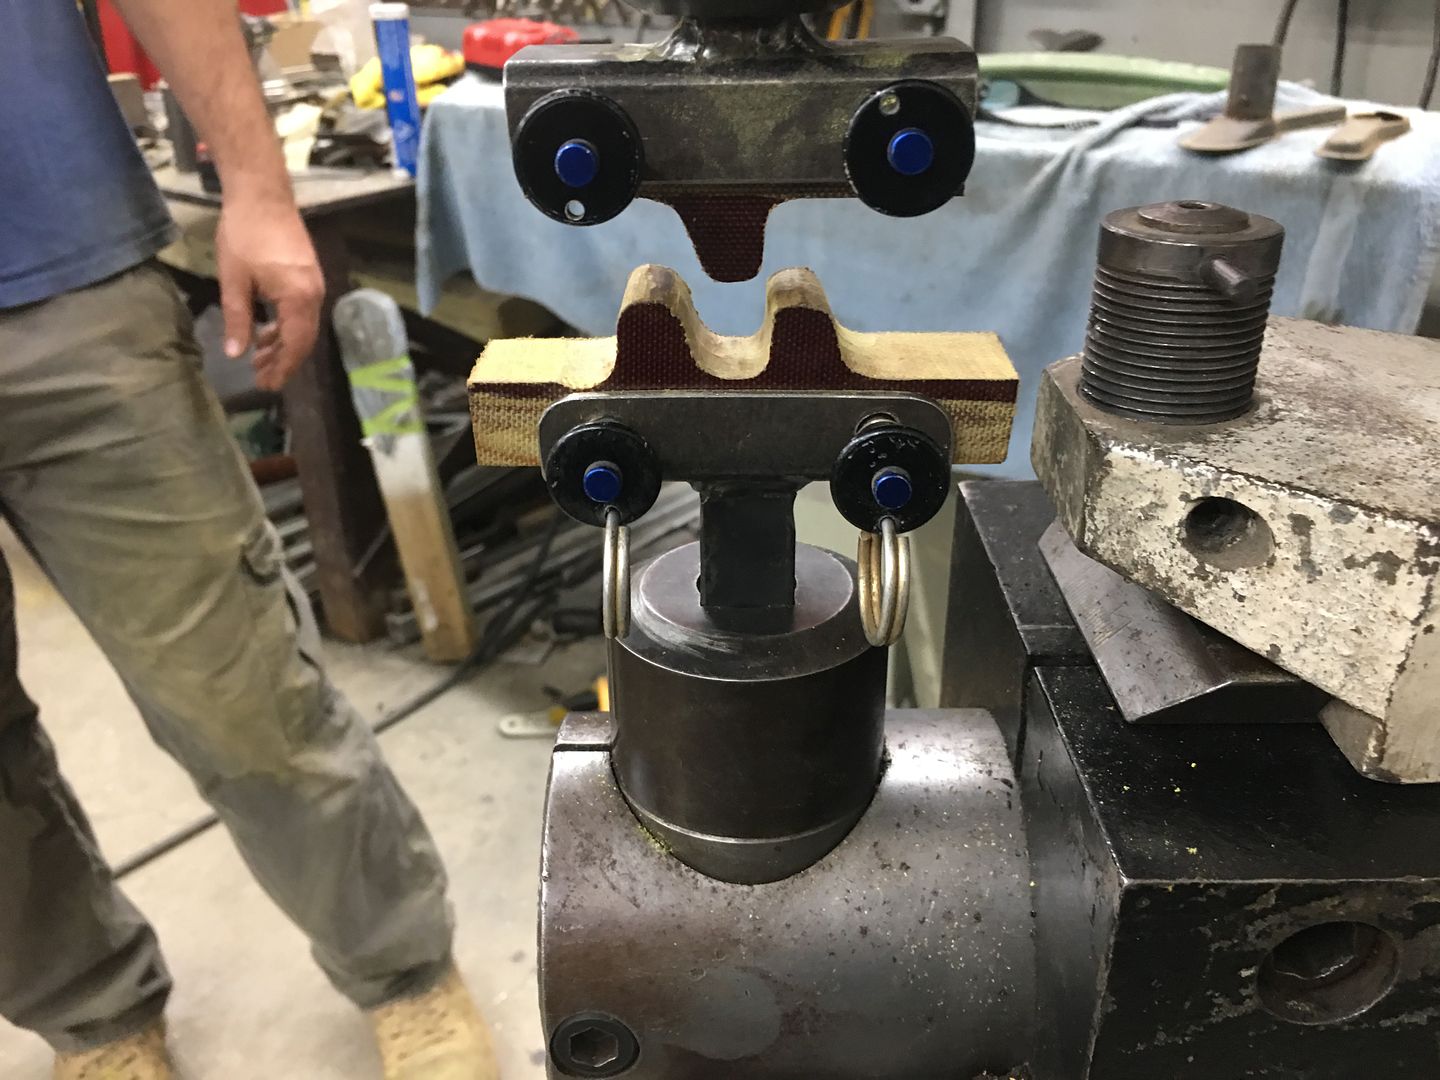
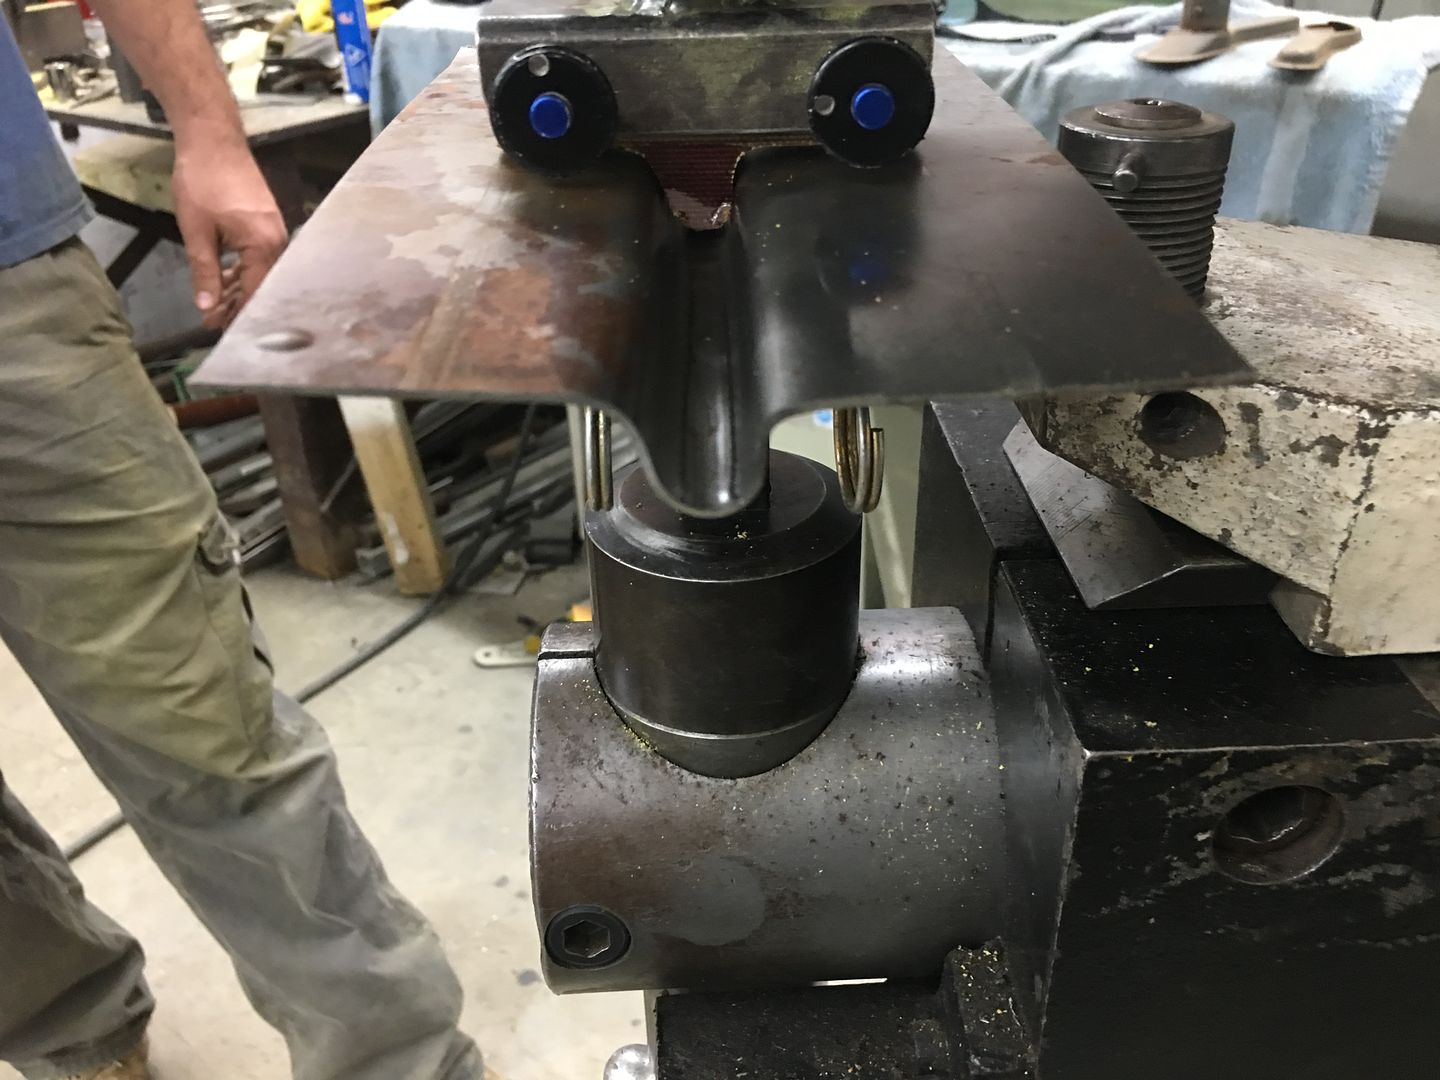
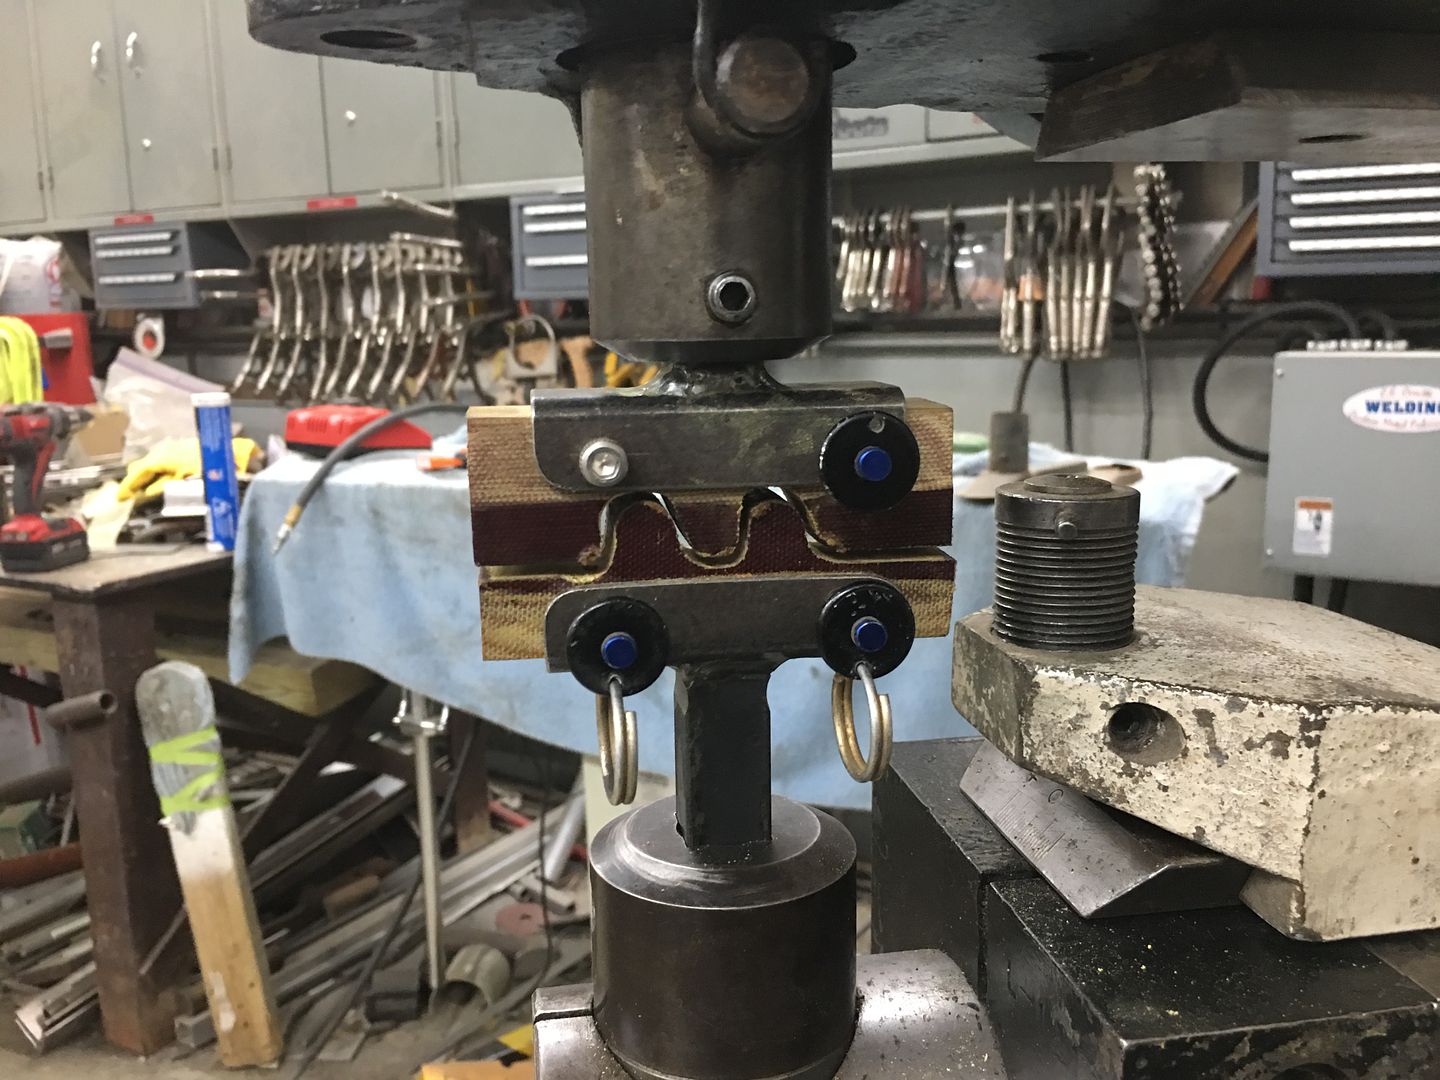
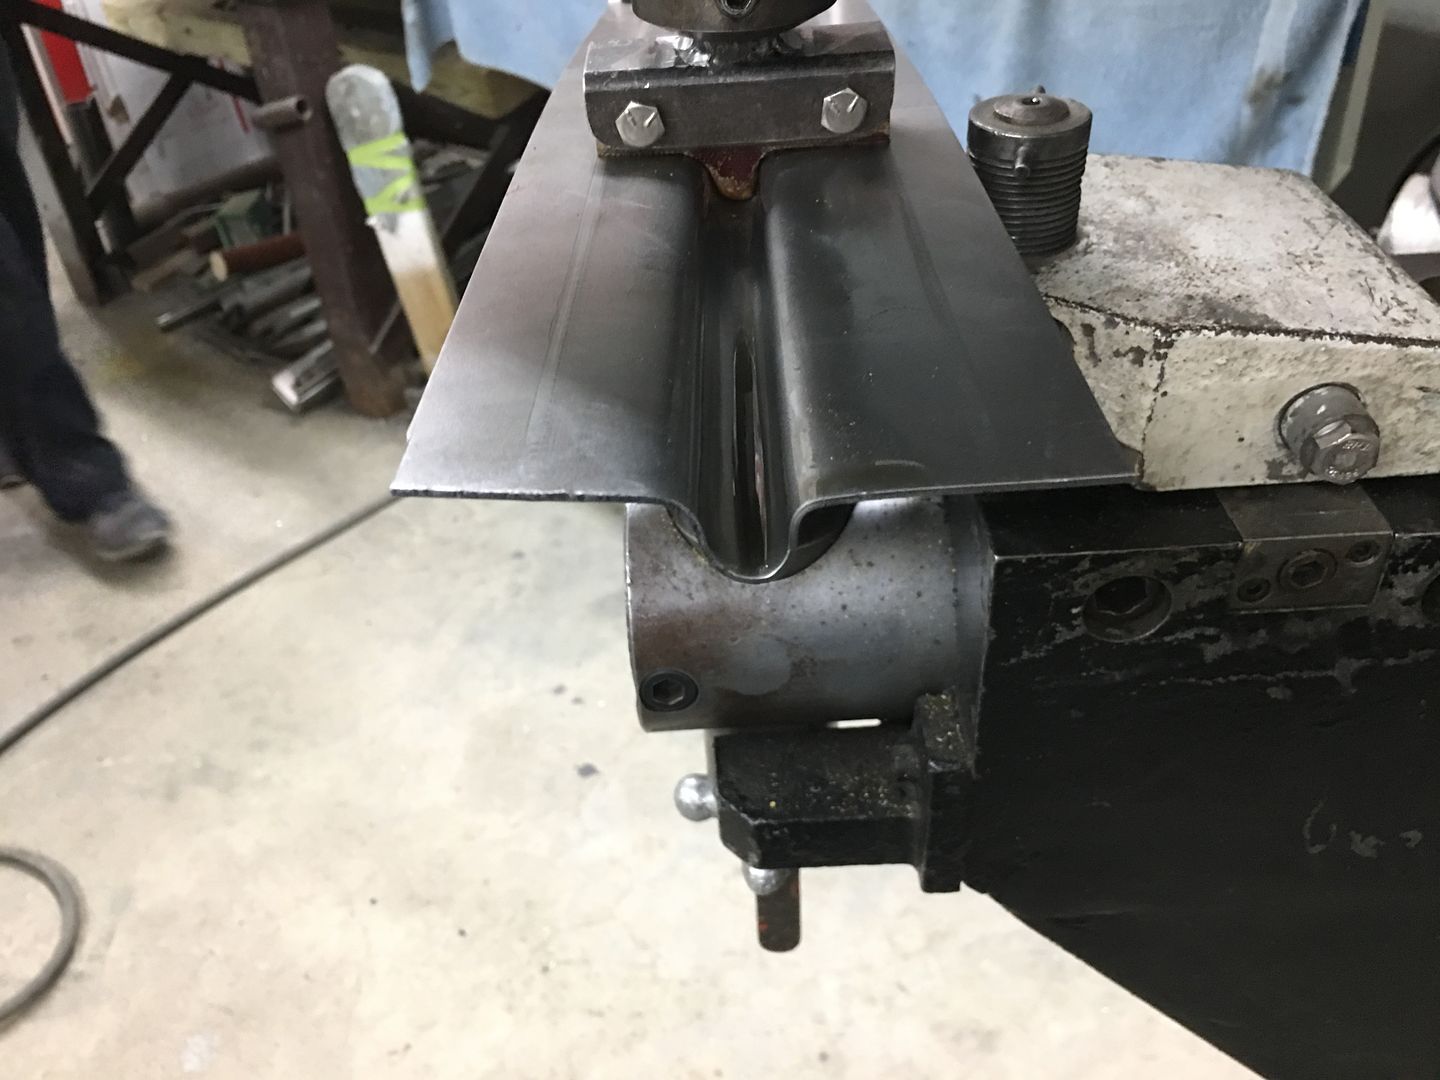
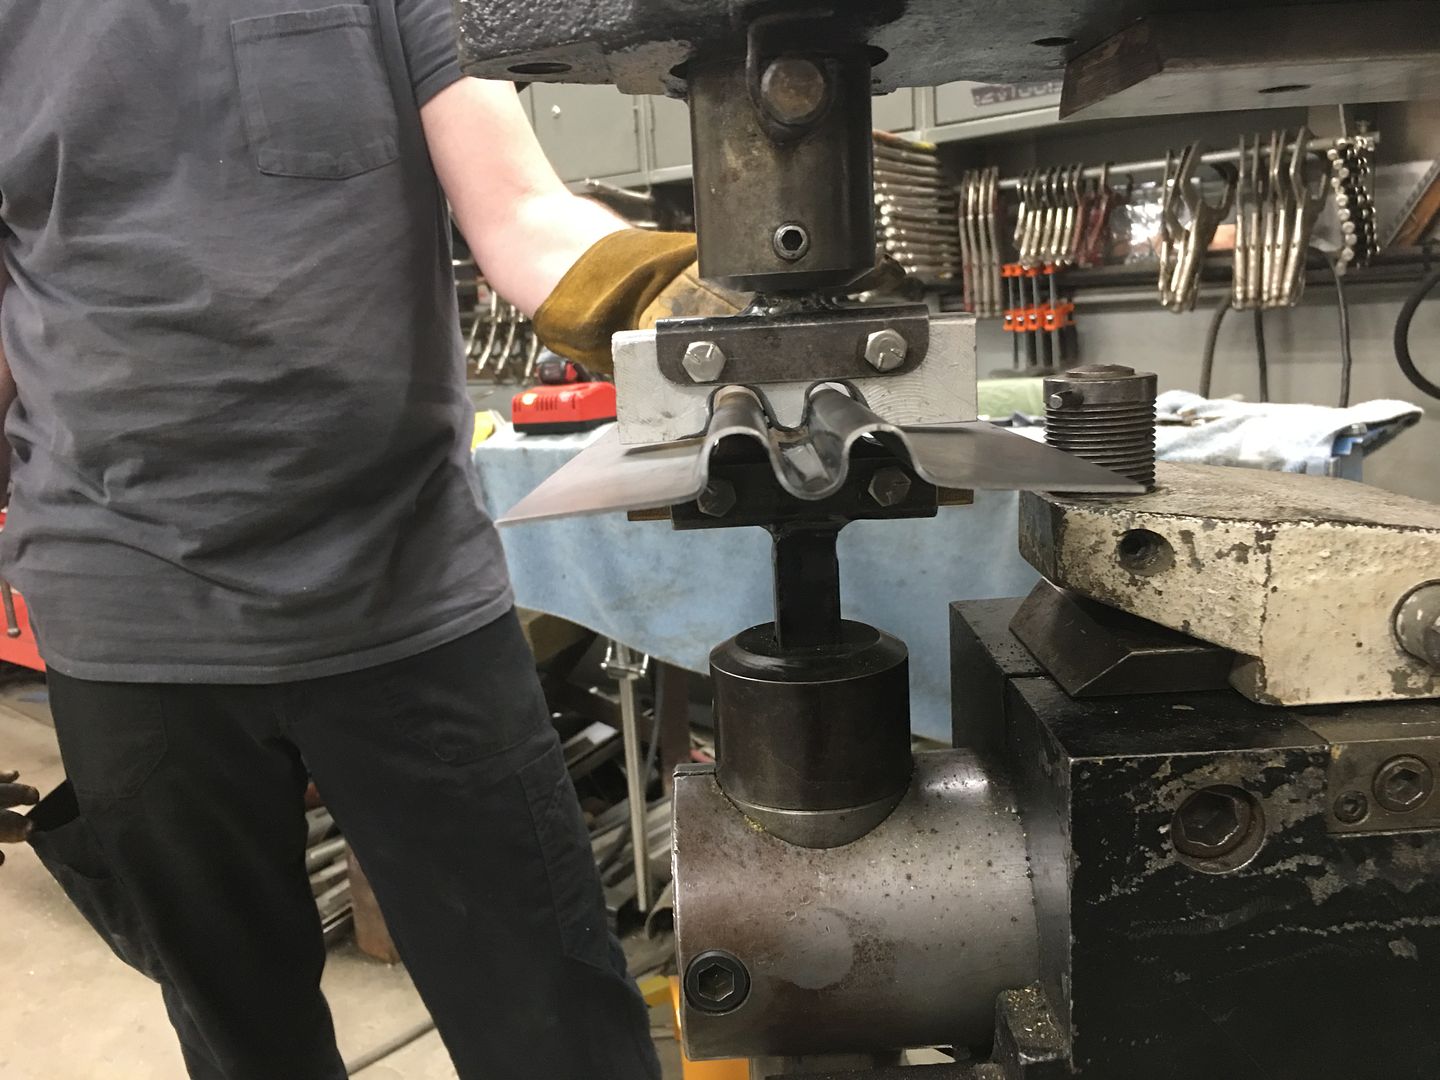
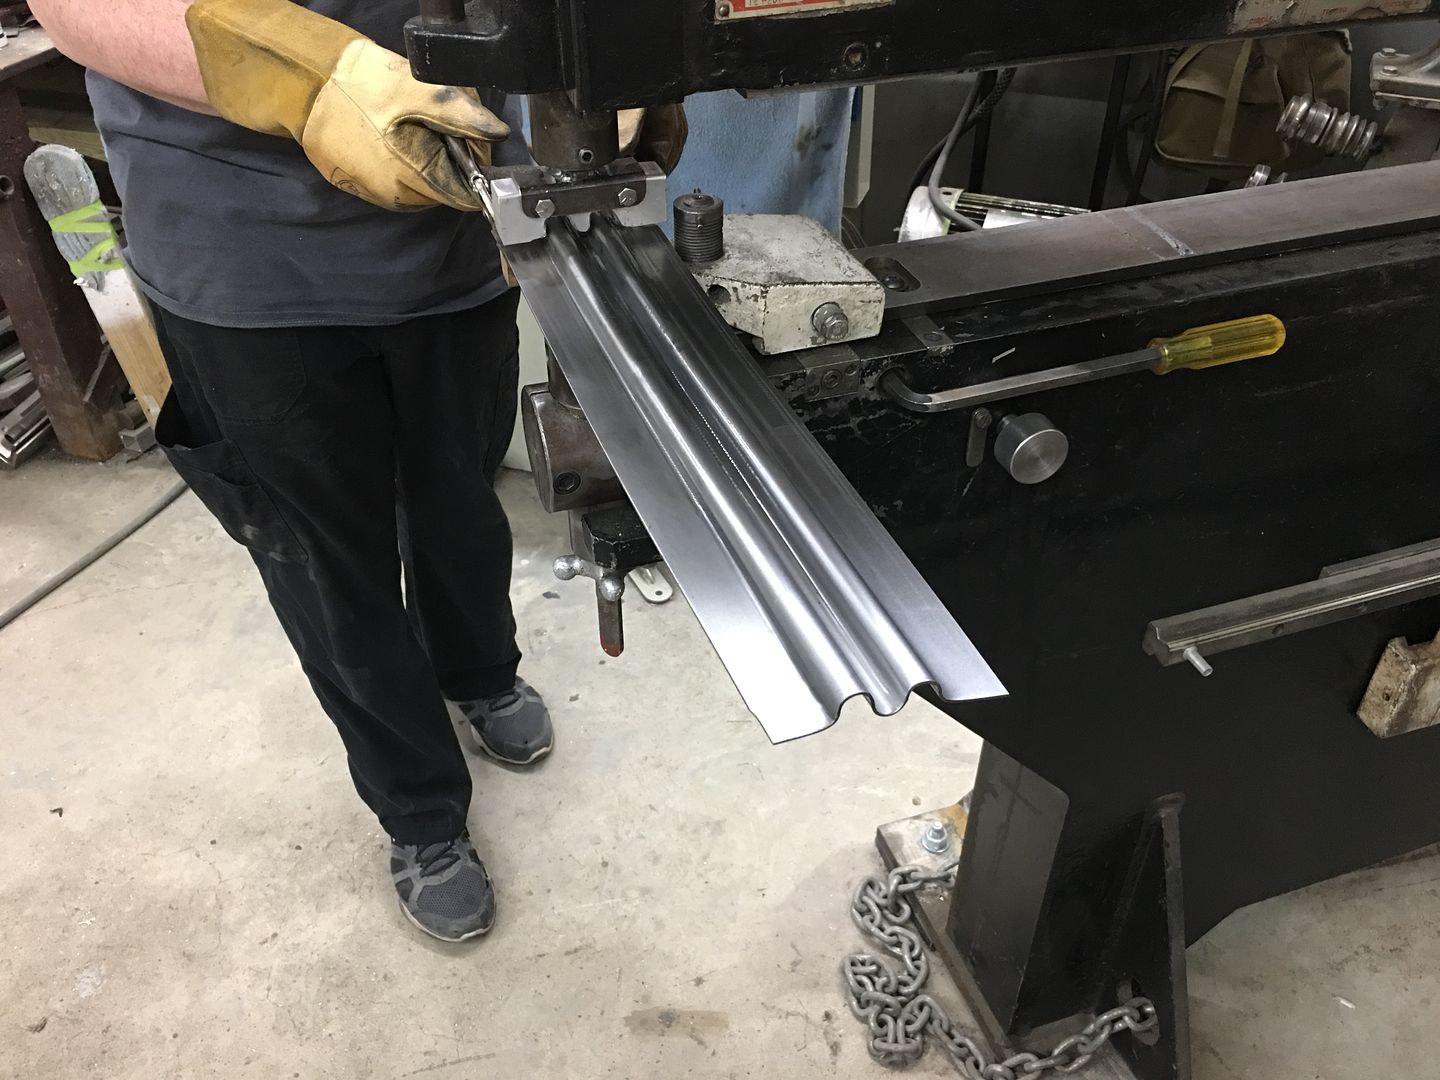
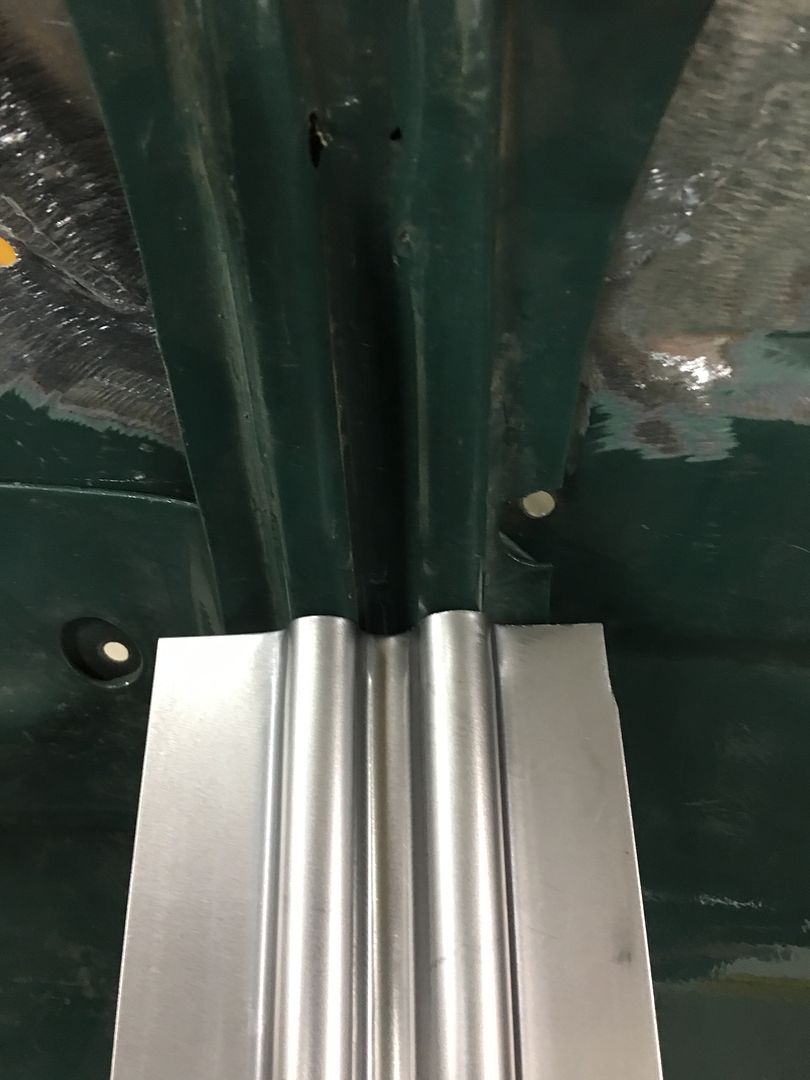
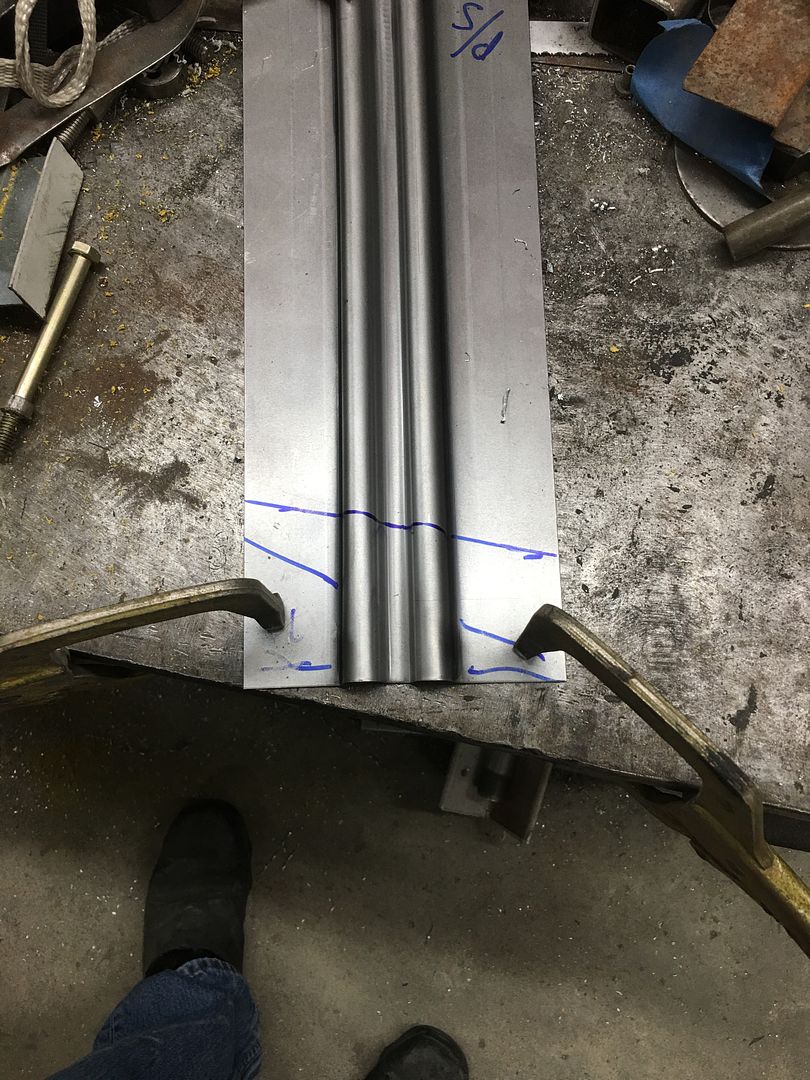
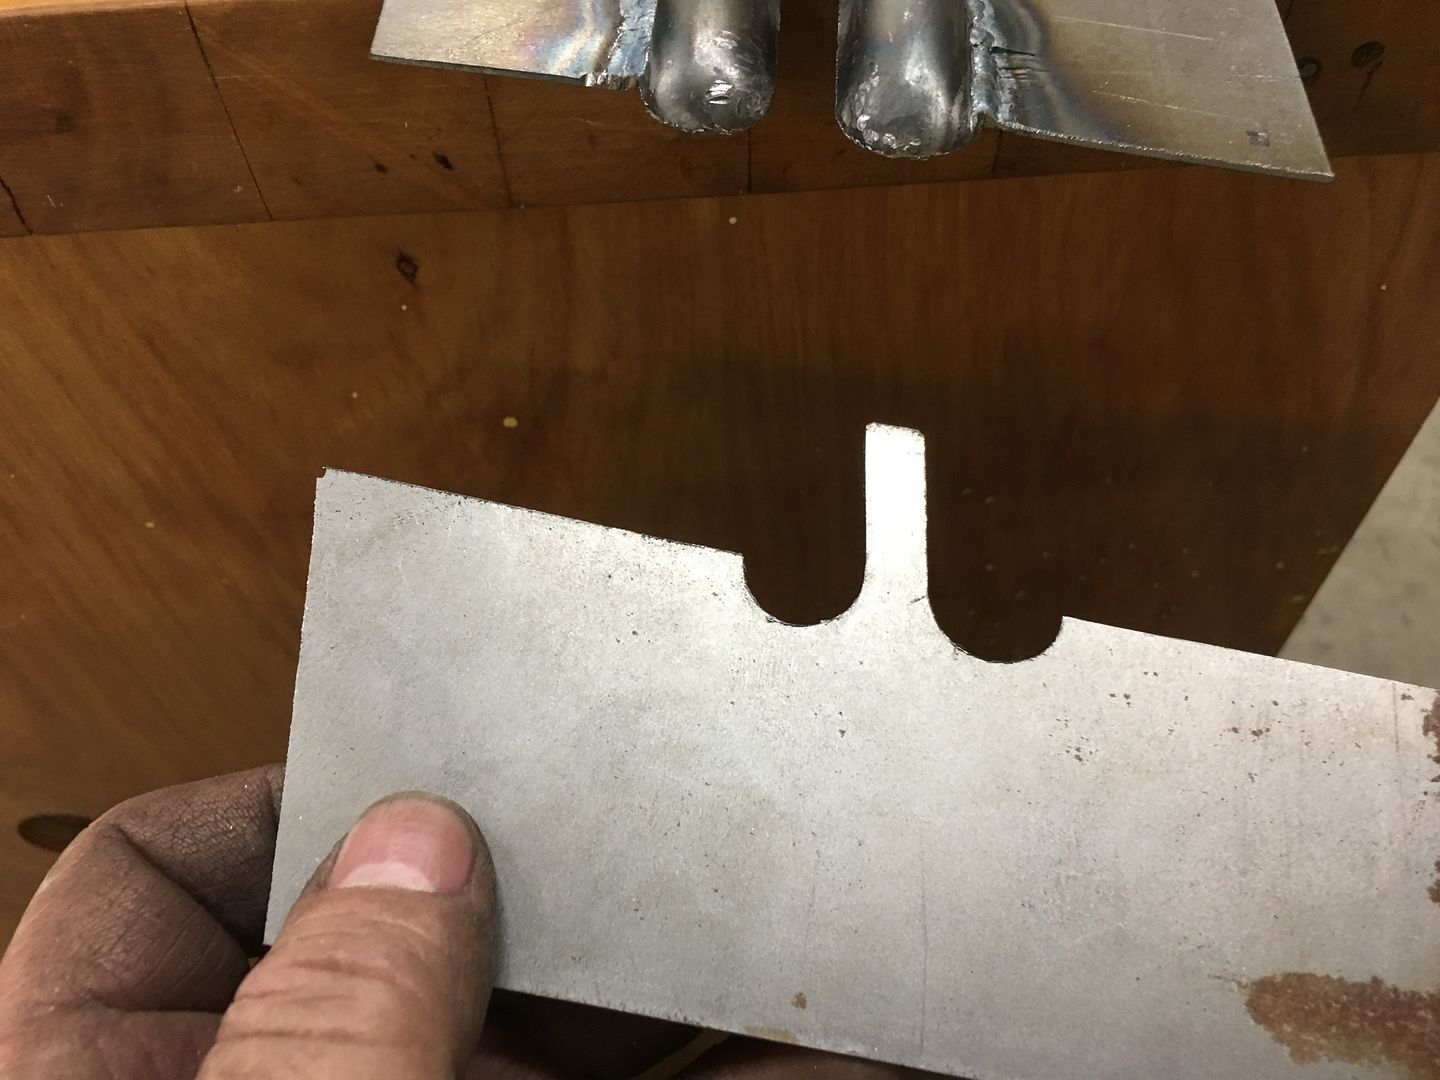
With Mike having completed the dies to duplicate the ribs in the hood brace we did a test run on a piece of 16 Ga cold rolled steel. First upper die addresses middle rib only, way to much drawing going on to expect this out of one set of dies...
Then top die is changed out for the remainder of the ribs...
A bit of fine tuning needed, but looks like this process will work to repair the rot in the bottom of the brace ends..Robert
-
03-22-2020 10:32 AM #124
Cosmo and I say... what else? but WOW!
Love the S.B. Miller. I've done that one myself on a Clausing.
-
03-24-2020 11:46 AM #125
I'm impressed , very smart machine work !
-
03-24-2020 06:26 PM #126
This line keeps popping into my head when I'm reading one of your threads... "But wait, there's MORE!" LOL


-
03-27-2020 05:38 AM #127
But wait, there's more!!
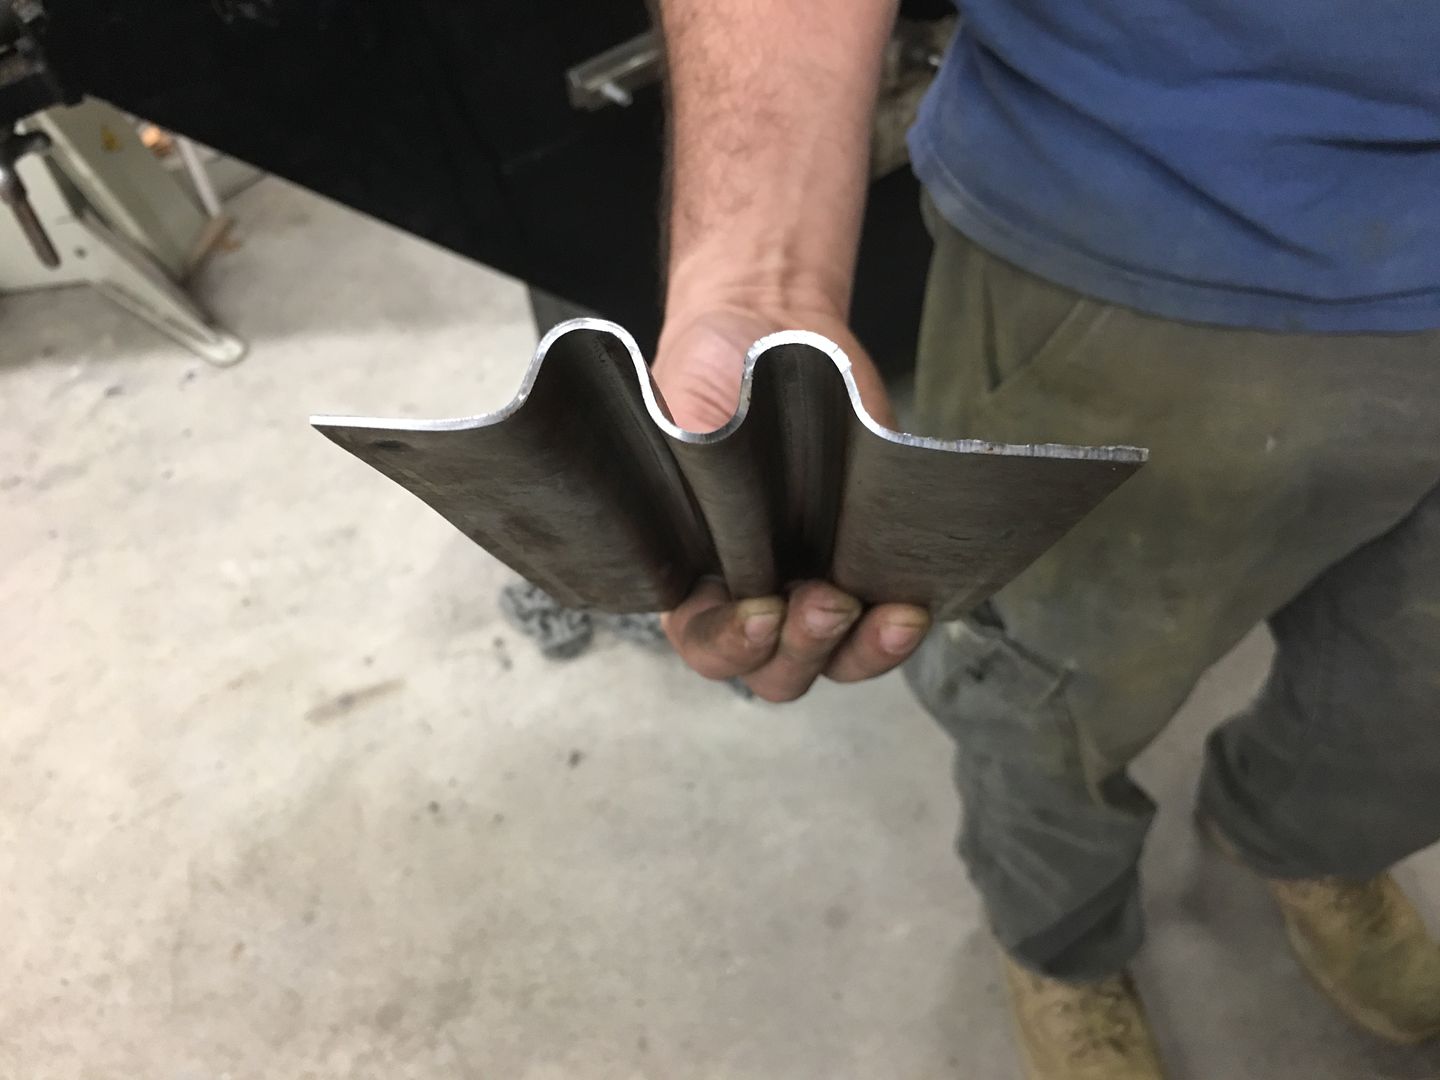
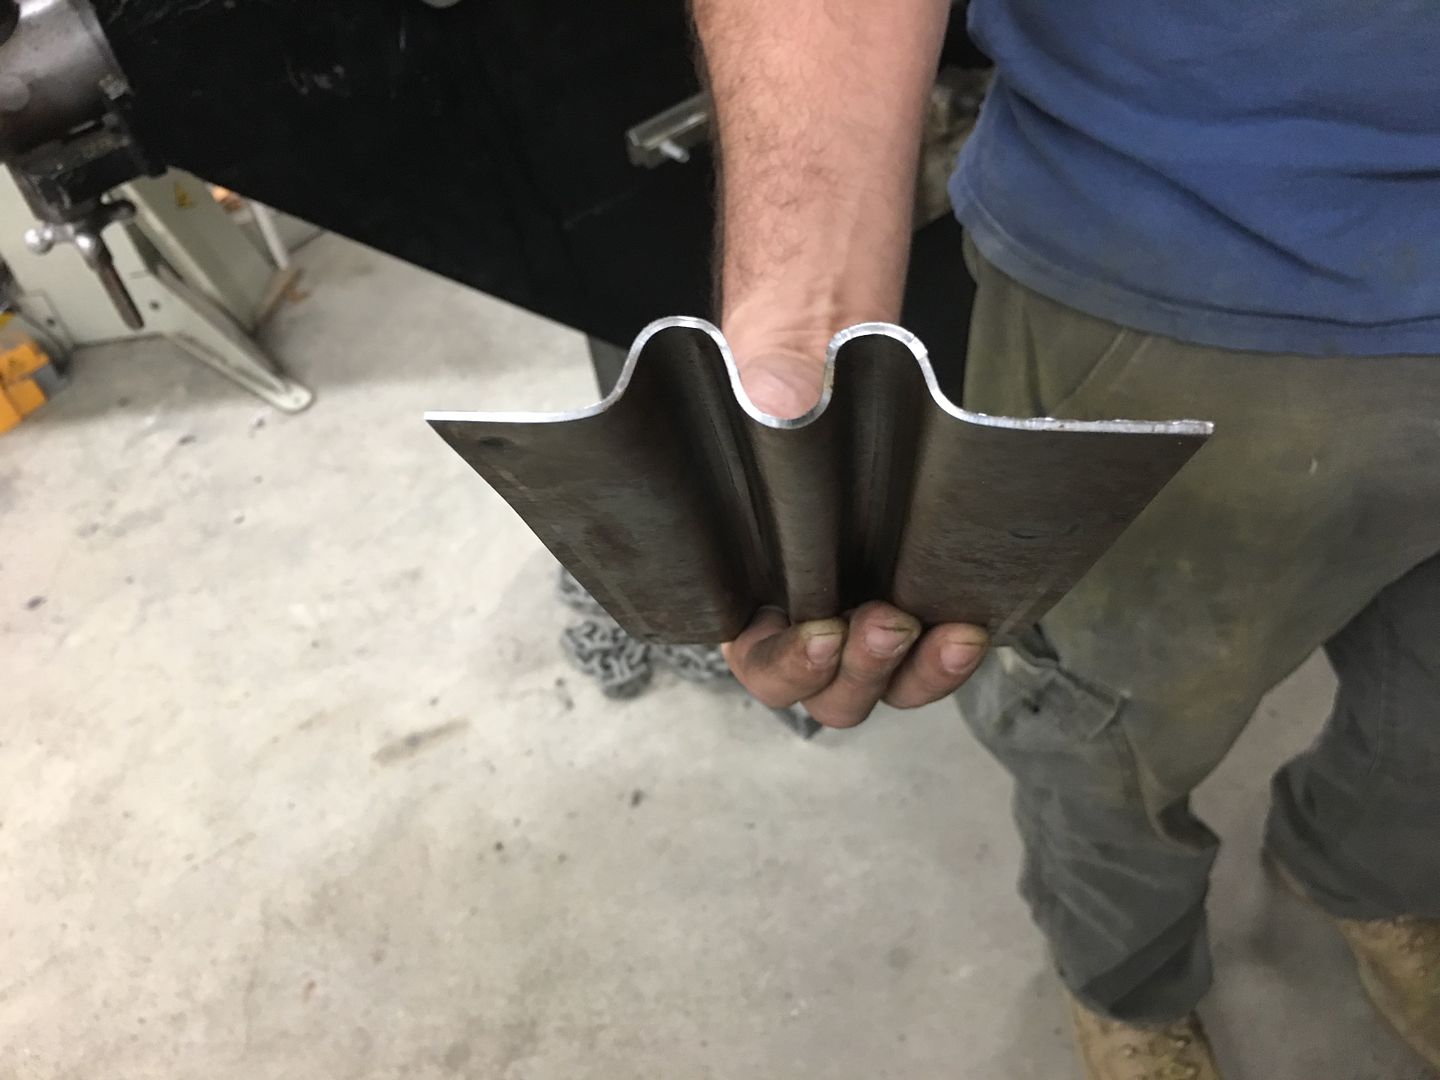
Now to fine tune our dies for the hood brace. Looking at our original profile template, the first upsweep (red arrow) and second upsweep (yellow arrow) are both nearly vertical as compared to the opposite side.
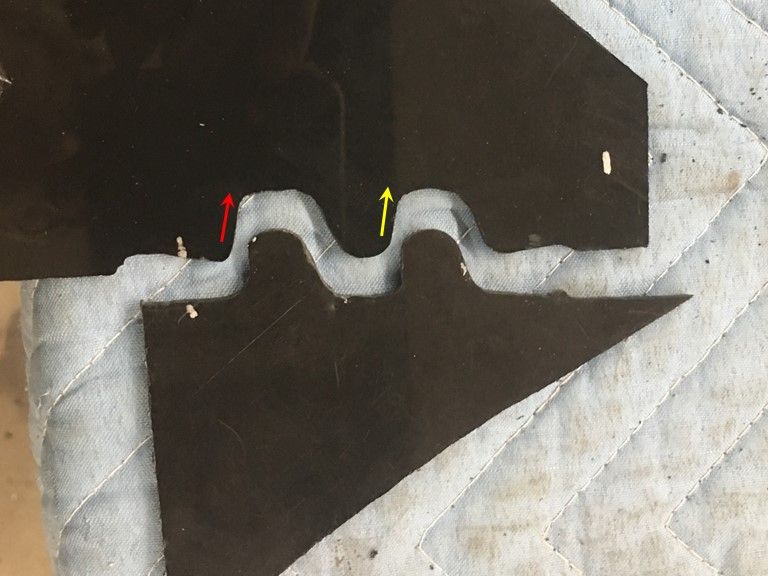
Our first test run shows the first upsweep spread too wide, not enough vertical...
Looking at the die that was made, a bit too much material was removed such that this vertical feature was lost...
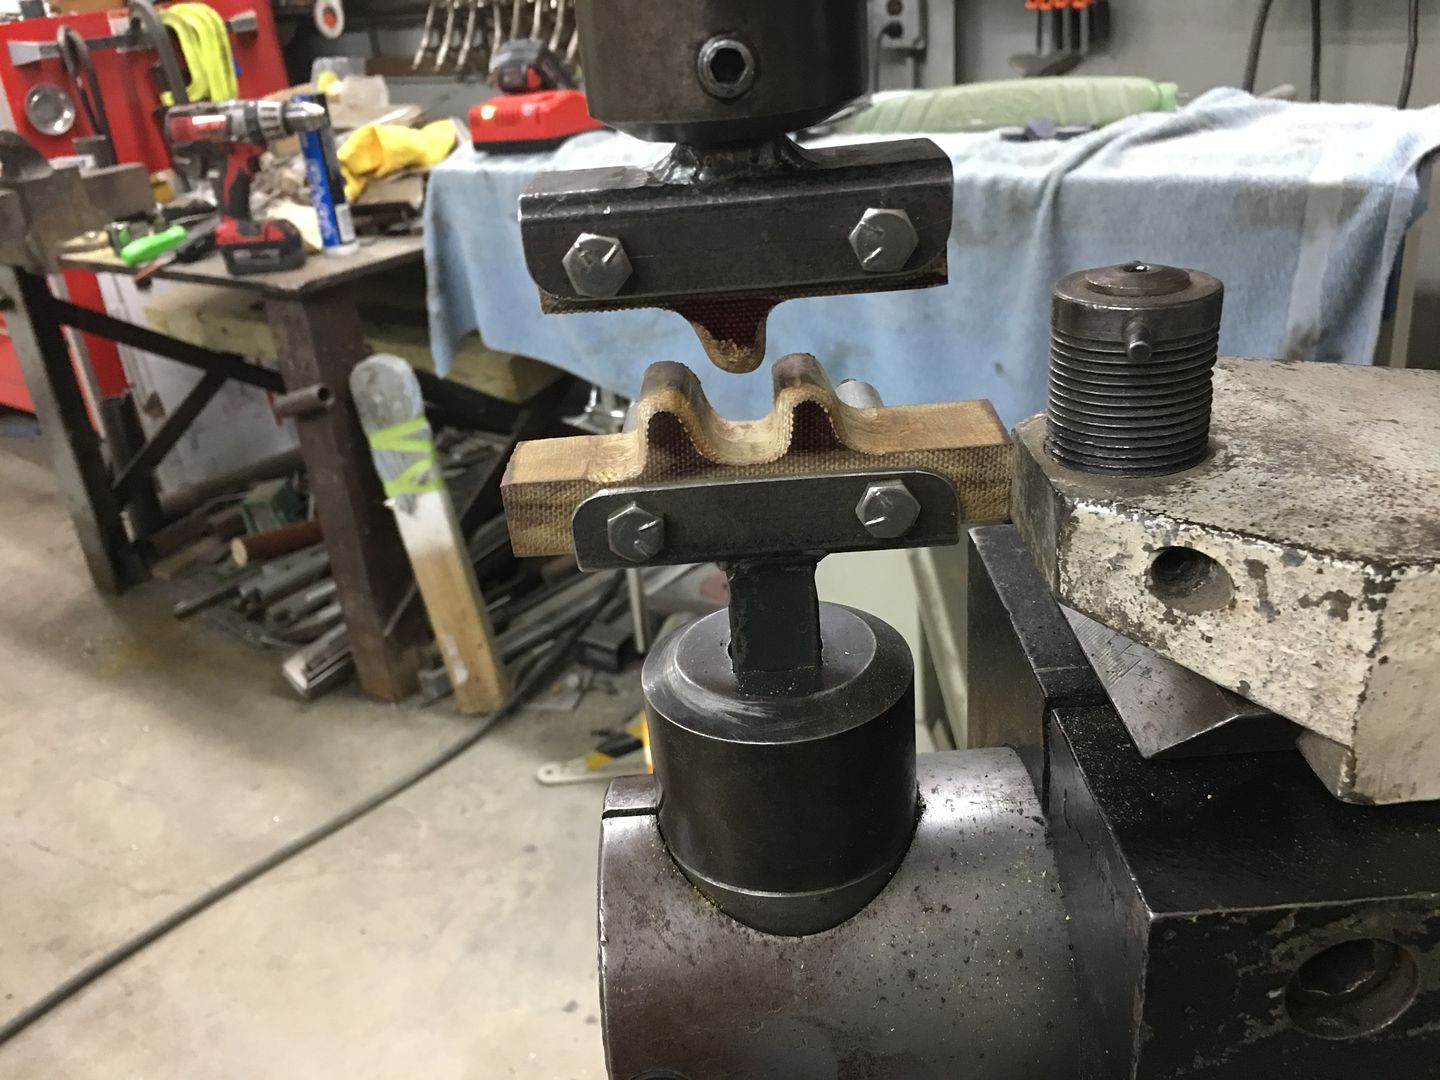
So a new die was made for the top, this time out of aluminum. The phenolic is somewhat easy to cut out but does have challenges in making crisp bend details, so lets see if the aluminum helps out..
Next run, this time we'll do two panels in case they work... First pass to draw the metal into the center rib...
This is about 8 passes, each progressively deeper. The circle fixture to the right in the picture (white base) is used as a back stop to keep our rib centered.
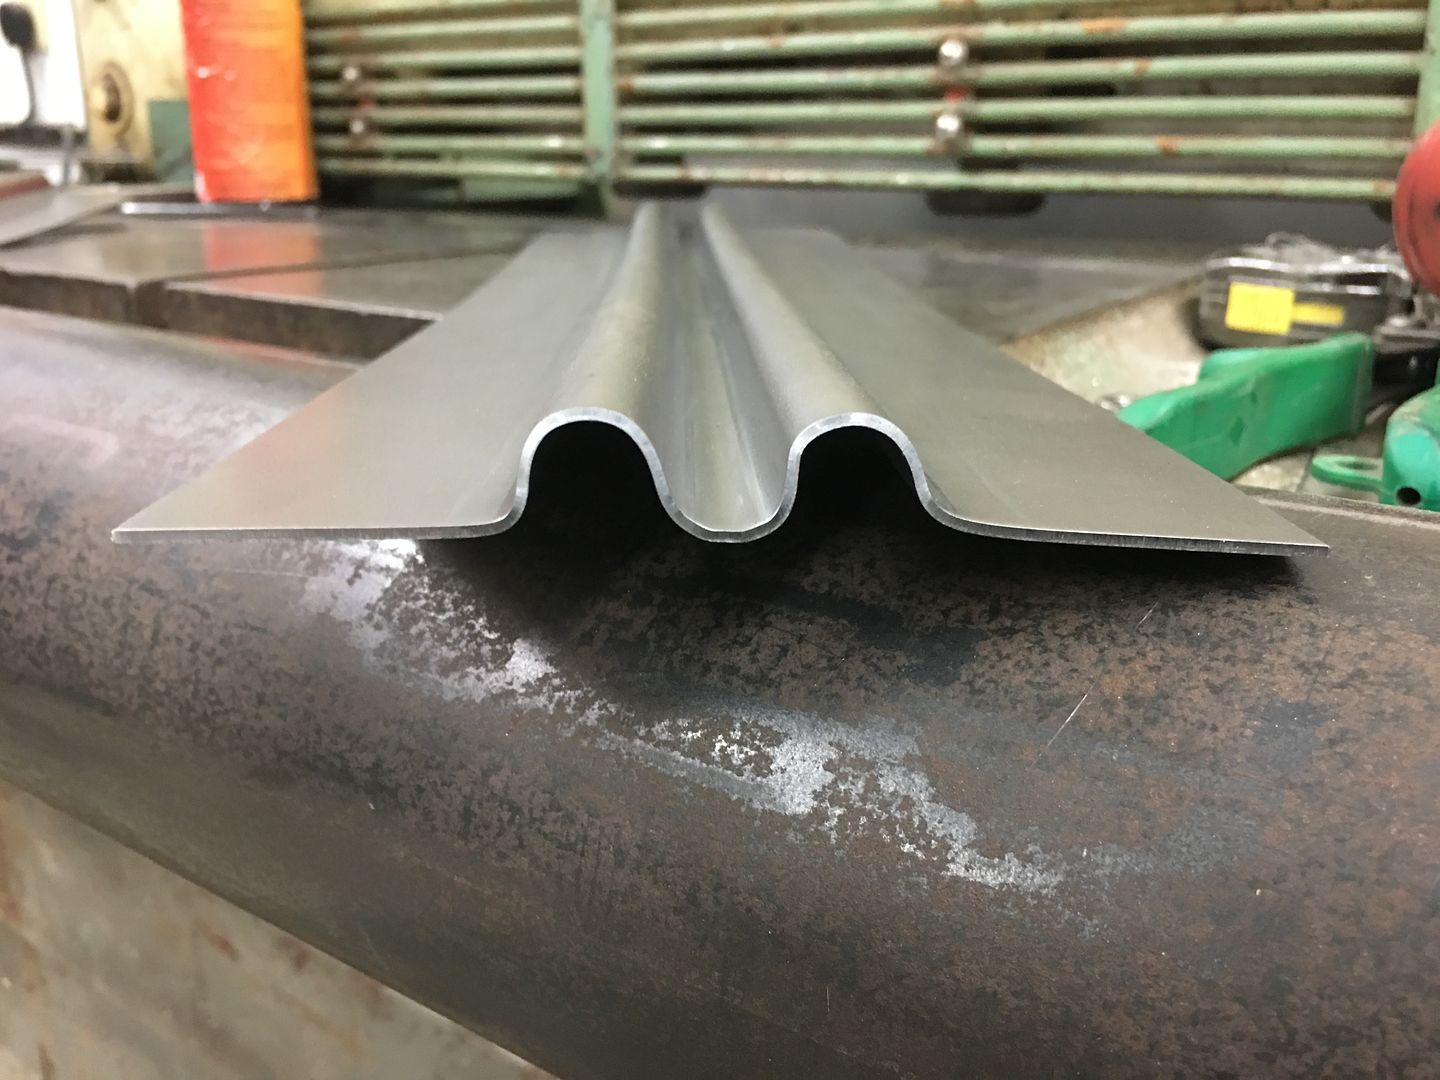
This is about 9/16 of depth, so quite a bit of draw.. Next, the new top die is added and goes through the same 8 progressive passes.. Note in the next picture the vertical upsweeps are both nearly vertical. Success!
Matching up to the original, this looks like the right replacement.
video version:
https://www.youtube.com/watch?v=OQgVST8TYgE
.Robert
-
03-28-2020 04:44 PM #128
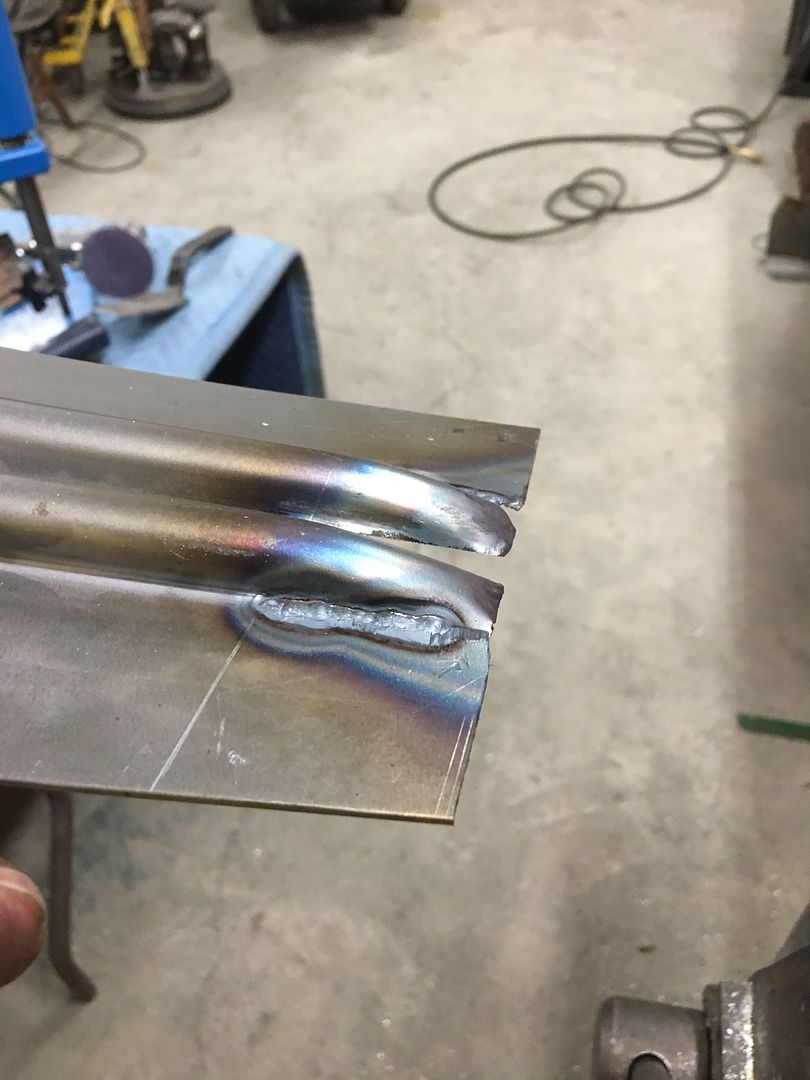
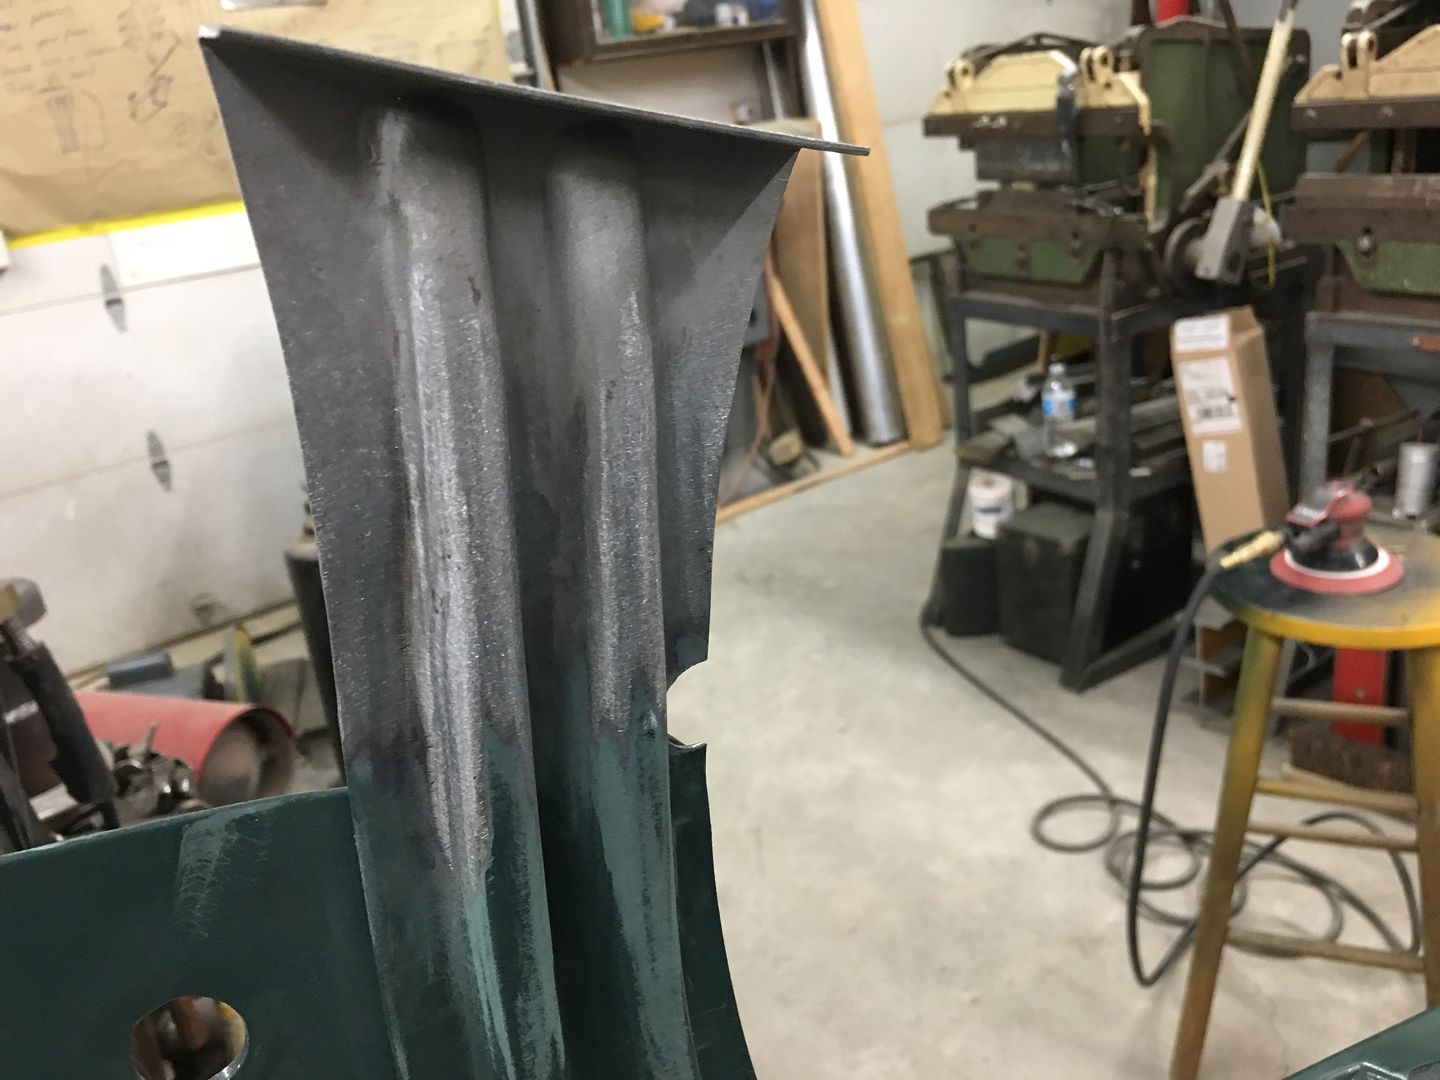
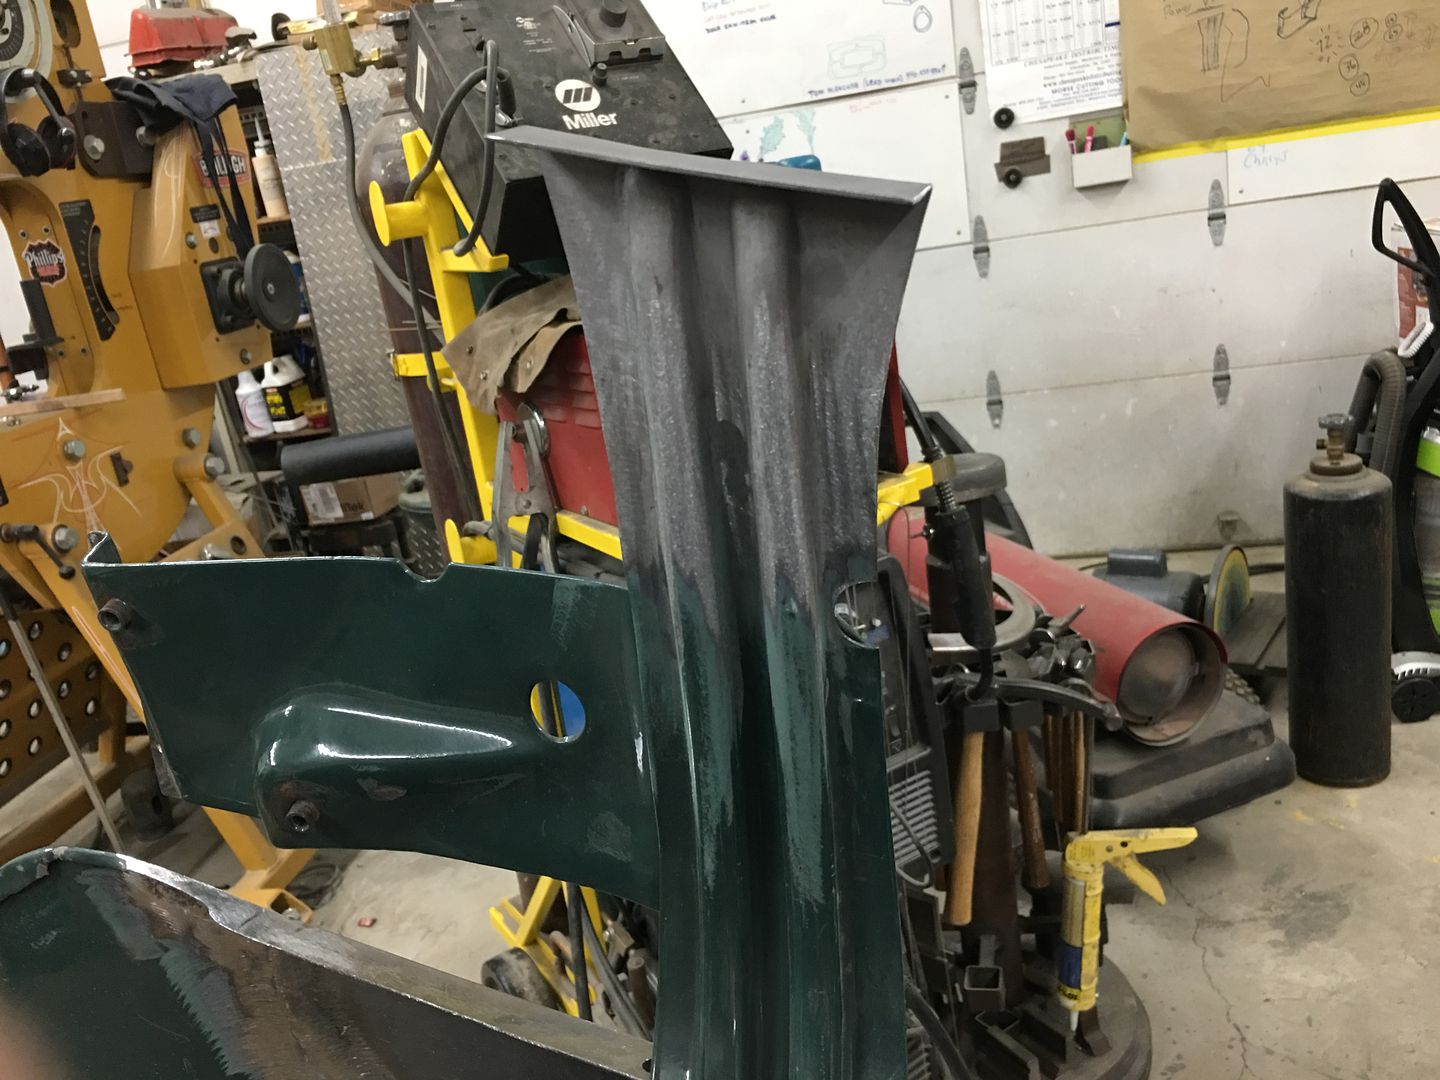
Progress on the hood, the bead details in the brace are offset on the ends to match the hood opening flange. So we use a Vernier protractor to find the angle, and transfer that to our panel. This is where the transition of the taper starts..
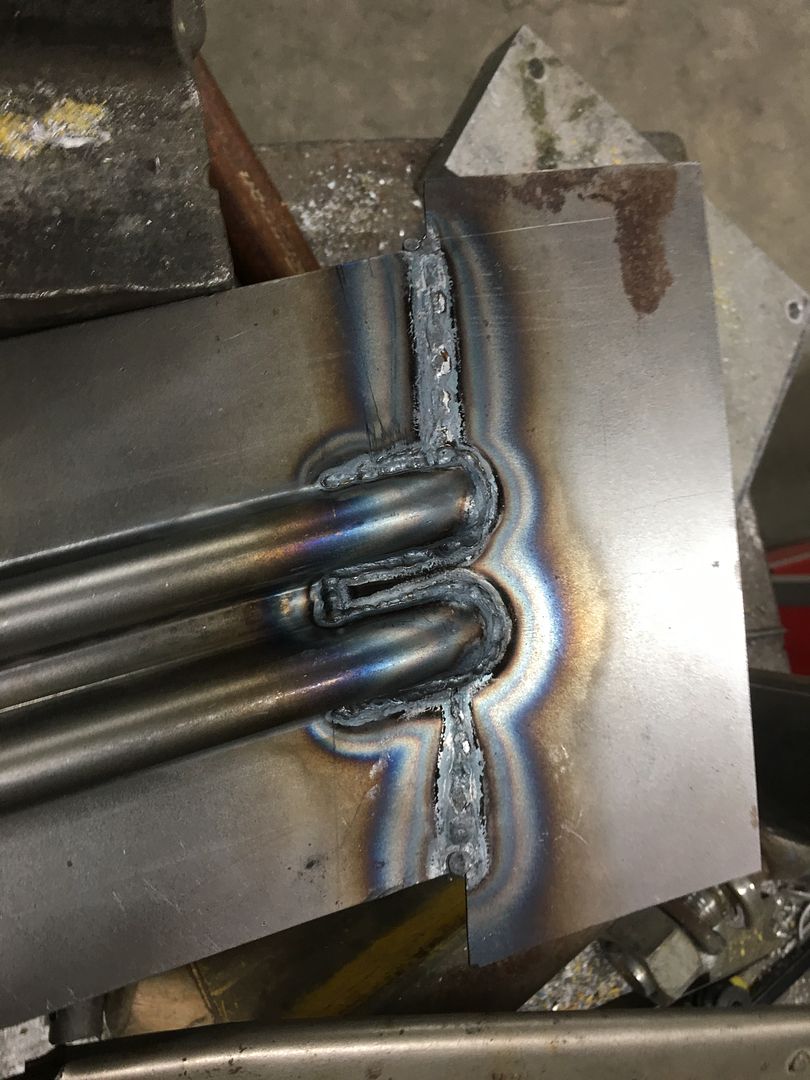
Once tapered, the excess is removed from the bottom side and the outer seams TIG welded in place.
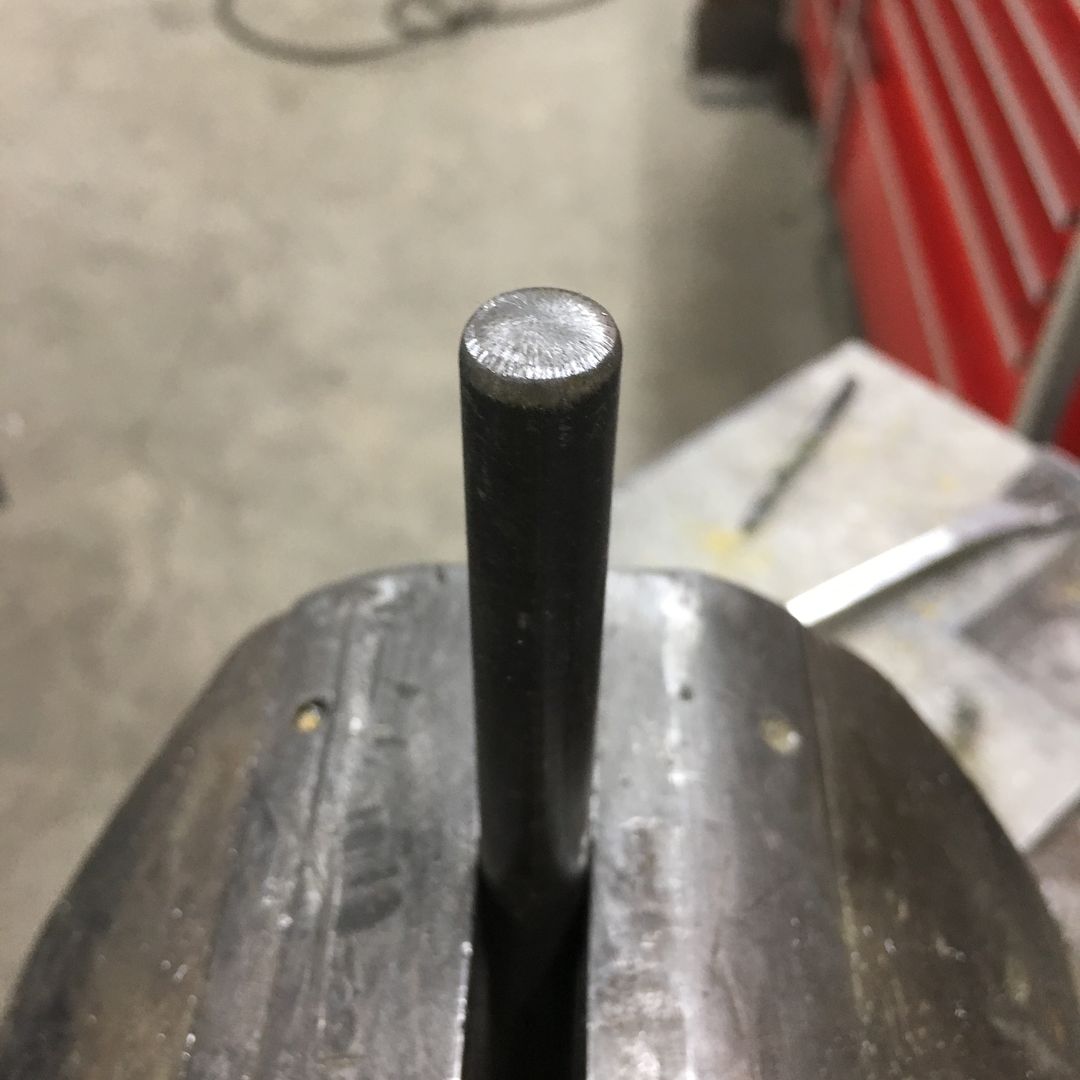
A piece of round stock has a radius added to serve as a hammer form for the beads. They are hammered around and excess removed from the back side..
A piece of 16 gauge cold rolled steel is trimmed to fit and TIG welded in place.
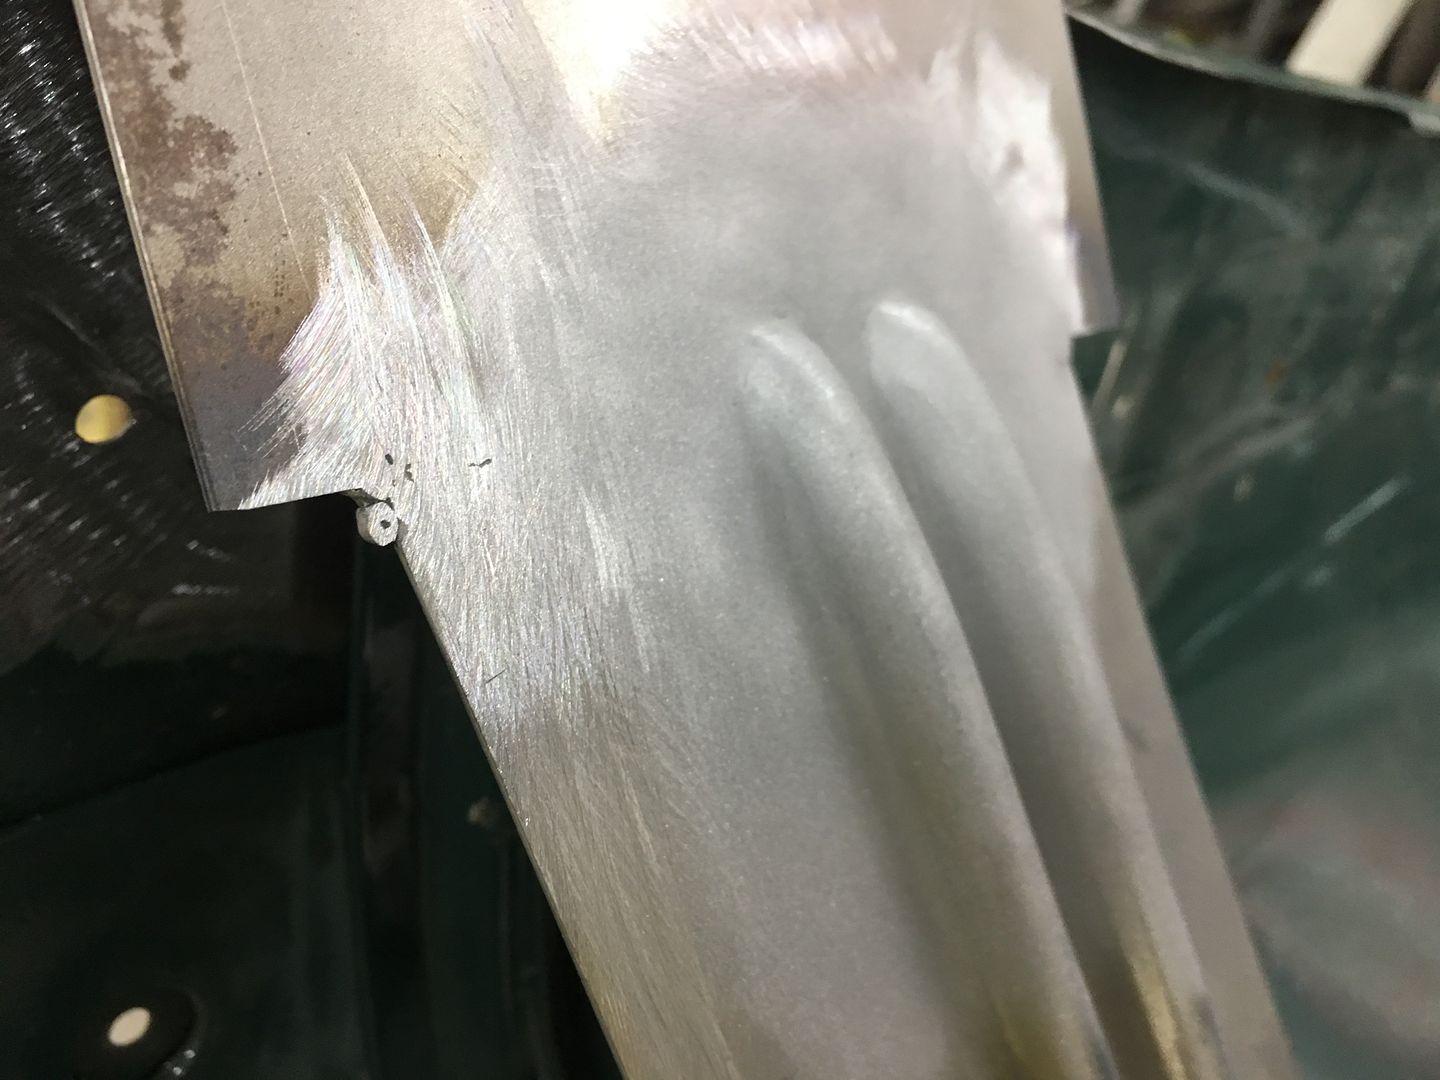
Welds dressed and media blasted..
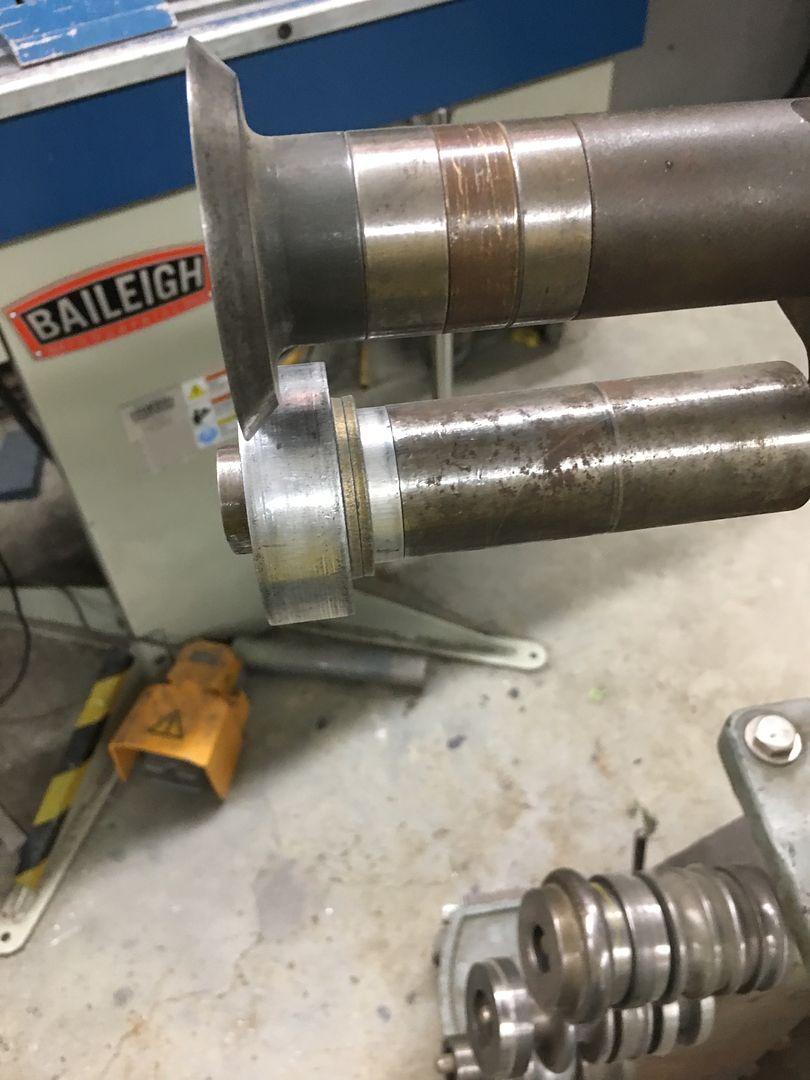
The bend line is transposed from the original. As this bend is slightly convex, it was started using a tipping wheel on the bead roller to a 45* angle, and then finished on the mag brake.
A reminder of the carnage we are repairing:
https://www.youtube.com/watch?v=NDZyTTuUGVE
A profile template is made prior to cutting out the old....
Robert
-
03-31-2020 09:43 PM #129
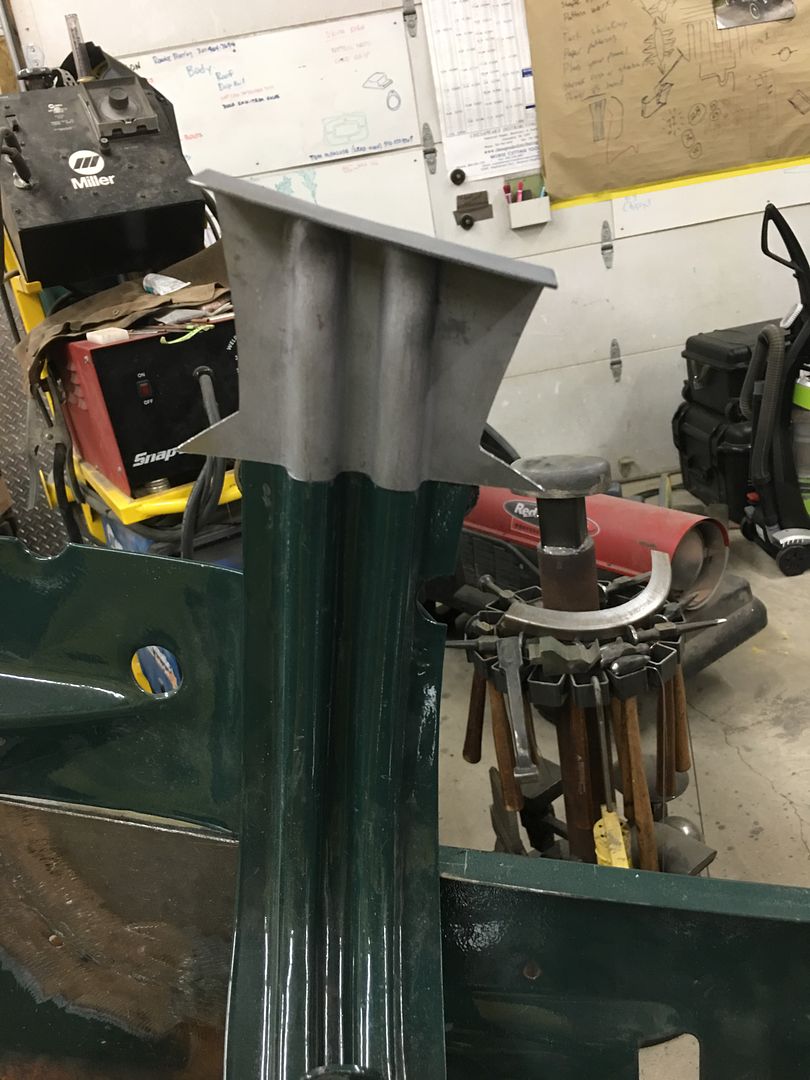
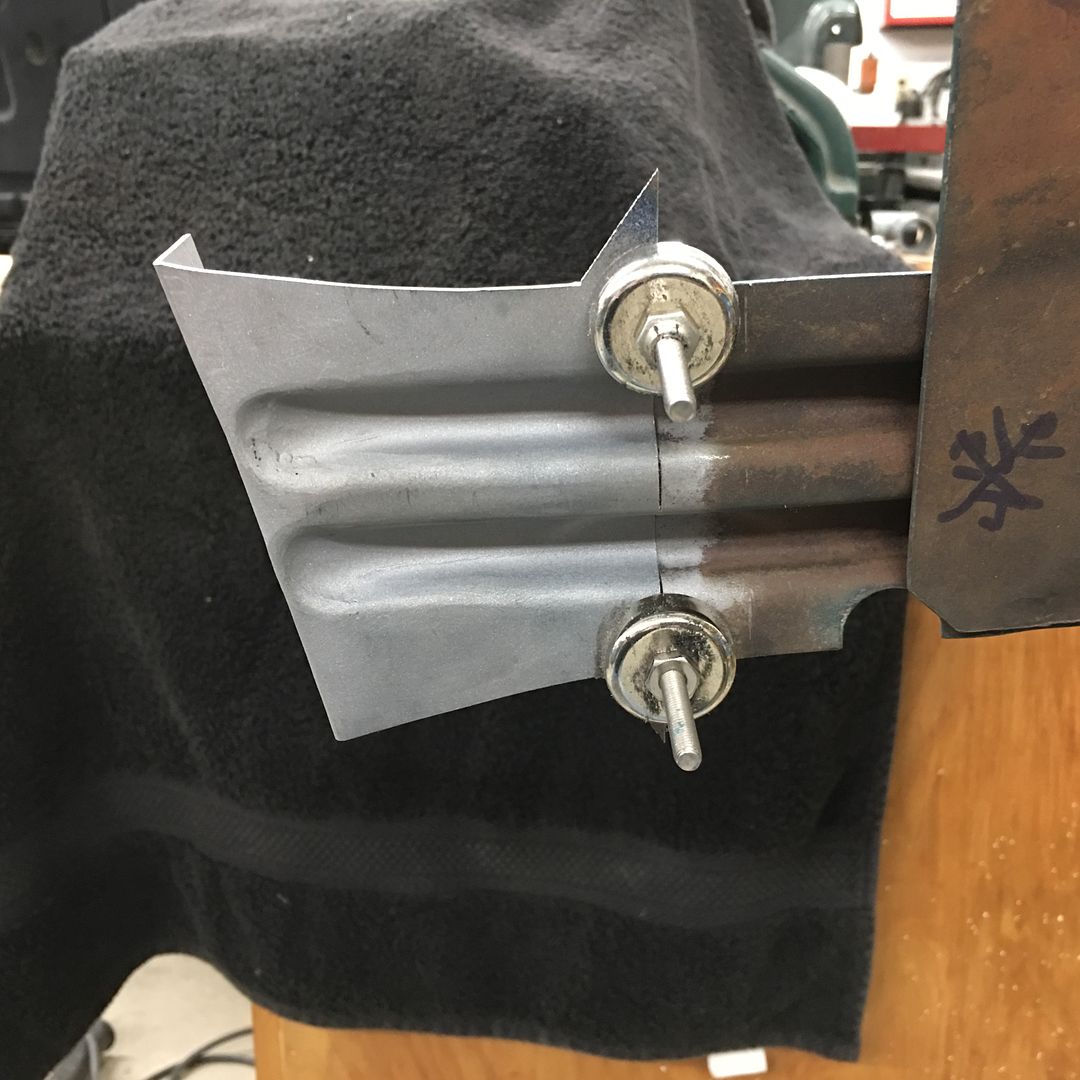
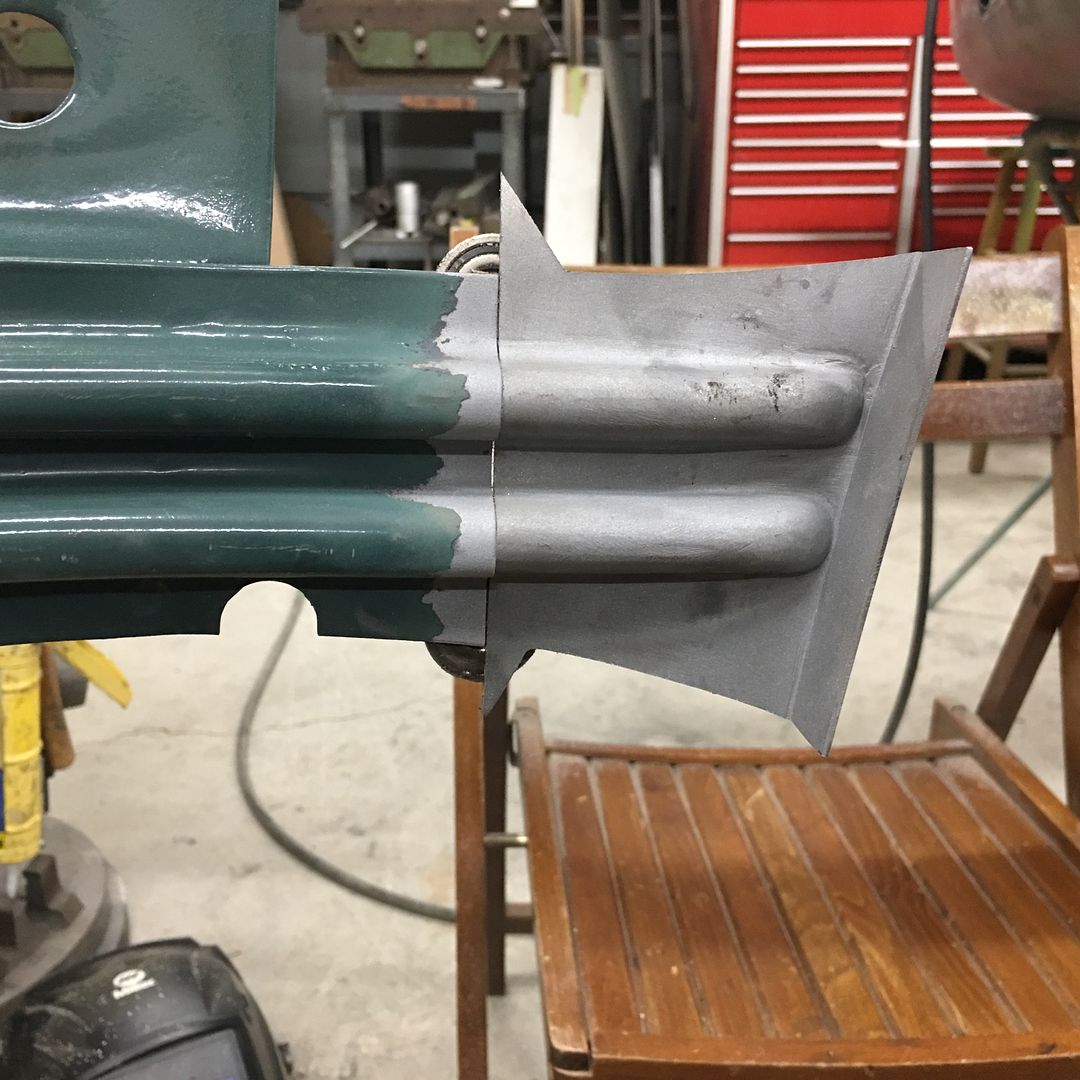
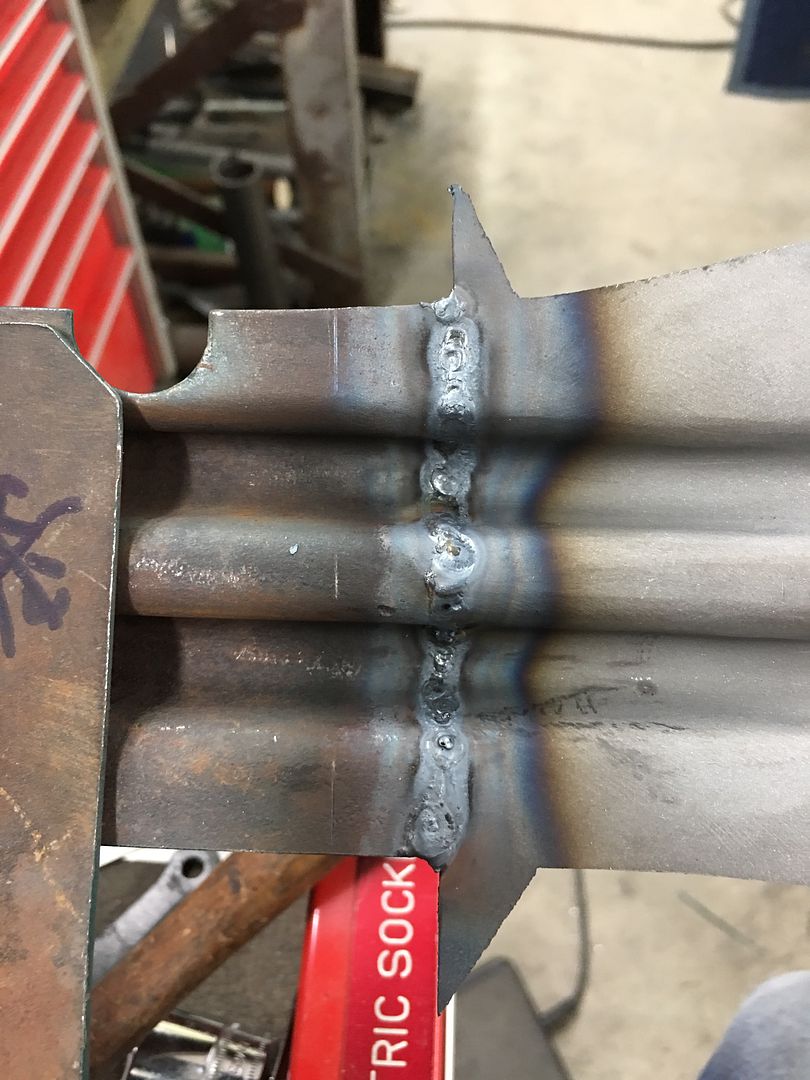
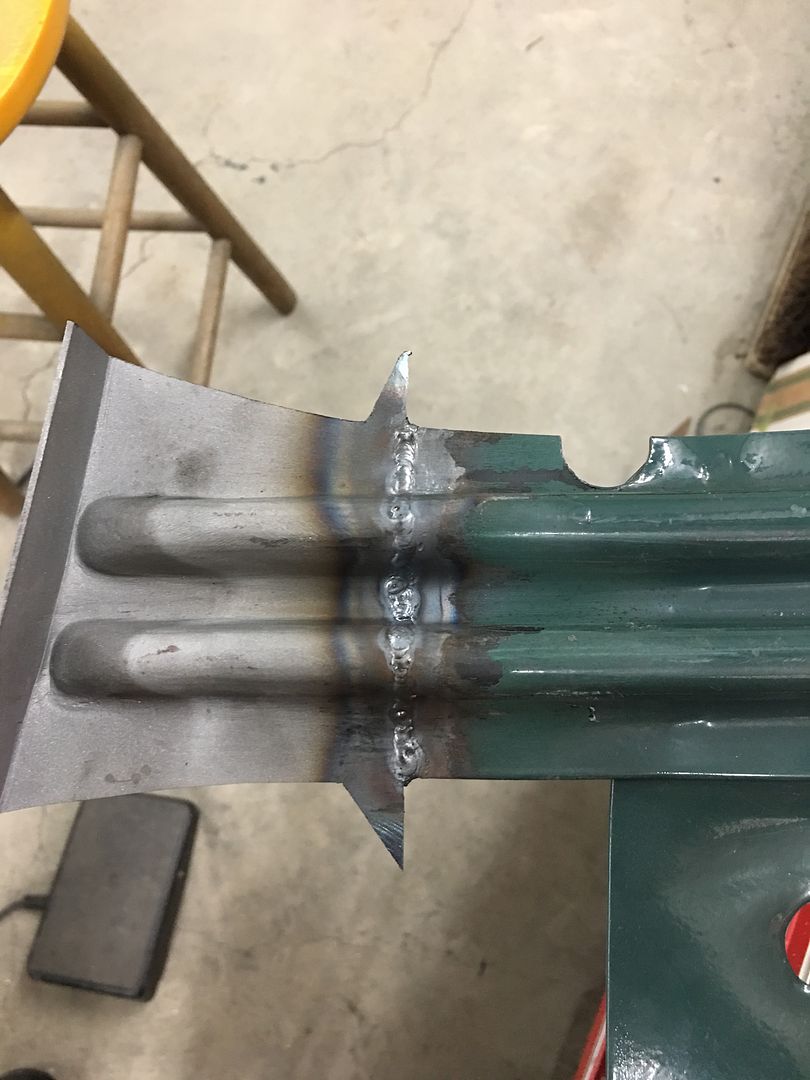
Time to get the hood brace end welded in place. The overall measurement had been taken prior to cutting off the old one, down to the 14 gauge outer plate as a reference. So the new end is trimmed to match this dimension, then held in place with rare earth magnets. The center (inside) rib is aligned and tacked using the TIG....
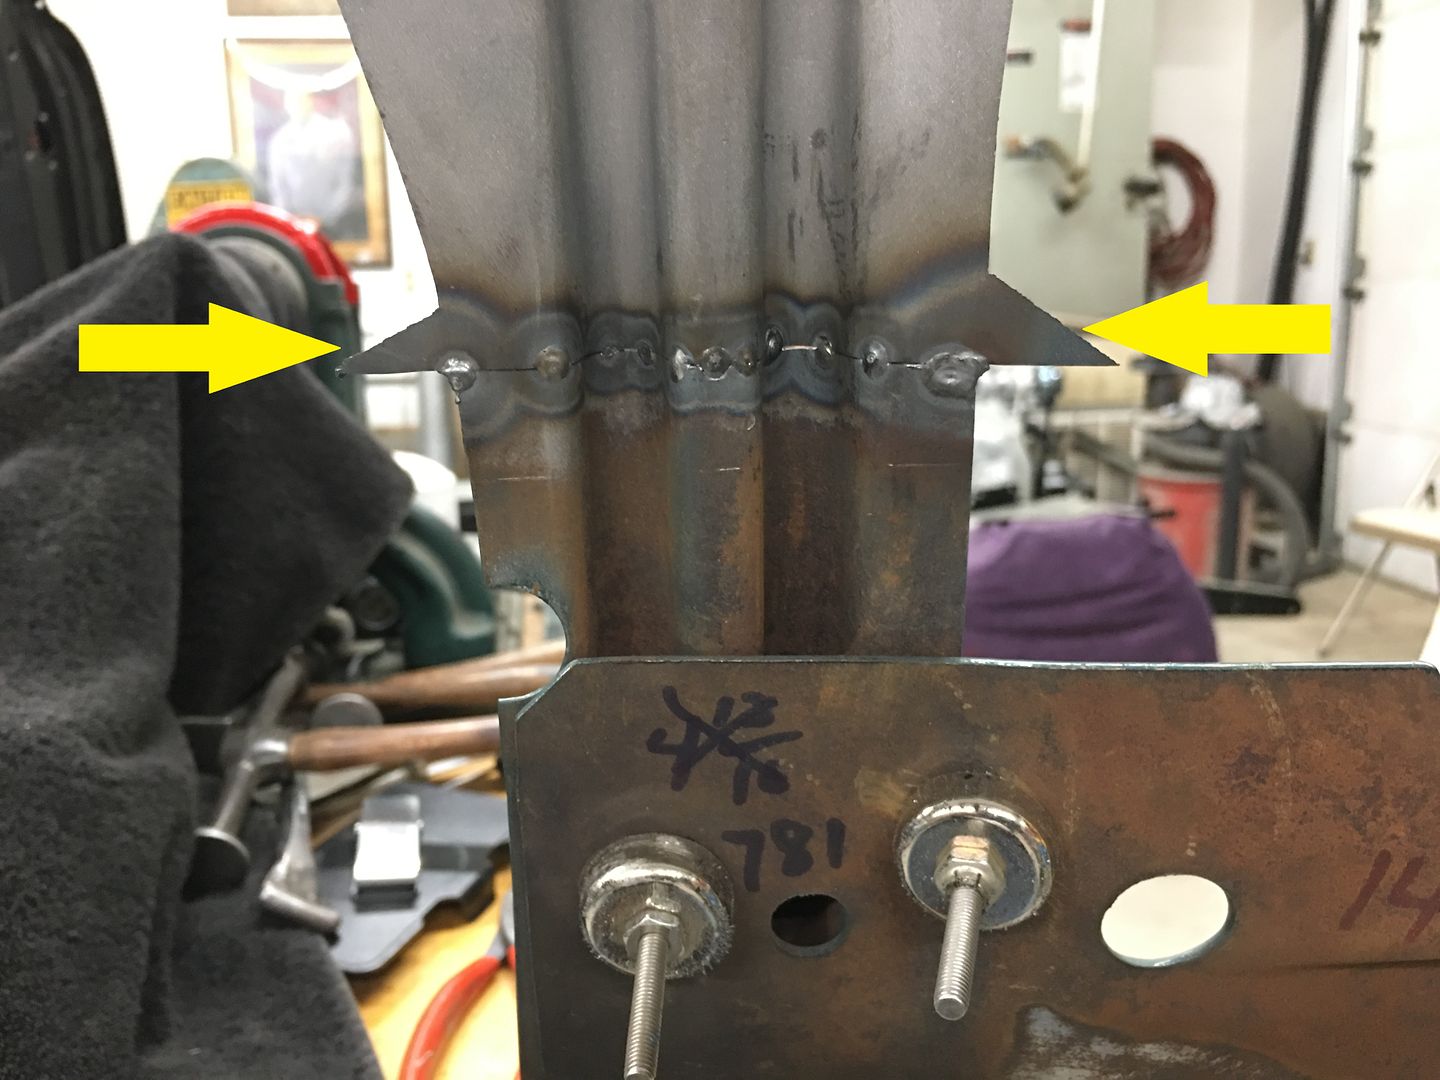
Working outward, the panel surfaces are aligned and tacked as we go. Note the "batwings" left on the outside of the new brace end (yellow arrows). This will act as a heat sink when we make the outer tacks. Had these been trimmed to match prior to welding, the edge will have a tendency to burn back from the heat.
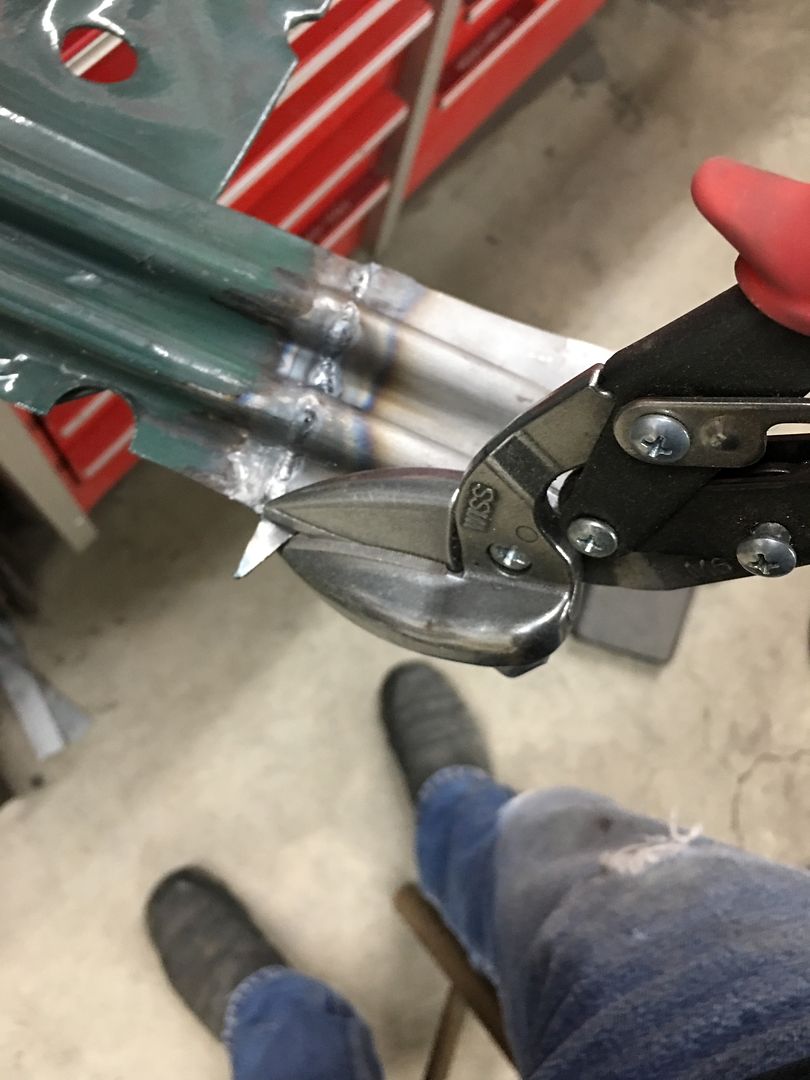
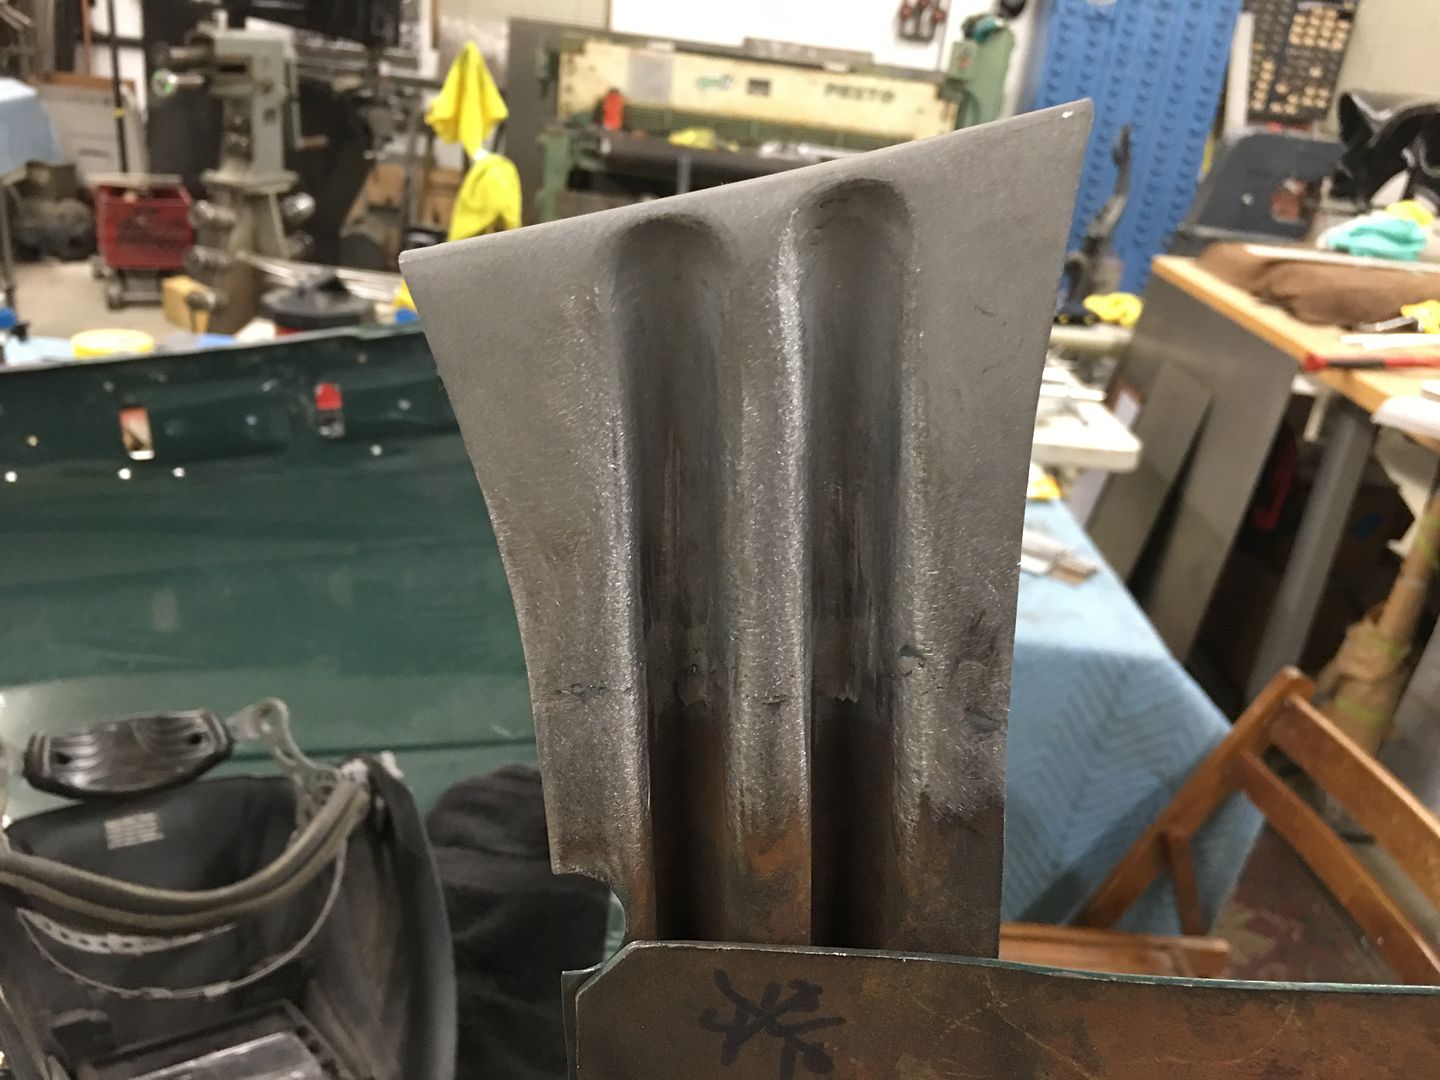
The entire seam is TIG welded and then our batwings are trimmed using offset snips, then welds dressed..
One down......Robert
-
04-01-2020 07:30 AM #130
What is the media you use to blast your welds so clean?
-
04-01-2020 07:52 AM #131
Prior to welding I used 80 grit garnet to clean the green paint away from the seam. After welding the weld seams were dressed with a 80 grit roloc disc, then 80 grit on DARobert
-
04-01-2020 08:06 AM #132
A lot of meticulas work here very nice jobCharlie
Lovin' what I do and doing what I love
Some guys can fix broken NO ONE can fix STUPID
W8AMR
http://fishertrains94.webs.com/
Christian in training
-
04-01-2020 10:06 AM #133
You guys are a rare breed, doing restoration and refab making it look easy"  "No matter where you go, there you are!" Steve.
-
04-01-2020 04:56 PM #134
Then you should look at my blogs, they make it look hard..
Education is expensive. Keep that in mind, and you'll never be terribly upset when a project goes awry.
EG
-
04-02-2020 10:19 PM #135
Thanks for the comments and following along with our progress!
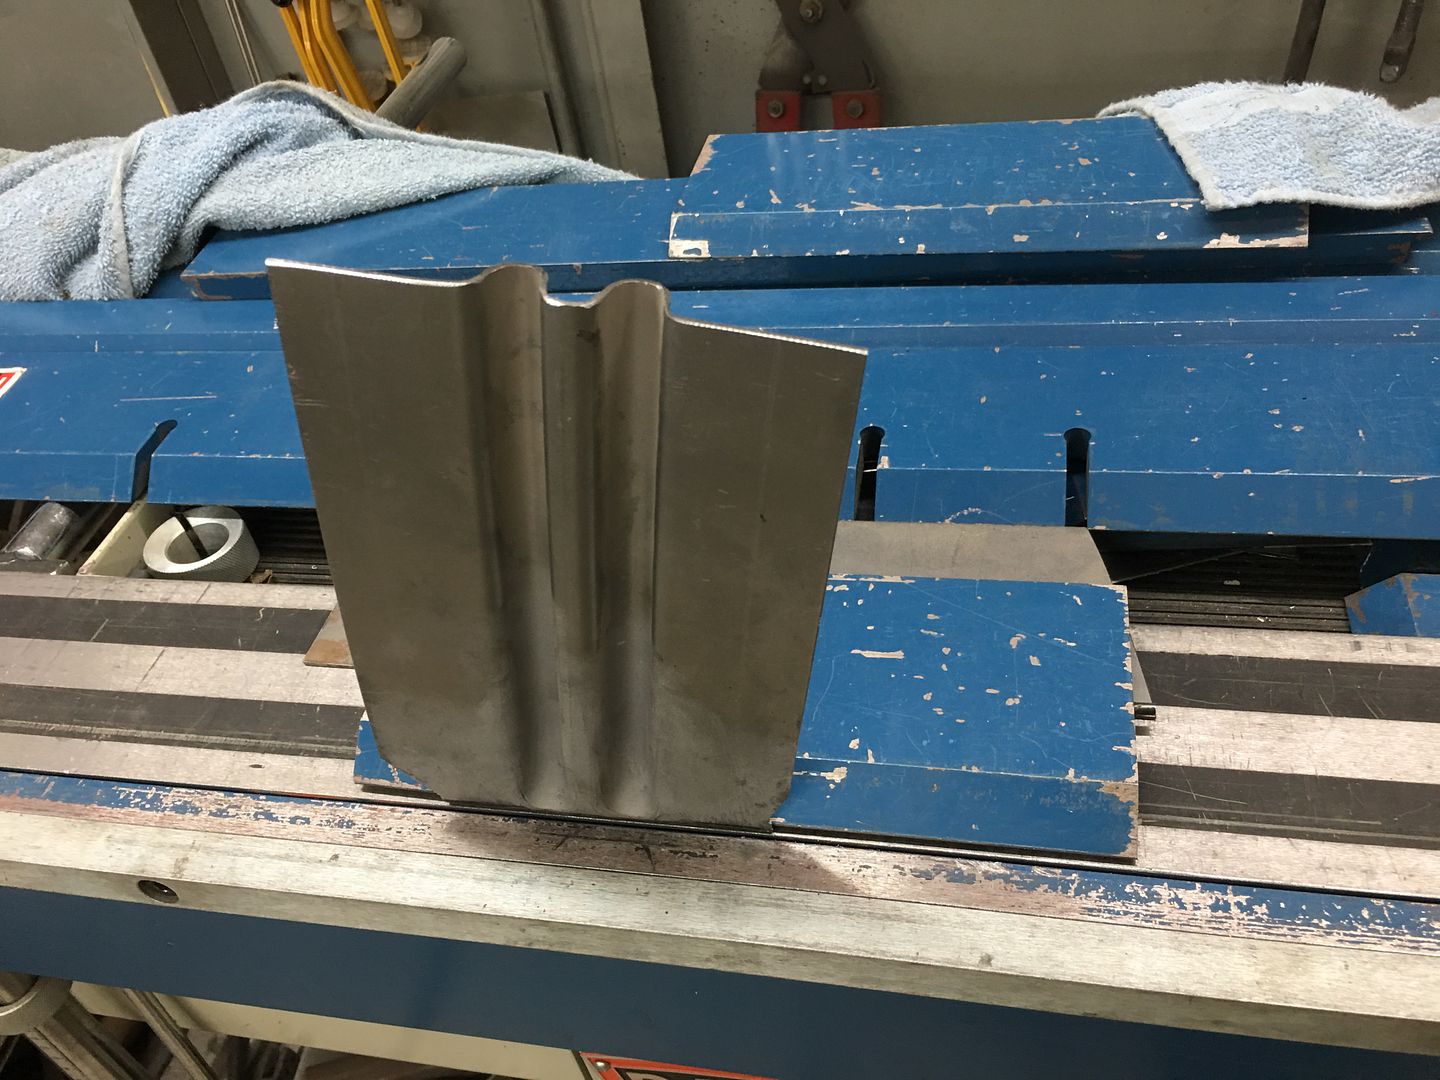
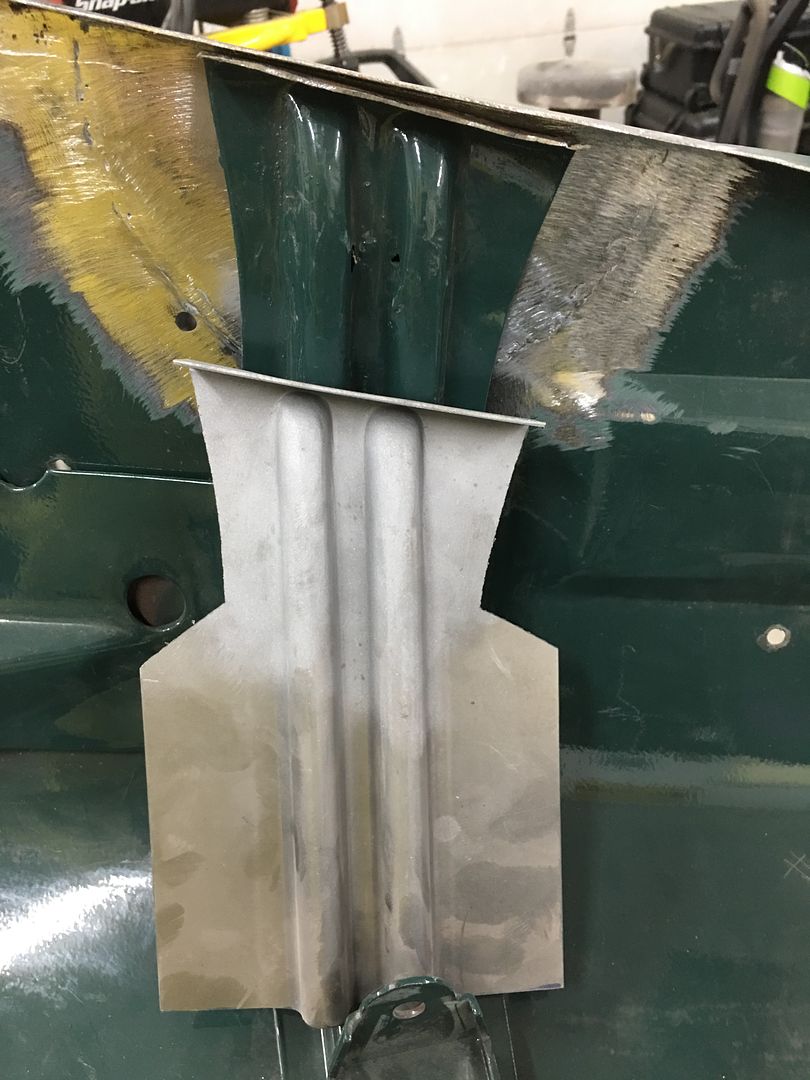
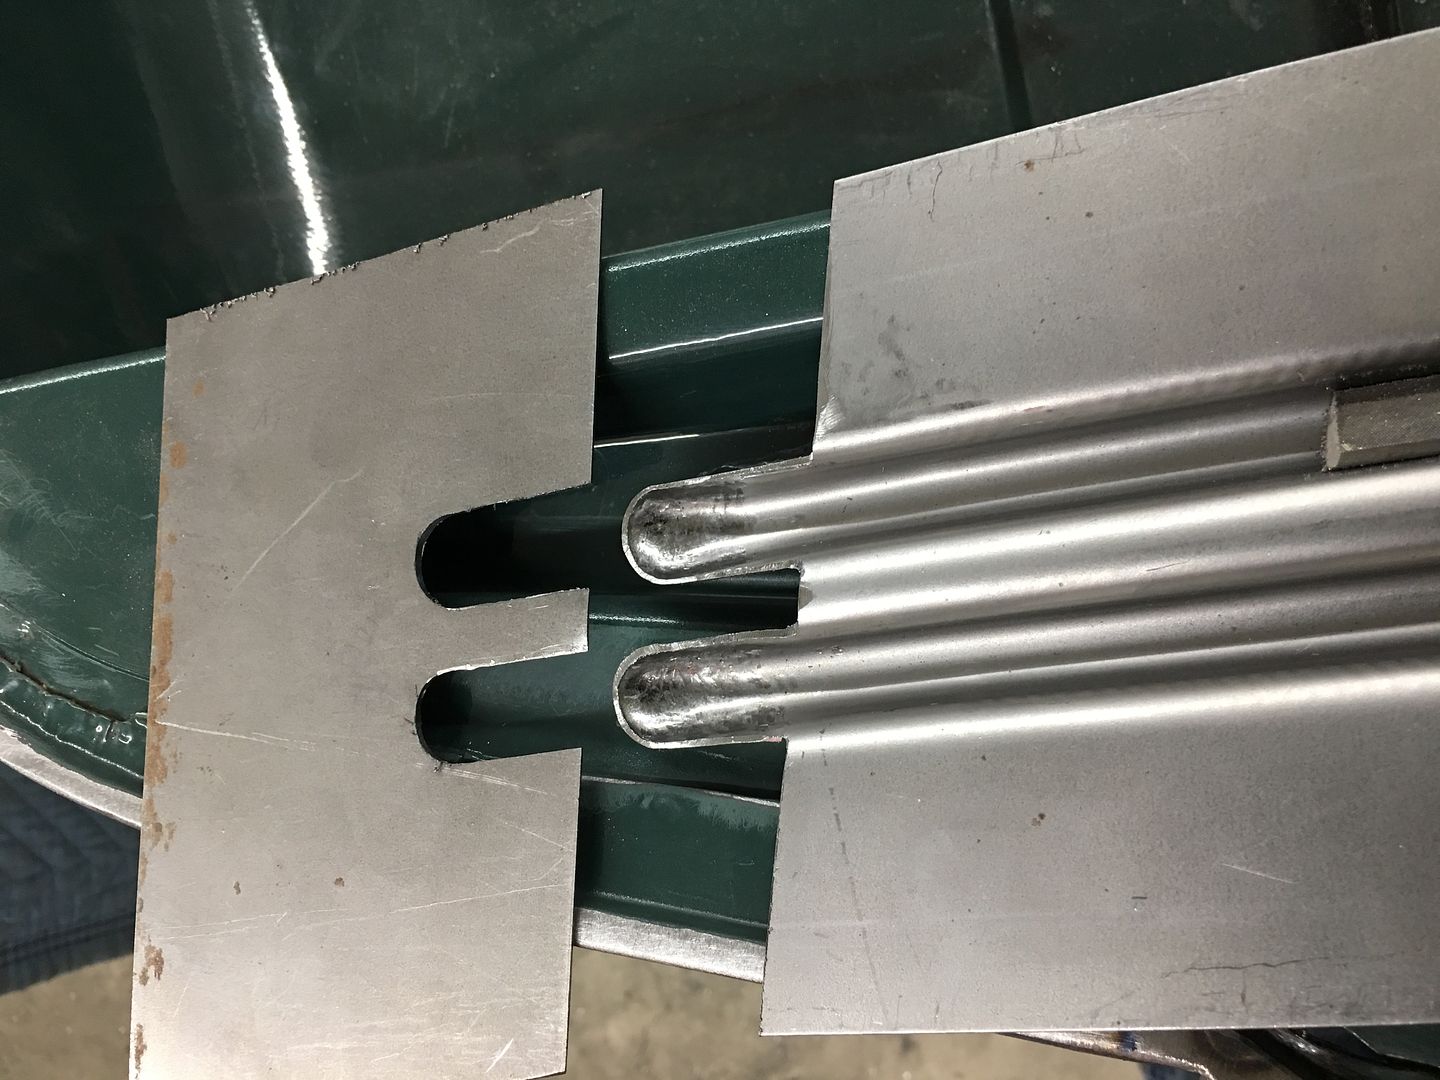
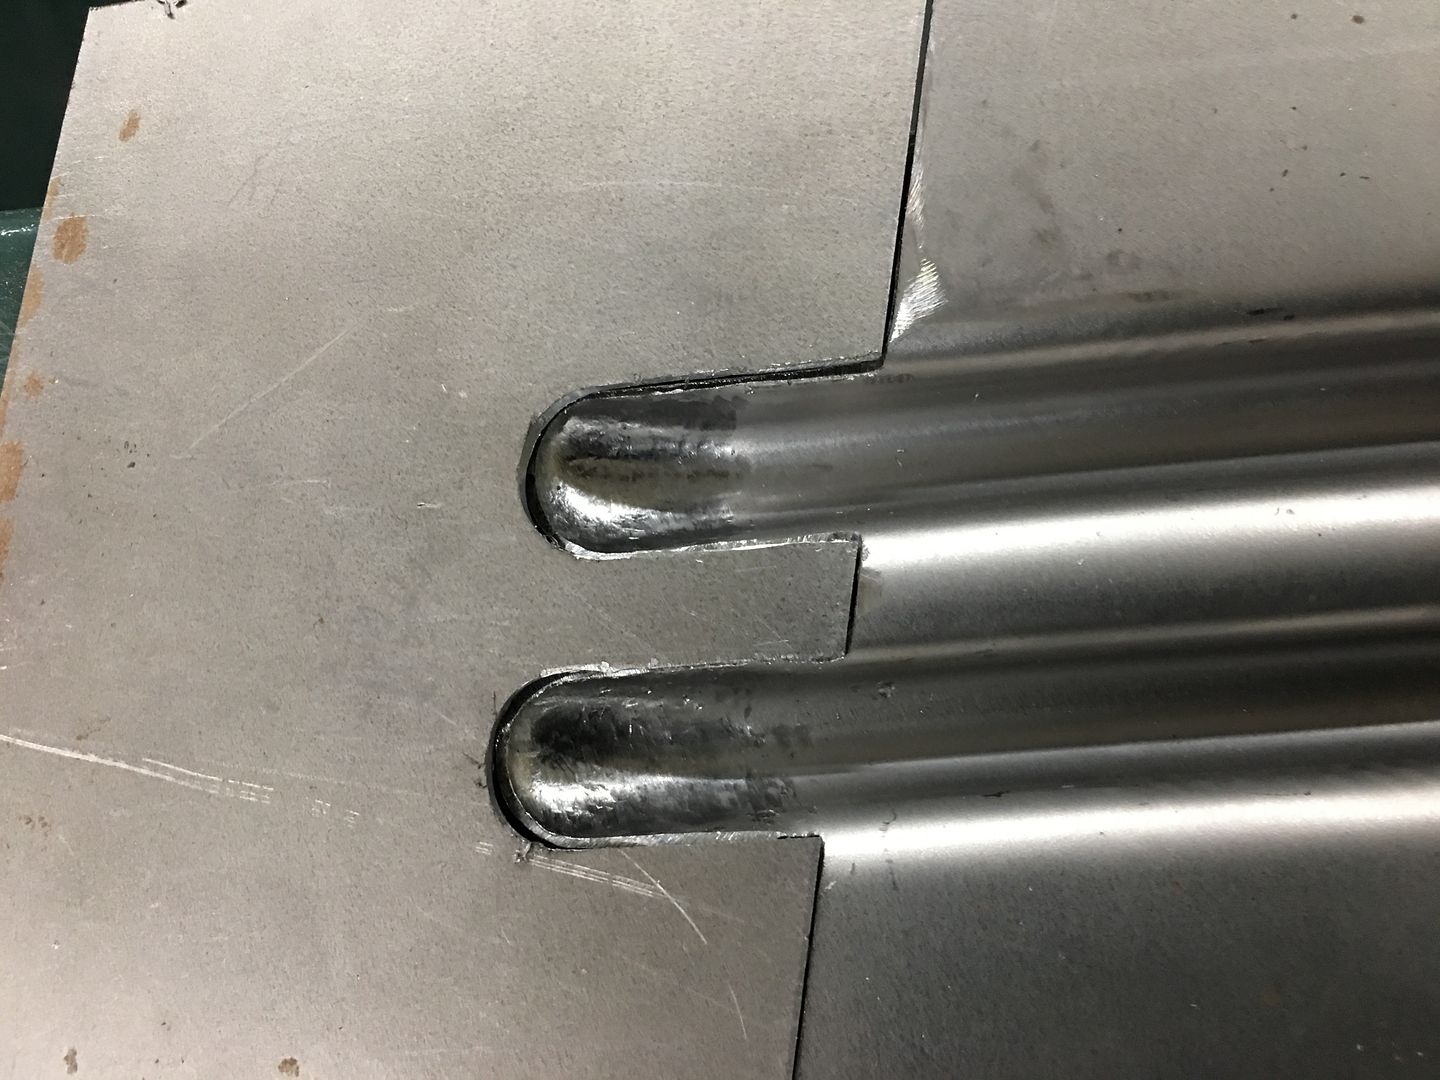
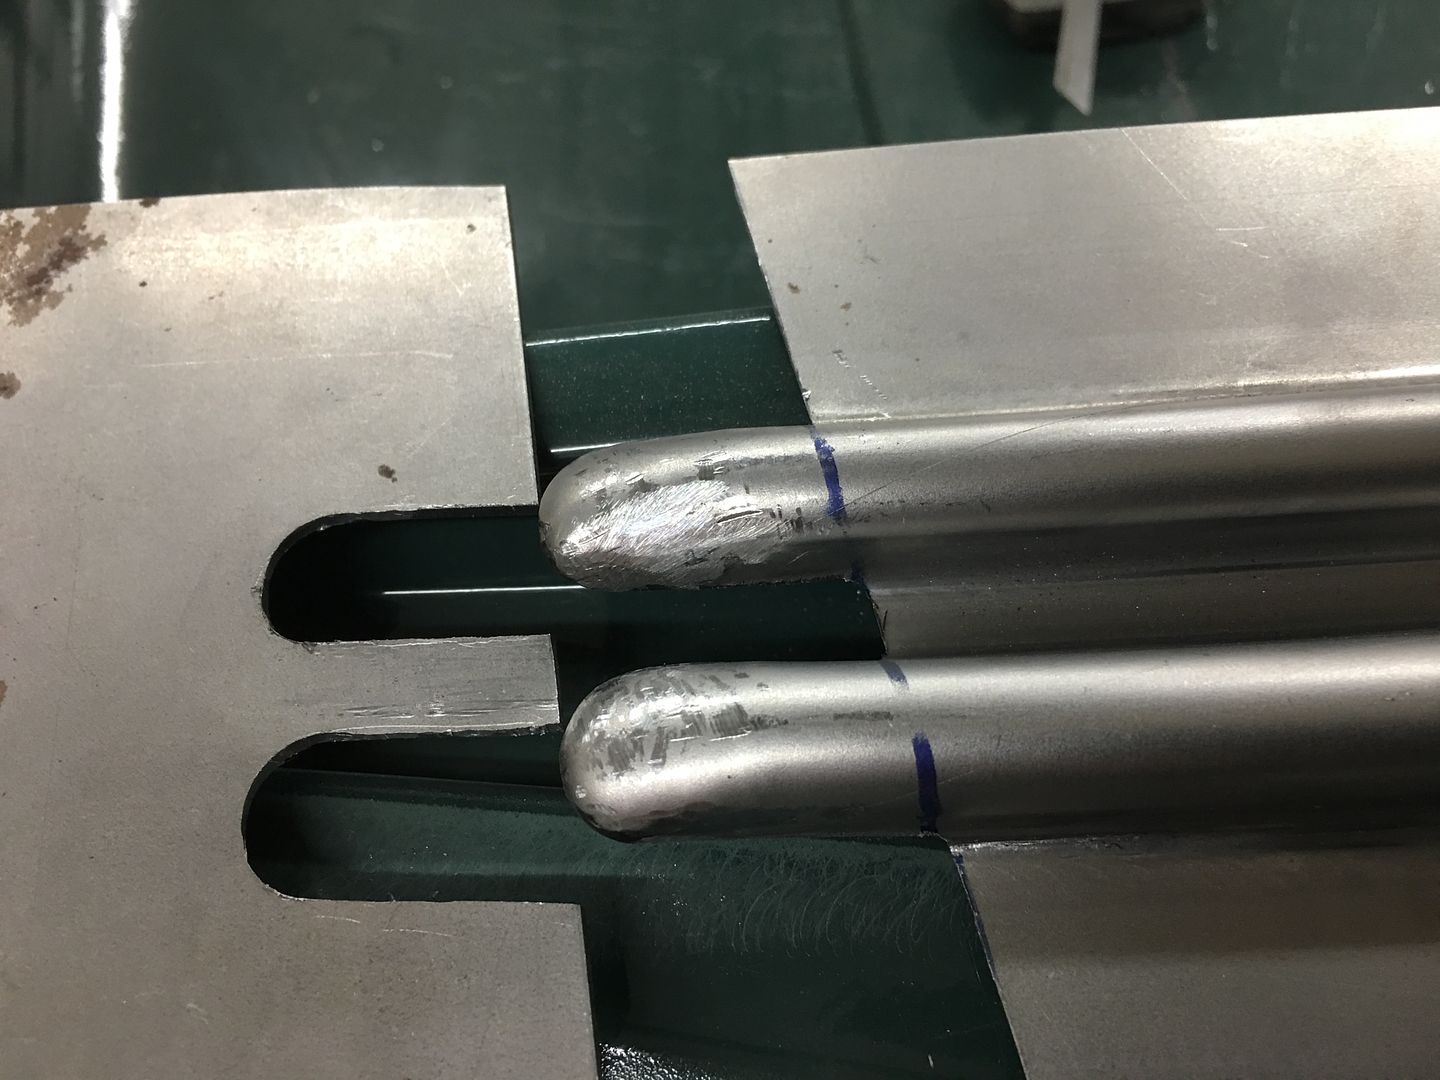
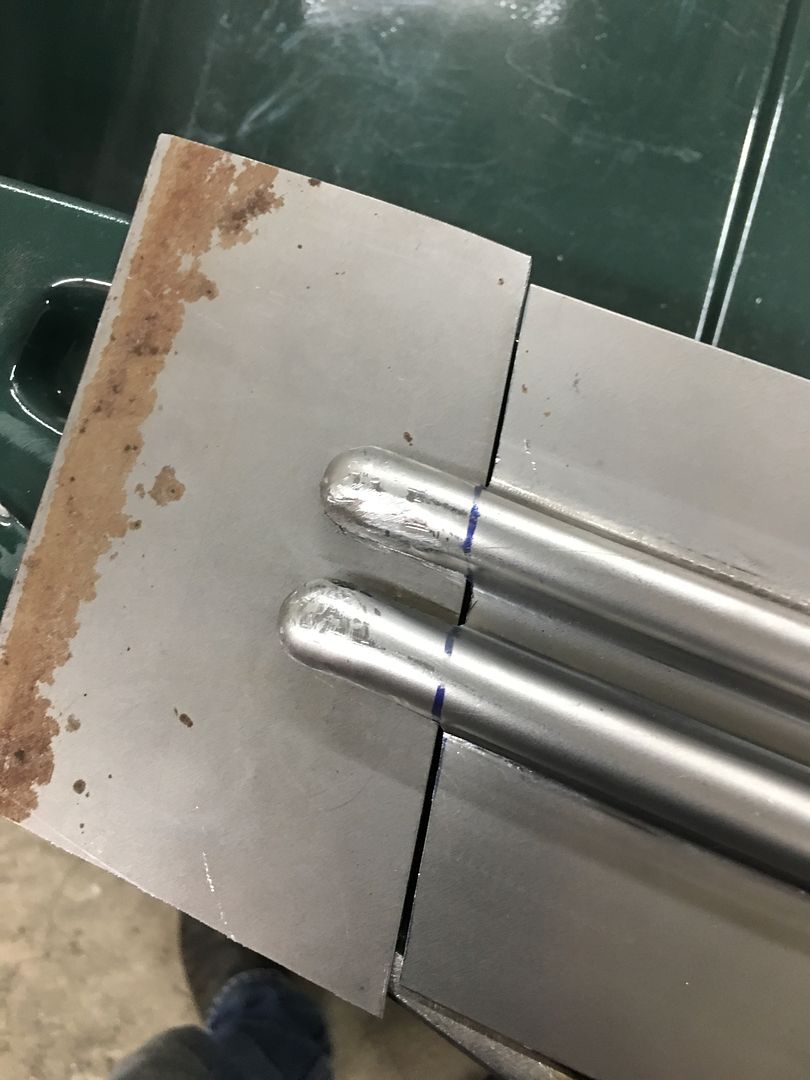
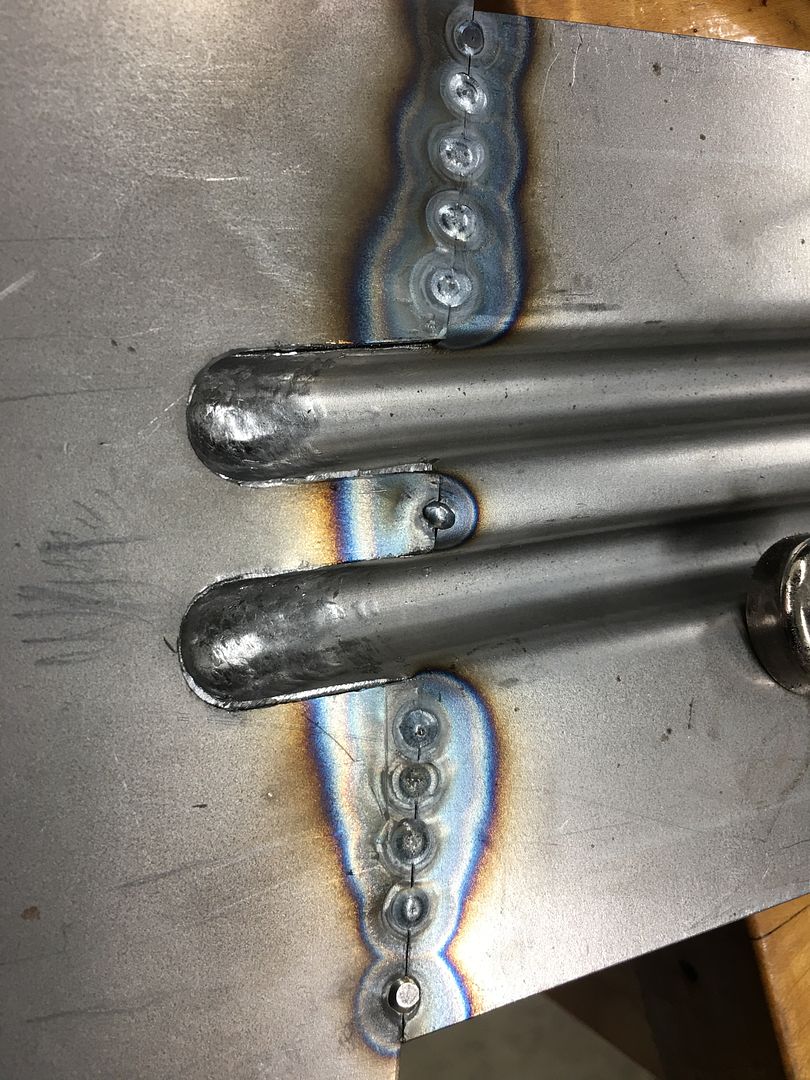
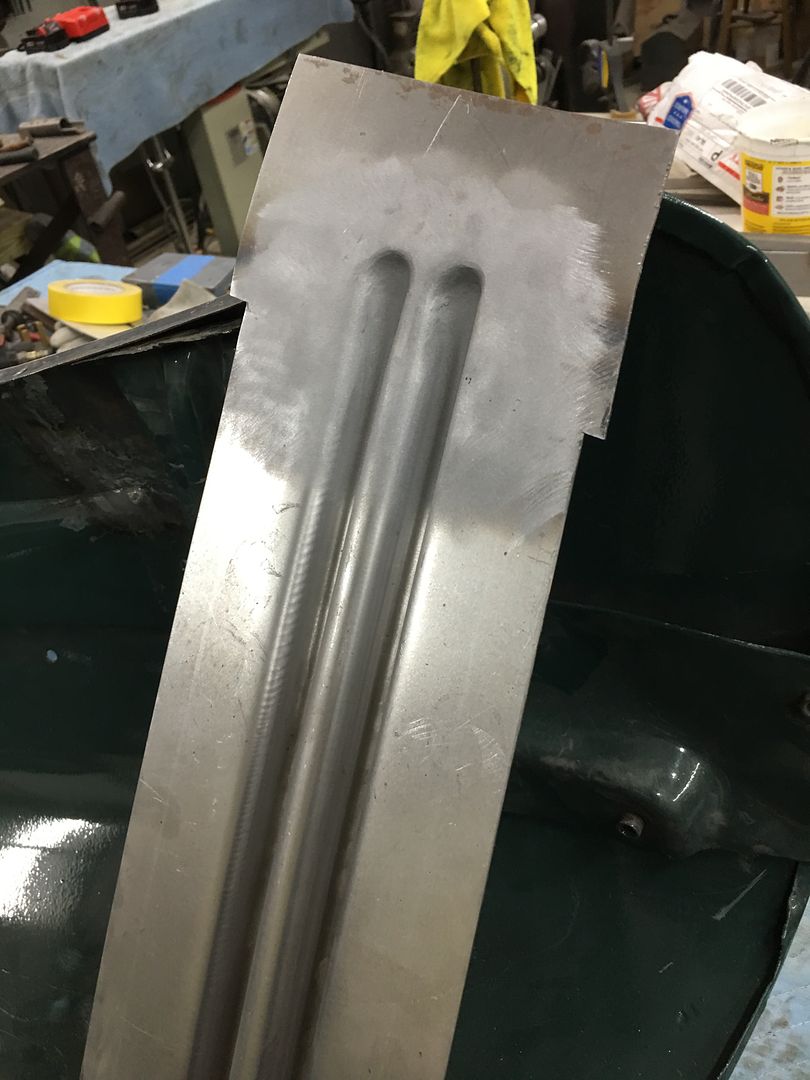
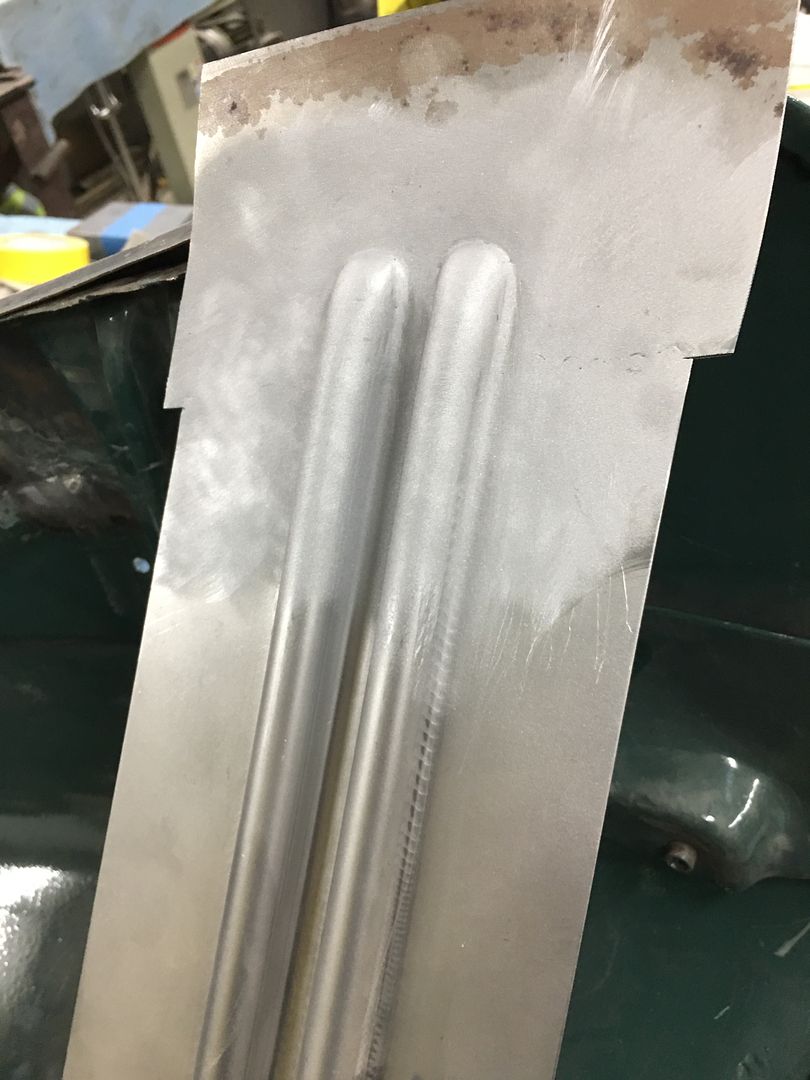
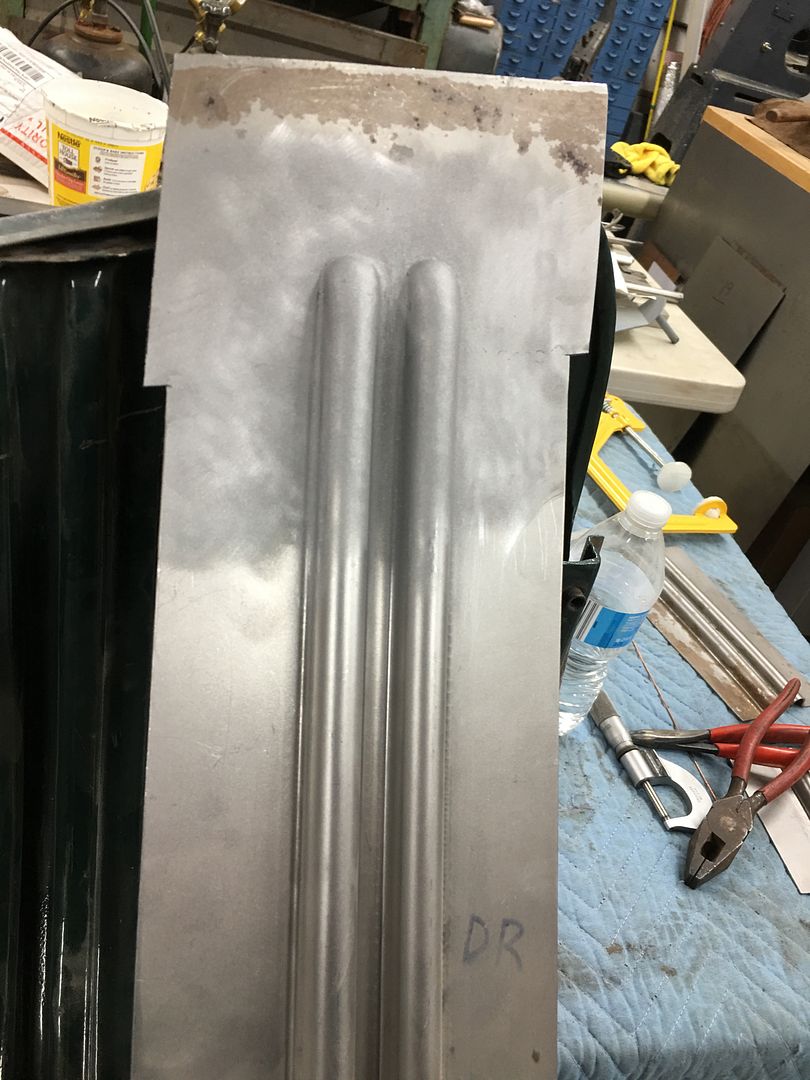
Starting on the other end of the hood brace, this one not as rotted as the other but has issues just the same. One of those "while we're here" things....
The ribs are trimmed and ends rounded.. A piece of flat 16 gauge is trimmed to fit..
tacked together....
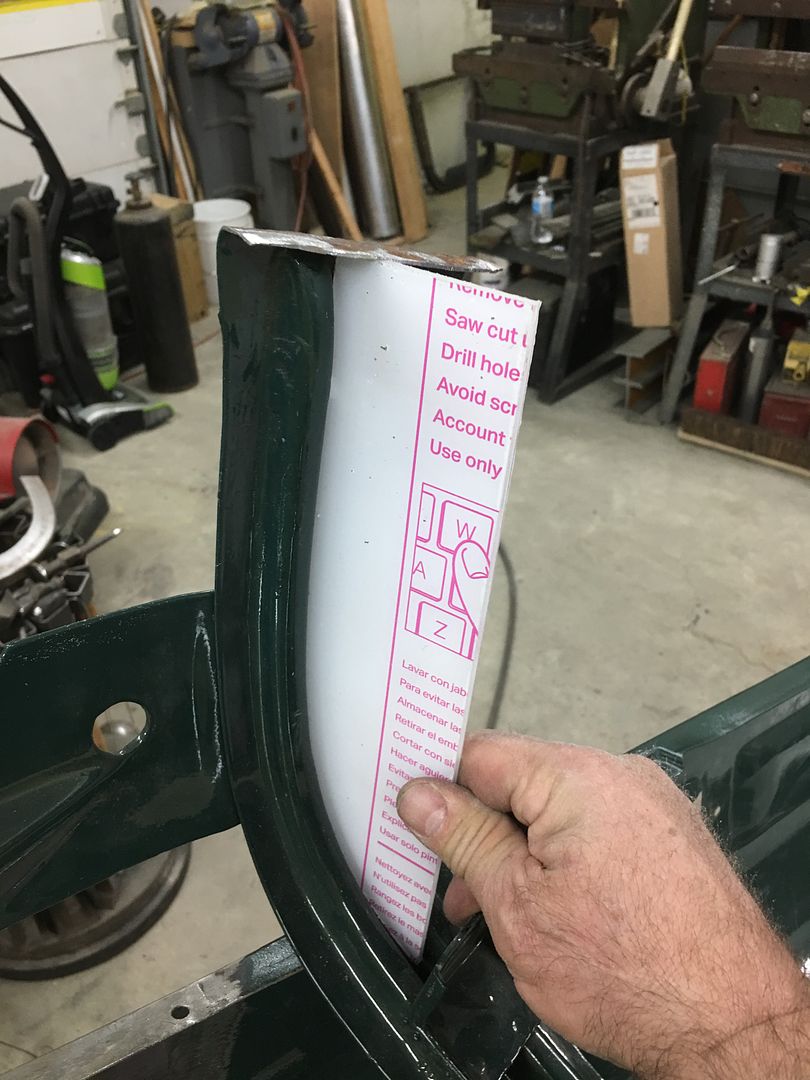
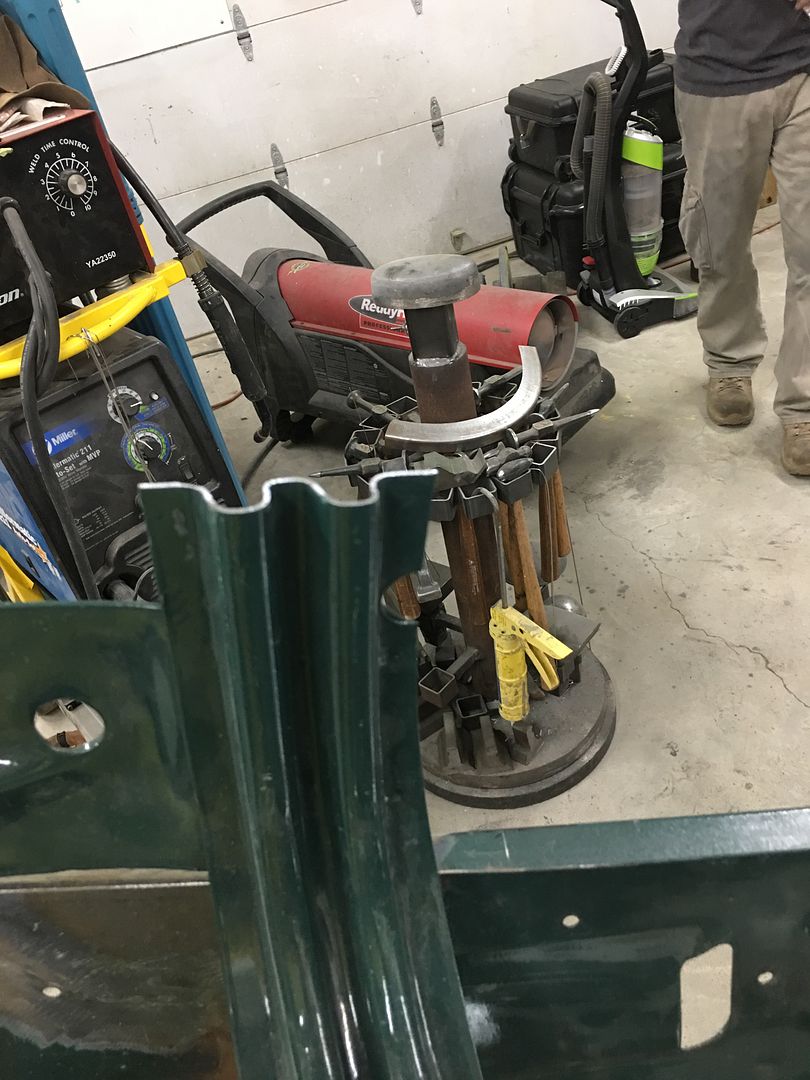
….then the photographer went on strike until we got to this...
We'll get this trimmed and installed tomorrow..Robert
Welcome to Club Hot Rod! The premier site for
everything to do with Hot Rod, Customs, Low Riders, Rat Rods, and more.
- » Members from all over the US and the world!
- » Help from all over the world for your questions
- » Build logs for you and all members
- » Blogs
- » Image Gallery
- » Many thousands of members and hundreds of thousands of posts!
YES! I want to register an account for free right now! p.s.: For registered members this ad will NOT show


 260Likes

 LinkBack URL
 About LinkBacks
 Reply With Quote


Thanks guys! One more trip around the sun completed. Lots of blessings and things to be thankful for (like still being able to type this message!!) Here's to us "over 70 guys.." Glenn
HBD Glenn!!